Hardspace: Shipbreaker

Hardspace: Shipbreaker

295 ratings
Shipbreaking guide
By Danbur Abrazer and 1 collaborators
A somewhat comprehensive guide to breaking apart and salvaging all ship types present in the game as of 0.7 version
4
34
4
3
5
3
   
Award
Favorite
Favorited
Unfavorite
Main concepts
Without wasting time, let's get into the main concepts in the art of shipbreaking.

Objectives

First and most impotant objective for you as a salvager is to stay alive.
When you see a pipe leaking fuel or coolant, a reactor going critical, a power supply throwing lighting around or just a metal panel spinning wildly in your direction - find a way out and put some distance between you and the source of danger. Death means wasted money (resurrection fee), wasted time (resurrection and time for positioning) and on higher difficulties it means loss of life.

Second objective is to salvage as much stuff as you can.
That means:
  • Making as little cutting with the splitsaw as possible because it doesn't just separate things, it removes a fairly reasonable chunk of material which costs money
  • Focusing on making cuts,burning things and disassembing in this exact order: Disconnect by grappler - cut points - cut beams - burn connecting beams.
  • Preserving objects and materials based on their depositing point:
    1. Barge
    2. Processor
    3. Furnace
  • Focusing on doing as little damage to "damageable" things as possible - you can see the health of the object shown as yellow/red boxes near it.


  • Recover any and all data drives. Data drives can produce recoverable data in your hab which will generate 100LT per recovery. It is important to salvage every type of ship as some data only spawn on certain classes and types (ie Gecko Salvage Runner, Mackerels, etc) Also look behind your hab for a one time drive taped to it for a free 100LT
  • And last - salvage even damaged things, if a panel, computer, sensor tower got damaged too much - it still can be salvaged in the Furnace. This will double as keeping your workspace clean. Nothing is worse than trying to chuck something into the barge only to ricochet off a destroyed computer terminal destroying or sending it off into the void

Important concepts

We have 3 end destinations for salvage:
  • Barge which is at the bottom of the bay which gives us highest amount of money per salvage - to the barge go pretty much all items in the ship: furniture, reactor, engines, nacelles (boosters), computers, switches, cargo - almost everything small and complex
  • Processor which is located both on the left and right sides in the front of the bay - this thing salvages the more hefty stuff like the outer shell/casing of the ship, "armor", structural beams, doors and pipes.
  • Furnace which is located on the left and right sides behind the processor - it takes in everything broken (you damaged a computer too much - in the furnace it goes), glass and aluminium panels which make the interior of the ship.

Both of the present ships can be broken into 3 main sections: Bow or nose of the ship - middle section - Stern or the back side.

Tools and Tricks
Tools of the trade

Grapple
Grapple is our biggest friend, it's used for both moving yourself and stuff around in space, I'm not going to repeat after the tutorial only mention some important findings:
- Holding onto big stuff and pulling yourself closer is a great way to travel and saved my ass several times, it's basically your last resort to pull yourself out of furnace or processor as their gravitational pull is too strong to escape using only your jetpack
- The strength with which you can move things around depends not only how far you try to move it by changing your aim direction but also on how far you are from the object, it's way easier to manipulate big things from a distance than from up close
- Charged push you unlock later in the game is has been greatly improved as of version 0.40, it can get the small portion of Mackerel hulls into the processor quicker.

Cutter
Again, I am only going to say smaller important notes.
Stinger is way more precise and it's way harder to get yourself blown up or frozen with it. It doesn't push you around as the splitsaw does. With that said, the Stinger is a precise tool, it’s good for young cutters getting their bearings in unfamiliar places, but as cutters get more experience they will gravitate towards the workhorse of the cutter.

As a cutter gets experienced they will lean towards the Splitsaw for the vast majority of their cutting needs. Even at its initial level it has a range of 5m meaning it can easily hit 2+ cut points with each fire. This range get larger with each range upgrade going to a max of 20m. At this range it will greatly reduce the time it takes to deshell both Mackerels and Geckos. The down side, as stated above, that an inattentive, inexperienced, or reckless cutter can inadvertently cut through volatile items causing detonations, salvage destructions, or loss of Lynx-owned human assets.

Demo Charges
A small expensive charge designed to cut through all material and cut points. They can be use to cut chunks of nanocarbon and titanium if the needs arise! There is an upgrade called “Auto Deploy” that allows thrown charges to stick to surfaces for 4250LT. DO NOT GET THIS UPGRADE! Thrown charges spin in transit meaning that it is highly likely that the orientation of the charge will deviate and potentially require you to disarm to rectify. For 4250LT at rank 22, you can get more useful, cheaper equipment upgrades like O2 Capacity III (Rank 20 3400LT), O2 Recharge III (Rank 21 2500LT), Splitsaw Range IV (Rank 22 2450LT), Tether Count III (Rank 18 3250LT), etc.


Hands!
These two appendages most humans have come especially useful in space. And weird thing is our character is very strong for someone who's apparently a space worker. By holding Z or X you can extend left or right hand respectively and grab onto things, now where is this useful?
  • manipulating large objects at a distance more easily while staying in place by holding on to something heavy
  • Saving yourself from plunging face first into stuff by grabbing onto something
  • Crawling around the ship if you have no fuel in your jetpack (never happened to me but yeah (pls bump up the fuel burn rate))
  • Holding onto walls while decompressing parts of the ship to avoid being hit in the face by a cargo pellet and getting thrown across the room
Important to note that you can only hold onto parts of the ship, the jax (the huge yellow thingies floating around) and your habitat. You can't hold onto parts of the station and pull yourself out of furnace (for now you have to use grapple for that) (pls fix).

And the last thing to note is actually pulling things apart
You already know about using tethers and grapple from the tutorial but you should also think about using your jetpack, it's actually the second strongest way to move stuff in space (after several tethers of course). So if you don't know if you've cut the thing free or not - just push into it and see if it budges or not.

Tool Tricks
There are several ways to make your tool do more work for you then you realize. These methods can either allow you to ferry multiple objects, make you go faster, or salvage materials faster.

Sling Shooting
In the early game, your thrusters will not have a lot of speed. To circumvent this, use you grappler on either the jack or an immensely heavy object and press the reel button. This will allow you to gain speed towards the object going faster than your thruster can take you. This is useful when you are in a crisis situation or wish to move about quickly. NOTE: Keep an eye on your speed, when the numbers are red it means that if you hit an object your suit will take damage. This starts at speeds greater than 10m/s. Braking just under this threshold and hitting a heavy or immovable object is a good way to make a quick stop.

Daisy Chaining
The first trick is called Daisy Chaining. This involves using tethers to tether multiple items together so that you only need to grab and push one item to ferry the rest to its final location. On of the advantages to this method is that outside of the daisy chained item you are directly interfacing with, the other tethered items will not move at fast speed. This is useful when dealing with fragile items like small fuel or coolant tanks. To daisy chain items start with two items, if they are items that first need to dislodge from a bulkhead, DO NOT tether other items to it. For reason I do not understand items that are in flux i.e items that are actively having the cut points destroyed or being dislodge will not be connected by that tether. This will result in the second tether attached to empty space and will act as an immovable attachment. Once the items are free floating you can tether a third object or another active daisy chain. Once you have connected all you want, tether or force push one of the items to its final destination.

Swing and Sling
Another grappler method one can use is what I call the Swing and Sling, usually when I have open and clear space to a destination. This method is good if you do not want to use too many tethers or have a few items you need to send to a destination quickly. Generally when you dislodge an object from the bulkhead, you then turn and maneuver so you force push an object to a its destination. While you are grabbing an object to dislodge, orient yourself so the object is out of sight, but the grappler is pointed to the final destination. Now listen the sound that indicates that the item is dislodged, as shortly afterwards it will race to be directly in front of the grappler. You will then need to time it that, as soon as it enters vision to let go so it keeps its maintains its current vector to the destination you are facing.

Additional notes.
Q:Do you get penalised for not getting to the hab before the time limit
A:No, you just get thrown into it by the end of time.

Q:Do you need to cut the doors free?/Is it worth to cut the doors free?
A:Absolutely yes. The panel holding the door is worth a meek 500$ while the door itself is worth 24k$ but cutting the door out can become a hassle and time consuming.

Q:Is it worth bothering with disassembling the lights?
A:Only if you're a completionist. A light is worth only about 400$ - not worth the time in my opinion especially considering the amount of time it takes to pull them out and send them to the barge.

Now that we're done with some basics let's get to dissecting our first ship!
Mackerel - Overview
I am going to cover both types/professions of the Mackerel together because differences between them are very very minor.

Important note - the early mackerels you get won't get some of the features I will cover, although the overall disassembly process is very similar.

First look

Mackerel is a small nimble ship which functioned as an interstational transport for people or cargo. Generally it should only take one shift to get to salvage quota 3 on any Mackerel. The Mackerel has four types: light cargo, heavy cargo, transport, and exolab. The differences are as followed:

Transports (Station Hopper) - Transports cargo bay section is narrow and will be filled with seats, computer terminals, and food/drink debris. Main hazards: electrical from terminals
Light cargo - narrow cargo bay that is filled with various items ranging from fuel tanks, coolant tanks, electrical salvage, and non-volatile salvage. Main Hazards: (Varies heavily on ship’s cargo) Electrical, fire, or coolant

Heavy cargo - This type is the variant to the light cargo. Instead of a narrow cargo area, it is expanded to reach from nanocarbon bulkhead to nanocarbon bulkhead. This variant will have far less aluminum salvage compared to the other three types. Expect the interior to be densely populated with cargo, if not packed.

Exolab - This is a Mackerel specifical designed for science expeditions. The exterior will have large items that must be cut free from the inside before salvaging, remote arms or other equipment that can be pulled off with the grappler or tethers. The interior is densely packed with computer terminals that are separated into three compartments, each with a door between them. Extreme care is needed as to not cut into salvageable equipment. Within the compartments between the aluminum and nanocarbon bulkheads, will be electrical wires that must be removed before the nanocarbon section can be separated. Out of all the Mackerel classes, this can easily net upwards to $5M per ship. Main Hazards: Electrical from terminals (Extreme), Coolants


front view of a standard Mackerel


Side view


Back view

Internal structure


The two blue blips in the bottom are cooling containers. The red lines on the sides are fuel lines (and the reason why I argue against cutting from inside of the mackerel cargo bay into the "shell" of the middle section). Aside from those two it contains a simple engine and a reactor. Note, on occasion the reactor may be located between the aluminum and nanacarbon bulkheads. Should the reactor not appear in the far back on the ceiling look for it in the in-between spaces.
Mackerel Depressurization
There is one main problem when reaching the end-game in regards to the Mackerel. That is that it is a very light ship. Meaning, it is light enough that an explosive depressurization will move the vessel, but it is also heavy enough that a cutter may not be able to save it if it were to shift too close to the furnace or processor. In fact I have inadvertently feed a few Mackerels to both the furnace and processor due to an ill done depressurization. Below I will instruct how I consistently explosively decompress a Mackerel, without risk of losing the ship or its contents.

First we will need to enter the Mackerel to start the prep work. Start by removing all regulators from the Mackerel, the one above the airlock and the one in the cockpit, and place them into the airlock. These are the most venerable items in the Mackerel and are the easiest to break.
Next cycle the airlock so the outside hatch opens. Next we want to open the cockpit and detach all items from the deck in the main body (i.e fuel tanks, coolant tanks, and soft crates). We will want nothing attached to the decks because we are about the pull everything into the barge.
Barge salvage will root non-barge items and will require us to remedy it. Thus do it before to save future trouble. Once complete, cut all cut point connected to the deck on the port (left if facing the cockpit glass) first. Once complete, situate yourself so you can cut most, if not all, the cut-points connecting to the deck on the starboard side. Using "Z" to adhere yourself to the bulkhead, use your Splitsaw to cut all the cut-points you can.
This should cause all now loose deck pieces and salvage to shoot downwards towards the barge, as well as, shift the ship upwards slightly.
Once the internal compartments are vented leave from the bottom and grapple or tether the deck pieces and any other non-barge to the respective locations. You may need to descend closer to the barge to make sure, salvage isn't escaping between the furnace/processor and the barge. NOTE: Later hazard-level should start spawning radiation filters, meaning the internal compartments and the voids will share the same atmosphere. You have now safely depressurized the Mackerel and continue to salvage.
Mackerel - Beginning of dissection
Important variations that can be present are:

Reactor can be connected by a fuel pipe to the engine and you'd have to flush the fuel before disconnecting the two. Sometimes you'd have to find the keys - an tiny but important with which the object scanner can help. I always suggest trying to flush without finding the keys tho - sometimes our character just has them. If you do still need them - they're usually floating around in the cockpit, in one of the side "shells" (the portions between the cargo/passenger bay and the outer panels of the ship to the left and right sides of the ship) or just in the cargo bay.


The small pink line in the middle is the keys.

They don't look so important now but trust me when we get to Gecko they'll make or break the ship.

My overall suggestion on the order of dissecting a Mackerel is this
  • remove everything you can reach from the outside of the ship without getting inside - antennas, the "armor" panels and beams, sometimes you can remove the boosters. Although do not touch the engine panel or the glass in front.
  • Enter the ship through the hatch and decompress the ship (you do not need to open the door to the cockpit (it opens automatically) or the door in the cargo bay (due to the hole under it))
  • Open the hatch to the space through which you entered - this way you won't forget about a pressurised airlock if there is one.
  • Flush the fuel from the reactor pipe if needed and if you don't need to get the keys which are in a side compartiment (if you need to - then find them after separating nose of the ship from the rest of the body and only then flush the engine)
  • Start cutting almost all the cut points you see. And don't be lazy - cut them with the stinger, not the splitsaw because the internal walls of the Mackerel are made from aluminium which you can cut accidentially which would at best result in you losing some of the material.
  • Do not cut the points in the last section of the ship - the 8 you see in this picture - if you haven't found the keys yet. Do so only after you've found them and disconnected the fuel line


An example of the cut point

After you've done with cutting the internal cut points you'd have at least 2 separate "big" parts (aside from the bunch of small panels you should've sent flying to their destination) - the nose and the middle. Sometimes the back side would come free too but it's not the rule - the fuel containers can hold it in place. Let's proceed with dissecting each part separately
Mackerel - Front dissection
First of all - give the freed front section a push with your jetpack or just pull it away with a tether.


Now that you have your meal cut for you it's time to lighten it up.

Cut the cut points on the sides (with a stinger due to presence of coolant barrels) and pull the shells to processor.


Now we can get to clearing out the cockpit. First incinerate the 4 brown-gray beams you see going around the door. This will partly free the door assembly. To free it completely get into the cockpit and pull away the cargo containers - don't pull them out just yet, just disconnect them. Once done with that the door part will come free and you can either throw it into furnace or burn the sides of it to free the door and send it into processor.

Cutting out the door free and sending it to processor nets you 24k while just sending the whole panel into the furnace nets you a meek 500 dollaridoos. CUT ALL THE DOORS FREE

After you've cleared out the entrance to the cockpit you can pull everything out of it.

A good trick is disconnecting stuff and then tethering the main assembly away - making it float away and letting you to float above the freely floating stuff and easily send it in the direction of the barge.


Cut out the glass with the splitsaw. (Trust me - it costs plenty)
Now to disconnect the aluminium panels from the outer shell.
Now look closely - you need to evaporate the 8 beams (highlighted in purple - in game they look cyan) which are connecting the internal aluminium assembly together and hold it to the beams of the outer shell.

You can access them from outside.

Now you can pull out the aluminium panels and send them into the furnace while sending the leftovers into processor
Mackerel - Middle section dissection
Now to dissecting the middle part of Mackerel

Basically there are 2 parts to mackerel's middle section :
  • The inner one made from aluminium which houses electronics, fuel canisters, cargo pellets, various pickups and reactor
  • the outer ones which houses fuel canisters, fuel pipes, power cell and holds up boosters

We will begin with outer sections as most likely you've already cut the cut points for inner flooors and ceilings.


First things first - you want to drain the pipes so it's less of a tense situation. After that you can cut the cut points, here you can actually easily use the splitsaw.


After that you can cut the cut points and send the shells into the processor. Strip down the power cell once done with that, I advise doing that after removing the shells as the power cell likes to spike the surrounding stuff and can easily zap you.


Depending on the construction you may need to cut away the boosters at their cut points and pipes if there are such, and the last section might be attached to the back side of the ship by the fuel canister - disconnect it and send it to the barge. After that - do the same on the other side.

Now to more weird stuff - what to do with the hatch.

Fry away the thin white lines on the sides of the hatch to free the door


Here it is.


After you cut out the cut point you need to position yourself inside the hatch just peeking inside - like shown at the picture. After that you can rotate around and make cuts separating the hatch from the rest of the ship, this is better than cutting from outside because it's way easier to see if your cut actually disconnected stuff or not.


To cut away the bottom part just make a cut just across the panel holding them together.


Once done with outer sides you can move to the inner part. Just position yourself above the remains of the ship and send stuff flying directly down to the barge.


Do not forget to cut out the inner door.


Once done with that you're going to have a nice clean skeleton of the ship that preserves as much aluminium as possible which you can send flying into the furnace.
Mackerel - back side dissection
This part is actually the easiest.


Just cut the cut points on the engine cap (again with a stinger - you can slice through the cap), and pull out the engine.

If the engine doesn't pull out - then go the other side and disconnect it. (It's mechanical and doesn't need any power.)


After that just send the last part to Processor and you're done. Mackerel dissected
Atlas Class
The Atlas is the ship a cutter will interact with that bridges the concepts learned from the mackerel and teaches an order of operation of salvaging more complex vessels.

The biggest thing to take away from the Atlas is how to deshell a ship efficiently which will return with the Gecko class starships on a bigger scale. The Atlas comes in three flavors that differ mostly in number of engines and internal compartments. Each Atlas will have four sections that may or may not be pressurized. These sections are the cockpit, upper compartment, lower compartment, and the voids that are between the compartments and the shell.

Scout - The scout which is the first to unlock and the simplest of the three with two engines in an over and under configuration. The airlock is located on one of the side of the ship, similar to the Mackerel.

Hauler: The Hauler has three engines, one underneath and two flanking on top. The Hauler has a cargo section that is connected to the voids. There is a pressure regulator located the cargo section allowing a safe depressurization of these spaces. The airlock is located between the cargo section and the upper compartment. This allows an easier depressurization of these two spaces.

Tug: The Tug is very similar to the scout internally except it has four engines and the airlock is located in the rear. The engines are located directly on the side, allowing for easier processing.
Atlas Scout
The first thing to do with the Scout is to remove any exterior lights, sensor modules, antennas, etc. This may seem very intuitive and not need mentioning, but compared to the Mackerels, there will be a lot more exterior add on and it is easy to forget to remove them after you deshell everything. So for good practice remove and barge everything as you move towards the back for engine work.
With all the exterior items out of the way, let's look at the engines. The engines for the Atlas are more complex than any of the other engine set-ups in the game, as you will need to disassemble and enter them for full salvaging. My main suggestion for all Atlas engine work is to do engine disassembly before and deshelling as the extra weight will keep the engine from shifting greatly.
Now on either side of the engine there will a panel on each side holding the thruster nozzle. Using the grappler you will need to pull these panels. With the panels removed, you can send them to the processor. Personally, I just send the panels either to the furnace or let it free float as the effort to quota/cost is so insignificant I rather have the time for work. With the panels remove you will notice a cut point and 0-2 coolant canisters. Use the grappler to remove the canisters and interact with them as they are considered pick-up items. You could use them for the next step in regards to fire, but I find that method not worth the time and potential damage.
With the points cut, tether for push the nozzles into the barge and prep for the next step. With the nozzle removed you will see a device with four fuel lines connected by cut points. Center yourself and using the precision tool of the cutter, cut each of the four cut points. This will start a countdown as each pipe will start burning towards two fuel tanks at the end.
Pull and tether the once connect fuel injector and line up for the center of the far wall. Using the grappler grab the far wall and pull yourself towards a Flush Fuel Valve, which will stop the burning pneumatically separate the engine shell in two. As a note, depending on luck you may have to grapple through spout of fire, but the grapple should not cause you to take enough damage to be lethal.
Depending on hazard level, there may be regulators which may require you to fly around them to reach the valve, so be able to react accordingly.
With the engines fully broken I suggest proceeding with processing the forward compartments as this will allow you to deshell and process everything up front. This brings the benefit of allowing clear tethering for the engine shells greatly reducing them inadvertently entering the furnace. Also, you will need to cut the fuel tanks free and usually a Class I reactor tends to spawn on the other side of the wall where the fuel tanks sit. Should the tanks detonate and there is a reactor on the other side, it will detonate. The interior will have an upper compartment, lower compartment, cockpit, and void spaces all separated by doors.

If the upper and lower compartments are pressurized, it is best to depressurize the lower compartment first as the voids are less likely to have loose major hazards. This means if you must explosively depressurize into a space the voids to the lower compartments are the safest. Once in the voids cut all of the cut points, on the side away from the airlock to prevent the airlock itself from depressurizing, locking you out of entering safely to manually depressurize the upper compartment.
Once depressurized, pop the top and bottom floors to allow you to quickly barge all items and process the cockpit as you deem fit. The cockpit for the Atlas will be very similar to the Gecko class so finding the means you prefer will help at the Gecko stages. Once you process as much of the front compartments return to the engines towards the fuel tanks.
At the tanks cut the two cut-points carefully lest you detonate them. If you are cramp or fear you will detonate the tanks you can grapple the tanks free and then cut. Once cut, deposit the fuel tank assembly in the barge and tether whatever remains to their respective destination. Tether the engine shells a little beyond the processors to ensure they go beyond the furnace. If for whatever reason the furnace grabs the shell IT WILL PULL IT IN losing that salvage.
Atlas Hauler
The Atlas Hauler is very similar to the scout with exception of having a third engine, three large cargo containers, and a cargo section attached to the voids. As seen below.
The biggest benefit the hauler has is that there is an airlock attached to the upper compartment and the cargo/void, as well as the cargo/void having a atmosphere regulator. Meaning it is easier to depressurize the majority of the ship.
Like the scout, remove as many exterior barge items, and decouple all three engines. This is more important as with three engines the pneumatic separation and grapple work will toss the Atlas around if there is less total mass. Proceed to process the ship at your pace saving the cargo until the bottom engine is processed to allow a clear path to the barge. With the engine removed you will to cut the four cut points holding the cargo containers to the ship.
With it cut tether the cargo assemble as seen to ensure the container is brought in a way to all of it enters the barge with less risk of one of the containers never entering the barge officially, thus not getting credit.
Afterwards process the rest as you deem fit.
Atlas Tug
The Tug is the last of the Atlas class. This type has four engines with the airlock located in the rear.
Once again remove all exterior barge components. To process the push pads there are three cut points as shown below. Cut and barge the two push pads.
Once you process the exterior we will deviate from the other two classes by processing the engines completely. This is due to the engines locations being in a way that accidentally tethering into the furnace is harder and the engines being a hindrance to deshelling.
Process the engine like before, the only difference is that the interior shell is connected to via cut points to the main body.
Proceed to process the Atlas as you deem fit. A major note is the biggest hazard on this ship is electricity. In the lower, there will be numerous electrical wires, power cells, and panels. The reactor also tends to be located here. Exercise great care.
Javelin
The Javelin will be the third ship class you will encounter during the story mode. The Javelin typically takes two or three shifts to salvage quota three, though it is sometimes possible to get the small variant done in one shift. Both the Javelin and the demo-charges were introduced during the “Business is Booming” update. This is highlighted with how a few methods to salvage it requires the demo-charges, as well as, at higher hazard levels the exterior cut points will upgrade to the point that demo-charges will be the only that can cut them. We will discuss those methods later, first let's get familiar with the Javelin types. Currently the Javelin comes in two types, but can vary in length depending on the hazard level selected.

Refueling - The refueling class of the Javelin is a ship that will have two small independent habitable spaces on either side of the Javelin. The namesake comes from the middle section where various large external fuel tanks will be present on the outside or inside of the framework structure. This type regardless of size tends to not be complicated and with practice and finesse can be torn down with ease. Hazards - Fire (Moderate - extreme depending on number of tanks), Reactor II (First introduced canonically in this class)

Heavy Cargo - The second class of the Javelin that carries two small independent habitable spaces or even one large multi-tiered section and one smaller reactor section. The main difference with this type is the introduction of large cargo crates bolted on the side of the ship. This type can quickly become a tether hog, especially with a fully loaded cargo Javelin. Cutters with lower qualification may require two or more tethers to get a container into the barge due to tether time outs. Hazards - Explosive decompression (When coupled with the larger habitable areas, will have multiple sections that can't be depressurized safely and sections that must be breached. This can result in damage through fast debris or damaged electronics/heat sinks), Fire (Fuel tanks inside the middle structure)
Javelin Refueler Forward Section Tips
The forward section will consist of the main living quarters, electrical components, and primary ion ring of the Javelin. First we will start with the ion ring, if present.
Depending on the hazard rating, the ion ring will be held by one of two types of cut points. One you that can be cut by your splitsaw/stinger or must be cut with a demo-charge. The process is the same regardless. Now one would be tempted to cut all cut points on the ion ring and deposit all pieces in the barge. While this is a legitimate way of doing this, it is actually easier to cut all cut points connecting the ion ring to the Javelin and cutting one cut point on the connecting all of the upper ion ring pieces.

Cutting all cut points will require you to utilize 6, maybe 7, tethers to get all pieces into the barge. While using the above method will utilize 3, maybe 4, tethers. With the top most section connected to a side will allow the top piece to roll off the Javelin and into the barge without having to maneuver it or the Javelin to salvage. Also it saves a tether by using only one for two pieces. Much like using one or two the deposit the bottom ion ring.
The next step we will discuss the Javelin cockpit. As you may have noticed it differs greatly from a Mackerel in that it is independent of the Javelin. My first suggestion is to not cut the two exterior cut points on top of the cockpit first. These cut points are what is keeping the structure in place and if the airlock is opened and pressurized you will cause an explosive decompression event and potentially jettison the cockpit.
Once we are inside there will be four cut points on the inside of the cockpit. There will be two in the front holding the window, one on the ceiling, and one on the back wall. Cutting all four will dissemble the cockpit into three separate pieces. My suggestion is getting inside the cockpit, depressurize, and cut the forward most cut points as this will disconnect the window assembly entirely which the whole thing can be sent into the furnace.
With the window removed, you can choose to remove everything through the newely opened area, or you can cut the remaining two cut points, remove the side wall, and empty the cockpit. Once emptied cut the remaining two cut point on the exterior and process.

Once all exterior items are removed, the next best step is to move inside and depressurize the compartment between interior and exterior bulkheads. Unfortunately, if it is not already unpressurized you will need to depressurize the living quarters and open a hatch, as there will be no pressure regulator in this space. Once down its best to the cut points right before the airlock hatches as the forward most hull can be disconnected as one piece and tethered into the processor. Note, make sure to disconnect any heat sinks or other vital items before it hits the processor.

Medium to large container Javelins will have extended living quarters. The biggest problem is that it will be interconnected to the outer bulkheads meaning extended work will be required to salvage.
Javelin Heavy Cargo Forward Section Tips
This section will discuss the three methods to salvage the inner and outer portions of the living quarters. This portion took me the longest to figure out due to the nature of the circular outer hull and that it only connected to the living quarters. Which method you use will depend on your preference and whether you have demo-charges. Regardless of method we are going to need to depressurize the in-between space. And cut all cutpoints connecting the hull to the living quarters. The best and quickest method I have found is to cause an explosive decompression event by opening all pressurized doors then cutting free one of the panels that held a cargo container. But as all ships are different in various ways, you may face more resistance because some compartments may not have been pressurized.

Method 1: Onion Rings
This will be your first option if you do not own demo-charges. I find this to be the most difficult and time consuming method of the three, as it requires you to tether the hull rings straight out from around the living quarters to clear it and then tether it to the processor. This will leave you with just the living quarters which you can process as you wish.

Method 2: Slide Out
This is going to be your second non-demo-charge method where we will cut one end of the living quarters, empty it, clean cut somewhere in the middle, pull it out, and repeat. Without demo-charges this is my go to method. After you depressurize the inside you’ll want to come in from one side, if you clear out the middle section, coming from that would be the best way as it will give you the most space. Remove that airlock section completely and connecting bulkheads. Removing the bulkhead will require burning away the long aluminum connectors with the stinger. If the airlock bulkhead will not break away, make sure there are no storage bins, aluminum panels, or other objects that are connected to it or other bulkheads. Make sure to remove all interior cut points as they will impede your progress.
With the bulkhead gone, clear out all items that do not need to go into the furnace until you reach the hatch at a minimum. Just on the other side of the hatch we will make several cuts on all four bulkheads and the aluminum connectors so that it completely separates. Once separated use a tether to slide out the living quarters until it clears the hull pieces. Send that piece into the furnace. If the section you cut out contains the power generator, make sure you remove all three fuses (two in the forward portion of the section and one in aft portion) before grappling the power generator to be sent into the barge. Once cleared, tether hull pieces until they reach the section you cleared and then repeat the process. NOTE: It is best to make the power generator one of the last things you remove. This is because once a section loses structural connection to both the reactor and the power generator, all electronics (door handles, shut-off valve, and atmosphere regulators) will be un-powered and unusable. This will result in you have to cut into unpowered sections.
Method 3: Rib Breaker
With demo-charges this is my main method of salvaging the living quarters as it will remove all of the hull pieces out early and quickly. Much like the first two methods the prep work is the same, depressurize and cut cut points. Once prepped, we will begin using our scanner to find the structural ribs from the outside.
I place charges on the outside and towards the middle in part of the distance the demo-charges cut into, this tends to keep most of the interior salvage safe from destruction. We will place one demo charge on each rib on both the bottommost and topmost hull, it should look similar to this.
At this point you can final prep by tethering either side to opposite processors. If you choose this, ensure both sides are tether and you give it time to finish adjusting, otherwise the hull will be shifted out of position offsetting what the charge will cut on the interior. Detonate and you should be left a fully exposed living quarters. If a hull section does not separate, check to make sure a cut point or rib was missed.
Javelin Middle Section Tips
The middle section of the Javelin comes in three phases: primary fuel removal, cage/support removal, and internal fuel removal.

We will lead with the primary fuel removal as this is the low hanging fruit of this section. These items will usually come in two configurations: lone fuel brackets or a line of three large fuel tanks, each attached to a bracket, with a grey fuel disk connected on either with a fuel tank. Using a grappler or tether, you can separate the grey disk from the fuel tank. This information will become vital when removing internal fuel tanks.
These fuel tanks are physically attached to the cage of the Javelin via the fuel bracket. Cutting all three yellow cut points will allow you to remove the fuel for salvage. To do so, it is best to leave all three tanks attached and then tether the middle large fuel tank to the interior edge of the barge. Doing so allows enough horizontal pull to slide the bracket out of the cage and begins its journey to the barge.
Next we will talk about cage removal. Depending on the equipment you have and the material of the cage itself will determine whether you completely salvage one end or other or if you can jump into this process. If you have demo-charges or the cage is made of materials you can cut with your cutter, you can go right into removal. Note: if you are at a sufficiently high hazard level and qualification, exterior cut points will be upgraded to a higher level requiring demo-charges. At this point only the second method will become your main to process the cage

Method 1: Sliding the Cage
This method should only be used if you intend to salvage the cage to meet quota, but have yet to unlock demo-charges and the material is made of nanocarbon/titanium. This process will require you one end of the Javelin to either be processed or removed in a way that you can slide the cage off. To start we will cut the inner frame as close as we can on both sides, as well as all inner cut points. Process the end that you intend to slide through. You will know if the frame is free when the frame is highlighted blue when pulled by the grappler. Tether the frame to the far bulkhead to clear the cage and then tether to the furnace. The frame may have fuel in it, at which case cut it free after the frame has been fully pulled, but before it is sent to the furnace. You should then be able to tether the cage and send it to the processor. If the cage will not pull free, use your cutter to cut the black panels on the ends. Sometimes they are mated together.

Method 2: Cracking the Cage
Once you acquire the demo-charges, this method should be your go to for handling the cages. This method can be enacted much sooner and is much quicker. Though depending on the configuration of the cage, you may need to ensure the engine compartment or the compartment between the living quarters and the outer hull are depressurized as the demo blasts may bleed into those areas.
To start, place demo-charges on each of the angled struts and then on the struts directly opposite. This will allow the cage to break in a way that you will not be forced to tether around the frame. Before you detonate the charges ensure that you place charges in pairs on the inner cut points. If you place the first one on the upper aft cut point the next one will be the upper forward cut point. This is because demo-charges detonate in the order you place them. If you have a lot of ship left, the demo-charge should not exert enough force to move the ship, but if you have a small amount left improper placement could send it in an unpredictable manner. Also ensure the charges are on the inner or outer side of the cut point. Personally I center the charge on the hexagon of the cut points to remain consistent.

Demo-Charge placement (C=cut point D=Demo-charge)
CD DC or DC CD

It should look very similar to the below image. Pre-detonation
Post-detonation you can easily tether the lower cutted cage section to one processor, while you send the other piece to the opposite processor.

The last step in the middle section is salvaging the internal tanks, if applicable. There will usually be at least one large fuel tank and either one or more gray connectors. First, grapple the grey tanks to fully disconnect it from any attached fuel tanks. Next, carefully cut away the aluminum strut with either your stinger or splitsaw. This is because the tank is too wide to fit between the aluminium struts or the through the cage. With no struts or cages in the way just tether it to the barge. On container Javelin the only difference is cutting the fuel pipe connecting the tank to the fuel splitter with the splitsaw.
Javelin End Section
In this section we will discuss ways to salvage the engine compartment of the Javelin. The Javelin can have either a class 1 or class 2 reactor. We will not talk about the class 1 reactor because by this point class 1 should be a routine job and the main method to separate the hull will be the same as salvaging a class 2 reactor. Now a class 2 reactor has four main components: fuel which is fed by engines, coolant fed by an environmental control unit (ECU), shielding with reactor plates, and the reactor itself. The reactor will remain stable as long as it is directly connected to a reactor plate that has an active fuel or coolant line. Once the reactor loses access to both lines are either severed or shut off, the reactor will start melting down. One can choose to forcefully remove the reactor before shutting off the lines, but doing so will automatically reduce its durability as well as cause the reactor to spark much earlier.

First off we need to depressurize the engine compartment if it isn’t already. If both the ECU room and the area the reactor is in are pressurized, depressurize the ECU room and then open the door between the two as there is no pressure regulator in the reactor compartment. Next like the forward compartment we will want to first cut the cut points on the hull just before you get to the reactor. Doing so will allow us to slide the back portion to the wall giving us space to work on the reactor. Now leave that compartment and go to the thruster plate in the rear and then remove. We want to ensure that the thruster plate is not connected to the class 2 thruster, otherwise the rear portion will not slide off. If you instead turn the emergency fuel cut-off valve before leaving the rear compartment, it may look like so.
If this or something similar happens, just use the grappler on the thruster and it should dislodge. With the thruster plate removed, attach 2-4 tethers connecting the rear most bit of the hull to the back wall.
Now the hull moves close enough to the wall it should expose the reactor and the thruster. I find it best to remove the thruster and fuel first, because if the thruster flames out, the shielding will help protect the reactor incase something funny happens. To do so, there will be a handle on the piece that connects the fuel pipe to the thruster. Activate it and tether or grapple the thruster to the barge. NOTE: In the event that the thruster shut-off valve is un-powered and unusable, skip this step! Continue with the reactor set-up.
Now that we reach this point, use the grappler and remove the shielding from the reactor and throw them into the processor. Removing all the shielding will also disconnect the top reactor plate, throw it into the barge. Now the last step is deactivating the ECU. Using the grappler, remove the aluminum panel to reveal three coolant bottles. Remove all three with your grappler to start the countdown. Note: the coolant bottles are treated similarly to consumables, ensure you do not accidentally force push the bottle otherwise it will rupture and damage you and objects around you.
Now go back outside and grapple/tether the reactor into the barge, so that we may move on to salvaging the ECU. NOTE: If for whatever reason, the thruster shut-off valve was unusable we will be at a step where coolant line is inert, all shielding is removed, and the fuel is active. At this point we can not sever the fuel line without it detonating which can chain react the reactor. At this point we will have to prematurely detach the reactor. Be careful as it will have a reduce timer and will arc electricity. Outside of that barge it as you normally would. The simplest way I found is cutting away the four long connecting bars using the stinger. This will dislodge the entire panel allowing you to use it to pull the whole unit out.
Once out, cut away the connecting coolant pipe and tether the ECU into the barge. The panel it is connected to is not fully aluminum to be sure to send it to the processor and not the furnace.
Now for that rear section we tethered to the wall, we can salvage it all in one piece. Due to its size and its current location we will need to place tethers in a few key locations on the processor wall. Typically you will want sections closest to your desired processor to be tethered just inside the processors hazard lines. Next tether the portion furthest from the desired processor to connect a decent distance outside of the hazard line. This should ease the hull in a wall that it doesn't accidentally get pulled into the furnace, wasting it. With that, salvage the rest of the rear compartment as you will.
On a side note, on container Javelins there will be a second cockpit located back here. It is different to the forward cockpit in that its connection to the Javelin is by a piece called the aerobridge as seen below.
Salvaging is as simple as using the splitsaw and cutting as close to both edges as you can and sending it to the furnace. Just remember to pull out all door handles and lights before processing. Fun fact about the rear cockpit is that there is usually a credit chit in a space located under the seat. Removing the window will reveal the hidden compartment area that you can easily access. In my personal experience, it is never valued more than $9K.
Gecko - Overview
The Gecko will be the fourth class a cutter will unlock through the progression of the story. It will take an average cutter, with most upgrades, three shifts to “whole buffalo” a Gecko. One shift to deshell and prep reactor removal, one shift for reactor rip out and active compartment rip-out, and one shift for final clean-up. The Gecko comes in four variants:

Station Hopper (personnel transporter) - This is usually the first variant of the Gecko Class that you will salvage and it is also one of the more tedious to “whole buffalo” and depressurize. It has numerous internal compartments that need depressurization, as well as many computer terminals and seats which must be removed or risk locking out stage 5 salvage quota. HAZARDS: Electric shocks - the many computer terminals have a risk of arcing if accidentally hit hard enough during depressurization, during removal, or harmed with the cutter; reactor - the Station Hopper reactor is one of the more nested reactors requiring more work to remove, also even though the cryo and fuel lines are close, recklessness can cause a quick chain reaction killing you or detonating the reactor. Fire - All Geckos will have fuel tanks attached to the aft hull sections, reckless cutting can detonate one causing a chain reaction and, potentially, a reactor meltdown.

Heavy Cargo- This variant is the natural progression of the Mackerel Heavy Cargo. There are fewer internal compartments and little internal salvage components. Most of the money will come from large items such as: reactor, hull sections, ECU, and temperature control units. HAZARDS: Fire - All Geckos will have fuel tanks attached to the aft hull sections, reckless cutting can detonate one causing a chain reaction and, potentially, a reactor meltdown.Cryo: there is a coolant line that goes from the forward section to the reactor, if it is not depowered beforehand, it is possible to leak or rupture during salvaging.

Stargazer (science/electronics) - The Stargazer is what occurs when combining the Exolab’s mission with a Gecko’s hull. This variants has many attach barge elements, comparable to the Station Hopper, but with fewer internal compartments allow for easier egress for said items. Expect many computer terminals, and hydroponic units.This variant has four pressurized areas, three of them being crew compartments. HAZARDS: Electric shocks - the many computer terminals have a risk of arcing if accidentally hit hard enough during depressurization, during removal, or harmed with the cutter; Fire - All Geckos will have fuel tanks attached to the aft hull sections, reckless cutting can detonate one causing a chain reaction and, potentially, a reactor meltdown. Cryo: there will be many temperature control units, it is possible for them to leak or rupture during salvaging.

Salvage Runner - The Salvage Runner is the most unique variant introduced in Hardspace Shipbreaker. In that it will have miscellaneous items spawned into its two cargo holds ranging from safe items like titanium beams, inert items like batteries or computer terminals, to volatile items like fuel or cryo tanks. This variant has many compartments like the Station Hopper and will require more work to salvage items into those spaces. WARNING - As of 0.7 there is a major bug where the reactor space will suffer an explosive decompression event as you start your first shift. This may result in a fuel tank chain reaction if one of the items in the cargo hull is something very violate and ruptures. This class will be a big step up in difficulty due to the nesting of the reactor, size, and its many compartments compare to to previous classes.
Gecko - Depressurization
When first unlocked you will be somewhere around hazard 5 or 6. At this stage some if not most of the pressure regulators will be functional and can be used to help depressurize the internal compartments. As such in this section we will cover two methods to depressurized the internal compartments. One is for lower hazard levels and the other is for hazard level 8 and 9. As you progress you will be assigned to higher level hazards. The main difference between hazard levels past 5, is the likelihood for each pressure regulator populated to be inoperable. At hazard level 8, a working regulator is extremely rare, while hazard 9 no regulators will be functional.

Assuming you are salvaging a Gecko at lower hazard levels there is a probability that you will have at least one functional pressure regulator. This is important as we can control pressurization internally without the risk of bulkhead or hull blowout, as well as, not risking salvaging getting blasted outside of our work area. To start, inspect all regulators starting with the largest/most dangerous room, to the smallest. The largest room for each class is as followed: Stargazer- Economy Class, Heavy Cargo- Cargo storage, Stargazer- Main Corridor, and Salvage Runner- rear cargo area. If the largest room’s regulator is functional (visible undamage/has a blue light), you can stop your inspection. If the largest room is non-functional continue to the next largest and so on. Next, collect all materials that pick up speed and damage equipment (Datadrives, helmets, rig salvage). Once all loose materials are secured, ensure all hatches for all internal compartments are closed and return to the largest functional room. Use the regulator to depressurized the room and wait until the regulator light turns red. Once done systematically open each hatch. If that is the case depressurize the largest compartment on the vessel. Once depressurized, open each hatch systematically until all compartments and voids are depressurized. Note: regulators are lightly secured to the bulkhead and may come loose.

The second method is in the event that no regulators are functioning and requires you to create a controlled explosive depressurization. Like the above method we want to ensure all hatches are closed, while making our way to our final room. The exception is that we are working towards the cockpit. NOTE: During explosive depressurization, regulators will come loose and have a potential of being destroyed. To prevent this, I suggested removing all regulators and placing them in the airlock. Once you do, cycle the airlock.
Once finished prepping and inside the cockpit, hold “Z” or “X” to remained secured to the bulkhead. Take out your stinger are destroy the cockpit glass, this will create the main explosive depression event.
This should also cause the surrounding hull section to dislodge and jettison out. The Master Jack will stop its forward momentum allowing you to tether it to the processor.Once complete, remove the navigational console and computer terminals to ensure easy ingress, as well as, easier removal of the cockpit hull section later.
Now, work your way back opening all hatches in a controlled fashion
Gecko - Station Hopper
The Station is likely the first of the Gecko variants you will have the pleasure of salvaging. It is also very tedious to tear down. It has numerous internal compartments filled with furniture and a somewhat nested reactor. A big plus is compared to the other three Geckos, the fuel and coolant lines are right next to the reactor meaning there isn’t lines snaking around the hull creating risks.

When starting, do a quick inspection of the hull. Make note of the number of engines for future reference, as well as, if there are any antennas or sensor arrays. Barge what you can and then proceed into the airlock which is typically topside on the port side.
The first room entered will be the equivalent of coach class consisting of many seats and 17+ overhead computer terminals. In the aft section of this room opposite of the airlock) will have three doorways.
From starboard to port they lead to the ECU, an engine room (containing one terminal with desk, pressure regulator, and one or more consoles), and a small storage area with a hatch leading to the voids between the internal compartments and the hull. There is usually a datadrive or a ghost helmet on a seat in the economy class compartment (typically in the first or last row), take a quick look before proceeding. NOTE: The pressure regulator for the economy class compartment is located inside the ECU room. See picture below.The next step will be depressurizing all internal compartments and voids, but since that is already covered in an early section we will skipped to deshelling the Gecko. Like all Geckos, the majority of the cut-point are lined up. If you have been upgrading your splitsaw’s range, you will be seeing dividends at this point in time. It should be noted that has a tendency of mixing aluminum hull panels with nanocarbon hull sections. Some of the are independent from other hull sections like below.
But some are built into ribbed sections. If you are meticulous and must correct salvage as much as reasonable, you can cut at a shallow-steep angle under the rib. As long as the section is no longer attached to the rib it will pop free. If it doesn’t, then either it is attached to another rib or you cut too shallow and isn’t fully separated.
Another note on the hull section is that a Station Hopper will have some equipment on top of the forward storage compartment if it exists. This equipment will have five cut-points, two for each piece of equipment that needs to be sent to the processor (located underneath it), and one for the exhaust vent which must be barged. If while removing the equipment, it is highlighted as orange, make sure all cut points are actually cut.
If that fails, you will have to cut away or completely burn away the aluminum panel under it. Sometimes, it will clip into the panel and remain stuck. Also while stuck you may not be able to remove the hull section above it.
Once the majority of the hull is removed, forgoing the cockpit hull section and the engine section, will will remove the spines so that they are out of our way. Cut only the cut-points attaching it to hull sections and the internal compartments, as well as, the cut point attaching it to the spine section located in the engine compartment.
From there use one tether, connecting it to processor wall closest to the Master Jack. Once it reaches the way quickly attached another tether on the opposite wall to the spine. This will counteract rotational force, preventing incineration.
This is the preferred method as tethering in the front will result in the rear section of the spine being in the incinerator’s gravity well, resulting in partial or full loss of the spine.
With most of the hull out of the way, we can prep for reactor rip-out. Start by removing all cut points that connect the three aft hull sections so that each of them are independent of each other, then tether the middle portion towards the rear wall.
This is so you can remove the reactor upwards then deposit it in the barge. Alternatively, if you are careful you can tether the either the port or starboard aft section into the processor so it is clear. Once cleared, we will use the Stinger to remove the six corner joints between the reactor and the internal compartments. Once removed we will also remove both the top and bottom bracket to completely segregate the shroud.
If done correctly, all three walls should come out as one piece.
This will leave the reactor exposed so that you can grapple the reactor siding off to gain access to its interior. All we need to do now is deactivate the coolant and fuel lines and then we can barge the reactor.
We’ve reached the point where know we need to salvage the internal compartments. This will become the most tedious part of all the Geckos with the exception of the Salvage Runner. Start by removing the power source as there is a lot of computer terminals inside and them being depowered will become a huge benefit. One of the fuses will be located by the hatch that connects the internal compartments with the voids and two fuses will be located by the starboard side of the cockpit.
Once the fuses are removed, grapple the Power Generating Unit and barge it. Now that everything is depowered will gut the Gecko. Start by detaching all seats and any salvage that is connected to the floor, as well as any computer terminals in the back two rows of economy class.
Once completed, take out your Splitsaw and line up approximately when the picture below shows. We want to fully cut along that line to separate everything forward from everything aft.
Once you cut all the way through tether from the rear you the furnace. If the structure doesn’t start separating almost immediately, check your cut for any rouge connections. Sometimes a joint piece doesn’t get cut. As it separates, start barging seats and terminals through the new gap created.
With a new access you can start salvaging the forward section of economy. You can grapple each piece and push into the barge, daisy chain, or cut out the joints below the terminals so as to process the floor panels. With the panels gone, you can slingshot the terminals into the barge.
For the rest of the ship, I suggest ensuring all floor mounted salvage is detached and cutting all deck joints to create a pathway for all remaining assets. Salvaging the rest
Gecko - Heavy Cargo
The Heavy Cargo Gecko, in my opinion, the easiest of the four Gecko variants. There are few internal compartments, little internal cramping, large sections of the hull can be bulk processed, and the reactor is the second easiest of the Gecko class to be ripped-out.

While starting do a quick inspection of the exterior of the Gecko. Heavy Cargo will generally have pairs of armor plating that must be removed, one or more sensor arm arrays attached, and potential of grappler removable salvage. Skipping this step has a high likelihood of inadvertently processing these salvageable items.
Once we are complete with the exterior enter one of the airlocks located towards the rear of the Gecko and proceed into the cargo-hold. From here, we will make our way towards the compartment containing the ECU (starboard most compartment), on the way there make sure to pulse your scanner so if any compartments are depressurized you are not caught unaware. We want to remove the coolant canisters, deactivating the ECU and connected piping before we do any depressurization. The reason for a quick deactivation of the ECU is that the coolant pipe runs parallel on the starboard side to the central walkway. Meaning it is possible for an item to rocket towards and damage this pipe, creating leaks or rupturing it.
Once you have depressurized the Gecko, we will move onto deshelling it. Start by decoupling all cargo containers, as they are currently attached to the hull sections. This can be done by your grappling or tethering the bottommost container.
Next, from the interior cut all cutpoints to any sensor arrays identified from earlier. Doing now will prevent you from forgetting later. With that complete we will start deshelling the bottom hull sections. This is due to the fact the top sections will have multiple items affixed to them making processing more difficult. Like all Gecko class ships, position yourself in a position where you can split saw as many cut points as possible.
Similar to other Geckos, the Heavy Cargo will have a spine in the bottom section of the ship. It is best to only cut the forward most cutpoints and the cut point just before the engine section. Once done tether the part closest to the engine to the most convenient processor. Start with one towards the processor, then a second when it is near it to counteract the rotational force on it.
Using this method prevents the risk of the whole spine from getting consumed by the ever hungry furnace. Be aware that the ship spines has three cut points in the most forward section connecting it to the three separate hull sections. Once all are cut, send tall bottom hull sections up the rear hull sections to the processor. If your grappler is sufficiently upgraded, you can force push the sections without using tethers.
WARNING: Using the force push can be EXTREMELY DANGEROUS! If done incorrectly or recklessly, it can crush you between it and bulkheads killing you instantly! If at any time a hull section will not move with all cut point removed, look for temperature regulator units and grapple them to detach. In some instances, they are clipping into hull sections, keeping them locked in. With that complete, lets move on to the top section. To start off, look on the crane rails for hoists. Each hoist will have four cut points on them and removing them now will save you the trouble of chasing them to cut them while they are on the move.
While searching for hoists, be sure to cut the points by the airlocks, as well as the sections near the crew quarters and ECU. The hull sections between these two points are all connected by a combination of cargo hatches and crane rails. This will allow us to process a large amount of hull for three or so tethers.
Once the top hull sections are removed, we will start prepping for reactor rip-out. To start remove one of the airlocks, ensure it is not pressurized before doing so.
Next, using the stinger, cut away the nine pieces connecting the remainder of the airlock from the reactor cage, as well as the piece connecting the airlock to the walkway.
Doing so will disconnect it from the reactor cage allowing us to send it to the furnace and give us clear access to the Class 2 Reactor.
Now, assuming your shift is not ending shortly after reaching this point, go towards the engines and turn the handles to flush the fuel from the piping starting from the furthest one.
Once all three fuel lines are flush, the countdown begins. Rip out the reactor and send it to the barge.
At this point it is a standard tear down as you have done with Mackerels and the like. I suggest tearing out the other airlock, fulling disconnecting the walkway, and process the reactor housing next giving ample runs for the rest of your salvaging.
The last warning is, like all Geckos, there is a bank of fuel tanks attached to the aft hull sections. Take great care to not accidentally hit it with your stinger or inadvertently for pushing it causing a chain reaction.
Gecko - Stargazer
The Stargazer Gecko, is another easy ship to salvage, not as easy as the Heavy Cargo, but close. There are three internal compartments, little internal cramping, large sections of the hull can be bulk processed, and the reactor is the second easiest of the Gecko class to be ripped-out.

While starting, do a quick inspection of the exterior of the Gecko.
The Stargazer will have a minimum of two more sensor arm arrays attached, two to four solar arrays, and potential of grappler removable salvage. Skipping this step has a high likelihood of inadvertently processing these salvageable items. The solar arrays are easily removed by positioning yourself in a way to cut all four points without damaging the solar array.
Once you are complete with the exterior, move through the only airlock. Make sure to turn on your scanner to ensure no internal spaces are depressurized before proceeding. Next we will work towards safely depressurizing the Stargazer, first collect any “pick-up” items like wires and the like while removing all pressure regulators. This is important due to the large number of electronic equipment installed inside Stargazers. A rogue debris crashing into a terminal or computer can cause an electrical discharge damaging equipment overtime. There will be a total of four pressure regulators, one in the crew quarters, one by the airlock, one in the cockpit, and one next to the hatch in the spaces between the internal compartment and the hull. Once all four are collected, place them in the airlock and cycle it.

With the cockpit depressurized, open all hatches to vent the remaining areas until you are fully depressurized. Now, lets enter the void spaces to start removing the hull. As with all Geckos, there will be straight run cuts that will allow us to seperate many sections quickly.
Unlike most Geckos, the Stargazer will have many temperature control units. This means reckless cutting will destroy or detonate these assets causing lost salvage and hull damage. NOTE: it is in your best interest to grapple detach all temperature control units. In some instances, while they are visually not connect to one another, in reality the game thinks they are. So if at any point you cut all point to a hull section and it still won’t budge, detach items around it.
Similar to other Geckos, the Stargazer will have two spines, one in the top section and one in the bottom section. It is best to only cut the forward most cutpoints and the cut point just before the engine section. Once done tether the part closest to the engine to the most convenient processor. Start with one towards the processor, then a second when it is near it to counteract the rotational force on it.
Using this method prevents the risk of the whole spine from getting consumed by the ever hungry furnace.

With all of the hull removed, we move onto the second phase of a Gecko salvage and rip out the reactor which is located on the port side. Like the Station Hopper, the first system to deactivate is up to personal preference.
I like to start with the coolant because I can then remove the ECU wall for quick internal ingress, as well as a section of the coolant line lies in front of the reactor. Some like to flush the fuel lines because it takes more effort to clamor out of the engine section to get to the reactor. Regardless of what order you wish utilize deactivate one line and prep the reactor so when the second line is deactivated you can easily rip out the reactor and barge.
With the reactor gone, you will want to remove and barge the ECU, if not done so already, so you can easily enter the internal compartments. Next locate the locate the three fuses located towards the rear of the internal compartment and remove them safely so we can barge the power generator, which is located near the airlock by the window.
Now we will move on to the next phase which is gutting and processing the internal compartments. Through one of the openings you made start grappling components and barge them.
In some instances, you will have storage and/or hydroponics stations attached to each other. You may choose to grapple each individually or daisy chain them if tether supply is sufficient.
We will proceed on doing this until a sizable section is cleared of salvage.
We will now cut away the first section, just like we do with station hoppers to allow easier access to other internal salvage.
Make sure you do not cut along aluminum joints, for some reason, even though there is a visible gap, they are not actually separated. Grapple the cut section, if it is blue then it is completely separated. If it is orange, it is either not separated or just that particular section is very heavy and your grappler does not like it. Refer to the item's weight to determine which is true.
Now tether that section to the appropriate location and repeat the process until all internal compartments are furnaced.
All that should remain is the engine hull sections which will be easy to process due to no longer having interferences in front of it.
Ghost Ships
Ghost Ships are a variant of all classes that was added in October 2020. Salvaging a ghost is no different to a normal salvage except for a few key differences.

  • First of there will be no loose cargo or storage containers present.
  • Second, all data drives will be replaced with helmets that will contain recoverable data for The Machine God lore. Ghost ships will be the only type of ships that produces this lore, thus if you want the LT for recovering this data you will have to salvage ghost ships.
  • Lastly, the key component of these ships: AI cores. These cores will be attached to bulkheads, reactors, fuel tanks, or other vital components. Items that have an AI core attached to it will either need the core lanced off by your cutter or the item itself sent to the furnace AI core and all. Until the AI core is destroy, you can not salvage these items by any other means. Rip out a reactor and shove into the barge, if there is an AI core attach it will continue to meltdown as the barge WILL NOT ACCEPT IT until the AI cores are gone. AI cores start off deactivated, but as you destroy more of the them they will proceed to open/close doors, airlocks, and even turn on pressure regulators. So before you start destroying AI cores, it is best you remove pressure regulators or even disconnect the power generator to kill all power to prevent inconveniences.
60 Comments
kiwistarfish Feb 26 @ 4:52am 
Note on atlas tug - KEEP THE ENGINES CONNECTED TO THE BODY UNTIL YOU FINISH DOING THEM. FAILURE TO DO SO CAN RESULT IN DEATH DUE TO JANK.
Vanu Jan 19, 2023 @ 2:26am 
I tried the passenger liner of the gecko and got so close to full salvage clear but the giant aluminum that remained after fully deshelling everything just wouldnt ever go into the furnace it was too big to move with tethers and cutting at it never seemed to work. I had to use explosives to even get the radiation housings out after removing their radiation filters since you can't cut them away it seems. But I'm the end I still couldn't. Then q final attempt to split apart the aluminum just causes it to sink fully into the barge and be even more difficult to lift with tethers.
Sir Balto  [author] Oct 13, 2022 @ 1:32am 
@Jazermano Thank you for your comment. The information about the power generator is something I know, but accidentally left it out as it was second nature to me. I did a quick edit to the guide to provide that information and a reactor work-around.
Jazermano Oct 11, 2022 @ 9:09pm 
Comment on the Javelin rear section: Depressurize the sections and eject the rear main thruster BEFORE REMOVING THE POWER GENERATOR. Otherwise, power will be lost to the doors and atmospheric control units (the things that let you depressurize a section calmly).
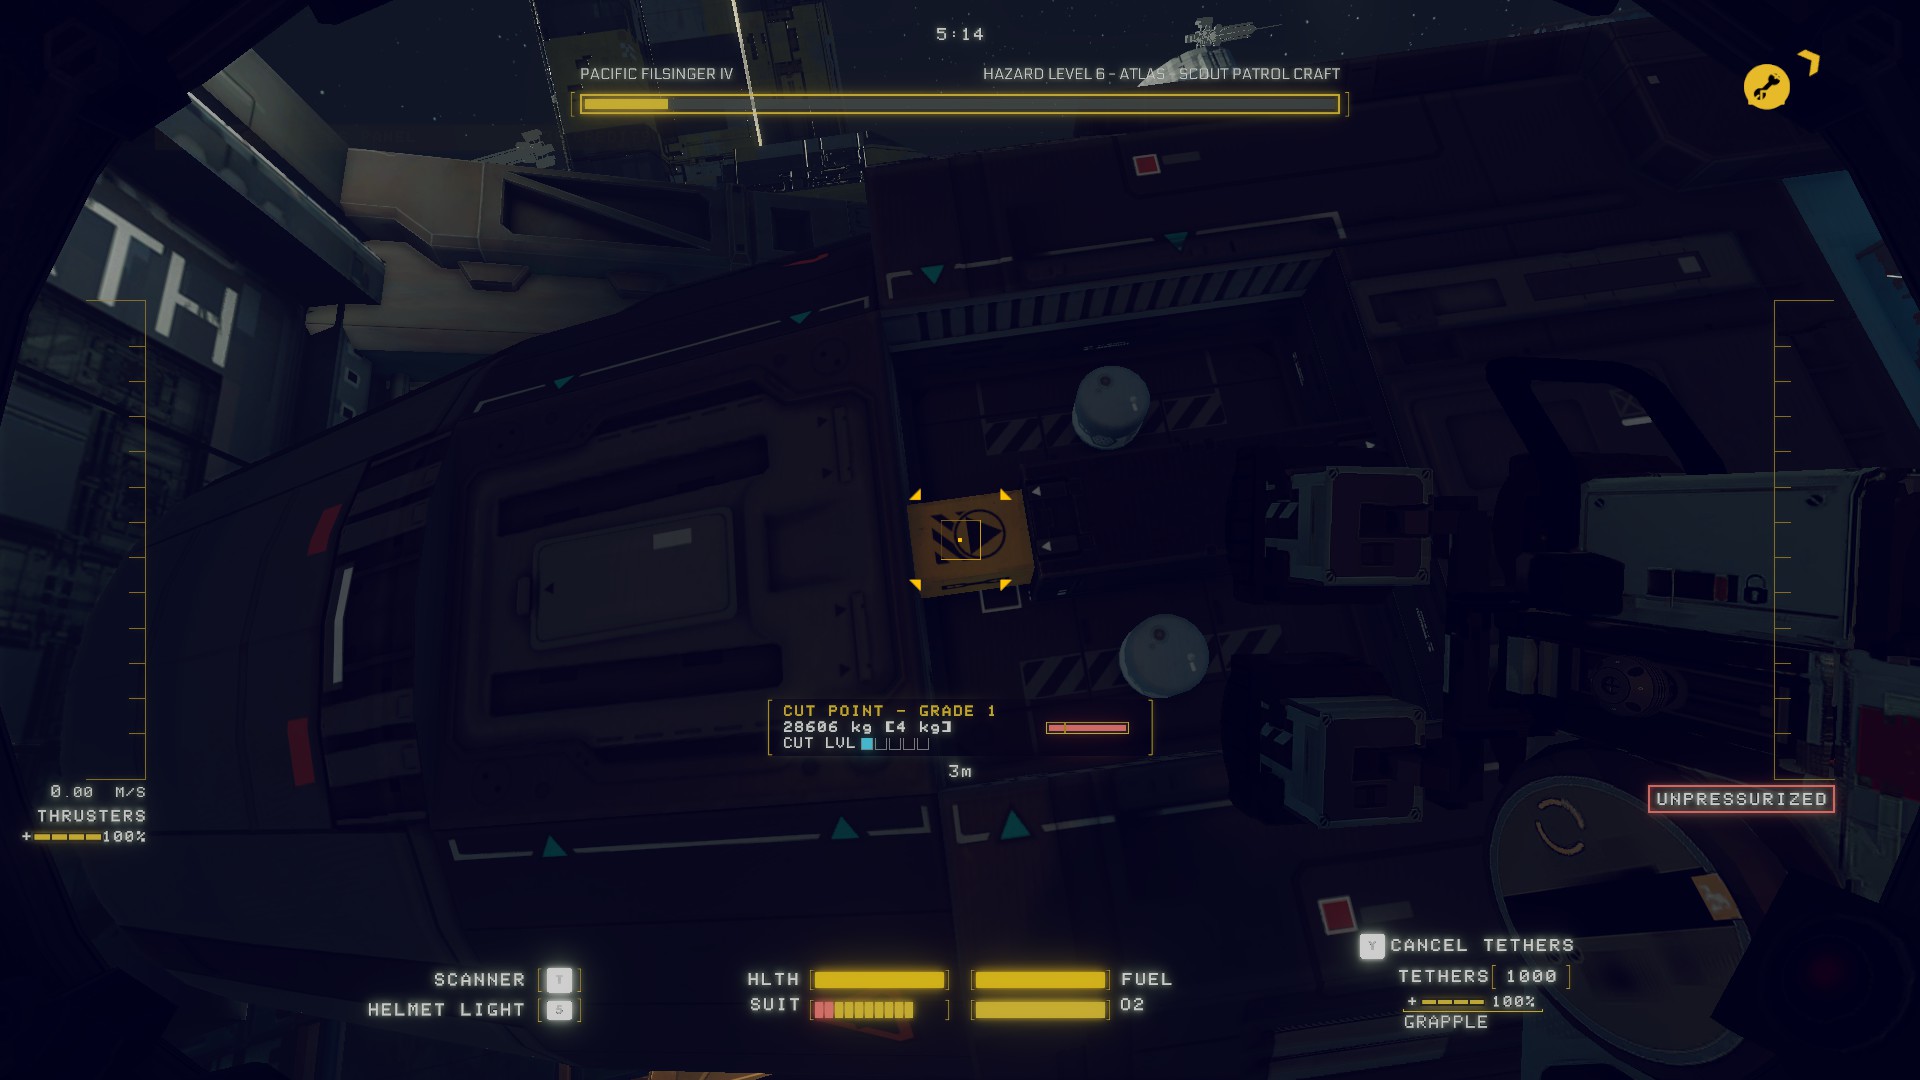
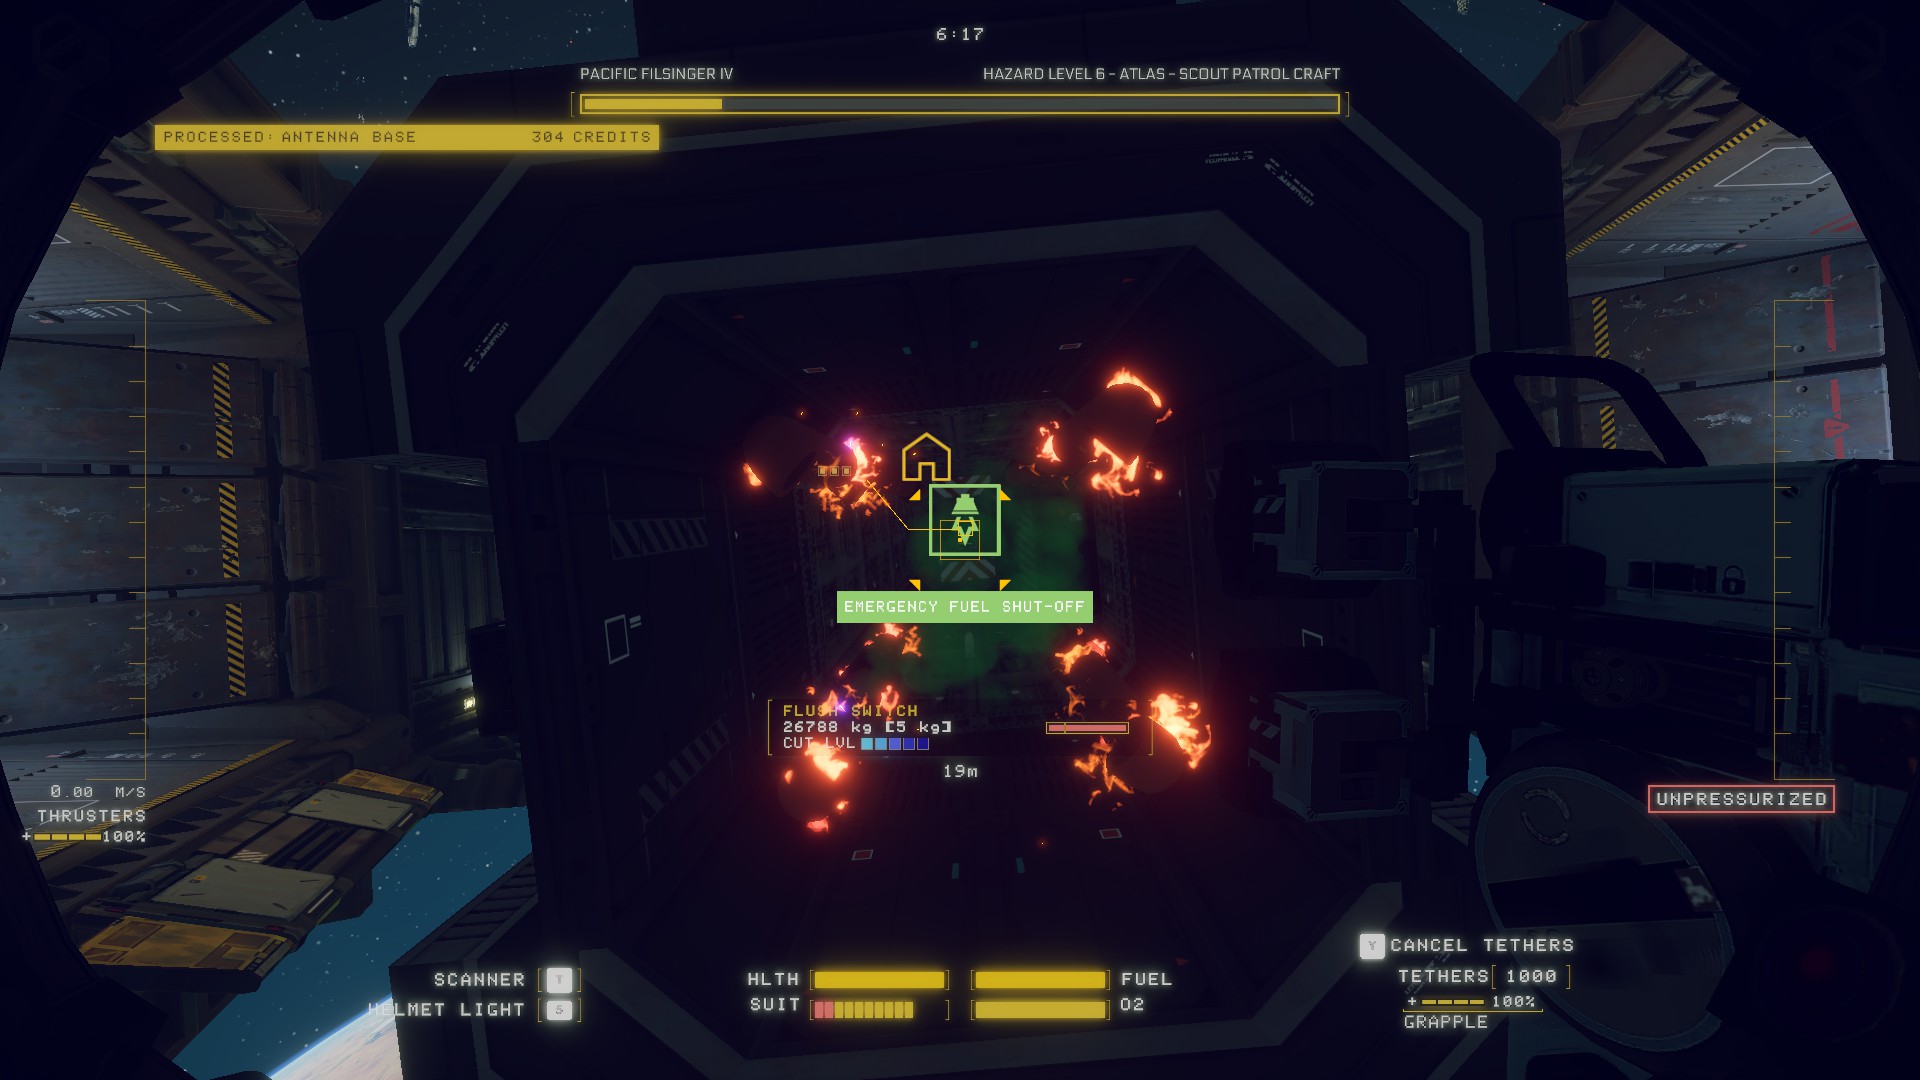
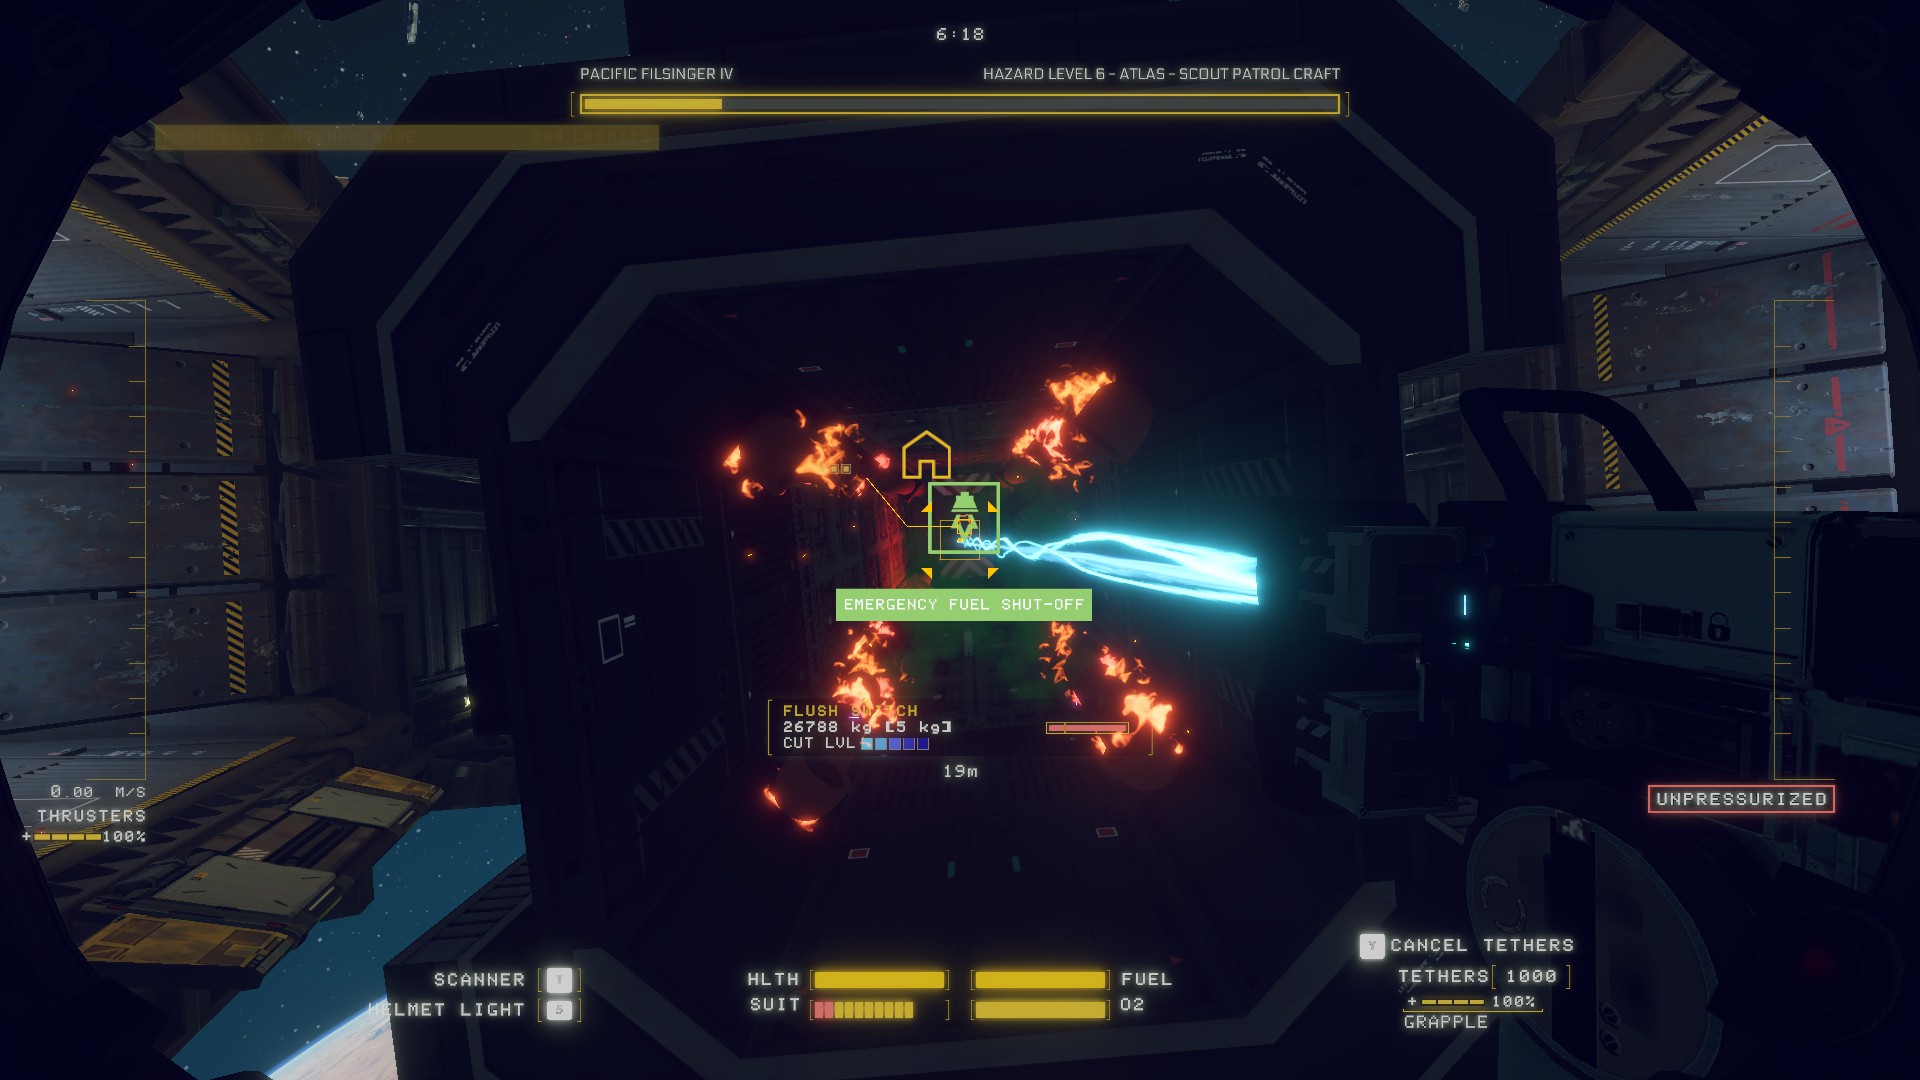
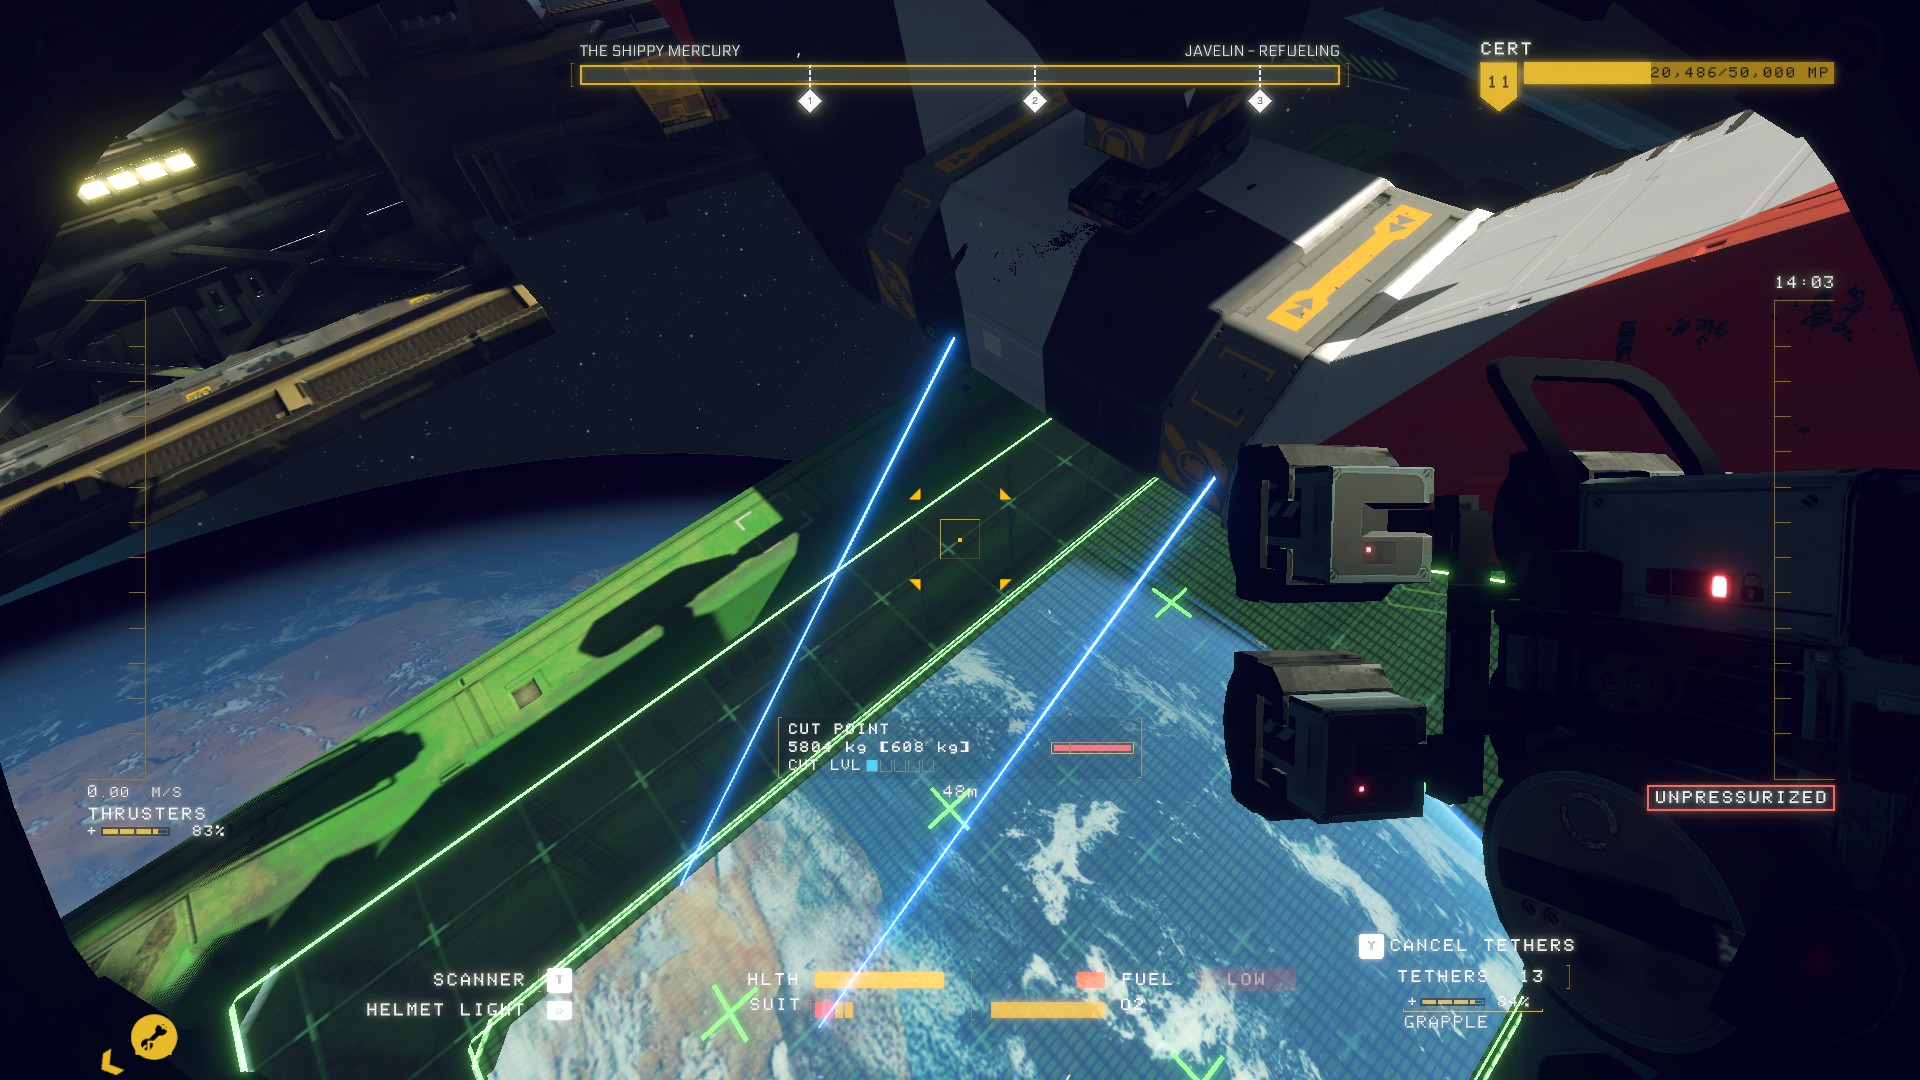
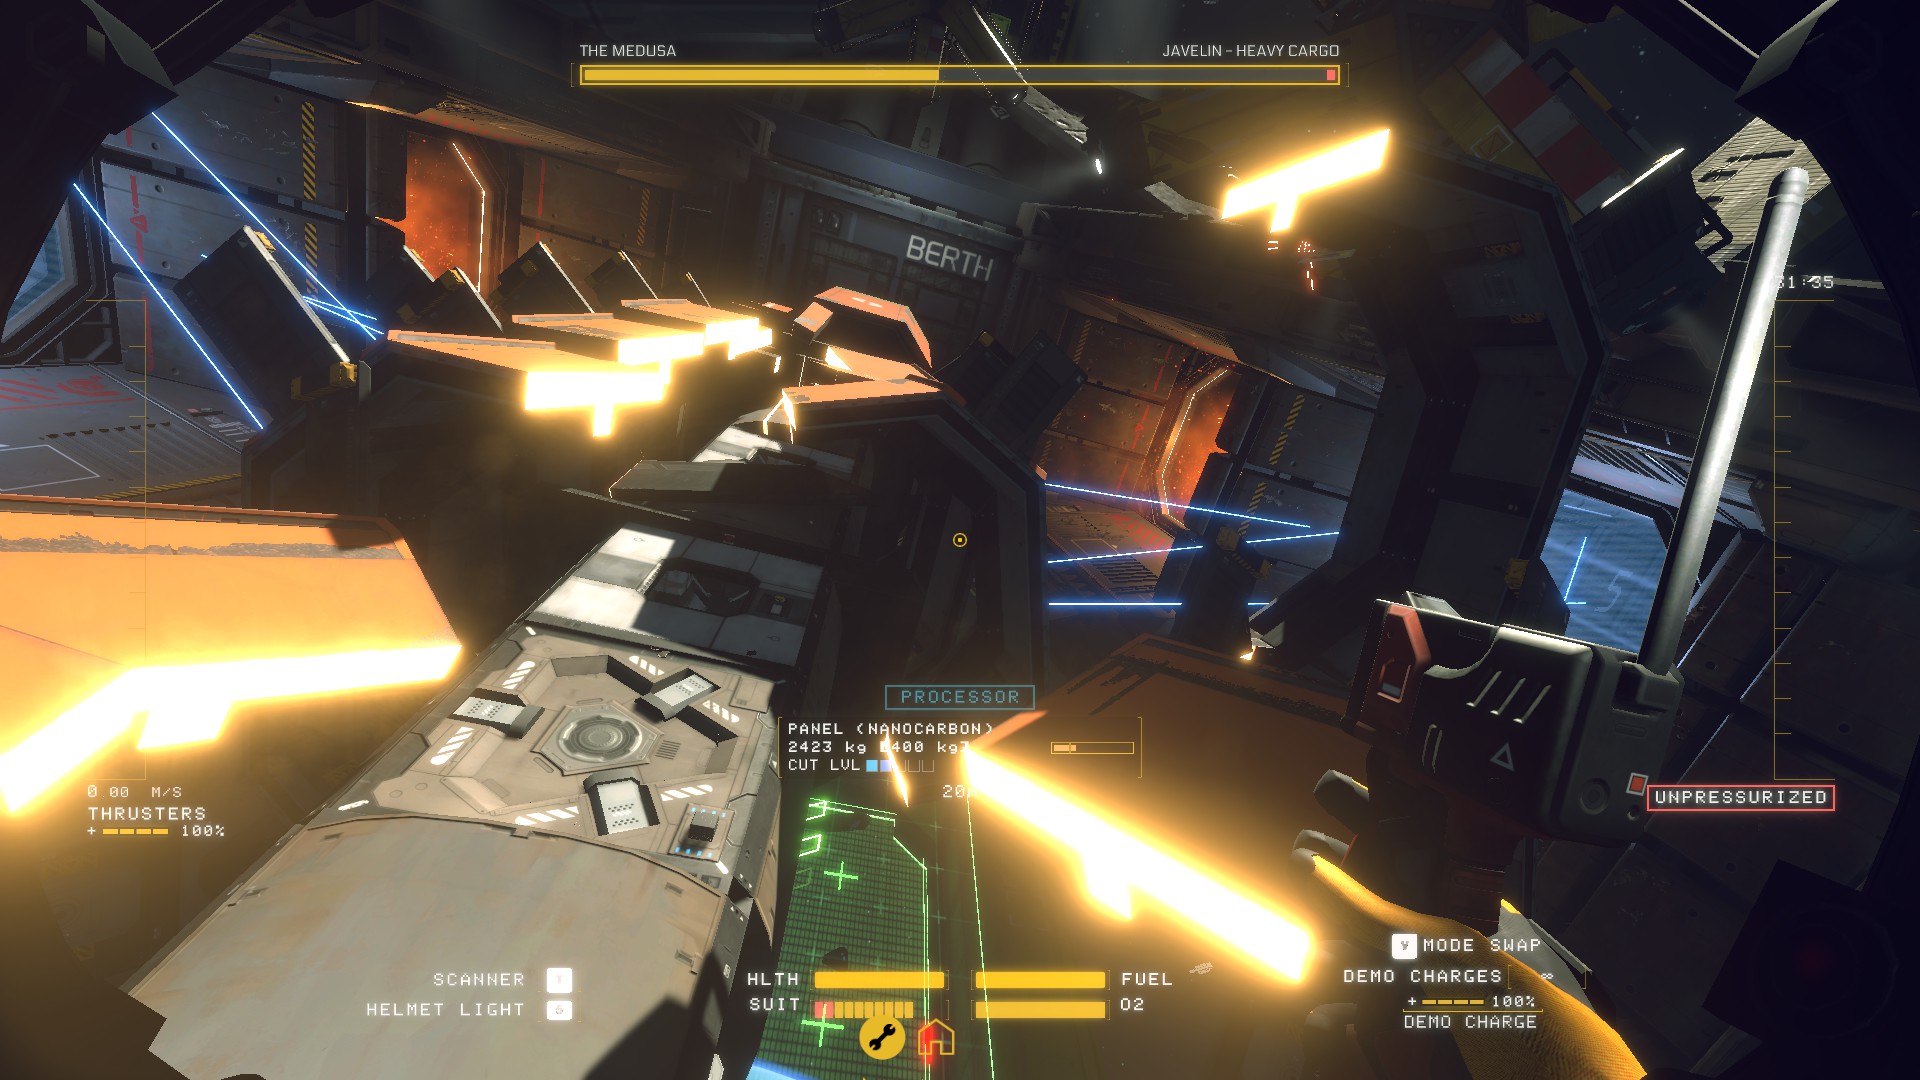
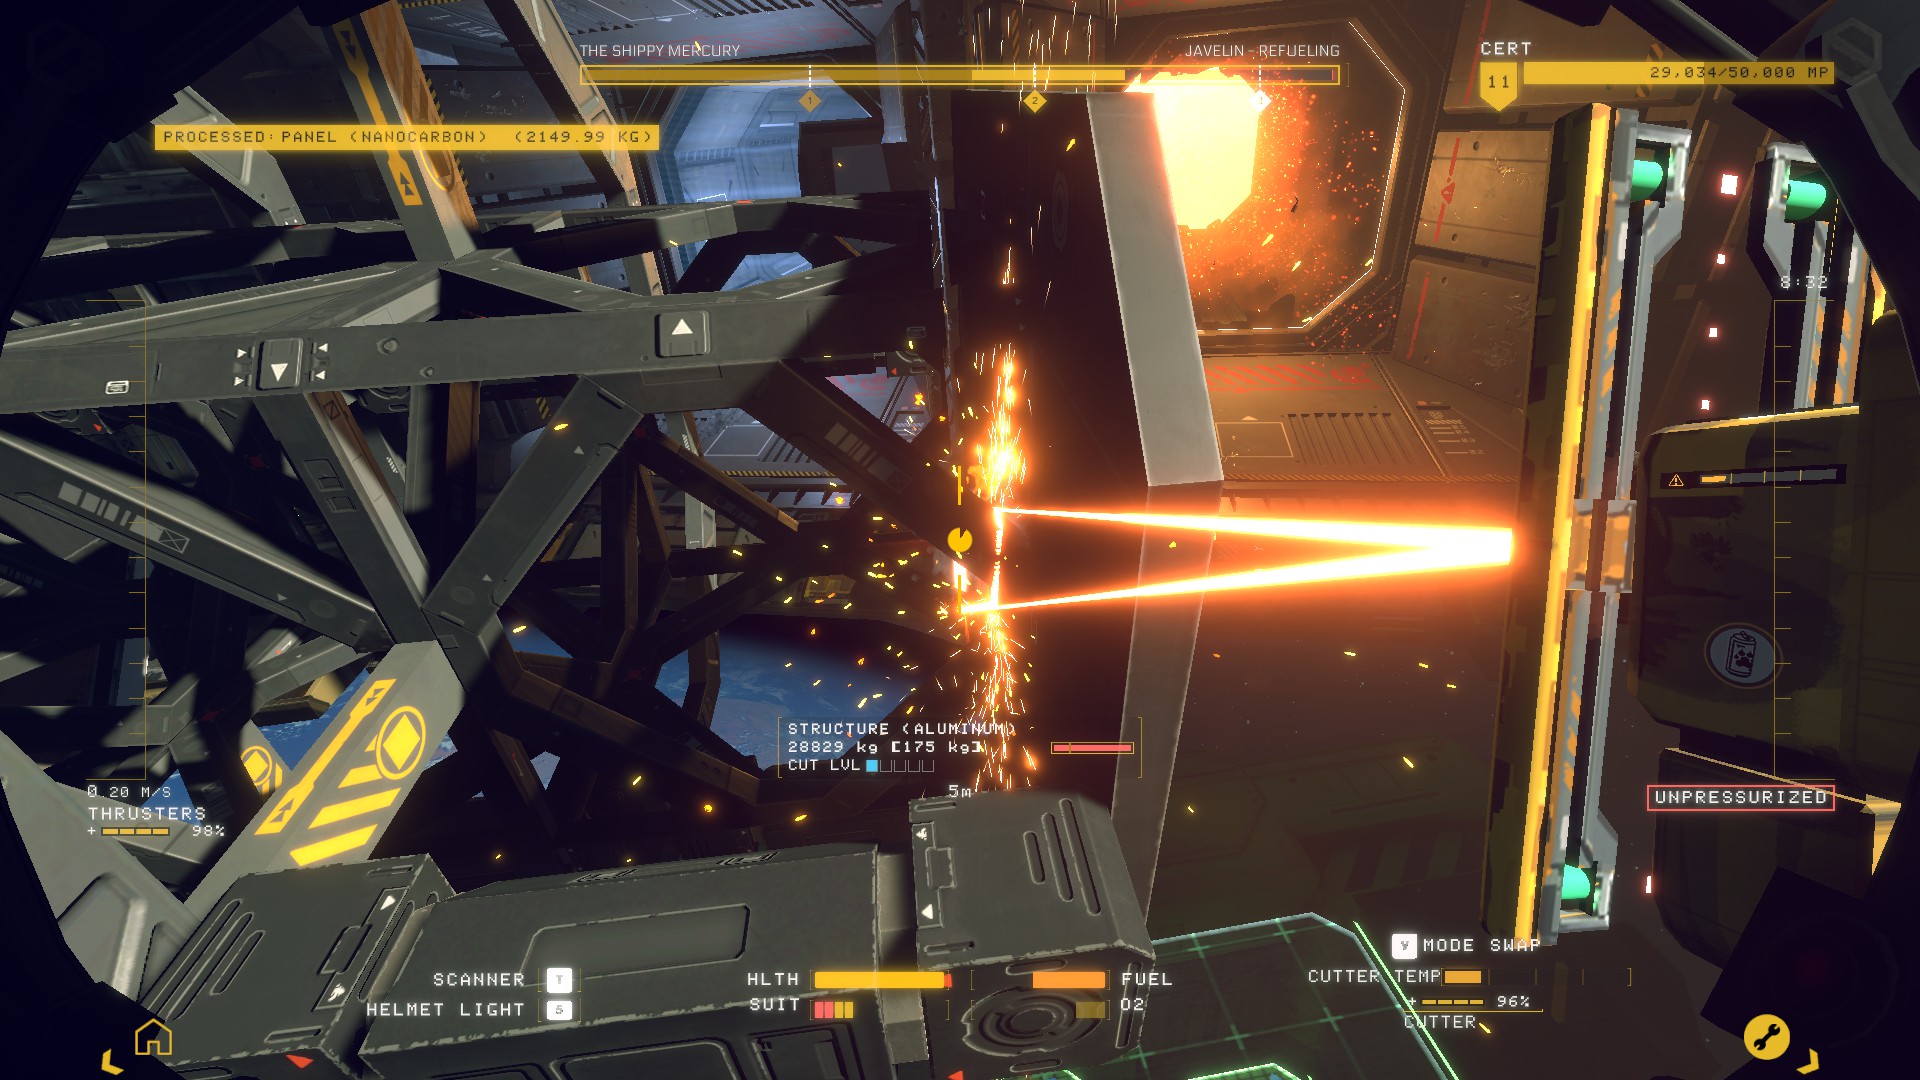
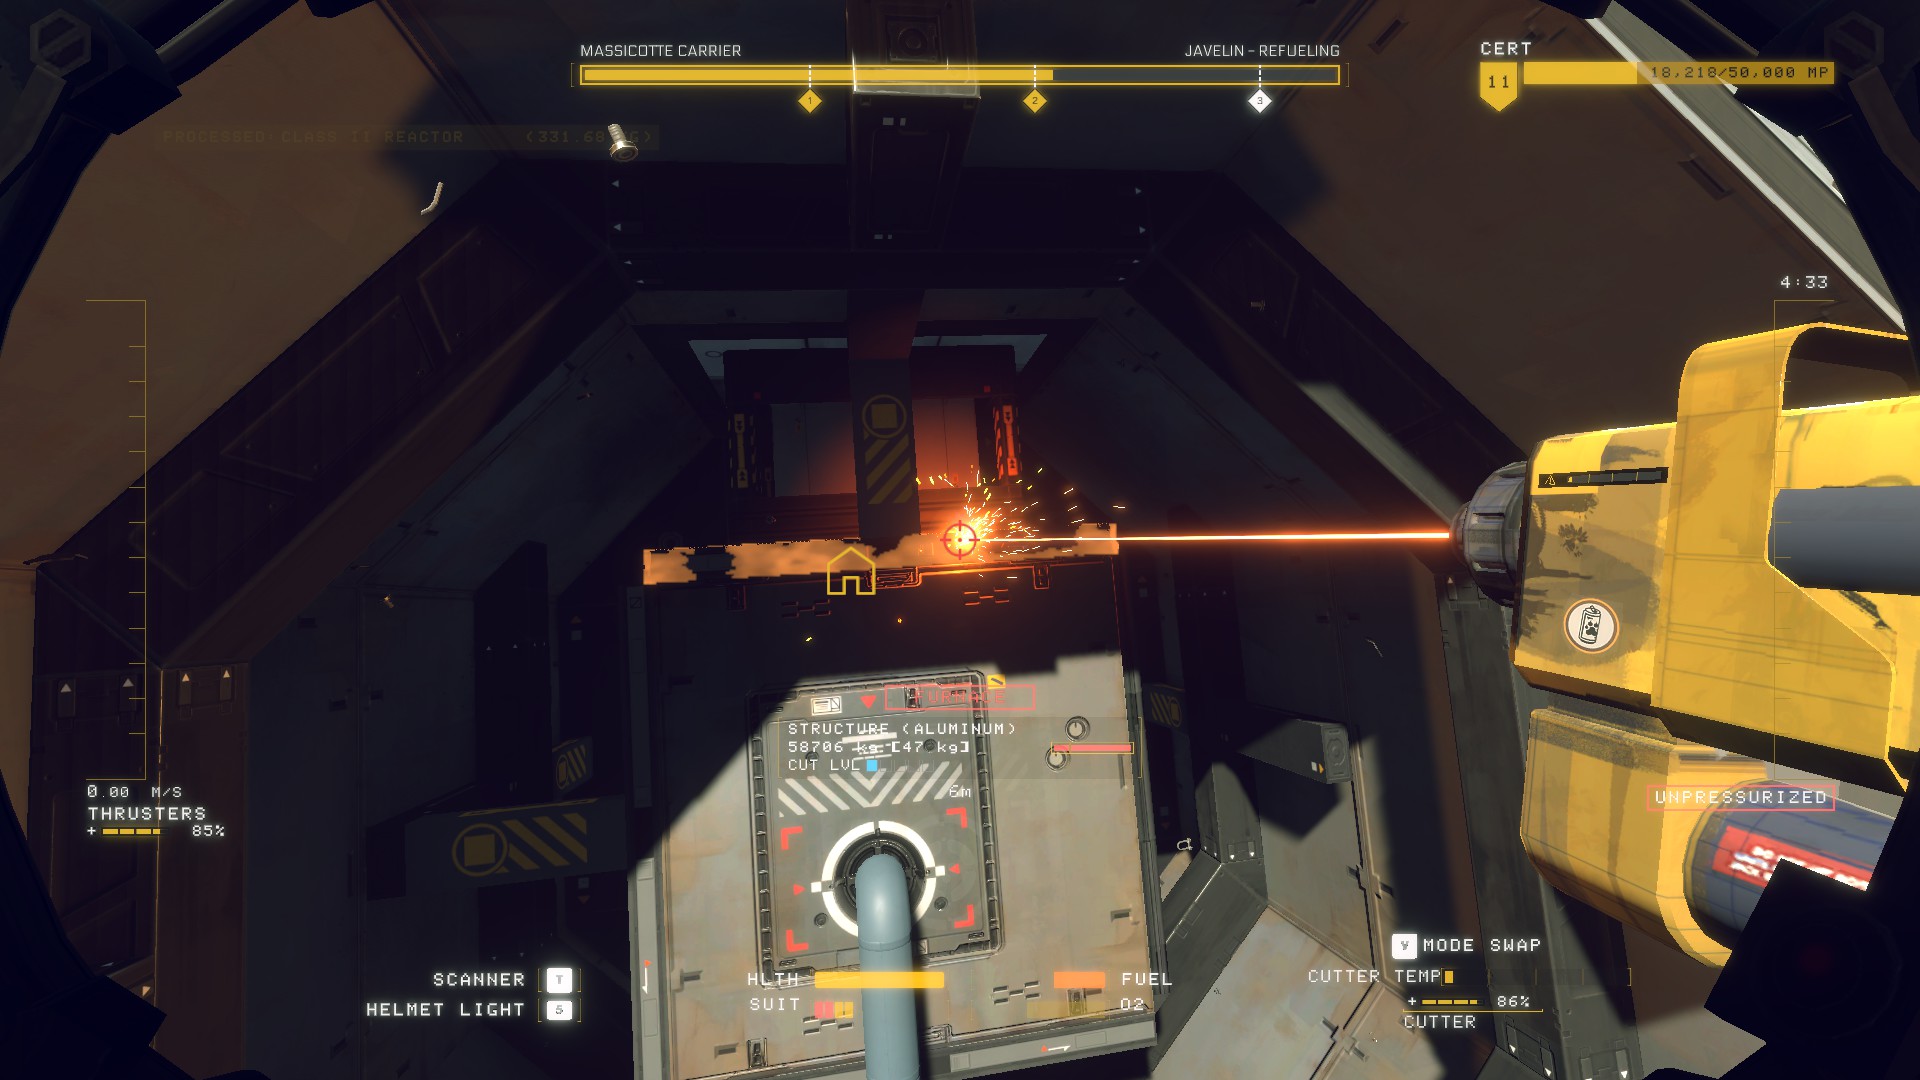
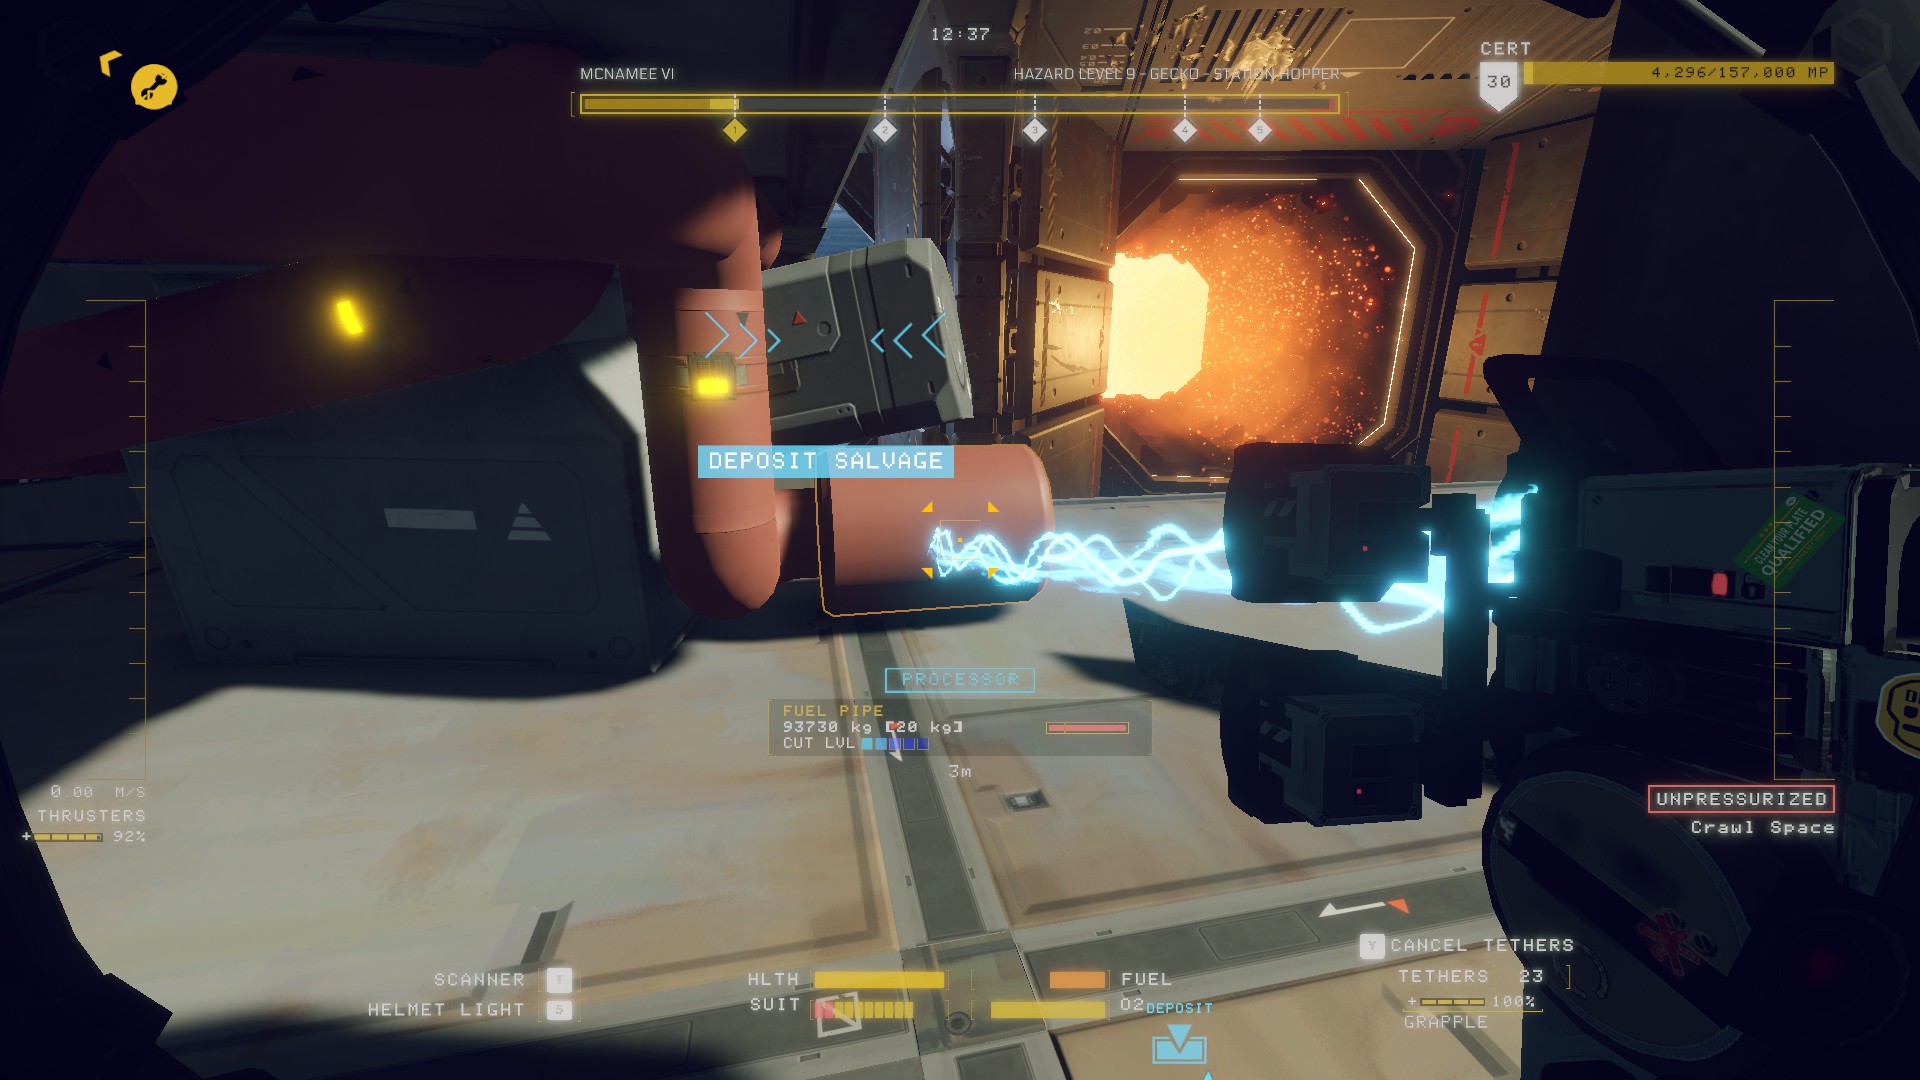
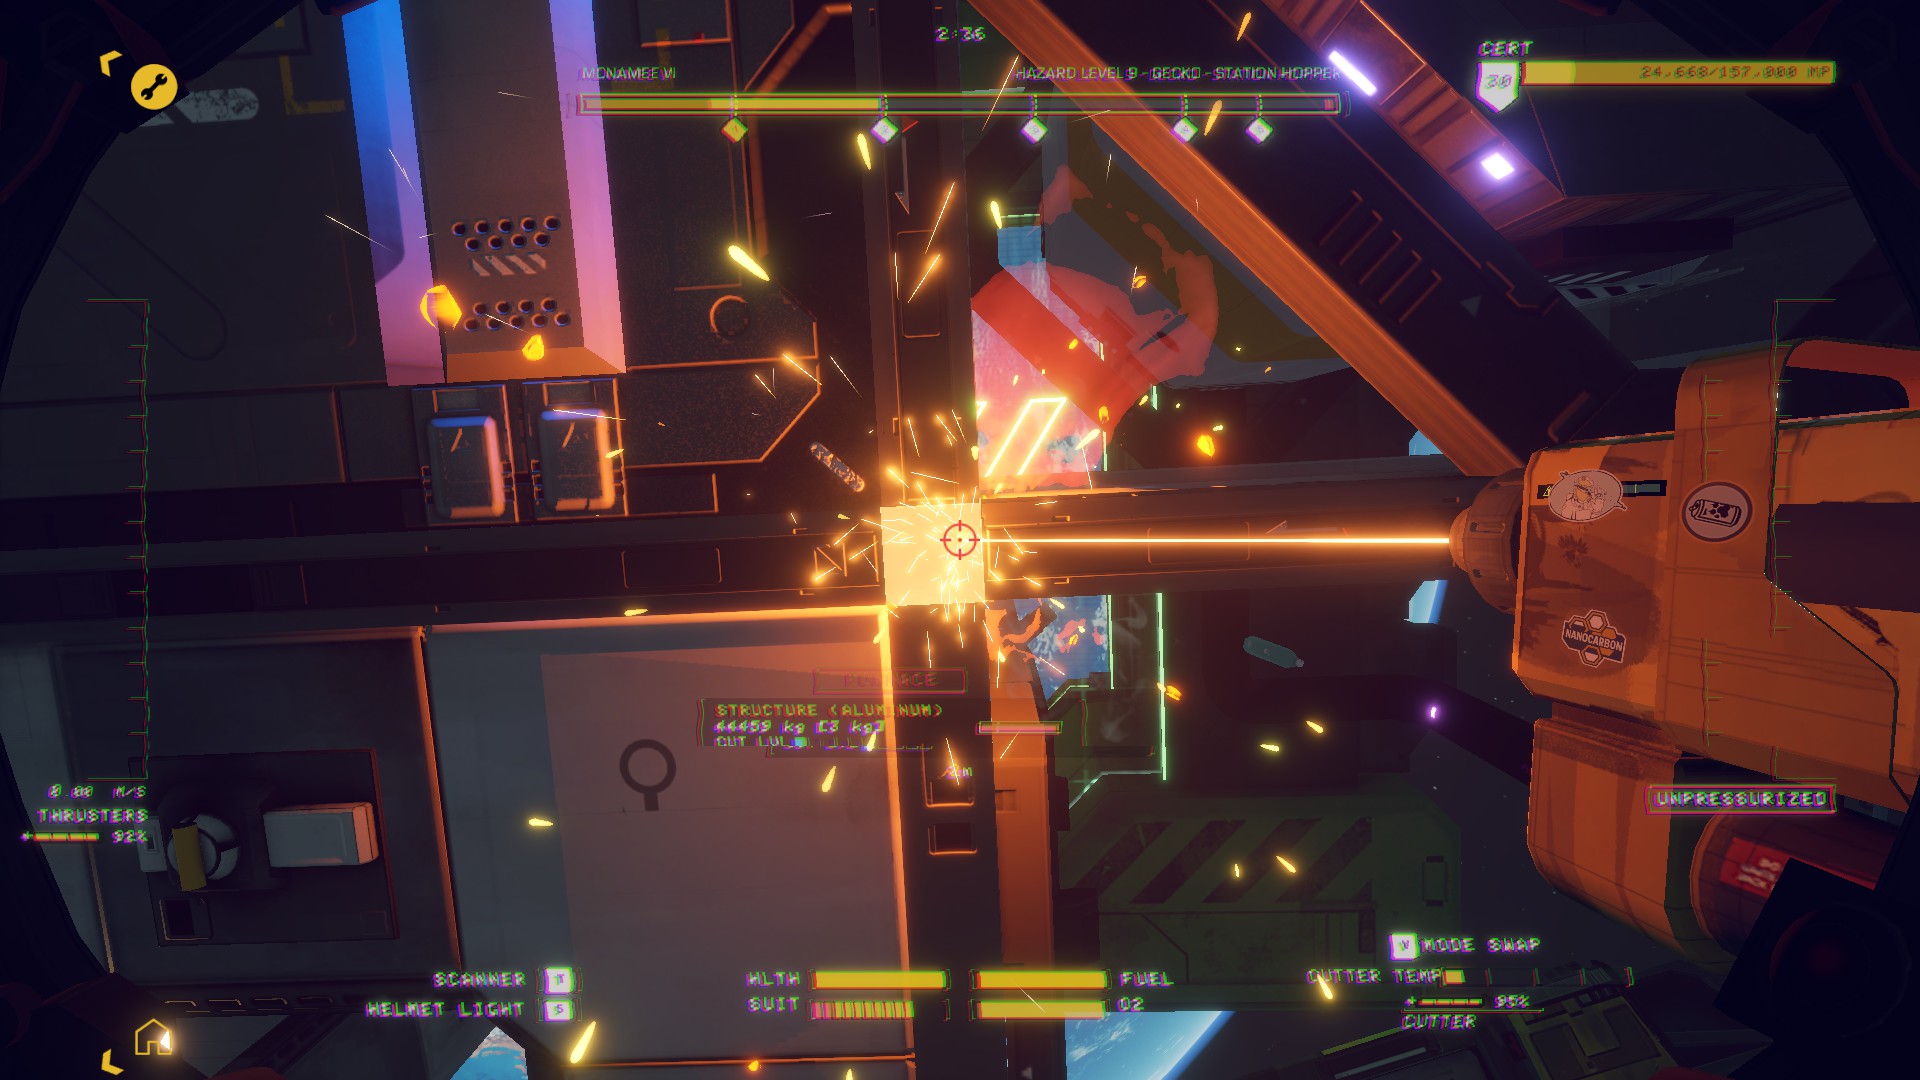
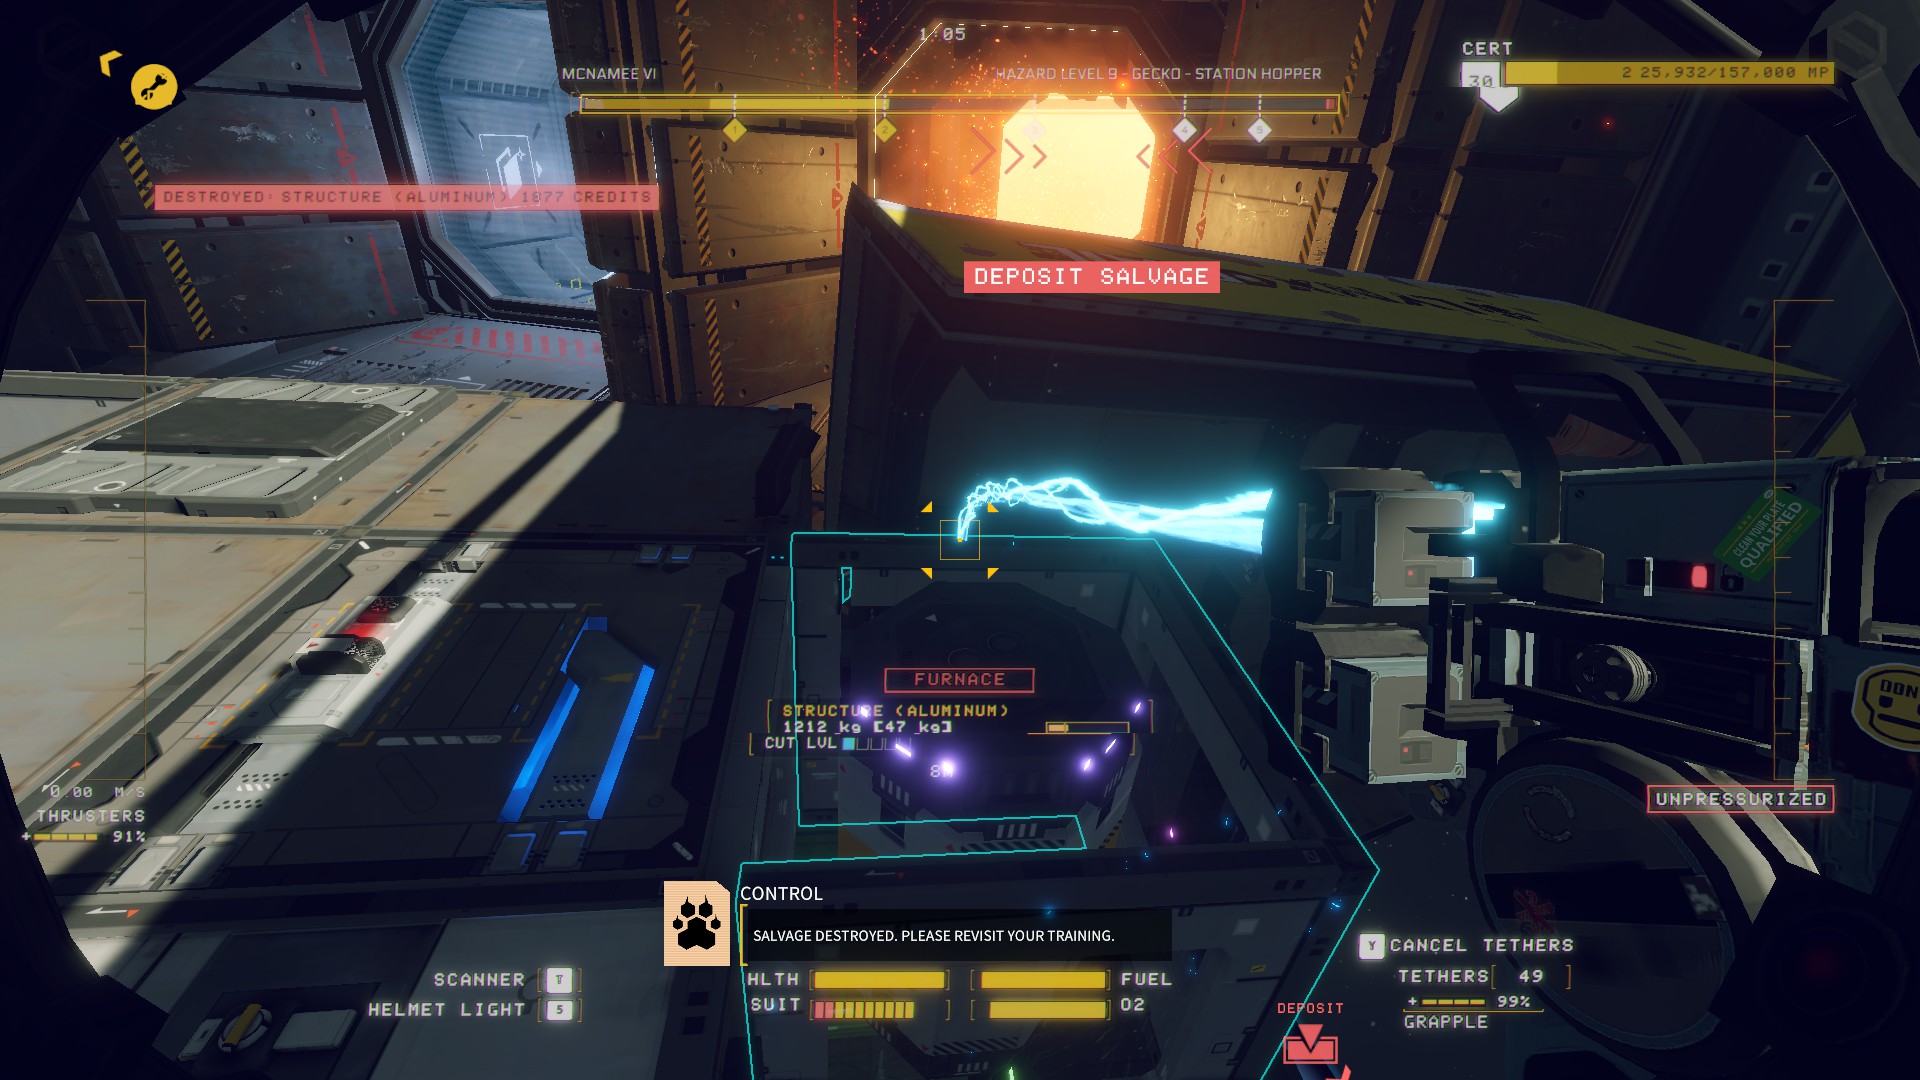
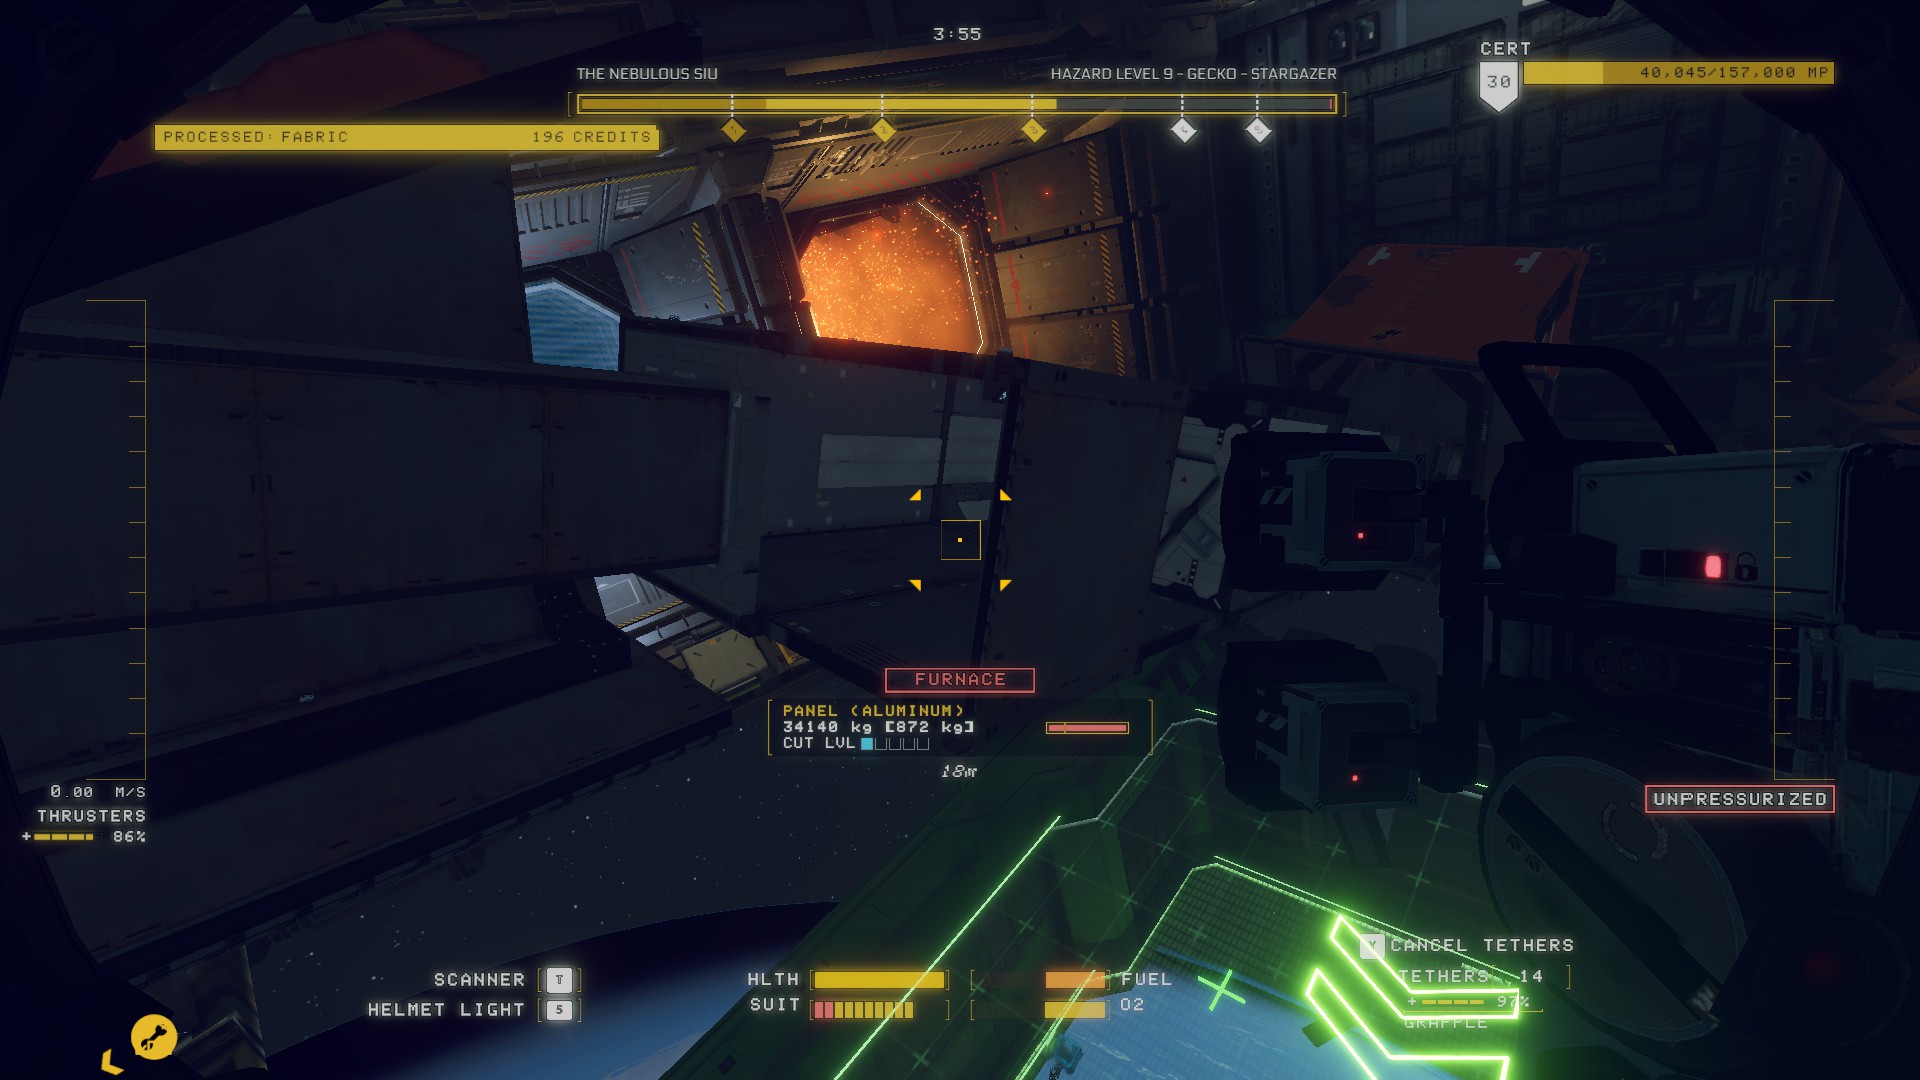
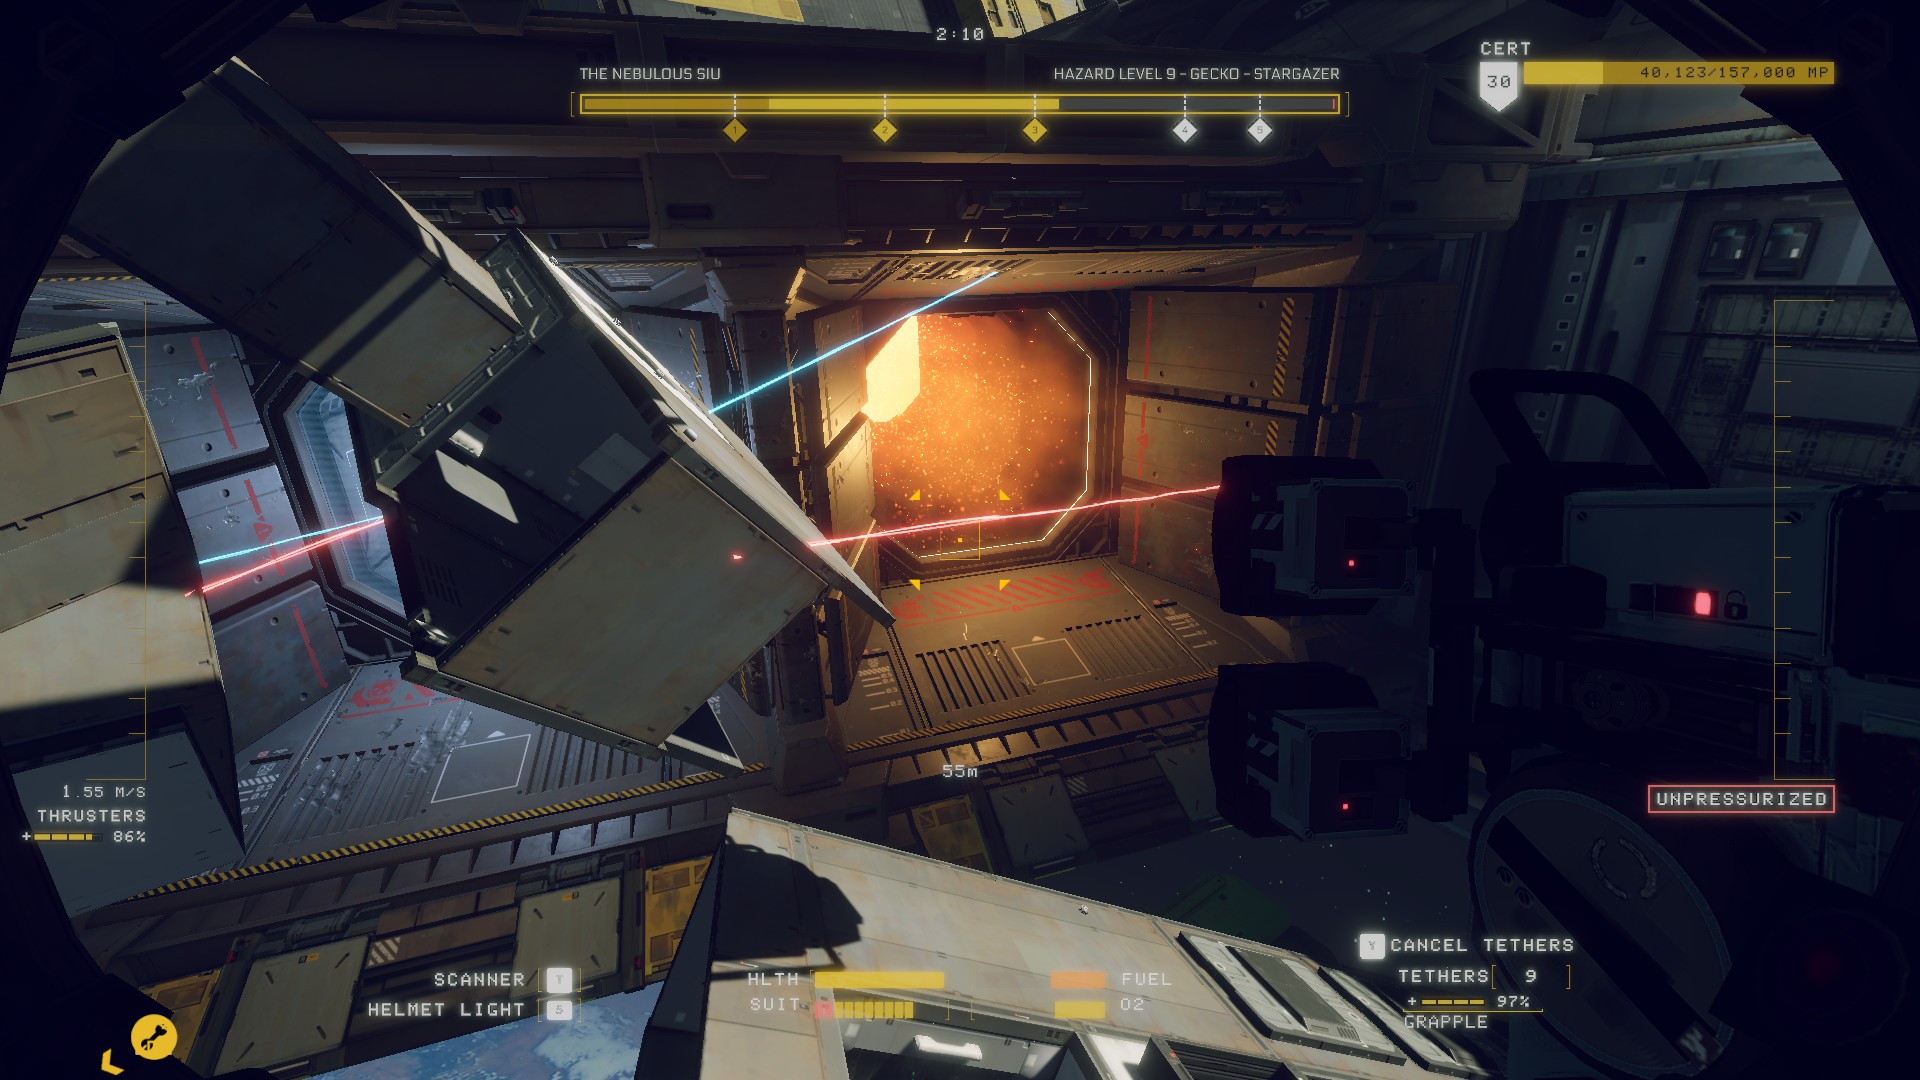
If you forget this, you might run into my situation: I had to blow through every door in the section, and pray debris inside didn't hit something and cause a problem. It was RISKY AS HELL, as the fuel lines sometimes like to pop and cause fires.
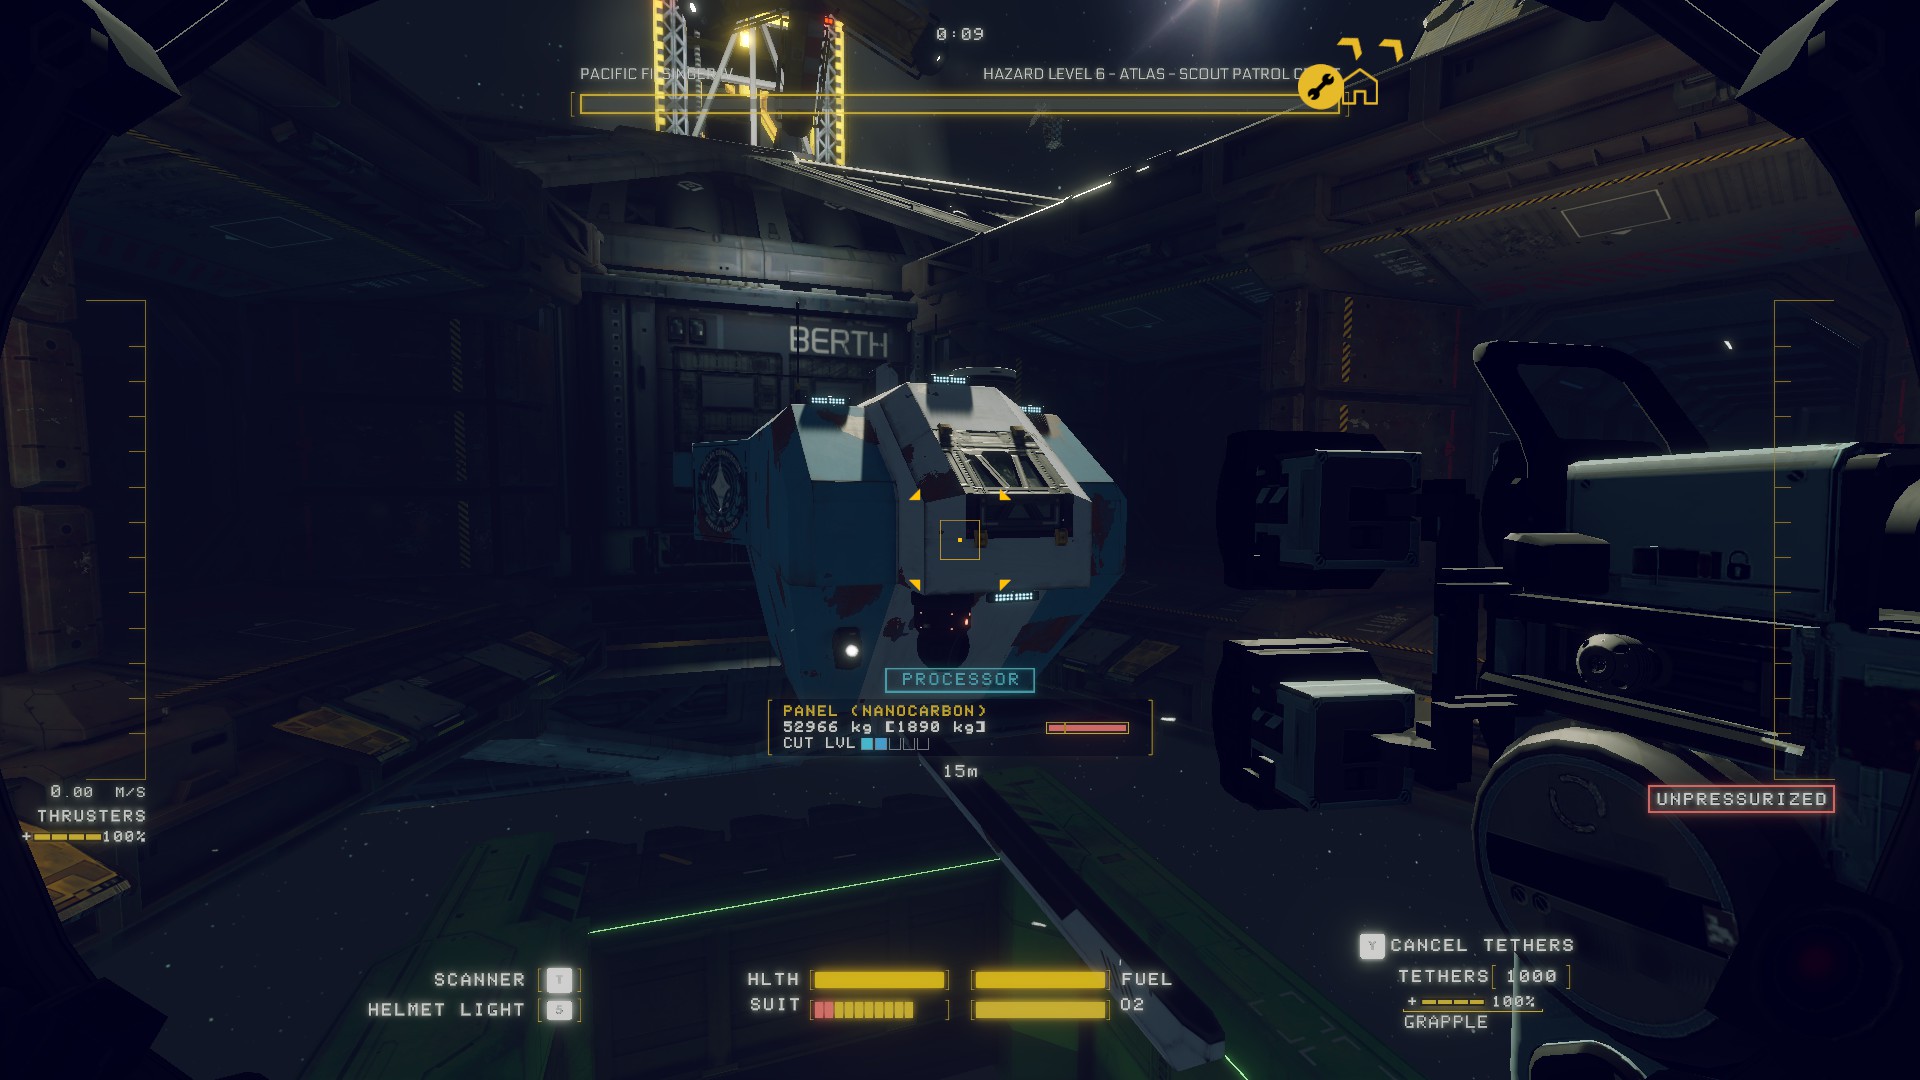
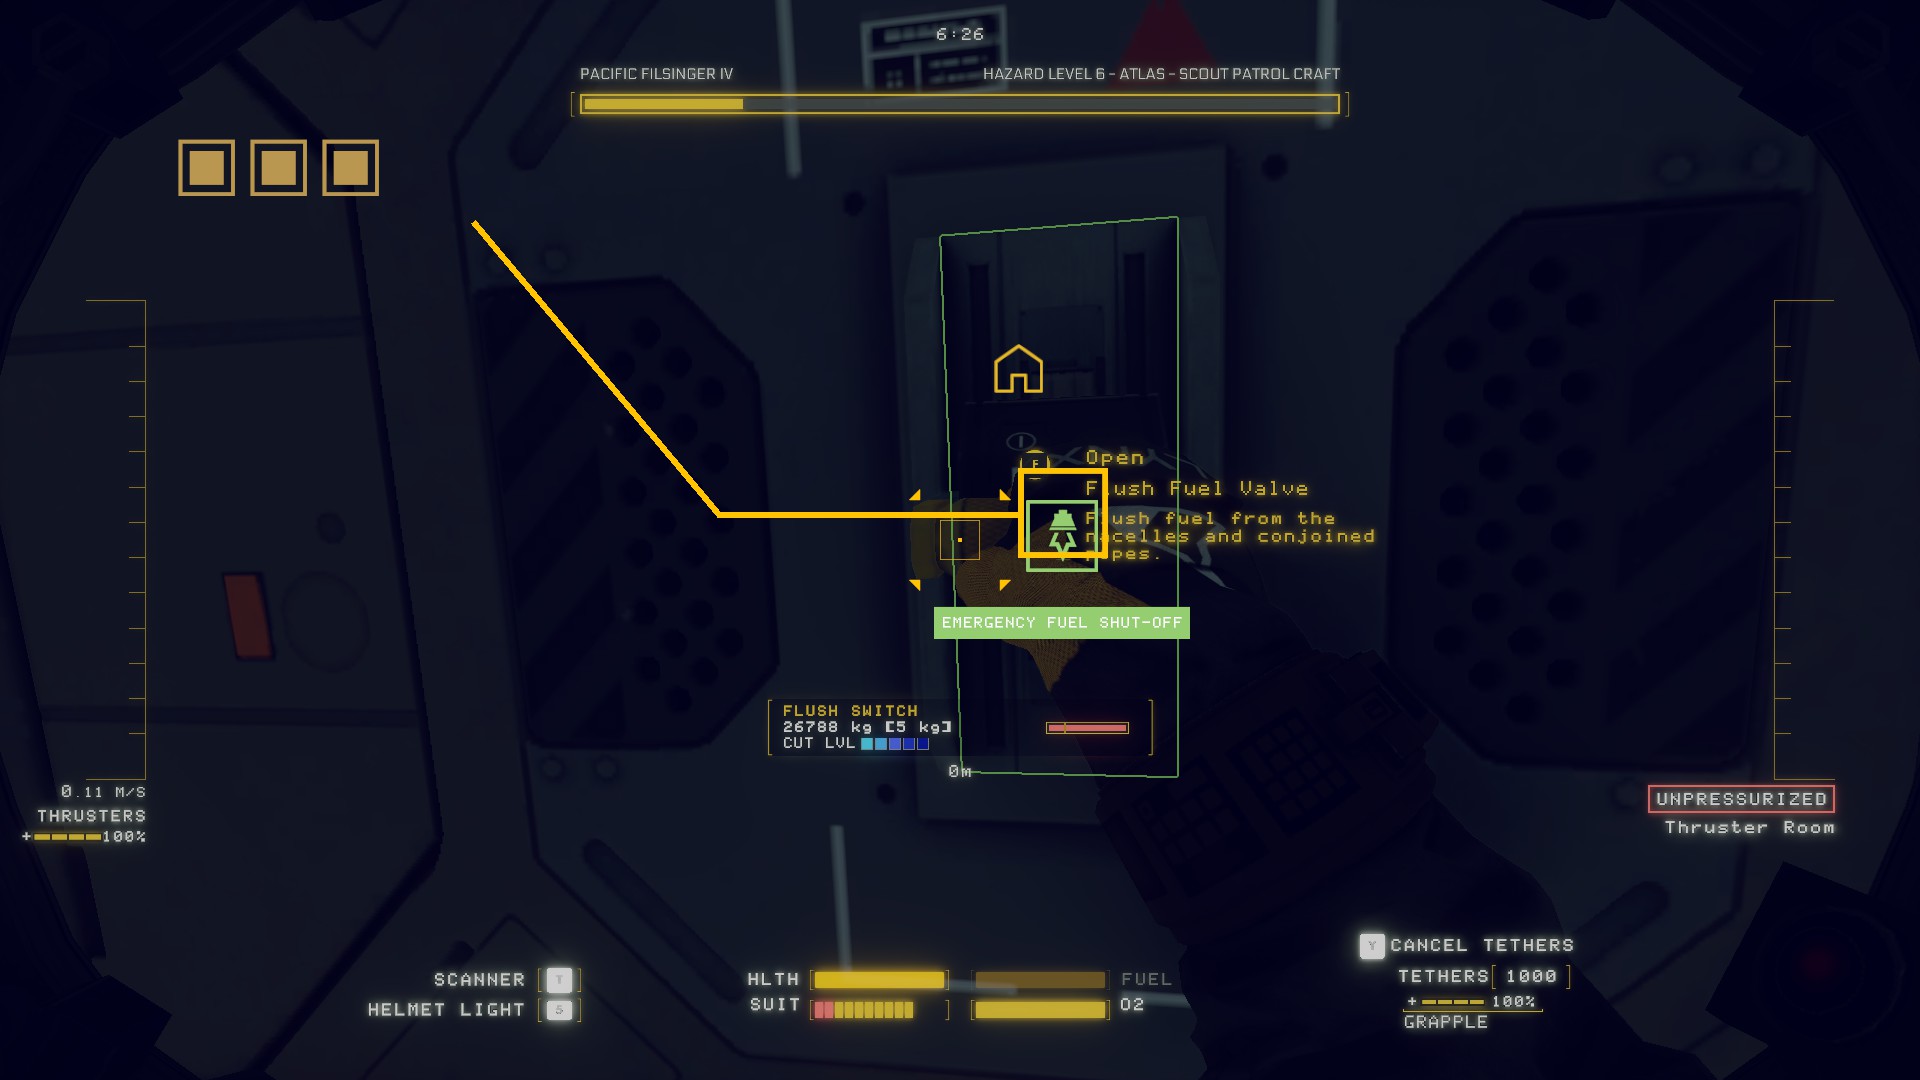
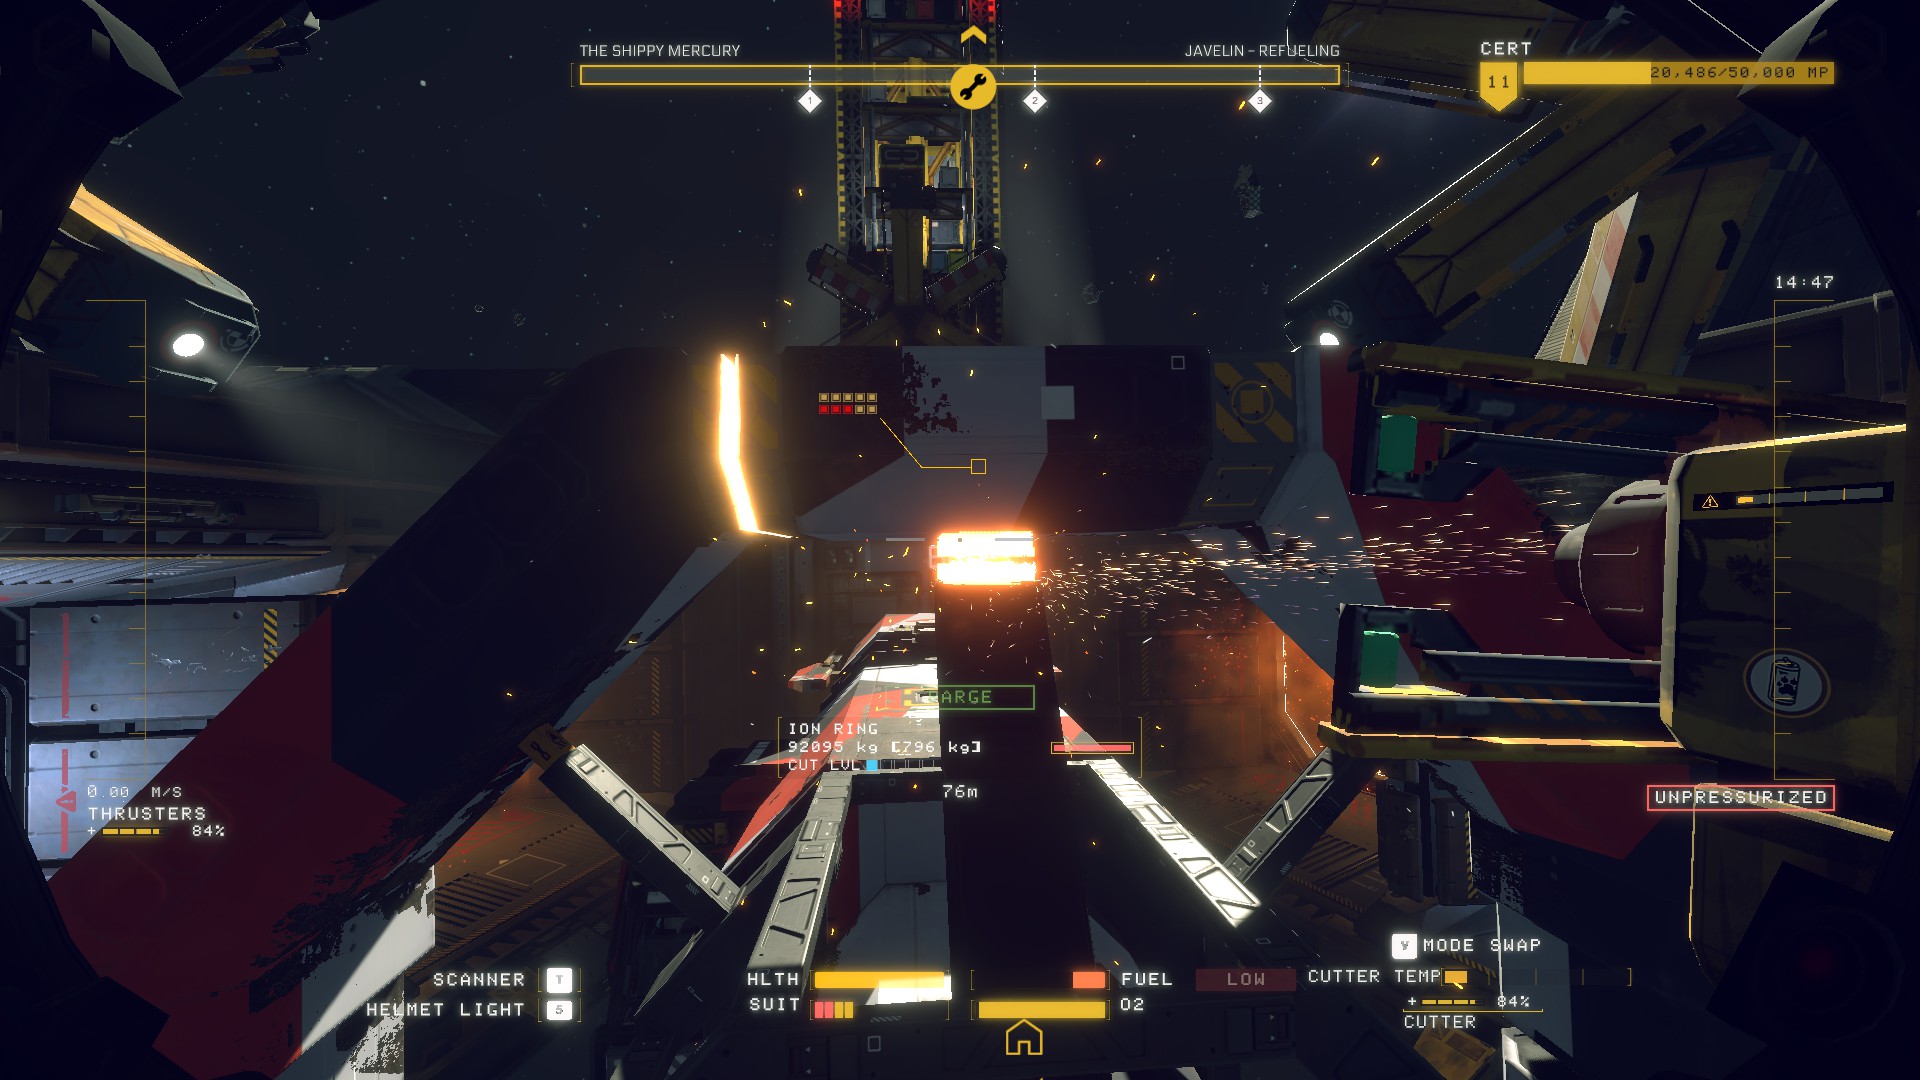
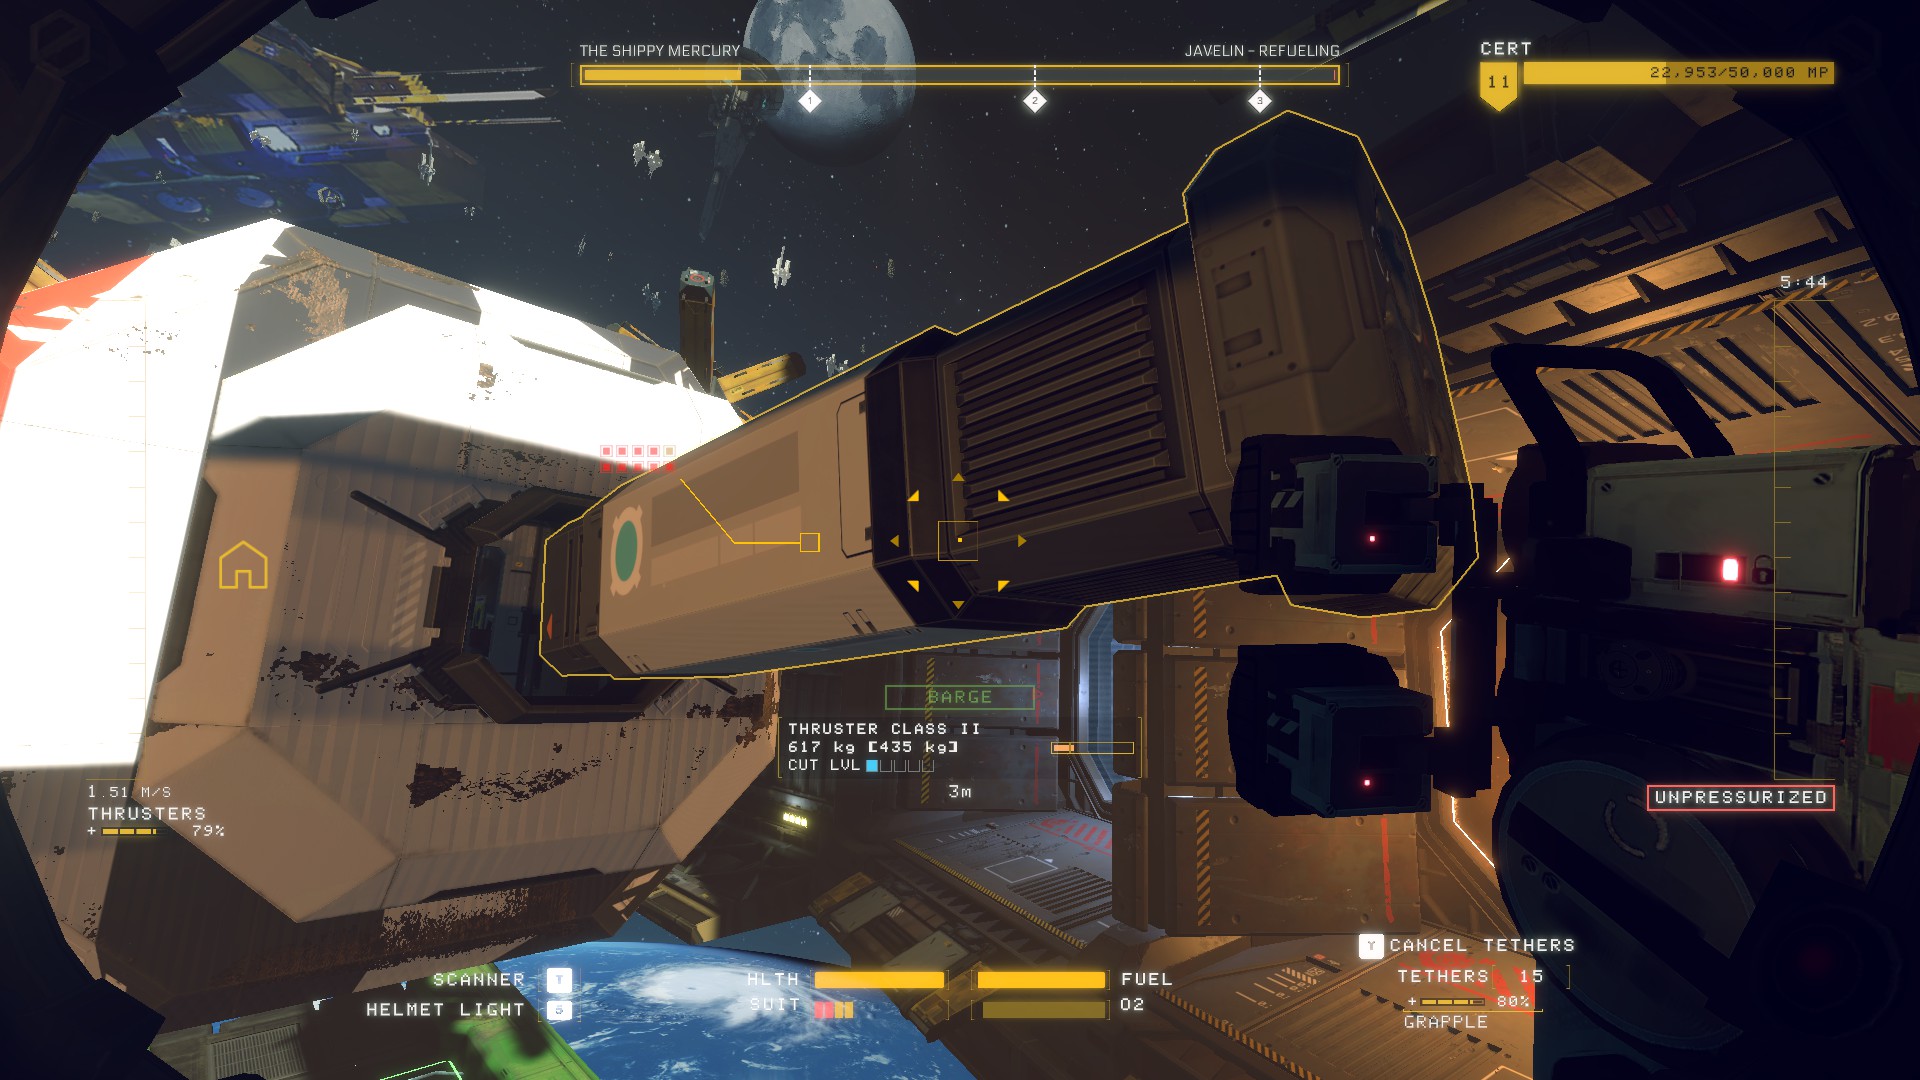
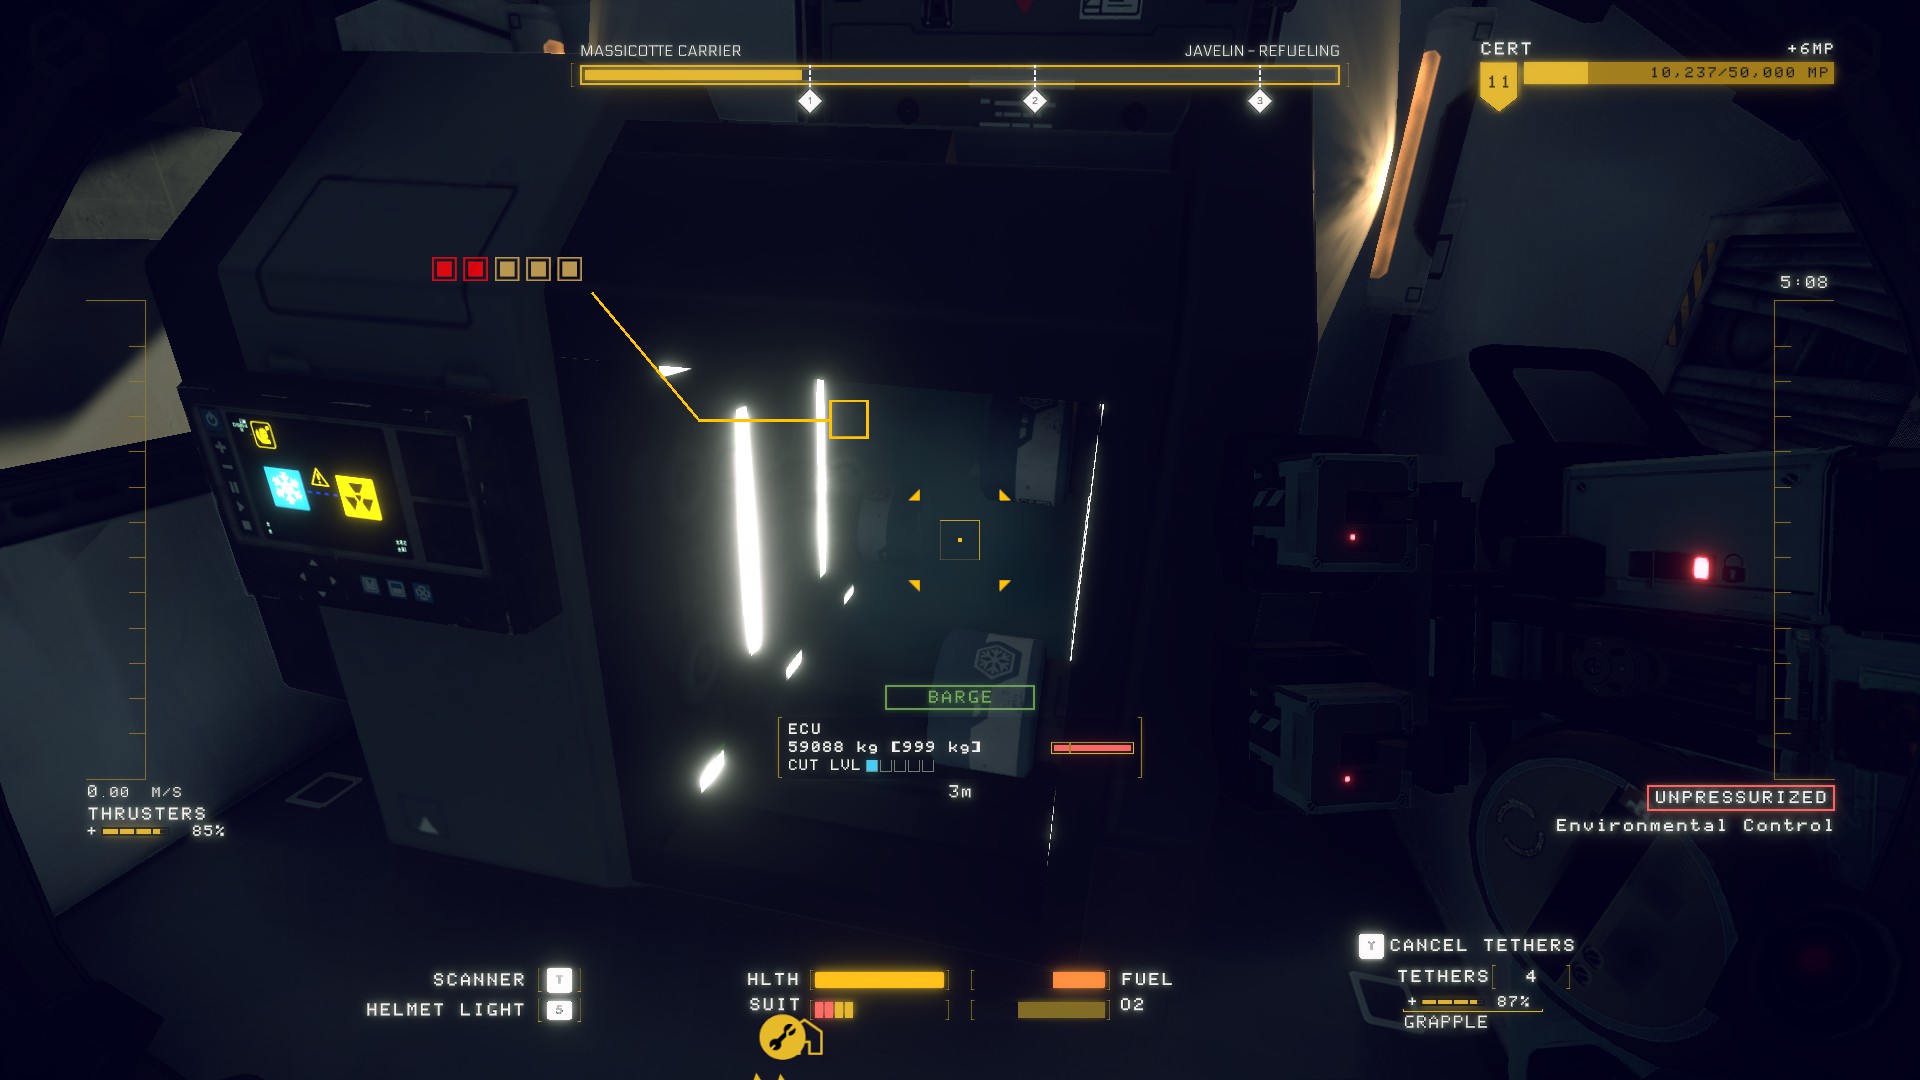
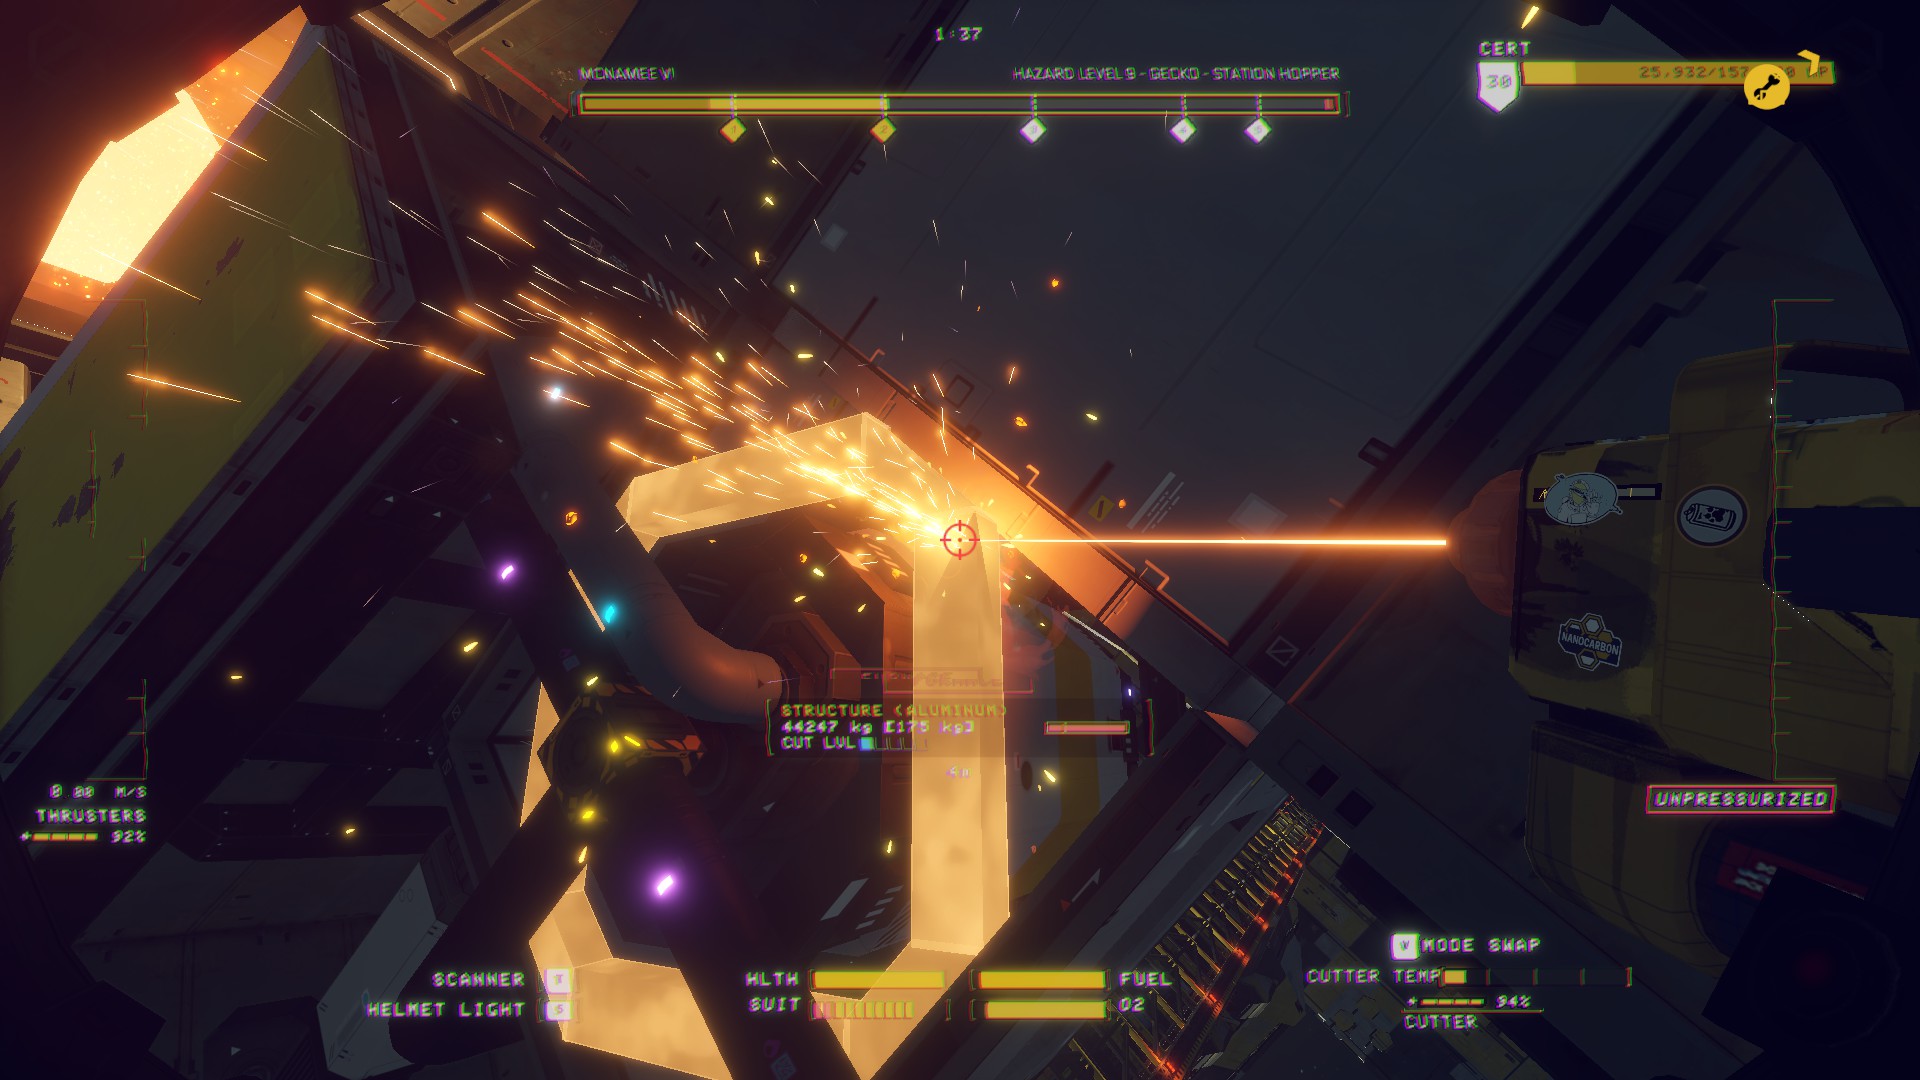
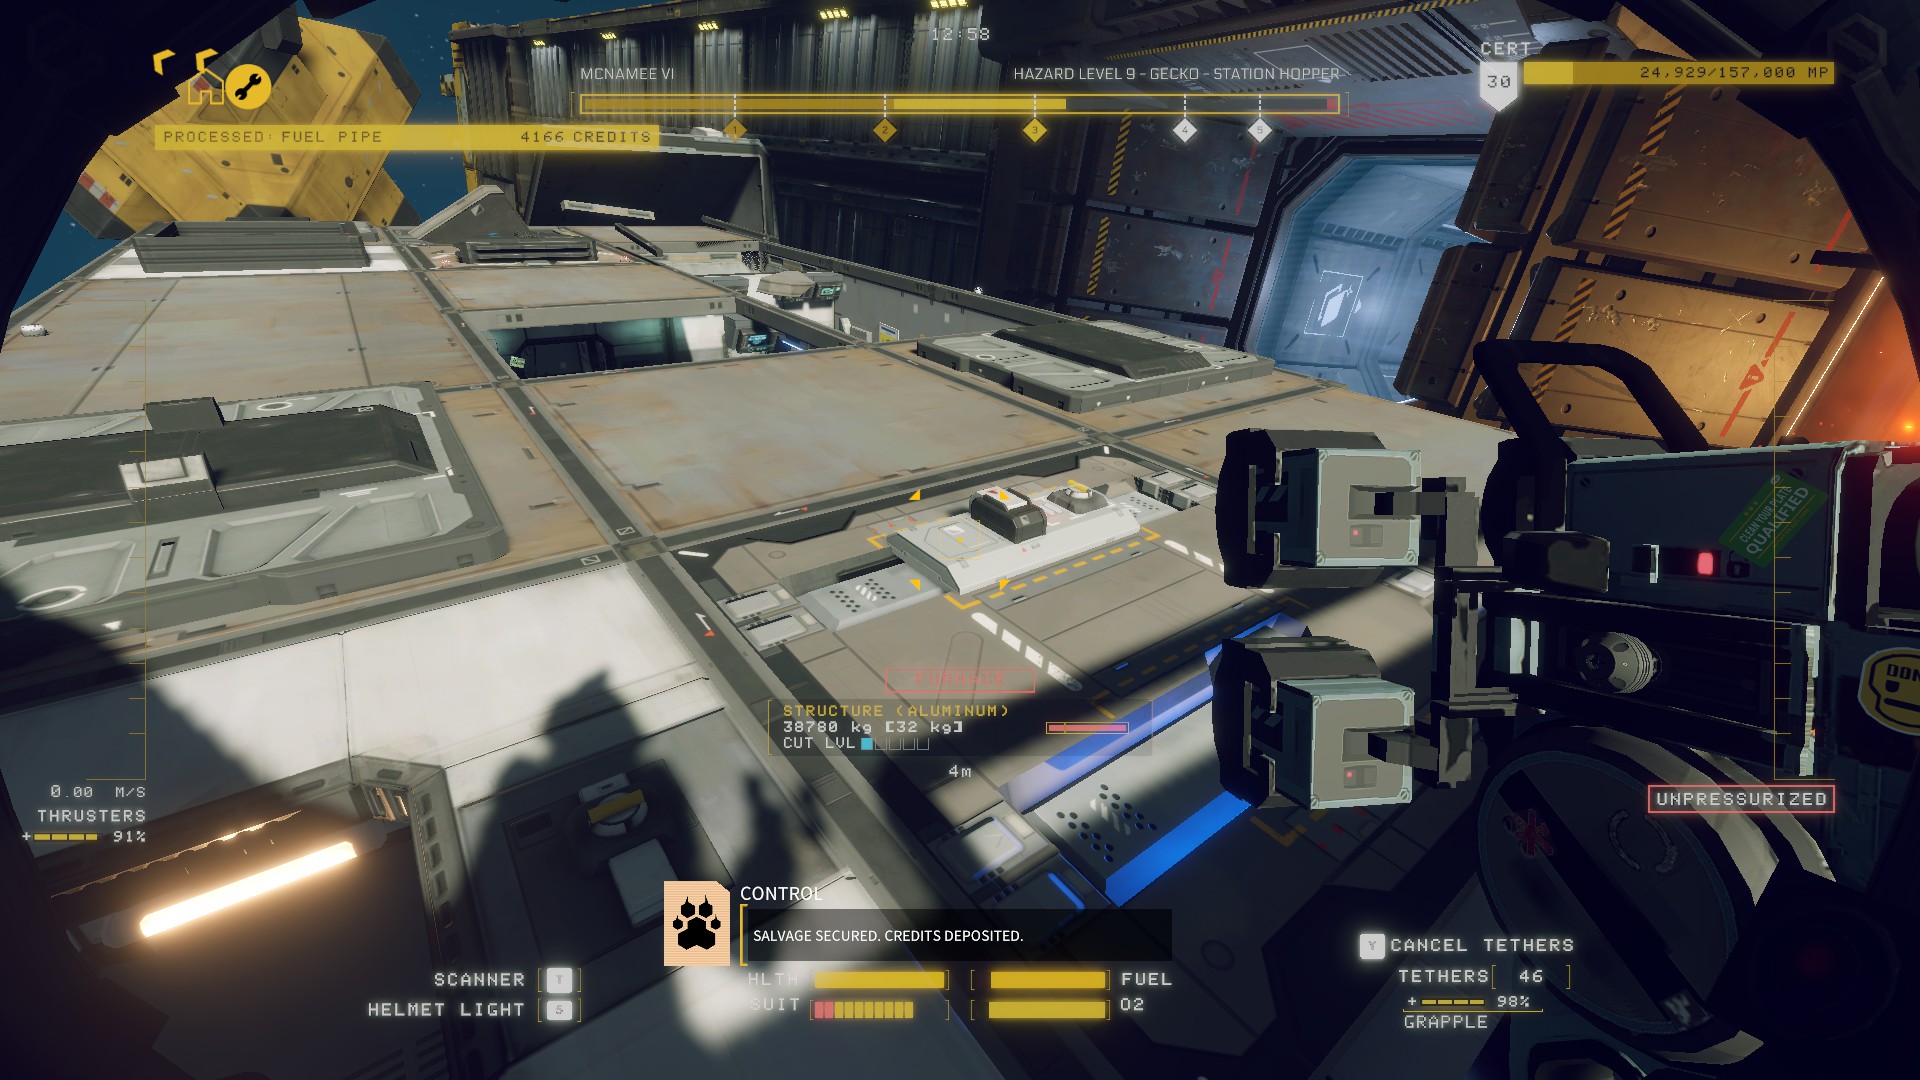
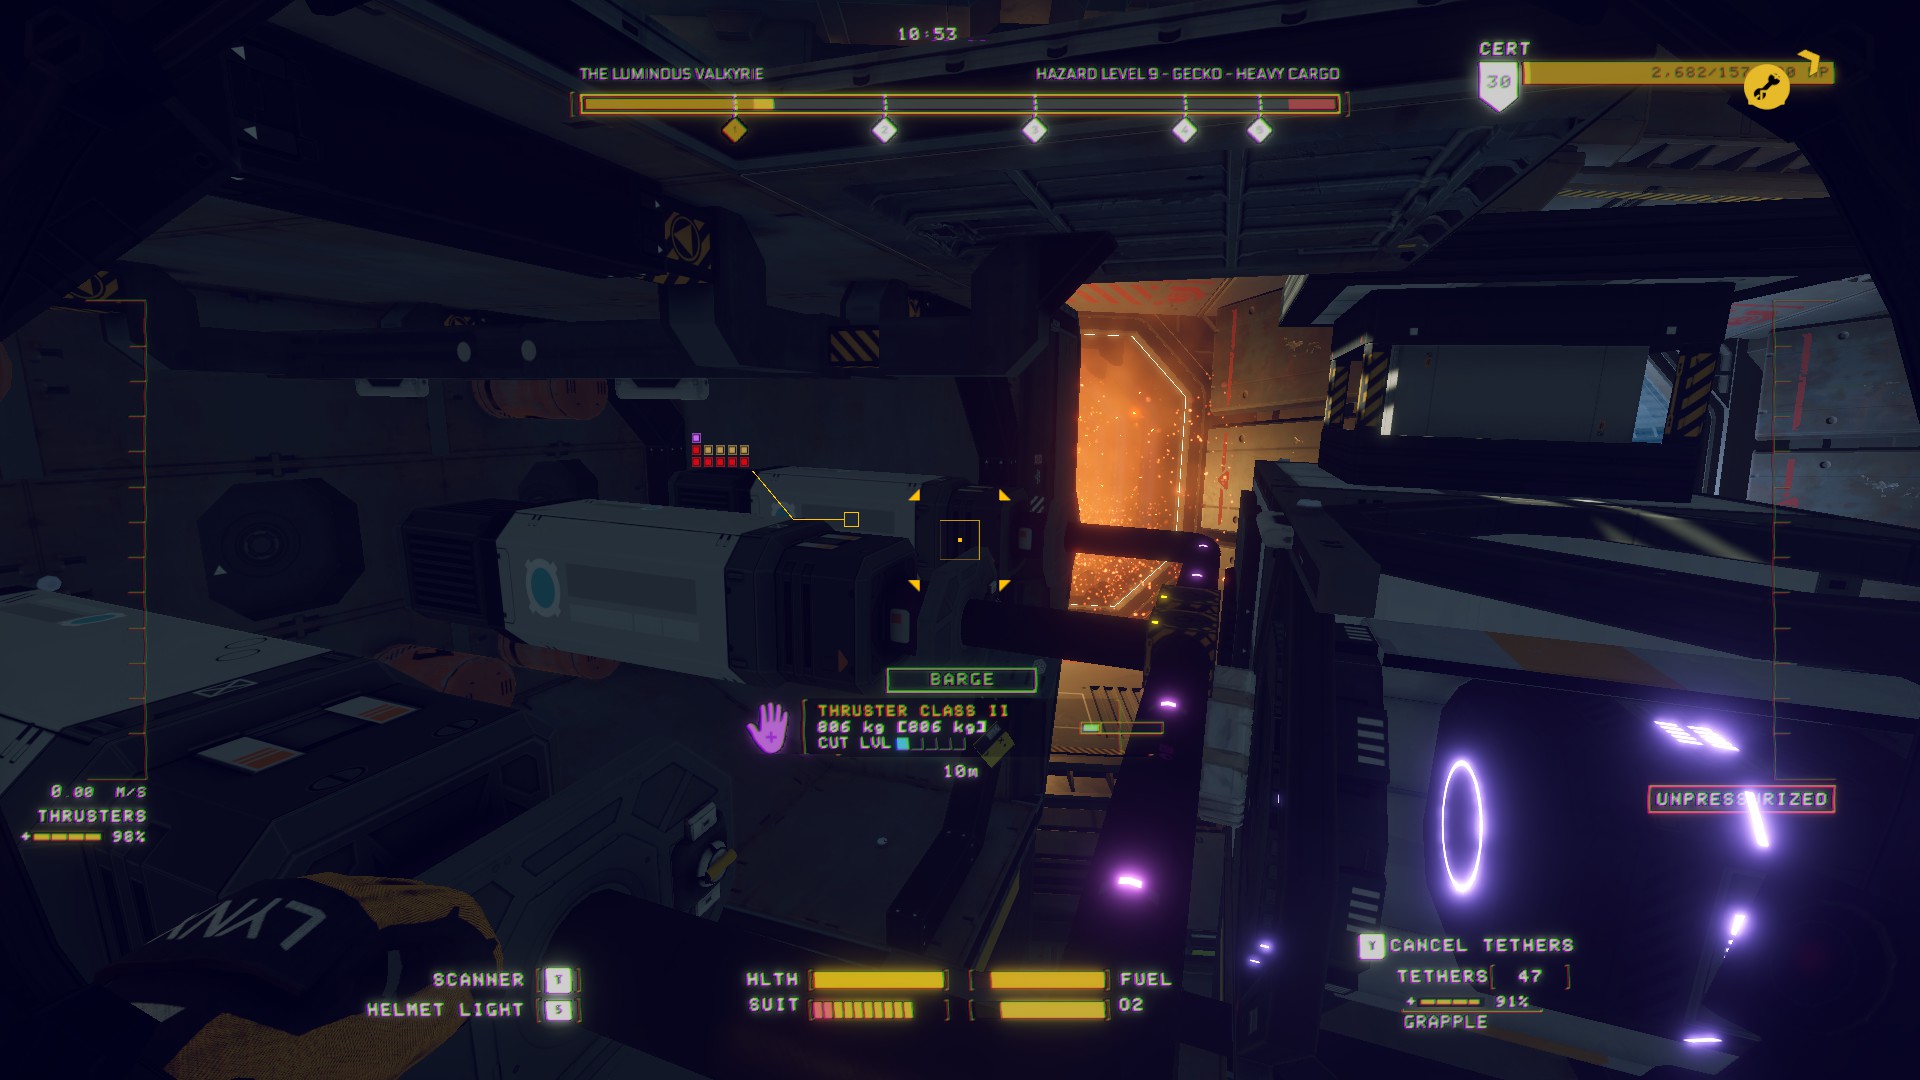
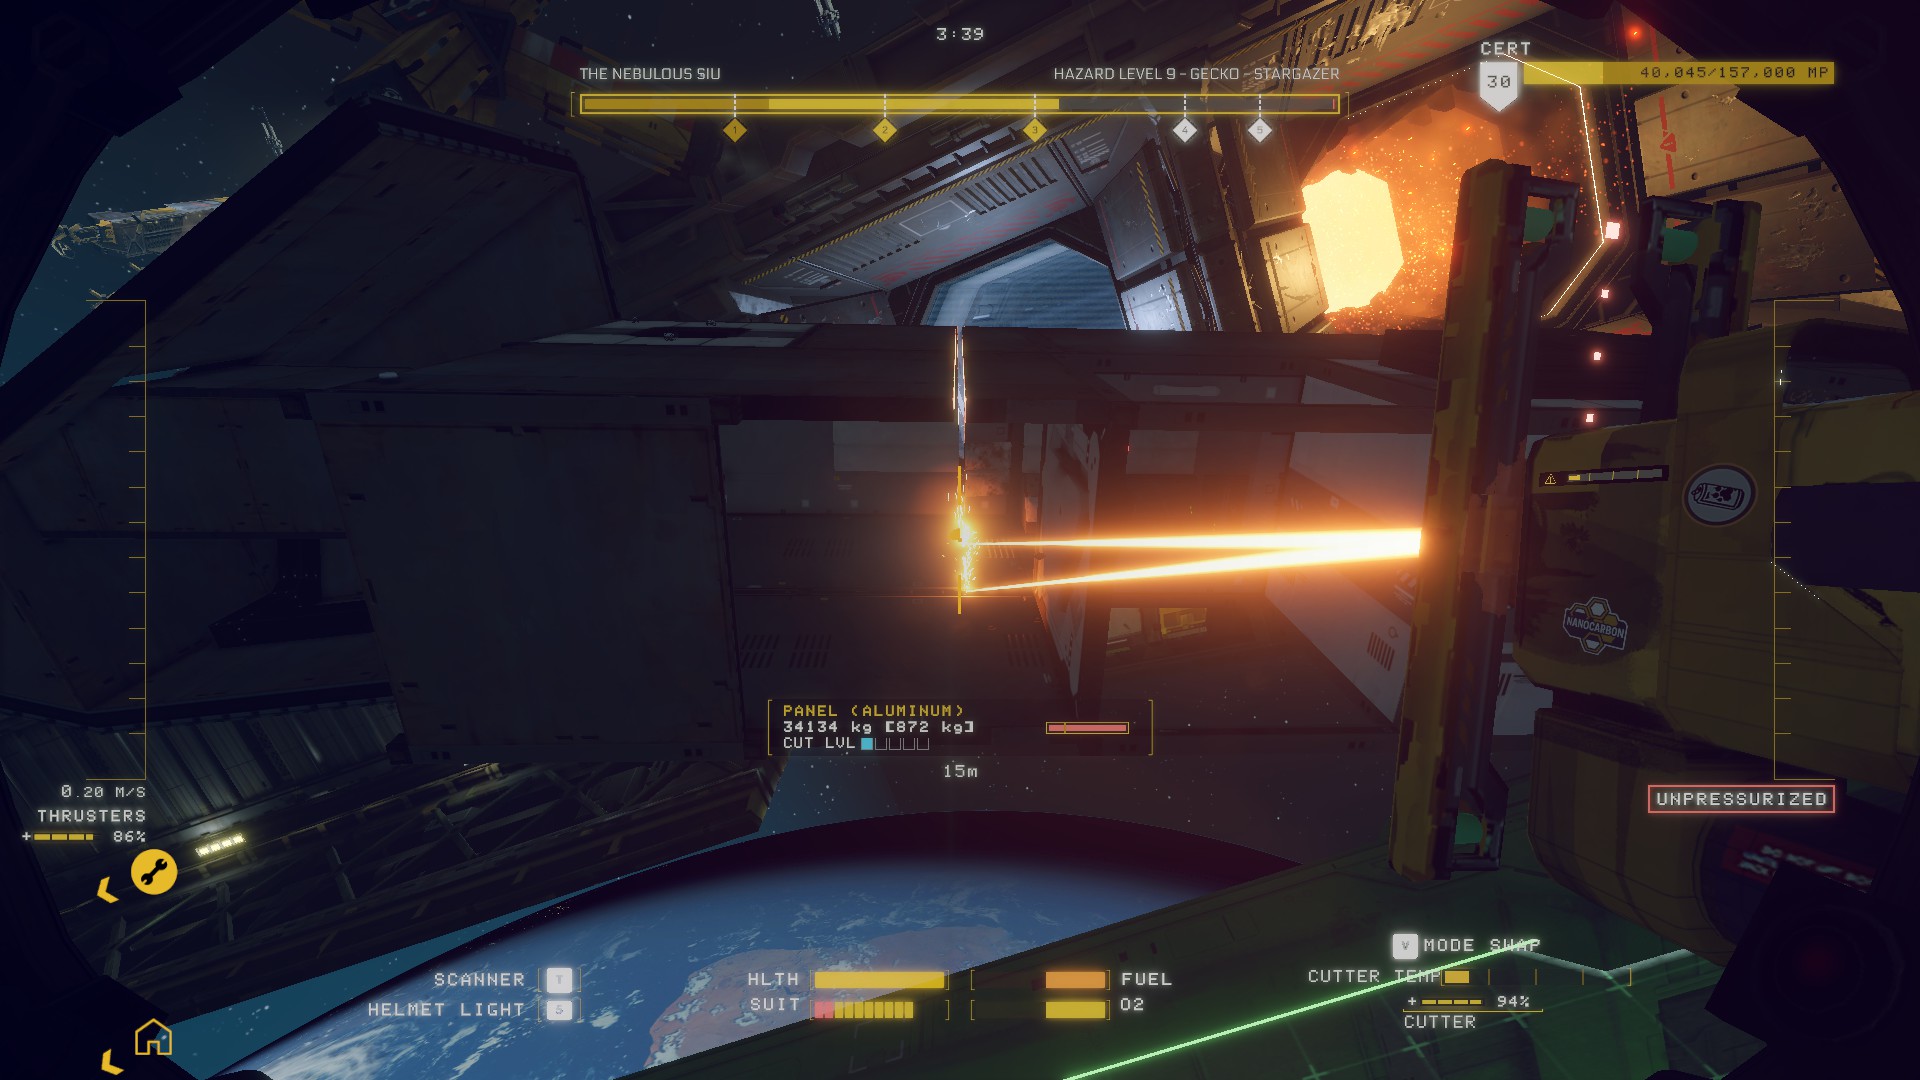
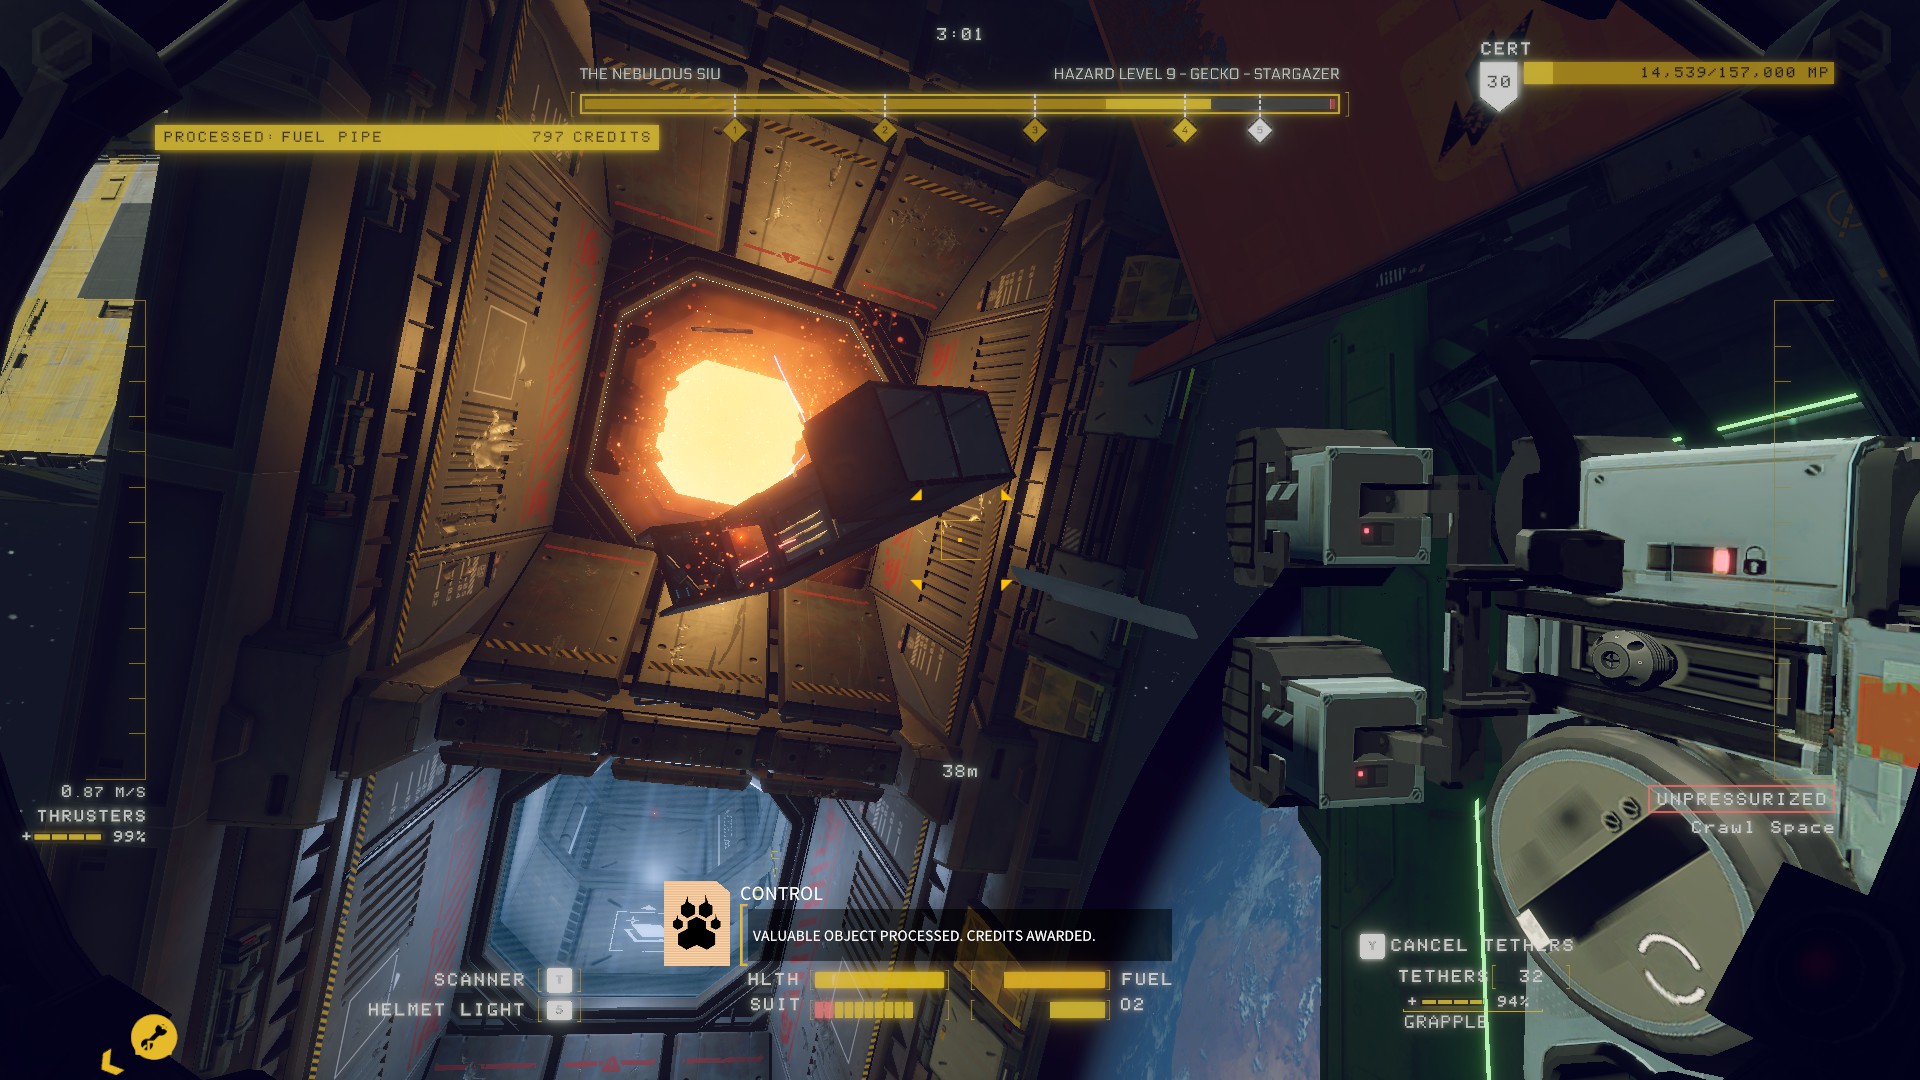
I also was unable to use the control switch/panel on the back thruster to properly eject it as it was "unpowered" (again, I had removed the power generator as my first step, and this hamstrung me on my next shift, and caused things to take MUCH longer, as I was in unfamiliar waters now). I ended up cutting it free by the fuel line and got VERY lucky that there wasn't any fuel left to cause a flameout into the reactor. That would've been a shift over, and basically a lost cause.
Light0234 Sep 28, 2022 @ 7:58am 
things to note when you get far into the game a always check the pressure before anything else *you dont want the ship to implode cause of this*
Sir Balto  [author] May 8, 2022 @ 7:45pm 
@dbeaver2350 As of right now, utility keys have been removed from the game. Their existence was based on the threat of flushing fuel by the engine handle causing a major fire.
dbeaver2350 May 8, 2022 @ 5:42pm 
Question about the Utility Keys are they still in game or did they get nerfed.
Danbur Abrazer  [author] Jan 23, 2022 @ 2:38pm 
@jusjokez We're putting off any heavy updating till full release which iirc should be coming "soon" TM. Due to progression resetting/possible mechanics changes/new ships/new tools. It'd warrant a full review on guide.
draftsman Jan 23, 2022 @ 10:24am 
plus i cant even get in
draftsman Jan 23, 2022 @ 10:23am 
Im doing a atlas scout and theirs 0 coolant pods...