A Hat in Time

A Hat in Time

26 ratings
Adding dyability to Hats and Players
By Crash
This guide will explain how to create textures that support in-game dyes
   
Award
Favorite
Favorited
Unfavorite
Preface
Some things you might need before you start making dyable textures:
Paint Dot Net, this will be used to create the dyable masks and texture alterations: Download[www.dotpdn.com]

It might be handy to save this and open it in PDN to use paint dropper for exact values


And of course, the texture you wish to add dyability for.
Making the Dyable textures
For each texture you want to make dyable you will need to make about 2~3 additional textures depending on the complexity of the texture, for my example I will be adding dye support to Playable Mafia, if your texture has gradients on it it will require an extra texture, start off by opening your texture in PDN,

Alpha Texture
first you will want to create a Alpha Texture, this will define where parts of the texture that aren't being dyed are like skin and hands.
If you don't have any thing to exclude from being dyable you can skip this step.
Use the wand tool to select parts of the texture that will NOT be dyed,

Then add 2 new layers using the button circled in red, if you don't see this tab make sure on the top of the toolbar it is enabled (above the red line),


after that choose the paint bucket (also called the fill tool) and fill in the selected all white, then deselect the selection and click on the layer (most likely called layer 2) between the texture and the white you just filled, and fill it all black, Save this texture as a png, jpg, or TGA file and open another version of the original

Lerp Map
Next your going to want to make a lerp map,
This stem can be skipped if you use all solid colors
A good example of a texture that doesn't need a lerp map would be from SunSpirit's Playable Frisk


in this case however, we would need one for area's such as seen below,


While I am aware this wouldn't be seen in game by usual standards it serves as a good example on the material itself

The easiest way to make a lerp map is just to open the texture and hit Ctrl+Shift+G to gray-scale the image. This will suffice as a lerpmap, Save this texture as a png, jpg, or TGA file and open another version of the original

Gradient Map
Lastly you are going to have to create an gradient map, this is what actually handles the colors, If you downloaded the image from the preface, I recommend opening it up in a new layer and scaling it down, Before creating the map itself I recommend selecting each part you want to be dyable and noting down the HEX color of it somewhere, this will save time later.


from here you will want to select different parts with the wand tool that you want to be dyed the same color and make the one of the Gradient colors from the list, NOTE: You can just ignore the parts you masked out earlier and not worry about coloring them
you can make layers with each color to make it look better and smoother,


The end product should look something along the lines of
NOTE 2: The colors used above are to show the difference in more detail colors can vary but the alpha will be different for each


Save this texture and you're ready to start making the material!
Making the Materials
At this point we have all of our textures that we need


At this point boot up the editor and import all the textures into a package


Create a new material by right clicking a gray part in the content browser


and drag and drop all the textures you made into the screen, then add a playerDye node from the search on the right side of the screen, as well as a Lerp node but holding L and clicking anywhere and connect them as seen in the image,
NOTE 3: Since this is for a player I have an additional Player Shader node, this is not necessary for hats just pretend it connects to the diffuse of the main node


After that go back to the content browser and create a new Parameter Collection Info from the tab you made the material in, open that up and create new the amount of new Vector Parameters as colors you used, Each one should have a color and an A value, for each Color you can click on the color and input your HEX value you copied then hit OK, then input the A value as the number from the Alpha Chart


NOTE 4: Make sure all A values are going from 0 up to 1 in order, my 6th variable (5) is 0 because inputting the HEX resets to 0


next you want to add the parameter names, Players and hats use different names so make sure to use the correct ones! Hats can also use the player Params!


Left side is the player Names, right side is the Hat names


Next we have to add the Param info to the Playerdye node, open the material and click on the PlayerDye node, then on the bottom paste the full name you get when you right click the Param info and hit copy full name to clipboard.


If you don't use a gradient map, congrats! Try the material in-game and see if the texture looks good!

If you do have a texture map you will need to add a couple more nodes with the third extra texture,


Connect the output of the lerp or the output of the PlayerDye depending on how many textures you had, then connect the multiply into the Diffuse.
Ending notes
And success! The texture should work and support dyability for your hat or playable,


If your hat or character has artifacts or lines of another color be sure to mess with the texture many issues can just be solved by making lines thicker or a different darker color that isn't near another color.
Credits
Huge thanks to
SunSpirit for letting me use one of his textures and teaching me about the process
Salutanis Orkonus for letting me alter the playable Mafia materials for this guide

Huge thanks as well to HERO[http//HERO] for proofreading!
3 Comments
Pckables Jan 31, 2024 @ 9:28pm 
An important note that was missed:
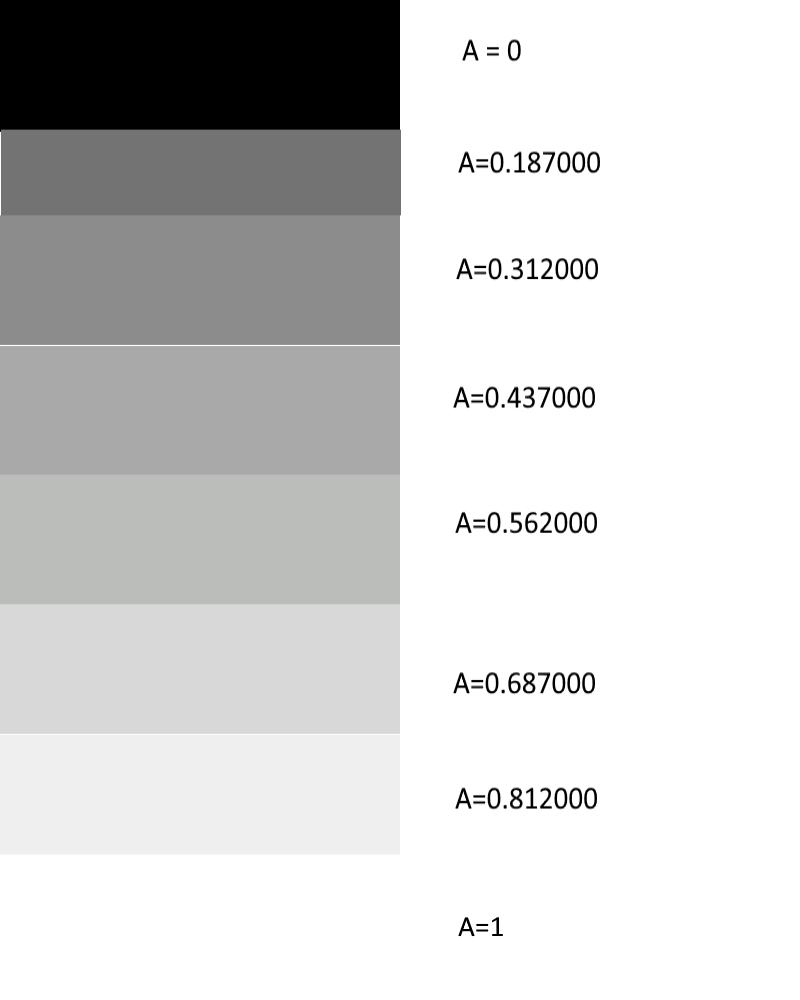
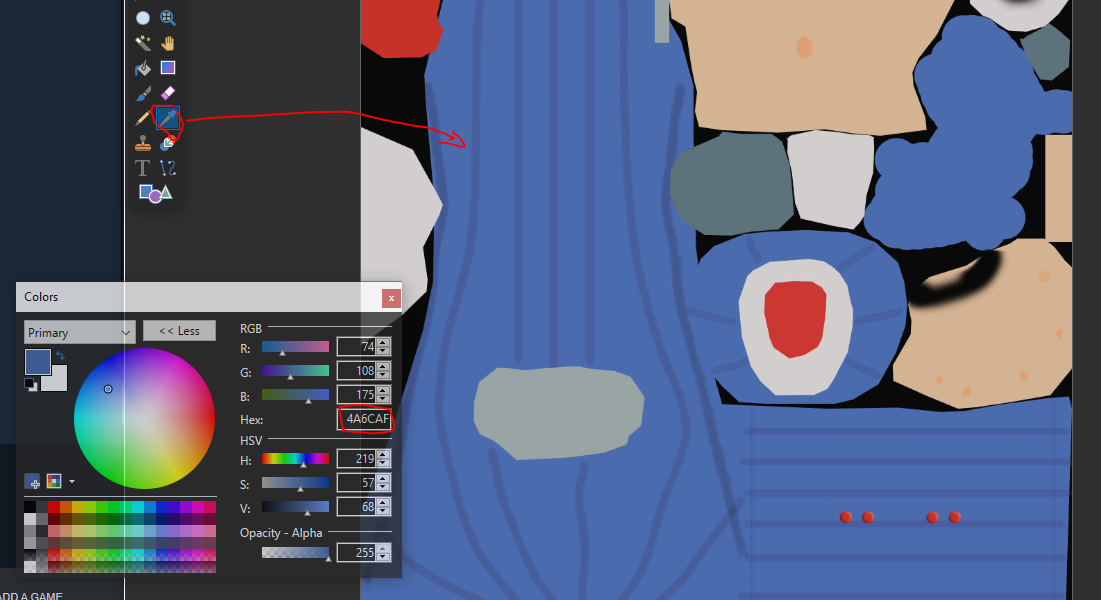
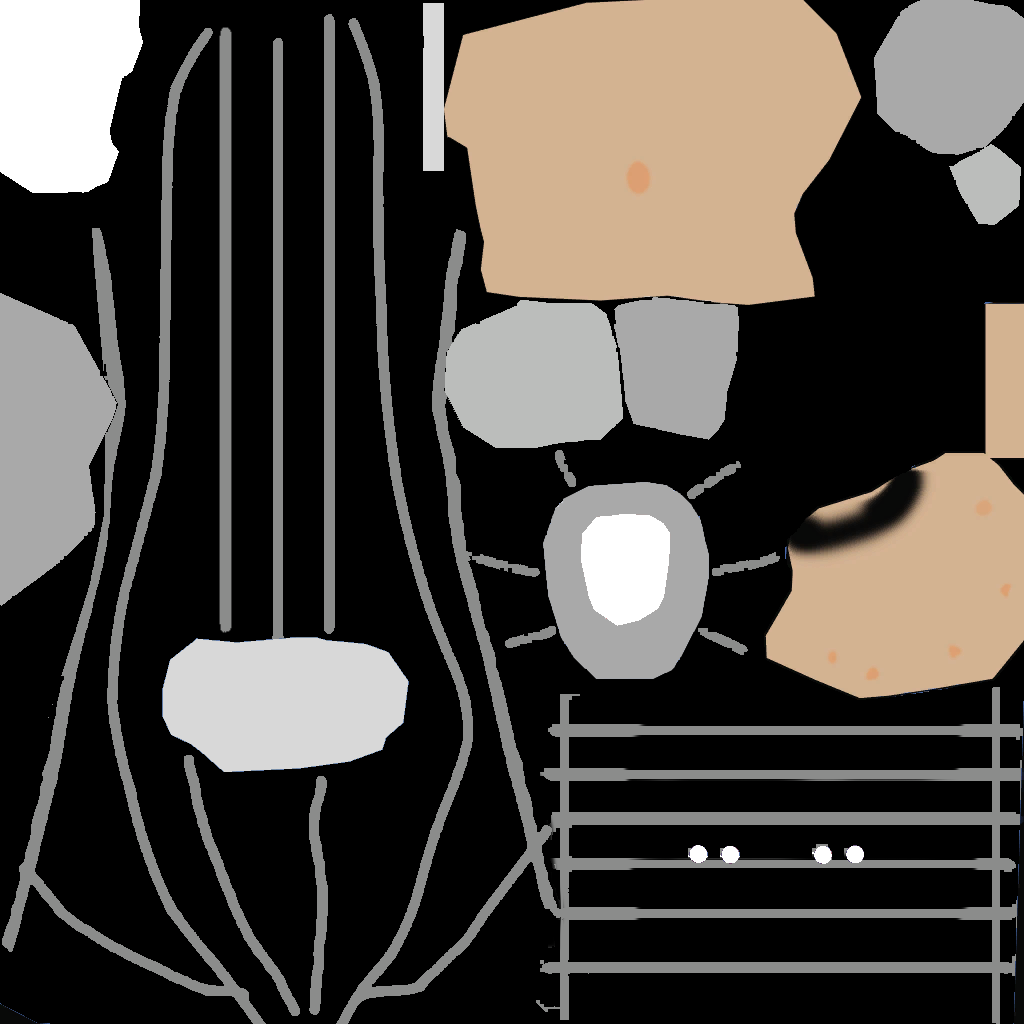
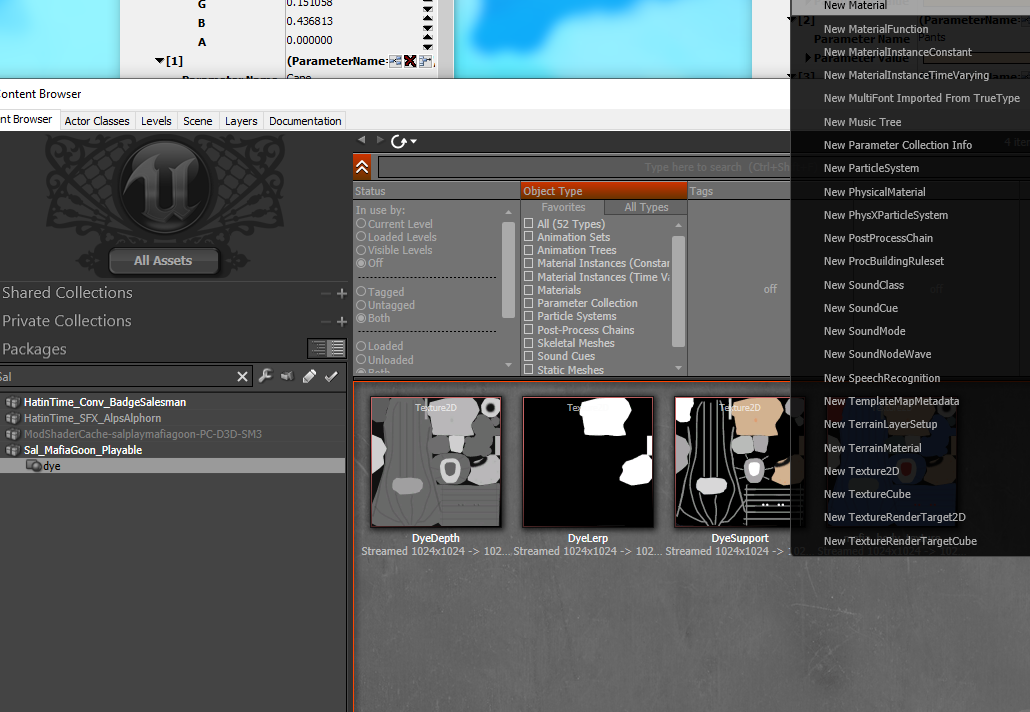
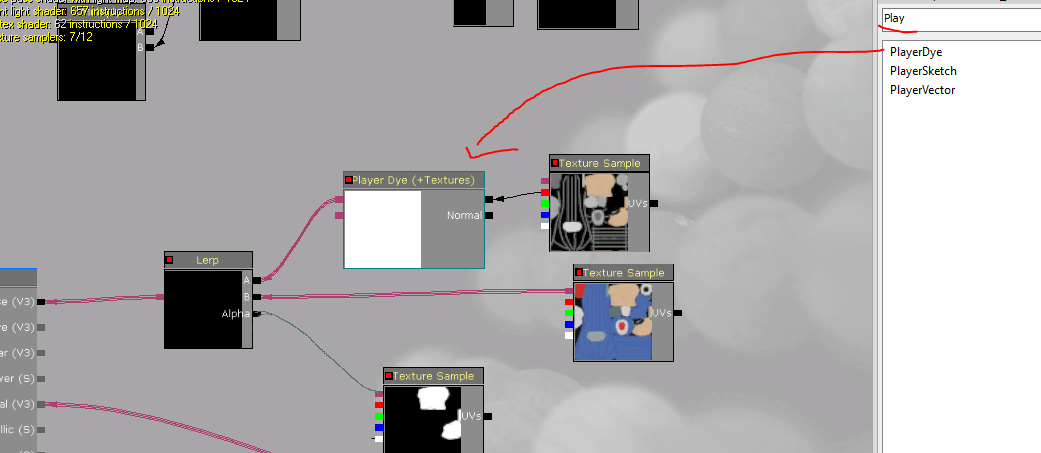
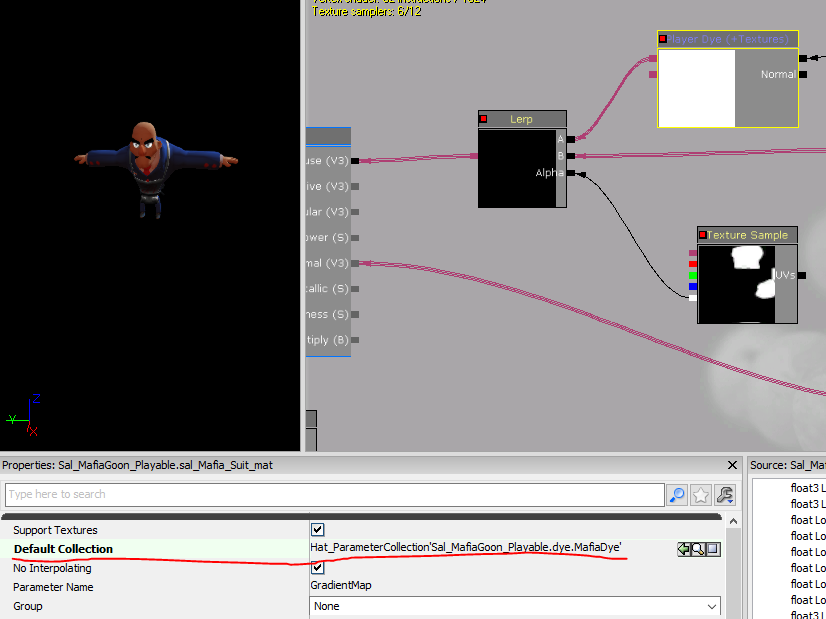
If you want to use a gradient for your color selection rather than solid alpha values, so that your colors blend into each other...
You need to UNCHECK the "No Interpolation" check box on the PlayerDye node.
That'll make it so alphas between your color selections will automatically blend into each other when it detects alpha values between those points.
Cman Nawukami Mar 29, 2022 @ 11:20am 
THANK YOUUUUUU
Nawko Squids Nov 27, 2021 @ 11:30pm 
nyagga