Red Dead Redemption 2

Red Dead Redemption 2

178 ratings
In Depth : Making Money and Gold Online
By AetoTV
A guide showcasing the best ways to make money and gold in Red Dead Online

This guide will start from what lower level players can achieve upto the most profitable runs that endgame can provide.

This guide will be updated as the game is.
4
   
Award
Favorite
Favorited
Unfavorite
The run-down
Here's what you can expect from this guide:
  • Low level methods of earning money and gold upto the most profitable endgame runs
  • Best way to earn gold bars
  • Methods people of all levels can do
  • What to watch out for when buying role upgrades and equipment
  • Tips to maximise efficiency throughout all roles

All methods are viable across all levels, but I'll run you through what would suit you the best based your skill, preference or goals.
Methods everyone can do
There's some things that all players are able to do from the get go, these things include things such as:
  1. Picking herbs
  2. Hunting animals (collecting their pelts, meat and horns ect.)
  3. Gathering collectables
  4. Looting

1: Picking Herbs
Picking Herbs is easy and quite profitable overtime. More info on this later in the guide

2: Hunting Animals
Take a little more brainpower than picking herbs, but is great for a quick profit for time. More info on this later in the guide

3: Gathering Collectables
Even though collectables have their own dedicated role, that doesn't stop you from coming across them in your travels. Tarot cards, antique alcohol bottles, heirlooms and American plants can be found all over the map without the need of a collectors bag or collectors map. They all fetch about $7.50 for each individual item you sell to Madam Nazir, so it's definitely worth it. (You need the collectors role to do this, but you can still collect them even if you don't have the role yet)

4: Looting
Killing enemies is apart of the game, you're gonna do it alot, search those pockets and grab any cents and jewellery you can. Looting dead NPC's yields a dozen or so cents, jewellery, collectables (Only if you have the role I think?), provisions and even animal skins depending on the character. Those cents add up overtime, but the real thing you're looking for is the loose jewellery they have, these fetch a few dollars each at The Fence and most can stack upto 5, each having their own value upto $12

The easiest way to acquire gold across any level is to do your daily challenges. Each gives you .2 gold upon completion and .4 gold when doing them all. Though it gets even better if you commit and do at least one a day for 28 days, this will give you a massive bonus to the gold you earn and also net you a treasure map upon the whole daily set completion.

The other way of getting gold in substancial amounts is completing treasure maps, these will give you a random amount of gold and money, it's down to luck, but in my experience it's always above .5 gold and $60
Herbs, hunting and small doses of money
Most of these methods are discussed in the previous section, but will be referred to here.

Story Missions
Do all of your story missions as soon as you can, these give a boosted amount of money when you complete them for the first time, but dwindle to almost nothing if you replay them. They're marked with a yellow circle on your map.
Just know that certain missions can't be started based on your honour level, you've either got to raise or lower it to gain access to these.

Hunting Animals (properly)
As before, everyone can hunt animals, but it's not as easy as picking plants from the ground. Making money through hunting will require the right weapons and aim to get the most out of your time.

First thing to know when hunting. Aim for the head. It's an instant kill and it's way easier to shoot then the heart (Also an instant kill, but not as easy to find unless using deadeye without Painted Black).
Shooting an animal (Or running it over with your horse) anywhere that isn't a critical spot will damage the hide no matter what level it was originally, thus lessening its worth.


Second thing is that you need to use the right weapon for a 'Clean Kill'. Clean kills are shots to a critical spot that instantly kill/won't ruin the hide (Headshot and heartshot). But it's not as simple as shooting an animal in the head and getting a level 3 hide, you have to use the right weapon for the job.


The Varmint Rifle is one of the first weapons you can acquire. It's sole use is to hunt small game such as rabbits, birds, snakes ect. to acquire that level 3 carcass


The Bolt Action Rifle is used for larger game such as deer, bucks, goats ect. This rifle is the best for hunting herds of deer due to the 5 rounds you can use at once in Dead Eye.


The Rolling Block Rifle. This is the heavy hitter. It's use is to get a clean kill on any large animal, ranging from deer to Black Bears


Never use a pistol or a shotgun, damaging the animal before skinning will lessen the meat you harvest from it.

Storing animal pelts for selling comes down to the size of the animal harvested. Small animals such as snakes, rabbits, squirrels ect can be skinned on the spot and put into your satchel straight away. Larger animals such as deer must be stored on the back on your horse, as far as I can tell you can store an indefinite amount of hides on the back of your horse. Even larger animals such as Alligators and Bears need to be stowed on your horse in a bundle
This will slow your horse down slightly and make it unable for another player to ride with you


Predator animals catch a better price then herbivors, things like Cougars and Panthers fetch upto $7 a full sale opposed to $5 for a 3-star deer.
You can only hold a certain amount of meat and materials from each animal (Kind of like herbs). So essentially, when you're full, head on over to the butcher and unload
If you only plan to sell animals for money Always skin them first before handing into the butcher, you'll earn a few extra dollars


Picking Herbs

Everyone can picks herbs, they're all over the map and you can carry 10 of every kind by default. This method involves you simply collecting herbs either directly or during regular play and selling them in bulk to a doctor in any town. There are 30 different herbs throughout the game and they're all valued at $.25 cents per herb, this may seem small, but selling stacks of herbs in bulk does give some nice pocket money.

Small tip. Some roles grant unique perks that allow you to carry more herbs at a time. When having acquired them both, you can carry 30 of each herb instead of 10


Fishing
You're able to purchase the fishing pole at level 14, being given basic bait permanently, but not the right stuff for the best fish.
Each bait is to be used to catch a certain fish, or you simply won't get a bite at all. Everytime you equip a new bait onto your rod a tooltip will appear telling you what fish it's best to use on. Simple way of evaluating the worth is the weight of the fish, this is the key factor when selling to a butcher as you'll earn more the heavier it is.
Perch, Rock Bass and some other species of fish can be put away straight into your satchel just like small game hides, but the larger fish (Pike, Sturgeon ect) will need to be placed on the back of your horse, just like bear and alligator pelts.

Different baits can be purchased from any general store or your catalogue, but the best place to get everything in one place is the bait shop in Lemoyne.

Assisting Strangers
On the map you will find an orange circle with a person inside, this is a freeroam quest. They're all different depending on who you speak to, and each character you run into will task you with honourable or dishonourable quests.
A word of warning, other players can intervene in most of these, killing you and stealing the reward you were supposed to get by delivering the objective themself.
Introduction to player Roles
By around level 20-30 you'll hopefully have enough gold by simply playing to get access to one of the roles (maybe except Moonshiner, that's the most expensive at 25 gold).

Here's a small rundown on what you can expect from each role, more info on each will be in a later section.


Bounty Hunter
The Bounty Hunter role is the first role i personally acquired, but was the last to fully complete. It feels as if this role requires more grinding then the rest to fully complete. It doesn't offer alot of money, only when doing 5 star legendaries and 5 man bounties will it be profitable vs. time. The Bounty hunter is the only role that offers gold as a reward, so keep this in mind if you need to get a little extra here and there.


The Collector
The Collector role is more of a role for people with quite a bit of patience, though this patience does pay off quite alot. As a collector, you have to collect sets of different items, such as Tarot cards, American flowers, Antique alcohol, Ancient Arrow heads and more that are found all over the map. Though it takes a bit of money to acquire the tools needed to find certain types of collectables, they will certainly pay themselves off after a few completed sets.


Trader
The trader role is by far the most worthwhile role you can acquire to gain money. Though it has a slow start, once you get the best wagon you can be making upto $625 per delivery. This role consists of the player collecting animal carcasses and bringing them back to their butcher's table in camp, adding them to their supplies so they can be made into Goods to sell off to buyers. Once enough goods are made (They can only be produced through waiting and keeping your camp supplied), you can sell them to either a 'Local Buyer' or a 'Distant Buyer", the former being safer for solo's, it not alerting players of your actions, but yielding a smaller profit then the long distance haul. Long distance deliveries give you more money per delivery, but alerts other players to your actions, giving them the opportunity to steal your goods and sell them themselves.


Moonshiner
The most expensive role thus far at 25 gold. This role also has a slow buildup, much like the trader, but you don't need to resupply your shack or anything, instead you pay a flat fee to start production and wait until it's ready. Each batch of moonshine can be flavoured upto 3 levels, each level raising the moonshine's worth when selling.
Player Roles - Bounty Hunter
The Bounty hunter role doesn't require much skill or finesse, but is easy to pick up and play at a moments notice. This role is a stand out amongst the others for offering gold for bringing in bounty targets


Bounty Boards can be found in every major town and train station, this is where you can accept
free roam bounties and legendary bounties. Each board only has 3 free roam bounties at a time, they won't reappear until some time has passed after completing them (I'm not too sure how long), but you can travel between any board to find more.


Free roam bounties are very simply compared to Legendary Bounties. You can be put into one of several situations when activating the bounty, some being 'Hunt the bounty', in which you simply ride after them and catch them in a convoy. Others are 'Cause damage to draw target out', 'wait for target to arrive' ect. These all have their own little quirks that make every run not entirely the same, but there isn't too much variance beyond that.


Legendary Bounties are similar to a mission, you're spawned in a specific place and given a mission marker to find your target. Depending on who you choose as your target, you'll be put in a unique situation to capture them, whether it be jumping on a train occupied by the targets gang, or finding a loner living amongst wolves in the mountains.

Legendary Bounties have levels to them, upto 5 stars. These levels determine the difficulty and reward per bounty. NPC's gain better accuracy and damage, spawn more often, overrun you and more to make it more difficult for you before you deliver the target to jail. Level 5 difficulties make it so you need to deliver the target alive, otherwise you fail.
Player Roles - Collector
The Collector role can be one of the most profitable roles you can get if you stick to it, but the reality is that this one takes quite a bit of patience and time. There are quite a few sets, so there's plenty of variance in locations per collectable, but gathering a whole set can take hours of time to do if you're solely focusing on it.
Items can be found by either collectable maps or by simply running into them in the world. When you are in the vicinity of a collectible, you will hear a 'Chime' noise, very unique and only plays when near one, the noise grows louder the closer you are to it. Once close enough, you'll be able to see the gold spiral the eminates from the collectible, that it, pick it up.
There are two pieces of equipment that are practically compulsory for this role, they're the shovel and the metal detector. These can both be purchased from Madam Nazir and serve as the main methods for finding most collectables.


You're able to sell any item you've found individually to Madam Nazir for $7.50 each, but completing them as a set is far better
Most sets that require more than 10 items will yield almost $300, the small ones with 8 usually give around $180, but definitely worth it all around. The coin sets are by far worth it, one set gets you $540 on its own.

There is no time limit on when you have to hand in collectables (Except the weekly list), so you can hoard all the items you want until a set is done, but know that you can only hold 10 of each, there's no perk to increase the amount here.

Madam Nazir can sell you Collectors maps for a small price, these will show you 3 search areas of a guaranteed item of the map you chose. She also sells tools that let you find other kinds of collectibles, like arrowheads, jewellery amongst others, but these come at a price

A full set of collectables (including weekly list)


When turning in every set in full, you get a total of $3761.50
Player Roles - Trader
The Trader role is probably going to be one of your main methods of making money. It provides you with a lump of money per trade run and how often you can do a run is determined by what kind of wagon you have, along with your upkeep of supplies.

To start off, you need to buy a Butcher's Table at your camp

Your next move is to gather supplies to build up your materials. This can be done buy killing animals can bringing their carcass to the butcher's table. DO NOT SKIN THE ANIMAL, Crips either won't accept it, or it'll be worth alot less in materials


Once your Goods are full you'll be able to sell them to either a 'Local Buyer' or a 'Distant Buyer'. You're decision between the two will directly influence the money you'll make on the delivery

Notice the profit changes:


Local deliveries will give you a lower profit, but your activities won't be won't be broadcast to players, along with the fact that the delivery would be alot closer.

Selling to a distant buyer is far riskier, you'll have to go two or even three times the distance compared to the local buyer and your activity will be shown to nearby players that have the trader role too. I recommend you do the distant deliveries with a posse, you'll appear more intimidating to other players with multiple friends guarding you, and it'll be easier to fend off attackers.
(Example of a distant Buyer, Big Valley to McFarlane's ranch)


If your horse dies your profits are sliced in half or more depending on your carriage. Drive safe and on the road to avoid killing your horse, but avoid towns like Valentine whenever possible as players populate it often.
If your horse does die, your wagon will drop several bags of hides, these act the same as delivering the wagon, but you'll only be given several and depending on how many of those you deliver will also determine how much money you'll make.

In some instances the delivery point will be overrun by enemy NPC's. Simply drive through and park the wagon (It's protected when this close to the objective, don't worry) and take them all out to deliver.


Pro's :
  • $625 per full delivery
  • No need to worry about carriage damage (Unlike Moonshiner)
  • Not too much attention is required for stocking up on materials and while you wait for goods to fill
  • Can decide between smaller output of money for safety, or a bigger one with a element of risk
Con's :
  • Takes around 3 hours for goods to get to 100
  • Players love to blow up the carriage for no reason because they know it'll piss you off
  • The drop off location is random, so it can either be a shorter trip or an even longer one despite choosing distant delivery option
Player Roles - Moonshiner
The Moonshiner role is by far the most expensive role thus far in the game at a whopping 25 gold for a cabin. This role requires time to gain profits, you won't be raking in money as quick as you would with the trader role, but there is certain advantages that the Moonshiner has over the Trader.

Firstly, do all of the Moonshiner story missions. This will give you Moonshiner xp and decrease the price of mash and increase the profits you gain from each sale, I recommend doing them all before committing to the role as a source of income.

Once you've finished the storyline, you can now working up your Moonshiner level to bump up the profits. At first you'll start with the standard still, this will only create weak moonshine which doesn't sell much compared to the strong variant. You'l need to stick with it whilst working upto moderate strength at level 5, then strong at level 10.

Another factor when making your moonshine is selecting its flavor.
The flavor of it will determine the money you make through a leveled rating, 1 - 3 stars. This isn't a major factor, seeing as it only really increases the money you'll make by $30-$50, but it does add up.
BE CAREFUL WHEN FLAVORING. You need to see what buyers are lined up for each flavor and if they're available to buy from you, otherwise you'll sell it as the lowest base price for the strength and flavor.

Unlike the Trader, you'll have to be careful handling the delivery wagon because it actually has a health bar to indicate how much damage the bottles of Moonshine are taking due to reckless driving or the wagon being shot (Notice the health bar around the wheel icon at the top).

Once enough damage is sustained, you'll begin breaking bottles, thus lowering the amount of money you'll make. But also unlike the trader role, you can still use the wagon to deliver the goods despite the damage, so if you only end up with 1/18 bottles by the end, you can still deliver to the drop off (though it might not really be worth it at that point).
DO NOT HOLD SPRINT/GALLOP WHILE DOING THIS DELIVERY. Going too fast will damage your bottles, so simply hold shift until you reach max speed, then let go, you'll maintain a decent speed whilst keeping the bottles safe

Every delivery you undergo will have you driving your wagon through a Revenue Agent checkpoint, these can't be avoided unless you decide to take your own path to the drop off, or go off road (In which you'll damage the bottles). There are one of two outcomes that can occur when approaching a checkpoint, the first being the agents telling you to hurry along and go through the checkpoint, this won't resolve in any conflict unless you draw a weapon on them and attack. The other outcome is the agents telling you to pull your wagon over, this will result in them searching the wagon and finding the moonshine before shooting you. (I've heard that sometimes they might let you through, but I've yet to see this). If this happens, I strongly recommend you jumping off the wagon and wiping out the agents so they don't shoot at the wagon and break any bottles.
Getting more gold
The best ways to get gold nuggets and bars can be really simple, though they can't be acquired as easily as money (Obviously).

My main method of getting gold revolves around the daily challenges.
Doing this will net you .2 nuggets for every task done for the day, then even more for completing the whole set for the day. Though this seems small, if you keep at it for the whole week, you only having to do one a day minimum, you get that gold multiplier upto a total of 2.5 times the gold per task + a treasure map if you stick to it for a whole month.

My next method is treasure maps. You get these either from looting bandit NPC's or when you level up in multiples of 5 (level 5, 10, 15 ect). These net you (what seems to be) a random amount of money and gold. That largest amount I've ever collected was $160 and 1.2 gold bars from a single map, so don't forget to use them

Another way to procure gold is to do Bounties, though this does require a bounty hunting licence, it can be a nice way to make some gold and money on the side if you're not too keen on paying too much attention. Your reward is based off the level of the bounty and how many targets there are, the more in each case, the more you will earn. I believe you can earn upto $100 and .24 gold per bounty notice if you bring in all targets alive (Provided they're level 3 and have more than one target on the notice).

Doing awards also grants .4 gold everytime you redeem them.
Things such as looting bodies, killing enemies with a revolver, picking herbs adds up in your awards sections, going through various levels that award xp with every milestone, but once you reach gold tier you'll be able to reset the award in exchange for .4 gold. Hold spacebar to redeem a gold award.
The amount of times you can do this seems to be different for every award (I've got one to redeem 9 times before it won't let me, and another 6 before it won't let me).
Notice the new tally in the corner of the award

So if you've the spare time, check out your award section and redeem some free gold.

Though it is a viable method, I don't particularly partake in it often because it's not really guaranteed, is doing Free Roam Events. These can range from a wide variety of activities, from PvP to racing to fishing. Your position in the challenge nets you a certain amount of gold depending on how well you performed, the most obviously going to 1st, 2nd and 3rd. Again, just like the last method, this can earn you upto .20 gold nuggets if coming in first place, but this nearly isn't consistent as the rest (seeing as you probably can't win every time).
There are some role specific Free Roam Events for all of the in-game roles, such as Manhunt, Trade route and Condor egg. To be able to play this event you need to have the collector role at rank 4 to unlock the invitation to special collector events. Condor egg specifically is the main one to focus on as getting the egg can net you $1000 straight away, but the deterrent here is that there are about a dozen other people going after it too so it can be extremely hard to get it. If it comes up, go for it, but don't see it as a free 1k until you actually win.
Efficiency in money making
I have a method which fits nicely into two of the roles, this includes both the Trader role and the Moonshiner role. Alternatively you can use the collectors role and utilise a community made interactive map to farm collectables.

For the first method what you'd want to do to start is to do resupply runs for your butcher's table if needed and gather a few materials for it to start you off, then you'd head on over to your moonshine shack and get some moonshine brewing seeing as it needs no attention after it's started. Once that's complete, go out hunting to fill in time whilst you wait for the moonshine to be complete, this is to occupy you by filling your butcher's table with materials whilst waiting for your moonshine to be done.
Once it has finally finished, do your moonshine run as you normally would, then repeat the process over until the trader is done, at this rate you should be able to fit in 3 moonshine runs between 1 trader run totalling in around $1350 when going full circle (If moonshine is full strength and delivered in full and trader is all done with long distance deliveries).

This method takes upto 3 hours depending on the perks you have and how efficiently you do each part, but the time is only a point because the trader takes 3 hours of ingame time to get to 100

Essentially:
  1. Resupply trader
  2. Start Moonshine brewing
  3. Hunt animals for materials for trader
  4. Do Moonshine run
  5. Repeat 1-4 until trader is at 100
  6. Do Trader run
  7. Start again
=~$1350

Don't forget to be on the lookout for collectables while doing all these, they do add up in the end and can net you a hefty sum, even in incomplete sets

The second method is utilising the community made website:

https://jeanropke.github.io/RDR2CollectorsMap/

This interactive map displays every collectables location per daily reset of their position. You can use this map to find specific items to complete a set, or to generate a route around the entire map to pick up every collectable you can for today's rotation.
This method doesn't really have a estimate of time completion, it pretty much boils down to how you handle it, either collecting specific items to complete a set or to bulk up on any and all items you can. Either way, you'll be able to gain a nice thousand an hour if you set your sights only on this, completing set after set being the most viable method to get money quicker.
Thanks for reading
17 Comments
BudlikyCZ Mar 24, 2024 @ 9:32am 
I cant be the one who always kill those revenue agents before arriving right? I am not risking the search. I stop before they notice me, clear the whole checkpoint loot everything and then continue normaly. Not risking any dmg to a wagon
wallyzz Apr 3, 2021 @ 9:19pm 
For added efficiency, I would change step 3 to be hunt and skin legendary animals from Harriet with the Naturalist role at at least level 5. Three or four of these pelts can easily fill Cripps 2 times, enough for a full delivery.
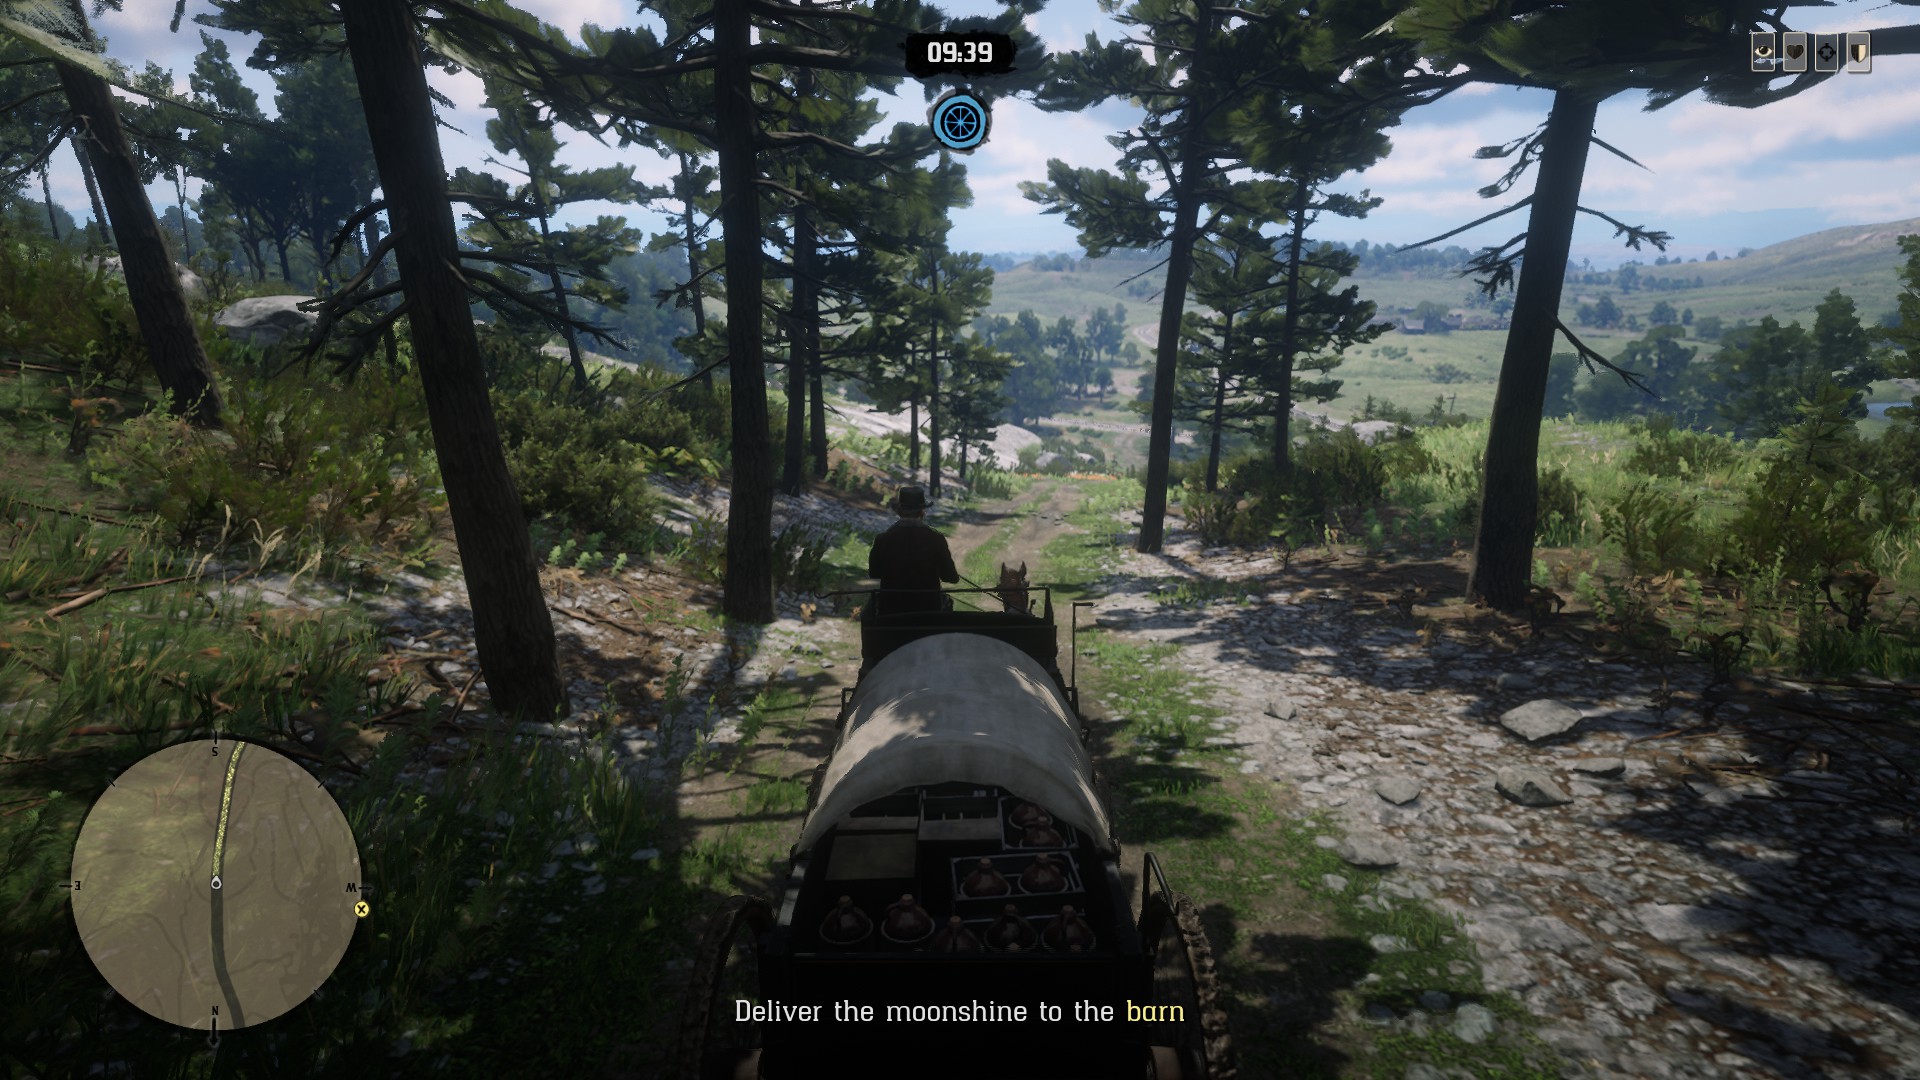
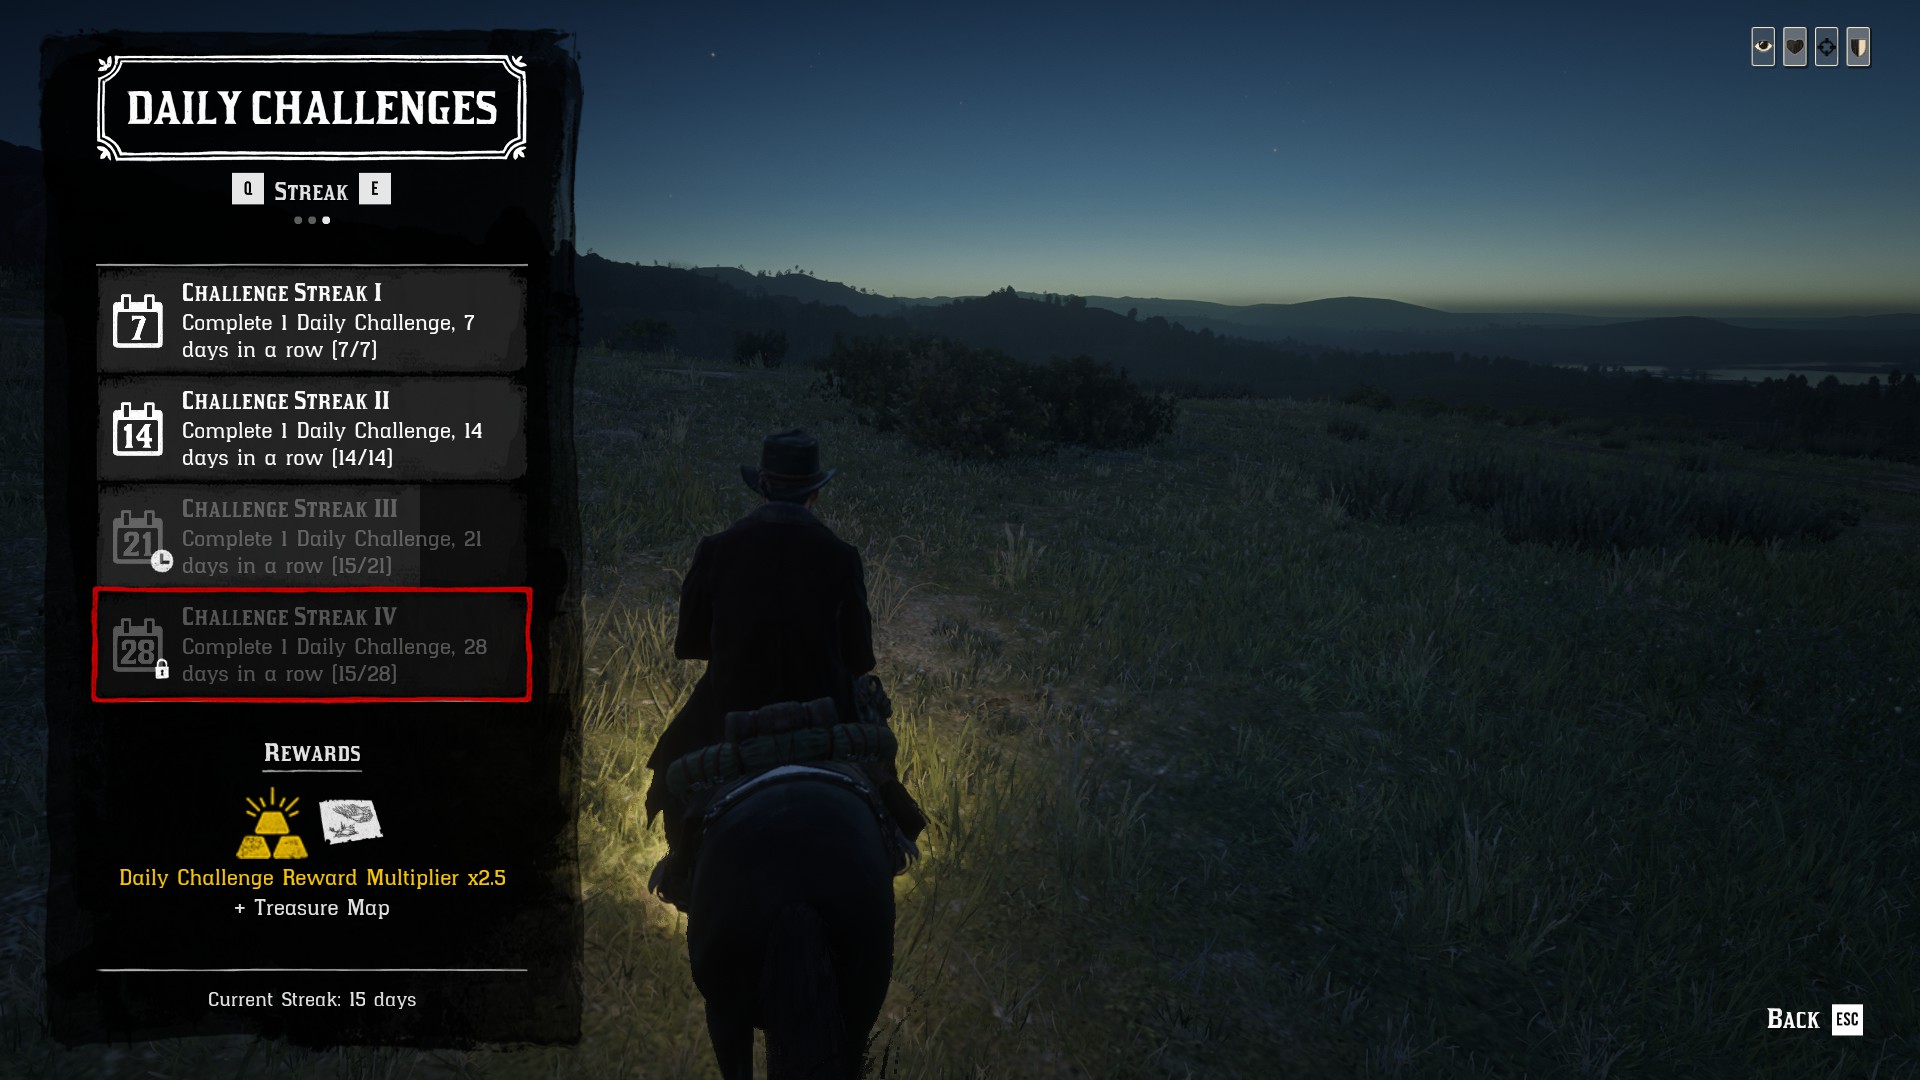
You can use the time saved to run bounties, do dailies, treasure maps, etc.
crack Nov 1, 2020 @ 4:22pm 
Long time ps4 player but about to start on PC, Thanks for the guide!! :heartb:
Sasori Kigaru Jun 25, 2020 @ 1:16pm 
Awesome guide, though I want to suggest an addition to hunting. You can use the lasso on most if not all Medium sized game. So Deer/Bucks, Cow Elk, Boar, etc. When you lasso them ALIVE, so long as you have the stamina/energy for it, you can get up close and kill them with the knife via prompt. Perfect pelt, every time without the use of a gun.

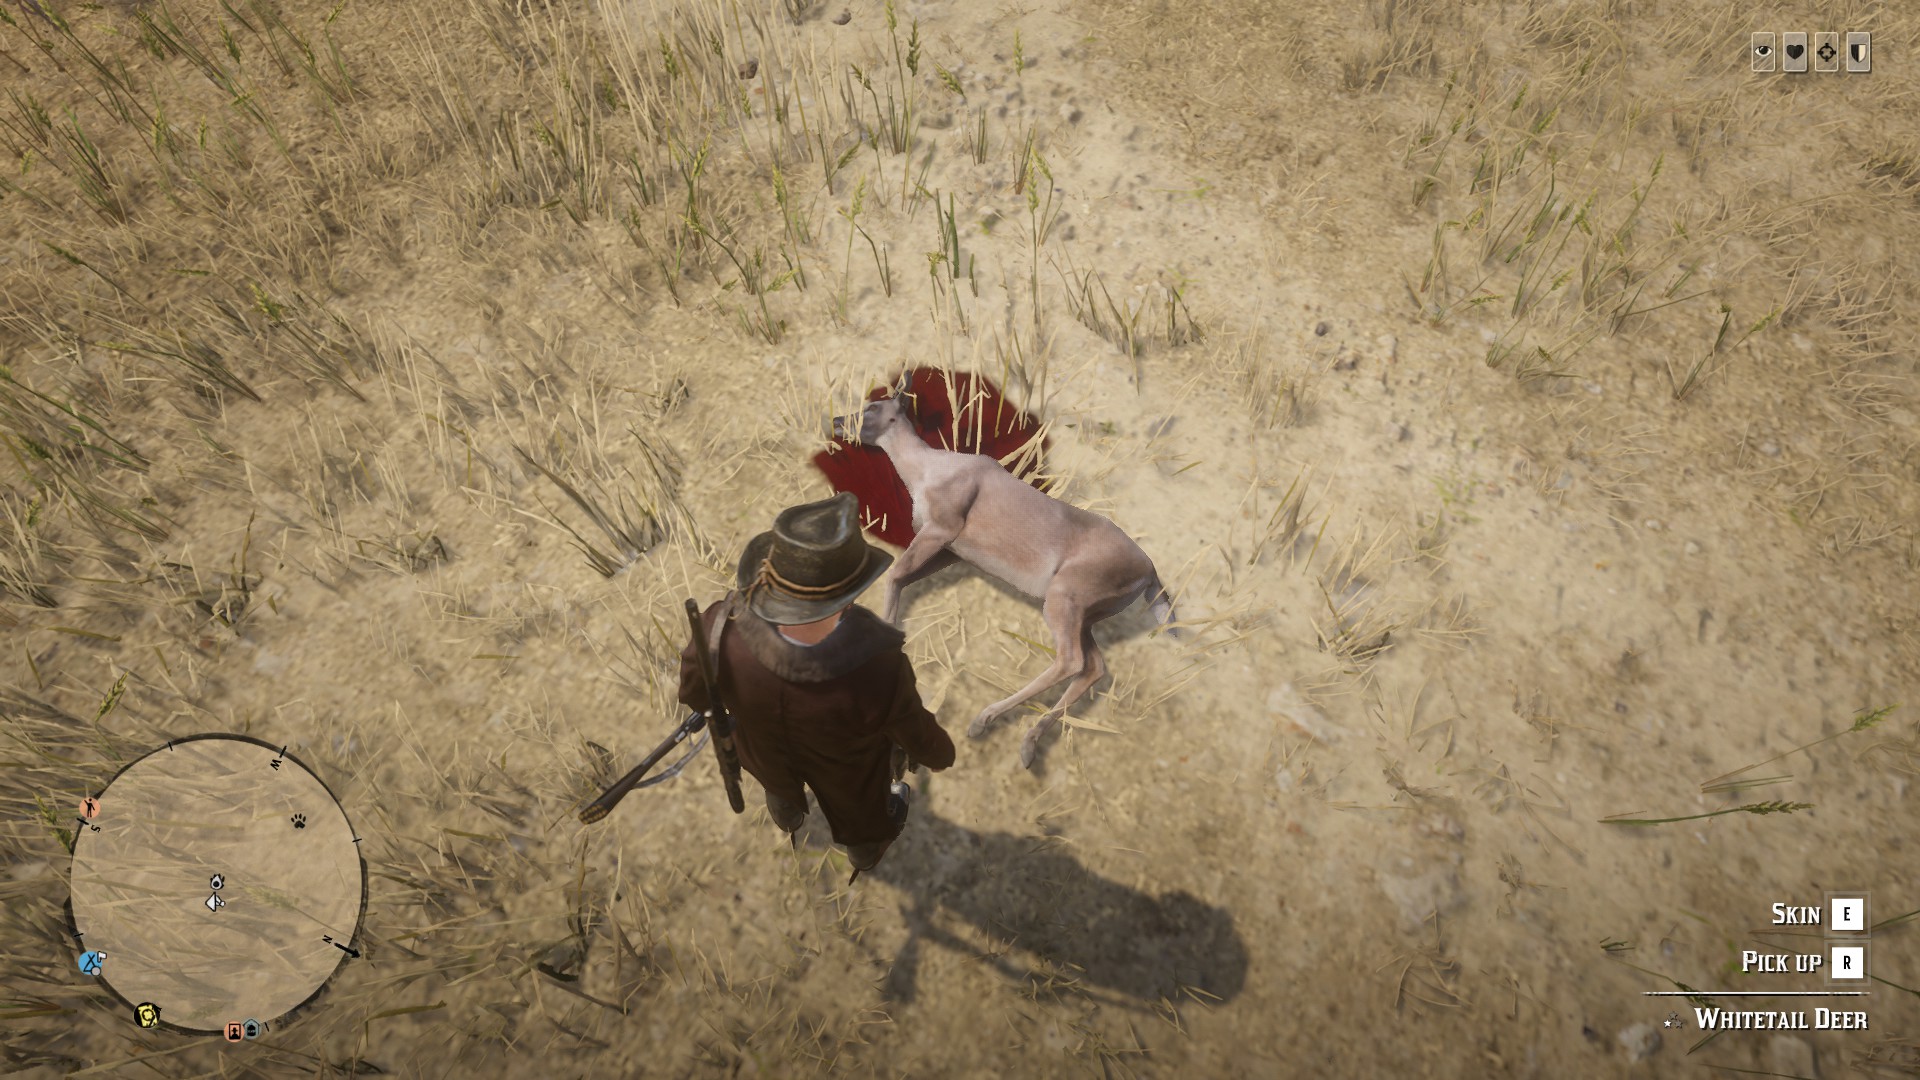
You can lasso the carcasses too, so you can say, stow one Buck on the back of your horse and then lasso another to drag along behind you. Dragging the bodies doesn't damage them.

The lasso is especially good for players that don't have enough money or levels yet to buy the guns needed to get a perfect pelt off the animal they're hunting. Does not work however on large predatory game or small game. Though you can drag the carcasses of large game (Like bears) you still can't do anything with the carcass as far as I can tell. I've never been able to sell it sadly.

AetoTV  [author] Mar 11, 2020 @ 4:50pm 
@Bobeez I find it more often then not they let me through, I guess it's just down to luck? And I didn't know that, I don't usually bother with the moonshiner story missions or bootleggers anymore unless it's for a daily. Good to know though
Joe Mar 11, 2020 @ 1:35pm 
I can confirm that yes, in Moonshiner sometimes agents will let you go after stopping you. Rarely though. Also, I find that if I don’t do a Bootlegger mission before starting a new batch, I get WAY more agent harassment on the delivery. So basically you get punished twice if you don’t do the Bootleger first - you pay more for the mash, and the delivery is harder.
Moony Feb 20, 2020 @ 5:38am 
Very well written c:
AetoTV  [author] Feb 10, 2020 @ 6:00pm 
@LvlSmasher
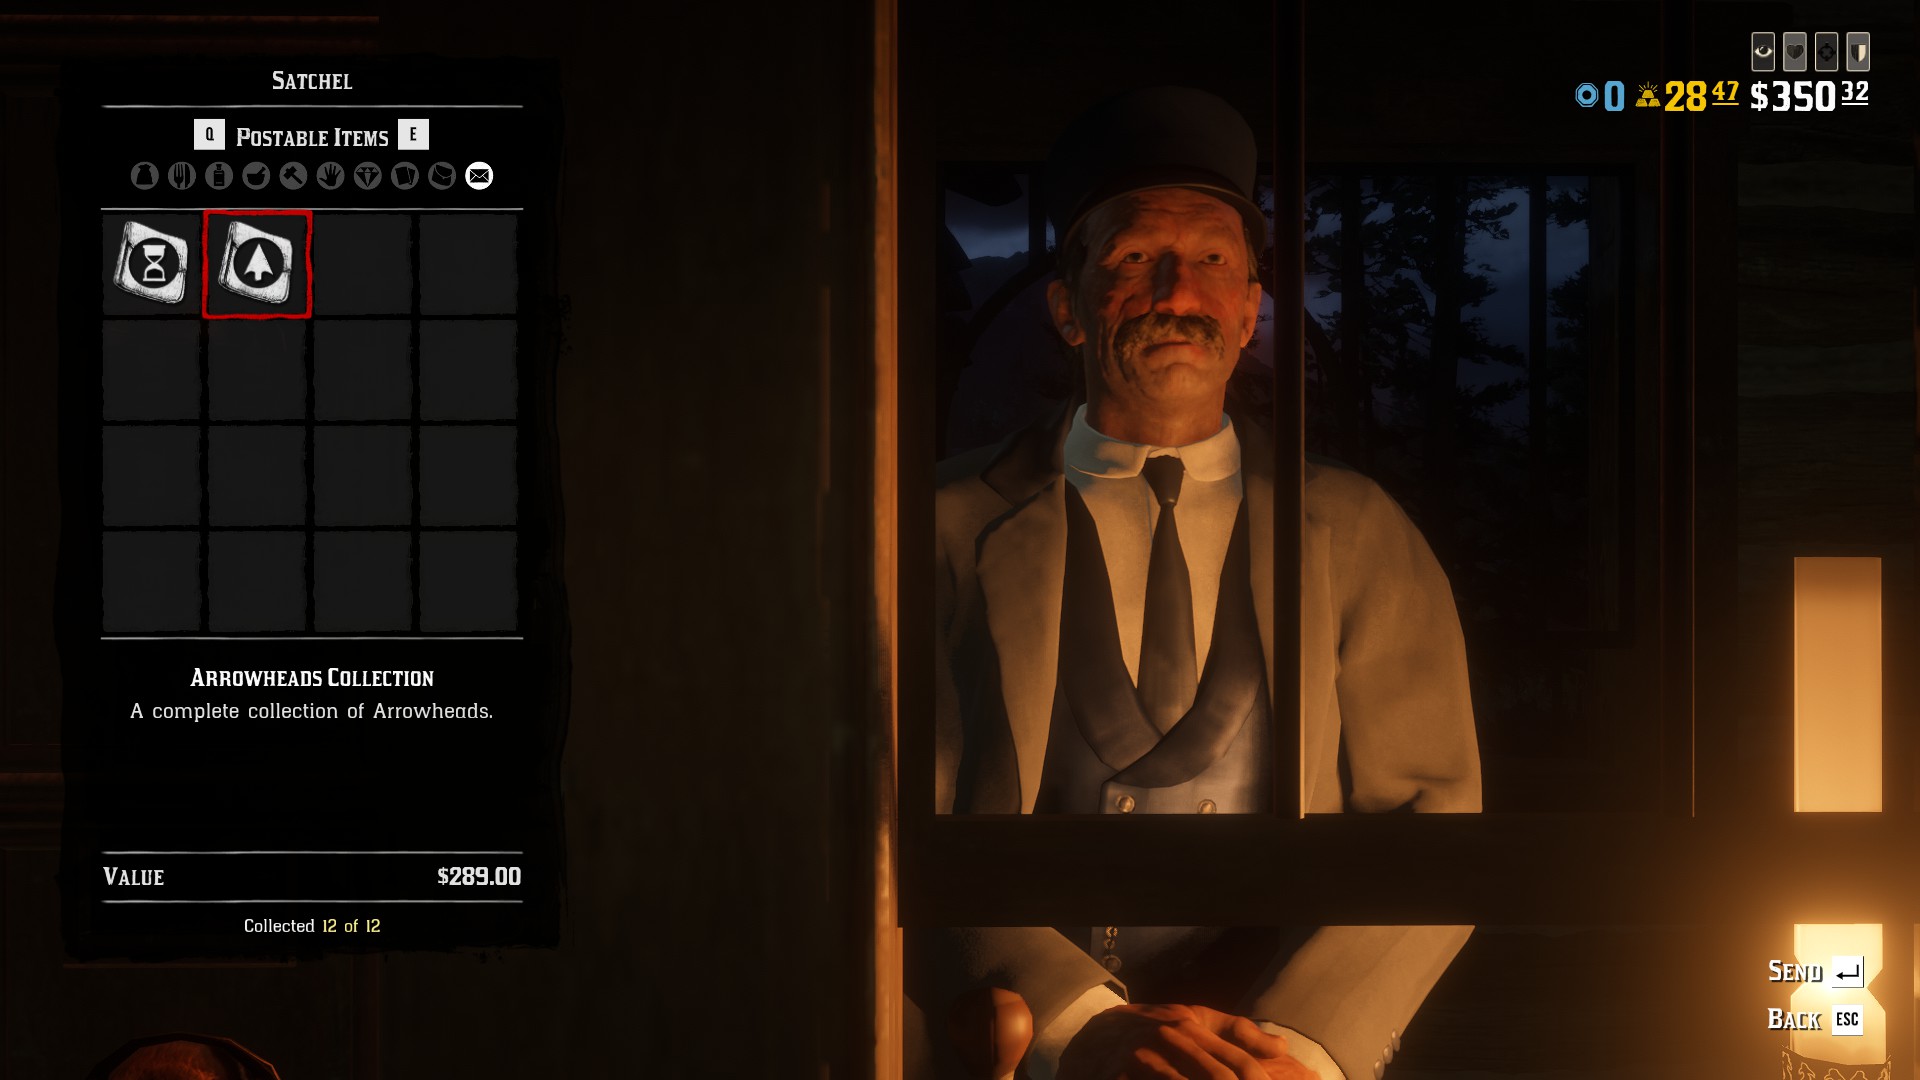
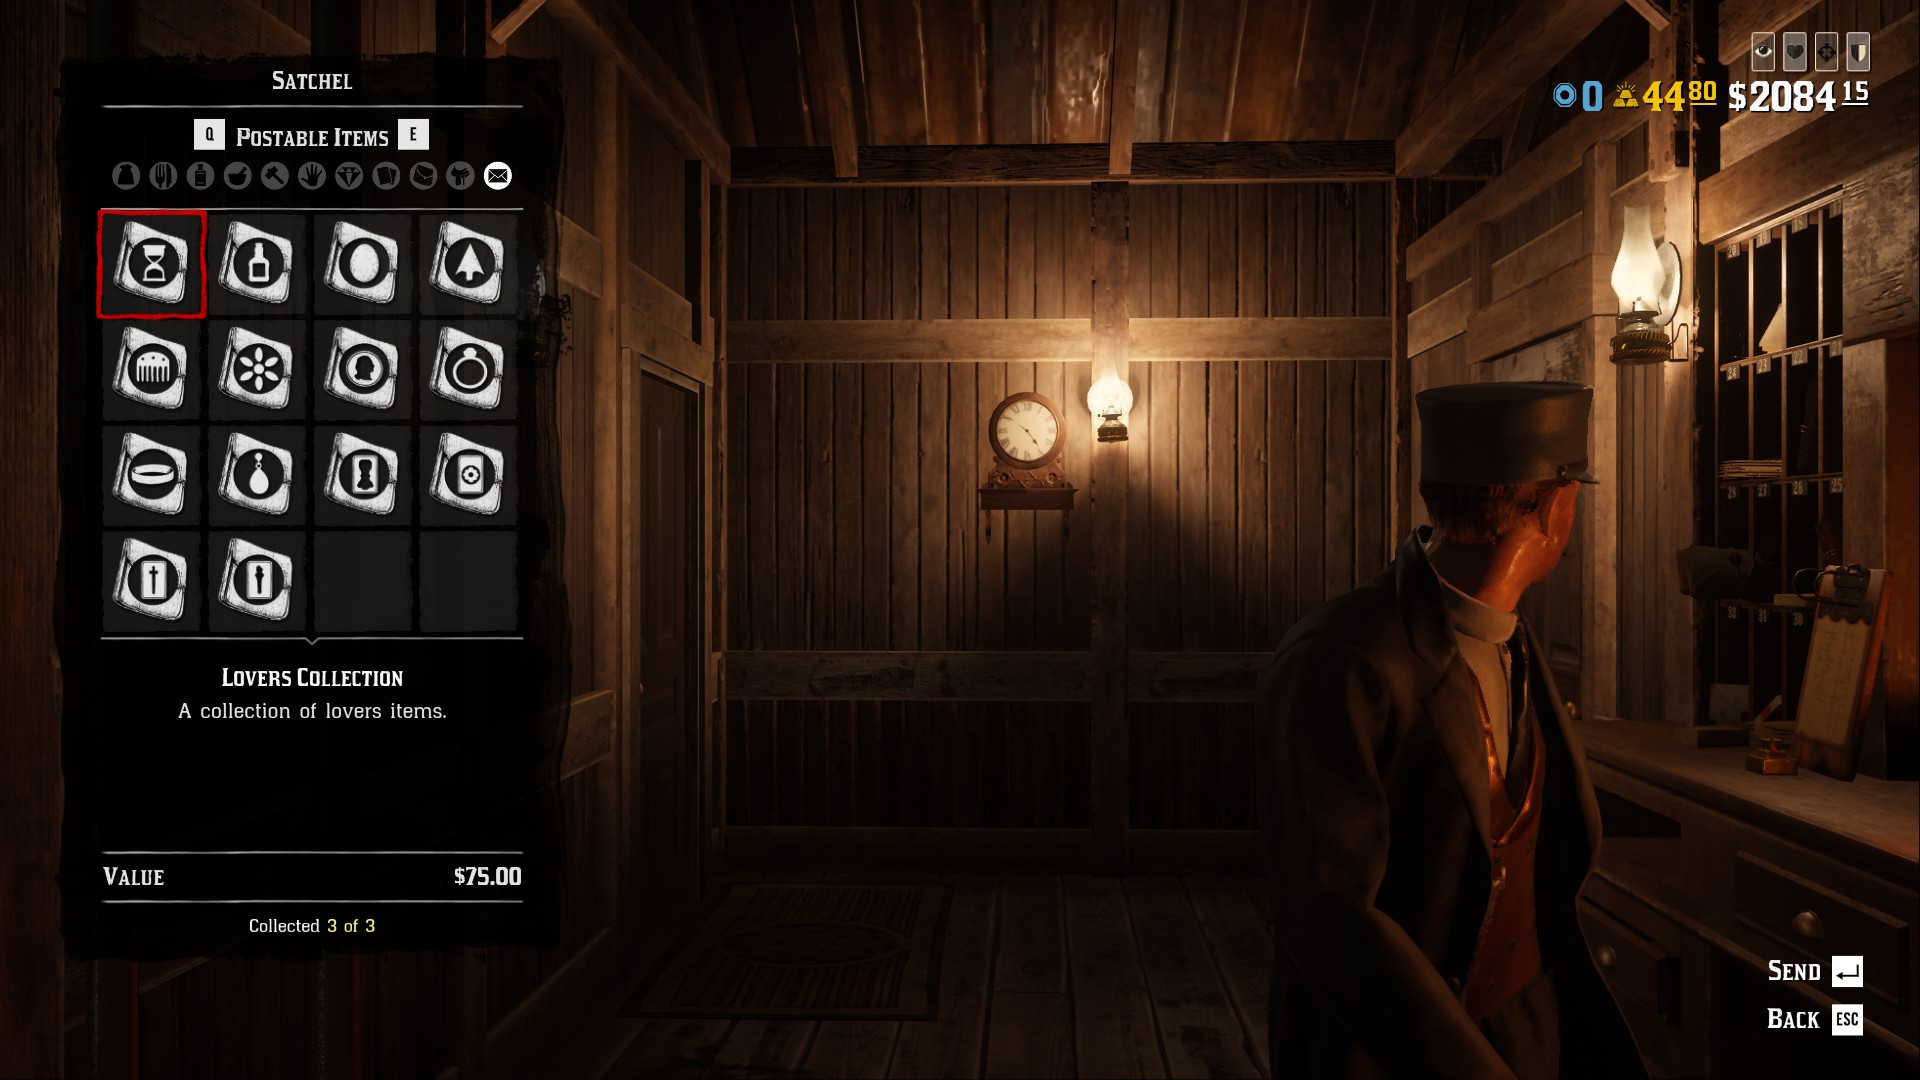
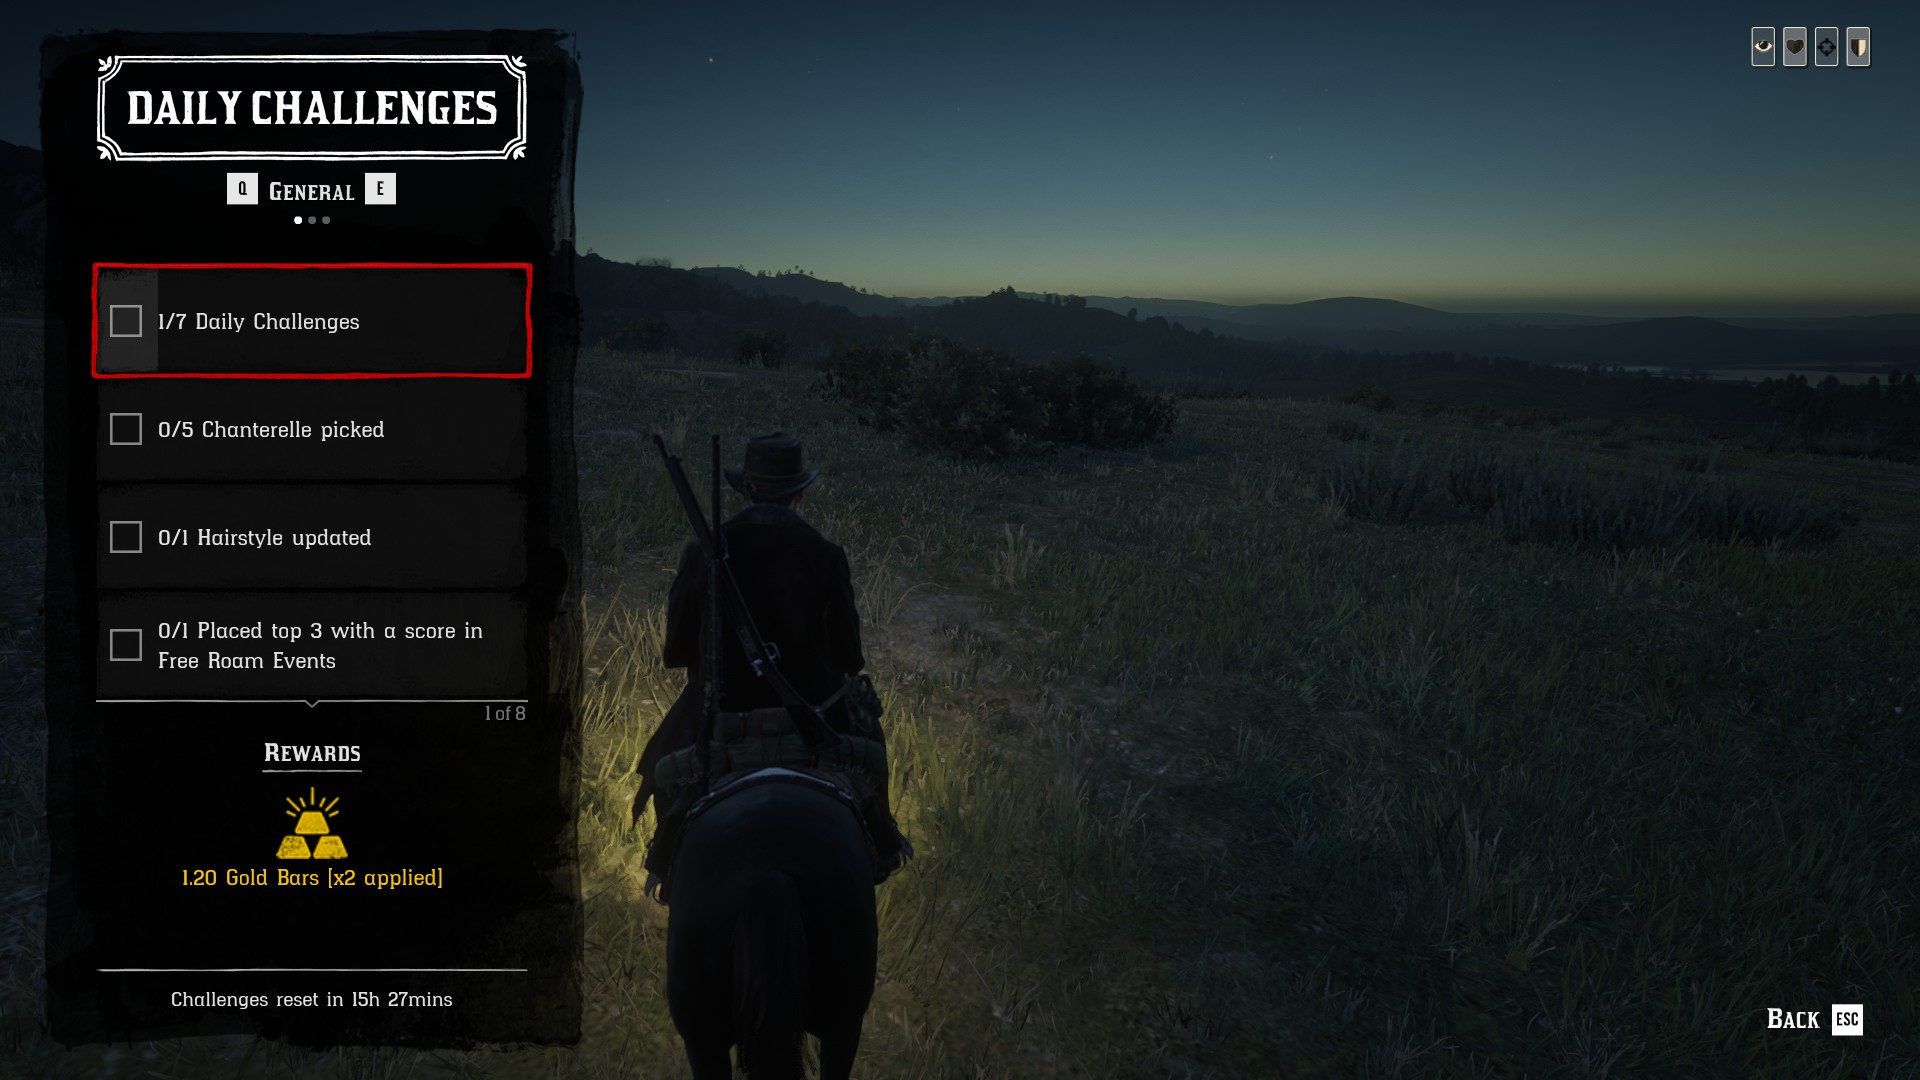
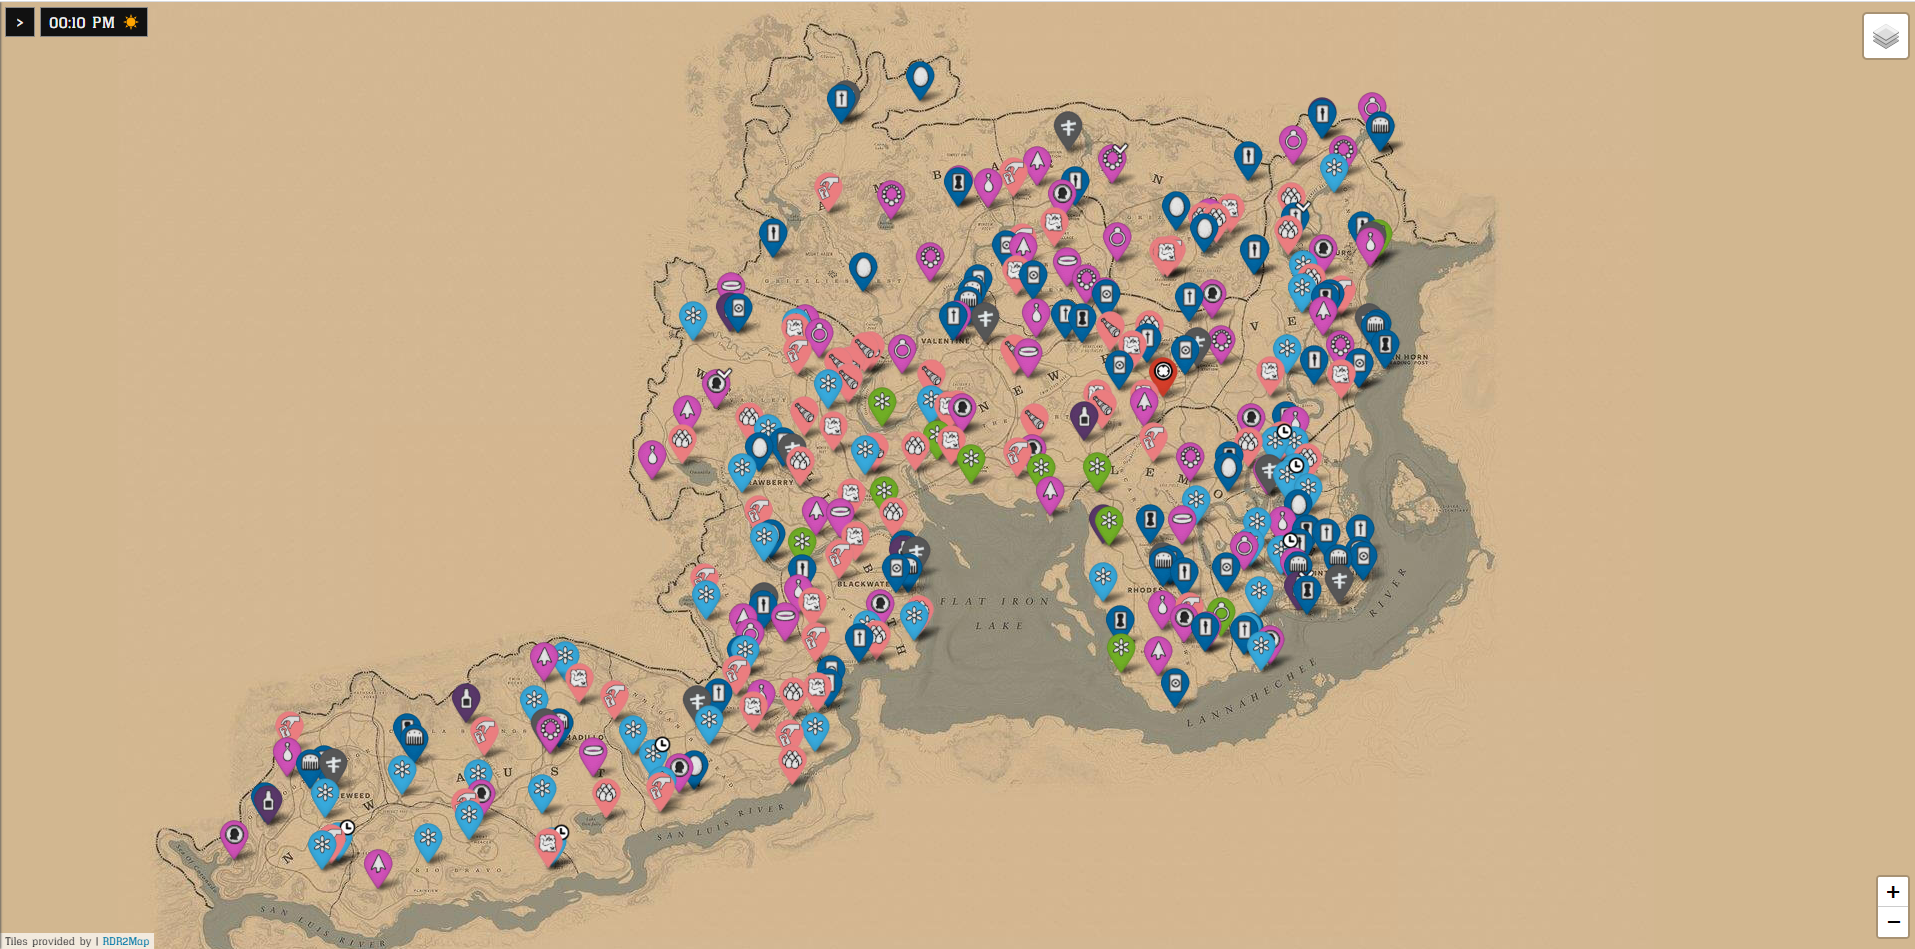
Ah, I think I know why then. I've probably used up all my collectors maps then went to use that afterwards, that'd explain why things would be missing in some spots and not others. That map resets at 10am for me, so I was probably looking in the wrong spots when playing in the morning vs. afternoon as I would leave the page open. I'll give it another go when I get the chance and add it in as it's own section if it works out.
LvlSmasher Feb 10, 2020 @ 7:03am 
@Cirrus, no the collector map by jean ropke is 100% accurate. You just have to refresh at 12 am GMT. The only innaccuracy on there is the location of madam nazar which doesnt update if you play close to midnight local time. If you feel like something didnt show its probably because you didnt have the metal detector, which is required to pick up things like coins and most jewlery.
// Feb 9, 2020 @ 1:49pm 
The map is 100% accurate. You sure you didn't just select the wrong cycle?