
Install Steam
login
|
language
简体中文 (Simplified Chinese)
繁體中文 (Traditional Chinese)
日本語 (Japanese)
한국어 (Korean)
ไทย (Thai)
Български (Bulgarian)
Čeština (Czech)
Dansk (Danish)
Deutsch (German)
Español - España (Spanish - Spain)
Español - Latinoamérica (Spanish - Latin America)
Ελληνικά (Greek)
Français (French)
Italiano (Italian)
Bahasa Indonesia (Indonesian)
Magyar (Hungarian)
Nederlands (Dutch)
Norsk (Norwegian)
Polski (Polish)
Português (Portuguese - Portugal)
Português - Brasil (Portuguese - Brazil)
Română (Romanian)
Русский (Russian)
Suomi (Finnish)
Svenska (Swedish)
Türkçe (Turkish)
Tiếng Việt (Vietnamese)
Українська (Ukrainian)
Report a translation problem


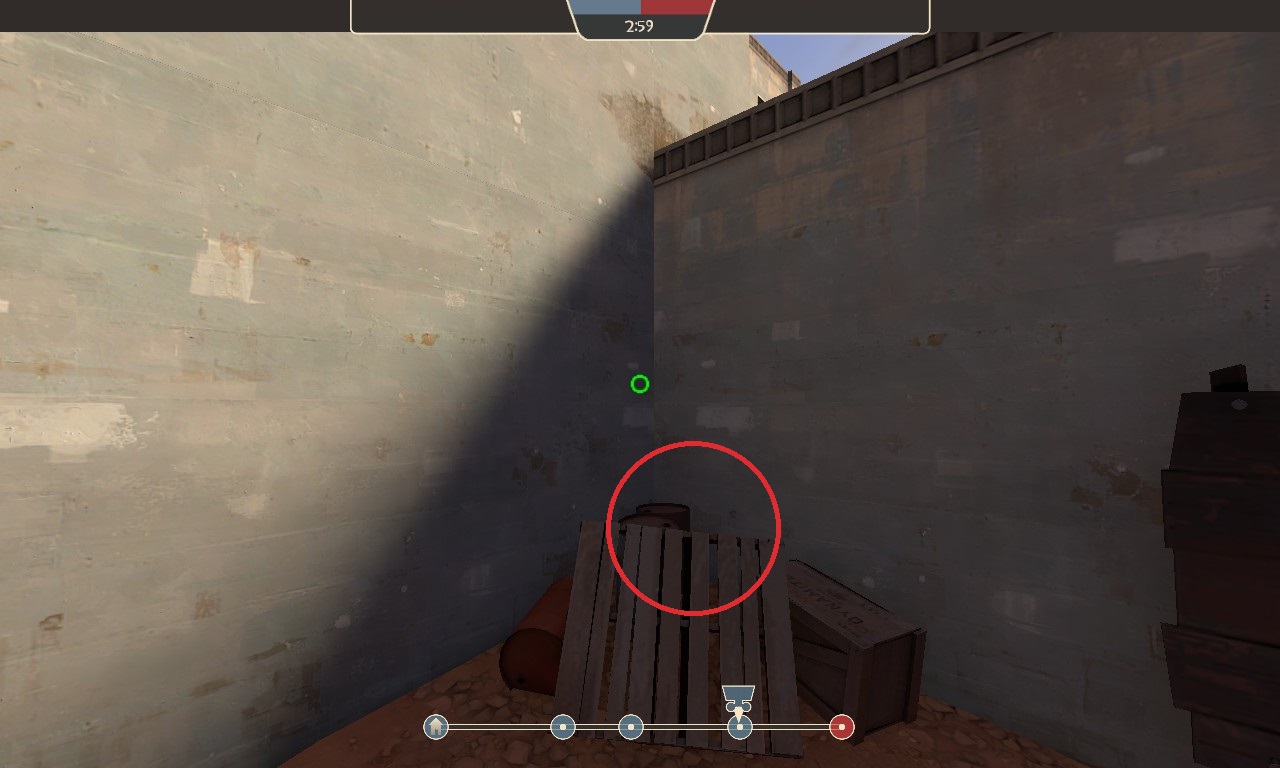

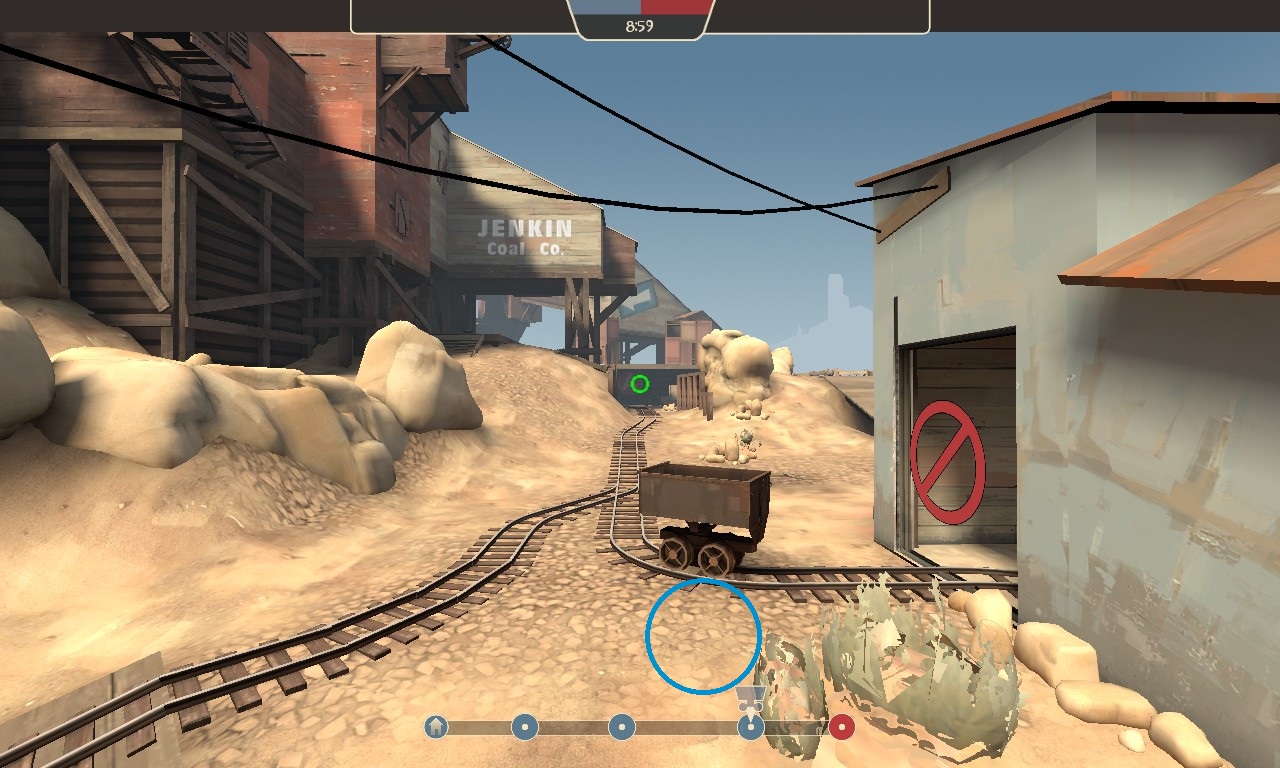
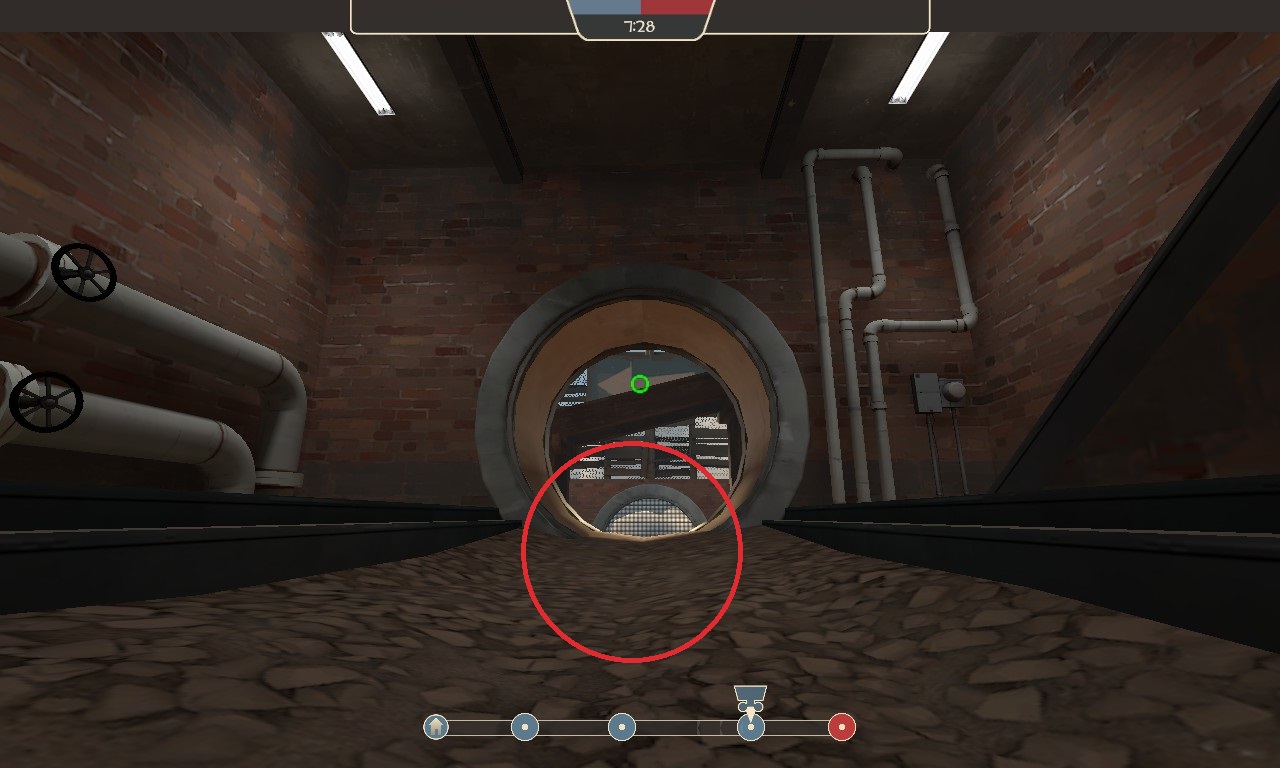
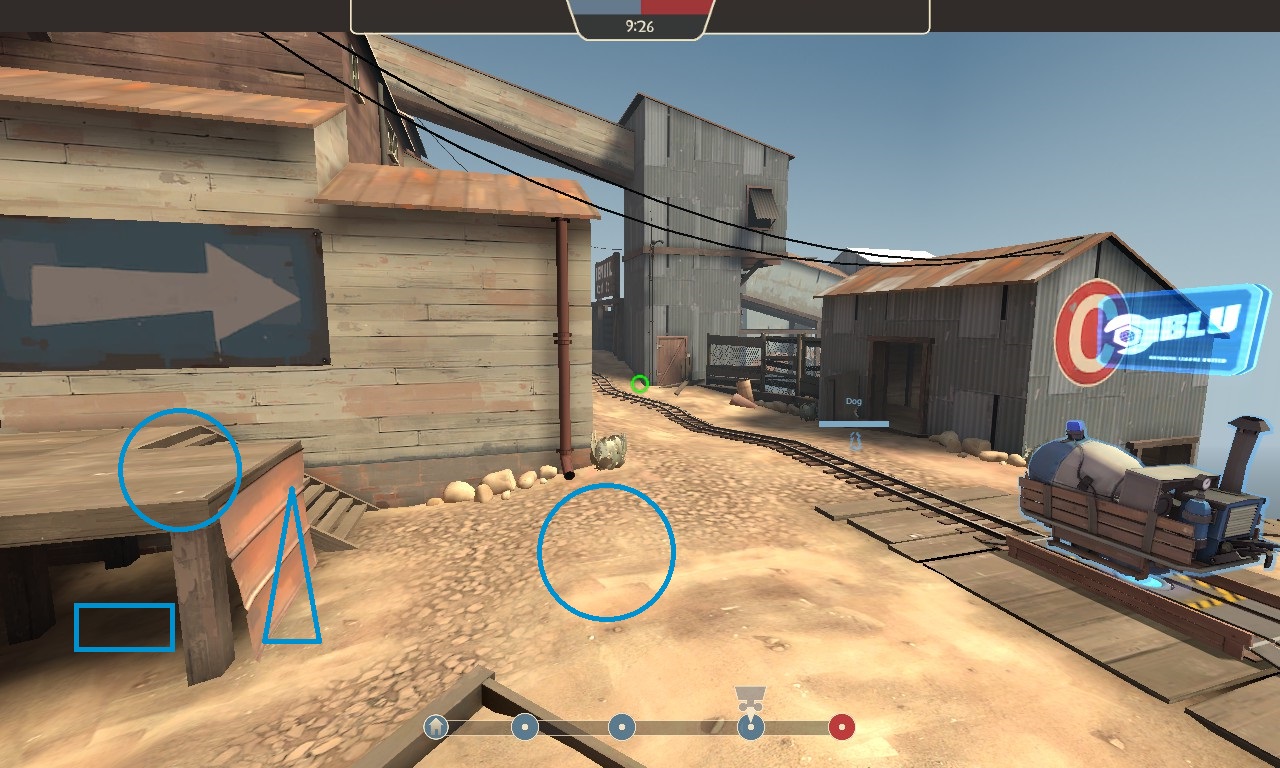


Encasing yourself in rock is not asvised
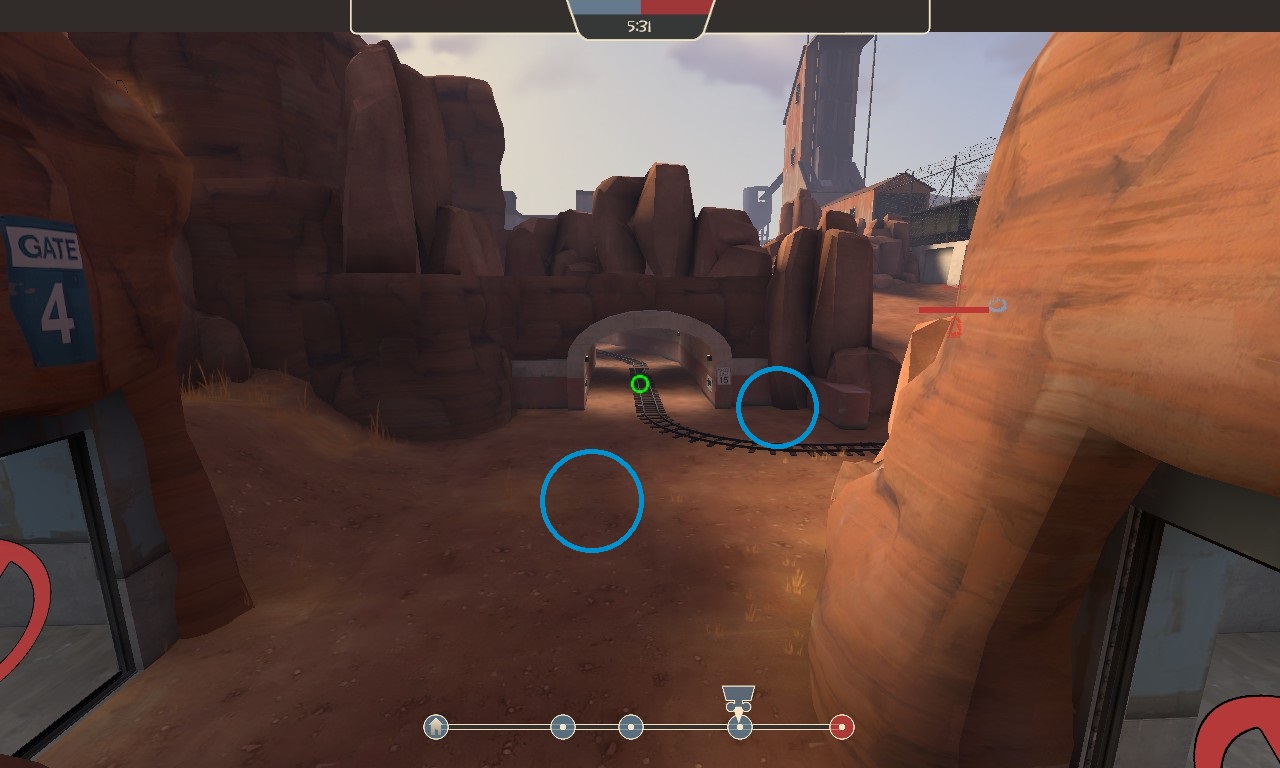
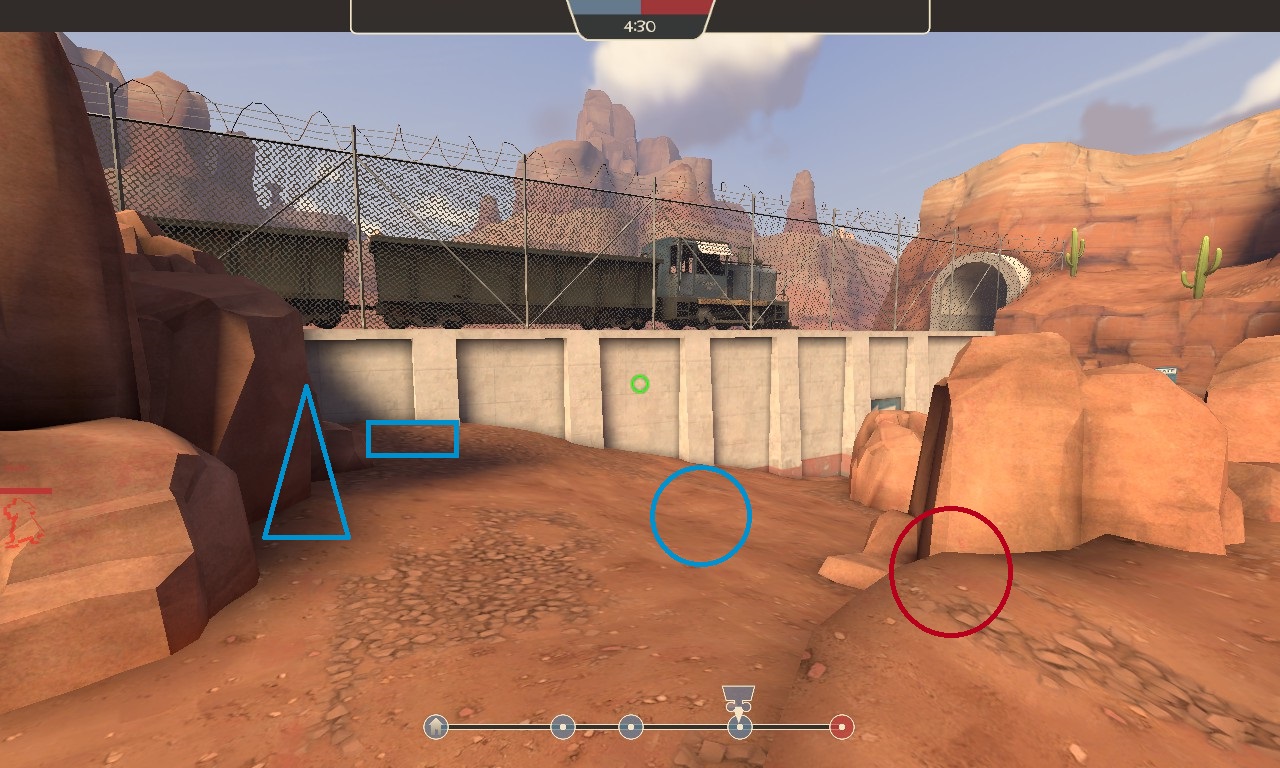
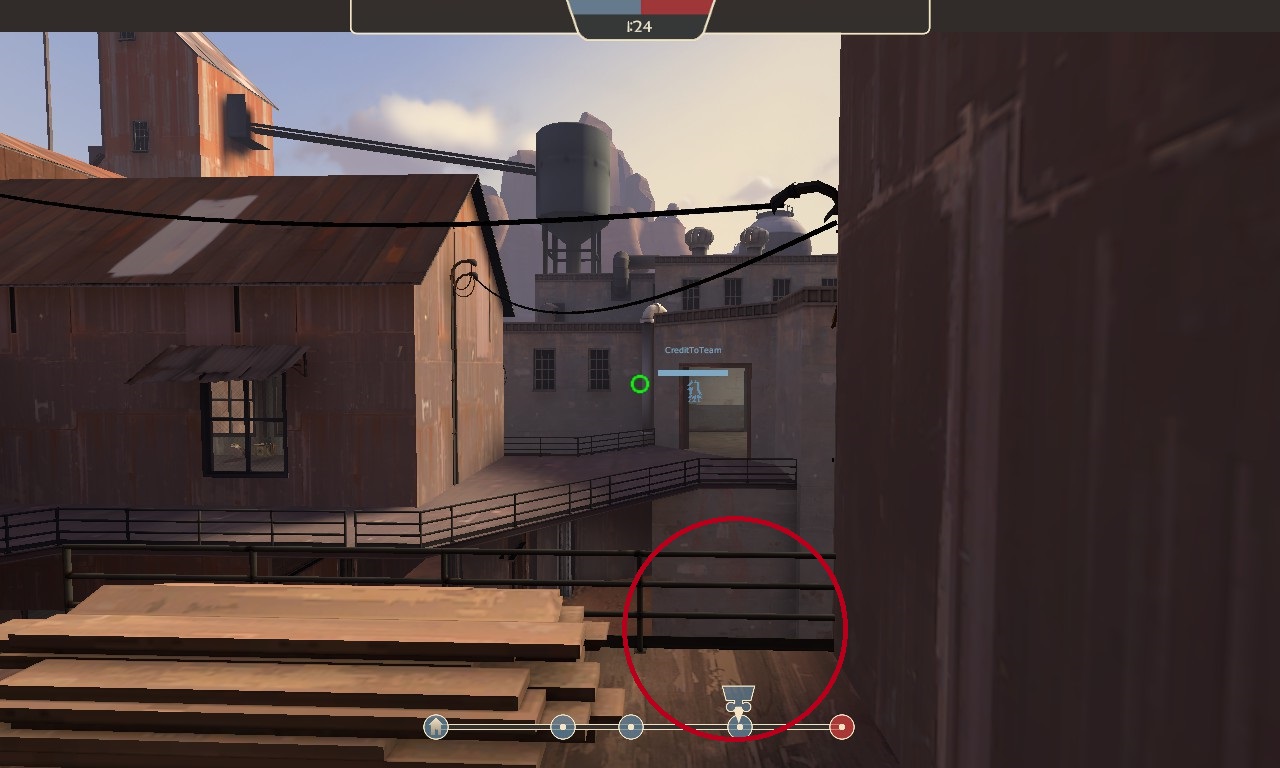
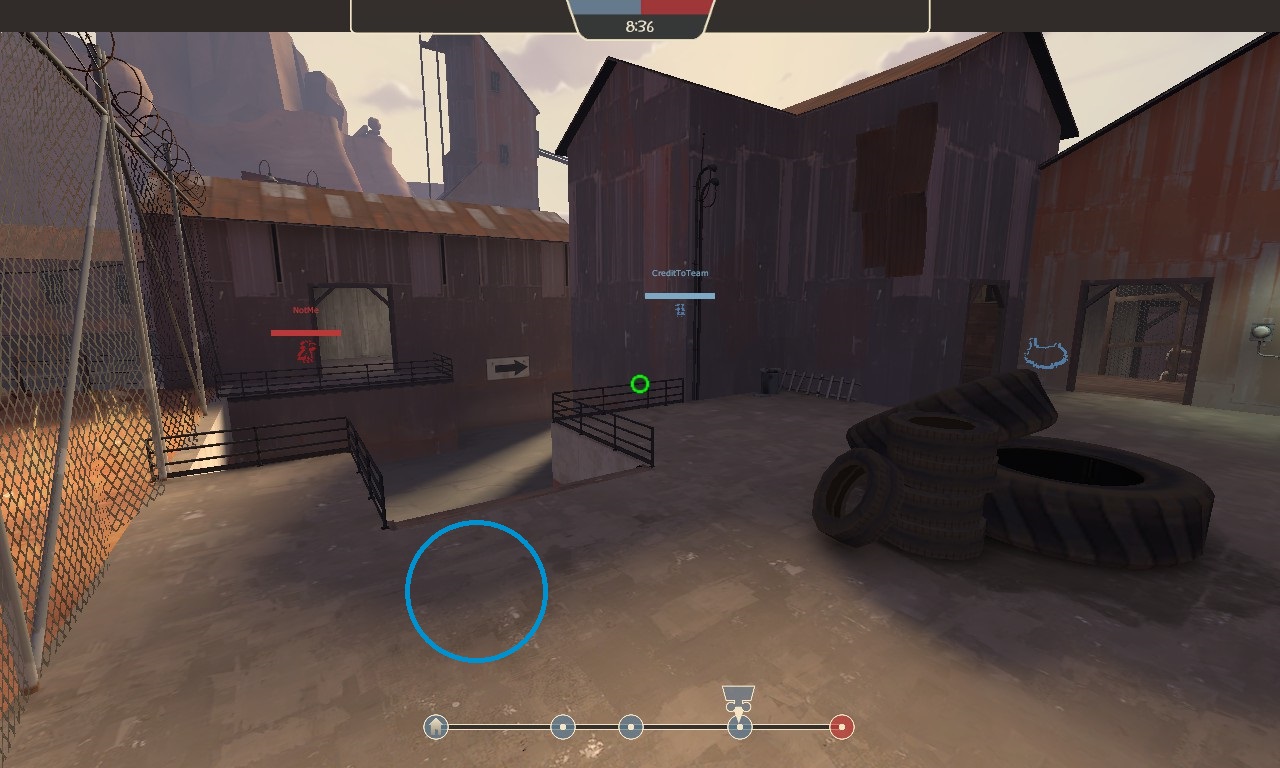
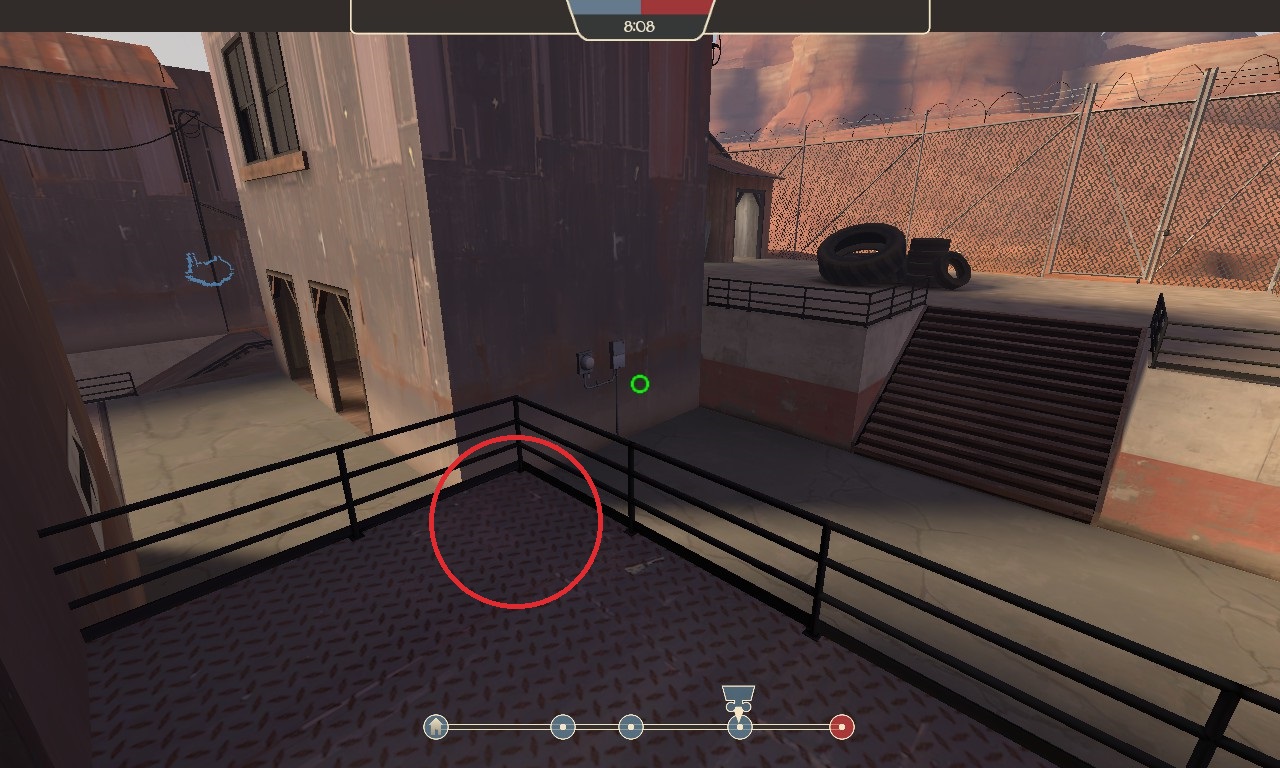
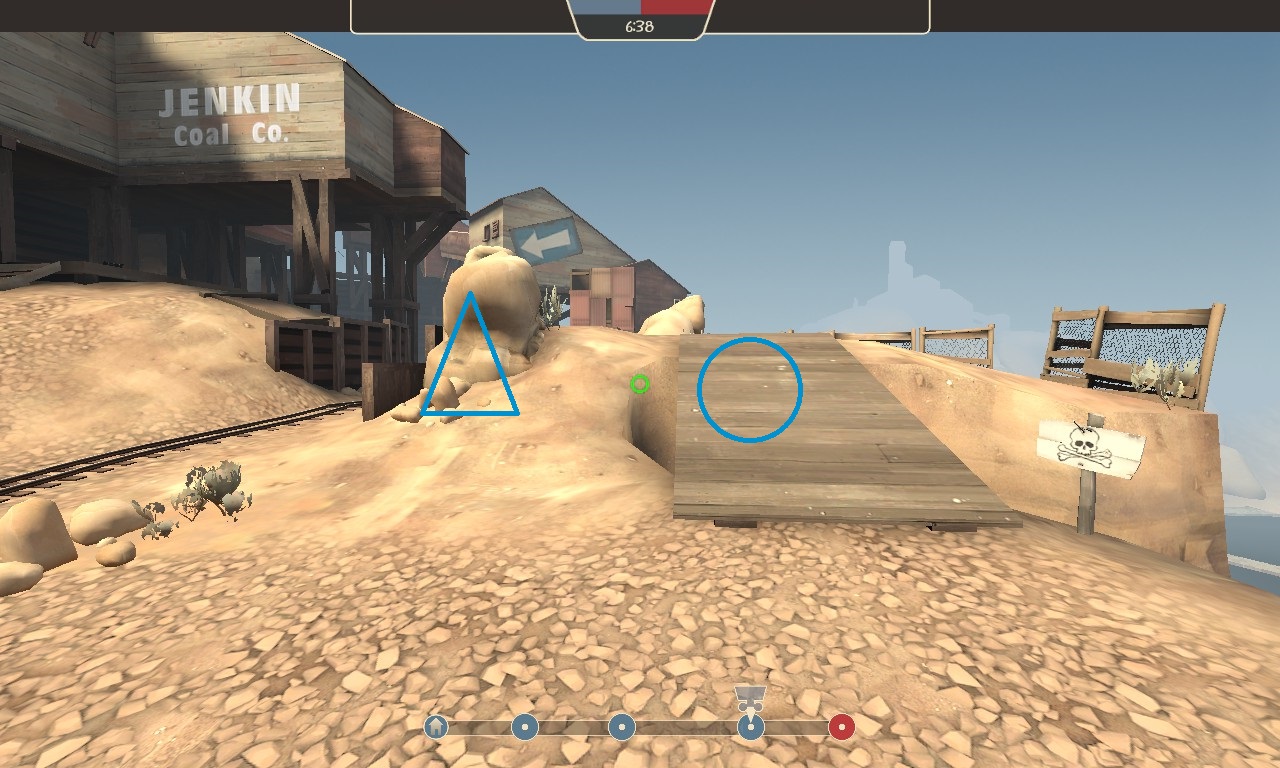
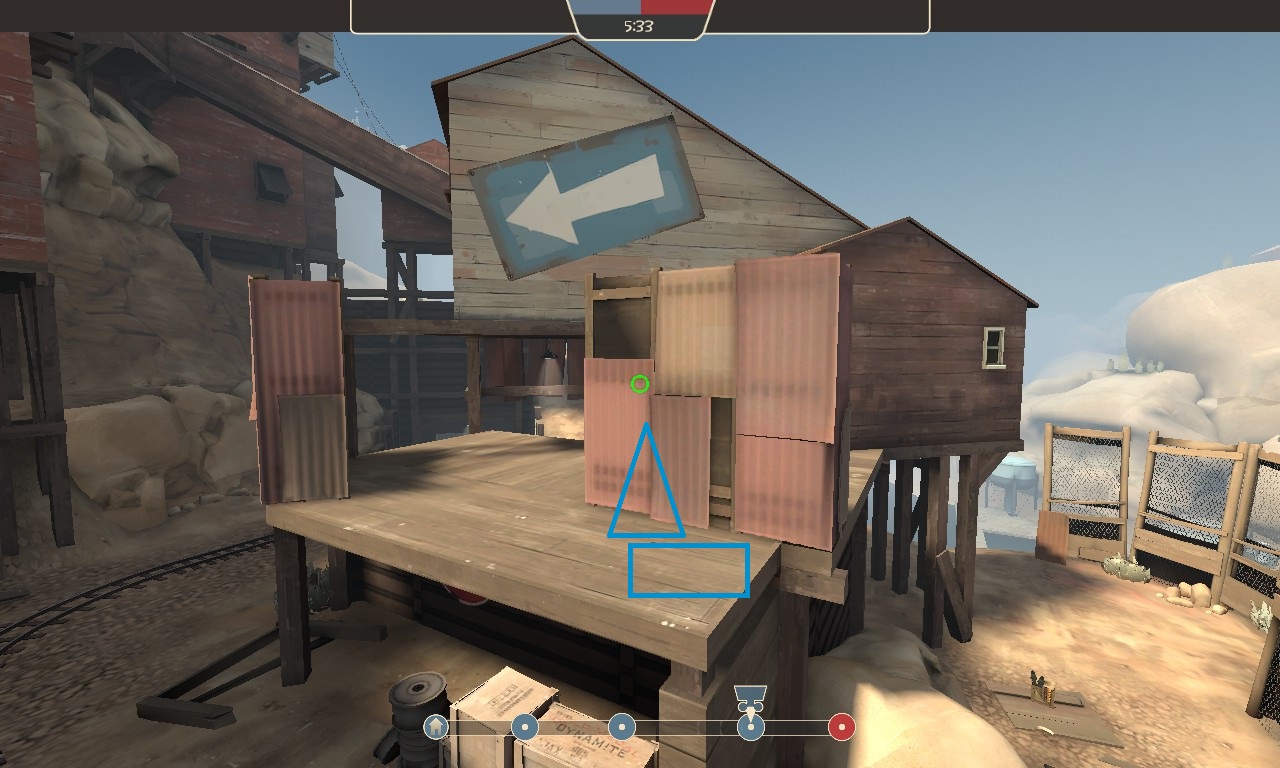
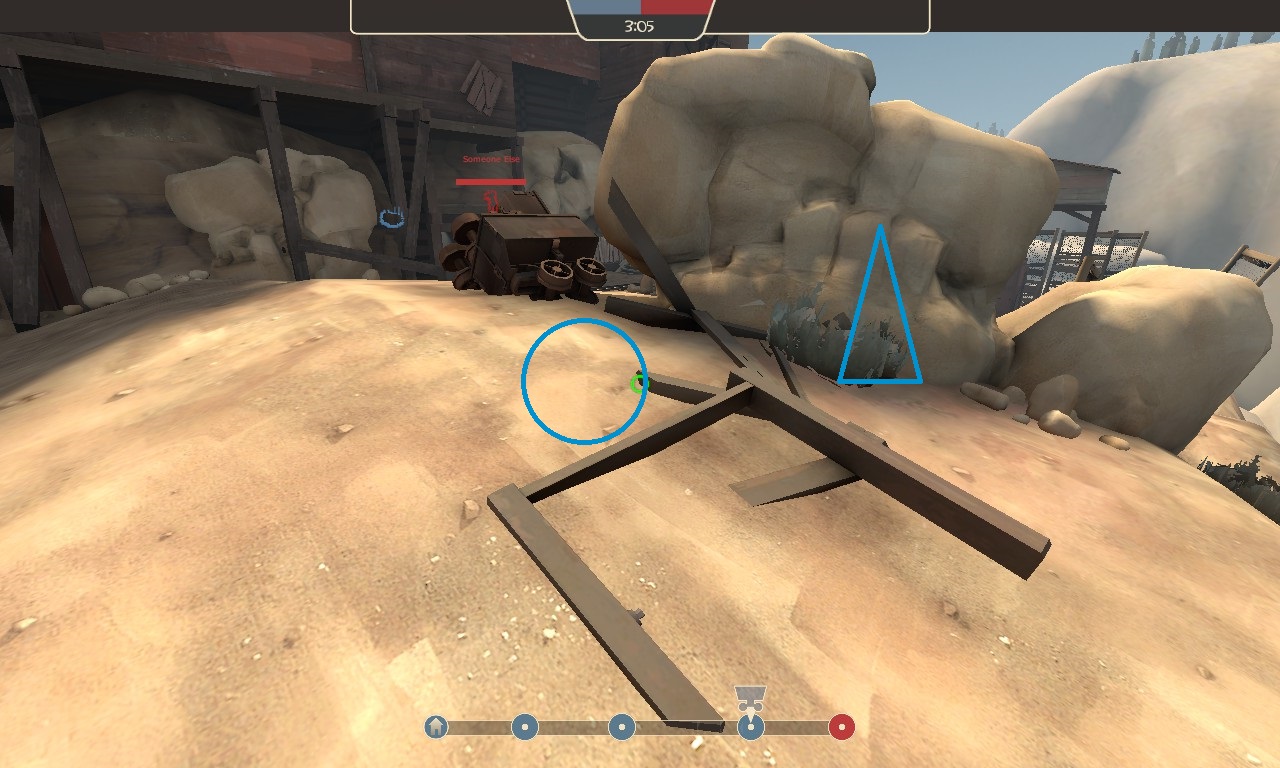
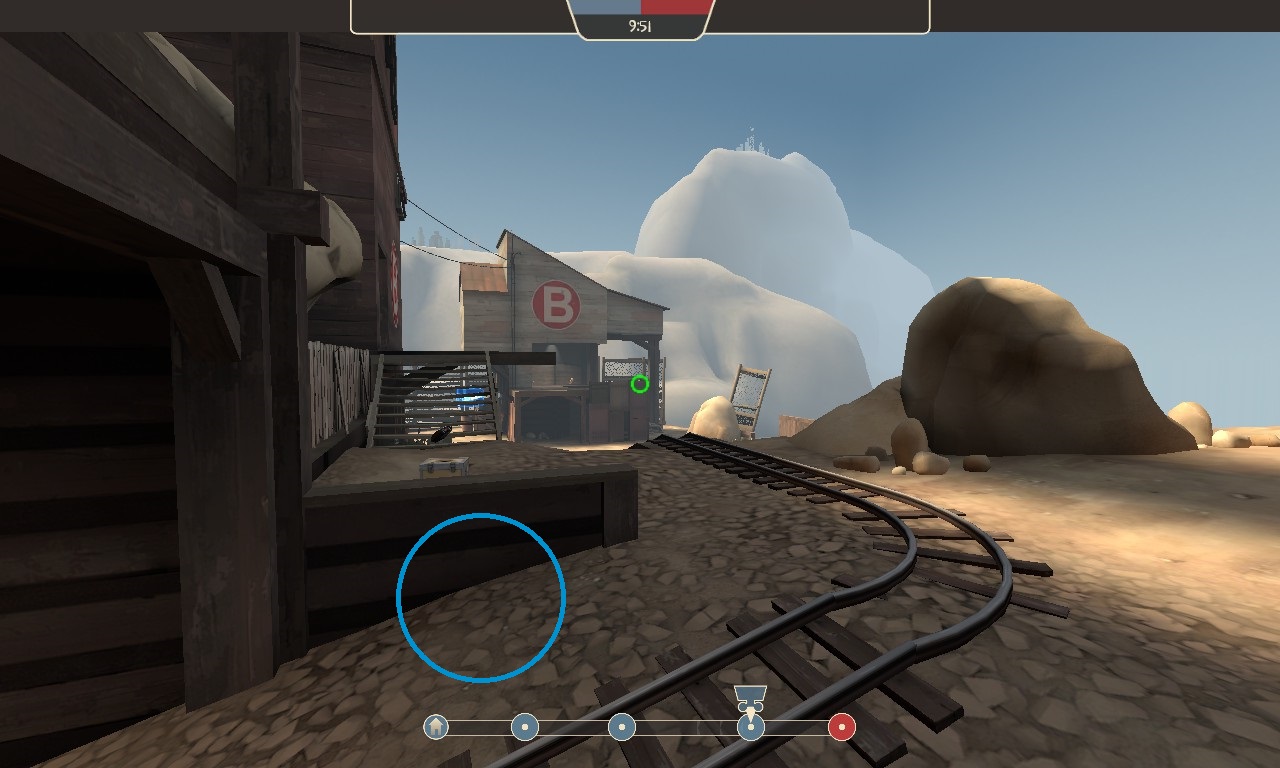
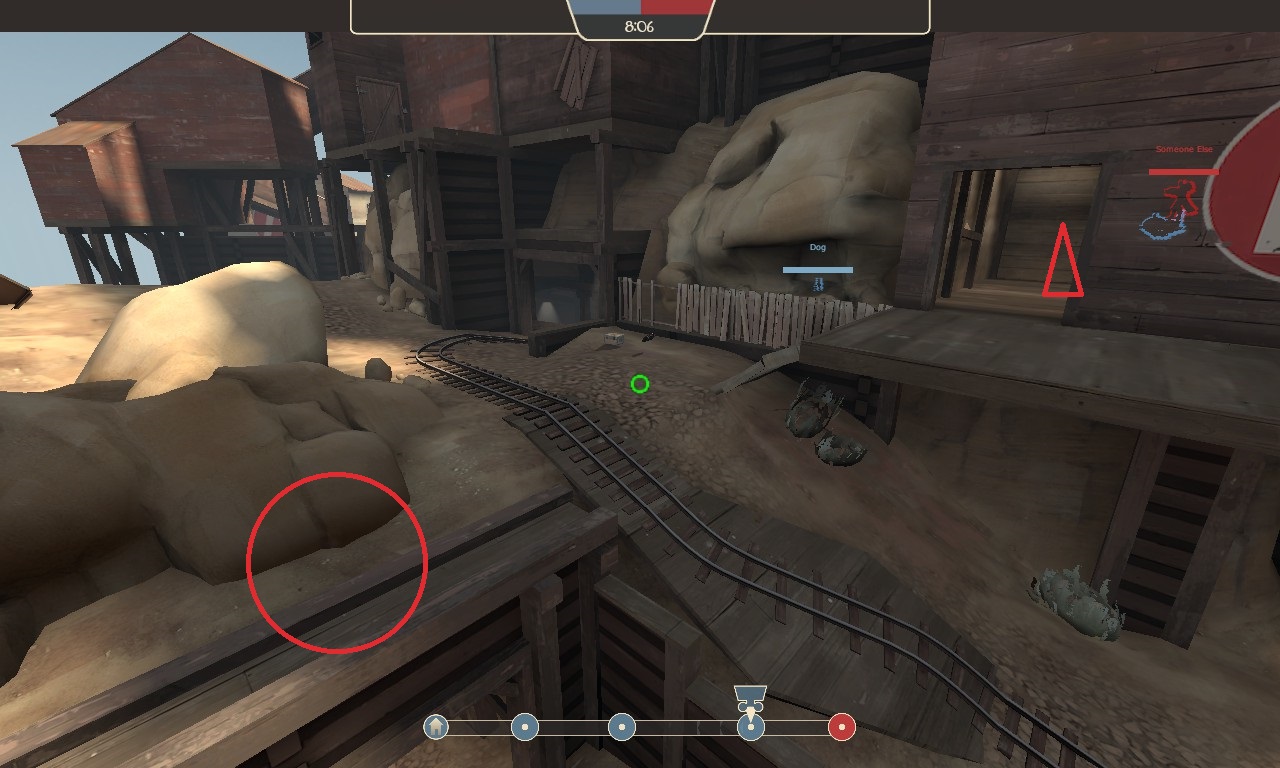
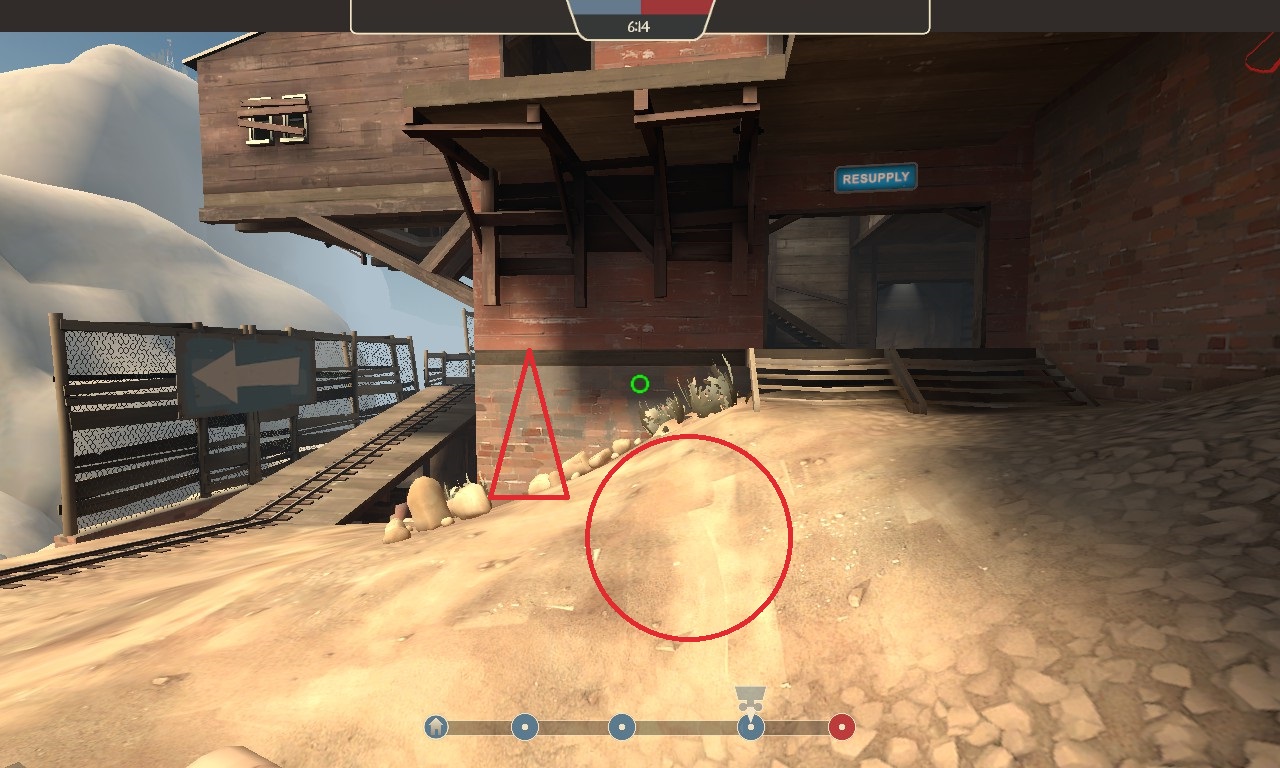
-During setup, you can put a lvl 3 on the right side hills next to the rocks. This will overlook the left spawn doors and suppress the right, while being clear of snipers from the center doors. Keep it alive as long as possible with the Rescue Ranger.
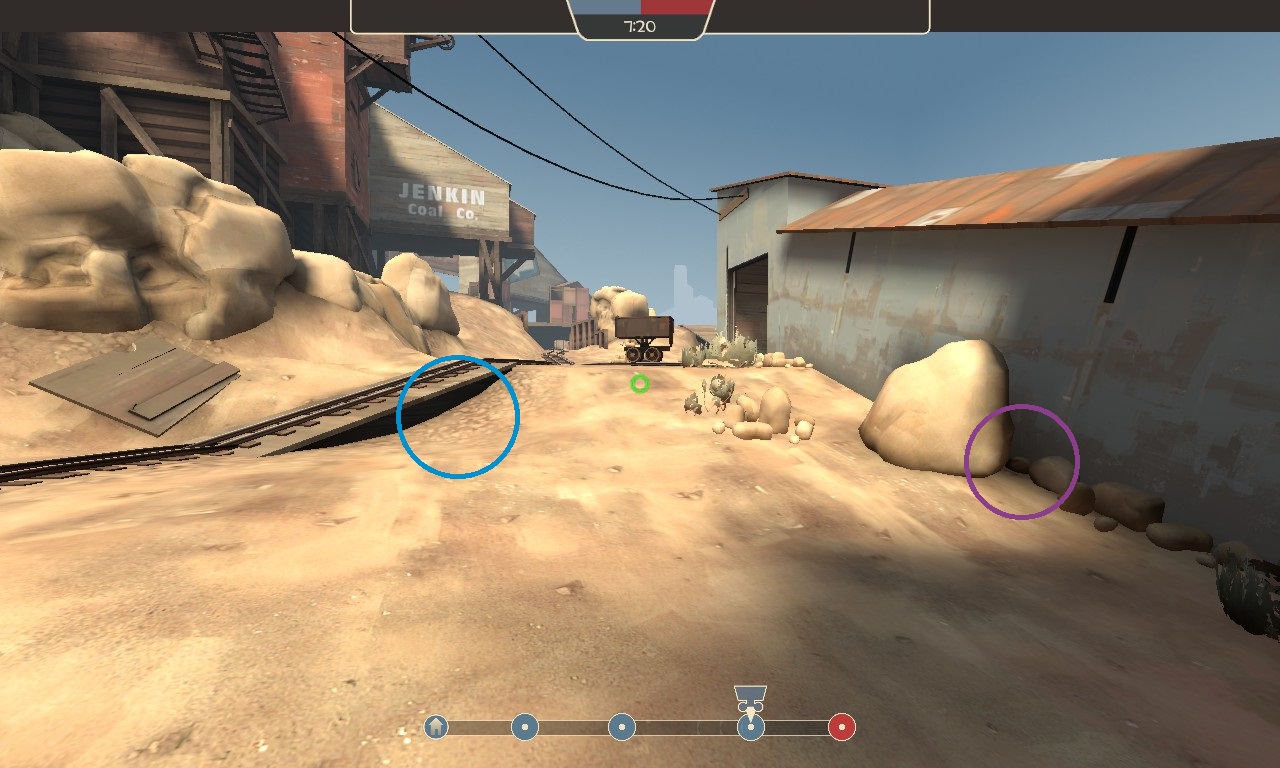
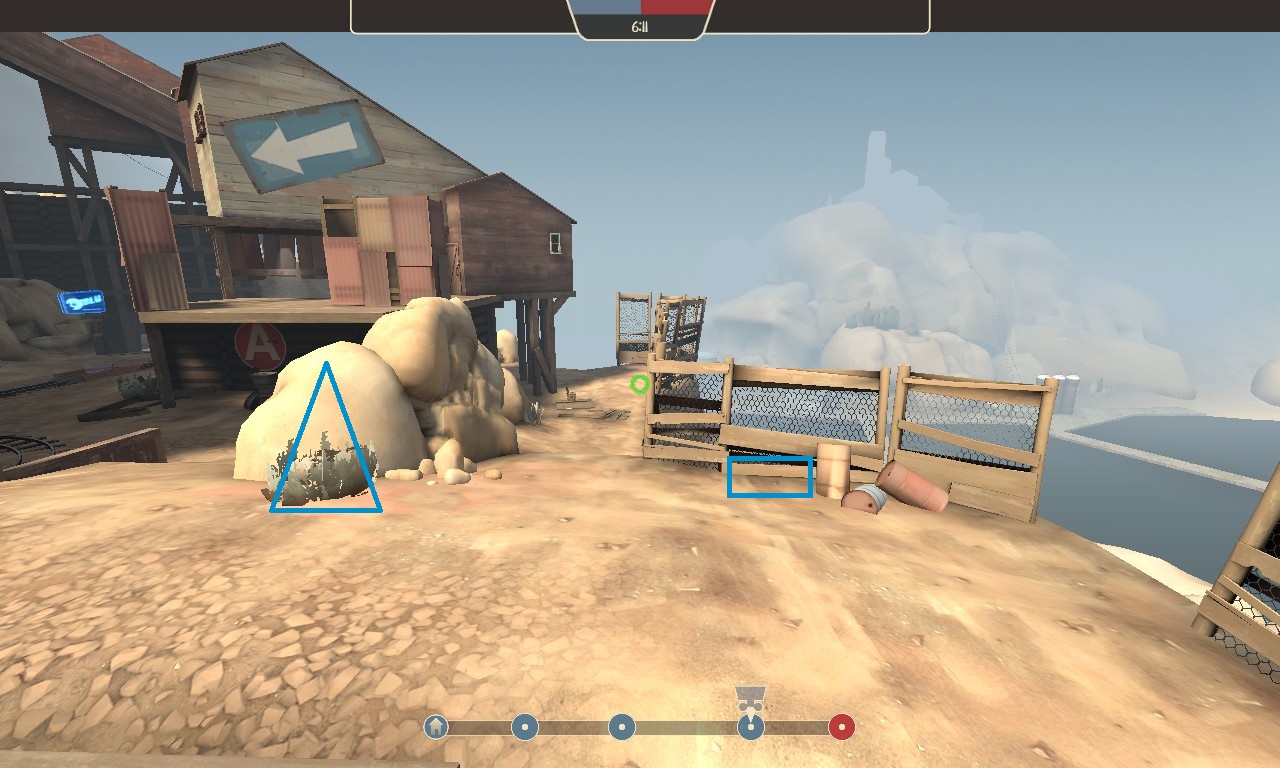
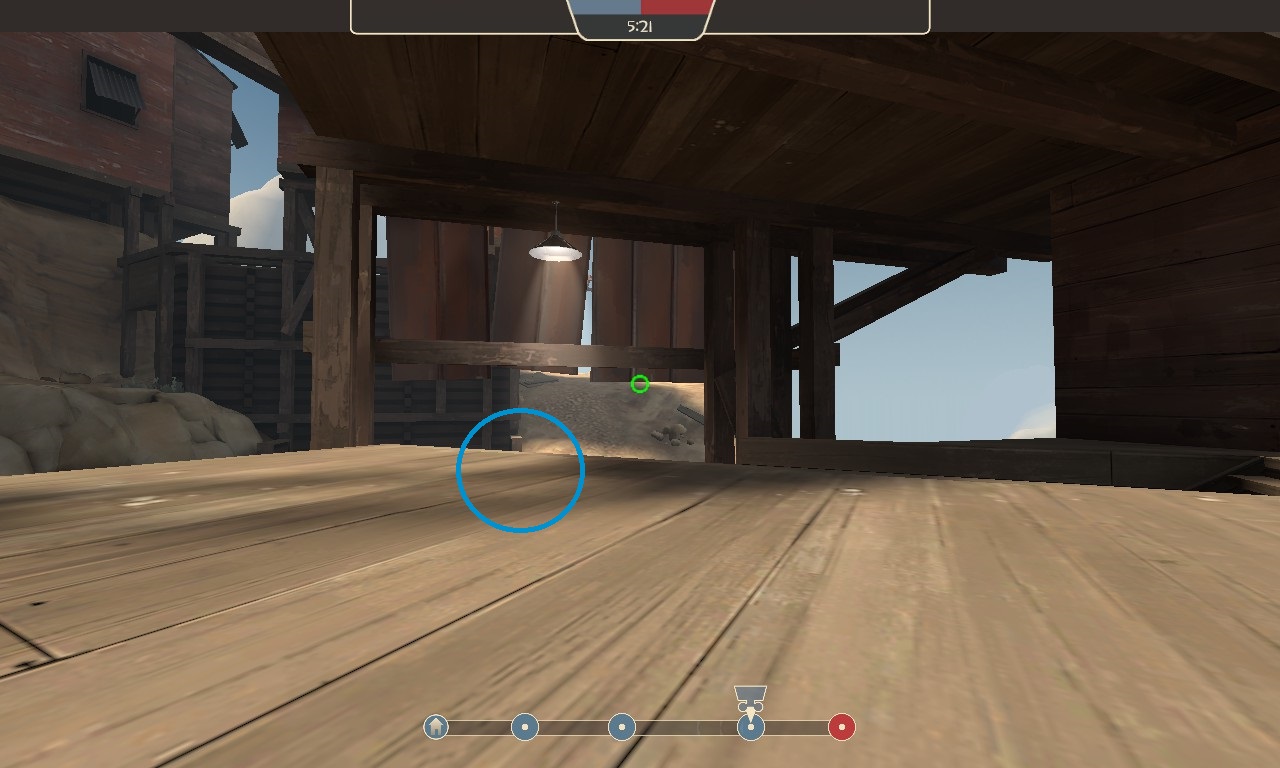
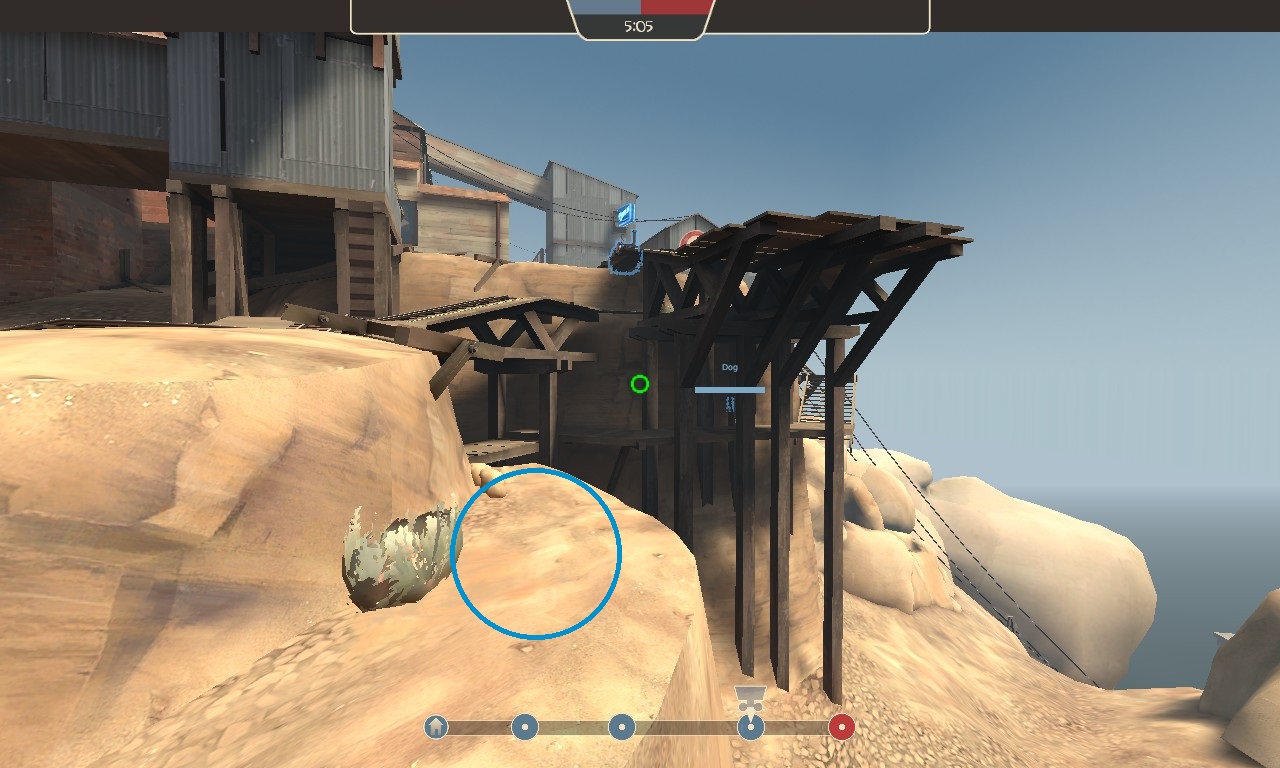
-Holding the tower on the right side is key to success. HOLD THAT HILL.
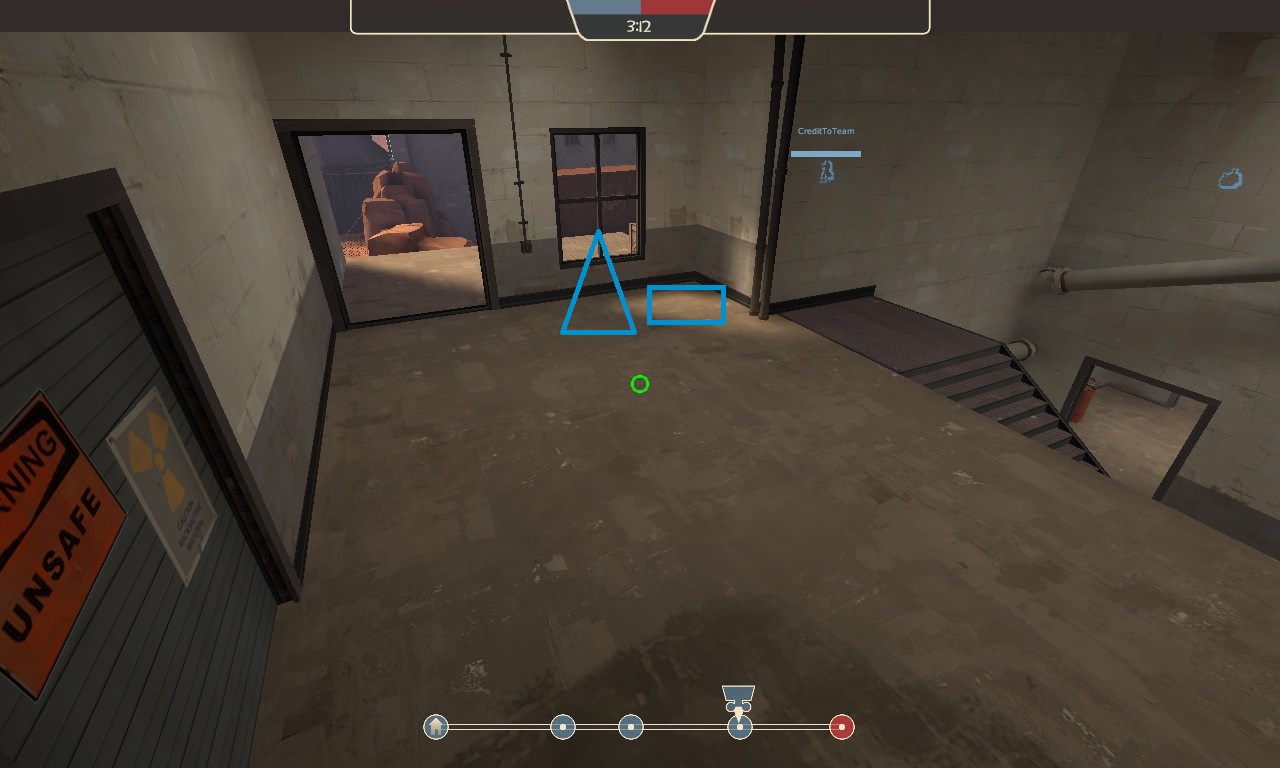
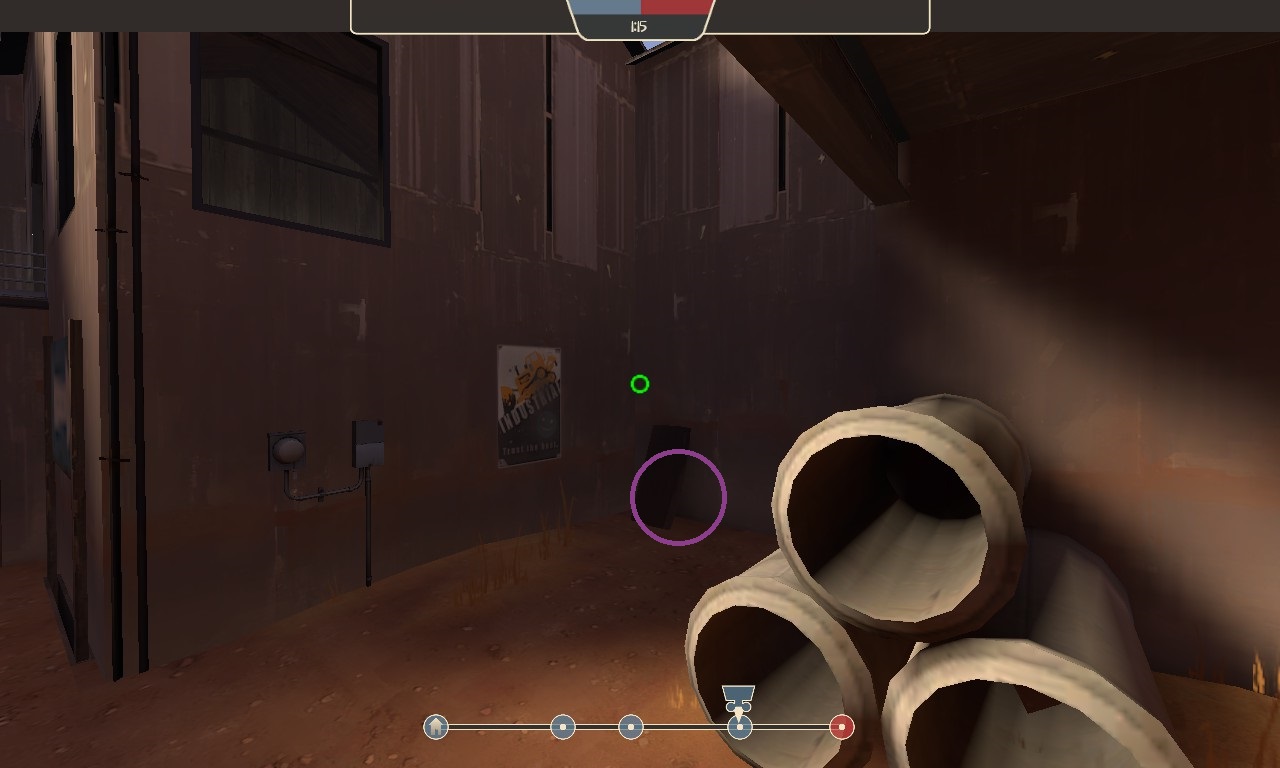
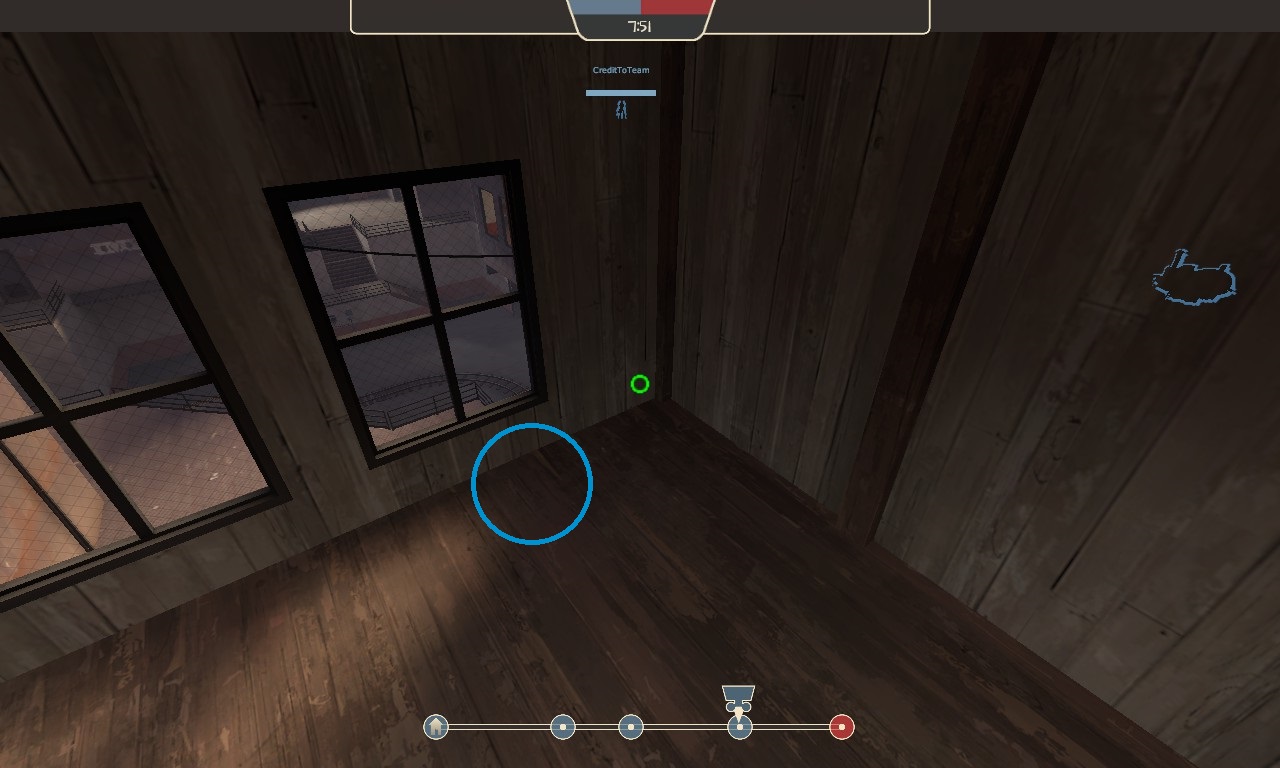
Make that your first nest and hold it with your dispenser and sentry.
Keep a teleporter nearby so you can quickly unsap it when spies come around.
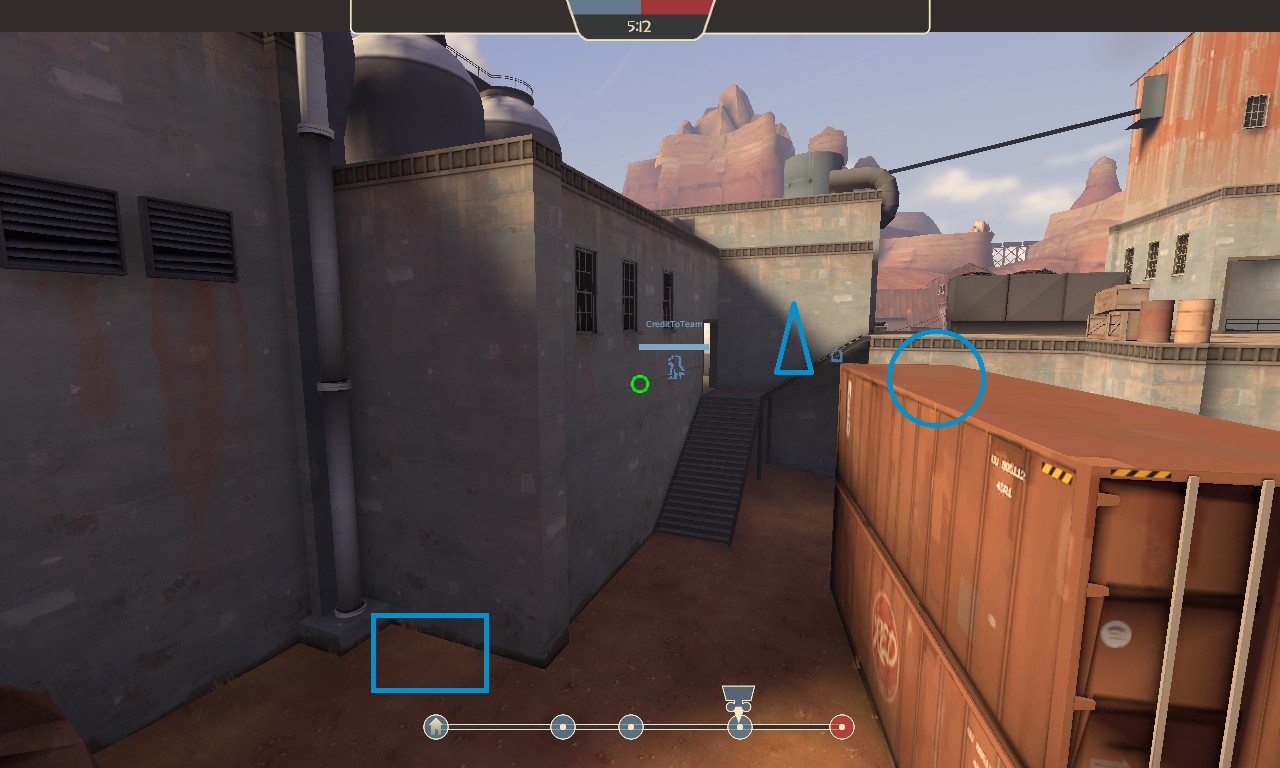
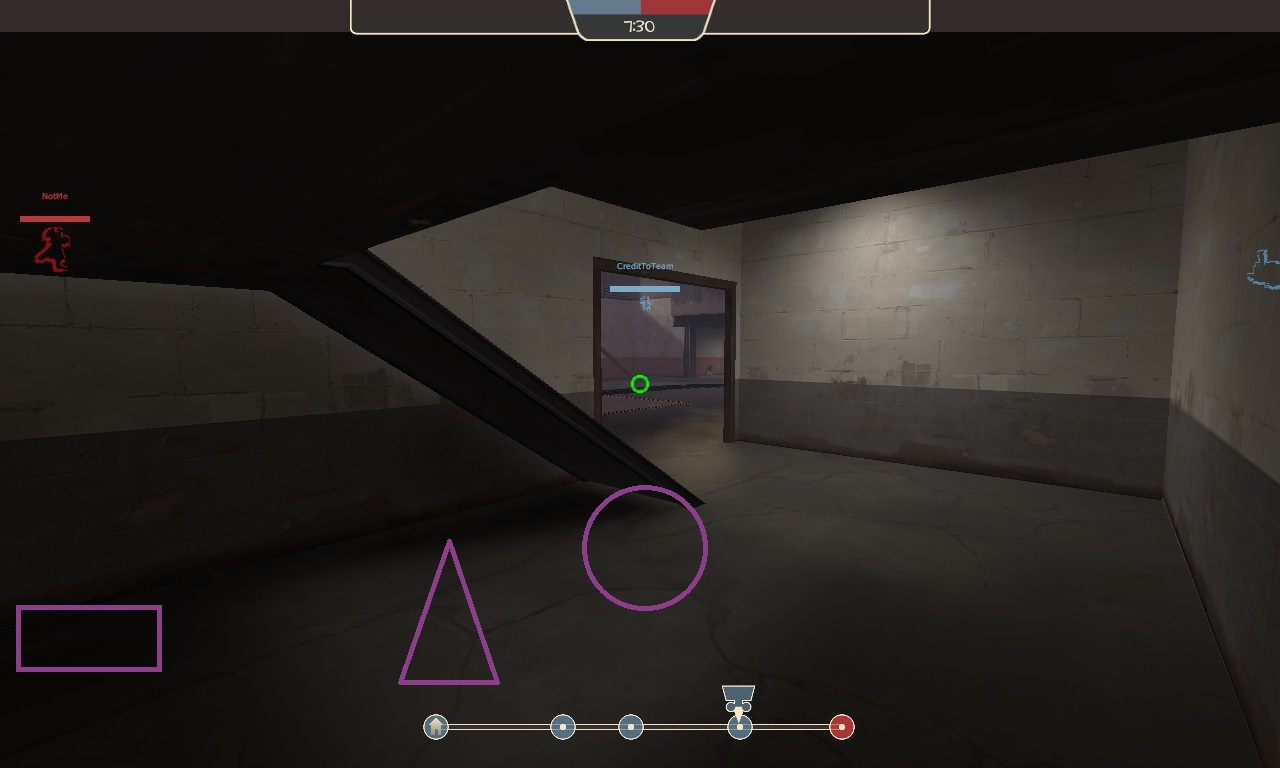
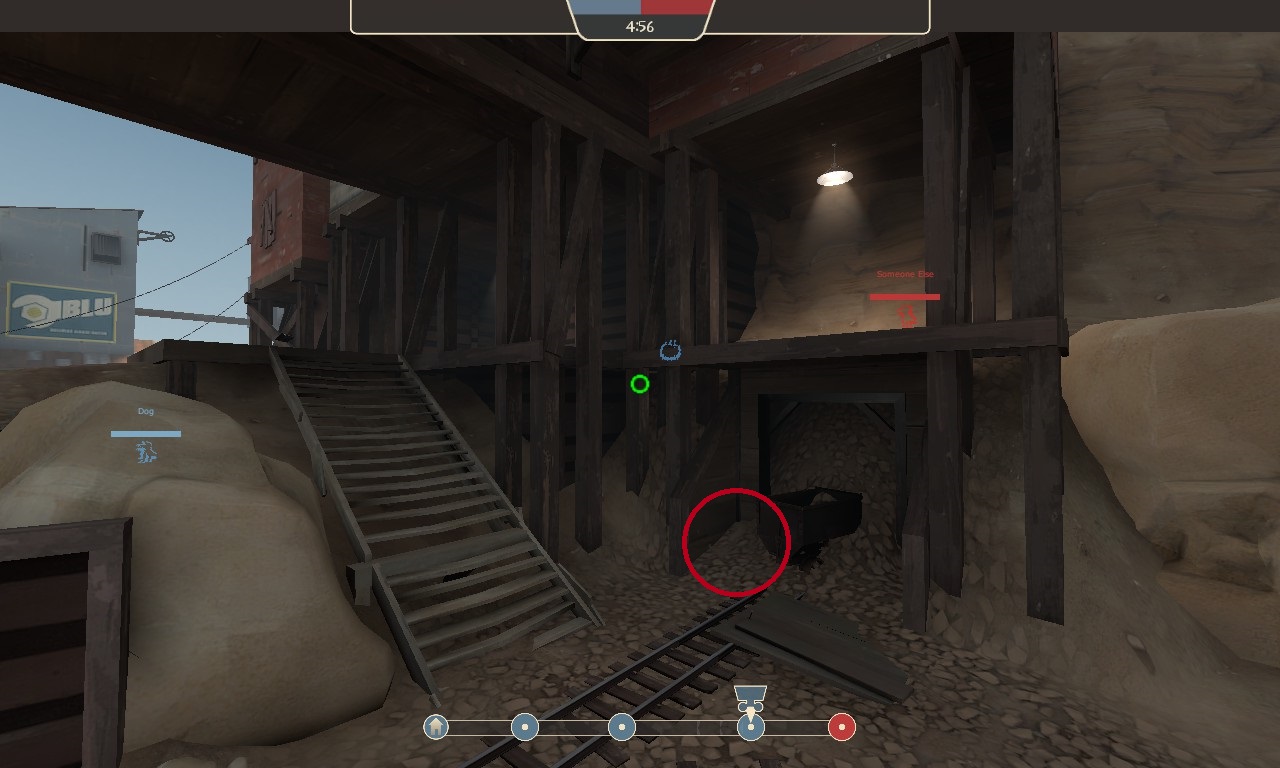
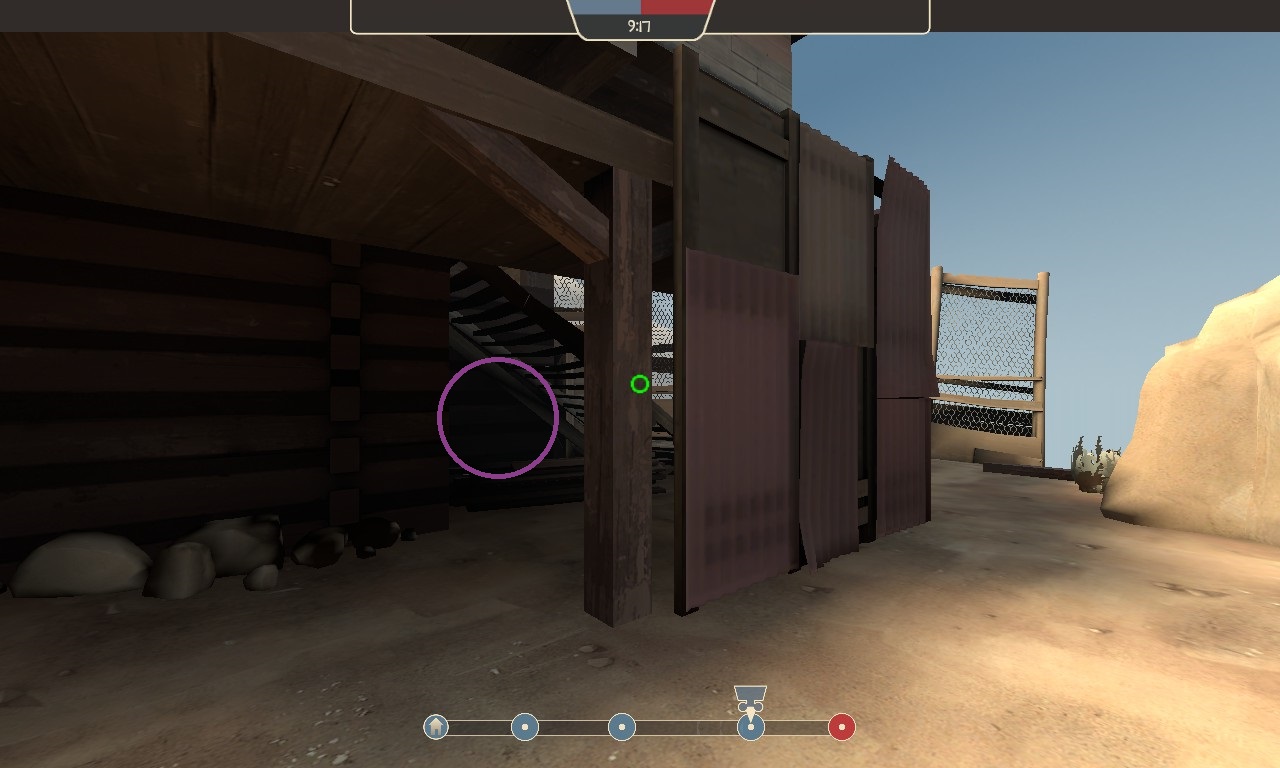
If you get overrun, abandon ship and secure the point in the usual method.
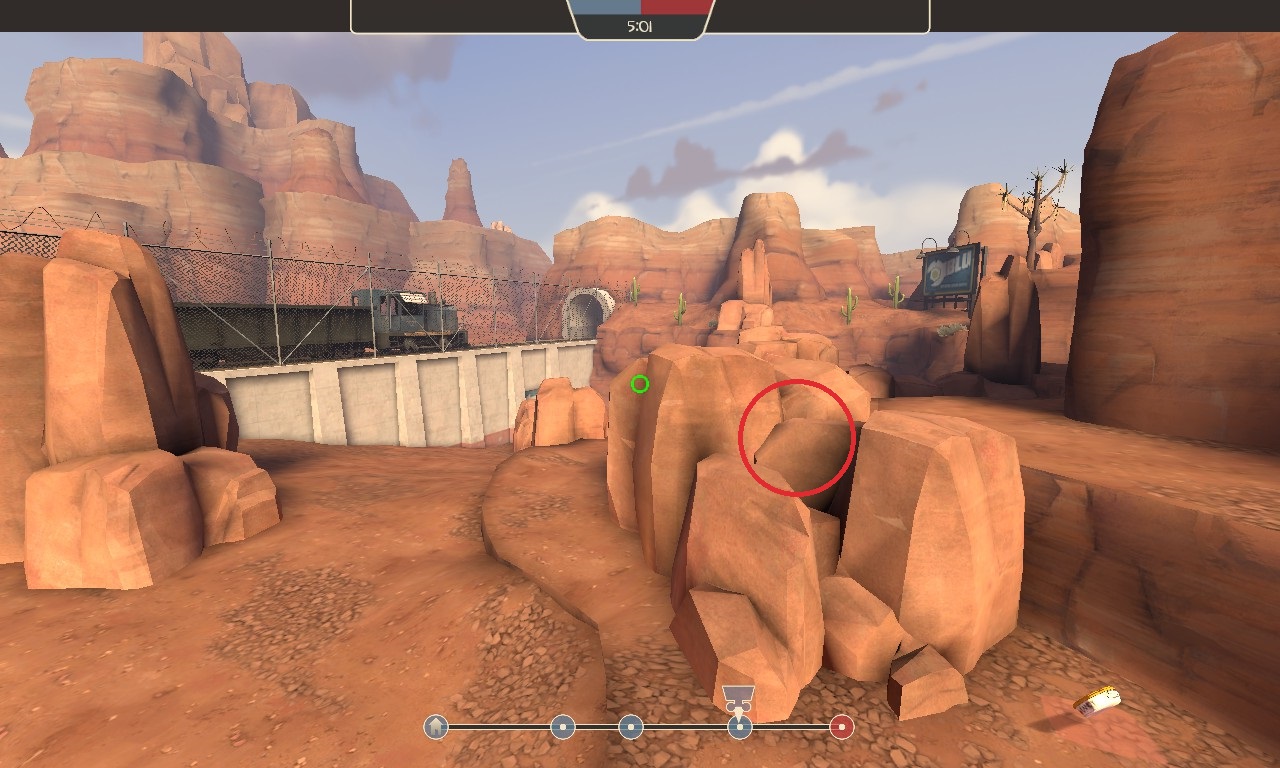
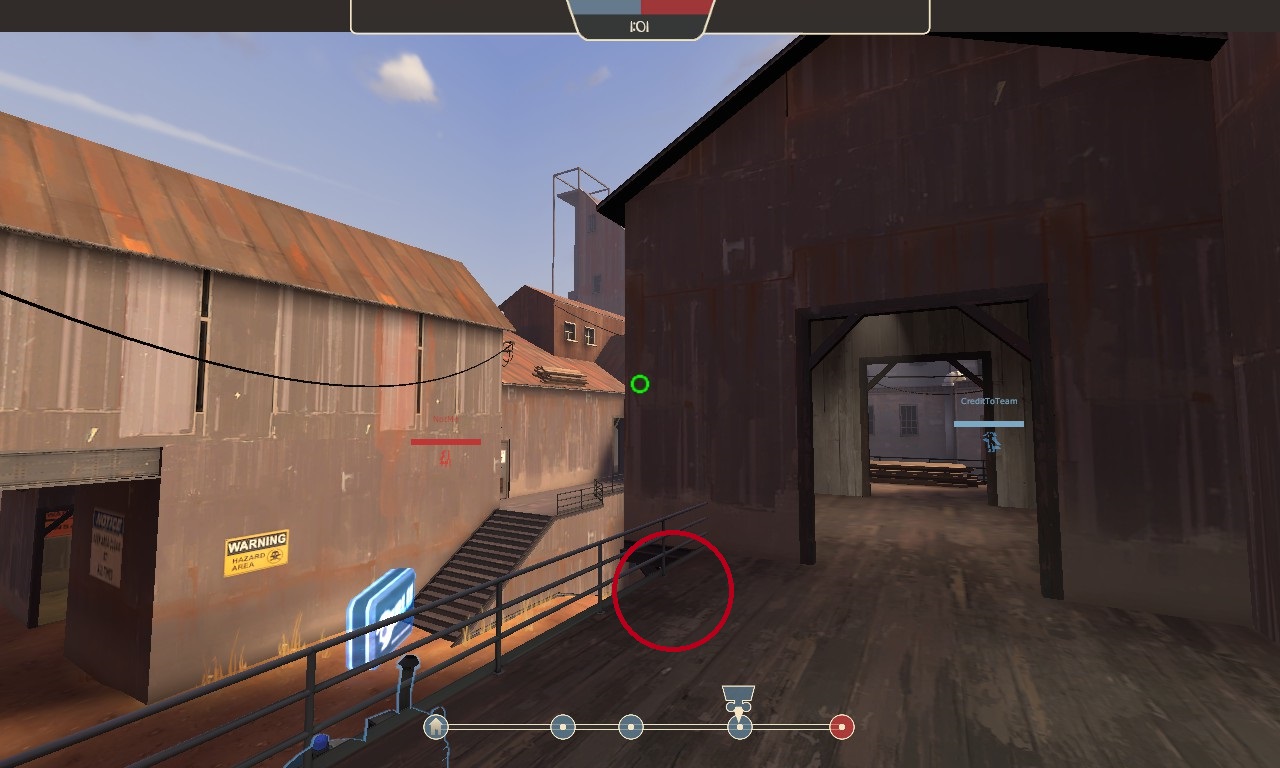
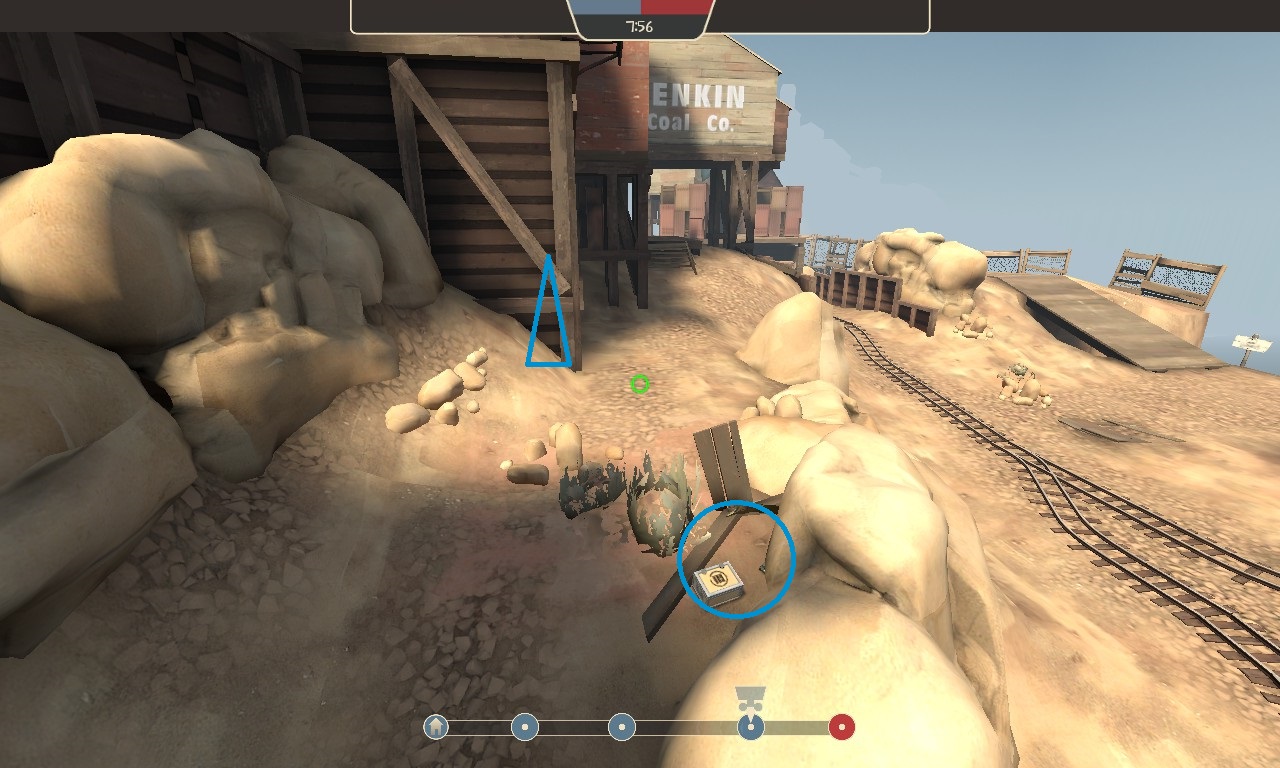
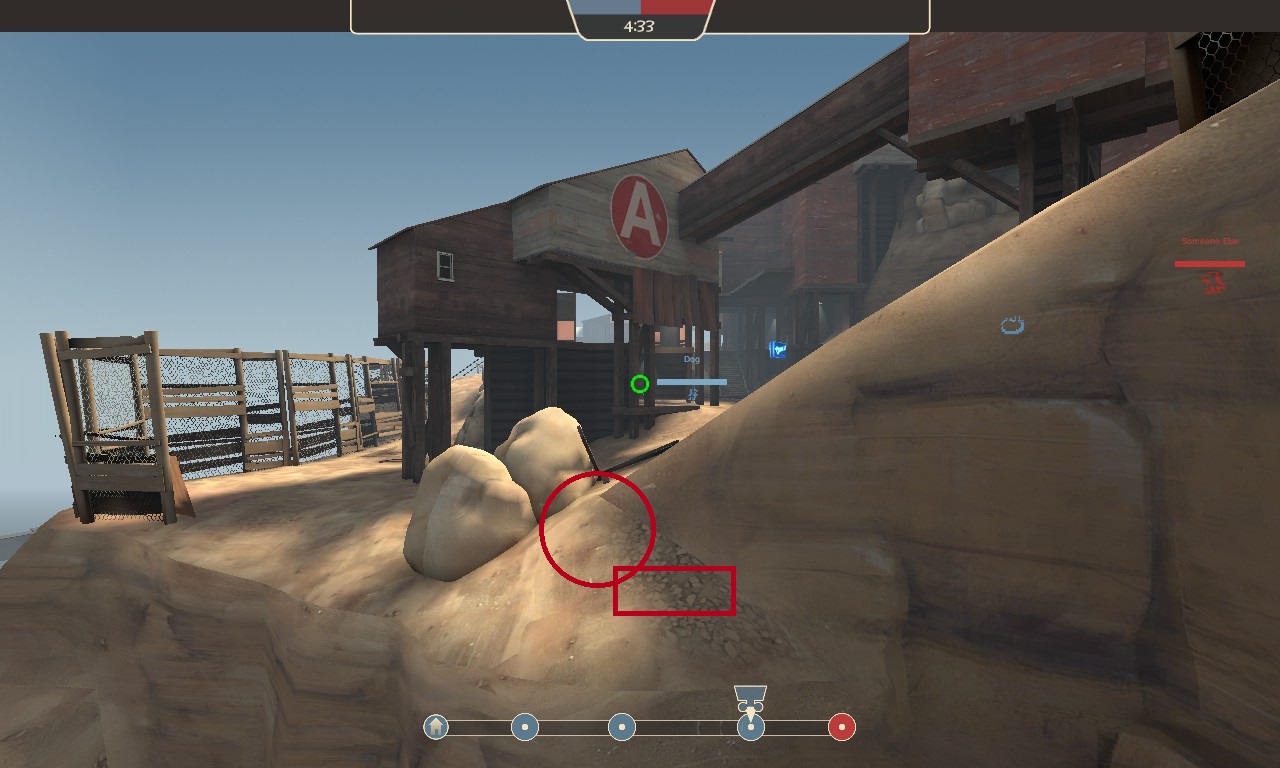
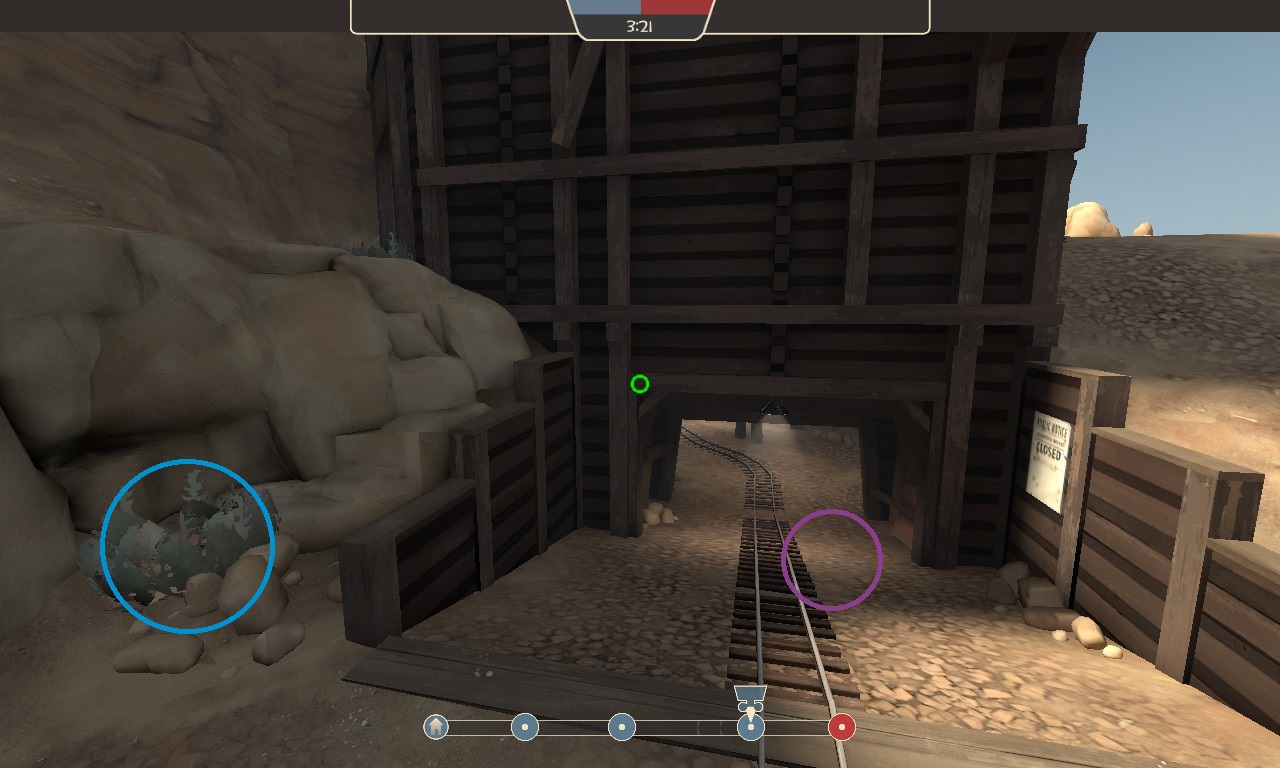
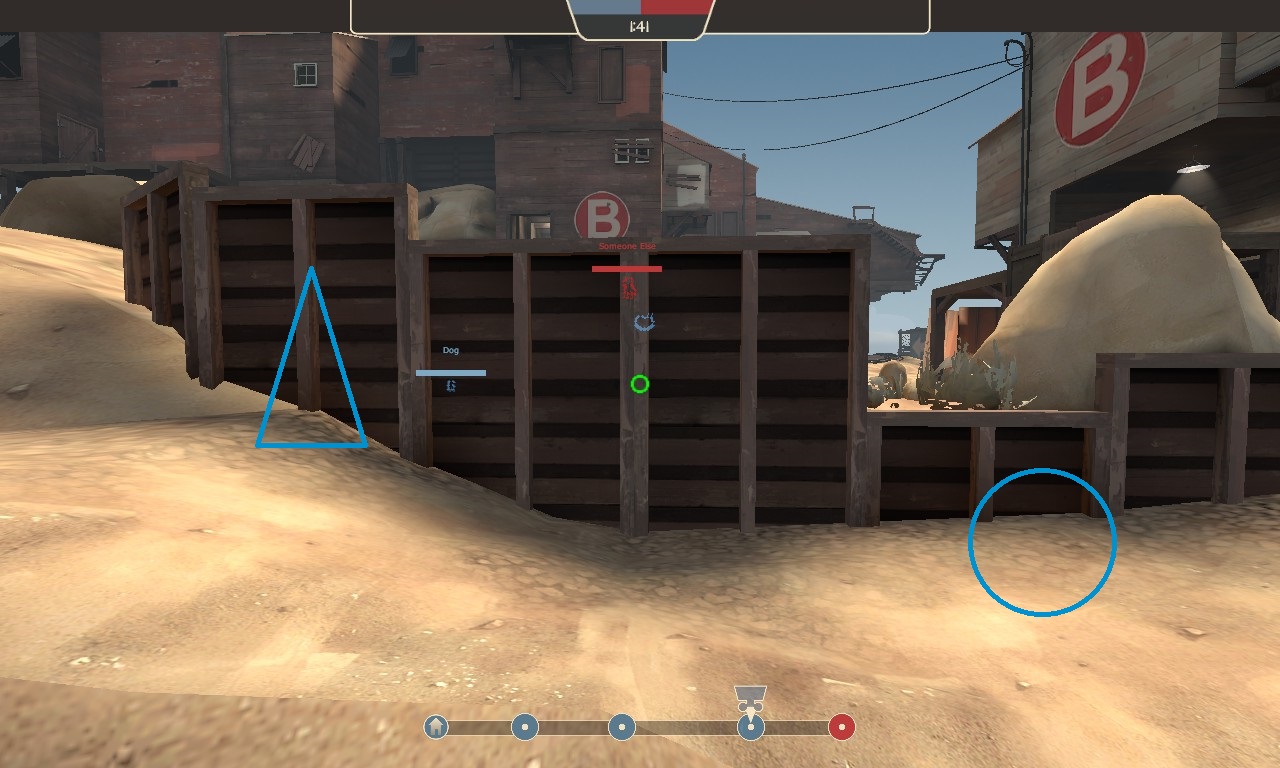
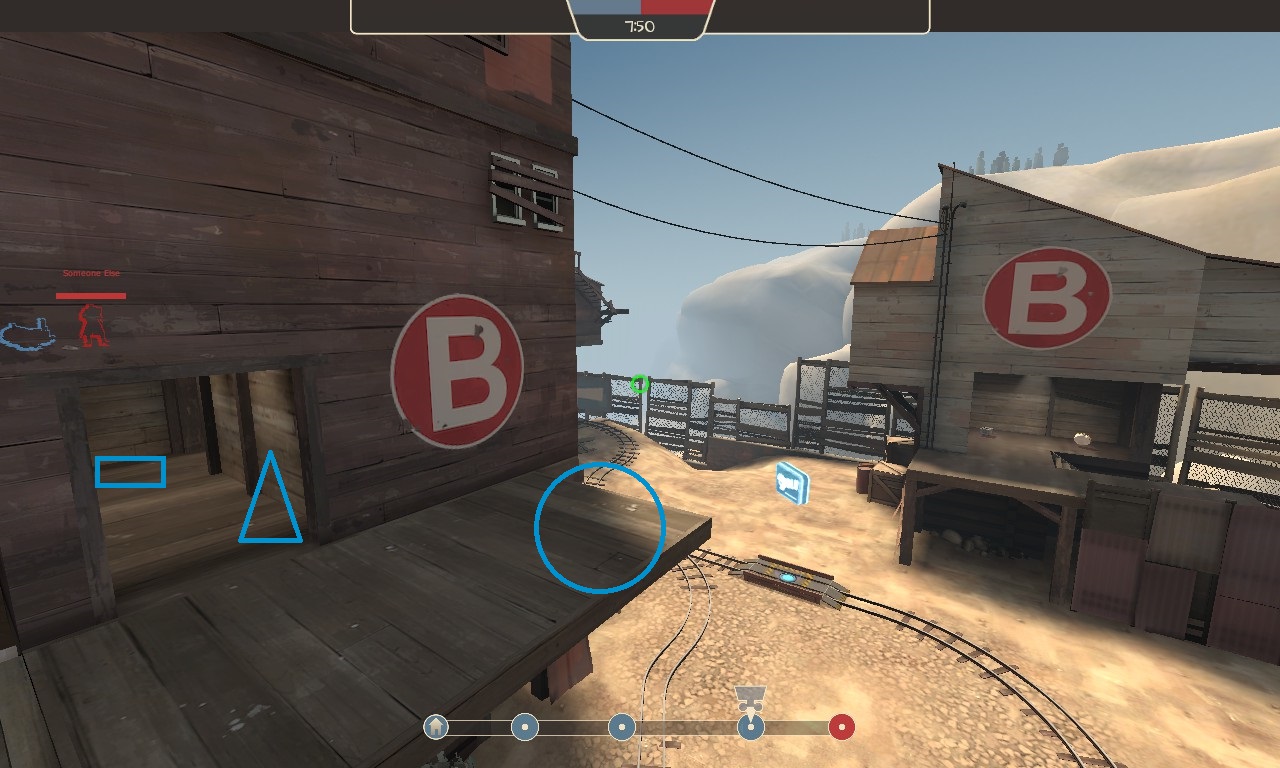
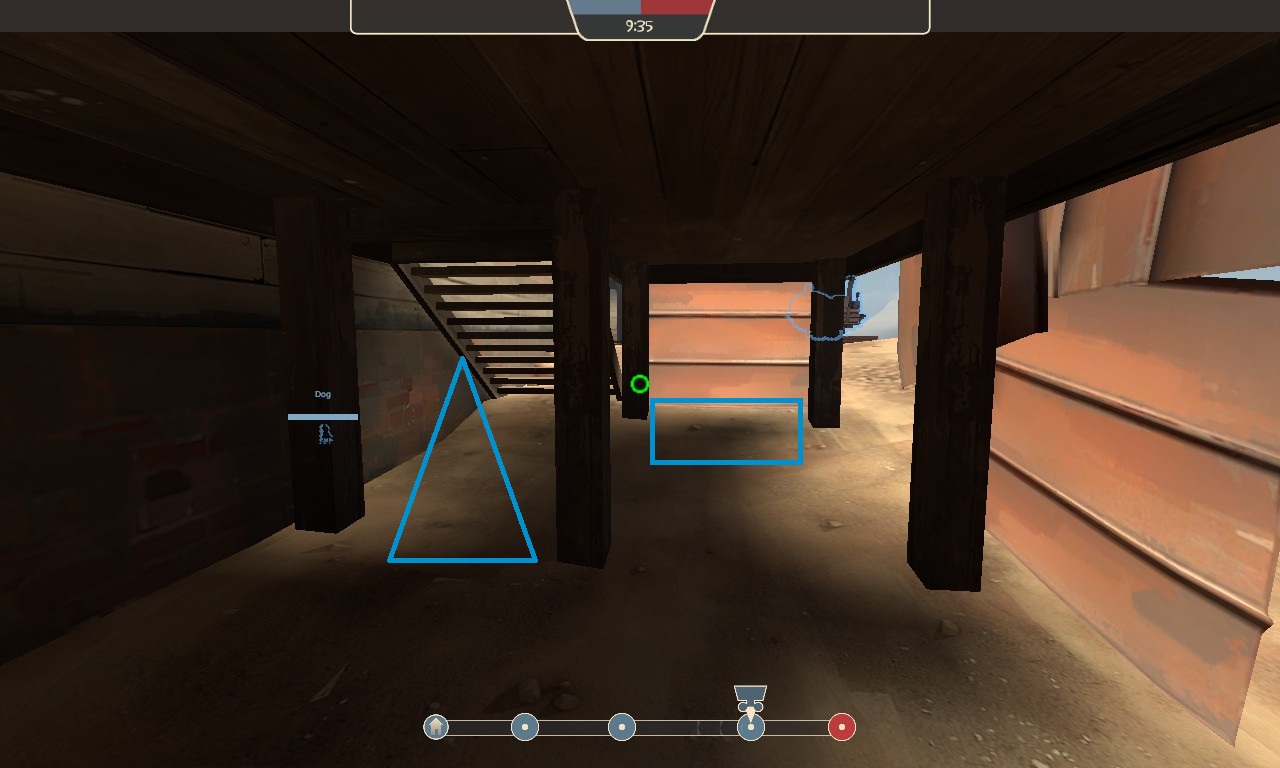
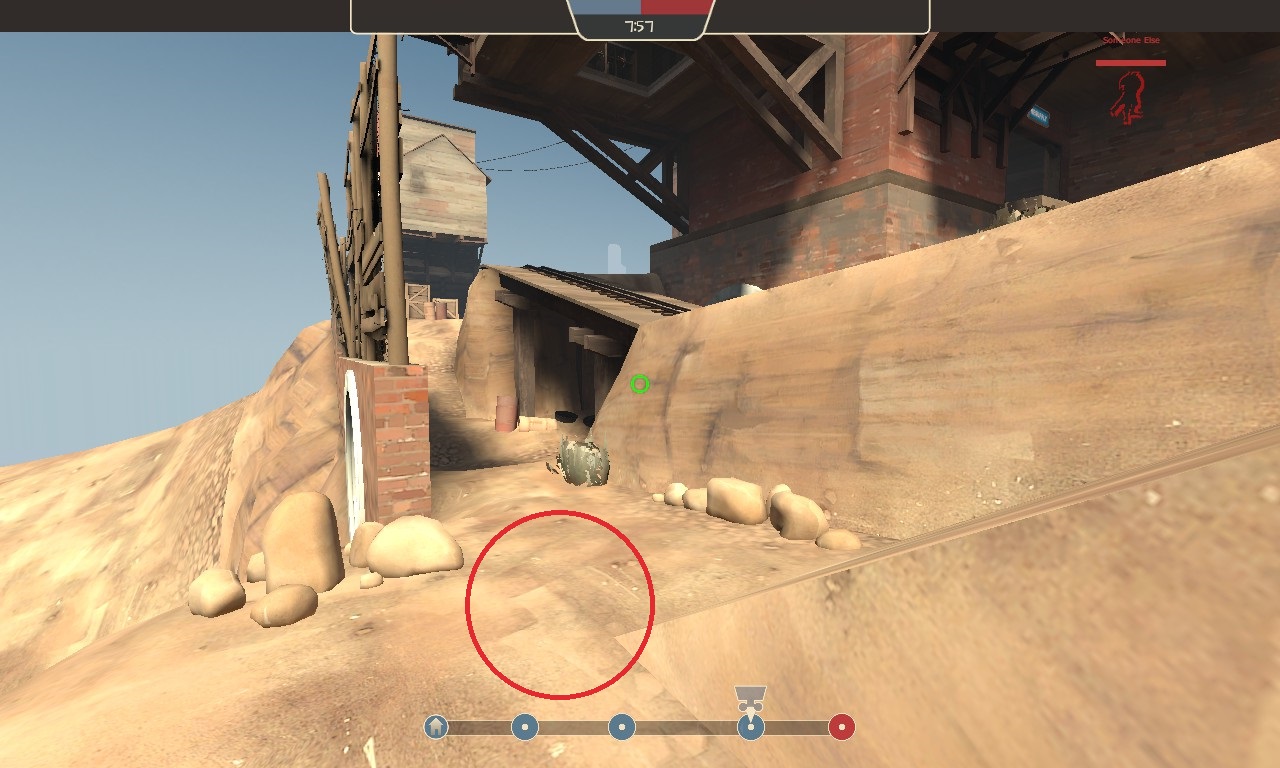
-Right before the payload makes it to the hill, you can put a sentry in between those two wooden posts on top of the right side hill and it will secure that area for red. This will be clear of snipers and the enemy will have a hard time trying to destroy it. By far the deadliest spot for RED on defence.