Planet Zoo
Ocen: 523
Beginner's Guide to Franchise Mode
Autorstwa: Jynn
A guide on how to get started, and some tips and tricks to make money and get a thriving economy in your zoo.
9
7
5
28
4
3
5
2
3
2
   
Przyznaj nagrodę
Ulubione
Ulubione
Usuń z ulubionych
Introduction

This is still a work in progress. The Franchise mode may change after Beta, and I will update the guide to reflect that.

Many in the beta have talked about a steep learning curve and difficulty in learning or finding all the features, so I thought this would be helpful, especially once the full game releases.

If anyone has more tips or thinks of things I should add, comment and I will try (at least until the beta ends and we lose access to the game :P )

Quick, Helpful Tooltips:

  • G hides the HUD so that you can take screenshots (F12 for Steam)

  • Alt + F2 enters Nvidia Ansel if you have a Nvidia graphics card.

  • You can download blueprints from the Workshop if you don't want to build things yourself
TL:DR Section

Don't want all the full details? then this spot is for you! Quick and easy tips

  • Start small at first. Only need basic Staff Facilities like Quarantine, Staff Center, Trade Center, Keeper Hut

  • Buy cheap animals for cash first. Tortoises and ostriches have worked well for me to start off with

  • Build lots of Donation Boxes

  • Animals do not age in Animal Storage. So if you buy a male, but need a female, leave it in storage until you find an affordably priced, good genetic mate for it. Otherwise it will grow old while you wait for a affordable one to come along

  • Keepers are very important and you will want to make sure you have enough for all your habitats (See Managing Employees section)

  • Mechanics are also very important, and if you build too much without hiring more, things will begin breaking because they cannot get to it all (See Managing Employees section for more details)

  • You can delete water by right clicking while on the Water Tool (See Terrain section for more details)

  • You can build a square / rectangle habitat by first placing a road using the 'Align to Grid' option, and then building the fence within the marked out area. This will allow a perfectly square / rectangle path (See Paths section for more details)

  • Veterinarian Research increases education level of the signs you post for that species, and increases breeding rates / successes. Also unlocks better food and enrichment items. You will want research!

  • Mechanic Research unlocks new buildings, facilities, fence types, and more. Very useful!

  • Male animals will fight. Keep an eye on babies as they grow up and be ready to remove them.

  • Have a Mechanic visit your Power / Water Facilities every month or two instead of once a year can help prevent them breaking down

  • For habitats, it can be useful to have the mechanic visit every 3 months, the vet every 3 months, and the zookeeper every month. This reduces barriers breaking, and other potential negative impacts.

  • Having a Vet and Mechanic dedicated to research only keeps them from neglecting other duties
Camera Movement
  • Holding down the Right mouse button and dragging will move the Camera left and right
  • Pressing down the middle mouse button will rotate the camera
  • Q lowers the camera
  • E raises the camera
  • ASWD keys will move the camera in that direction (A left, S back, W forwards, D right)

Camera and hot key controls can be changed in the Settings
Manager Mode

This is what I call the small radar looking icon in the far lower left corner. It allows you to select different views to check on your zoo.

You can see in the picture above the radar icon glowing green, since it is toggled on.

There are several options, i will list them in order

  • Animal Welfare: This allows you to check on your animals and see if any are suffering negatively.

  • Habitat: This has a drop down menu of two selectable options, those being weak points in the habitat barrier and the amount of usable shelter.

  • Temperature: This shows you your habitat temperatures. Shade from plants and buildings, and items like water and sprinklers, can help keep your animals cooler.

  • Water: This shows you the water you have in your zoo, and any water treatment facilities.

  • Power: This shows you where your power transformers are, their area of coverage, and any buildings that require power.

  • Buildings: This shows you happiness rating for buildings, and can help you find one that is broken down, inaccessible, or otherwise performing poorly.

  • Negative Impact On Guests: As the name suggests, this one shows you the negative influence bubble around facility buildings, and you can check to see if they overlap any guest paths.

  • Education: This will show you all education items within your park, and if they are in working order.

  • Guest Needs: this will highlight your guests, and show you their mood. You can change the drop down box to have it show you other needs.
Getting Started - Beginning Facilities

The game will tell you that you need all of the Staff facilities, but you will quickly run out of money that way.

You will want a Trade Center, Staff Building, Quarantine, and Keeper Hut at first. You shouldn't have to have a Vet Surgery just yet, because animals usually get injured when fighting rivals and you aren't going to have many animals just yet.

Research and Workshop are useful, and you may want to dive into researching immediately, but I find it is better to wait until you start earning money before building these, since they do not generate money themselves

For Guests, a Merchandise shop will help bring in money, and eventually Food / Drink and toilets. But you dont' need the Food / Drink or Toilets just yet, you can wait until you start getting some money coming in.

Getting Started - Buying Animals

The first thing that needs to be said is: Do not rush into buying the big animals. They usually have high enrichment / social requirements that you may not have yet.

Start small, and cheap. Your Conservation Credits and money will add up.

To start buying animals, you want to open the Animal Market. If you click on the cash banner, you can sort by just money or just Conservation Credits. You can also click on it to sort lowest to highest, or vice versa. Conservation Credits are harder to get than cash, even though you start with low money in the beginning. I tend to try and buy my first animals with cash and save my Conservation Credits


Good animals to start with, in my experience, are Tortoises, Ostriches, Nile Monitors, and Warthogs. Peafowl are cheap, but they also do not sell for much and you get absolutely nothing for releasing them into the wild. They're good to get if you want another exhibit to bring in more guests, but they are not good for making money by selling / releasing.

Big Note: Animals do not age in Animal Storage. So if you buy a male, but need a female, leave it in storage until you find an affordably priced, good genetic mate for it. Otherwise it will grow old while you wait for a affordable one to come along


You can also sort by animals by clicking the Animal banner and checking the boxes of the animals you are interested in.


Animal Exhibits - Terrain
Each animal type will have their own requirements for what kind of terrain is in their exhibit, how big their exhibit is, if they need swimmable water or not, etc.


All of this can be found in the tabs of the animal's info screen when you click on them. It updates as you work, so you can see in real-time their response to how much dirt or grass you are adding.


For swimmable water space, you will want to use the Terrain Tool to dig out a hole, and fill it with water with the Water Tool.

The blue ring of the water tool tells you how high the water can be. If the ring is red, it means there is something preventing you from putting water within, like an animal within the space.

Animal Exhibits - Fences
Fences are important, for they keep your animal in and allow guests to look inside. You will want to choose a material suited for the animal you are housing.

Tortoises, Gharials, Peafowl and other such smaller creatures that cannot jump can be housed in a wood log fence

Larger animals like Elephants will need thicker brick, and along with animals that can jump, will need a greater fence height than default.

To raise a fence, you can play the first campaign, but I will also tell you here too. You select the fence and choose ' Edit Barrier'. This allows you to adjust the barrier, and swap out one fence type for another. This is how you put in windows.


While in barrier editing mode, you can select the sidways pointing arrow. Click and drag it around the fence to select all of it,


then use the upwards pointing arrow to raise its height. 4m is good to keep things from jumping out.


Note: You can build a perfectly square habitat by first placing a path using the 'Align to Grid' option, and then building the fence within that marked out area.


You can also use the terrain tool to build a indestructible barrier that never needs maintanence. Simply use the raise/lower terrain tool to build cliffs or moats. Just have to make sure they are high enough / deep enough the animals cannot get out.

Animal Exhibits - Shelter
Animals have a shelter requirement where they can hide from the view of visitors, from weather, heat, or just to rest.


You can check their shelter requirement in the Terrain tab. As more animals are added, shelter will also become more contested and you will need to build more.


Shelters can be placed from pre-made blue prints, or build one yourself. (See Construction sections)


You can build one from rocks and natural construction pieces as well (See Moving Objects section)


Terrain tool can also be used to make caves as well.
Animal Exhibits - Enrichment

After enough Research, you begin to unlock Enrichment items for your animals. These are basically toys and similar things that will give your animal something to do. It reduces boredom and makes for a happier animal.

Some items can work for multiple species, allowing you Enrichment items for animals you may not have researched yet.


In the Enrichment Items tab, if you click on an item, you can see the tags. (See Above Picture) These list the animals that will use that item and gain Enrichment bonuses from it.

Clicking on an animal and going to the Enrichment Tab (Spotted Ball icon), will show you the items within the habitat that give Enrichment, and how much.

You can see in the picture above that the Zebra gets 100 Food Enrichment from the Small Barrel Feeder, and 201 Enrichment for having 4 Grab Balls in the enclosure. You can see his Enrichment is at 78%.
Animal Exhibits - Food Quality

Once you research an animal far enough, you will unlock new types of food that are better for them. But be careful, the higher the food quality, the more expensive it will be and the longer it takes to prepare. You may find your money draining fast due to food costs

This can be difficult to find and figure out how to change, however, which is why I made this section. Clicking on the food item itself will show you the kind of food it has, but will not let you change it. So to change it, you need to do:


1. To change the quality of food, click on the habitat fence to open the Habitat window.
2. Go to the Paw Print tab (Animal Tab)
3. Click on "Habitat Contents"

From there, you can set food quality via the drop down window.
Animal Exhibits - Heating and Cooling

Depending on the location of your Franchise zoo, such as in a Desert biome or in an Alpine biome, you are going to want heaters or coolers to keep your animals at their preferred temperature.

Your Saltwater Crocodiles, for instance, are going to be very unhappy and uncomfortable in snow, while Snow Leopards probably aren't going to appreciate the blazing hot desert.

you can find heaters and coolers in the Habitat tab, under Heaters and Coolers. When you place them, they will take a moment to begin affecting the area. You can turn on Temperature mode in the Manager View tab (far bottom left corner of your UI , to see what is needed.

Making Paths

Making paths seems easy, but beware, for the more guests you get, the more jam packed the paths will get and traffic jams will happen.

It is a good idea to have several paths so that guests spread out, and to use large width paths so they do not get stuck.


Staff Paths are, as they suggest, used only by Staff members. It is a good idea to have a few of these going through your zoo so that your Staff can find the quickest and most efficient way to their destination. Staff paths are the third tab.

In the picture above, you can see how my staff path runs behind the exhibits, keeping Staff Facilities out of guest view and allowing Staff Members a quick and easy way to get to where they are going, without getting stuck in crowds.

To make paths straight, you want to click the box that says 'Align to Grid'. this will allow you to make perfectly square shapes with paths, and you can also use it to make a circular large area if you want, for picnic tables or a roundabout.


To raise or lower a path, you want to right click and drag up or down. If it intersects with another object or terrain it will turn red and not allow you to build.

Mixed Animal Habitats
Some animals benefit from a mixed exhibit with different animals from their natural biome.

You can check the Zoopedia to see what is compatible with what, just be aware some animals, even when listed as compatible, have slightly different terrain or plant requirements and some balancing will be needed to make sure everyone is happy.


Sharing a habitat with a compatible creature increases the enrichment of the animal.


There ARE animals you can combine that the Zoopedia doesn't list, but they do not gain Enrichment from each other.

A good rule of thumb is to keep predator species separate from each other, becuase they are not going to get along at all

now for herbivores, it's a bit different. One way to decide is to compare Biome and Continent.

An example of one i use is Okapi and Bongo. They're both from central Africa. They both like Tropical plants. They don't gain enrichment from each other, but they can still live peacefully together, and I'll put them together to save space

Okapi:


Bongo:

Small Exhibit Animals

As well as large animals that go into habitats, there are Small Exhibits for small animals like reptiles, insects, and arachnids.

I would not advise these as beginning animals, but they are decent for once your zoo is larger and running efficiently. They CAN be used to make decent money, as some of they breed fairly quick and can be sold for quick money (None of them can be sold for Conservation Credits)

They require research to be happy with their environment as well, needing 5 tiers of research and will often dip into low welfare notifications in the meantime, which is why I do not suggest them.


To build the small exhibit, go to Facilities, and the very top right tab, Exhibits. You can place it, and put paths around it.

The animals are in the Exhibit Trading tab. From here you can see the animals you can buy, and purchase one. You will want to "Send to Zoo' and select your new exhibit.


Now you will need to tweak it for the animal's needs. Humidity and Temperature will need to be adjusted, and once you have Research, you can also add Enrichment Items to the exhibit.

You can adjust the windows to be blacked out, a 2D facade, or even a 3D facade.


Managing Animals

Once you have a hundred or more animals in your zoo, it can get pretty overwhelming.

If you go to the Zoo tab, and click on the pawprint tab to open Animals, you will get a list of all the animals in your zoo and their status.

This tells you where they are, their age, rating, if they're male/female and if pregnant, as well as Welfare. This is a handy place to go to check up on everyone.

You can also mass select animals here, which is handy for if a large batch of babies has grown up and you do nto want to individually select each one and send to the Trading Center. You can instead find their species, and check the box of each one that is younger, and send them to the Trading Center.

While you cannot mass sell from here, you can mass-release them.

You can also click on a Habitat's fence to bring up its tab, and use that to check what animals are within it from the pawprint Animal tab.

Breeding and Genetics
Breeding your animals to get babies with good stats to then release or trade is the main way you earn Conservation Credits in the game.


You can compare a animal with potential mates in the Genetics Tab, and the pink area of the bar shows you the likely area that the offspirng's stats will fall.


Incest is in the game, which means you will want to remove the babies you have from the zoo or risk getting babies that are negatively impacted by being inbred. You can also use Contraceptives, which are the small pill-shaped icon that you can toggle beside an animal's gender


Animals, especially males, WILL fight rivals. For carnivores, like Tigers, females will fight as well if there are too many females. This will result in injuries to both that will then worry guests and require a Vet to heal them. As male babies grow up, they will begin fighting their male parents. You will want to remove them to the trade center to prevent fighting, and either move them to a new habitat or Trade / Release them.
Stress and Privacy Needs

Animals will get stressed out if there are too many guests looking at them, and will try to find a place to hide. If their stress gets too high, their welfare will drop enough protesters will arrive at your zoo.


To solve this, you will want plenty of plants for them to hide in, but the very best solution is to research Barriers with a Mechanic until the final tier, which unlocks One-Way Glass. This will solve almost all your Stress / Privacy problems

To adjust which direction the one way glass faces, click the second tab and check left or right.
Animal Market and Selling Animals
Selling animals for Conservation Credits is the main way you can afford the more expensive animals on the market. In Franchise mode, this is online and trading the animal to other Players.

Initially you will be starting small, selling animals that do not go for much, but it adds up. I tend to check often for good prices, and get an animal if I see it for fairly cheap and it has good stats.

I do not put them into my zoo, however, until I have at least a male and a female. If you put just one into your zoo, you run the risk of it dying of old age before you can get a mate for it.

Also be cautious, not every animal on the market is a good deal, no matter how cheap:


- Check its age. If it is too old, it could die very shortly after you get it.
(Lion Life expectancy is 14 years. This male will die anytime after you buy it)

-Animals can have bad genetics, like being Infertile. This means it will very rarely, or never, reproduce and if you want a breeding animal, this is not a good option
(In the picture above, that Zebra is effectively infertile)

-Animals can be diseased, and this is why you must have a Quarantine to put new animals in until the game notifies you they are safe to be put into a Habitat. Some players can, and will, put diseased animals up on the market.
Releasing Into the Wild
Sometimes you will want to release an animal into the wild, rather than trade it on the Animal Market. Some animals just are not worth selling, due to saturation on the market, or perhaps it has very poor genetics and will not sell.

I tend to release animals that are getting near the end of their life span as well.


You do get Conservation Credits for releasing animals, though less than you get for trading on the Animal Market. It also raises your Conservation score in the Zoo Rating (clicking on the stars in the hotbar at the bottom)

This will affect guest happiness positively, as well as increase your Zoo's rating overall.


You can mass select and release animals, providing they are adults and not diseased or injured.
Managing Employees
Employees can be trained to make them better at their job, but this will make them want more money too. So you will need to raise their salary to compensate for their increased training.


You can sort by Employee position, or any of several other options as seen in the screenshot above.

You can also assign them to work zones from here, and hire new employees.

Caretakers: They sweep and keep the park clean, but also can transfer animals to new habitats. As your zoo grows bigger, you will want to hire more or end up with litter problems.

Keeper: Keepers care for your animals, keeping the habitats clean and feeding them. They will transfer animals to new exhibits. You will want plenty of Keepers, as they are the ones that feed and clean up after your animals. If you have too many habitats / animals and not enough keepers, you will start having starving animals and very dirty habitats. Hire more if you start seeing those alerts. I tend to use 1 keeper for 3 small-medium habitats, and have a dedicated keeper for a huge habitat full of large animals like elephants

Mechanic: Mechanics keep your zoo in running order, repairing fences, power and water treatment facilities, and can research new technology, fences, and buildings as long as you have a Workshop. You will find that you need plenty of these too, otherwise fences will start breaking and facilities will begin to break down because they are unable to get to it all in time.

Security: Security, as it suggests, keeps order in your park. They will prevent vandalism and pick pocketing.

Vendor: These are the employees that staff your food and drink shops, the Info huts, and merchandise shops. You will need one for each building of those types that you have.

Veterinarian: Vets will take your animals to Surgery if they get injured, and can research animals to unlock more enrichment items for them. Higher research also increases breeding success chances

Workzones
Workzones are set so that your employees can be made to stay in one area and take care of a set amount of buildings / habitats. This prevents a zoo keeper from halfway across the zoo trying to take care of an exhibit on the other side, increasing how long it takes for anything to get done.

As long as you manage your employees and set their workzones, you can have a very efficient zoo set up with everyone tending to their specific areas. Just make sure your Vendors are in the same workzone as the building you want them to work in.


The Workzone screen is color coded to allow you to see where the workzone overlaps another, or what is currently not in a workzone.

Research
Research comes in two types...Veterinarian Research and Mechanic Research.


Veterinarian Research is research on animals you have in your zoo. If you no longer have that animal, you cannot research it, as shown in the picture above. The Gold mediallion means research is complete and you have maximum bonuses


Animal research unlocks Enrichment Items, higher quality food, more information for your educational signboards, and better breeding rates. Each rank shows you what it unlocks.


Mechanic Research is for buildings, fences, shops, and other items like decorations that you can then use in your zoo.

This is how you get important items like one-way glass, new shops for guests, new and stronger fences, as well as new power buildings and staff buildings.

- Research is best done by a Vet or Mechanic who only do that job. That way they cannot neglect visiting habitats or fixing things, because their only job is to research

- moving research buildings to the animal they are researching makes it happen faster because the vet spends less time walking there when they have to go into the habitat as part of the research.

Education
The game focuses heavily on Education of your guests, and the guests in your zoo are happier with a high education rating for animals.

To achieve this, you need to use the Educational Signs, Screens, and Speakers, as well as research animals.

To place signs and speakers, go to Facilities Tab, and then to Viewing Devices and Speakers. Some are Ambiance or Music speakers, so be sure you are picking Educational ones.


The Signs and Speakers will automatically population the drop down list of animals, with the closest animal being first on the list. This makes it easier to quickly select the animal to be displayed.


Speakers operate like the Signs, but also include a 'bubble' that is the range of their sound. You do not want the bubble to overlap other bubbles, otherwise the noise will be confusing for guests.


The Guest Education view in Manager View (Far bottom left corner of the UI), will show you all your educational spots and if they are powered/unpowered and the speaker overlap.
Power and Water Treatment
All buildings and even the educational signs will need power, while any body of water within a habitat will need regular cleaning to stay clear and healthy for the animals.

In the Facilities tab, you can build power transofrmers and water treatment buildings. These will need regular service from mechanics.


Power Transformers: These have a influence bubble, all you have to do is put it down to where it covers what you need. It will power anything within that bubble


Water Treatment:: This will treat and clean any water that falls within its influence bubble. It doesn't have to cover all of the water, even if just a small bit of the lake or pond is within its bubble it will clean the water.

Handy Note: It can help prevent failing facilities to have your Mechanic visit every month or two instead of every year.
Rides and Transportation

Building a ride is very similar to Planet Coaster, and tutorials for Planet Coaster can be used to learn how to build in Planet Zoo as well.


First you place your station, and build the track. Make sure the track loops back to the station.


The hardest part is that the game does not easily tell you how to make paths to connect to it. To put the entrance and exit down, you actually have to locate and press specific buttons.

- Click on your station
- Click the 'Station' on the Station list
- You can now place entrance and exit
Zoo Rating

Zoo Rating is a measure of how well you are doing.

There are two ways to check your rating:

- Hover over the stars on the bottom tool bar
- Go to the main Zoo Menu tab


The over all rating is broken down into 5 categories:

  • Animals - A combined and averaged rating on how happy and healthy your animals are

  • Conservation - Raised by releasing animals into the wild

  • Education - Putting out more educational signs and items will raise it. Researching animals will allow greater education facts to be listed on the species stands you put by habitats.

  • Scenery - Guests like a scenic and beautiful park, so having plants and statues will increase this

  • Guest Happiness - A combined average of how happy your guests are with yoru park, including food, drink, entertainment, and resting spots. You can see what your guests are feelign by hovering over the emoticon face next to your zoo rating on the bottom toolbar, and also by going to the main Zoo tab and clicking on the Guest tab (see below)


Making Money (From Zoo Facilities)

Your main source of money income is going to be from Donation Boxes and Merchandise Shops. Food and Drink stalls make money as well, but not as much, in my experience.

Donations form the large bulk of your income, you will want to put Donation Boxes frequently around the paths and near exhibit windows.

You can check how much everything is making in the Finances tab of the main Zoo tab.


Construction and Building
Handy Tips:

  • Press R to edit a group of objects / blueprint item
  • Press Z to rotate walls and other items while editing a custom building
  • Holding shift will move a piece up and down. Use this for stubborn roof tiles
  • Planet Coaster tutorials can be used to learn the building / construction mechanics

Building can take some getting used to, but luckily there are a lot of tutorials out there to get the hang of it (Even if they are Planet Coaster ones!) But I'll try to break down the basics here for you

So when you start building, you usually start with one piece. Say, a wall, or a shop. We are going to use a shop for this tutorial


In the Facilities menu, you can get default basic block shops or staff buildings. I chose the basic Information Center


Next, you can start adding to it. You open the construction tab and begin. I started with some walls. Z lets you rotate the wall so that it is facing the direction you want.


You can put on a roof, which should auto connect to the top of a wall.


There are also many detail options like gutters, signs, and building additions. Dont' be afraid to experiment, you can literally use any of the building materials you want, regardless of what they are. If you want to take a fence, rotate it, and make it a decorative banner then go for it.


you can add plants, trees, rocks. Everything is available to make a very creative building. When you're done, you can save it as a blueprint and use it all over your park, or upload it to the Steam workshop so others can use it too.

You can duplicate one or multiple items in order to make things easier, as well. A lot of learning how to make things is through experience, just getting the hang of how to rotate and manipulate objects, and exploring the vast amount of pieces available to you.

Remember in-game Mechanics research will open up new decorative options, as well as new wall and ceiling types.
Moving and Adjusting Objects

So one of the great things about Planet Zoo is the ability to build pretty much anything you want. This section will tell you how to manipulate the objects in the game.


- When you are placing a brand new object, holding Z down and turning your mouse will make your selected object rotate in place. You click to place it once you are happy with where it is.


- Once an object is placed, select it. Hitting X opens the more in depth movement menu.

I mostly use the 2nd option (Toggle from Translate to Rotate), to rotate objects in 3D. The different colored rings allow you to rotate the item in the direction the ring is facing edge on.
Elevated Guest Areas
So you have all these elevated paths, and your Guests are complaining they're hungry, thirsty, or bored. What do you do? Build a downwards path and try to fit a shopping center in somewhere?

Not necessarily! You can build a elevated platform for your guests, overlooking a habitat perhaps. This section will tell you how.

So first, you use the Align to Grid option while building on a elevated path. This allows you to make a nice big platform


Select and place one of your Guest Facilities. You will have to go into the in depth edit mode (Z button) and use the movement Green arrow to raise it upwards to the level of the platform. Rotating it (option just to the right of the one you are on by default), and then move it with the arrows again until it auto - connects to path


Repeat with all your buildings. You can also add pillars or some other building / terrain beneath them so that they're not just hovering in midair


Add some tables, trash bins, and anything else you desire and you'll have a full on elevated guest center for them to enjoy

Community Challenges

The developers will run challenges for all players to attempt to participate in. This can breed X amount of a specific animal, or perhaps release X amount of a specific animal into the wild, or similar.

To participate, you just have to do as it says. Own the animals involved, and do the task. This can be challenging for some players, especially newer zoos, who may not be able to afford the required animals or can't get them to breed, etc.

The reward for such challenges is usually Conservation Credits, but can be other things like an outfit for your avatar, or a gift Animal

Komentarzy: 43
Hellno_Kitti 31 marca o 11:02 
Ah. The text spacing came out more clunky than intended. Sorry!
Hellno_Kitti 31 marca o 11:01 
Apologies if this counts as necroing, but my hot tip is that if you want a dlc that gives you good cc generating animals, invest in the twilight pack. Wombats and Red foxes give a ton of cc for being relatively quick breeding animals, with foxes in specific taking less than a year to mature and have 4~ children on avearage each mating. They also have the most colour variations that sell for a nice amount and are easier to find for
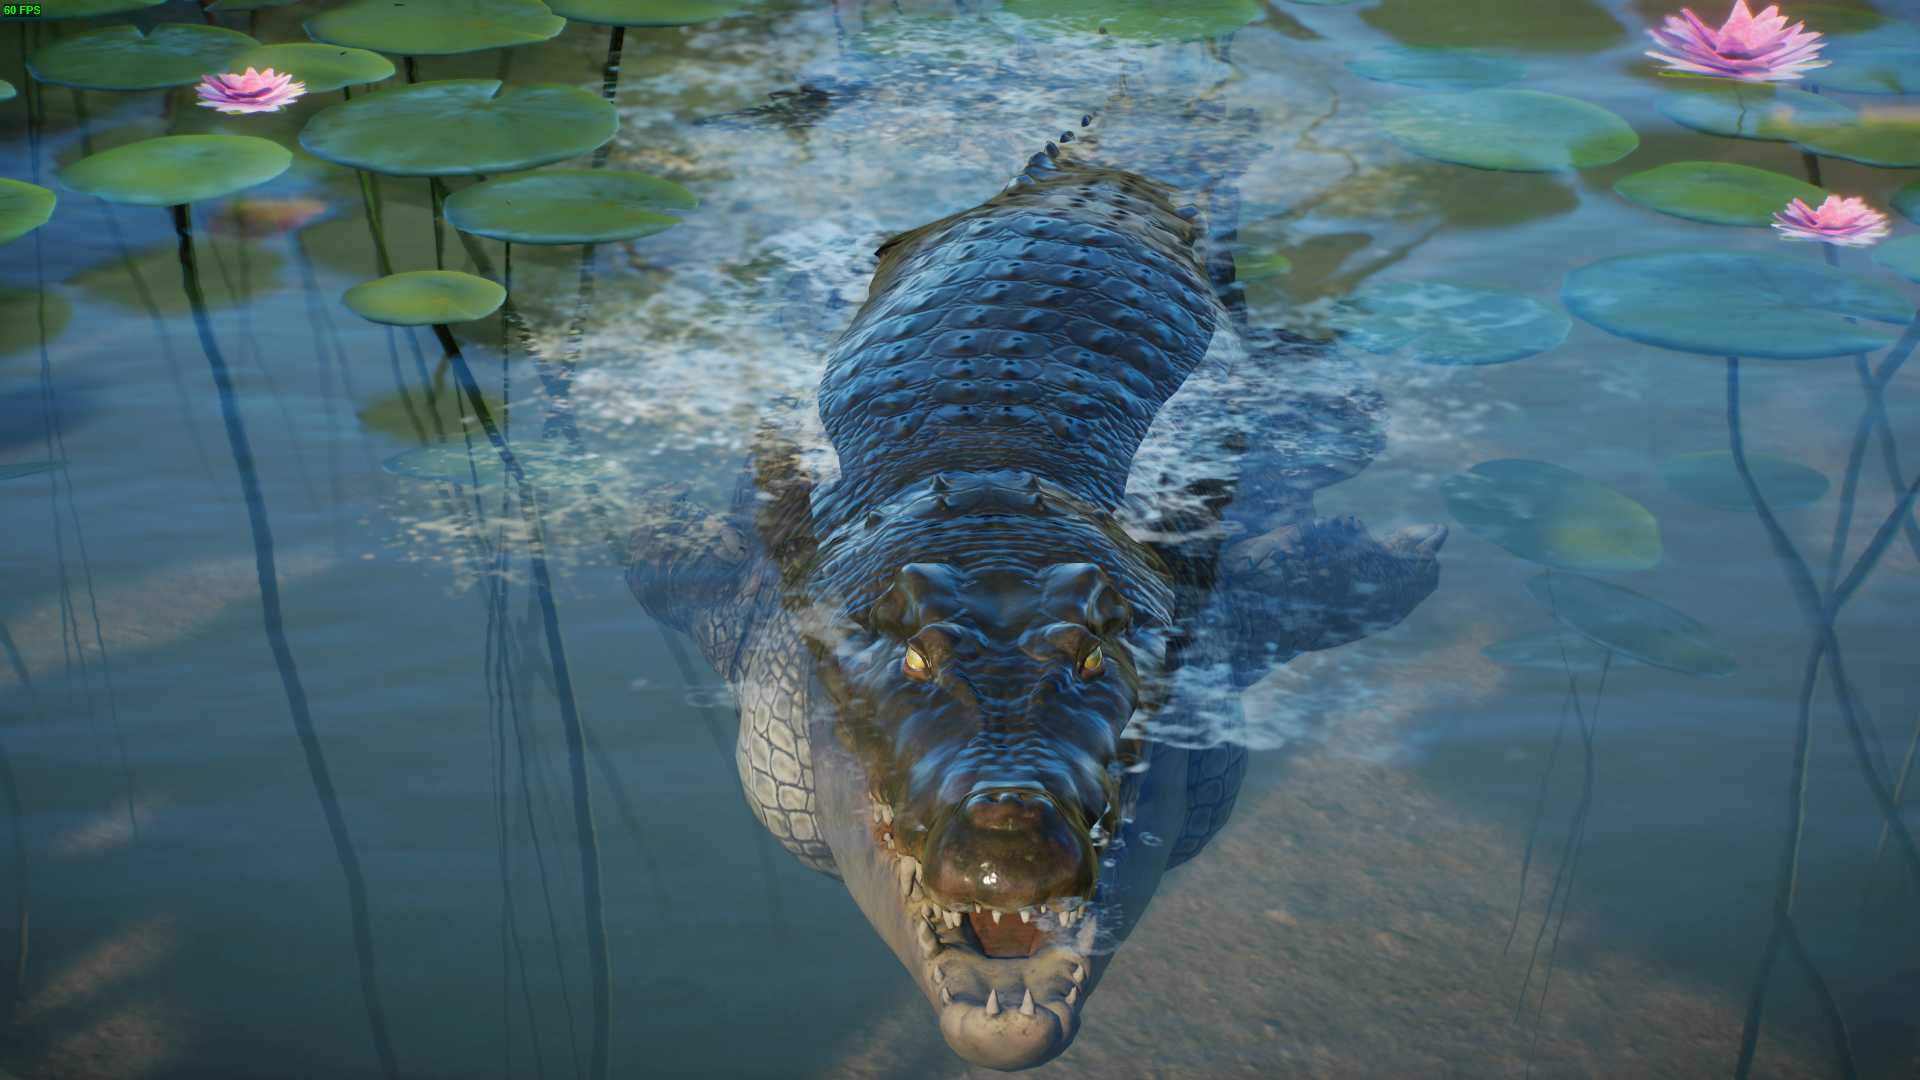
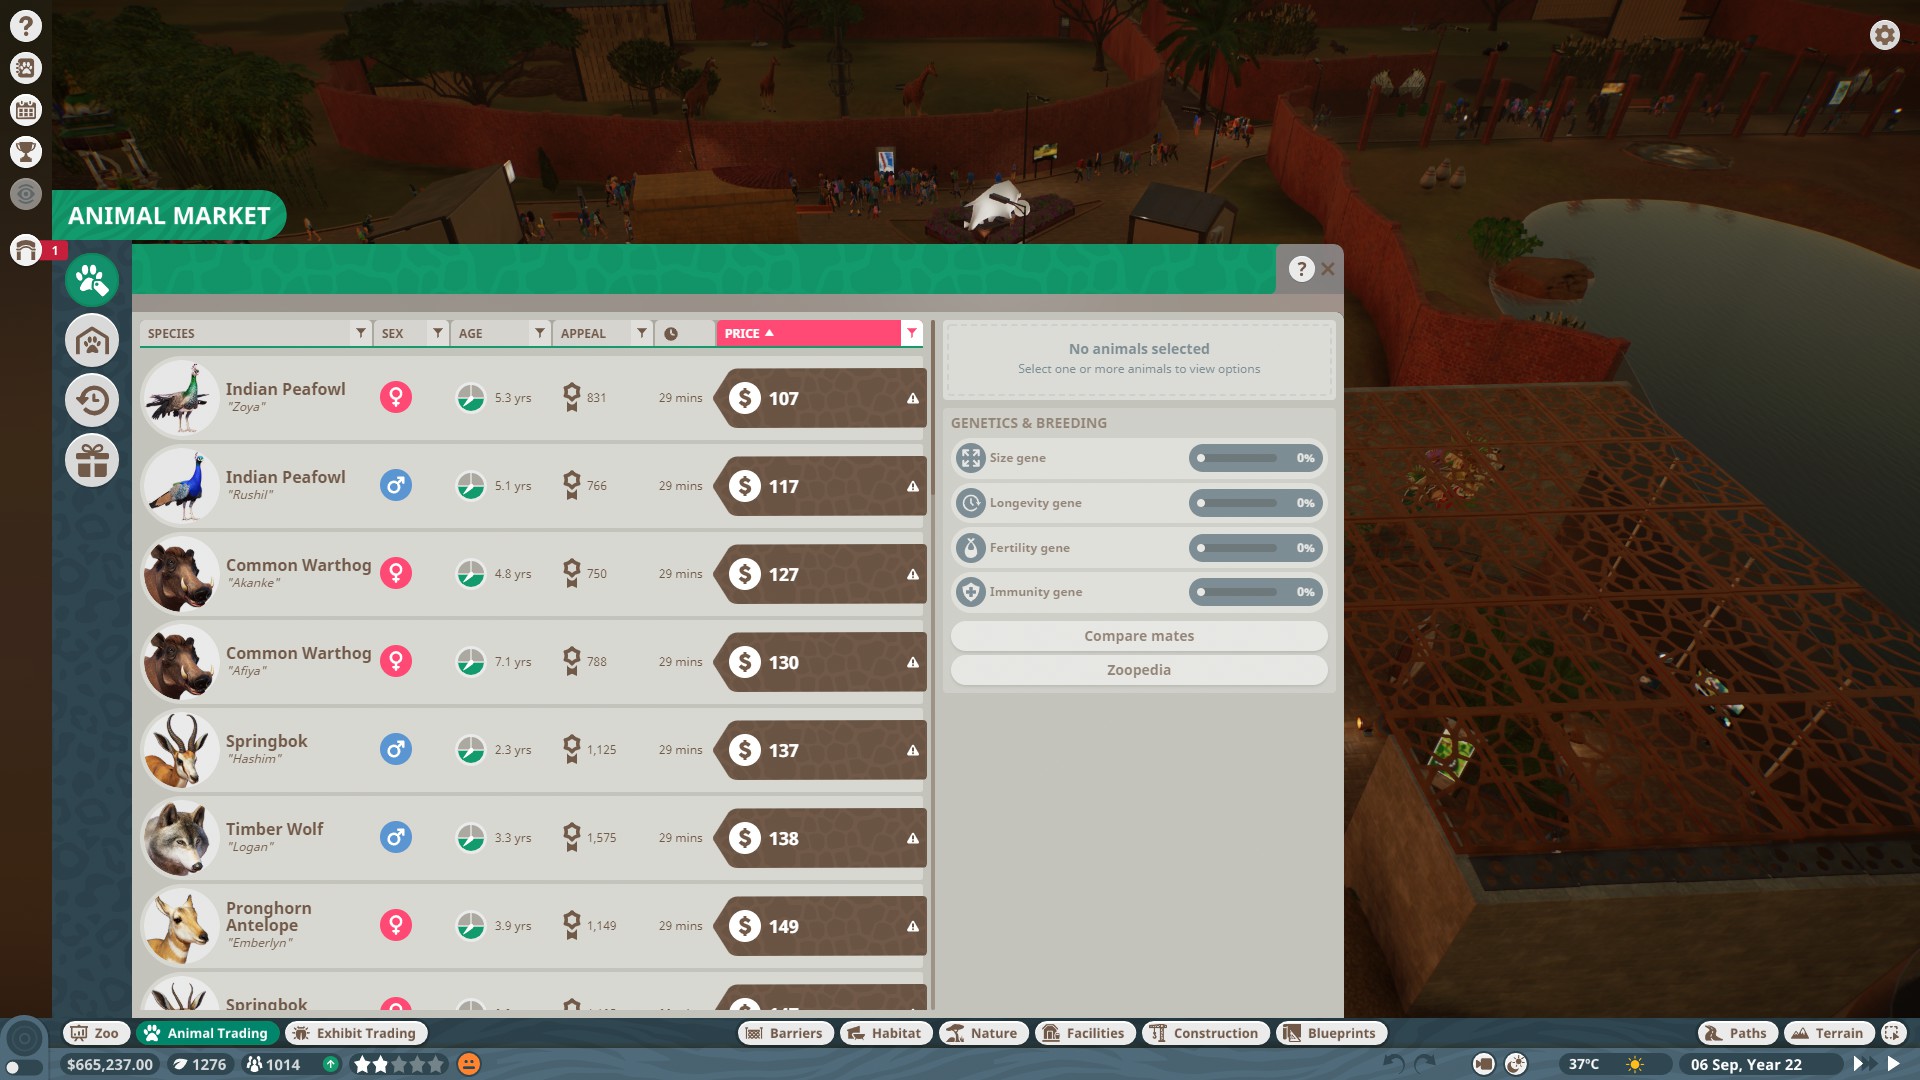
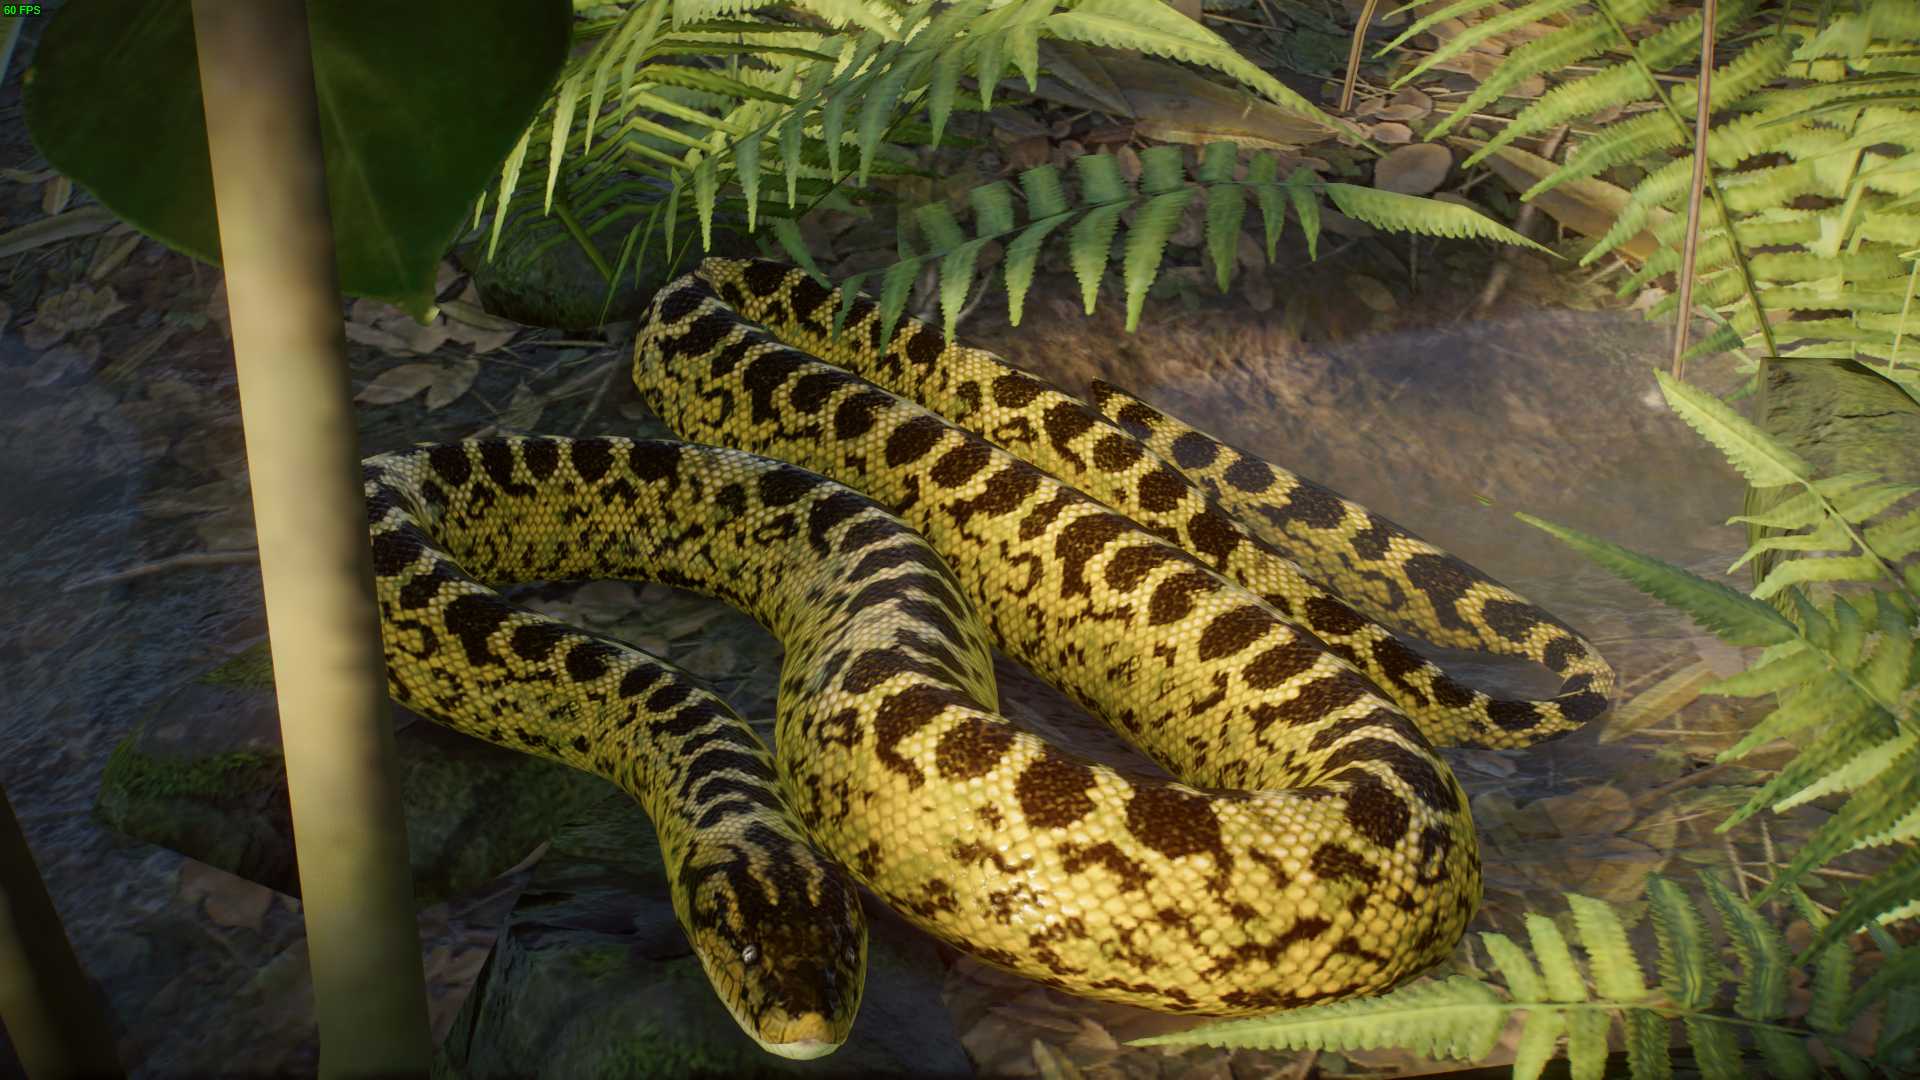
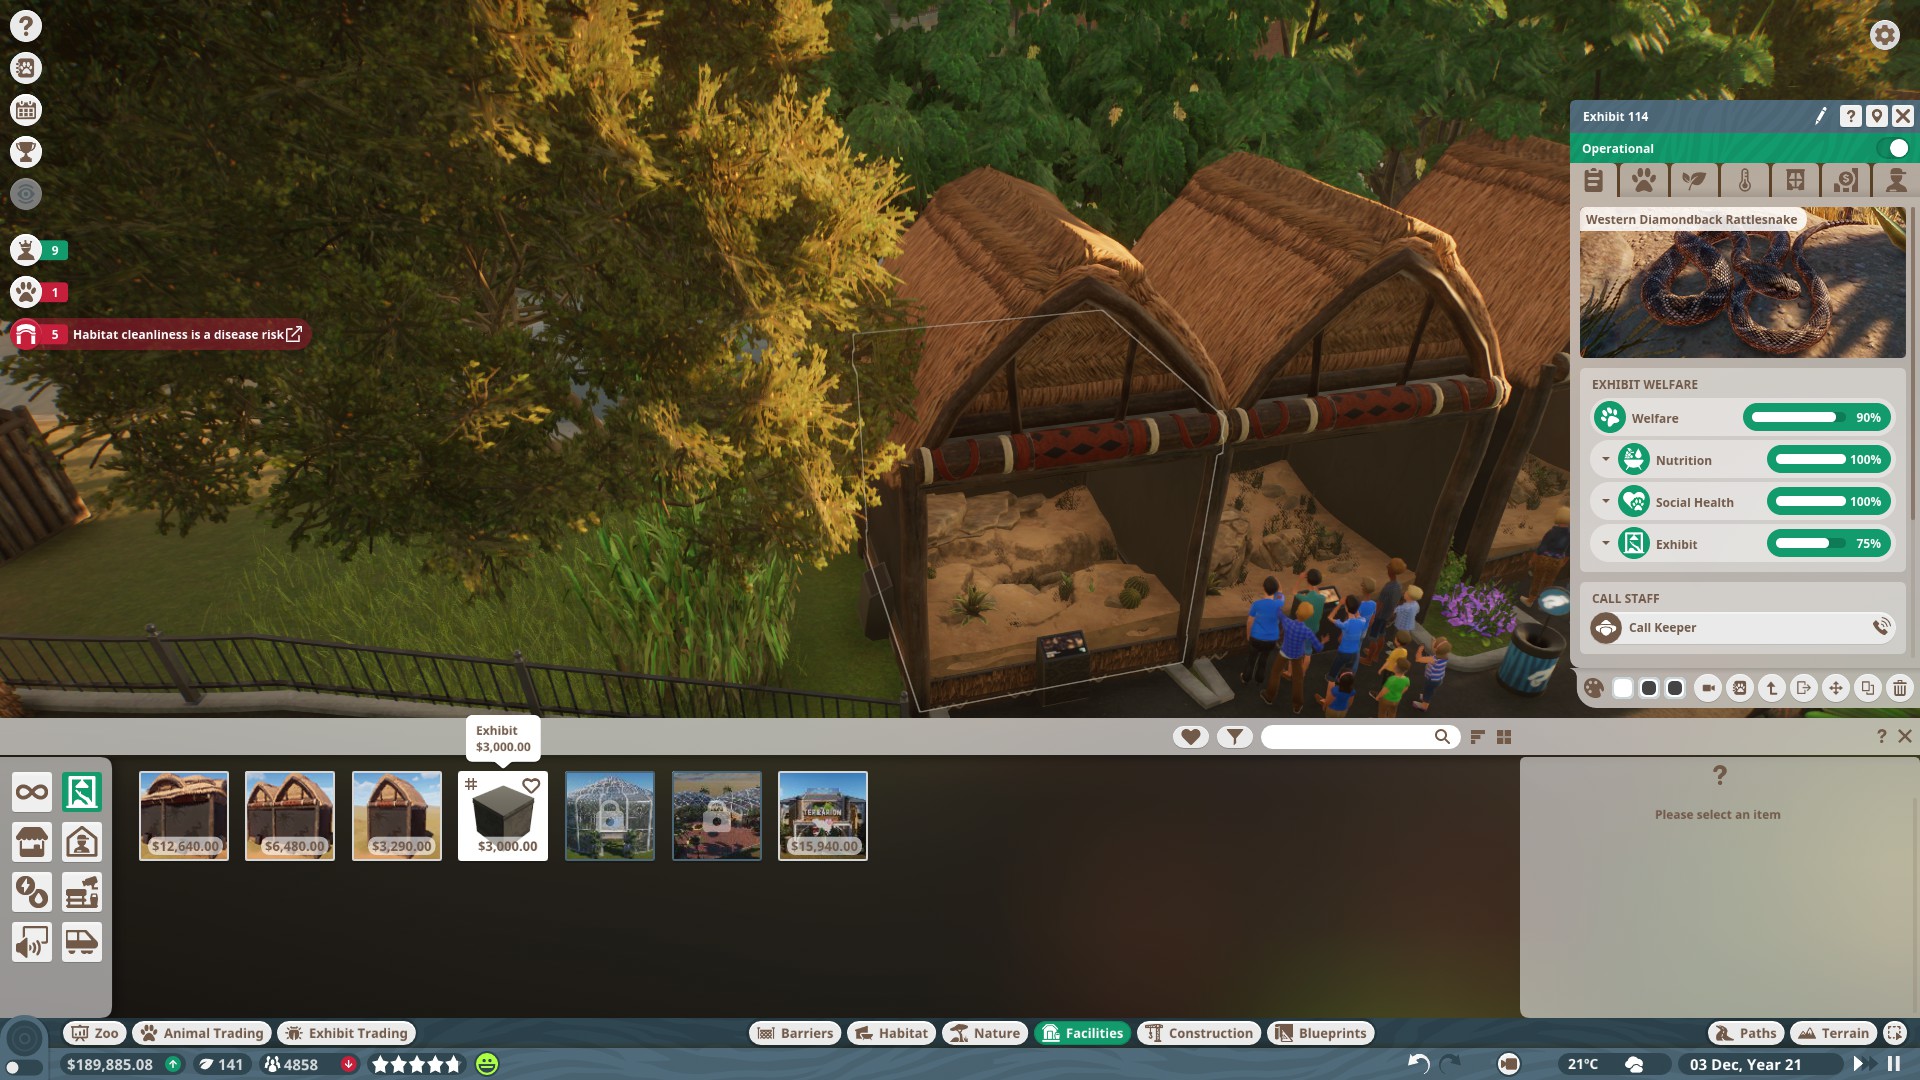
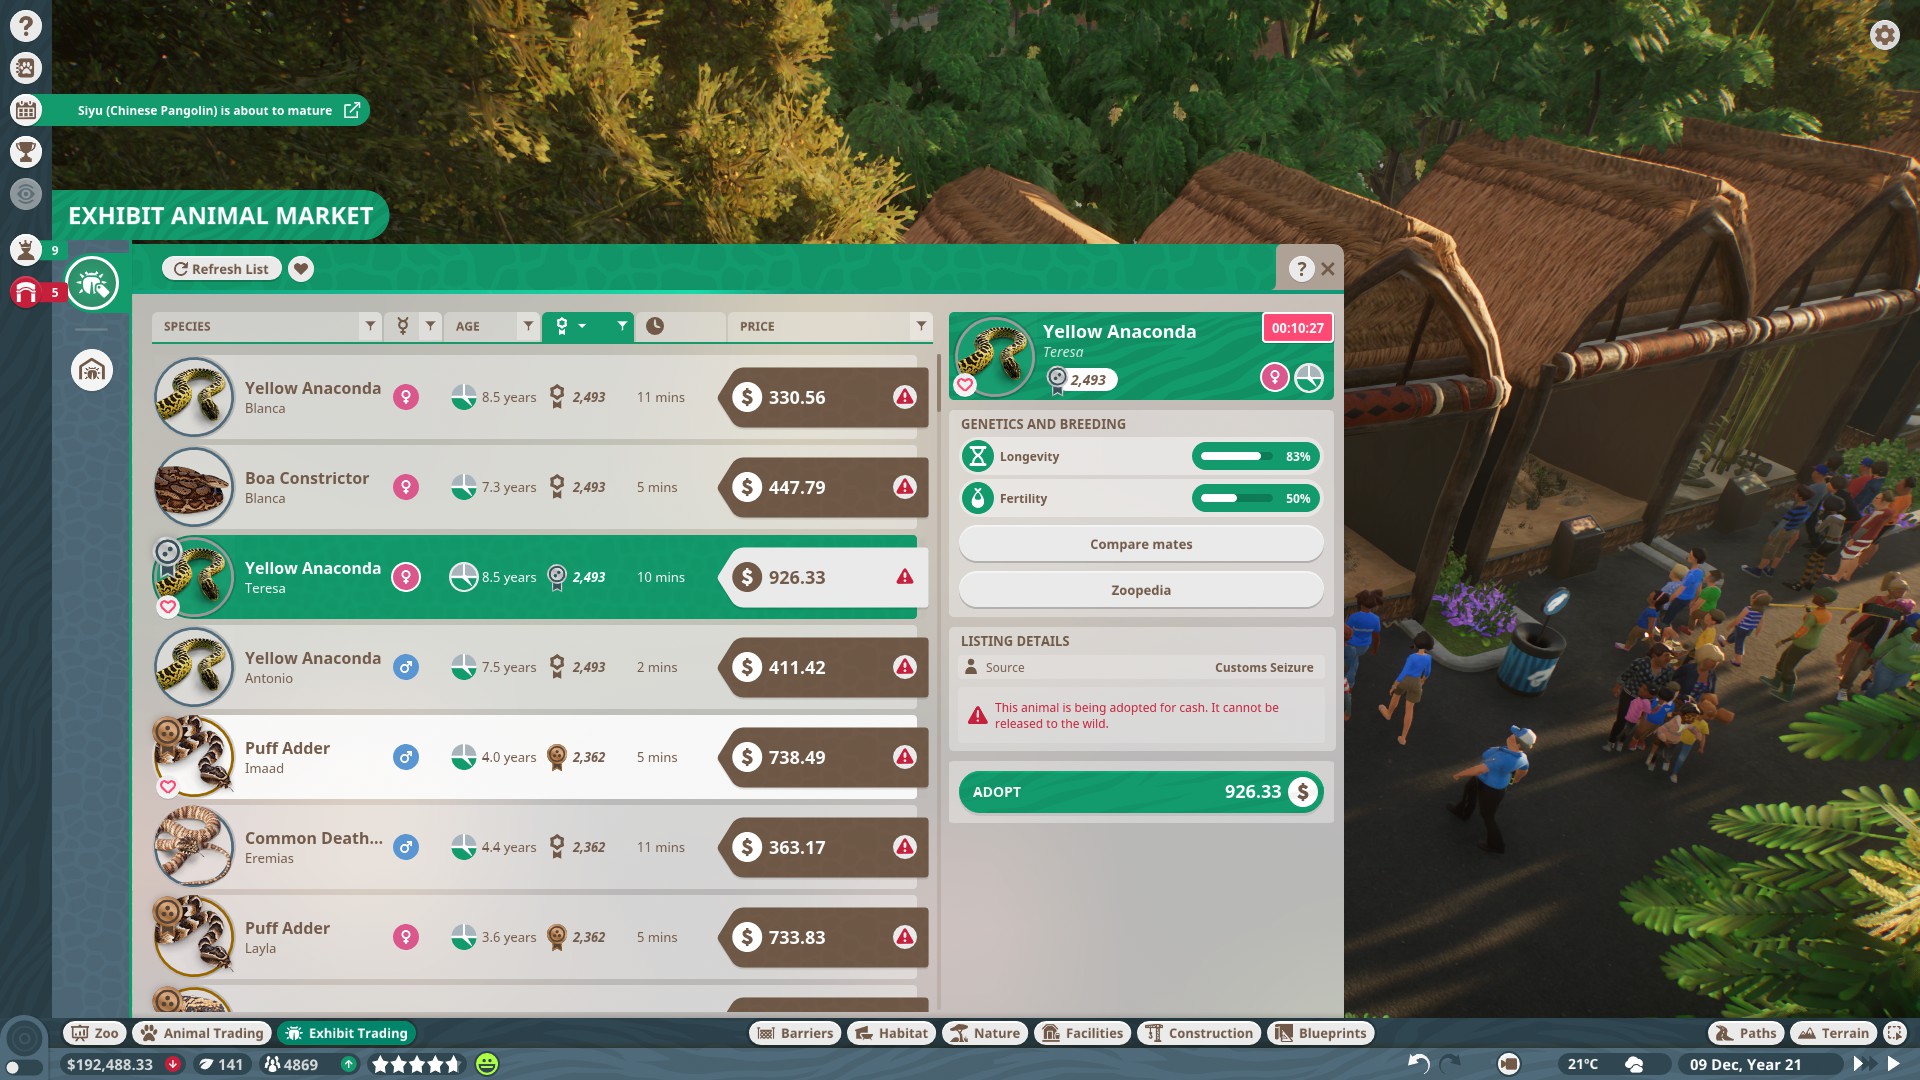
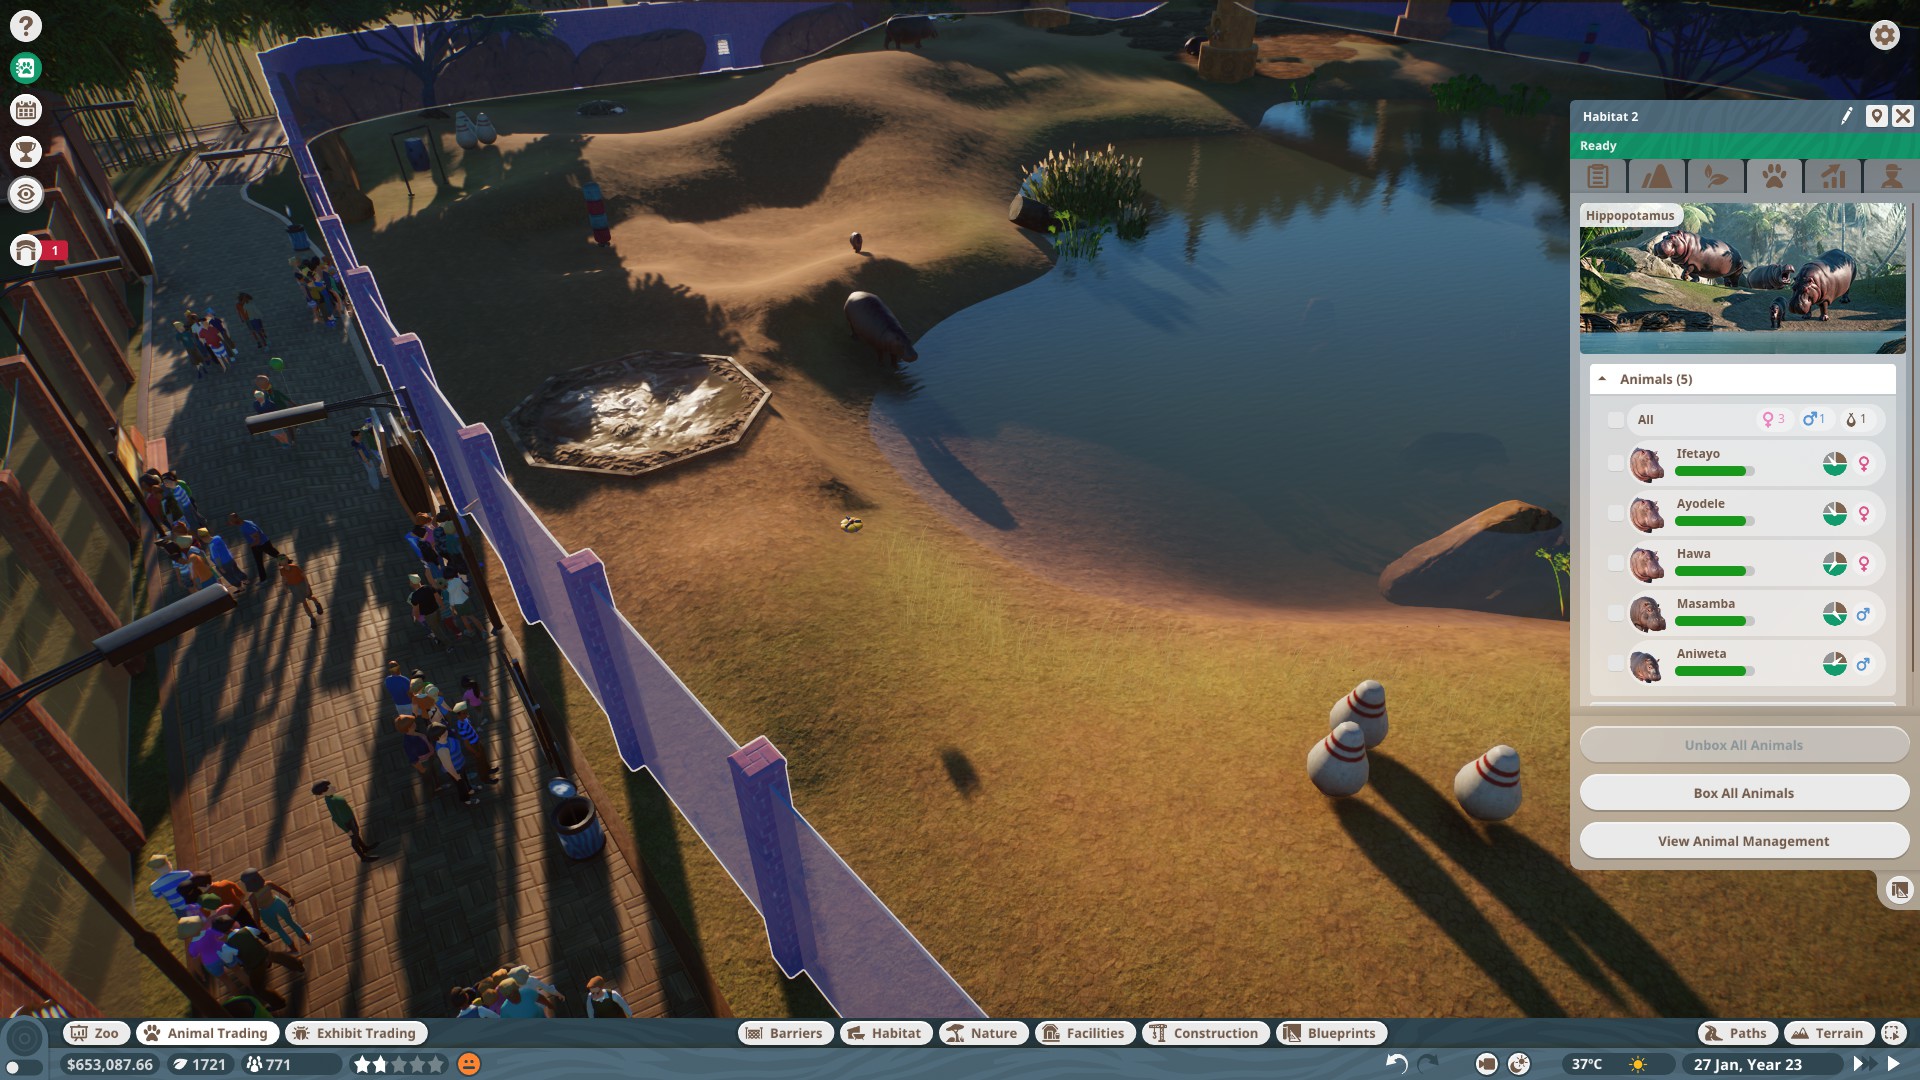
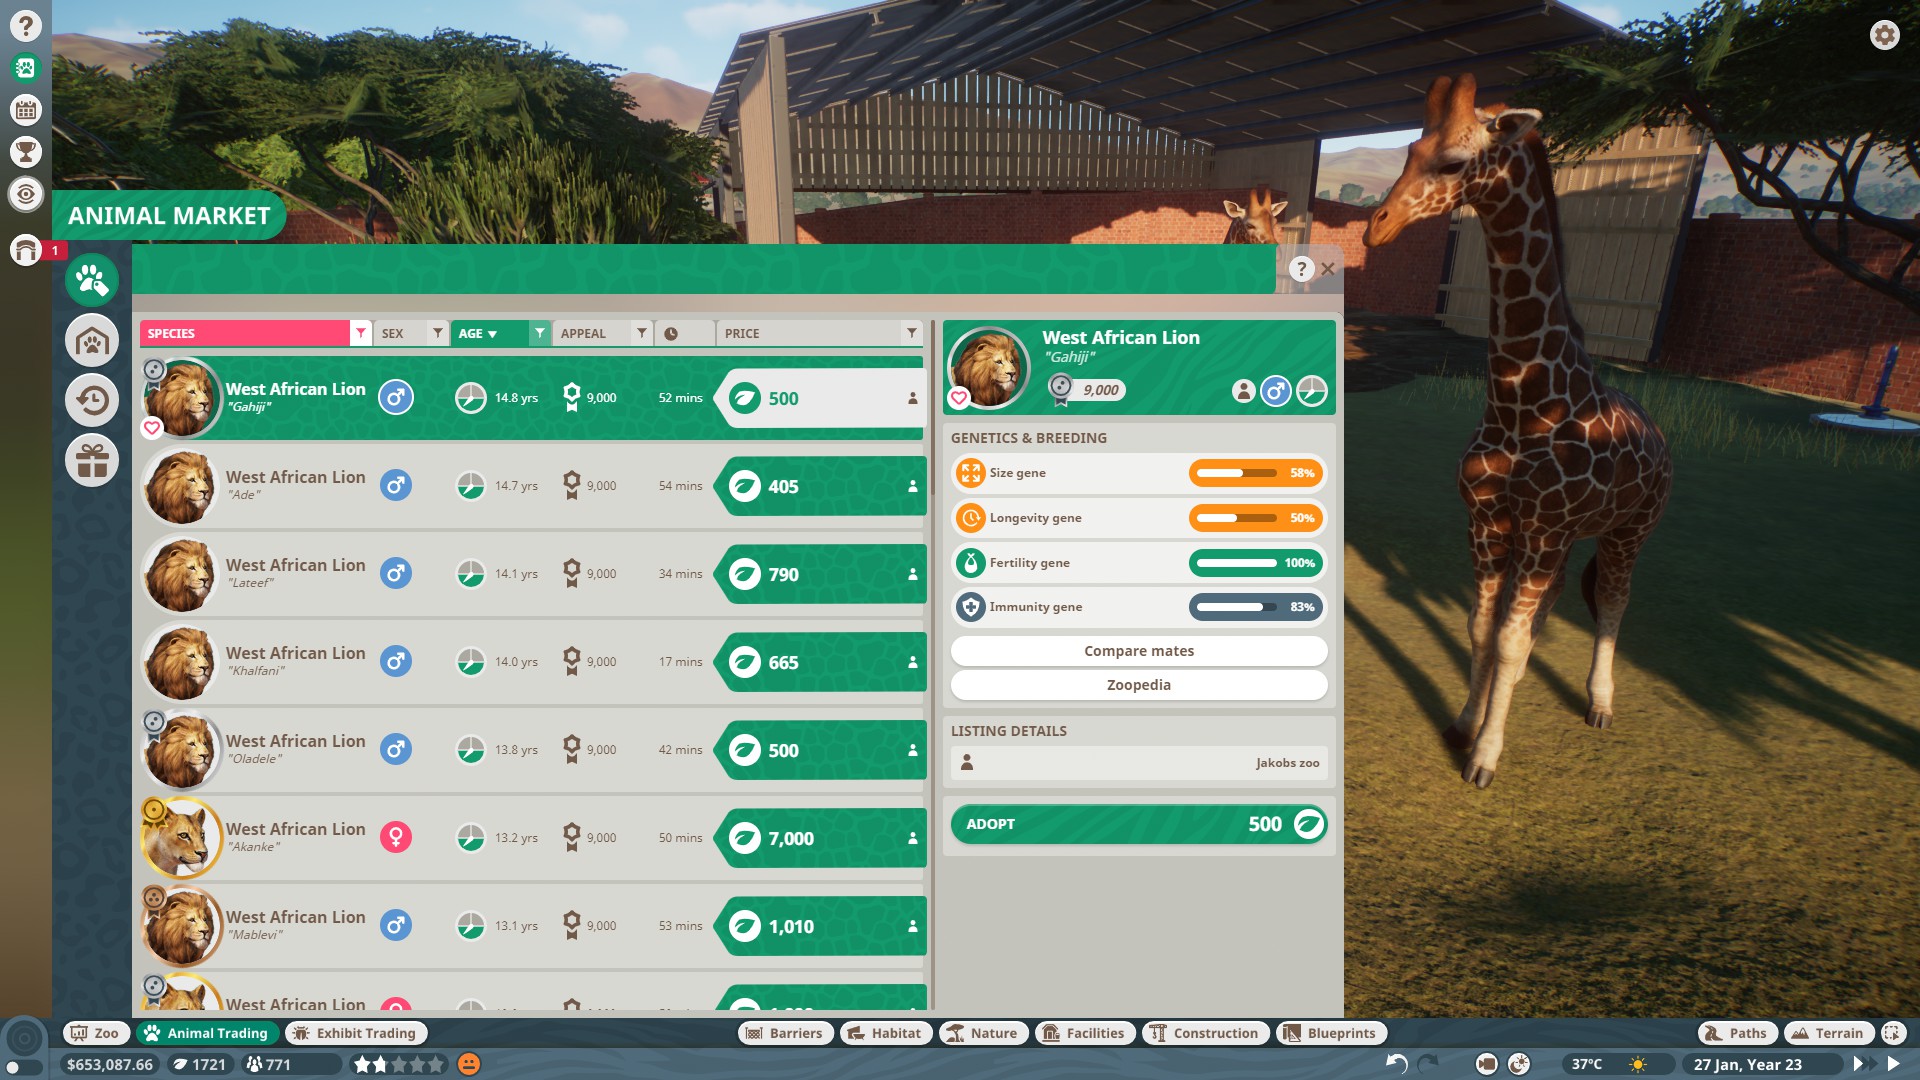
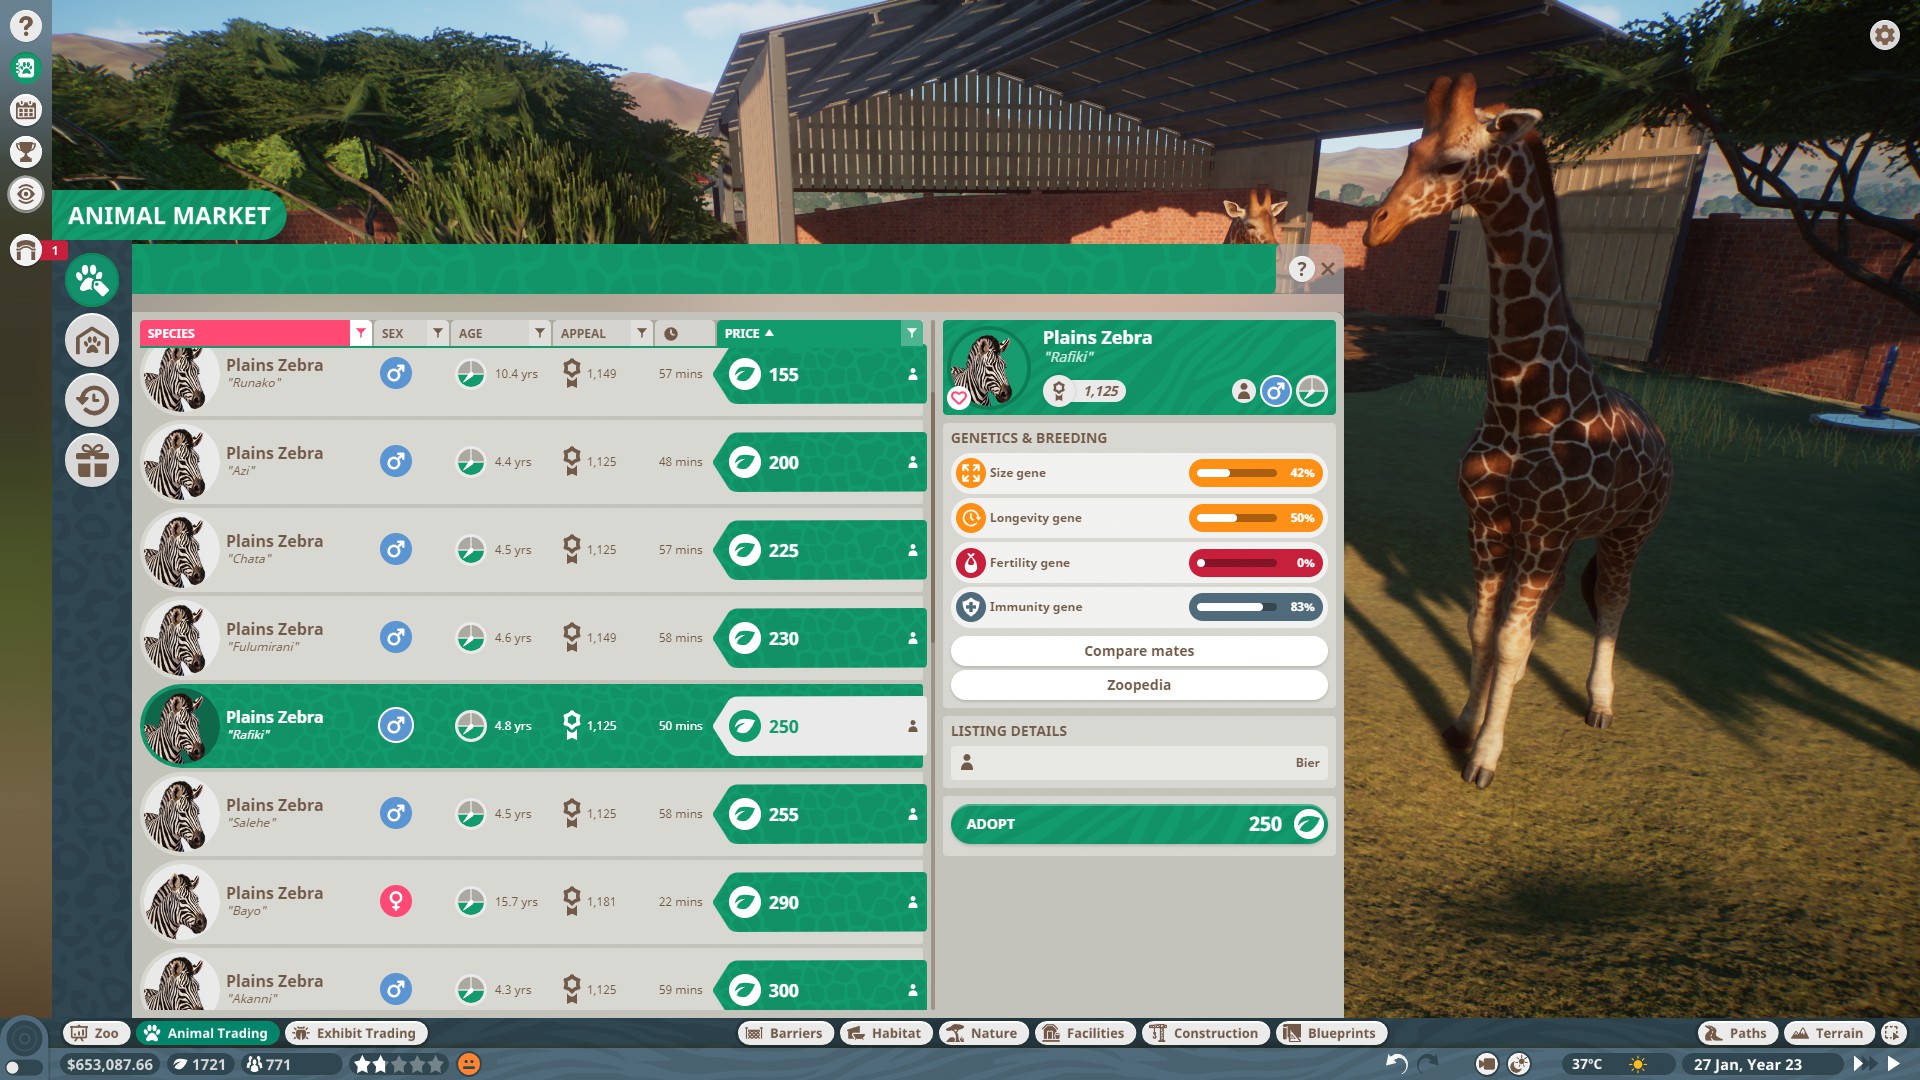
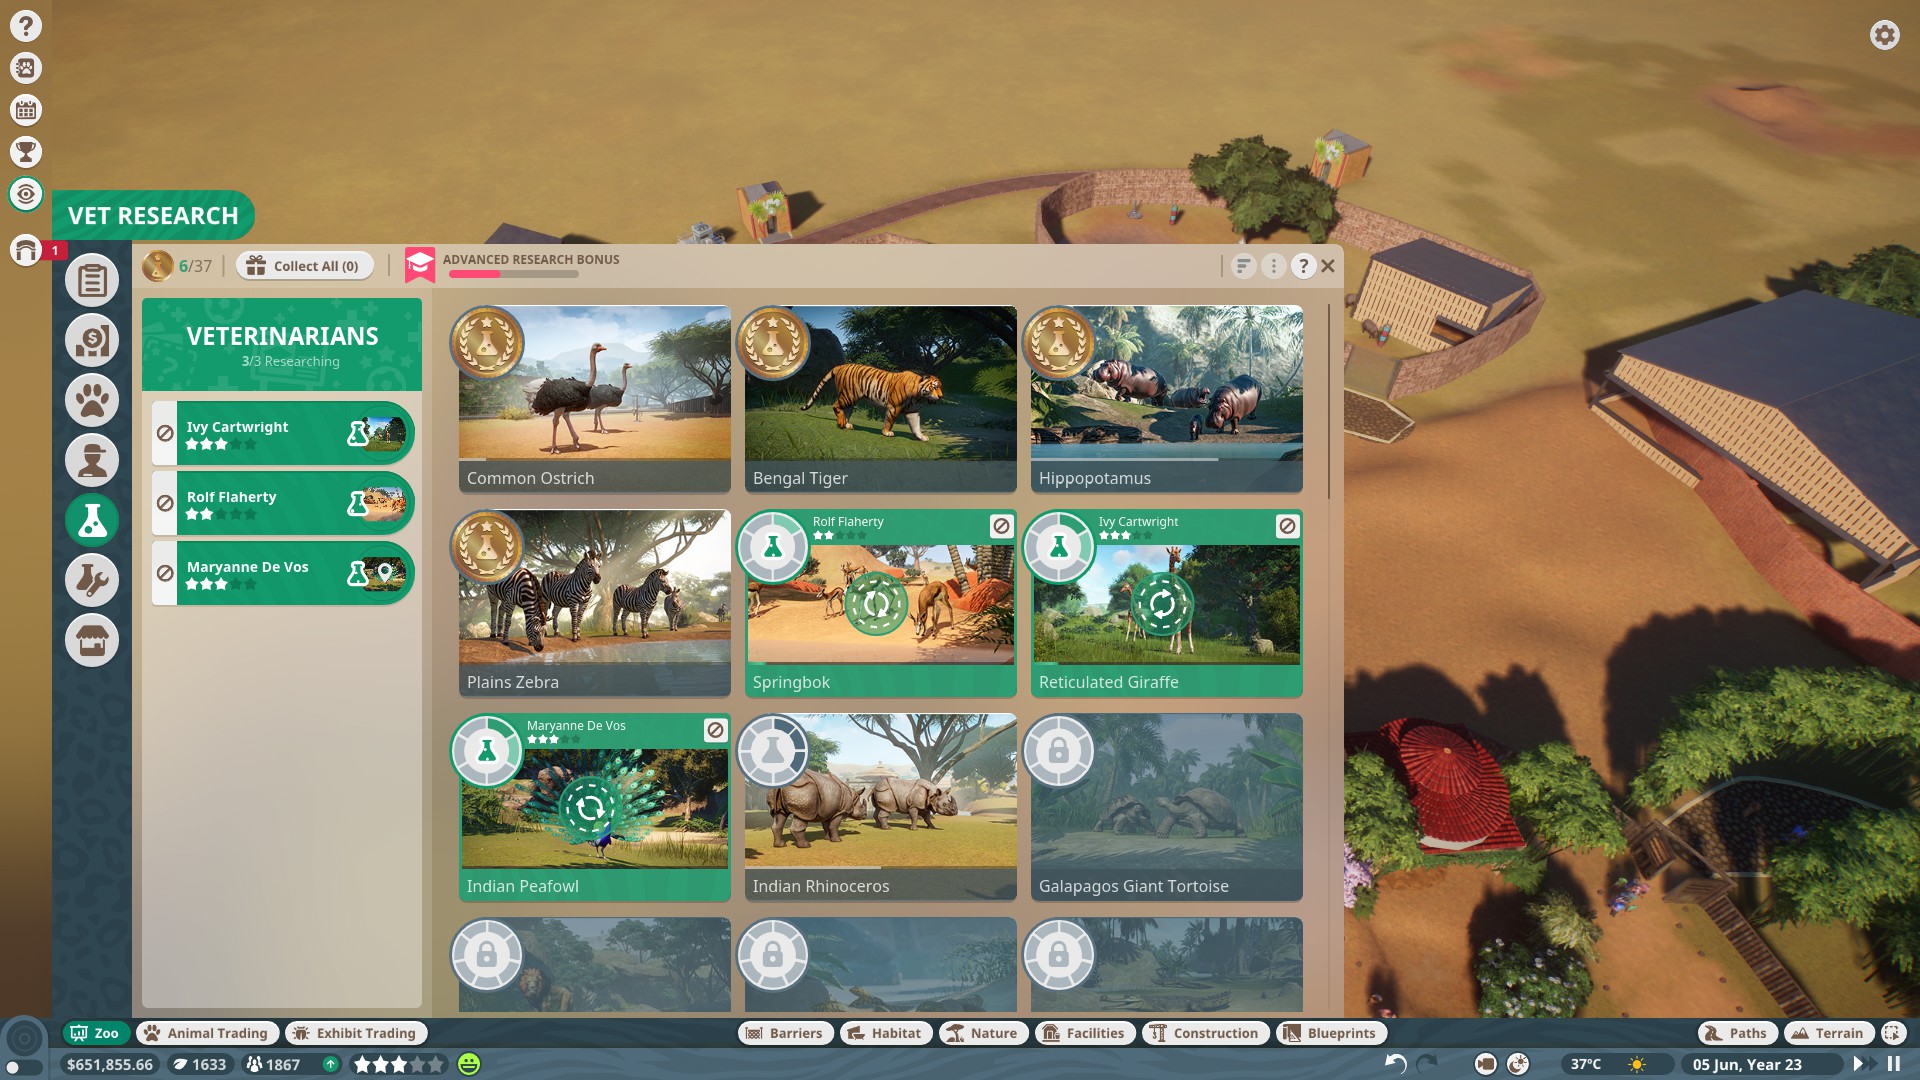
a fair price on the market to get you going. Their appeal in general is good too. The frontier animals can be bought by cash too. Although I may be biased with a huge fox breeding program going on atm...
Hightower 2 grudnia 2024 o 15:39 
This is an old school gaming guide. I love it! These were the best part of buying a game for me. You can read it anywhere in your spare time and learn the game without even having to turn on your computer!!!!! Actually it’s better as you don’t have to flip back to the index to find what you’re looking for. Great job!
Gourmand 18 marca 2024 o 15:56 
░░░░░░█▐▓▓░████▄▄▄█▀▄▓▓▓▌█Help
░░░░░▄█▌▀▄▓▓▄▄▄▄▀▀▀▄▓▓▓▓▓▌█ Doge
░░░▄█▀▀▄▓█▓▓▓▓▓▓▓▓▓▓▓▓▀░▓▌█ Take
░░█▀▄▓▓▓███▓▓▓███▓▓▓▄░░▄▓▐█▌ Over
░█▌▓▓▓▀▀▓▓▓▓███▓▓▓▓▓▓▓▄▀▓▓▐█ Steam
▐█▐██▐░▄▓▓▓▓▓▀▄░▀▓▓▓▓▓▓▓▓▓▌█▌ Copy
█▌███▓▓▓▓▓▓▓▓▐░░▄▓▓███▓▓▓▄▀▐█ And
█▐█▓▀░░▀▓▓▓▓▓▓▓▓▓██████▓▓▓▓▐█ Paste
▌▓▄▌▀░▀░▐▀█▄▓▓██████████▓▓▓▌█▌
▌▓▓▓▄▄▀▀▓▓▓▀▓▓▓▓▓▓▓▓█▓█▓█▓▓▌█▌ DO IT.
█▐▓▓▓▓▓▓▄▄▄▓▓▓▓▓▓█▓█▓█▓█▓▓▓
animeluver85 16 września 2023 o 22:07 
@lindseydoran

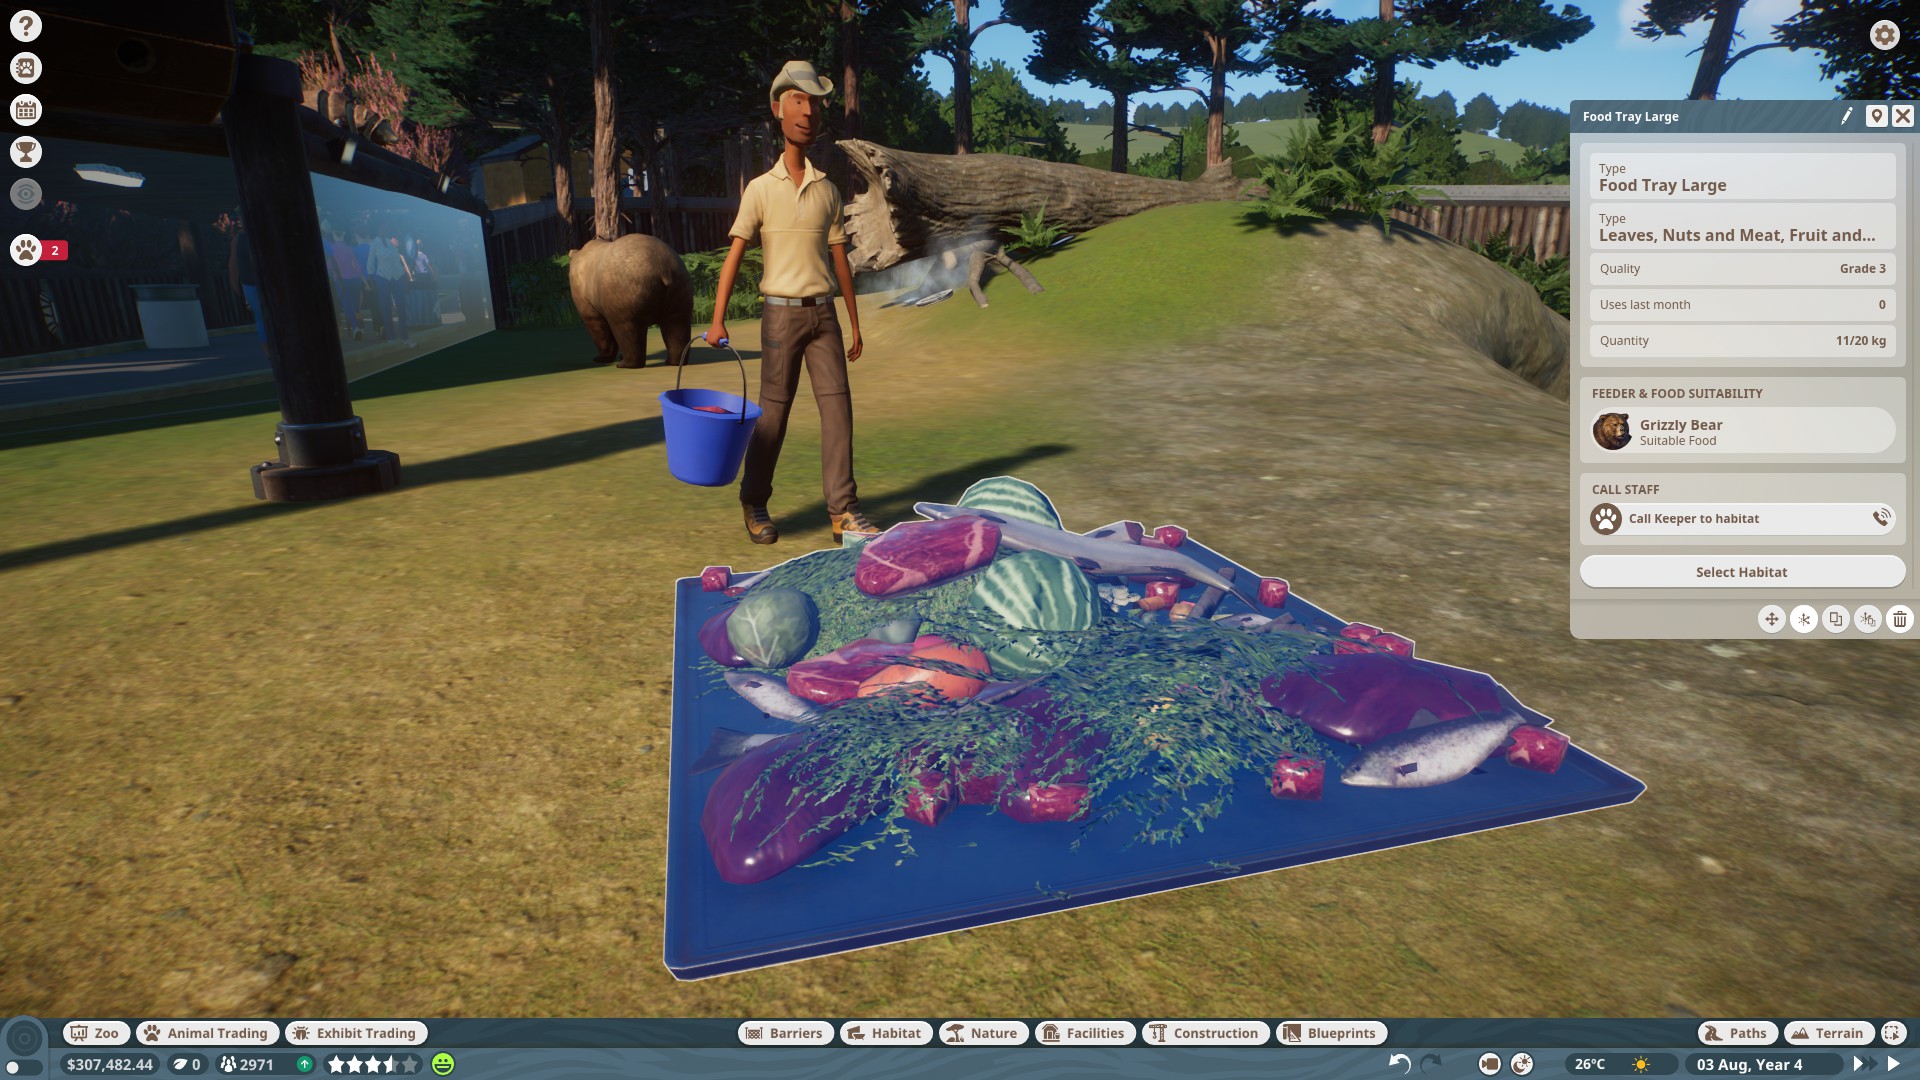
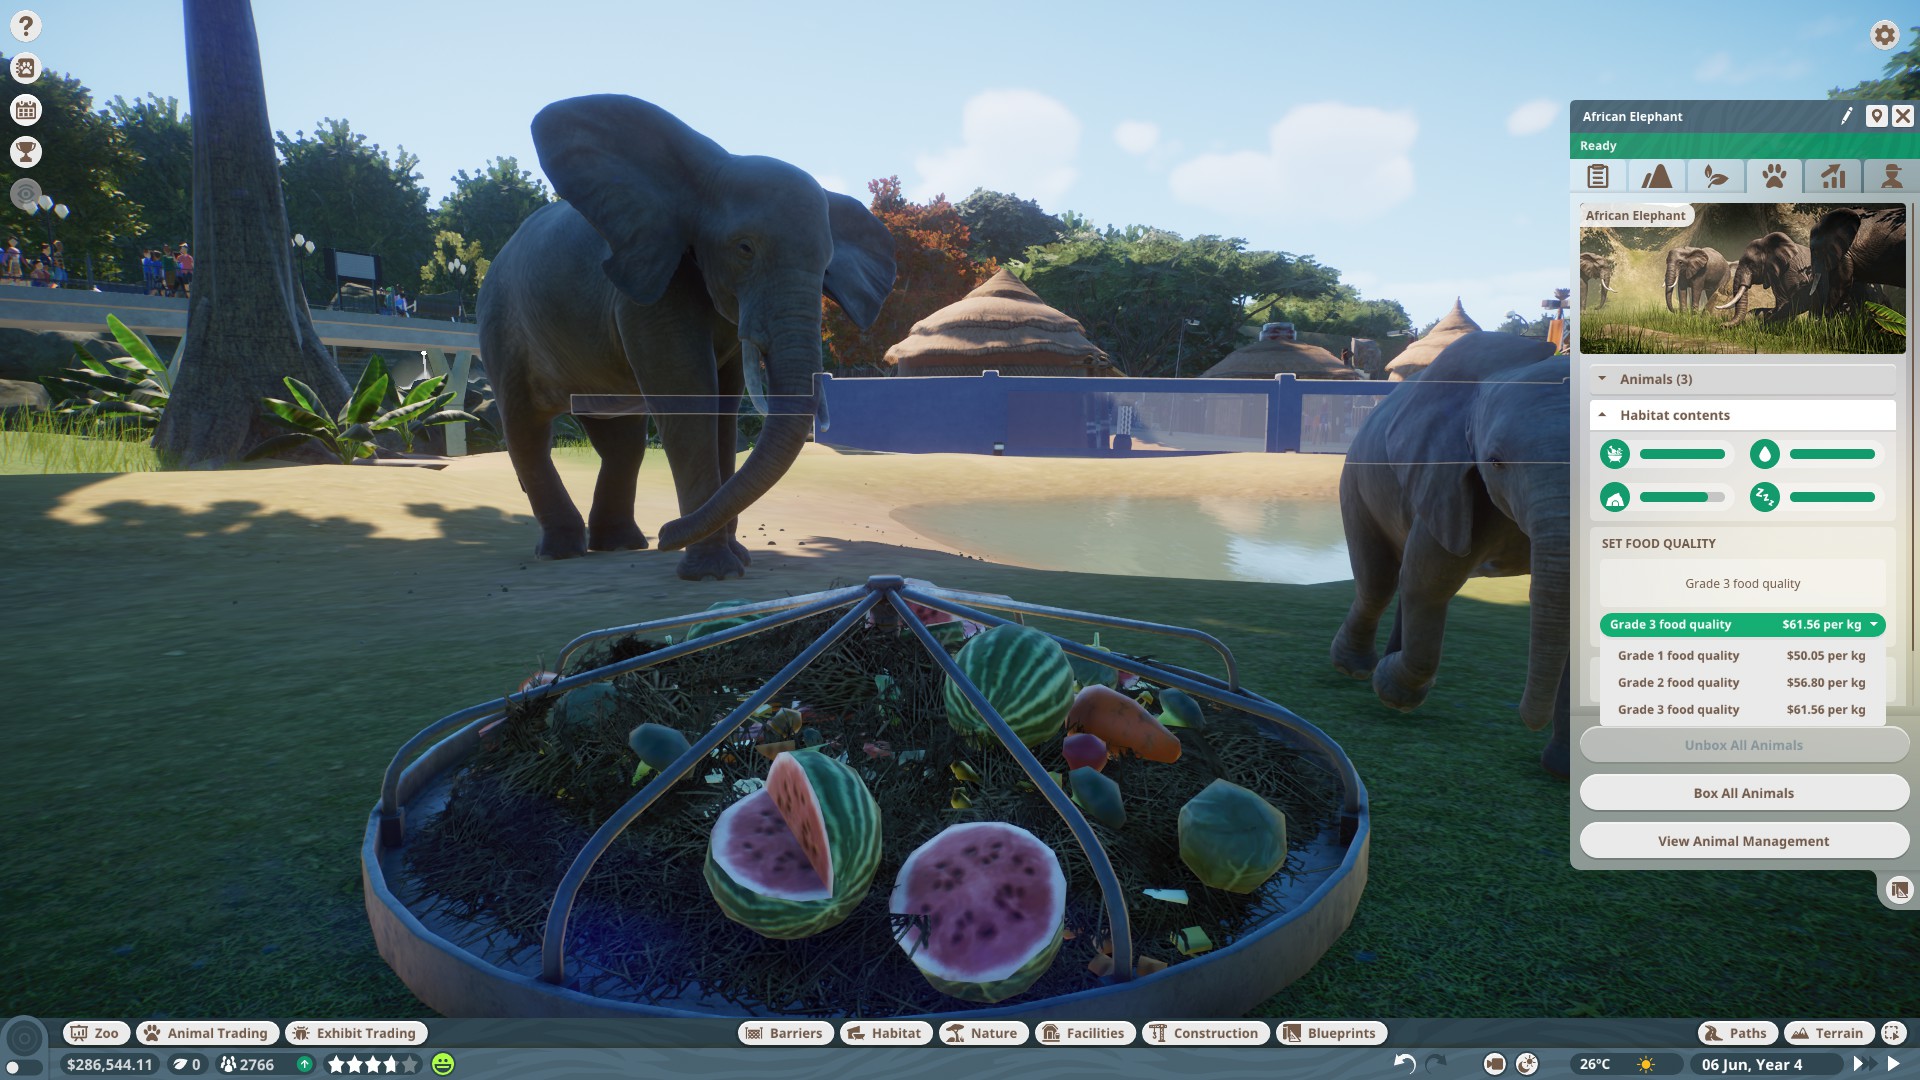
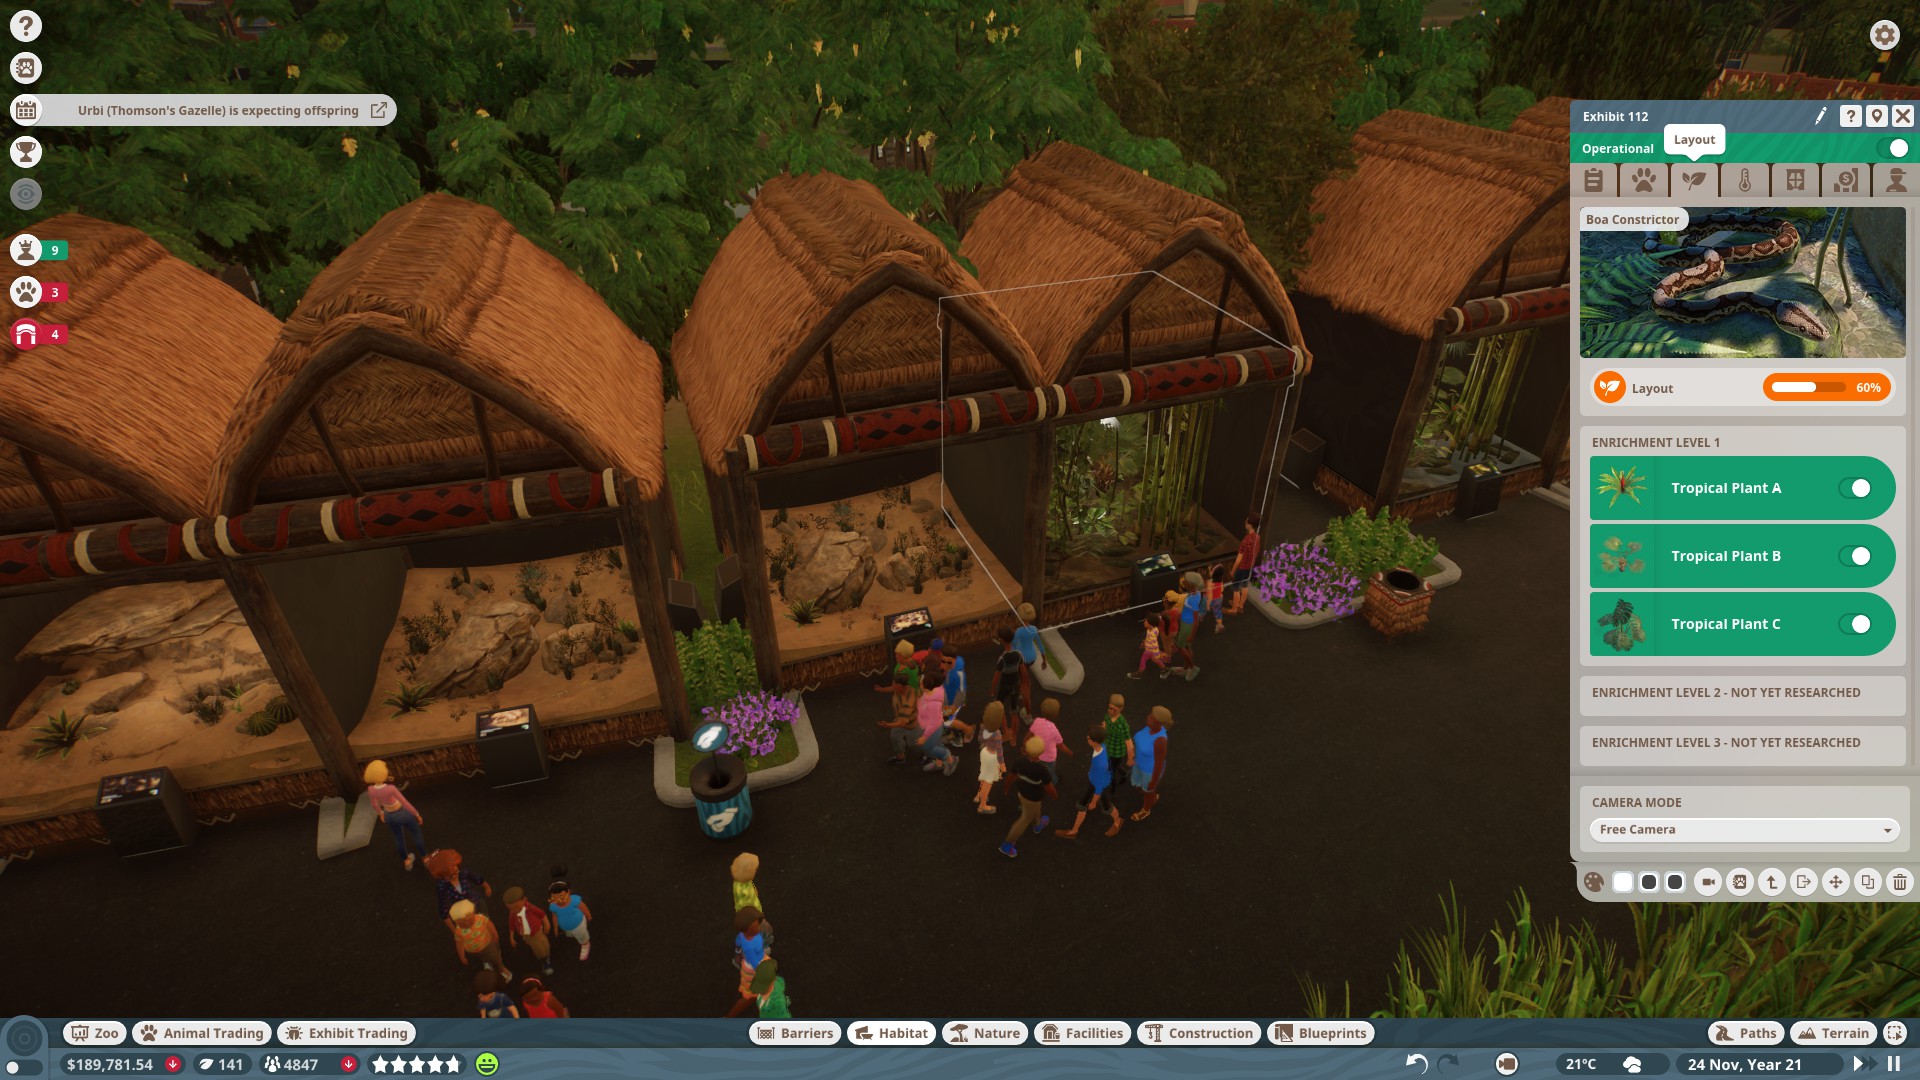
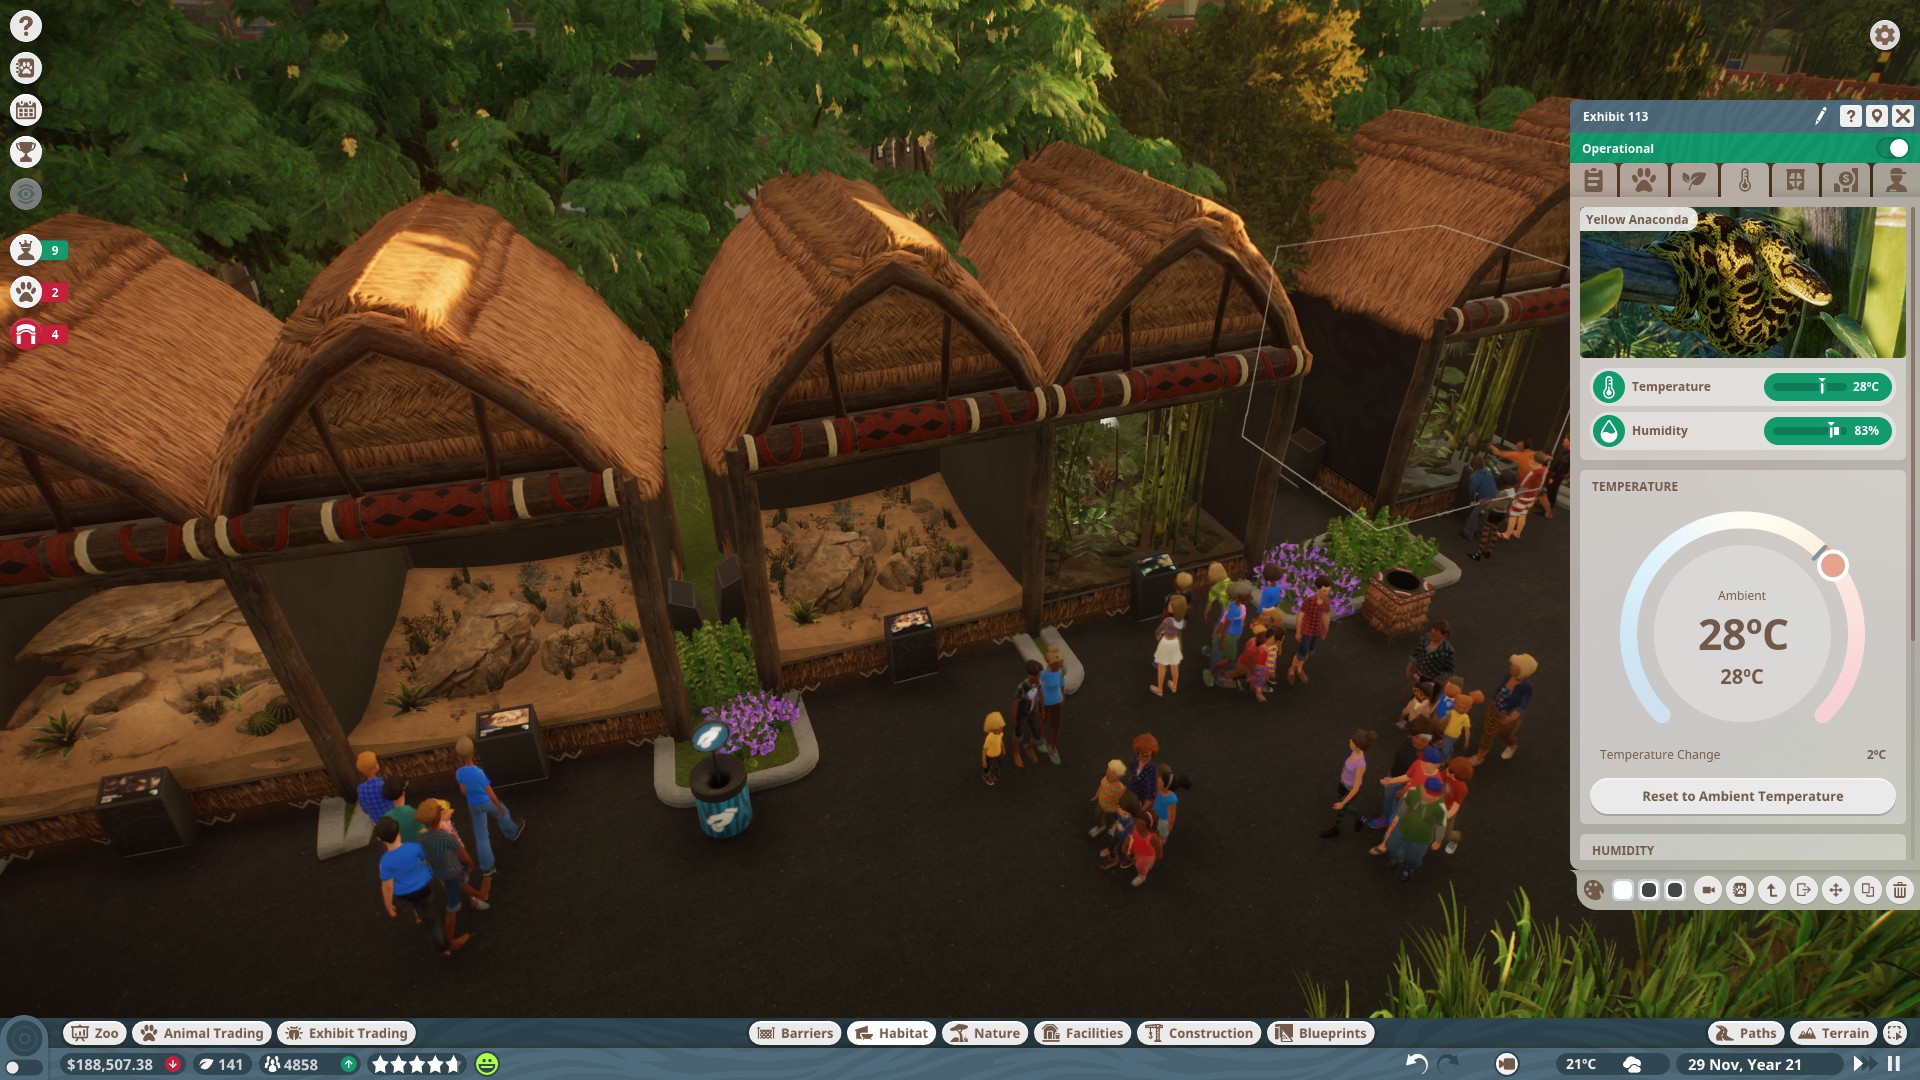
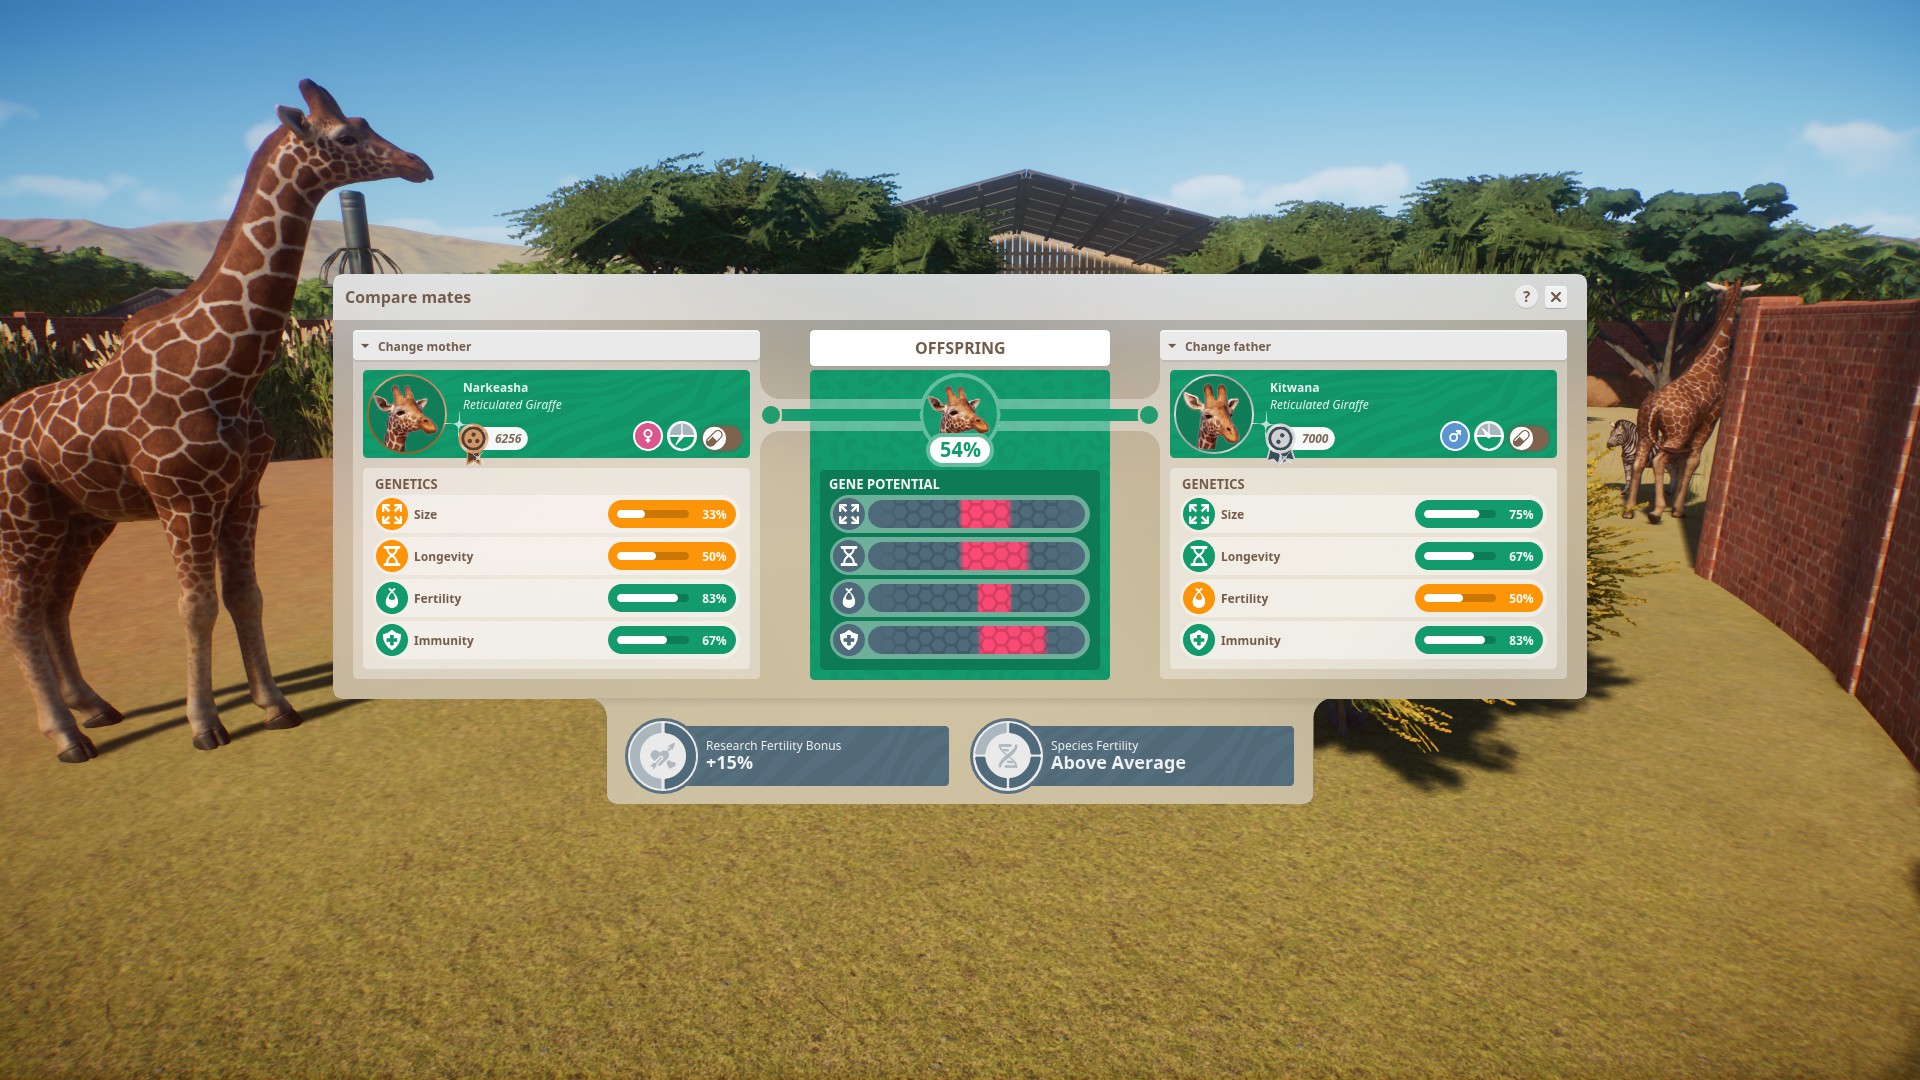
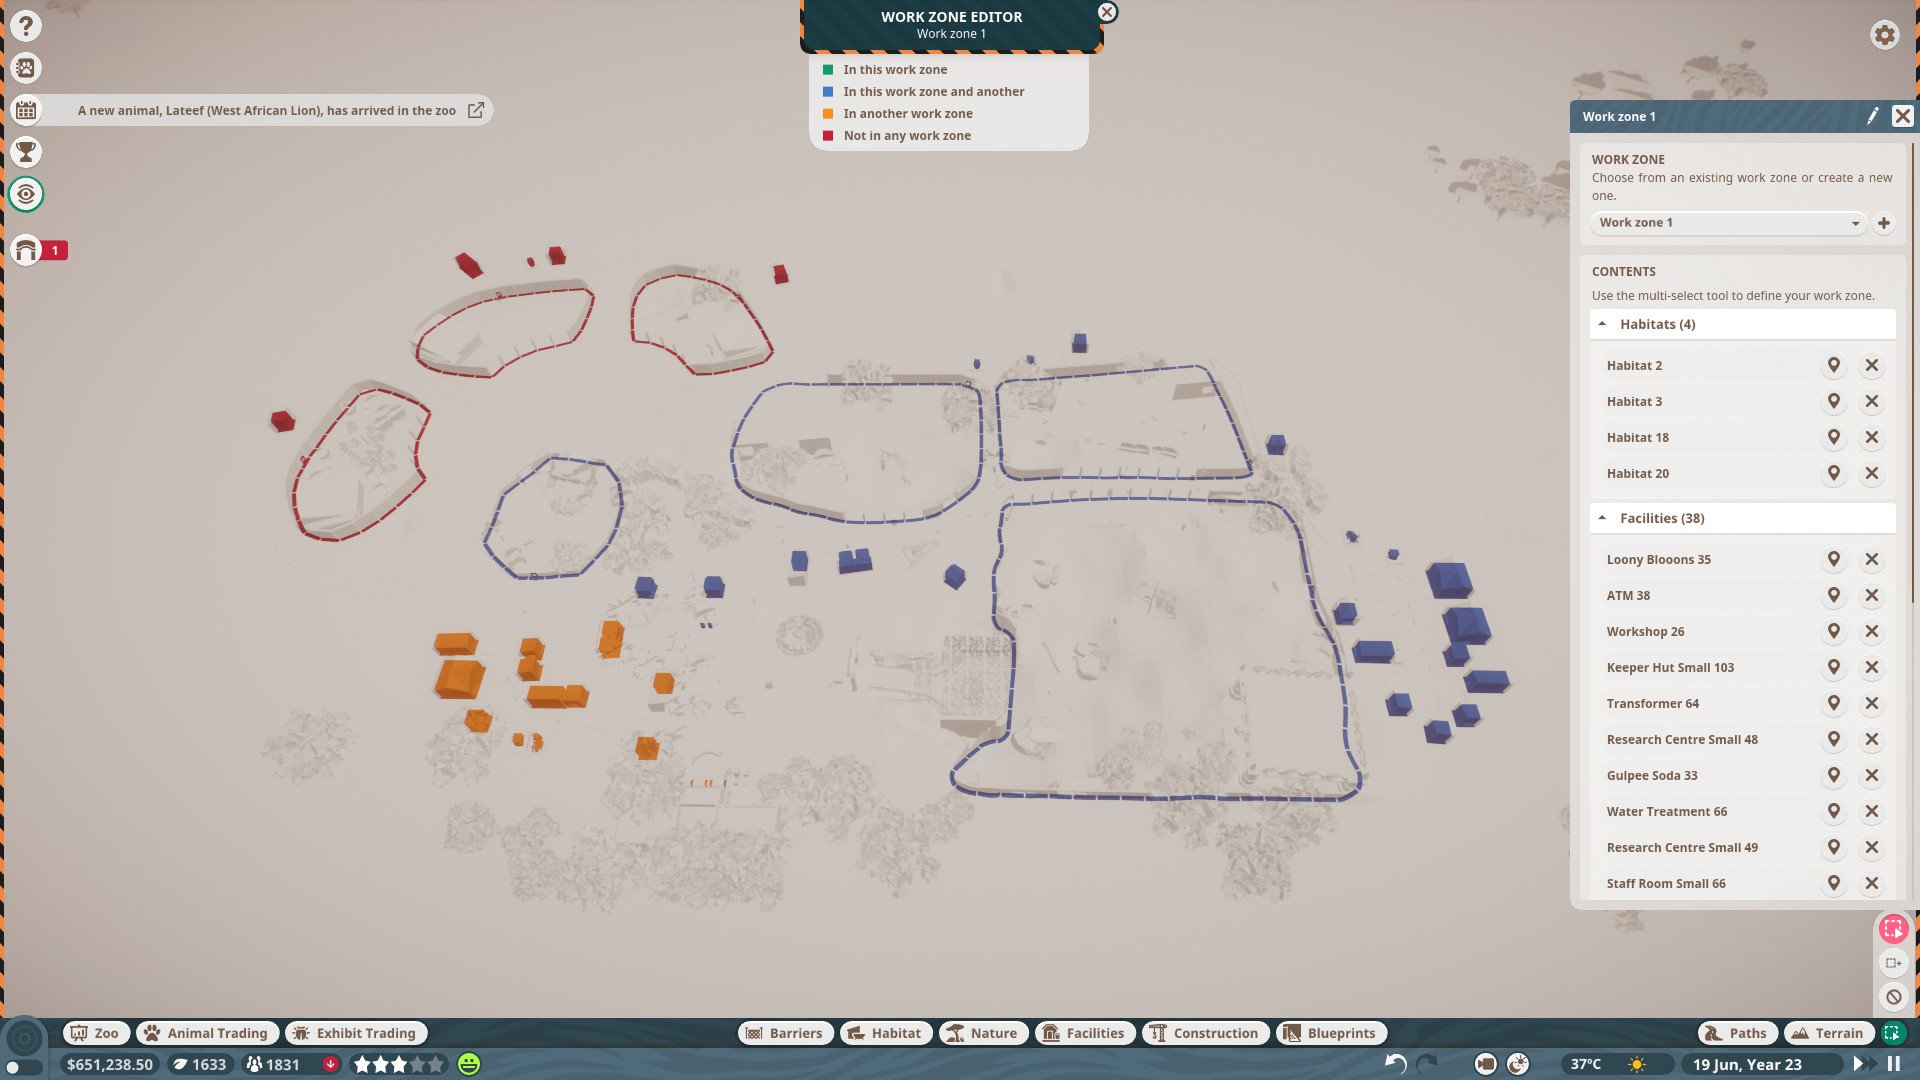
Exhibit animals cannot be transferred between zoos in Franchise mode. Which annoyed me because I had wanted to use some of the babies I had from one breeding pair to be with another breeding pair at another zoo.
WolfieWrites 16 czerwca 2023 o 15:37 
This is amazing! (I haven't read all of it yet, and I already know) :Happy_Pup: Great job.
Jynn  [autor] 19 lutego 2023 o 8:25 
Animals can be moved between zoos, did you build a Animal trade center to access them? If they're not in it, then i'm not sure what happened
lindseydoran 19 lutego 2023 o 3:10 
This is really informative, thank you. I have a question (I've not played for a while) I moved my habitat and exhibit animals to storage before closing the zoo, but when opening a new franchise zoo only the habitat are available? Are you not able to move these animals between zoos?
Jynn  [autor] 23 października 2022 o 16:00 
I tend to go with 2 zoo keeprs to start, 2 cleaners, 1 mechanic, 1 vet.
Sprouting0uch! 23 października 2022 o 15:45 
Hello, what's a good number of starting employees for each type? I know you don't need educators at the start.