Total War: WARHAMMER II

Total War: WARHAMMER II

Nicht genug Bewertungen
Previewing RigidModel Mixing in Ultimate Unwrap 3D Pro
Von Whysofurious
This guide will hopefully help you on how to look at the outcome of mixing rigidmodels without starting the game.
   
Preis verleihen
Favorisieren
Favorisiert
Entfernen
Introduction
Hi all, this guide will show you something I stumbled upon pretty casually, and, for this reason, it will have its flaws due to my poor knowledge of 3D models and 3D editors in general.

First of all, this guide assumes you know some basics of modding and in particular the “trick” for making part of the textures invisible by alpha channelling. If you do not, I suggest you look at the “modding resource” section in the C&C discord[discord.gg], as it is a brilliant source of modding knowledge.

Second, this guide is intended to provide an alternative for viewing the models and to "preview" if the result of their mixing will be satisfactory for you. It’s not a substitute to any packfile operation and you won’t be mixing models for real (nor you can export them with the free demo). Moreover, it’s mostly intended for those who don’t have a powerful pc and don’t want to waste half an hour to check only a small change in their unit, then come back, change something, launch the game again, repeat.

This guide is available on google docs as well: LINK[docs.google.com]

Starting up
Let’s start!

Things you will need:

  • The Free Demo of Ultimate Unwrap 3D pro (from now on, UU3D), downloadable from HERE[www.unwrap3d.com].
  • The ETW plugin which allows you to open rigid.model_v2 in UU3D (HERE[www.unwrap3d.com], bottom page search for “empire total war (ETW)”. Select your product (32 or 64 bit, depending on which version of UU3D you have installed).
  • To install a plugin, unzip the folder and place the plugin into the /plugins subfolder of UU3D.

Not strictly mandatory, but I take for granted that you have models and textures stored in a folder in a similar order to the “wh_variantmodels” tree in rpfm/pfm. It just makes your life easier.

Loading the Model
First.
Load the model into UU3D, by selecting “File” → “Open”. Here in this test, I will use the head of a beautiful master necromancer as an example, specifically, the one with the hood (filename vmp_master_necromancer_head_02) . Double click on the rigid.model file and then click “Import” on next panel without touching the default values.


Now, after scrolling and rotating to your preferable view (in UU3D you will zoom with the mouse wheel, turn in all direction by holding left button, and move on the axis by holding the mouse wheel), you will face something like this:

Loading the Textures
It’s not very clear, isn’t it?
Let’s do something about it. First, let’s click on “Window” on the toolbar on the top and select “3D states” from the drop-down menu. This action will open a small window on the right with some abbreviations. You need to click on “BE Edge” (to remove the coloured edges of the models) and “Tex Sm) to smooth the surface of the model (highlighted below the two boxes).


Now the result seems horrible but don’t jump to any conclusion yet. Now we will load the textures on the model:
On the right, you should have a panel with four groups: “Lights”, “Groups”, “Materials” and “Bones” (if not, activate it as before through “Window” → “Scene”). Open the "+" next to “Materials” and then doubleclick on "Mat0". It will open the material editor from which you have to go on the “Maps” tab.


Here you have something familiar: a panel with diffuse, specular, etc., first, click on the dropdown menu to the right of diffuse and choose "bitmap" instead of "none". Then click on properties next to "diffuse", on the new panel click "change", and search and load the diffuse dds texture into the diffuse slot. If you want you can load the specular into the specular and the normal map into the bump, but it’s barely significant (the specular don't always work and the normal map is difficult to notice).


Ye! now you have the model you wanted, with the vanilla texture (don't worry about the transparency, it's not going to be visible in game). This thing works with custom texture as well so you can load your own and preview the result (bear in mind that depending on the format you are saving your textures, the alpha channelled parts might shown in light blue).

From the little experience I had with this, the textures are a bit darker than what you will see in the game, but it could also depend on your settings or other things. (You can brighten up a bit everything in the properties tab on the material editor and by change the emissive to a white colour, but it does not work all the time and not for everything).

The nice thing is that the textures are loaded dynamically in UU3D, as they are tied to the file name. That means that let’s say you see that your custom texture is somewhat wrong, or you want to change the colour of them, do it either in Gimp or Photoshop, save it, and UU3D will apply the changes without you having to reload the texture (in case it doesn't, simply reload the textures).
Mixing Models
Now down to the real business of this guide, previewing the model mixing.

Let’s say I want to see how another head will look inside that hood.
I will use here a liche priest head because I like beauty in all its declination. Press “File” on the top left and then “Merge” and select the model you want. I will use tmb_liche_priest_head_05 as it is the one with less stuff on it.


Now you see that the two parts are overlapping to the point that it is indistinguishable who is who. Even if this is a lot necromantish, we don’t want that.

Let’s go back (ctrl+z or back arrow on the top, under "2D Tools"). Select the face from the UV mapping panel on the left and make sure that the part you want to “remove” is highlighted in red (as below). Note that you can add to a selection by holding "Maiusc" and draw another rectangle and removing from a selection by holding "Ctrl".


Now right click on the highlighted red part on the left and hit "delete" (depending on how many models you have loaded, it may take a few seconds). That part of the model is now gone from the 3D view. Great, now you can repeat that if you have other parts of the model to toggle off, or select the rest of the model in the UV mapping panel and hit "Hide" on that as well so that we will have room for the next model.


Now merge the second model again, and you will see that only the last one is mapped on the left. You can load the texture on that and see how it looks, remove parts as we did with the other model, even remove everything from the UV mapping and go on adding models.
I will remove the trinkets on the head to have a clearer idea of how it looks. Not bad!


I will then remove everything from the UV again and merge another model, this time a body. As you will see from the tomb king body example, some models under the "group" panel on the right, are composed of multiple parts. Unchecking those parts make them disappear from the Orthographic (3D) view panel, but it won't make them disappear from the UV mapping panel on the left. (To do that, right click on the model on the right and hit "hide UVs")


If you are lucky and by unchecking you have "removed" only parts that you didn't want, right click on that part under the "group" panel and hit "Hide UVs..". This will make them disappear from the left as well, and you can go on with what we said before. You can also delete the now-hidden model on the right if you don't need it, it might speed up things when you use many models.

You can go on with that and add more models, but be careful because depending on your computer, things can become laggy and your CPU might get used a lot.

This is a small test I made with some custom textures and more models.

Concluding Remarks
That's it! you have now a preview of what a mix of models would look like. You can now take a look at possible floating things, clipping (even if not always is evident), holes between the model parts etc.

Some concluding remarks, read this part because it is important:
  • I won’t stress that enough, you are not modifying anything, you still have to do all the texture assignment, make your model unique, and all that stuff. Moreover, you are not mixing models for real, and with the free demo you wouldn’t be able to export anything anyway, model mixing still has to be done via variantmeshes or HexEditing (the latter, only if you are brave enough).

  • IMPORTANT: UU3D doesn't discriminate between skeletons as the game engine does. You might get a good mixing of a high elf head and a human body, but this won't work in game. This is because the animations are tied to the skeletons (hu1, hu1d, etc.).

  • It is always advisable to not mix too many models as (as far as I know) will impact performance, in particular if you are using single-models (like those of the LLs) on a unit of hundreds of entities. This is because the game has to load the entire model nonetheless (what you are doing with alpha channelling is just making textures transparent).

  • Do not take anything for granted after this preview, things might ♥♥♥♥ up for any reason (texture stretching due to specific animation, different appearance of the texture), and as I said, do not always trust the colours on UU3D. Consider also that some void or some clipping might get better or worse in game, as you are looking at a static T-pose in UU3D.

  • This guide might go hand to hand with the animation-checking trick using Terry provided by Marthenil on the C&C discord. It is pinned on the modding_tech4 channel. If you don't know how to enable transparency on most of the models, in modding_tech3 channel there is another trick, always provided by Marthenil, look for the pinned message.

  • For general tutorials about modding, please look at the huge list on the modding_resource channel on the C&C discord.

  • I am not a 3D artist, and I barely know what am I doing here or with my life in general. I might not be able to help you if you run into some problems. Given that you are not modifying anything, there shouldn't be any issues.

I hope this will be useful to some of you and let me know if you run into some issues, I'll try to help as best as I can.
If you know something better or find something new about this, feel free to post it here, the same if you suggestions and opinions about the guide!
Appendix: how to get a better idea of which textures to remove
This is just a small addendum to the guide. As you may or may not know, the dds files store the textures for the 3D models and sometimes they can be easier or harder to read and to understand which part of the texture belong to which part of the model.

We will take the example of the Master Necromancer again which is pretty simple (some textures might be messier, ask Zombieflanders regarding the Steam Tank, just for example :P). This time I want to remove the hood, but I am not sure which part of the UV I need to delete: alright, left click on the model itself under “group” on the right, and then left click on the corresponding Mat0 under “materials”.


The textures will appear on the left with the correspinding UVs superimposed. Hide/Unhide the UVs to get a better look at the texture, select the UVs to remove, right click and “delete”. There we go, our bald guy.


If you zoom on the UV panel you might also get a better look on which part of the textures you need. Just remember that you need to delete textures either in Gimp or Photoshop, this is just a preview.

p.s. usually the models in UU3D are swapped from what you will see in game (textures on the left of the face are actually on the right, in game). I am pretty much used to this now, and given that I usually remove entire parts, it doesn't matter really much. It could be avoidable using 3D Tools -> Modifiers -> Scene -> Flip -> apply, but I haven't tested it.
9 Kommentare
TacVixen 9. Juni 2021 um 23:18 
i noticed that i can remove certain parts of the 3d model however i do not know if the full version allows me to export/save it as a rigid model v2 to be used in game. anyone tried it before?
contactnovuspc 26. Mai 2021 um 7:58 
Im using the latest version of the software and ETW plugin...however it doest seem to work with model from the recents 3KTW DLCs. Anyone knows how to fix it?

https://steamuserimages-a.akamaihd.net/ugc/1746813311647385213/BC739D5107B83AFB3FFAB9FFD5C51FB96143E8FF/
天使 19. Apr. 2021 um 5:38 
55 dolars....
[Myrm]Fable09 3. Mai 2020 um 10:16 
how to apply material accordingly ?

https://cdn.discordapp.com/attachments/373745291289034765/706554426990657536/unknown.png

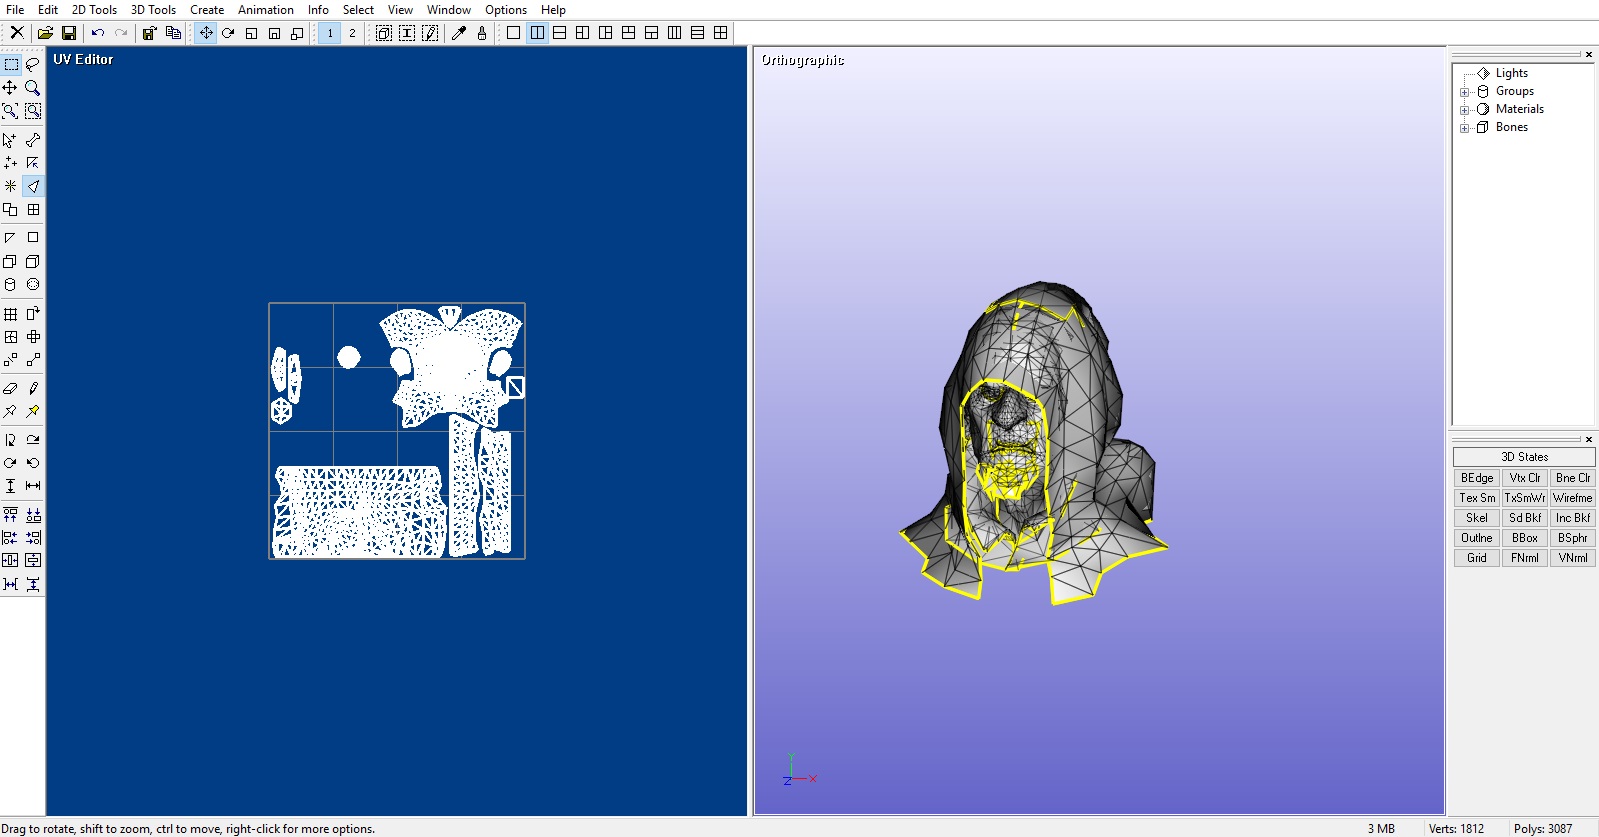
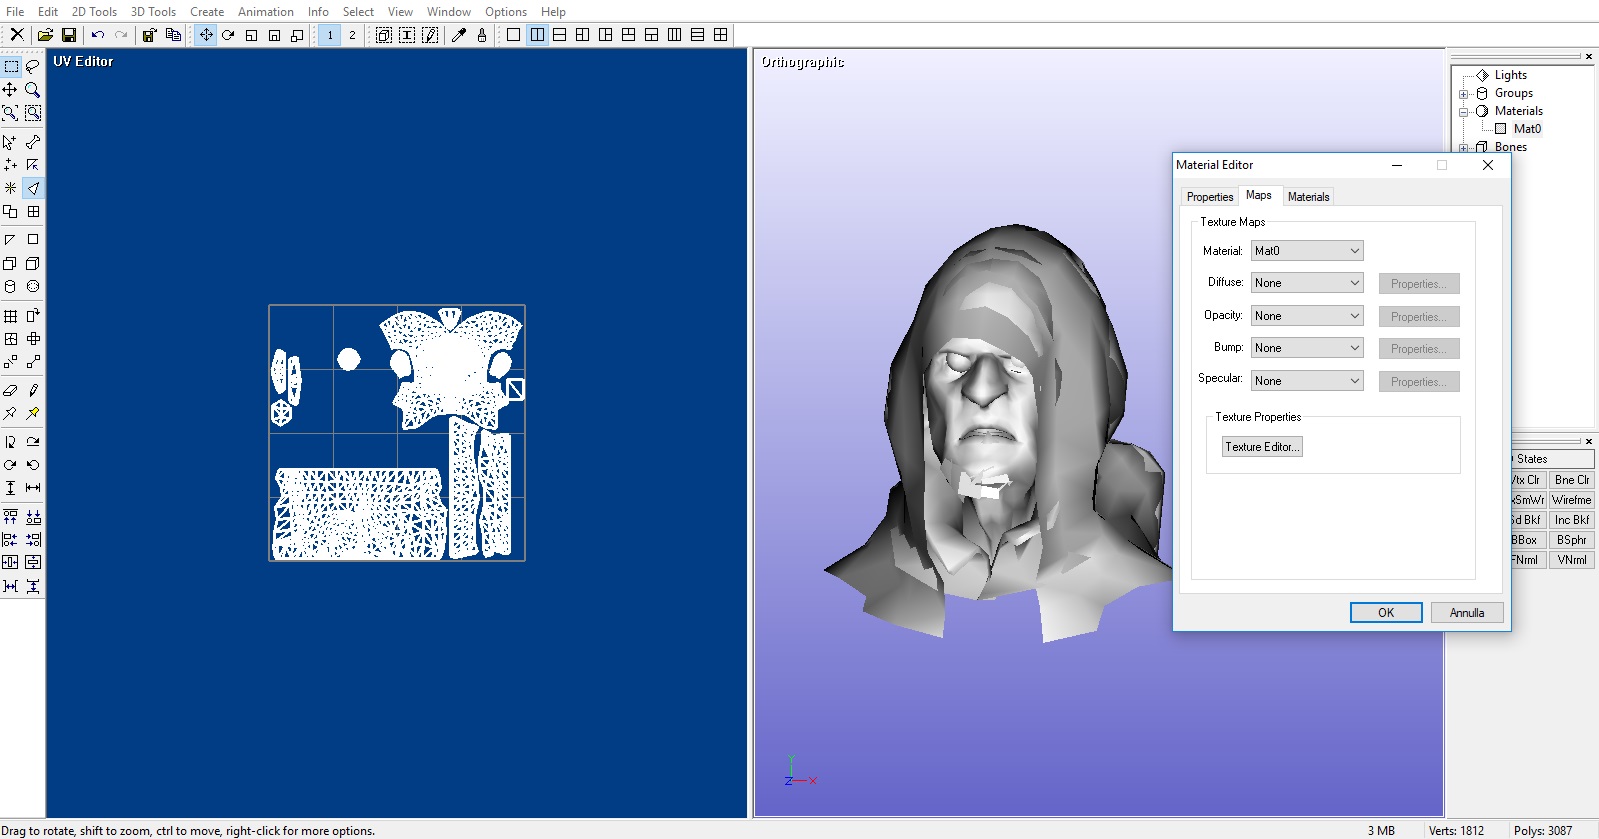
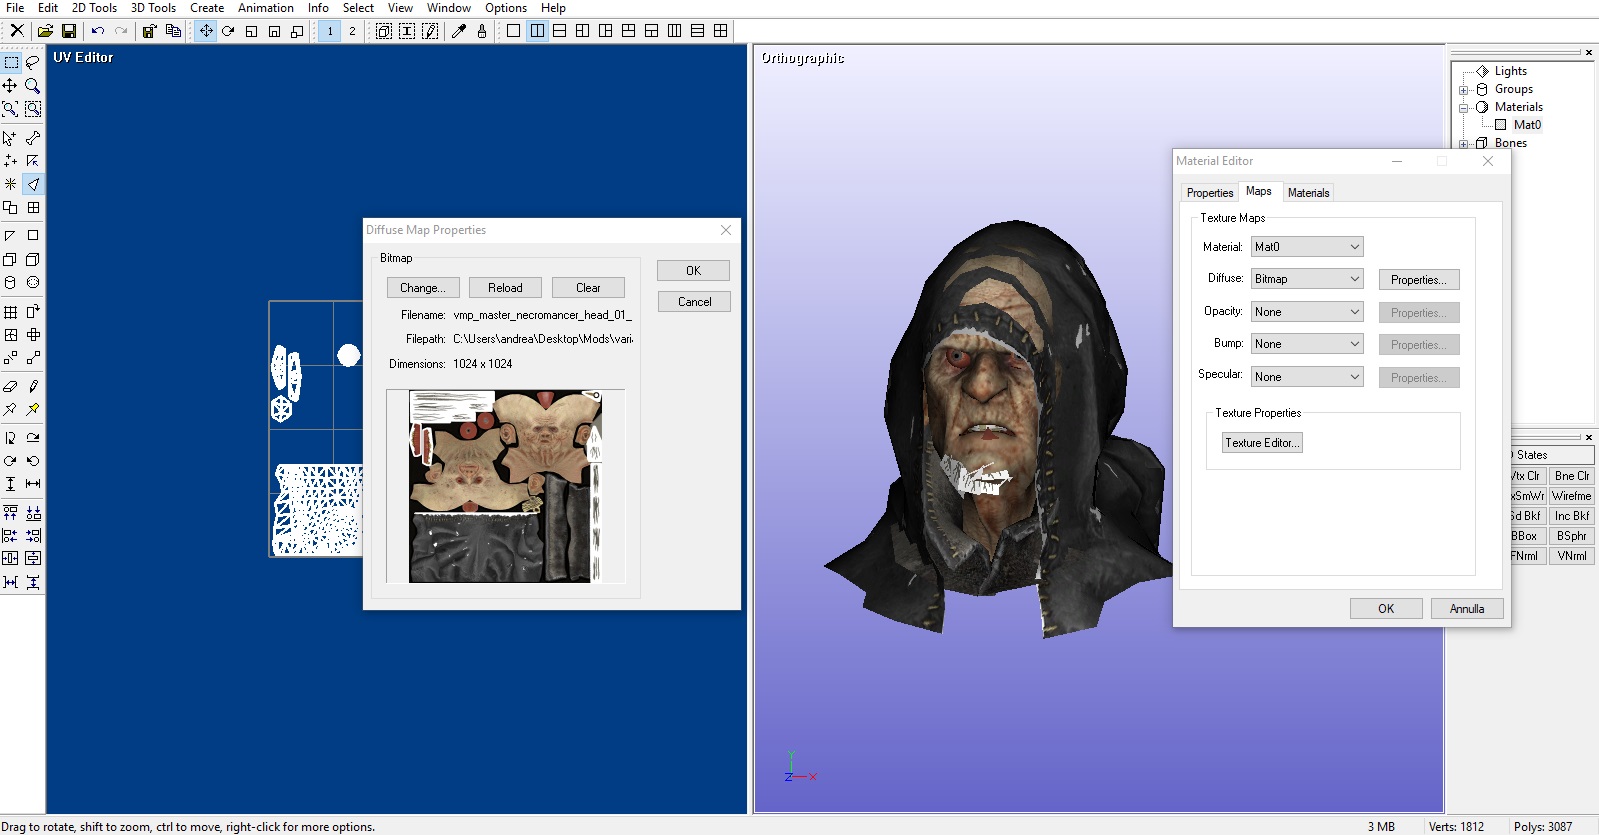
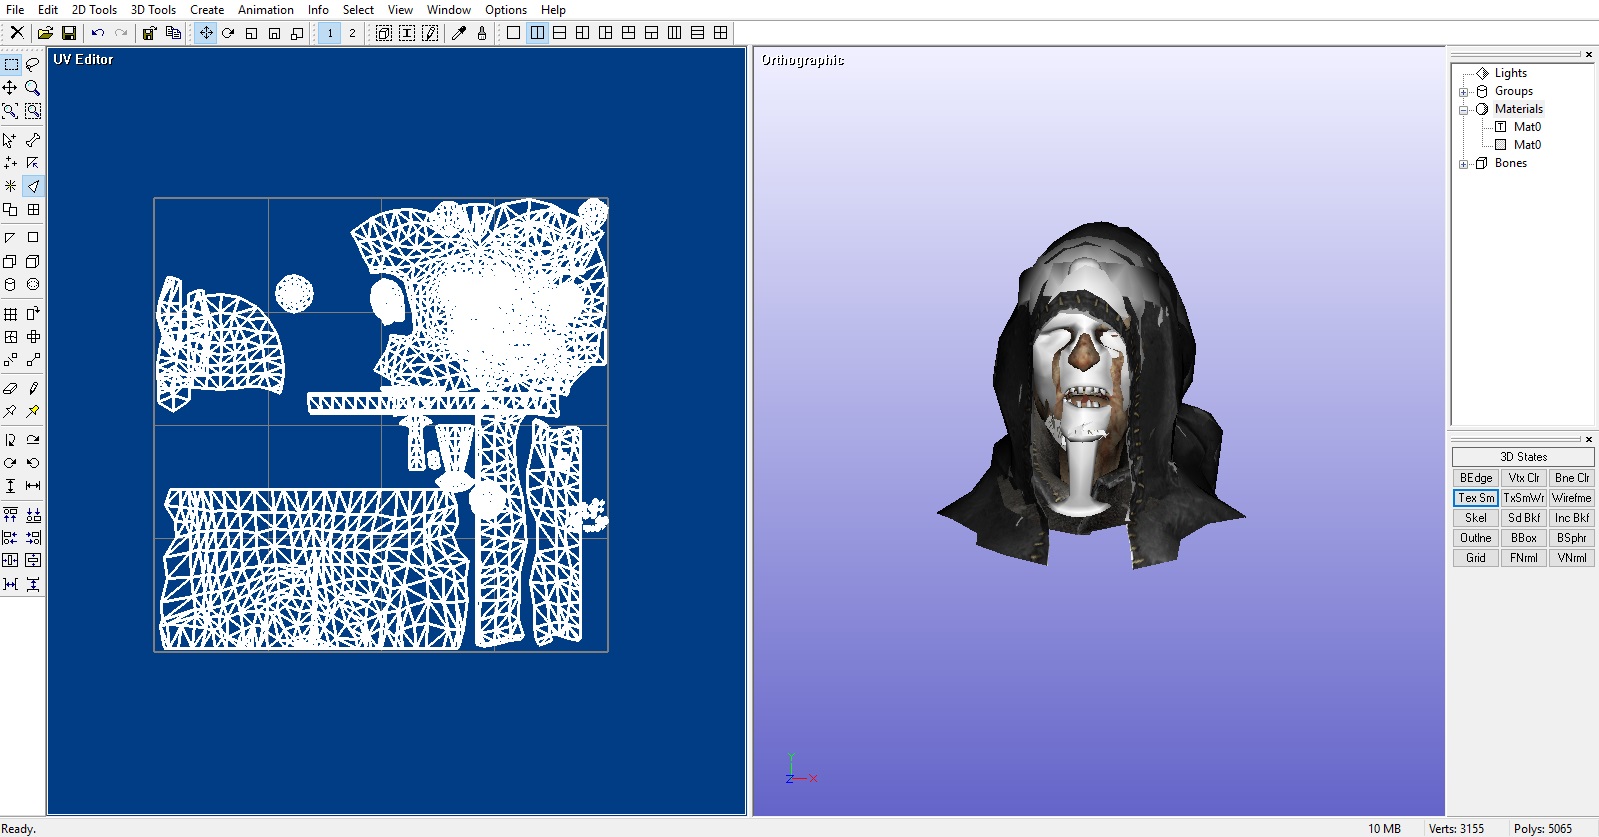
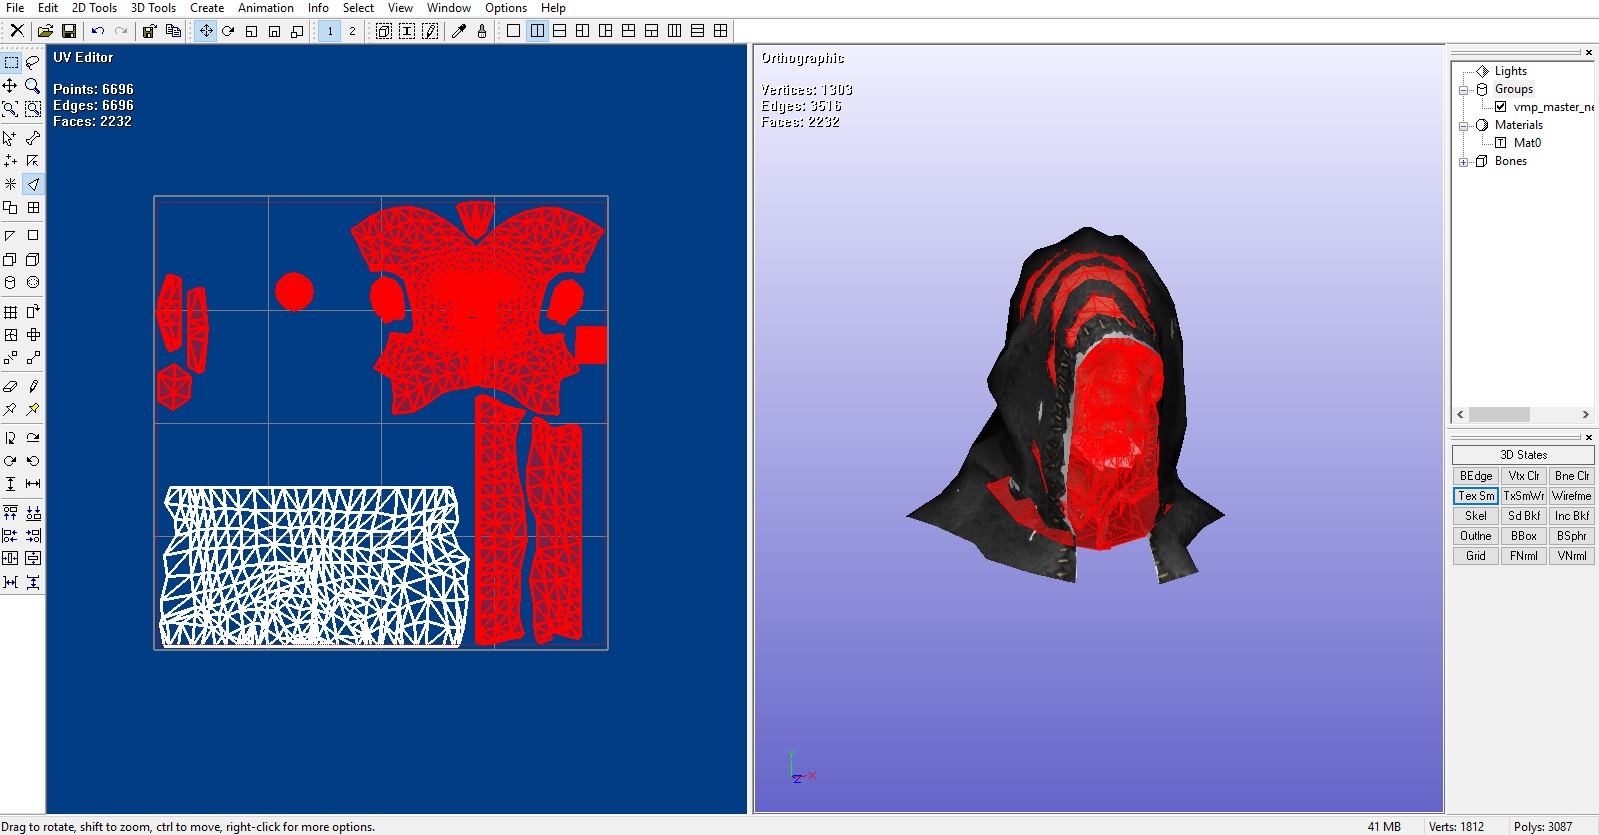
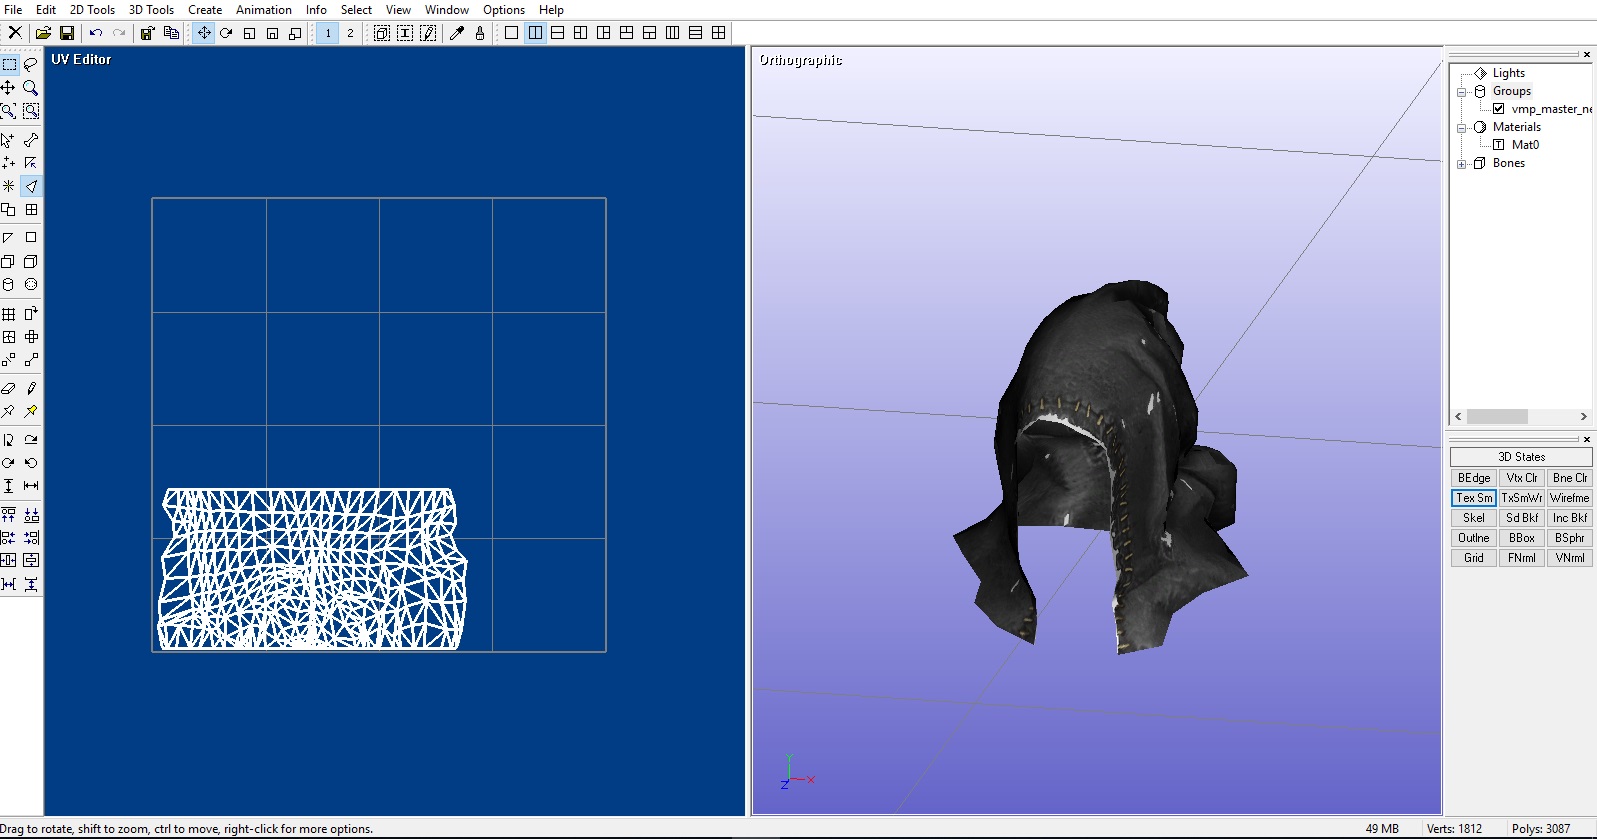
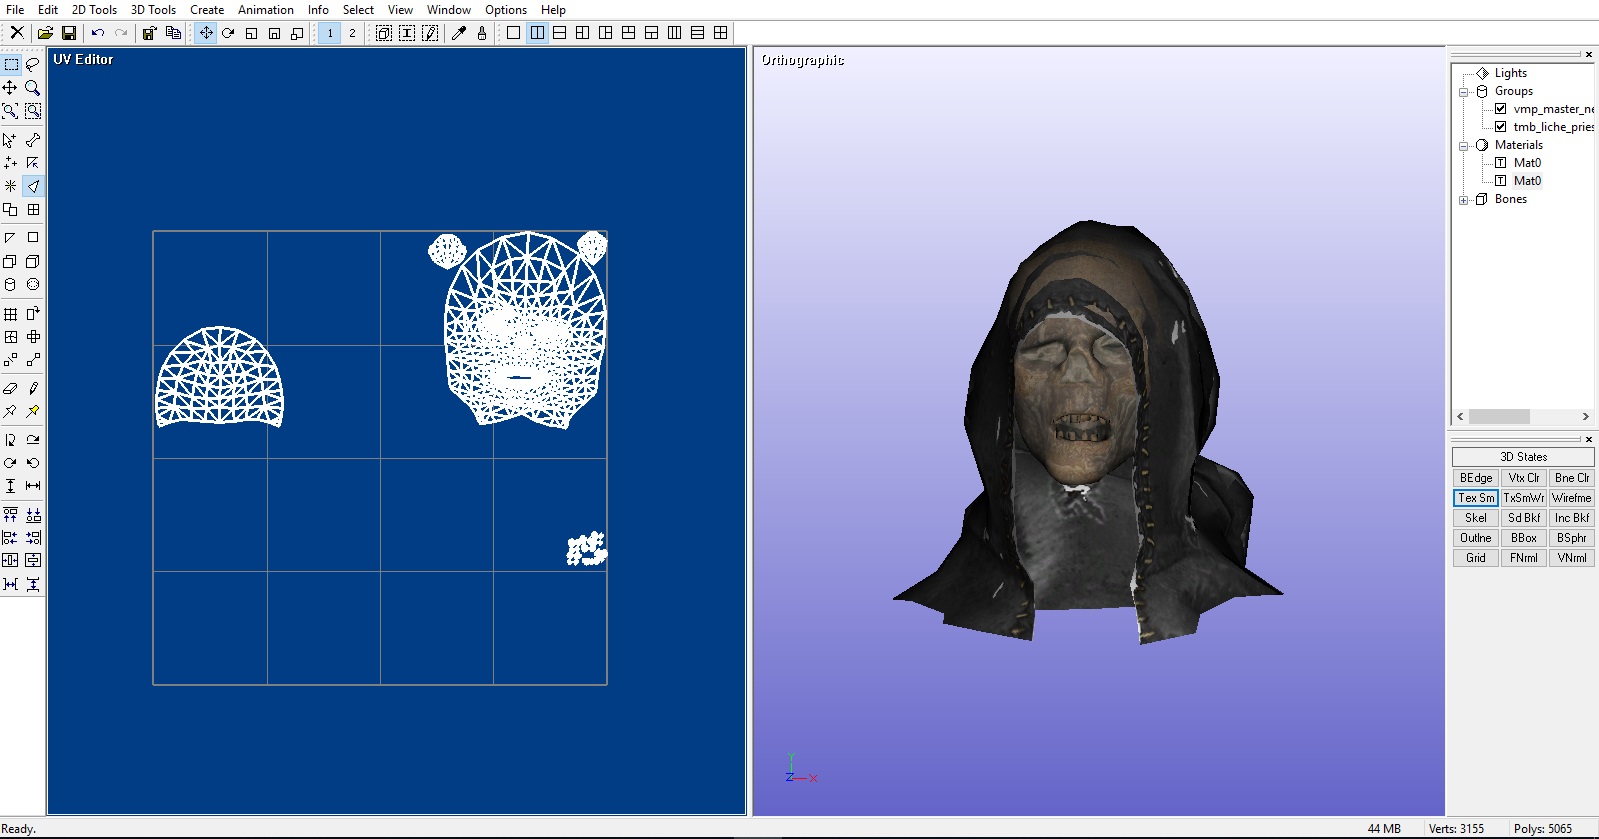
this guy have head body crest
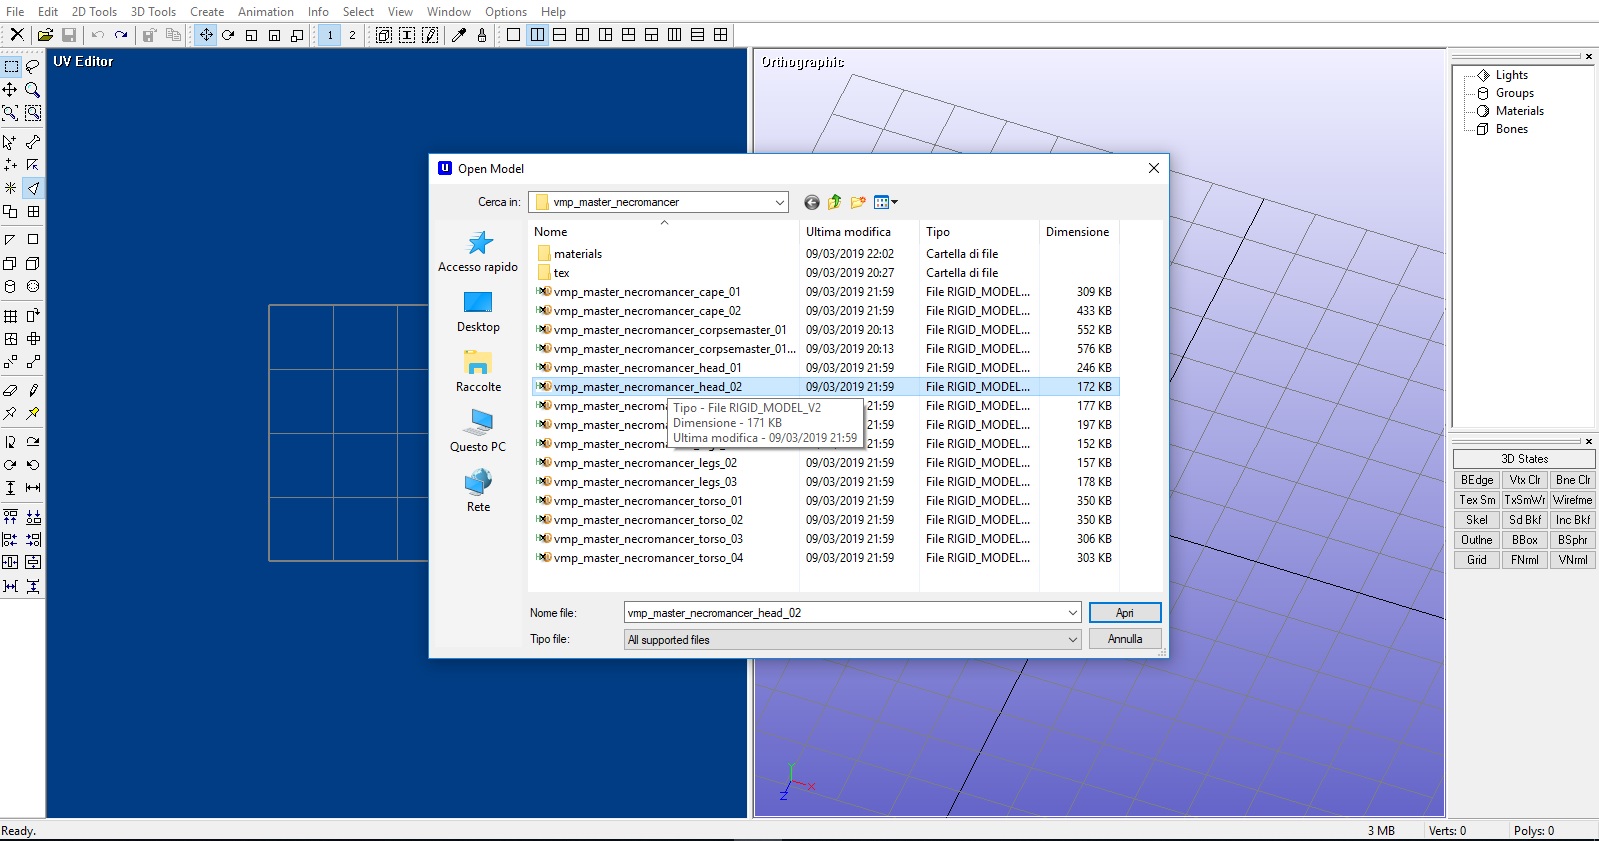
when i use ultimate unwrap 3d it only allow me to apply one
BenEphla 15. März 2020 um 0:11 
OMG THANK YOU!!!
Whysofurious  [Autor] 24. Mai 2019 um 4:01 
@SirKillingtonIV using rpfm, open the files in the data folder like "variants", "variants_2", "campaign_variants" and so on, then right click on the wh_variantmodel folder and extract them. rpfm is here [github.com]
SirKillingtonIV 23. Mai 2019 um 19:40 
Where and how do you get the models
Whysofurious  [Autor] 30. Apr. 2019 um 6:19 
@Agemouk thanks ^^ kind of, you still have to hide it for real, using textures and editing the rigid-model tough. That is deleting the parts you need to hide from the diffuse textures in GIMP/Photoshop and probably editing the rigidmodel to support transparency (for the last thing, type this: " from: Marthenil to enable diffuse alpha " in the search bar on the C&C discord to see the pinned message/guide). What you are doing with this it's just preview how it might look like :)
Agemouk 30. Apr. 2019 um 5:53 
Hi Whysofurious, great guide! :-) I'm interested in making a Warsphinx without the hodwah on the back. By reading through your guide it would seem possible to simply "hide" the hodwah using the programme as you outline, just thought I'd check that was also your understanding before I had a shot at this. Many thanks for the guide!