Stranded Deep

Stranded Deep

84 ratings
Mavrah's Everything Guide to Stranded Deep
By Mavrah
This is an attempt to create a guide answering every question to Stranded Deep.
Captain's log, August 2022: Version 1.0, here I come! Excited to try the game out in its (almost) final form. Depending on work, I'm hoping to get to some of the updates I had planned on like two years ago. Happy hunting, folks!
I will continue to add to the guide. Please suggest all corrections and any additional information in the comments. This broadcast is made possible in part by viewers like you. Thank you!
2
3
   
Award
Favorite
Favorited
Unfavorite
What Respawns?
This knowledge comes mainly from searching the forums for 'respawn.' Also, I've survived quite a while in the game.

The following materials are known to respawn:
Yuccas (just like in real life, they're immortal and grow back after 48* hours)
Small palm trees (every 48* hours. Will never grow to be full palm trees)
Seagulls and bats appear to be in unlimited supply
Marlins?
Crabs should respawn if not overhunted.
Fish, provided you didn't hunt them to extinction around any given island
Sharks, sweetheart! Doesn't matter how many you kill, there will always be more.
The plants in your farming plots will continue to grow if they are cared for properly. They all seem to follow the ~48 hour regrowth period.

The following will not respawn! Ever!
Coconuts
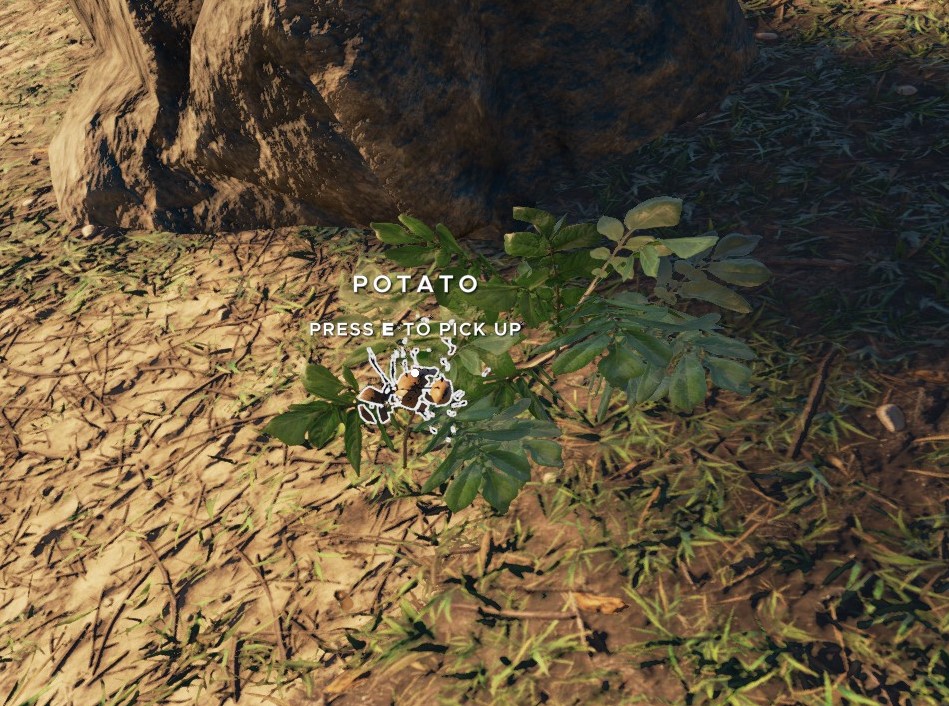
Potatoes (wild)
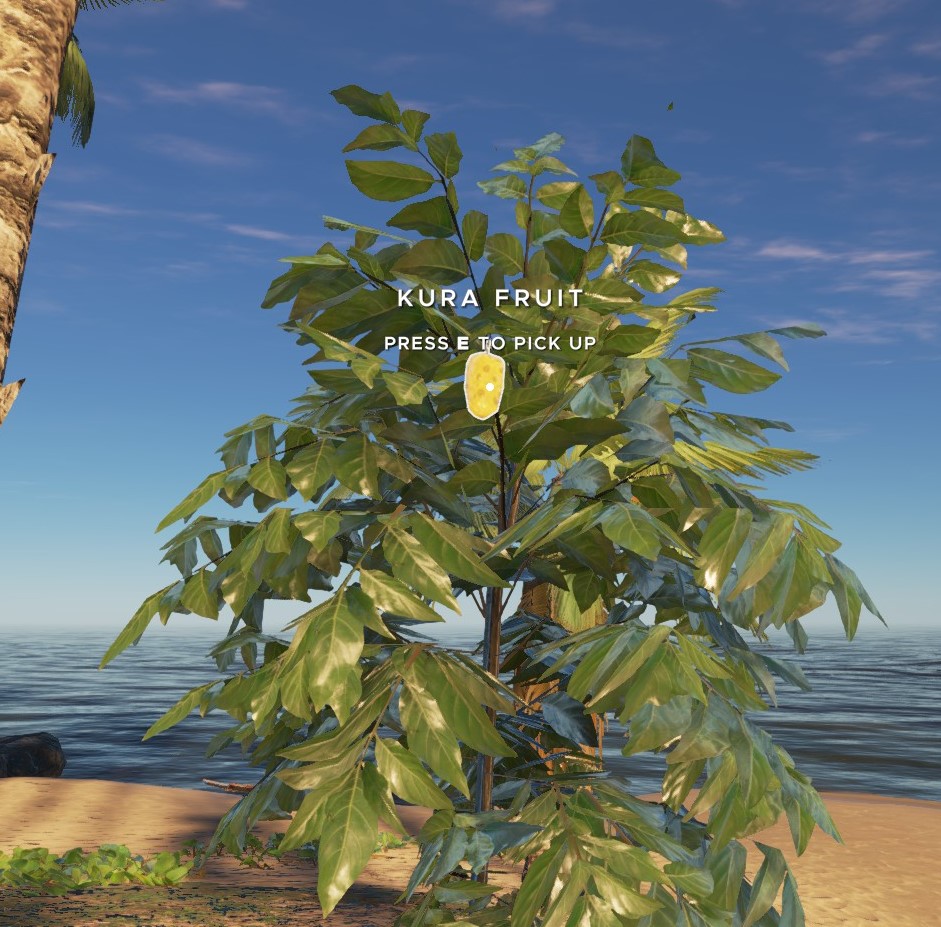
Kuras (wild)
Quwaras (wild)
Pipi (wild)
Aloe and all the other useless herbs
Yucca cuttings/fruit (1 per wild plant, no respawn)
Small pine trees
Palm trees
Trees
Sticks
And stones
And skeleton bones
Planks
Corrugated metal
Cloth (the ones washed up on the beach)
Mineable resources (rocks and clay)
Wild boars
Rattlesnakes (thank Saint Patrick)


Claims of coconuts respawning are unsubstantiated. The players making these claims failed to collect all the coconuts on the island they're on and are surprised to find the ones they forgot.
I will not add rocks and clay to the respawn list. There is growing word of mining resources having "a 25% respawn rate." There is no further explanation available and these mining resources are easier to overlook than coconuts, so I will not propagate these rumors without confirmation from the game's files or the developers.
I shouldn't have to mention man-made materials that are only found on shipwrecks and in lootboxes. Duct tape and internal combustion engines are not naturally occurring resources.
Boars, snakes and giant crabs may be respawning. I think I've cleared off a particular island twice now, but since the compass barely works I cannot say for certain yet.
*The respawn rate of yucca's and small palms may differ depending on difficulty. There also seems to be different respawn rules for the first (maybe 10) days in game.
Your first survival priority is water
Without water, you will die in two days.
Initially, you will need to attack coconuts with some sort of tool to make them drinkable. This will replenish one bar of thirst, but coconuts are non-renewable. Drinking too much coconut water will also cause diarrhea, leaving you with no water left in your body. Do not drink more than one coconut at a time.
Kura and quwawa fruits can be found in the wild and will restore a few hydration points each, but you're better off saving those for planting later. They will also cause diarrhea if you eat too many.
You need to set up water stills using cloths, palm fronds and other stuff that's easy to find lying about. These will turn palm fronds and fibrous leaves into water. Just one is more than enough to sustain one survivor and two farm plots.
Setting up more is great for collecting water during rainstorms, but the real limit on your water is if you can keep stuffing fibrous leaves into it. Water stills will produce water faster than you and your farms will consume it, provided you are keeping their resource pool full.
Stills will stop producing water while you sleep. They do not consume fibrous leaves while it is raining.

Water can be stored and transported in:
Coconut flasks: only useful for crafting purposes
Leather water skins: good tool, holds 3 water each
Clay water bottles: best water carrier, holds 5 water each

You'll need to craft some water carrier BEFORE starting a farming plot.

That's about it. Hydrate or die, hydrate or die.
Food
Food has recently been rebalanced to ensure you have to put in some effort. It's still an easy need to fulfill. Just be sure to skin the animals and cook or smoke the harvested meat. Raw meat and spoiled food of any sort will make you sick. You will vomit and have fewer nutrition points than you started with. Use caution as all meats, cooked, smoked and raw can stack on top of each other in your inventory.

The following yield small meats, replenishing one nutrition point:
Seagulls
Bats
Most fish
Crabs
Snakes

The following yield medium meats, replenishing two nutrition points:
Cod (1 each)
Giant groupers (2 each)
Giant CRABS (2 each)
Wild boars (2 each, plus 2 rawhides)
Marlins (3 meats)

Sharks will yield large meats when butchered. Large meat replenishes four three nutrition points. Tiger sharks and hammerheads yield three, great whites yield four.

Other:
The ration pack seems to restore three nutrition and four hydration. They are rare, do not respawn and cannot be crafted. They stay edible forever.
Coconuts once husked are coconut drinks. They restore one hydration point, then can be hacked in half. Eat both halves promptly once opened, or else they will spoil. Restores one nutrition point per coconut.
Do not eat more than one coconut (two halves) at a time. They will cause diarrhea.
Kura and quwawa give you ~2 nutrition and ~2 hydration(?). They cause diarrhea, so don't eat too many at once.
Potatoes seem to restore ~3 nutrition. They are a reliable staple once you've got your farming plots established, but are better saved for making fuel.

Food is not at all hard to get once you have a fire and a fishing spear. With better weapons and a smoker or a farming plot, you will likely never have to worry about going hungry again.
Putting meat above a fire in any fashion will give you cooking xp. This will quickly level your cooking skill up and increase the amount of nutrition you gain from food. Sorry these nutrition values might be off.
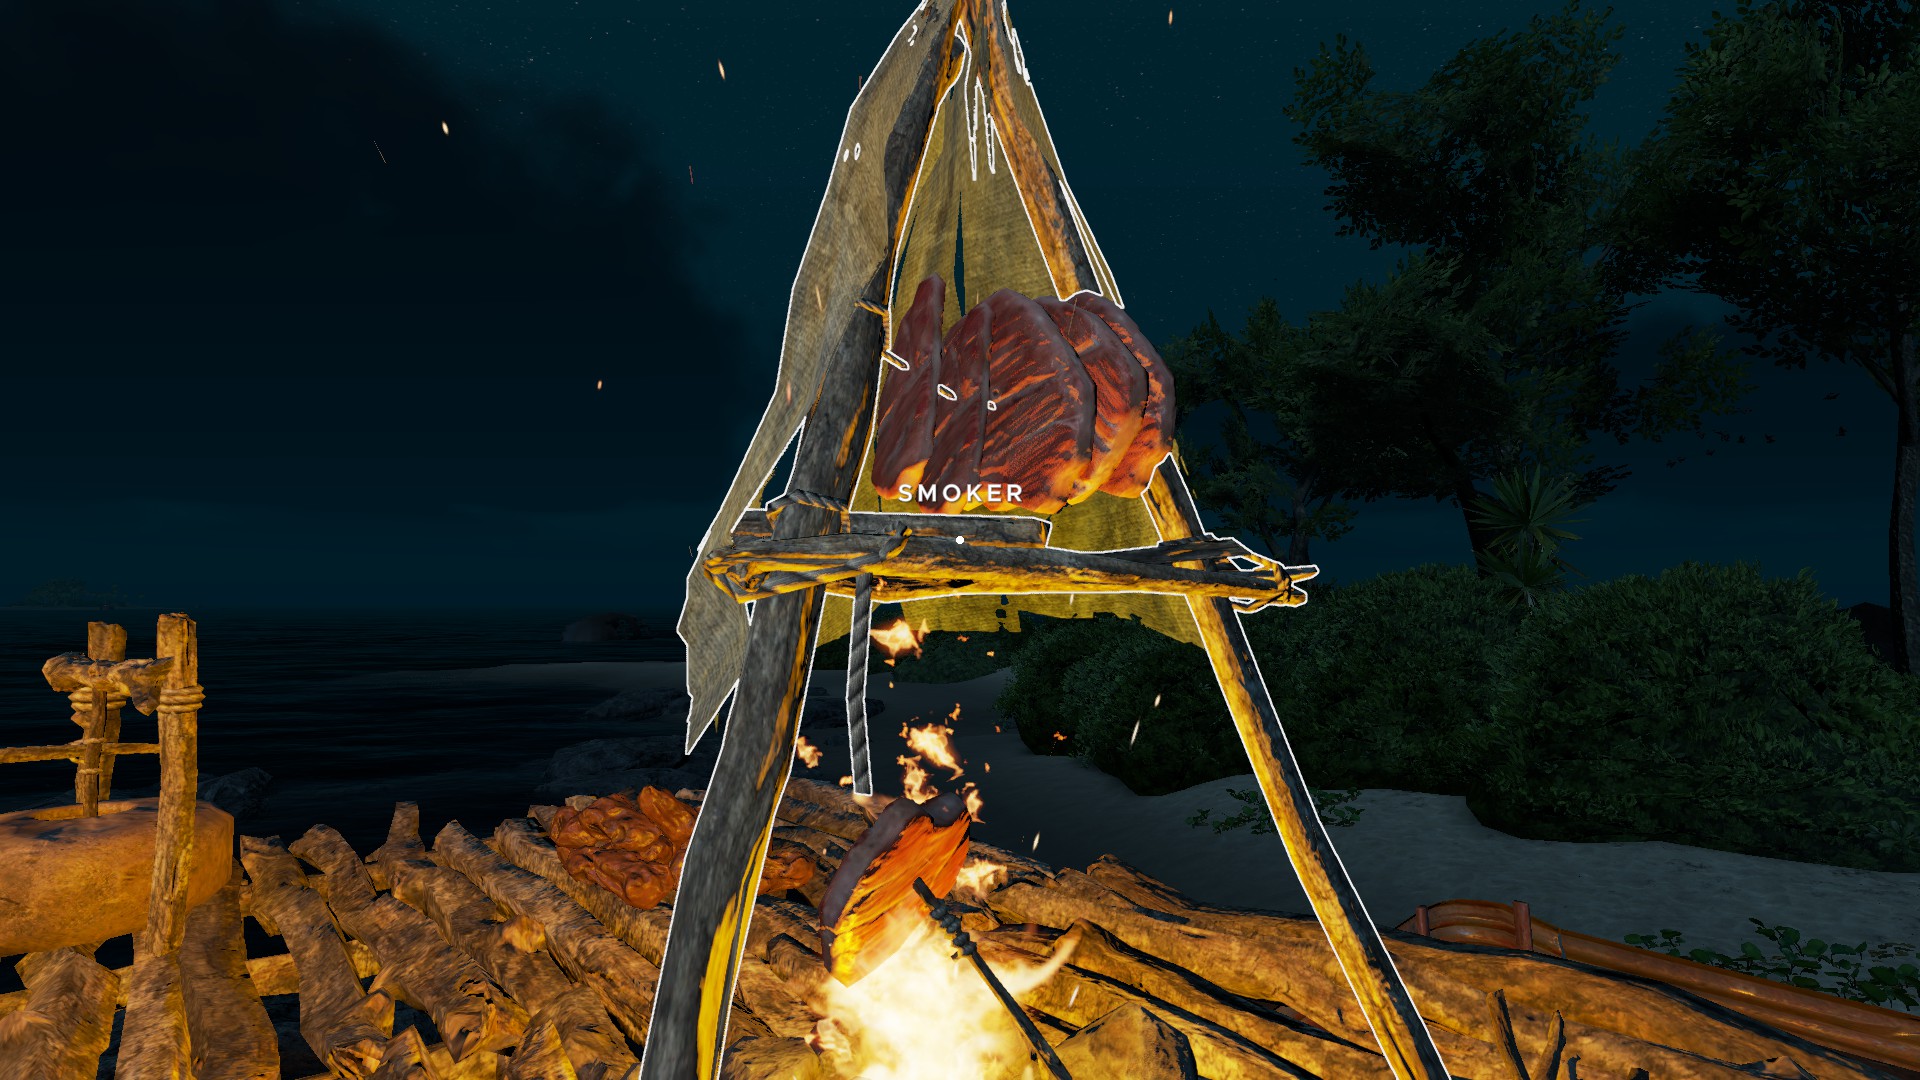
Larger meat sizes take longer to cook, and smoking meat takes even longer. The smoker will first cook meat, then begin smoking it. Meat fully cooked on the smoker will stay edible forever. You can also roast one meat over the fire under your smoker while 5 meats smoke in your smoker.

Man, I need a smoke.
Tools and Weapons
Your first tool is going to be a rock that you smacked about until it became kinda sharp. This stone tool is as crude as it gets and deteriorates rapidly. Since stones are a limited resource, the stone tool should only be used for cutting up the fibrous leaves you need for your next cutting implement.

The knife is crafted from a stone tool, a stick and a lashing. This is a far more efficient and longer lasting tool than its predecessor. You need these for harvesting skins and edible meat from dead animals. You should be using them for cutting small palm trees and preparing coconuts for drinking.

The crude hatchet is what you'll need for cutting down your first tree. It requires two stone tools, a stick and a lashing. The hatchet will now be your preferred tool for chopping trees and yuccas, splitting trees, harvesting palm fronds, battling wildlife and breaking down your unwanted constructions.

As soon as you are able, fuse your crude hatchets with some leather and another stone tool. The resulting refined hatchet is far more wear and tear efficient, chops things with fewer swings and deals more damage in a fight. Sharks and trees alike will quickly buckle under a refined hatchet. The refined hatchet may seem expensive at first but it is invaluable given how it resists damage more than a knife or crude hatchet. Couple this with the fact that it will do the same work with fewer swings, and the refined hatchet is mathematically the survivors' ideal go-to tool. Turning a crude hatchet into a refined hatchet will restore it to 100% condition, so you can save your resources even more by converting worn-down hatchets.

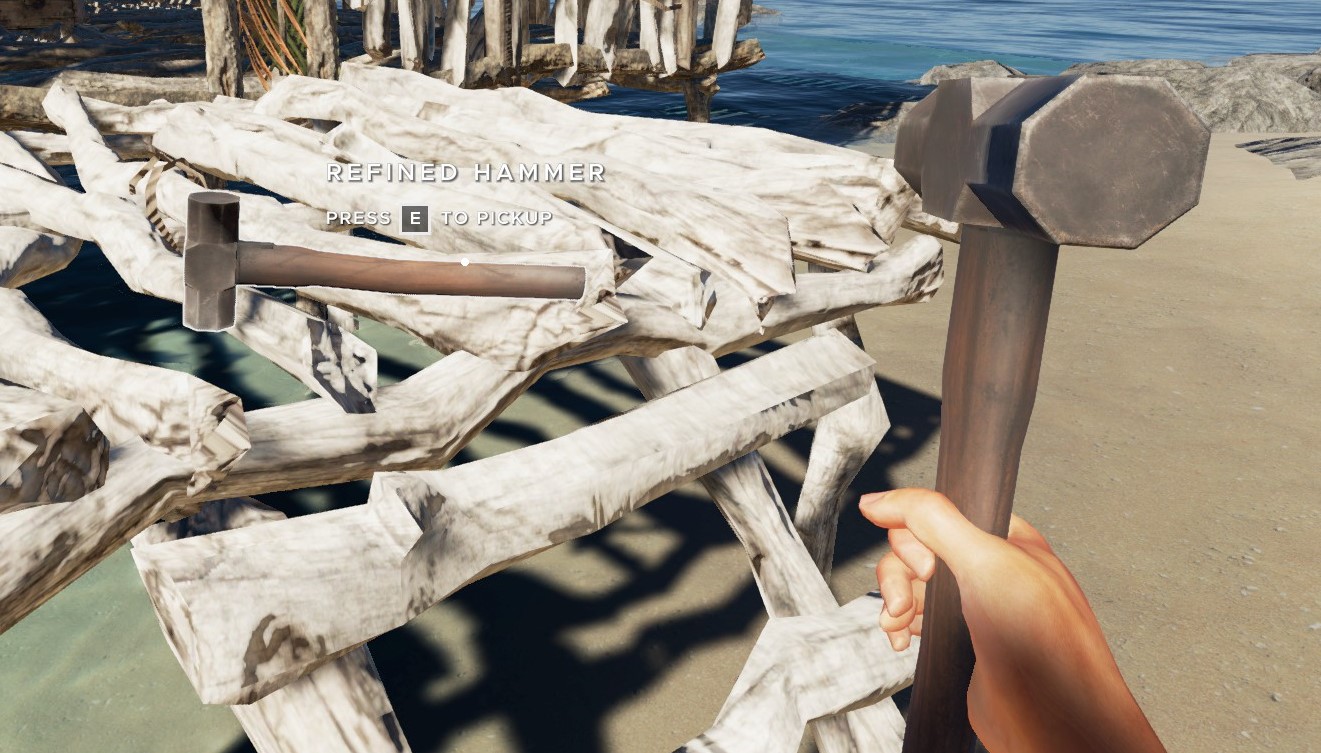
Hammers are only good for one thing: building. (And also repairing anything you damaged with your hatchet) You will need a hammer, doesn't matter which kind, to construct anything in the buildings or vehicles category. Like most other tools, the refined hammer (looted from shipwrecks only) is superior in every way to the crude hammer that you can craft in a pinch. The crude hammer is really a waste of rocks, doesn't last long and is slower at building. Its only real utility is for building a plank station. Refined hammers are finite, but abundant.

The hoe is necessary for the construction of a farming plot. It will then lie unused for several months. Eventually you may need it to clear out any dead plants, but you'll never even think of them until you plan on starting a farm.

The refined pick allows your survivor to exploit mineable resources, increasing the pool of stones available for use. It is also the only way to gain access to clay, which is necessary for the best water carriers, as well as fuel production and fancy buildings. Clay deposits are found in the waters surrounding the islands, so mining will be hazardous.

The fishing rod is entirely unnecessary since the fishing spear can bring in more fish faster. The fishing rod also requires bobbers, which are crafted from the rare buoy balls, one of the best materials for raft-making. The fishing rod is the safer way to catch cod in deep waters teeming with sharks and lionfish, but is certainly less fun. To keep your line from breaking you have to pulse your left mouse button. This results in a slow reeling process just to catch what you hope is a good fish.

Fishing spears are made from a single stick and are good for only two things: spear fishing and crab hunting. Any small fish, cod, crab or grouper will die from a single poke of this tool. If you are willing to brave the deeper waters near the drop-off, the fishing spear will bring in huge volumes of food. Just left click to stab and then click again to grab your prey. It'll go into your inventory for you to skin and cook later. You can also throw the spear by holding right mouse button to aim and left clicking to throw. If you're lucky, you won't even have to make one: there are often

Spears are such elegantly simple weapons. They are pointy sticks used to poke holes in things you don't like. Requiring a single stick and nothing else to craft, the crude spear is your early-game weapon for hunting. They will kill crabs, boars, seagulls, bats, giant groupers and if you have enough of 'em, even a shark. It'll take about nine throws to put down a tiger shark, less if you're doing more damage up close and in his personal gnawing space. Spears, when thrown, have a tendency to drop over distance travelled, but the player will quickly learn to adjust his aim accordingly. If you miss and your spear hits a rock, the spear may break in half and be completely unuseable.

With leather and a stone tool, you can turn a crude spear into a refined spear. These deal far more damage than their crude counterparts, and will be a must for a player regularly charging into shark infested waters and boss battles. Its necessity, though, is questionable, especially if you don't get your spears back. Remember stones are a limited resource. The massive damage boost is worth testing for your playing style, though.

The bow and arrow is a upgrade over simple throwing spears. OLD: Arrows travel faster than spears, so aiming at targets at a distance is considerably easier. They do similar damage to spears, so they are great choices for hunting boars and snakes. New: haven't made any in a while since arrows cost stones. Keeping a bow going will cost a lot of non-renewable resources, so I do not recommend it.

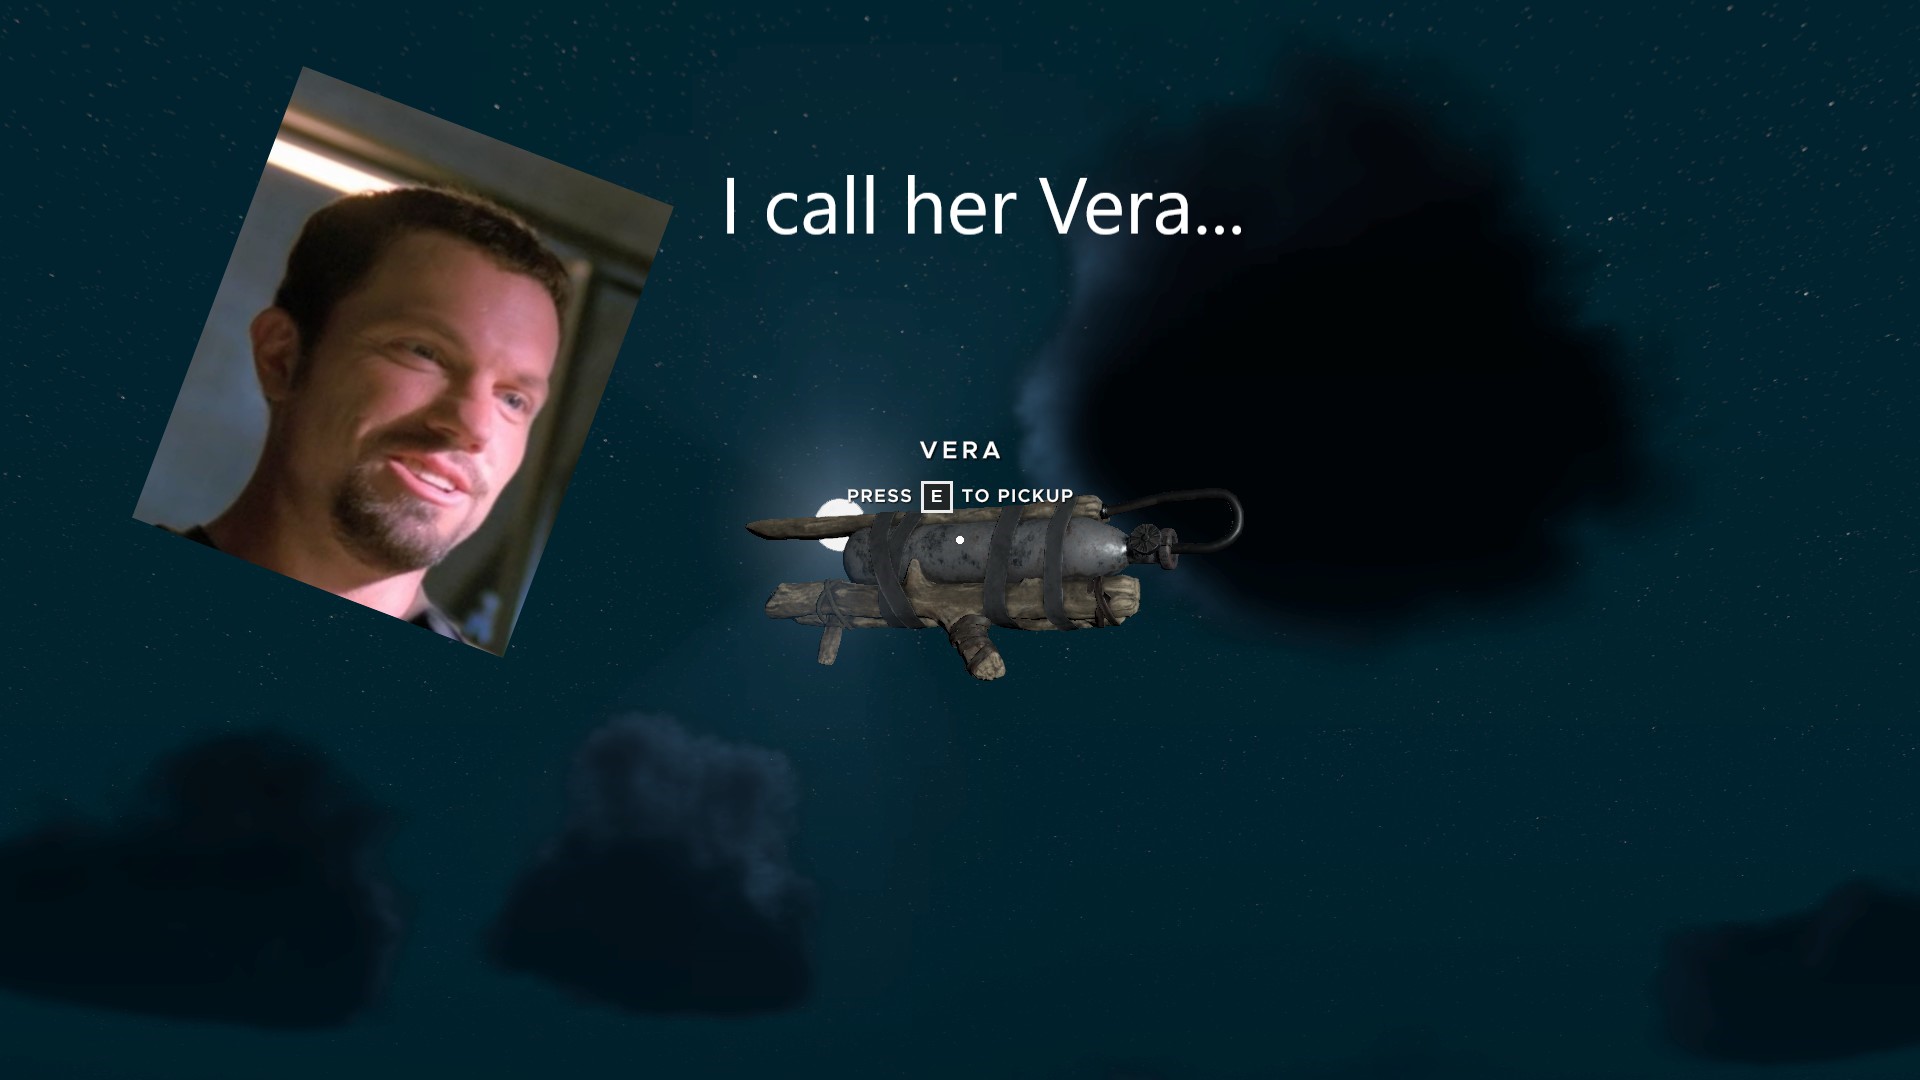
Speargun: a stick that fires sharpened sticks with the aid of compressed gas- loosely held together with duct tape. This is the ultimate weapon, with standard damage and the fastest projectile speed. You can kill anything in the earth, sky or sea with the speargun. Arrows are easily crafted from lashings and sticks.

Other things (that are hardly worth mentioning)
The Oar: Equip it and press 'E' at the right spot on the life raft to start paddling. Double tap 'W' to auto-forward. There is only one.
Kindling: a few sticks that you rub together to start fires at your fire pit. Doesn't degrade.
Label Maker: Equip it and left click to rename things like containers. You can even name sharks.
Binoculars: lets you see stuff better
Compass: points North sometimes
Lantern: turns on at night. You can hang it on a hook to light up a larger area. Infinite battery charge.
Flashlight: lets you stumble around in the dark with a bit more efficiency.
Fish traps/bird snares: these will provide you with meat to harvest when the respective animal feels like feeding you. Again I say that spears are better so you can eat when you want to.
Navigation
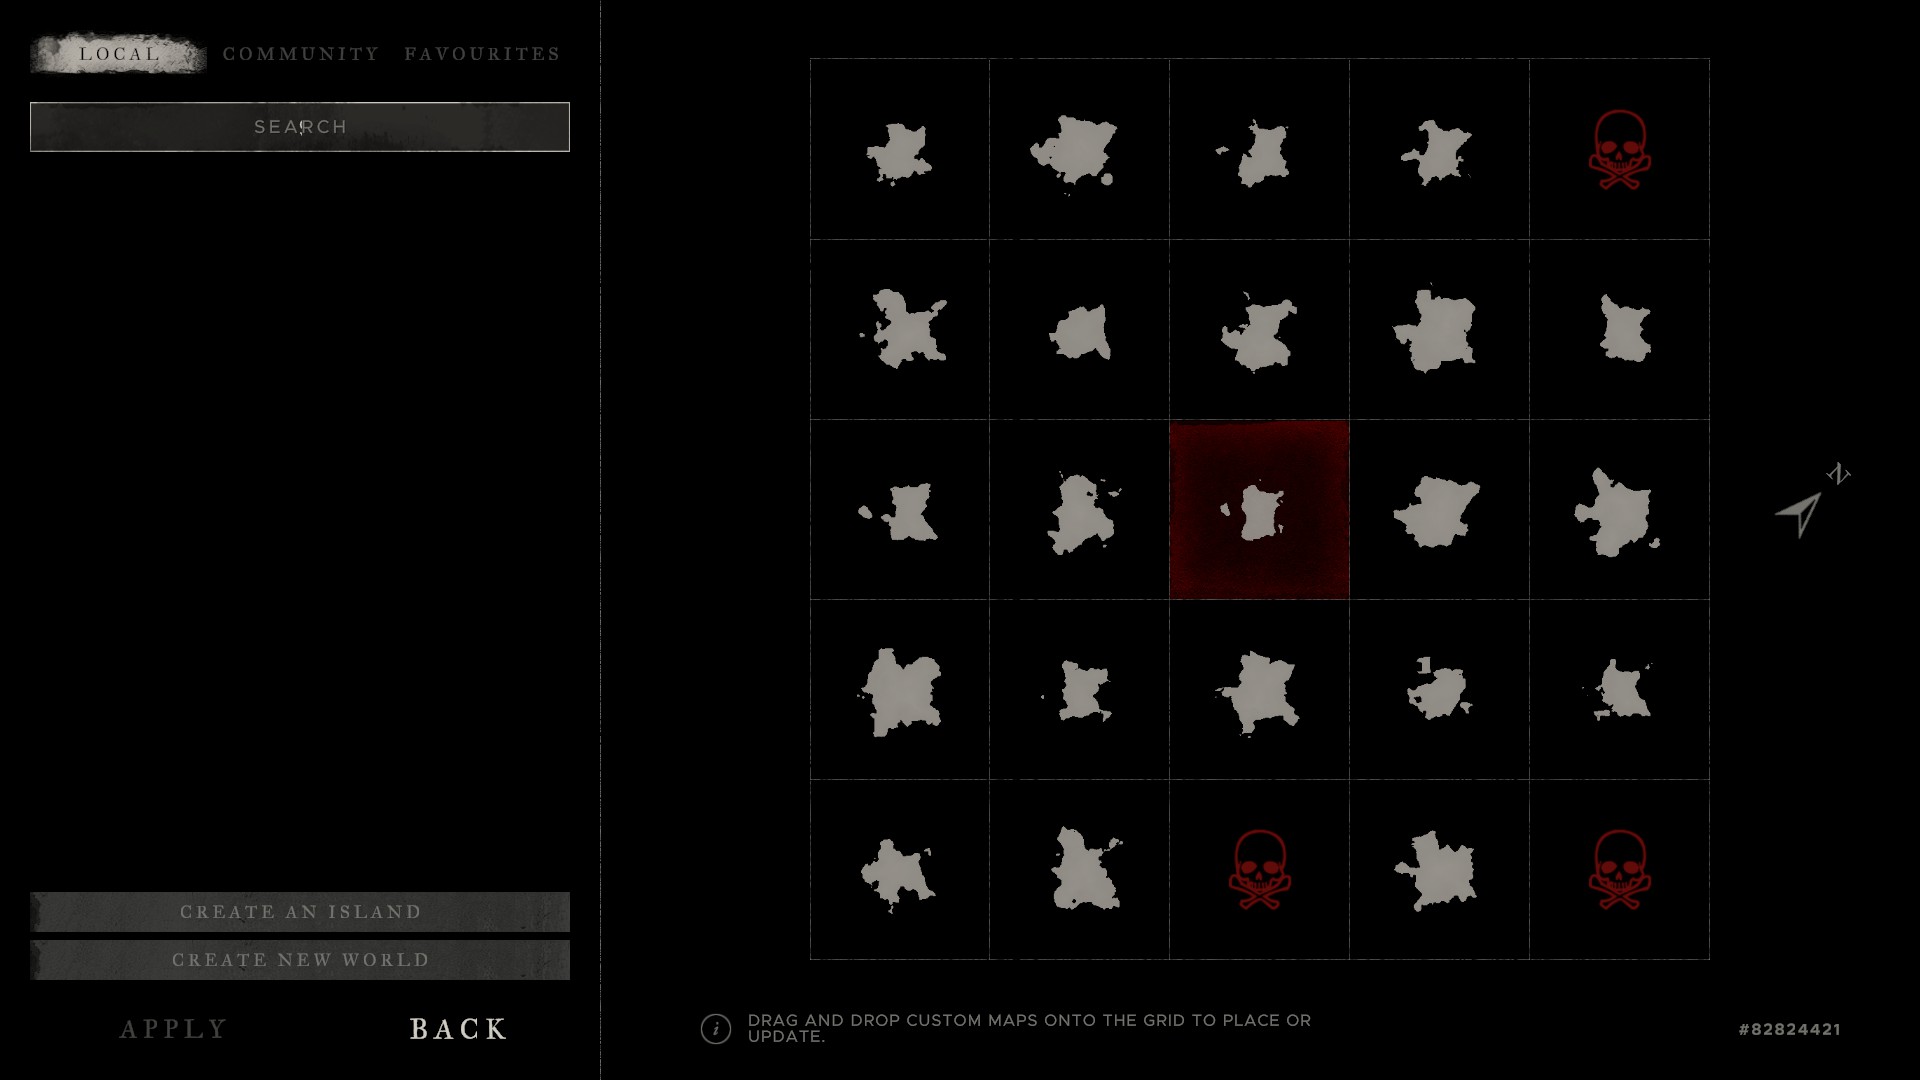
Your game map is a square... or maybe a diamond. There are 25 locations, most of which are islands. From any island that isn't on the edge of this square (or diamond) you will easily see four islands to the North East, South East, South West and North West.
As a bonus, you can also faintly see islands to the North, West, South and East of your current location. However, due to the Pythagorean Law, these islands are (square root of two)(about 1.414 times) farther away.
Your compass will confirm all this. I really don't see any need to dwell on this. Just select the Cartographer from the main menu to see the world before you.
Oh, by the way, don't go to the red spots where you can see a red skull and crossbones instead of an island until you are far more experienced. It's a boss fight.


Compass is broke, cartographer is broke, no idea what is happening in the world. Hope the devs can fix it soon.
Transport
You start with the life raft deployed from your crashing plane. It is very okay. The life raft has one storage spot for three stackable items (no crates), a sea anchor and a paddle. It is, tragically, manually powered. You have to paddle it anywhere you want to go. It is also very vulnerable to any shark, and possibly hungry marlins. You will need something better, and soon.

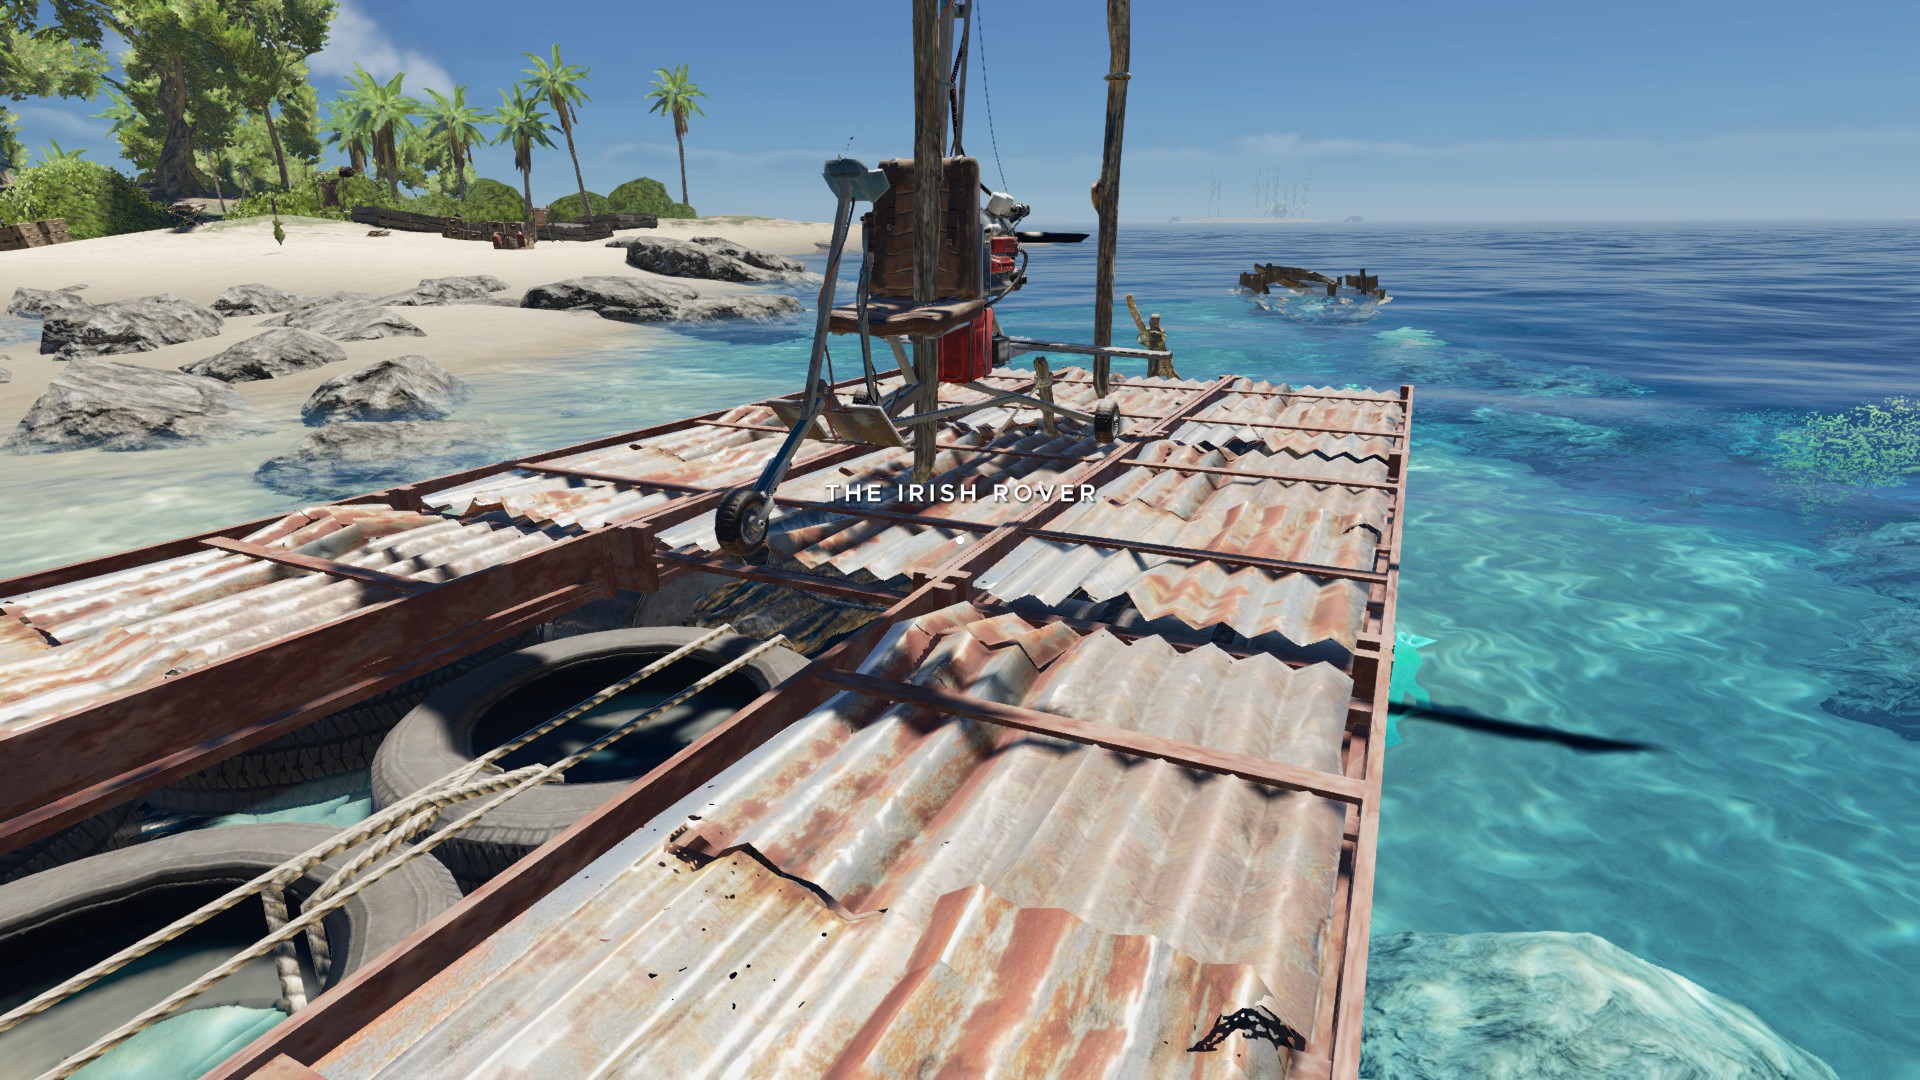
The raft is your Magnum Opus. You craft it (using hammers) from whatever you find and harvest during your journey. It takes whatever form you choose it to. Essentially, though, you can make it a motorboat, a sailboat or a hybrid to accommodate both methods of movement. Keep it small for a real Tom Hanks experience. Make it bigger to resist shark attacks and carry cargo. It's all up to you.
First, you have to build a raft foundation: the reason it floats. This is best made from rare resources usually found in shipwrecks. Then you must place a deck on top of this foundation. You can make this living surface from whatever material you like to hear the sound of your dress shoes clomping on. Then drag it onto land and flip it on its side. You'll need six rocks, four lashings and a stick to attach an anchor to its front. Once your anchor is attached, pull it back into the water and deploy the anchor to keep it from drifting away. You'll need two cloth and some other easily obtainable materials to fix a sail and a rudder to her. Weigh anchor and hold 'E' to control the rudder. Looking forward you can raise/lower the sail by also holding 'E.' Please be sure to only deploy the sails and weigh anchor from aboard the raft. From personal experience, a small sailboat with no one manning the sail or rudder will quickly come to a halt or capsize. In game, a deployed sail will result in the raft taking off on her own far faster than you can swim. GALAs has a video that shows why: https://steamcommunity.com/sharedfiles/filedetails/?id=2252187038 The sail's facing can be changed with the 'Q' and 'E' keys. This doesn't seem to have much effect on your sailing speed.
To make her grow, attach additional raft bases to your Magnum Opus. Should be easy to 'snap' more raft bases onto your old one from the building menu, provided she is in deep enough water. Adding additional raft bases may affect your raft's maneuverability and turn radius(the physics of rafts are unstable and undergoing change). You will be subject to huge amounts of friction, and any asymmetry in your raft will manifest in it leaning and pulling to one side(maybe not anymore?). ♥♥♥♥ this game's updates get confusing. You should also balance the weight aboard(?) and definitely not have any loose items laying on the deck. Any extra sails, rudders or anchors will shift its weight (maybe?).
A good option for nomads will be to make some raft canopies on your deck. These will offer you some shade if you're spending a lot of time on the water during daylight. It's probably better than stopping to take a dip in shark-infested water. Another major bonus is the container shelves. Using three wood planks, you can build these container shelves on your raft deck to keep your containers from falling overboard. They are a must for longer trips that you harvest large quantities of resources on.
The motor will be harder to build and harder yet to keep fueled. Actually, it's got some pretty decent fuel efficiency. One jerry can (four taters) will be one full tank for your motor. It is the fastest way to move your raft about the deep blue sea. You'll need numerous rare engine components to make this baby work. You should have extra fuel cans, one or two potato farms and a fuel still to keep it running. The increased speed of the motor seems to make steering difficult. If your sail is deployed your motor will only move you at sailing speed. Once upon a time the motor could be used for steering after running out of fuel, so keep the sail intact just in case.

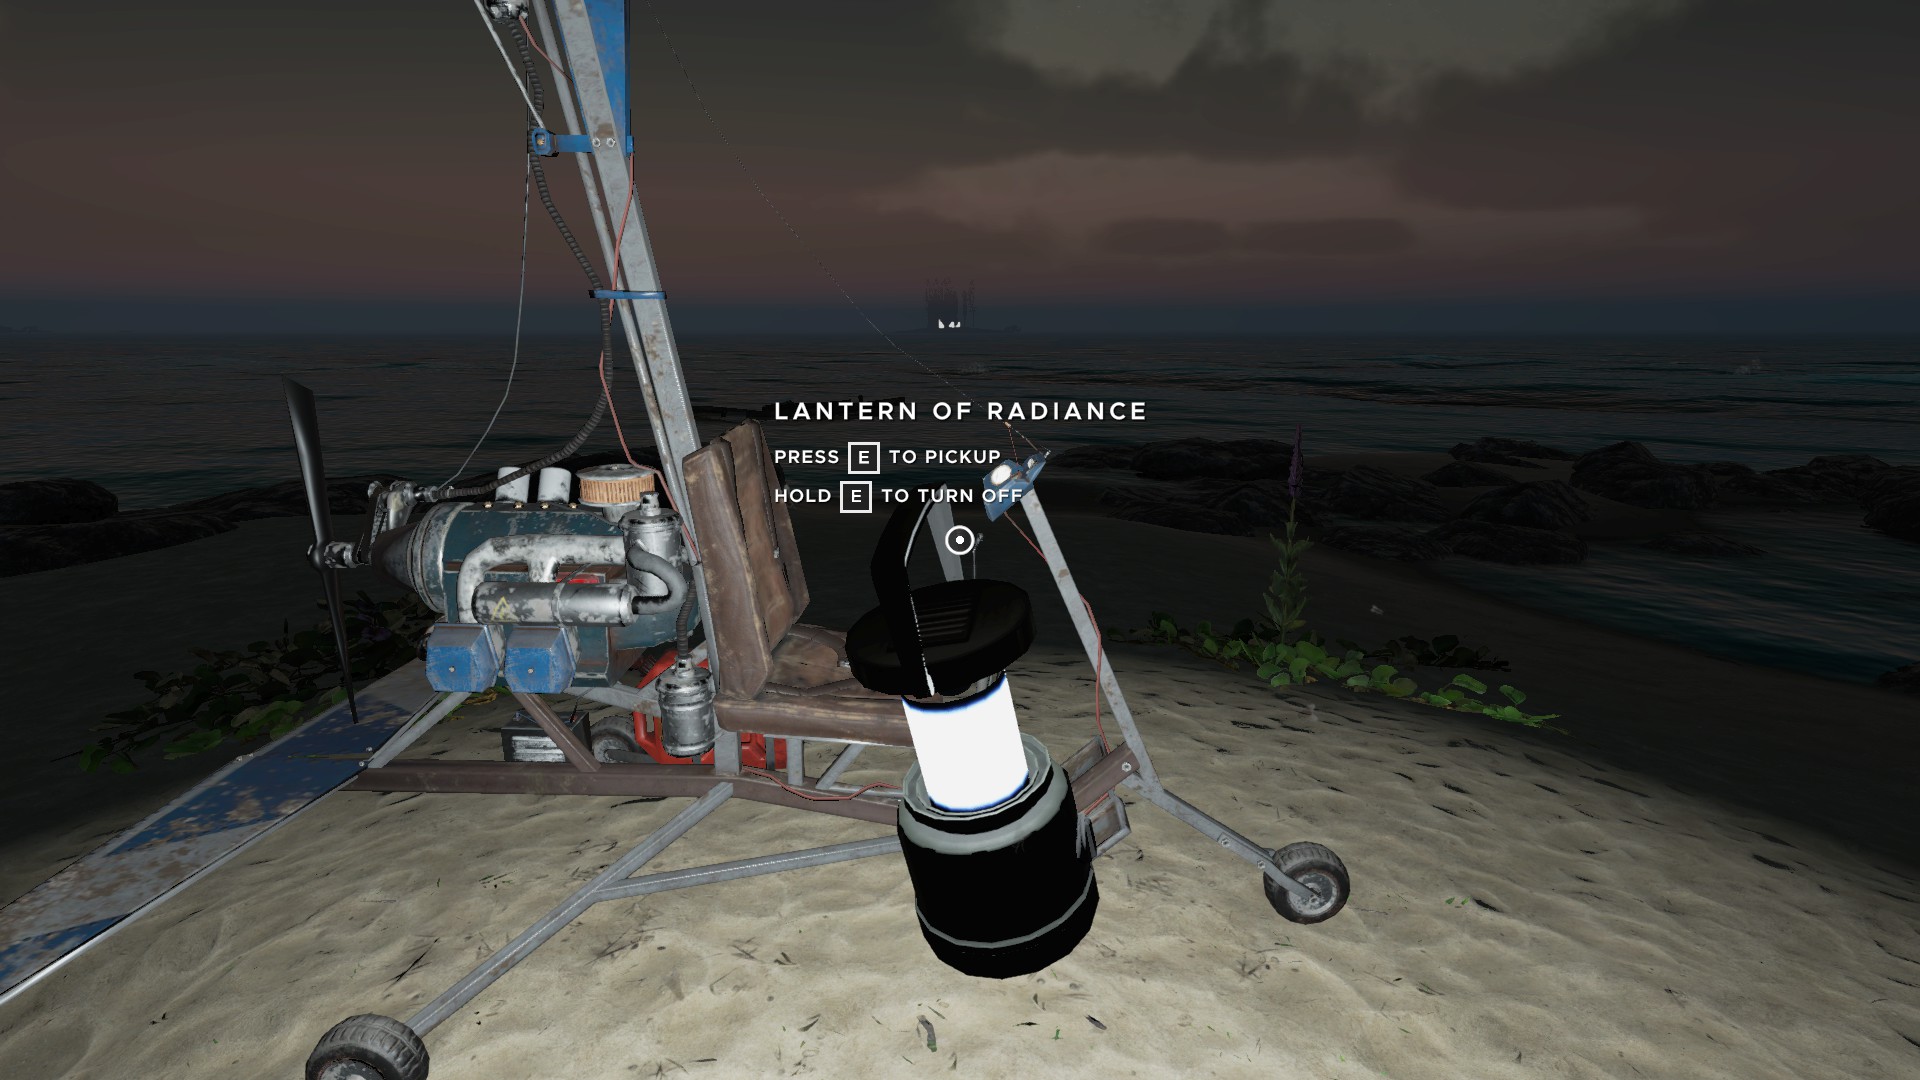
The last, but not least of the vehicles is the coveted Gyrocopter. Straight out of Mad Max (The Road Warrior), this puppy will carry you about the Pacific like a quetzecoatlas in heat (paleontology joke). While it keeps you safe and above everything except the occasional flying shark, the cost is enormous. The Gyrocopter costs 3 gyro parts, a fuel part, a filter part, an engine and 2 electrical parts to build in its entirety. All of these parts are rarely and randomly spawned in shipwrecks. (Boss battle exclusives, now?) Then you have to fuel it. This beast drinks about a quarter tank of fuel between every short island hop it makes. At present, it is not modifiable and has no storage space, so it's basically a rich survivor's trophy while he does the real labor with his raft. Have fun though, and try to keep it from getting wet. I speak from experience that internal combustion engines never work well after an officer plows the air intake into muddy water. The thing will occasionally try to spiral towards doom.
Dangers
Anything that can kill you, will. Quote me on that.

The first, and least suspecting of dangers are the pointy sea stars. They are big an' purple an' pointy. Do not step on them. Trodding on these mines of mother nature will result in poisoning. They seem to be more plentiful on 'small' islands, and spawn in the intertidal area. They move slowly and will every day be just a stagger away from where they were yesterday. You cannot kill them or do anything to remove them and it sucks. Pay attention to these buggers.

Ever stepped on a crab? They're pointy and like most animals, do not enjoy being stepped on. Their claws make for fearsome toe pinchers, as well. They deal tiny amounts of damage, really only a concern when you've already got a status condition. You can rid yourself of the crab menace with almost any tool or weapon. Eat them to be rid of this annoyance.

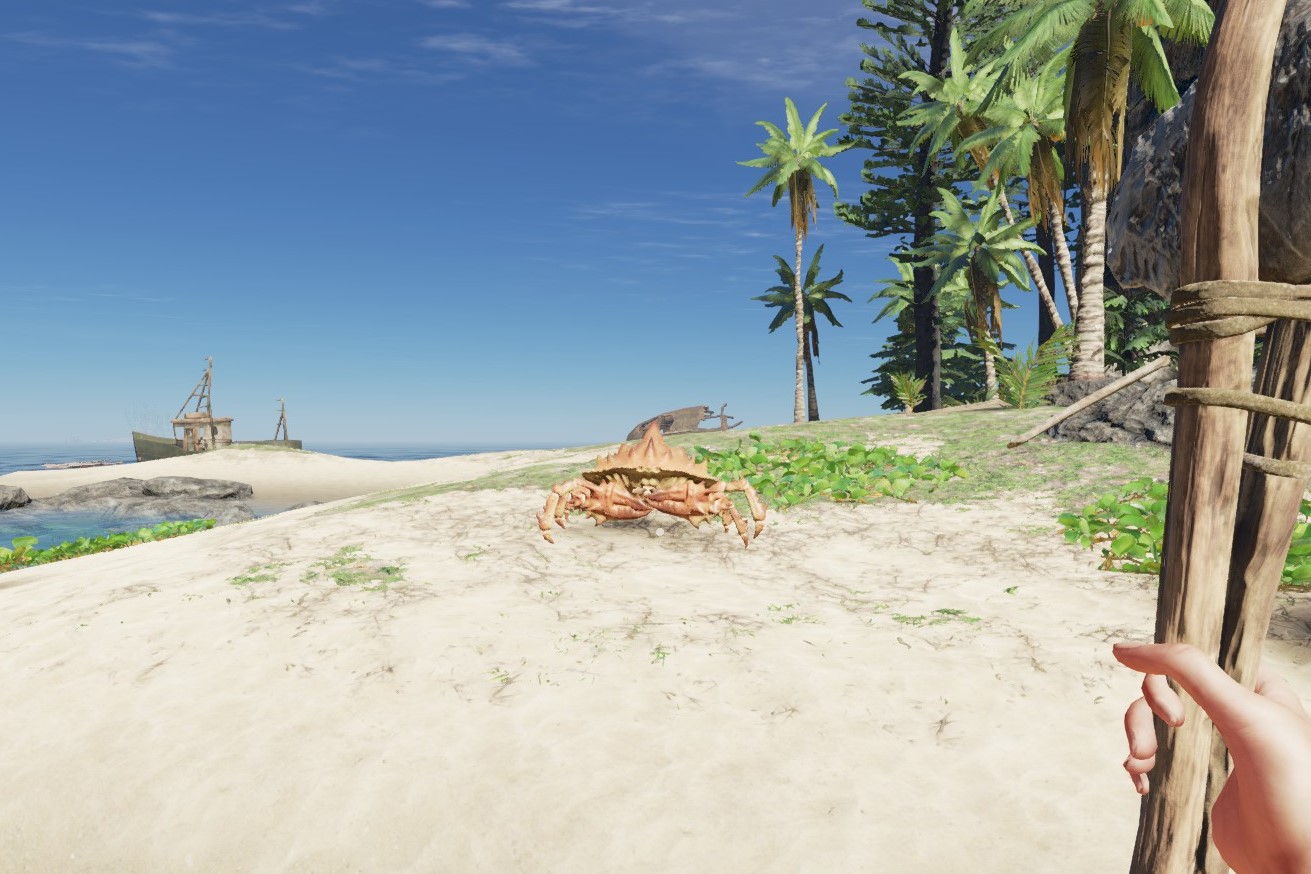
HOLY CRAB THERE ARE NOW GIANT CRABS. These monstrosities are newcomers to the 'make survival nightmare' scene. These enormous crustaceans will aggressively charge you at a slow walking pace. Best to run away and try to get behind them. Taking them by surprise should let you hit them with the hatchet until they're dead. You can suffer a few health points of damage from these things. They are highly resistant to projectile weapons. They spawn in sets of two on big islands and occasionally appear on small islands, too.

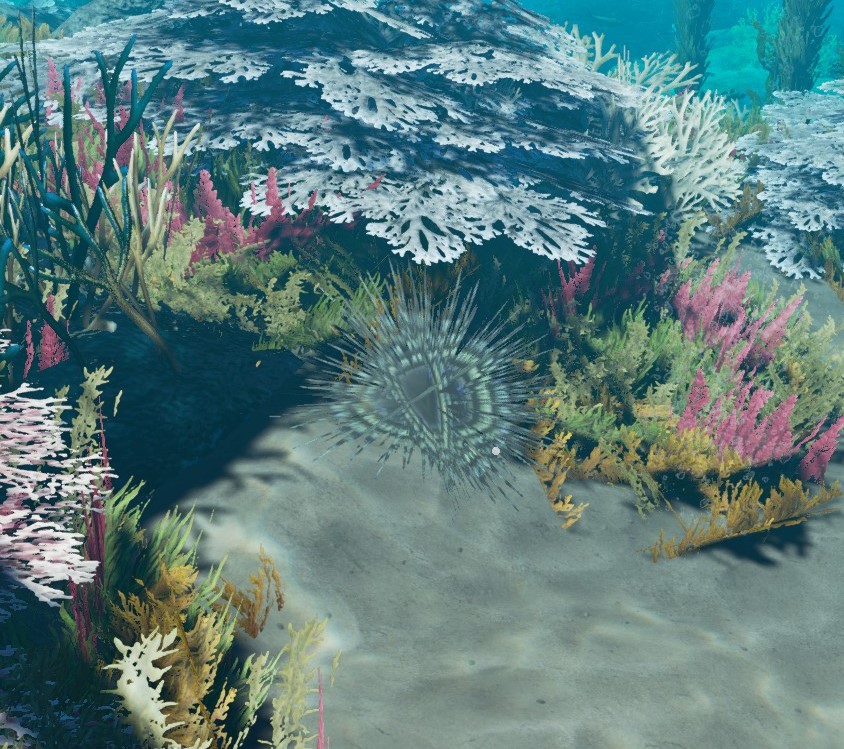
Every individual urchin is an entire formation of spearmen. They graze the ocean floor in triangular units and move with slow, military precision. They are magnificent creatures that when handled with care and respect can be an amazing experience shared with nature or a delicious meal. Handling without proper respect will result in a series of stabbings that will cause agonizing pain as the (usually) non-toxic spines that stabbed you are dissolved in your blood. They are too brittle to be removed by hand or tools, so the only treatment to speed up the process is to dunk your stab wounds into acid, like vinegar or citric acid. In the game, urchins are found in deeper waters that you really have no business being in. They are benthic- meaning they live on the ocean floor. To avoid being stabbed and poisoned(? really?) just don't swim to the ocean floor when scavenging wrecks and mining clay.

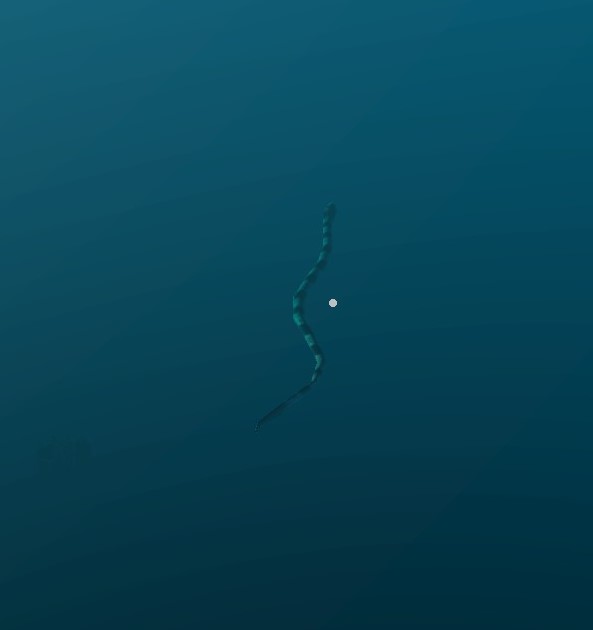
Eels are a very common source of food worldwide. In-game, they look like snakes and are treated as snakes. They apparently bite and inject you with snake venom (resulting in poisoning) when you get close enough. They are not too plentiful, and are usually found in medium depths around islands. Know what they look like and avoid them on deeper diving excursions.


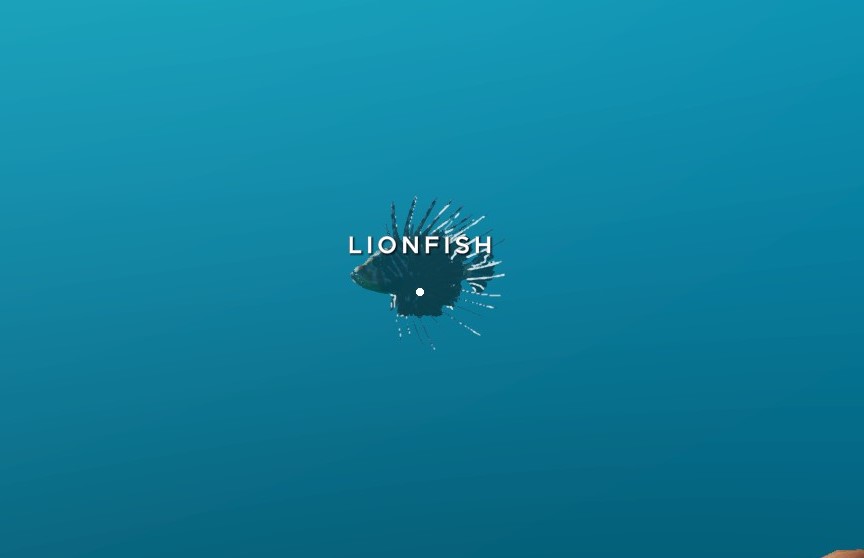
Lionfish are bastads. Kill every one you see. No other fish can eat them due to their venomous barbs. They are very much edible for humans who can safely remove the barbs. Thankfully, they are rare, but will 'poison' any survivor who goes near them. They yield one small meat each. Feast on their flesh, knowing that mother nature thanks you for exterminating them.

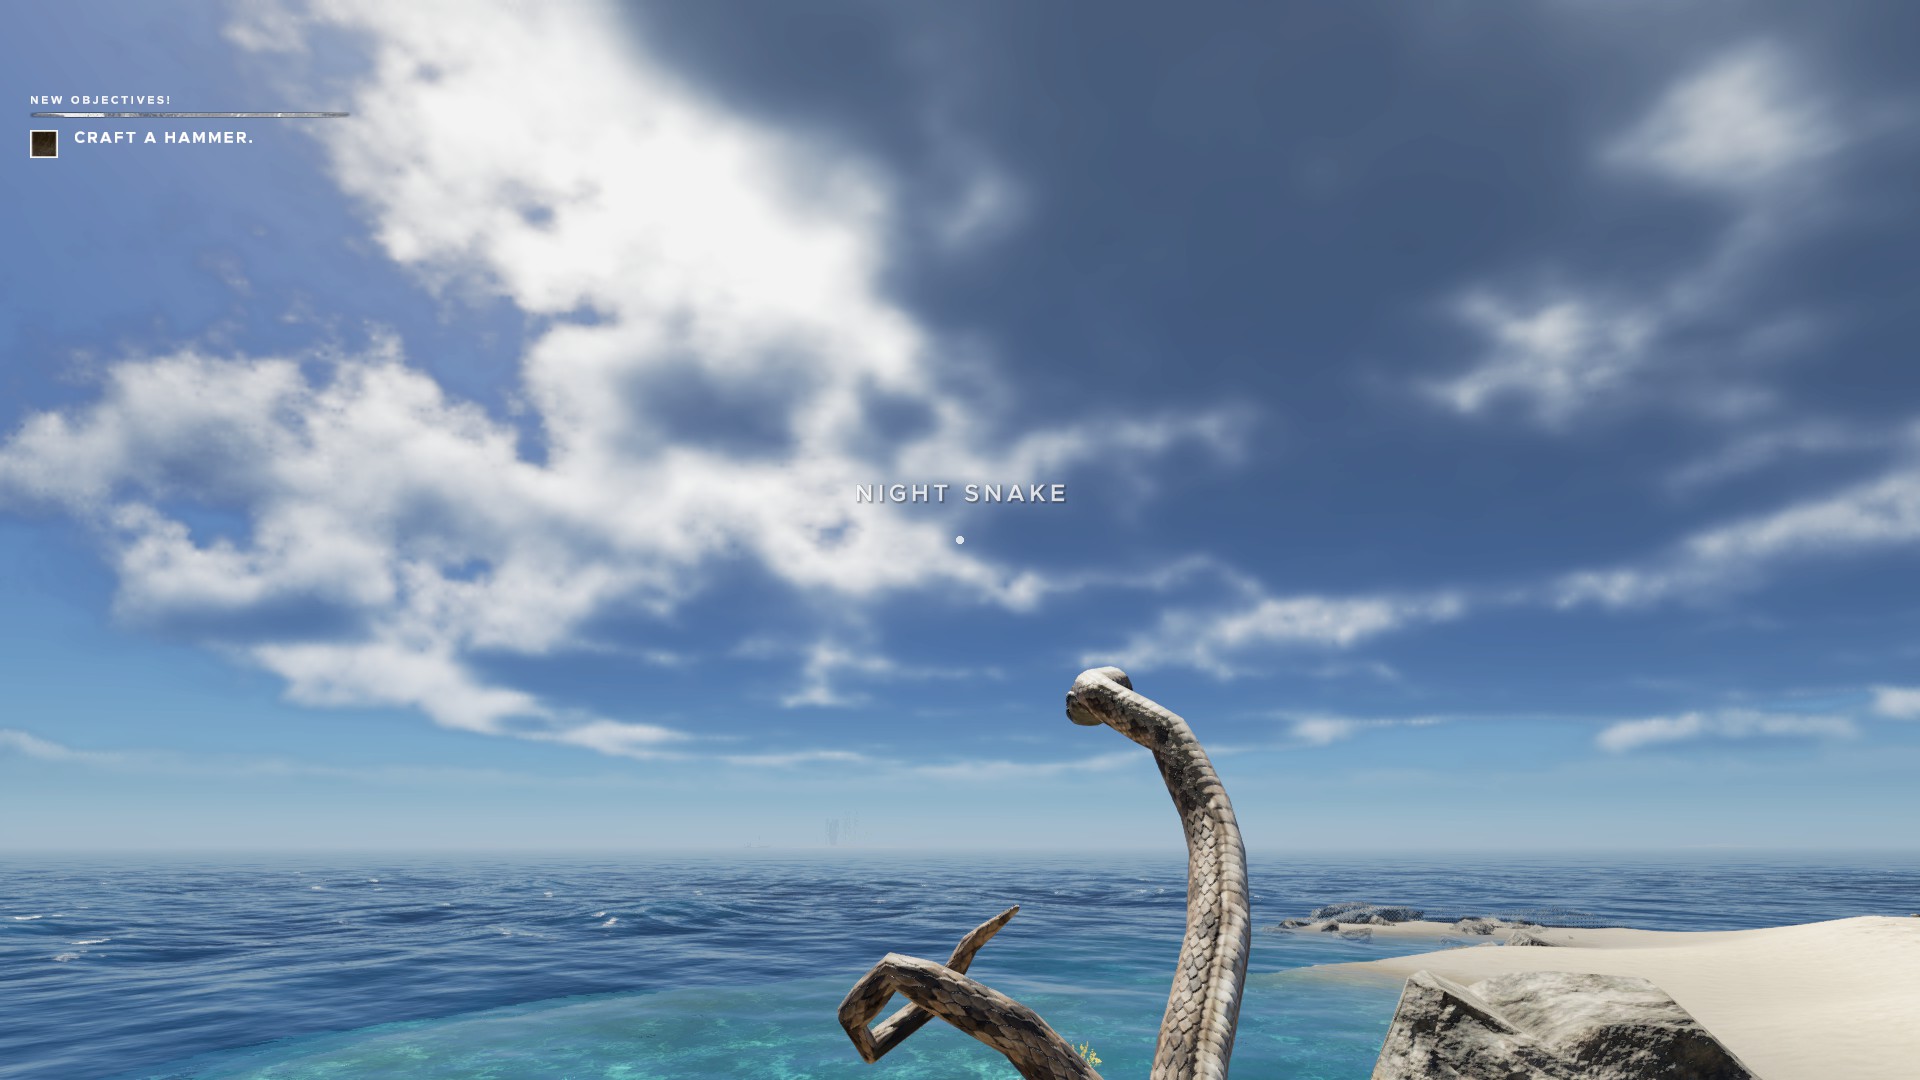
The South Pacific seems to be suffering a bizarre infestation of Western American rattlesnakes. In real life as well as in-game, you will most likely hear them before you see them. From experience, just slowly back away. Their bites are terribly venomous and if you get too close will result in the 'poison' effect in-game. They only appear on 'large' islands, and only appear in non-respawning pairs. Hunt them down during daylight hours with any projectile weapon as soon as you can.

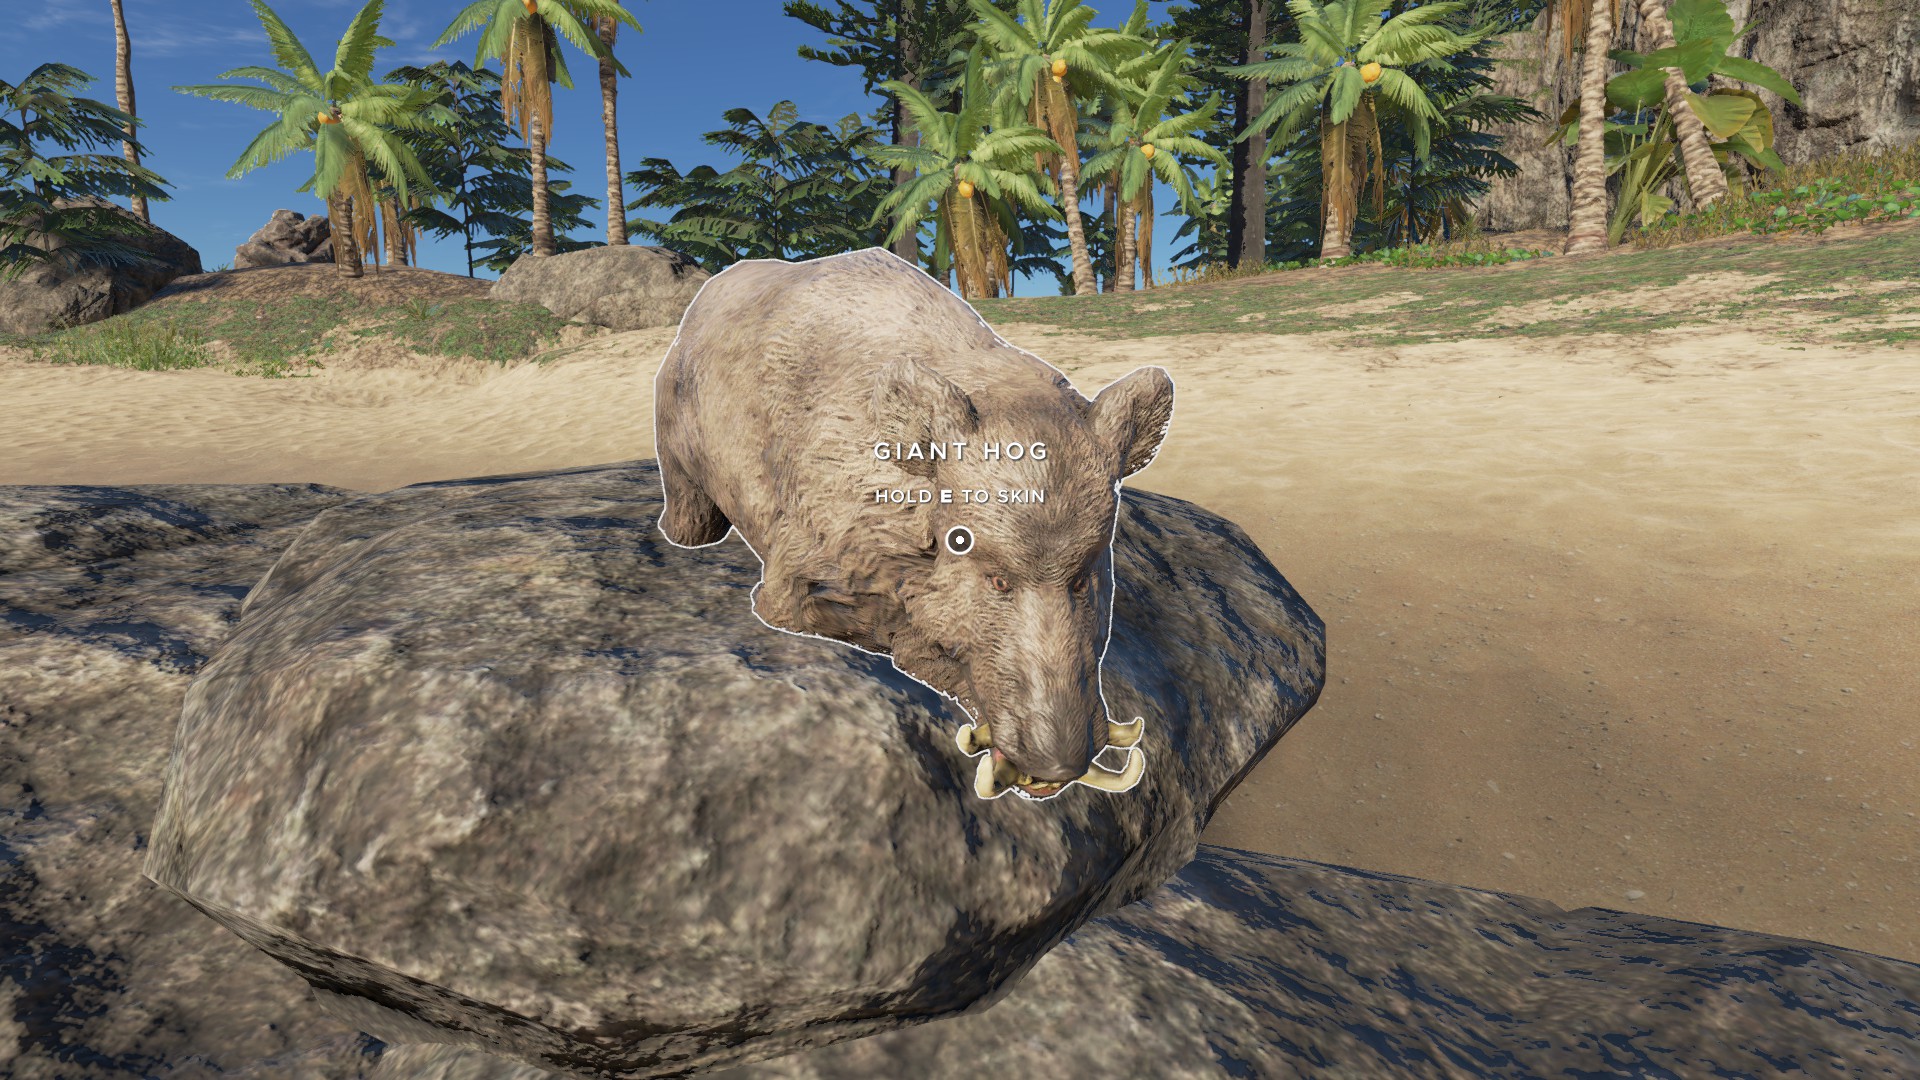
The little piggies were not worth mentioning before. If you killed them you'd be rewarded with two rawhides and two medium meats. They were effectively raw hide storage until you felt like chasing them down. Competely harmless. Now there are wild boars the size of small horses that will attack you on sight. If not for their appearance on large islands already covered in giant CRABS and rattlesnakes it would be more comedic than threatening. The hog will squeal, charge and toss you around a bit. It deals pretty low damage and doesn't seem to cause injury. They are durable, though, so expect to expend a few projectiles before finishing it with your axe. Drops three medium meats and three rawhides. Be careful as the the piggies are extremely buggy and their physics will glitch out once dead.

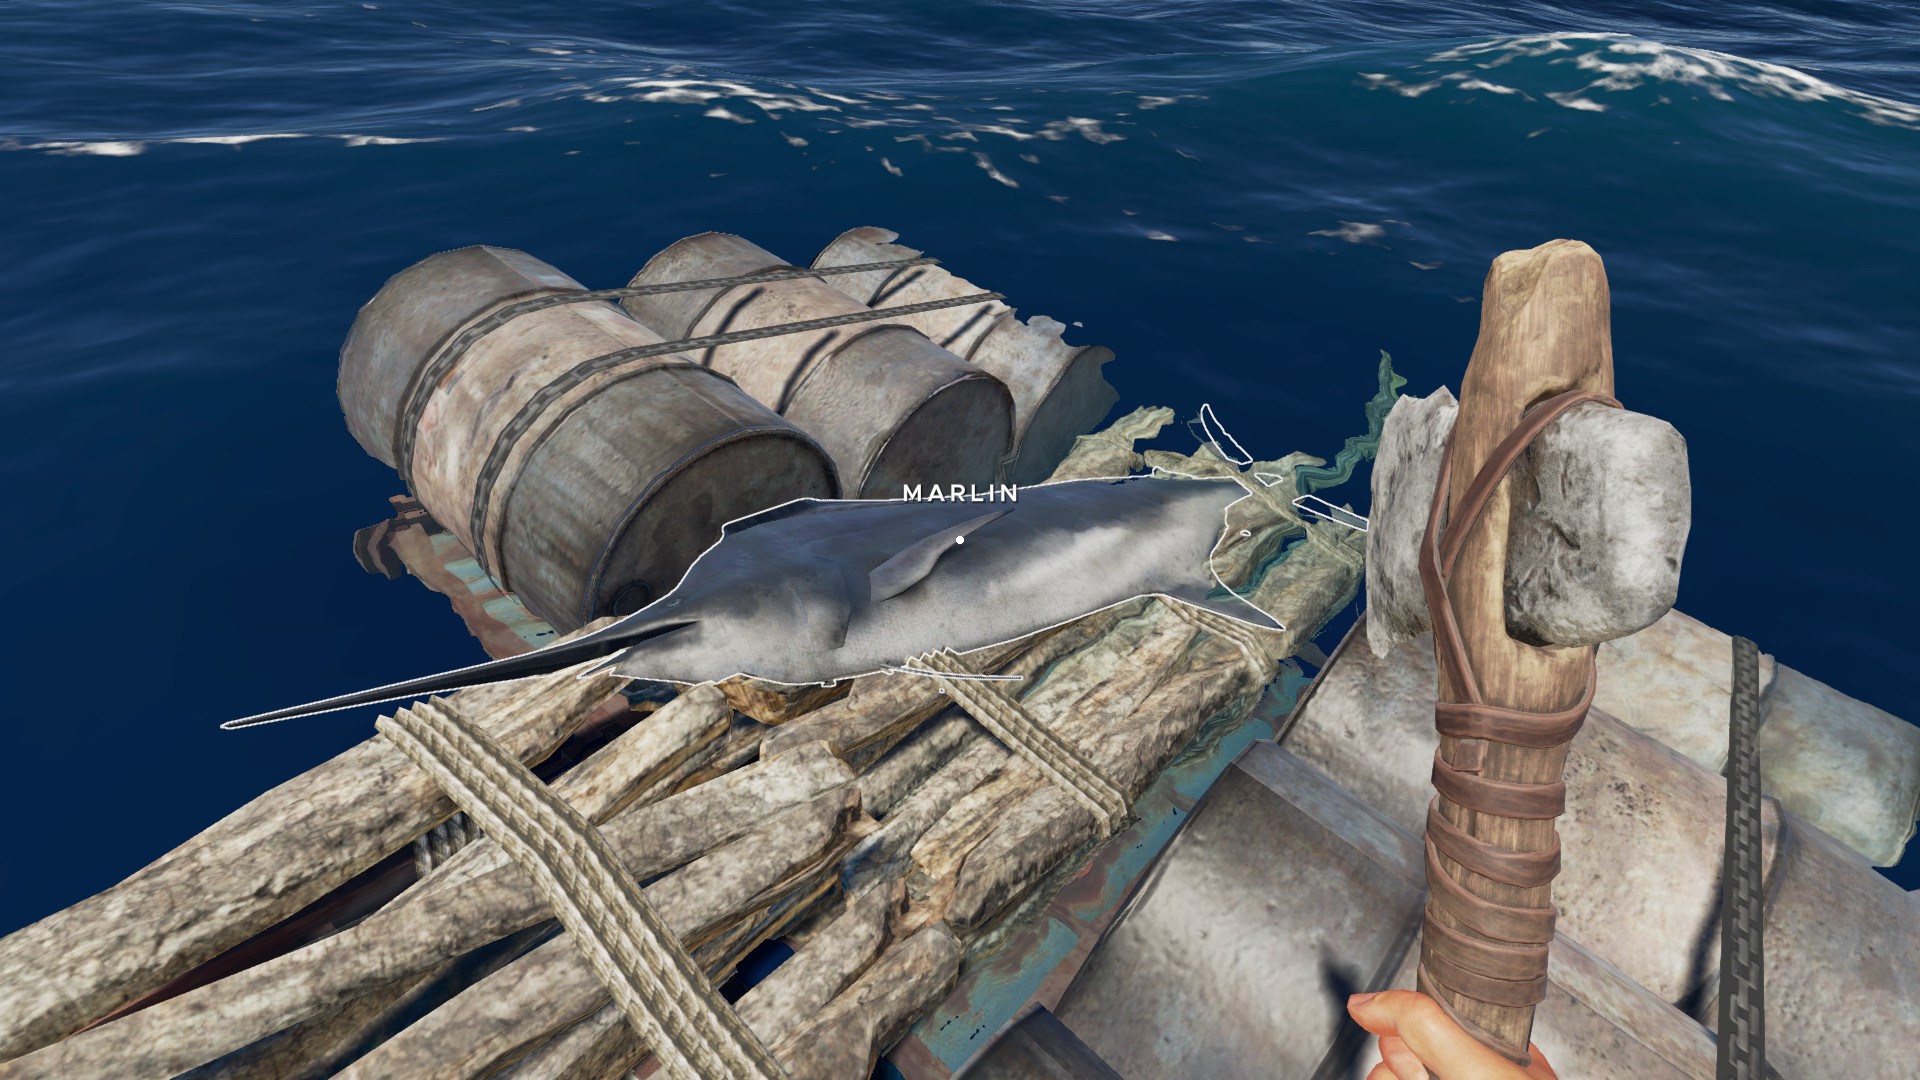
Marlins are rarely found in deep waters. They will zip about as they consider tipping your raft. They can also supposedly cause lacerations. I haven't experienced that, but just in case have bandages on-hand if you're going fishing in deep water. Marlins also sink very quickly once killed. If you want to eat one, you will have to act quickly to keep if from sinking into the abyss.

Sharks have been moved to a section of their own.
Health, Conditions and Healing
Alright, let's talk health, stats, conditions and cures.

Your health bar is what keeps you from dying. Check its status by holding 'F.' The left and right mouse buttons will cycle screens between vital monitoring, affliction monitoring and your watch. Keep your health from lowering to zero to not die. Pretty self-explanatory. It will be reduced by wildlife attacks and status conditions. The new system has the bars sideways now.

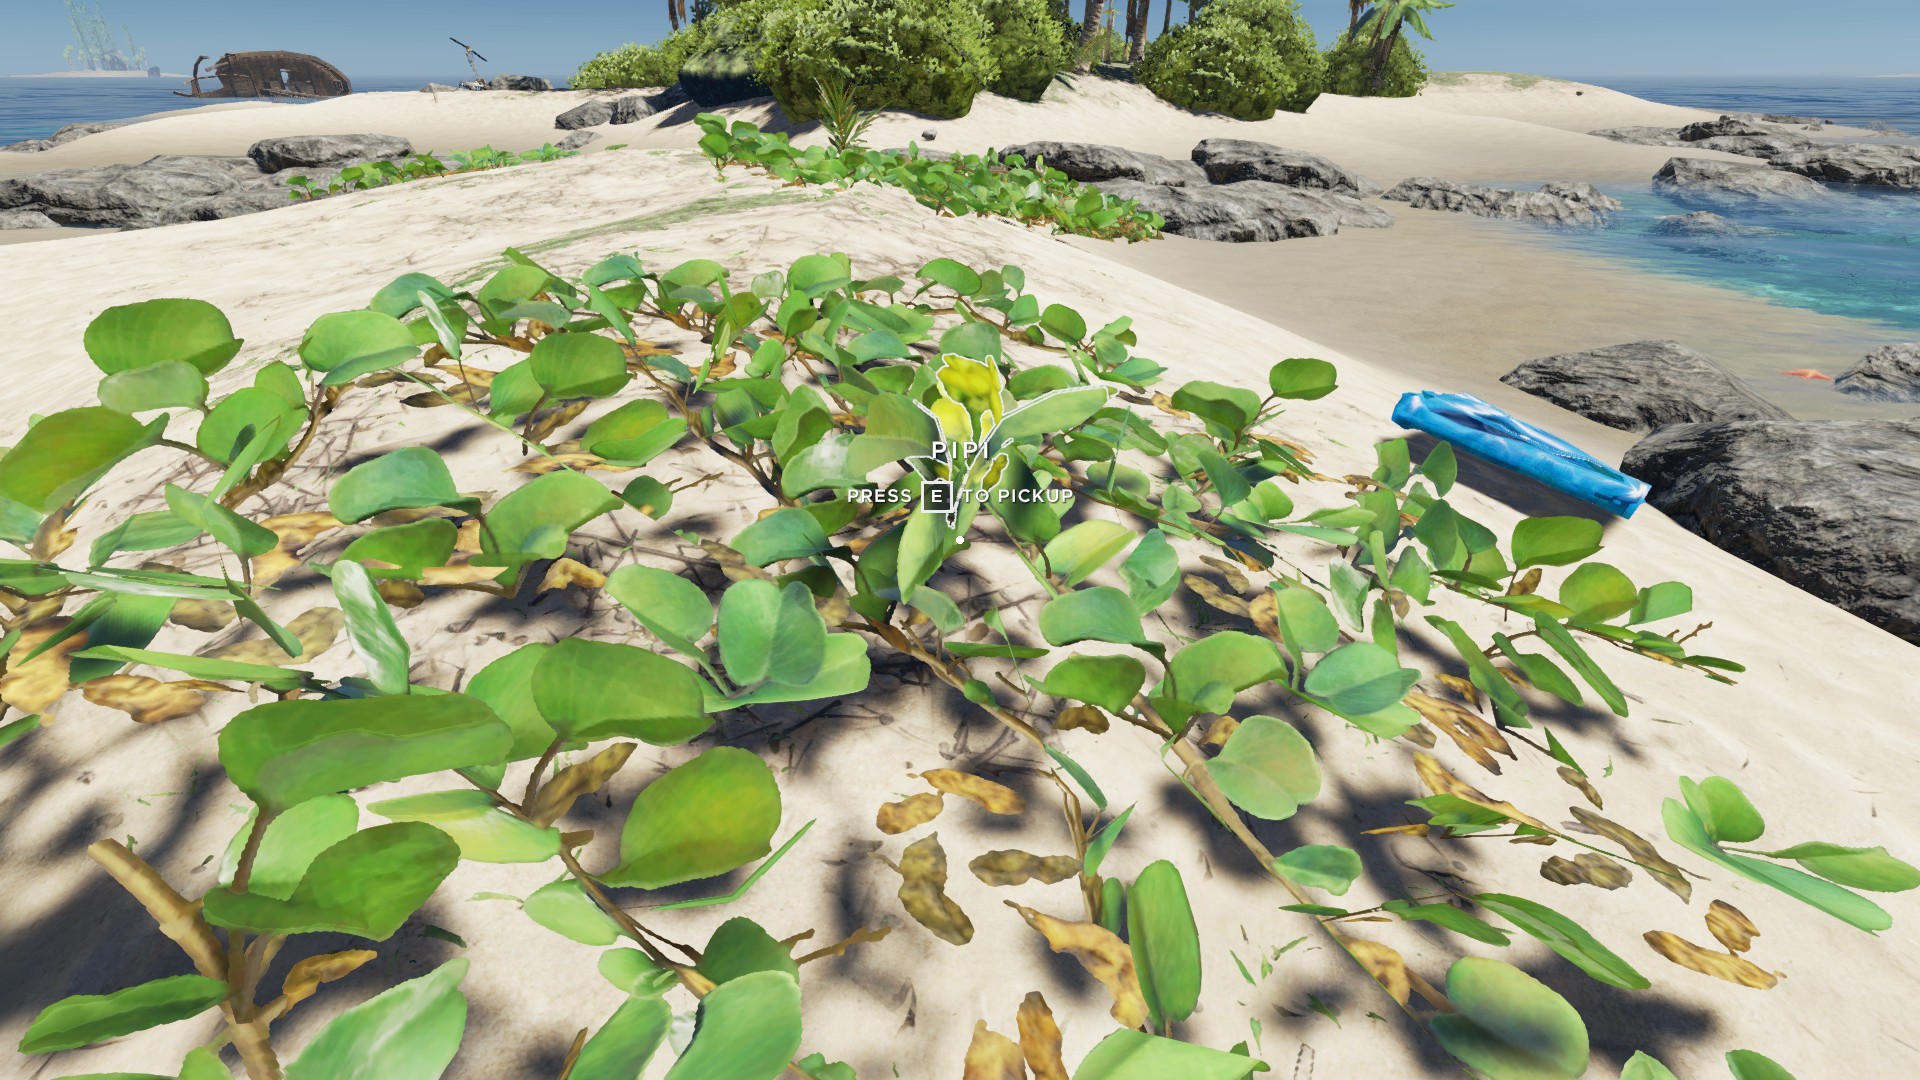
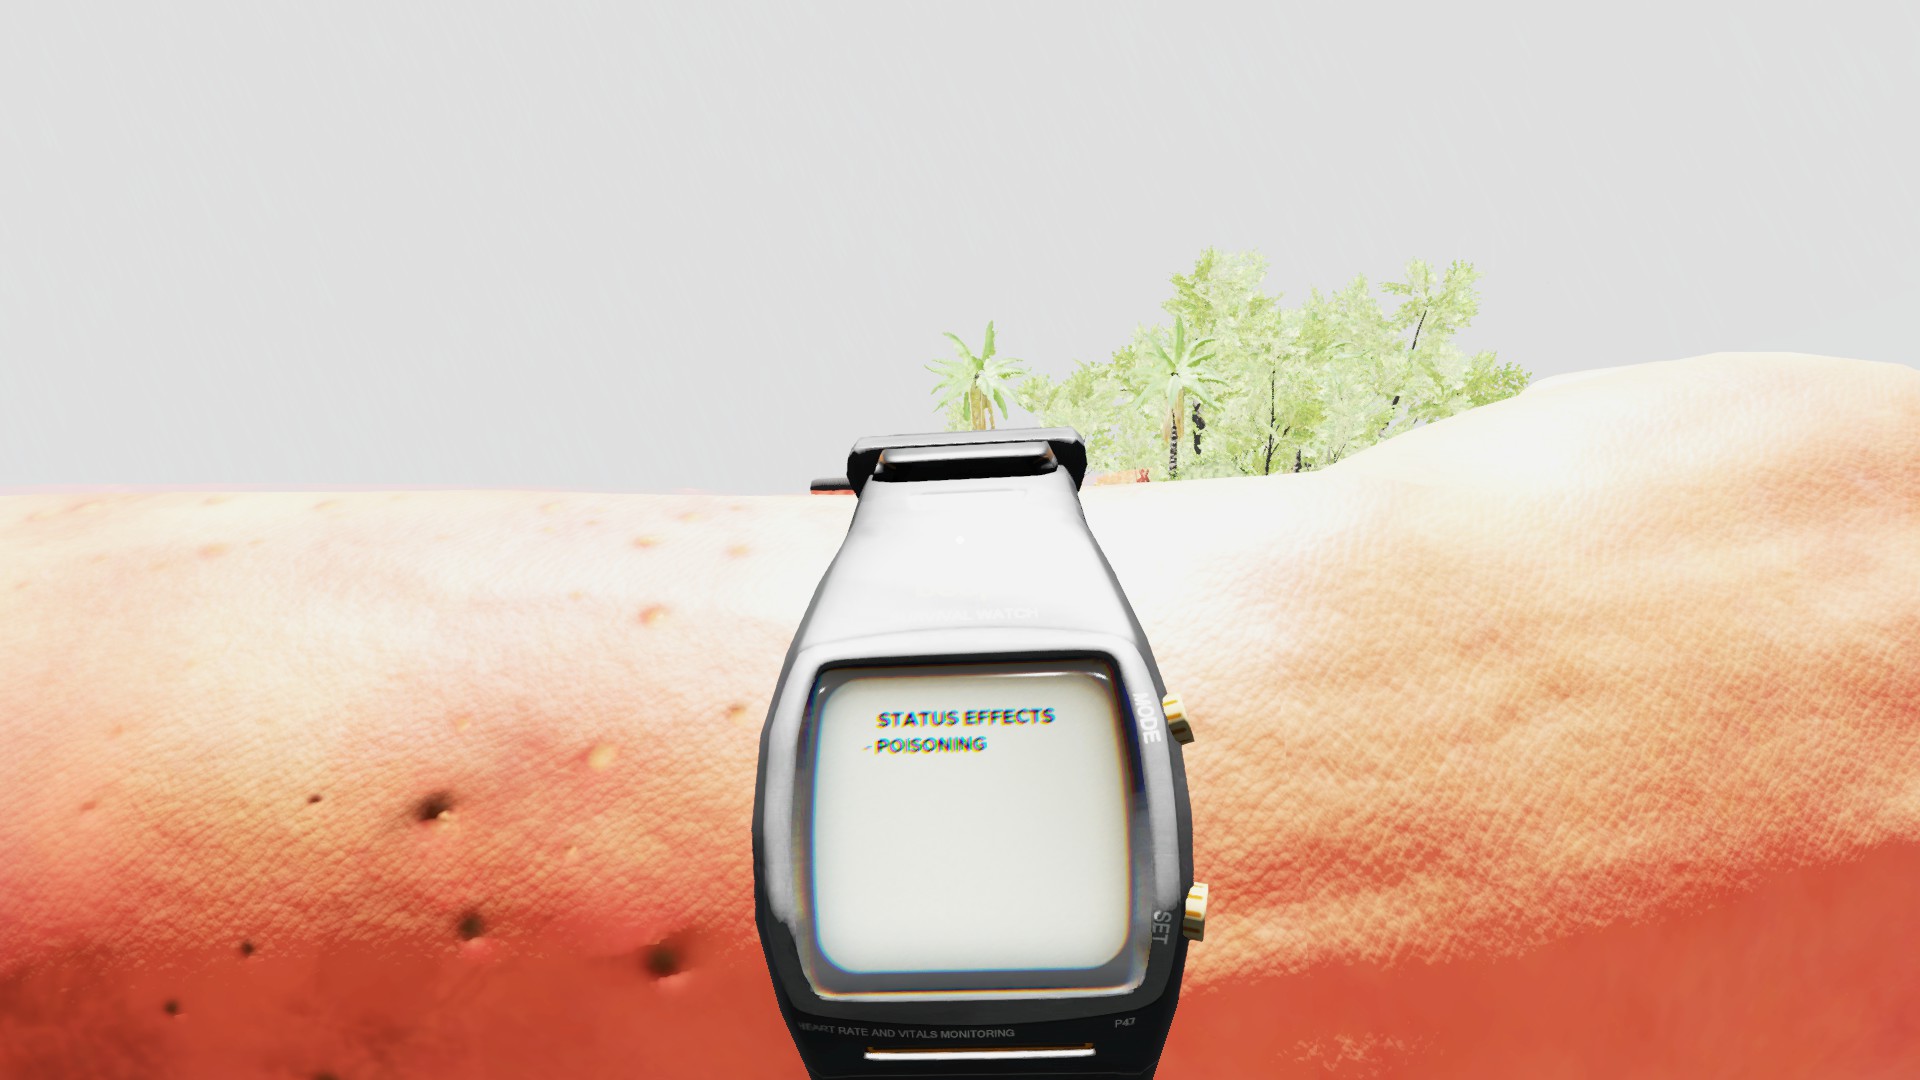
I almost guarantee your first affliction is poisoning. You stepped on or were bitten by something, and now you are in serious trouble. Your health will drop slowly and not recover for the next three days. You have two chances of survival. One is an antidote made from two pipi and a coconut canteen. This will instantly remove the poisoning effect. Without treatment, your only bet is to keep well-fed, fully hydrated and spend as much time in bed as possible. Sleeping will pass time without your health dropping. If you do it right, you will find yourself alive on the third day, ready to recover your lost health points. (might not work since you can only sleep at night now)

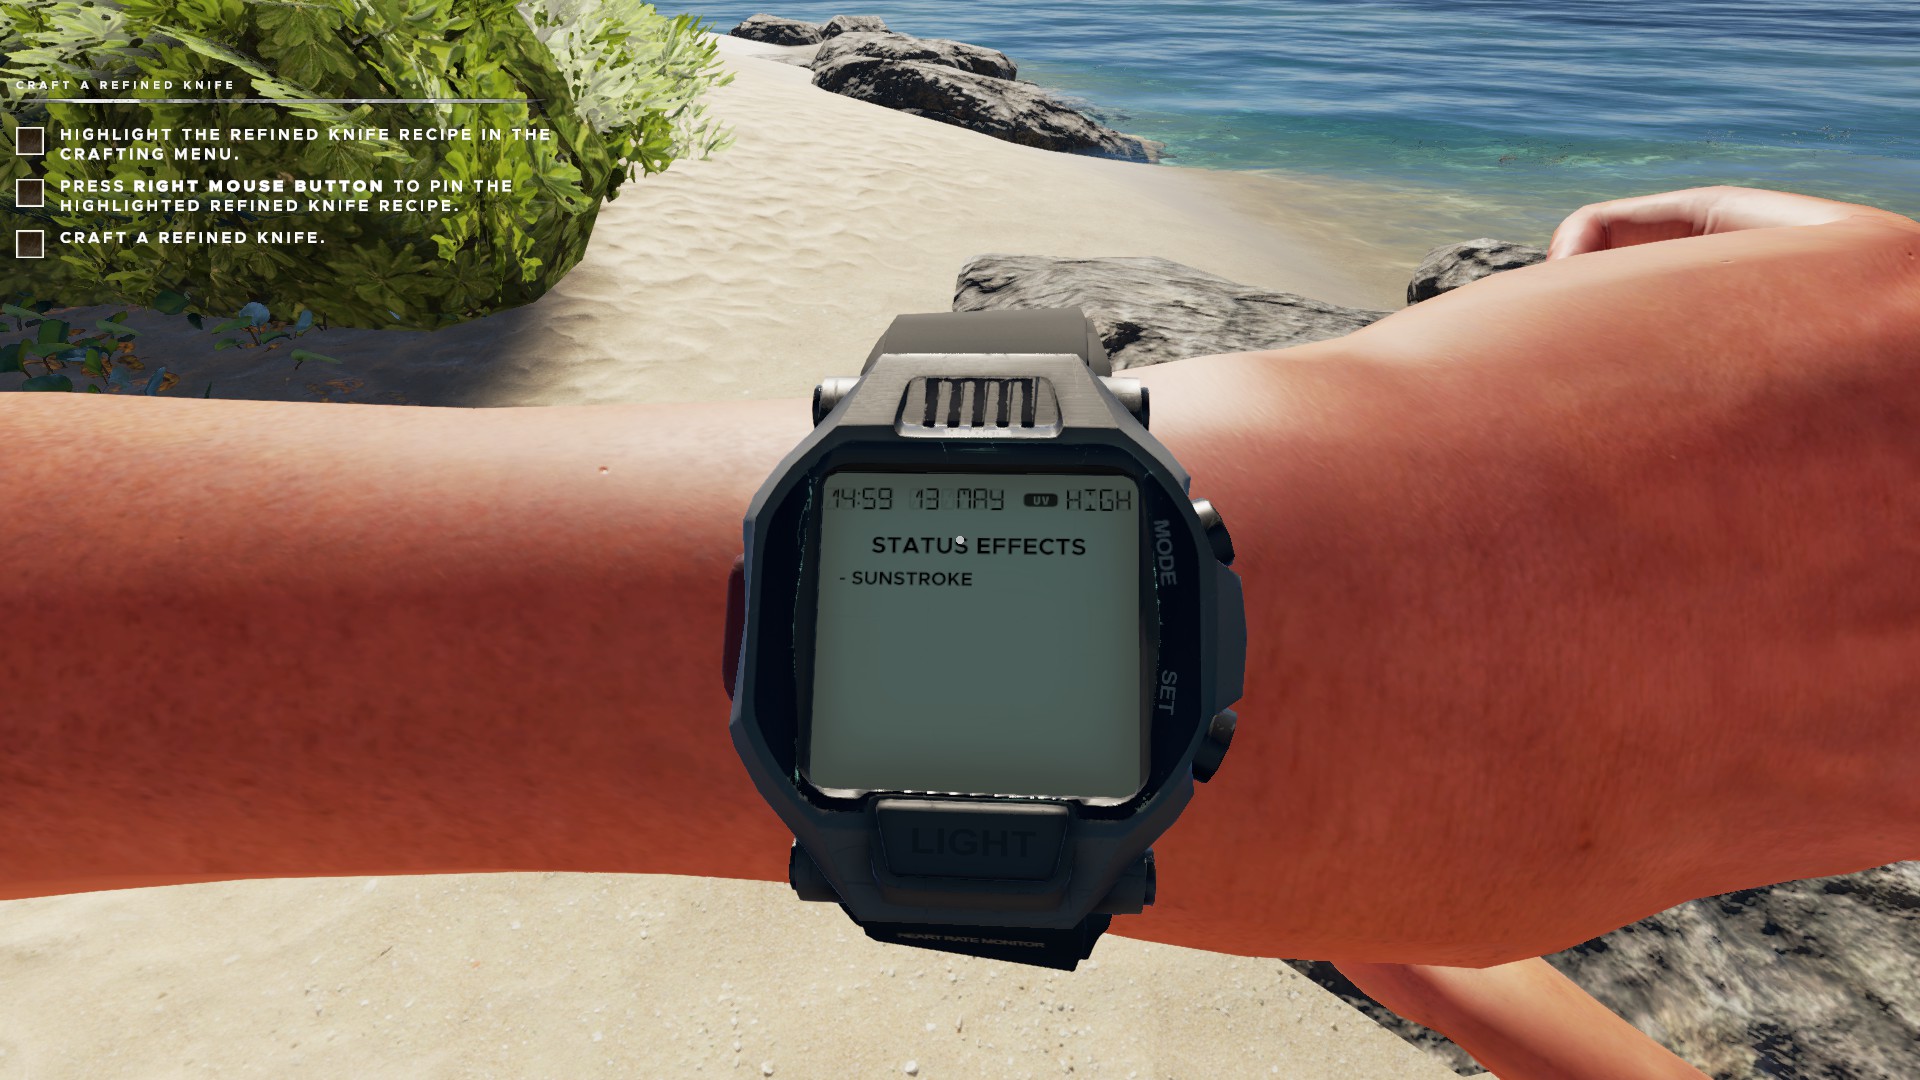
Your second affliction will be sunburn. A bad one. Sunstroke, in fact. This is caused by exposure to high ultraviolet radiation for too extensive a time. Once the SPF bar on your watch reaches zero your hydration will begin to drop rapidly. To cure it you need to get indoors, under water or otherwise in the shade. That implementation seems to still be broken, though. The function seems to be working better than it used to. You can alternatively use one of your few coconuts and an aloe plant to make yourself a sunscreen salve.

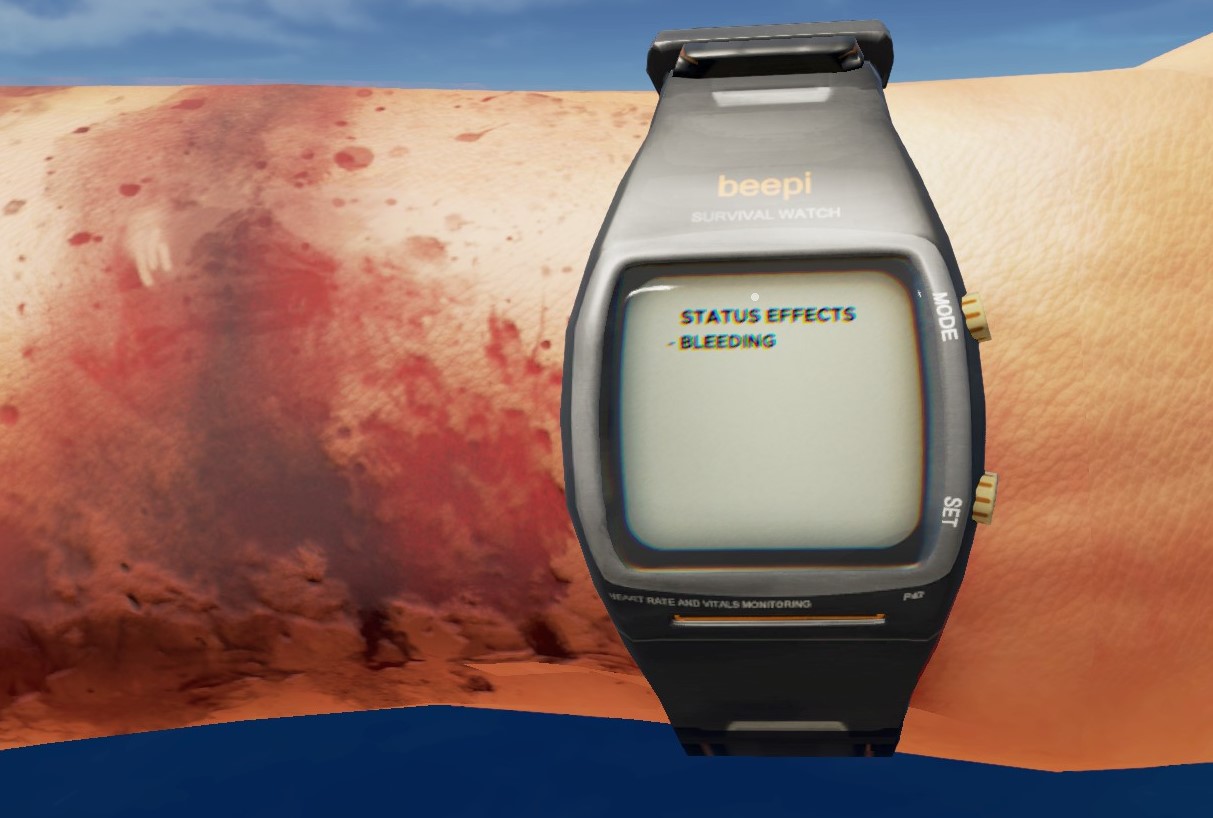
The next most common ailment is bleeding. Being chomped on by a shark or chopped up by a marlin will result in severe bleeding. So long as you don't get hit again, you have plenty of time to find yourself a bandage. Your health will be capped at three bars, and will continue to lower if left untreated. There are two ways to treat your wound. The first is to use a bandage to cover the wound and help clot the blood like a normal person. The second is a magical poition made from quwawa, kura, and a non-renewable coconut flask. As soon as you apply one of these treatments your health block will be lifted, and the bandage probably heals two bars when applied.

Diarrhea is caused by eating too much fruits and coconuts. Drinking too much coconut water will also cause it. Diarrhea will cause a dreadful sound and will very quickly dehydrate you. You need to start drinking water -not coconut water- immediately. Drink water in small amounts until your hydration is back to normal. The diarrhea will pass rather quickly if you stay away from fruits and coconuts for a while.

Vomiting may count as an affliction. If you ate spoiled, rotten or raw food you'll puke it back up, depleting your nutrition and hydration bars while the upchucking is going on. Vomiting can also happen if you ate too much food and/or drank too much stuff in a short period. Just wait it out and slowly rehydrate yourself once it's over.

There is a positive condition called 'healthy.' If your food and water bars are both full or 1 short of being full, and you are suffering from no other afflictions, you are healthy. A healthy survivor will very quickly regain his lost health. If you just finished waiting out poison or recently applied a bandage, keeping your food and water high will put you back in fighting condition in no time.

Starving: You need food. Eat some. There is food everywhere. There is no reason you should ever see this affliction.

Dehydrated: You need water. I warned you to hydrate or die, and it looks like you chose to die.

Drowning: Your watch will beep to let you know that you are about to fall unconscious from not breathing. Quit playing with your watch and get to the surface so you can breathe. Two minutes without oxygen and you're brain dead.

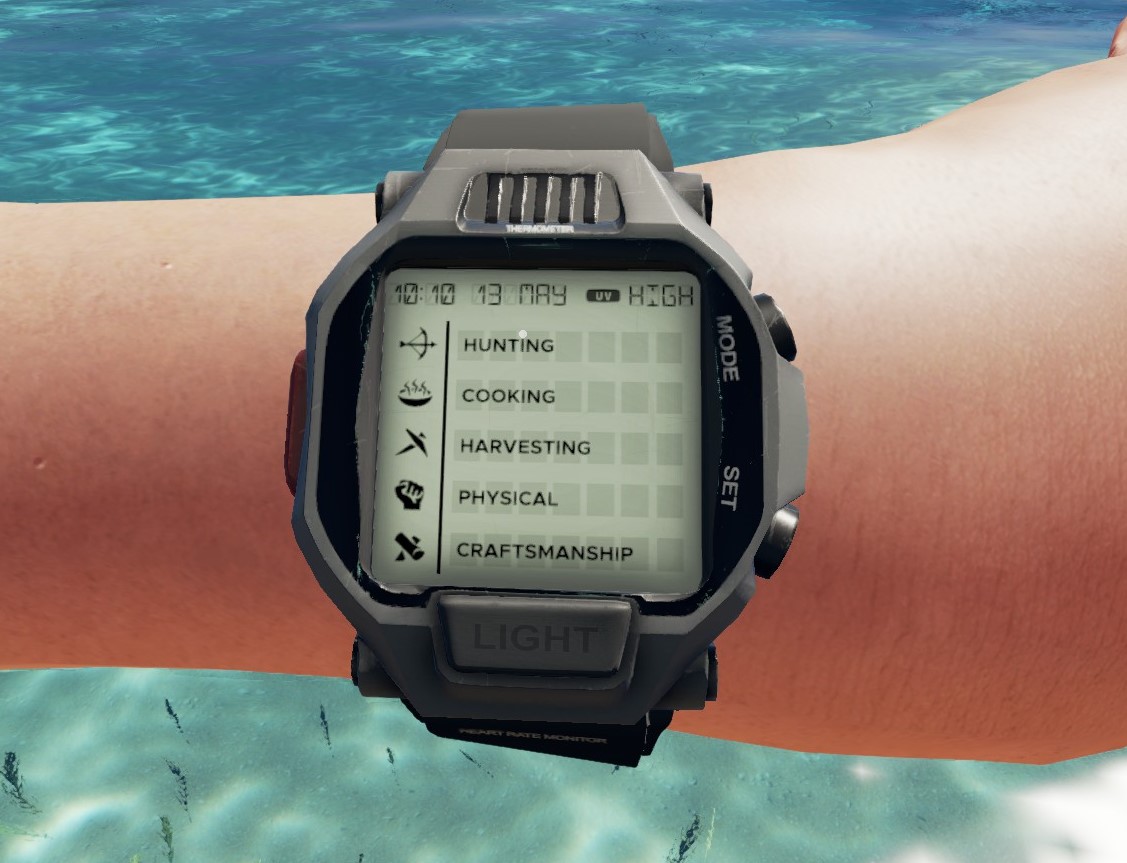
The watch sports an additional function now that lets you know about a new, crippling condition: being a noob:

Though not all the skills seem to be fully functional yet (1.0 version), the crafting skill will keep you from building Club Med on your island until you get some more experience. Following the tutorial and making some tools will get you far enough along to survive for now.
Farming
You have a hoe, a fruit or potato, an empty belly and some hint of self-discipline.

Using two planks or two corrugated metal (found washed on shore and occasionally in wrecks) you can use your hoe to prepare a farming plot. Using chopped wood is an option, but those plots are of considerably lower quality and will retain less water. Place it near your water still. If you don't have a water still, remember your survival priorities: 2 minutes without oxygen, 2 days without water, two weeks without food. Water is more important than food, and if you're planting in a hurry to craft an antidote or gauze potion, you've started too late to save your life.

Once you have your empty farming plot built, equip a potato, kura, kuwawa or pipi and hold 'E' to plant it in your farming plot. Now just be sure to keep it watered using your water carrier; Saint Fiacre will take care of the rest. As a bonus, farms will naturally collect water during a rainstorm. In a few days the plant will be grown and start producing useable products. Press 'E' to collect and enjoy!

Plants that do not receive water will wither and die. You should ideally have more than one water collector and multiple water carriers. If your plants die before producing anything, you have no green thumb and have wasted mother nature's gift. If you made sure they had more than enough water before leaving for a while, you could find the plant dead, but with fruit (or potato) still attached. In this case, collect the fruit; use your hoe to clear the soil. You will have to replant your garden using the fruit you just harvested. It matters not if the produce is spoiled. In fact, spoiled produce is perfect for storing and planting in new areas. You can only eat the fresh stuff.

As stated above, fruits, potatoes and pipis do not respawn. If you ever want to see them again, don't eat them; plant them. Farming plots will continue to produce until they run out of water. They are your best option for a long game.
Fibrous Leaves

Fibrous leaves deserve their own category due to how important they are in almost every aspect of the game. They are essentially your currency in the game, buying you fire, water, medicine, raft parts and tools.
Fibrous leaves can be used (and should be used) in water stills and as fuel for your fires. They are just as effective in making you water as palm fronds, and about half as effective in fires as wood. Fibrous leaves are a renewable resource and should be your primary means for both over your limited resources like sticks and palm fronds. The abundance and limited utility of palm fronds may convince you otherwise, though.
Yuccas produce 6 fibrous leaves each. Small palm trees are only one each. Both respawn after about 48* hours. If you feel you need more, you can cultivate yuccas by planting yucca cuttings (or fruit) in your farm plots. Yucca cuttings (fruit) spawn 1 per plant and do not respawn, so cultivated yuccas are finite but grow infinitely when cared for.
Sharks
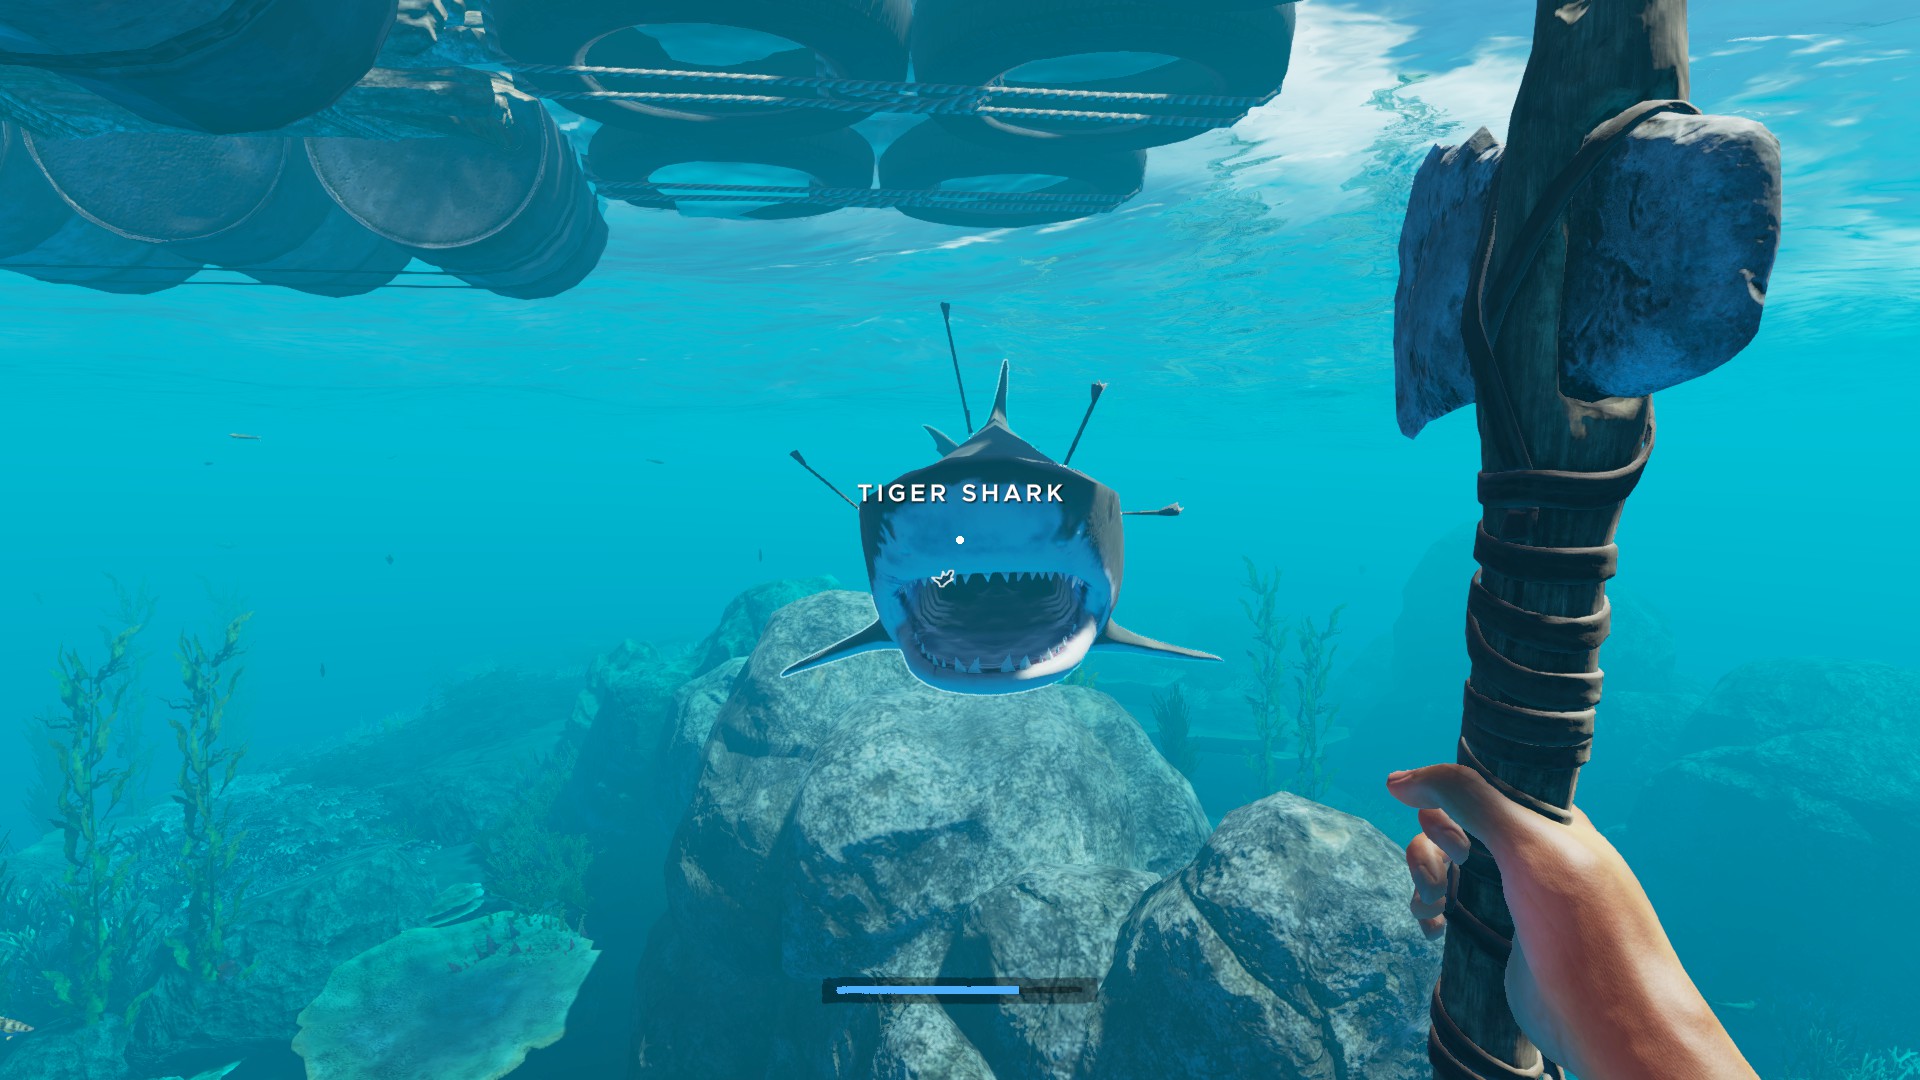
Old: Tiger sharks will appear just about every time you dip your toes in the water. You should never get wet unarmed. You'll likely need nine or more spears or arrows to kill one. A hatchet can also deal a healthy amount of damage. Keep him in your sights to reduce the chance of him charging you and causing massive bleeding wounds. Sharks are known to try and tip your raft over. Only the smallest of rafts seem to be in danger of capsizing.
Newer info: The respawn rate of sharks has been dramatically reduced by recent updates and only appear almost every single time you touch the ocean. (You can still bag two or three a day around a single island, though.) Look about wildly whenever you go diving to reduce your odds of being taken by surprise. Have the game's sound and music on- you'll hear the shark song come on shortly after a shark enters the area.
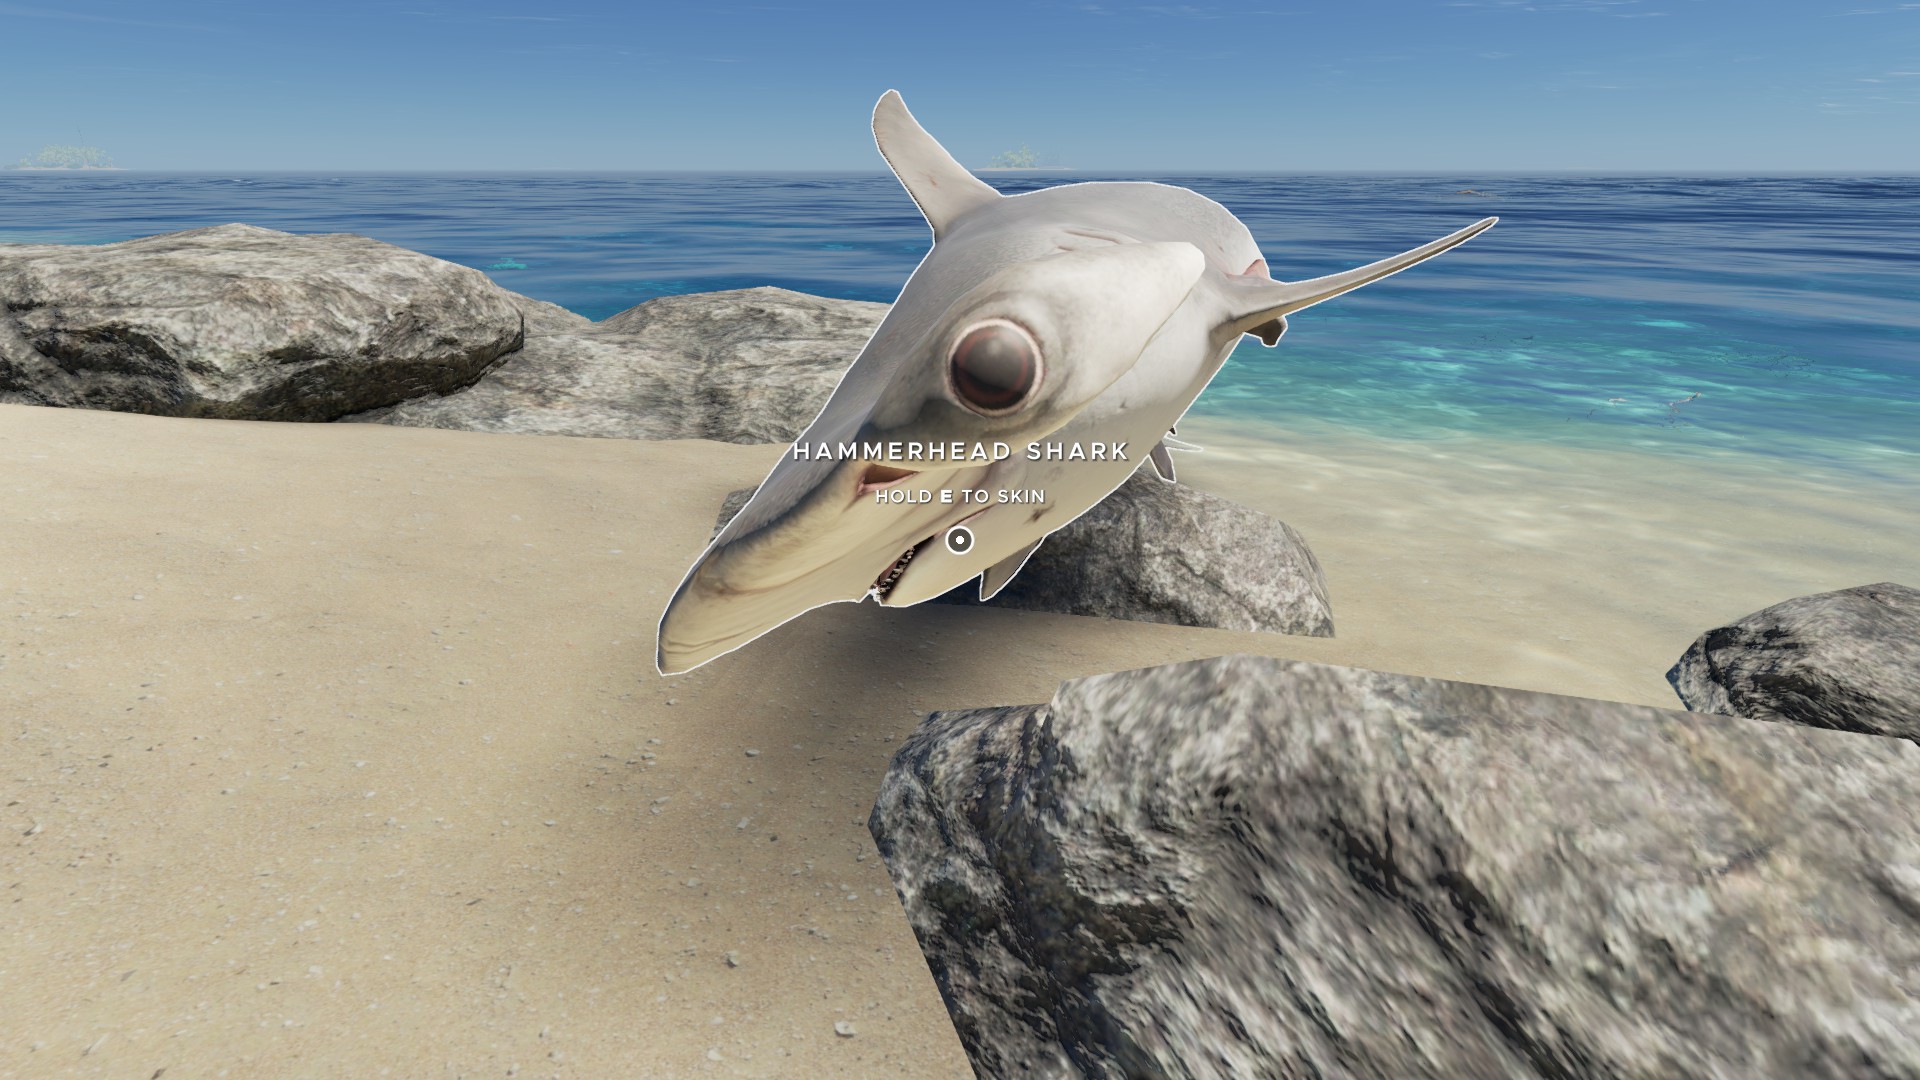
Hammerhead sharks are sharks that have heads shaped like hammers. They will spawn frequently around islands, much like tiger sharks. Hammerheads seem to deal slightly lower damage than tigers. This appears to be the tradeoff for their higher durability: 10 simple spears will be needed to put them down. It appears that all sharks except for the great white have the same health and likely damage as well.
Bagged my first great white recently. (Many more since) It went down rather easily for me, either because they have lower health or factors of new game mechanics (like damage per speargun shot or damage multiplier from hunting level). Since great whites only spawn in very deep open ocean waters you might miss them completely if you sail straight to another island. I had to search for one intentionally to actually encounter it. They also seem to swim quite a bit slower than tiger sharks. Once slain they will begin to slowly sink- which is a problem since great whites only appear above the abyss. Harvesting all four meats and skins will be a labor as you have to drag it back to the surface every couple seconds. Great whites have more health and more resources than other sharks.
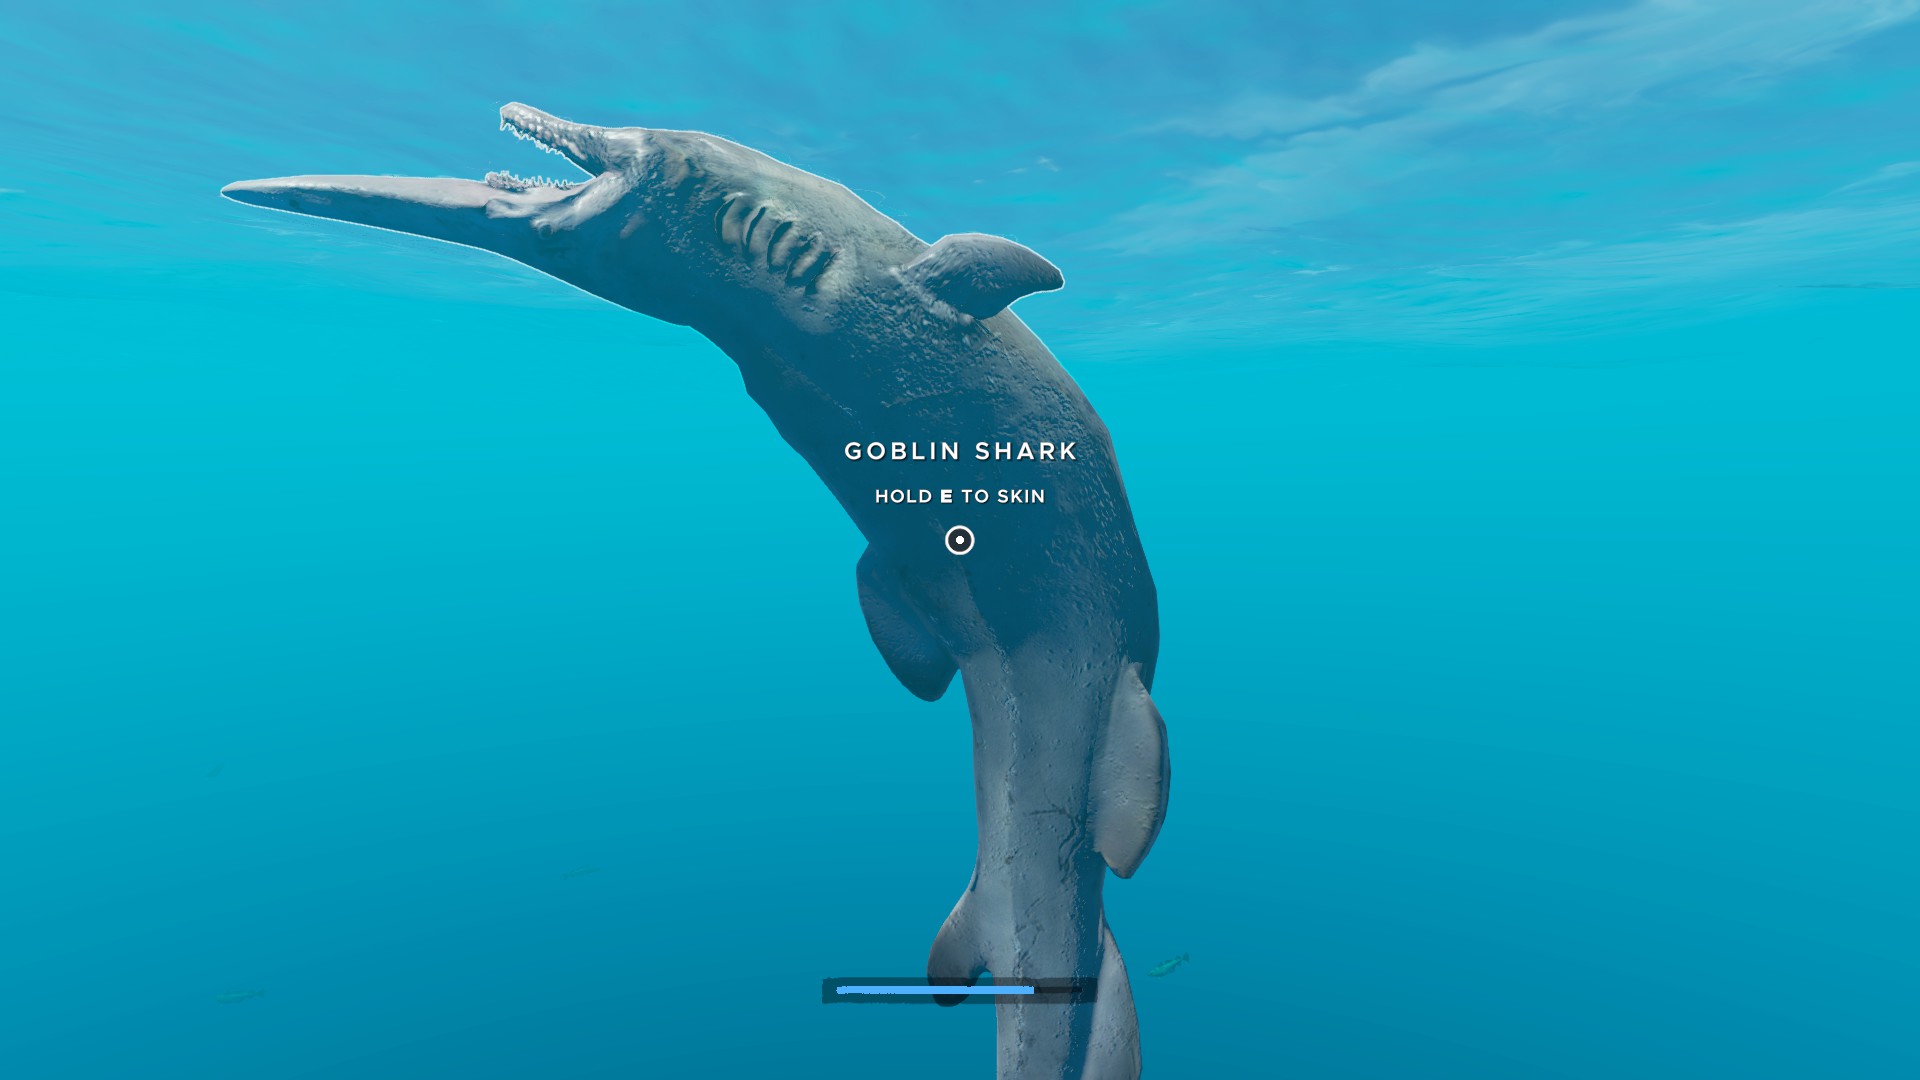
The goblin shark is a stupid shark that swims stupidly and stupidly swims. It deals massive damage while spazzing about the ocean deep. Thankfully it is not at all durable and stops moving after a few shots. It looks like a carcass before and after death. Same loot as tiger sharks.
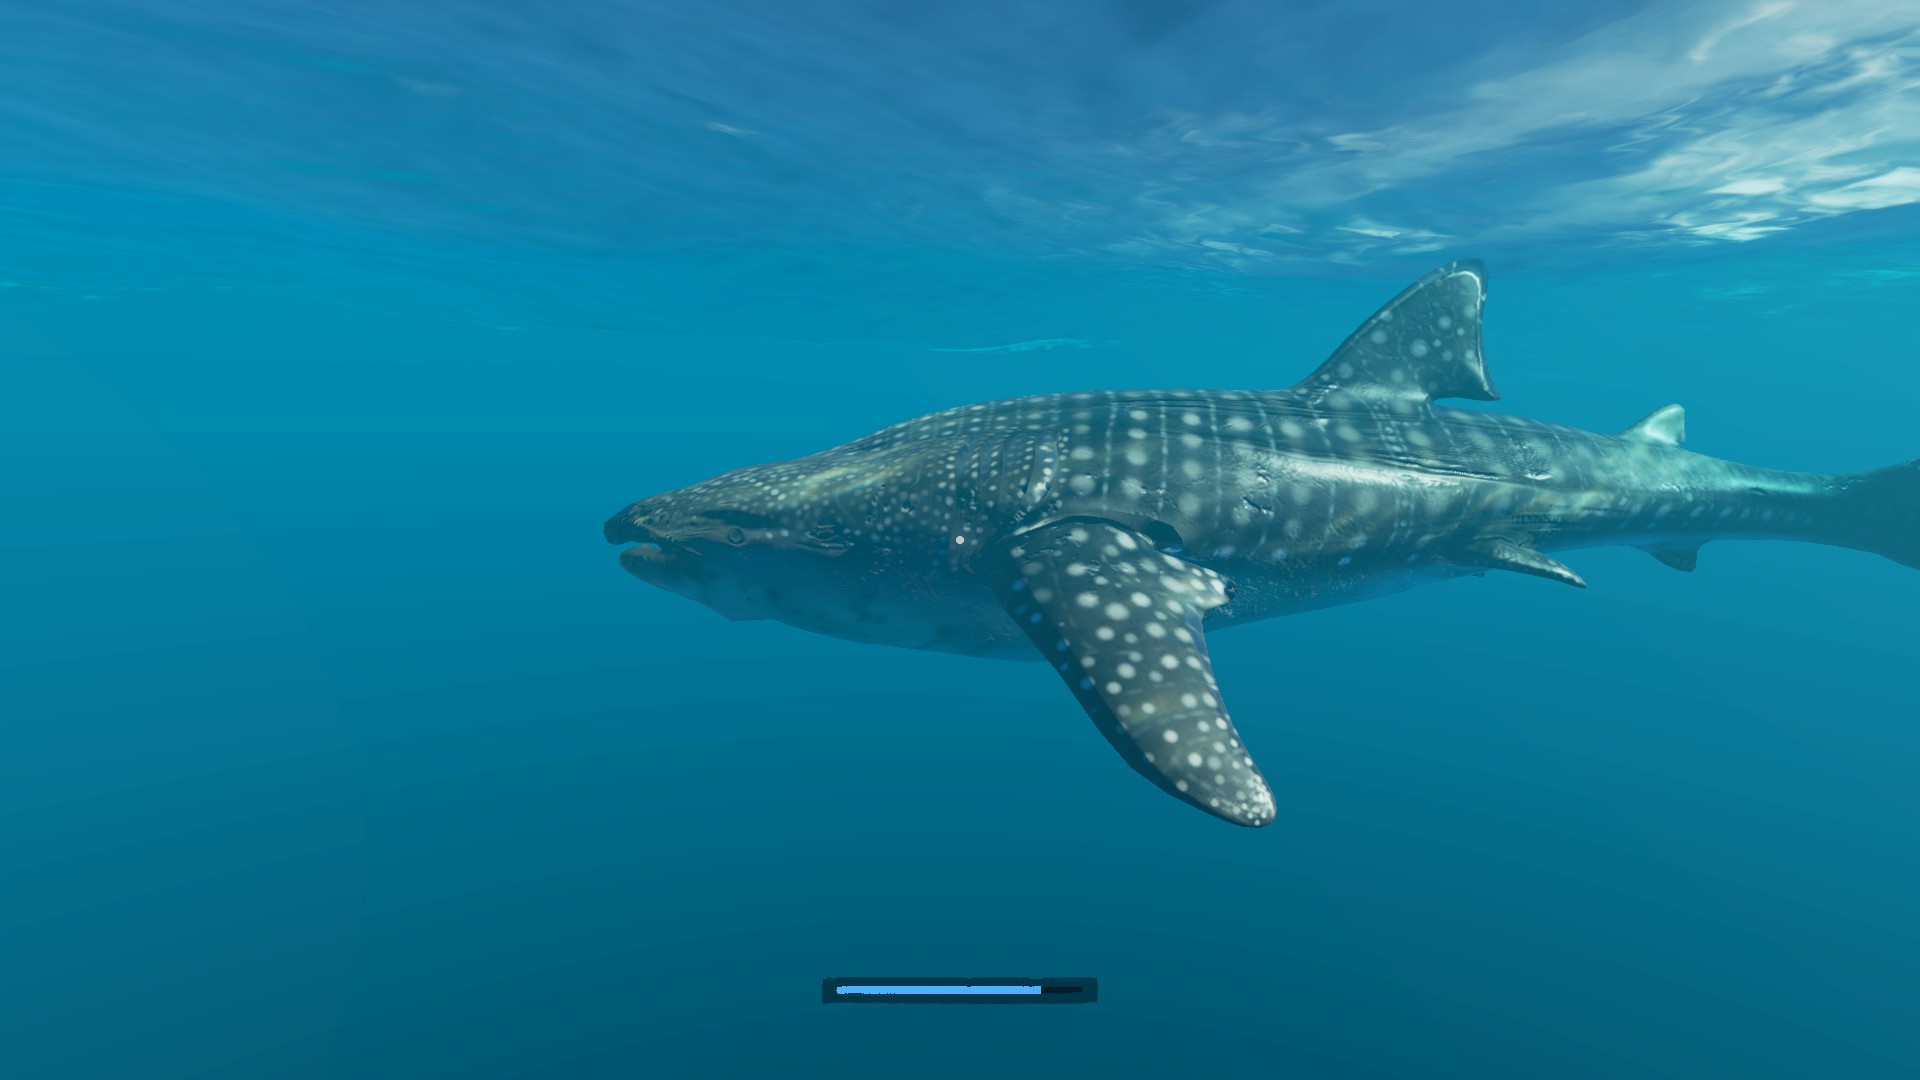
Whale sharks are not aggressive at all. They will swim about, swim away when attacked and swim back after a short while. Killing them yields the same meat and hides as a tiger shark.
Sorry for any bad info I put out here. Bear with me as I adjust to all these new game features. More to follow...
Multiplayer
Go to the forums for Stranded Deep.
Go to the search bar.
Type in 'multiplayer.'
Read the 756 entries asking about multiplayer.
Do not start a new topic, do not necropost to old topics and do not ask any questions regarding multiplayer here.
34 Comments
Mr. Thiccums Oct 5, 2023 @ 3:17am 
I would like to update the part about only drinking one coconut at a time. You can safely drink two coconuts without getting diarrhea. However this includes consuming coconuts in any way, either drinking the milk or eating the husks. Consume more than 2 coconuts at a time and you'll sh*t yourself to death.
Rooster Aug 20, 2022 @ 8:19pm 
Love it! Finally some legit information. Please do not forget that the cartographer map reads at a 45 degree angle to what, I believe, it should be. Notice on the Cartographer map which way that North Arrow points???? We expect it to point dead north. True North in this game is Northeast. We have to expand all of our imaginary lines from that to get a feel of which way we need to go to reach the surrounding islands, or making our way to the one of three boss fights.
Danaeri the Sweeper Apr 12, 2022 @ 7:28am 
Broken bones ARE in the game, but you need to fall REALLY far to get them. Try one of the tall masts in a wreck, trees usually aren't tall enough.
Manicflippy Jun 15, 2021 @ 2:34pm 
Good Guide, Thanks!!!
Mavrah  [author] Feb 25, 2021 @ 11:13am 
Hey Alice.
Never had a broken bone. I even jumped out of a tree to try and get one. I'm not sure it's even in the current game builds.
If you do get one I'm pretty sure you just have to craft a splint and wait for it to heal. There's another guide that has older game data in it.
Alice Feb 25, 2021 @ 8:52am 
Hey! What about broken bones?
RWIK Jan 31, 2021 @ 11:15am 
I have question that , do i have to make the first island as my main base or i have to make a base every time i go to a new island ?
Caboose2Tex Jan 8, 2021 @ 10:27am 
This guide tickled me as well as being informative. Thanks! Also, Firefly reference, nice :steamthumbsup:
Rocon Jan 1, 2021 @ 7:59am 
Great Guide.
Mavrah  [author] Dec 25, 2020 @ 8:18pm 
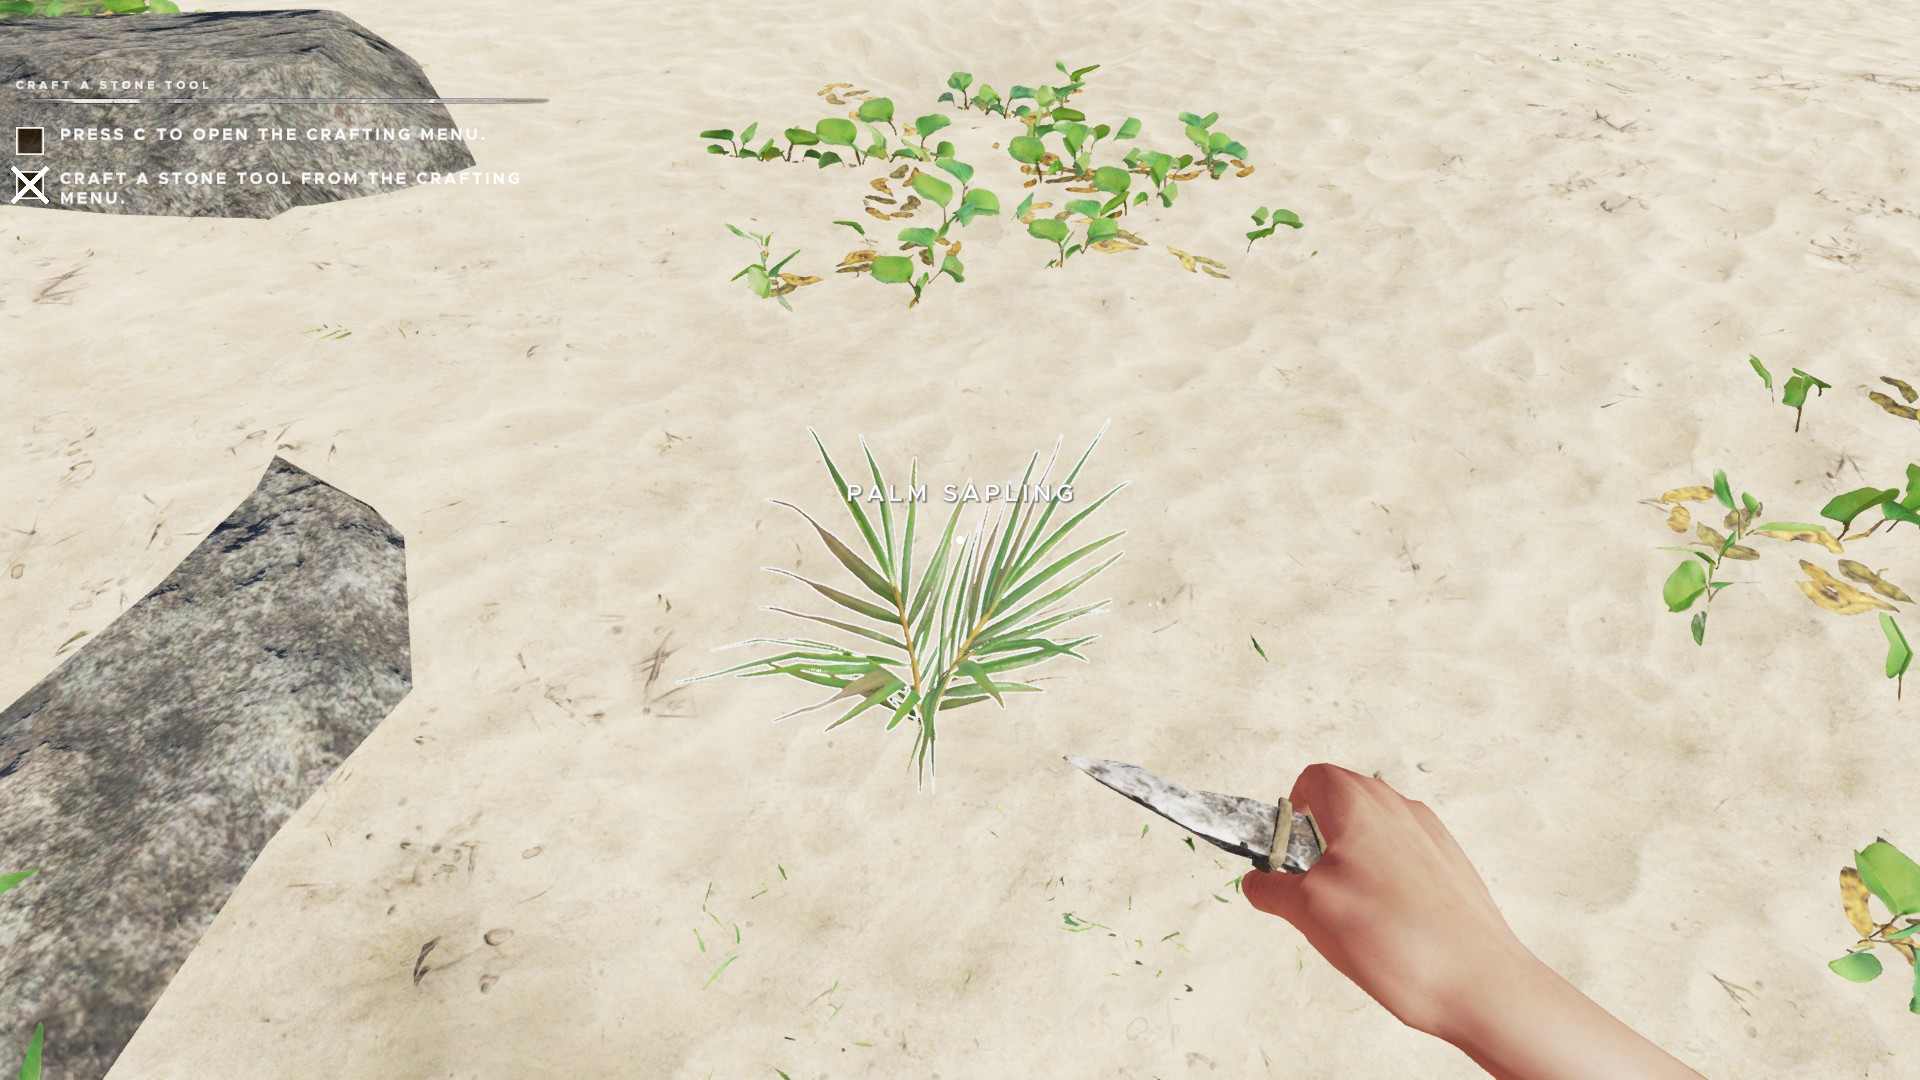
The C key should be the default for opening the crafting menu. The other categories will be listed at the top. Click on those to cycle through.