
Install Steam
login
|
language
简体中文 (Simplified Chinese)
繁體中文 (Traditional Chinese)
日本語 (Japanese)
한국어 (Korean)
ไทย (Thai)
Български (Bulgarian)
Čeština (Czech)
Dansk (Danish)
Deutsch (German)
Español - España (Spanish - Spain)
Español - Latinoamérica (Spanish - Latin America)
Ελληνικά (Greek)
Français (French)
Italiano (Italian)
Bahasa Indonesia (Indonesian)
Magyar (Hungarian)
Nederlands (Dutch)
Norsk (Norwegian)
Polski (Polish)
Português (Portuguese - Portugal)
Português - Brasil (Portuguese - Brazil)
Română (Romanian)
Русский (Russian)
Suomi (Finnish)
Svenska (Swedish)
Türkçe (Turkish)
Tiếng Việt (Vietnamese)
Українська (Ukrainian)
Report a translation problem


You're right, after posting I thought "hang on, didn't they kinda already say the same thing?" - I think it's more the 'ah ha' moment for me was that my mistake was trying to stand between the current shot and where I expected the next shot to be (i.e. trying to guess exactly where the next shot was)... which sometimes caught me out.
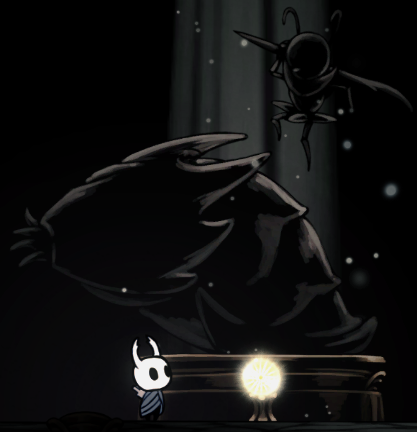
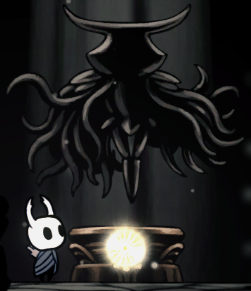
And my apologies, the distinction of the center-bottom platform was only if I saw searing suns (i.e. I'd head there to dodge) - the rest of the time I found staying 1 platform away from ol Radiance to give me the best legroom for evading. Was that your experience too, out of interest?
Oh yes, and just to clarify: the intention wasn't that you should update your formidable guide. It was more if you were just shy of 100%'ing Radiance, that I felt it remiss of me not to share what tips I learned for it, on the off chance it'd help.
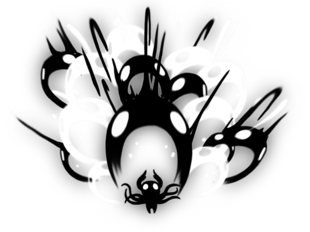
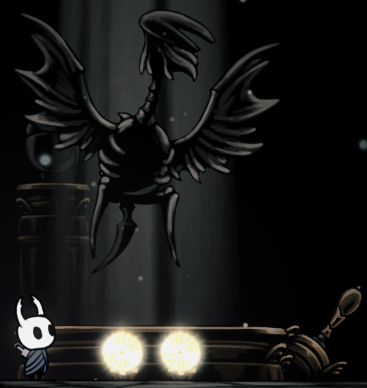
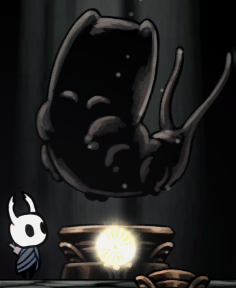
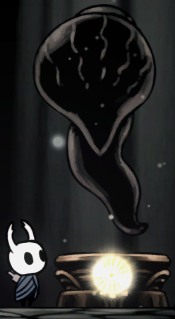
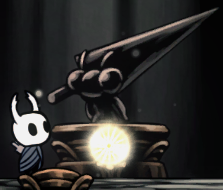
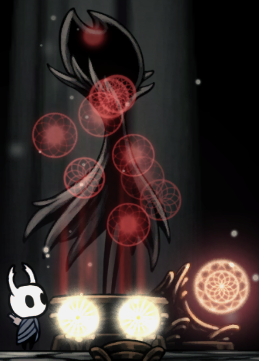
I've tried the center-bottom platform. It DOES work, but it leaves me at a heavy disadvantage avoiding other attacks. Especially anything that sends needles going toward me. Also, I did note that the Light of a New Age fires generally in the gaps between shots, which means that it rarely hits the same place twice. I suppose I could make it more explicit how to dodge.
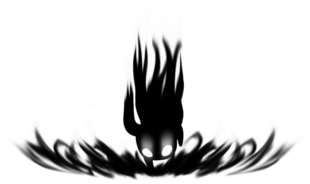
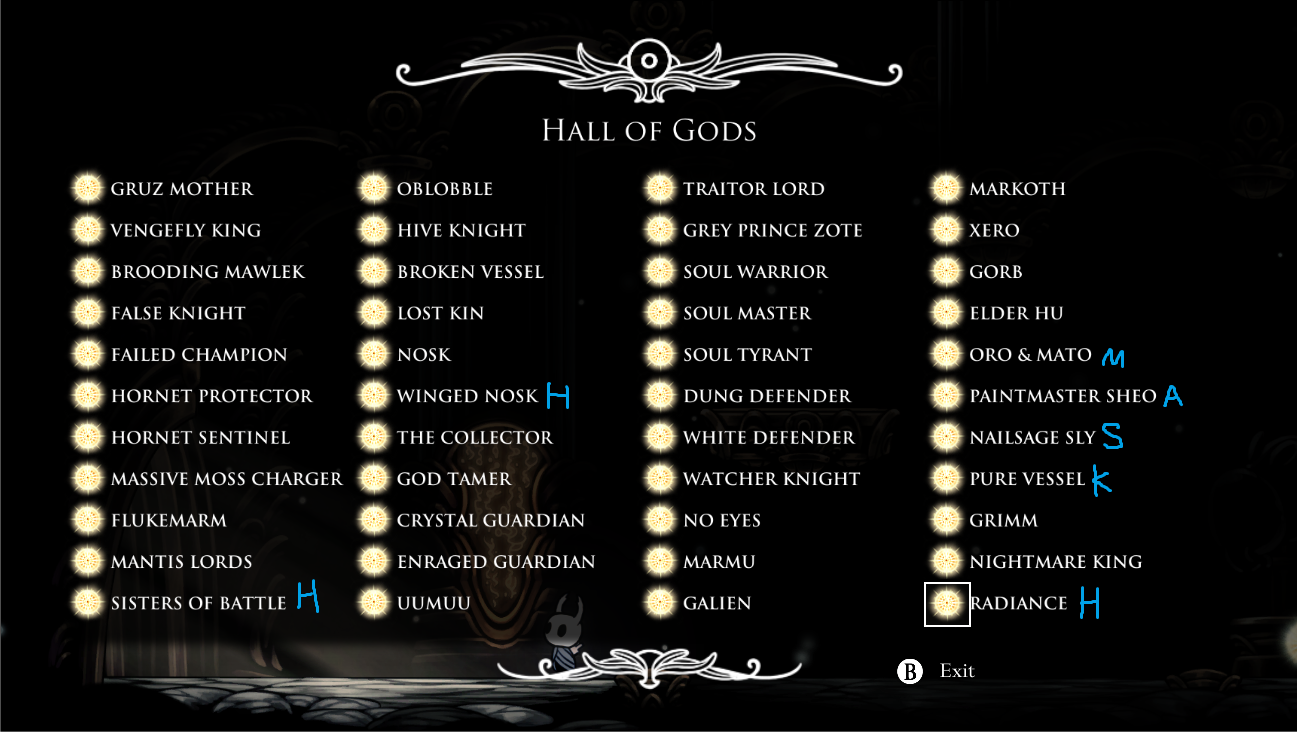
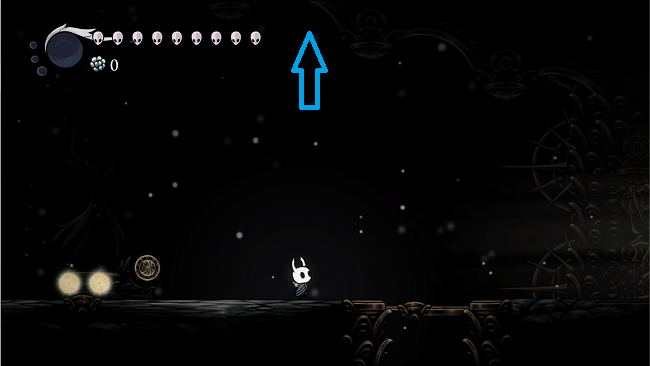
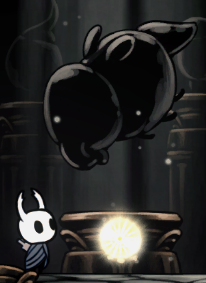
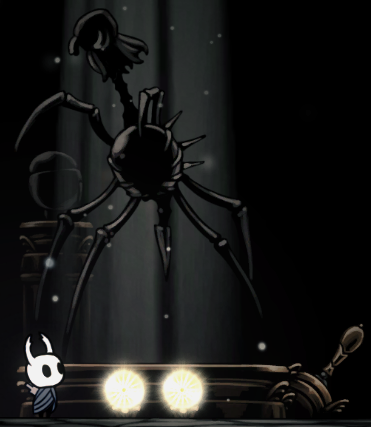
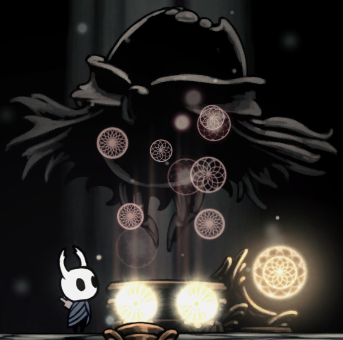
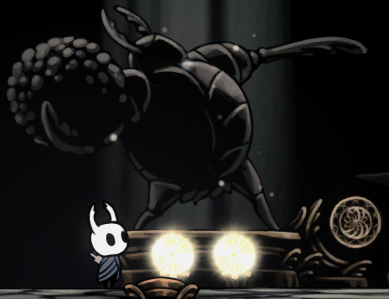
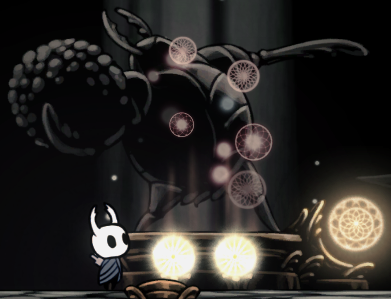
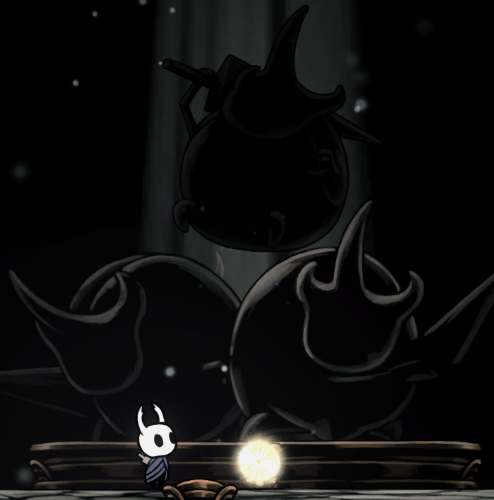
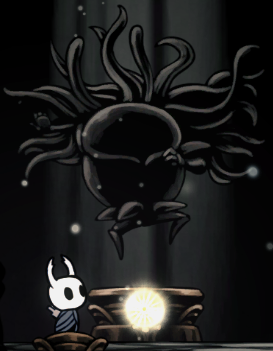
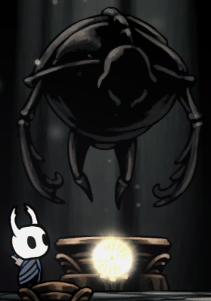
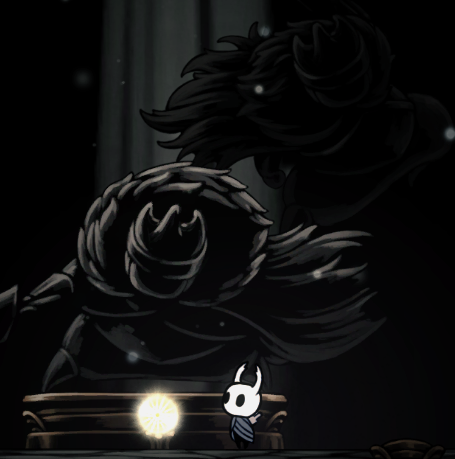
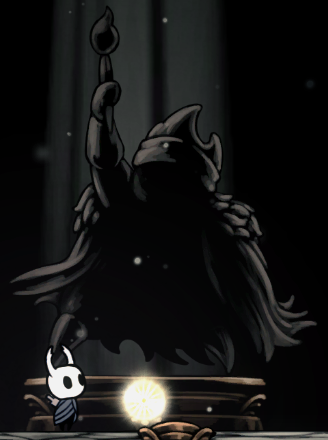
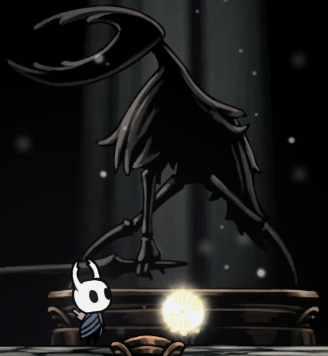
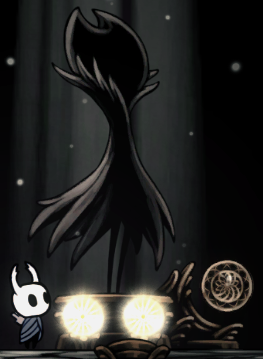
Now I've only done everything on Ascended (I'm impressed you had the drive to go for Radiance!) but I did pick up two tricks for Absolute Radiance that I thought to share... particularly given how much you hate Searing Suns in Phase 4 (the platformy bit). I found the best place to evade them was was often the centre-lowest platform, as it tended to mean the suns came in at a high angle from above, so were easier to dodge.
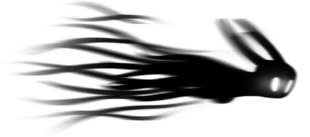
I also found dodging Light of New Age hit-and-miss... but the most reliable move was actually moving to where the previous beam was just shot - That's the one place you can guarantee the next shot won't be!
Well done again on this guide! Great reading
⠀⠀⠀⠀⠀⠀⠈⣿⣷⡀⠀⠀⠀⠀
⠀⠀⠀⠀⠀⠀⢸⣿⣿⣷⣧⠀⠀⠀
⠀⠀⠀⠀⡀⢠⣿⡟⣿⣿⣿⡇⠀⠀
⠀⠀⠀⠀⣳⣼⣿⡏⢸⣿⣿⣿⢀⠀
⠀⠀⠀⣰⣿⣿⡿⠁⢸⣿⣿⡟⣼⡆
⢰⢀⣾⣿⣿⠟⠀⠀⣾⢿⣿⣿⣿⣿
⢸⣿⣿⣿⡏⠀⠀⠀⠃⠸⣿⣿⣿⡿
⢳⣿⣿⣿⠀⠀⠀⠀⠀⠀⢹⣿⡿⡁
⠀⠹⣿⣿⡄⠀⠀⠀⠀⠀⢠⣿⡞⠁
⠀⠀⠈⠛⢿⣄⠀⠀⠀⣠⠞⠋⠀⠀
⠀⠀⠀⠀⠀⠀⠉⠀⠀⠀⠀⠀⠀⠀
⠀⠀⠀⠀⠀⠀⠈⣿⣷⡀⠀⠀⠀⠀
⠀⠀⠀⠀⠀⠀⢸⣿⣿⣷⣧⠀⠀⠀
⠀⠀⠀⠀⡀⢠⣿⡟⣿⣿⣿⡇⠀⠀
⠀⠀⠀⠀⣳⣼⣿⡏⢸⣿⣿⣿⢀⠀
⠀⠀⠀⣰⣿⣿⡿⠁⢸⣿⣿⡟⣼⡆
⢰⢀⣾⣿⣿⠟⠀⠀⣾⢿⣿⣿⣿⣿
⢸⣿⣿⣿⡏⠀⠀⠀⠃⠸⣿⣿⣿⡿
⢳⣿⣿⣿⠀⠀⠀⠀⠀⠀⢹⣿⡿⡁
⠀⠹⣿⣿⡄⠀⠀⠀⠀⠀⢠⣿⡞⠁
⠀⠀⠈⠛⢿⣄⠀⠀⠀⣠⠞⠋⠀⠀
⠀⠀⠀⠀⠀⠀⠉⠀⠀⠀⠀⠀⠀⠀
I'll try that one out too. It might save someone's butt.
@terrorarian
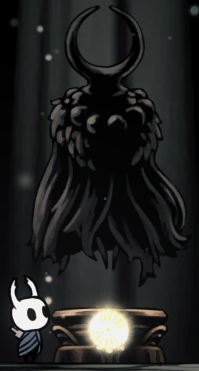
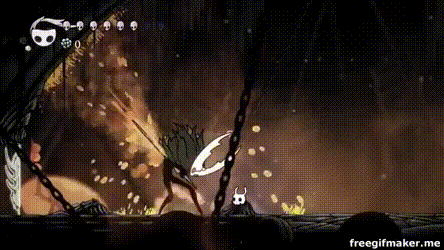
I swear that the attack data has changed a bit. I remember the tendrils lasting for like a YEAR. Maybe I'm remembering wrong...
Youtube Link ref.