

Install Steam
login
|
language
简体中文 (Simplified Chinese)
繁體中文 (Traditional Chinese)
日本語 (Japanese)
한국어 (Korean)
ไทย (Thai)
Български (Bulgarian)
Čeština (Czech)
Dansk (Danish)
Deutsch (German)
Español - España (Spanish - Spain)
Español - Latinoamérica (Spanish - Latin America)
Ελληνικά (Greek)
Français (French)
Italiano (Italian)
Bahasa Indonesia (Indonesian)
Magyar (Hungarian)
Nederlands (Dutch)
Norsk (Norwegian)
Polski (Polish)
Português (Portuguese - Portugal)
Português - Brasil (Portuguese - Brazil)
Română (Romanian)
Русский (Russian)
Suomi (Finnish)
Svenska (Swedish)
Türkçe (Turkish)
Tiếng Việt (Vietnamese)
Українська (Ukrainian)
Report a translation problem


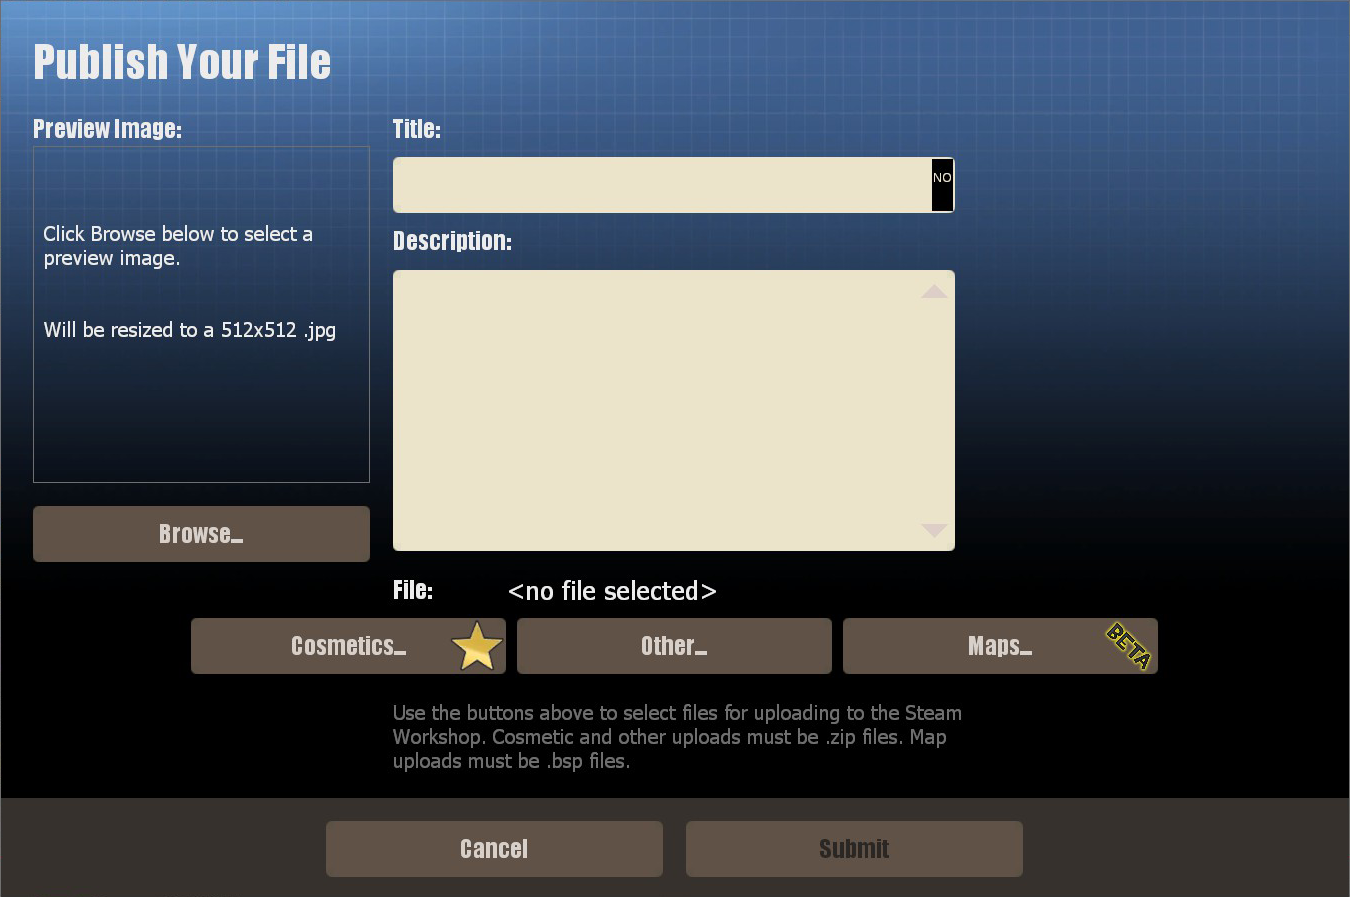


in the readme, specify what skin u used to preview it in game so that the guys over at valve know how to put it in n stuff
a txt's fine prolly, but u can do a markdown if ur feeling adventurous, just anything that gets the point over
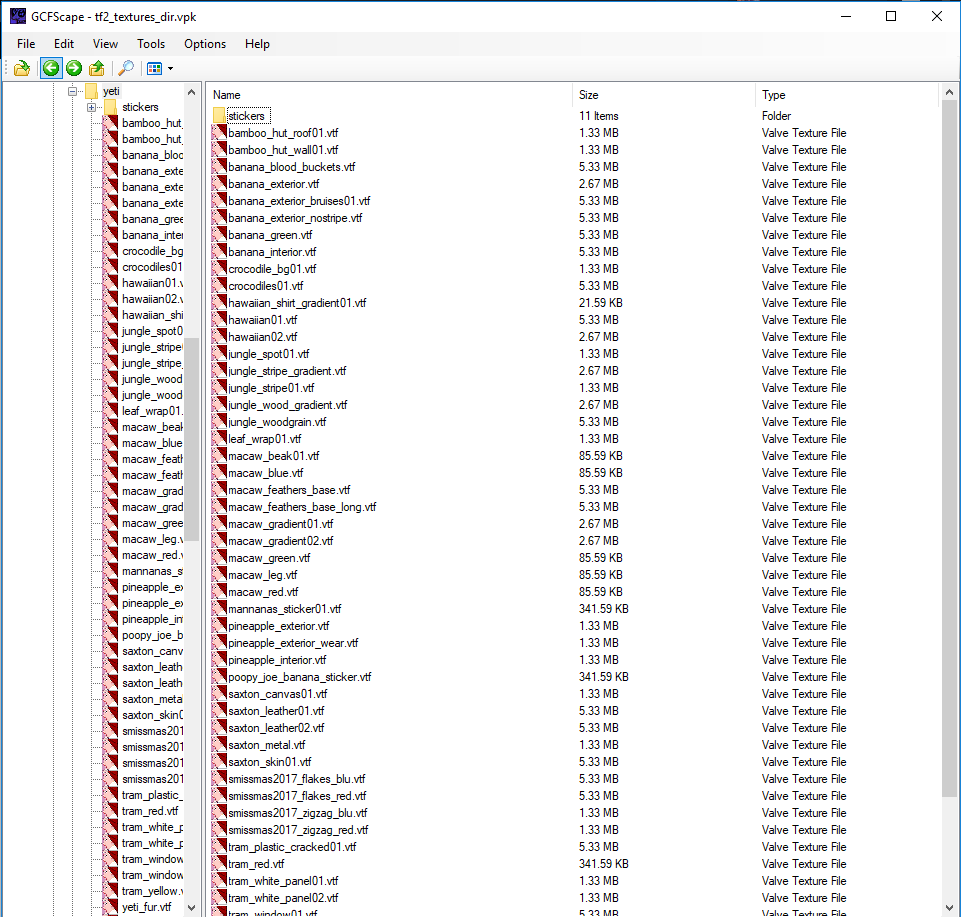
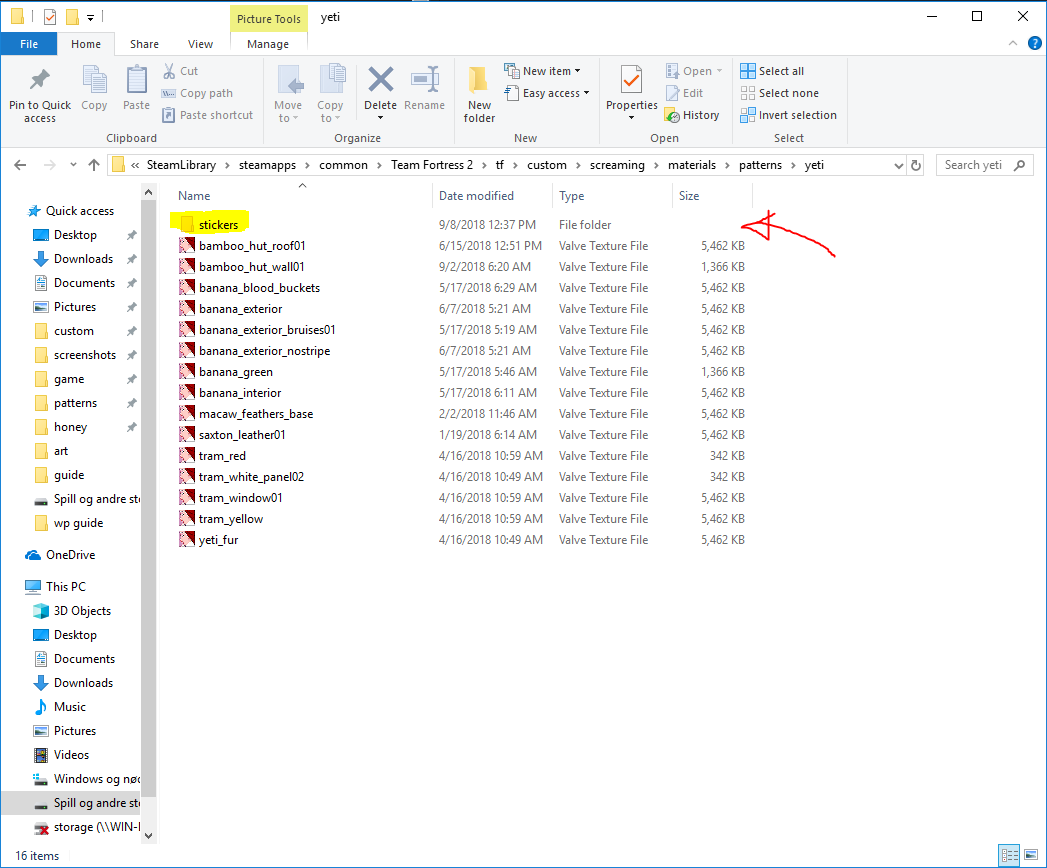
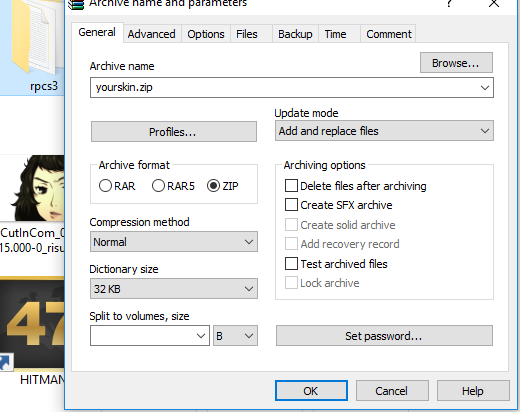
everything *should* be in the /patterns subfolder within that one vpk for materials, i dunno if the guide's gone now but it needs some digging - you'll find it surely
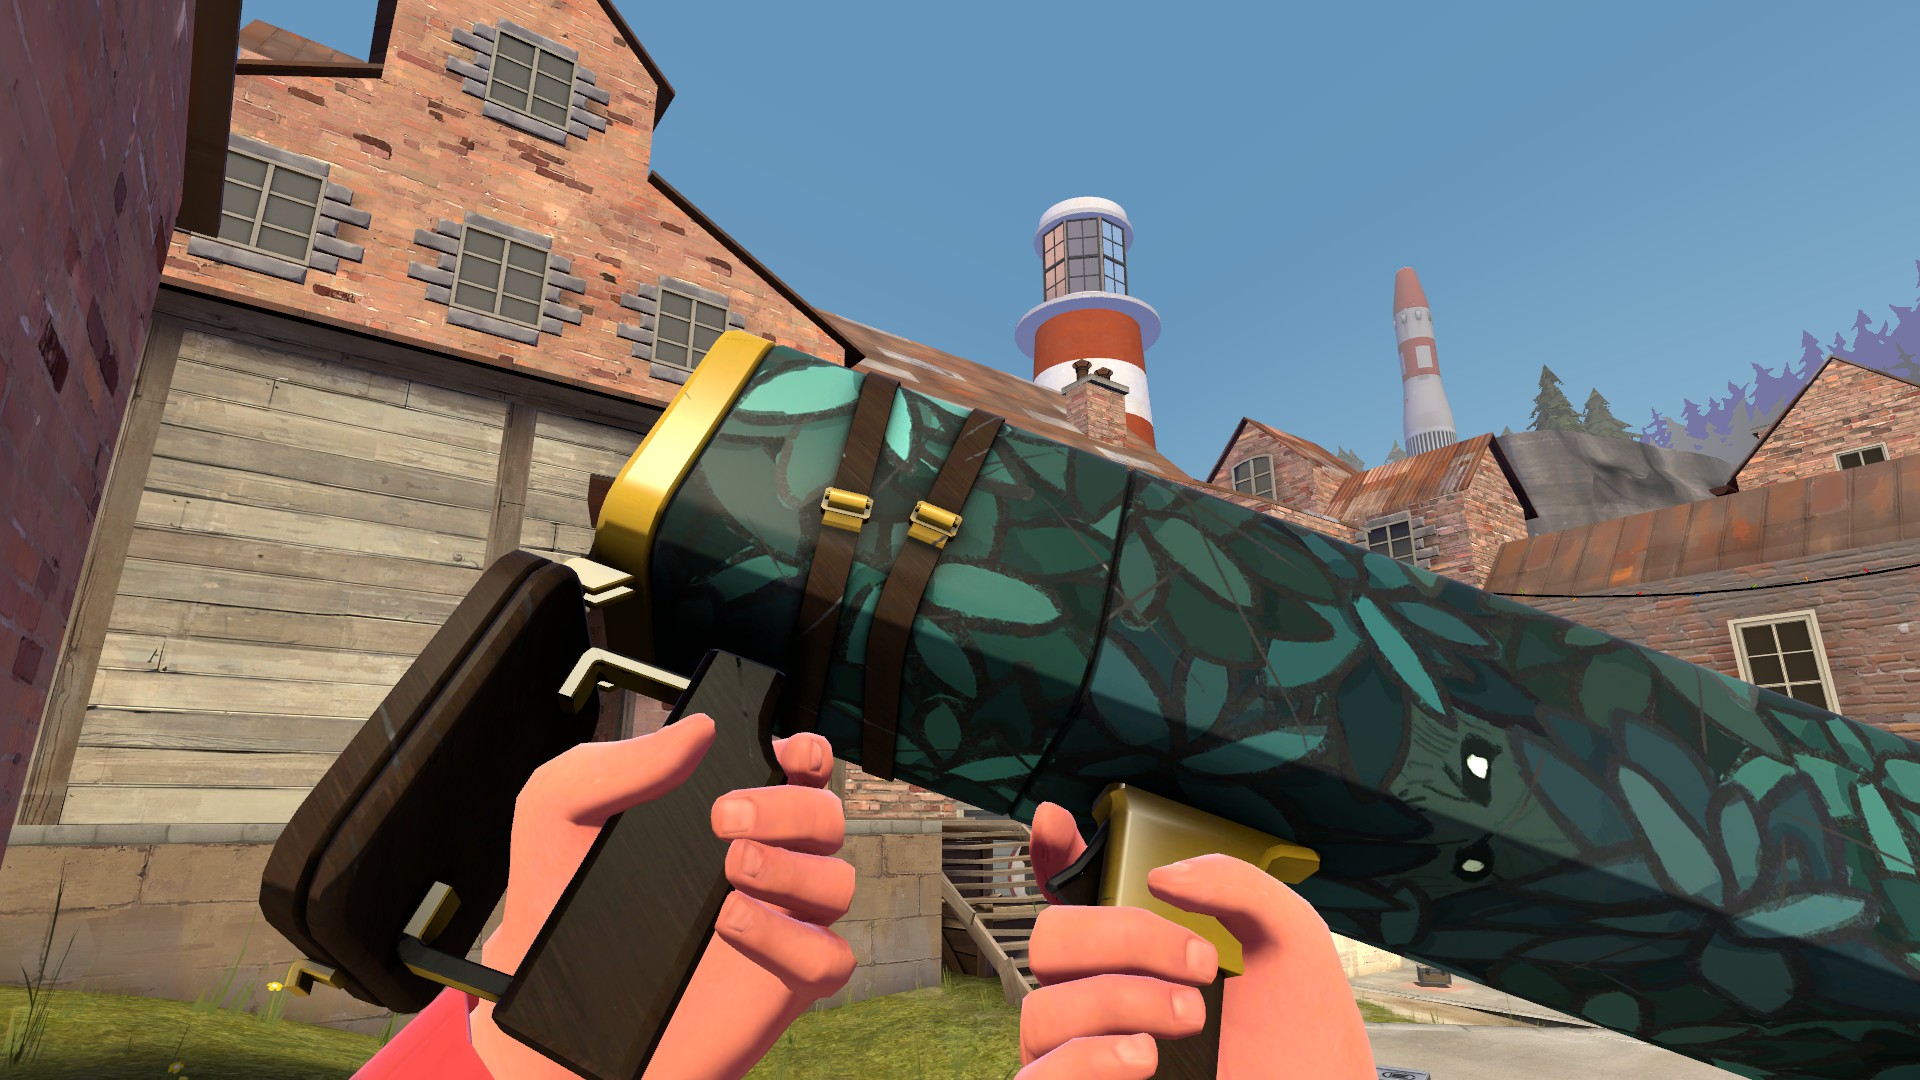
they're still pretty good though
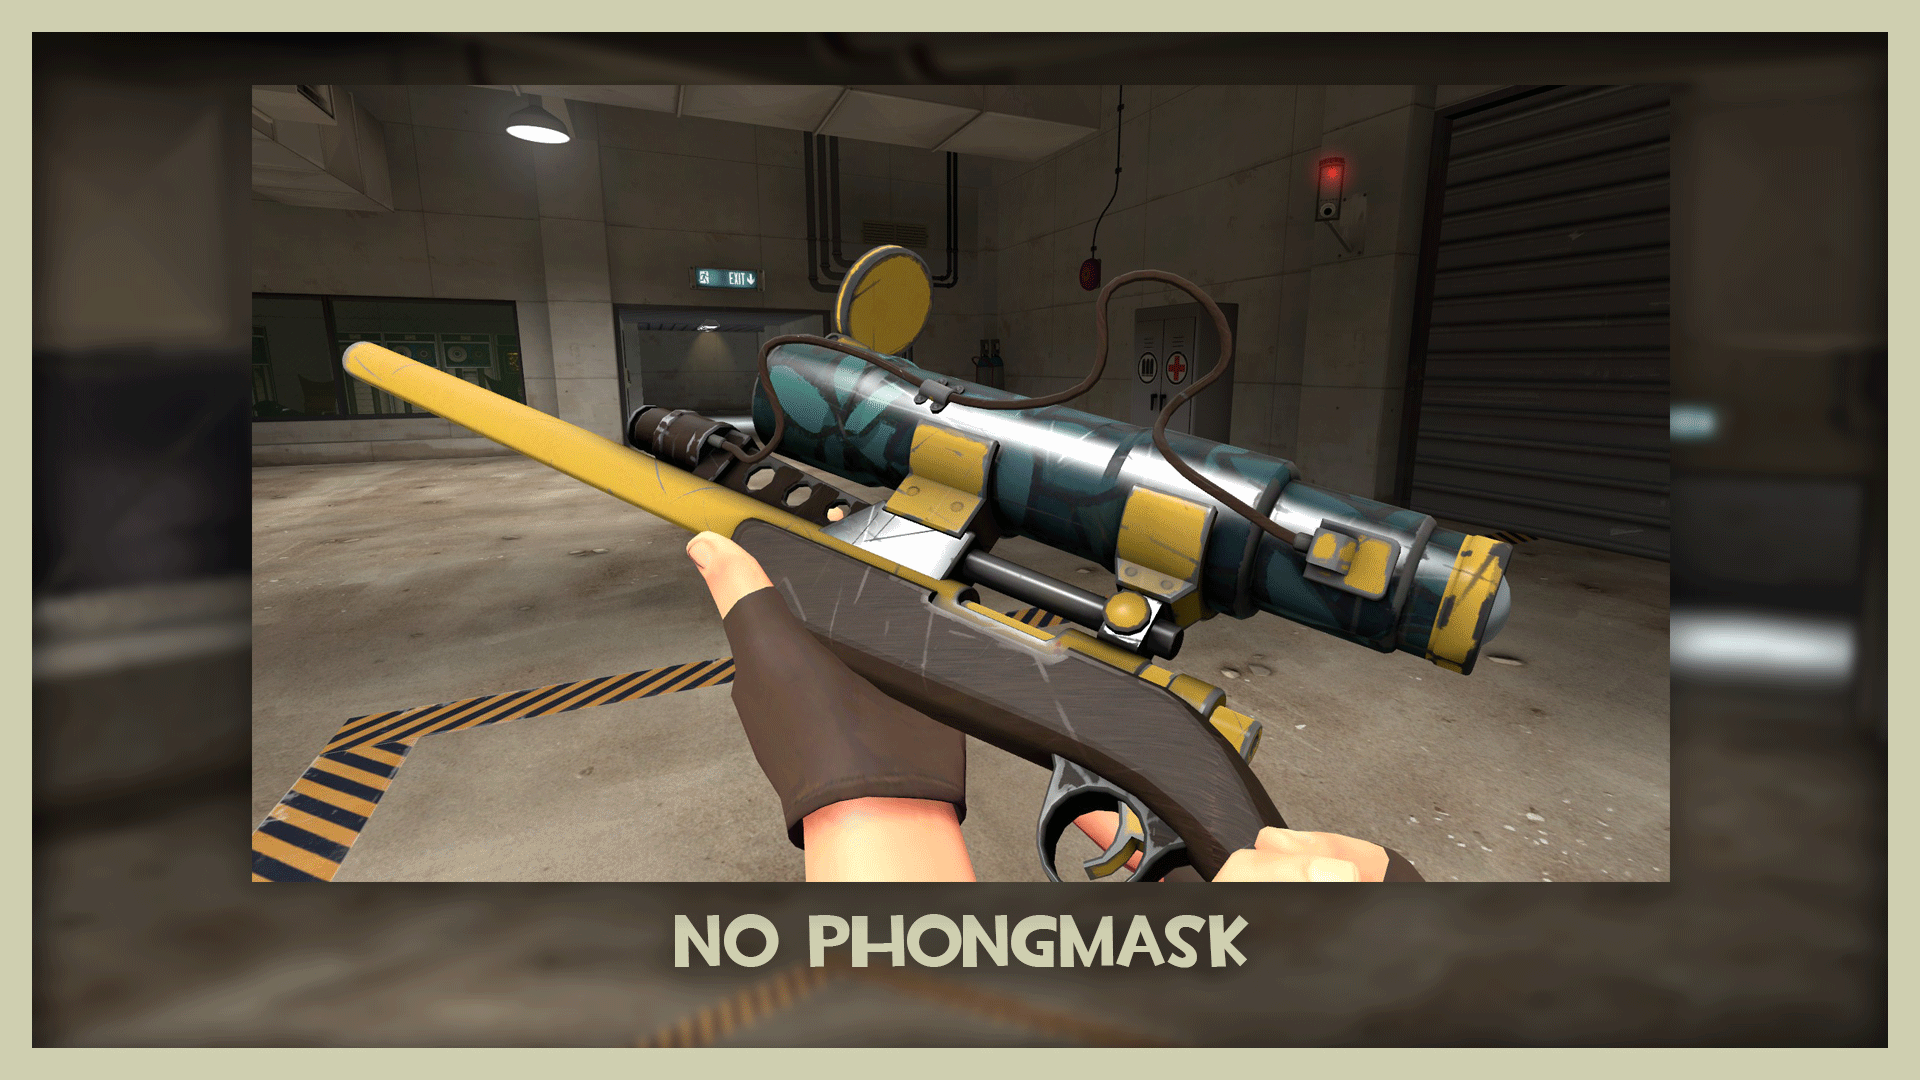
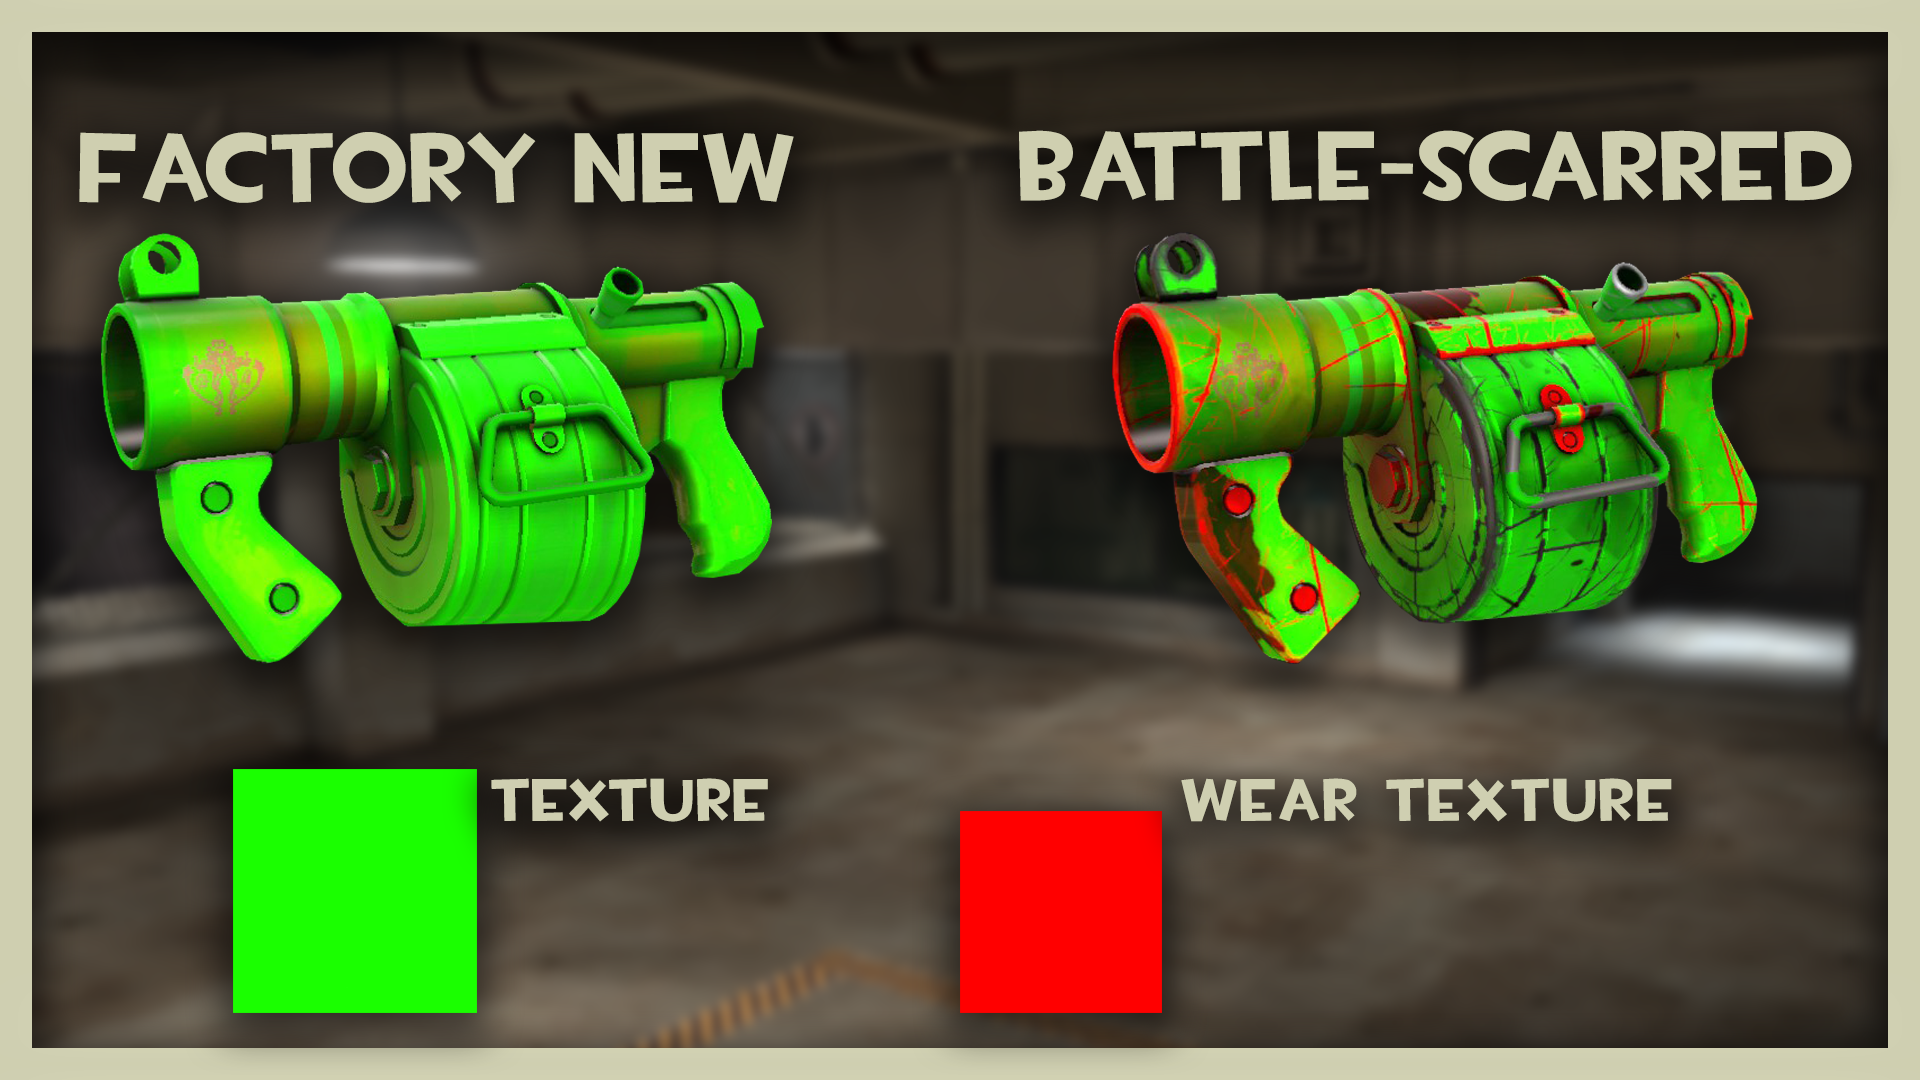
custom wear usually overrides normal wear if i remember correctly (?)
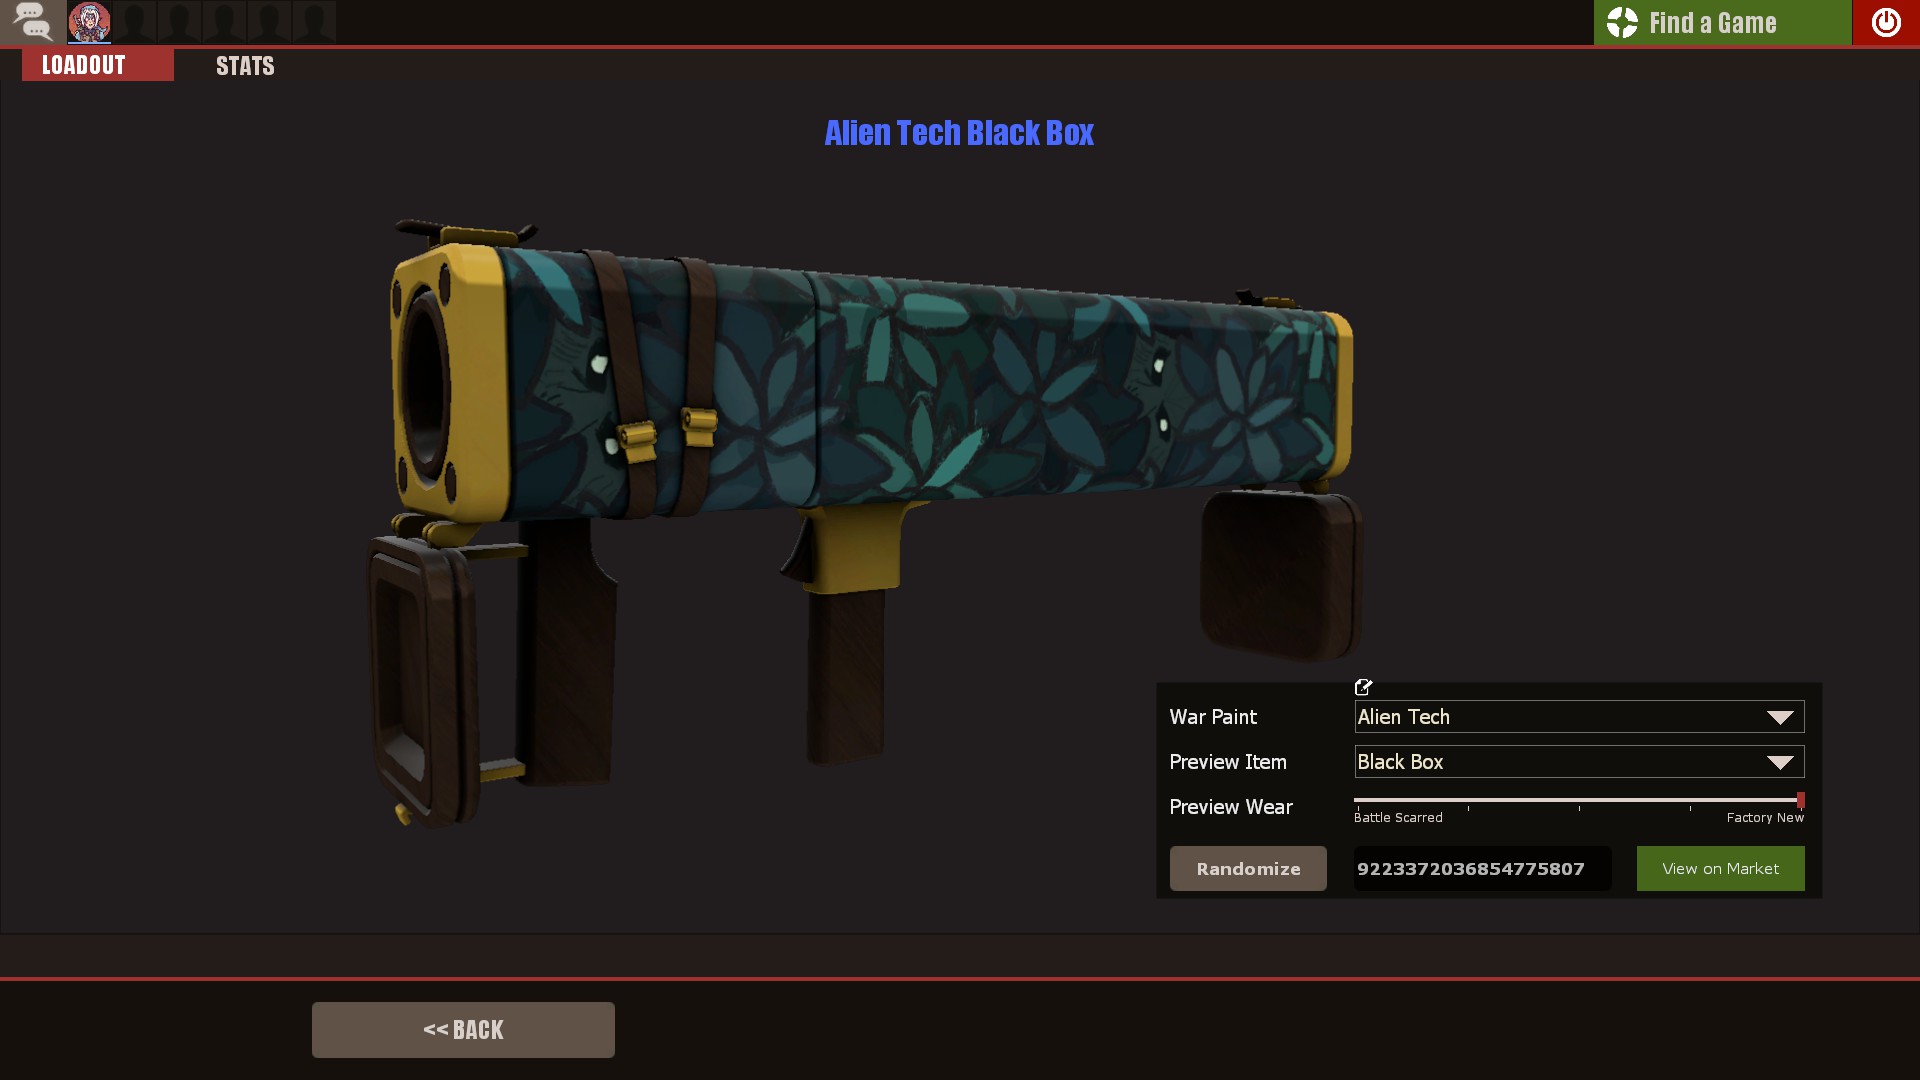
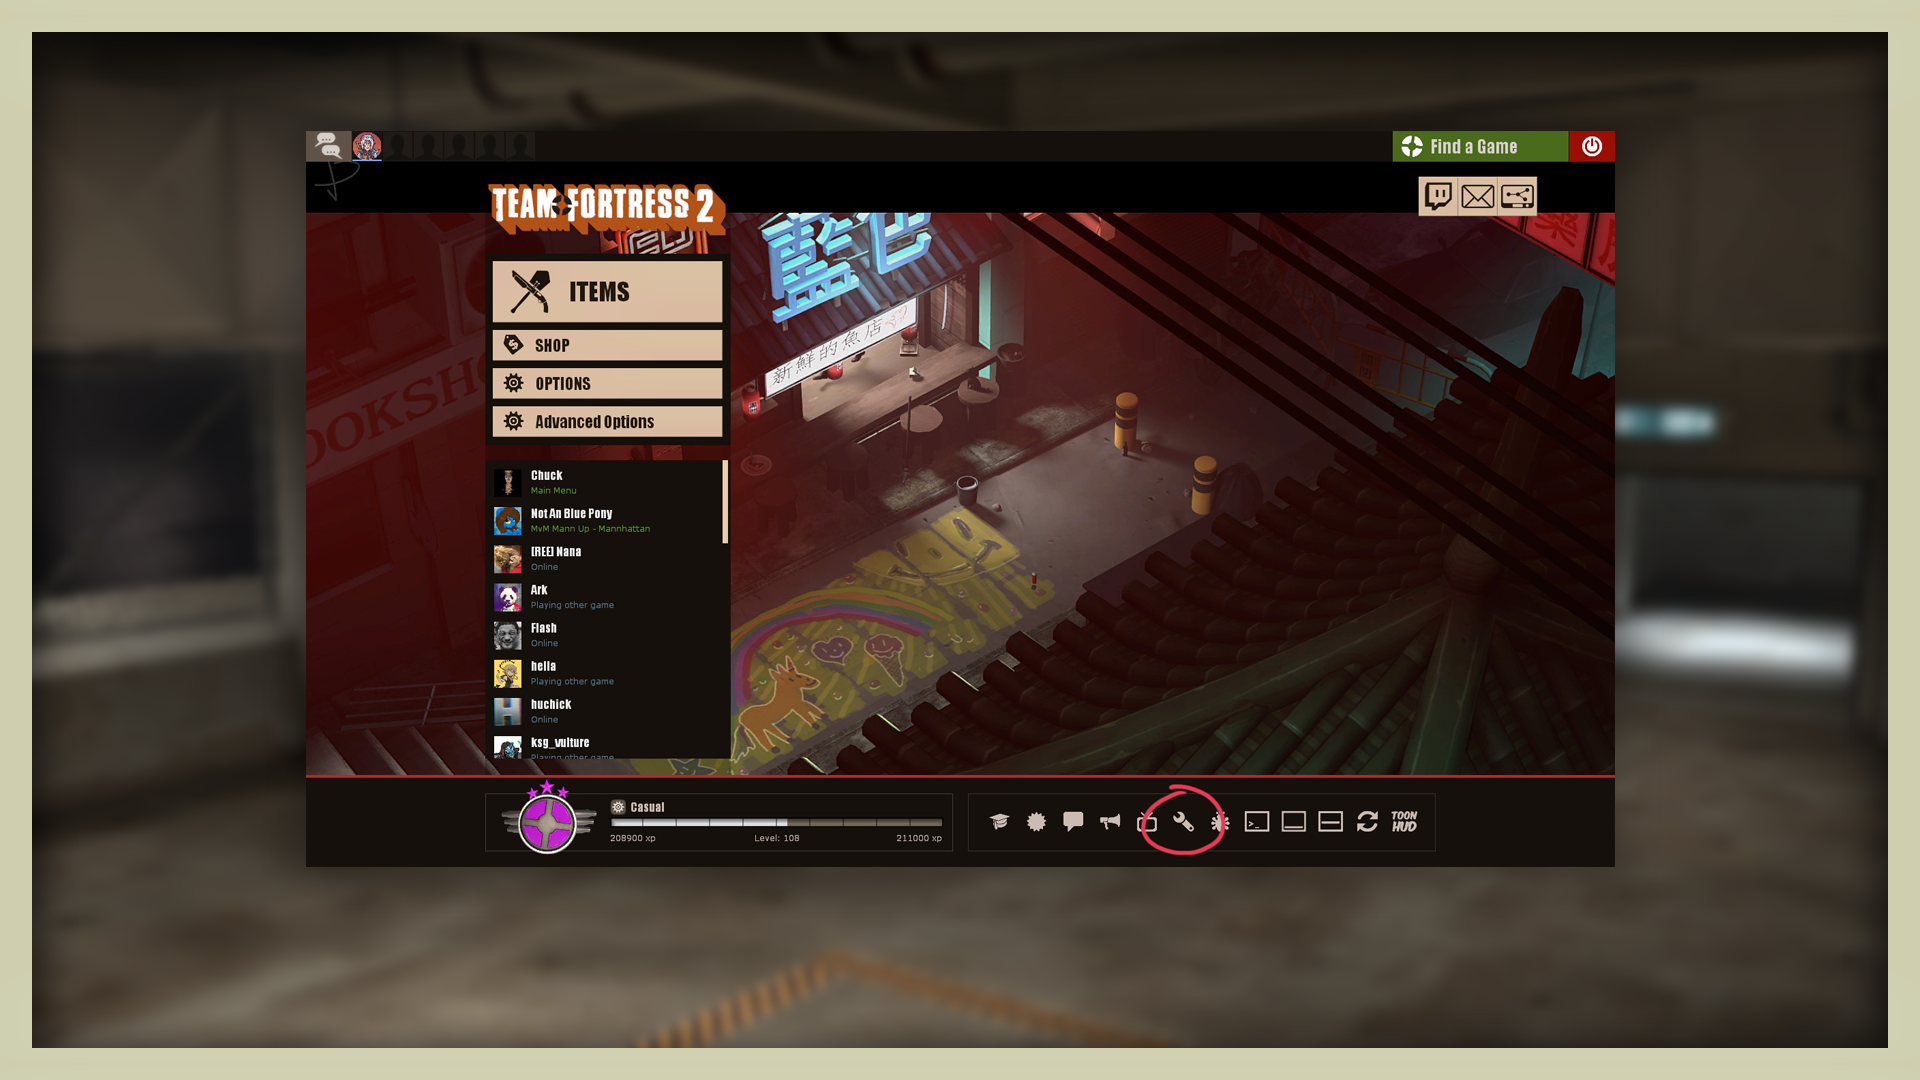
however, what i do know is that some HUDs change on the warpaint viewer so that it displays the war paints better; you can also use CTRL, SHIFT and your mouse to move the weapon around in those viewers iirc