Blitzkrieg 2 Anthology

Blitzkrieg 2 Anthology

Not enough ratings
US-Campaign Walkthrough
By ★ Spaceflash ★
Hello! I created this guide primarily for new players that are struggling with the single player campaigns. Stuck on a main mission? Want a reward but just can´t beat the necessary mission for it? Or just looking for advice to minimize your losses and maximise your troops experience? Then this guide will definatly help you. While I am playing on hard difficulty I would recommend to start with normal difficulty if this is your first time playing a Blitzkrieg game. I might do walkthoughs of the other two campaigns as well, depending on the feedback. Hope you learn the one or other tactic for BK2 :)
   
Award
Favorite
Favorited
Unfavorite
The First Chapter
The first chapter of the US-campaign is rather easy and shouldn´t be too difficult for you to handle. Because of this I will rather focus on how to minimize your losses and how to maximize your units experience. Notable troops you receive as reinforcements during this chapter are the main infantry and light tanks, while I don´t use the assault infantry and bombers that much. The Fighters, on the other hand, may come in handy in the last mission (depending on your playstyle).
A picture of the first Chapter of the US Campaign:
Mission 1: East Wind, Rain
As soon as the intro video has finished the game will automatically start this mission for you. I strongly recommend to "exit to chapter map" first. That way you can assign your first two commanders and gain some nice experience for your infantry. After you assigned your commanders simply click on the mission again and you can continue as if nothing happend.

You start the mission on a beach on the west of the island. Your mission is to repell an enemy amphibious assault. You receive 4 unreplaceable M3 Stuart light tanks, a unique coastal atillery unit and lots of backup infantry to fill up the trenches. This is how the middle section of your 1st defence line looks like at the beginning of the mission:

In order to properly make use of the artillery you should pause the game whenever an enemy boat crosses the sight-line of the scout plane, select the cannon, order it to attack the boat and unpause the game again. I recommend to make a shortcut to select the cannon (for instance: ctrl + 1). I also recommend placing the Stuarts in front of the trenches - that way the enemy infantry tries to rush it with grenades and get destroyed by your own entrenched infantry


Next, you should send one or two infantry squads to the small warehouse in the south-east corner of the map. There you can find some heavy machine guns and mortars - not the world but it gives you some more firepower and completes a secret mission objective as well.


After several suicide waves of infantry the japanese start an aerial assault, destroying your artillery in the process. This is why you should never move your Stuat tanks near the cannon until it got bombarded. Meanwhile the japanese deploy their first tanks to the battlefield - nothing you have to be afraid of though since they are very bad. This one actually got destroyed by one of the heavy machine guns I captured after the bombardement.


Finally, at the end of the mission, the enemy launches the only real dangerous wave of troops, as they deploy two medium tanks (which are still inferior to your Stuarts but might overwhelm them with the sheer amount of support infantry they land at the same time). One thing I noticed is that one of the tanks always seem to be stuck on the beach, while the other mindlessly charges your first line of defense only to get demolished by the anti-tank artillery like in this case. With the charging tank and most infantry killed the mission ends with a success.
Mission 2: The lengthening Shadow
Another easy mission - unless you, of course, mindlessly charge your medium tank like the japanese did in the last mission (srsly don´t do that :D ). I also mention a way to obtain two Stuart tanks which makes this mission a lot easier. The Mission takes place on the east side of the island inside the jungle, so get prepared for a lot of japanese snipers. Main objective for this mission is to rescue the prototype of a medium US tank, which is stranded inside enemy territory.

Right at the start of the mission you should send one of your infantry squads to the officer in the allied camp nearby - that way you receive two sweet M3 Stuart tanks, which will play a main role in this mission. You might notice the small group of houses right in the middle of the map. I strongly recommend not to attack it, as the japanese have dug in there well and you will loose a lot of infantry if you mindlessly charge it. (It gets easier with the tanks, but I wouldn´t risk them getting damaged that early in the mission)


Continuing the mission, your best strategy is to charge the enemy troops camping near the reinforcement point, take out the tank and let your following infantry deal with the enemy soldiers (who might ignore them to take out your Stuarts with their grenades). After they have been cleared rush your tanks to the small enemy control point. If you are fast enough, you find the anti-tank cannons unmanned and can easily take out the enemy soldiers who try to run to said cannons.


Now you just have to work your way up the road to the damaged tank. Your first two enemy snipers will be positioned to the east and to the west of it. While the pioneers are on their way the tank might get assaulted by more infantry and light tanks - which the lone tank can handle just fine. After the tank is fixed you should attack the enemy reinforcement point to the north with your tanks - just keep in mind not to let the big tank get too close to the enemy infantry. Once it´s cleared you can call in more reinforcement (if needed) and continue to the south-west.


On your way you will come across a significant road block of the enemy. Its quite common to loose one of your Stuarts here, so don´t blame yourself if it happens. I recommend to rush the enemy with your Stuarts (again) and take out the anti-tank cannon first. That way nothing can hurt your tanks and you can pick on the japanese still entrenced. Be aware that they will charge you if you destroy the machine gun as well, so have your own infrantry ready to deal with that.


The rest of the mission is pretty easy, so I recommend just using your tanks to deal with any enemy you come across. If you want to take your infrantry along make sure to deal with the snipers (one north, one south and two further down the road to the west of the roadblock). Just clear the designated crossroad of infrantry and move your medium tank on it - mission done.
Mission 3: Fish in a barrel
Goal of this mission is to avenge a platoon of your allies who got massacred by the japanese by destroying a valuable fuel storage facility. The start of this next mission can be tricky, as you should not loose both of your M3 Stuart tanks. Mind the infrantry squads that are dropped behind the roadblock - use them to your advantage. Try to attack the roadblock with your main army and these support soldiers at the same time - this way your losses should be acceptable. I unfortuantly lost one of my Stuats in that first attack, so you might want to do this attack just with your infrantry. There is a group of assault infrantry behind the main house of the village - don´t let your tanks get near them since their grenades are incredible powerful.

Continue your way to the east to the enemy camp. Have one of your infrantry squads go to the officer near the southern building between the village and the japanese camp. This will call in bombers who will deal with a roadblock further north on the road - sadly this event is very buggy and most of the time I played the bombers just immeadiatly turned around doing nothing (still worth a shot). If you still got both your tanks the attack on the camp shouldn´t be too hard, just make sure to have your infrantry right behind your tanks. If you only got one or even no Stuart left you should deal with the enemy infrantry first and then charge the remaining tank(s) with your soldiers. While the game says "let no one escape" it actually doesn´t matter whether or not you manage to take out the fleeing soldiers in their cars.

Unless the bombers wreck the road block you have to deal with it yourself. Charge the right side of the barricade with your remaining tanks focusing the anti-tank cannons and then turn to the left dealing with the other lone cannon. Once dealt with send your army to the depot itself. A small support force of allied soldiers arrives from the west and will attack when you are closing in on the target. Let your tank(s) take point and take out the light AA gun of the japanese (capture it if possible for more firepower). Let your infrantry mop up the enemy soldiers and move your tanks to the right and top side of the depot, destroying the MGs that would otherwise cause many casualties. My last Stuart was wrecked while trying that so make sure to keep the tanks moving (that way less grenades will hit them). The depot will be destroyed automatically after you clear out most of the enemies inside. Mission accomplished.
Mission 4: The Pundak Salient
The final optional mission of the campaign. The japanese are pushing hard against your defensive line and you are ordered to recap a small village to the north. This mission may sound or look hard but its propably the most easy one for one reason - you can finally call in tank reinforcements. Funny enough you also receive two squads of 1945 infrantry which will absolutly demolish any japanese infrantry forces they come across. At the start of the mission just call in more tanks and rush the hill with them along with the 4 Stuarts you already have. This push shouldn´t pose much problem, especially if you have these badass infrantry squads tearing up the japanese soldiers.

As soon as you can call in more reinforcements call in some fighters as the enemy will launch two GAPs (Ground Attack Planes) which can get somewhat annoying. Then you may just charge the enemy base with your tanks or have your bombers weaken their defences first (which I did). So yeah this mission doesnt require fancy tactics just 8-12 tanks you charge into the enemy base. Sometimes enemy infrantry gets bugged behind the reinforcement point building. To counter that just let one of your infrantry squads storm the building (hold alt and right click on the building). Thats it mission done.
Main Mission 1: The Battle of Bataan
The briefing draws a bad picture of your situation - you are hopelessly outnumbered. That much is true, you also have to face some serious aerial assaults for the first time in the campaign. The mission starts showing the few troops you have left running away from the immeadiatly following enemy soldiers. I recommend sending your infrantry straight south to the 2nd defense line and hold the front with your tanks. I actually tend to just leave the two tanks behind at the 1st line of defence and start calling in fighter planes.


While the few troops I leave at the objective usually handle the enemies pretty well I start digging in at the 2nd line of defense, sometimes I reinforce it with another squad of infrantry. After a while the first wave of enemy planes arrive, that usually gets shot down by my fighters (2 squadrons are optimal, use only 1 if you fear to loose the 1st line of defense too soon). You have to pull back eventually - if you still got infrantry there just leave them behind and save any surviving tanks. Shortly after loosing the first defence line your troops at the 2nd line of defense get attacked by a lot of japansese tanks and some infrantry. If you followed my advice of digging in early this attack shouldn´t be too difficult to handle.

After repelling that attack you once again are ordered to move your troops to a different line of defence, this time the fortified one on the left side hold by your allies. Once again you should leave the infrantry behind and rush your tanks upwards to help out your ally who will soon come under attack by bombers and a small group of infrantry landing in their backs. If possible you should deploy some tanks to the left front even before the order to do so comes - that way you get more tanks up there in time.

Got more reinforcements ready just in time? Send out some fighters to shoot down the enemy bombers before they can destroy the allied atillery shown on the picture before. It´s not crucial to save these guns but it sure helps in minimizing your losses. If you want to get some easy expierence for your bombers let them drop some bombs at the field south of the eastern town - there are a lot of idle tanks and infrantry groups just sitting there ready to get destroyed. In the end, the battle in the north-west turns out rather bad and you get one wave of japanese forces after another untill your forces surrender and you (ironically) won the mission.
The second chapter
The 2nd chapter of the US campaign is a significant increase in difficulty compared to the previous chapter, but still quite easy to deal with. There is one mission in particular that is very hard while giving you a very bad reward for completing it - I will write more about it when the time comes. Your backbone in this chapter will be once again your light Stuart tanks supported by infrantry and your GAPs, that you unlock during "No Man's Jungle".
As you can see the new chapter is taking place in a much bigger scale than the Battle of Bataan:
Mission 5: No Man's Jungle (priotizized)
This usually would be the second mission you play, but I recommend playing it first regardless of it being the first real challenging mission in the entire campaign. And here is why: You get GAPs as mission reward and if you know how to use them right they are incredible good, especially while playing the US forces.

You start on the beach at the bottom of the map and will soon get under fire by the enemy atillery. To furfill this mission without incredible losses you need to stick to a certain order while fighting your way to the atillery. First and foremost you should call in more tanks and move your entire armor to the crossroads in the middle of the map. Be aware that you will encounter heavy AA guns for the first time, which are the first real threatening gun against your tanks.


As soon as you have overrun this first line of defense I recommend going after the weaker atillery guns first. They are on the top-left and top-right corner of the map, each guarded by another heavy AA gun. Through the course of this mission you may have the first serious tank casualties - I sure had the first time I played this mission.


Once all 4 atillery guns have been taken out it´s time to move against the coastal atillery stationed at the top of the map. If you remember the very first mission you can imagine this fight can get very costly. While it is a rather arguable tactic, it´s best to just charge in with an overwhelming force of tanks and let them focus down the gun. You should definatly have "fast fire" with your light tanks by now - use it! It may help save 2-3 of your tanks. After all artillery has been dealt with the mission is over.
Mission 6: The Eagle's Talons
Before starting this mission I recommend doing "No Man's Jungle" first to obtain GAPs for this mission. Also don´t forget to give this troop branch a commander so they start getting experience. This mission is rather quick and fast paced, with the start being the more challenging part of the attack. Your first objective is to stop enemy tanks that come from the north-west and south-west of the map. Use bombers to soften the convoy's up and finish them off with the GAPs. GAPs are somewhat buggy, as they tend to ignore enemy units after a little while. To counter this just micromanage and rapidly spam Mouse2 on the enemy unit you want them to destroy. This sounds worse than it actually is and pays off nicely.


After both convoys are destroyed your next goal is to destroy the enemy outpost in the south-east. This is a pretty easy task if you still got some reinforcement left. Before bombing the base itself I would call in some bombers to wreck the coast defences - there is little that one AA gun can do against three heavy bombers. After that it´s merly a question if you want to call in more bombers or GAP´s to deal with the base defenses. After you depleted your reinfocrements or dealt with everything serious just move in with your infrantry getting supported by the 3 Stuarts you receive. I would not bother with the flamethrower tanks you get - they are horrible and literally cause massive friendly fire.
Mission 7: Chokepoint: Henderson Field
If you know where to position your troops this mission is actually rather relaxing compared to the last two attacks you lead. There are three spots you should position your defences at: The north-west part of the airfield, the East part of the airfield and at the south towards the beach. I recommend pausing the game in order to multitask more efficient. First I would order your pioneers to dig a trench near the beach, but still on the airfield. Move 2 infrantry squads and all of the heavy machine guns there - more than enough to deal with the two small groups of enemies that land there.
Japanese soldiers were a bit too fast for me here but got destroyed by my reinforcement tanks:

The enemy launches the first strong attack shortly after, so don´t hesitate and move the rest of infrantry into the trenches, move your tanks in front of them to draw the attention of the japanese infrantry and place the two anti-tank guns at the Northern part of the airfield, as the strongest attacks will happen here. While I say north I, in fact, mean the up most part of the airfield from the starting camera position (in fact it´s in the south xd). Call in more infrantry and light tanks to reinforce the defenses and just wait until the japanese suicide-run a huge chunk of their forces. You will have some tank casualties too when playing on hard difficulty so have a backup group of tanks waiting to replace their fallen comrades. You might notice that I destroyed the buildings in front of my defense line. I did that to ensure perfect sight lines for my units. After several waves of tanks and infrantry the enemy gives up and you won.
Mission 8: Cornered Rat
This one is challenging, but not as ridiculus stupid as the next mission I will write about here. Your mission objective is to protect the supply trucks - something that is rather hard considering how squishy they are. Call in more tanks and move 4 Stuarts and 2 light AA vehicles to each entrance of the base (exept the one at the top of the map). The first japanese attack comes shortly after the two allied scout tanks get destroyed outside the base. Have your Stuarts as a 1st line of defence and place the AA Vehicles right behind them. It´s important to dig in these as they tend to drive across the map once GAPs spawn.
The allied base just before the enemy attack commences:

The japanese attacks are nothing to joke about and you might loose a lot of your tanks at the south entrance of the base. That´s why you should call in more Stuarts if you loose more than 2 of them. Meanwhile the enemy GAPs start to become a nuisance and need to be dealt with. Best call in fighters between the 1st group of tanks you call in and the 2nd wave of enemy attackers to the south. After the enemy threw several infrantry platoons away they will start a massive aerial assault which you can´t handle. Instead you are ordered to evacuate the trucks. I recommend to group them thightly and move them to the south-west corner of the map. Use any remaining tanks to move ahead of the convoi and wreck any infrantry they come across. Carfully move your trucks along the southern portion of the map and onto the hill to the east. Best do that one after another as their pathfinding sucks at that spot (they might take a detour and get themselves killed). If you still got reinforcements after the first ground assaults use it to call in fighters to shoot down some of the paratrooper planes (they give a lot of experience). After enough trucks are safe the mission ends with a success.
Mission 9: Diversion
Remember when I wrote about a mission that utterly sucks? Well this one is it. [Insert comment here that I am salty]. Anyways this mission is the first "covert ops" mission you will have in the US campaing, sadly not the last. There actually is a much easier way to finish the mission instead of sneaking in the base with you infrantry. First off, you should put your units into stealth mode and move them towards the trenches in front of you. Then split the two groups up and position themselves in range (check with alt + r) of the heavy AA of the japanese. Then, once both squads are in position, open fire and take out the crew of both guns. The elite infrantry inside the trenches might come out to retaliatle in which case it might be better to sacrifice one squad to fall back with the other.

Reason of this bold raid on the enemy AA guns is to open the path for another very bold attack on the enemy base itself. Send in new paratroopers right on top of the coastal atillery and capture them one by one. After that is done immeadiatly order the captured guns to attack the area around the enemy tents in the middle of the base. If you are too slow the enemy elite infrantry will rush out and recapture the atillery (buthering the horrible equipped US rangers). If that happens wait a while and then launch another group of paratroopers to repeat this raid. If it fails two times in a row you should restart the mission. After most of the elite japanese infrantry is dead you can focus on your actual mission objective and attack the enemy boats out on the sea. Destory all five of them and you won. Congrats you just got a junk reward for a very hard mission. Anyways, onto the final mission!
Main Mission 2: Roundup at Guadalcanal
This second historical battle is a lot more challenging than the "Battle of Bataan", but still a breeze if you know how to use your GAPs well. I would always start the mission with an assault with one or two squadrons of GAPs to take out the enemy heavy AA guns. Yes, while it sounds stupid GAPs are actually really nice at dealing with enemy AA units, unless it´s enemy fighters. Just remember what I wrote about spamming Mouse2 on the unit you want the GAP to attack in order to maximize their efficiency. After you took out all or most of the heavy AA guns on the map launch some bombers to take out the atillery in the center of the map. Launch more GAPs and start picking on the enemy HQ in the south-west of the map. There are two more atillery guns you need to take out along with light enemy AA and anti-tank guns.

All this might sound complicated but once you got the hang of the GAPs it will be a breeze since the enemy rarly launches fighter crafts. After this massive aerial assault of yours start the ground attack. Call in more light tanks and focus on taking out any anti-tank guns that your GAPs left. Now drive them close enough to the trenches that they open fire with their machine guns. That´s why I always prefer the M3 Stuart over the clumsy M3 General Grand - they are far better at taking out infrantry and the japanese tanks don´t require much firepower to get wrecked. Cross the bridge and get prepared for a lot of entrenched enemy infrantry. While it´s usually not a bad idea to use infrantry in a situation like this you should rather drive the tanks close to the trenches and sacrifice a couple of them for quicker results and less infrantry casualties (they add up a lot in the statistics).

Next up is the assault on the big enemy base to the south-east. After capuring the enemy HQ don´t rush along the road. Instead have your tanks hold position with your infrantry right behind them - the enemy will launch a significant counter-attack which you can easily defeat on the open field (and not still in their base). If needed soften up the defenses with GAPs but be aware that the weather gets bad after a while - so unless you rounded up a lot of kills with them and unlocked autopilot you have to finish the rest of the mission with ground troops. With the defenses soften up from all the air assaults you should be able to overrun the enemy with Stuarts and infrantry support.

Finally the last mission objective is to caputure the harbor to the north-east. This objective may be finished by your allies if you play on normal difficutly - on hard they usually get wrecked by the japanese defenses. I already had autopiloted bombers so I sent them to destroy remaining defenses and soften up the two bunkers in the base itself. My Stuart tanks mopped up remaining infrantry and the mission was successfully completed.
The third chapter
The third US chapter is a lot different from the last two maps as you now take part in much bigger missions that require much more coordination and planning, if you don´t want to end up loosing a lot of soldiers. During the campaign you also gain access to a very important asset for the allies: Their tank hunters. While the M10 Wolverine isn´t exactly your backbone in this chapter it will become very usefull at the last optional mission of the chapter. Notable reinforcements are - again - the GAPs, the new Sherman medium tank and assault infrantry, as you will use a lot of them during the first few missions. As usual, the campaign map:
Mission 10: Invasion Support
This is the first really long side mission of the US campaign and I love it. Your goal is to capture the left city on the map and suppot your allies in taking the right city. At the start of the mission you receive a free scout plane and have plenty of air support to soften up the defences. In order for the main army to land via boat you have to destroy all enemy artillery guns first. They consist of a big howitzer battery and four coastal atillery guns, which need to be destroyed with bombing runs. There are, however, way too many enemy AA guns to just charge in with bombers so you have to get rid of them with some GAPs. There are a total of five AA guns, shown in the pictures below:

After you roasted these nuisances you can send in the big bombers (you got a maximum of 5 bombing runs if you took out all AA guns with one GAP squadron). If you fail to destroy the artillery with your air force the invasion is cancelled and you lost the mission, so make sure you don´t waste your bombers on low priority targets. Shown below are the three spots of the japanese artillery:


Now comes the invasion force itself landing in big LST ships. The first wave of units (left picture) got a death verdict (the poor guys) and will almost instantly get destroyed by the japanese defense if you didn´t soften it up enough. If you still got reinforcements I would either bombard the left enemy base or send in more GAPs to help at the beach. My first wave of units managed to secure the beach as my GAPs did a lot of work before they landed. They, however, got destroyed as they approached the enemy base. That has to happen by the way, as you only receive new units as soon as each and every tank and soldier has been killed (kinda dumb but whatever xd). The 2nd wave (right picture) consists of the brand new Sherman medium tank which is a powerhouse in the pacific war, far superior to all regular japanese tanks.

With that said the japanese also got some new tanks, which are far better than the ones they used at the "Battle of Bataan" and "Operation Watchtower". These include the rare Type 4 Chi-To that has very strong armor for a japanese tank. The far more common Type 3 Chi-Nu is a lesser armored version of the Type 4 and is superior to a Stuart tank. With this 2nd invasion wave you should have no problems dealing with the left enemy base. In fact I was even able to severly damage the right enemy base before my last tank was destroyed. Be aware that the japanese do start a counter-attack after capturing the left base consisting of four tanks (three Type 3s and one Type 4). A pic of both bases during my initial attack with the 2nd wave:

With the third wave you should be able to wreck anything the japanese got left on the island, as it includes a lot of Sherman tanks and at least 10 squads of assault infrantry. After both bases are secured (at the same time) you won the mission.
Mission 11: Tooth and Nail
This mission is much smaller than the last one and pretty easy if you approach it the right way. Mission objective is to secure another bridgehead for the USA and to storm the enemy base coordinating the defense. There is also a battery of howitzers in the area you have to deal with - which is exactly what we are going to do first. You start with two unique sniper units who, unlike the actual elite infrantry, are actually really useful due to their very long range. Use them to carefully apporach the howitzers and to take out their crew along with a nearby heavy AA gun:

If you do it right the enemy shouldn´t even spot you and you can use the snipers to do some havoc on the enemy defenses. But thats up to you - I rather use GAPs to deal with the rest of the heavy defenders. Send them out to destroy any remaining AA guns first and after thats been dealt with focus down enemy tanks and anti-tank guns. You may now attack the enemy defenses with your ground forces, call in support if needed and don´t forget to use the assault infrantry that landed on the right beach as well. After you broke through that just charge the enemy base that shouldn´t have many tanks left if you used the GAPs well. Another easy US mission but it´s still a neat one.
Mission 12: Bloody Lagoon
This mission is very special, as it will be the only time you get to use boats in all of the campaings (which is really sad as I like the idea). Objectives for this mission is the destruction of the enemy fleet in the harbor, the capture of the harbor itself and to clear out a roadblock to make a way for reinforcements. I advice to tend to the japanese boats first. There are a total of 3 small battle ships and 1 big cargo transport, which can be attacked seperatly. Your boats are superior to a japanese vessel in a 1v1 fight but I still recommend to avoid loosing one of the boats carelessly. After dealing with the enemy fleet move your ships close to the top right of the sea and start bombarding the enemy roadblock destroying as many tanks and guns as possible. Should you loose both boats you receive another 2 as reinforcements (not sure if this is a one time event or triggers multiple times).

After dealing with the naval side of the mission turn your attention to your land forces and move them on the left road. After they gathered assault the road block in the north-west corner of the map. After you capped the reinforcement point you will receive some serious support of Sherman and Wolverine tanks which land on the western beach.

Use the combined forces to overrun whats left of the japanese defence. Another hint of mine is to position the surviving boats near the southern entrance to the port - that way they pretty much shut down any reinforcement coming to aid the garrision inside the port. After the port is cleared (which depending on your efficiency with the boats will be easy or tough) the mission is successfully completed. Short but memorable mission. Here is how I positioned the boats at the end of the mission:
Mission 13: Peterson's Charge
Compared to all the previous missions this one is a rather quick one if you know what you are doing. First off: You can win this mission by brute-forcing your way through the japanese defenses on the left side of the map - faster but more costly. Instead you can follow the idea of Peterson and attack the rear of the enemy which requires some more army movement and time. I will go with the 2nd option and follow the more tactical approach.

What you should do first is to secure your starting position as you will loose the mission if it falls during your attack on the enemy. I would leave all of the infrantry, the artillery and a couple of tanks there which should defeat anything the enemy sends at you. This is how my defense line looked like:

After your position is secured call in more tanks and move all of them to the right side of the map, working your way through the bad defended flank of the japanese. After capturing the village in the east of the map you should leave a couple tanks behind to guard your rear, as the enemy will receive some reinforcements after a while. My M10 Wolverines barely managed to hold their ground there (right picture) - so you might want to leave a couple Shermans behind as well. After thats done simply work your way to the enemy headquarter (reinforcement building) and capture it. Try to stay near the edge of the map to avoid getting shot at from the enemy defensive lines. A bit complicated, but not too hard of a mission.
Mission 14 Sudden Death Overtime
Alright, so until now everything was childs play in this chapter, if you followed the instructions of the general and didn´t brute-force everything. But now the real fun begins - this is propably the only real challenge in this chapter, as you have to deal with a ton of enemy tanks, including massive amounts of Type 3 and Type 4 tanks. In order to successfully beat this mission you have to act very quick at the start so I recommend pausing the game for a minute. Call in more anti-tank guns and distribute them evenly at all four entrances to your base (use the guns you receive at the start as well). Your defences should look somewhat like this when the first weak waves of japanese tanks attack:

Also pay attention to the howitzers behind your lines that can be used to either help out at one or two passages or to pre-bombard the enemy howitzers far behind enemy lines (which I recommend). These enemy atillery posts shouldn´t be hard to find but I will show them anyways, along with the howitzers I meant:

There isn´t much else I could help you with, unfortunatly. Destroy the stationary enemy howitzers before they start to shoot at your troops, reinforce your defences with Wolverine tanks (don´t call in more anti-tank guns once the stronger attacks start) and make sure to repair and replace destroyed tanks with reinforcements. It´s a very though battle and you should NEVER try to rush out with your tanks - it will end in a disaster. After what feels like 10 minutes of relentless attacks you will receive the objective to destroy the enemy stationary howitzers, which is completed immeadiatly after the allied scout plane arrives if you followed my advise regarding your own atillery. Thats one tough battle down...
Main Mission 3: Battle of Leyte
About as long as the final mission on Guadalcanal, this mission is significant more difficult than the previous main mission due to the large amount of enemy howitzers. Throughout the entire mission its a priority to take these out as fast as possible, as your advancing troops easily get demolished if you leave the japanese artillery untouched. You start the mission in the south corner of the map with a couple tanks and infrantry advancing on the first enemy defence line. I strongly recommend that you order them to stop and get organized first.


Before commencing your ground assault you should take out the coastal artillery thats been giving the US army a lot of trouble so far. There is, however, a significant AA post infront of the artillery, that has to be bombarded first before bombing the actual artillery. Yep that actually works - just send in a group of bombers to drop their bombs right on top or a bit infront of the AA guns. With one or two of these suicide runs the way is clear for a third bombing run right on top of the coastal artillery, wiping it out completly. Be aware that the enemy might send some GAPs onto your ground forces in the meantime so you might want to dispatch some fighters before calling in the last bomber squad.

Before proceeding with your tanks send in some GAPs of your own to the airfield in the north and destroy the three heavy AA guns and the two howitzers inside. After all these threats are eliminated you can finally commence the attack with your ground forces, break through the weak first line of defense (shoot down some of the barriers to make pathfinding for your tanks easier) and make your way to the airfield as soon as possible. The enemy might have called in some more tanks already so be prepared to face assault guns and some Type 3 tanks - nothing your Shermans can´t handle. After the airfield is secure you might want to call in more reinforcement, else proceed to the warehouse on the north-east corner.

Now it´s time to attack the enemy HQ on the small piece of land connected by a small landbridge. It´s heavily fortified however, so you should try to suicide run another two or three bomber squads - GAPs usually get shot down too fast to deal any damage. Use them once at least two of the AA guns have been neutralized and destroy the artillery guns stationed nearby, to the south and south-west of the HQ building.

Now it´s time to attack the big warehouse complex to the south of the captured japanese HQ, across the water. A single bombing run or GAP attack wreaks havoc in that unfortified base, but make sure to take out the AA gun first to avoid unnecessary losses when attacking with GAPs. Mop up the rest of the base with Shermans - to save time I would not use any infrantry reinforcements as they take a very long time to arrive. Turn your attention to the small hill to the north, as there are a couple of howitzers on top of it that should be easy prey for GAPs or a fast tank assault.

Finally it´s time to finish the mission and to end the chapter by taking out the last stand of the japanese to the far west of the map. Use bombers and GAPs to soften up the defenders and to destroy the howitzers before they do any serious damage to your troops. If you think the japanese suffered long enough you can send in the tanks to mop up any remaining resistance and win the mission by securing the reinforcement building. Congratulations! You finished all the pacific chapters of the US campaign - now we are off to europe!
The final chapter
After beating Japan on Leyte you are reassigned to Europe to deal with Nazi-Germany. Difficulty-wise all those other chapters were nothing compared to this final one. While you had a significant technology advantage over the japanese, especially considering their horrible tanks, you are now facing Germanys best WW2 tanks: Tigers, Panthers and Pz. IV Ausf. H. In other words: Your normal tanks are at a significant disadvantage in a 1v1 fight against pretty much any german battle tank. This is why your GAPs, bombers and tank hunters become extremly important. While the M10 Wolverine is still rather weak the M36 Slugger is a disgusting beast on the battlefield wrecking Tigers and Panthers left and right (its pretty OP if you ask me :/ ). In any event you should get ready for some difficult battles, as you won´t be able to use most of your good troops until the main-mission. The map of the final US-chapter:
Mission 15: King of the hill
This mission is rather easy compared to the missions yet to come. That is, of course, if you know what to expect. Goal of this mission is to secure an unnamed hill near german positions and to repell any counter-attack of the enemy. First off, you need to have the right mindset for this mission, as it´s an infrantry-only mission. Thankfully though, you are able to call in regular assault infrantry and don´t have to rely on the crappy ranger "elite" units.

Start the mission by immeadiatly calling in more assault infrantry on top of the mountain - it is going to be attacked very soon and you need all the firepower you can get up there. With that said you should not bother with the artillery, as the germans are going to try to capture all of your reinforcement points. You are better off just calling in more soldiers to assist in the battle. This is how my defense looked like in my playthrough. As I fortified my flanks downhill with additional soldiers, I decided to bring all my infrantry on the actual hill to the northern trenches and dig in.

I sure hope you leveled up your assault infrantry at least once by now, because their "defuse mine" ability will be invaluable in this mission. If you have, send just one squad over to the western road (left picture) and let them defuse the mines - you would otherwise have to do that later with a pioneer truck, which would cost you a lot of time and soldiers. Meanwhile both my defense on the hill and on my left flank (right picture) got attacked by german infrantry, but I was able to hold my ground thanks to the amount of infrantry I called in. I did actually use a ranger unit to pick off remaining enemy soldiers that were out of range of my entrenched infrantry. After a couple of minutes you will get the order to clear the western road of mines, which is auto-completed if you done that already. Mission accomplished.
Mission 16: A Needle in a Haystack (Priotizized)
I recommend doing this mission either after "the King of the Hill" or right at the start of the chapter. Reason being that you receive a cruicial medium tank upgrade for completing this mission, which is incredible important for the next mission I plan on doing after this. This is a search and rescue mission for an important US officer, who got shot down in his scout plane. He is somewhere behind enemy lines and has to be rescued in time.

Now this mission can go two ways: 1. You get lucky and finish it in about 5 minutes or 2. You have bad luck and must fight your way through a lot of german soldiers. Depends on where the US officer you are looking for spawns (he can spawn in 3 spots, shown on the map). At the start, charge the southern village with two M5 Stuard squads. Be careful about the german AA gun, which you should focus down immeadiatly after entering the village. Clear said village and a group of soldiers that tries to escape across the bridge in order to secure the reinforcement point.

After stopping the group of escaping german soldiers and capping the village you should leave behind a couple of stuart tanks, as an enemy convoi will spawn after a short period of time. Once it does quickly call in another group of light tanks as your Stuarts won´t be able to penetrate the front armor of the Pz.III Ausf. J. After dealing with the situation go check out the crash spot to the south - I got lucky and was able to finish the mission early as the officer was there.


If you aren´t as lucky call in more tanks (if you lost a couple of them) and storm the East Side of the central bridge. Make sure to take out the rocket artillery on the small hill nearby as well, so you don´t receive a lot of casualties. Now search the two nearby crash sites and carefully move the officer to the central bridge AFTER you made sure there are no stray german soldiers nearby. Leave a couple of tanks as a rear guard behind and charge the other side of the bridge with the rest of them. Wreck the guns, soldiers and patrolling tank and follow up with the officer. Now, regardless if you were lucky or not, there will be a couple squads of german infrantry on the field near your starting position. Make sure to deal with those before moving the officer to the tent, into safety. Once that´s done you won the mission.
Mission 17: Airborne Fury (Priotizized)
Yeah I can imagine this is the kind of mission that got you reading this guide. I failed this mission dozens of times because I got too reckless with the few infrantry squads we get - don´t follow that example and be very cautious about when you attack an enemy and when you better ignore them for the time being. But completing the mission is totally worth it - you get thunderbird GAPs, in my opinion the best GAP in the entire game. First goal of the mission is to capture the city hall in the center of the town (picture). Before moving in your soldiers you should hold you ground and turn them into stealth mode (make sure to spam the order until every soldier is camouflaged, seen on the yellow box around the button).

Each of your three stray infrantry groups will be attacked by two german infrantry squads - best pause the game once they come into sight range and order your rangers to engage them (do that repetitive like with the GAPs, as the camouflaged soldiers won´t attack on their own). This part is crucial as you cannot loose your Bazooka soldiers too soon in the mission - you need them later. Move your western group to the south and unify those two groups, then assault the weak defended depot on the eastern road. Best storm each watchtower with a squad of infrantry, as they are manned by a single sniper. Then capture the anti-tank cannon and use it to destroy some of the defenders in the town (use binoculars for some extra vision range).


Meanwhile, use the Bazooka soldiers of your northern group to take out a german scout tank on the edge of the town (closest to their entry point). If they fail just use the gun you captured in the depot. Make sure to neutralize the light AA of the germans nearby to avoid unnecessary losses. Now use two squads of elite infrantry to strom the city hall (alt + right click). Now be quick: The reinforcement that arrives to the north has to start engaging the town defenses immeadiatly. Call in more tanks and infrantry as soon as possible. Messerschmidt 262 GAPs will appear - nothing you can do about those.

After securing the rest of the town and calling in more tanks and infrantry let them take defensive positons on the southern and western road, as the germans will commence powerful counter-attacks on your position. They attack you about 4 times with either: 1. a lot of infrantry and scout tanks, 2. a couple of Pz. IV Ausf. G and Panthers or 3. With heavy Tiger tanks and a super heavy tank hunter. Use your remaining elite infrantry and fresh regular infrantry to deal with the 1st and 3rd case (thats why it is so important to keep these Bazooka soldiers alive, the Sluggers can´t penetrate the front armor of that geman tank hunter). If it´s the 2nd case you are best off placing your infrantry in the buidlings and support them with Shermans and Sluggers. After dealing with the counter attacks you won the mission - easier said than done :/. This is how my battlefield looked like near the end of the mission (I got attacked mainly from the south):
Mission 18: Showdown at the Bridge
Back to the normal order of the side missions. Goal of this operation is to aggressivly defend a cruical bridge that got captured by allied forces recently. That means you have to capture and hold all three enemy reinforcement points at the same time and to maintain control of the bridge itself. If you followed my advice regarding the order of prior completed missions this one is really easy. First launch some GAPs (ahh sweet thunderbirds in action). Move them south and quicky take out the mobile german rocket artillery. A bit further south is a group of german tanks that will be more easy victims for the GAPs - don´t worry too much about that german AA gun yet.


As soon as you got another reinforcement ready call in fighters as the germans launch some bombers heading to your starting position (they might launch a ground attack at the same time, thats why it´s a good idea to take out some of the tanks). Now simply follow up with tanks and infrantry and take out the remaining german troops in the south, capturing the reinforcement point (which gives you free units). If your GAPs are still in the air use them to destroy the heavy german AA gun before moving in with the tanks. Should the allies have trouble dealing with the germans dispatch some tank hunters their way.

Launch another wing of GAPs and let them clear all artillery in the village north-east of the bridge. Follow with tanks and mop up remaining infrantry with them - another point with free units for you. I often get a counter-attack in the south after capping the first two points so have some units nearby to deal with that. Then simply wreck what little the germans have left, cap the last point and you won the mission.
Mission 19: Rail War
This mission is really tough as you have to fight your way through many heavy german tanks. Mission objective is to capture the western train station and the town to the north. Before commencing the attack you should move your Rocket Artillery to the north, right of the road, and fire one or two barrages into a small clearing of the nearby forest. The germans have some heavy artillery there and it helps tremendiously in your efforts if you wreck this early on. After thats been dealt with you propably will get a counter attack of the germans from the south and from the north so position your tanks accordingly. There will be an Elefant tank hunter, which is best dealth with using your infrantry.

Now it´s time to go into the offensive. Move both infrantry and tanks along the southern road and break through the weak german defenses. Don´t neglet the northern defense of your starting position so leave behind a couple tank hunters (or call in more). I got attacked by a significant german tank force (left picture) and was barely able to defeat them. Back to the attacking group, they now have to rush to the train station and destroy an enemy rocket artillery stationed there. Then just mop up any remaining germans and stop the train trying to run away.

The germans don´t take this lightly and launch a massive counter-attack (again with tanks) to recapture the train station. Use both your tank hunters and the infrantry to deal with this (best have two tanks on the rails to flank that heavy german tank hunter). I also recommend building up a road block at the train station, facing south. Later, after capping the village to the north, german tanks spawn here to kick you out of the village again. Several squads of Bazooka infrantry, a flame thrower soldier and some tank hunters utterly destroyed any german reinforcement coming from that direction (#spawncamp for the win).

Now after mentioning it several times it´s time to finally cap that darn german vilage, which
shouldn´t be too hard if you focus down the tiger and the anti-tank guns first. Wreck the buidlings enemy infrantry is in and let your own soldiers deal with them while the tanks advance to the next enemy position. After capturing the village immeadiatly build up a defence line facing east, as the germans will send in several waves of tanks to recap their territory. Thanks to the dirty spawncamp I do at the train station I can leave that side of the town undefended and focus my efforts completly on the east side. After beating them you won.
Mission 20: Lost and found
This is a very small, relaxing mission after beating the germans in the last operation. Objective is to rescue a convoi of captured british trucks, carring important documents. Call in some more tanks, move them to the east and capture the bad defended german village. Meanwhile send your infrantry to attack the southern, better defended village. By the time they get there, your tanks should be at the east entrance of the same village and start wrecking the german tanks. Watch out as there are two heavy german AA guns in the town. If you are fast enough, you can rush in and wreck them before they even finished deploying.

After capping the village send the trucks to the east (but not to the goal yet). Germans will attack from the west with rocket artillery (send a tank or two to deal with that) and with several tanks from the south. Defeating them shouldn´t be hard and you can use the momentum to counter-attack their depot and destroy any fuel reserves of the germans (completes secret objective, sometimes bugged). Now move the british trucks to the "finish line" and the mission is over. Nice and easy.
Final Mission: Battle of the Rhur Pocket
This is it. We´ve come a long way from the 1st lieutnant defending a small beachhead to a general trusted with one of the most important battles on the western front. This mission will demand everything you´ve learned in the course of campaign: the effective use of infantry, tanks and artillery, the use of GAPs and bombers to weaken enemy defenses and the use of tactics to ensure low allied casualties while inflicting heavy enemy casualties.

The mission starts on the bottom of the map and you can imagine the size of this mission when looking at the massive map. Before you can launch your attack you are ordered to stop an enemy counter-attack on the bridge, which will commence about a minute into the mission. More important than to reinforce the defense is to destroy the nearby rocket artillery to the east of your starting position. This is the only main mission of the US army where I make active use of the elite infrantry - drop one right on top of the battery and as soon as the soldiers touch the ground the threat is neutralized. The counter-attack of the germans should start any moment now, so as soon as you got reinforcements ready send in some tank hunters to deal with the numerous tanks the enemy sends in. Remember to place your tanks in front of the trenches as the germans send in infrantry as well.

While dealing with the german attack use the free units (you receive for capturing the warehouse)
to destroy another rocket artillery battery to the north-east across the river. I recommend using your own rocket artillery for a preemptive strike on the enemy artillery. After dealing with the counter-attack you get a new objective, to open up a new attack path for your troops to the far north-east. Those few paratroopers you get for free won´t do the trick you will need to use GAPs to deal with the stronger defenses and land some elite infrantry to cap the reinforcement point. As soon as that happens send in some tanks to mop up the remaining enemy infrantry. Meanwhile our british allies over to the west have a very bad time against the germans and are suffering heavy losses. For the time beind they are on their own though.


Your next objective is to capture a train station to the north, which has a proper defence force holding it. As you can imagine, I sent GAPs to deal with the AA gun, the anti tank guns and most of the tanks themselves and let my ground troops deal with any infrantry left. Taking the train station itself isn´t very hard, but the next mission goal will be thats for sure.

You receive an urgent request from your british allies: They received incredible losses and need your help to destroy the enemy inside the northern town. This task is by far the most difficult one in the mission, as you only have a small amount of time to deal with it yourself. If you make it in time you receive 3 super heavy battle tanks that will utterly destroy most german tanks. If you don´t make it your superiors are very dissapointed and you don´t get any reward. The town itself is incredible well defended - you can only caputure it with the help of GAPs and bombing runs. Use the GAPs first and get rid of any AA guns inside and north of the city, on a hill. Then take out the rocket artillery and howitzers. Afterwards send in 2 or 3 bomber squadrons to wreak havoc in the city. Only after that you can capture the city with reasonable losses.

Made it in time? Congrats! If not it´s not that big of a deal, as we will repeat our tactic with the final objective of the campaign. You first should capture the northern most reinforcement point (best with elite infrantry) and deal with any tanks the german send for a counter-attack. Then gather your troops at the western city the british fought over for so long, and guard the two bridges for now (as more tanks might come over it to retake the city).

Now it´s time for the final strike against the germans. Start with several attack runs of your GAPs and get rid of any AA and artillery you come across (you can ignore the mobile howitzers, as they don´t have ammo anymore). You will spot several huge groups of heavy german tanks - use bombers to take them out and send in some fighters as the germans might launch their own fighters to shoot down your bombers. Now you can charge whats left of the enemy defenses and capture the final conrol point. Regardless of any germans left the mission will be successfully completed. With that you completed the campaign of the USA. Some spots you might be interested in taking out in the final assault:
Some of my statistics
This doesn´t exactly have to do with the guide, it´s just a small part were I present my end game statistic, if you are interested in that.

My army rank: General of the army (highest possible rank)
My total campaign kills: 6438 kills
My total campaign losses: 1219 casualties
My favorite reinforcements (not the suggestion from the game): GAPs, bombers, light tanks, tank hunters and assault infrantry

So some final words (I guess?): I hope this guide helped you to get better at the game, or that you at least can now finish all side missions of the allies in a reasonable manner. If you got suggestions or requests feel free to write in the comments. Finally, like said in the very beginning, I will play through the other campaigns again and might do guides for them as well. If you are interested in that let me know in the comments. Have a nice day!
21 Comments
gjmajchrzak Mar 6 @ 9:14am 
Thank you!
Koopanique Dec 6, 2024 @ 4:45pm 
Incredible ! Thank you so much for this incredibly detailed walkthrough
STarScream Dec 19, 2021 @ 11:08pm 
Thank you very much for taking the time to do this. If possible, could you upload a pd file of the campaigns?
RookWood Nov 13, 2019 @ 8:03am 
There is a tank you can capture in the small village on the east in the "Diversion" mission. It really helps out with the defences of the main camp, at least on normal difficulty :)
Lord Commander Militant Aug 14, 2019 @ 11:08am 
As a side note, I'm not sure why Blitzkrieg refers to it as the Slugger; I've come across references to it as the Jackson, which appears to be the name given to it by Ordnance [though it's not certain if this name was preferred by soldiers in the field].
Lord Commander Militant Aug 14, 2019 @ 10:55am 
The M36 Gun Motor Carriage "Jackson" had a ~110mm thick glacis plate at 55 degrees, which is actually better than the Tiger’s [~100mm at 85 degrees] or Panther’s [~85mm at 55 degrees]. In game it’s marked as having 134mm, which is 110/sin(55), so armor-wise it doesn’t seem OP at all. As for it’s gun, the 90mm M3’s listed penetration table with standard-issue M82 shells specifies that it should be able to penetrate 100mm of armor half the time out to about 2500m. I wouldn’t say the M36 is particularly overpowered.
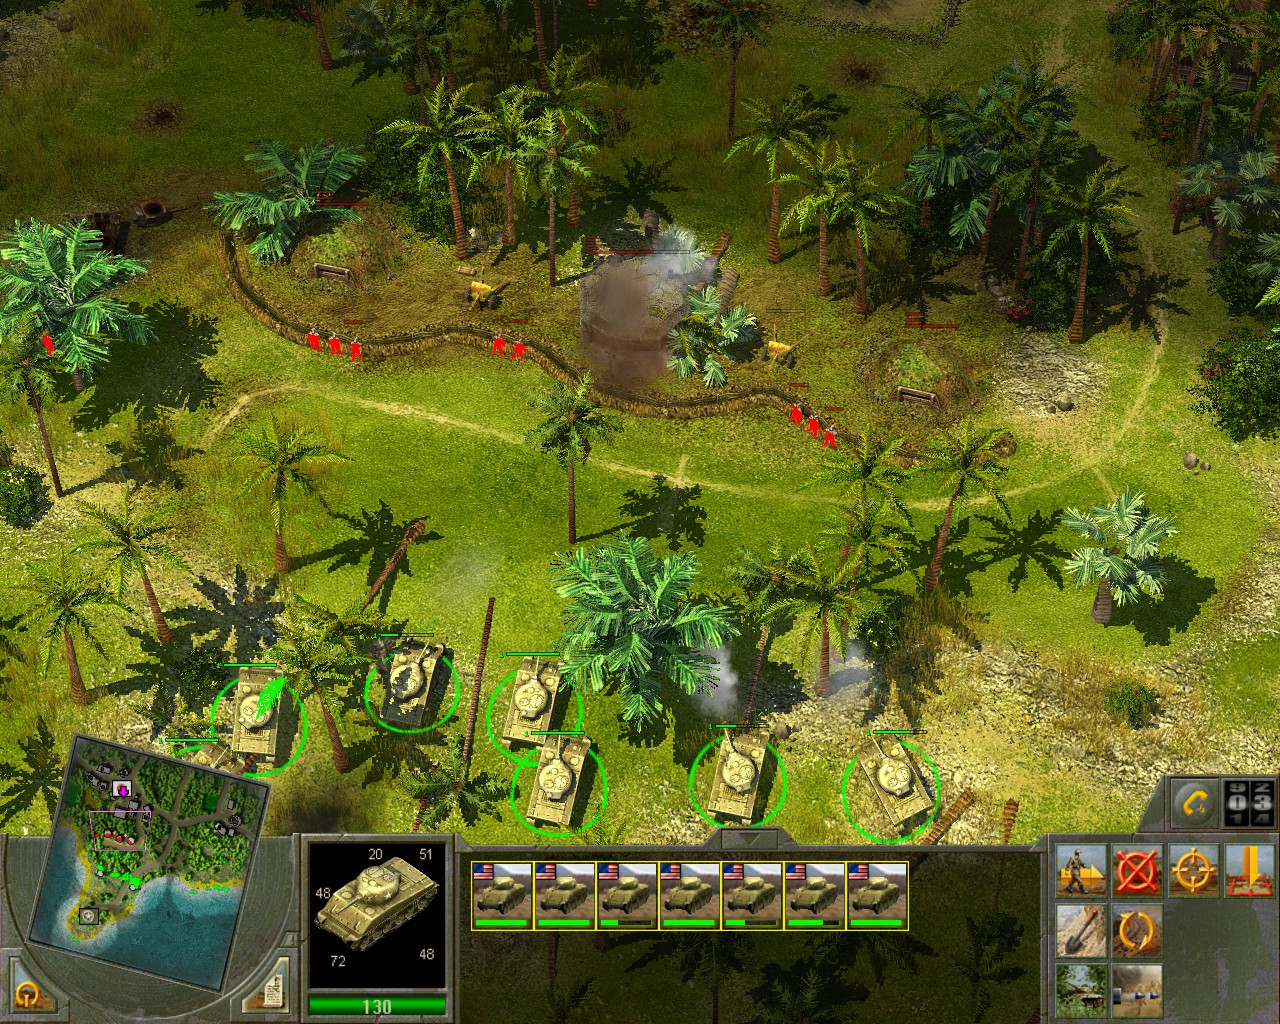
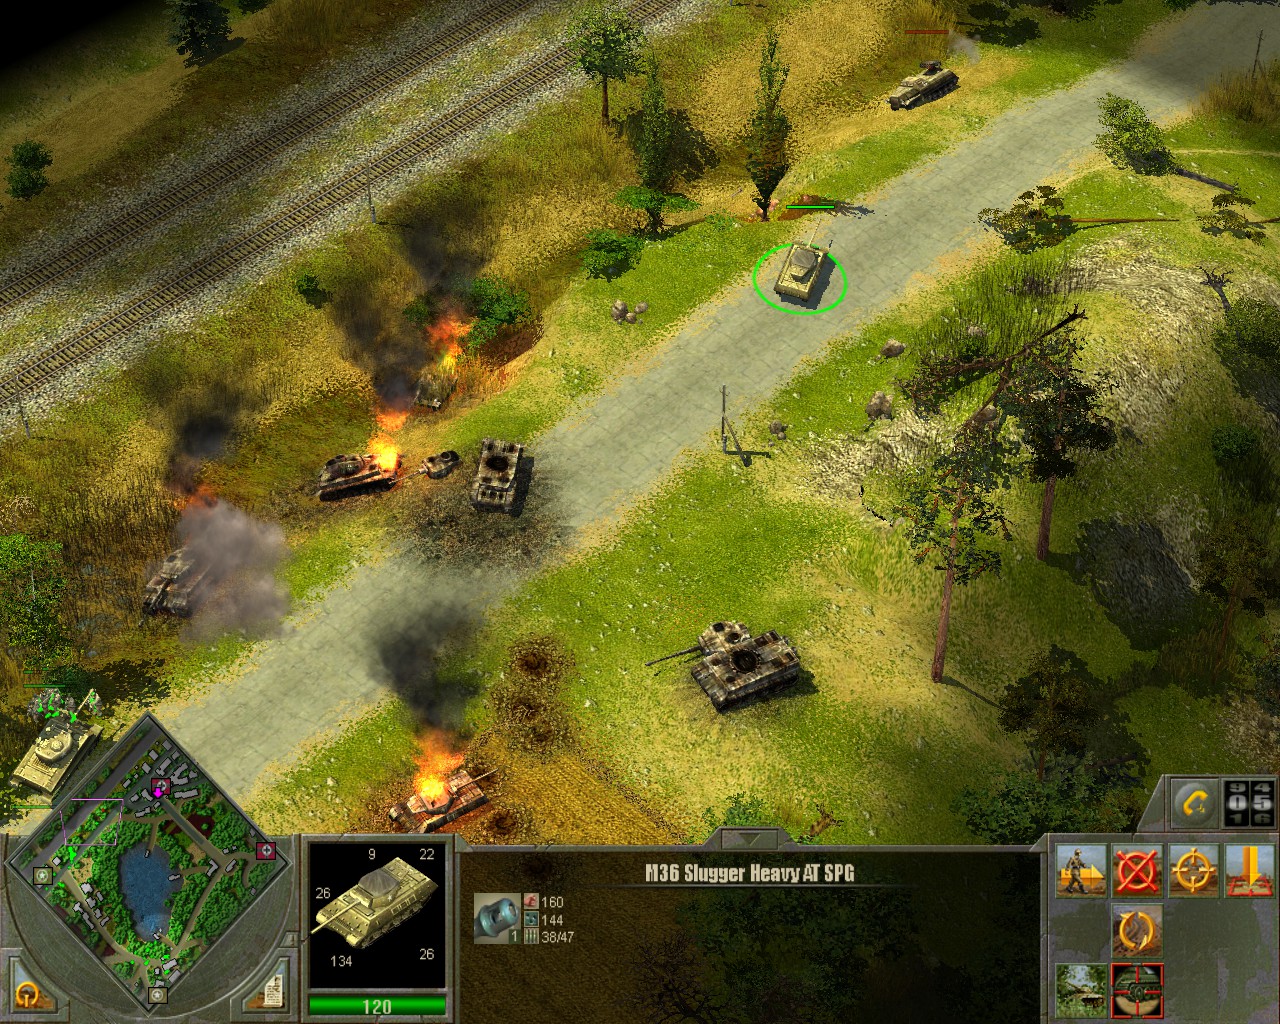
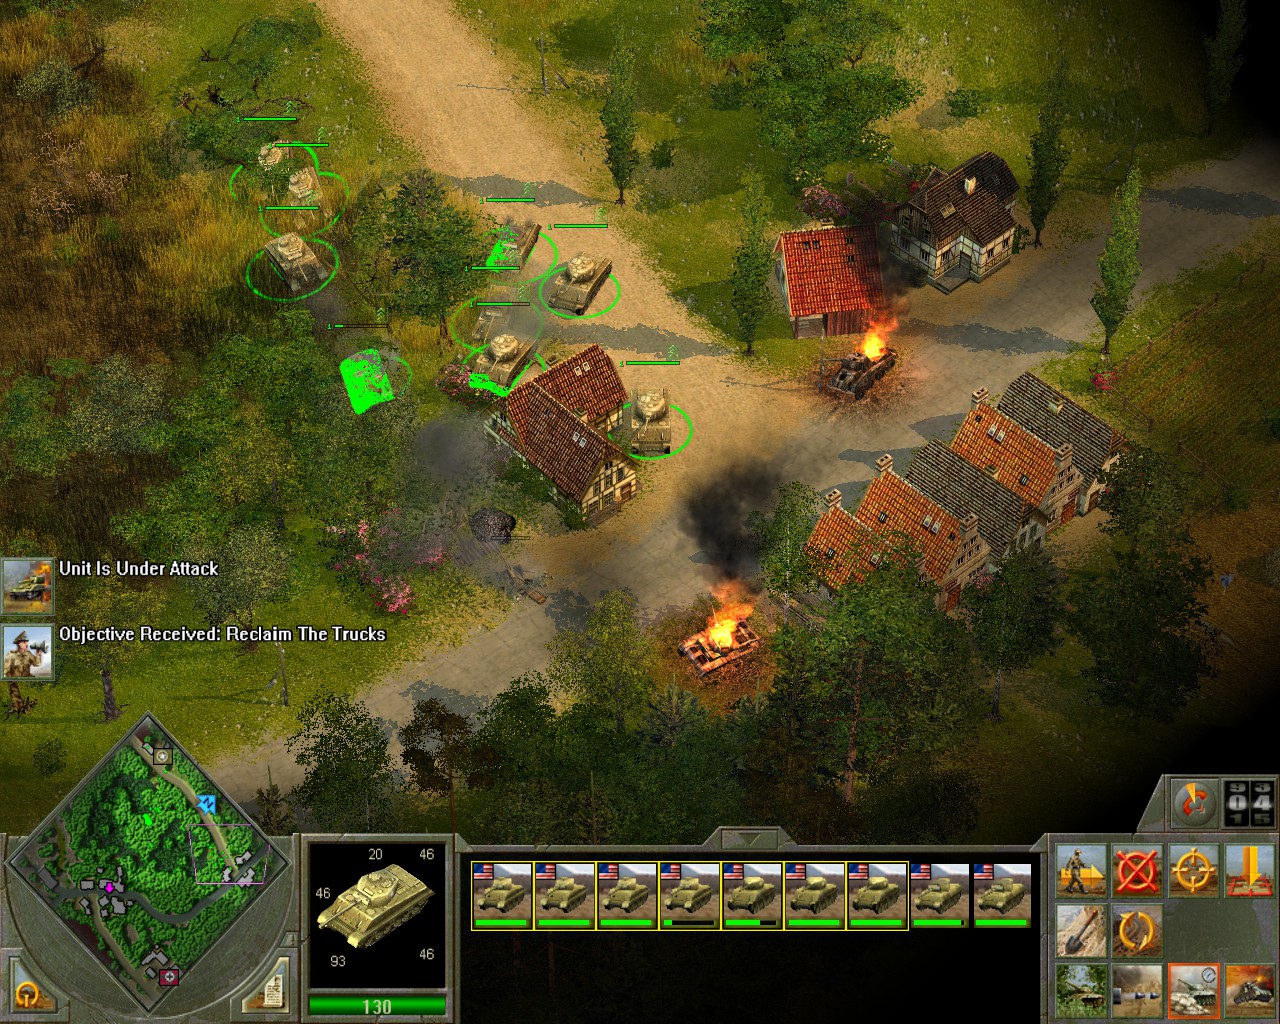
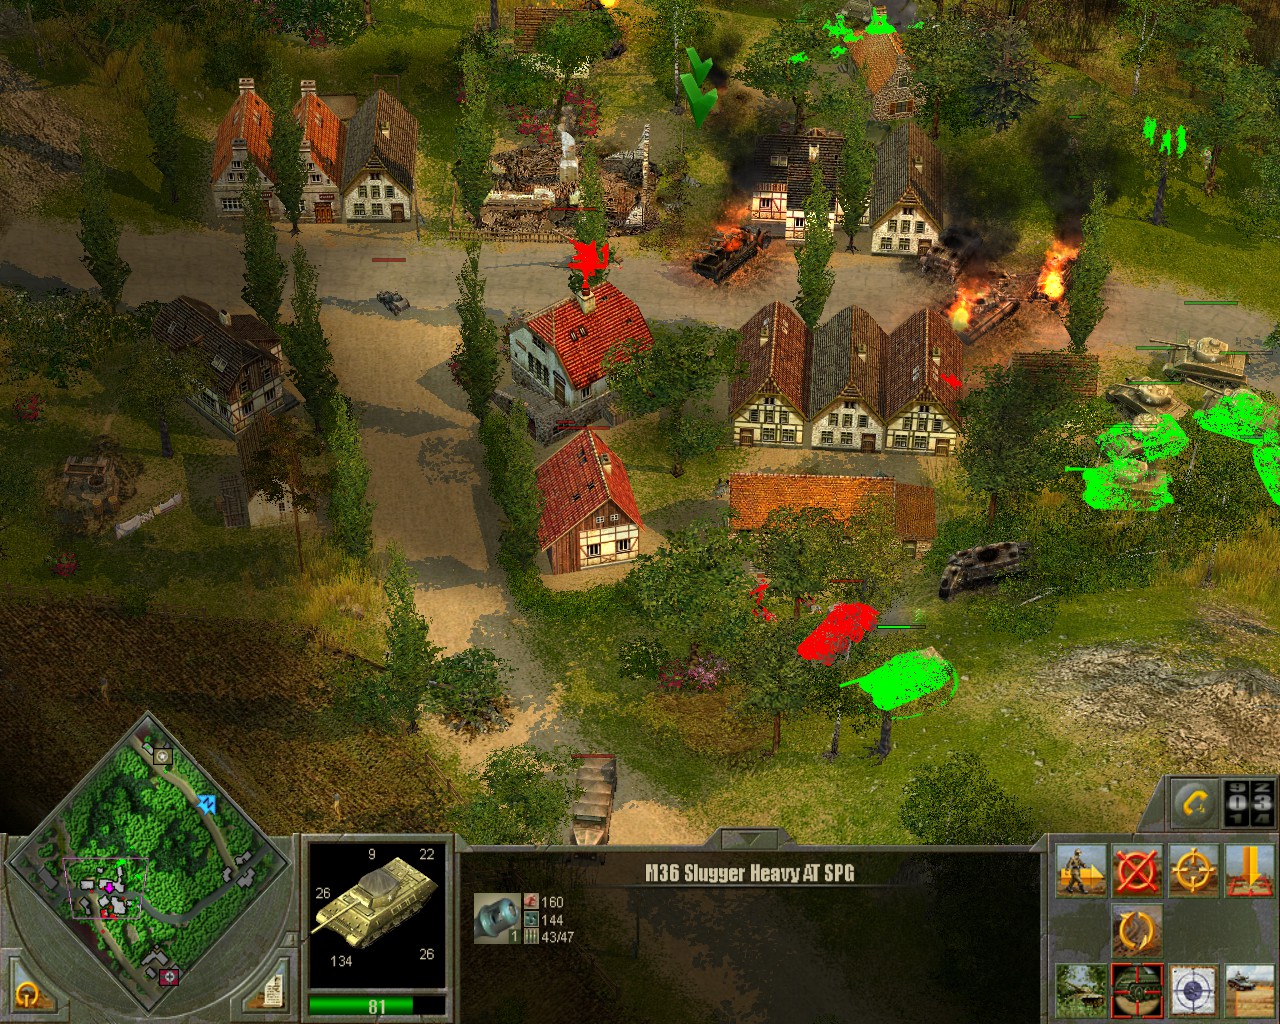
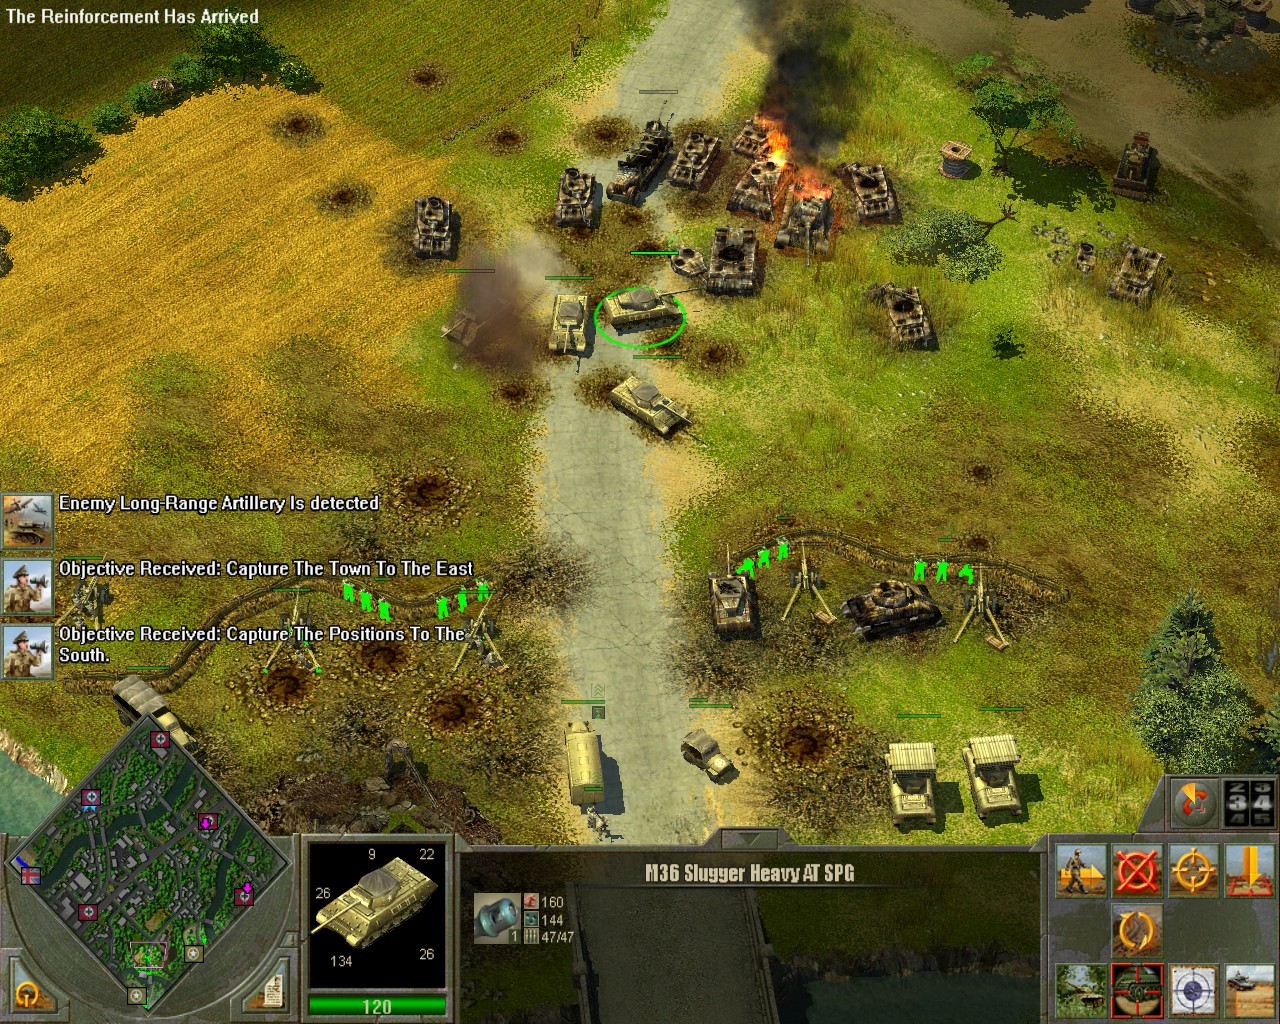
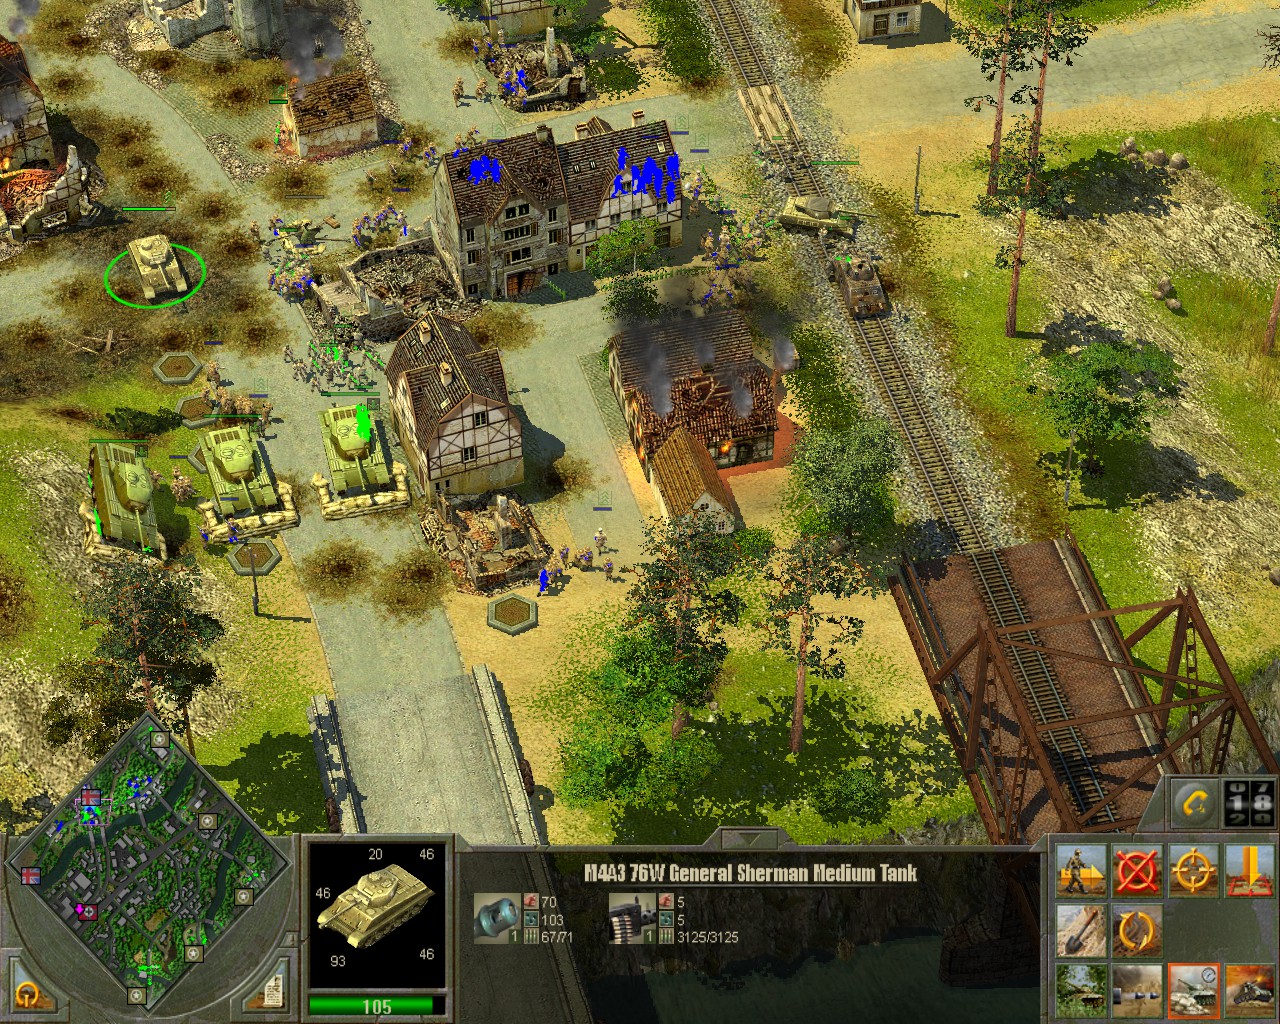
That said, the Jackson will generally outperform the regular M4A3 76W Sherman and M26 Pershing tanks available in the campaign; but it’s poor flank armor, poor performance in close quarters, and inability to entrench severely limits the aggression that can be shown while using them; and they require protection from other units.
★ Spaceflash ★  [author] Aug 13, 2019 @ 8:26am 
Yeah teh Chaffee sucks hard, the US tanks in general are pretty bad in a direct fight with german tanks - the only exception to this is the Slugger Tank Hunter, which is utterly broken (its overpowered so hard, you can wreck Tigers and Panthers left and right with that thing without receiving a scrath). The only main line german tank that can seriously threaten this thing is the Tiger 2
Festive Palpy Aug 13, 2019 @ 8:06am 
I beat Diversion pretty easily. There are only a few missions that I really dislike in Blitzkrieg 2's base game and the sneak ones are probably my least favorite. The exception probably being the German one in North Africa where you just rescue that Panzer 2 crew and go to town. I remember when I was younger when I first played this campaign that I absolutely hated the missions to get the Pershing or the Chaffee. The Chaffee isn't even worth it tbh.
★ Spaceflash ★  [author] Jun 18, 2019 @ 6:02am 
Diversion is a pretty horrible designed mission (or maybe its because elite infantry sucks hard in general because of their low range). Wish I could show you some gameplay how I use GAPs, the US GAPs are ridiculously powerful, especially the Thunderbolts in chapter 4. Remember about the spam mouse 2 tip I gave the reader at the beginning chapter 2.
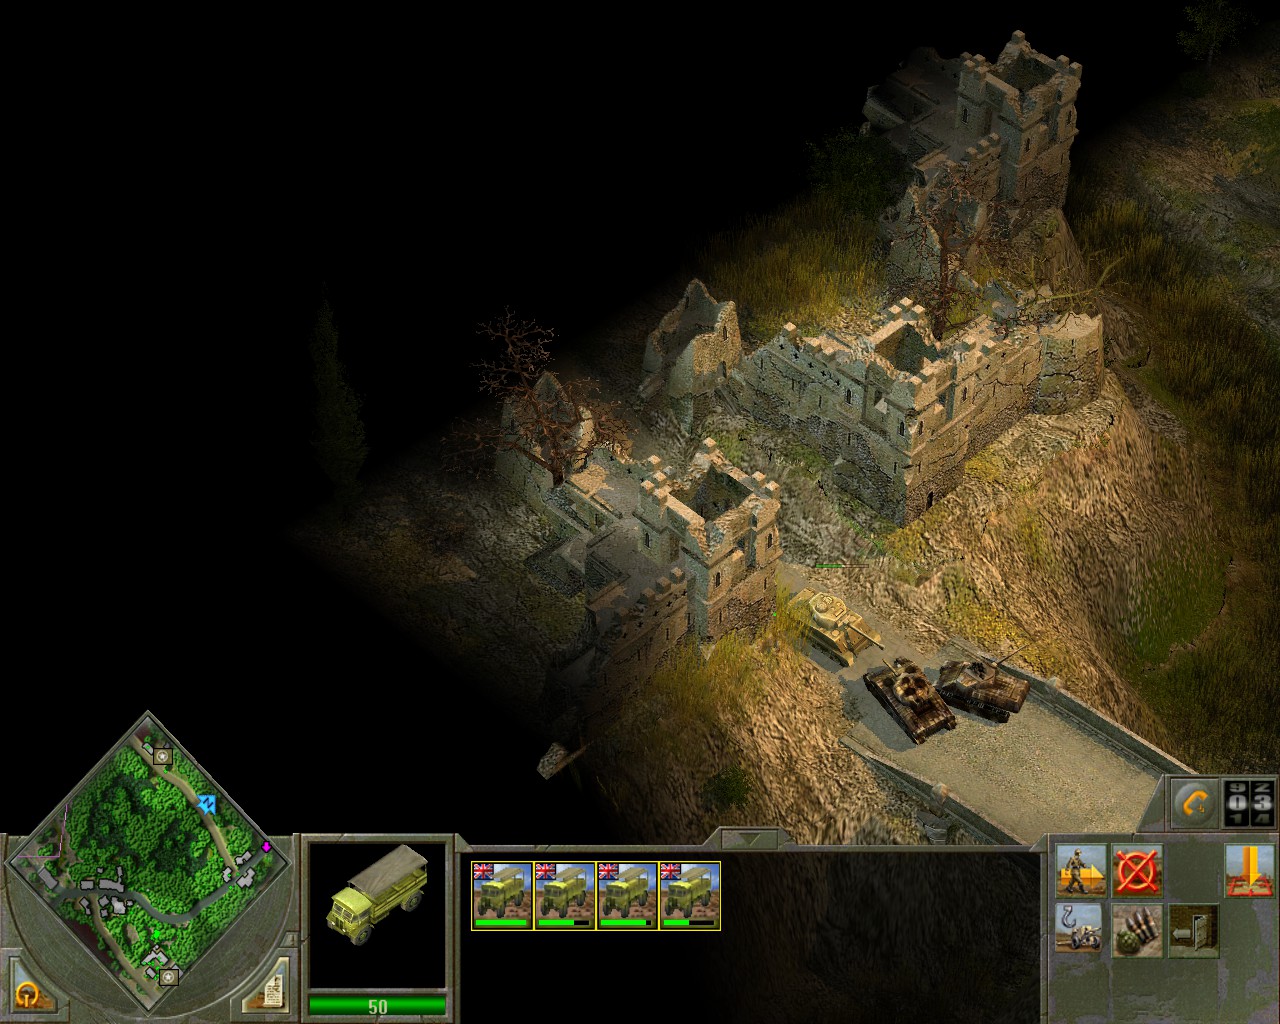
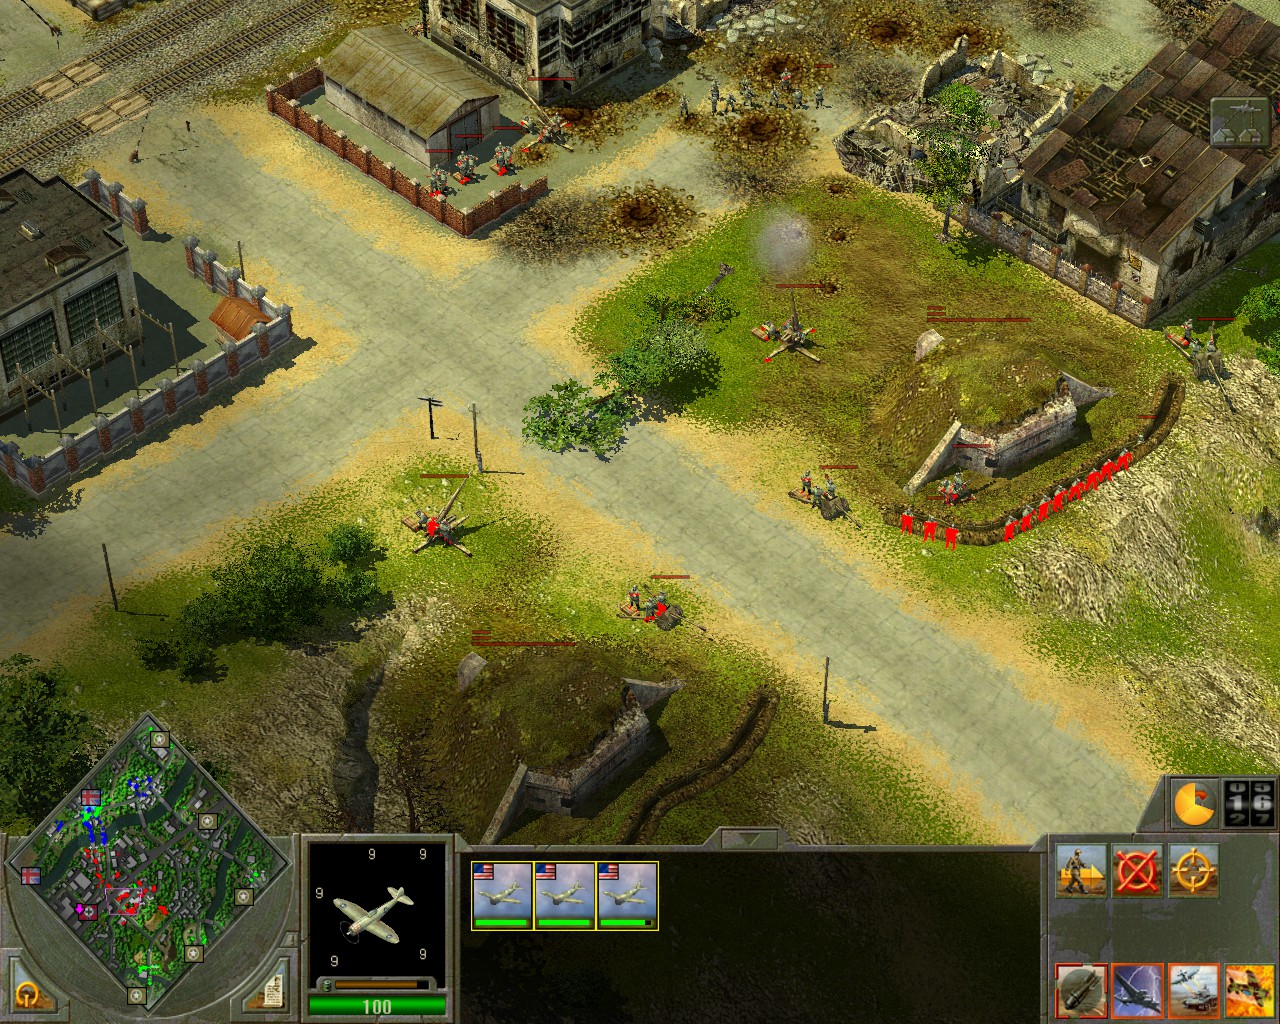
Mobile artillery is a very viable troop branch as well, although the germans and soviets have much better ones than the allies. They can adjust their position easily, have a good range and can just drive to resupply trucks back behind your lines (these tend to get obliterated by basically any fighting unit. Mobile artillery also has a fighting chance against an enemy tank.
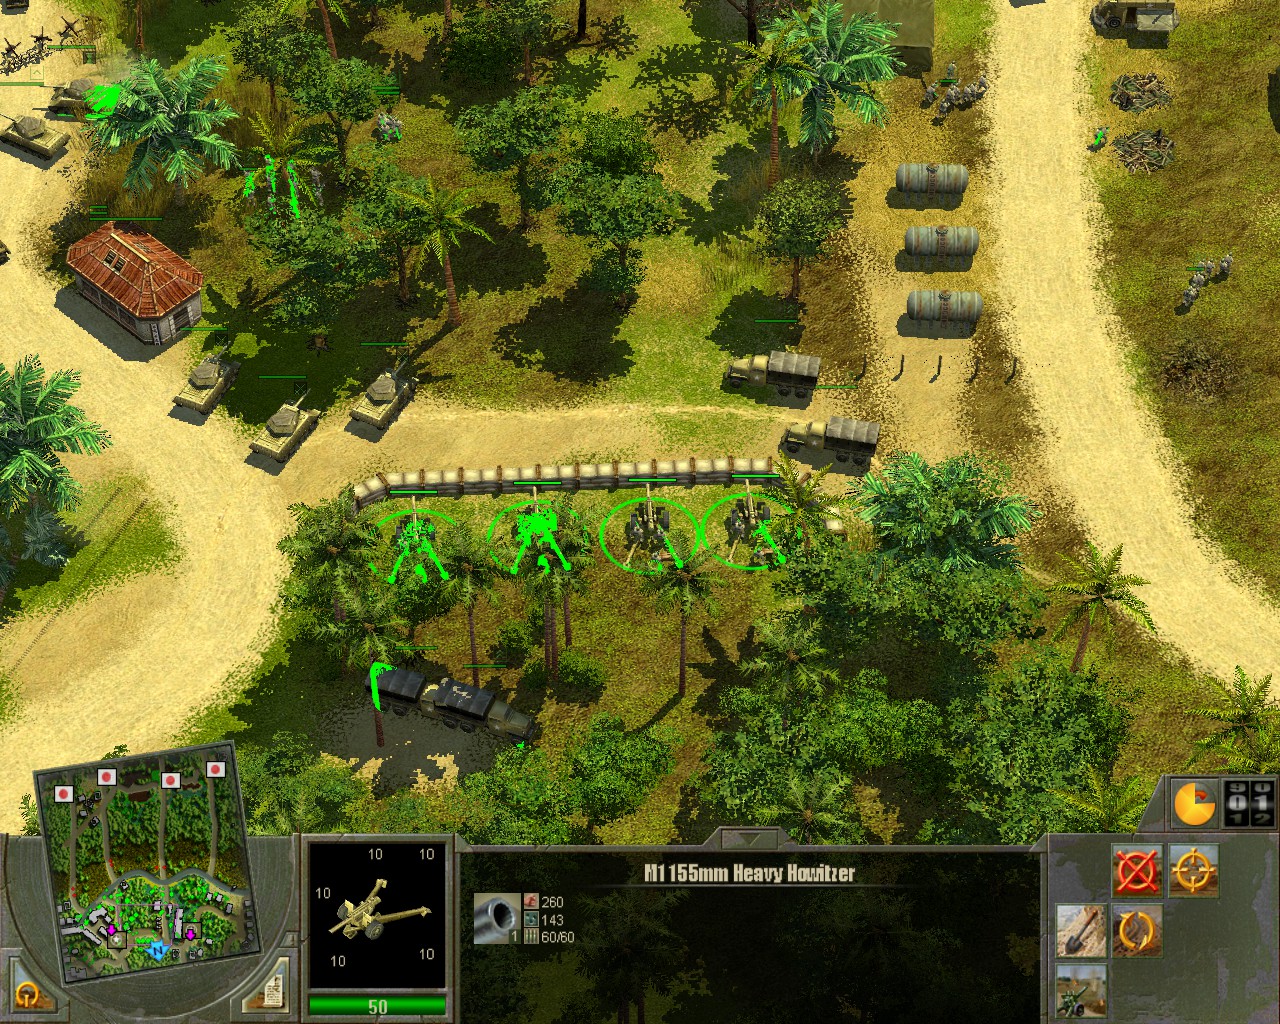
Stationary artillery is just a huge pain in the ass to micromanage in BK 2 (it was already annoying in BK 1, now with severly buffed GAPs and mobile artillery the towed artillery is almost pointless).
Lord Commander Militant Jun 17, 2019 @ 5:03pm 
What's with the review for Diversion as having a bad reward? Getting both Towed Artillery and SP Artillery makes that mission the mission I generally lead with.
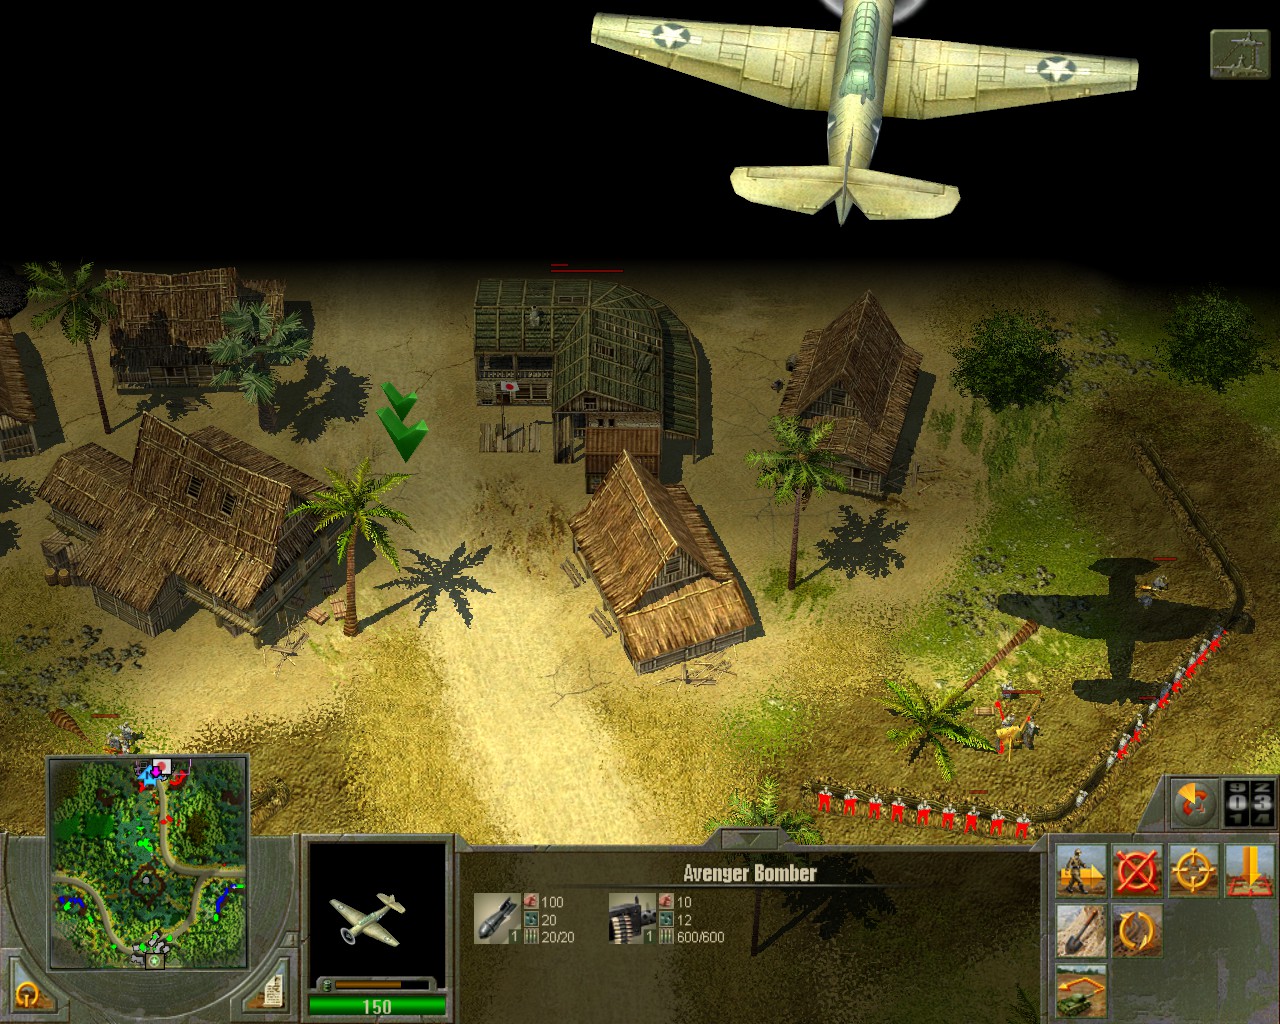
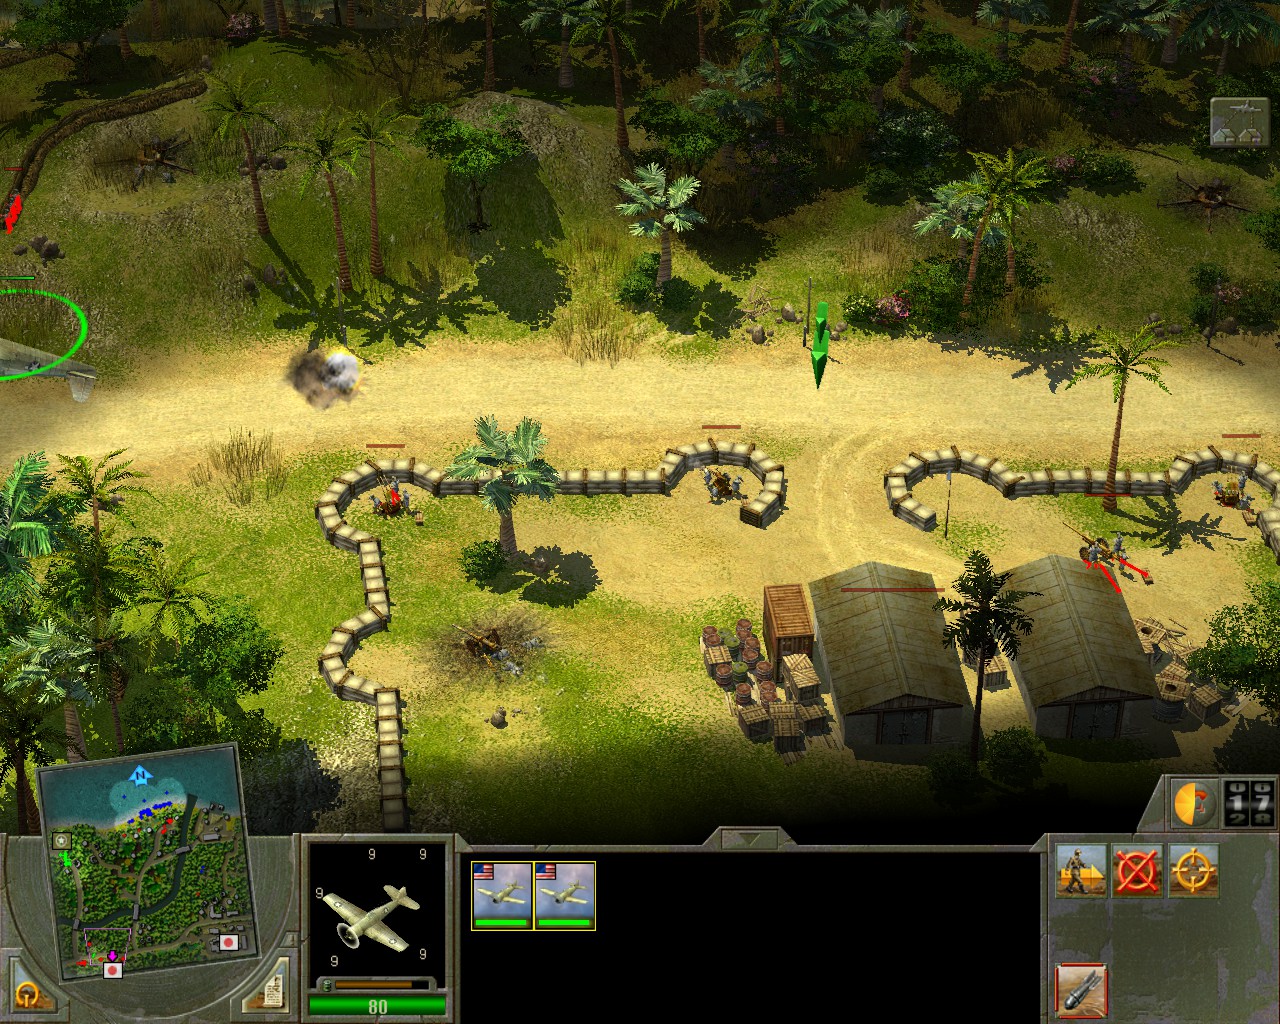
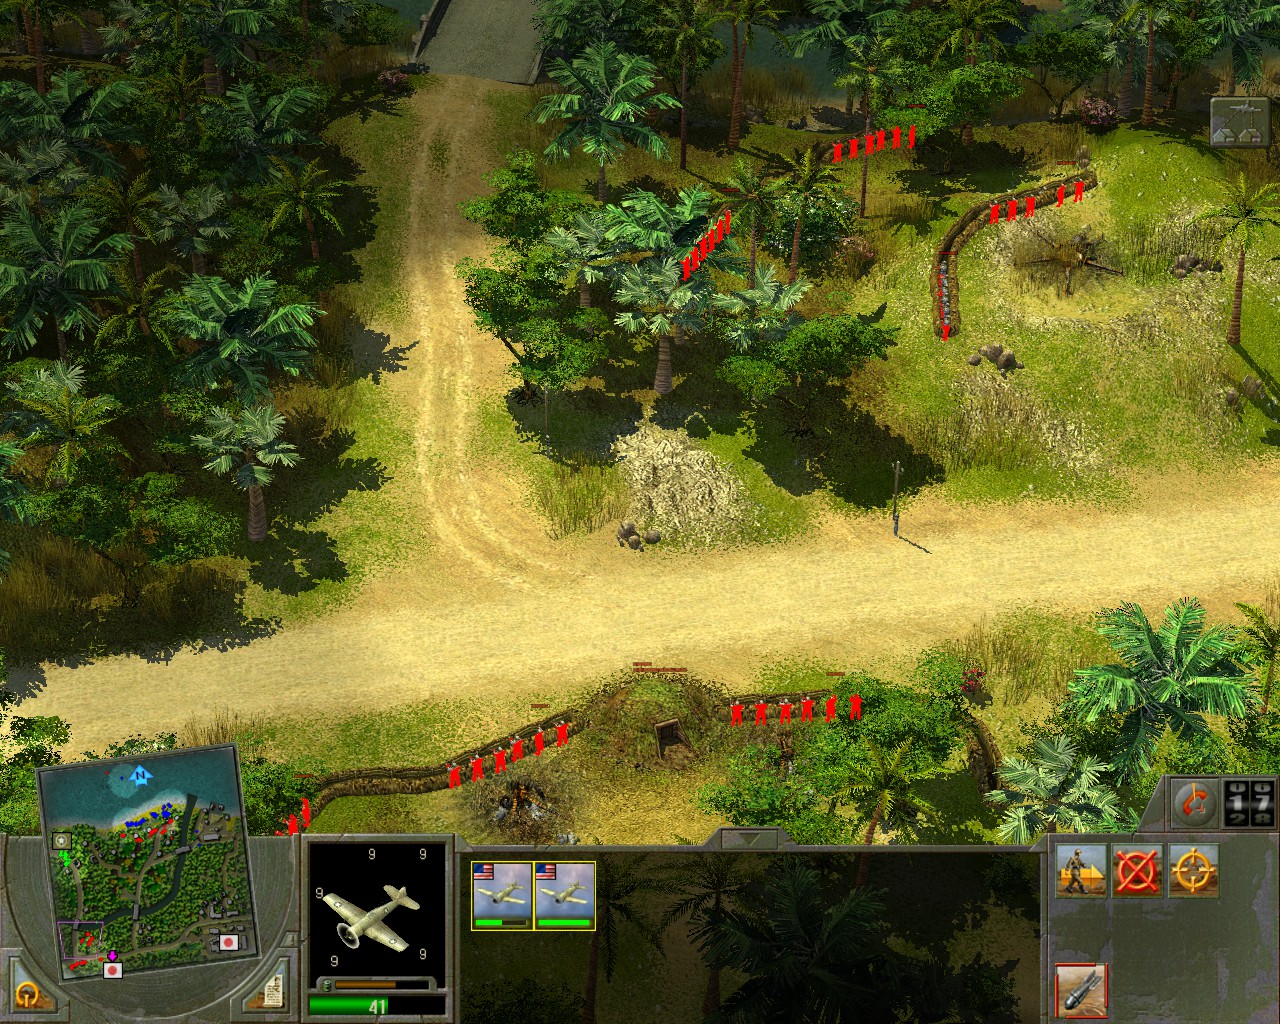
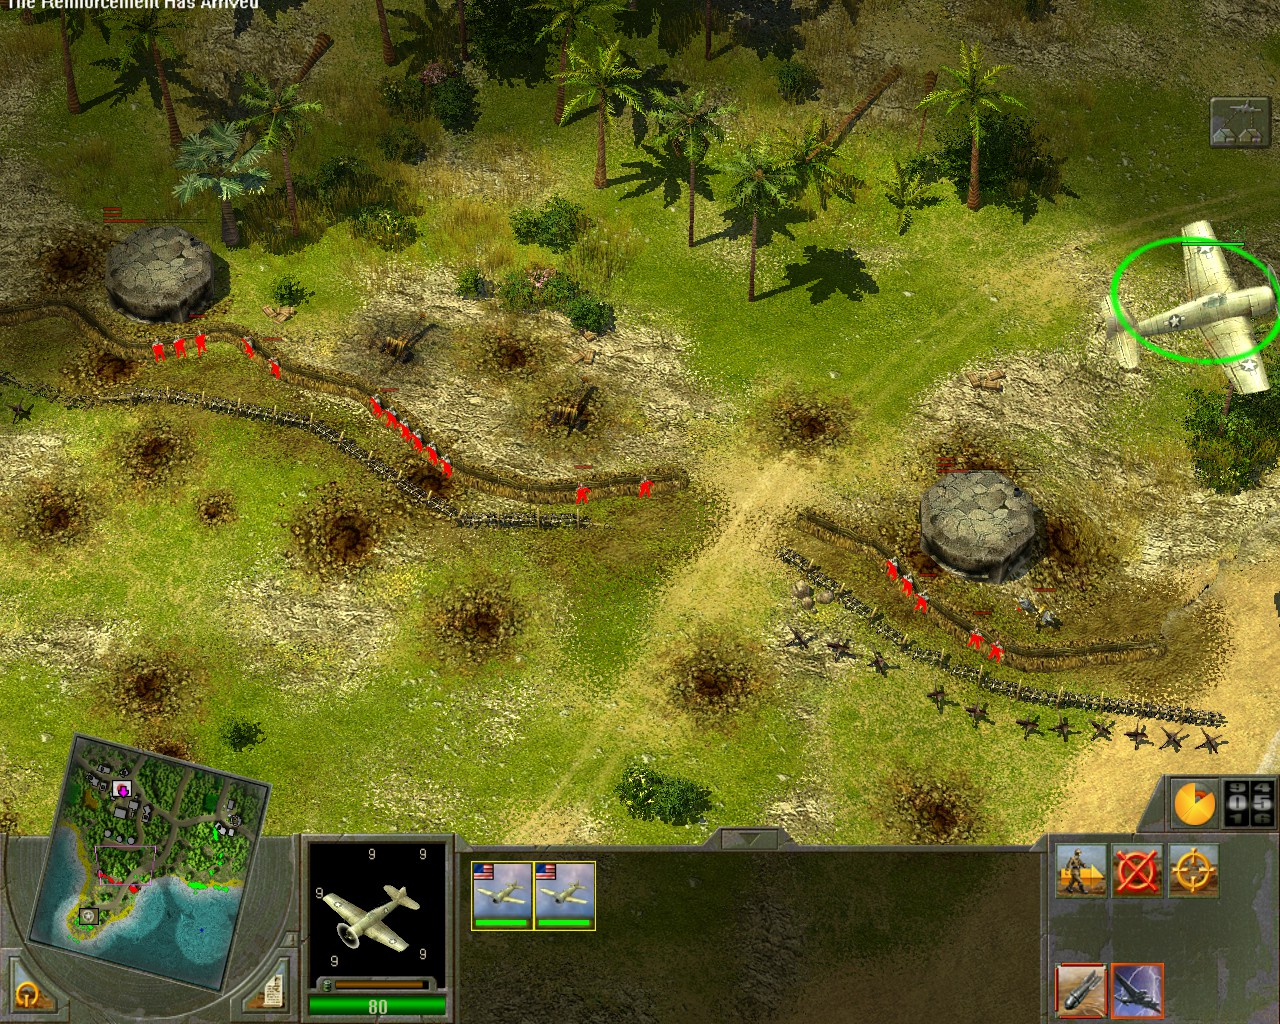
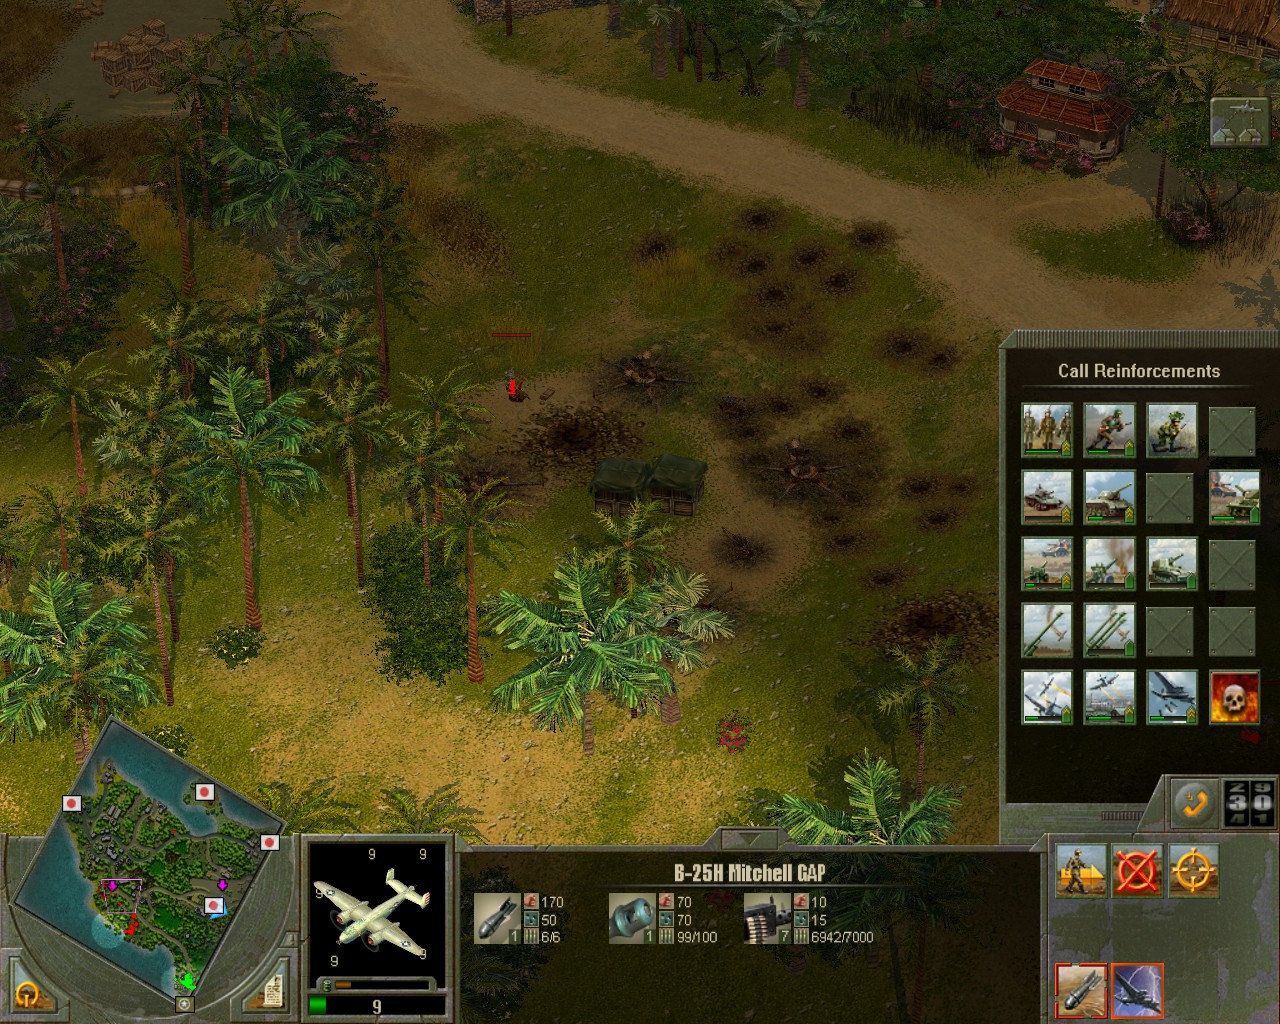
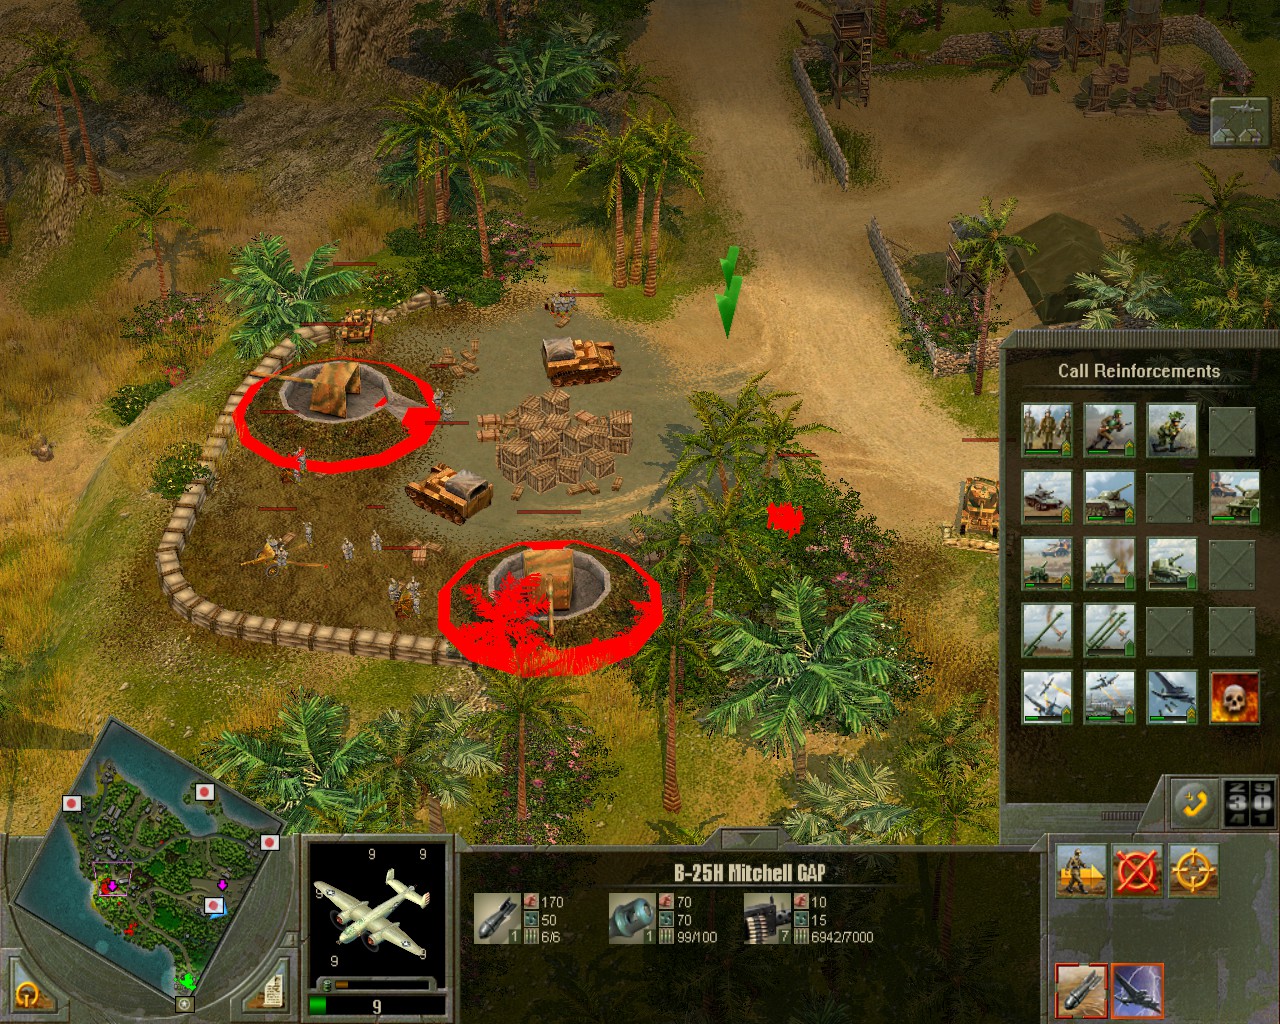
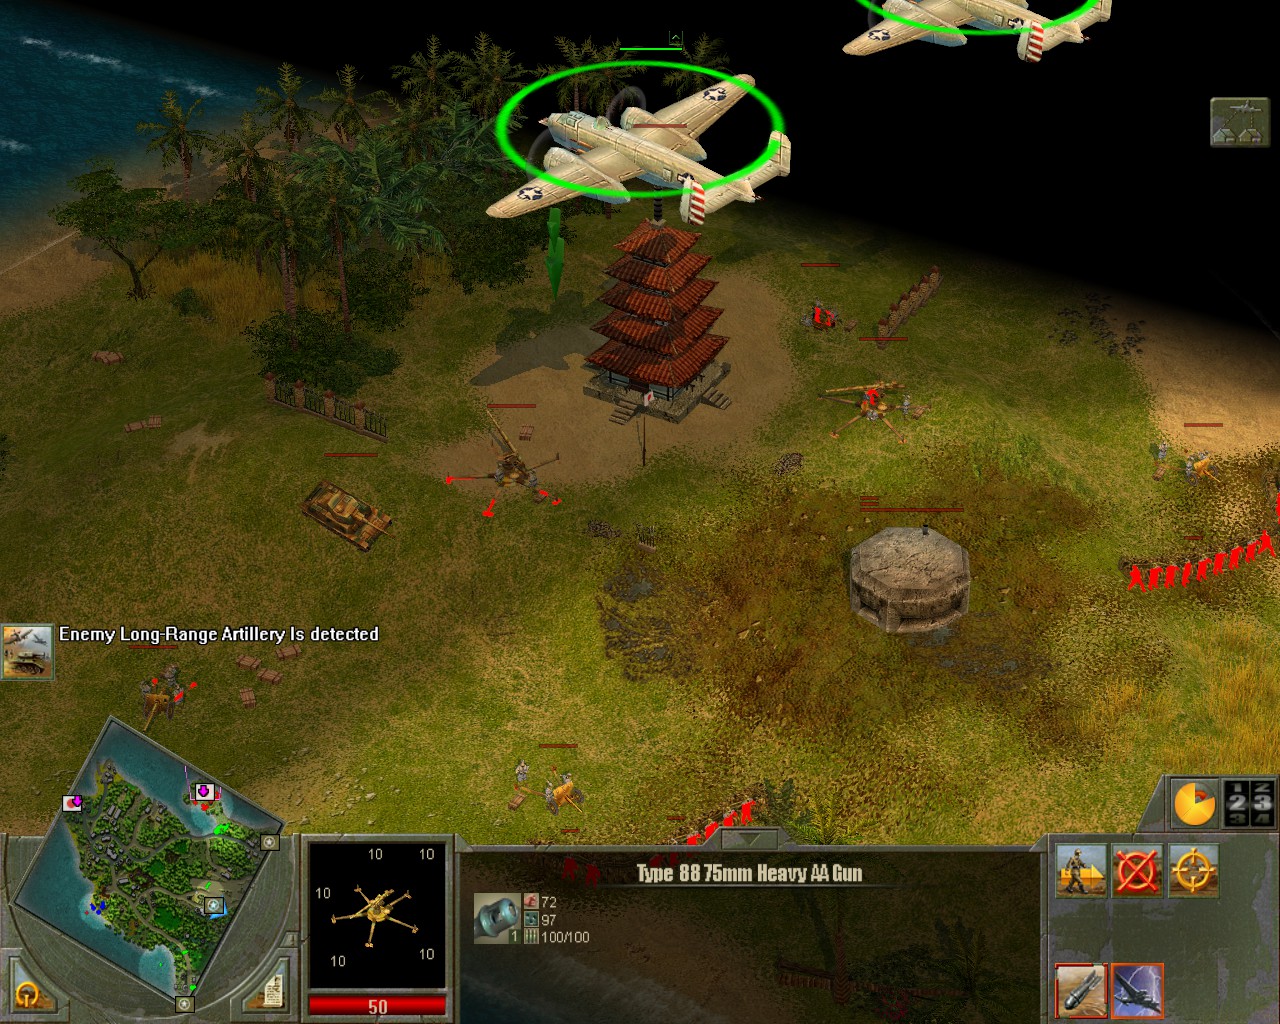
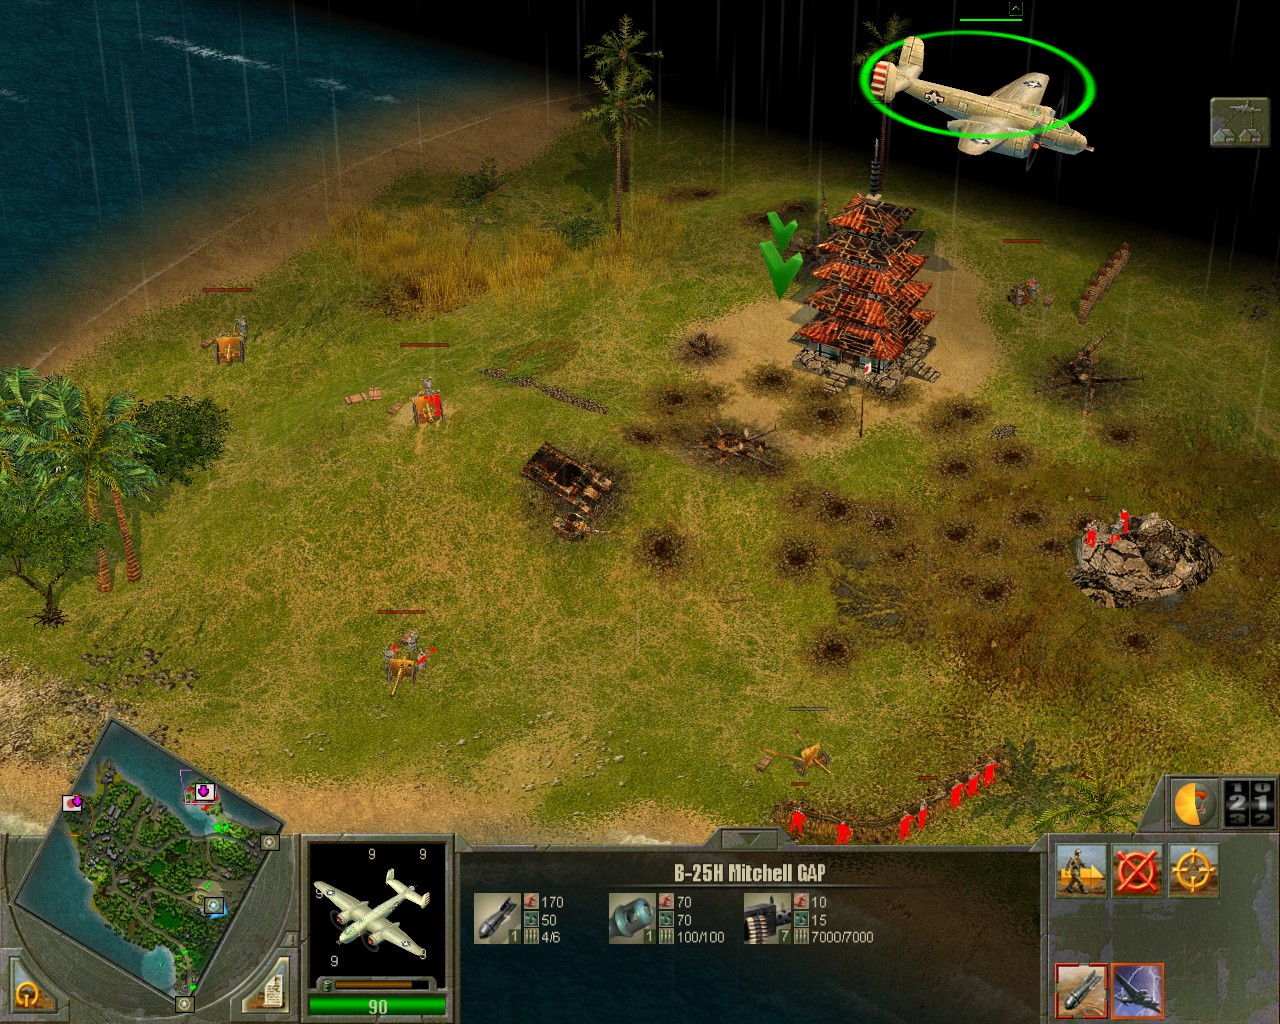
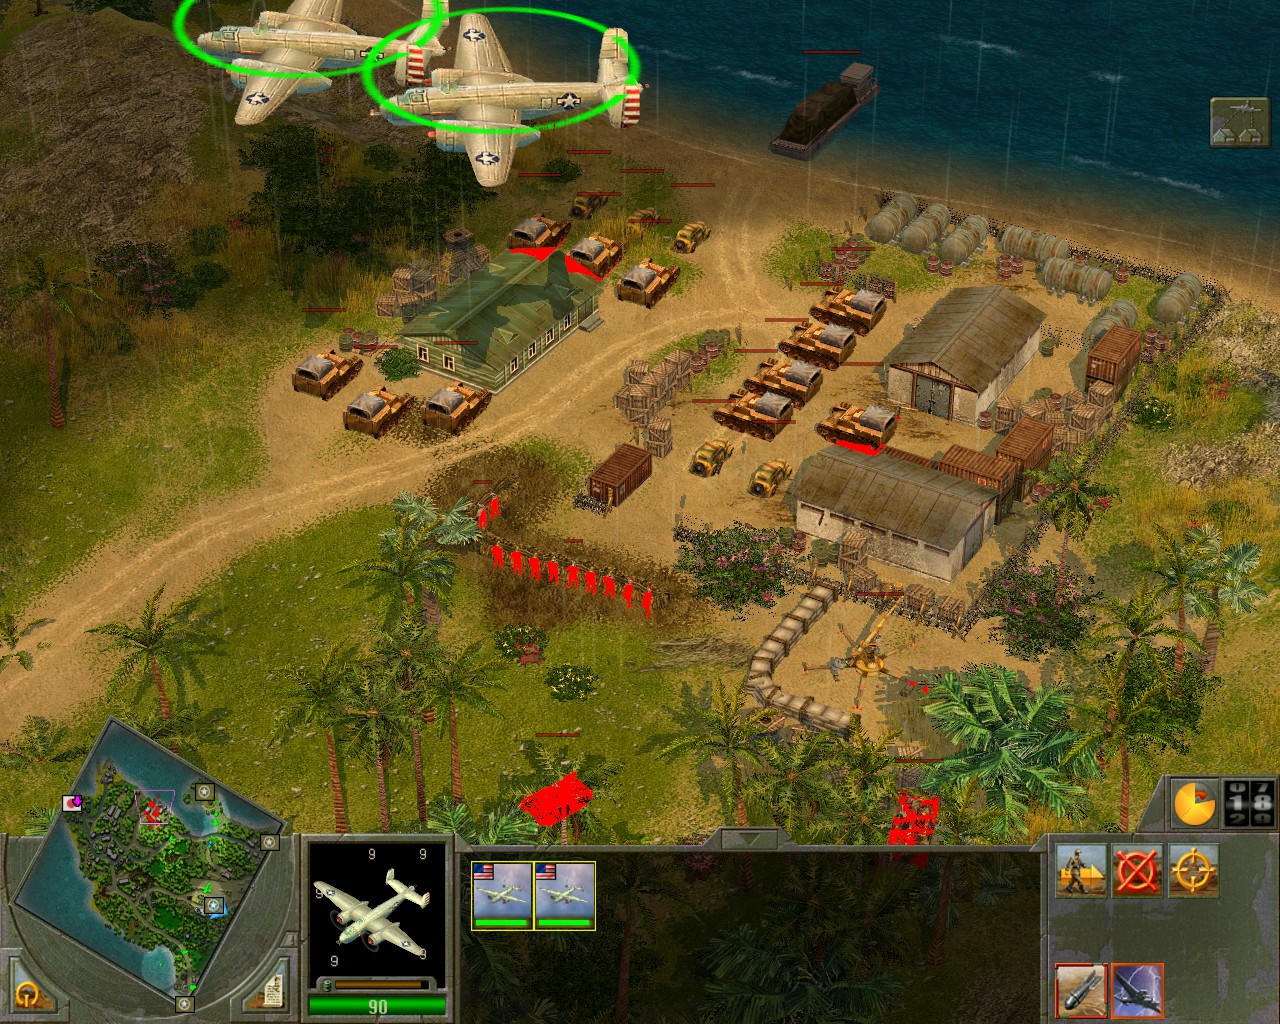
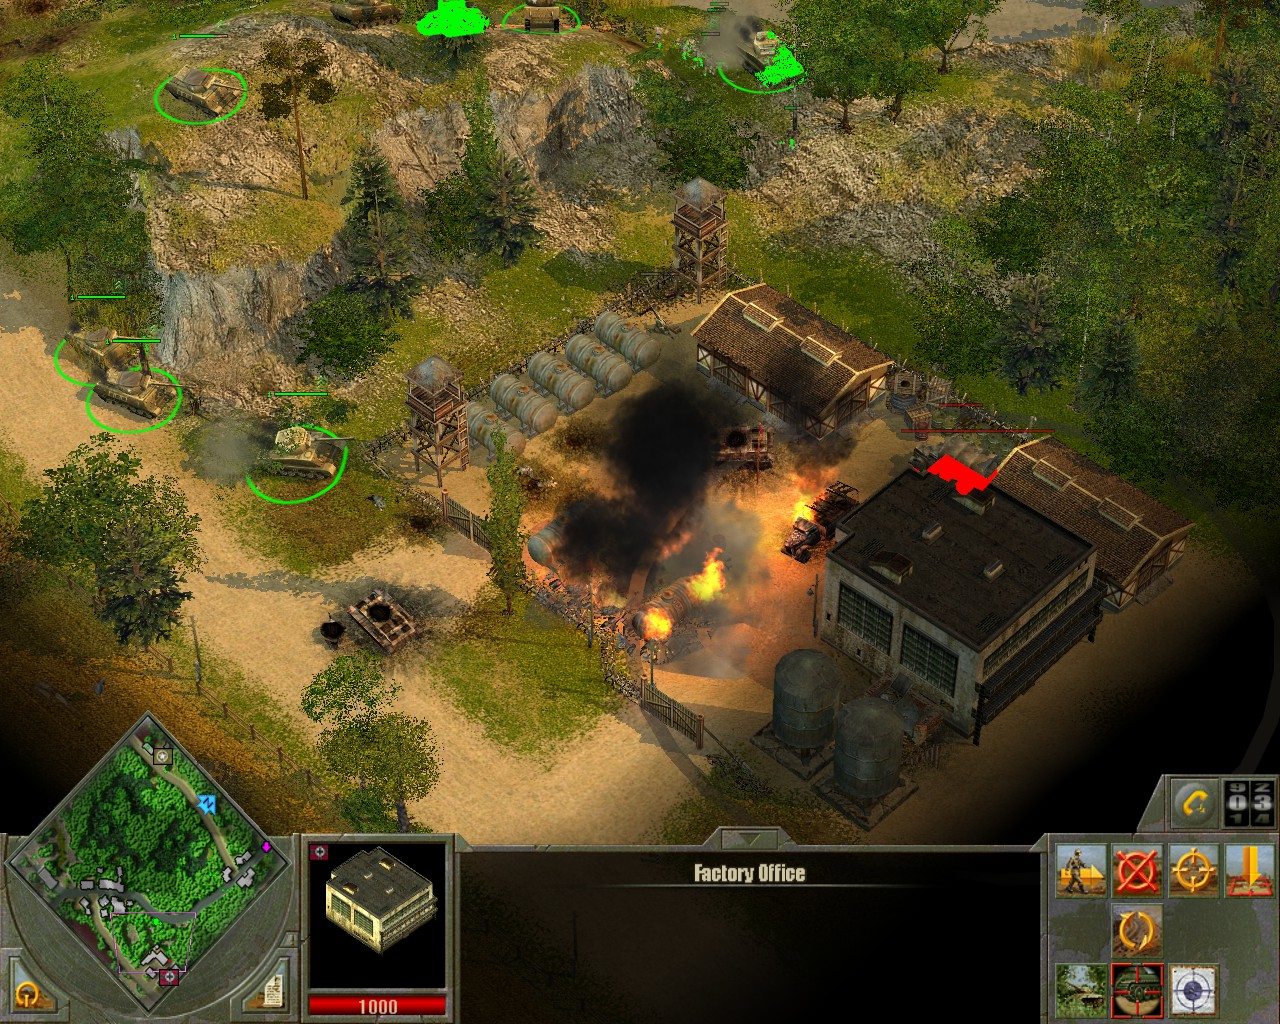
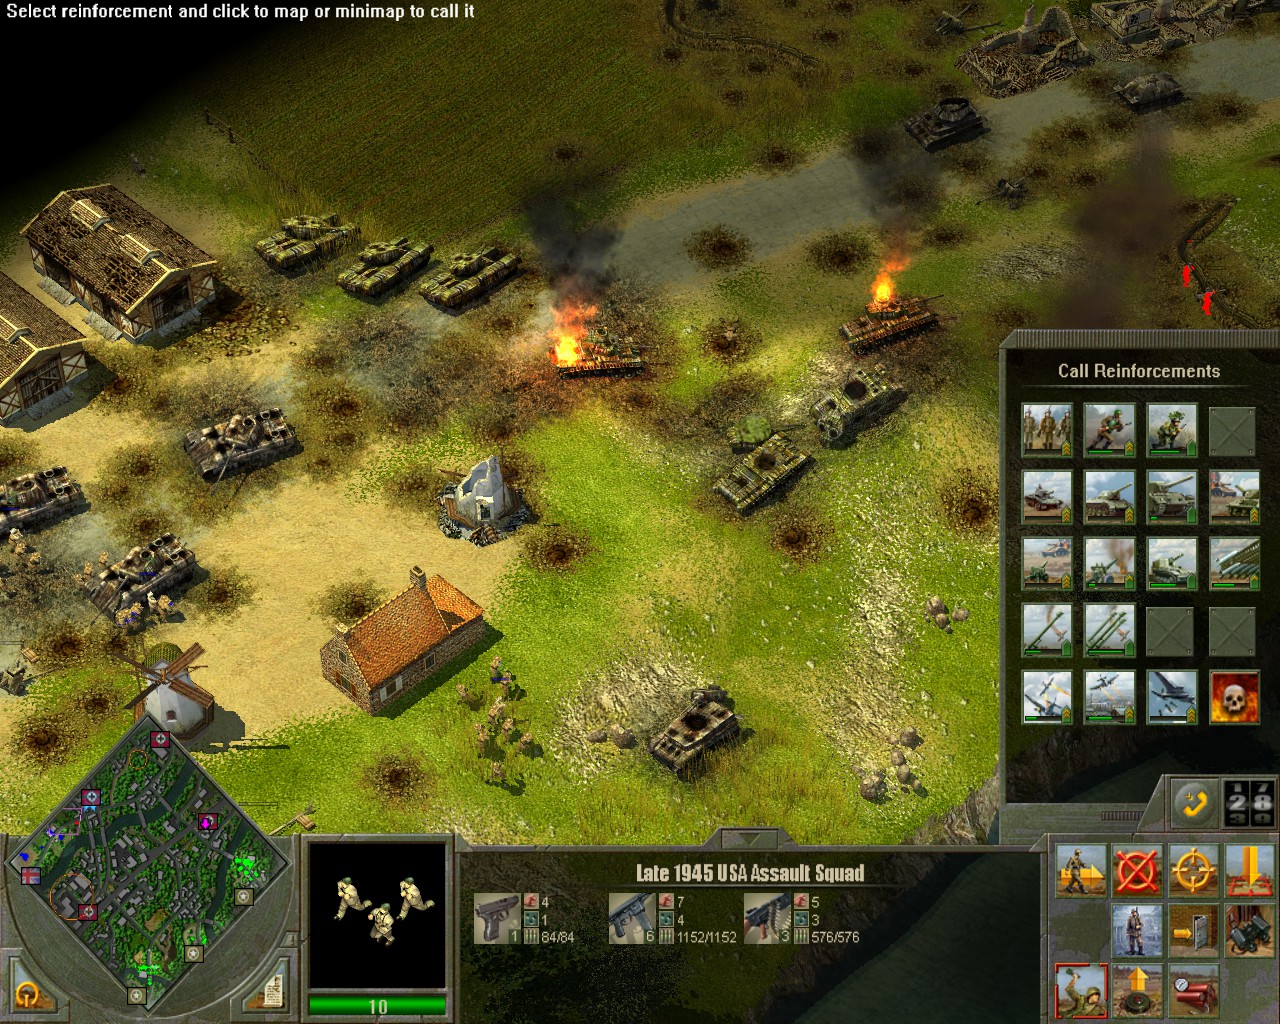
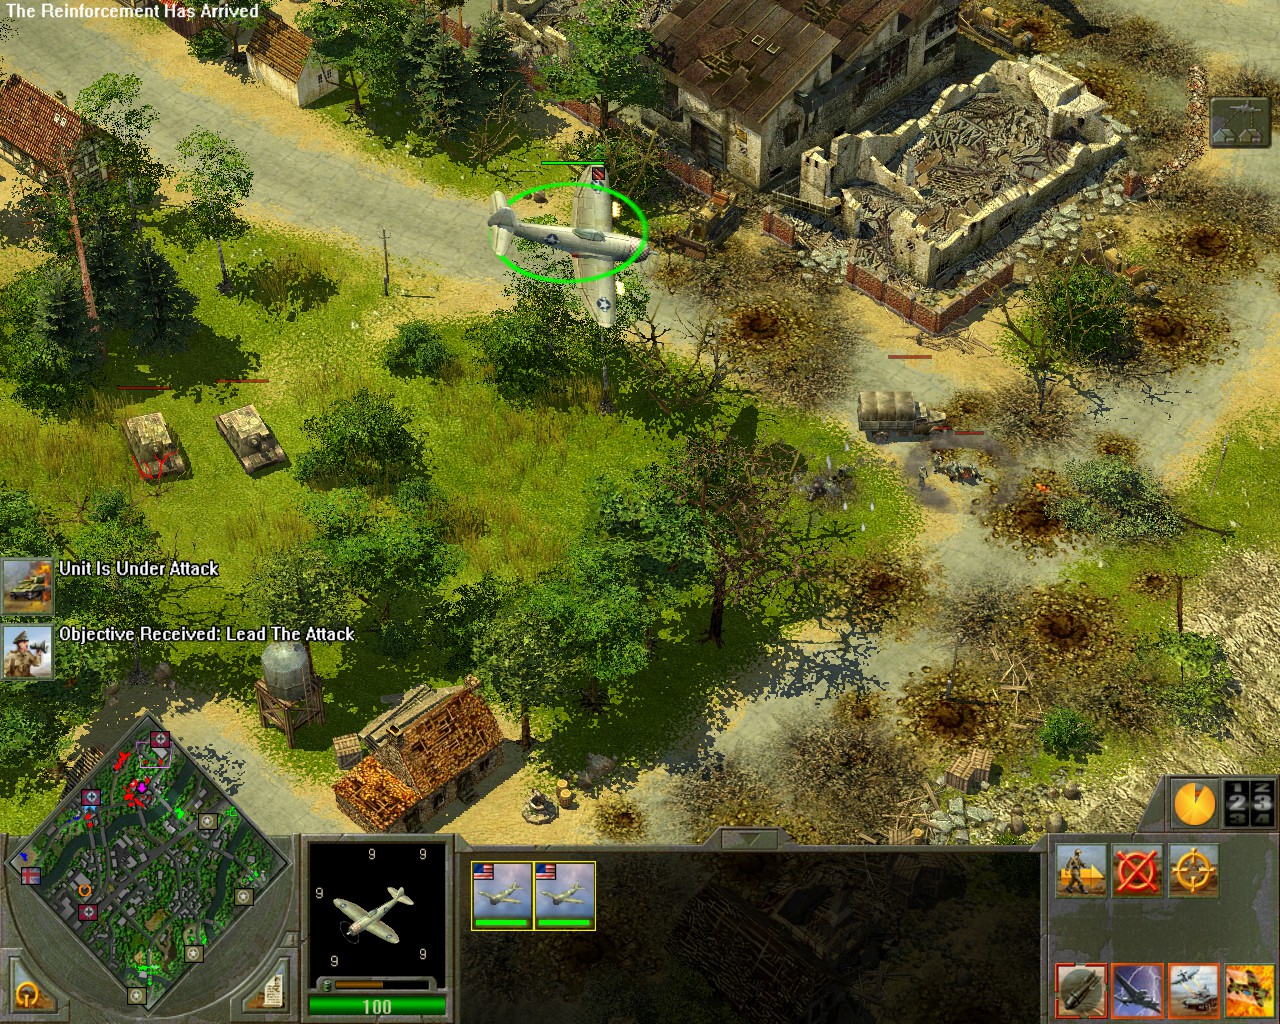
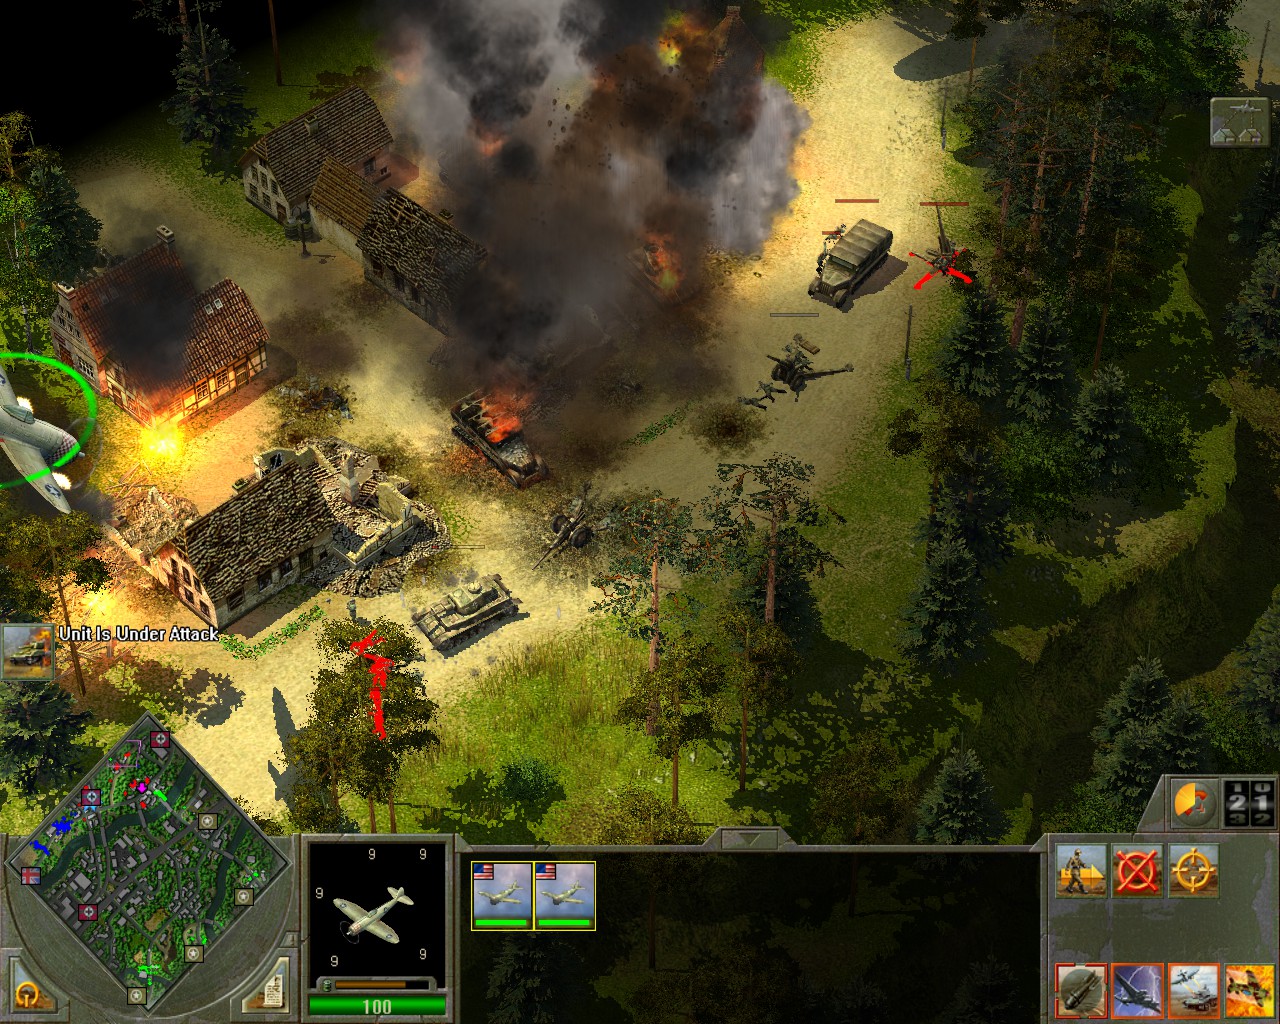
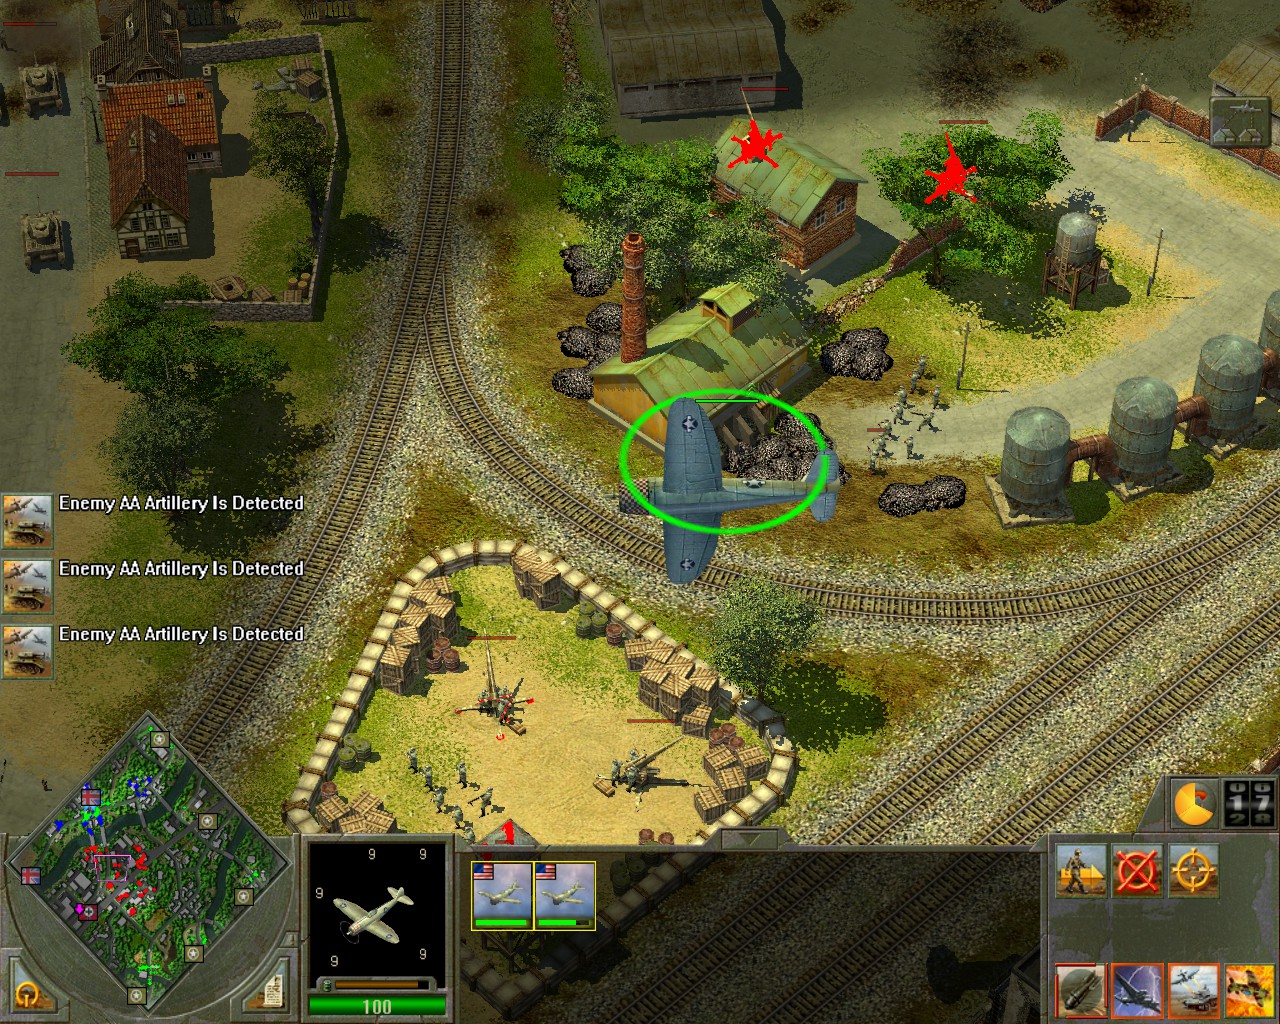
I almost always chose artillery over ground attack aircraft when I can. Being able to bring down the rain of fire and steel is invaluable [especially against troop concentrations, which ground attack planes aren't strong against]. I don't like GAPs; artillery in general performs much better at everything I ask GAPs to do, since it doesn't get shot down, can continue to support for the entire mission, while GAPs have a finite and very low supply of munitions [which they often miss with], and leave the battle fairly quickly, and are hard to protect compared to artillery.
The best use of GAP planes I find is as a "suicide" run on artillery positions if I have no artillery of my own to counterbattery. Micro them to drop their bombs, then ignore them until their fuel expires.