Source Filmmaker

Source Filmmaker

83 valoraciones
Using Custom TF2 War Paints in SFM
Por Gigazelle
Outlines how to properly get any war paint working in SFM, including custom war paints not yet in TF2.
   
Premiar
Favoritos
Favorito
Quitar
Introduction
If you're looking to showcase your own custom war paints in SFM, you've come to the right place! The overall workflow is as follows:
  1. Create a TF2 mod that replaces an existing war paint
  2. Zip up the TF2 mod and upload it to weapons.tf
  3. Obtain the .vtf file for the desired weapon from weapons.tf
  4. Import the weapon and texture into SFM
Create a TF2 mod
This guide assumes that you already have a custom war paint. If you don't but still want to follow along, feel free to use this repeating texture that I tossed together for this guide. It's downright tiny for a war paint, but it gets the job done nicely for the tutorial.


Ultimately you'll want to save the image as a .tga file. You can use several programs to accomplish this; the most common ones are Photoshop[www.adobe.com] or GIMP[www.gimp.org].

Once you have a .tga file, it is time to convert it to a .vtf file.
  1. Download and install VTFEdit.
  2. Open the program and go to File > Import
  3. Locate the .tga file, and import it.
  4. Click Save, then save it as a .vtf file (name it whatever you'd like for now).


Now that the image has been converted to a .vtf file, it can be turned into a mod for TF2.
  1. Go to https://weapons.tf and pick an existing skin that you want to overwrite with your custom creation. This step is important, because each skin has a different number of textures, and different groups for each texture. For this tutorial, we'll use Croc Dusted.
  2. When you pick a weapon and war paint, the text box in the upper left updates to provide the file structure and material names used.
  3. Determine which pattern you want to replace.
    • War paint patterns are located under materials/patterns. These are the files you want to take note of. Material names should be fairly indicative of which part of the weapon they're on.
    • Other texture files are located under materials/models/weapons. You do not need to worry about any of these.
    • Since we are using Croc Dusted for our example, the exact file location is materials/patterns/yeti/crocodiles01.vtf.
  4. Once you know the exact directory and filename, you have everything you need to proceed.


Now that we know exactly where to put the custom file for the mod, create the mod folder structure and place your .vtf pattern inside.
  1. Navigate to your TF2 custom directory under:
    <steamapps>\common\Team Fortress 2\tf\custom\
  2. Create a new folder and name it whatever you'd like. For my example, the folder name is 'silly string'. The name of this folder has no impact on the final product; it's just a way to keep track of all your mods.
  3. Recreate the folder structure seen in the material path on weapons.tf, starting with materials. Since we're replacing Croc Dusted, the full file structure should go:
    <steamapps>\common\Team Fortress 2\tf\custom\silly string\materials\patterns\yeti\
  4. Move your custom pattern .vtf file into the newly created mod destination folder.
  5. Rename your .vtf file to the pattern you want to replace it with. For my example, my .vtf file has been renamed to crocodiles01.vtf.
  6. Launch TF2 and verify that your skin is working in-game!


It's an ugly skin, the image dimensions are way too small, and it's way too shiny, but it works! Hopefully your custom skin looks a lot better than mine.
Use weapons.tf to obtain a custom .vtf file
Once you've validated your skin is working in TF2, it's time to upload the mod file to weapons.tf.
  1. Navigate to your TF2 custom folder under:
    <steamapps>\common\Team Fortress 2\tf\custom\
  2. Right click on your mod folder (for me, this would be the 'silly string' folder), then click Send to > Compressed (zipped) folder. For operating systems other than Windows, use your preferred method to create a .zip folder.
  3. Go to https://weapons.tf/ and hover over the gear icon in the lower right.
  4. Click Choose File, and select your .zip folder.
  5. When you click OK, your mod file is applied to the site until you refresh the page. Pick the weapon you want to use in SFM, and the pattern you chose to replace. For this example, I'll pick the Crusader's Crossbow and the pattern Croc Dusted.
  6. If you want to "reroll" your pattern placement, click the wear grades in the upper right until you have a desirable texture.
  7. Once you're satisfied, hover over the gear icon again and click Save texture VTF.

Your texture is ready for Source Filmmaker! Here's how mine turned out:

Bringing everything together in SFM
Now that you have the combined .vtf texture for the weapon you intend to use, it's time to bring everything together into Source Filmmaker.
  1. Subscribe to All Decorated Weapons, which contains all TF2 war paint weapons with correct UV maps. Be sure to give it a thumbs up while you're on that page so others can appreciate these assets!
  2. Launch Source Filmmaker and create a new session. Confirm the download of the workshop files, and sit tight while it downloads (it's a hefty 400MB, so be patient).
  3. When SFM confirms completion of the download, navigate to
    <steamapps>\common\SourceFilmmaker\game\workshop\materials\models\decorated\
  4. Open the desired weapon folder you intend to include in your scene. Since I'm using the Crusader's Crossbow, I'll open the c_crusaders_crossbow folder.
  5. Inside this folder is a bunch of .vmt files and a single .vtf file. Replace the single .vtf file in this folder with your downloaded .vtf file from weapons.tf. Ensure the file is fully replaced and not simply added to the folder.
  6. Back in SFM, open the console (tilde key), and type
    mat_reloadallmaterials
  7. Right click the Animation Set Editor, Create animation set for new model, and locate your decorated weapon .mdl file. Add it to the scene.
  8. Right click your model > set skin > 10. You should now see your custom skin in SFM!
Concluding Thoughts
Hopefully this guide has provided some value to you! Please note that if you intend to use decorated weapons for any extended SFM projects, it is highly recommended to move all the decorated weapon workshop files from:
<steamapps>\common\SourceFilmmaker\game\workshop\materials\models\decorated\
to:
<steamapps>\common\SourceFilmmaker\game\usermod\materials\models\decorated\
This is because if the workshop submission is updated, it will overwrite and revert any textures you've placed in there.

Do you have an SFM image or video that uses custom decorated weapons? Please share them here, we'd love to see them!
22 comentarios
Dishwasher Radio FM 3 MAY a las 15:55 
this might sound silly but thank you so much for clarifying it was the Inport button instead of the open button this dumbass problem almost gave me a headache
Boneless Soup (False) 13 MAR a las 17:59 
But anyways, thanks for the guide! May have a couple of things that need to be changed, but still very helpful! :balloonicorn:
Boneless Soup (False) 13 MAR a las 17:58 
Fortunately, it's very common practice to specify what base is used on any given workshop war paint, so all you have to do is rename your vtfs to whatever the previous base was, and make sure that it has the proper file path.

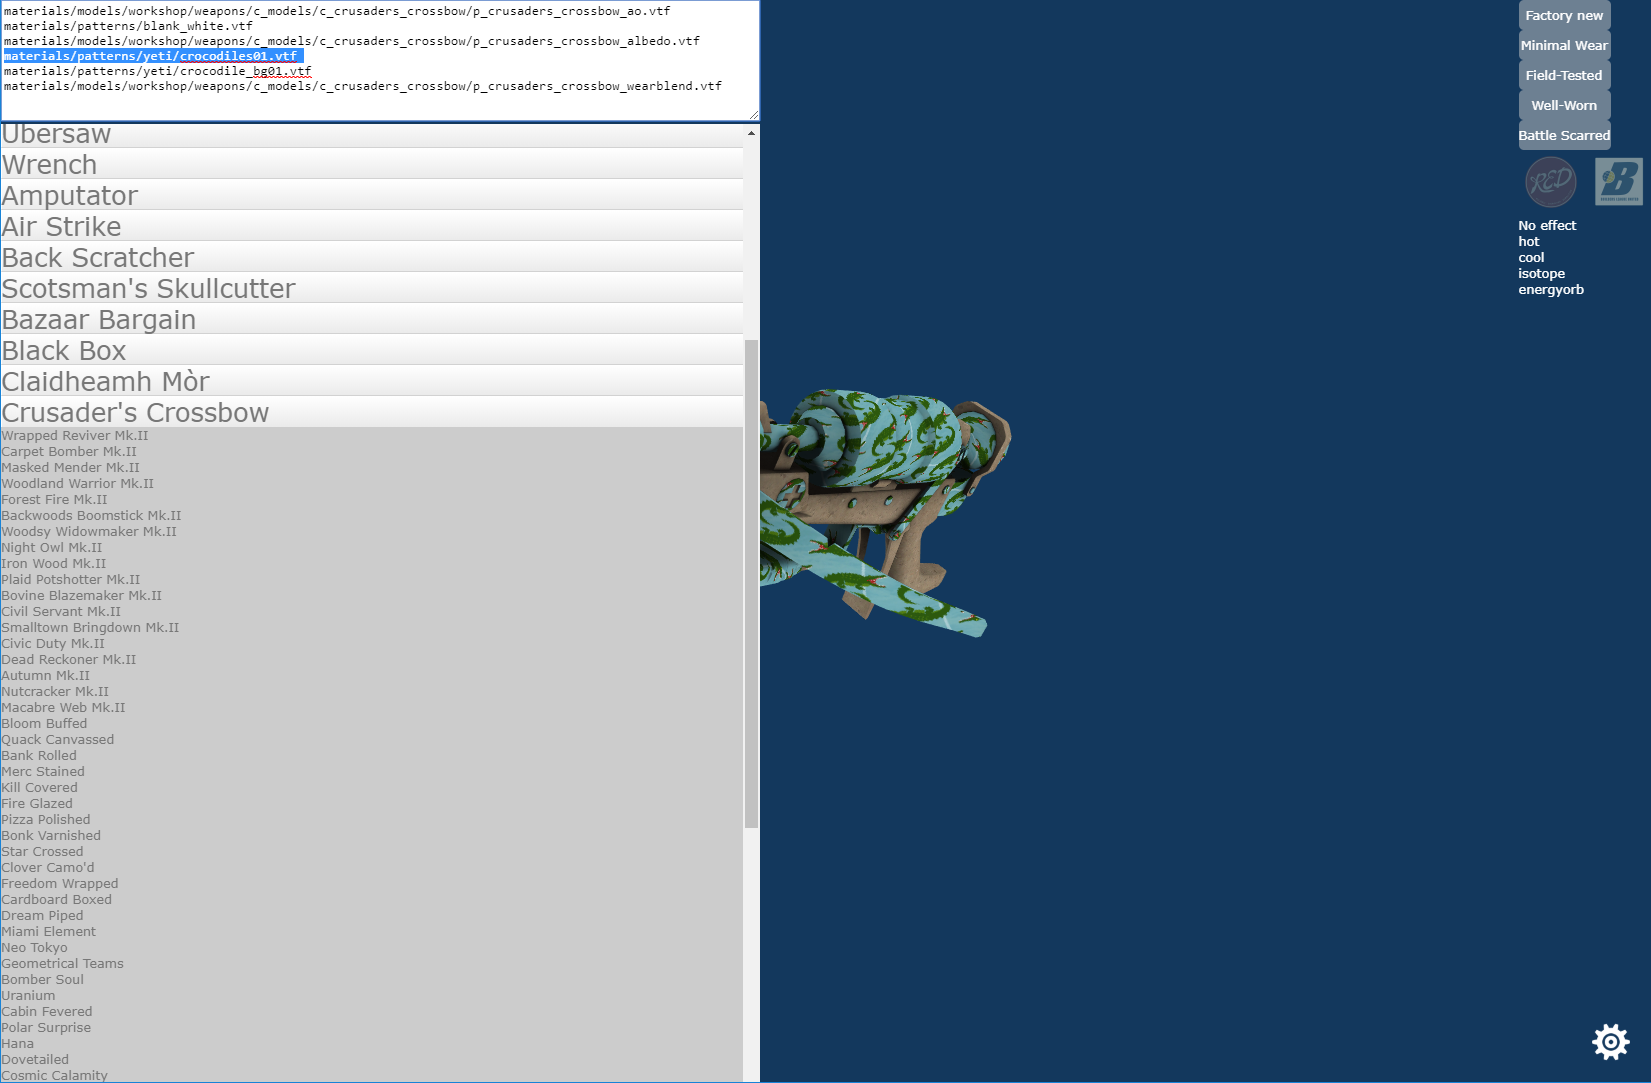
If you're unsure about what to rename the vtfs to, here's a directory that shows the file paths of every war paint.
https://steamcommunity.com/sharedfiles/filedetails/?id=2331860596
https://steamcommunity.com/sharedfiles/filedetails/?id=2884556886

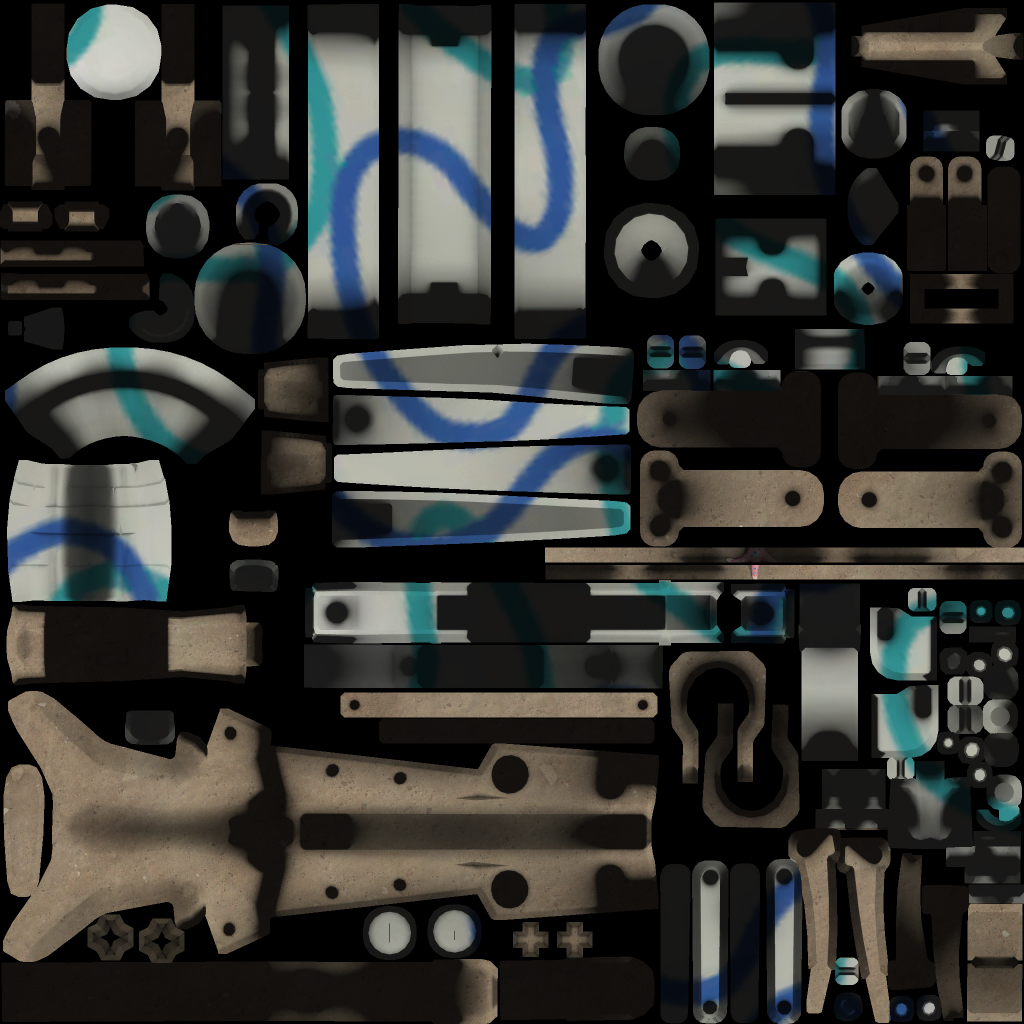
Also it shouldn't be too hard to figure out which vtf goes to what part of the skin, but I will mention that the Air Strike provides a very good way of figuring out how any given skin is mapped.
Boneless Soup (False) 13 MAR a las 17:58 
For anyone having trouble with getting the war paint to work in the Weapons.tf site, here's a couple of things that the guide doesn't mention/doesn't clarify properly.

For one, you do NOT make a .zip file of the vtfs. You need to compress the ENTIRE file directory (beginning with your custom named war paint folder, all the way to the folder with the vtfs themselves) into a .zip file. weapons.tf reads war paints in the same way TF2 does, so it needs the entire pathway to make the custom war paint work.

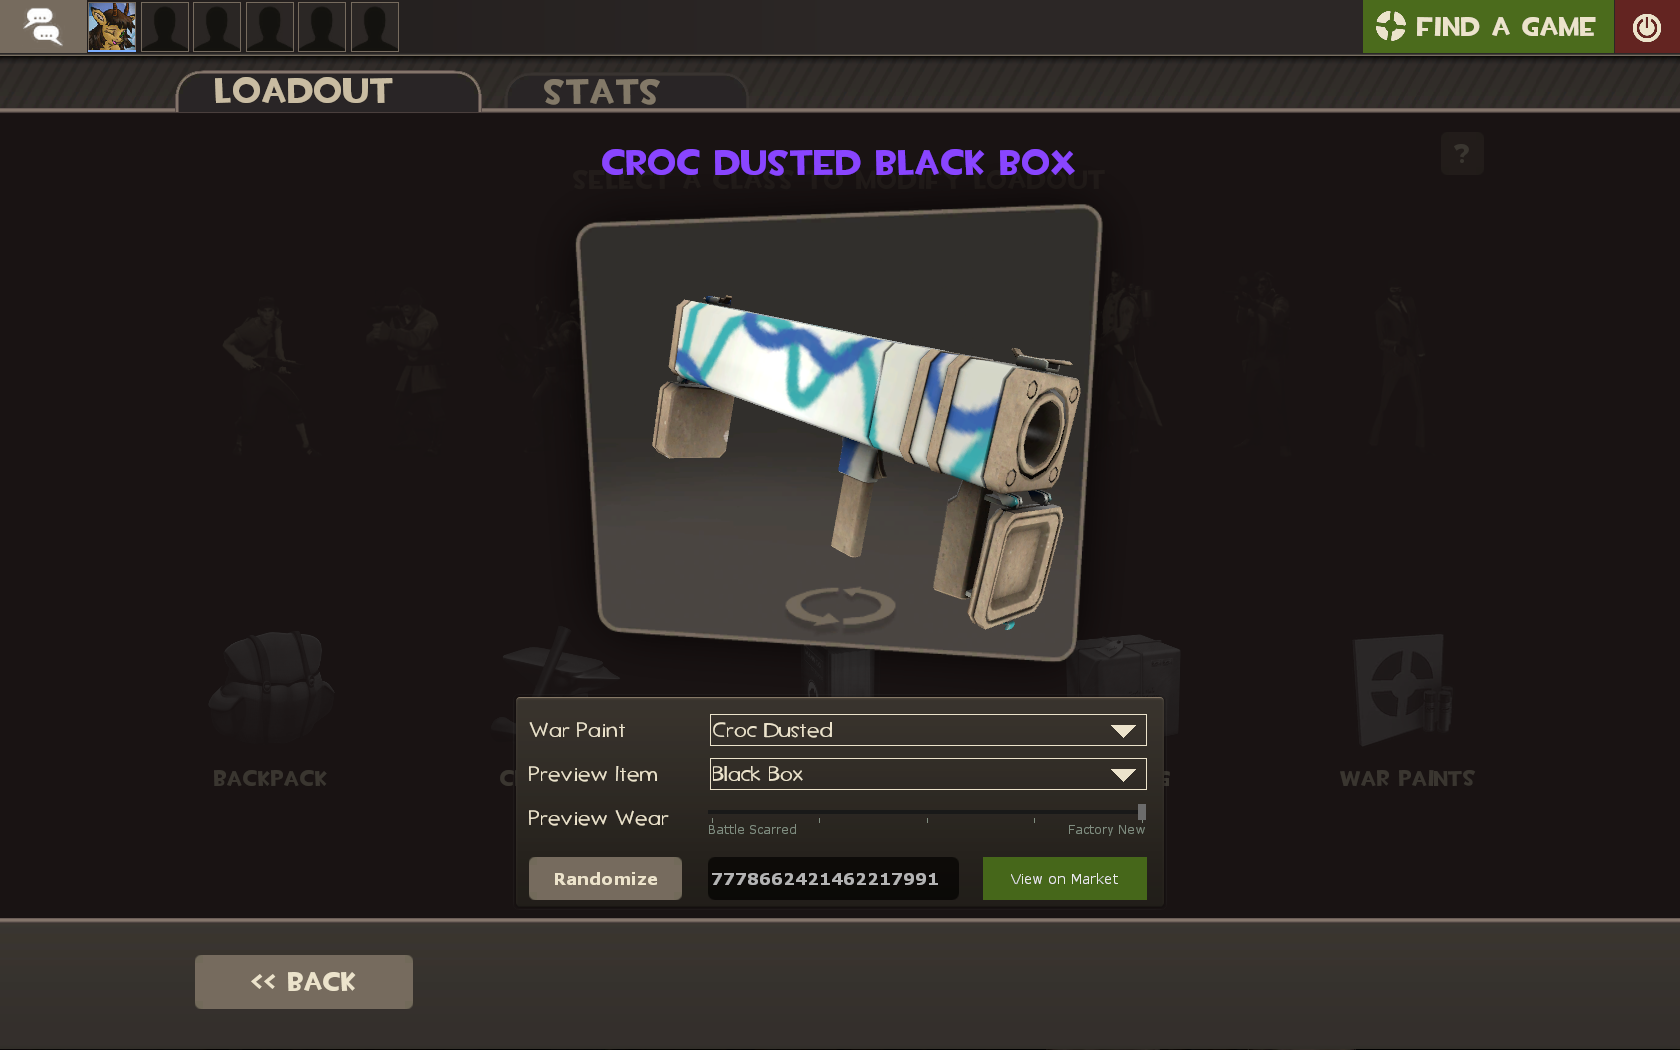
Secondly, if the base you used for the war paint is a newer one, it's unlikely to be on the site. (for example, the most recent one I used has Team Charged as a base, which at the moment isn't listed on the site) All you need to do is look up the war paint on the workshop itself, and since nearly all war paints made recently use a pre-existing war paint as a base, you just need to use the previous base to get it to work in weapons.tf.
The Real Jetpack Jackson 10 MAR 2023 a las 7:31 
what do you do if the texture you want to replace isn't on weapons.tf? I want to replace the Hypergon texture but its not listed.
phinx 11 JUN 2022 a las 0:12 
thank you so much bro!
mad geeked 19 AGO 2021 a las 14:38 
Thanks
Taski Maiden 3 AGO 2021 a las 16:19 
I'm trying to replace Backwoods Boomstick with Jazzy, but following all the instructions in here just removes warpaints entirely from my shotgun?
marcy 15 ENE 2021 a las 16:39 
This doesn't work; I've followed every step and it doesn't work. Maybe make a video?
Skibidi Rizz Thrashing 10 DIC 2020 a las 11:16 
I cant get weapons.tf to open my zip