DARK SOULS™ III

DARK SOULS™ III

103 ratings
SL1 Walkthrough Guide
By Remedy and 1 collaborators
A Step By Step guide to SL1 Run. I do not cover boss tactics for every boss, as there is Wiki and pretty decent SL1 Boss Guides for that, and instead I present a checklist of things you want to do in order to make sure you are most prepared for your next boss challenge, grabbing almost every single possible upgrade before you continue, minimal farming though! If you feel like farming Titanite, just click on a link I will give in the guide to find a decent farming spot for yourself. I take it you are also familiar with most places where stuff is lying around in Dark Souls 3, but if you happen to struggle to find something based on my description, just Wiki/Youtube the location of it.
3
6
2
2
2
   
Award
Favorite
Favorited
Unfavorite
General Information
Things you might wanna know before reading this guide:
1. We do a challenge run, so it goes solo offline with no trading or help from start to end. Also, we do not use any NPC summons, so we will not cover NPC summons questlines (unless we need them, like Sirris). All bosses, all DLC. No cheese.

2. I recommend going with 69.9% equip load over the 29.9%, but you can go with whatever you want or switch in the process since it's your run. We will get the 29.9% rings too.

3. I do not recommend doing Dancer too early since the difficulty of the fight is too high compared to benefits you get for it. Imho, if you can kill an early SL1 Dancer, why won't you just slice through other bosses before her, they are much easier, and if you can't kill an earlier boss, why would you wanna switch do Dancer instead? Though, if you are a Dancer expert of some sort, sure thing, go for it.

4. It is called an "SL1 Run" because you are SL1, and you RUN. You try to run past as many things as possible, trying to grab everything useful in the process. If you didn't manage, you run back and take it. You can usually ignore lost souls because you don't need to level up and can sell every item and boss soul you cannot use, so don't you worry.

Honorable mention: Shizuma Hanazono for being most helpful.
Simplified Loot List
A short list of items we will be getting.

High Wall of Lothric: Broadsword, Deep Battle Axe, Bandit's Knife, Light Crossbow.
Undead Settlement: Flynn's Ring, Chloranthy Ring, Pontiff's Left Eye, Northern Armor Set, Caestus.
Road of Sacrifices: Grass Crest Shield, Fallen Knight's set, Tears of Denial, Life Ring, Saint's Ring.
Cathedral of the Deep: Lloyd's Shield Ring, Lloyd's Sword Ring, Symbol of Avarice.
Ctacombs of Carthus: Carthus Flame Arc, Carthus Milkring, Carthus Bloodring.
Irithyll of the Boreal Valley: Dragonslayer's Axe, Ring of Favor, Pontiff's Right Eye.
Irithyll Dungeon: Dusk Crown Ring.
Lothric Castle: Knight Ring, Red Tearstone Ring, Lorian's Armor Set.
Grand Archives: Hunter's Ring, Scholar Ring.
Untended Graves: Prisoner's Chain, Priestess Ring, Hornet Ring.
Archdragon Peak: Ring of Steel Protection.
The Painted World of Ariandel DLC: Millwood's Battle Axe.
The Ringed City DLC: Ring of Steel Protection+3, Ring of Favor+3, Chloranthy Ring+3.
Chapter 1. Creating a character; Cemetery of Ash; Firelink Shrine
1.0. We start as Deprived since that is the only SL1 character available.
1.1. Take "Black Firebomb" as your burial gift. Save one of those for Pickle Pee[darksouls3.wiki.fextralife.com]. Or get a Divine Blessing. Or don't.
1.2. Grab "Ashen Estus Flask" right in front of you.
1.3. Grab a Titanite Shard[darksouls3.wiki.fextralife.com] from the coffin before the Gundyr and Firebombs on the ledge to the right. Save one of them too.
1.4. Kill Iudex Gundyr.
1.5. Grab the East-West Shield from the corpse on the tree not far from the Sword Master and equip it.
1.6. Go out the top of Firelink Shrine to the small decrepit tower. You don't have a key yet, so make the famous jump off the tree to get 3 Homeward Bones and an Estus Shard inside. You can trade a Homeward Bone for Iron Bracelets, Firebomb for Large Titanite Shard[darksouls3.wiki.fextralife.com] and Black Firebomb for a Titanite Chunk[darksouls3.wiki.fextralife.com] at the Pickle Pee.
1.7. You can buy Chain Helm, Chain Armor, and Chain Leggings from the Shrine Handmaid to complete your armor set for now. Allot Estus at the Blacksmith.
Chapter 2. High Wall of Lothric
2.0. Warp to the High Wall of Lothric bonfire.
2.1. Get to the Tower on the Wall bonfire. Grab a Titanite Shard in the corner.
2.2. Go down from the bonfire. Crystal Lizard on the roof with Praying Hollows drops a Raw Gem.
2.3. Go further down, grabbing two Titanite Shards on the way, Broadsword (which you equip), Estus Shard and Cell Key from the rooms below.
2.4. Free Greirat. You can buy a Bandit's Knife and a Light Crossbow from him. Remember, The Bandit's Knife special attack allowes you to move much faster in swamps (Farron Keep, etc).
2.5. Take the Small Banner from the Old Lady.
2.6. Open the shortcut between the Vordt and the High Wall of Lothric bonfire.
2.7. From this bonfire, run up the stairs and then down, behind the Dead Dragon. Grab two Gold Pine Resins.
2.8. Next, proceed down the ladder again and then dash under the Vywern, spitting fire. Enter the room and kill Mimic for a Deep Battle Axe. It's a matter of personal taste what to use, the Raw Broadsword or the Deep Battle Axe. I recommend and will myself use the Broadsword since Deep Battle Axe cannot be buffed. On the other hand, Vordt is weak to Dark.
2.8. There are two Pus of Man in the area, one where you got he Raw Gem and one to the right of the first bonfire. Killing them rewards you with a Titanite Shard each. Getting both makes you able to get your Broadsword to +2 and infuse it with Raw Gem. Quite the challenge that can be, but Greirat sells Firebombs.
2.9. Kill Vordt. Vordt is not really weak to lightning and is all in all easy, so you might wanna save the Resins.
Chapter 3. Undead Settlement
3.1. After lighting the Foot of the High Wall and Undead Settlement bonfires, proceed and grab an Estus Shard near the Big Tree and the Fat Lady.
3.2. You can loot 3 Titanite Shards on your way to Dilapidated Bridge bonfire: to the right of the house, up the balcony with the Evangelist and on the right side of the road there, on a ledge.
3.3. Get Mortician Ashes and an Undead Bone Shard ahead of you, on the path that goes to the Curse-rotted Greatwood. Give ashes to Shrine Handmaid for the Grave Key and unlimited Charcoal Pine Resin/Bundle. Might run and open the door at Greatwood's while you're at it.
3.4. Go back to the Big Tree and follow the path to the right, across the bridge. The Hollow Slave at the door you open has a chance of dropping Flamberge upon Death, but you surely don't need it now. Drop to the Cliff Underside bonfire and take a Titanite Shard on the ledge there.
3.5. Climb up and free the Cornyx of the Great Swamp.
3.6. Open the shortcut to Dilapidated Bridge bonfire through the sewers, picking up Caestus in the process, and then use the Grave Key to proceed through the improvised graveyard.
3.7. Leaving the tunnel, pay attention to your right, there will be a Lizard. Get a Heavy gem from it, and two more Titanite Shards from the same area making it enough to get your Broadsword to +3.
3.8. Free Irina of Carim and open the doors to the Big Tower.
3.9. First, go past the Knight at the bottom and light the Road of Sacrifices bonfire.
3.10. Then, go back to the Tower and up the elevator, to find the Fire Demon. Kill it if you want a Siegbrau from Siegward. Get the Northern Armor Set from a nearby hanging corpse and equip it (except gloves). Grab Loretta's Bone from a corpse hanging on the balcony of a house. Give it to Greirat when you can and after that you can send him out once for a Divine Blessing.
3.11. Go into the House to your right. Going up to the roof you will find Flynn's Ring. The damage buff from it is tricky, you might wanna consult the wiki on how it works, but remember, if you are going for 69%, it is kind of useless.
3.12. Drop to the tower below. Dropping lower there gets you to the Chloranthy Ring which you should equip instantly.
3.13. You can Kill Curse-rotted Greatwood. It is not needed now, and you can always do it later, as long as you do it before you Kneel to get to Kiln of the First Flame, but this Boss is very easy and Giving the Kiln to Ludleth makes it safe for future plus allowing you to get Pontiff's left eye, though it's of little use. Boss is also weak to fire, so you might wanna shop Charcoal at Handmaids.
3.14. Proceed back to the Road of Sacrifices bonfire.
Chapter 4. Road of Sacrifices; Cathedral of the Deep; A bit of Ariandel
4.1. On your way to Halfway Fortress bonfire, drop down to the right side of the second bridge onto the ledge for Braille Divine Tome of Carim. Give it to Irina to buy rather expensive Tears of Denial from her, don't forget to buy the Saint's Ring too. You can buy the Talisman from the Shrine Handmaid. Be aware that you won't be able to cast Tears of Denial for quite some time, so might as well wait with buying all of this till you get enough spare souls.
4.2. Talk to Anri and Horace at Halfway Fortress to start the Sirris Questline. Talk to Sirris herself at the Shrine.
4.3. Proceed to Crucifixion Woods bonfire, grabbing Grass Crest Shield on your way and equip it.
4.4. Grab Estus Shard behind the ruins and then proceed right to the Farron Keep bonfire. Grab Fallen Knight armor set on your way. This set is most useful as not only it gives you fashion, but decent protection very close to 69% too. Getting a Dagger from a Shrine Handmaid for quickstep moving through the Farron Keep area is highly advised (Unless you do already have a Bandit's Knife from Greirat, serves the same purpose).
4.5. Walk out and grab an Estus Shard right in front of you, behind the arc. Proceed to Old Wolf of Farron bonfire (Will be right in front of you running from the Farron Keep bonfire) grabbing Undead Bone Shard from a small "building" next to the ladder. You can even light the Keep Ruins bonfire right behind the building.
4.6. Grab Dreamchaser's Ashes from behind the illusory wall at Old Wolf of Farron's. Give them to Shrine Handmaid to buy a Life ring and get the unlimited supply of Titanite Shards and Green Blossom. Reload the area after that to talk to Sirris and continue her questline.
4.7. Back to the Old Wolf of Farron, Go up the elevator and get to the other side of the platform on top to kill two lizards there, for one Large Titanite Shard each. Grab Dragon Crest Shield too. You should have enough to get your broadsword to +4, but I'd recommend you to save shards for later if you have Ariandel DLC.
4.8. Warp back to Crucifixion Woods bonfire and kill Sage. Sage is weak to lightning so you might wanna buy a few Gold Pine Resin and Gold Pine Bundle available at Shrine Handmaid.

4.9. Go further to Cathedral of the Deep bonfire and head down to the left to grab Paladin Ashes below.
Give Paladin Ashes to the Shrine Handmaid to buy Lloyd's Shield Ring from her. Equip it.
4.10. Proceed to Cleansing Chapel bonfire.
4.11. Grab an Estus Shard right outside and proceed to next Undead Bone Shard, through the graveyard, across the bridge, and onto the ledge. Continue your run opening the first shortcut. After that, go back, up the first elevator and grab Lloyd's Sword Ring to the right of the Giant. Paladin Ashes do also provide you unlimited Undead Hunter Charms, which you can use to farm Symbol of Avarice from the Mimic, which will be on your right if you continue running past the giant. Feel free to open one more shortcut and the way that goes to Rosaria's Bed Chamber. Personally, I do not go there, but if you feel like using it to run to the Deacons from there or through the other shortcut, feel free. Just do not interact with Rosaria herself to avoid even the slightest chance of failing Sirris questline. We do not need to kill Deacons now.
4.12. If you have Ashes of the Ariandel DLC, I recommend you to dive there at this point for Millwood's Battle Axe. If you don't, stay with trusty Broadsword and skip these steps.
A. Talk to the Knight at the chapel and proceed to the DLC area.
B. From the Snowfield bonfire, run straight forward a little and take a turn to the right. Drop down from the snow edge, run past wolves and make a U-turn to your left at the end. Run to the tower right in front of you. Up the stairs, up the ladder, up the stairs again, jump to the corpse and there you have it, your precious Millwood's Battle Axe.
The next steps can be done later in the game when you do actually need a Titanite Slab. Having better Rings and Silvercat Ring, in particular, might be of a good use.
C. From the tower, get to the Rope Bridge Cave bonfire. Cross the bridge and turn it to a ladder, descending to Depths of the Painting bonfire. Kill the tree at the very end to the left from the bonfire (Charcoal Pine Resin is advised), then another one right near to the freshly spawned ladder nearby. Climb the two ladders and grab a Titanite Slab[darksouls3.wiki.fextralife.com].
4.13. Warp back to Old Wolf of Farron bonfire.
4.14. Do not forget to enjoy the area as you put out all three flames and proceed to Farron Keep Perimeter bonfire. The 3 Ghru's in front of you, next to the bonfire, are a good starting soul farm spot, in case you need them to buy Titanite Shards for your MBA, for example.
4.15. Run forward through the Farron Keep to open the shortcut. Run past the Black Knight to take the Farron Coal at the very end. Give it to the Blacksmith to unlock Heavy infusion. Infuse Millwood's Battle Axe to Heavy and two-hand it. If you saved Large Titanite Shards, reinforce it to +4. Play with your armor a bit to get the weight ratio just under the 69.9% but still remain stylish. Nobody cares if you can make an SL1 run unless you can make it in fashion.
4.16. A small checklist for now: 10 Estus Flasks +3, Heavy Millwood's Battle Axe +4 (Or Raw Broadsword +4), Life Ring, Chloranthy Ring, Lloyd's Sword and Lloyd's Shield rings, Grass Crest shield and around 69.9% weight ratio. Do not forget about MBA's weapon buff "Warcry".
4.17. Kill Abyss Watchers. Abyss Watchers are weak to Lightning, so might prefer using them, if any still left, over the Warcry.

4.18. Continue to Catacombs of Carthus now.
You may go and kill Deacons of the Deep, too, if you didn't yet since the fight is trivial anyway compared to Abyss Watchers, but might also save it for later again.
Chapter 5. Catacombs of Carthus; Smouldering Lake
5.1. Crossing the bridge, go upstairs to the left. Proceed and take Carthus Pyromancy Tome behind the illusory wall. Give it to Cornyx to learn Carthus Flame Arc. Get a Pyromancy Flame from him too and use Carthus Flame Arc instead of Warcry now. They do not stack. Reinforcing Pyromancy Flame increases Carthus Flame Arc bonus damage by a tiny margin, only reinforce it with unused shards.
5.2. Go downstairs to the right of the same bridge now, avoiding the big ball. Kill the Hat Skeleton to get another Undead Bone Shard from the ball.
5.3. On your way to the Catacombs of Carthus bonfire grab a Carthus Milkring and then a Large Titanite Shard in the corner near the bonfire.
5.4. Going downstairs to the left and then upstairs the left doorway with lit candles gets you a Large Titanite Shard and Grave Warden's Ashes. Give it to Shrine Handmaid to get the unlimited supply of Carthus Rouge to use at bosses you want to bleed.
5.5. From the bonfire go right and drop down to grab Carthus Bloodring at the end of Hallway.
5.6. Proceed normally to open the shortcut at the bridge to Wolnir.
5.7. Cross the bridge and destroy it to go down to the Smouldering lake.
5.8. Grab a Large Titanite Shard on your way to Abandoned Tomb bonfire.
5.9. Let the ballista kill the Sandworm to get an Undead Bone Shard.
5.10. Run around at the bottom of the lake, collecting 5 Large Titanite Shards. Do not forget to enjoy the area while you're doing it. Kill the Lizards in a cave to your right, one of them drops a Titanite Chunk.
5.11. Proceed to the Demon Ruins bonfire, grabbing another Large Titanite Shard.
5.12. In the first room, go down the stairs and to the left you'll find another Undead Bone Shard.
5.13. Get to the Old King's Antechamber by either crashing the floor at Smouldering lake with the ballista or running there on your feet.
5.14. Destroy the illusory wall in the room and grab an Estus Flask Shard.
5.15. Optional: take a full run to the ballista, collecting Large Titanite Shards on your way if you missed some of them earlier.
If you've traded black firebomb with the Crow Nest @ Firelink Shine Tower you should now have enough titanite to get your weapon to +7. If you did not trade a Black Firebomb with Crow yet, you can pick up some black firebombs at High Wall of Lothric, on the rooftop before the long ladder down to the Winged Knight, or buy them from Patches, though you will need to complete a few steps for his quest line.
5.16. Go back to the Catacombs of Carthus bonfire, head to High Lord Wolnir and kill him. Use the Carthus Flame Arc to buff your weapon.

5.17. Proceed further to light the Irithyll of the Boreal Valley bonfire.
5.18. Travel back to the Cleansing chapel and kill the Deacons of the deep if you did not yet. Use the Carthus Flame Arc to buff your weapon.

5.19. Go back to the Irithyll of the Boreal Valley bonfire.
Chapter 6. Irithyll of the Boreal Valley; Irythill Dungeon
6.1. Go to the bridge and kill Sulyvahn's Beast. Sounds very easy, doesn't it.
6.2. Proceed to the Central Irithyll bonfire. Apparently, you need that bonfire to be lit to complete her quest.
6.3. Warp back to the Firelink Shrine to make sure Sirris is not there. If she is, talk to her and get back, both of you.
6.4. If you are embered, her sign should appear at the bridge, where the Sulyvahn's Beast had appeared before.
6.5. Better make a backup save and help her kill Creighton the Wanderer to continue her quest.
6.6. Get on to the Church of Yorshka bonfire.
6.7. Go out to the graveyard to get an Undead Bone Shard behind the Tombstone.
6.8. Creighton the Wanderer should invade you, awarding you with the Dragonslayer's Axe. You can also grab a Silvercat Ring from Sirris at the shrine.
6.9. Proceed to the Distant Manor bonfire, grabbing a Blood Gem from under the tree on your way. Then, go to the room where Siegward could have been if we followed his questline. The Silver Knight in next room drops a Divine Blessing, and another Divine Blessing could be found in a chest on top.
6.10. Move forward and open the shortcut from Church of Yorshka to Pontiff.
6.11. Warp back to the Distant Manor bonfire and get to the Irythill Dungeon bonfire.
6.12. First, cross the bridge, go through the broken Wall, drop down and run outside to kill Mimic and grab your Estus Shard.
6.13. Next, go further, down the ladder, through the door and Sleeping Giant, to the sewers with rats and then Jailers. Grab Xanthous Ashes and Dusk Crown Ring in a cell next to the exit, on the left side. The leftmost cell on that side has Profaned Coal in it, unlocking Blood Infusion. Ashes provide unlimited Gold Pine Resin at Shrine Handmaid's and Dusk Crown Ring will be useful for casting Tears of Denial later. Optionally, kill the Lizard and the Sleeping Giant, they both drop a Titanite Chunk.
6.14. Continue outside, running to the Profaned Capital Bonfire and grabbing Undead Bone Shard right at it.
6.15. Kill Yhorm the Giant. Remember, Storm Ruler weight is 8.

Embrace yourself, your SL1 run is about to begin, finally. You shall now fight Pontiff and Dancer, and the order is up to you. Both of them make sense at this point, but personally, I start with Pontiff.
An advice from a person who is by far better than me is the following:
Originally posted by Shizuma Hanazono:
Get +10 weapon early, if possible, before Dancer or Sulyvahn. +7 from the stuff that is available and then farming Titanite Chunks in Ariandel from knights and getting the Slab from Ariandel's hidden place near the depths.
I did not follow this advice, since I found killing those DLC knights amazingly hard myself, but still wanted to share the idea.
6.16. Kill Pontiff Sulyvahn. He is weak to both Fire and Lightning, and I'd still recommend using Carthus Flame Arc to buff your weapon.

6.17. After you've killed him, run past the giants to the tower and wreck the illusory wall. Kill the Pontiff's Beasts one by one and get yourself the Ring of Favor. Check if you have armor to get a better weight ratio since you are going to use Ring of Favor instead of Life Ring. Keep in mind the fashion is more important, though.
6.18. Pick Easterner's Ashes on your way up, it can be done by either dropping down while going up to the Archers level or running to your right when you actually get to their level and then using the stairs. The Shrine Handmaid will now sell unlimited Large Titanite Shards.
6.19. Continue to Anor Londo, opening the shortcut to Aldrich and grabbing Estus Shard from the chest there.
There is no need to kill Aldrich yet since just killing him does not make you stronger.
Chapter 7. The Lothric Castle; Grand Archives
7.1. Let's start with something easy! Provoke and kill the Dancer! She is weak to lightning, but many prefer bleed. You have both Pine Resins at your disposal at Shrine Handmaid. Personally, I prefer lightning.

7.2. Proceed to Lothric Castle bonfire and then go further to the Dragon Barracks bonfire grabbing up to 3 Titanite Chunks along the way.
7.3. Drop from the end of the bridge to get an Undead Bone Shard and then 2 more Titanite Chunks. Circle back to the bridge and drop closer to its start to get another Titanite Chunk. Continue on to the building and get a Raw gem. We will use it to infuse our Dragonslayer's Axe.
7.4. Deal with Wyverns the way you like, my fav is running past them to the building where I can hit a Wyvern toe and then kill the Pus of Man, getting two more Chunks. Another Chunk will be on a ledge if you take an opposite doorway. Pull the lever inside the building to open the gate.
7.5. Go through the building to the Dragonslayer Armour boss entrance. Go to the building to the right, Grab Red Tearstone Ring on the ledge.
7.6. Turn back and climb the ladder behind the building. There is a Titanite Chunk on the roof. Grab a Knight Ring on your way back through the Sunlight Altar. Use the shortcut to go back to the Dancer bonfire.
7.7. From the Dancer bonfire, go up and turn left. Use the elevator at the very end but drop down to the ledge halfway down to grab an Estus Shard. There are 4 Titanite Chunks in the area. You can grab them while you open a shortcut to the area. You can now get your weapon (Heavy MBA or Raw Broadsword) to +10 using the Slab you got from Ashes DLC. From now if you're missing Chunks, check the wiki page for it. For any exceptional Chunks, you should use them for Dragonslayer's Axe.
7.8. Kill the Dragonslayer Armour. Dragonslayer Armour is resistant to lightning, so we will use Carthus Flame Arc. If you find him hitting you too hard even with defensive rings up, better go for steps 8.1 - 8.3 In the next chapter and come back when you have Prisoner's Chain.

7.9. Proceed to Grand Archives Bonfire.
7.10. Now, if you did not yet kill Aldrich, Devourer of Gods, you have to do it and come back. Aldrich is weak to both lightning and fire, so i suggest using Carthus Flame Arc.

7.11. Once you are back to the Grand Archives, open the door and proceed. You can get a Titanite Slab here if you need one, by using the elevator on the second floor.
7.12. Proceed normally through the area. When you drop to the wooden bridge with Sage, pull a lever right next to the bridge to get a Scholar Ring.
7.13. Open the first shortcut and run to the second one, grabbing Undead Bone Shard from a corpse on the way.
7.14. After opening the second shortcut, ride the elevator back and get to the tower with three Golden Winged Knights. Grab an Estus Shard behind the tower. At this moment you should have collected all Estus and Undead Bone Shards and have enough for 15 Estus Flasks +10.
7.15. Climb the tower to get a Hunter's Ring. Optionally, you can kill all 3 of the winged knights if you need souls and/or Titanite Slab. There is also a Divine Blessing on your way down through the tower.

From now on, with Hunter's and Knight Rings, you are able to use Dragonslayer's Axe, which is considered superior by most challenge runners even with the two ring requirement due to most bosses having the lightning weakness. Anyway, you now have everything to run either Heavy MBA, Raw Dragonslayer's Axe or even Raw Broadsword, or switch between them freely. I will give you my own perspective on how you should go with the bosses that are left, starting from Oceiros and Wyvern to get unlimited Titanite Chunks, but you should decide what fits you better.
Chapter 8. The last preparations
8.1. Kill Oceiros. He is weak to Lightning. Using Dragonslayer's Axe buffed with Gold Pine Resin might be a very good idea even if it's not +10. Alternatively, do not switch and just use Gold Pine Resin with your MBA/Broadsword build. Another Alternative can be a Bleed Bandit's Knife or Raw Flamberge with Carthus Rogue.

8.2. Get a free kill on Ancient Wyvern, allowing you to get Ring of Steel Protection and get to Dragon Chaser's Ashes, which makes Shrine Handmaid sell Titanite Chunks.

8.3. Kill Champion Gundyr. Champion Gundyr is weak to lightning, so Dragonslayer's Axe with Gold Pine Resin it is. If you came here early, though, then use your weapon with Gold Pine Resin instead. Another good choice is a Caestus as Champion Gundyr is known for being parryable at its best.

Get Prisoner's Chain from his soul (Commonly named the best ring for a SL1 run) and Priestess Ring, sold by the Shrine Handmaid in Untended Graves. Using Priestess Ring with Saint's Ring which you bought from Irina of Carim and Dusk Crown Ring you got earlier, you can now attune and cast Tears of Denial on yourself, switching to your battle rings back afterwards and restoring SP at a bonfire, which does not cause buff to be removed. The Tears of Denial buff is removed though if you warp to another bonfire. You can also grab the Hornet Ring, found in Untended Graves, behind a Black Knight standing guard where the Starved Hound is found when at the Firelink Shrine. And ye, you can trade Coiled Sword Fragment for a Titanite Slab at Pickle Pee.
8.4. Kill Lothric, Younger Prince. Weak to Lightning, you know the drill. Dragonslayer's Axe, Gold Pine Resin. If you find the fight very hard, yeah, you are correct. But, in return, it makes fashion Lorian's Armor Set available at Shrine Handmaid's, which is so much worth it.

8.5. Having access to Kiln of the First Flame now, go to the Ringed City DLC area. Grab Ring of Steel Protection+3 from behind the hut after the first leap of faith.
8.6. Proceed further to Earthen Peak Ruins bonfire and grab Ring of Favor +3 on top of a large root in the swamp.
8.7. Get yourself to the Within the Earthen Peak Ruins bonfire.
8.8. Kill the Demon Prince. Demon Prince is weak to Bleed. Many Challengers have killed it with same Dragonslayer's Axe with Gold Pine Resin, but... My favorite weapon is Flamberge, so I use it with Carthus Rogue here. Takes some farming to get Flamberge, but here it is, Raw Flamberge +10, can be 2-handed with just Hunter's ring. Dragonslayer's Axe might be faster and easier though. This boss is much harder than some we did not yet kill, but I aim for the reward here.

8.9. Proceed further through the City to get to the Ringed City Streets bonfire and then Shared Grave Bonfire. Drop Midir down in the process. Midir is weak to lightning.
8.10. Follow the path up past the bridge and into the Church. Take a left up the stairs. Take the elevator up and on your right, between floors is an alcove you roll/walk into. Make a right from there and fall through the hole to pick up the Chloranthy Ring +3.

This concludes my list of items you might need in your SL1 run, so killing any other bosses from now on does not make your character stronger.
Chapter 9. The Grand Finale
Starting from now on, there is no reason for picking one boss over another. Kill in any order you want. Mine own way of doing it is down here.

1. Old Demon King, From the Demon Ruins bonfire @ Smoldering lake. Yeah, we forgot him, but let's sort it out. He is weak to dark, resistant to fire, Immune to bleed, and lightning works against him. So either Dragonslayer's Axe or Deep Battle Axe.

2. Champion's Gravetender & Gravetender Greatwolf. Weak to bleed, lightning and fire. Whatever suits you best.

3. Halflight, Spear of the Church. Use Lightning.

4. Nameless King. The bird is weak to lightning, resistant to fire, The King himself is weak to fire, resistant to lightning. Both resistant to bleed. Recommended to get two weapons and switch them, Dragonslayer's Axe with Gold and a Broadsword with Charcoal will do.

5. Soul of Cinder. Weak to lightning and dark. People say it is perhaps the hardest SL1 boss, and maybe they are even correct, but I've killed Cinder like over a hundred times now while my actual Midir kills count is like at 20 total, thus it is quite different for me.

6. Sister Friede. Weak to bleed, dark and lightning. Dragonslayer's Axe or Broadsword.

7. Gael. Not resistant to anything, but nor is he weak to something we can take advantage of, so use Dragonslayer's Axe and Gold Pine Resin.

8. Midir. Still weak to lightning. Enjoy. I tend to make lots of silly mistakes on Midir, so I run with shield ring and Prisoners, for a safer fight. You can't survive your epic mistakes more than once (Tears or Denial) but usual attacks should go fine. Perhaps this is the best fight to go low equip 1hp if you are not a chobo like me.

As you deliver the last hit to the Dragon head, that should be it for the run. Farewell!

26 Comments
Gat Jul 11, 2023 @ 10:24pm 
A few years ago I gave up on this challenge spending 150+ attempts on twin princes. A few years later, I first tryed him... Insane moment.
Jayden May 30, 2023 @ 4:43pm 
The dancer was not easy for me took me 2 days to beat....
Remedy  [author] Apr 1, 2022 @ 10:04am 
I just did some testing, and yes, it works. For comparisson:

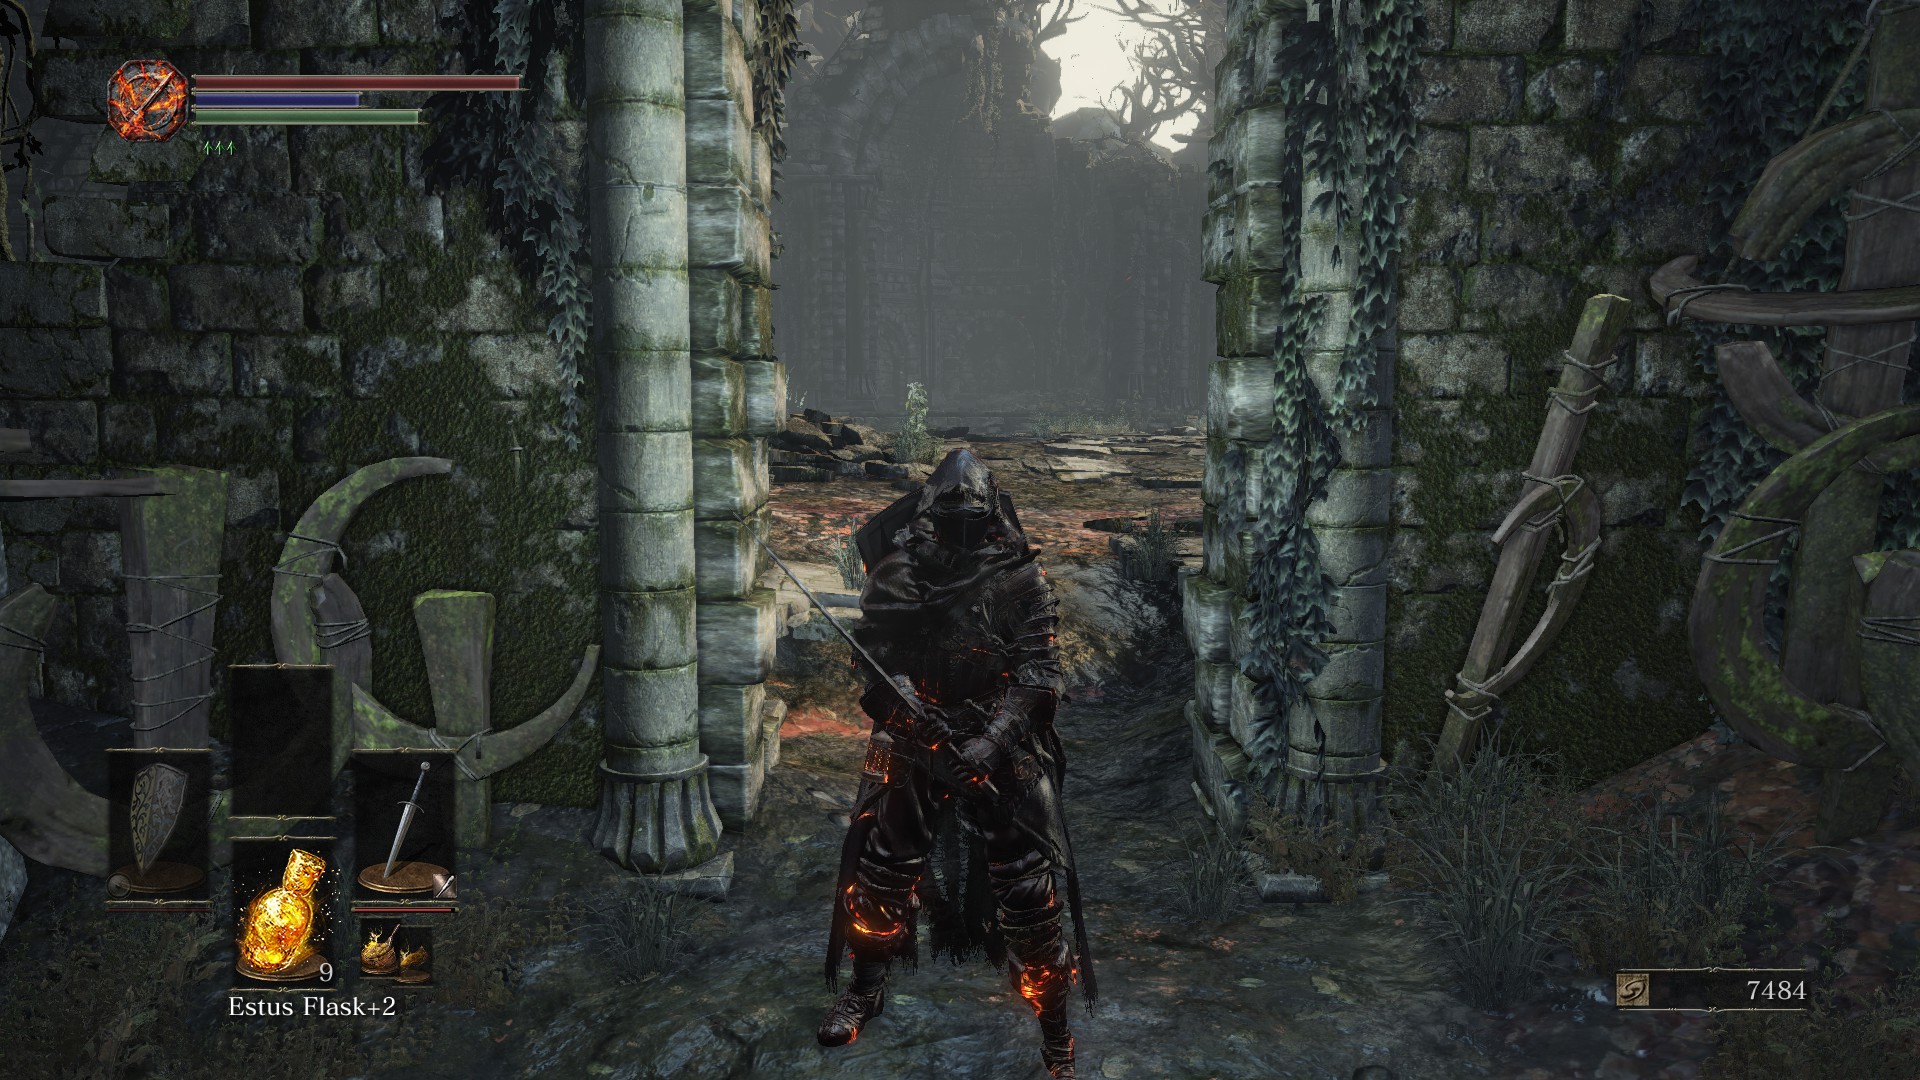
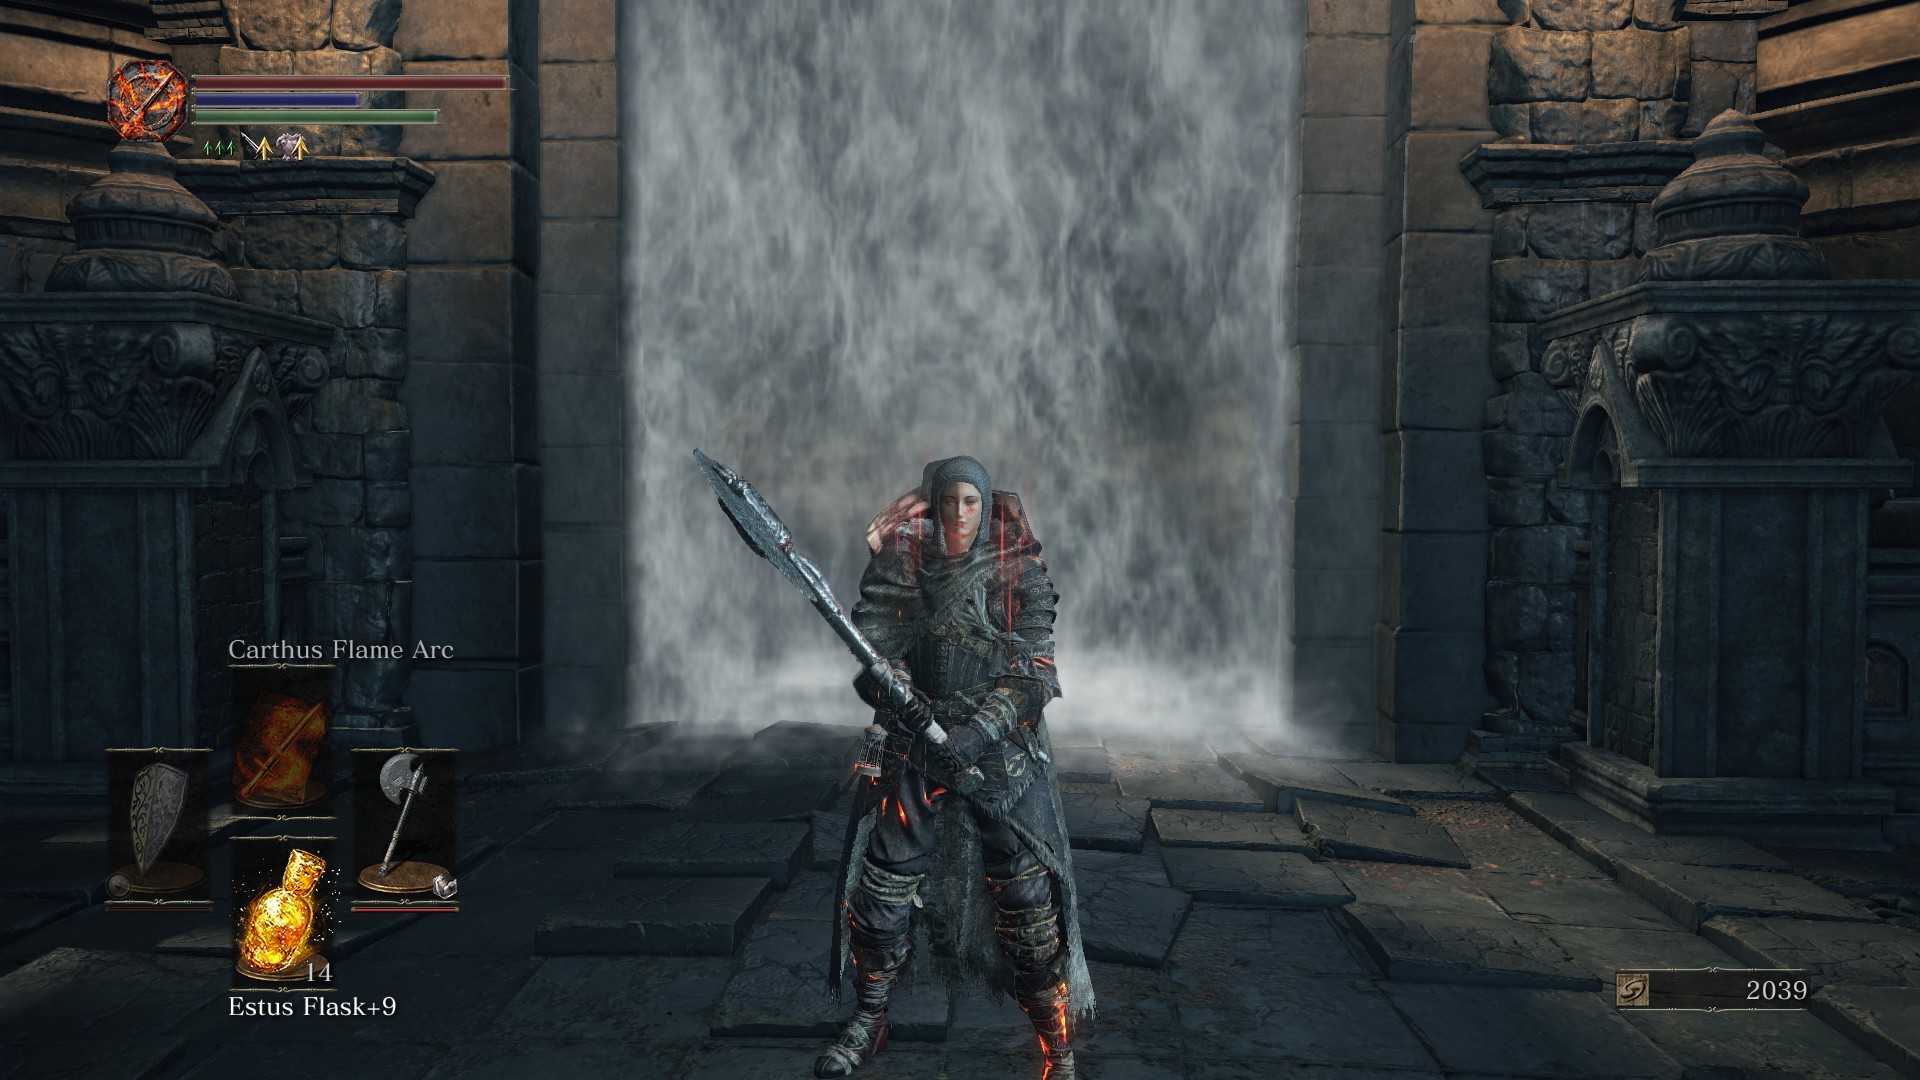
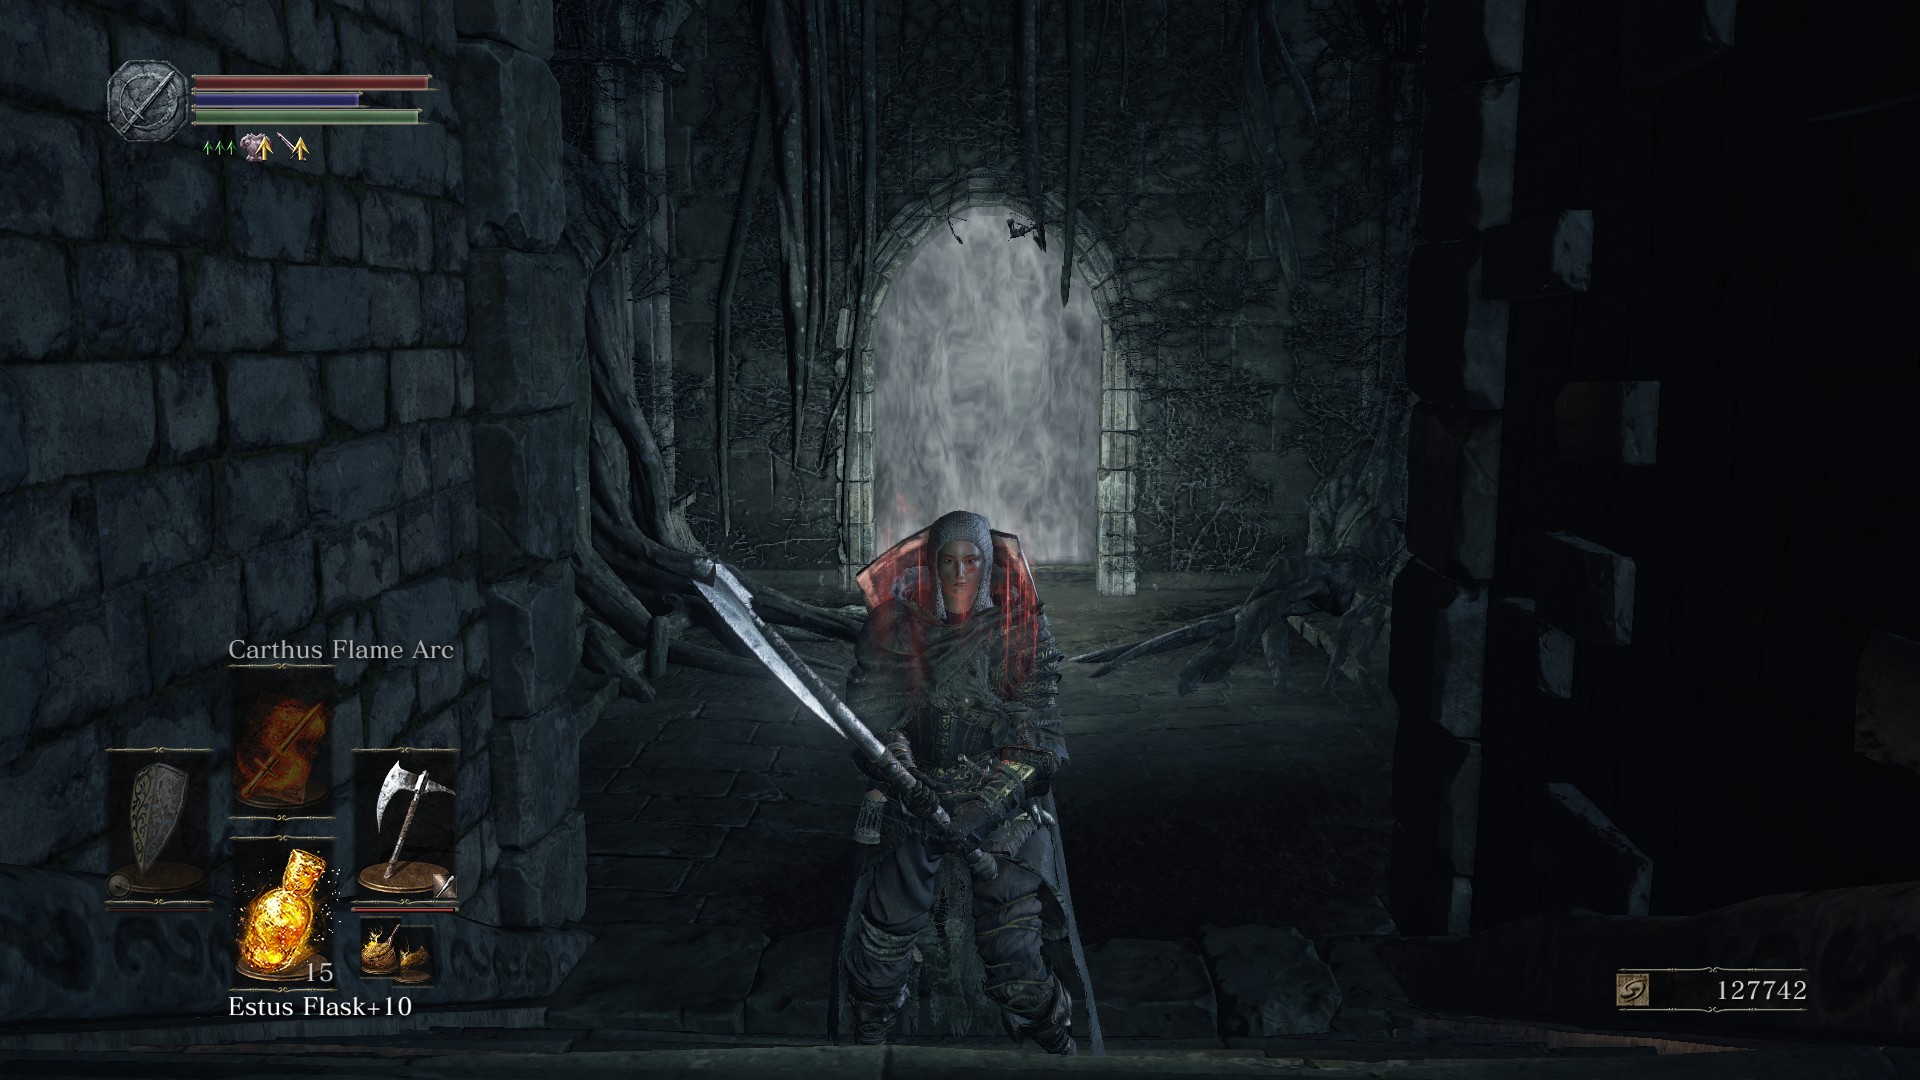
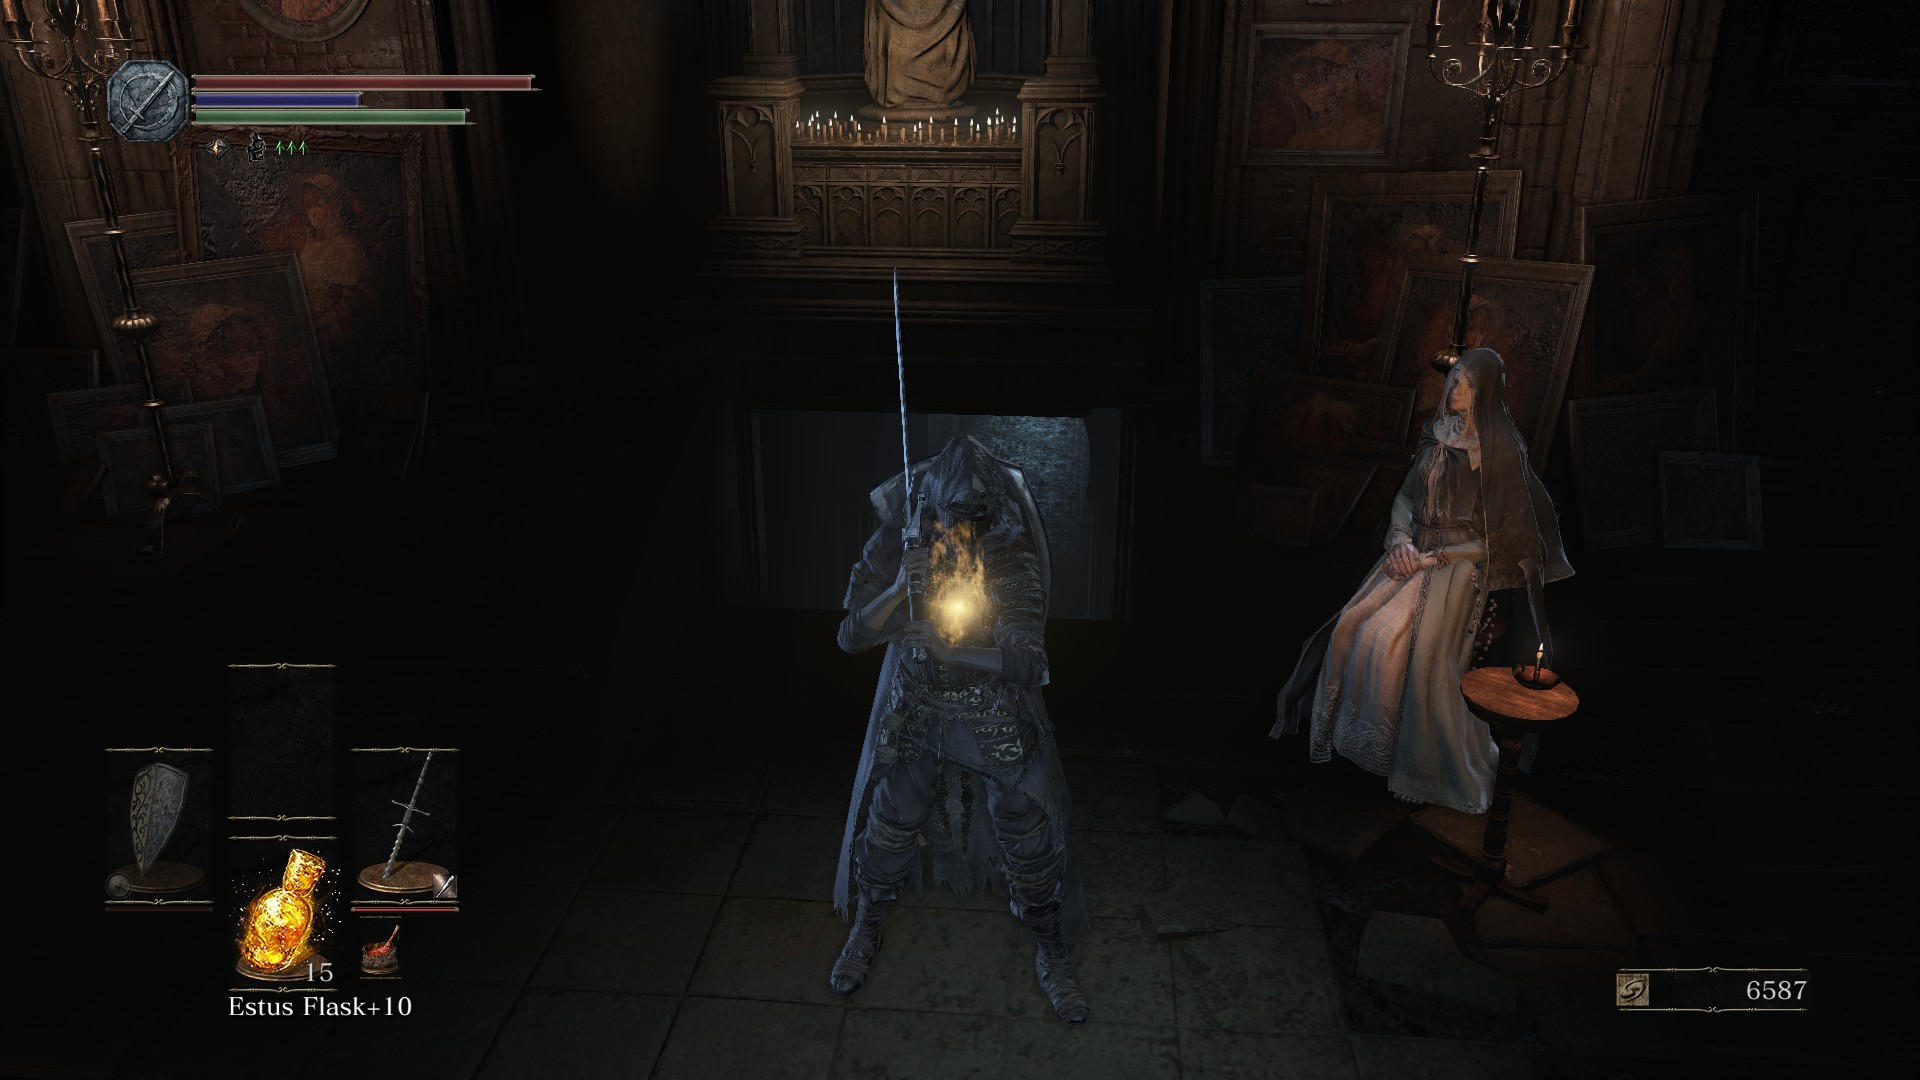
2-handing my Heavy Millwood Battle Axe with +0 Pyromancy flame Carthus Flame Arc - 404 damage.

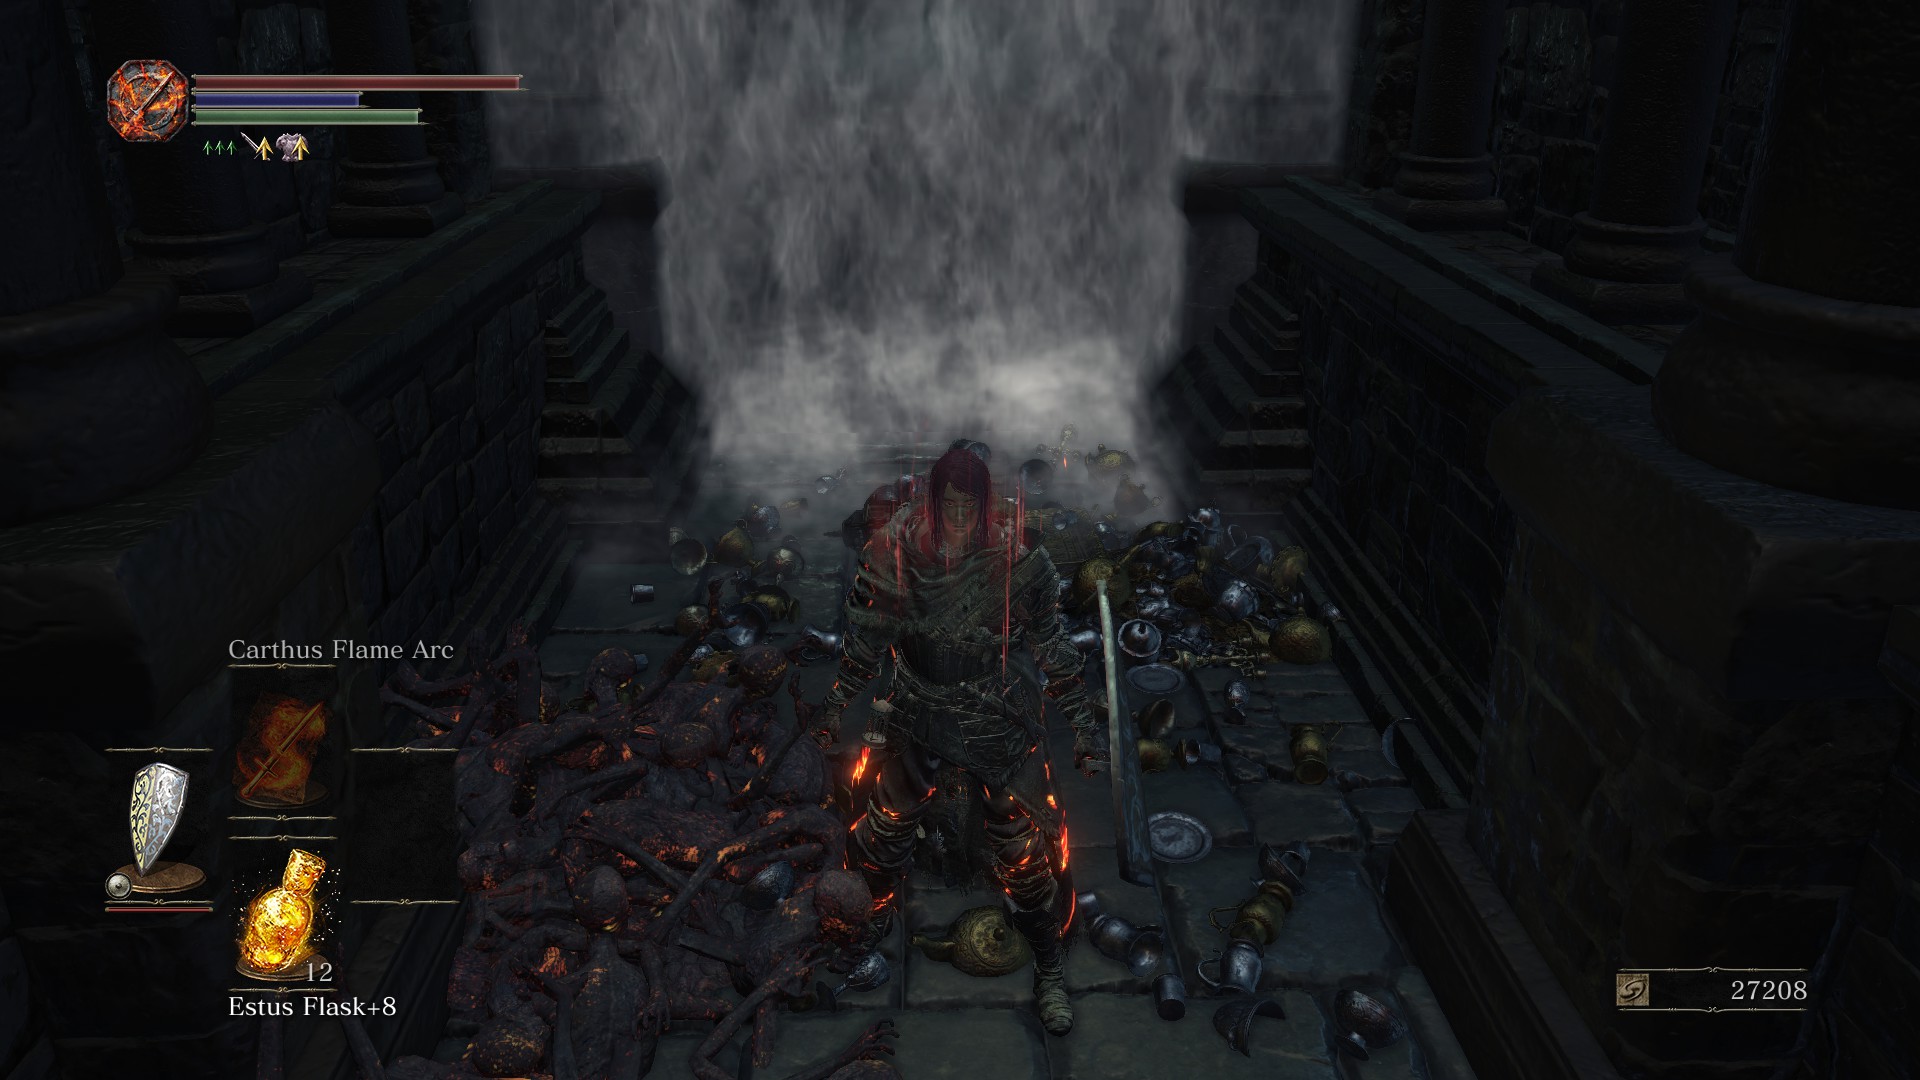
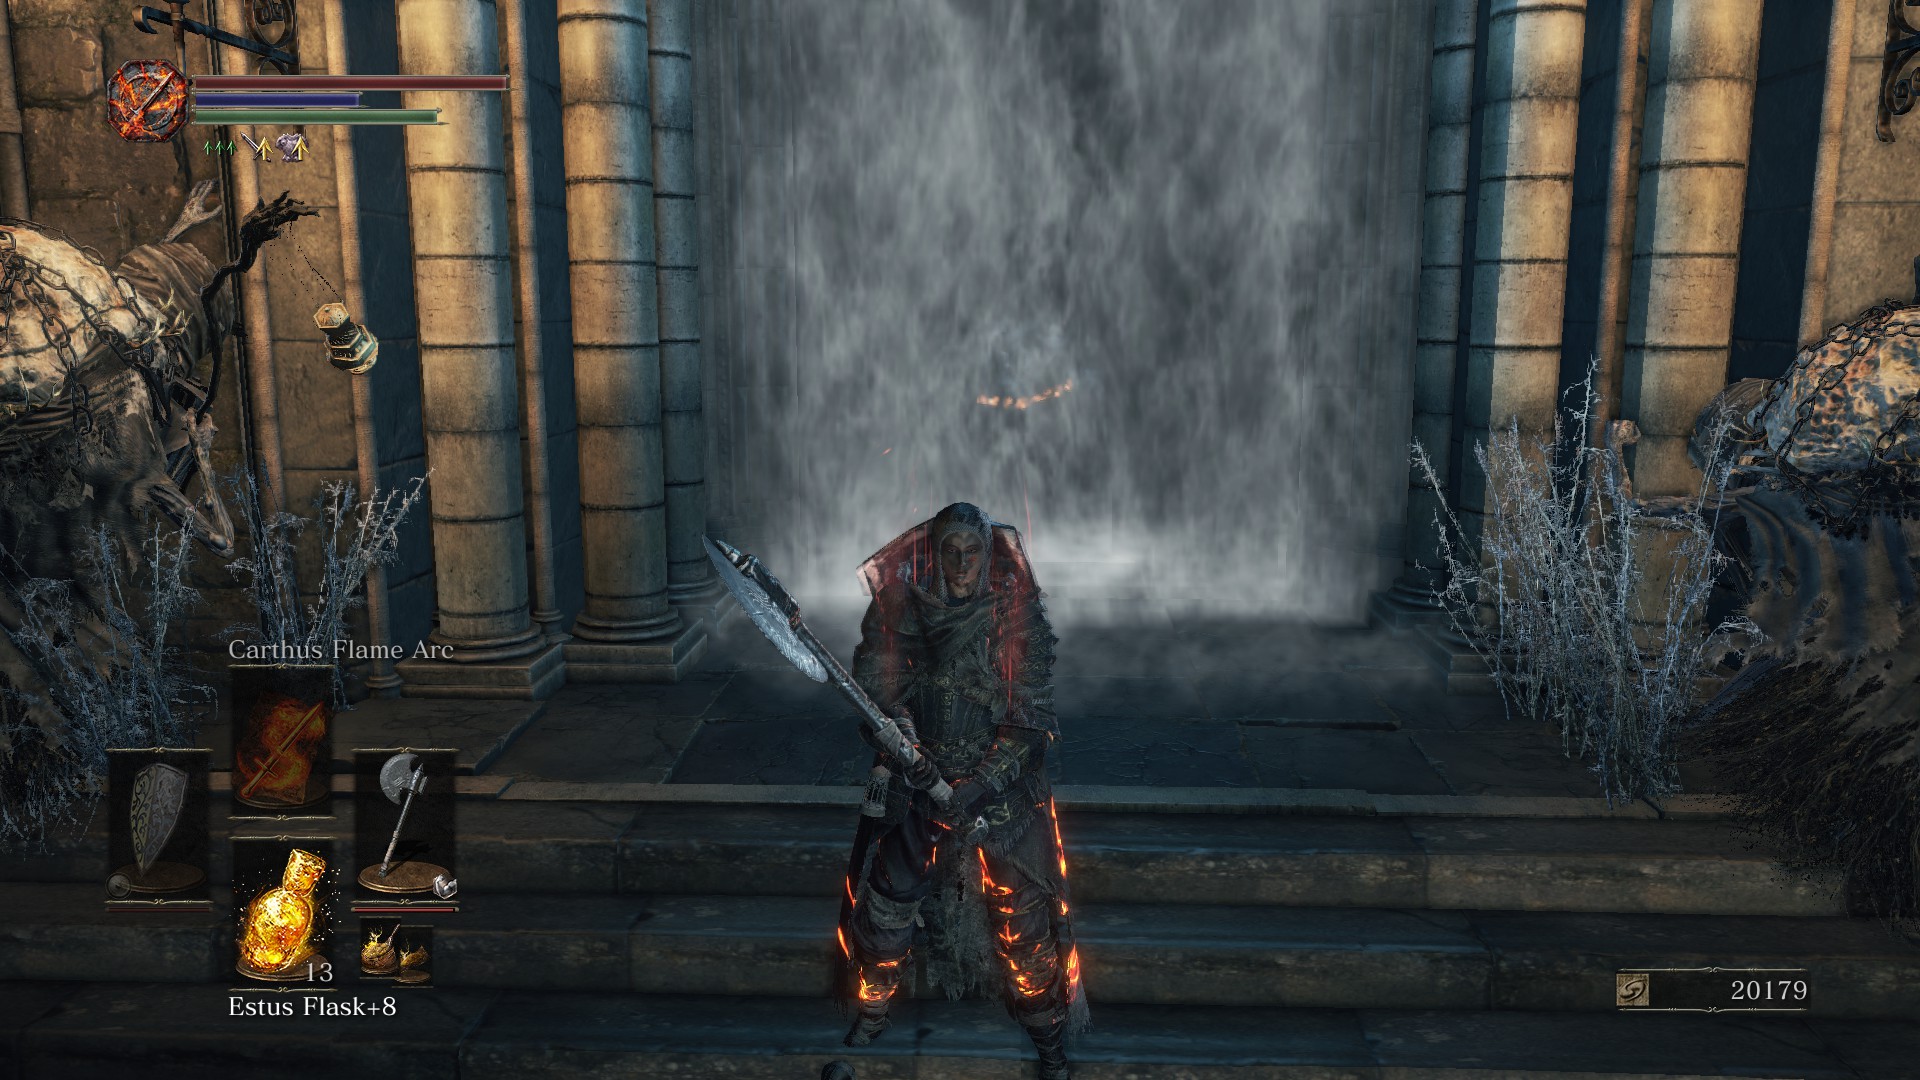
Upgrading Pyromancy flame to +1 made my damage 405. So it's not a huge boost but it's a boost. I will include that in the guide.
Gamall Wednesday Ida Mar 25, 2022 @ 6:15am 
Carthus flame's damage *should* be calculated according to spellbuff, so reinforcing the tool should serve well enough if you don't need the resources for something more critical, though don't expect immense damage gains.
Rusty Mar 22, 2022 @ 11:19am 
I'm not sure if anyone still looks at this discussion, but I'll try my luck :)
Is it worth reinforcing the pyromancy flame to increase the damage buff of Carthus Flame Arc? I could be blind, but I didnt see anything mentioning that in the guide itself.
ecco_ Jan 16, 2022 @ 1:41pm 
I somehow did Soul of Cinder first try naked. I went ultra instinct I guess
Nabil Jan 15, 2022 @ 6:33pm 
Frieda is the hardest boss for SL1 imo, 3 phases is boring, she is too fast, most of the axe attacks misses her and has alot of one shot bs. Going to try dlc 2 and see what happens now.
nSword0 Mar 25, 2021 @ 7:48pm 
@LeMeduu no...it has to be the deprived class because thats the only class in the game that starts at level 1
LeMeduu Mar 3, 2021 @ 10:31pm 
im doing it with knight class and no upgrades....that still count as sl1 run? xd
Gamall Wednesday Ida Feb 3, 2021 @ 10:05pm 
Finished it. SoC almost demoralized me. Haven't done NK or the DLC bosses yet.

Regarding ToD ring and spell swapping; never used it because too tedious by far. Then made an AHK script for my last fights against SoC. Posted in that topic: https://steamcommunity.com/app/374320/discussions/0/3112519747617920136/

Thanks again for the nice guide.