Left 4 Dead 2
54 valoraciones
The Real Deal Achievement (No Mercy. Expert Realism)
Por Derrick
This guide will help you obtain the Real Deal Achievement by providing an informative walkthrough on how to complete the No Mercy Campaign in Expert Realism.
   
Premiar
Favoritos
Favorito
Quitar
Introduction
Refer to this guide for more information on how to play Realism Expert.
http://steamcommunity.com/sharedfiles/filedetails/?id=118236296

For a Versus guide
http://steamcommunity.com/sharedfiles/filedetails/?id=113762019

Please play the No Mercy Campaign at least once before you attempt Expert, and complete Expert before playing Realism-Expert.

Things to take note.
  • Stay together and cover each other.
  • Learn to move and shoot.
  • Cover all flanks and clear horde.
  • Shove instead of shooting if there is a high chance that you will hit your teammate.
  • Do not friendly fire.
  • Do not cross into other people's line of fire.
  • Stay close.
  • Hug the walls.
  • Funnel infected into narrow passageways for easy killing.
  • If your team is struggling, only heal when your screen is black and white.
  • There are no respawn closets in Realism mode.
  • Witches cannot be crowned, try to avoid them. Set fire to them if you can't avoid them.
  • Kill survivors with less than 50 hp before closing the saferoom door so that they will respawn with 50 hp.

Now on to the walkthrough.
Chapter 1: The Apartments
I recommend SMGs and Rifles along with melee weapons for the No Mercy Campaign. You won't need the magnum to kill enemies in the open, as this map is very enclosed. Rifles are preferred to the shotguns as the small areas mean that there is a high chance of friendly fire. Snipers are not recommended because as they no longer kill common infected in one shot at this difficulty.

Check the first building thoroughly. You need to find at least one molotov in the starting chapter so that you can use it for the inevitable tank in the subsequent chapter. The rooms are dark, so be careful and take your time to clear every nook and cranny to find for your precious molotovs.

After you reached the streets, you need to make a decision whether to enter the building on the right or just run straight to the saferoom. Normally, I will run straight to the saferoom if there are not many zombies around. If there are a lot of zombies, I will head through the door, grab the pills in the first-aid cabinet, then slowly clear the zombies in the streets from the safety of the building before making my way to the saferoom.
Chapter 2: The Subway
At the start of the map, clear out all the zombies slowly before jumping down. See the small platform in the middle of the above picture? Do not jump on it if you are playing with bots as some of them will fall down and get incapacitated by the zombies below. After the starting area is cleared, make your way down and search for molotovs and pipe bombs.

At this point, you'll be face with a small decision, to head up by the left or the right. I'll usually take the right path as it is a bit less open. However, there is a chance that a m60 or grenade launcher may spawn on the left side: Once you climbed up the stairs on the left, instead of turning right (which is where you are supposed to go), turn left and walk into the tunnel.

A tank will usually spawn in the area shown in the above picture. Throw the Molotov that you have been saving and run away; there should be plenty of space to backtrack. The table in the picture has a reasonable chance of spawning tier 2 weapons so do grab a tier 2 weapon if you see it.

Next, make your way to the crescendo and activate the button for the shutter. Wait out the horde in the room with the first-aid cabinet. Do not camp by the machine gun as it isn't safe. You can jump on top of the cabinets for greater protection from the horde and special infected: just jump on the bench, and then jump on the first-aid cabinet. Be sure to use any gas cans lying around to aid you in killing the horde.

Once the horde has ended, go up into the room and get more ammo. The rooms on this floor have a chance to spawn med-kits, so search them carefully if your teammates are low on health. As the first floor of this building has a lot of zombies, I'll usually jump out of the building via the first room on the right, on the trash bags to break my fall. Note that you can sometimes find an m60 near the trash bags.

Either way, once you are out on the streets, you can either keep left or right. I'll usually keep to the right as its a bit less open. If a tank spawns here, just juke it and rush to the saferoom.
Chapter 3: The Sewers
At the start of the level, head right and search the room, there are usually some useful items that will spawn here. Head on to the garage as there are usually tier 2 weapons and even more molotovs or pipe bombs around.

After you activate the crescendo, you can hide in the room that is next to the gas station. It is pretty safe and easy to defend as you wait for the crescendo to end. If you desire, you can actually run all the way back to the saferoom as it is nearby.

Alternatively, if you have a grenade launcher, you can actually destroy the shutter door and skip the crescendo.

Personally, I'll usually run and ignore the crescendo. There is considerably risk involved as a tank may spawn ahead. Once you have entered the building, jump down to the second floor, grab the pills from the first-aid cabinet and carry on running all the way through the map. If you do this, you won't encounter many zombies further ahead in the map as they have all spawned far behind you.

If you did not wait for the crescendo to end, quickly check the rooms on the second floor for pipe bombs or molotovs then jump down to the first floor and continue running, don't take the stairs as you need to backtrack.

If you have waited out for the horde to end, then you may want to search the rooms on the first floor as they have a chance of spawning med-kits. It is useful to activate the shutter that is shown in the picture above, as it'll provide you a chance to run away into the open if a tank spawns ahead.

If you did not wait for the crescendo to end, jump down the first manhole as the room on the right has a chance of spawning zombies. If you waited for the crescendo to end, search the room on the right for supplies before dropping down the manhole.

There is a decent chance that a tank may spawn here. So throw a molotov and kite it with the aid of the small tunnels. Do not allow the tank to walk over the water as it will extinguish the flames.

Try to ensure that everyone climbs up the ladder at the same time as there is normally a sizable horde at the top. Just to be safe, I'll usually save a pipe bomb for this section. Remember to check the ambulance for med-kits before entering the saferoom.

Chapter 4: The Hospital
This map is pretty straightforward, once you are out of the saferoom, turn right and go up the stairs. I don't really recommend searching the rooms for molotovs or pipe bombs as they may not spawn and are not really needed for this chapter unless you are playing solo with bots. The area in the picture above is ideal for fighting the tank if it should spawn.

After activating the lift that triggers the crescendo, wait out the horde in the room that has only one entry point. It may be a bit difficult to reach this room if you are playing solo with bots, especially if any of them are low on health; you either need to heal the bots before you activate the crescendo or use a pipe bomb to divert the horde.

Once you have reached the top floor, slowly clear the horde and make your way carefully to the saferoom. Remember to kill any survivors with less than 50 hp before closing the saferoom door so that they will respawn in the next chapter with 50 hp.
Chapter 5: Rooftop Finale
The first section is quite easy, in the interest of saving time, I will normally skip the initial rooms as the only thing that can spawn is one pill bottle (although you may need it if you are not good at kiting the tank). Take note that you can sometimes find an m60 in the rooms at the end of the hallway. Next, proceed carefully at the ladders as it can be hard to save teammates that are on different floors.

Once you have reached the rooftop, carefully clear the zombies and search for any molotovs, pipe bombs and gas cans. There is usually a grenade launcher here but I won't pick it up as it does a lot of friendly fire damage.

The building/platform/structure on the left in the picture above is where you should camp during the horde, do not camp by the machine gun as it is too open to attacks from the special infected. If you don't have any bots with you, the platform in the back corner with the spinning spotlight is another good area to camp.

Once the tank comes, leave your camping position and look out for the tank. Set fire to the tank using any gas can or molotovs that you have and kite it carefully. Once the tank dies, quickly refill your ammo and retreat back to your camping position. Heal up if you need to.

The helicopter will arrive after you killed the second tank. Quickly revive anyone that was incapacitated and rush to the helipad. Make sure that everyone who needs The Real Deal achievement gets on board the helicopter. You won't have much time before the next tank and horde spawns so you may need to ignore some survivors who have been incapacitated.

The End


P.S. If you are not familiar with basic L4D2 terminology, refer to this short guide.
http://steamcommunity.com/sharedfiles/filedetails/?id=130902328
22 comentarios
Mocha 7 FEB 2017 a las 18:48 
@Soty Lmao,8 hours in l4d2,why would you play realism expert.

Soty 19 DIC 2015 a las 1:53 
On rooftop no horde is coming for me, i never played no mercy so i don't really know what's happening.
aabicus 26 MAY 2015 a las 0:52 
"If a tank spawns here, just juke it and rush to the saferoom." I turn into QWOP when I try to juke tanks...

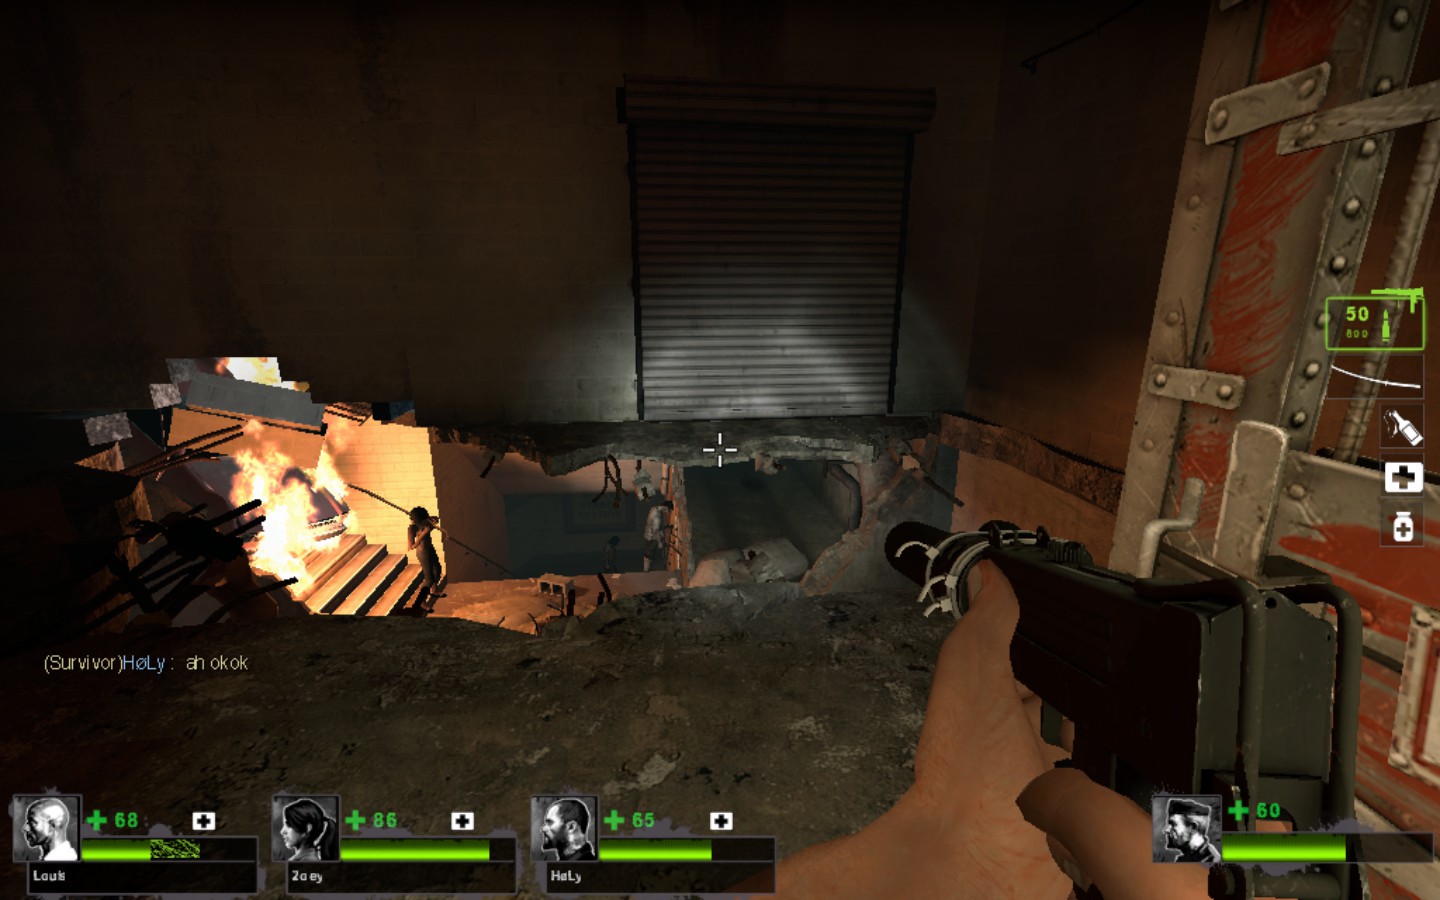
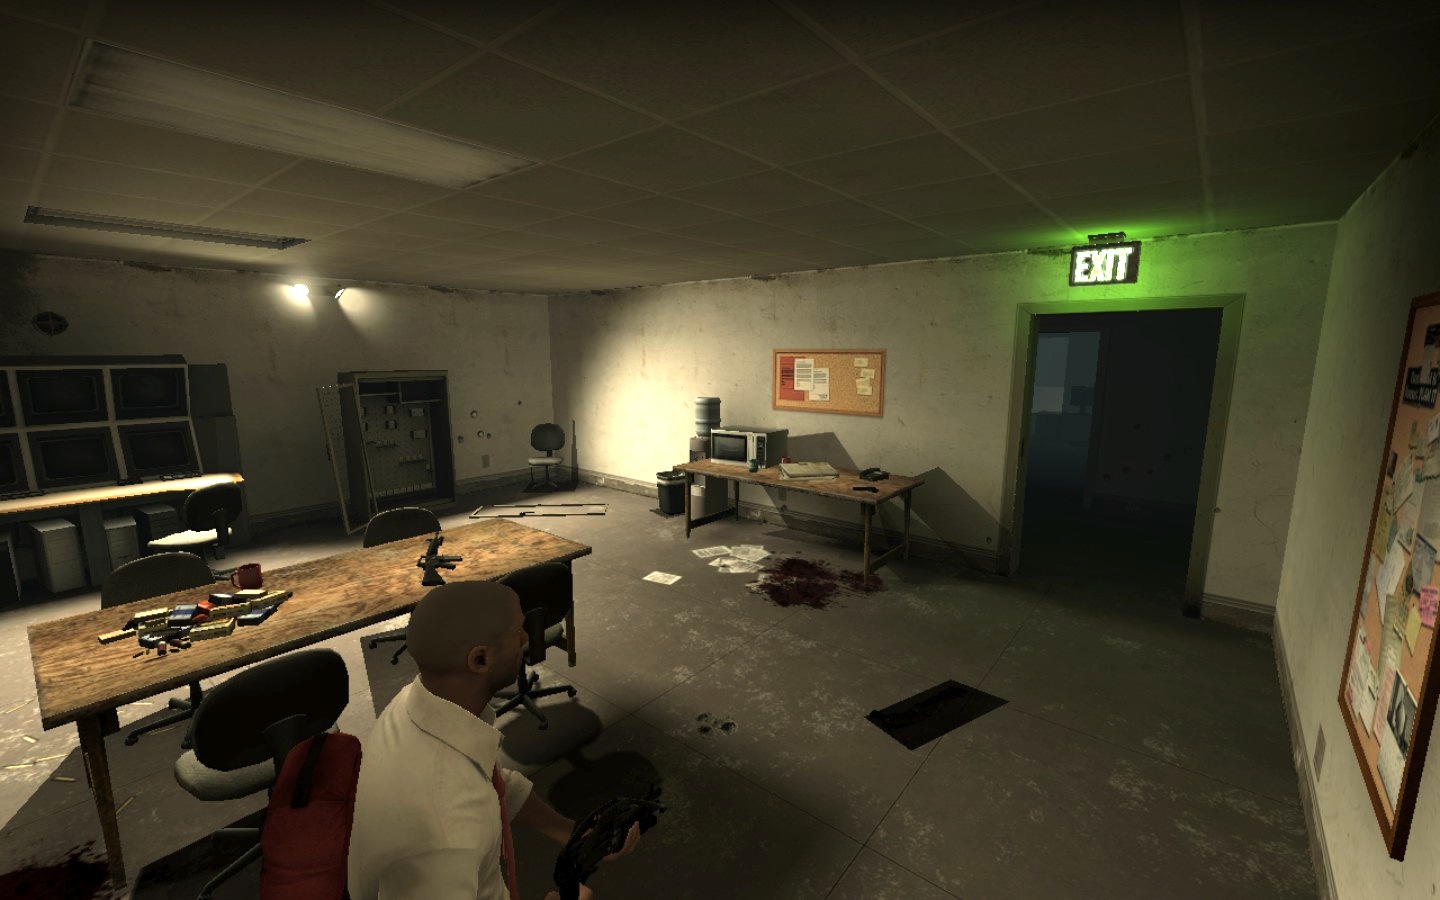
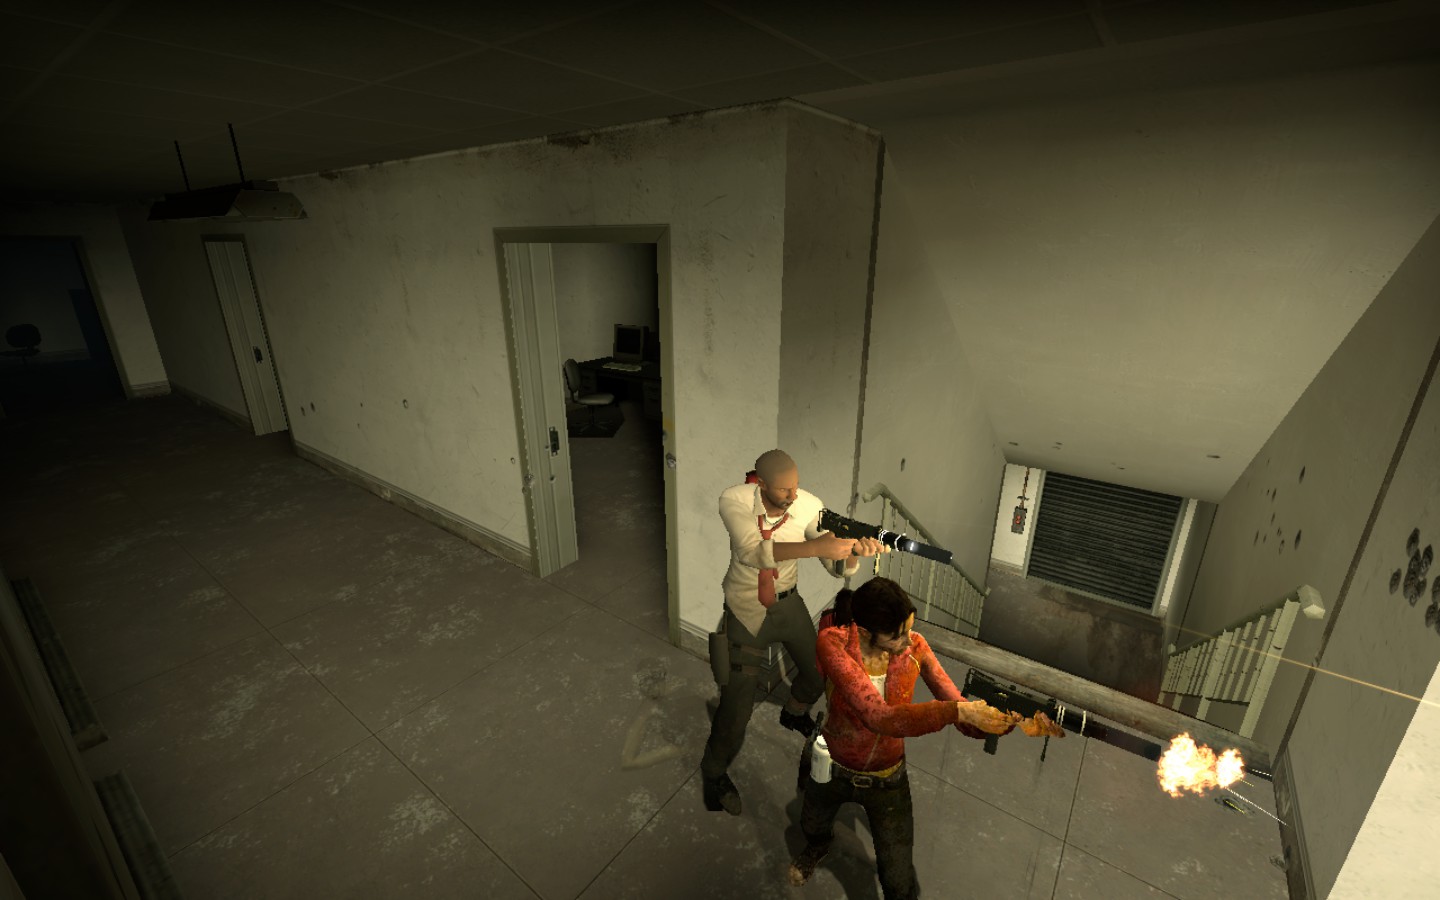
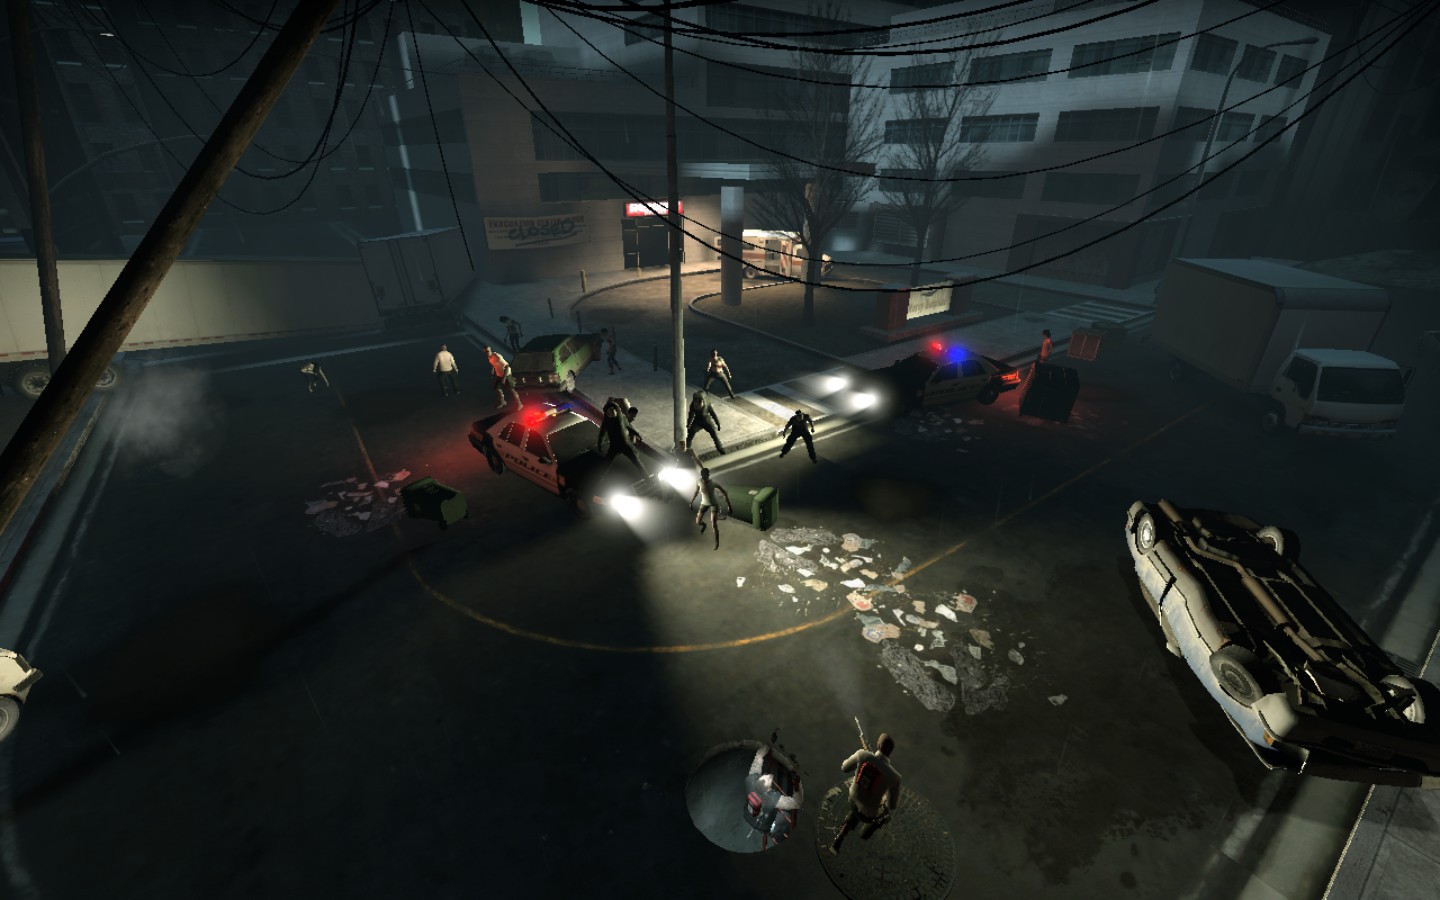
Are you sure that shutter door can be opened via grenade launcher? I just tested it and it didn't seem to work.
BetterOliver 15 JUL 2014 a las 10:01 
add me if you wanna get the acheivement :tank:
Upggrade 14 ABR 2014 a las 7:41 
Didn't know you can destroy the shutter door, thanks.
Nosfrat 2 MAR 2013 a las 1:08 
You don't really need a bile bomb for the crescendo, rushing with shotguns works, you can always sacrifice a bot (which I tend to do a lot when there's one). The fourth map is the hardest IMO, mostly because there are many places to get ambushed and most of the time my team gets lost looking for supplies in the building, and without outlines through walls... The third one is long but there's almost always a grenade launcher (not sure if I'm good with it but it means easy mode to me), and the only place where you can't easily avoid being damaged is the sewer.
Derrick  [autor] 2 MAR 2013 a las 0:26 
@arnbo dish. No problem. I'm not sure which campaign I completed "The Real Deal on as it was 3 years ago (It was probably swamp fever).
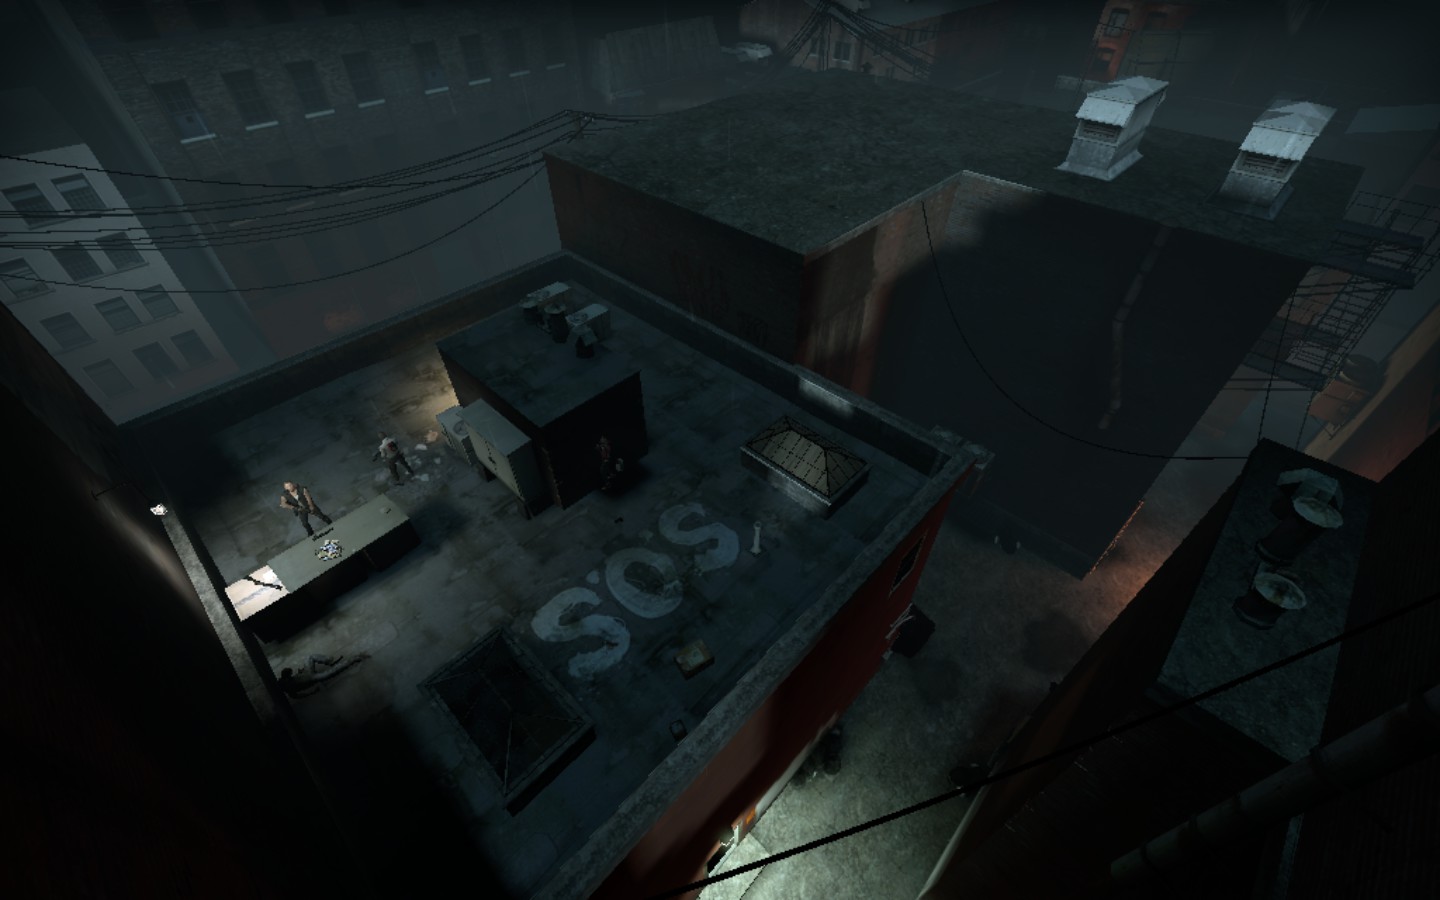
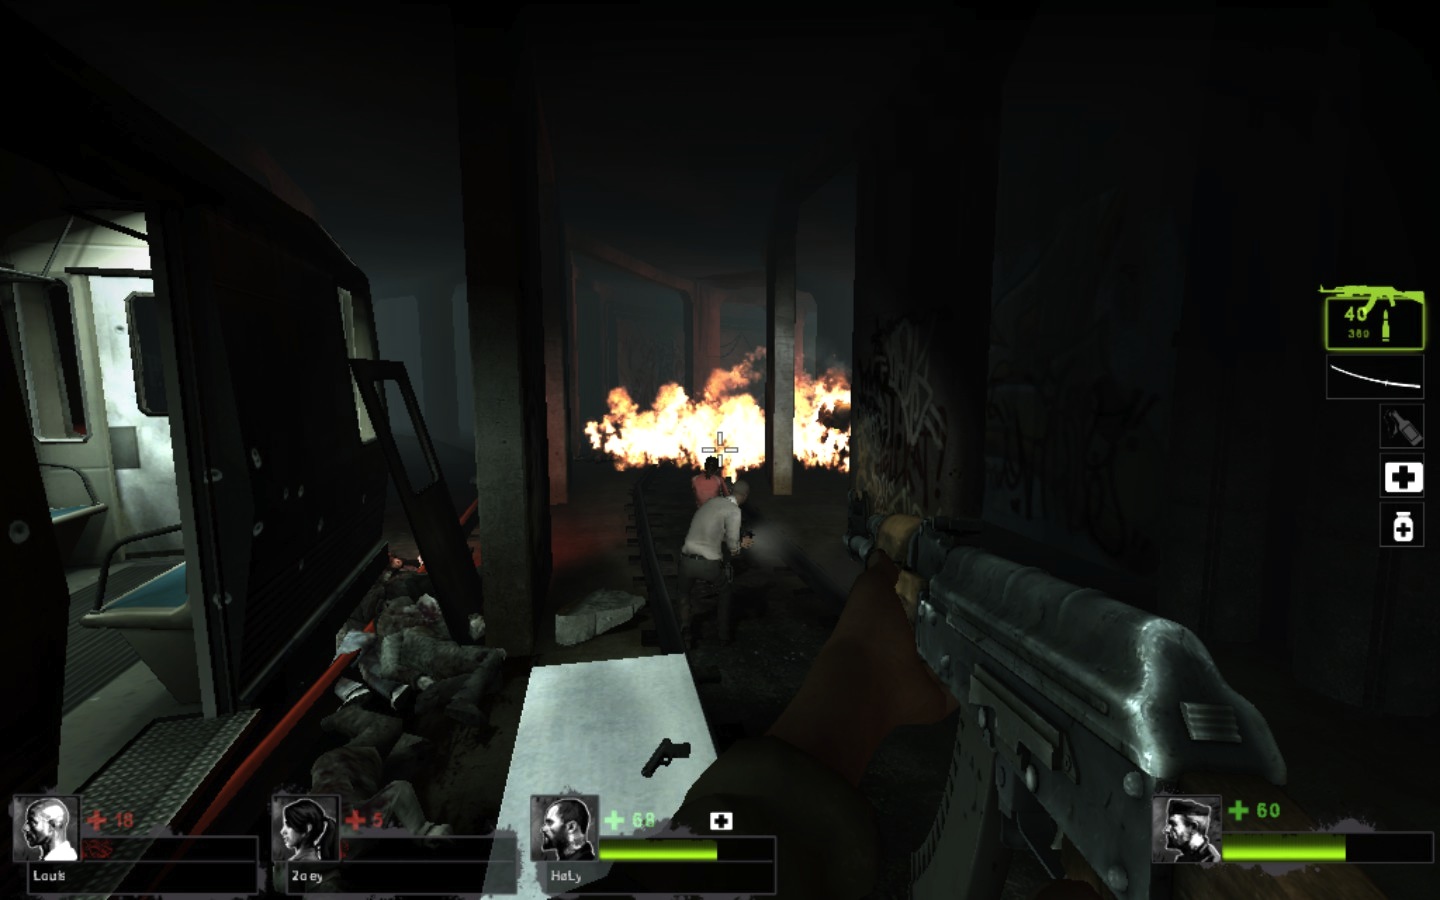
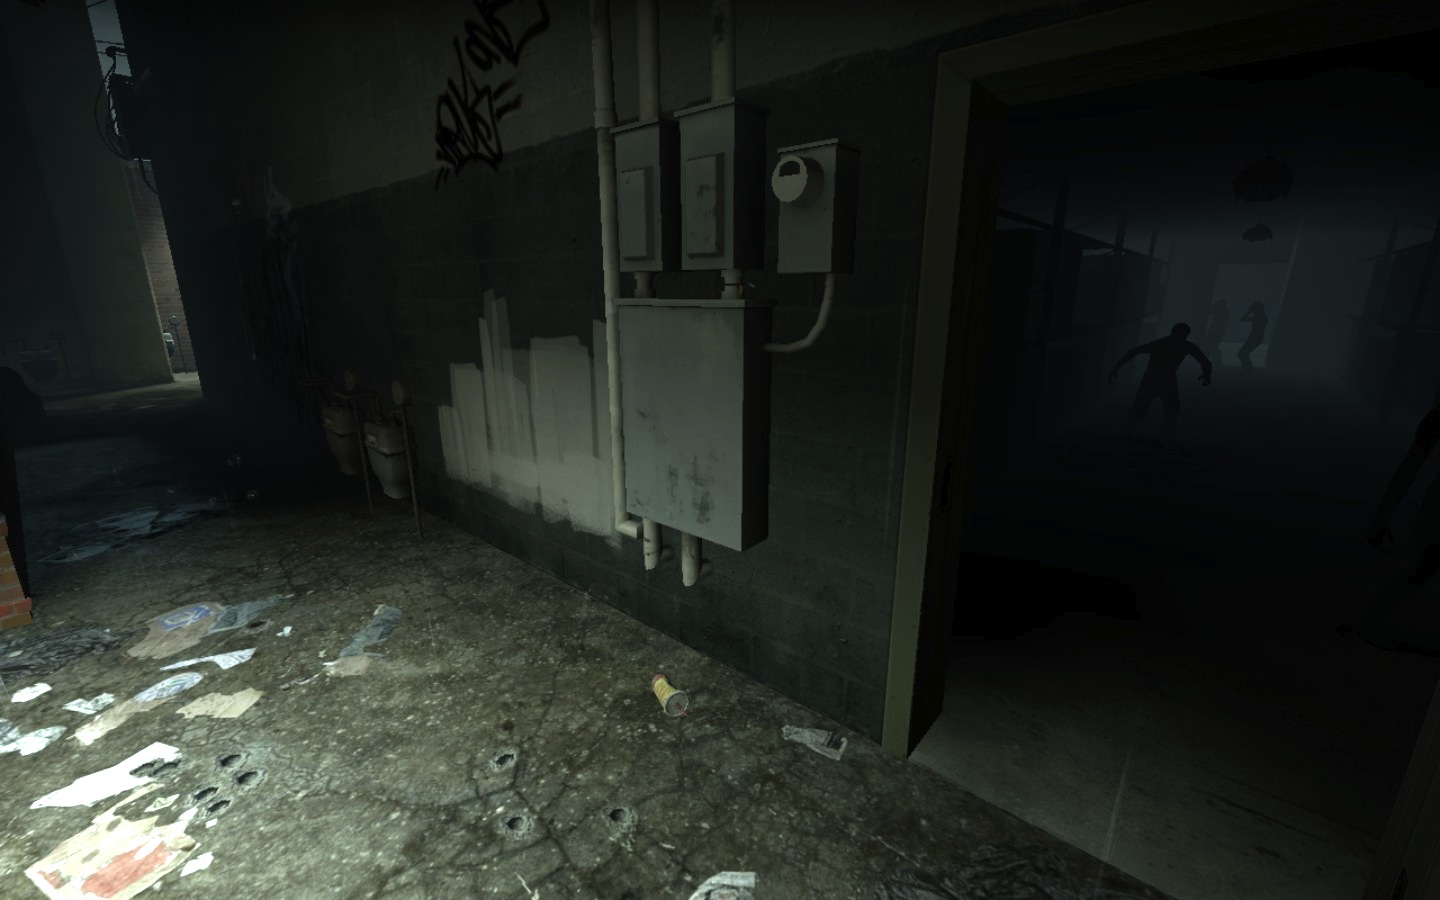
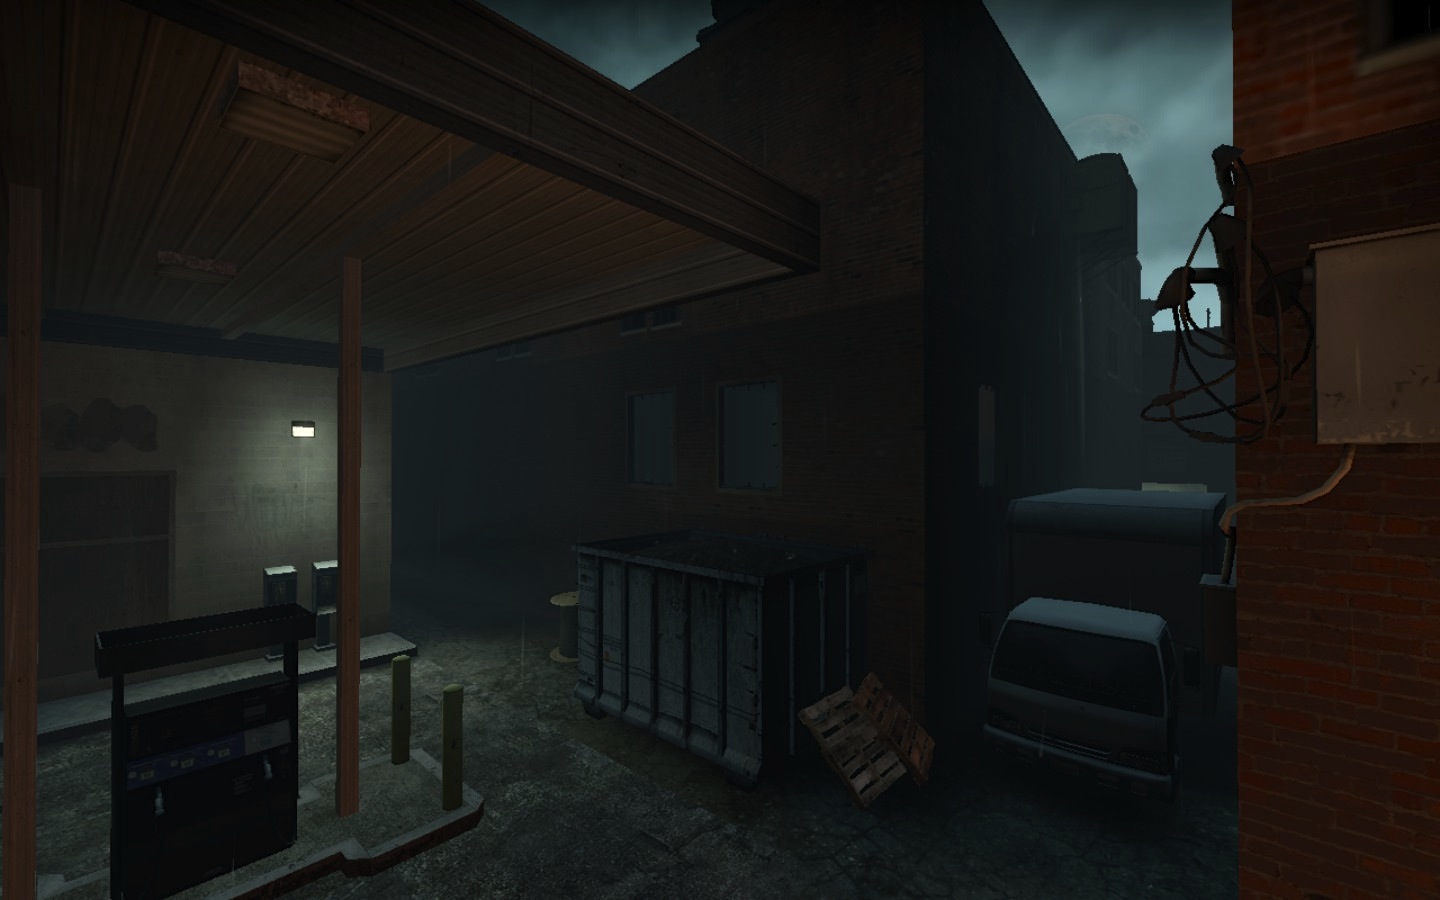
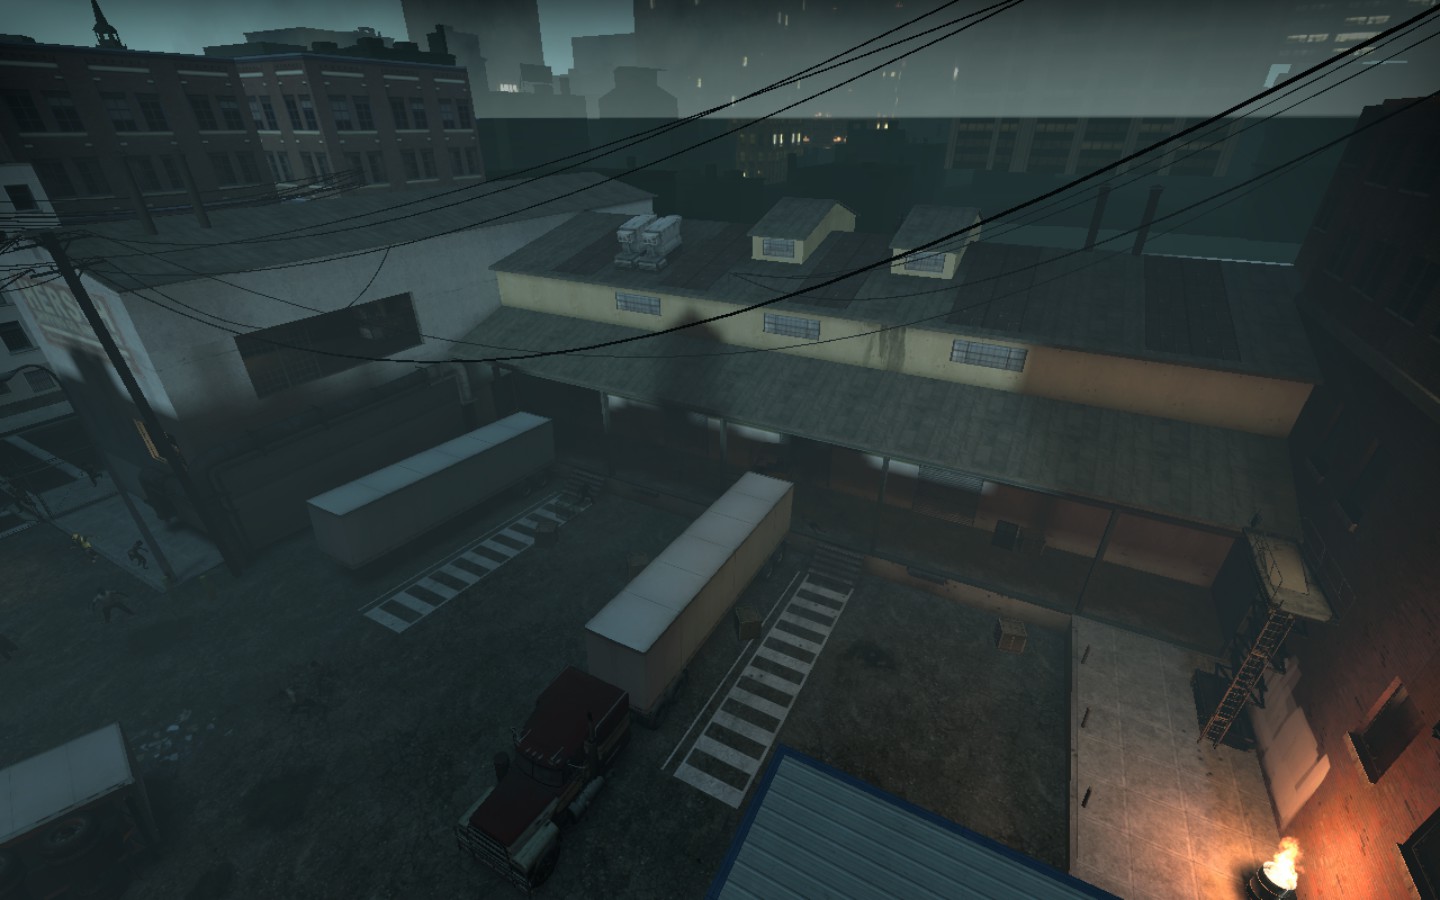
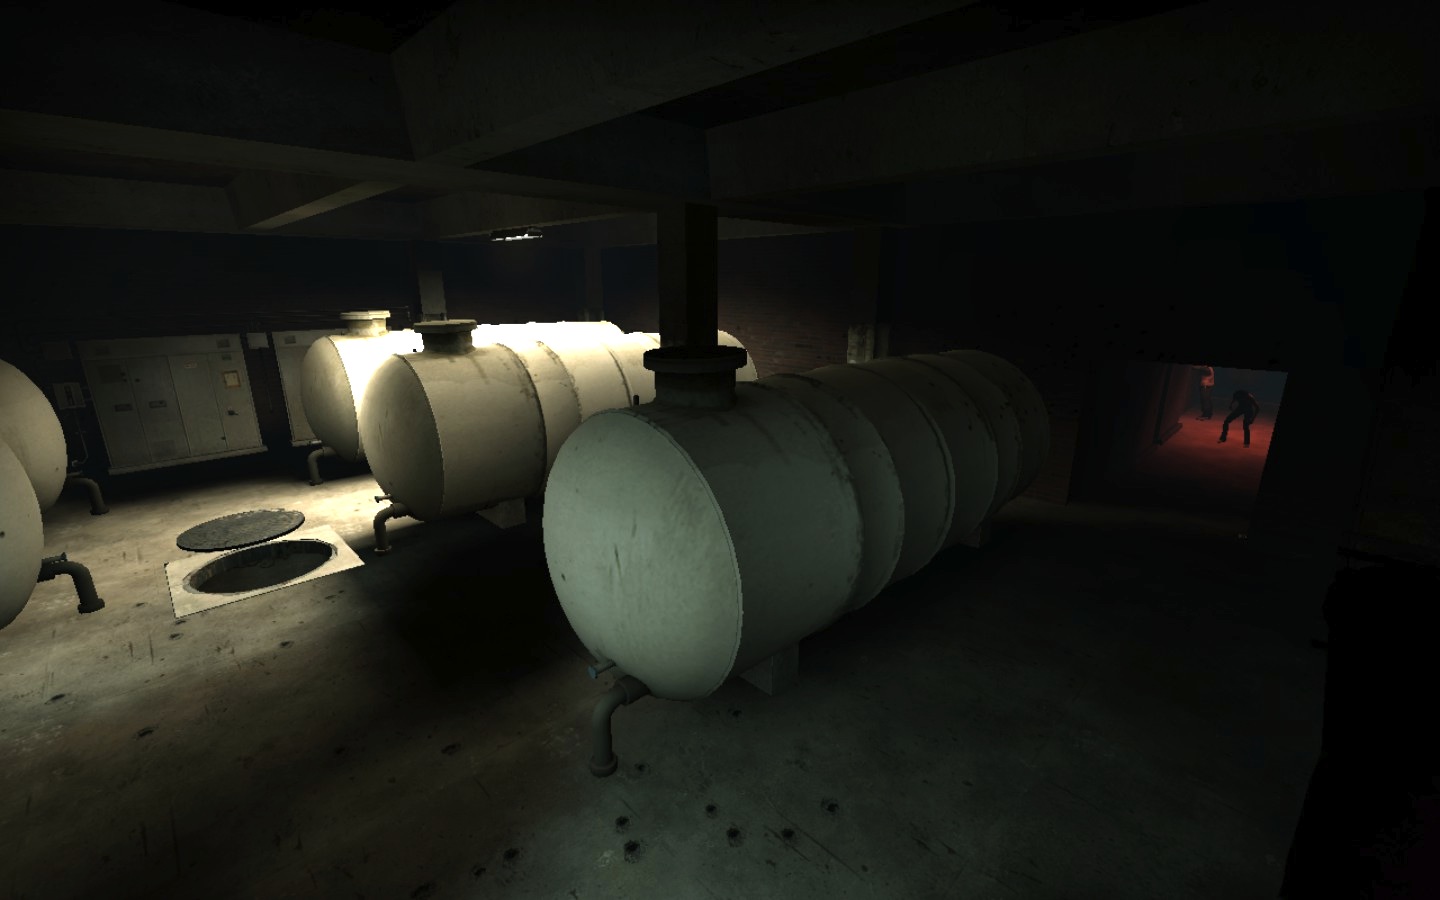
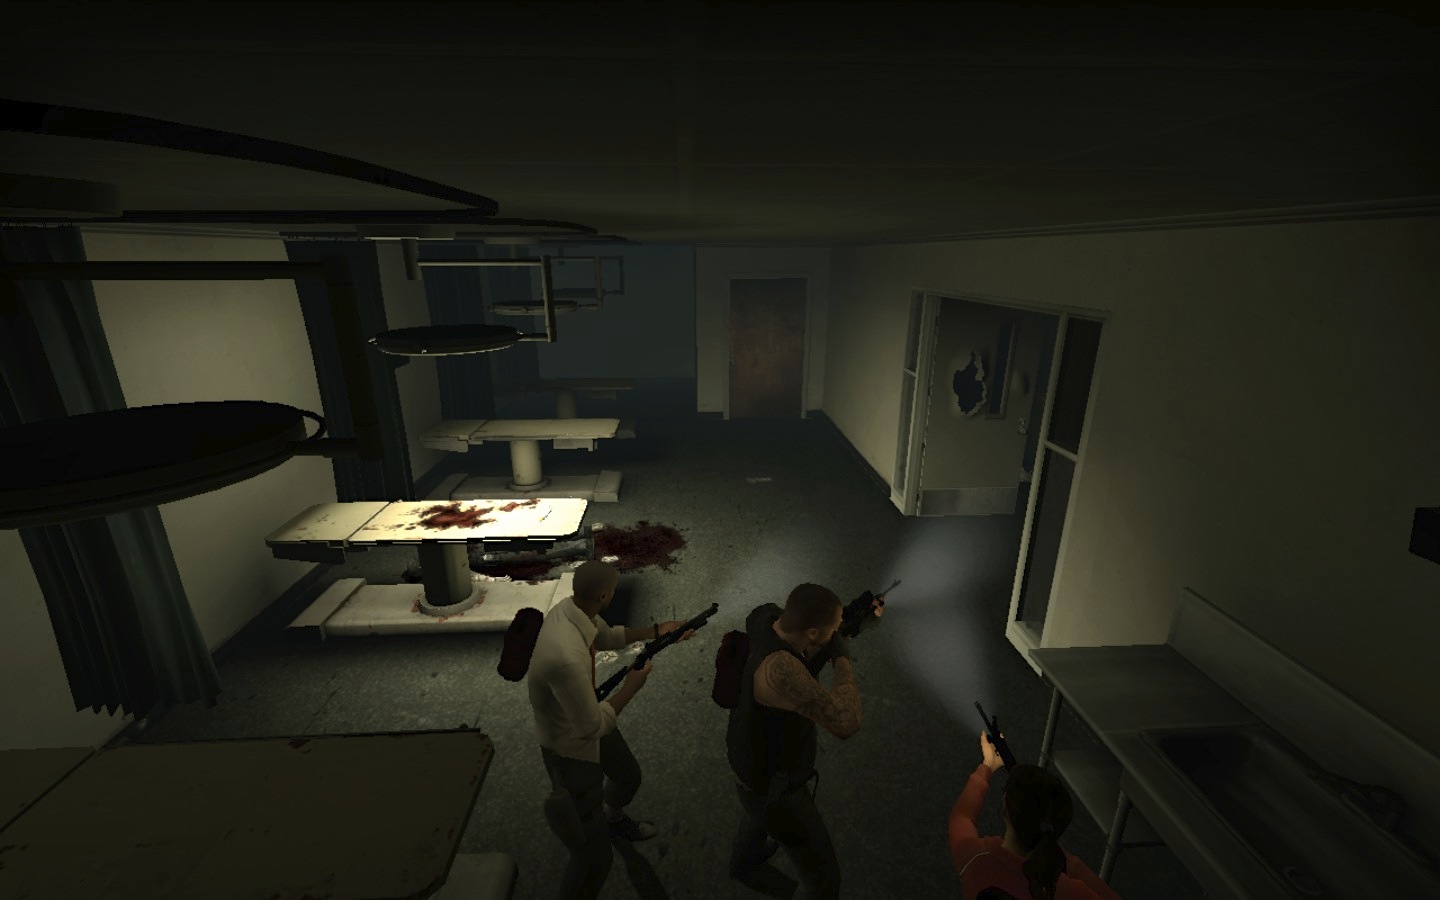
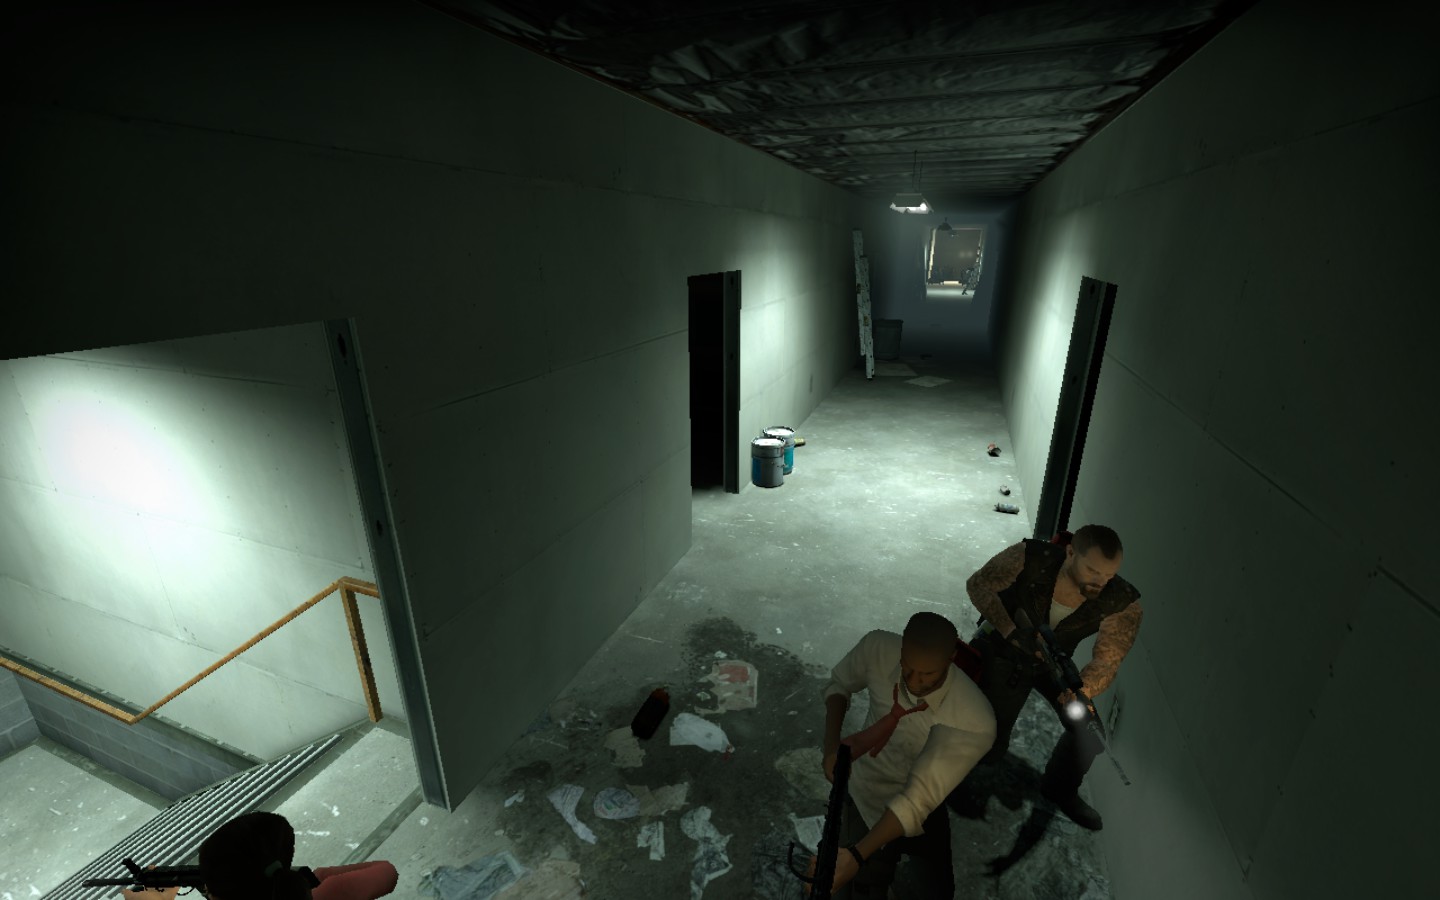
Parish is pretty easy because the 1st and 5th map is a breeze. 2nd map is easy enough if you have a bile bomb for the crescendo. 4th map is quite okay. However, the 3rd map is long and difficult.
Nosfrat 2 MAR 2013 a las 0:10 
Oh well, it'd have been useful to know months ago but I ended up doing it on The Parish, which I believe is overall easier than No Mercy, mostly because the finale's a breeze. Thanks for backing up your facts though, many people just throw in random shit and claim it's the way things are, without any way to prove it.
Derrick  [autor] 2 MAR 2013 a las 0:03 
I've seen multiple forum comments that people have gotten "The Real Deal" achievement on the No Mercy campaign. You will need the original 5 L4D2 campaigns for the "Still Something to Prove" achievement.