Serious Sam HD: The First Encounter

Serious Sam HD: The First Encounter

806 evaluări
Serious Sam HD: The First Encounter - Secrets Guide
De către Mauritsio
This guide for Serious Sam HD: The First Encounter will provide locations of all 89 secrets in the game.
4
3
4
   
Premiază
Adaugă la preferate
Preferat
Elimină din preferate
Hatshepsut
The first level of the game has 7 secrets.

#1: From your starting position, go right to find a Secret Colt behind some pillars.


#2: Head up the ramp and go left. Jump onto the roof of the building off to the left of the ramp. You will find some Secret Rockets.


#3: Do the same as Secret #2, but then on the opposite side. You will find a Secret Rocket Launcher.


#4: When you have the Secret Rocket Launcher, head off the main ramp and go left where you will notice a door. Blow it open to reveal a Mega-Secret, which releases Croteam, the developers of this game (appearing as bigheads).


This is the wall you are supposed to blow up.

#5: Opposite of Secret #4, touch the door to reveal a Mega-Secret, releasing fans (again, appearing as bigheads).


This is the wall you are supposed to touch.

#6: If you look into the dunes, you can notice a palm tree far away.Head towards this palm tree to collect some Health, Shells and Rockets (picking up the health triggers the secret).
Be wary though as on your way to the palm tree, you'll encounter four Major Biomechanoids. The Secret Rocket Launcher from #4 and respective ammo in #5 can help with that.


The secret viewed from the temple.


#7: Back at the main temple, head to the right of the upper temple where you will notice a differently colored wall. Touch this wall to reveal a Double Barrelled Shotgun.


Sand Canyon
The second level of the game has 6 secrets.

#1: Before entering the tomb, head towards the top right of the entrance to find a wall. Touch it to reveal some Armor, Rockets, Bullets and Shells (aswell as some Harpies!)


The room itself, Harpies exclusive.

#2: From Secret #1, look for a dead tree behind a hill. Head towards this dead tree to find a Secret Valley. The valley contains Rockets, Bullets and Shells (and some enemies, mainly Kamikazes).


The dead tree you should be looking for.


#3: In the room where you fight Marsh Hoppers for the first time, look towards the right side of the room and look for a differently textured wall. Touch this wall to find a Tommy Gun and some Bullets.


#4: In the next room, look left of the entrance behind the pillar to find a bounce pad. Using this bounce pad will take you on top of the pillars, where you can find some Secret Armor.


Note the slightly higher ground next to the right pillar: this is the bounce pad.

#5: In that same room, there is a side room. Look under the small ramp of the side room to discover a Secret Hole with some Health in it.


#6: In the final valley, look for a small hill left to the exit tomb and climb up to it. Head ontop of the exit monument to discover a Secret Place with some Shells, and a lone Health Pill (picking up the pill will spawn five Gnaars!)


The hill you should be looking for.

Tomb of Ramses III
The third level of the game has 8 secrets.

#1: In the first main room, head to the small room on the right and take the stairs. Once you reach a dead end, jump over to the other side to find a Secret Place with some Armor and Shells.


The secret viewed from the 'dead end'.


#2: In the second main room, head to the far right corner and jump on the lantern. Head right and you will come across some Secret Health.


The lantern required to reach the secret.


The Secret Heatlh itself.

#3: Same as Secret #2, instead head left to find a Secret Passage, allowing you to skip a small portion of the map.

#4 + #5: In the small area just before the third main room, head left, go on the stairs, go left again and take the stairs. You will notice a Rocket Launcher. Look carefully between the platform you are currently standing on and the wall to notice some sparks. Jump into these sparks to activate a Secret Teleporter, which you can then use to obtain the Secret Rocket Launcher.


Both the sparks and the Rocket Launcher can be seen.

#6: In the third main room, just before you exit, go left instead and a narrow platform will stretch towards the wall. Follow this platform to find some Secret Heatlh hidden in an alcove.


The alcove can be seen on the left.

#7: In the small area just before the final area, just before you exit, turn around and bear left to find a Secret Passage, which will take you to a small room with some Health, Rockets and Bullets.


The passage.


#8: From Secret #7, go through the door to find yourself in a passage behind some pillars. Head down this passage to get access to a ledge: There is a Secret Shield on this ledge.

Valley of the Kings
The fourth level of the game has 4 secrets.

#1: This is a different secret than the other ones we have seen before. Instead of being in one particular spot, this one is scatterred throughout the whole level. You must blow up some statues across the level - there are a total of nine:

  • Outside near the temple's entrance.
  • Directly after the small room where you can look down on a +100 HP.
  • Following a string of +1 HP pills after the statue mentioned above, directly to the left.
  • In a small side room opposite of the previous statue.
  • In the room that disables the spike trap required to get the Stone Ankh.
  • Four statues surround the Fire Element.

Every statue will be completely destroyed after being hit by two rockets, but to trigger the condition, you only need to hit the statues once with a rocket (removing their heads and legs). If you decide to completely destroy some of the statues, the trigger may be met sooner. When either condition is met, you will recieve the message "Boom! All statues destroyed!", followed by "Secret teleport has been found!", which is Secret #3.


#2: After you finish the Marsh Hopper fight in the "illuminating pyramid" room, exit as normally, but before heading up the ramp to the Element, go right to get on a ledge overlooking the room. Go to the very right of this ledge to find a bounce pad. This pad will take you onto the rafters to find some Secret Armor.


The bounce pad.


#3 + #4: After you destroy all the statues as told in Secret #1 and collected the Element, head down the passage and go right, where you will find the teleporter. Go in and you will find yourself past the bridge, which would normally snap and take you to Oasis. Head down the passage here to get access to the first secret level: Moon Mountains.

NOTE: Even if you didn't destory all statues, it is still possible to get this secret. Just go down the passage and to the right when you finish, and you will find some rocks. Simply shoot a rocket at it to unlock the teleporter. You will not get credit for Secret #1 this way, however.


Moon Mountains (secret level)
The first secret level of the game has 7 secrets.

#1: In the first area, when you reach the fourth platform, there should be a lone Bullet pick-up near the middle-right edge of the platform. Pick it up to catapult a Secret Shield.


The bullets.


The Secret Shield, shortly after being catapulted.

#2: When you reach the fifth platform of the same area, look right until you find a part of the platform that is very close to the waterfall. From this point, you must jump towards the waterfall. If you succeed, you will have discovered a Secret Passage, allowing you to skip a small portion of the map.


#3: From where you land in Secret #2, head left until you find some Secret Health in a bush.


#4: Before you exit the second main area by jumping down the square hole, go past the hole and touch the wall, revealing a Secret Cave. There will be lots of goodies here, but once you pick up a Health Pill, some enemies will spawn in, and the "WAR!" music will start.


Outside the Cave; notice the circular dark wall.


The battle inside the Cave; on Normal difficulty.

#5: After dropping down the square hole, look left of where you fall and you can find some Serious Health behind a rock.


#6 + #7: Once you enter the area where you fight the Highlander, look behind you immediately and you will notice a rectangular rock. Shoot it to reveal a Secret Backstage where some Bullets and Rockets will spawn in. If you continue to proceed down the passage, you will find a Secret Teleport, allowing you to skip the Highlander mini-boss.


The rectangular rock.
Oasis
The fifth level of the game has 6 secrets.

#1: From your starting position, go past the small waterfall to find a Secret Cave with an Ammo Backpack and Armor.


#2: In the first room of the shrine, look left of the statue and pick up the Health Pill. If you pick this up, you will hear the sound of enemies spawning. But don't be alarmed! You only triggered the Sound-Attack Secret.


The pill that triggers the secret.

#3 + #4: Blow up the statue in the same room to reveal a Secret Bouncer underneath it, which will then open up the Secret Door. Use the bouncer to reach a Minigun (you do not need to collect the Minigun to get all the secrets in the level)


The bouncer is shown as a green circle.

NOTE: It is recommended you collect the following 2 secrets after the Marsh Hopper Boss.

#5 + #6: Look to the left of the room where you fought the Marsh Hopper Boss, where you should notice a darker wall. Blow up this wall to reveal a Secret Cave. Next, head into the cave but DO NOT pick up anything. Wait a few seconds to activate a Secret 'Suprise' Trap (juvenile arachnoid).


Dunes
The sixth level of the game has 7 secrets.

NOTE: Secret #5 is exclusive to the HD version of the game.

#1: After traversing over the first dune, head left along the top of the dunes to find some Heatlh on it's own. Approach it to spawn some Secret Items in the form of Rockets. Beware, you will also spawn some Kleers!


The spawned items.

#2: Do the opposite of Secret #1 to find some Secret Health. You willl also spawn some Rockets, Bullets and Kleers.


The spawned items.

#3: From Secret #2, head straight into the desert and you may notice an oasis. Head towards this oasis quickly before you take damage from the sun to collect some Heatlh and Armor. Beware, you will also spawn alot of Harpies!
NOTE: If you want to trigger the secret, a bug requires you to approach the oasis from a certain angle. This angle is shown in the second screenshow below.


Approach the oasis from this very angle or it will NOT register!

#4: From Secret #1, head towards the left hand wall surrounding the city. Blow up the lone palm tree there to spawn some Secret Items, including Rockets, Bullets, Health, but also Kleers and Kamikazes.


The palm tree can be seen on the left.

#5 (HD-only): Opposite of Secret #4, pick up the lone health pill in the corner of the right hand wall to activate some Secret Health.


The health pill can be seen on the right, click the picture if you can't see it.

NOTE: Many think that the following 2 secrets are only available on Normal difficulties and higher, since they require rocket jumping, which can only be done on those difficulties. This is false. On Tourist and Easy, you can jump onto your enemies to reach the secrets.

#6: While in the outer sanctum, use either way mentioned above to reach the left platform to find a Secret Depot tucked away in the corner.


#7: Opposite of Secret #7. Stay on the platform for a second, leave it, and watch as the platform crumbles. You can find some Secret Health in the remains.


Platform before...


...plaftorm after, with the Health in the corner.
Memphis - Suburbs
The seventh level of the game has 7 secrets.

#1: In the first suburban area, keep left until you find an alleyway tucked away behind a building. This is a Secret Place where you will find Rockets, Bullets and Health.


#2: In the first suburban area, head to the far-left corner where you will see a palm tree blocking some Health. Destroy the palm tree and enter the Secret Place with the Health.


#3: In the second suburban area, keep left to find another Secret Place with some Armor.


#4: In the second suburban area, head left of the locked exit door to find some Secret Heatlh behind a house.


#5: Opposite of Secret #4, there is an Armor Piece tucked away behind a pillar. When you pick this up, a house will move towards you, a yodelling sound is cued and 3 enemies spawn. You have found a Secret Yodeller.


The armor piece can be seen on the right, click the picture if you can't see it.

#6: In the far-right corner of the second suburban area, there is a Health pill and some Rockets. Picking up the pill triggers a Secret Trap with 3 Minor Biomechs and 1 Major.


This picture is a little vague: click it so it becomes clearer.

#7: Before you jump down into the sewers, locate a ledge in the pipe and position yourself so that you may land on it when you fall down. When you land on the ledge, you will have discovered a Secret Hole with some Armor and Health.


The ledge can be clearly seen before you jump into it.


Memphis - Sewers
The eighth level of the game has 5 secrets.

#1: From your starting position, dive down until you find a Secret Passage with some Shells and Health in it.


The Passage can be seen from your starting position.


#2: Near the giant dead fish in the first room, swim down and keep right to find a Secret Shield.


The giant dead fish is an useful landmark for finding the shield.

#3: There is a way to get on the walkway over the water: Once you go up the stairs, perform a well timed jump from the position shown in the picture below. Head down the walkway to find a Secret Shield at the end of it.


Perform a well-timed jump from here to reach the Secret.


#4: After defeating the Marsh Hoppers in the second area, go to the bottom of the stairs and turn left. You should see a hole in the corner. Head in here to find a Secret Passage. There are/is Rockets, Bullets and Health at the end of the Passage (and some Kleers!)


#5: When you reach the point where a Reptiloid spawns as a wall comes down, kill it, where some Red Armor will spawn on the Reptiloid's death location. Pick it up quickly before the wall rises up again, or you will have missed your chance. If you get trapped in the small area, use the button to escape.


Kill it with fire!


City of Memphis - Metropolis
The ninth level of the game has only 1 secret.

#1: Once you enter the third area, head right to find a darker piece of the wall. Blow it up to discover a Secret Ammo Depot with a Cannon in it.


Alley of the Sphinxes - Approaching Thebes
The tenth level of the game has only 1 secret.

#1: Note that low performance PC's cannot regulary see this secret. See this picture:


If you see these particular items, keep heading left. Eventually, the oasis will become visible. There is some Secret Ammo there.


If your PC performs well, you can already see the oasis just by looking to your left after spawning.
Thebes - Karnak
The eleventh level of the game has 8 secrets.

#1: Once the level starts, run backwards immediately before the doors behind you close. If successfull, you will have discovered a Generous Yard (as seen in the ending cutscene of Alley of the Sphinxes).


#2: In the first room with the pillars, there are two switches behind pillars on either side of the door you came from. Once both have been activated, a Secret Platform will be activated next to the door you came from. The platform will take you to a Secret Area with some Cannonballs and Heatlh (the platform and area count as one secret together).


#3: As you approach the Ankh Pool, swim towards the monument and you may notice some Cannonballs on the pool's surface. Touch the wall underneath to reveal a Secret Area with Bullets, Rockets, Armor, Cannonballs and Health.


#4: There is a differently colored wall on the right hand side of the pool. Touch it to reveal a Secret Place with some Armor and the 'Croteam Scroll'. Invoke NETRISCA to read what it has to say. The introduction music from the SD version of the game is also played.


#5: After going through the pipe to enter the locked temple, turn around and press the switches on either side of the closed door. Back at the Ankh Pool, a Secret Entrance will open by the monument. Go through the entrance to find an Ammo Backpack, Health, and a giant blob without a purpose (you do not need to go in the secret room to register the secret).


#6: In the room with two bodies of water, jump into the left pool and you should notice a differently colored wall. Touch it to reveal a Secret Area with some Armor and a giant red blob without a purpose.


#7: In the final area, look to the left and you should notice a differently colored wall. Go straight through it to discover a Secret Ammo Pack.


#8: Throughout the battle in the final area, the message "Secret health has been enabled!" will appear. When you see this, look to the right to find a small alcove with the Secret Health in it.


The message is displayed.
Thebes - Luxor
The twelfth level of the game has 8 secrets.

#1: In the pre-Gold Heart area, there is a small building at the end of the pathway with a Health Bottle in it. You must COLLECT this bottle, not just walk over it. Once you do, 2 Werebulls will spawn. Once you kill them, the ceiling of the small building will lower, revealing a Secret Ammo Depot.


The ammo depot.

#2 + #3: Before exiting the Gold Heart area, head right of the exit to find a bounce pad tucked away in a corner. You can use it to reach some Secret Health. There is another bounce pad behind that Secret Health, jump on it but strafe right so the other bounce pad doesn't bounce you back. You will then notice some Bullets. There is a slightly lighter piece of wall near those Bullets, blow it up to reveal a Secret Ammo Depot with some Bullets, Cannonballs and Electricity.


The secret health.


The ammo depot.

#4: In the pre-Feather of Truth area, there will be 4 giant columns. Once you enter, destroy the first on your left and the furthest away on the right. You will spawn Secret Cannon Ammo scattered around the yard.


Blow up this one...


...and this one.


#5: As you enter the Feather of Truth area, head left until you come across a bounce pad. This bounce pad will take you to a Secret Place with some Health.


#6: Before exiting the Feather of Truth area, turn around and jump onto the roof of the small building. Shoot the grey square in the middle to make an entrance into the building. This is a Secret Room with some Health and lots of Gnaars. Shoot the square to get back out.


Inside the room, with dead Gnaars.

#7: In the area before the Giant Obelisk, there is a spike pit. If you jump into this spike pit, you will be teleported into a Secret Area with Armor, Shells and Cannonballs.
NOTE: The teleporter works only once.


The pit you are supposed to jump into.

#8: As the exit doors of the level open, instead of going straight forward, go left immediately to find a smaller set of doors. These doors will take you to the second secret level: Sacred Yards.


Take the left set of doors.
Sacred Yards (secret level)
The second secret level of the game has 11 secrets.

NOTE: While the Serious Backpack of Secret #4 is present in the SD version, it does not count as a secret, and therefore, the SD version has 10 secrets.

#1: In the first room with water, blow up the spire in the middle to reveal some Secret Health (and some Reptiloids!).


The spire to blow up.

#2: In the first area with the Gold Sphinx, a platform will rise up once you enter. Blow it up before it finishes rising to discover a Secret Trick, so you don't need to press all the buttons scattered around the area.


Quickly, unleash a rocket!

#3: In the same area, press the switch towards the far left hand corner to raise a wooden platform. Press the newly revealed switch to activate a Secret Platform, allowing you to get some Health and Armor.


The revealed button.


#4 - #7: Once you enter the second area with the Gold Sphinx, head left to find a Serious Backpack. It will run away from you, pick it up to discover a Secret Area. In that area, go to the far left corner to discover a Serious Backpack, and the far right corner to discover some Health. After you killed all the enemies in that area, head to the front of the area to discover a door has opened with a button inside. Two Croteam Bigheads will convince you NOT to press the button, but do so anyway, blowing up the pyramid and revealing Secret Crates.


Crates! What an odd secret...

#8 - #10: Back in the Gold Sphinx area, after the 2 Adult Arachnoids spawn in, some Health and Armor will spawn at their death locations. To reach them, jump on the small buttons to reach the ledges. Use the same method with the middle button, but this time, jump through the small gaps to discover a Secret Entrance straight to the Gold Sphinx, useful for speedruns.


#11: After you collect the second Gold Sphinx, the message "Mechanism has been activated for unlocking!" will appear. Shoot the platform in the left corner in the water to activate a Secret Platform. You can use the platform to skip from the right button to the Gold Sphinx. Useless?


The message is displayed.


Blow up this platform to trigger the secret.

The Great Pyramid
The final level of the game has 3 secrets.

NOTE: The SD version of the game has 0 secrets on this level.

#1: Head to the end of the left-hand middle tunnel where the Biomechs broke through to find some Secret Health.


#2: Head to the end of the right-hand middle tunnel where the Biomechs broke through to find an Armor Shard. Pick it up to activate a Surprise Trap, spawning 8 Minor Biomechs.


#3: When you run from Ugh-Zan to the pyramid, look right into the desert where you should see some sort of big head. Approach it discover a Secret Area with some health. If you leave the area, a bunch of Kamikazes will spawn around you!


The head, viewed from a distance.


80 comentarii
SeriousApache 20 ian. la 20:39 
On the Oasis there is no secret bouncer under the statue, what am i doing wrong?
Blagoje 3 mart. 2024 la 5:59 
:samstone:
yoko_zoo 15 aug. 2023 la 13:55 
Is it possible to know why we can't do a complete 100% on the moon mountain level?
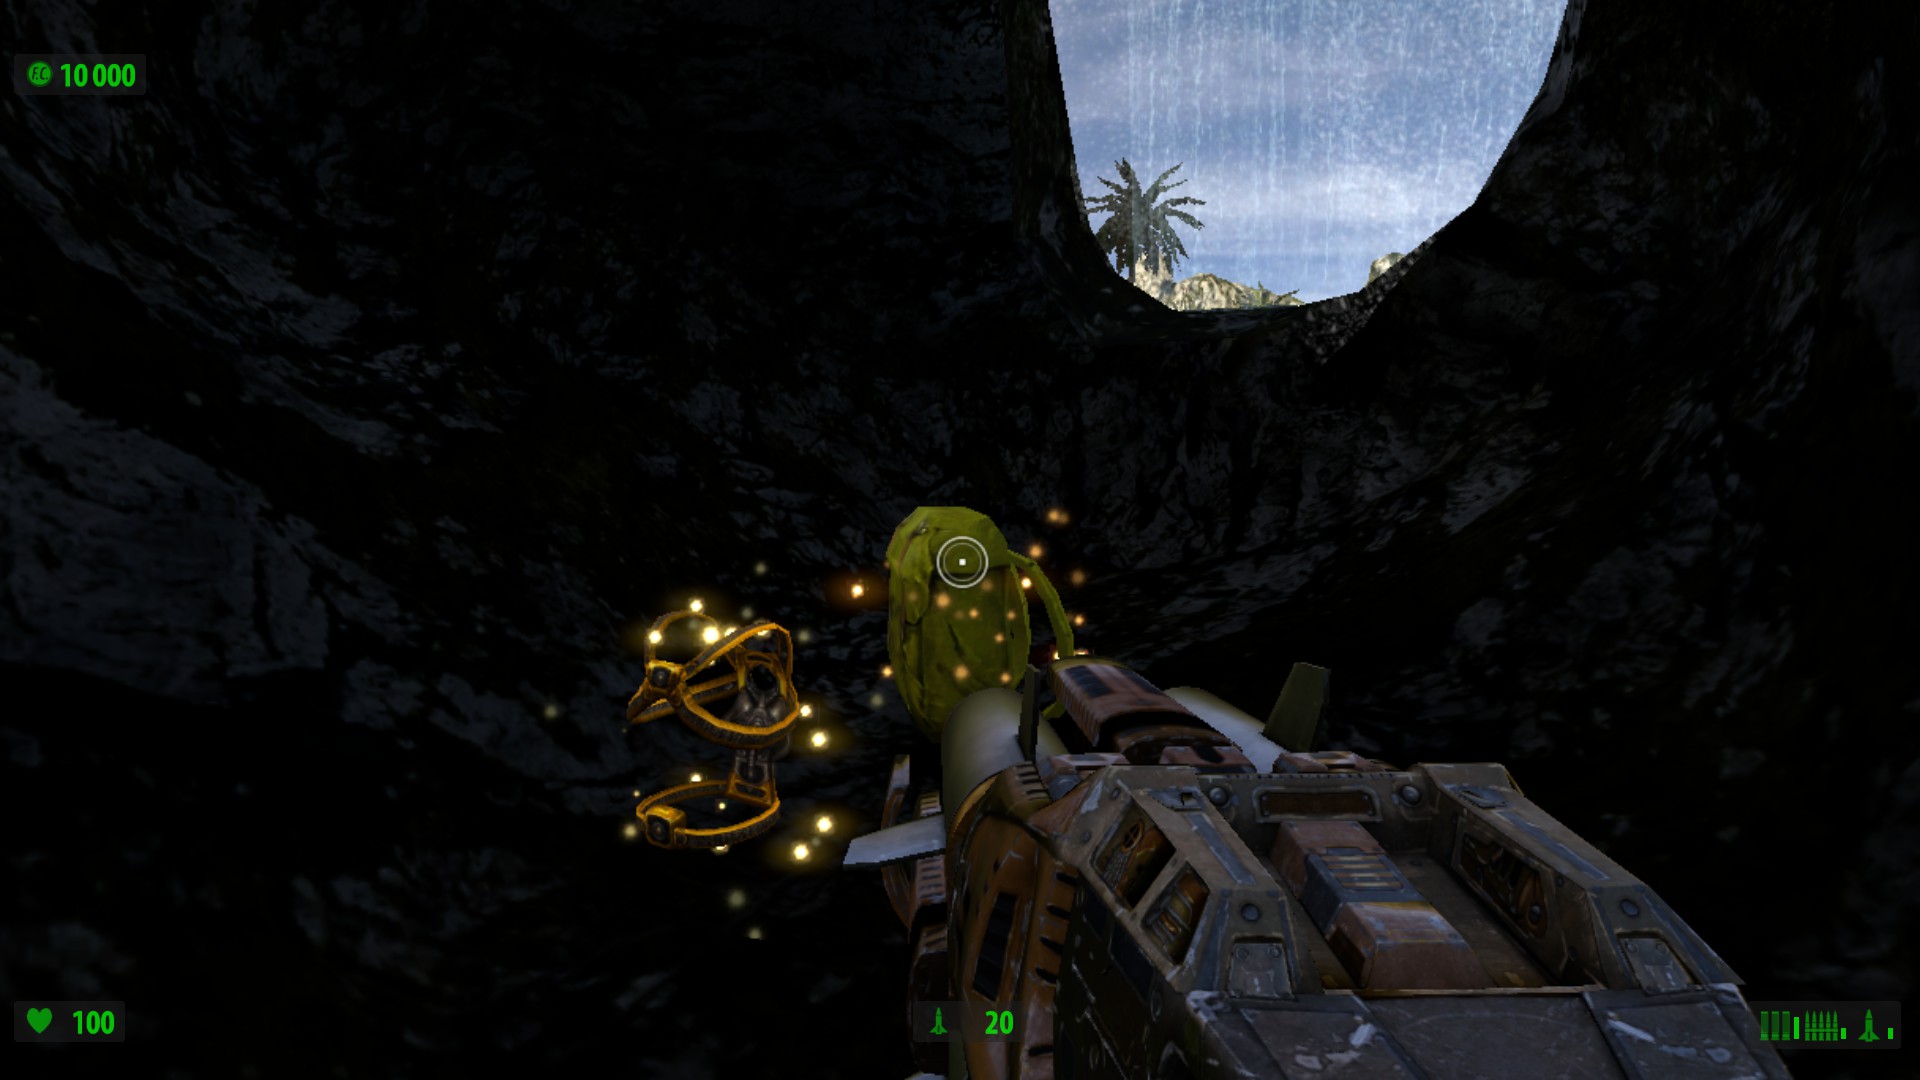
If we use the waterfall secret, we can't kill all the enemies, but on the other hand, if we go on the last island, the bridge collapse and we can't come back... is there something that i am missing?
Smug 28 mart. 2023 la 6:09 
Thank you so much :samstone::TheSeriousBomb:
bublegumm 29 dec. 2022 la 15:44 
━━━━╮ This is memedog. Help
╰┃ ┣▇━▇ memedog take over
 ┃ ┃  ╰━▅╮ Steam Guides by pasting
 ╰┳╯ ╰━━┳╯ him in other
  ╰╮ ┳━━╯ Guides or he
 ▕▔▋ ╰╮╭━╮ will never be a meme dog
╱▔╲▋╰━┻┻╮╲╱▔▔▔╲
▏  ▔▔▔▔▔▔▔  O O┃
╲╱▔╲▂▂▂▂╱▔╲▂▂▂╱
 ▏╳▕▇▇▕ ▏╳▕▇▇▕
 ╲▂╱╲▂╱ ╲▂╱╲▂╱
Bozkan 14 iun. 2022 la 6:28 
Thank you so much,have a nice day.
Mauritsio  [autor] 24 mai 2022 la 12:23 
Tried this again - destroying the five statues works just fine on Tourist, Normal and Serious. However, it seems that there's a bit of extra clarification needed, as I just realised how CT actually coded this secret.

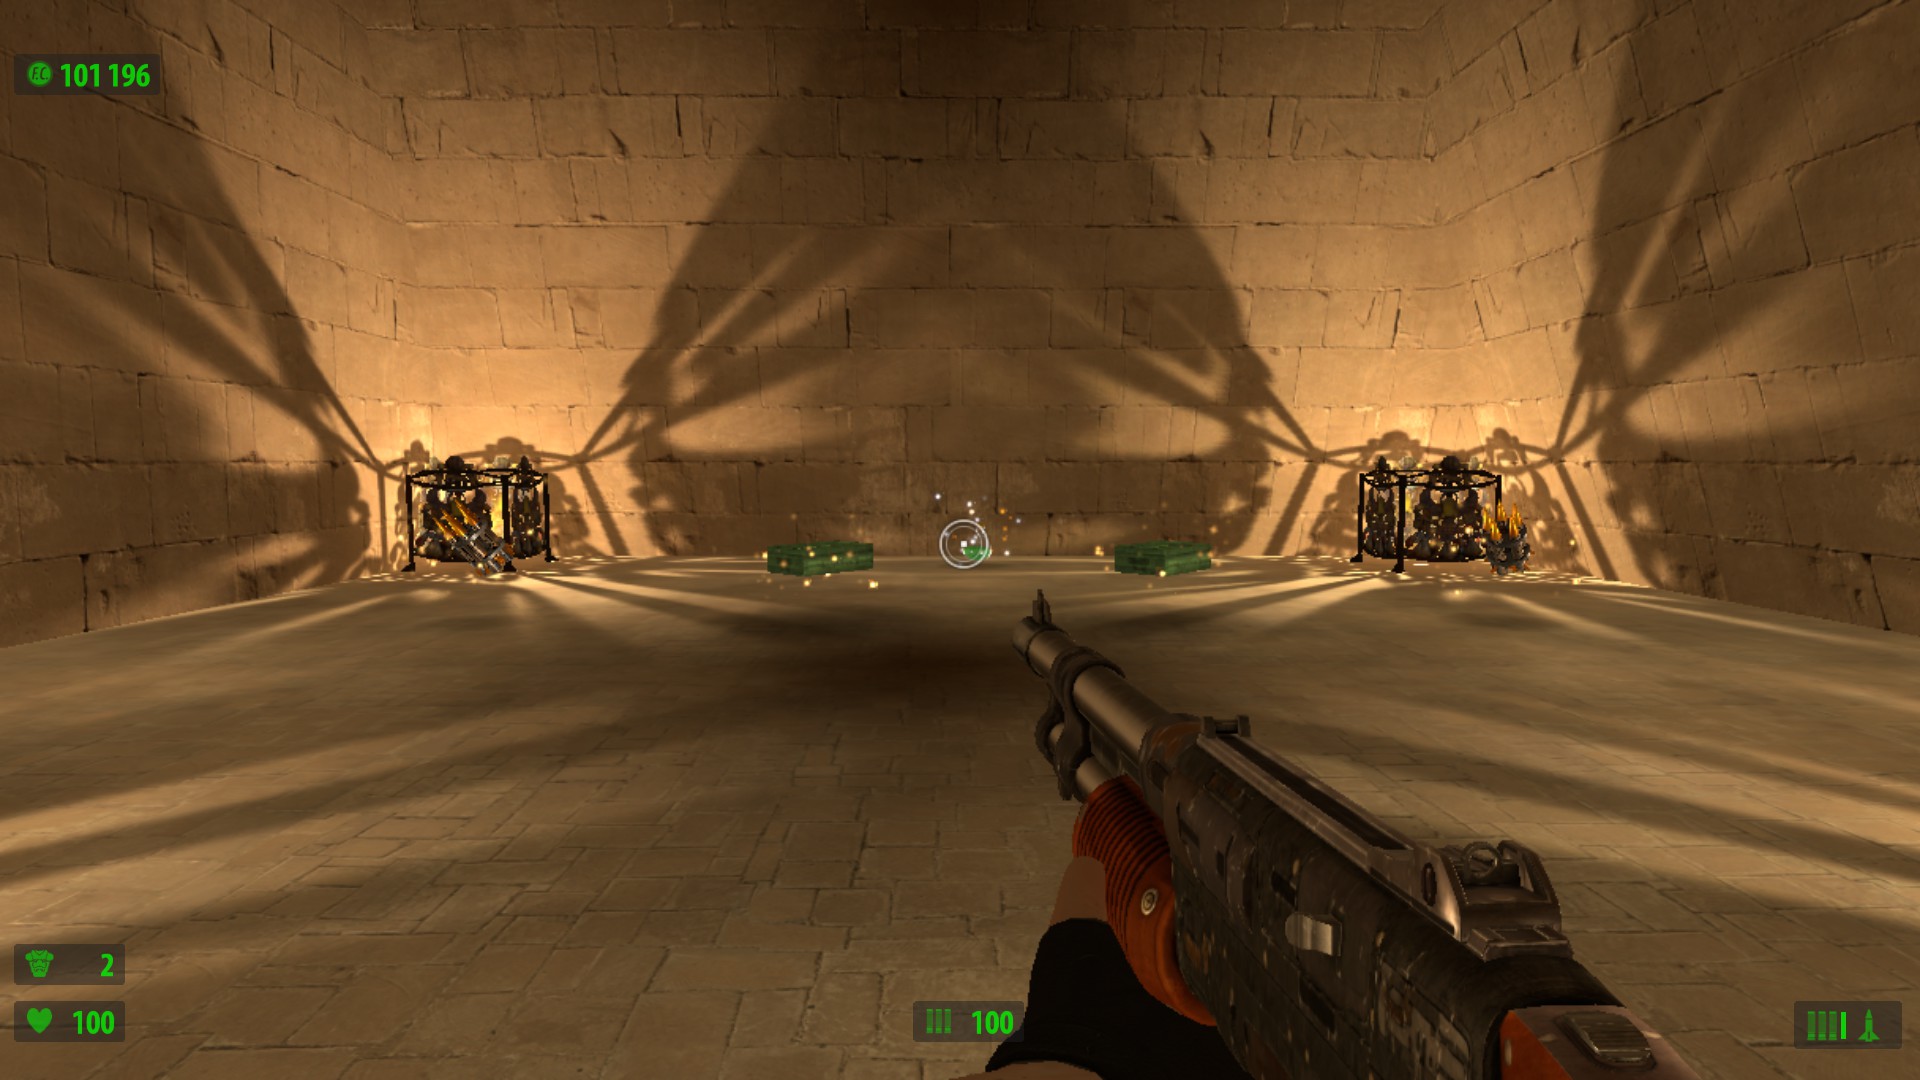
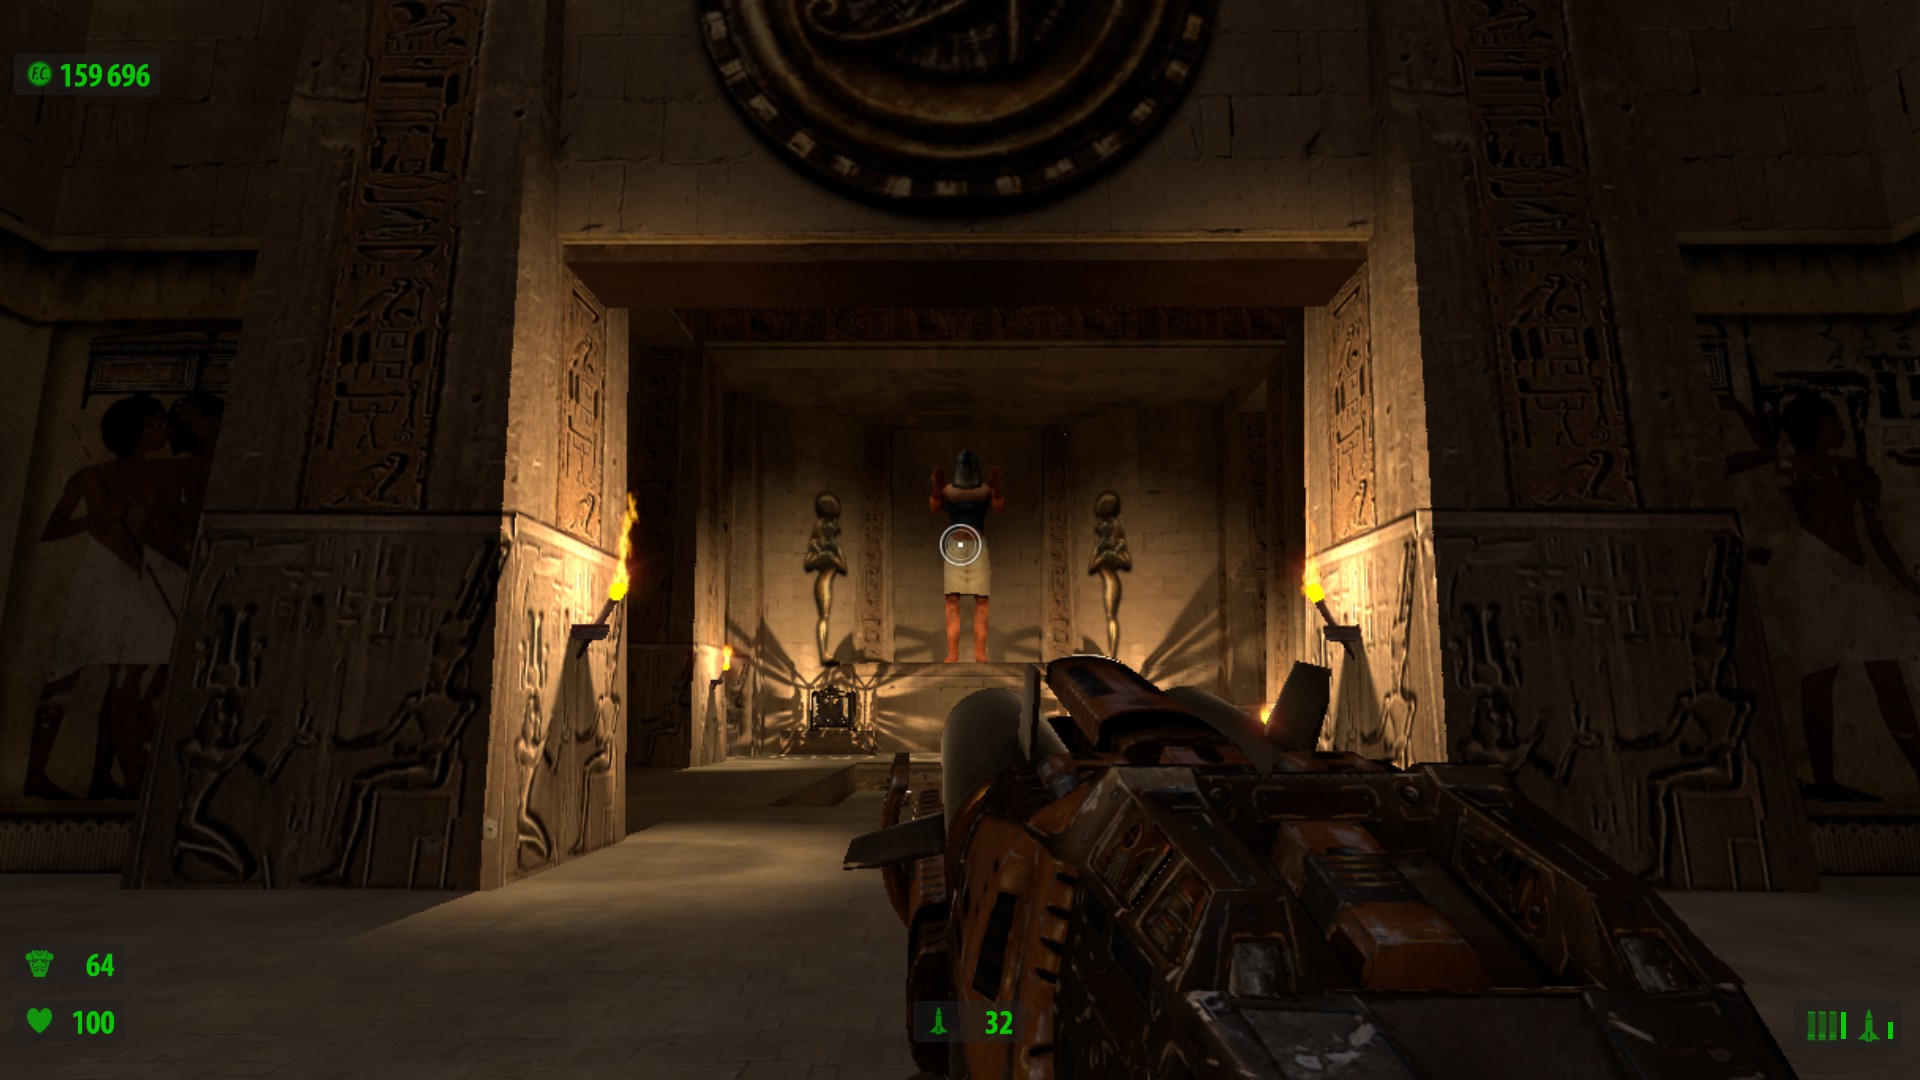
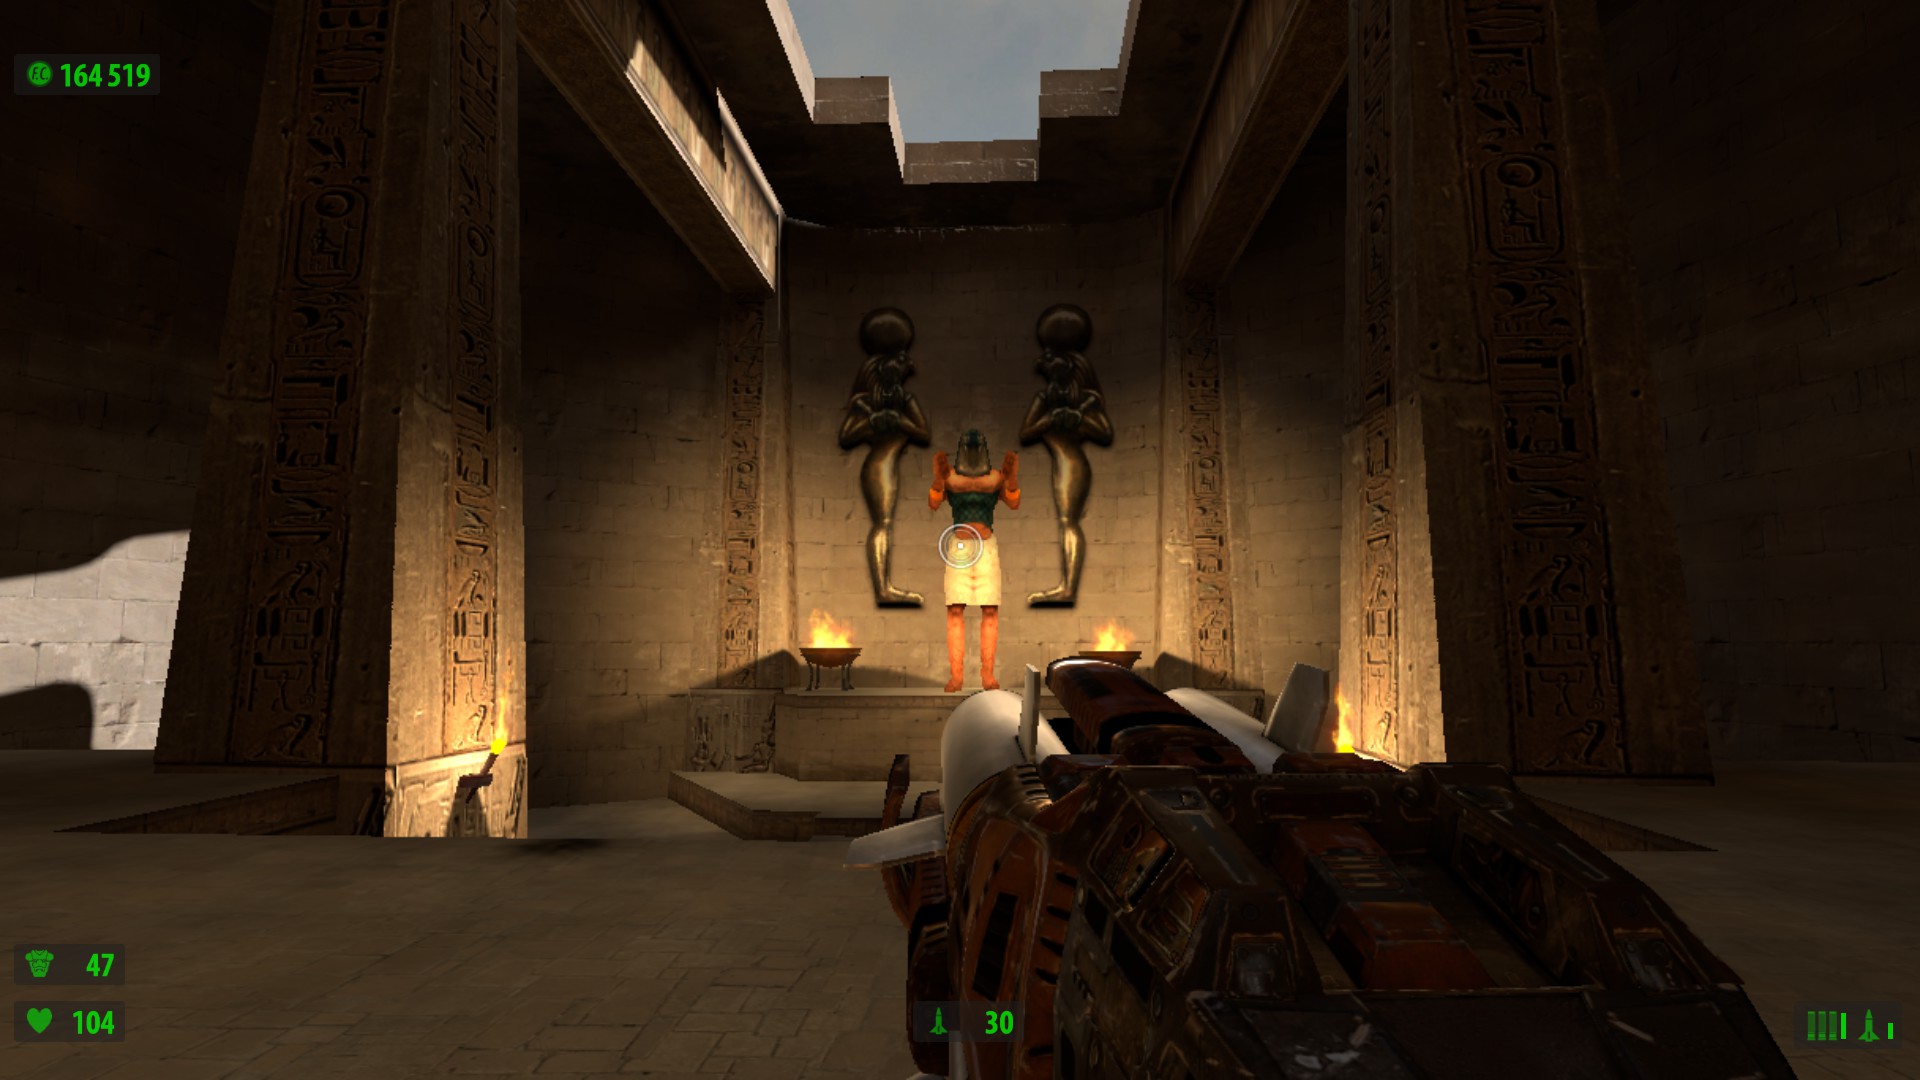
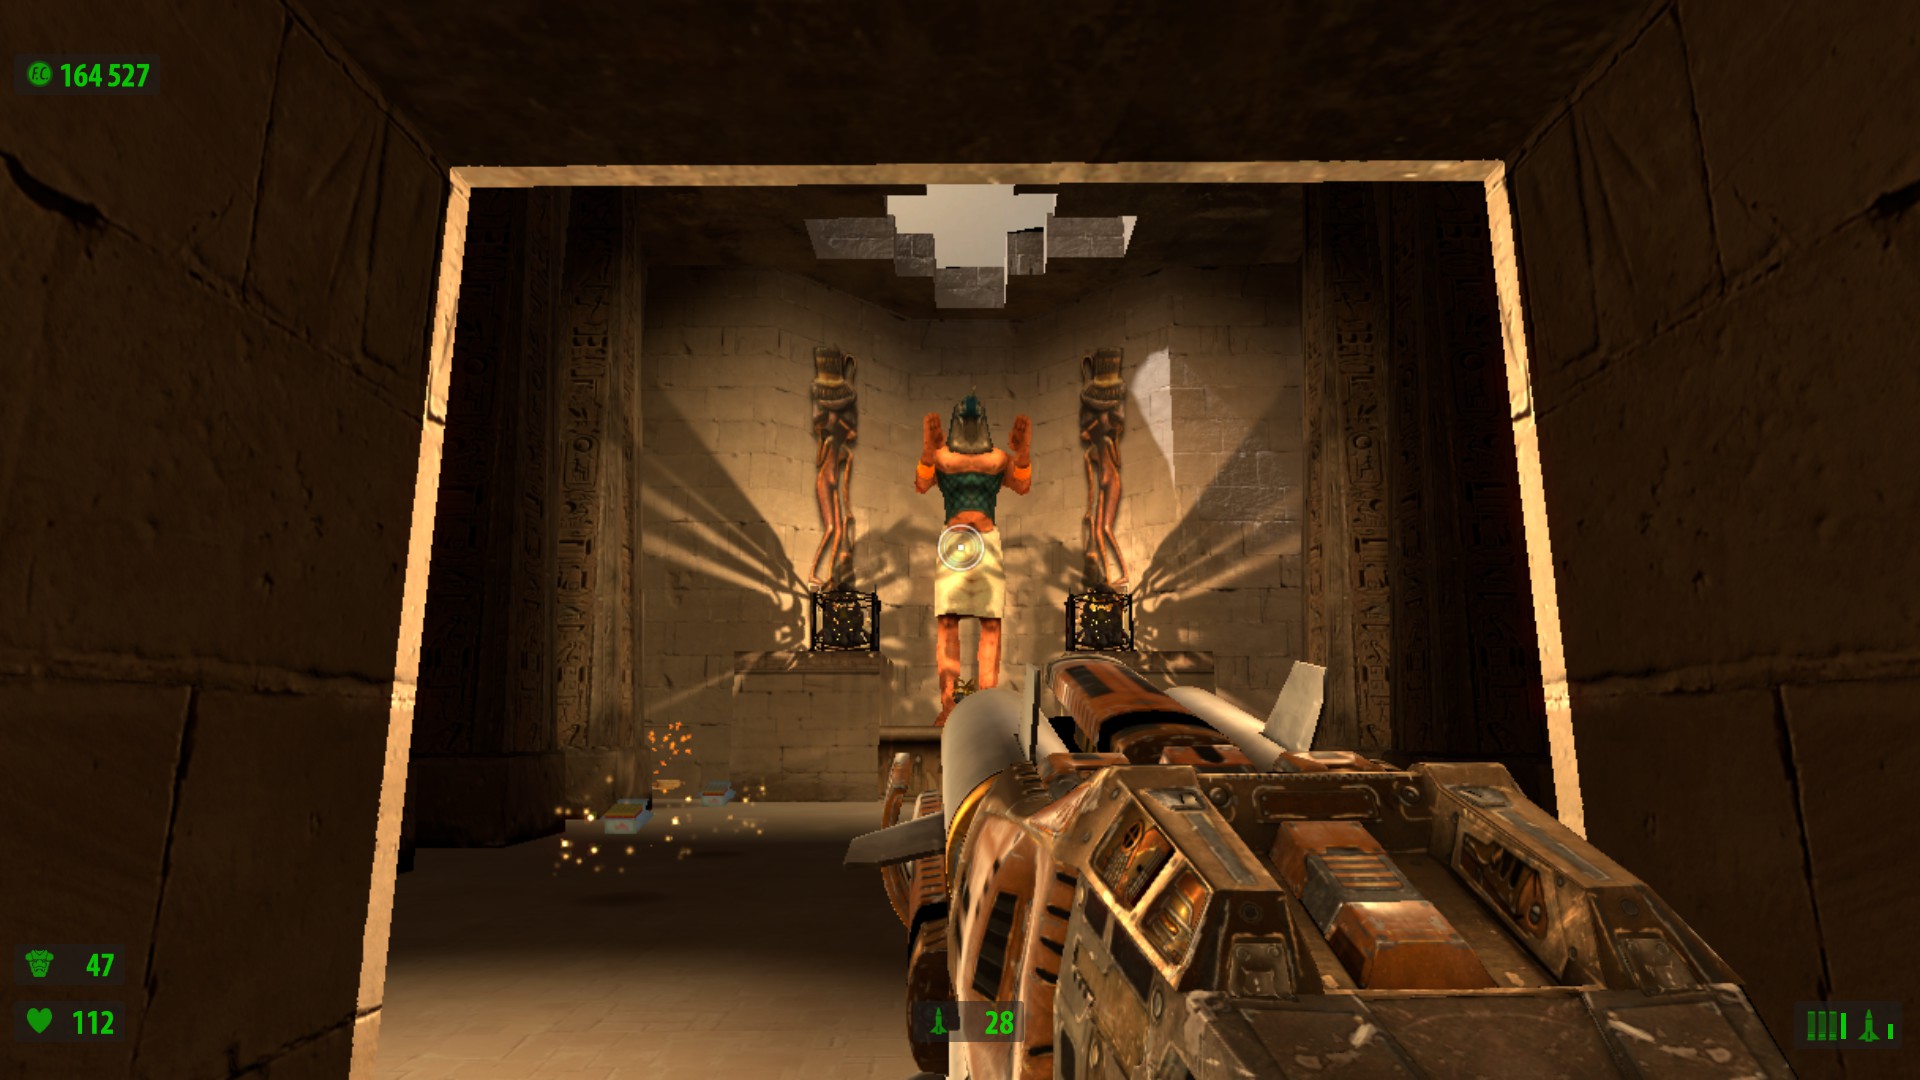
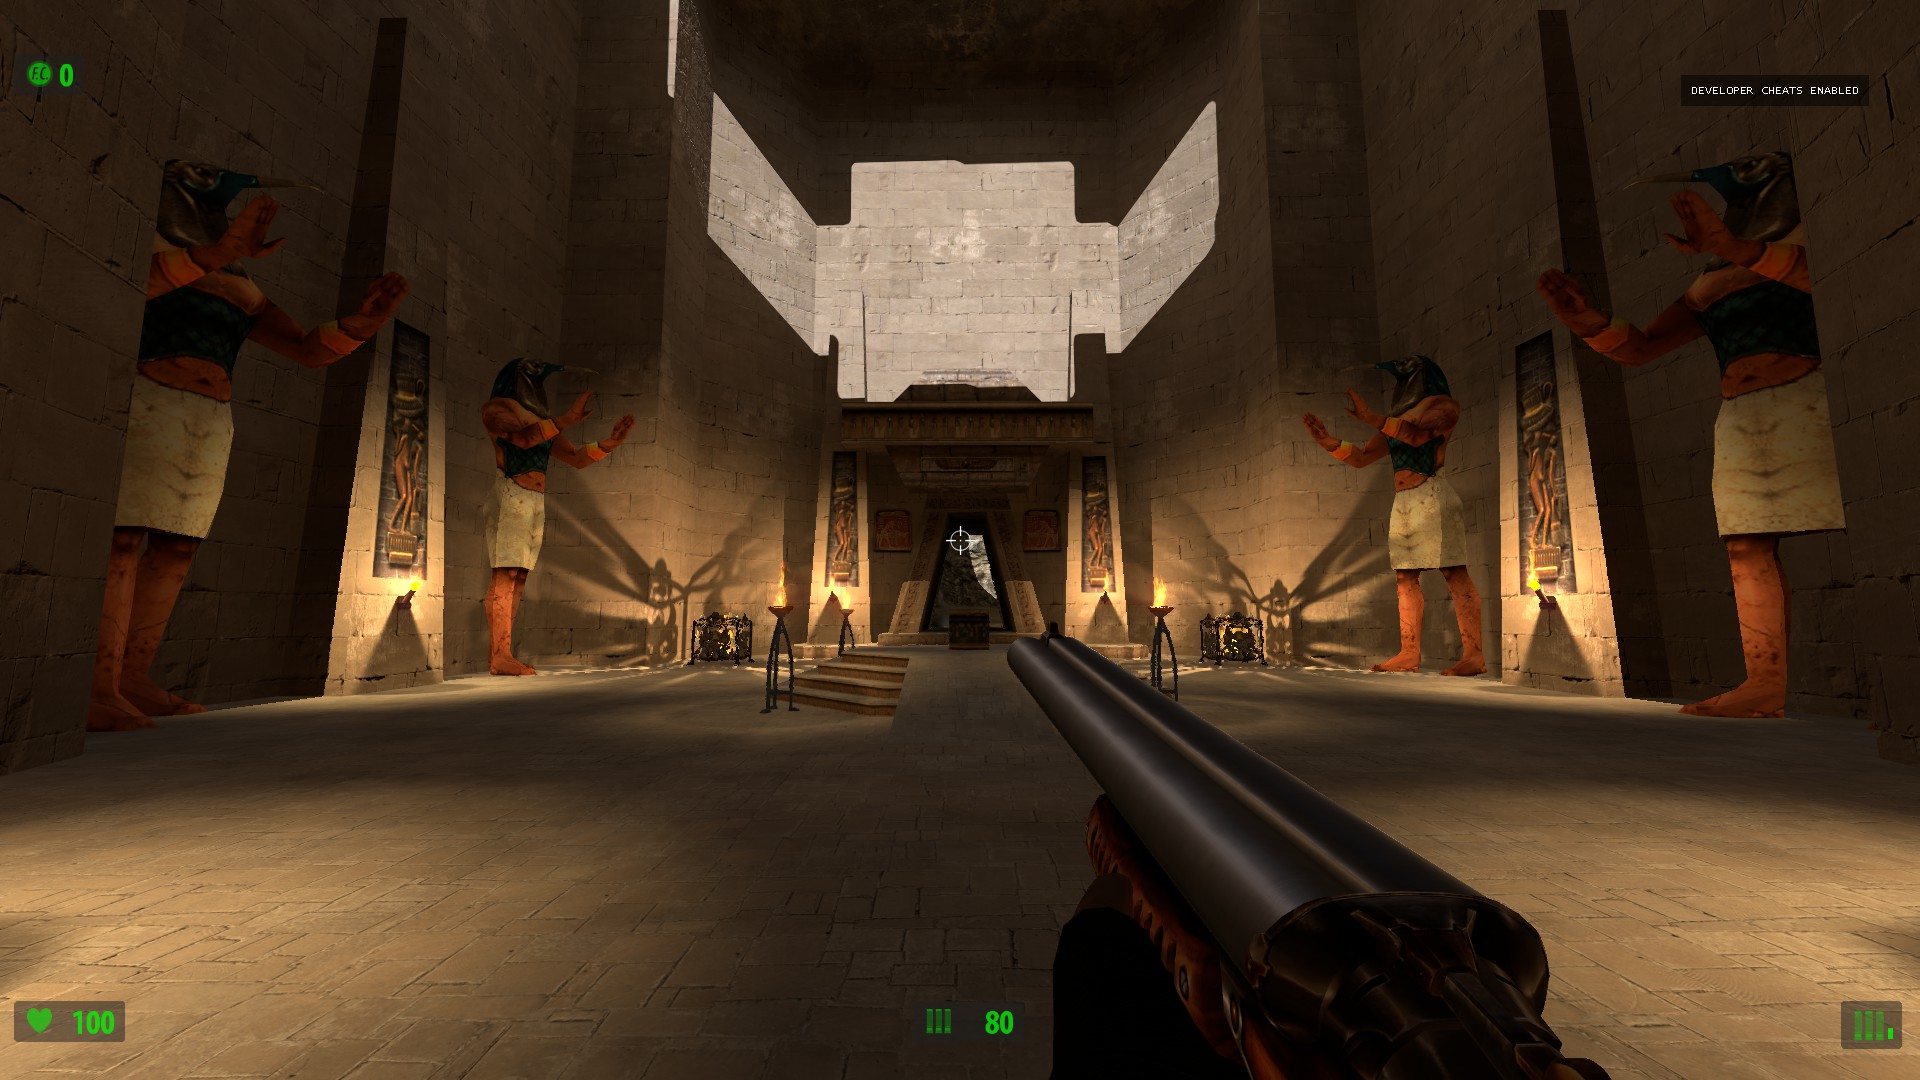
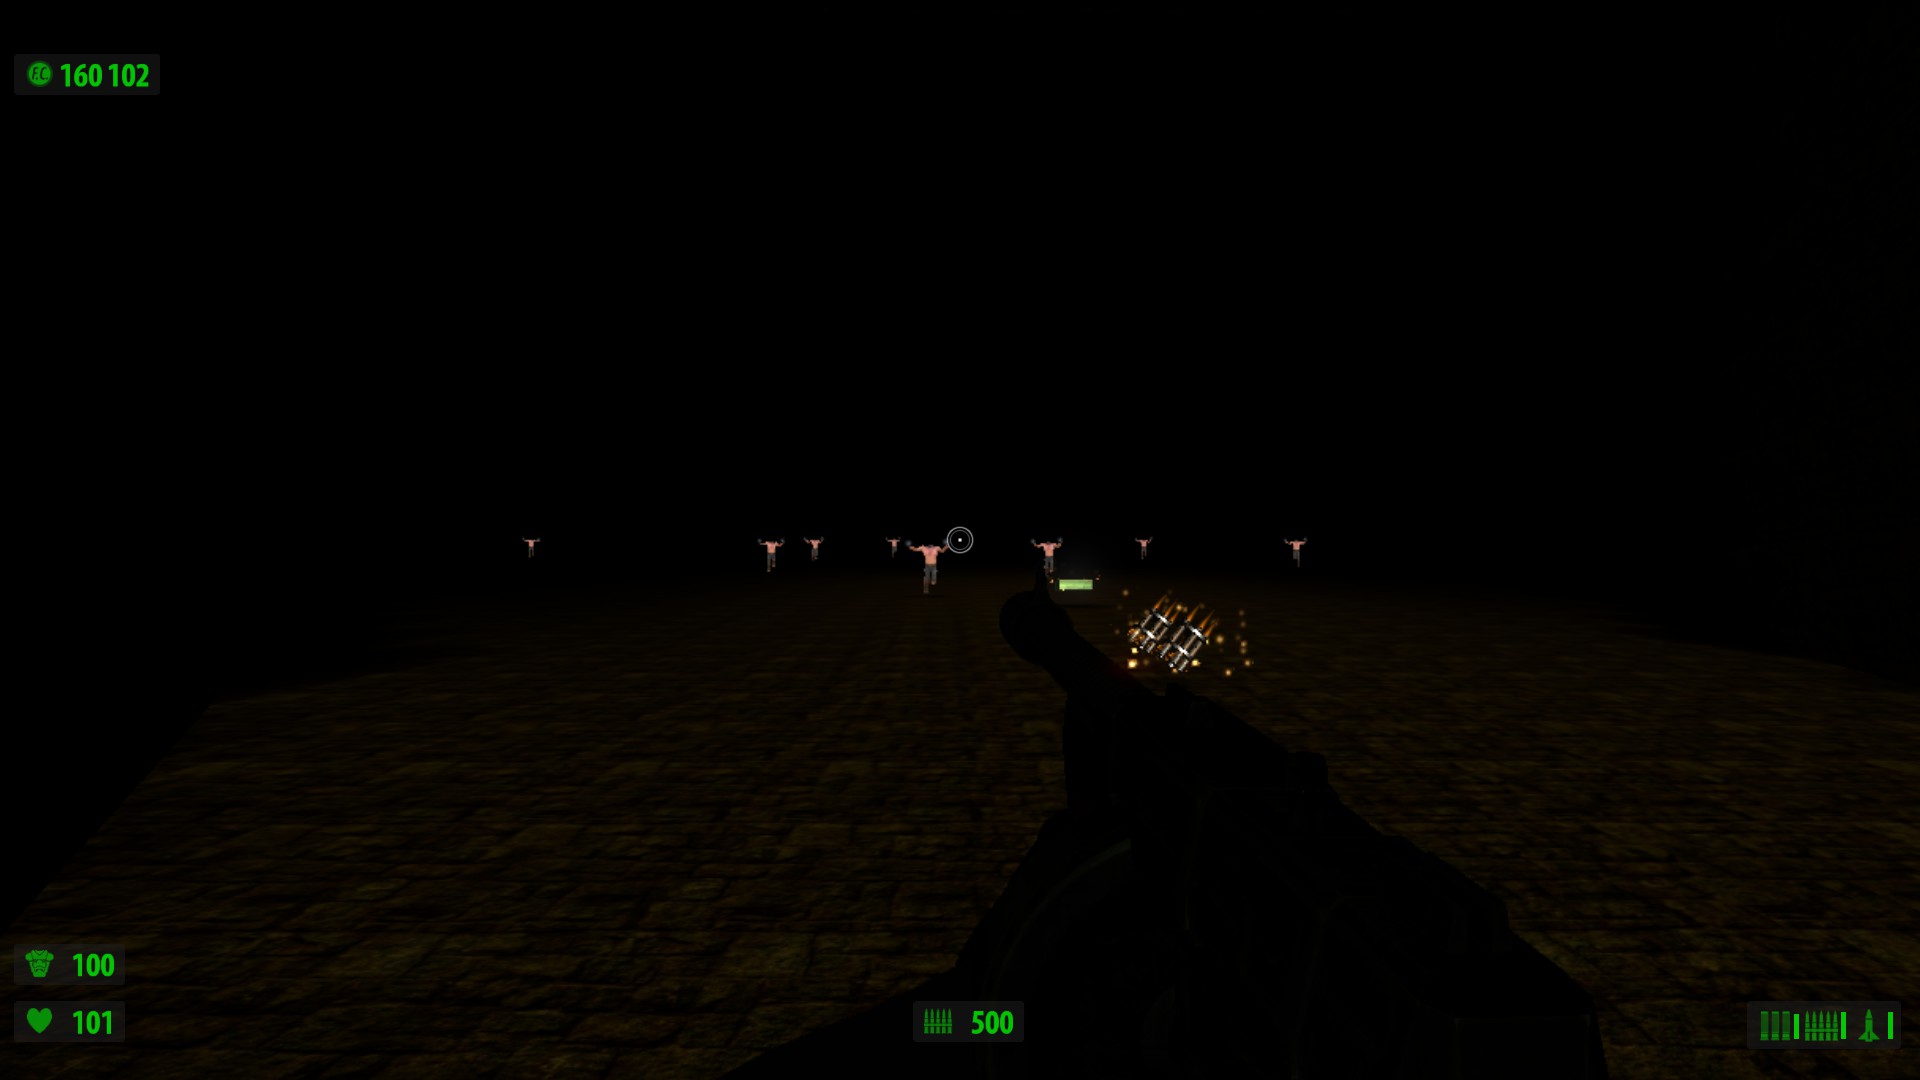
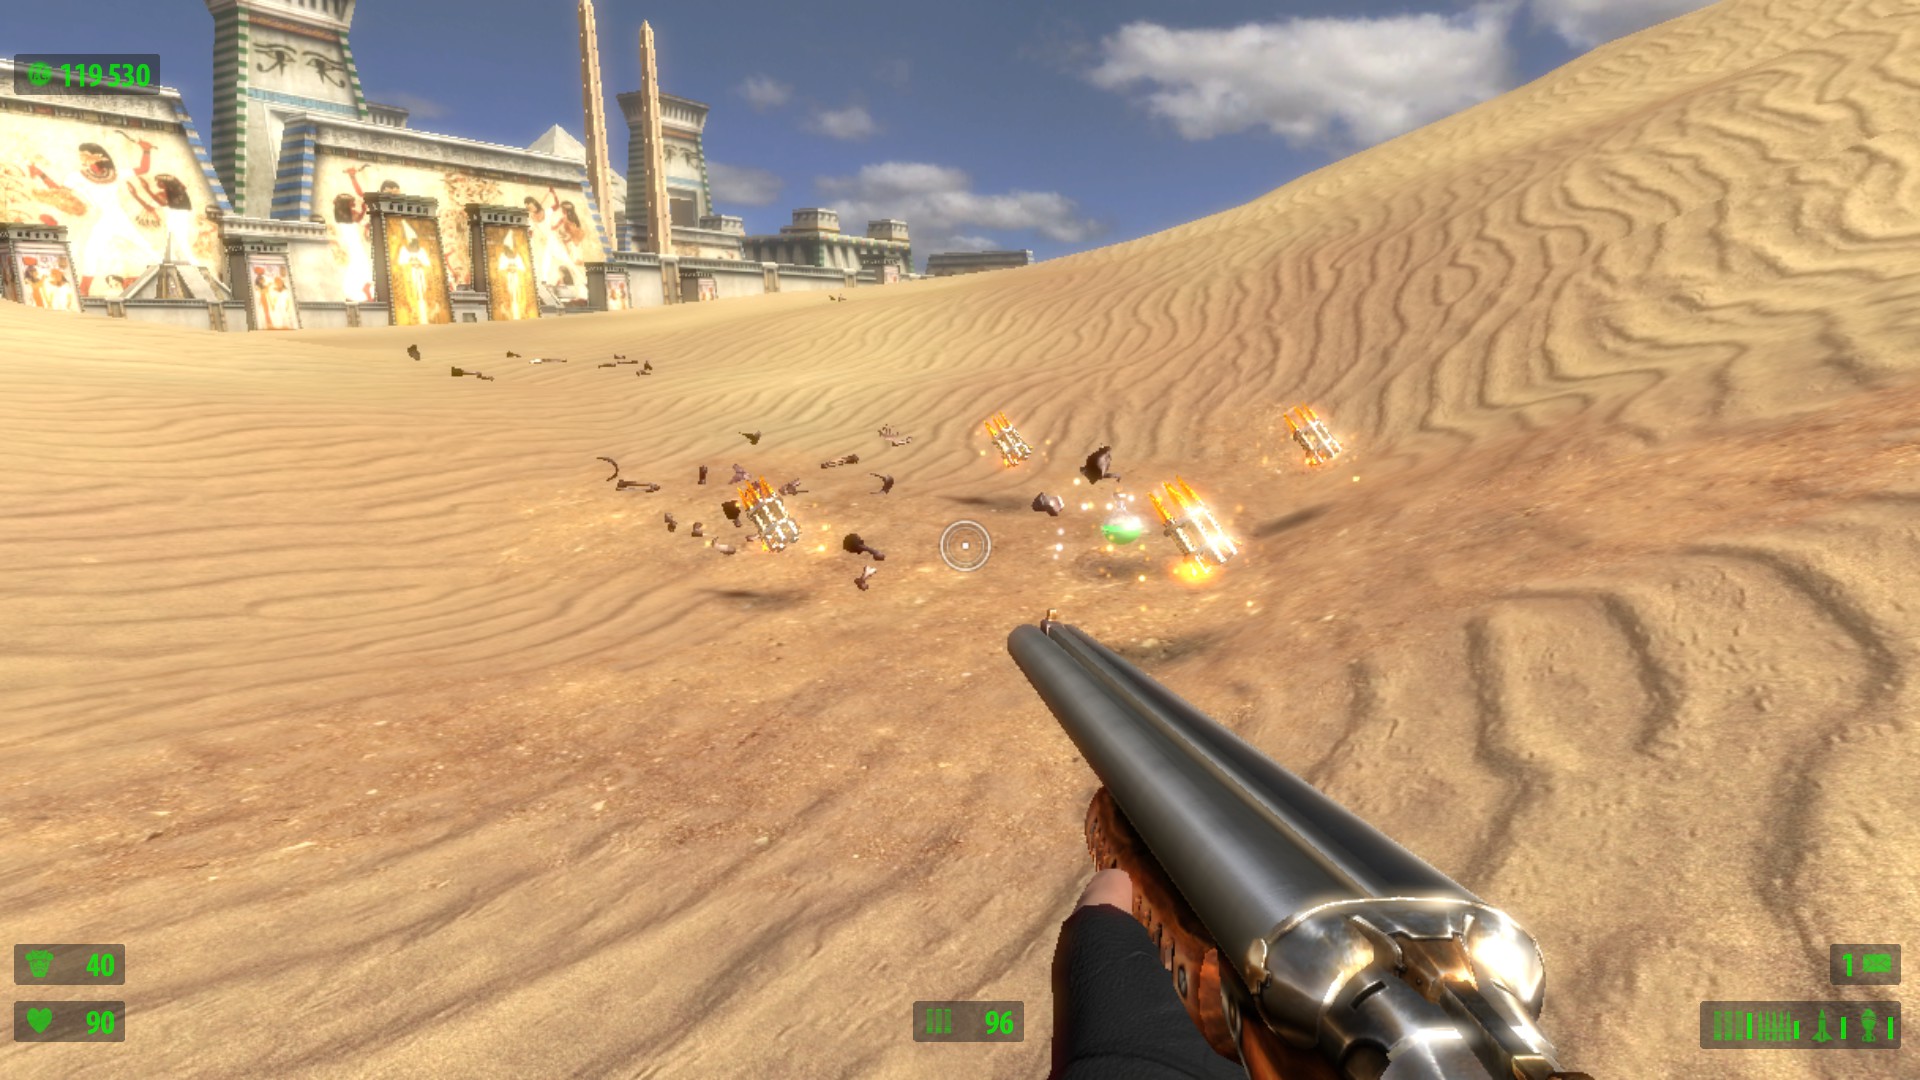
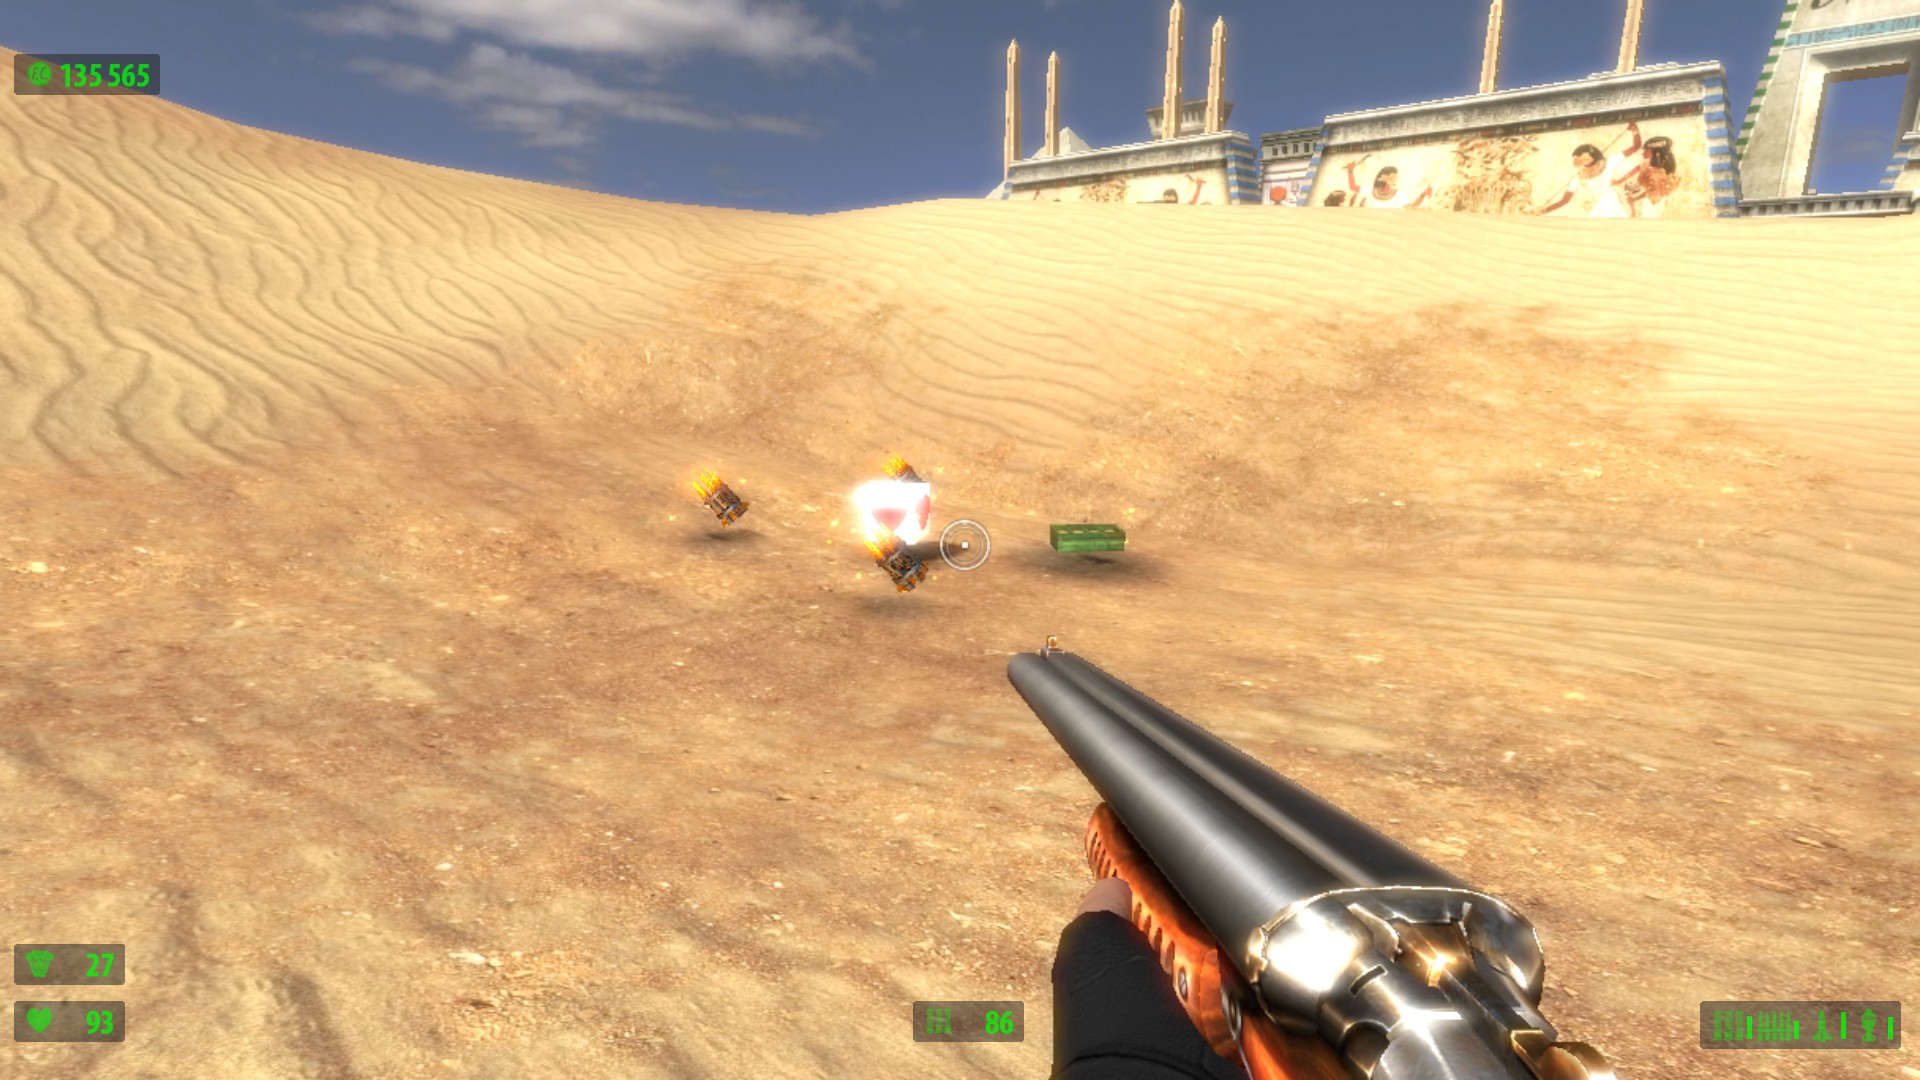
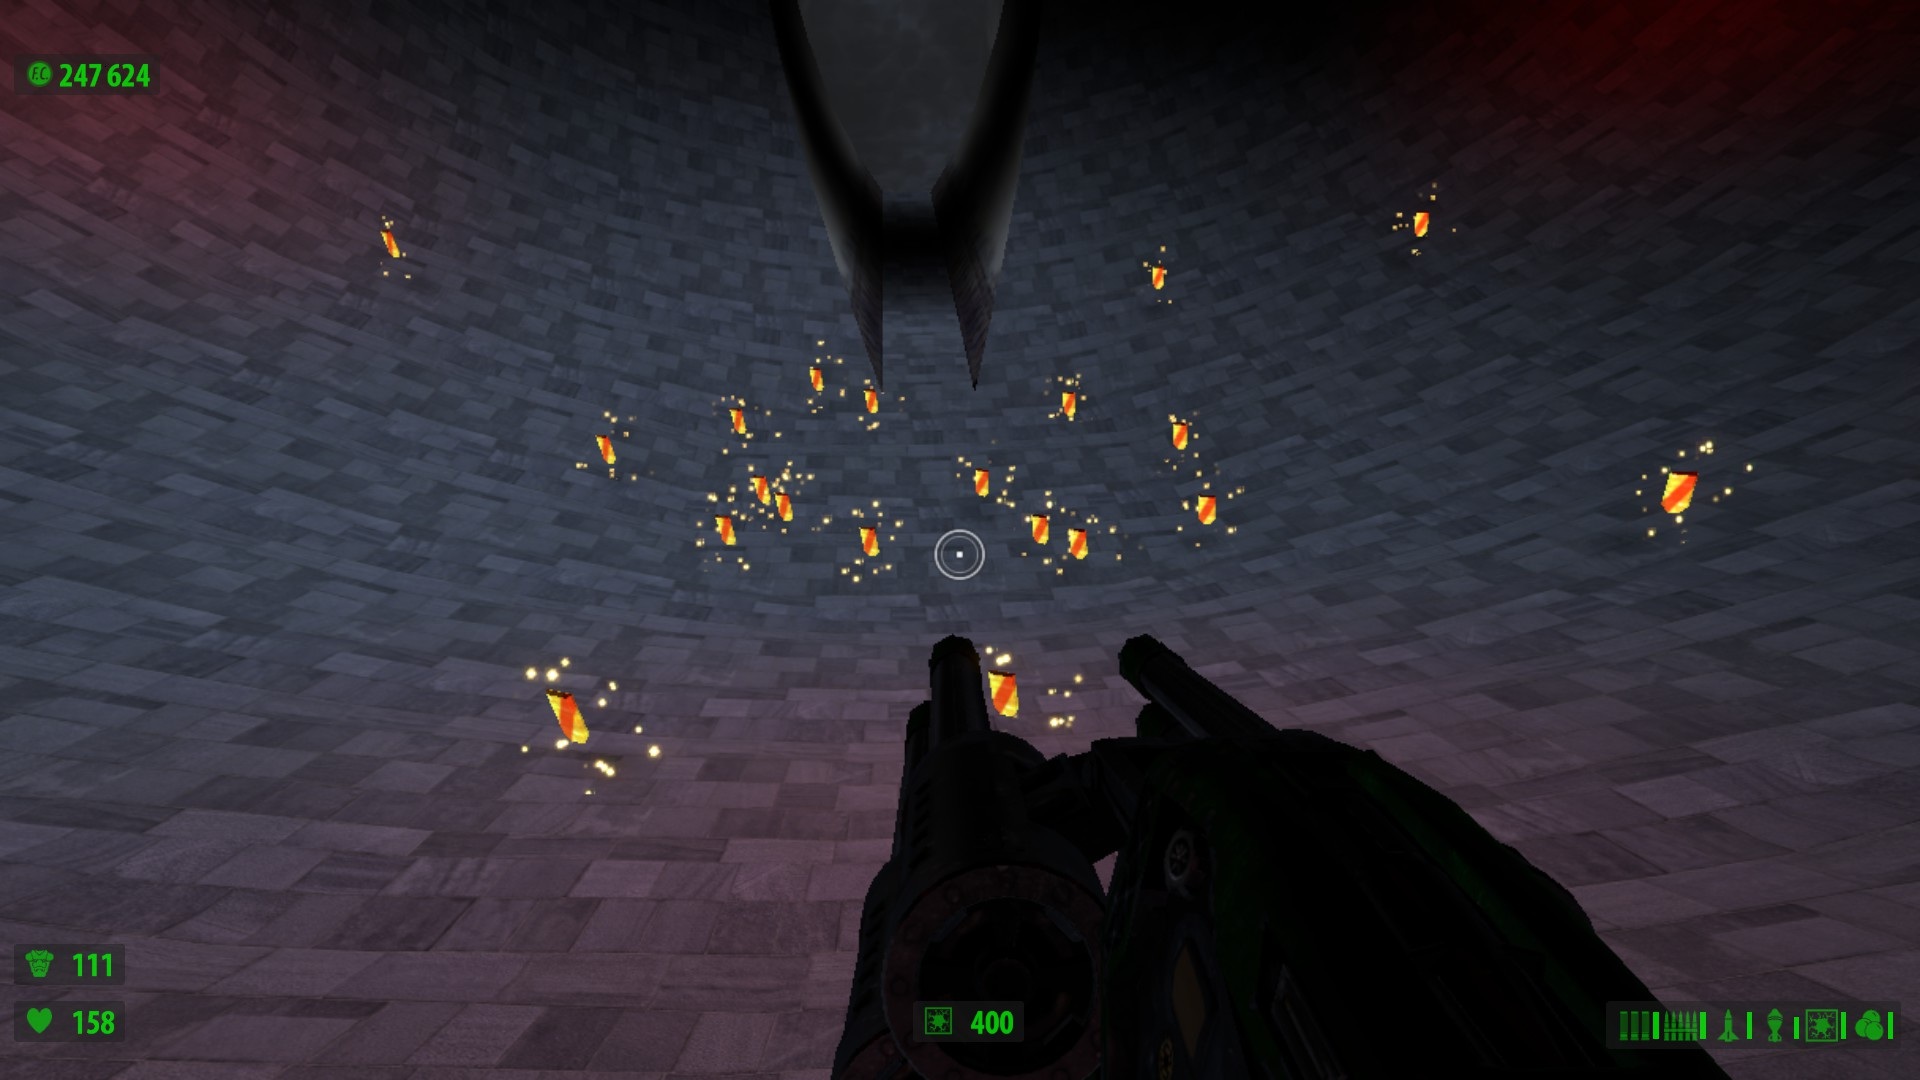
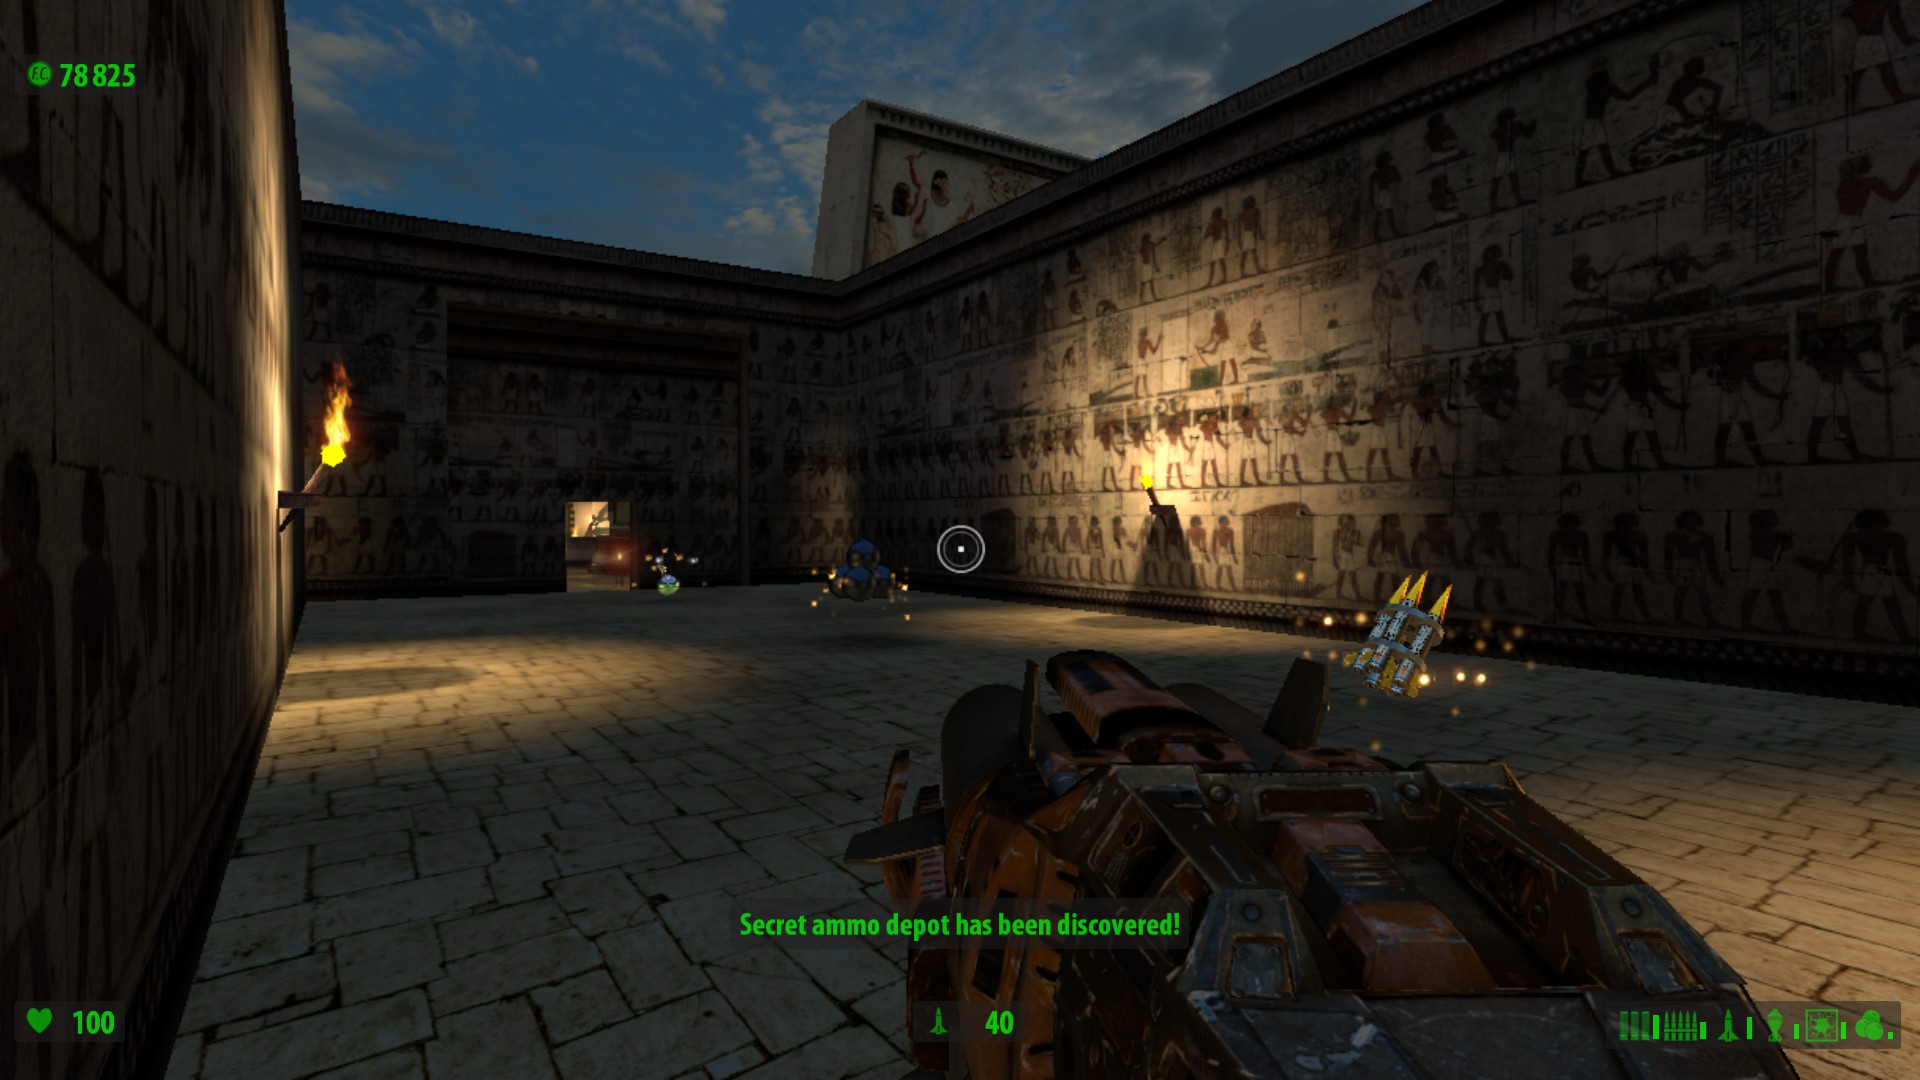
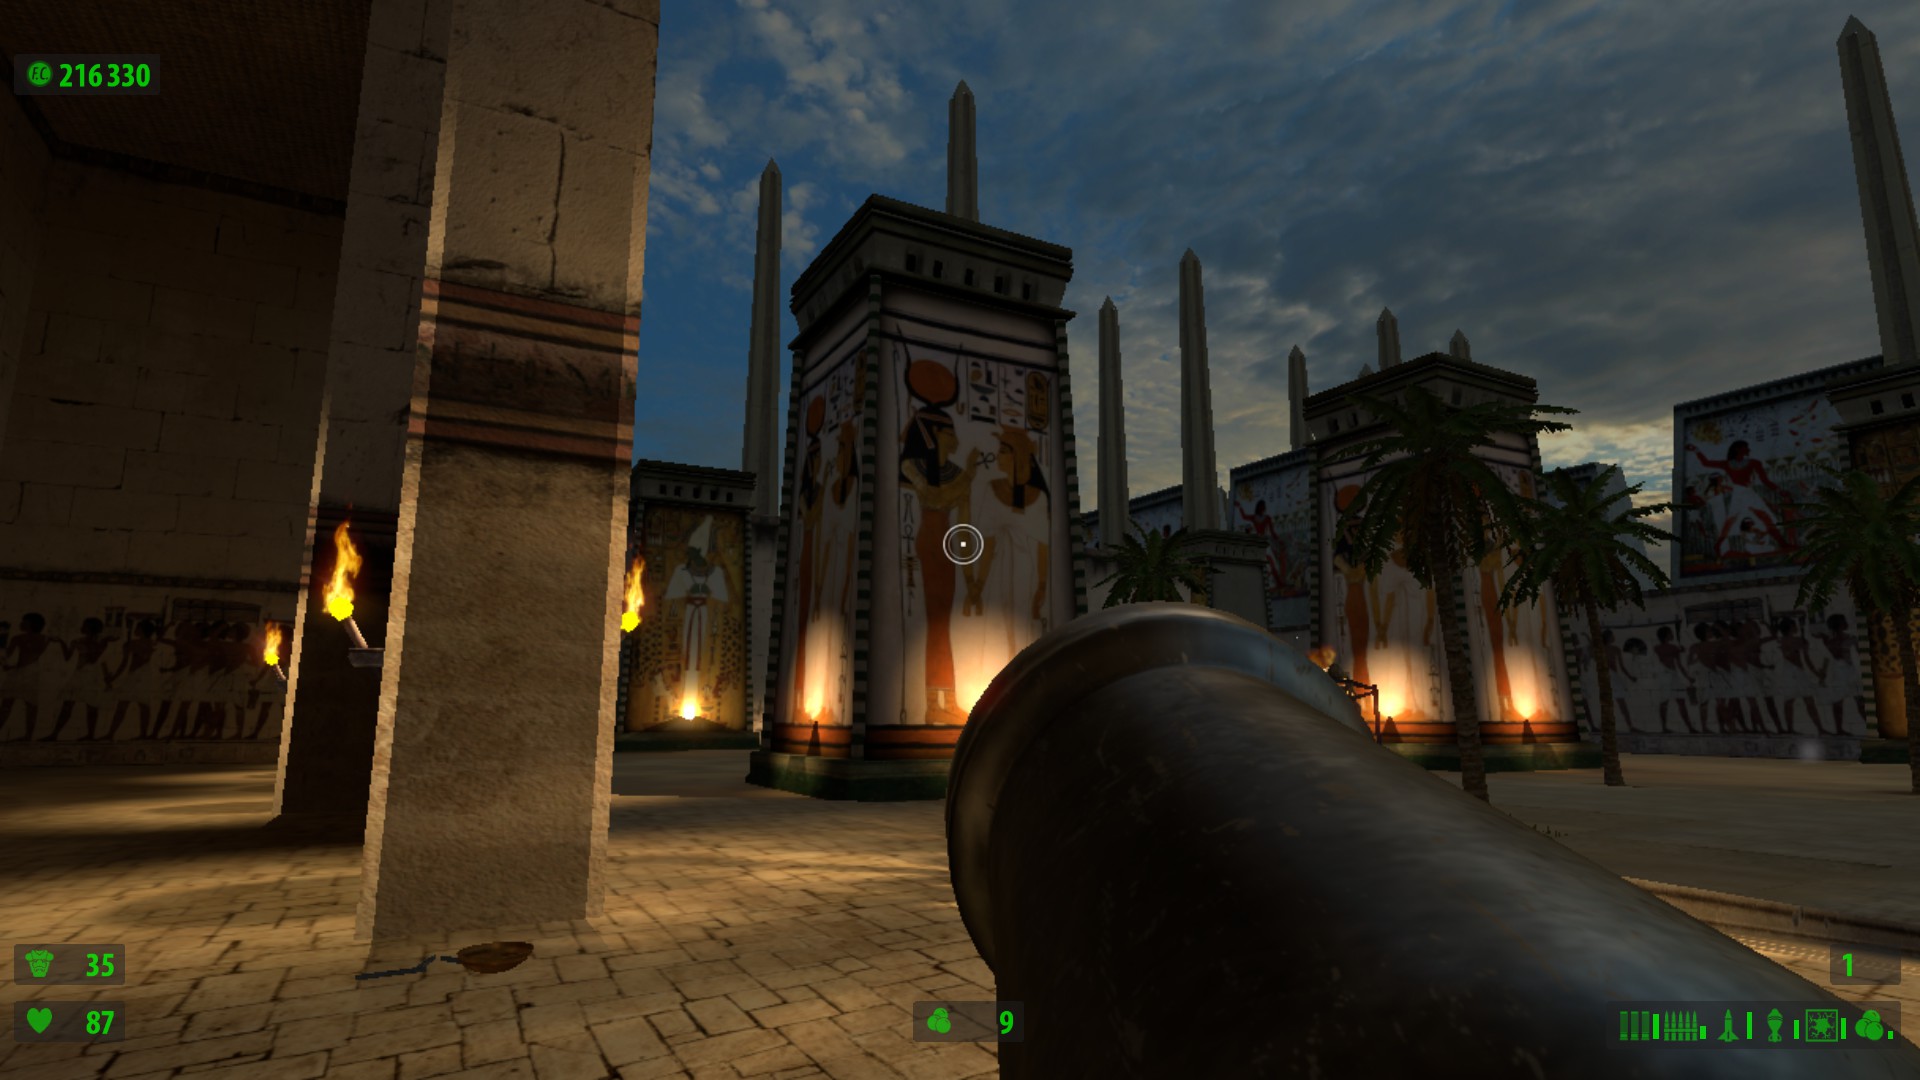
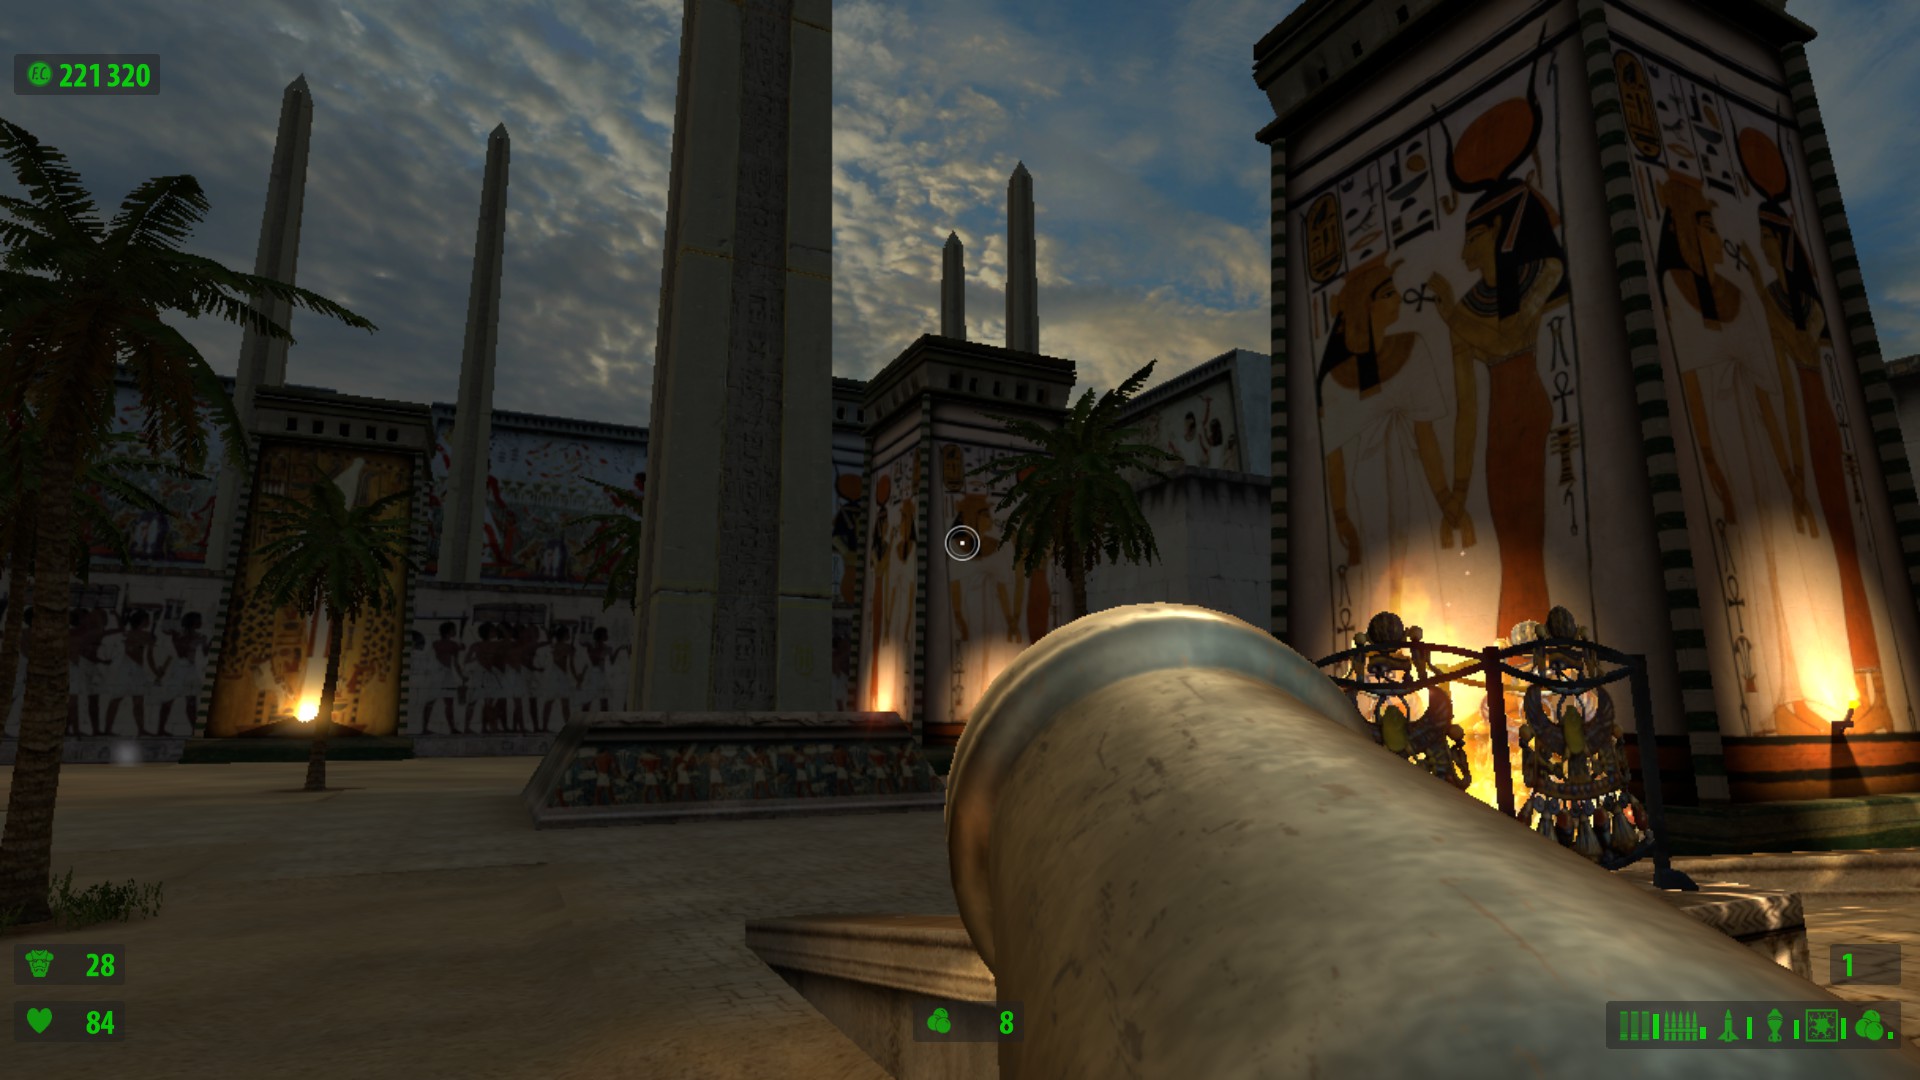
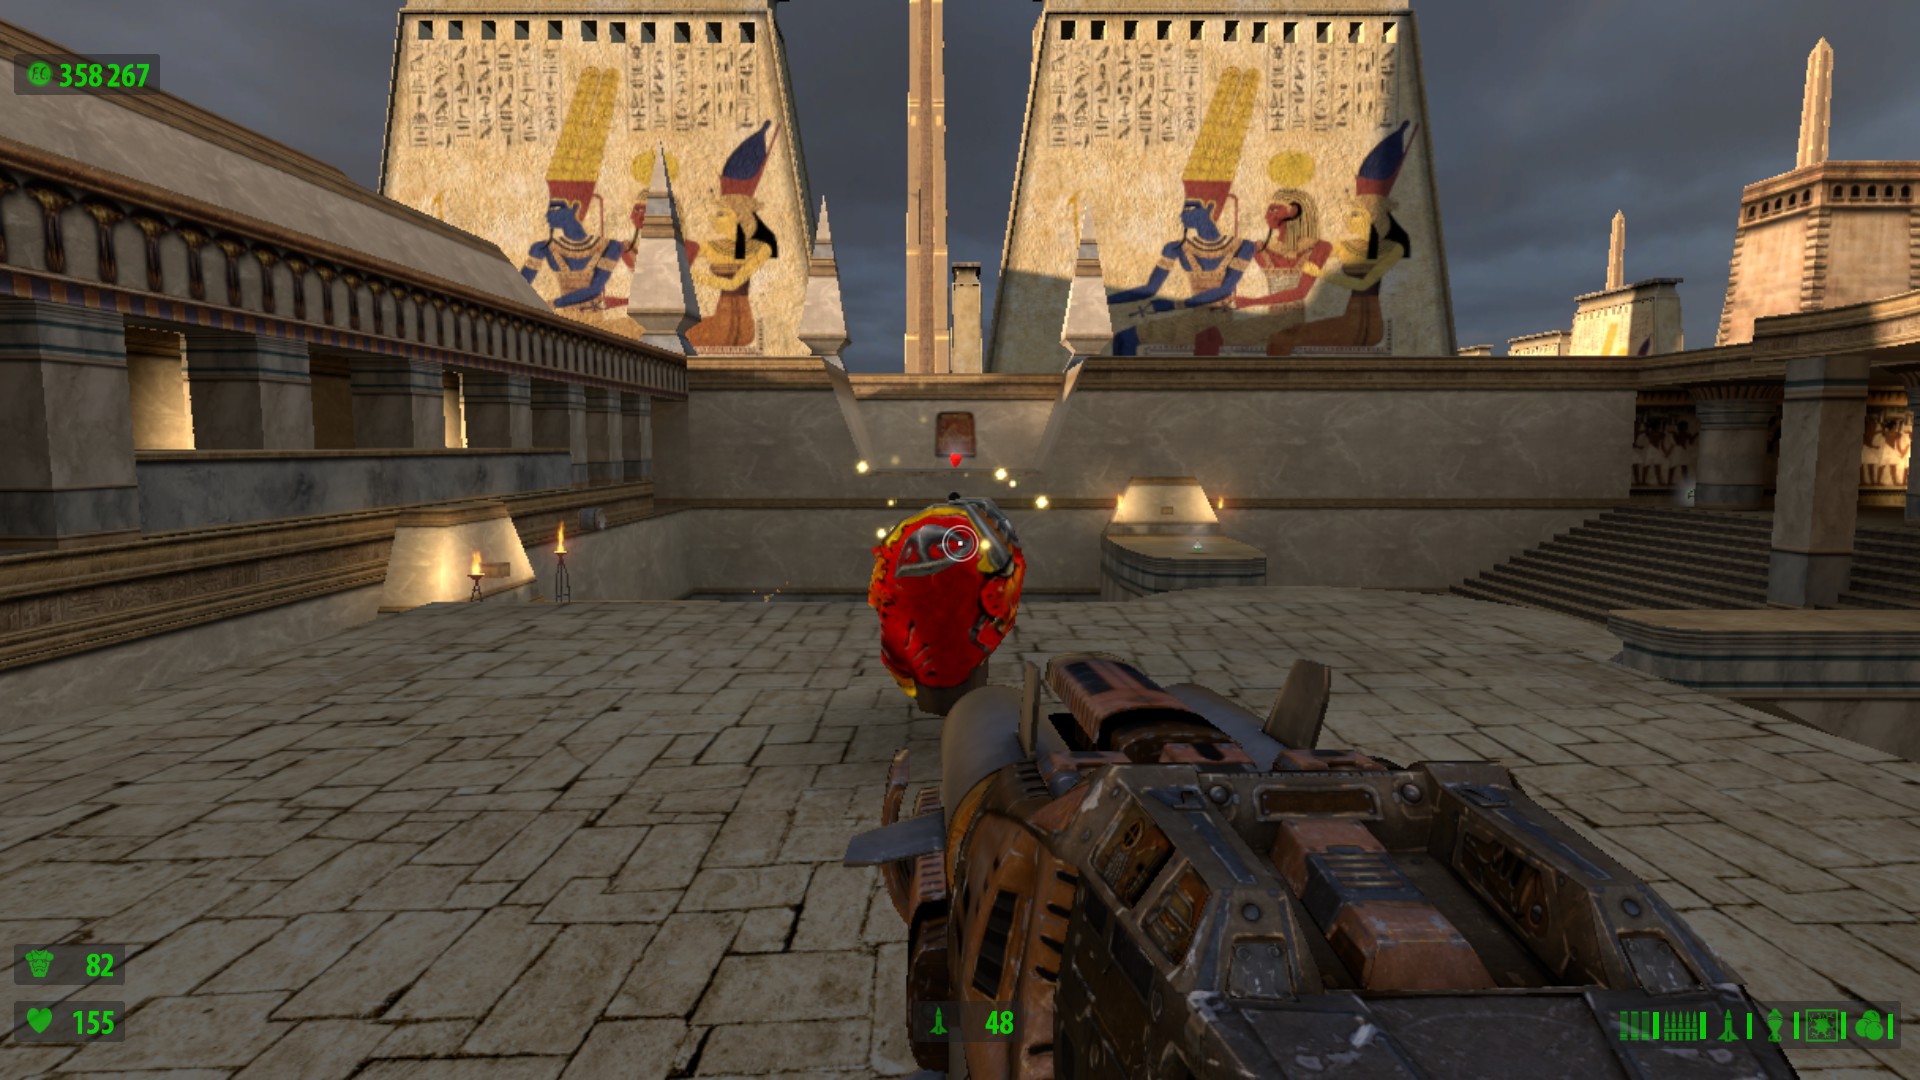
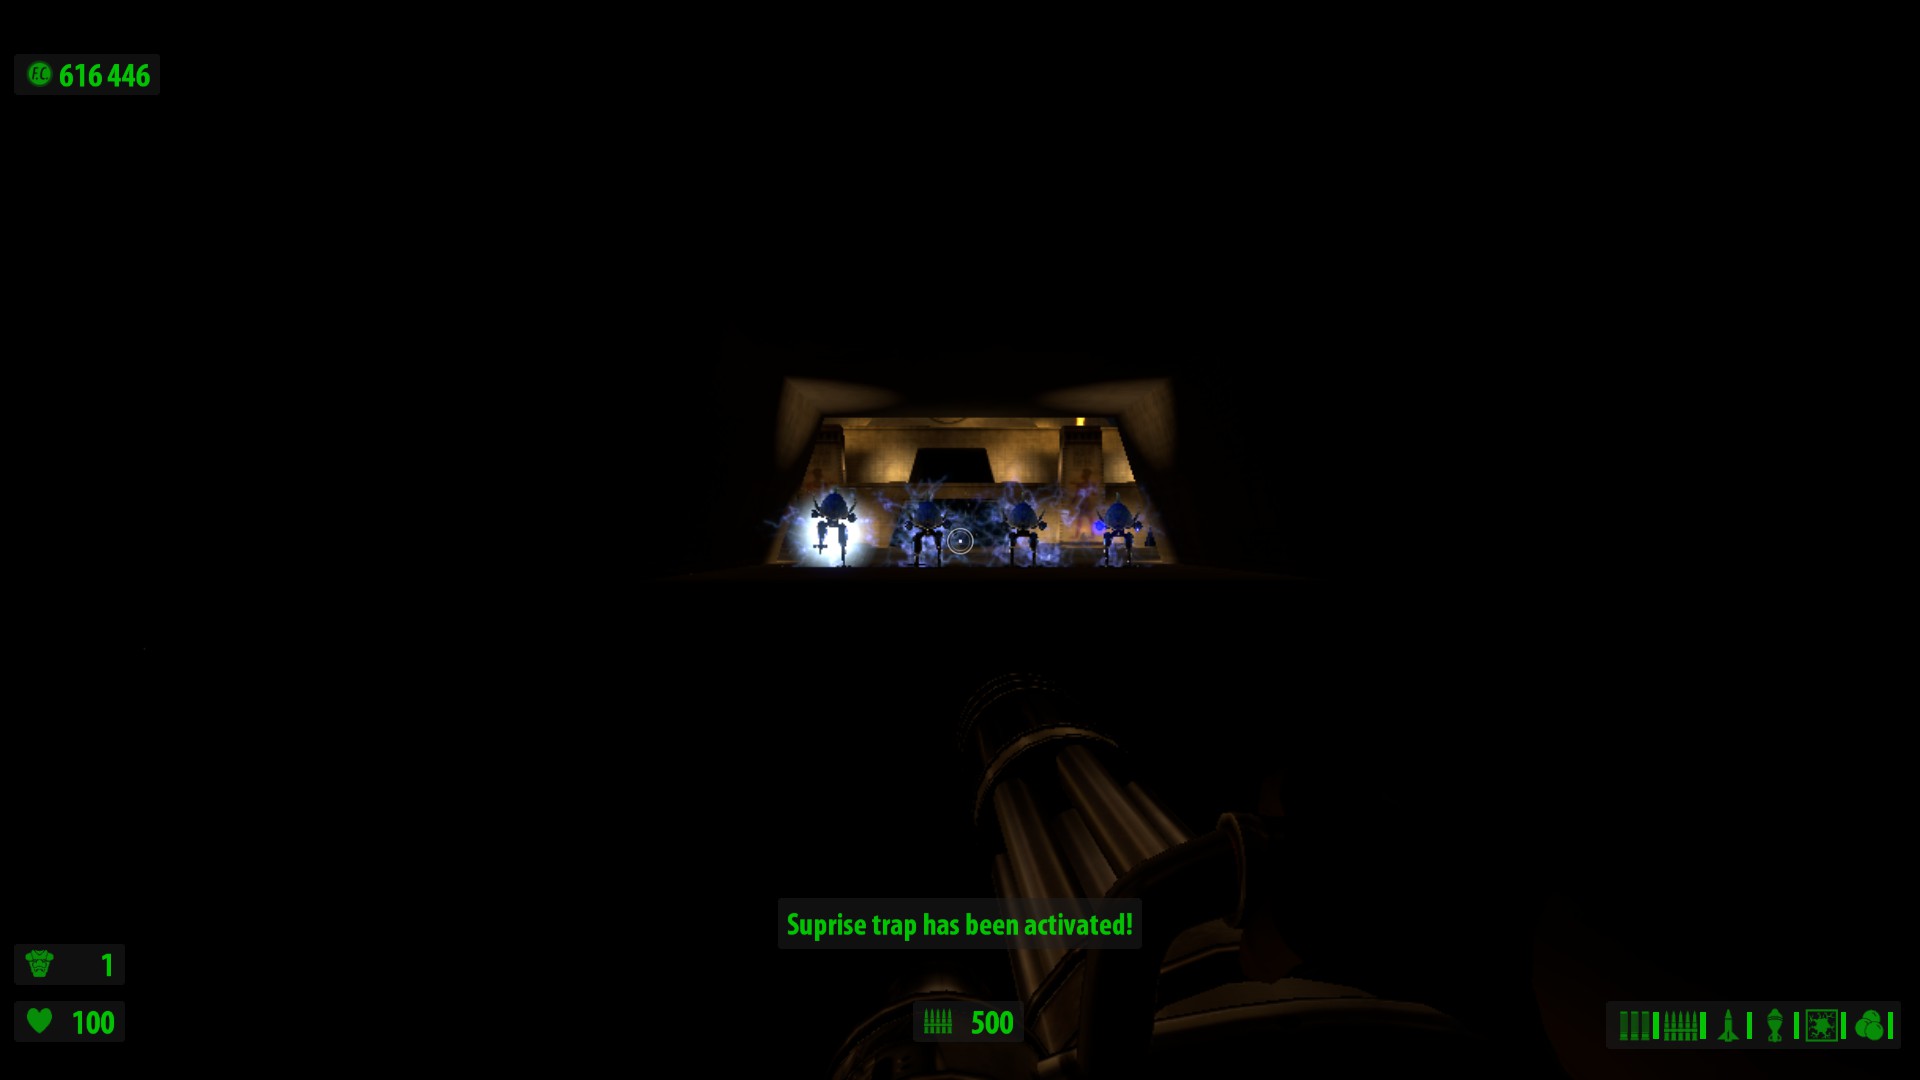
Each statue can eat two rockets before it's completely destroyed. Shooting one rocket will trigger the model's first destruction phase. However, even these intermediary destructions trigger a "model destroyed" event. So there are 9 statues, but in actuality 18 destructions to perform. But the secret listens for 9, probably an oversight. Hence when four statues are completely destroyed and one partially, this counts as having destroyed all statues.

I'll update the guide accordingly (almost ten years after its release, hah). Thanks for your observation.
jez 24 mai 2022 la 9:35 
In Valley of the Kings there is a major error in your guide! The secret involving destroying all statues is missing the last four (4) statues in your guide! The room where you get the Element has 4 statues in it that needs to be destroyed. So it's not five statues that needs to be destroyed like you claim here but nine (9) in total. This has been tested three times with Tourist and Serious difficulty levels.
WTFmybacon 24 mart. 2022 la 11:35 
@King of Nothing
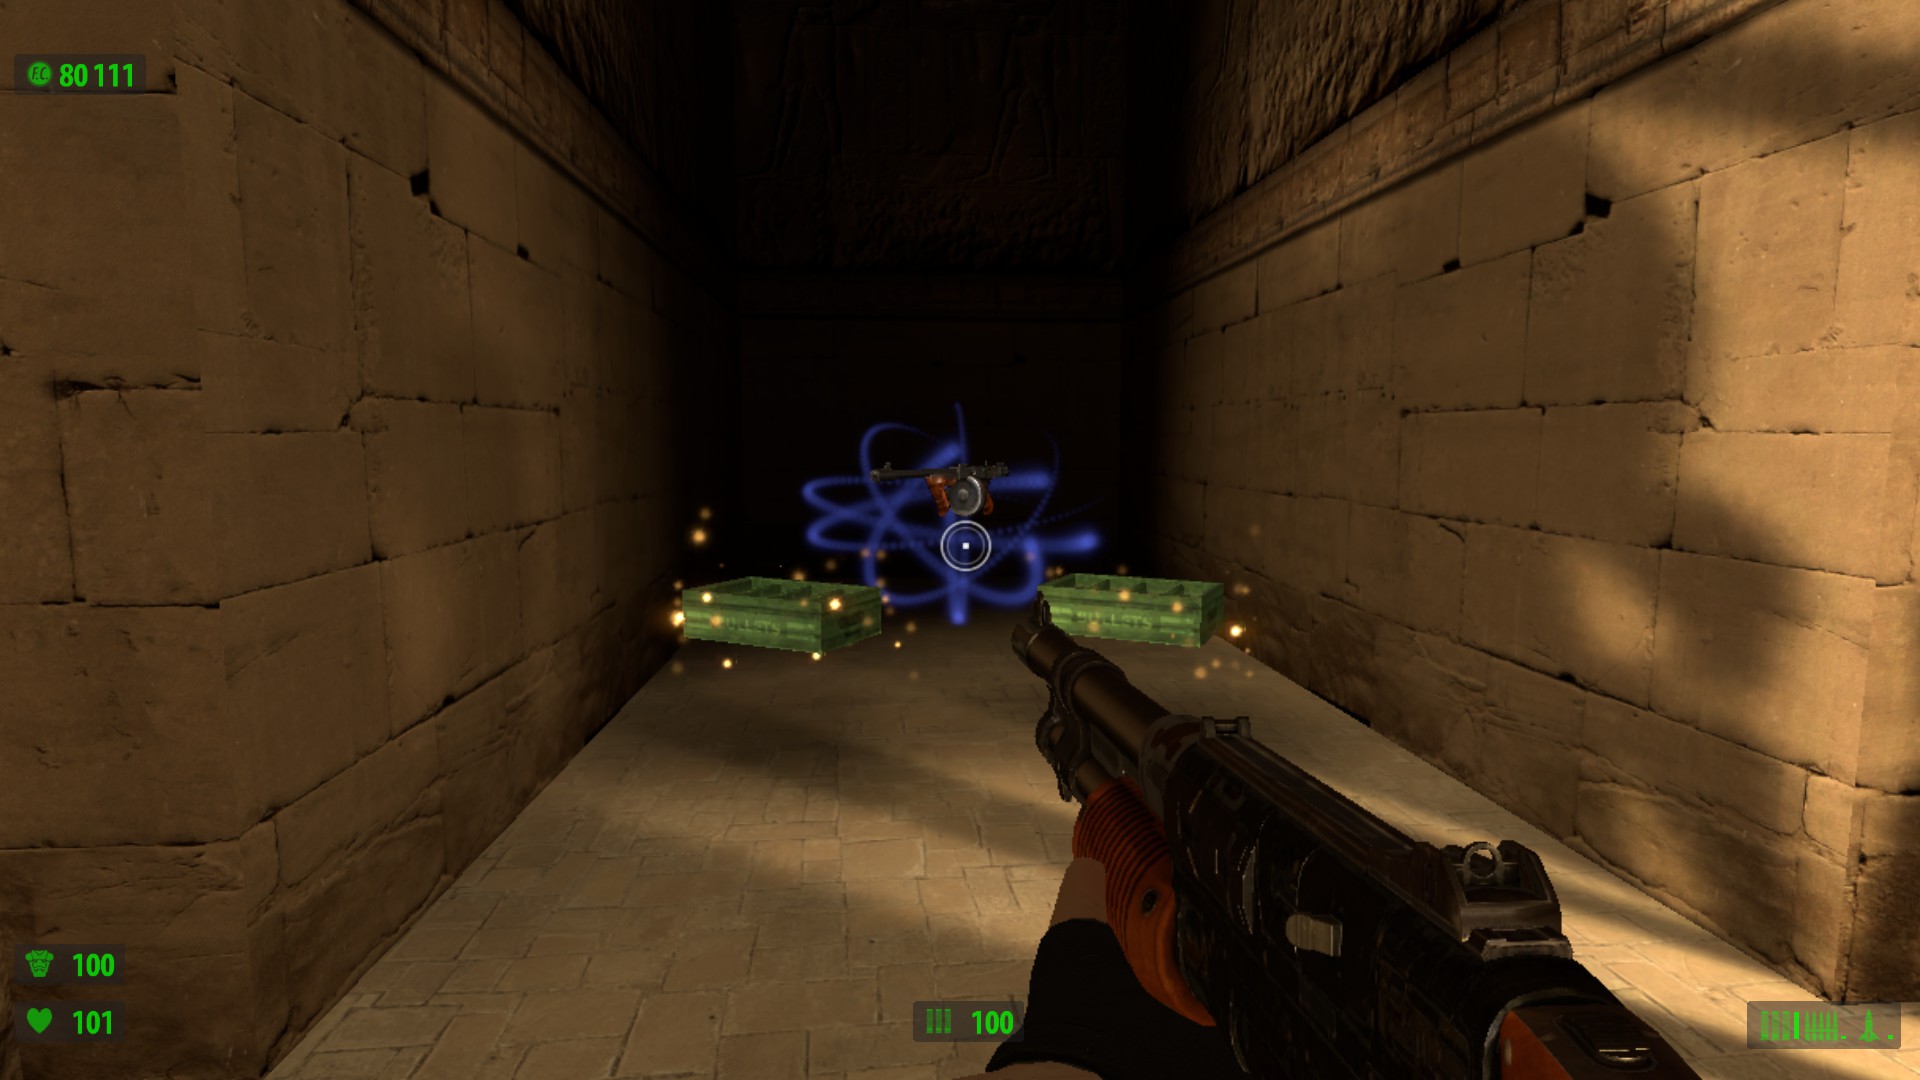
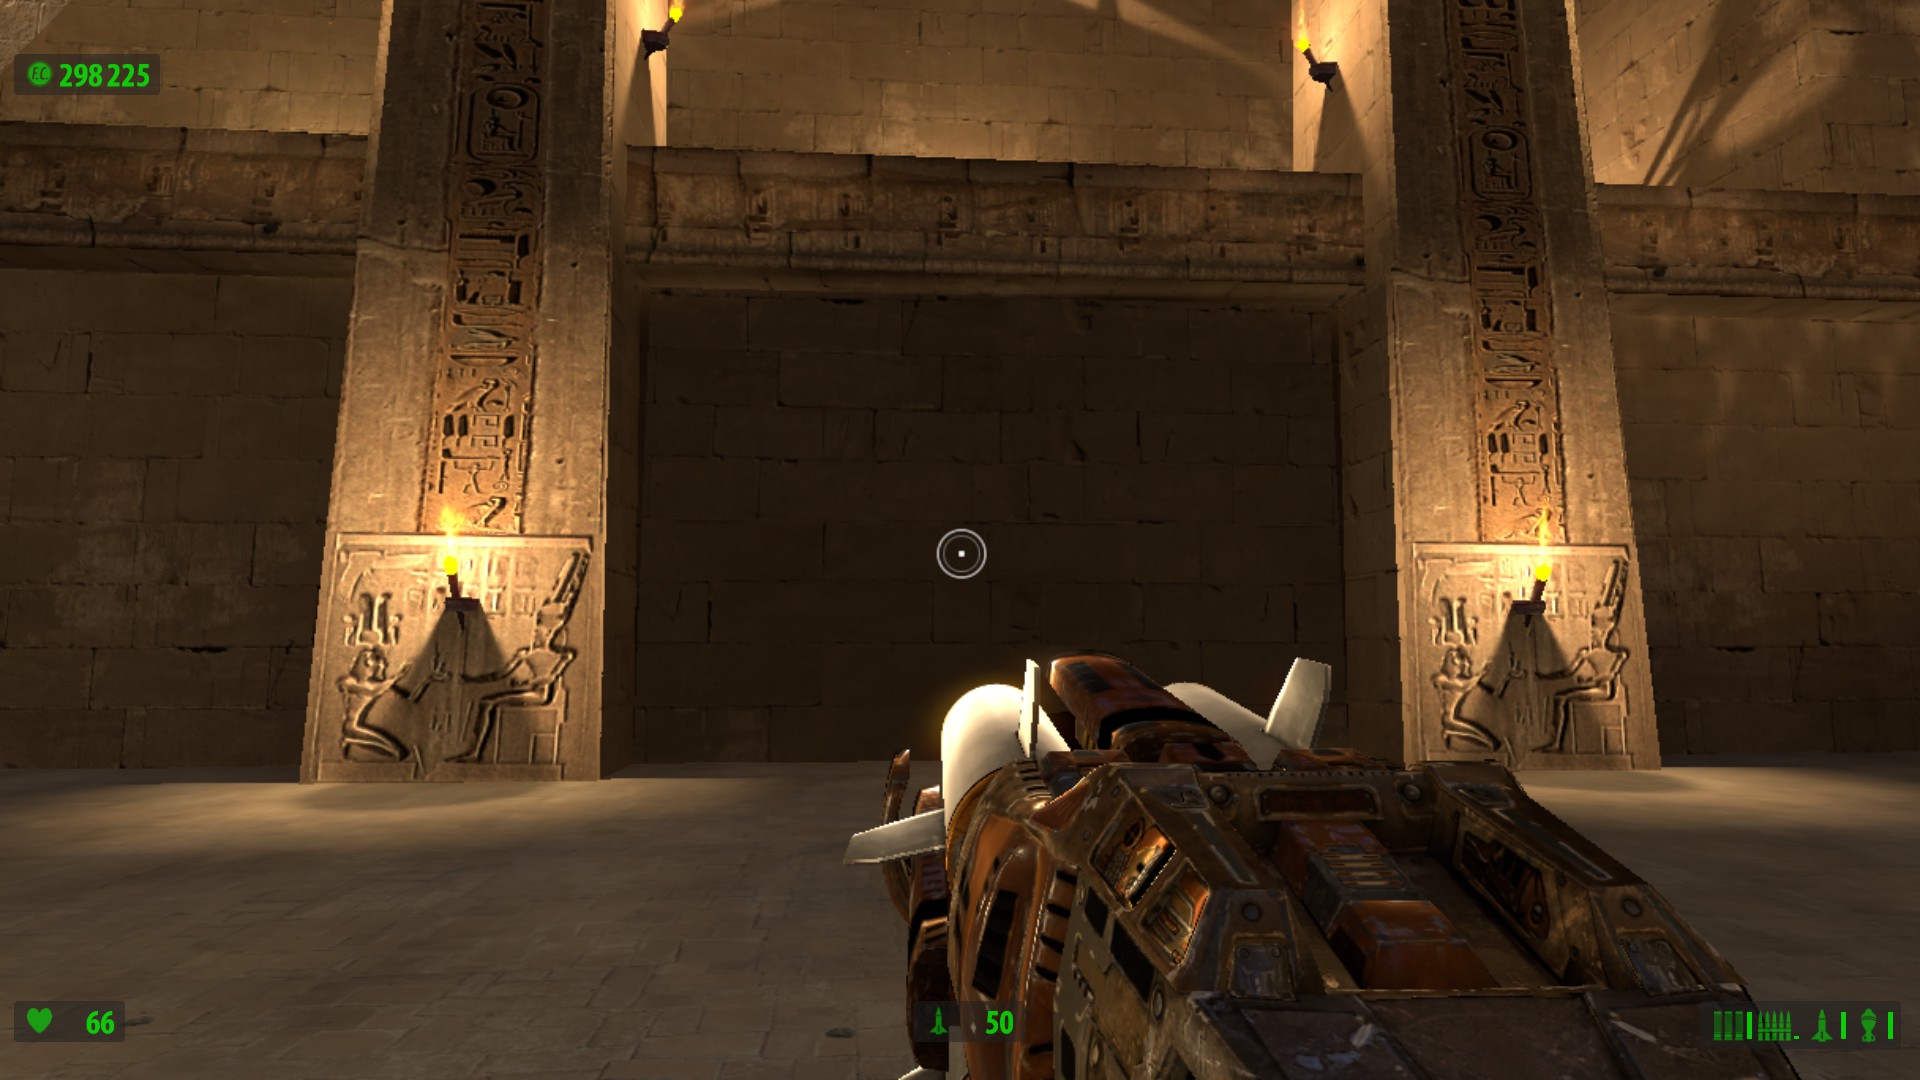
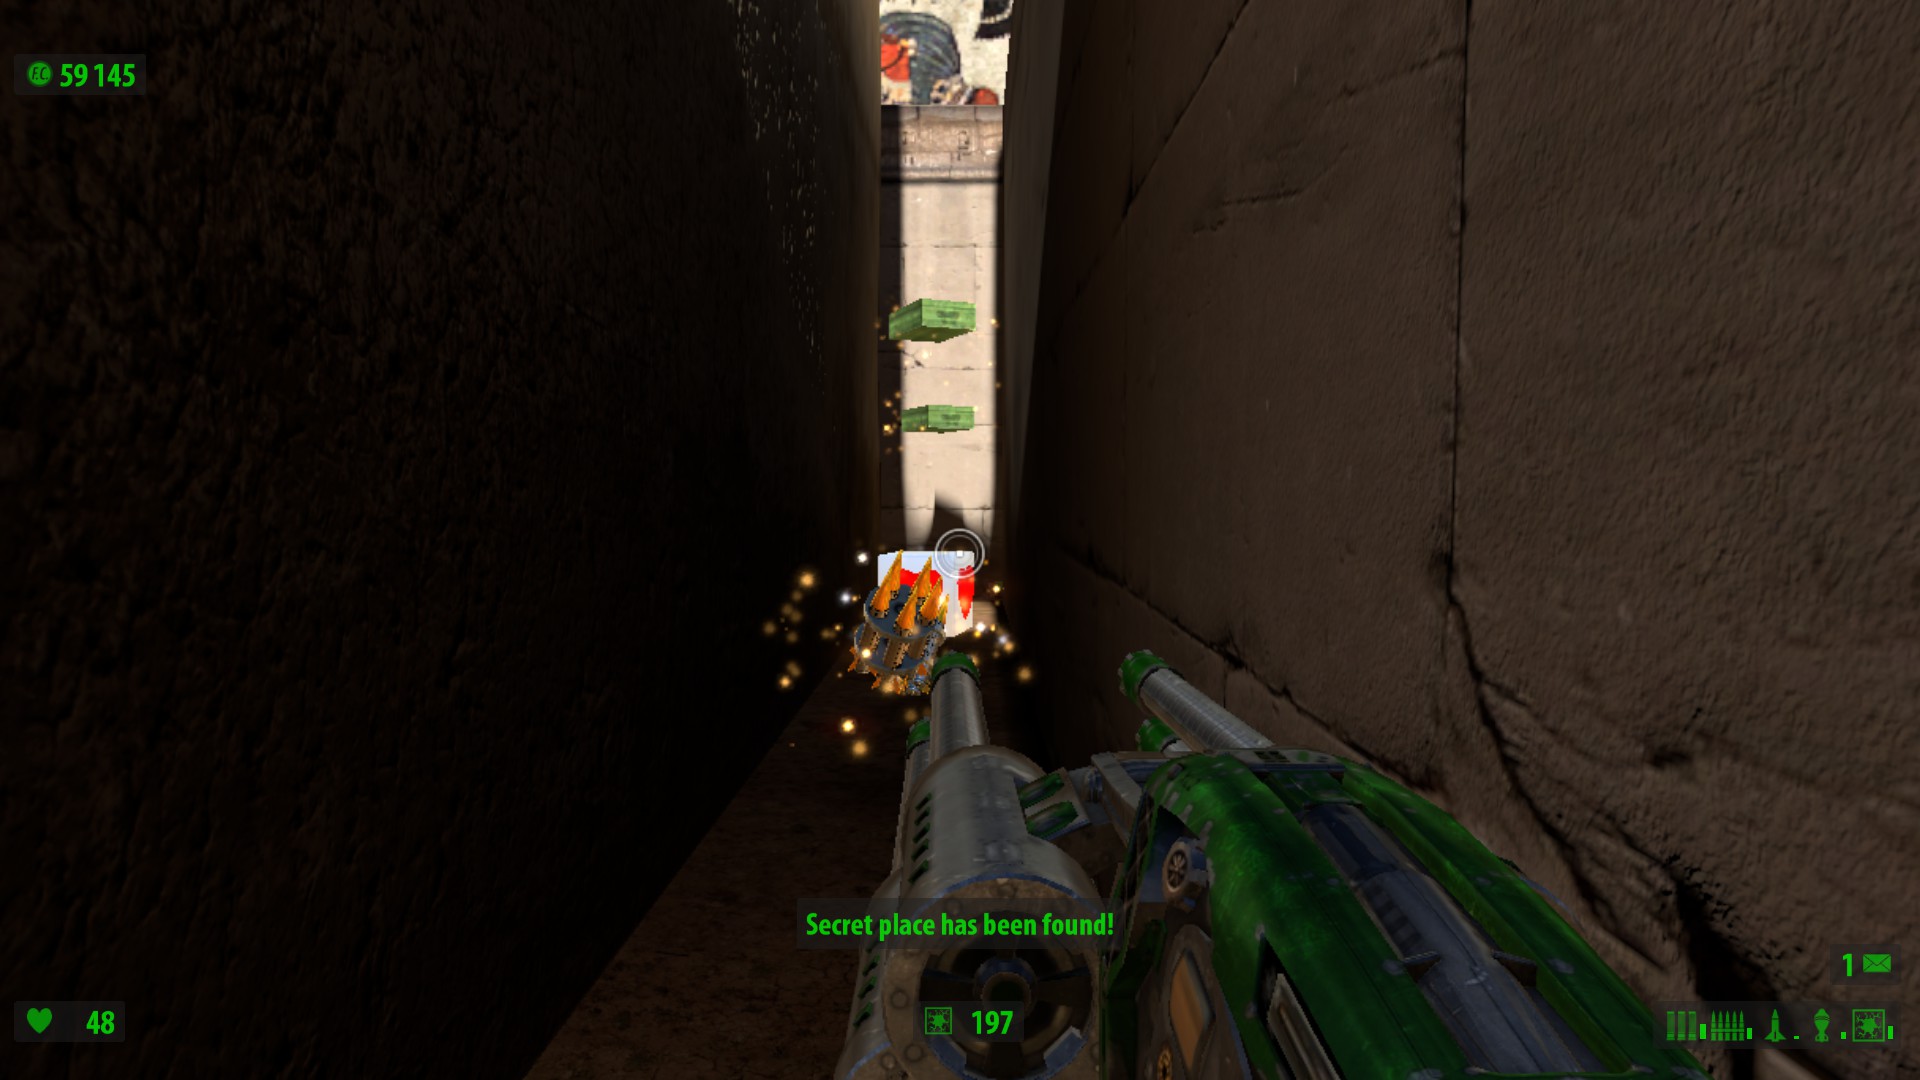
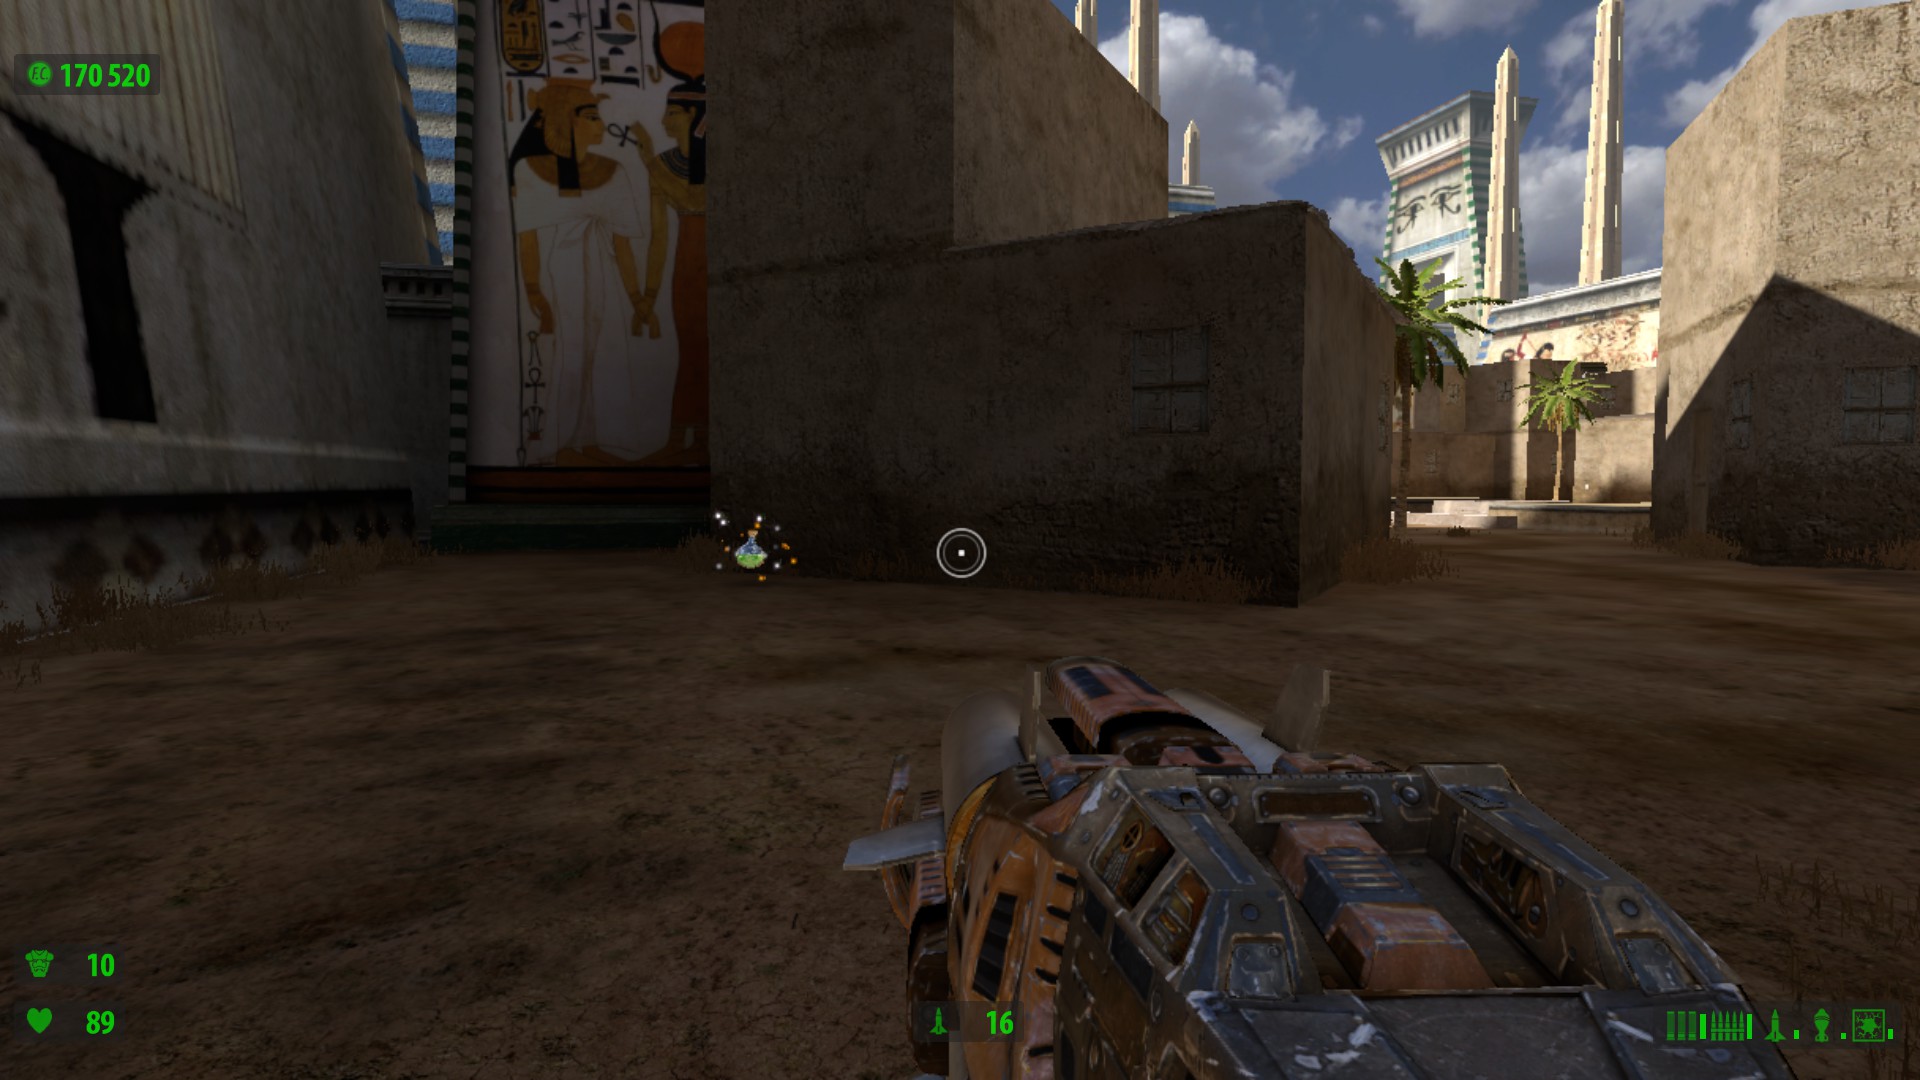
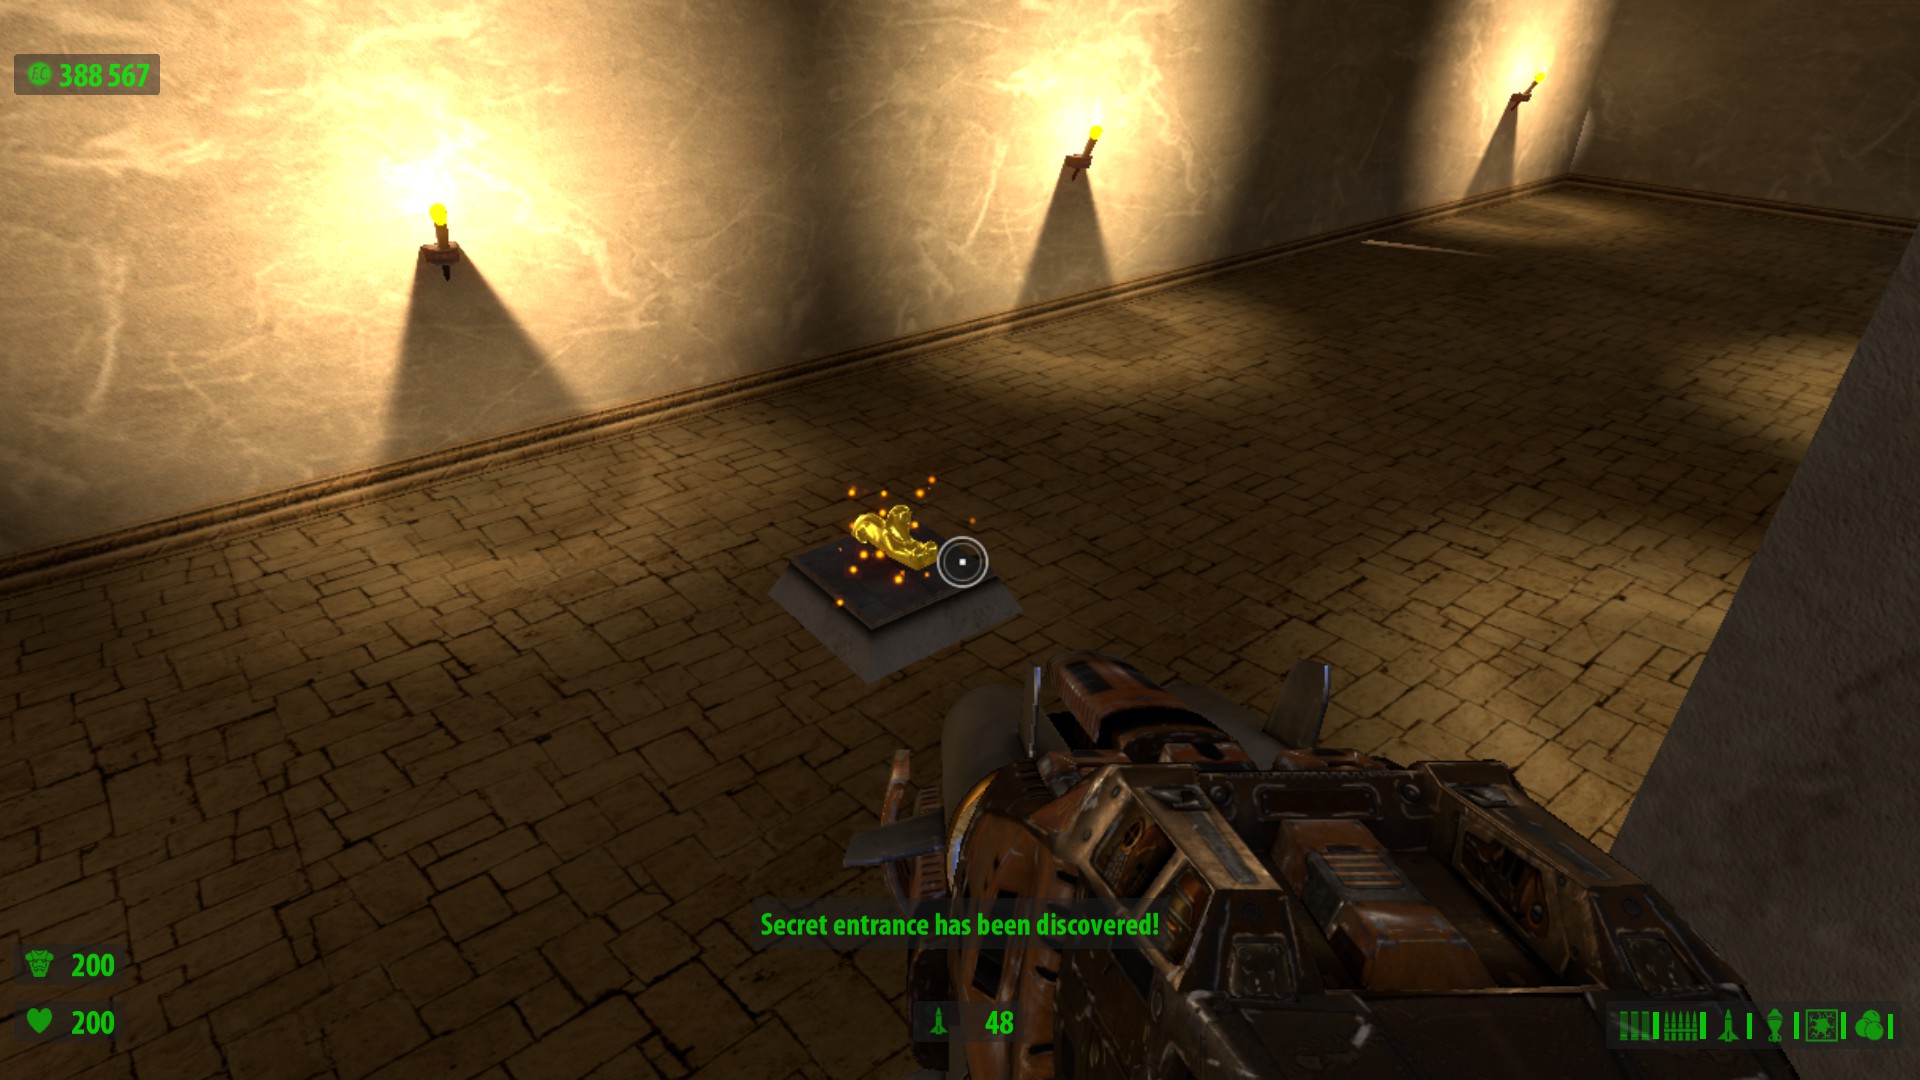
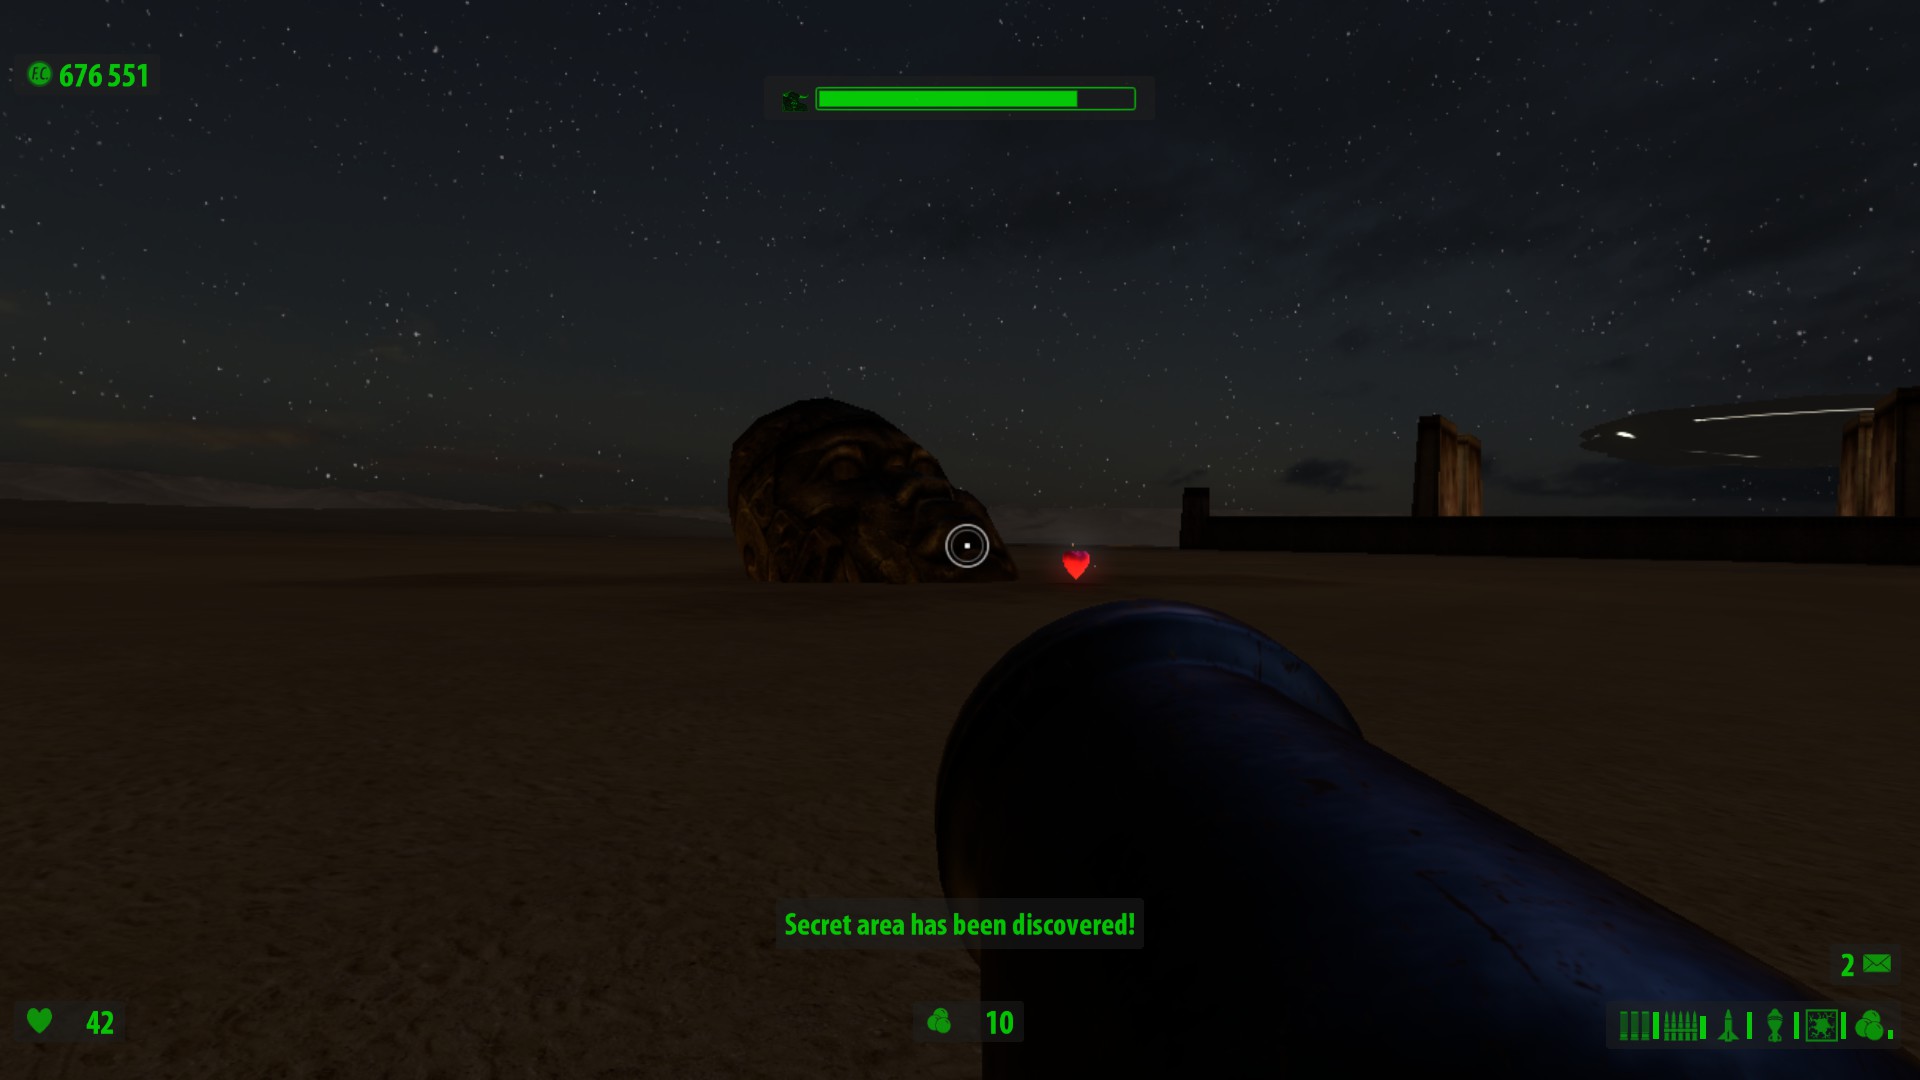
It is not marked as a secret.

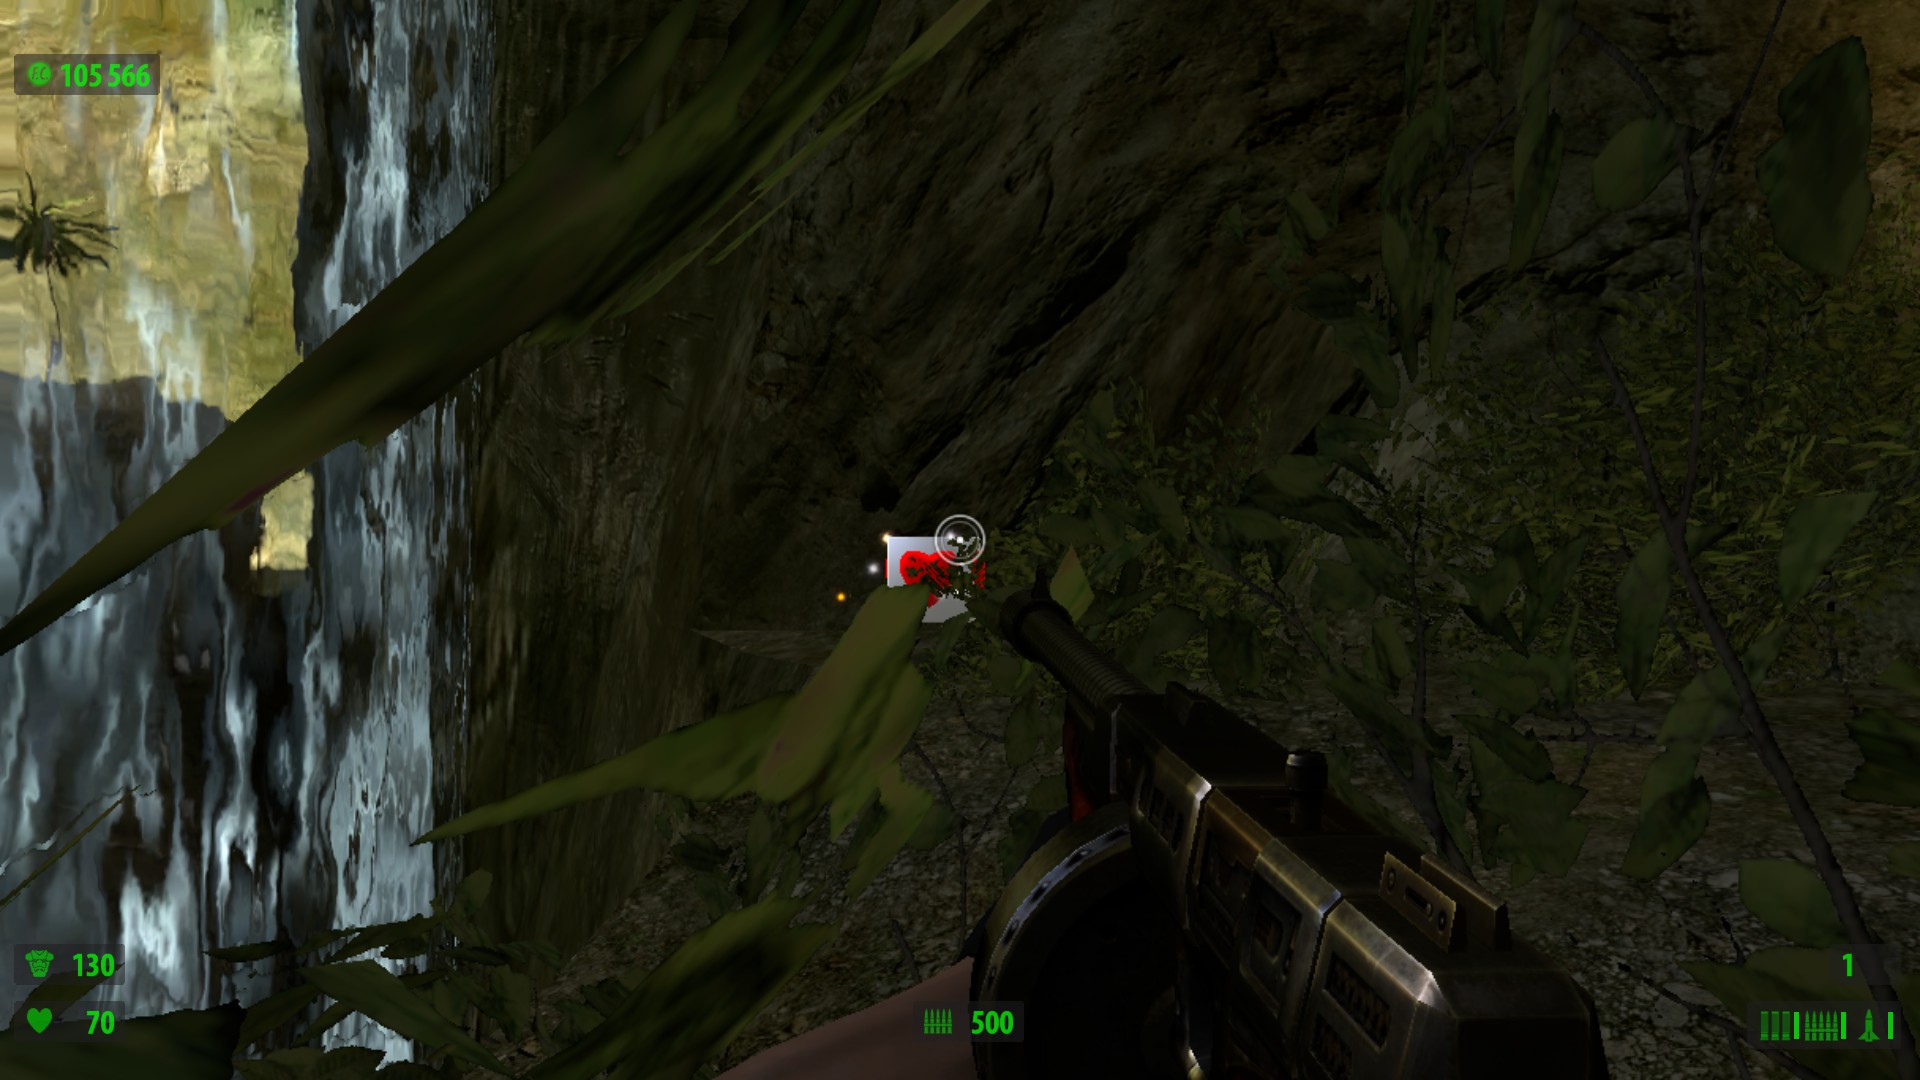
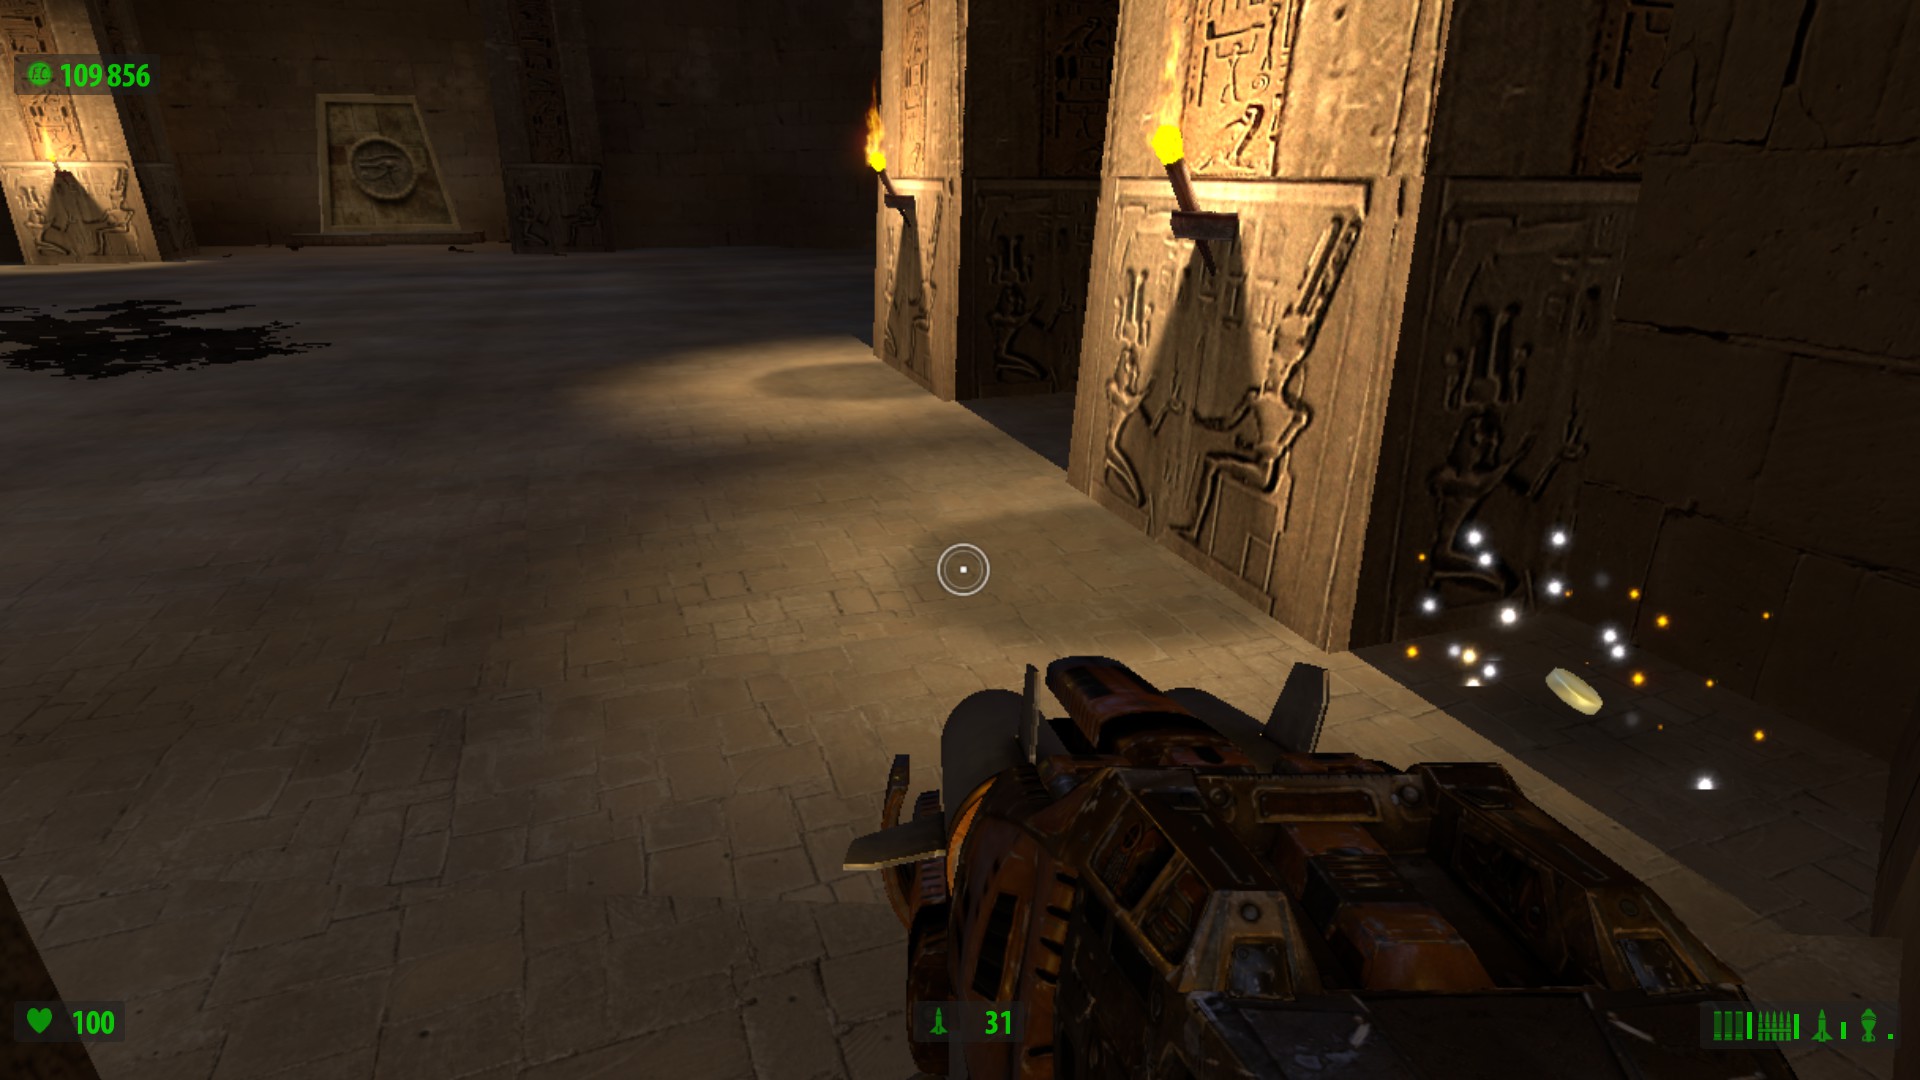
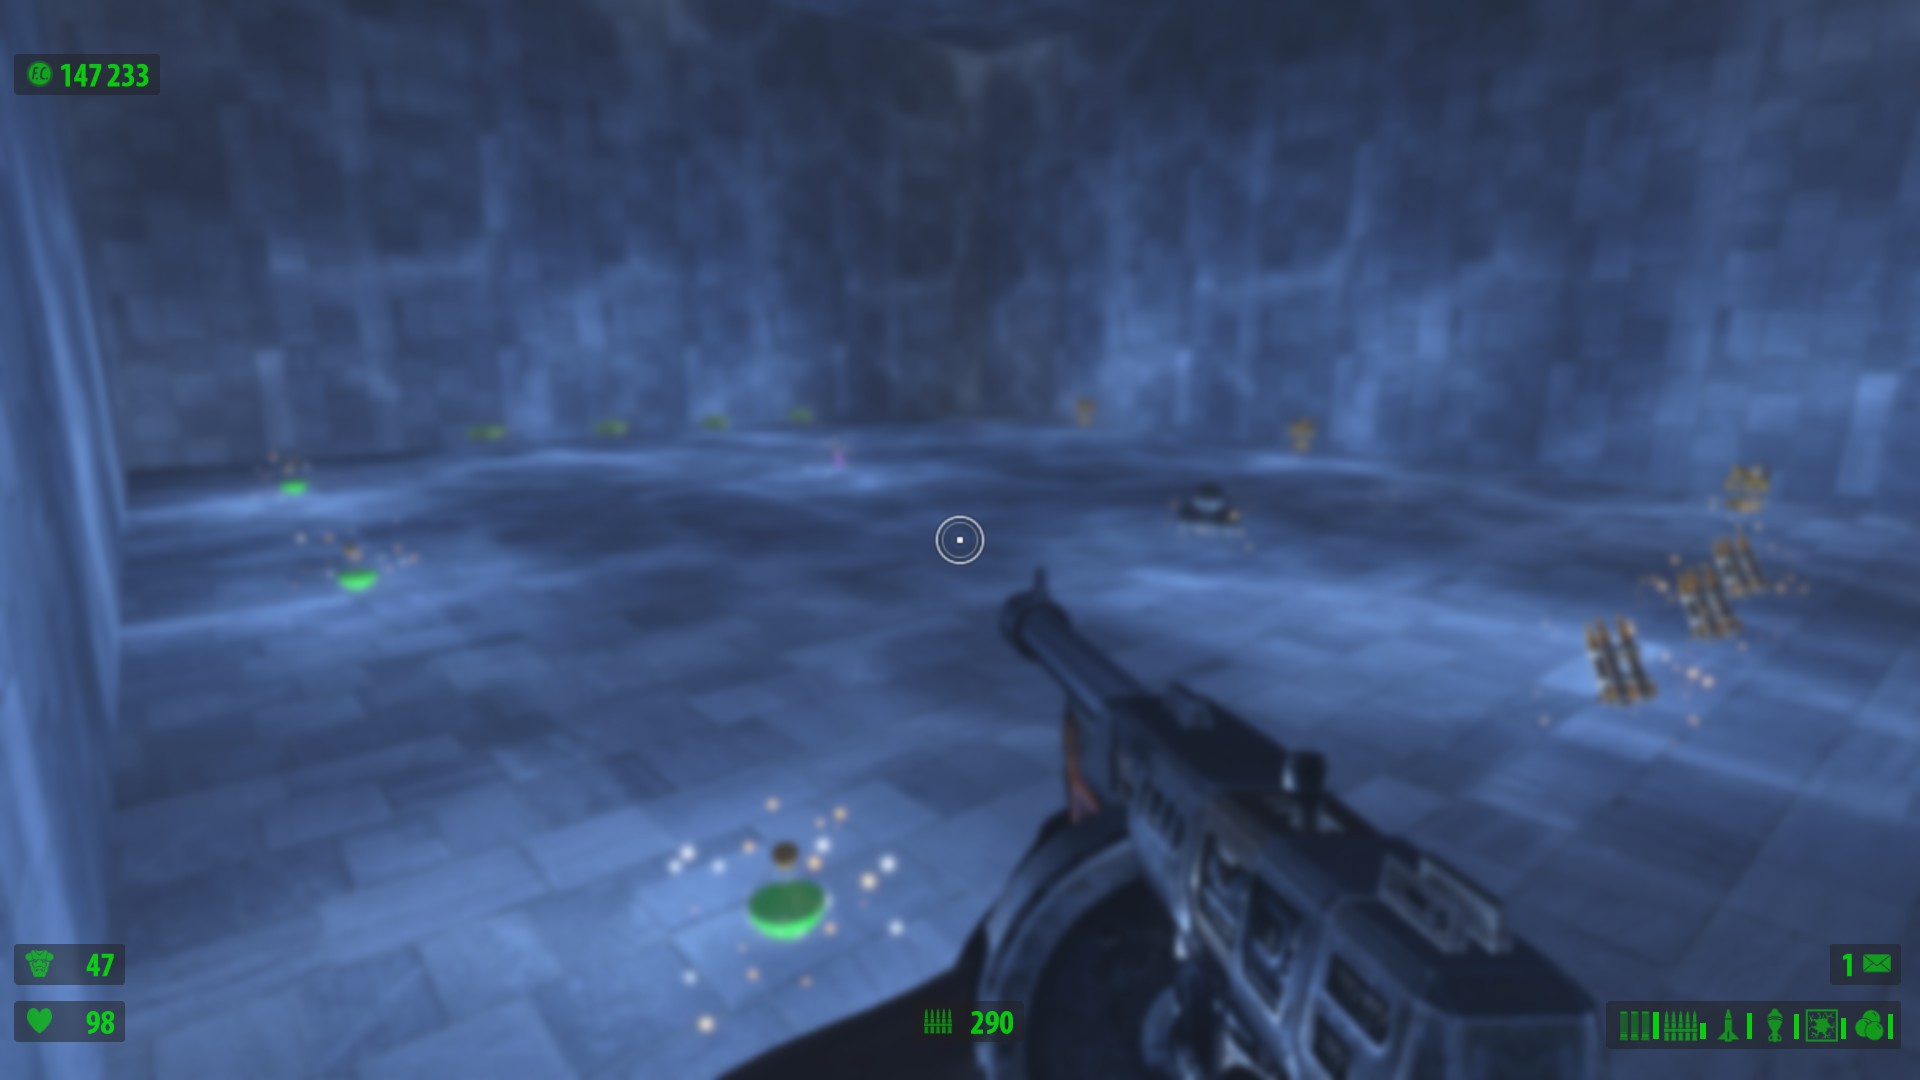
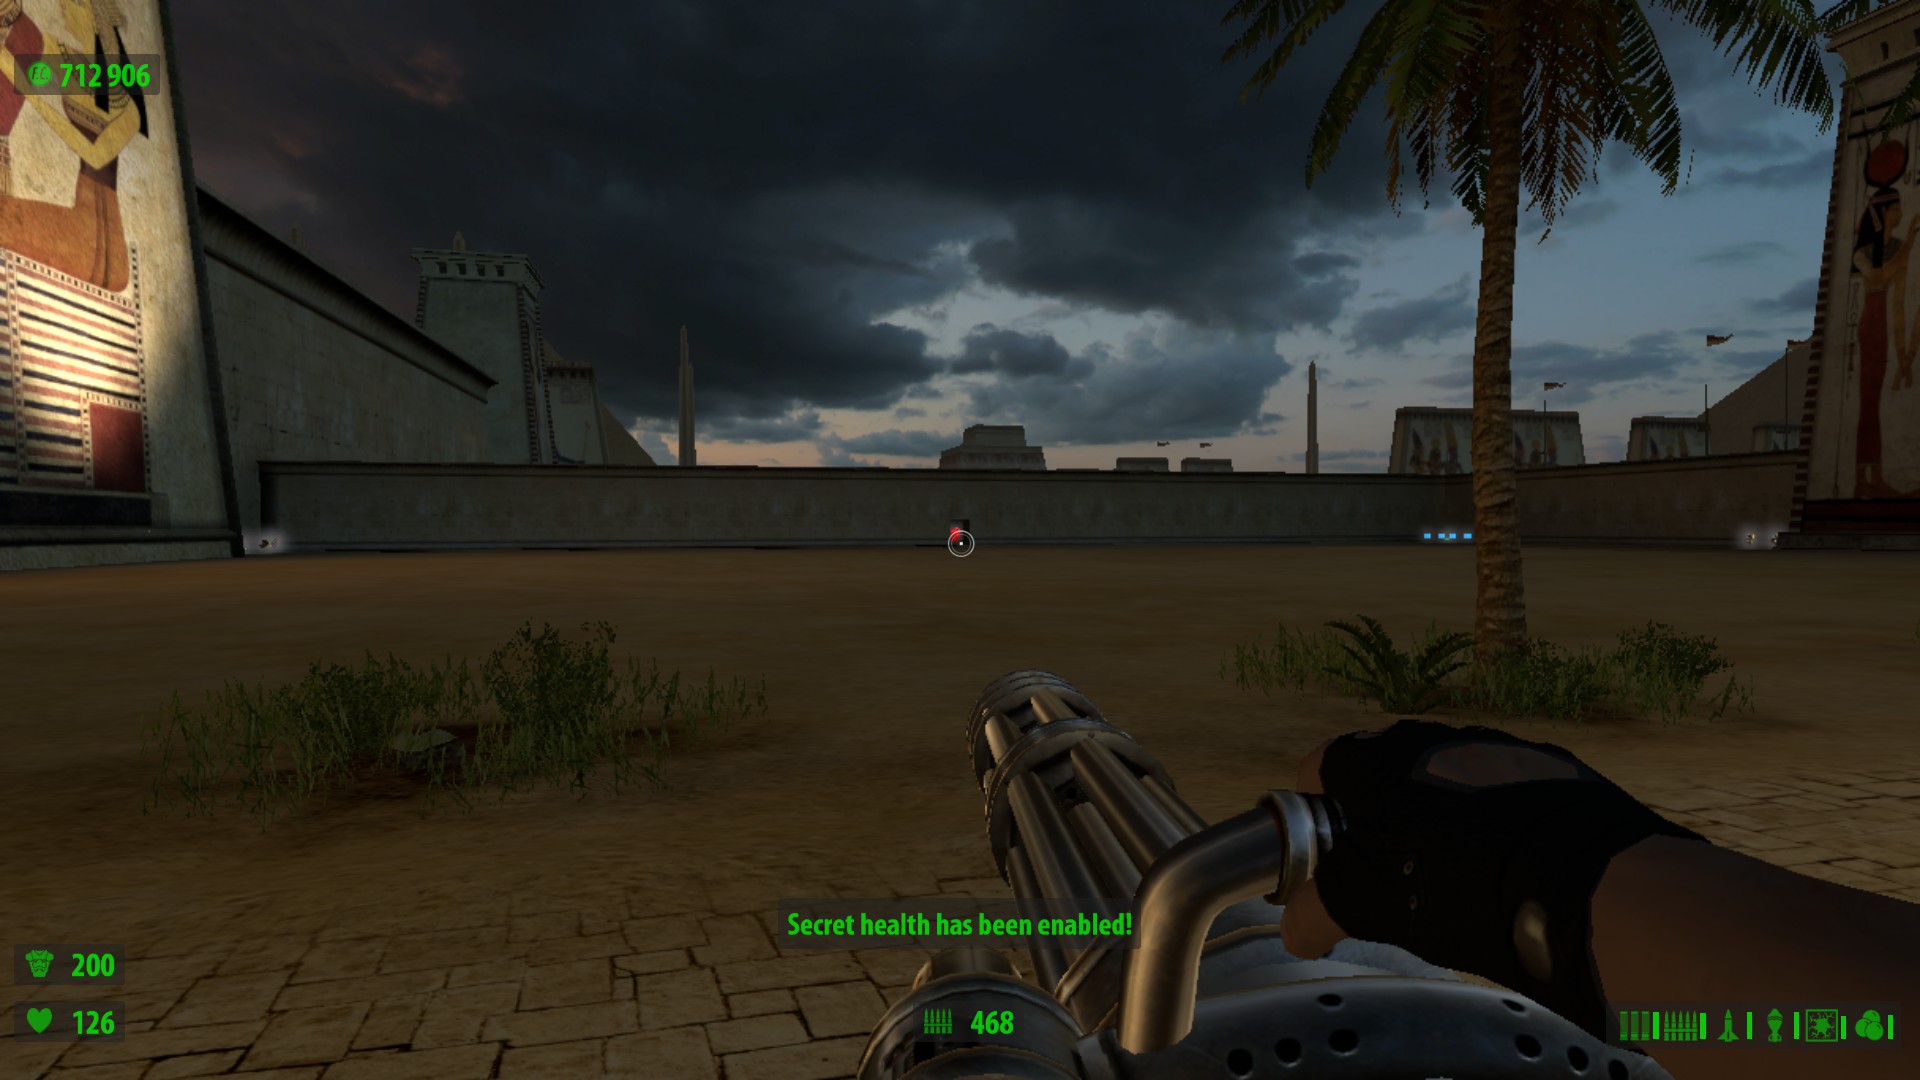
However, interesting fact, if you manage to pick it up before any enemies spawn (by going for it the moment you exit NETRICSA), it will instead say "Silent-walk pill has been activated and enemies deactivated!" which, as you can see, will completely prevent any enemies from spawning in the first area.
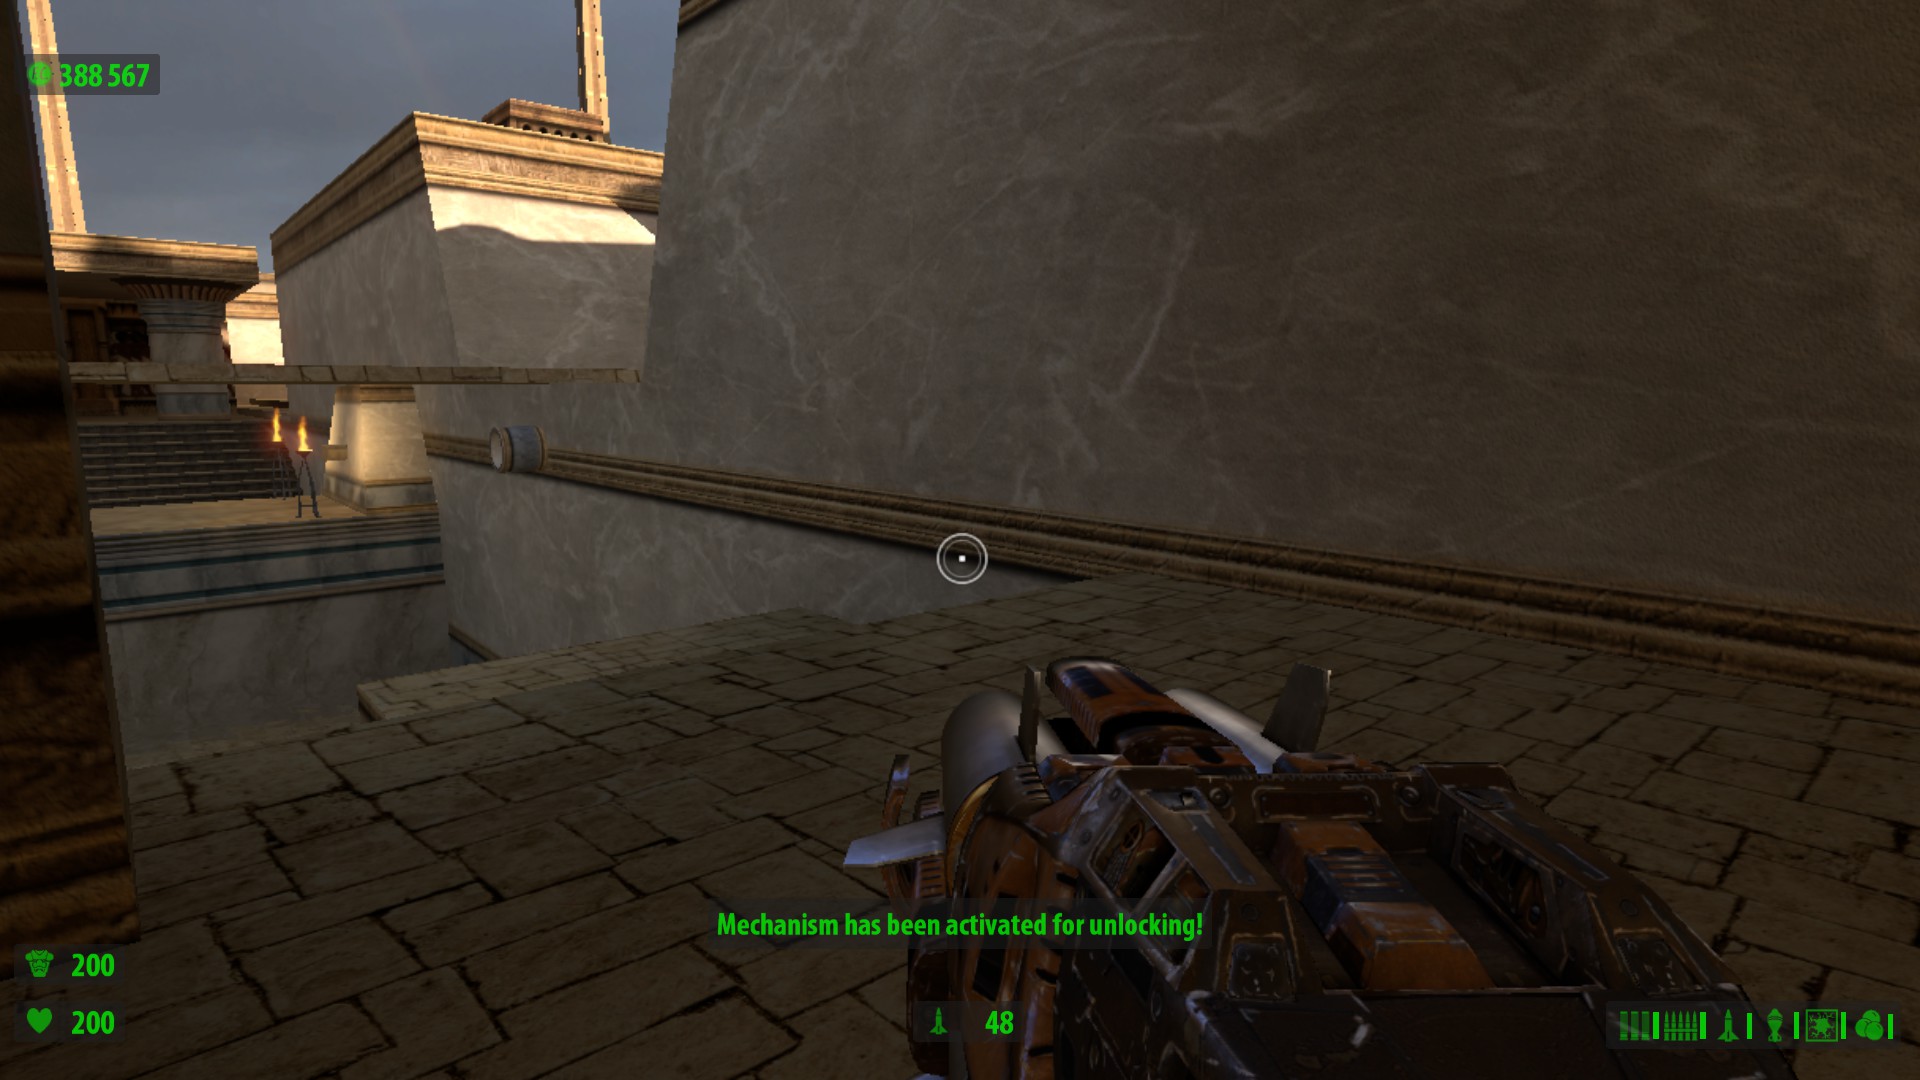
To add on, it is also part of a different type of secret known as the "Geek Secret", you can read on how to perform that here.
King of Nothing 21 ian. 2022 la 4:09 
Level - Sacred Yard, you missed the Not so silent pill at the beginning of the level. After u start it's on the right. Idk if it is considered a secret