43 ratings
Elite Dangerous: Horizons Planet Landing/Exploration
By HadΣs
A guide explaining the details of how to land on a planet, how to use the new SRV unit, and what to expect/find on planets.
   
Award
Favorite
Favorited
Unfavorite
Equipment
As we know it, Elite Dangerous: Horizons has added the ability to land on planets with no atmospheres. It may seem a bit simple to create such a guide, but you'll have to keep a few important things in mind, as well as being careful. Landable planets include rocky, ice, metallic, and rocky ice planet worlds. Volcanic planets, icy volcanic planets, and planets with weather systems will come at a later date this year. The guide will be updated for these types of worlds when they are released.

So, let's begin, shall we, Commander? If you wish to explore the surfaces of these planets, you will need the following item showing in image A:


Image A:


This item will be applied to every ship, but you should double-check just incase, as it will grant you the ability to approach these planets. Once you purchase your planetary suite, you should also purchase a vehicle hangar bay, and a vehicle bay slot just below that (refer to image B). These are rather cheap to purchase, so credits shouldn't be a problem, and will allow you to summon your SRV to drive around the surface of planets. You can buy a vehicle hangar bay with multiple SRV slots, incase you wish to have more than one SRV at your disposal. This can be useful if you plan on going to long journeys. Look for higher class ratings.

Image B:

Planetary Approach
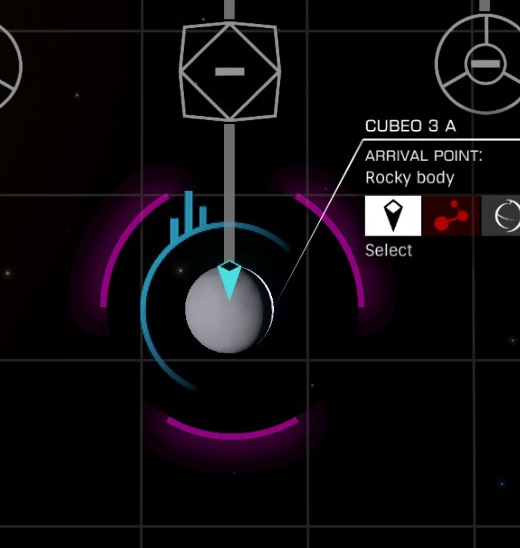
Once you've gotten all your planetary equipment, you are set and ready to land on planets. In order to see which planets are landable, simply open up your system map, and look for planets that have a blue circle around it as shown in image C. If the blue circle has bars over it, it indicates that there are settlements and cities on that planet/moon.

Image C:


Once you have selected your desirable planet, please make your way towards it.

As you approach the planet, you will notice a blue circle around the entire planet. This zone will be called the Orbital Cruise zone, where your ship will begin an orbit speed around the planet. Make sure you don't approach this blue circle too fast, or the orbital cruise will NOT engage, and you will be forced to drop out of supercruise.
Image D indicates a few important things to keep in mind. OC is Orbital Cruise, and DRP indicates the exclusion zone, where you will be dropped out of supercruise. This will be indicated by the yellow circle around the planet, which is much closer than the orbital cruise blue circle. You will also notice a danger-red zone on your altitude hud display. Avoid going into this zone by keeping your ship at a proper angle, or you will not succeed in entering glide mode. The image below will show you.

Image D:


The next part is very simple. As you make your way down towards the planet, you will eventually reach the exclusion zone (DRP), where you will exit orbital cruise mode, and enter glide mode. This will be indicated on the top right corner of your screen. Similar to orbital cruise, you should avoid entering the red danger mark zone on your grid, and simply keep making your way down at a proper angle until you glide sucessfully. Glide mode wil last for several seconds, depending on the zone you've picked to land on. Usually, it will stop at around an altitude of 6 to 5 KM. Also, be careful not to pitch up while in glide mode too much, as you will black out, and will not have control of your ship for a small period of time. After this, the gliding mode will be complete, and you would have sucessfully entered planetary flight. Good job!
Planetary Flight
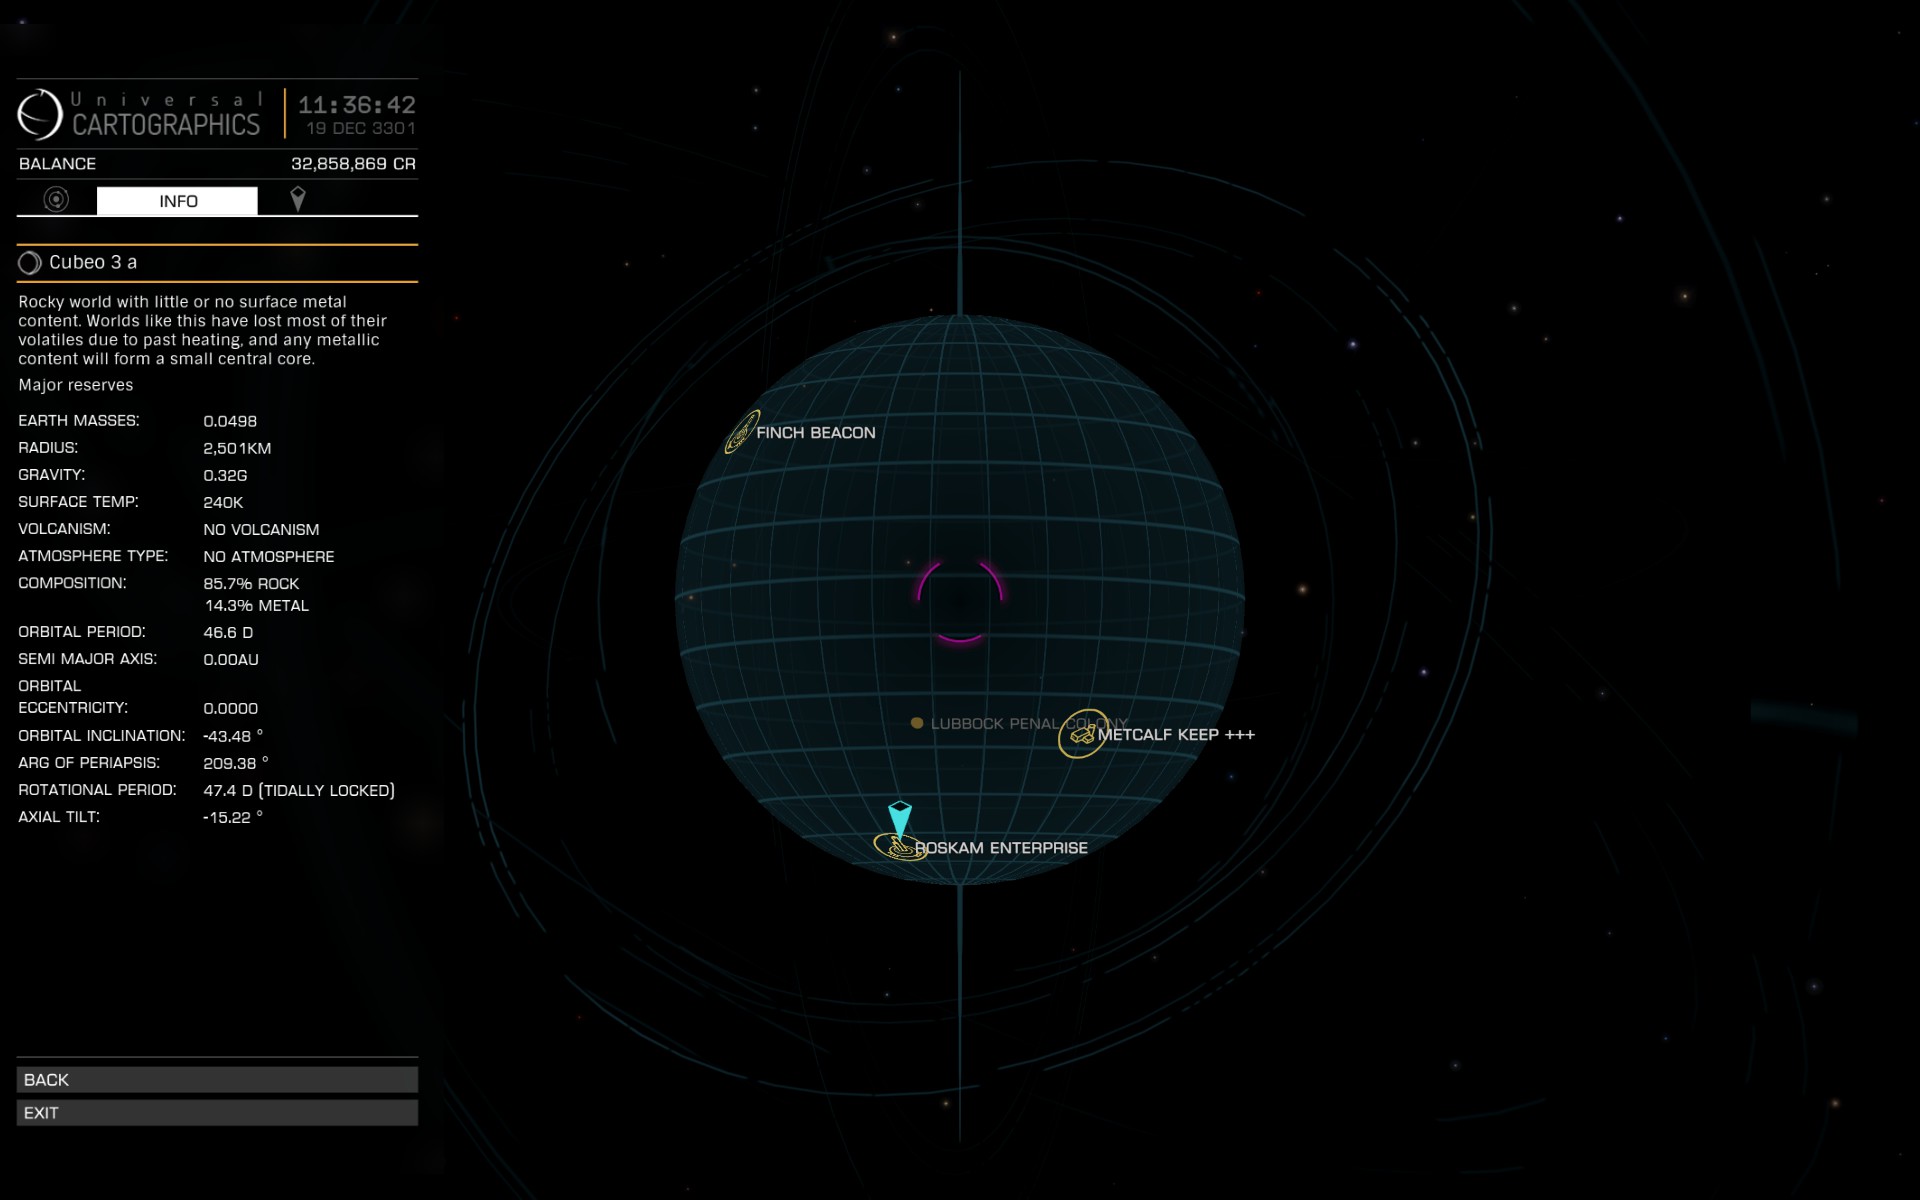
So, you've successfully glided down to your selected planet. This next part is very crucial in regards to survivability. One thing you should always keep in mind is to check the planet's gravity. The system map now allows you to zoom in further into the planet, known as the surface map, indicated by the image below. This will give you an overview detail of the planet's composition, gravity, and locations of settlements, if there are any.


Please pay close attention to the planet/moon's gravity, as it plays a massive role in how you fly around on a planet after successfully gliding out. A majority of the planets will have low gravity, but there are known planets to have a massive gravitational trait.
Depending on your ship, gravitational effects will also be different with each. If you attempt to land an Anaconda on a planet with a gravity of 5G or higher, it will be extremely challenging, but possible. Chances are, however, you will take severe damage, and possibly explode upon ground impact. For that, I cannot stress this again: please check the gravitational trait of the planet/moon you will be landing on. If you do decide to land on a high gravity planet, please keep your speed low once you complete your glide. Do NOT rush down, or you will be destroyed. Even when you attempt to slow down, your speed will still be quite high, and will slowly decrease over time. Once again, I will stress it out: KEEP YOUR SPEED LOW ONCE YOU EXIT GLIDING MODE, AND BALANCE IT. DO NOT USE THRUSTERS.

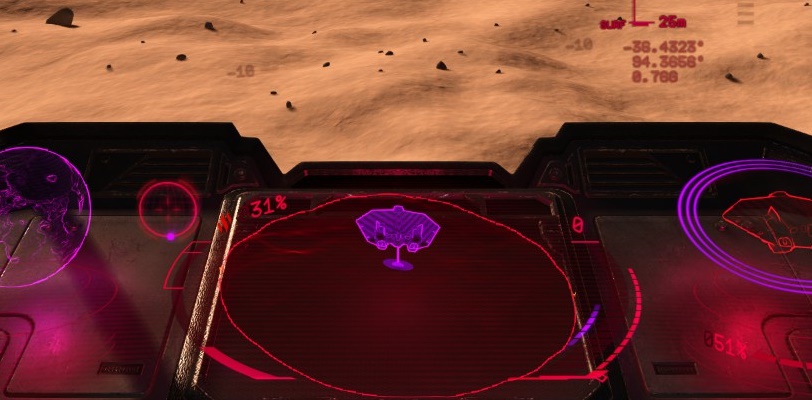
If you have followed the advice above, or you simply are on a comfortable low-gravity planet, then flying around should be rather simple. Your ship will be working to stay in the air, and you will have full control of it. If you see your ship speeding down too fast on a low-gravity planet, simply pitch yourself up and boost to exit that terrifying fall of doom. This will be much different on a high gravity planet, because if you went too fast after exiting glide mode, whether you pitch up and boost will make no difference. The strong gravity will simply keep pulling you down until you hit its surface like no tomorrow. Remember, your hud also indicates your longitude and latitude position, and your current gravity force on your ship. See image beside, as this will be very useful.

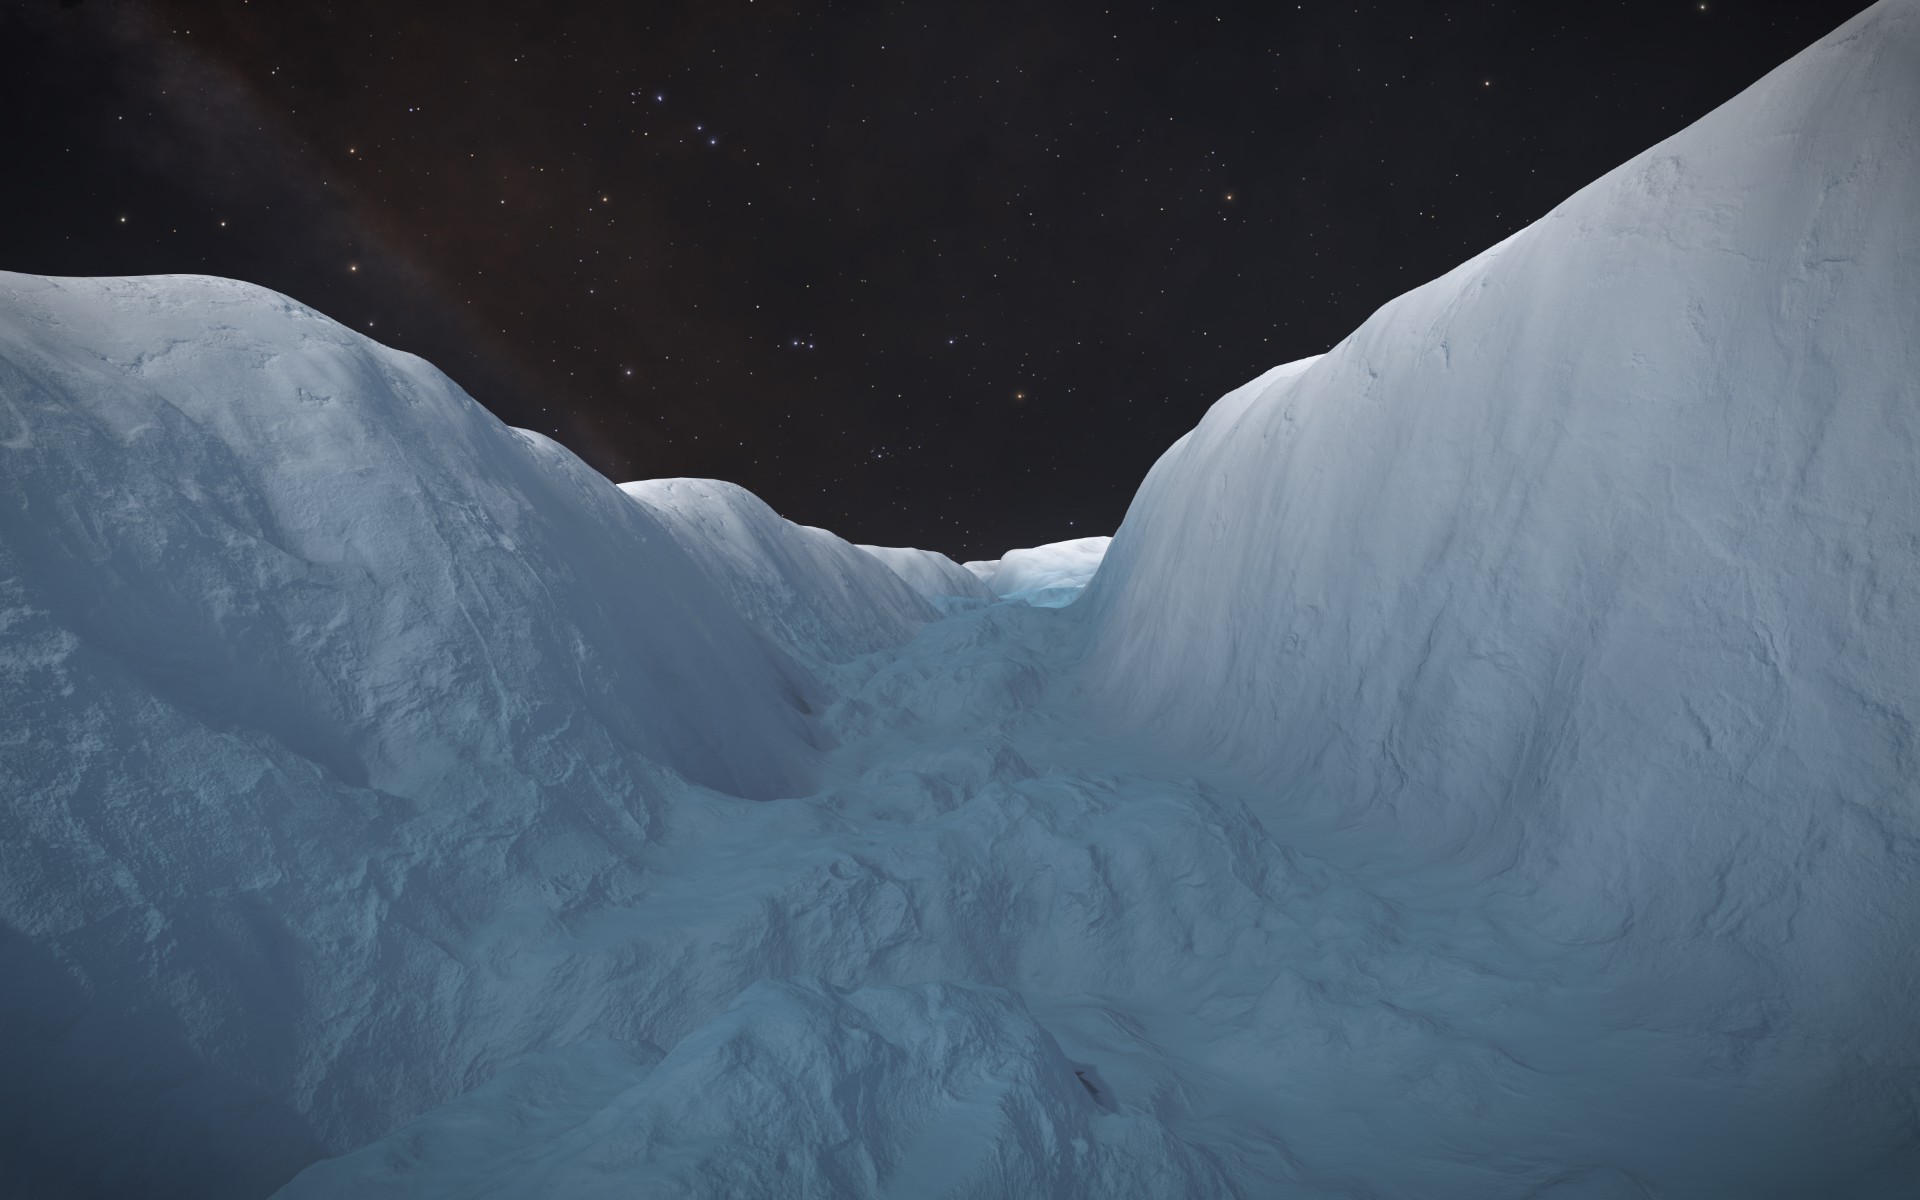
These planets may be airless, and rocky, but there can be some interesting moments if you do further continue. You can fly through canyons, cliffs, ravines, and massive mountains. There will also be several points of interest that involve from crash sites, to small settlements, and you can also find resources you can mine that will provide aid for your SRV and ship, which I will discuss in the next few parts of the guide. For now, however, you have sucessfully taken full control of your ship on a wonderous 1:1 planet world.

Planetary Landing
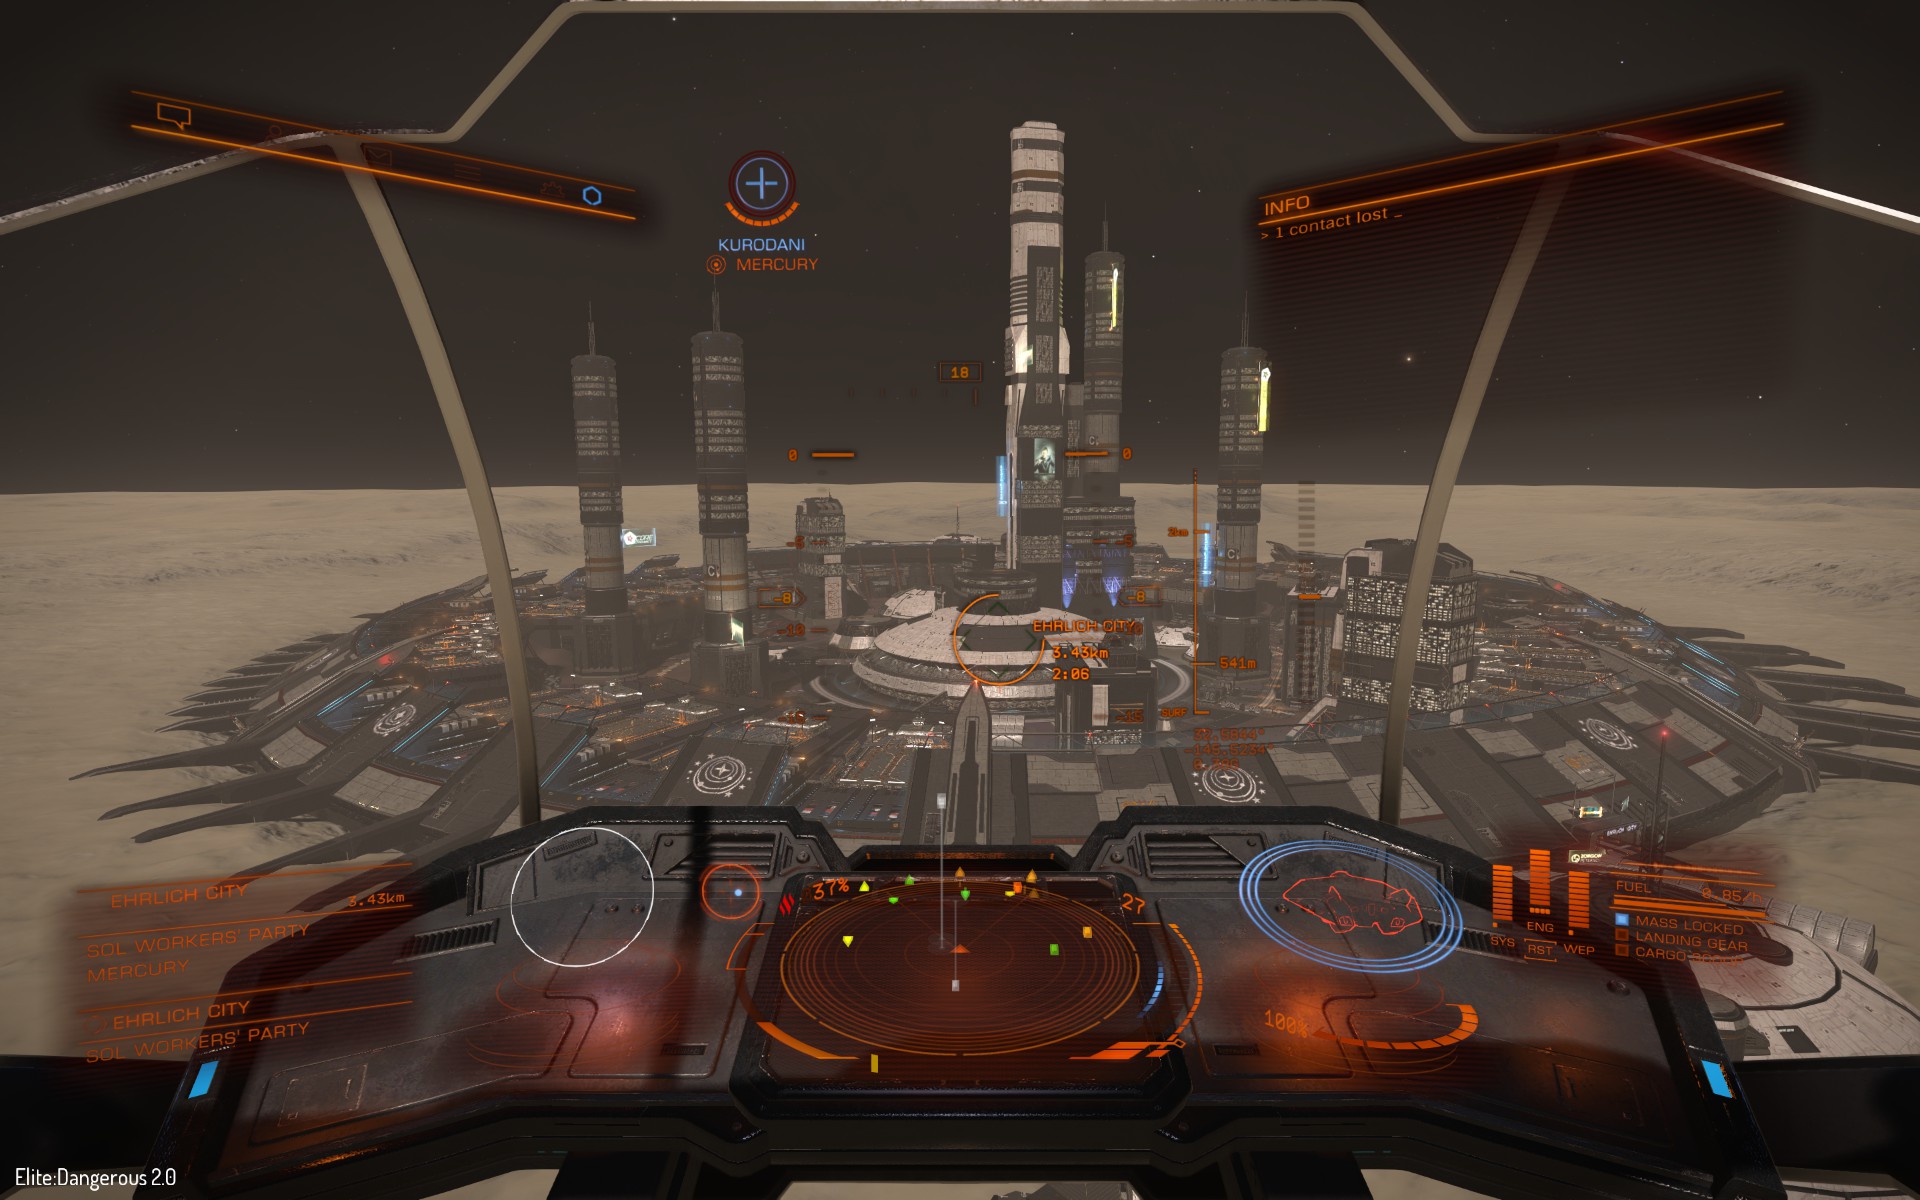
So, you've successfully glided out, and are roaming the planet on this barren world. Why don't you try landing down? Don't worry, this is very easy to do, and probably the shortest part of the guide. You can land on the planet the same way you land on stations. Deploy your landing gear, and very carefully lower your altitude down to the terrain. Make sure the terrain around you is flat, or else you will not be able to land properly. The radar will tell you if the terrain is unstable, so keep a good eye on it. If you want to land on a settlement or city, simply request docking the same way you would for a station. Make sure you are in its range, and carefully land on the appropriate docking number pad.


If you plan on landing on the planet's terrain, please check your radar, and you will notice a large blue circle (default color) as you approach the terrain below your ship's icon. Simply lower yourself carefully until this touches the floor, and keep your ship aligned to your hud indicator. If you do this correctly, the ship will successfully lock on its landing, and will power down, marking your landing sucessful.


Remember, be very slow and careful when you are landing. Even gravity can severely effect you, whether you're close to the ground or not.
SRV and Points of Interest
So, you've successfully locked and landed on your selected planet. You've done a good job so far, but there are more things to do and see. If you followed the guide earlier, and purchased that vehicle hangar, and the vehicle bay, then you're in for a fun trip.

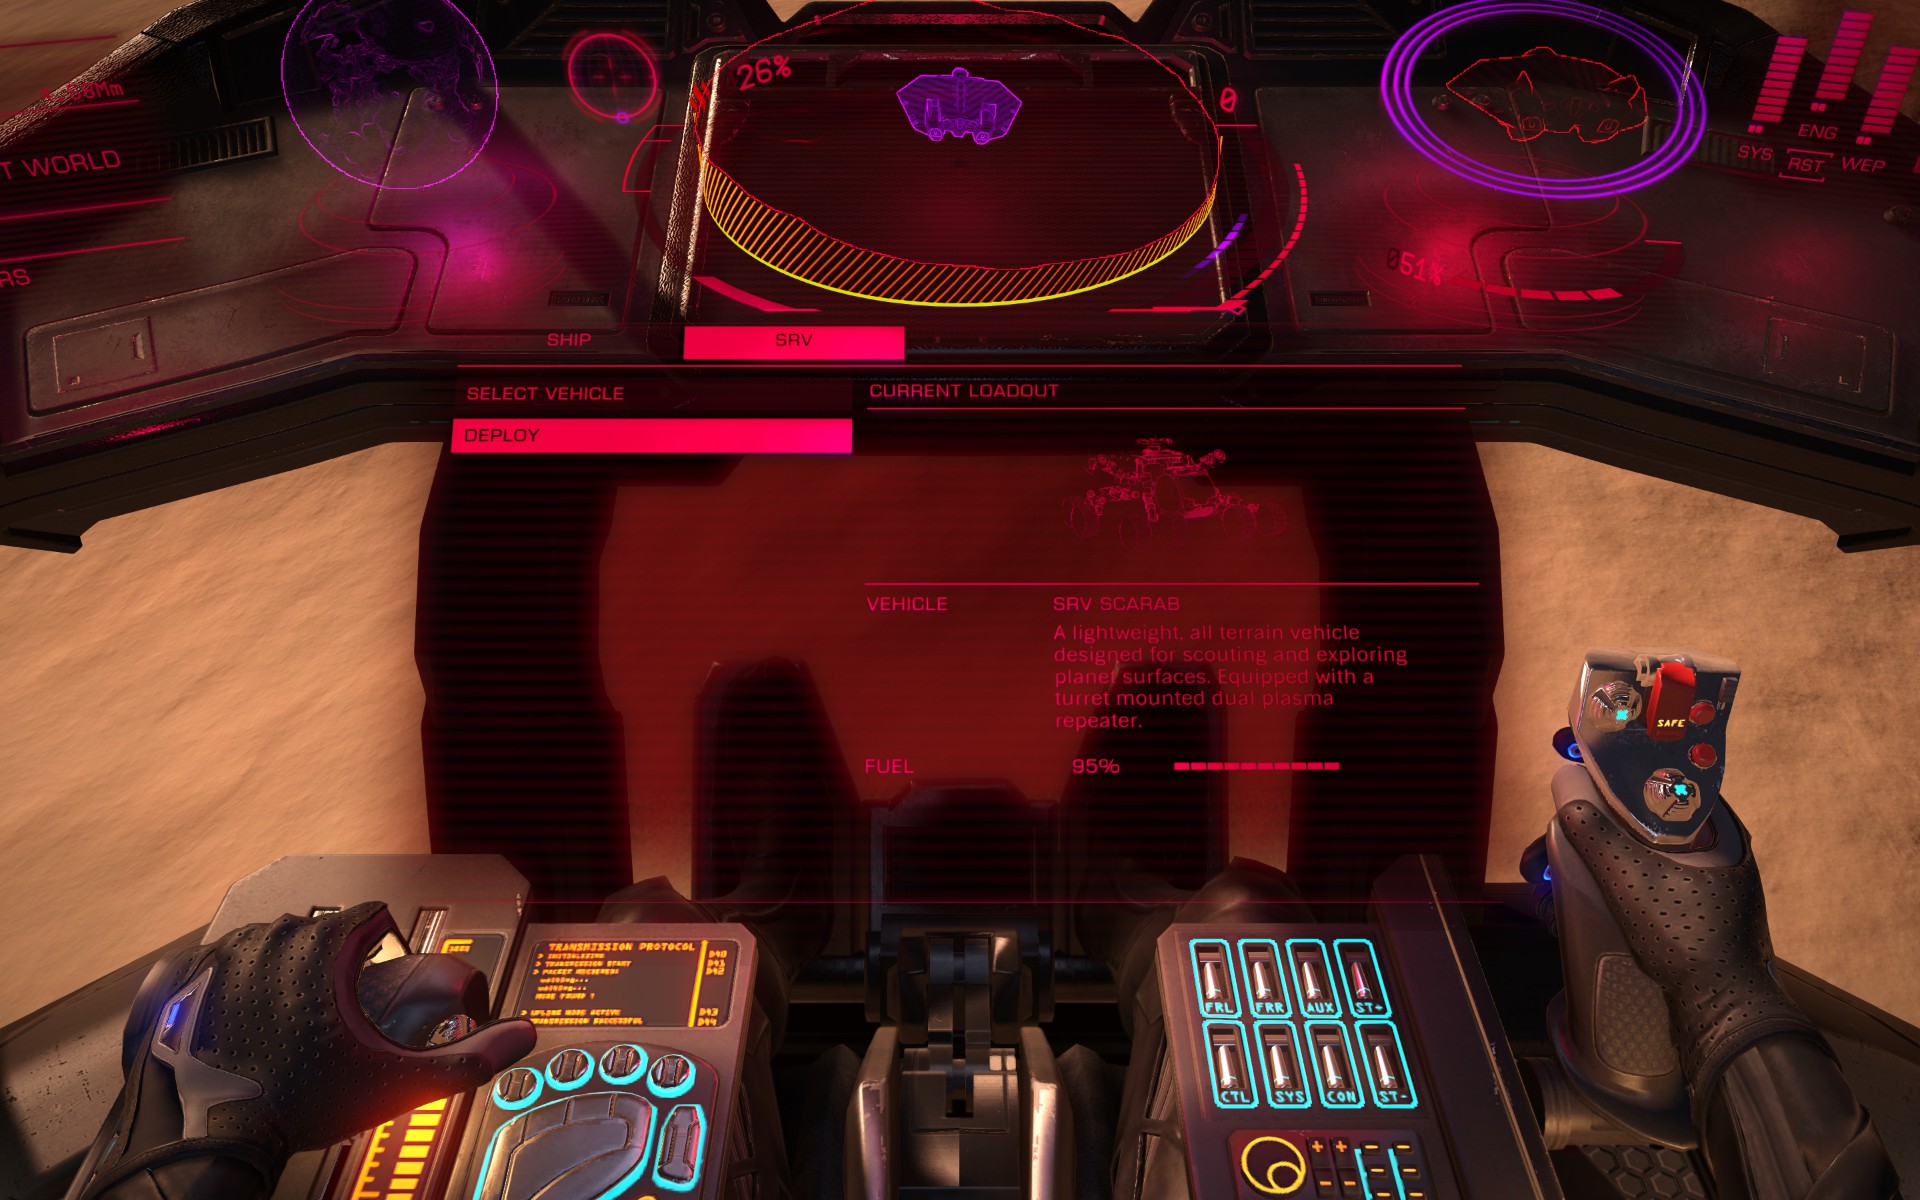
Navigate yourself to the bottom panel (Default is key number 3), and there, you will be able to select and deploy your rover. Refer to the image beside this paragraph to see the selection more clearer. Once you hit deploy, an animation will play with your rover deploying out your ship, its wheels aligning, and down to the terrain you will be. Pretty cool, huh? You are now free to drive around wherever you wish. Do note that you may have to bind the keys for your SRV.

Once you exit your ship, you can dimiss your ship by selecting the dimiss button in the same bottom panel. Your ship will retract its landing gear, and will fly away into space. Don't worry though, you can call it back any time. This can be used if you plan on going far away with your SRV. Once you wish to return back to your ship, simply recall it back with the same bottom panel menu.


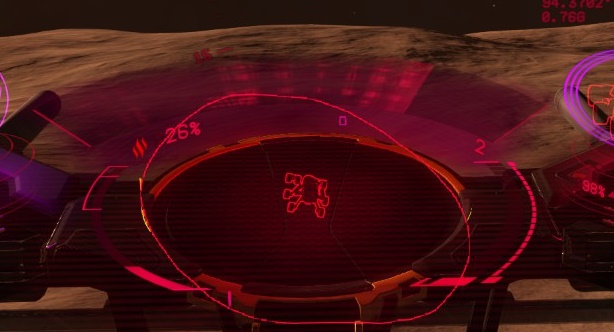
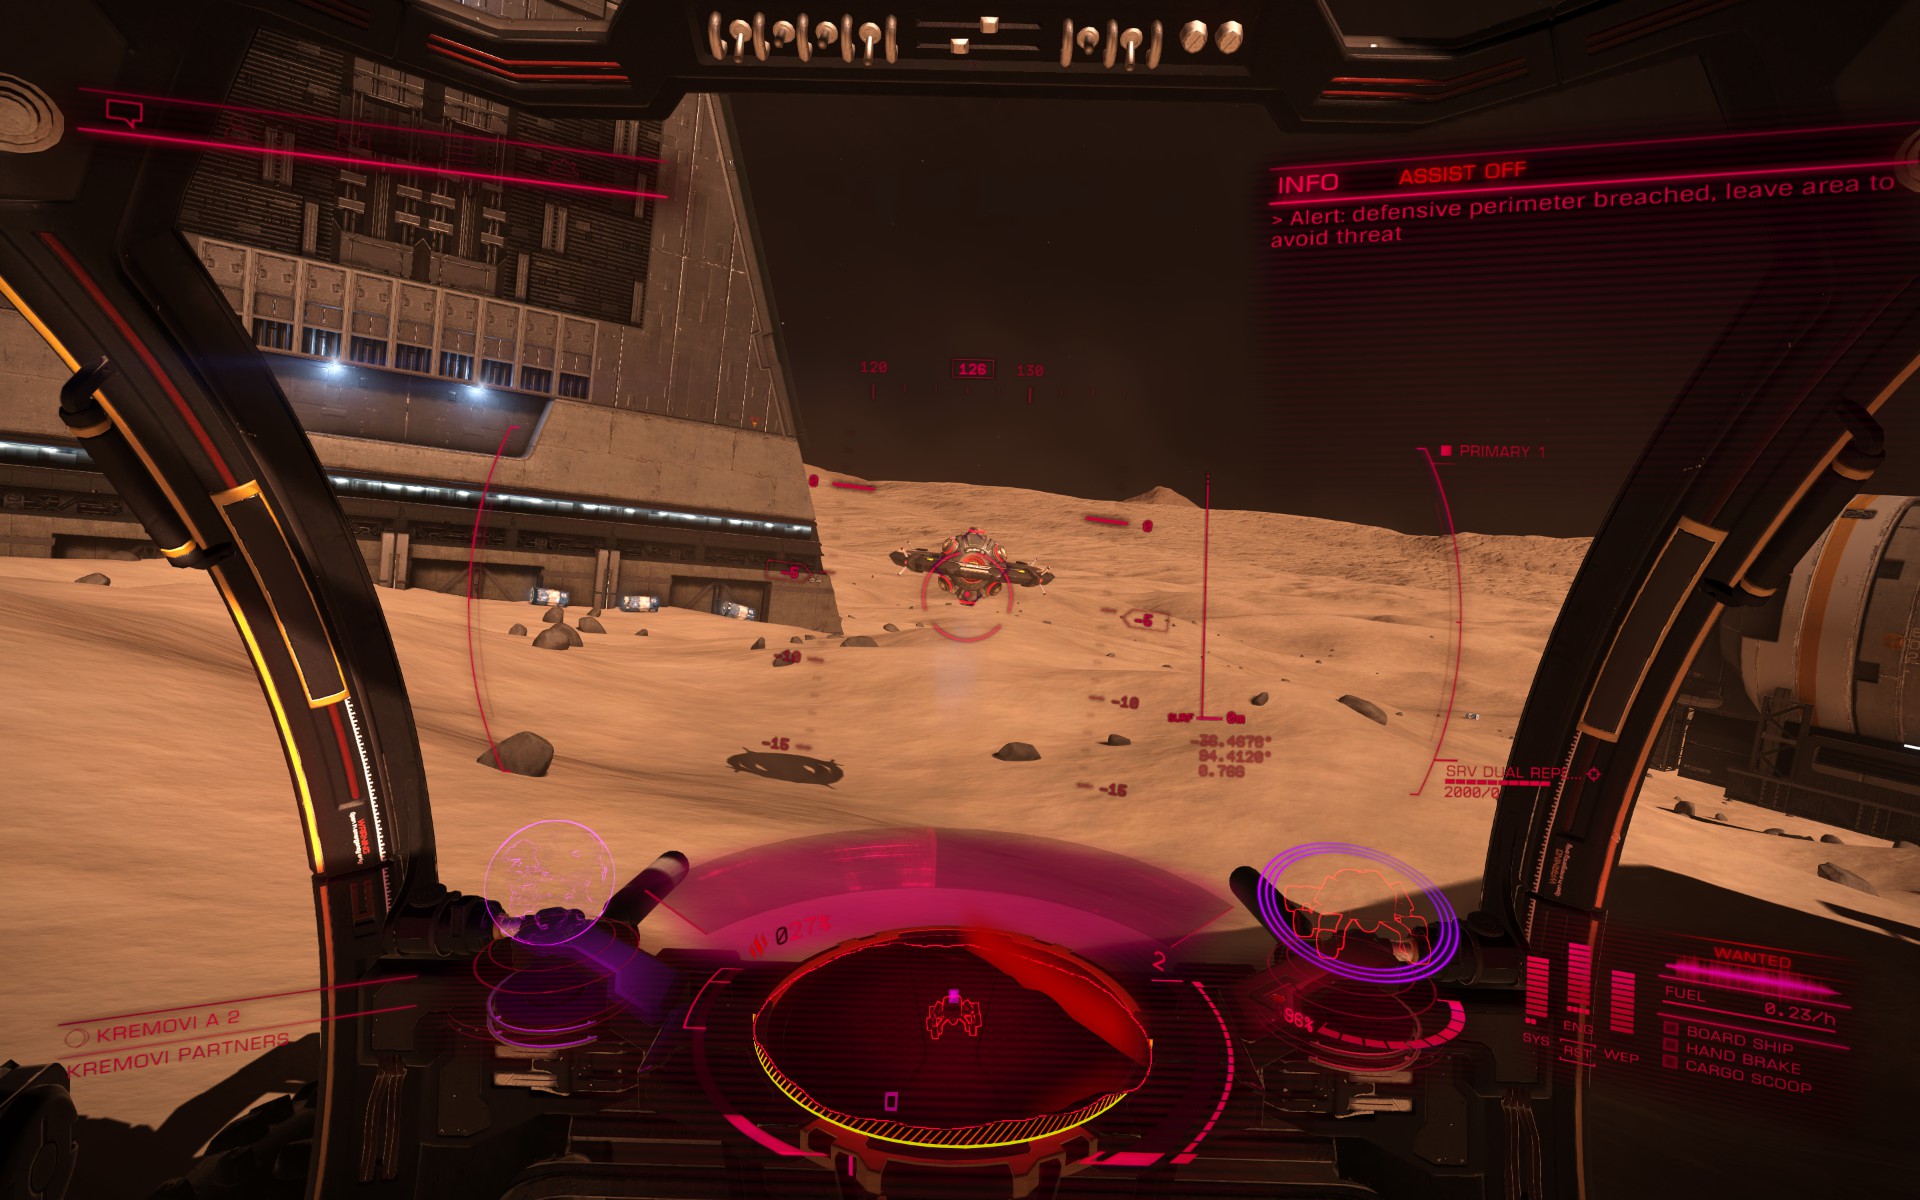
One of the first things you may notice is the SRV's scanner. This neat little scanner will detect points of interests for you that are out in the distance. Refer to the image beside this paragraph for a closer look . If the distorting gets narrow and taller, you are very close to a point of interest. If the distortion seems wide and small, chances are you need to continue further in order to narrow down the points of interest it is detecting. It will also play a weird distorted sound, which grows louder the closer you get to the point of interest. You may encounter settlements, bases, cities, mine ores, and other unknown undiscovered things. Generally, if you find a base, it will be guarded by little flying drones. These can be harmless, but a bit annoying in large groups. They will not attack you at first, and you will be warned to exit the settlement. If you don't within a time period, they will engage and attack you. Don't panic though, your rover is equipped with a mini rifle turret, and you can attack and destroy these easily. Lock your targets, and fire away. You can also switch views to your turret, allowing you to rotate 360 degrees, and be able to drive at the same time.


(Look at those cute little drones.)

These points of interest bases may have canisters that you can pick up and take back to your ship. Your SRV has a cargo scoop, so make sure you bind that as well. You may find platinum, gold, and some other stuff I've yet to come across. To pick them up, simply drive over the canister, and swooped it goes!

(Guarding tea, huh? Must be some special kind of bloody tea)

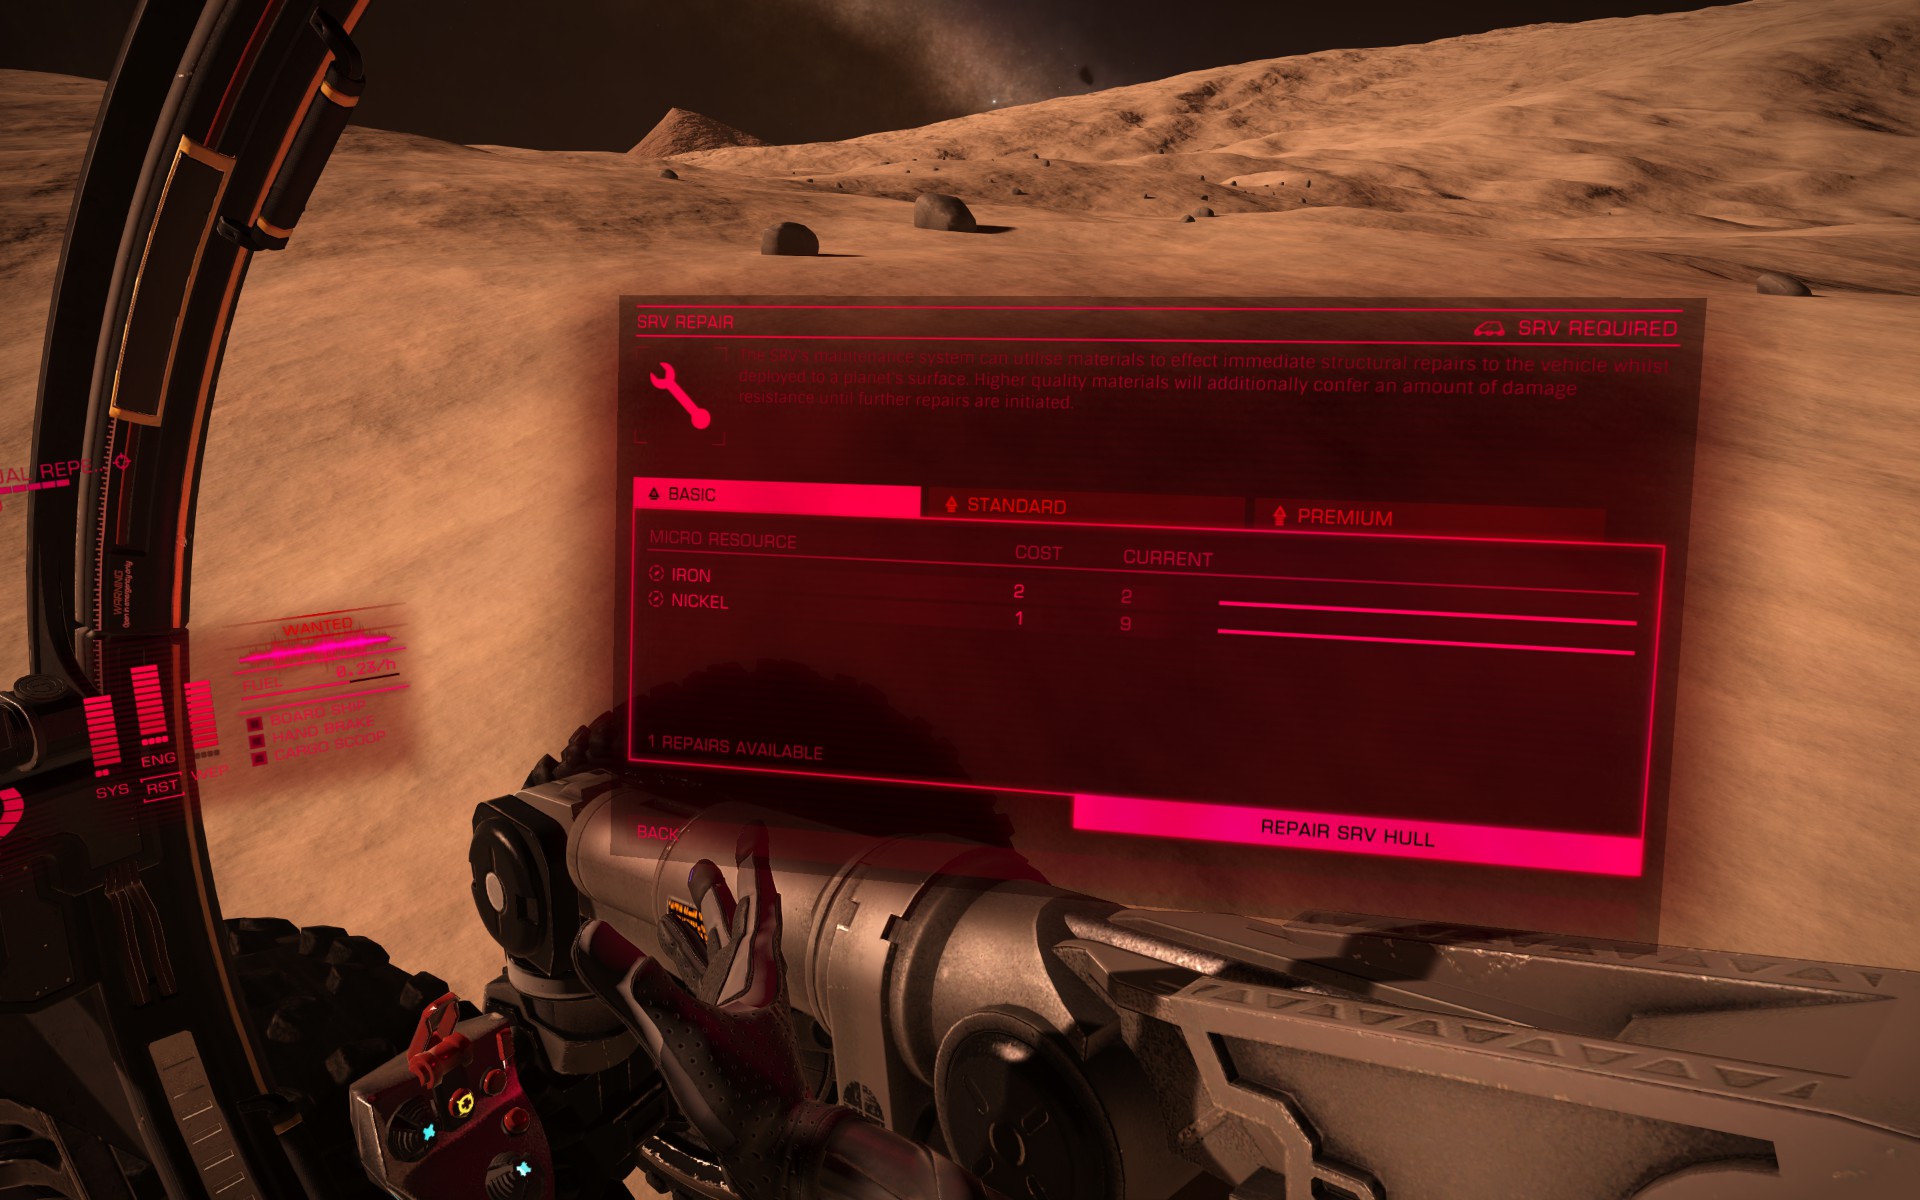
Another thing you may find with your scanner is little mining ore rocks. These rocks can be destroyed, and will break into smaller pieces containing special materials that you can pick up as well, so shoot it. There are different types of these rocks, and each one will give off different kinds of material (Metallic Ore, Bronzite Chondrite, Mesosiderite, ect). Now, please keep in mind that depending on the sound your scanner makes, it will be appropriate to the type of ore you find. For example, if your scanner makes a clicking sound, you are most likely approaching a Brozite Chondrite ore. If the scanner makes a sound as if someone's breathing into a strange mask, you are approaching a Metallic Ore, or a Mesosiderite. If your scanner make a whispering sound, then you are approaching some kind of small secret base, some canisters, other unidentified objects/buildings, or even alien barnacles (most recently).. I will update the guide once I find the corresponding types of sounds and ores down along my game-time. The materials include iron, manganese, carbon, sulphur, and so on. These are known as materials in your inventory tab, which will be used for the crafting system coming in this expasion pack. For now, however, you can use them as synthesis. What this means is that you can use these materials to repair your SRV, stock up on ammunation, boost your ship FSD, and so on. Refer to the bottom image to see this screen. It will be in your inventory tab, and into synthesis. Click any of these, and it will tell you which materials you need to be able to perform the operation. There will also be three different kinds of synthesis upgrades: Basic, standard, and premium, with premium being the most advanced, but more demanding in materials than the other two. As of the Engineers update, these materials can also be used to upgrade your equipement using the new engineers scattered around the galaxy. So make sure you collect plenty!


(Synthesis upgrades currently listed)


(Three levels of upgrades)

If you have enough for any of these, simply click into them, and select the confirmation button to perform the operation, which will instantly take in effect. Note that you must be in your SRV to perform the synthesis upgrades for your SRV (SRV repair, SRV refuel, ect), and in your ship to perform the synthesis for your ship (FSD boost, ammunitions, ect). Easy peasy. Now, you know what to expect while you drive around these planets.
Planetary Take-off
So, you've grown weary of this planet? Or you simply wish to go to another one, perhaps? Don't worry, this is also another easy part of the guide. Make your way back to your ship, or recall it back if you dismissed it. If you do, the ship will warp in above you, and will automatically pick a spot to land in. Once you move towards it, you will be able to board back in. Simply align your rover under the boarding zone, and hit the board ship button on your bottom panel. Easy peasy!


(Get yourself under it, and board back in)

Once you do so, simply pitch up to power up your ship. Make sure your hold it long enough until it tells you that you have full power. After that, simply retract your landing gear, and gain some altitude. If you wish to engage supercruise, or hyperdrive, you will need to fly off a bit to get out of the planet's mass-lock, and you might have to align yourself over the escape vector zone above you. Remember, depending on the planet's gravity will also have an effect on how you take off. Please be careful of this. A high gravity planet still has a chance of pulling you back in when you take off, so you must be swift.

Once you do, simply cruise yourself out of the planet's gravity, and orbital cruise line, and you're free to go!


Start of a Journey
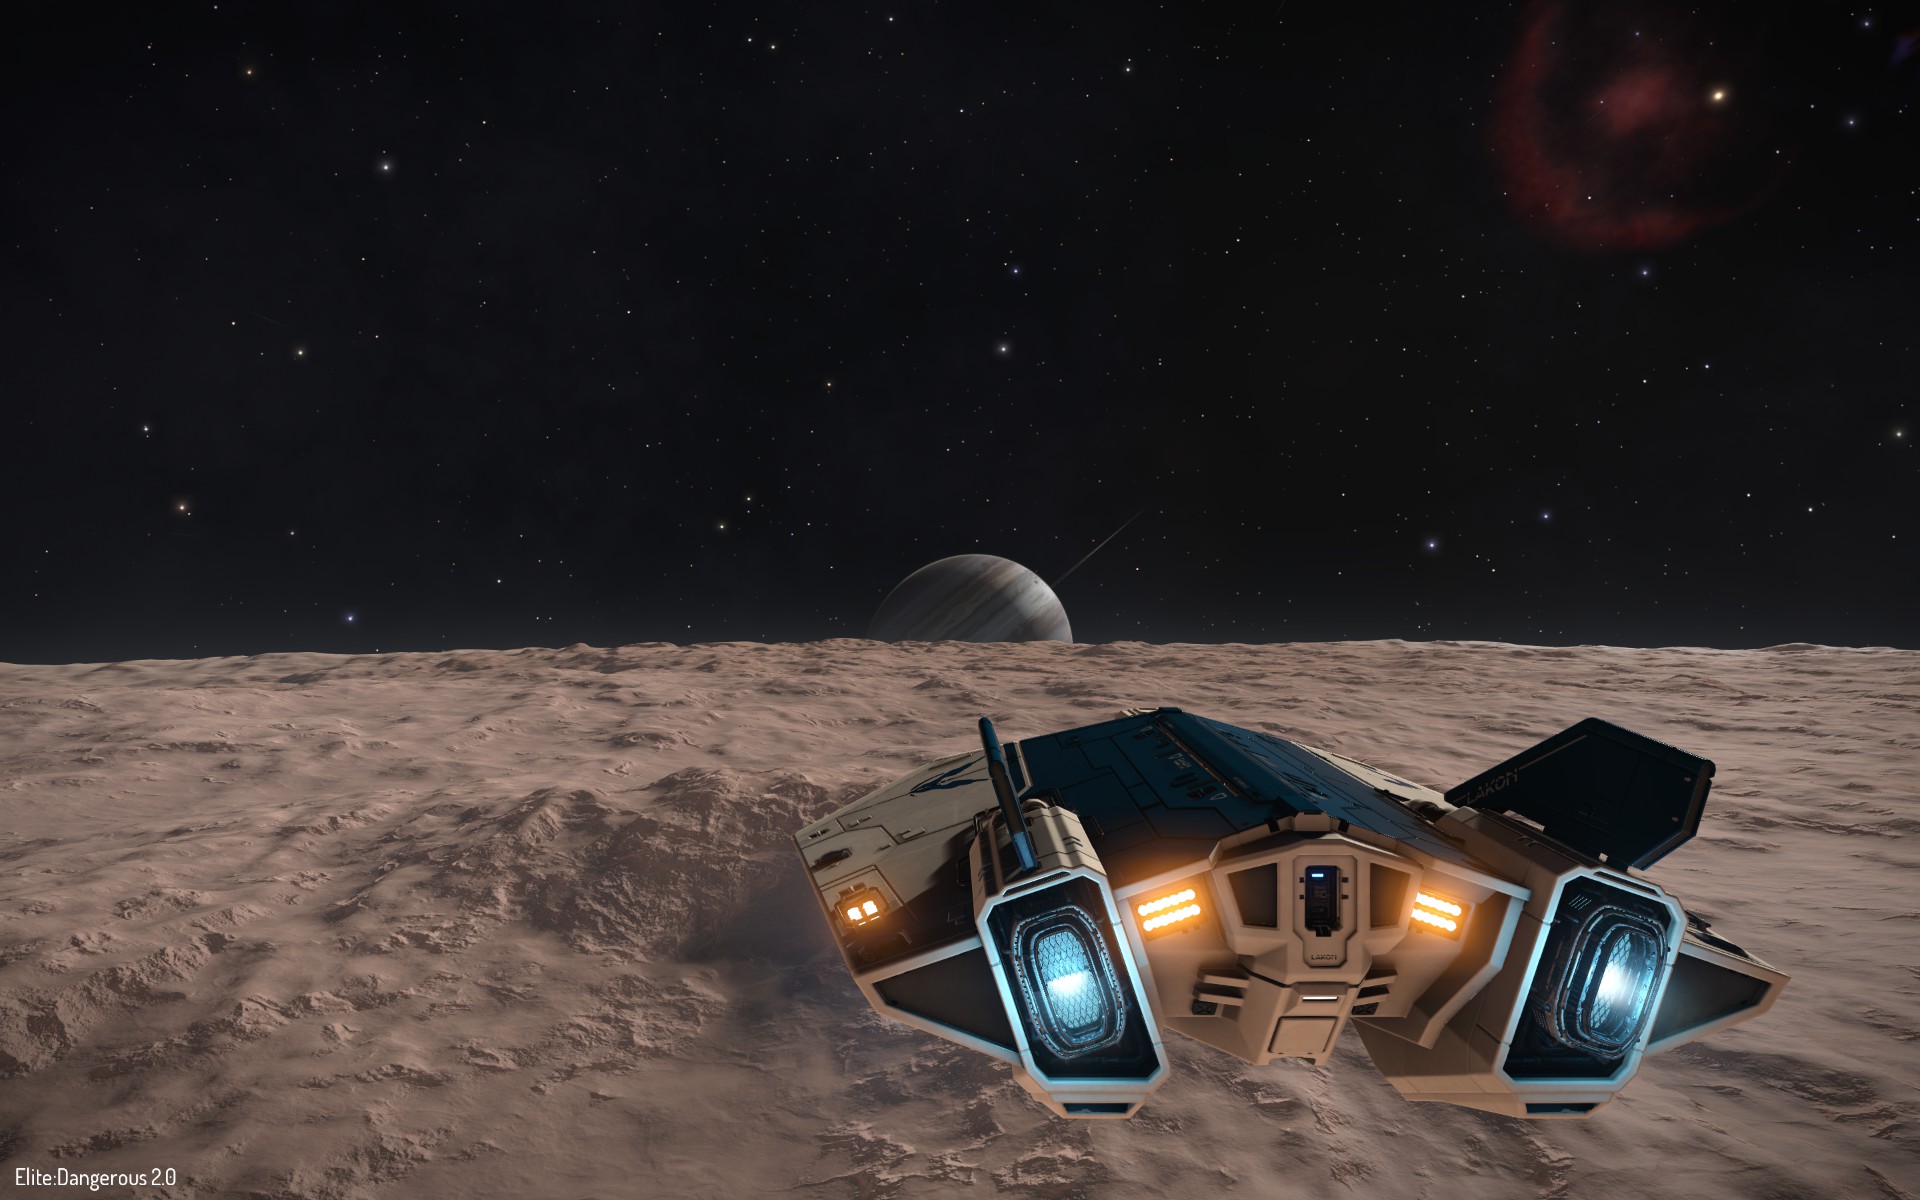
So, hopefully you've had some fun exploring the surfaces of these planets. There are so many planets out there, with interesting features. No planet is the same, so go land out there, commander, and have some fun. Remember, check the planet's gravitational trait, and be careful on your landings. Thank you for taking your time reading this guide, and if you need any assistance, or perhaps I've made a mistake on this guide, do say so. I will be updating this guide over time as Horizon grows. Safe journeys, Commander! Oh, and happy photoshooting~!


11 Comments
Doggie-San Jan 18, 2016 @ 11:41am 
love the guide it would be fun to fly with you some time.
🐾𝓢𝓱𝓪𝓭𝓸𝔀💖 Dec 23, 2015 @ 4:33pm 
Never mind. I found this one. Probably similar to what Anubis is referring to, and may help others to see it in action.

https://www.youtube.com/watch?v=eaduu57L-2k
🐾𝓢𝓱𝓪𝓭𝓸𝔀💖 Dec 23, 2015 @ 3:48pm 
Got a link to that particular vid?
JGordon86 Dec 23, 2015 @ 3:47pm 
And a merry christmas to you guys
JGordon86 Dec 23, 2015 @ 3:46pm 
Not a problem I was trying to figure it out for myself and found out through Obsidian Ant on Youtube.
HadΣs  [author] Dec 23, 2015 @ 3:44pm 
@Bob

No problem, and Merry Christmas to you too, Have fun!
🐾𝓢𝓱𝓪𝓭𝓸𝔀💖 Dec 23, 2015 @ 3:43pm 
Thanks. Much simpler that way. Merry Christmas to you both.:steamflake:
HadΣs  [author] Dec 23, 2015 @ 3:35pm 
@Bob

You can also press F1 to toggle on the debug camera mode.
🐾𝓢𝓱𝓪𝓭𝓸𝔀💖 Dec 23, 2015 @ 1:32pm 
Thanks for the info.:HappyMask:
JGordon86 Dec 23, 2015 @ 8:37am 
in game camera left ctrl + left alt + spacebar
*Warning* though ship or srv is vurnable in this camera