Team Fortress 2

Team Fortress 2

716 ratings
Engineer vs Machine: A guide to playing the MvM Engineer
By The Killer Duck
Through all my playtime in MvM, the engineer is the class that people tend to struggle the most with. With plenty of experience under my belt and numerous knowledge from advance players, I seek to stop this failure I keep seeing by making a guide helping those who wish to get better.

This guide will cover many things, such as what weapons, canteens and upgrades to use, tactics and strategies to becoming a better Texan, dealing with certain robots and so on.

Let's begin.
   
Award
Favorite
Favorited
Unfavorite
Stop adding me
I am very sorry for starting with a topic such as this right away, but some of you are deciding to add me and waste my time.

I only play mvm with people I know and trust. If you add me so that you can play with me, I'm going to just remove you from my friends list.

Sorry again for starting for a negative note and going off-topic, but it has been bothering me for quite a while.
Getting started
To start off we will cover the first few things. This will range from:

  • Weapons to use
  • Canteens and upgrades
  • Placement of buildings
Shotguns
Default/Stock
Won't hinder your progress dramatically but it is nothing spectacular. It can be used to defend yourself from spies and other robots just fine but other shotguns out-do it. You may use this if you want to, but if you want something better than this use something else.


The frontier Justice
A favourite shotgun among most engineers, and it's easy to see why. It can hold a maximum of 35 crits which can kill pretty much any weaker robots in a few shots. As a result this makes for a great weapon for defending yourself against spies, as they will go down in 1 hit at point blank range. However its decreased clip size means you will have fewer shots per magazine, so take great aim when firing. A must recommend.


The Widowmaker
An interesting shotgun. How this one works is that it's ammo is metal, and every time you fire -30 metal is depleted. However everytime you manage to do over 30 damage in one shot, you will gain more metal back. So what this means is that if you have metal that needs filling up, you can find a stray target and get more metal back and that will help you when it needs to. It also has no reload.

Just make sure you don't go too trigger happy, as your metal will go dry very fast. Use dispensers or ammo boxes if you are low on metal.


The Pomson 6000
The Pomson is another good weapon to use. It has no ammo whatsoever so you can fire as much as you like. Pyro-bots can't deflect it as well so they are easy pickings if you feel like shooting something. But the biggest help this weapon brings is the uber eating ability. With power like this in hand, it makes dealing with giant medics much more comfortable and easier. It also has a stupidly wide hit-box so hitting spy-bots coming towards you will be nobody's business. Try it out when you grab one in a drop.

(Note: With the Gun Mettle update in place, the amount of uber drained depends upon how close the shots are when they hit the medic. Try getting close without getting yourself killed to the giant medic for best effect.)


The Rescue Ranger
My favourite shotgun and what I use the majority of the time when playing engineer. Its bolts when fired can repair buildings, which mean that you can fix your stuff at long range and without any metal. I also find the long range hauling very helpful. It saves you the trouble of wasting a building canteen for just getting a building back when you can grab a still intact building and repair it if you get pushed back.

Just be careful if you are hauling as you are marked for death while doing so. Try moving your buildings quickly and behind something safe so you don't die.


The panic attack
What can be said for the stock shotgun can be said for this.
Secondary weapons
The wrangler
The best engineer Secondary there is. Let's start with the shield:

The shield that comes with the wrangler can be used to protect your sentry from more damage, therefore it makes life easier for dealing with hard hitting robots like giants.

The extra firing speed with also helps as well. With it, tougher robots like giants will go down quicker and can save your front if your team acts quickly.

With it also comes the manual control. Is a sniper bot harassing you from long range? Wrangle up and take him down!

Are you playing on Rottenburg in the correct spot but feeling like dead weight? Equip that joystick and now you feel credit to team!

Get this weapon and start using it. You won't regret it.

The short Circuit
Because it doesn't have the extra firing speed and the sentry shield the wrangler has, many people frown over this as garbage and never use it. That however, does not make it useless.

How this weapon works is that, it generates an electrical field that destroys projectiles such as pipes and rockets. This is perfect for those who want to help stop spam and deal with giant soldiers/demomen easier. It no longer has the rapid fire function it once had so watch out when you are trying to get rid of projectiles.

Now in another update, you do not gain metal from dispensers while holding the SC. Make sure it is safe to unequip it before gaining more metal from your dispenser.

Just like the widowmaker, this weapon's ammo runs on metal. It loses 5 points of metal per shot. Not a bad weapon, just outplayed.


The pistol I wouldn't recommend. Sure it can be used to defend yourself alright, but it is not as good as the shotguns. Some can find use out of it by getting rid of snipers, but the wrangler does a better job at doing so.
Wrenches

When picking the right wrench for the job these three should always come into your mind. All 3 can build a level 3 sentry and their downsides are not that big.

Stock wrench is fine. No downsides, gets the job done. Can random crit like 18+ horseshoes so you can cause massive amounts of pain to tanks.
Jag allows you to make buildings quickly and you won't need to rely on it to defend yourself. Even with the nerf that is the reduced repair given on hit with the newest update, it is still usable.
If using the SH, just keep away from pyros and you should be fine.

With the new update in place, the Eureka effect now allows you to pick up buildings so you can save your sentry when the buster comes. However, it has also been tweaked so upgrading and repairing takes longer. Repairing is crucial for maintaining fronts and upgrading is helpful to survive better. Besides, you can pick up buildings with any other wrench you have. It's best to keep away from this wrench.

And the Gunslinger......

No.
Just no.

Ok, in all seriousness, a puny turret against a horde of lethal killing machines? No thanks.
Canteens
Only the building canteen should be used in MvM. Not only will this repair all current buildings on the map, it will also make all buildings you go up to level 3! It is fantastic for getting your strong nest back in a jiffy.

Ok now that I have said that, the 1-2 people reading this will go mad and start to comment on how much I suck. Because of this, I will now give reasons why not to use anything else.

Uber: You can already use the wrangler for extra health, plus there is building health upgrades which permanently increase the health of your buildings.

Crits: Again, the wrangler increases the firing speed of your sentry. There is also a firing speed upgrade for it as well.

Recall: You should only do something like this if a giant scout grabs the bomb, gets past you and is making a bee line towards the hatch. However, this canteen is beaten by the 2-way teleporter upgrade, as not only you can have building canteens on you, but your whole team can also head back to spawn and help as well. Team being the keyword here

Ammo: While filling up your metal completely is nice, dispenser and other ammo boxes are already there for you. And if you are running out of ammo on your primary, you can just use your dispenser or an ammo box if needed.
Upgrade analysis
Here I will give you a good understanding of the upgrades the engineer can buy so you can familiarize yourself with them.

Metal Regen

Per 5 seconds, 5+ metal will be added to you. Each extra point will increase how much you will receive per second.


Dispenser Range

Per point of this upgrade will increase the activation range of your dispenser.

No Points


1 Point


2 Points


3 Points (Maxed out)


Metal capacity

Each point added into this upgrade will increase your maximum supply of metal by 100.

No Points


1 Point


2 Points


3 Points


4 Points (Maxed out)


2-Way Teleporters

Turns your teleporter exit into an entrance so you can teleport between both ends of the teleporter.


Sentry firing speed

Every point added into this upgrade will increase how fast your sentry will fire, wrangled or non-wrangled by at least 10%.


Building health

Each point added into the building health upgrade will increase the sentry, dispenser and the teleporter's health by 100%.


Disposable Mini-sentry

Allows you to create a mini sentry, just like a gunslinger's sentry. You can only create one if your main sentry is up.

Upgrade route/path
1: Dispenser range

If there is one upgrade you need the most, then please......

BUY THIS FIRST
BUY THIS FIRST
BUY THIS FIRST
BUY THIS FIRST

Please max this out first before you nab anything else. With this your team can hug it and then create a strong front. This is the case because they are supplied with a never ending stream of ammo and health, so they have no need whatsoever to wander off and go somewhere away from the front lines just to grab ammo and health.

Not only will this make your whole team stronger, but when you share it out it will be tucked away in a nice, safe spot so it won't gobble the amount of damage the robots will throw at you.

2: Metal capacity

At some point in the later waves you will be running low on metal and maybe your nest will get what was coming to it and you will need the metal to get your level 3 nest back. Stocking up on this upgrade after dispenser range is a way to go choice for me.

3: Building health

When advancing more and more into the waves, the robot menace will become stronger and more nasty by sending in more robots and throwing in tougher ones like giants into the mix. Your sentry needs to be in great shape for them so max out on this upgrade next.

4: Wrench firing speed

Now with your building's health up really high, there is no doubt that they will take lots of hits and will need some time to repair. Wrench firing speed will quicken up the process and make your life easier.

5: Sentry firing speed

When you reach this upgrade you are probably near the final wave or on the actual final wave. You are now going to fight the toughest this mission has to offer and as such, the robots need to be dealt with quickly. Sentry firing speed will allow your sentry to perform damage faster, as fast as the wind if paired with the wrangler.

6: Resistances/Metal regen

Once finished with your building upgrades, you now need to worry about yourself. Get resistances depending on what the wave has, or if you are having metal supply problems for some reason invest in Metal regen.

If you are playing a mission with lots of crit-bots, Broken Parts and Empire escalationit would be wise to invest in some crit resistance after you max out your dispenser range.

After that, spend your cash on whatever you feel like.

Other upgrades

2-way: If your team is having trouble dealing with giant scouts, it would be wise to get this upgrade. This is so you and your team can quickly head back to base and get rid of the giant before he lays a touchdown on the hatch. However, if your team is good enough and you kill the giant scouts, then don't worry this upgrade can be bypassed.

Disposable Sentry: There seems to be no great use for this extra sentry at all. It dies very quick and it doesn't deliver much pain. If you're going to get this, at least get this after you are finished with your upgrade plan.
Starting building placement: Decoy
Entrance


Exit


Sentry and Dispenser


If the robots are going the other way:
Starting building placement: Coaltown
Entrance


Exit


Sentry and Dispenser


If the robots are going the other way:
Starting building placement: Mannworks
Entrance


Exit


Sentry and Dispenser


If the robots are going the other way:
Starting building placement: Bigrock
Entrance


Exit


Sentry and Dispenser
Starting building placement: Mannhatten
Entrance


Exit


Sentry and Dispenser
Starting building placement: Rottenburg
Entrance


Exit


Sentry and Dispenser


When the bomb passes that blue line, place the dispenser where the red dot is on the image so your team can get themselves quickly re-arranged and into a good defending position.
Tactics, strategies and how to play
The next few section are going to be about important things you need to take note of when playing engineer. That along with a few tricks up your sleeve to become better.
Making good use of the RR
The RR (Rescue ranger) is a brilliant weapon if used correctly. It can allow you to heal buildings without using metal from a distance and can haul buildings back as well. So the question you are thinking of right now is: How do I make use of this?

Long range Hauling
Picking up a building from a distance. It requires 100 metal to do so.

Long range hauling has many uses. If you get pushed back you can try to squeeze your mouse-cursor over the building and bring it straight back to where you are, so you can get a finished building ready quickly.

If you were busy repairing a building or doing something else and you didn't see the buster coming and it begins to detonate, you can get the sentry out of there pronto.

Remember to get into the right angle early, as then you can bring the building to you faster.

Bolt repairing
Shooting the RR will fire a bolt that can repair up to 75 points of building health.

On Rottenburg and Mannhatten, you will begin to notice that your dispenser is a far distance from you and no doubt about it your dispenser will take some sort of punishment every now and then. By firing your bolts at your dispenser, you can remain by your sentry and keep that alive as well. So basically you are looking after both your sentry and dispenser.

If your metal is low or you would wish to conserve it (to get a lost building back), you can use the bolts to repair a damaged building.

Another thing is that you can back off a bit when a large group of robots is near your sentry and fire the bolts away.

Mark for death
While carrying any building, by normally picking it up or using the long range haul, you will become marked for death. This means you will take mini-crits instead of normal damage.

In order to make this issue non-existent, you will have to make the placing and the packing up as quick and as safe as possible.

In order to do that, you will have to know where to place your buildings and get it down as quick as you can. Mouse 2 can help with the positioning.

Do it safely. When moving your buildings try not to get hit or do anything stupid. Make sure you get your building to the right place. Try to use cover if there is any and heal with health kits if any are near.
Wrangling
Wrangling can either be your ticket to victory or your ticket to the "wave failed" screen. You will need to know and understand when it is the best time to wrangle and when it is not is. Therefore, I will make a short to do and not to do list of when and when not to wrangle.

And a quick mention: When you want to stop wrangling switch to another weapon, then quickly pick up the sentry and place it down again. By doing that you will decrease the time the sentry becomes automatic.

Here we go:

To wrangle:

Giants and tanks: Giants have a lot of health and will make the most of out it by crushing the front line. Wrangling, combined with the scout's mark for death/soldier's buff/sniper's jarate, will drain the big tin can's health very quickly. Also there will be a shield around your sentry to cover it, so it can soak up more damage against the giant.

Tanks have large health so the more health it loses the better. Thanks to the wrangler's increase in the sentry's firing speed that can be made possible. However, if you leave your sentry in auto mode, use the stock wrench and max out it's firing speed, you can perform massive damage thanks to the wrench's large influx on random crits. So after you got your wrench upgrades you no longer need to wrangle!

Snipers: Sniper-bots tend to attack your team from a distance and they can quickly drop you and your defence. Spot their blue line and take them out.

Enemies from long range: On Rottenburg you will notice that your sentry will be a long distance away from where the action is, but does have a view of it. The wrangler can solve this issue.


To not wrangle

Every weaker robot you see: It's better to just let your sentry fire and take care of them. It can lock onto targets better than you can and can follow targets better than you as well.

Giant scouts: As already said the sentry can follow and target better than you can so it's better to let the machine aim at a much faster target. While it does that you could maybe try to bodyblock the giant scout.

Spies: If they are a distance away from you it can be ok. However up-close your shotgun tends to do a better job.

Sentry busters: The likelihood is that the sentry buster would have already reached the sentry before it is destroyed. Trying to wrangle one is a waste of time.
Building canteens and nests
So both of your buildings are gone and the robots have stormed through the front line. You have building canteens on you and your nest needs to be re-made. But some questions pop into your mind:

Where to build?
How should I do it?

And so on.....

I will show you how to re-make a nest perfectly.

1: First things first, get behind cover.

2: Use the metal you have got to make a sentry and a dispenser. Do not whack the building to get it to level 1, just plant them down. If you don't have the metal to do this then get some, there should be a metal box nearby.

3: Then press H or whatever the button you assigned the action button to activate the building canteen and get your stuff to level 3.

4: What you would want to do from there is to get your buildings into position and

5: BAM! job done. After that hold the line until your nest breaks again.

Now you are thinking:

Why did I have to be told that?

I've just saved you from wasting a building canteen, that's what.

You see, when you just place your sentry into the position you wanted it to be and not behind cover there is a chance that a stray rocket or any piece of damage might hit your sentry and as soon as you get the dispenser down and press H, you've just wasted a building canteen! So be thoughtful and take care when re-making your nest.


Now I will answer some questions which may flow through your mind when making a nest.

Where should I build?
Your sentry needs to cover the bomb. You must stop the bomb from reaching the hatch at all cost.

Your dispenser needs to be behind cover and in a spot where your team can stay next to and can easily access it.

My dispenser/sentry is up but my sentry/dispenser is destroyed. Should I use my building canteen?

Sentry needs to be built: How is your dispenser holding up? Is your team holding the line well or is there a giant push/force of robots coming your way which you feel that will break the line for sure? If they can hold well build your sentry normally. If you feel the next part of the wave you will need a sentry desperately and quickly, hit up a building canteen.

Dispenser needs building!:
Before re-making your dispenser check if your sentry is holding well and if it is in a good spot. If so, get the dispenser into the spot you wanted Your dispenser will already be behind cover, don't freak out. and start building.
Co-operating with Soldiers, Heavies and Pyros
Soldiers
Soldiers are rather easy and straight forward team members to work with.

Soldiers have to cause as much damage as possible and make their team more powerful with the use of his buff banner. In order to do that he needs to rely on his rockets, which can go very quickly and he needs to remain alive to cause damage and live to use his buff banner for giants and tanks.

This is where your dispenser comes in. By keeping your dispenser fully repaired, upgraded, safe and in a good position, the soldier can have a reliable source of health and ammo to fall back on.

When he activates his buff, not only you will be able to perform mini-crits, but your sentry can as well! Use that to your advantage when dealing with giants and tanks.

Heavies
Similar to Soldiers, heavies can cause massive damage and can hold lines extremely well. Unfortunately they run out of ammo quick due to their firing speed upgrades to make that damage possible and they can still take a whopping like any other class.

What you want to do with them is to encourage them to stand next to your dispenser. That way they can be healed constantly and have a never-ending supply of ammo at their disposal. You will be amazed how easily they can hold lines from there.


Pyros
The natural weapon of a common pyro is the airblast feature. This can be helpful and a lifesaver, or pure annoyance and your team's doom.

A pyro's natural instinct when they see a sentry buster is to airblast it over and over again so it doesn't reach your sentry. DO NOT LET THEM DO THIS. When they do this, they are wasting your time. If the pyro didn't airblast the buster or stopped, you could of easily taken the robot somewhere else and detonate it, not killing any of your team members when you do this. Since they are extending the process, and the rest of the team NEEDS your sentry, tell the pyro to stop doing it.

If he refuses to listen to you:

1: Tell him what he is doing is wrong. Remember to remain calm and explain to him nicely, so he won't think of you as a jerk.

2: Votekicking time! Resort to this method if the guy is just flat-out rude or continues to be an annoyance.

Another thing you would want to encourage pyros to do is to help defend your nest from spies. The pyro is the well known hunter of the spies and makes a great spy checker. While he defends you, you can focus on the robots heading your way. Also encourage the pyro to equip the homewrecker so he can remove sappers from any buildings.

Soldier rockets and demoman pipes are rather annoying and can even kill you! A pyro can make short work of this by airblasting them back.

It's not all airblast you know. If the pyro is using the phlog, don't get mad. The Phlog is an amazing weapon as its crits can kill hordes of robots and melt tanks.
Dealing with sentry busters
We finally get to the bomb on legs itself, the sentry buster. Similar to the giant, sentry busters pack a lot of health which allows them to get up close and personal to the sentry before it kills it.

The known trick when handling sentry busters is to pick up the sentry, touch the buster, then run away before you get caught in the blast. However I've seen engineers handle them in such stupid ways that it is really unbearable.

In order to handle a buster successfully:

A: Keep an eye out for one when spawns
B: Learn and understand what path the buster will take so you can be more ready for him
C: Get him a safe distance from your teammates, preferably a distance behind the front lines
D: Do not run into the horde of robots and detonate him, that will just get you killed
E: Do not make it longer than it should be. Stop bringing him around the map and tell the pyro to cut the airblasting

Follow these guidelines and these robots will no longer become a problem.
Spy-bots and symptoms of their behaviour
Spy-bots can destroy you and your nest if you don't know what you are doing. They usually travel in packs and their aim is to disguise, kill you and then take down your nest with sappers.

There are multiple methods on handling these dangerous robots. The simple "bite the bullet" method does it nice and quickly. Stock shotgun, frontier justice and the pomson are fantastic spy defence weapons, along with pyros.

Another method you can use is to touch the spy-bot, which will just jab you with its knife, removing it's disguise. What this will then do is make the spy targetable by the sentry so that it can do the work for you.

They can also be heard by noises. Hear a weird laugh/grunt/oink from a distance? Spy-bot is around.......

Spy voice lines being heard? Better watch your back.....

But whatever you do, keep your distance. Getting up-close and personal to spy-bots will only make it easier for them to backstab/frontstab you. If you plan on using your wrench to get rid of them, take great caution.

Spotting them via their behaviour

When spy-bots come, you will notice them disguise as members of your team and do things which are unnatural and out of place. Here I will list all of the symptoms of spy-bot behaviour I have found while playing Mann Vs Machine.

Scout
  • Not at the front lines picking up cash
  • Giants are around but is not pulling out his milk and fan of war

Soldier
  • Not next to a dispenser
  • Not next to other teammates (Soldiers are stronger when they are besides teammates)
  • Tank/giant is around but has not activated his buff banner
  • Not shooting

Pyro
  • Has his melee out but no buildings are being sapped
  • Is hanging back
  • Is far away from your nest when spies are around

Demoman
  • A medic picker not laying down another sticky trap when the previous one has been used
  • Medics are around but the demoman isn't killing them/laying down a trap
  • A grenadeknight who isn't shooting

Heavy
  • Not next to the dispenser
  • Not firing
  • Has low health but isn't pulling out his sandvich to heal
  • Is far away from you but is not using his GRU to go faster
  • A heavy with the GRU but is not going at the speed he is meant to

Engineer
  • Not next to his buildings
  • Has his shotgun out but is not firing
  • Giant/tanks are about but no wrangler is being used
  • Has a wrangler currently being used but no shield on the sentry

Medic
  • Not healing anybody
  • Has his syringe gun out
  • Is next to a lone robot (Buster, bat scout-bot) but is not pulling out his ubersaw to gain uber

Sniper
  • At the front lines, near everyone else
  • Not in his said sniping position
  • Giant scouts/group of robots is present but no sign of jarated bots

Spy
  • Hanging back
  • Not collecting cash if he is a money spy
  • Has his revolver out
  • Giants/medics are on the field but is not engaging them

All
  • You see someone cloak and decloak
  • You see yourself
  • A group of 2-more players are together at once and heading in 1 direction
  • Is going towards another player
  • Looking in unneeded or odd directions
  • You see a player place sappers on a building
Against other robots
Sniper-bots
Sniper-bots can easily be identified by the scope icon at the top of the screen during the wave. They give off a blue beam of light when they are scoping in so their position is given away. Simply wrangle those that dare try to drop their targets.

The RR's bolts can actually fly across the map like a projectile, so you can calculate and fire shots at snipers from a distance.


Giant scouts
The main rule of handling giant scouts is to not wrangle your sentry. As already mentioned the sentry does a better job at aiming and targeting than you.

While it fires away, try something useful and block the giant scout's way so your team can dispose of the pest easier. If you are struggling to cope with them, 2-way teleporter can help out.


Engineer-bots
While you can take position and then wrangle their nest from a distance, classes like the demoman and the spy do a better job. When one is on the field, alert your team of where one is so they can get rid of him.


Medic-bots
These guys can cause you a lot of trouble and can make the weakest of giants get through the defences if you do not take them out. There are 4 types of medics so far:

1) Quick-fix medics
2) Uber medics
3) Giant medics
4) Giant hatted Medics

Quick-fix medics
These guys can usually be found on lower difficulties, being normal and intermediate. Don't worry about killing them, they won't uber until max charge, which they don't have yet. However they can get their patient past the defences if not dead, so kill them.

Uber Medics
Say hello to the robot that made me and my team fail so many waves so many times. If you are not careful with this robot, the uber medic will pop his uber and destroy your defences (Depends on the robot). If you have the Pomson and manage to hit them with a shot, they will be unable to uber and could just save your defence. If your sentry is about to target the uber medic, gain control of it using the wrangler so they don't pop. These guys can be found on the higher difficulties of mvm and on some missions on the lower difficulties.

Giant medics
The huge nasty of the support robots, the Giant medic is a pain to deal with unless you can hold the line or you or your sniper/demoman can take him out. If you do have the wrangler, try to get the red beam on him and shoot him until he has low health left. From there the Demoman/Sniper/Spy can deal the final blow easier. The pomson also reduces its charge as well. As far as I know, they appear in Gear Grinder, Two cities and 2 missions in Mecha Engine.

Giant Hatted Medics
The same as giant medics, but with a catch: They don't uber and they have a 50 health regen. Drop them quickly and then get the patient.
Waves
The next few sections I will go through a common tactic which can help you greatly in some of the harder waves MvM has to offer.
Wave 1 + 2 of Empire Escalation (Advance 1 Mannhatten)
Wave 1

At the beginning of this wave the first Giant armoured scout will spawn. Take him out and as soon as he has been taken care of head upstairs and place your sentry in this spot:
Make sure it is positioned well so it blocks the giant's path.

You might also want to bring someone up there with you, perhaps a soldier or a heavy. When the Giant armoured scout comes kill him and then build back in your normal spot and continue the wave as normal.

Wave 2

The main threat you will be dealing with is the large crit bowmen with uber medics on them. The first 3 large crit bowmen will spawn on the balcony upstairs and try to capture point A. You cannot allow this to happen.


Yet again, during set-up time build in the spot shown and have your medic picker accompany you. What he has to do is to remove the medic from the bowman and then help you kill the bowman itself. Once the first 3 bowmen + Uber medics are dead they will stop spawning and instead the bowmen will be along-side the giant black box soldiers. From there place your sentry where you normally would and continue the wave as you normally would.
Wave 4 of Metro Malice (Advance 2 Mannhatten)

At the start of this wave a mini-boss will spawn. While he is breaking through the front line 4 giant FaN scouts will spawn on the balcony with the bomb and try to score a touchdown on the hatch. As an engineer you cannot let this happen!

Build in the spot already mentioned in the previous section and maybe have someone to help you kill the scouts faster. Once the 4 are dead return to the boss, kill him and continue the wave as normal.
Wave 7 (Final wave) of Hamlet Hostility (Advance 1 Rottenburg)

Before we get into this wave I better explain what most people like to do for this certain wave.

Seeing that you have to kill the 3 tanks to end the wave, people like to go to stronger classes or loadouts using the refund option to make this wave easier, such as phlog pyro or grenadeknight. As an engineer, while they are taking care of the tanks, you must defend the bomb.

The pyros, demomen, flare gunners and demoknights have a bomb and will not hesitate to deploy it. If that wasn't bad enough, snipers and spies will try to take you and your team down.

For this wave, I would recommend running the Frontier Justice and the wrangler. FJ so you can defend yourself better from spies and the wrangler so you can handle snipers easier.

If you are pushed back to the hatch by any chance then be wary of these areas:


Sniper-bots will come here, take aim and try to snipe you from a distance. Wrangle up and make sure they don't cause any trouble.


Back here is where I tend to find spies when they spawn. But be careful, they can spawn in other areas around you. Keep a close eye out when they come.

One final thing. If there is no robots around see if you can help with the tank for a little bit.
Wave 5 of Desperation (Expert Decoy)

A lot of people struggle with this wave, and it's very easy to see why. When I was doing my expert tours a long time ago I met a sniper who taught me a cool and helpful way of beating this wave. I will try my best to explain and remember what he said.

For the team you will need:

A scout (Possibly a spy for a replacement, they can pick up cash as well and can deal a lot of pain to giant medics)
A pyro
2 heavies
An engineer
And a sniper

How this will work


The Sniper will take position here and use his damage to kill the medics in time so the 2 heavies can take out the giant deflector.

The Pyro will watch the stairs and kill any spies that will come up.

The Scout will collect the money and when the medic is killed he will milk and mark the deflector heavy so the heavies have an easier time. If there is a spy instead he will help with killing the medics, collect the cash and possibly assist in killing the deflector.


The 2 heavies will plug themselves next to the dispenser shown and kill the deflector as he comes up.


As an engineer, what have I got to do?

1: Get the pomson and wrangler out
With the pomson you can drain the giant medic's uber, use that just in case of an emergency. And the wrangler is used for taking down the giant heavy from a distance.

2: Build in locations show
Self-explanatory. Just make sure for your exit that it faces the west.

3: Keep an eye out for spies
Where the heavies and dispenser is a door which leads to a room where spy-bots spawn. Keep an eye out for any spies that come your way.
U r now pro engi
With all you have learned throughout this guide, you should have the knowledge to become a great engineer. Or at the very least, become better than what you where before.

Now then, get out there and show how much of a good engineer you are!

Thanks for reading!
195 Comments
UNIONPACIFIC4LIFE Mar 16 @ 3:16pm 
this still hold up
lux Oct 15, 2020 @ 8:27pm 
i am now engineer gaming
Rolando Mar 30, 2019 @ 11:13pm 
I think depending on your skill widowmaker would be better than RR. Because you could meatshot and gain metal to repair with. The RR also has a less metal-building heal ratio now.
Watt-Wurst Jan 27, 2019 @ 3:48pm 
i am now an uncle dane the engie main
Poob Dec 14, 2018 @ 11:14pm 
Super Indepth, great review :)
[- +] 9-Volt Wizard Sep 29, 2018 @ 2:17am 
just wondering, do the resistances upgrades carry over to your buildings, like if i bought blast resistance would my sentry take less damage from soldiers and demos?
NvMe 令 Jun 5, 2018 @ 6:16pm 
I remeber my max health upgraded sentry taking on Giant Soldiers and Scoots and always beating them by itself when my whole team is dead, the health upgrade is now my favorite upgrade in Mv\M.Its really 'bang for your buck'
EMERALD Nov 5, 2017 @ 7:47am 
The rescue ranger was changed, you might want to adjust your guide for that. Love it, by the way!
totalawedude Mar 5, 2017 @ 6:53am 
thank you! this guide helped
Dat Scharger Nov 5, 2016 @ 6:51am 
Just a little comment on Sentry-placement on Coaltown:

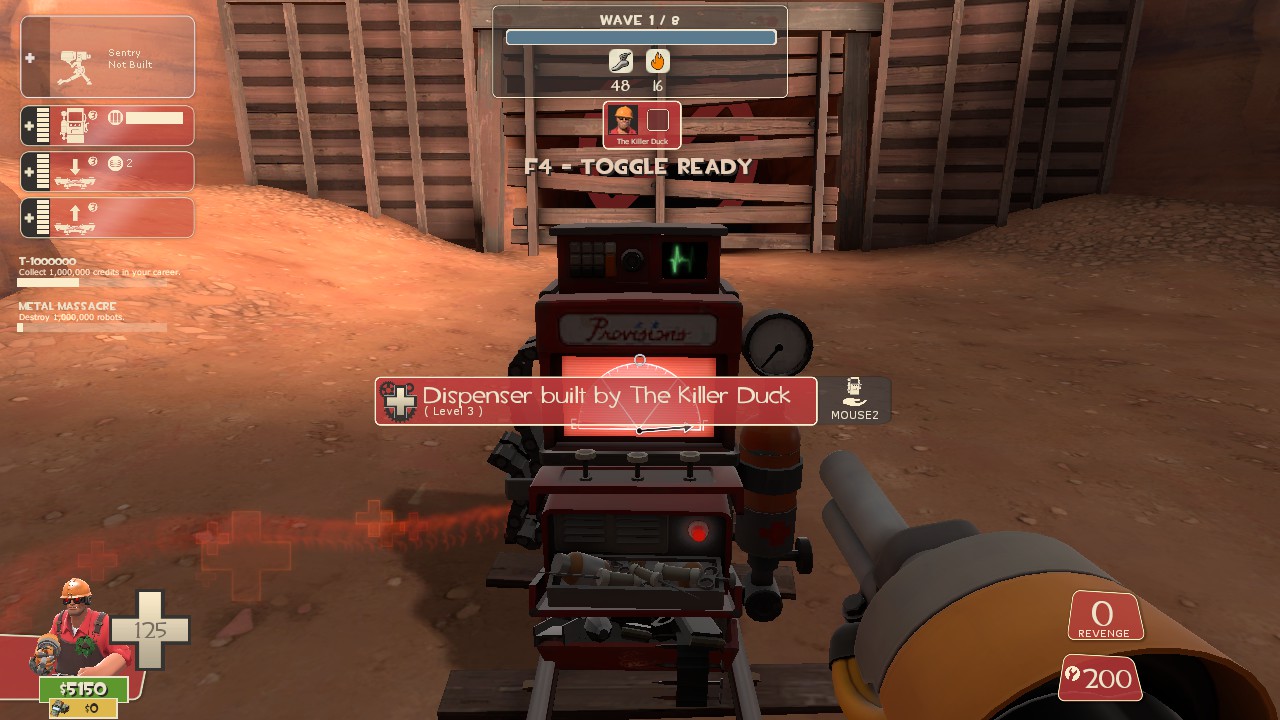
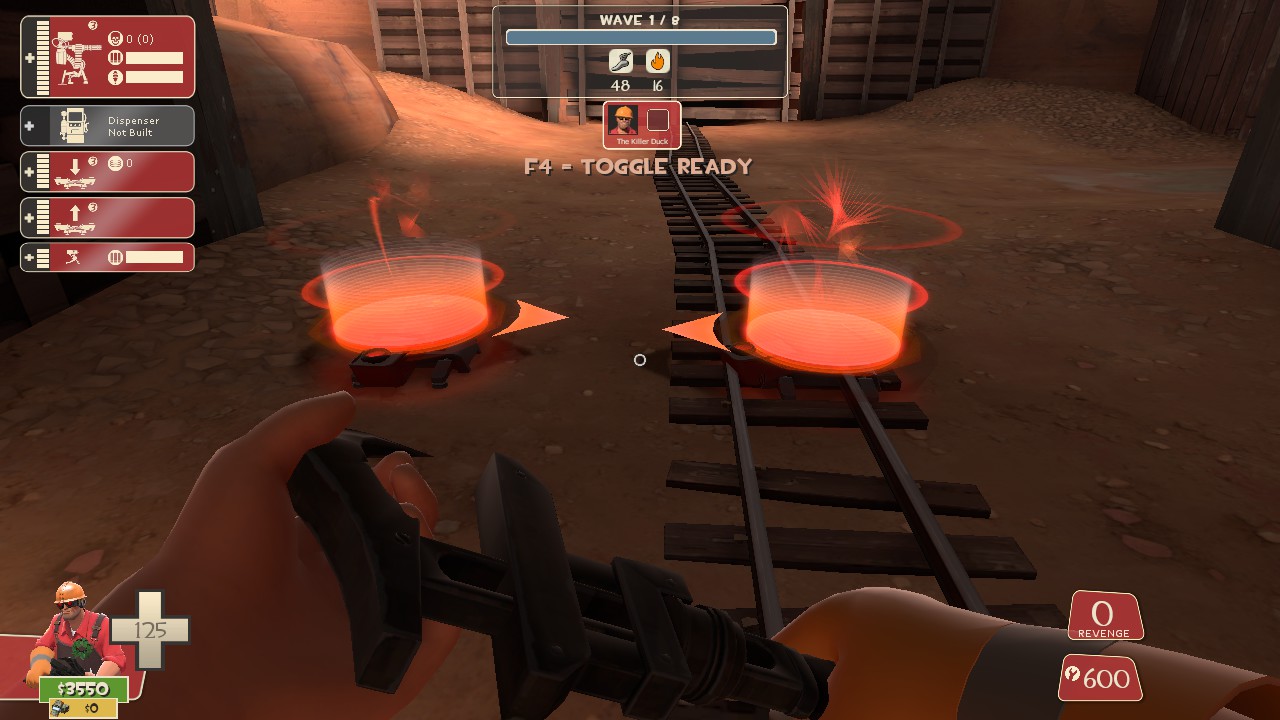
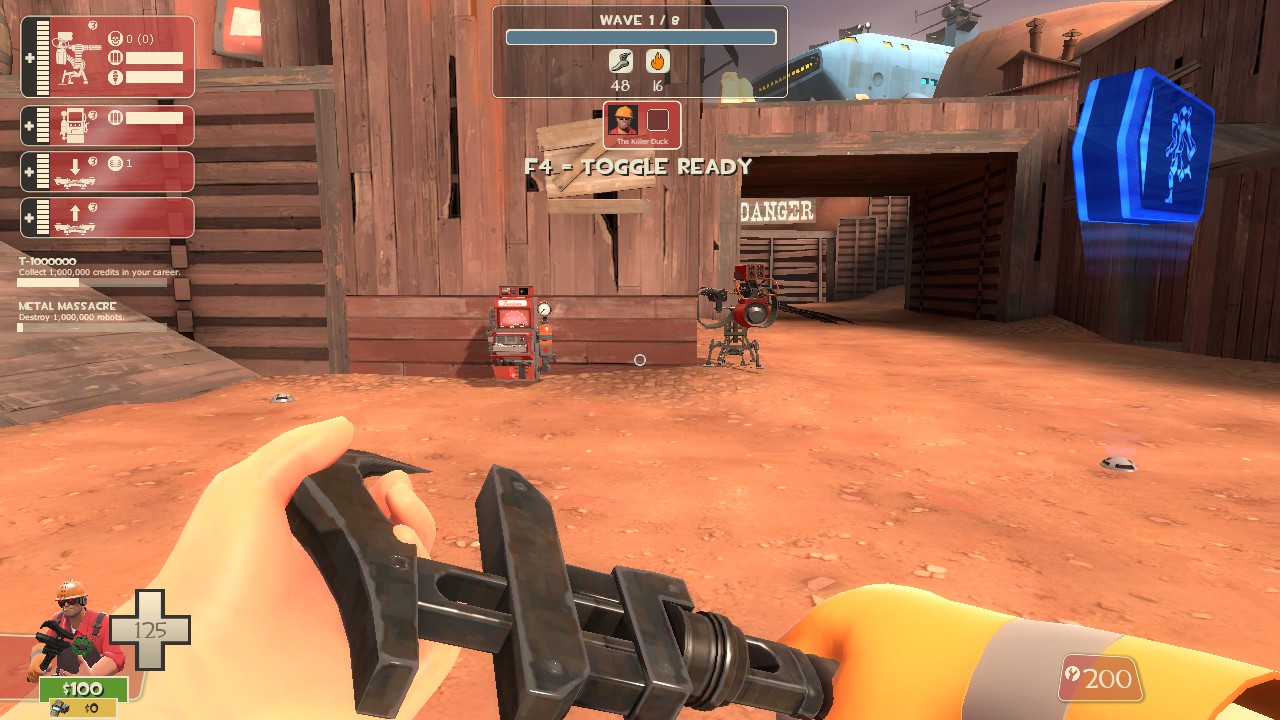
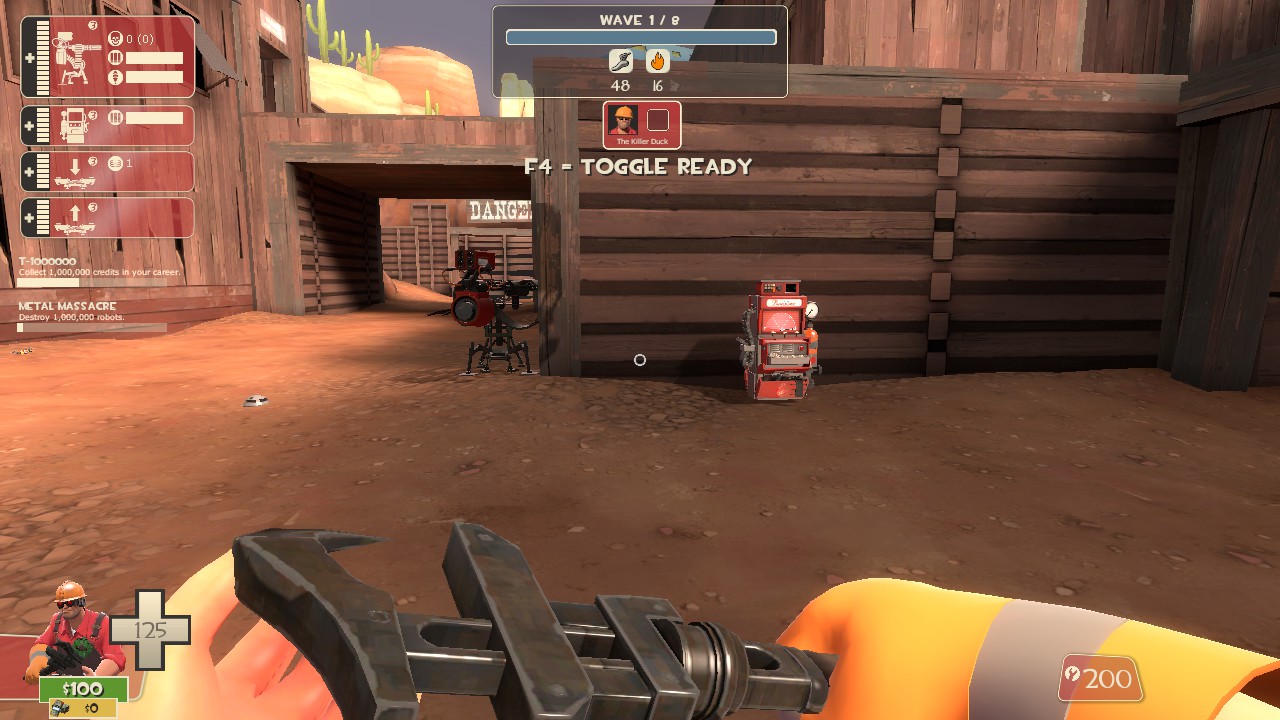
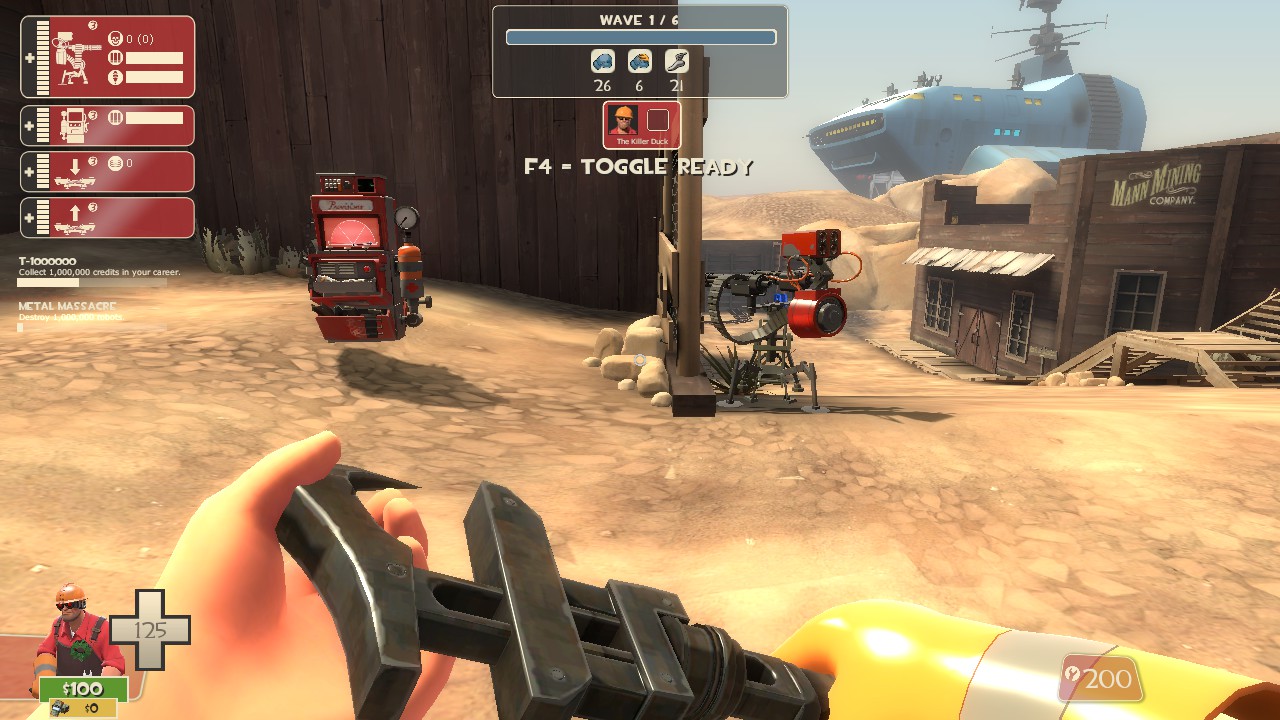
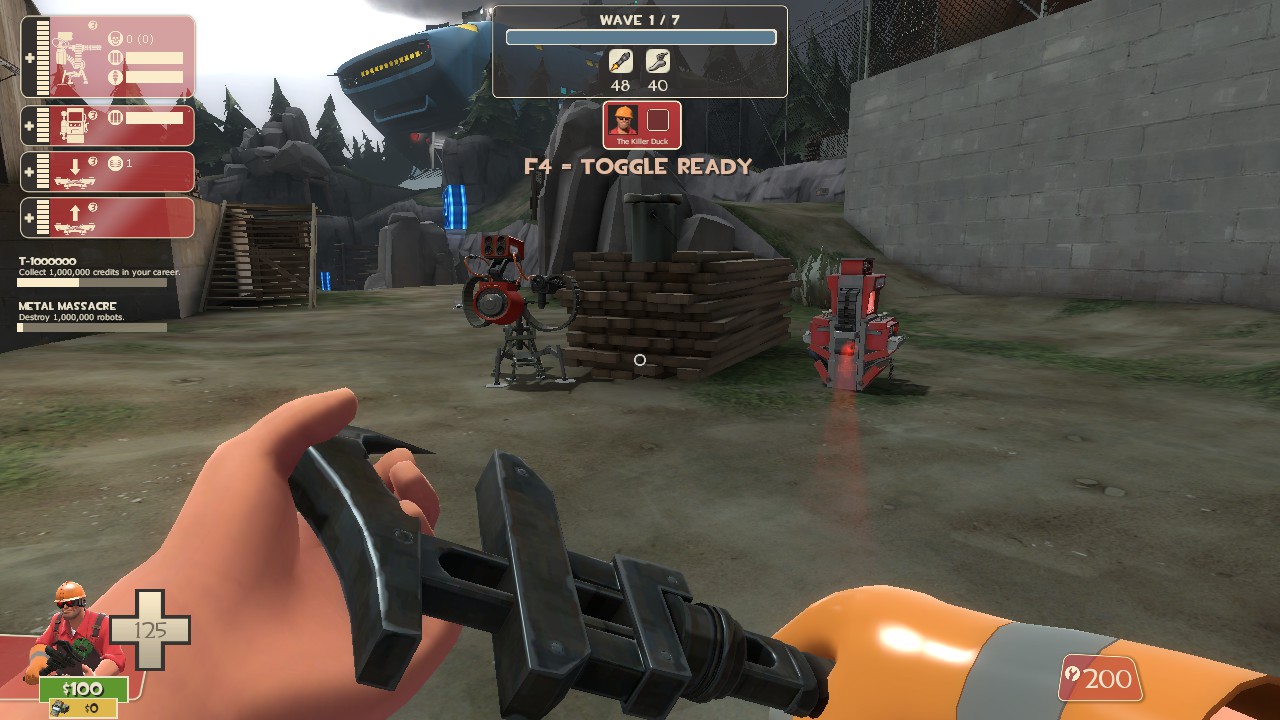
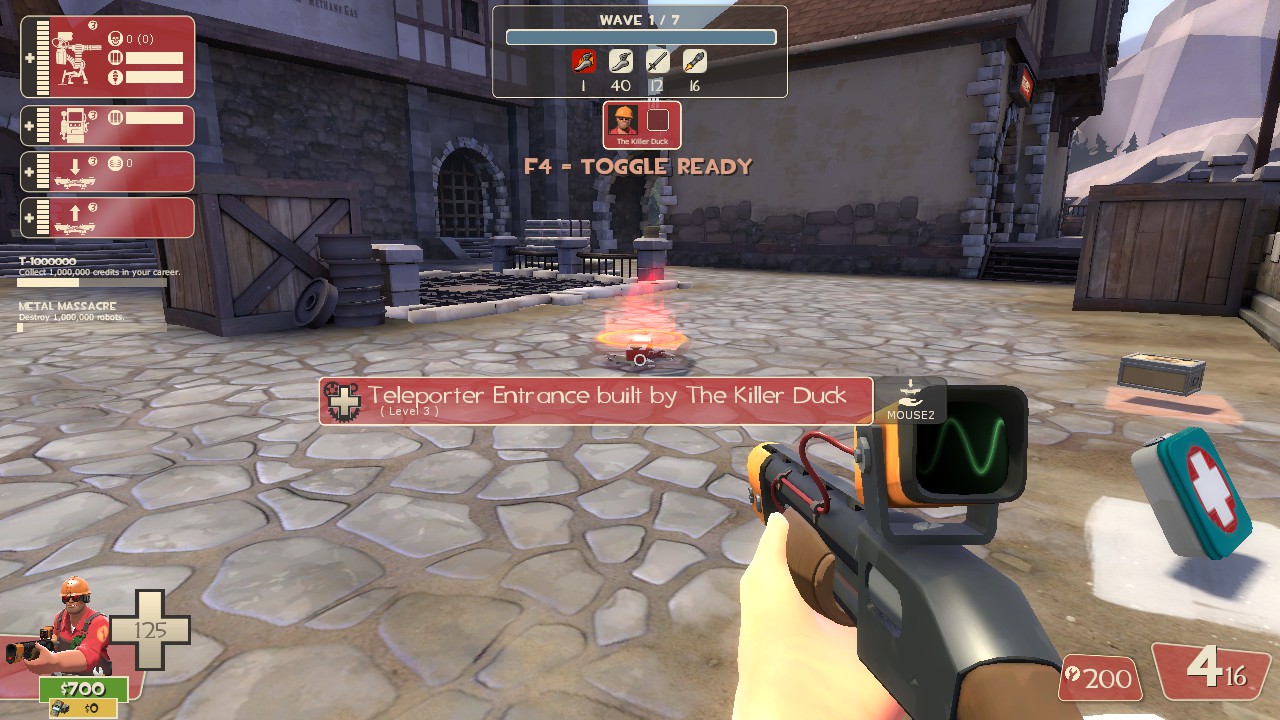
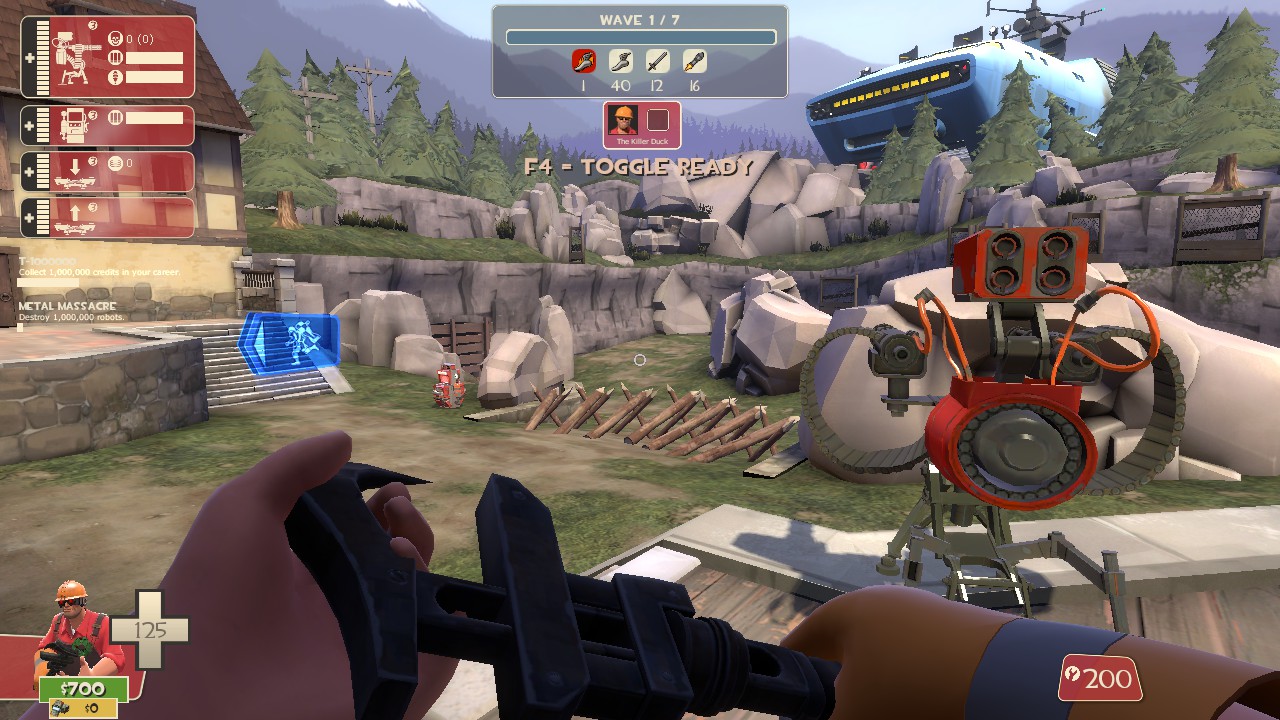
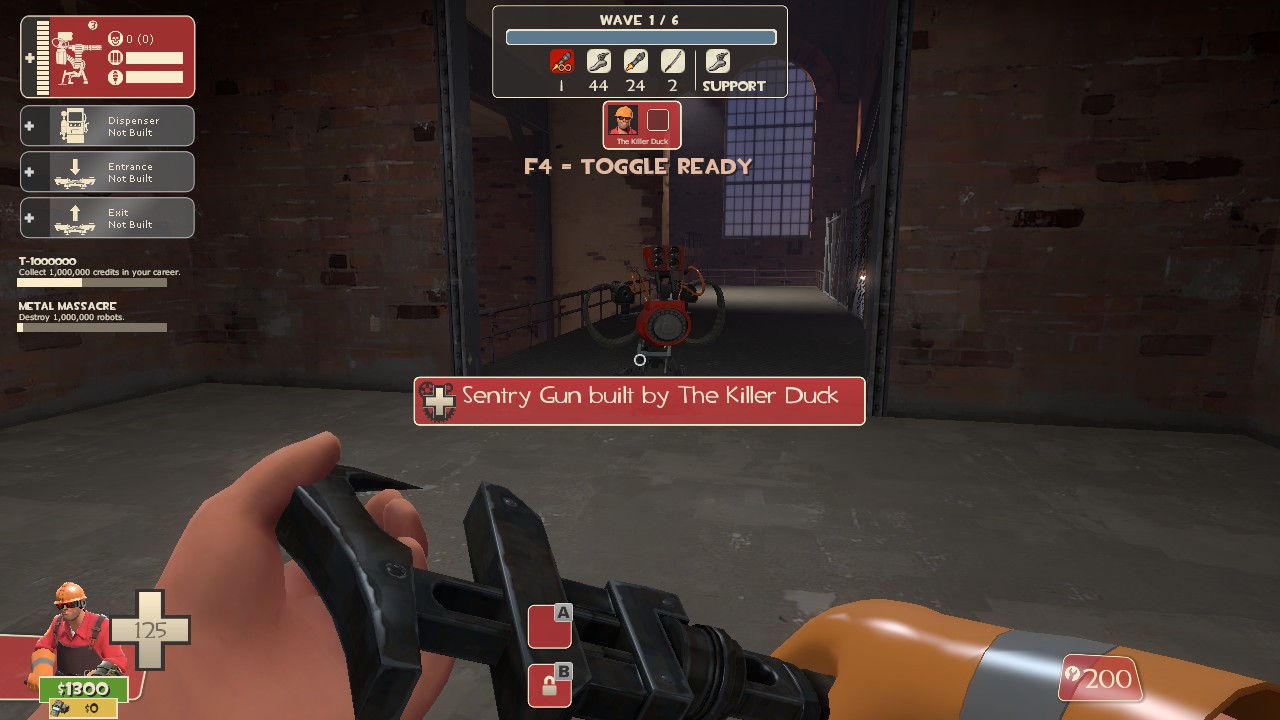
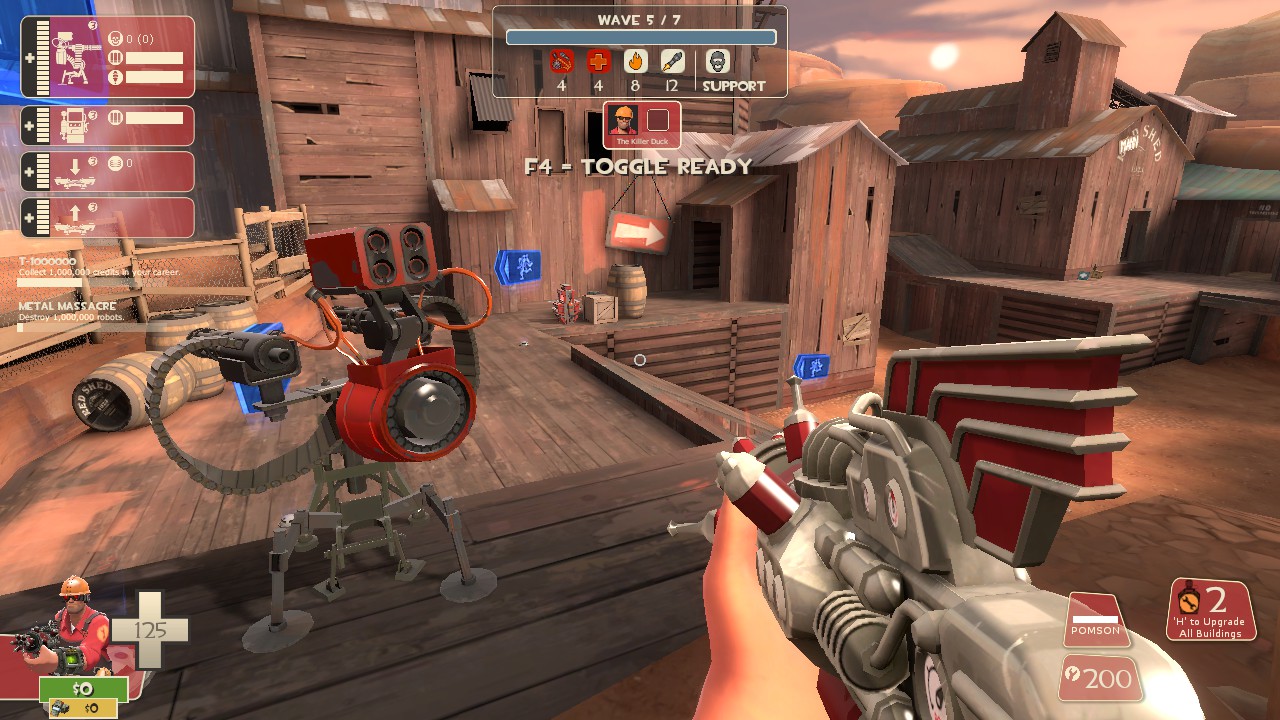
I've recently discovered that placing the sentry on the right building next to the robot spawn can be more effective than using the meta-spot.

BUT:

It requires a very good spy, who saps the hell out of the bots and serves as a distraction, so the sentry doesn't get all the spam.
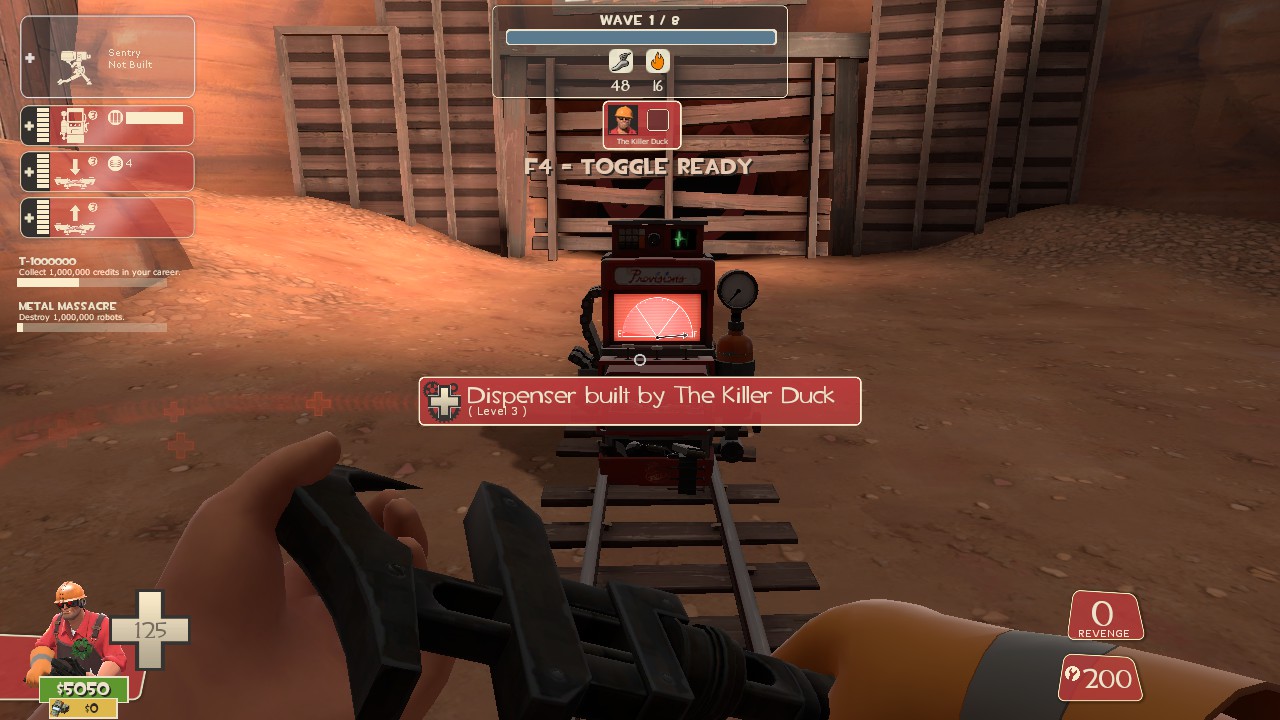
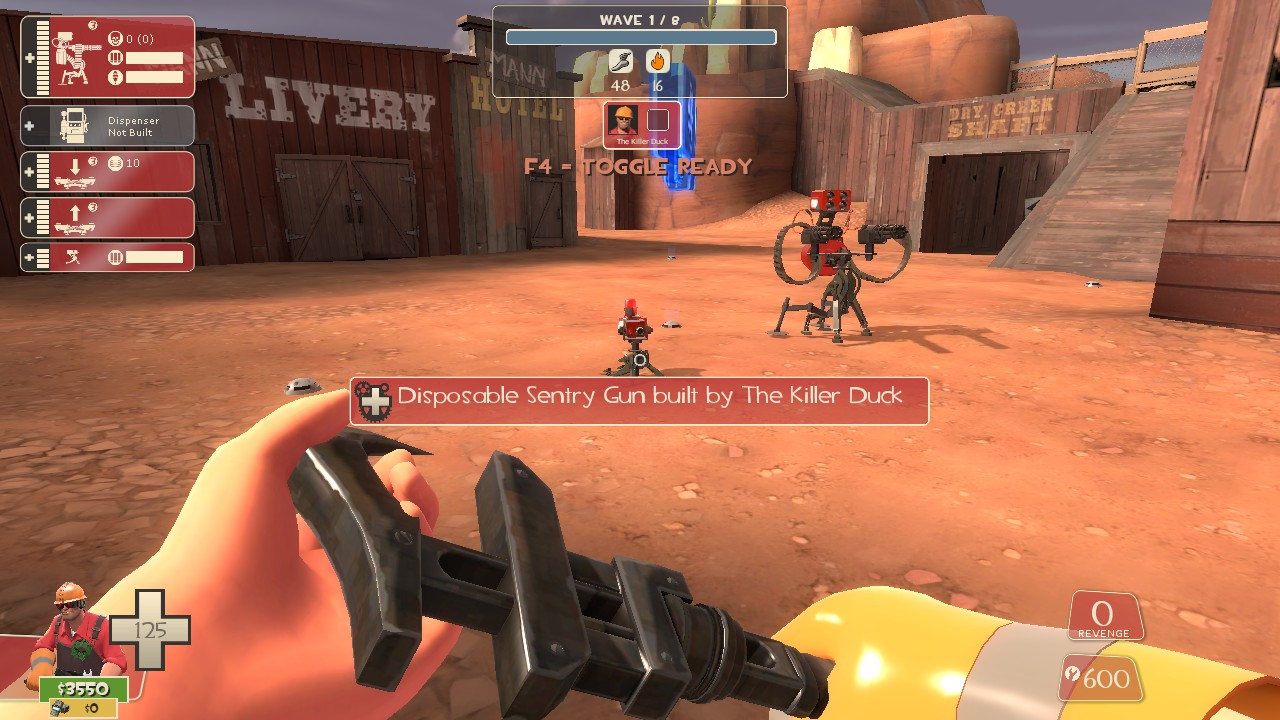
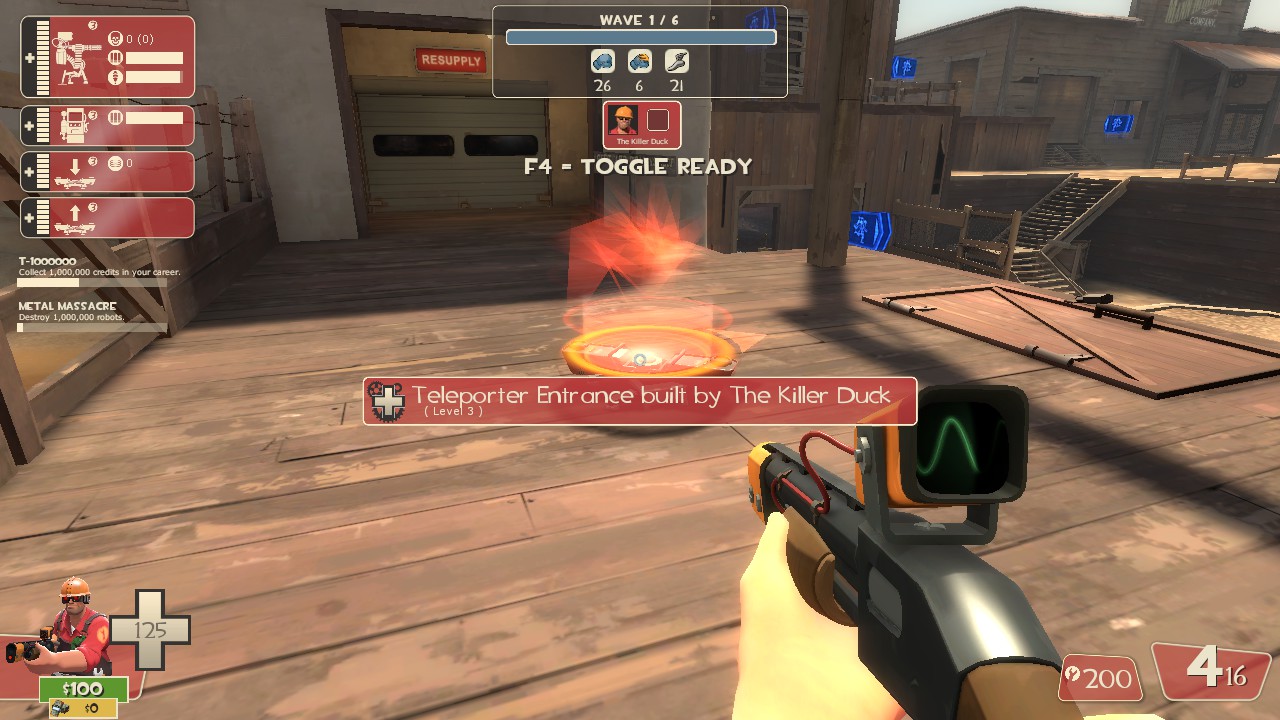
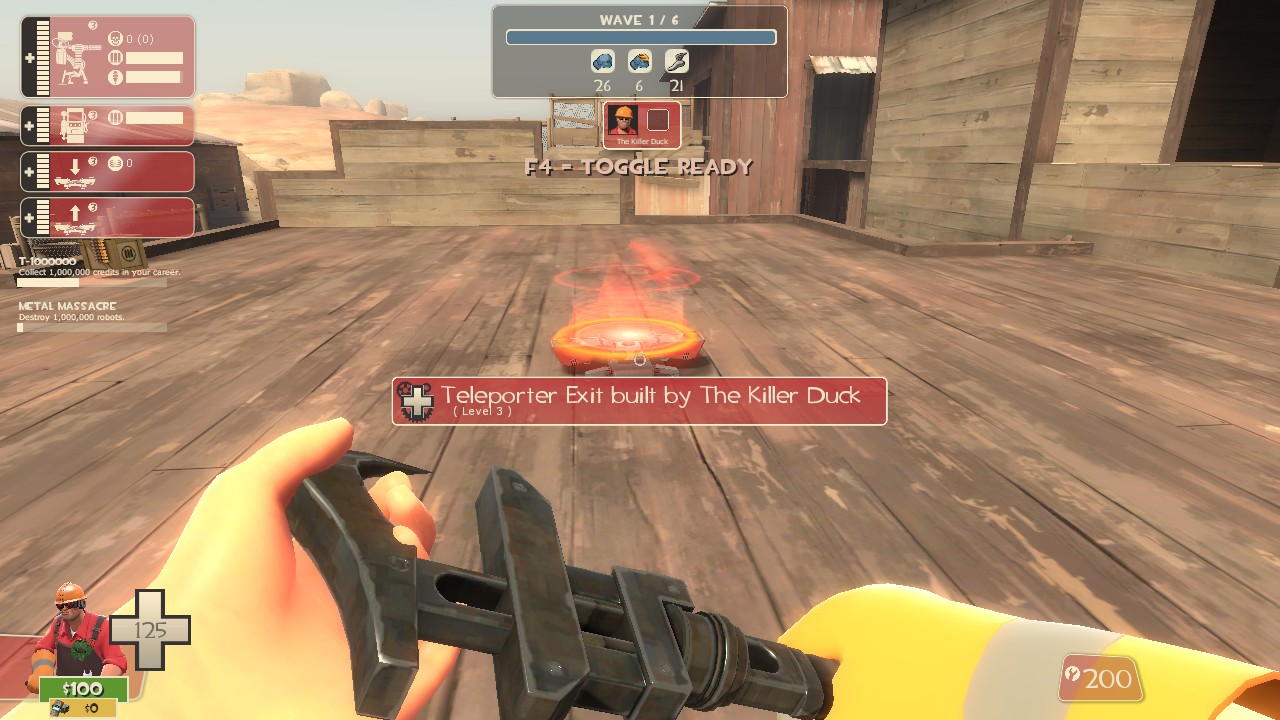
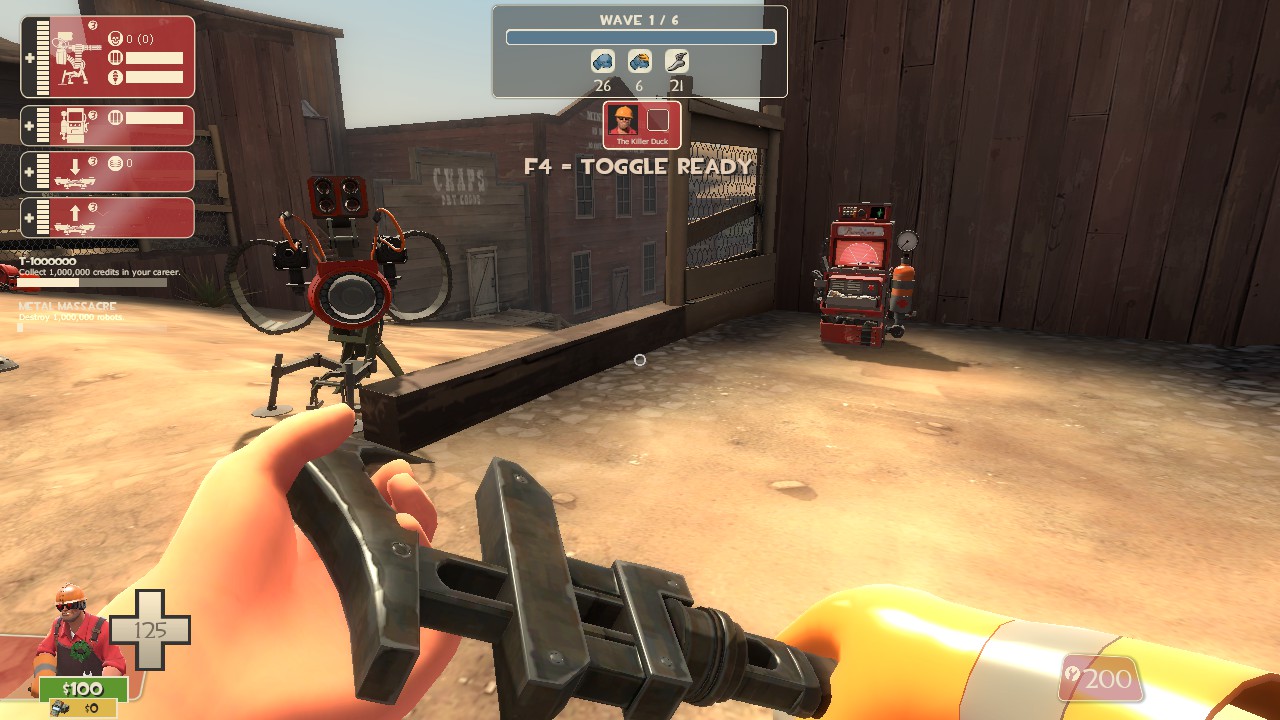
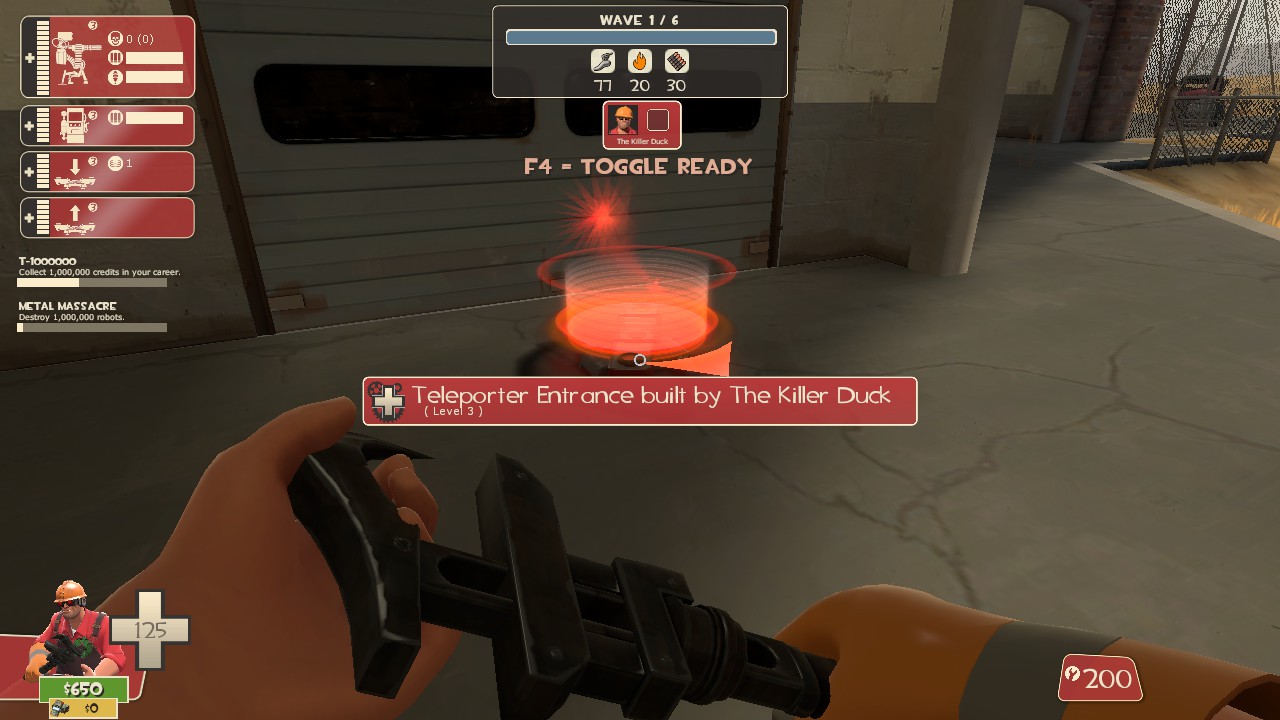
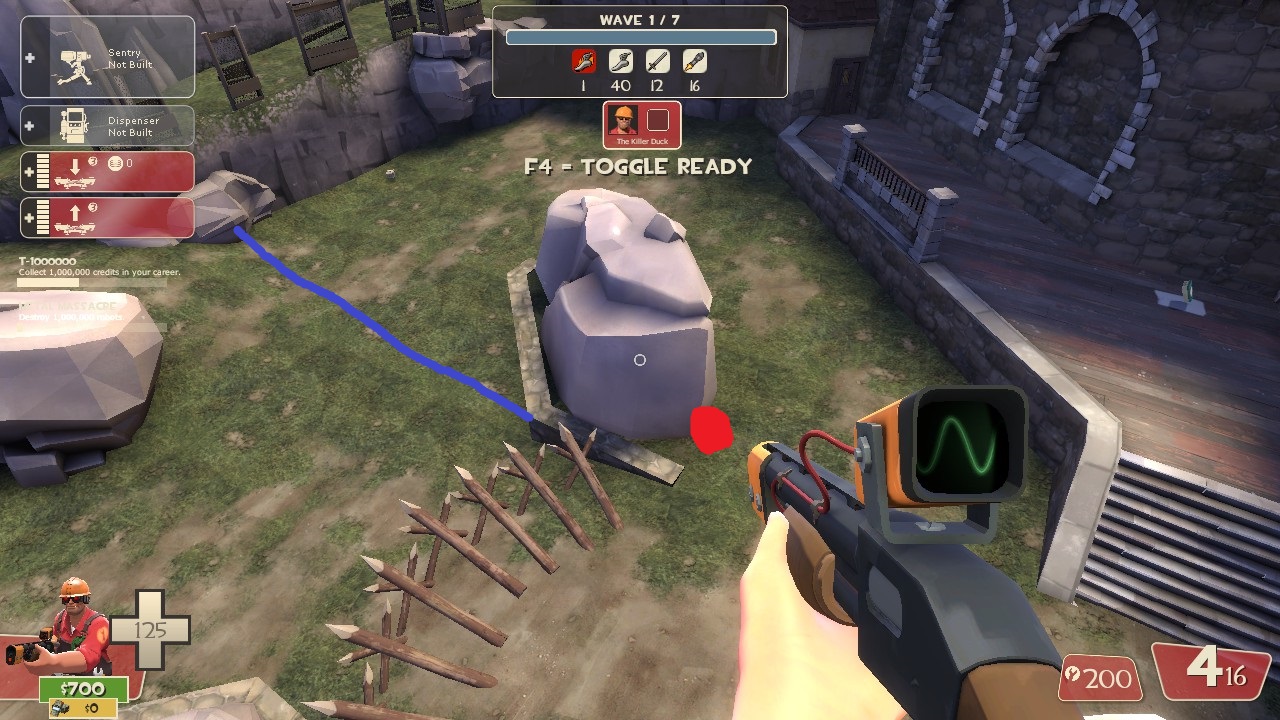
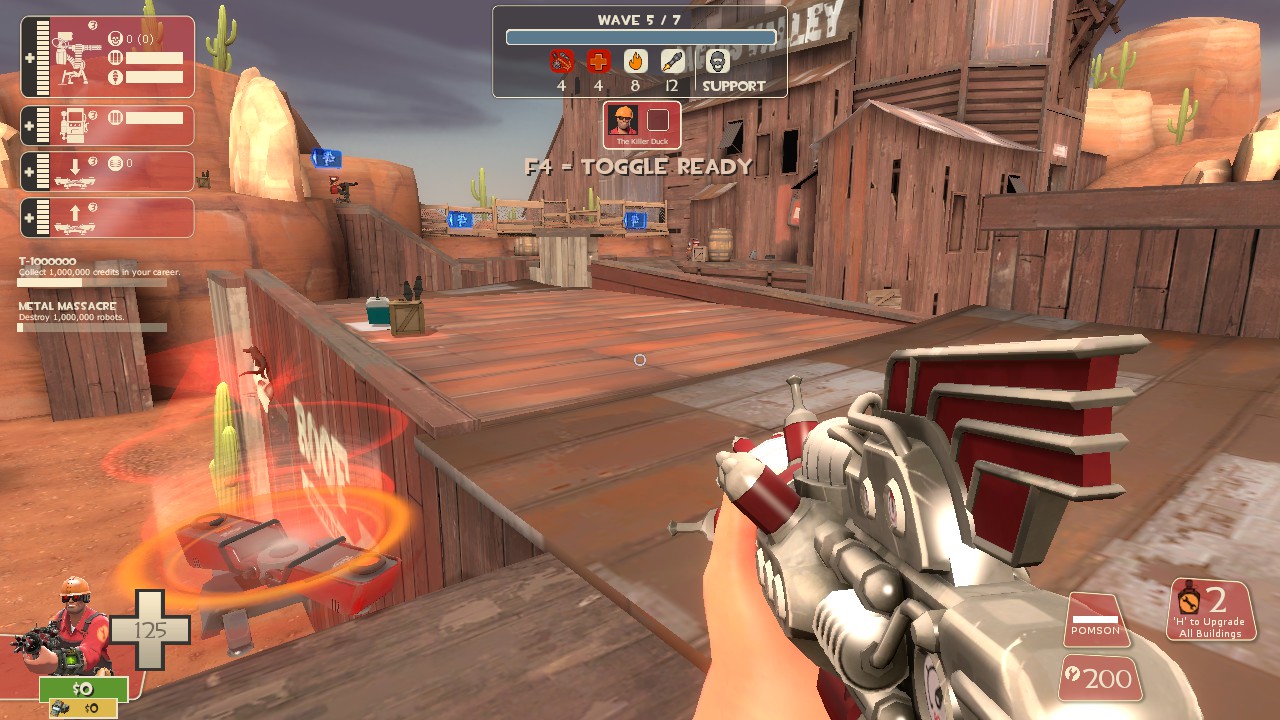
We were two engineers (Yes, not the best idea, but we were roflstomping the mission anyway) and while he built his stuff on the right building, I used your spots. He outdamaged me by quite a margin and scored the highest damage of all, followed by me.
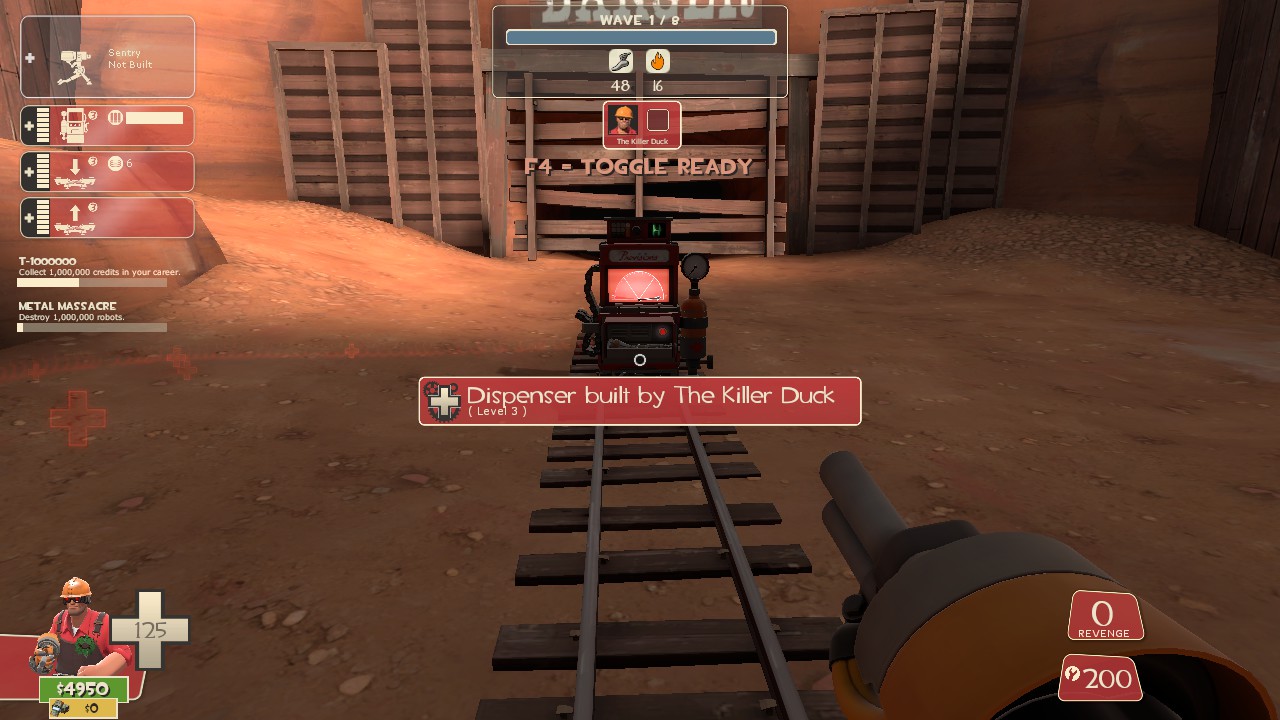
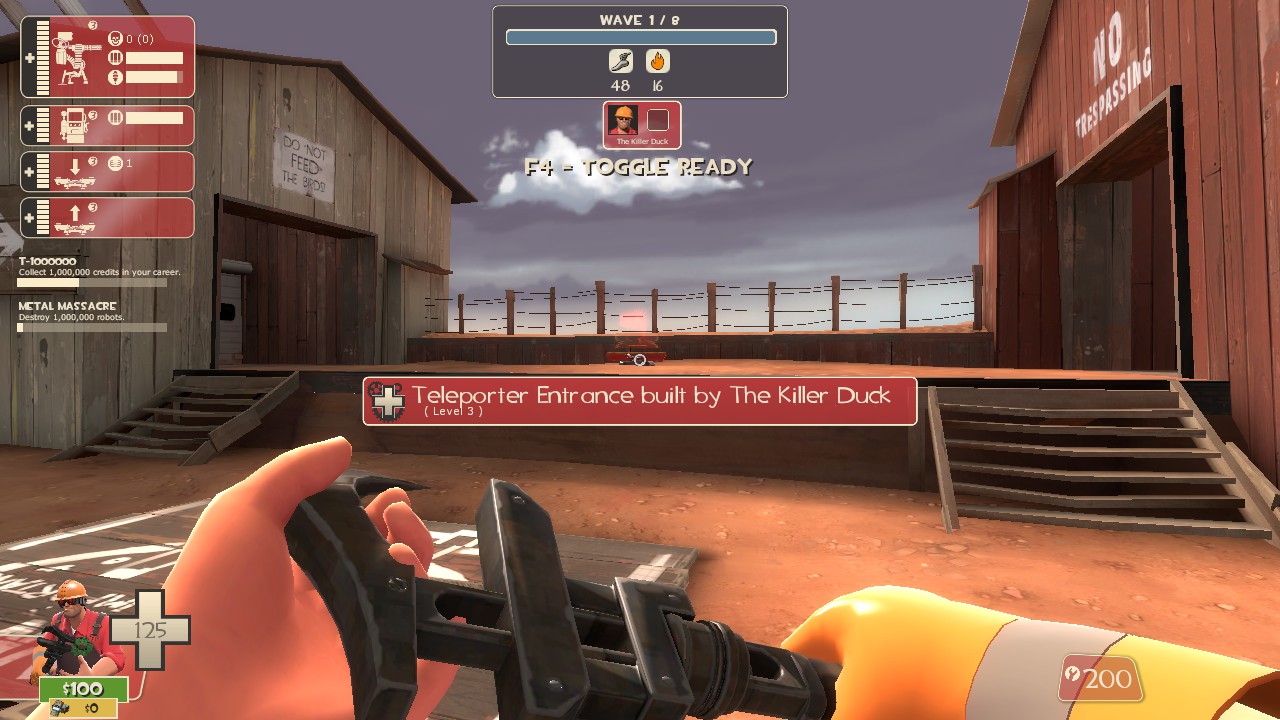
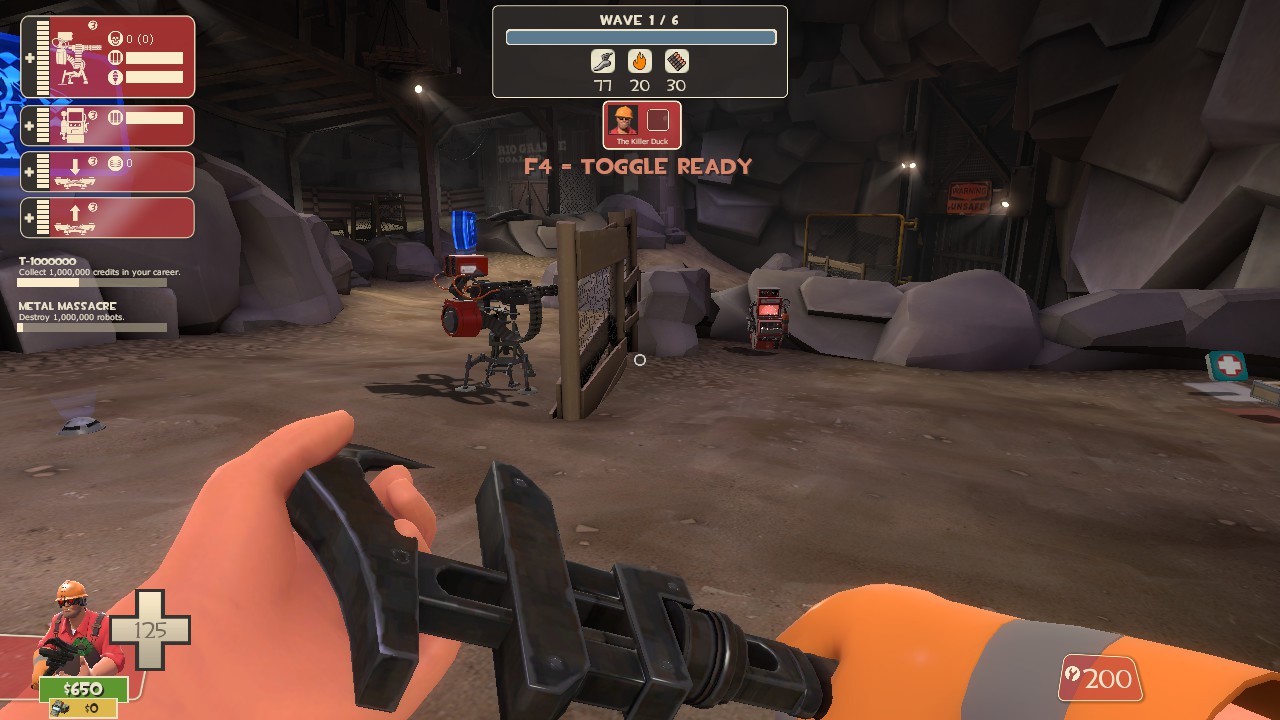
Then of course, it was Oil Spill, Quarry (I think) and I'm sure that without the good spy, he wouldn't have last that long.