Dyson Sphere Program

Dyson Sphere Program

60 ratings
The Basics of Mech Customization
By Skynred
Tired of looking like a yellow piece of Lego, but the Mech Customization screen is not nearly as user-friendly as you expected? Don't fret! After reading this, you'll be able to look like a children's toy of any color and shape you want, while making your Mech stronger at the same time!
2
2
   
Award
Favorite
Favorited
Unfavorite
Introduction
To get us started, here's the first thing you probably don't know about Mech Customization in Dyson Sphere Program:

Changing your Mech's shape and color can also increases its HP and make it consume more or less energy!

You can increase your Mech's HP to ~6000, and even reduce it's energy consumption to 50%.

Since you'll be playing Dyson Sphere Program for many hours, staring at your Mech all the time, often waiting for your energy to recover and getting shot at every now and then, you'll probably want to make your Mech cooler-looking, more durable and more energy-efficient.

So, let's see how it's done.
The Mech Customization Screen
You didn't even know you could customize your Mech, huh?

I didn't either. Ran into it by accident.

Here's how to get there:
- Open your "Mecha Panel" [C];
- On the upper right corner of its right-side information tabs, next to "Durability," you'll see a button called "Armor Customize;"
- Click on it.

From here on, it gets a little more complicated than you were probably hoping for, as a whole bunch of stuff will show up on the left side of your screen. Let's walk through them:

1.Default Parts
These are the basic parts of your Mech.

You cannot change their material or shapes. You can only enable or disable them (buttons right beside the "Default Parts" title) and change their "group colors" (colored pallette at the very top of the left-side menu).

Those are easy to handle -- just enable/disable the parts you want to have (by clicking on the circle on the left-side of each part's name-tag) on your Mech, and paint them however you want by meddling with the color pallette above.


2.Customized Parts
This is the nightmarish part.

At first, you'll see nothing in there other than "Customize armor for Icarus as you like!" written on it. Don't bother clicking on it.

I'll explain how to use that stuff in an "easy" way in the next section.


3.Material Reserves / Estimated Cost
This area of the menu shows how much materials you'll need to build the Mech you designed.

Yes -- building your dream Mech costs resources. And quite a lot of them.

Once you have finished designing your Mech, you'll go here to pay for it. We'll cross that bridge later, when we come to it.


4.Mecha Properties
Here you'll find some very important information that I, myself, had initially overlooked.

This panel shows your Mech's Weight, Energy Consumption and Durability (your HP).

As you mess around with your Mech's design, you'll notice these values change according to the Materials and Parts you selected.

Obviously, you'll want the least Energy Consumption with the highest Durability. I'll tell you how to get that later on.


5.Load Mecha Blueprint
Here you'll see 3 default Mech blueprints "ready" to use (not quite, because if you choose one of them you'll still have to gather the resources to pay for it).

As you hover your mouse over any of the 3 Mechs' picture, a "Load" button will appear. If you click on it, the selected model will show up on your editor's main screen. The costs to build it will appear on the "Material Reserves / Estimated Cost" panel as well and, if you want to simply use one of these standard models, without changing anything, you can.

But you probably won't.

So, let's make our own Mech. And we'll begin to do so right here -- at the very bottom (of the editor's menu) -- with one of these default models the game provides us with.
Making Your Own Mech
STEP 1: Choose the default Mech provided by the game you like the most and load it up.

As we're not going to create our own parts in this guide, because that's too complicated and too much work for some 99.9% of players, including myself, we'll use the "Customized Parts" the game already provides us with.

Upon loading one of the game-provided Mechs, its "Customized Parts" will become available in the editor's left-side menu for you to use however you want.


STEP 2: Enable/Disable the parts you want on your Mech, shaping it up.

The "Customized Parts" panel is now filled up with dozens of parts exclusive to the default Mech you chose.

As with the "Default Parts," clicking on the circle on any customized part's name-tag will enable/disable it.

Mess around with them, until you have your Mech in the shape you want. Feel free to enable/disable any "Default Parts" you want (or don't) as well, but remember: you cannot change the material of default parts -- and the material is what mainly affects your Mech's Energy Consumption and Durability.

IMPORTANT: Adding/removing default parts will affect your Mech's Energy Consumption and Durability. Adding/removing customized parts will not.

Regarding customized parts, what matters is only the material they are made of -- which has no effect on default parts, because you can't change the material of these.


STEP 3: Change your customized parts' materials and colors.

This is the most important bit -- the customized parts' materials.

To change them, click on the name-tag of any single customized part (i.e., "Chest 1").

When you do so, a new panel will pop up on the left-side menu, titled with the name of the part you just selected.

In this new panel, you have the following options:

Armor Overview: This is the initial selection, and it doesn't do anything.

Edit Blocks: Here's what we want.

When you click on this (the cube icon on the part-named panel), this will show up on your editor's main screen:


As a quick aside, since this guide is only meant to show you "the basics:" those shapes above the balls are for you to actually build onto your Mech's frame. If you hover your mouse over your Mech, you'll see the selected shape appearing on it. If you left-click, the shape will be laid down. I won't get into details about this "actual building" because I didn't really try it myself -- the tools are not bad, it's doable, but it's too much work.

Getting back to the essential part, those balls you see up there, in the picture, are your "material palette" -- the materials used in your Mech's customized parts.

IMPORTANT: This material palette is shared by all parts. If you change a material or color in it, it will affect all customized parts that use the same material.

Ok, it's getting scary. But don't freak out -- pretty much all customized parts of any of the default Mechs use the same material, that being the first one on the palette. When more than one is used in a part, you can easily tell which ball represents it by its color (as it will correspond to some areas of the selected part).

Hover your mouse over the left-most ball in the palette (let's use just the first one and you'll get the idea). A gear icon will show up on its upper right corner. Click on it.

Now, you'll see this:


Here's where you change colors.

To do so, click on any of the "color-flags" below any ball on this second palette.

IMPORTANT: Before changing colors, I advise you to change the first ball's material (our very next step) as this will interfere with how the chosen color actually looks on your Mech (some basic materials are metallic, some are opaque, some are transluscent, etc.).

So, instead of picking your favorite colors now, hover over the left-most ball and a gear-icon will appear on its upper right corner again. Click on it. Again.

This is what you'll get:


Here is where you select the materials of your customized parts.

Go around clicking on them, and pay attention to what shows up on the right side of this panel: each material's Cost, Durability and Density.

"Cost" means how much resources will be necessary "per block" (customized parts are technically made of dozens of "blocks") to apply the chosen material to your Mech parts. (Beware that if you pick an advanced material you'll need ~40k of its resource to apply it to your Mech.)

"Durability" is how much HP that material gives to your Mech. The more, the better.

"Density" is how much the chosen material weighs. The less, the better.

So, in short, what you do is: ignore "cost," because you'll have to pay for what you want anyway; pick the highest "durability;" and the lowest "density."

And that makes the two best material options pretty obvious: Carbon Nanotube and Frame Material.

Before you have a huge, multiple-systems spanning industrial conglomerate, you won't be producing enough of these two materials to be able to afford using them. So, initially, I suggest you use High-Purity Silicon.

NOTE: You'll notice the 3rd ball in the palette is a bright, colorful one, and that you can't change its color directly. That's because that ball is the material the default Mech models use for their lights. If you want to change your Mech's shining bits' color, click on that 3rd ball and change its material to one of the other research-matrices available (these always shine).


Now, just to finish laying down the "Customized Part left-side menu panel:"

Advanced Curve / Move / Rotate / Scale: These tools affect entire customized parts, allowing you to reshape/move/rotate/scale them.

Unless you want to do the whole shebang, creating your own parts from scratch, you don't need to worry about these.

As this guide is meant to deal with the basics only, which should suffice for the vast majority of players, I won't go into further details. I only dabbled with these tools a little bit myself and, for those who want to spend several hours building an entirely unique Mech, they are actually fairly straightforward and easy to understand. In other words, if you want to go this far, you won't have much problems figuring these tools out on your own.


And... we're pretty much done! The real problem is finding where to alter the materials, figuring out what all those material-balls mean, how to change the color of that 3rd ball... I think I've covered all the problems you might face.

But I'll sum everything up next, just in case.
Summing and Wrapping Up
They surely didn't make customizing your Mech very easy in Dyson Sphere Program. But, once you understand the essence of how the editor works, you can do it.

Summing up:
- Load up a default Mech, so that you can use its Customized Parts;
- Add/remove and paint your Mech's Default Parts on the top of the left-side menu;
- Select any Customized Part, click on Edit Blocks, and pick the materials and colors that will be used on all of your Mech's customized parts that use that same material slot;
- If you want to actually create new parts, click on the "+" sign at the bottom of the Customized Parts panel, click on a body region, then click on this new square-part you just laid down (so you don't have to manually find it on the list), on its menu-panel go into Edit Blocks, then click on one of the shapes above the balls (don't forget to select a material-ball for it), hover your mouse over your Mech, and left-click to put it down wherever you want.

As there are 8 balls in the palette, you can have up to 8 different materials/colors applied to your Mech. To get that fancy, though, you'll have to create your own parts as the game-provided ones use up to 3 or 4 at most. Just remember that the palette is shared between all parts -- you don't have to create a new one for each (and you can't exceed the limit of 8 different materials in a Mech).

NOTE: when actually building custom parts, constructing it piece by piece, you select a material (material 1, material 2, material 3, ...) for each small piece you lay down, and that material will be permanently attached to that piece of the part you are creating. As the same rule applies to the game-provided Mechs, if a strut somewhere is using "Material 2" (2nd ball in the palette), unless you manually delete and rebuild it using a different material, it'll always use "Material 2."

Default Parts work differently from customized ones. They can be colored, but their material cannot be changed. They only affect your Mech's Energy Consumption and HP when/if you add or remove one such part. Customized parts work the opposite way -- adding/removing them does nothing; only their material(s) matter(s).


Applying what you changed:
Once you have chosen all your Mech's parts, their material(s) and color(s), the resource cost to apply everything will be shown on the editor's left-side menu.

Before you pay for it, though, you'll want to save your blueprint, just in case. To do so, scroll down the editor's menu until you find the "Save Mecha Blueprint" (right above the "Load Mecha Blueprint" panel), name your Mech and the Blueprint, and save it for later use. (Hold the left-click down to move the camera around to get a decent Snapshot.)

To pay for your Mech, you must put the required materials into your inventory, go back into the "Armor Customize" screen, into the "Material Reserves / Estimated Cost" panel, click on the material(s) you need to add, and finally click on the button "Transfer All Items from Inventory."

Once you've transferred enough resources to pay for the Mech you've created, click on "Apply Mecha Design."

That's it! (Whew!)
BONUS: The "Ideal" Mech
Despite customizing your Mech being a bit overcomplicated, the game doesn't really give you much of a margin for improving its efficiency.

Here's how to construct the "ideal" (disregarding aesthetics) Mech:
- Disable all Default Parts;
- Create one Customized Part -- a single square, anywhere;
- Change that square's material to Carbon Nanotube.

That's it -- for the impressive cost of 49 Carbon Nanotubes, you're now a flying square with 50% Energy Consumption. And 41.97 HP, which is pretty much irrelevant since you mainly use your shields to sustain damage.

I used to have an image of our "ideal mech" here, but Steam randomly deleted it and I no longer have the file to re-upload it. So... just picture a tiny square with a couple of flames coming out of nowhere from a little distance away. It's totally awesome!

Or not.

Since aesthetics do matter to most of us, here are some pictures of the Mech I'm actually using. It's nothing too fancy either because I didn't go into making my own parts, but I'm happy with it:


He's a photogenic fella...

Anyway, now that you know how, you can make a better one than mine!
9 Comments
BelSamRog Oct 17 @ 12:15pm 
Heroiam slava!:steamthumbsup:
Skynred  [author] Oct 17 @ 5:27am 
No problem.

Slava Ukraini!
BelSamRog Oct 17 @ 4:43am 
Thank you so much!
Skynred  [author] Mar 9, 2024 @ 11:30am 
2!
七根小胡子 Mar 8, 2024 @ 9:27pm 
1
Tyrax Lightning Feb 15, 2024 @ 12:00pm 
Thank you so much for the response! :)
Skynred  [author] Feb 15, 2024 @ 11:21am 
Hey!

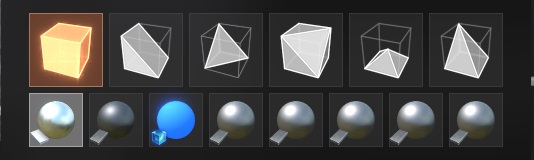
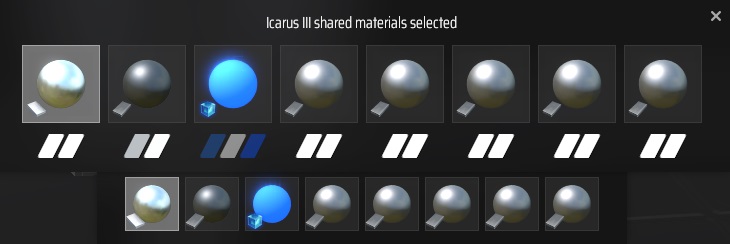
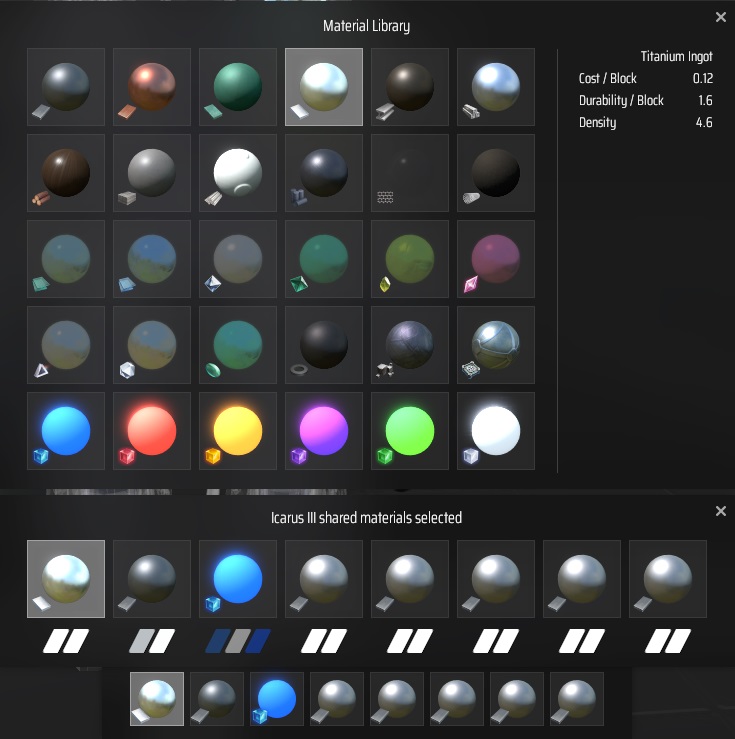
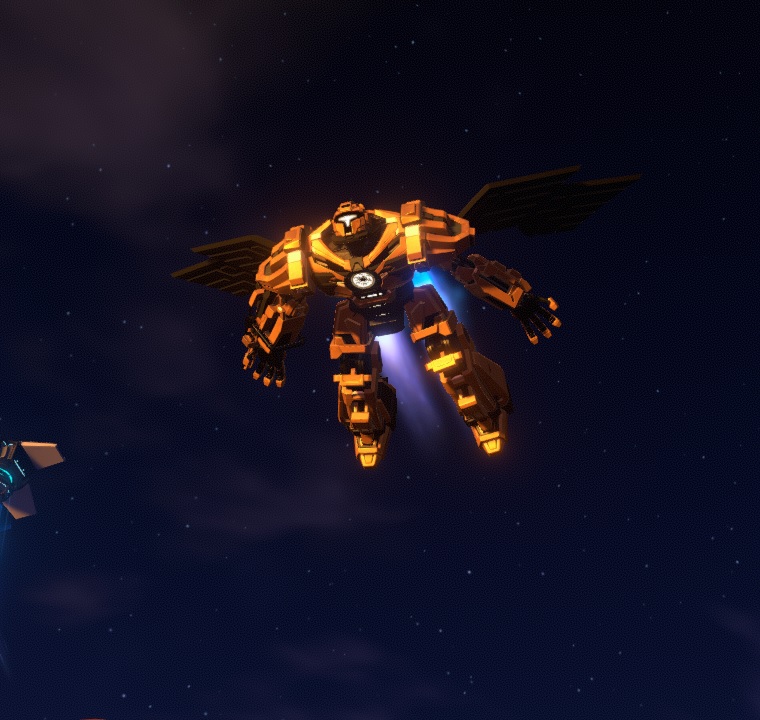
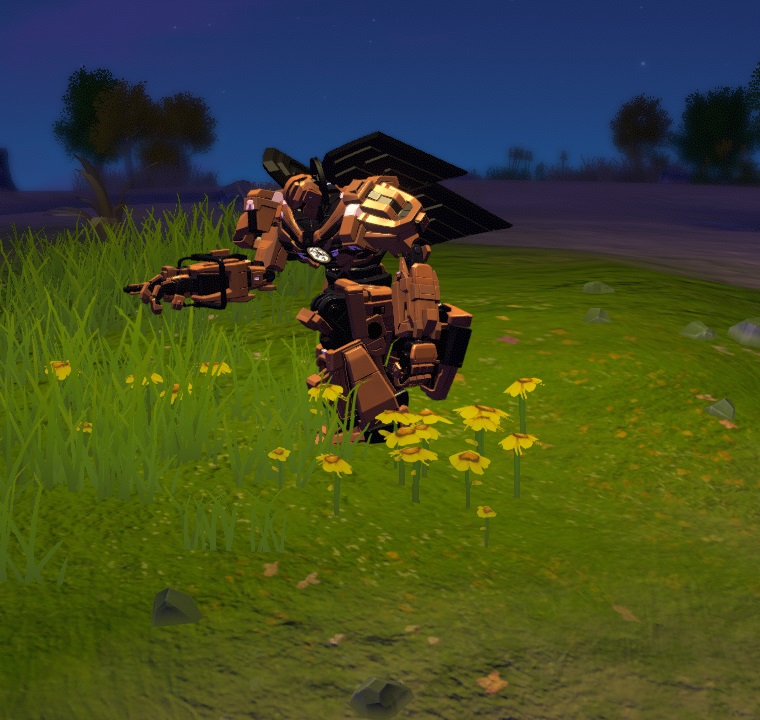
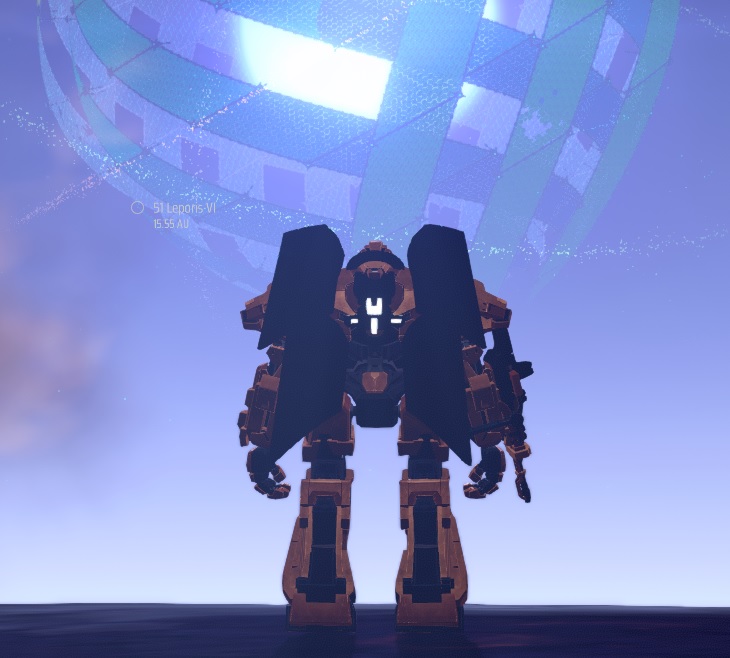
I didn't try to start a new game after customizing my Mecha, but reason dictates you'll start over with the vanilla one (since altering it requires resources and actually impacts gameplay). So, yeah, you should definitely save your design, or you'll lose your work.

I don't know if Mecha designs get saved to the cloud either. Possibly not. If you put a lot of work into yours, you might want to look where the designs are actually saved in your computer and back them up somewhere else.
Tyrax Lightning Feb 14, 2024 @ 10:53am 
Thank you so much for this Guide! :anadinesmile:

If ya make your Mecha anew during a Playthrough then beat that Playthrough and start a new one, are ya still your new Mecha in that next Playthrough or do ya de-evolve back to the vanilla Mecha... thus making that Mecha Blueprint Saving all the more important?
zhadoom Jan 18, 2024 @ 9:06am 
Nice intro into customizing icarus. Thx.