
Instale o Steam
iniciar sessão
|
idioma
简体中文 (Chinês simplificado)
繁體中文 (Chinês tradicional)
日本語 (Japonês)
한국어 (Coreano)
ไทย (Tailandês)
Български (Búlgaro)
Čeština (Tcheco)
Dansk (Dinamarquês)
Deutsch (Alemão)
English (Inglês)
Español-España (Espanhol — Espanha)
Español-Latinoamérica (Espanhol — América Latina)
Ελληνικά (Grego)
Français (Francês)
Italiano (Italiano)
Bahasa Indonesia (Indonésio)
Magyar (Húngaro)
Nederlands (Holandês)
Norsk (Norueguês)
Polski (Polonês)
Português (Portugal)
Română (Romeno)
Русский (Russo)
Suomi (Finlandês)
Svenska (Sueco)
Türkçe (Turco)
Tiếng Việt (Vietnamita)
Українська (Ucraniano)
Relatar um problema com a tradução


I also checked just bellow, as my old comment says, other guides have the same code.
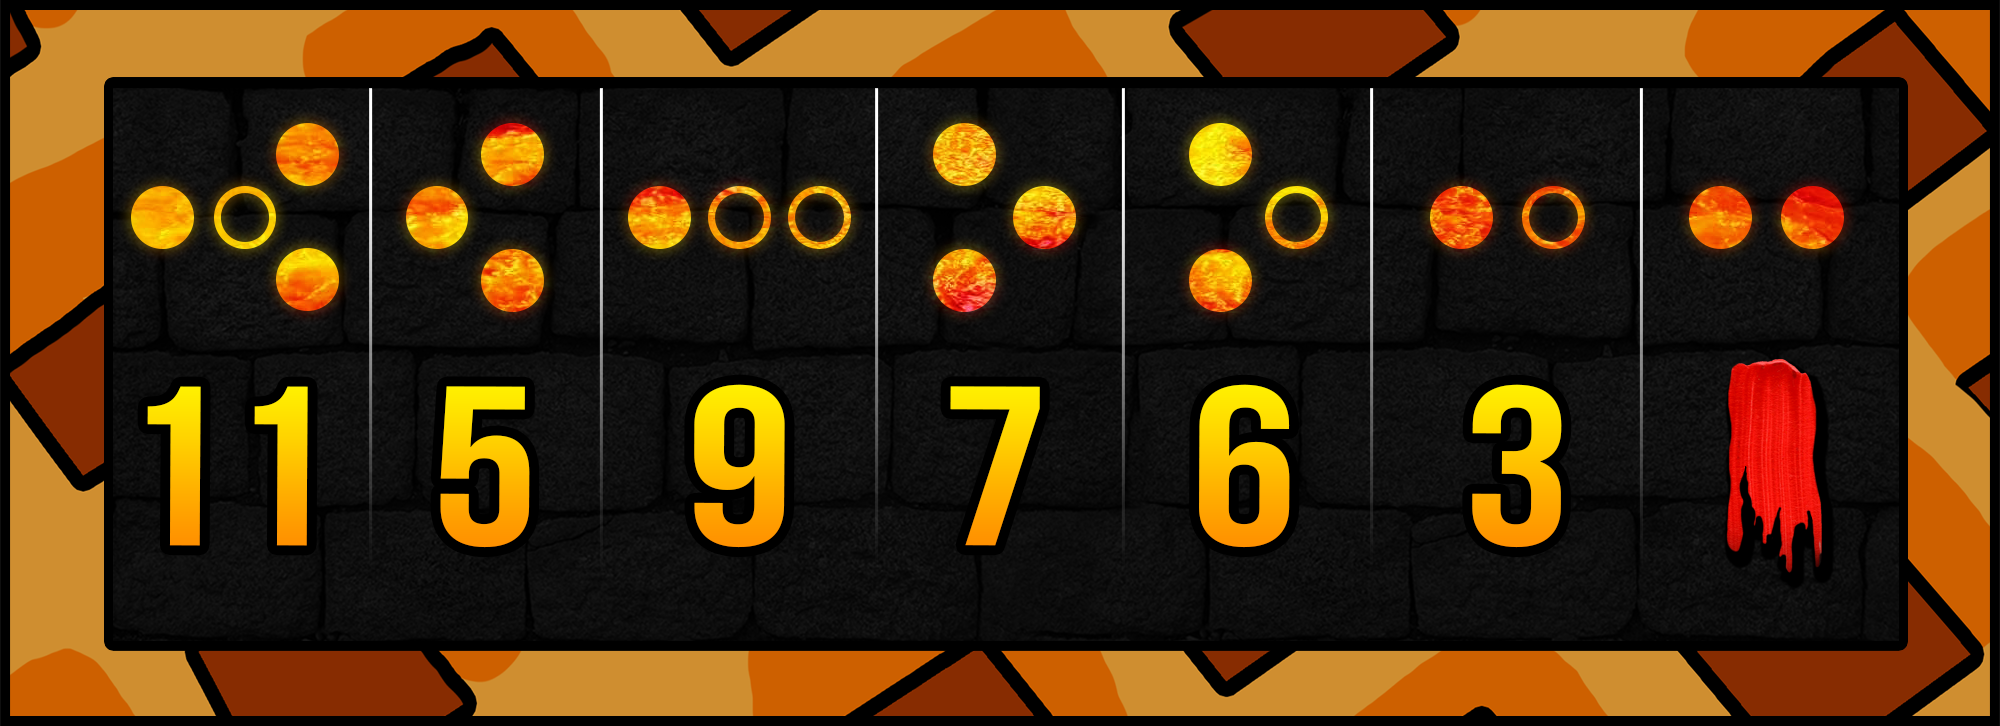
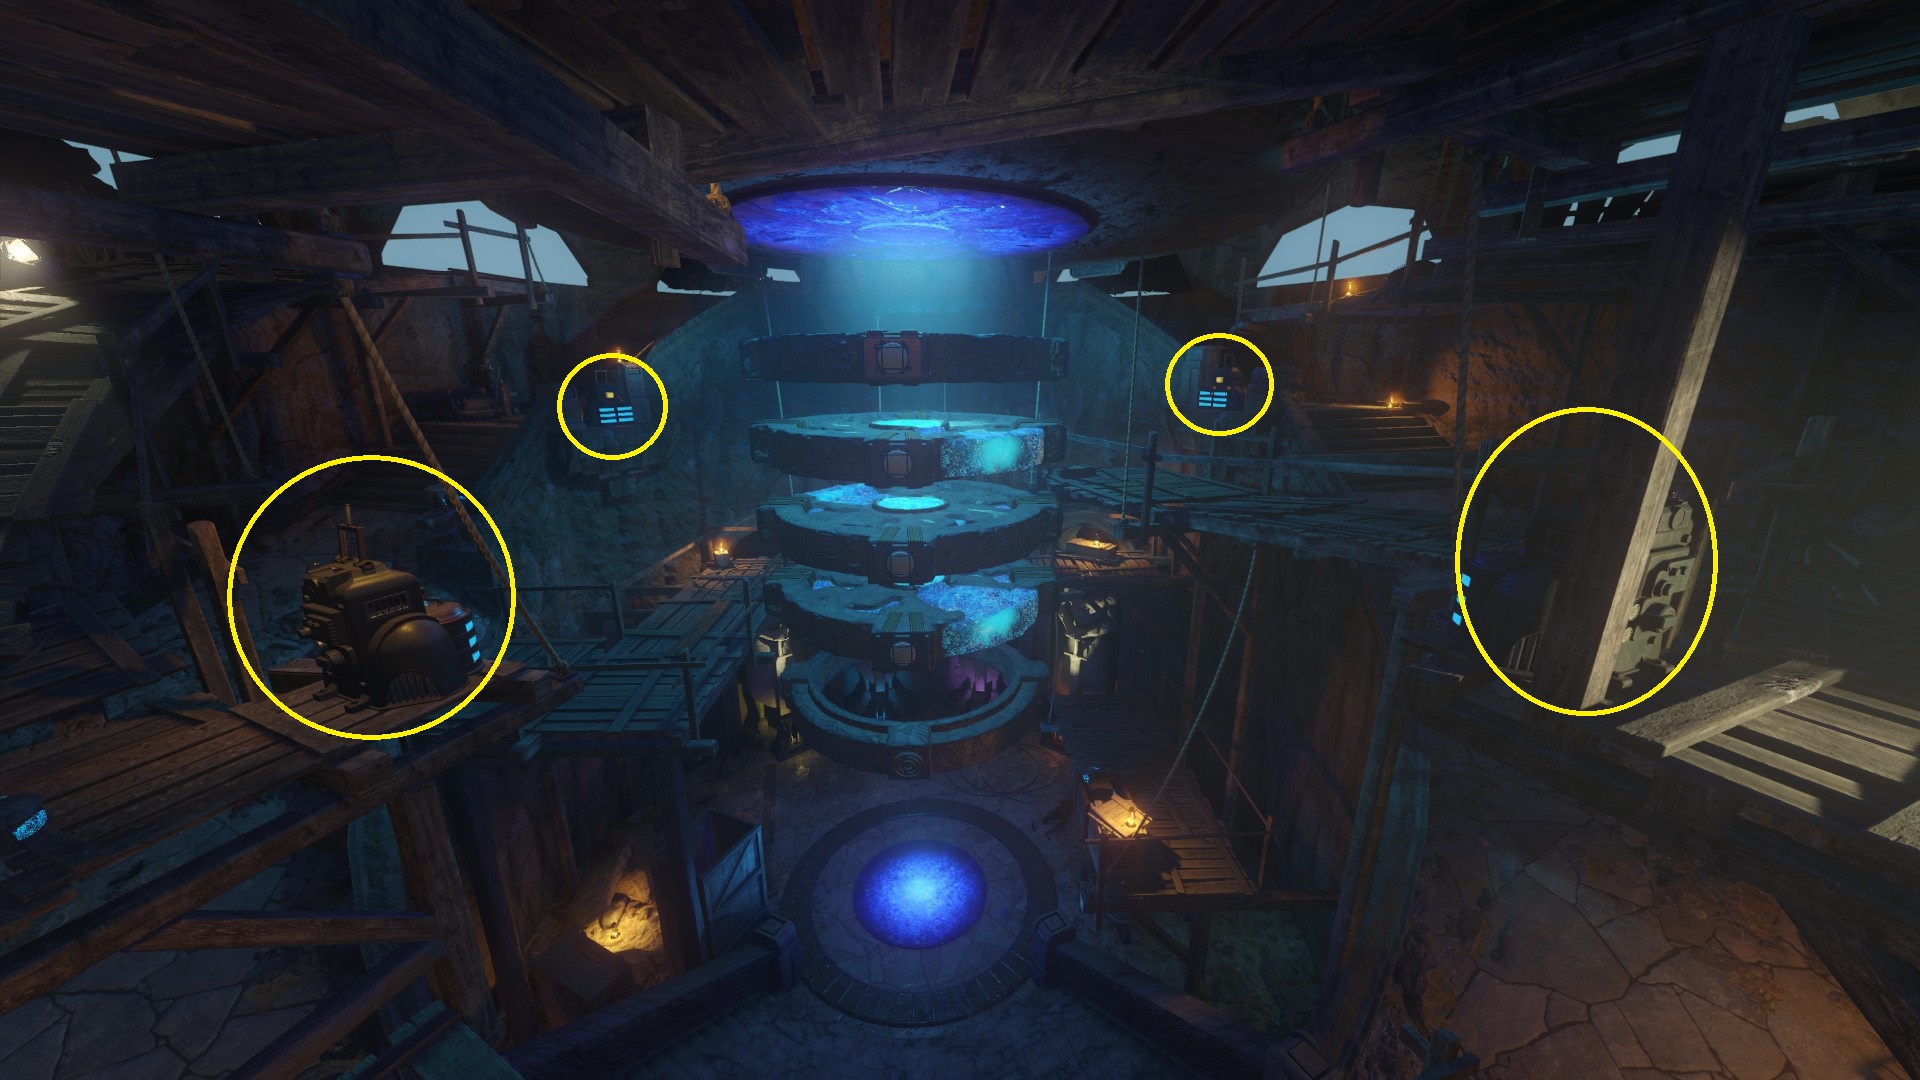
so in order:
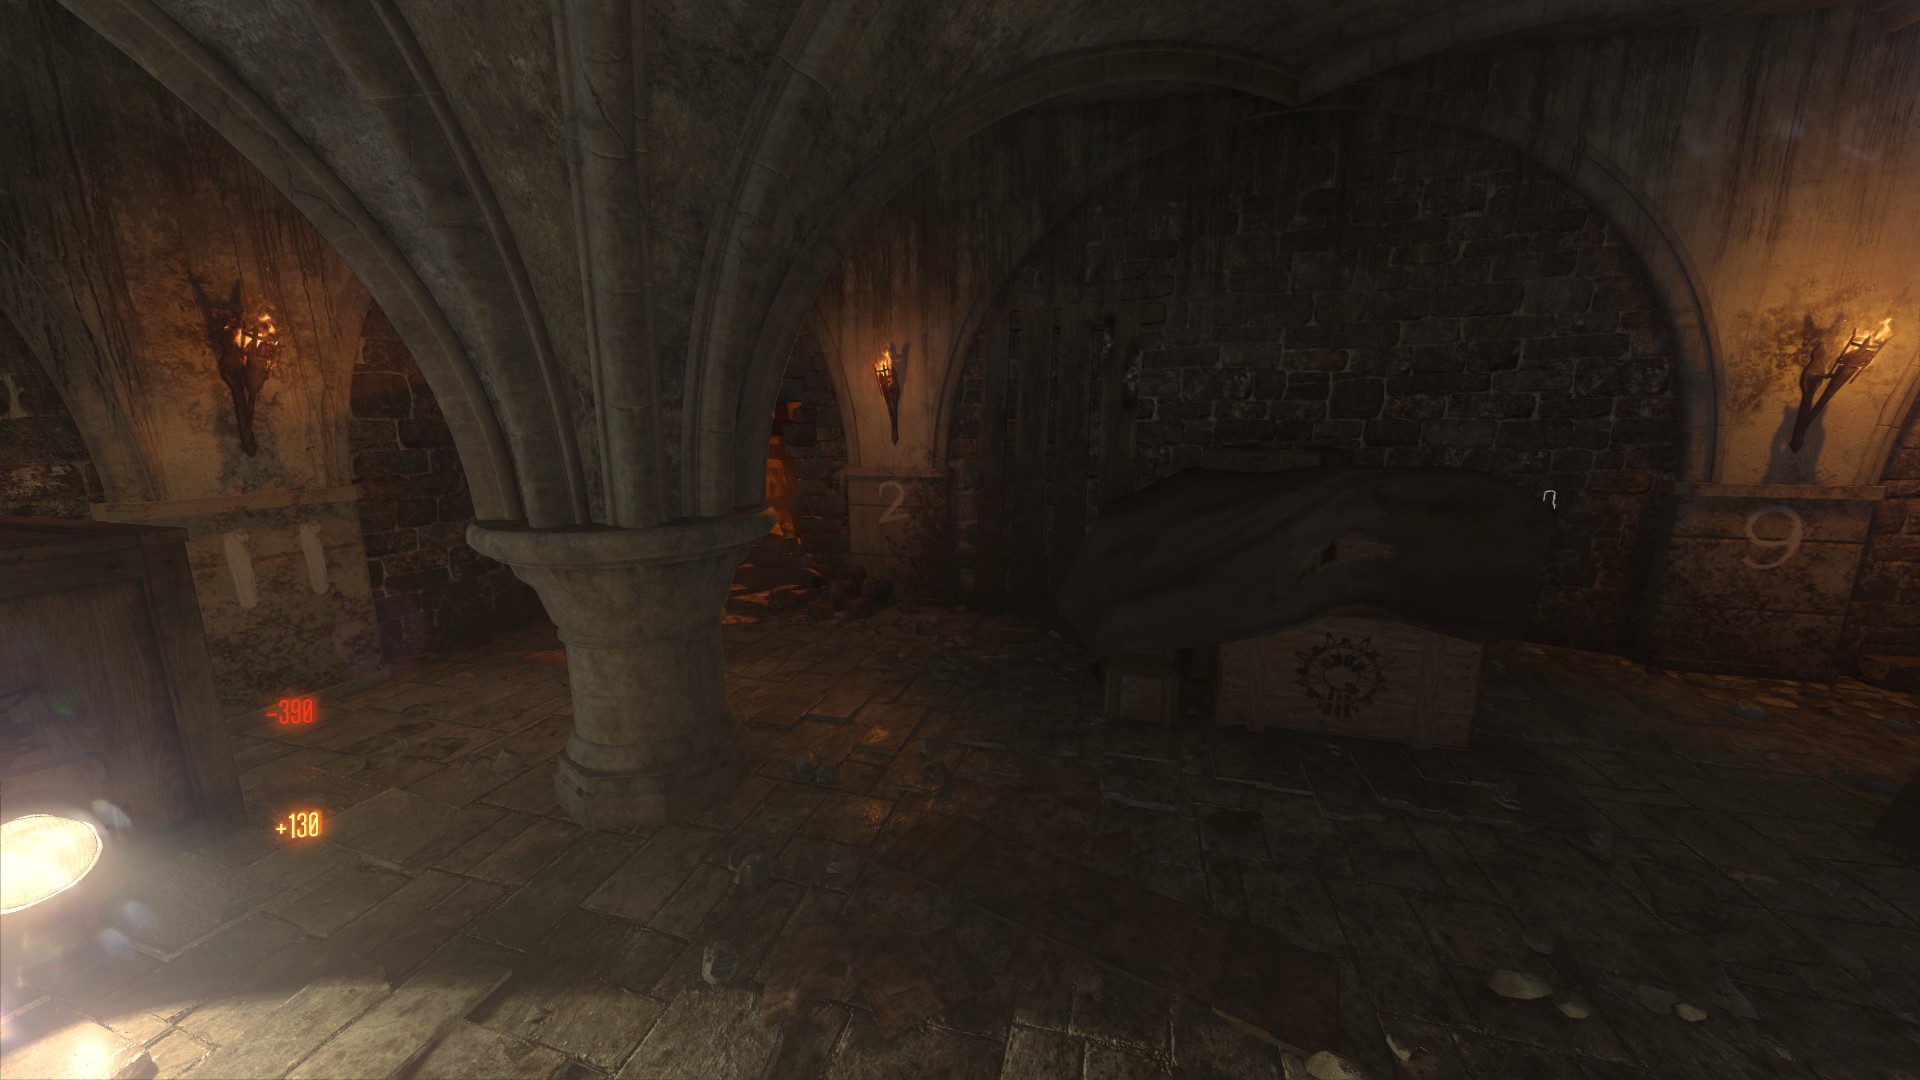
spawn is left
tank station is down
gen 4 is up
upstairs church is up
downstairs curch is right
gen 5 is down
excavation is up
your welcome in advance
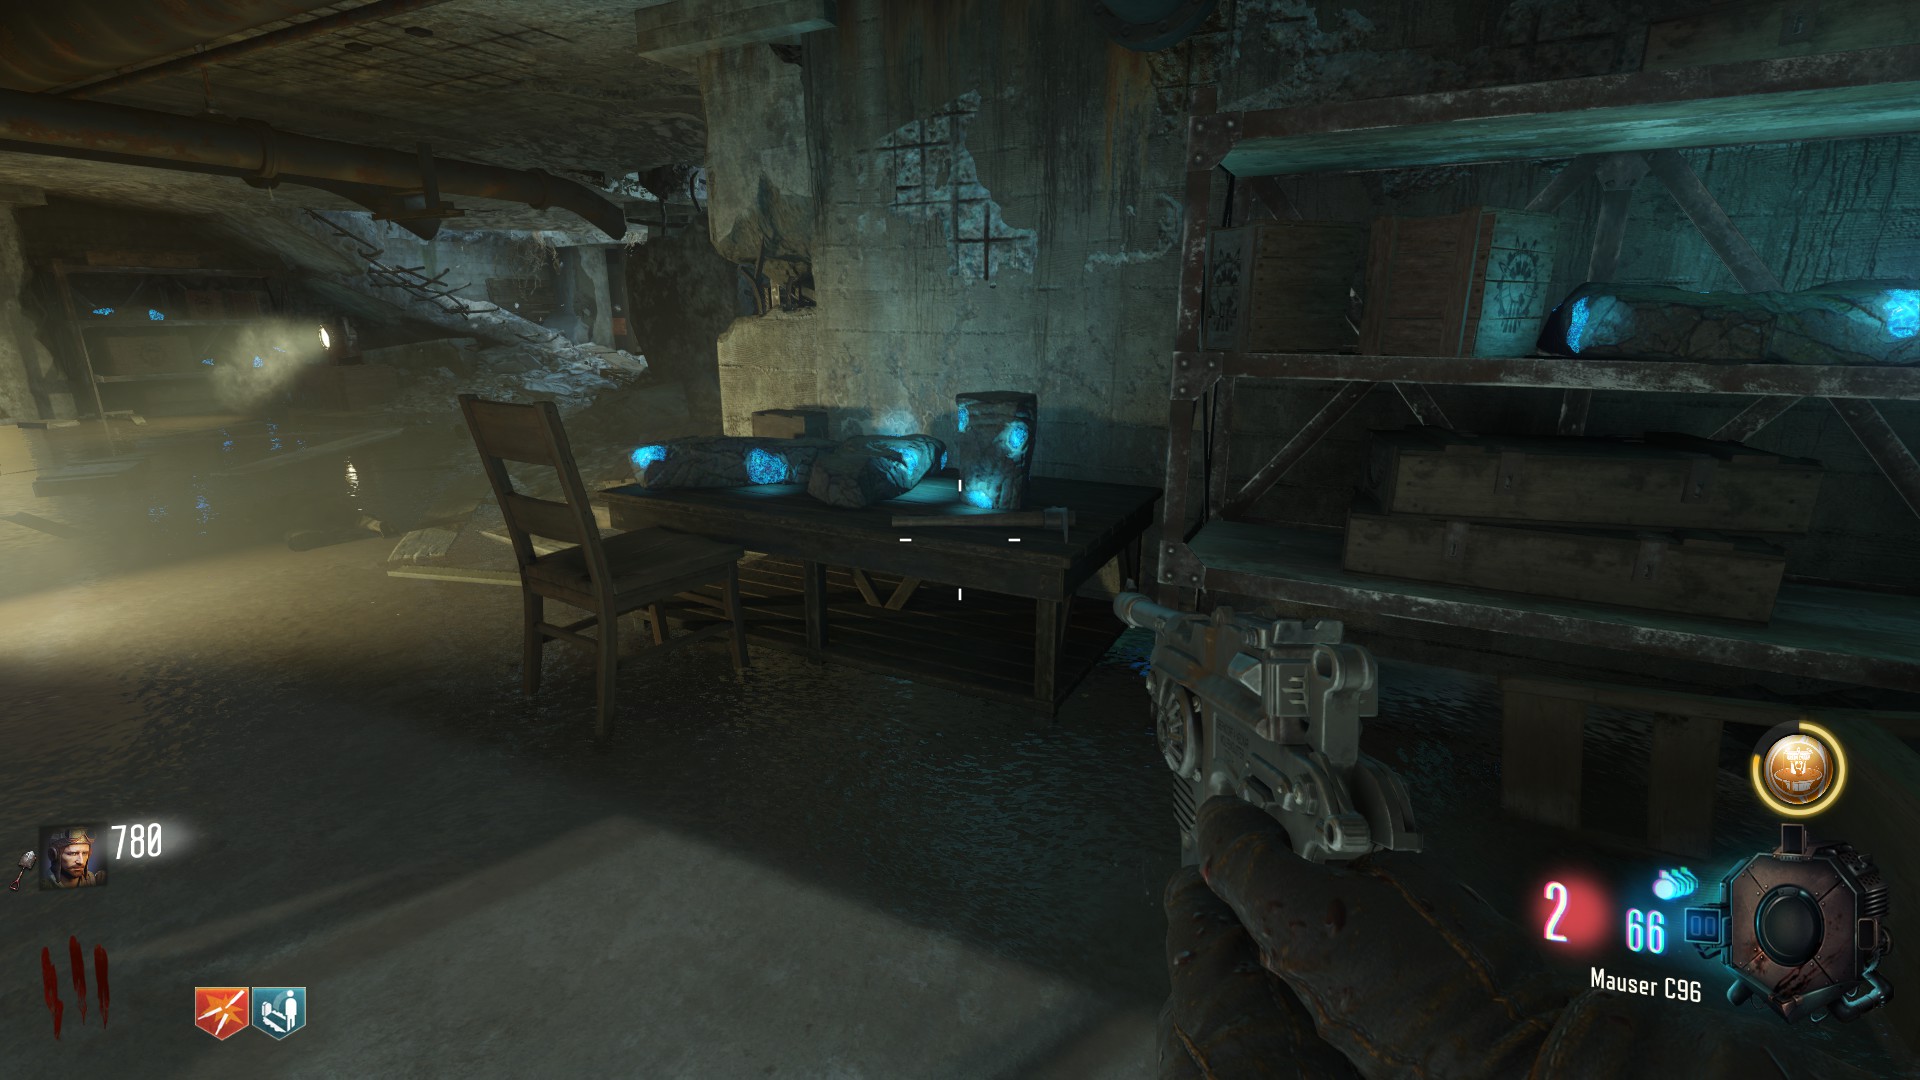
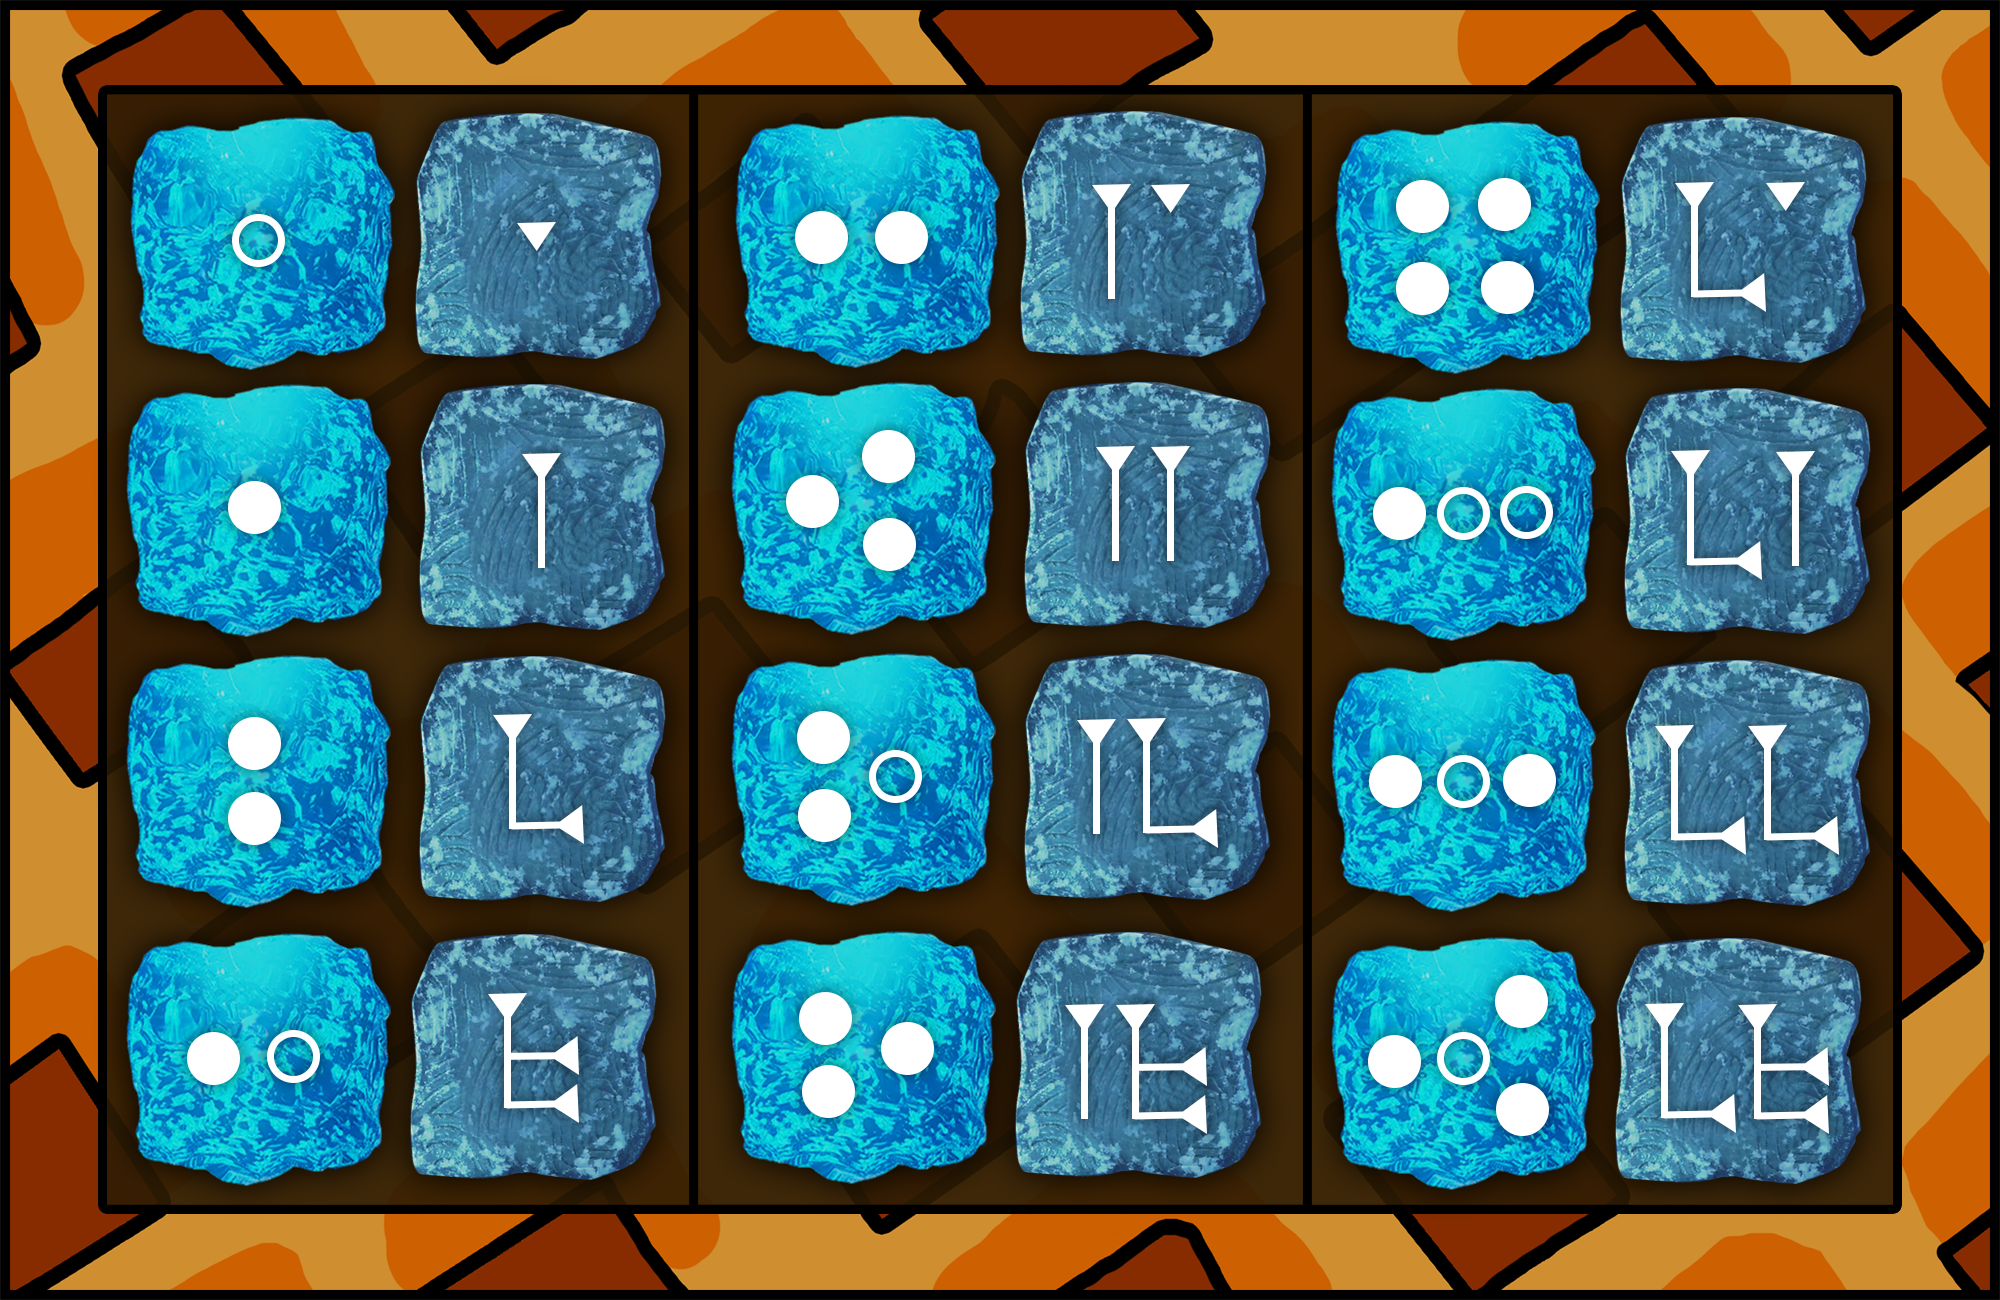
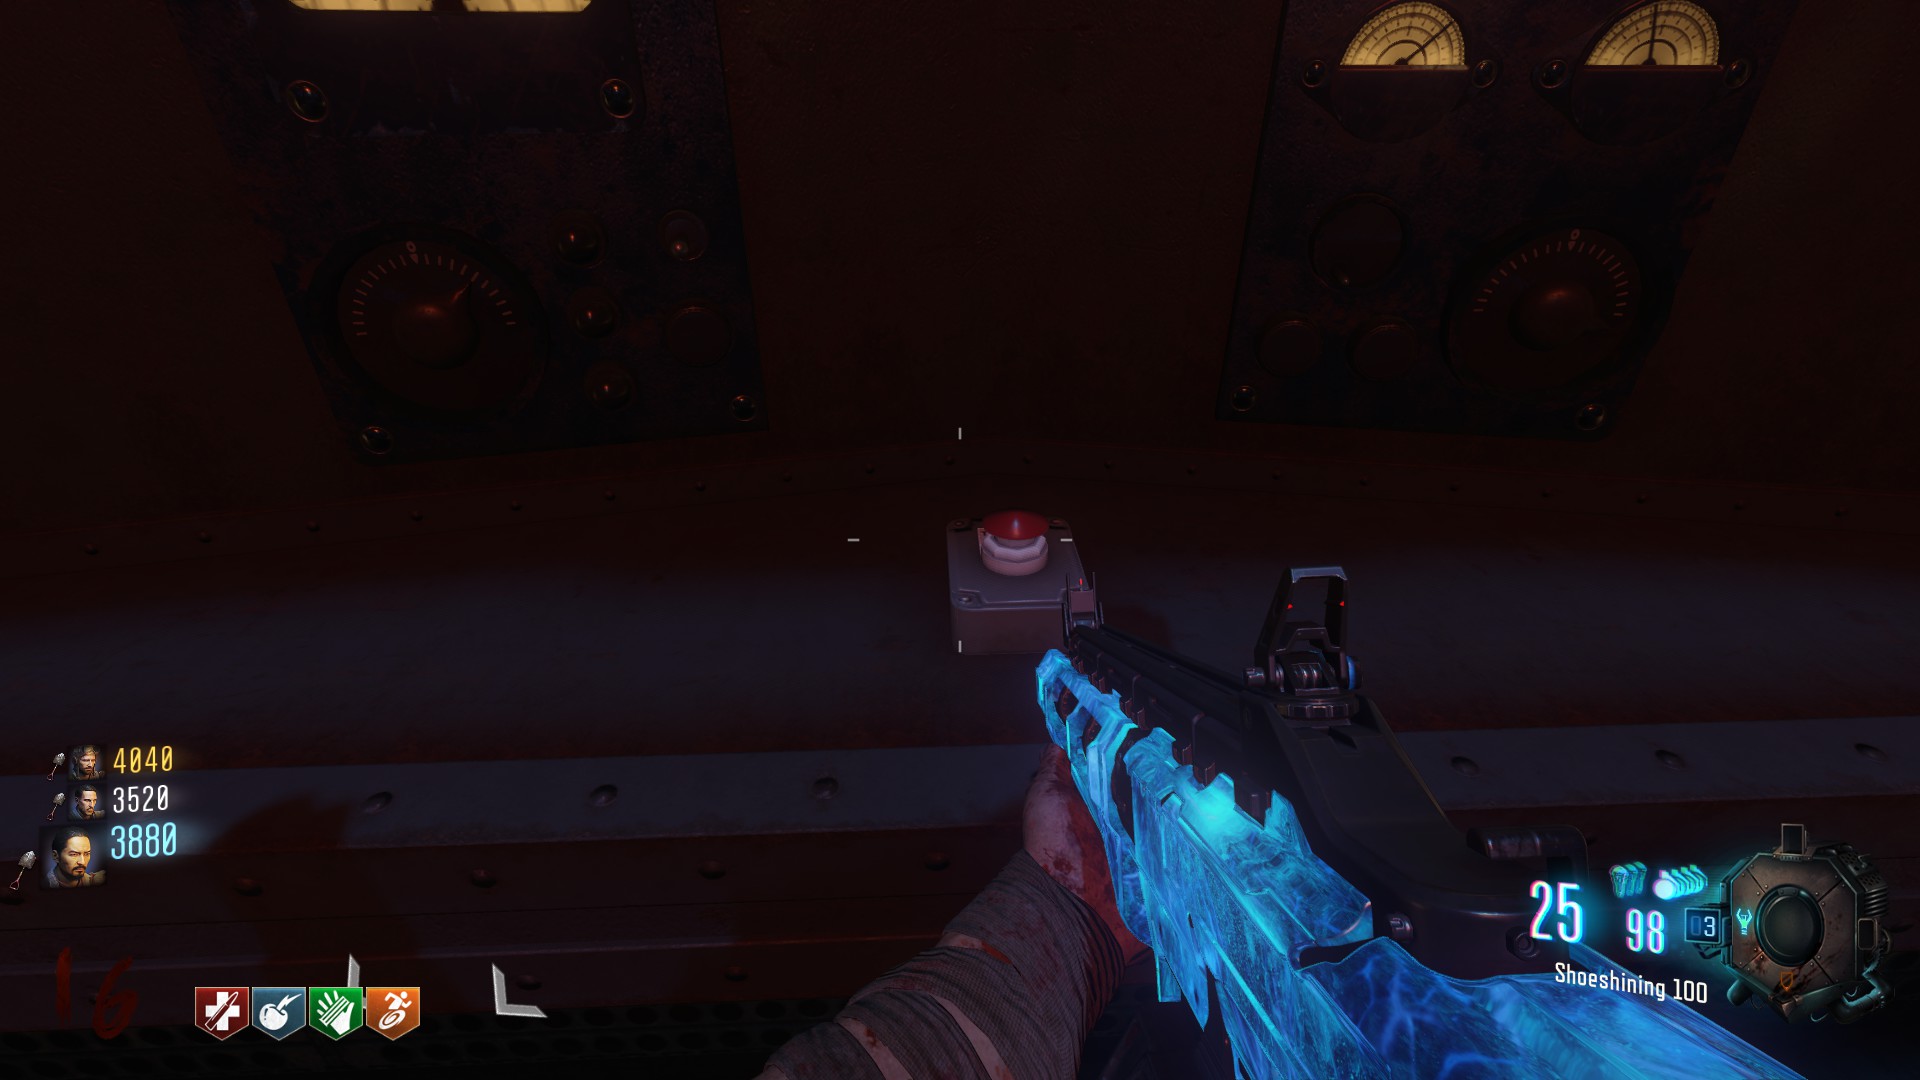
Make sure to point with the longest part of the dial towards the direction displayed in the guide.
Another guide on Accelerated ideas have the exact same infos https://www.accelerated-ideas.com/news/origins-lightning-staff-upgrade-steps-zombies-chronicles.aspx
And right here a comment on reddit has the opposite infos but say they used the small part of the dial to point; so it's literally the same conditions. https://www.reddit.com/r/CODZombies/comments/12sbfsq/need_some_help_upgrading_the_black_ops_3/
I'm gonna give a look into the lightning part as it seems to be all over the place, thanks a lot.
Guide will be updated as soon as possible.
Difficult to understand somewhat, and the comments are mentioning it incorrect.
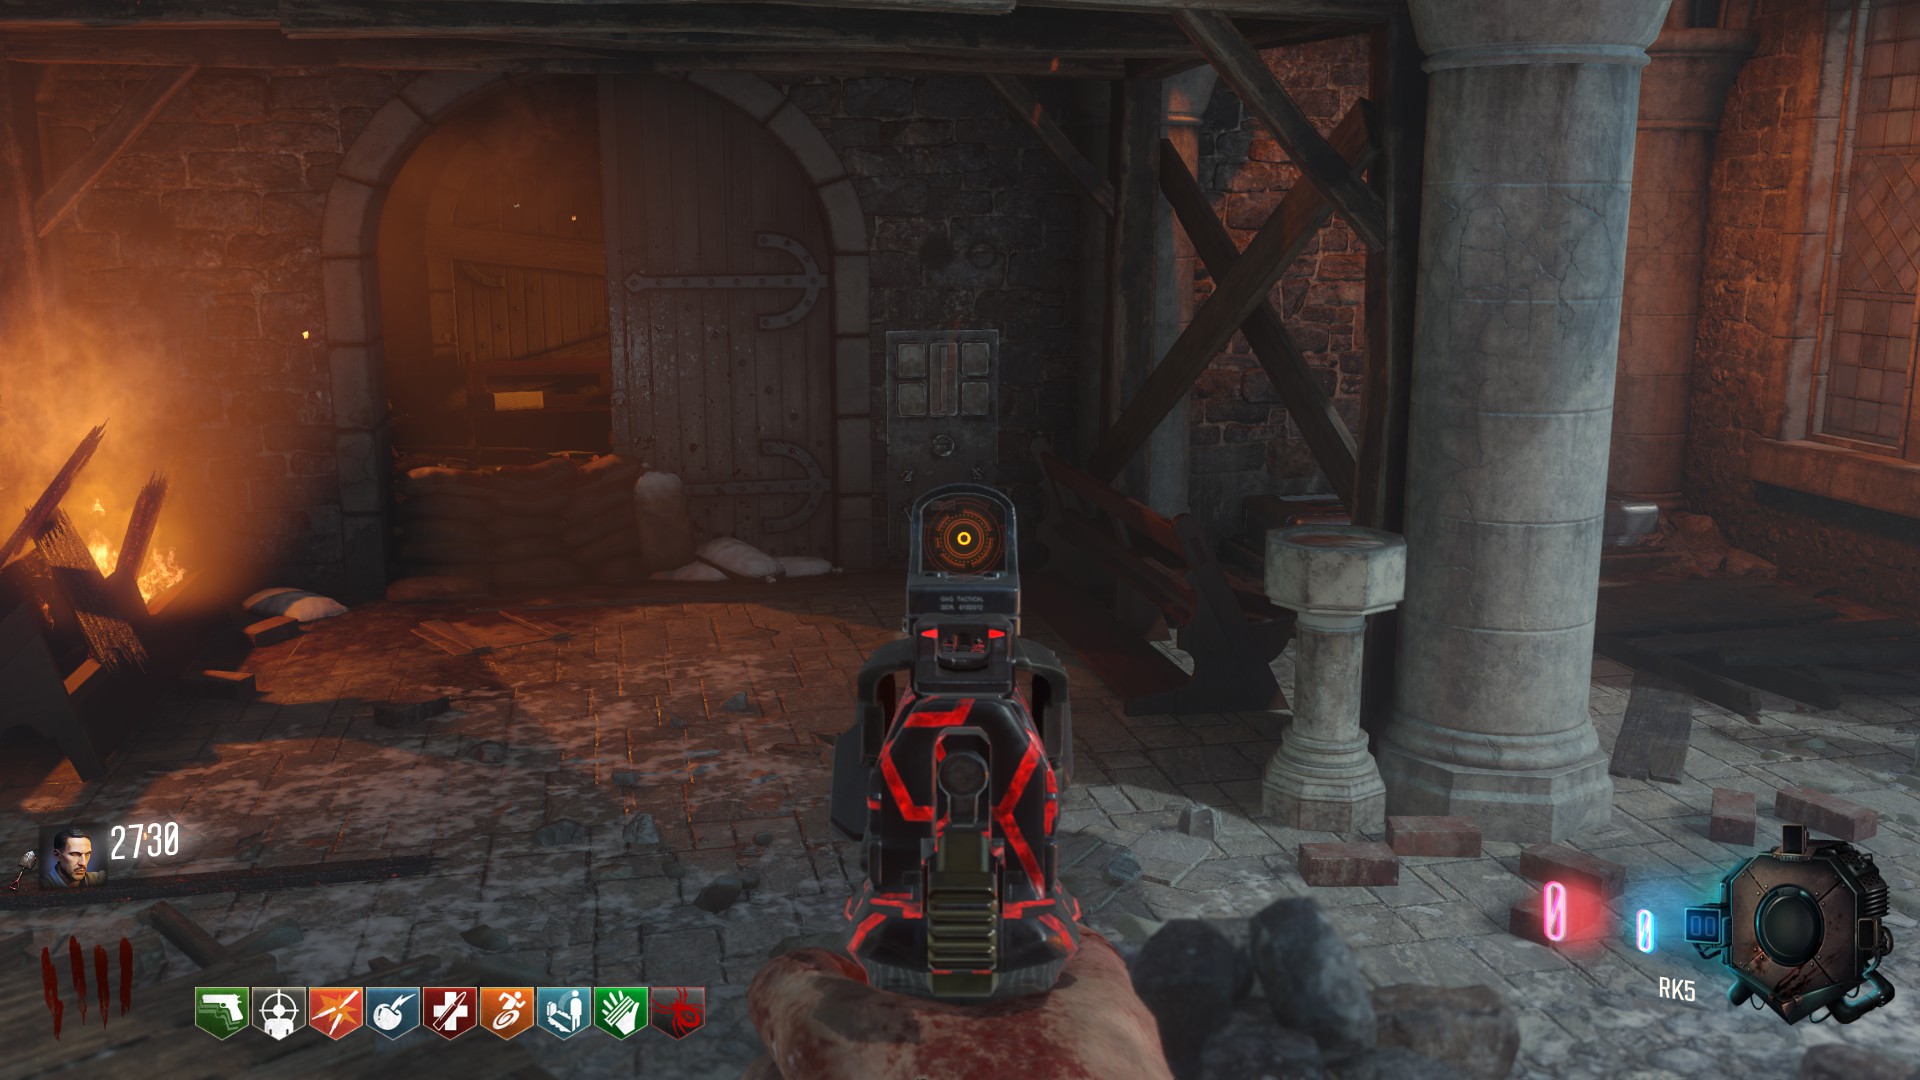
Otherwise this an amazing guide! Great refresher, and I enjoy the screenshots since it makes it way way easier than some other guides.
Imma give you a reward, a like, and a favorite. I plan on returning! Thank you <3!