
Install Steam
login
|
language
简体中文 (Simplified Chinese)
繁體中文 (Traditional Chinese)
日本語 (Japanese)
한국어 (Korean)
ไทย (Thai)
Български (Bulgarian)
Čeština (Czech)
Dansk (Danish)
Deutsch (German)
Español - España (Spanish - Spain)
Español - Latinoamérica (Spanish - Latin America)
Ελληνικά (Greek)
Français (French)
Italiano (Italian)
Bahasa Indonesia (Indonesian)
Magyar (Hungarian)
Nederlands (Dutch)
Norsk (Norwegian)
Polski (Polish)
Português (Portuguese - Portugal)
Português - Brasil (Portuguese - Brazil)
Română (Romanian)
Русский (Russian)
Suomi (Finnish)
Svenska (Swedish)
Türkçe (Turkish)
Tiếng Việt (Vietnamese)
Українська (Ukrainian)
Report a translation problem


It was SO BIG that I had just read over the part.
Unfortunately, I come straight to the next problem:
I can't open any map folders with the "Show in Explorer" button, because the option (button) is gray (not deposited / selectable) in my Terry.
Thanks for answering
I mean the links You introduced at the beginning: "0. Before we begin"
``...
Second, it's highly recommended that you download this fix:
https://me.ga.nz/#!20IhwQrS!WXo7GBmdgqQYVokSBbehTDE47aZUFpxX9WNfK-22K0g
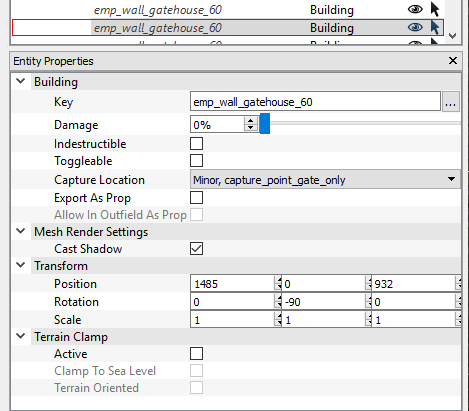
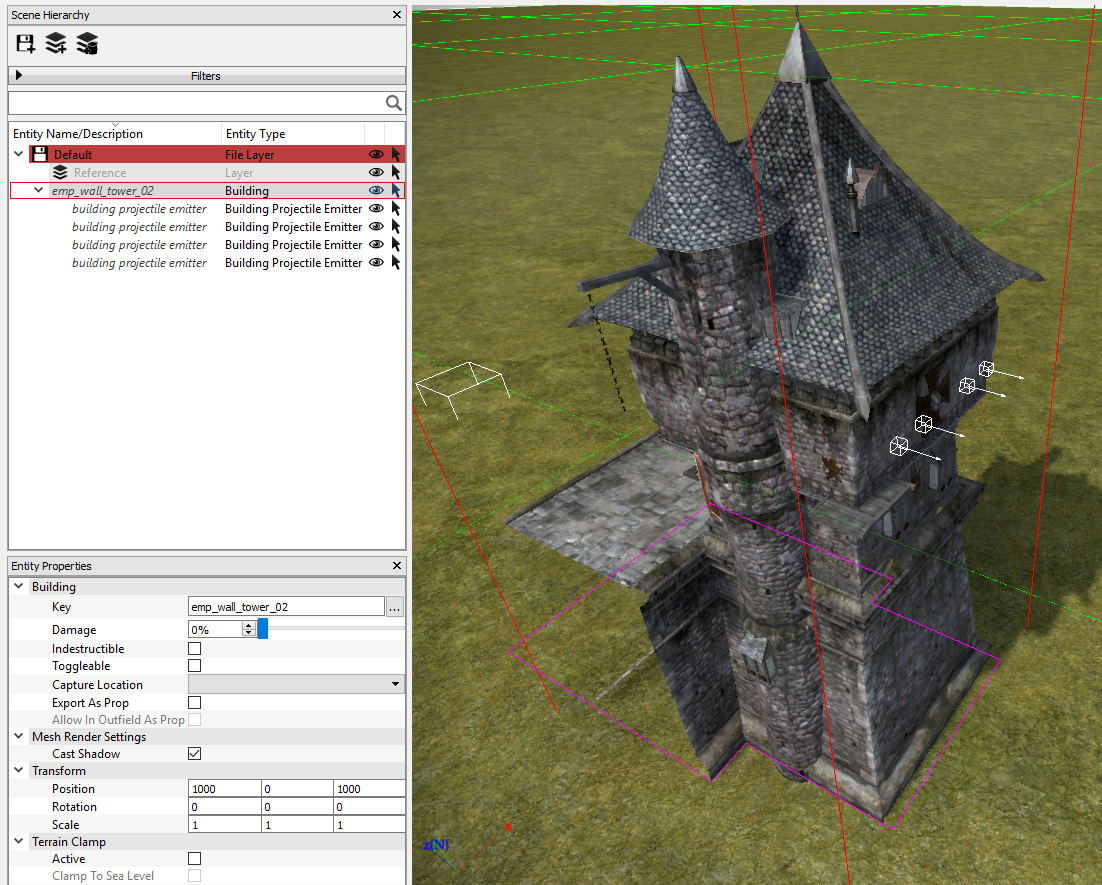
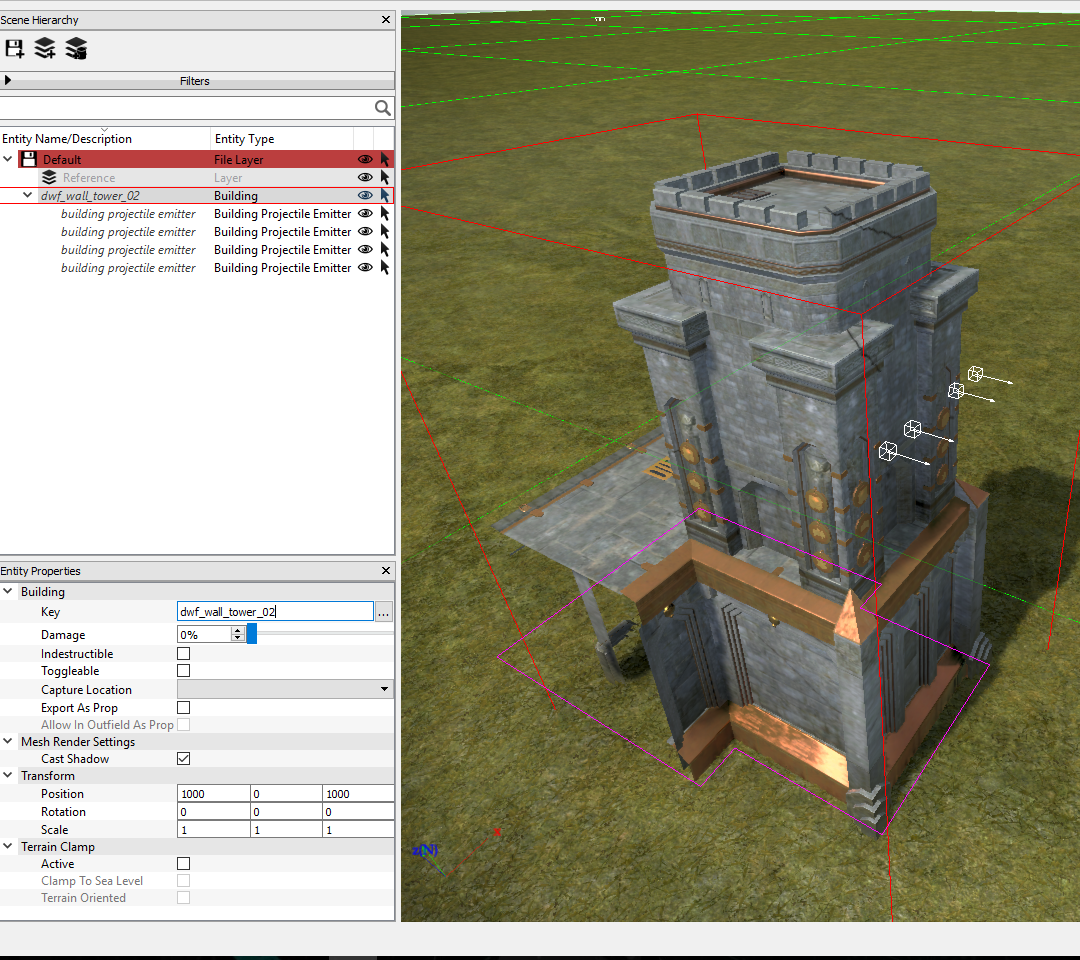
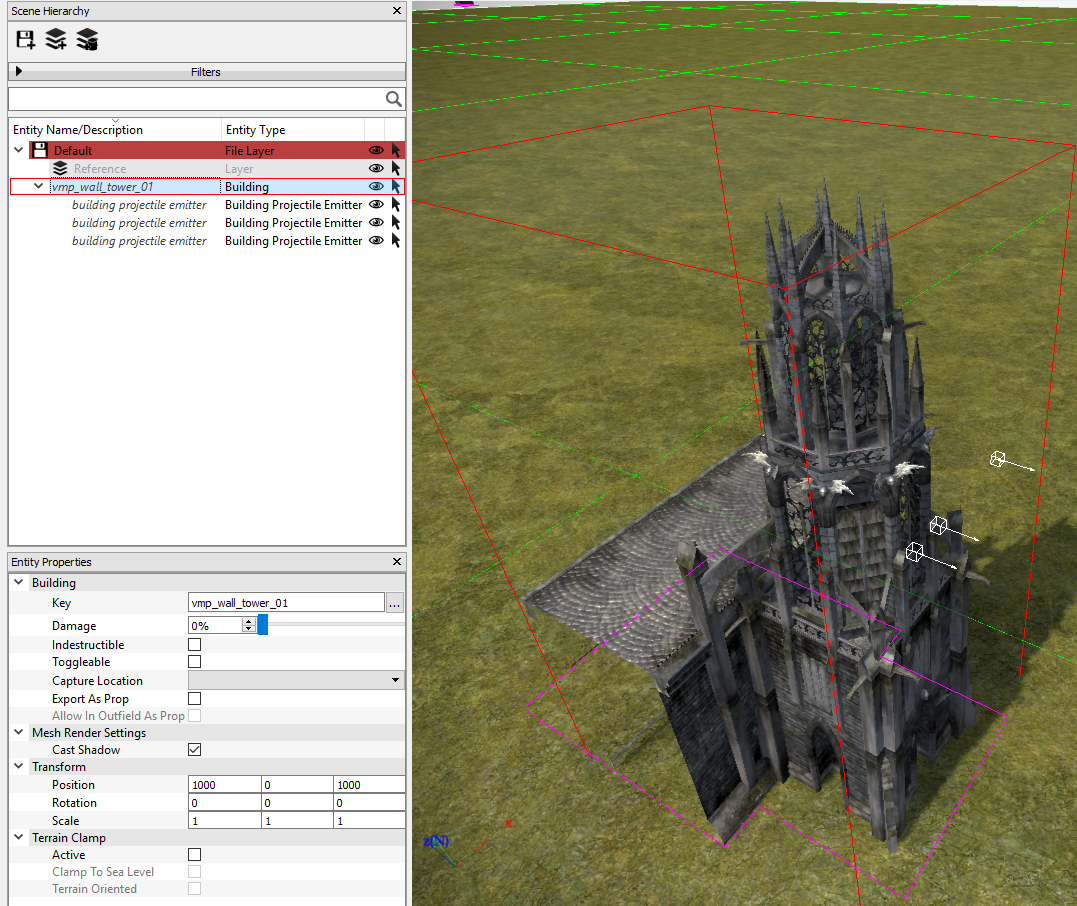
It will allow you to use disabled-by-default buildings like gates, walls, etc... in Terry. Just drop that pack file in "whereyouhaveinstalledTotalWarWarhammer/data".
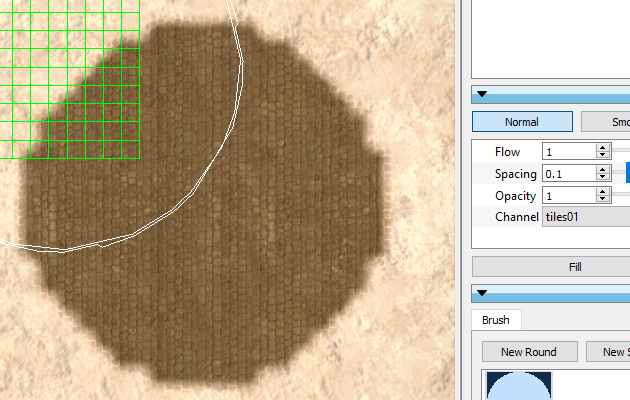
To check if it's working, just open Terry and click on "Buildings". Some new towers should have appeared in the bottom of the list.
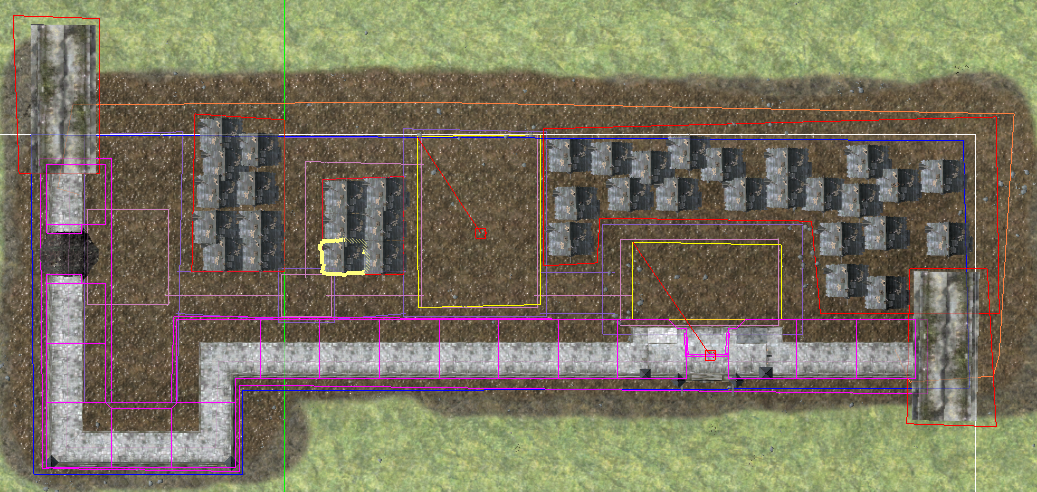
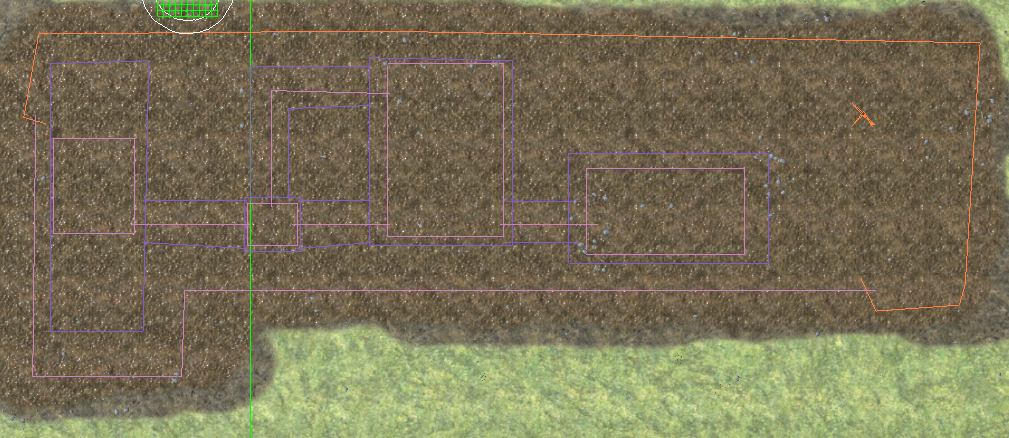
Also, it's also recommended that you download this map for Terry (unpack it in Total War WARHAMMER\assembly_kit\raw_data\terrain\tiles\battle\_assembly_kit):
https://me.ga.nz/#!mpRlmZBJ!XKQOPGW1B_k3yV5AhhkaEqnWXJOg4v4aseF8ObY_LAM
This map contains some simple examples of the things on this tutorials.´´
These links don't work anymore
Dear friend
I've recently discovered creating maps and I'd love to create immersive landscapes.
Unfortunately, the links on this page are out of date and I would like to ask You to re-deploy the tools.
Dear greetings from Germany,
Tobi