Turok 2: Seeds of Evil

Turok 2: Seeds of Evil

51 ratings
HARDCORE tips and tactics
By Ryncage
The things you need to know to survive this challange. Going over enemy damage values, changes between hard and hardcore, as well as a small summary of what to expect on a level by level basis.
   
Award
Favorite
Favorited
Unfavorite
What will this guide do for me?
This guide will help you by giving you the knowledge you need to take on the challange that is the hardcore difficulty setting. It's not going to hold your hand and walk you through every level and encounter, but it will arm you with the best ways to maximize your preformance and increase your chances of victory.

This guide is a work in progress, and will be updated with more information moving forward.

But for now, lets dive right into it.
Biggest Changes between hard and hardcore.
1.Enemies have more health. This is most notable in the fact that explosive shotgun shells fired from the standard shotgun will no longer kill tougher enemies in one hit. The majority of enemies during hardcore will be bullet sponges unless you aim for the head. It means conserving and making the most of your ammo is much more important.

2. Enemies deal double the damage they dealt on hard. We’ll go over this more on a per-level basis, but this makes every health pickup that much more important, and preserving them on the map for when you backtrack for keys or ammo will save you a lot of trouble in the long run.

3.There are more enemies placed across each map.
Just like hard has placed additional enemies on each map, Hardcore takes it a step further, Nearly tripling the number of enemies you’d find in some areas.

4.There are far more respawning enemies. Backtracking is made much more dangerous since now, far more enemies respawn throughout each area. It’s best to grab everything you need in an area before moving on, and missing a mission objective or a key can cost a heavy toll on your ammo and health.

5.You only have one life. no extra lives to be earned or picked up. But the good news here is that you can save and load as often as you want too, and you certainly should. There may even be times were you consider re-loading simply because you took too much damage during a fight.

With that said, we'll now move to some basic tactics to follow in each level.
Tactics
Managing ammo and health
While it's true there are places within each map that continually respawn health and ammo, these places are far and few between. and with the increase in enemy damage and health, you'd be hard pressed to make it from one to the other without depleting everything you've got, So it's critical to manage your finite resources placed across the map.

Avoid wasting pickups. Grabbing a clip of pistol ammo while sitting on 49 bullets is throwing away the other 9 shots for good. Likewise, Picking up +10 health when you're sitting on 93 is wasting the other 3 hp it was worth. You always want to avoid picking up ammo or health unless you're making the most of it. Full health pickups should also be avoided unless you're managing to gain +50 or more out of it, or to top yourself off before a totem or boss fight.

Leave some for later. Since more enemies will be respawning when you start backtracking for keys, Leaving behind additional ammo and health pickups across the map will help you in the long run. It's something worth considering, and not a terribly bad idea to press on with sub-par health, just to keep things on the map. [especially on levels like hive of the mantids where its a long trip from quickwarp to primagen key]

Do it right the first time. You want to minimize the amount of backtracking you have to do, since it will naturally save you health and ammo you’d otherwise be spending on respawning enemies. Picking up keys and completing mission objectives in the correct order, and as soon as their available will save you a lot of resources.

Make the most of Adon.
Unlike the original version of Turok 2, Adon can refill your health and ammo at each checkpoint, instead of just once across the entire map. So plan accordingly to make the most of the full heal, and more importantly: maxing out all of your ammo. [sweet sweet explosive shells]

Be prepared for totem fights. Ammo and health will no longer be spawning for you during some totem fights, so make sure you have everything you'll need before you take them on.

Not everything is worth exploring. Some areas in each map practically ensure you're going to take damage getting to, and sometimes the rewards arent going to be worth it. Health is far more valuable than ammo pickups, so consider what may be off the beaten path before heading there.

Save often. I'd suggest saving before enter each portal within a map, since going back means respawned enemies, and if you remember you needed something from a previous area, you can just reload instead of wasting resources.

know your limits. The bow is one of your most valuable weapons in the game, killing the vast majority of enemies with a single headshot from a regular arrow, But using the bow isn't going to be worth it if it means you'll end up taking additional damage. Lining up headshots can be pretty challenging with the way enemies move, and avoiding damage is far more important than conserving every little bullet. the game is far more generous with its ammo than it is with health.

Now we'll move on to a quick summary of each level and what to expect, as well as going over some solid numbers to help out with the run.
Fake portals
Filled with some of the hardest enemies to deal with early on, you'll want to be stocked up on your high damage ammo before taking these on. It's also important to note that ammo won't be respawning here like on lower difficulties [This was patched and you can find ammo here now]. While you may see some health spawns, the danger is in being swarmed, and taking to long to dispatch enemies, so its a good idea to hold off on entering one of these if you're ammo is looking scarce.


Flesh Eater Sentinels: Throwing a 32 damage grenade with a very quick animation, and cutting you for a measly 5 damage, you'll want to deal with them before they get close and throw anything.
Luckily, they will go down with 1 explosive shell from a standard shotgun, Making them somewhat less intimidating than Endtrails.


Death guards: Shooting you for 8 damage a pop, and slowly throwing 32 damage grenades. While their shots will arc and seem to be homing in on you, you can still strafe out of these projectiles, even at very close ranges. [thanks movement speed buff!]
But you will have to expend 2 explosive shells to drop these guys, And you may be better off saving those shots for the Lords of flesh.


Lord of the Flesh: One of the toughest enemies you'll face. Lords of flesh will melee you for 10 damage, throw 3 consecutive homing bolts dealing 8 damage a piece, and throwing a green homing projectile that will deal a MASSIVE 32 damage on hit.
Also beefy enough to need 3 explosive shells from a shotgun to take down. They'll be most deadly before you manage to get your hands on the shredder and charge dart rifle. Just make sure you have the ammo to deal with them.
Port of Adia
What you can expect from the hardcore version of this level is Endtrails. Lots and lots of endtrails. It'll be important to make the most of your Tek-arrows, considering high DPS of the enemies here, you cant afford to snipe with your pistol this time around.

Raptoids are no more threatening than they were on hard. Their jump attack will hit you for 10 damage, but that's the hardest they'll ever be hitting. They'll still die from one headshot of your pistol and shotgun, so just take them out as you normally would.


Endtrails, the bread and butter encounter of this map, and in far greater numbers than you found on hard.

Their plasma projectile now hits you for 8 damage.
Their grenades will deal a MASSIVE 32 damage on a direct hit.
With their melee attacks dealing between 5 and 10 per hit.

But it doesn’t end there, Endtrails can no longer be killed by 1 explosive shot from your shotgun. Since explosives can’t deal headshot damage in the remaster, it's completely unavoidable. However, a close range headshot from standard shotgun ammo will still kill them in one blast. You're better off saving explosive shells for a long distance last resort, or for the fake portal on this map.
Note however, than two direct hits from your Tek-arrows will still kill an Endtrail.

Raptors are nothing special, 10-12 damage a hit, same old same old.


Compsognathus are more of the same, 1-2 damage a bite. 1 hit of anything kills them.
If worst comes to worst and you somehow end up surounded, 1 Tek arrow or explosive shell directly under you will wipe them all out.


You'll want to be avoiding enemy grenades at all costs the entirety of the run. Eating 3 plasma balls to the face leaves you better shape than biting down on one of those grenades. Even being close to one of them when they go off means 20+ health being taken off.
River of souls
Lots of Endtrails, Like always. And two of the most aggravating enemies in the game: Deadmen and Lords of the dead. The first section of the level that has you riding the Styracosaurus isn't too difficult. The damage reduction from riding it, paired with the generous amounts of health hidden in the section make it breeze for the most part.


Spiders: The little buggers are definitely worth avoiding at all costs on hardcore mode. Smaller spiders will deal 4 contact damage, with larger ones dealing a whopping 8 damage. Arrows fired at these spiders will also vanish, and be impossible to pick back up. This means you're looking at using 1-3 pistol bullets per spider to take them out, or losing an arrow. Disgusting choices either way to slice it up. If at all possible, simply avoid them. But if you choose to run past them, don't let them sneak up behind you during more concerning fights.


Leapers: Nothing to be too concerned with. Wait for em to stop jumping them put um down. they deal 7-8 damage per hit, regardless of the attack type.


Deadmen: Annoying as can be, because their blood attack is practically hitscan. Unless you have an immediate object to take cover behind, You're going to take damage. And these suckers are hitting you for 4 damage a toss. Often cropping up in large numbers, unless you dispatch them quickly, you'll find yourself melting away and in no condition to fight the sisters of despair.


Lords of the dead: Throwing out a homing fireball that deals 30 damage on hit, and tossing out hitscan blood dealing 4 damage a pop. These enemies also have a massive healthpool unless you headshot them. [aim for their eye, upper part of the head.] One arrow or some pistol rounds will do them in quickly, Id personally avoid using the shotgun since moving in close enough to make good of it will make dodging the fireball almost impossible.


Sisters of despair: The slow moving blue skull will hit you for 20, and their fireballs also hit you for 30. keep some distance, kill any deadmen they spawn and hammer away till they die. Since ammo respawns in all of the sister of despair locations, the fight isn't much harder than normal. Just put extra effort into dodging their attacks.

[will update and add future sections to the guide as more data is gathered. bare with me, its my first guide lads.]
Death marshes
Finally, Less Endtrails to worry about. Although you might want them back after you finish this level.

A lot of powerful weapons are acquired in the death marshes, and it may not be a bad idea to head here before going to the river of souls. You'll also save yourself a couple minutes of backtracking in the river of souls since you'll be able to pick up everything you need in one go, but we're only talking a few minutes worth of time thanks to quickwarp.


Purlin: Oddly enough, the damage on these guys is very inconsistent, but I’ll tell you what I’ve observed. Their normal melee attacks deal anywhere from 10-25 damage a hit. The ground pound will do anywhere from 10-80 damage based on how close you are to the source of the attack, and how long you spend on the ground. If you aren’t being careful, they can and will oneshot you with their groundpounds. You're also looking at 3 Tek arrows to take these beasts down as opposed to the two it took on hard. They are pretty beefy in general so go for headshots to save ammo. [eye level or higher]


Purlin Gunner: The inconsistent part of these guys are their rate of fire. Sometimes you'll get one or two pellets a second, or maybe it'll be 8. Who knows? Headshots and long distances are your best friend here. Strafing will keep you safe at all but the closest of ranges. You’re looking at taking roughly 4 damage per hit. But you have no invincibility frames to their attacks, so if you happen to eat a chain of bullets, your health will drop fast.

Purlin Juggernaught:Heavily armored, making headshots difficult and absorbing damage. Their projectile hits for 24 damage, and their sword swing hitting for 14, with the same groundpound damage as the purlin. Your best bet is going for a headshot, but you have to shoot them in the eyes for the damage to go through. anywhere else on the head will have a chance of damage being absorbed instead, But this will save you loads of ammo compared to trying to kill them with bodyshots. Sniping them from distance isnt a bad idea, nor is using your bow to go for headshots. Their projectile is pretty slow, and you can outrun them, so just back away and shoot em dead.


Cave worm: Popping out of the ground for a surprise 10 damage per lashing. Either avoid their spawns completely or trigger then from as far away as possible and then move out of their attack range.
With no head to target, they absorb a good deal of damage, and can cut away more than half your health before dieing if you pick a fight with them at close range.


swamp wasp: The easiest enemy to avoid in the entire game. destory the nest for some health and ammo, then take them out with your bow or pistol. Theres no reason to take any damage from these whatsoever.


Lair of the blind ones
Certainly one of the more difficult maps on hardcore. Lots of unavoidable damage, tons of annoying spiders, and very fast, very high damage blind ones all over the place. What will get you through this level in one piece is good map knowledge. Knowing what traps are sprung where, what pickups/routes to avoid, and knowing what enemies are where. Best to save quite often on this level especially.


Cave spider: Although quite easy to handle on their own, there’s a couple areas in particular that they assault you with a load of their creepy crawlers running at you, and things can get pretty hairy. Your best options are abusing the charge dart, and going for headshots. Their spit will hit you for 20, and their claws for 6. their head can be quite difficult to hit given all of their attacks put their legs in the way, so your bow isn't a bad choice for them.

Blind Sentinel: Throwing 32 damage grenades even faster and in a straighter line than their fake portal counterparts, their sword swings will only hurt you for a pitiful 4-5 damage in comparison. avoid the grenades at all cost and take them down quickly.


Blind Guardian: These enemies will be the bane of your existence in this level. Shooting a high speed arrow dealing a MASSIVE 36 damage on hit, you may find yourself within one-shot range of their attacks quite often throughout the level. They may very well be worth using explosive rounds if it means avoiding getting hit. The best way to avoid their arrows is to either memorize the timing, or kill them before they get a shot off.


Falling rocks: For one particular segment of the level, rocks start falling and your screen starts shaking. These rocks will do a large amount of damage based on how long the rock is clipping through Turok's character model. you're looking at roughly 8-40 damage depending on the size of the rock that hit you. These rocks however fall in a set pattern, and in predetermined locations, so with the right timing, you can get through the segment without taking any serious damage from them, and its important to try to do so, because guardians and sentinels are scattered throughout the same area.


Nala: More annoying little monsters, spitting at you for 16 damage a hit, and often coming in groups of 4, getting splashed by the entire group means certain death. Damage seems to fluctuate based on how close to dead center their attacks land on you. what makes these things annoying is that while their character model may have a head, they cannot take headshot damage. You're best bet is to take out the biggest gun you have and put them down as quickly as you can. While their first encounter leaves you a full health on the other side, the other encounters won't be so generous.
20 Comments
sergeant343 Jun 13, 2020 @ 9:13pm 
There must have been an update for both Totems and Flesh Portals have Health and ammo spawns now.
DJ Raptor Apr 8, 2020 @ 12:56am 
Goof guide my man! :microraptor:
vin44316 Feb 12, 2020 @ 3:55pm 
This game has been brutal for me so far, I have been streaming this game and my dumbass thought it would be a good idea to make my first play though on hard core. I have been enjoying the challenge but it has been brutal. Currently I am on the level 6 boss.
emoticorpse Feb 18, 2019 @ 1:39pm 
Just would like to a couple of things you may want to mention and posts need to be short...

keep warping back to port of adia-village to that re-spawning item station to load up on health and ammo.

save gold health items for boss fights.

explosive tip arrows are useless for head shots, regular ones work great.

explosive shotgun shells with shredder are best weapon, green shells barely do anything later on.

plasma rifle is great at sniping. many times you can peek around corners and headshot while they can't see you. shoot them even in the foot enough times and they will die.

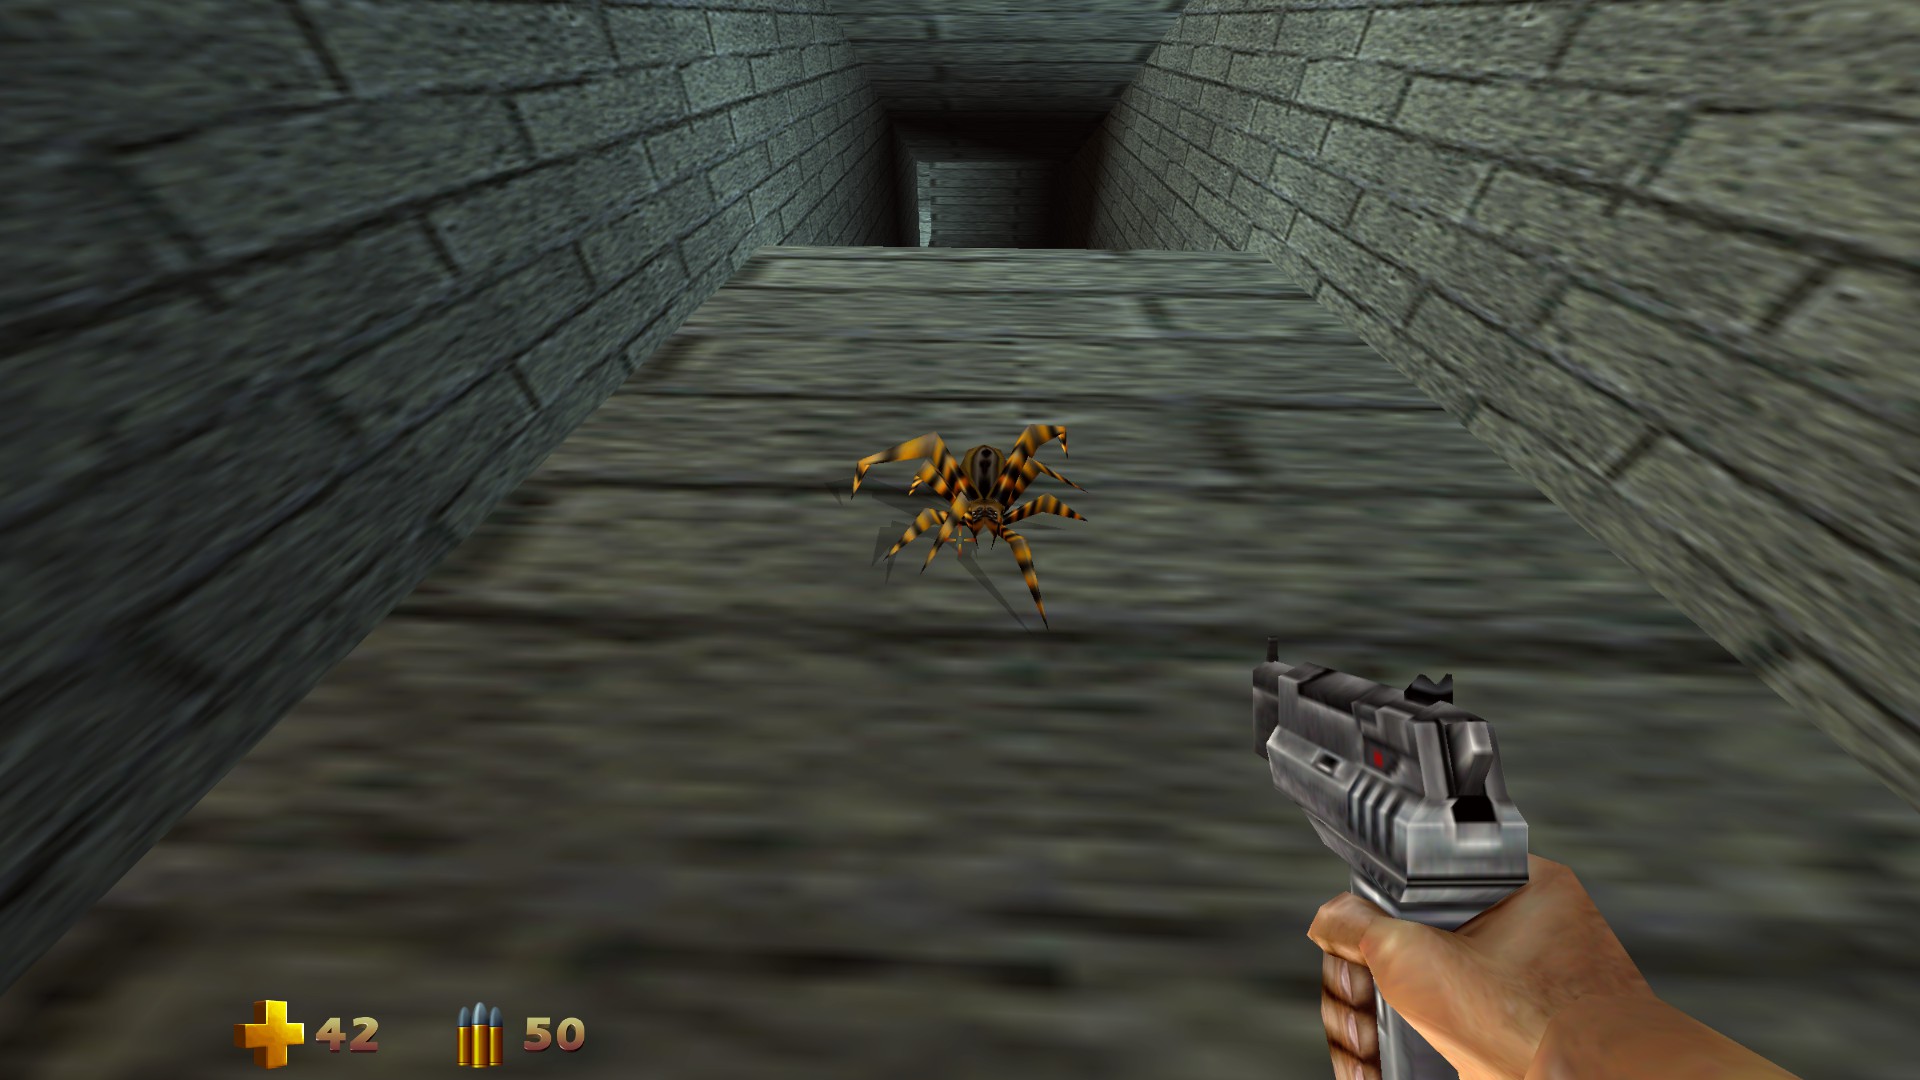
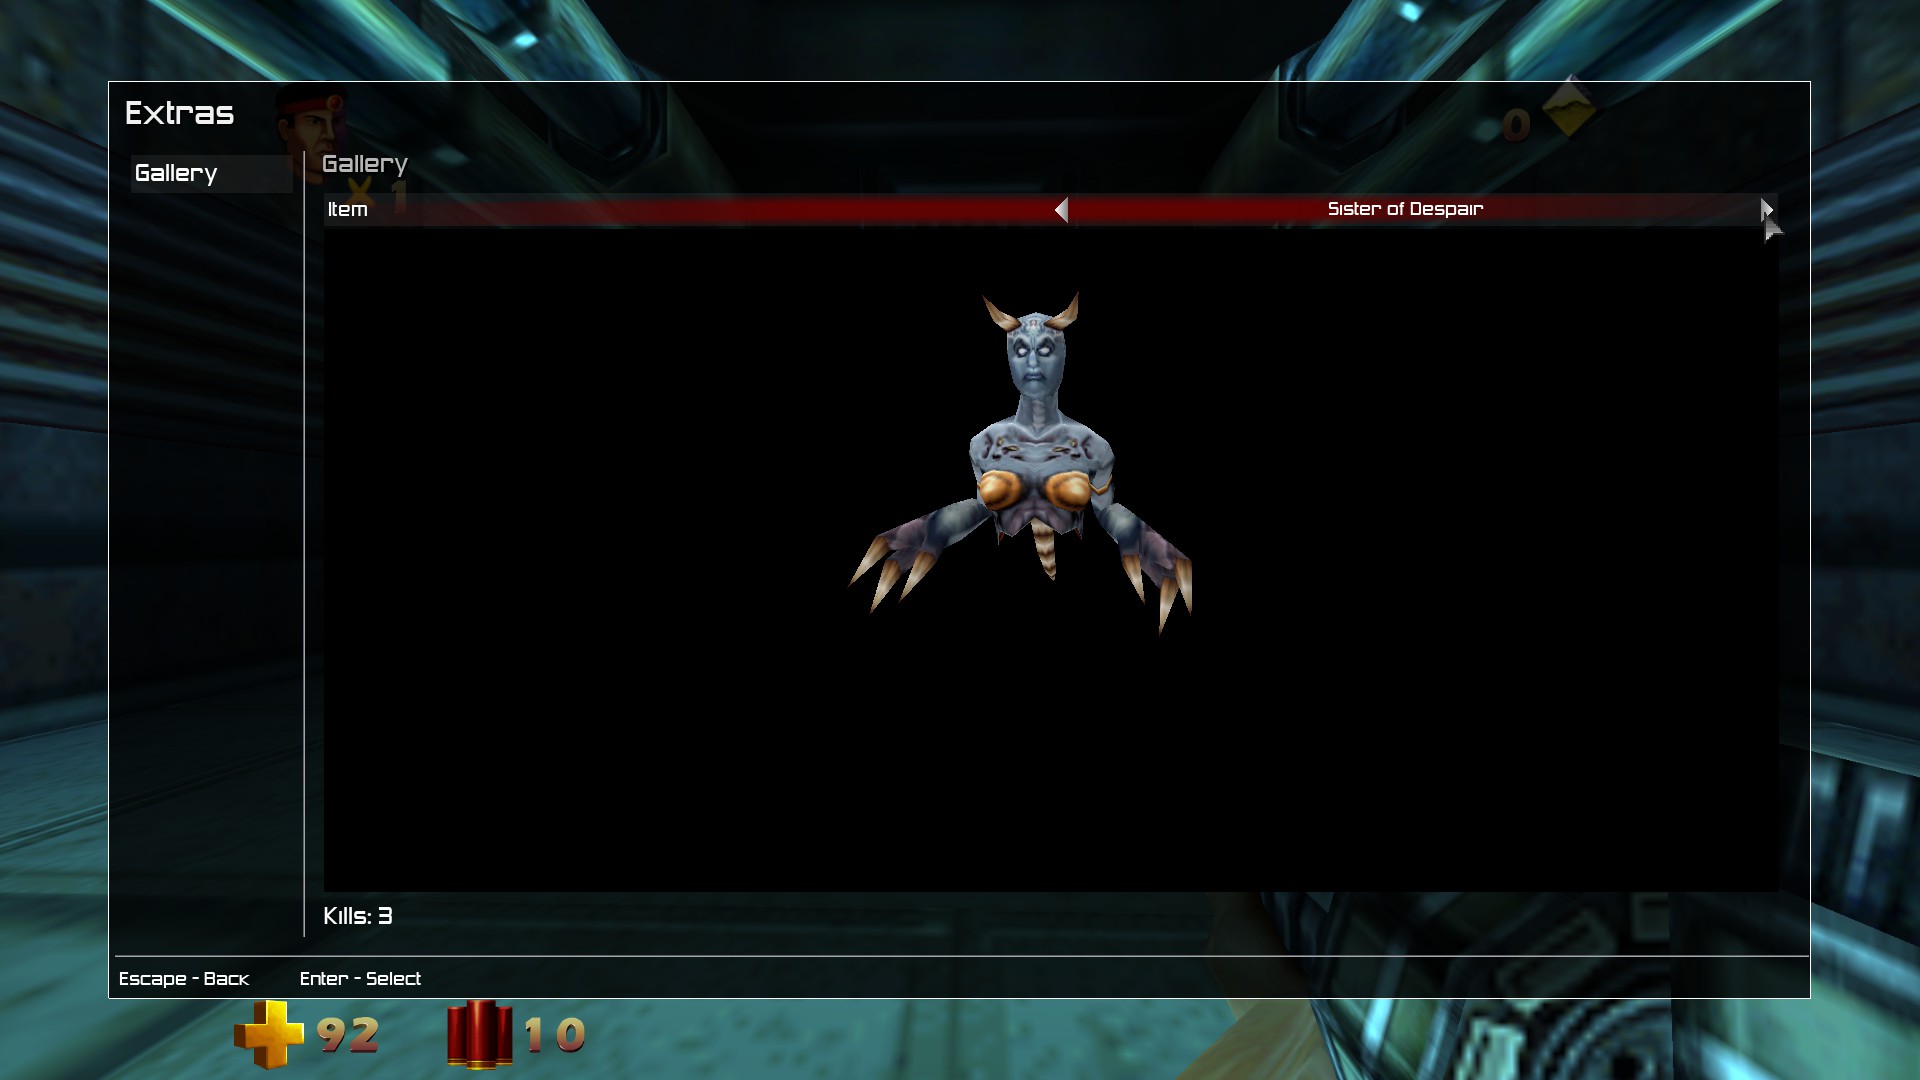
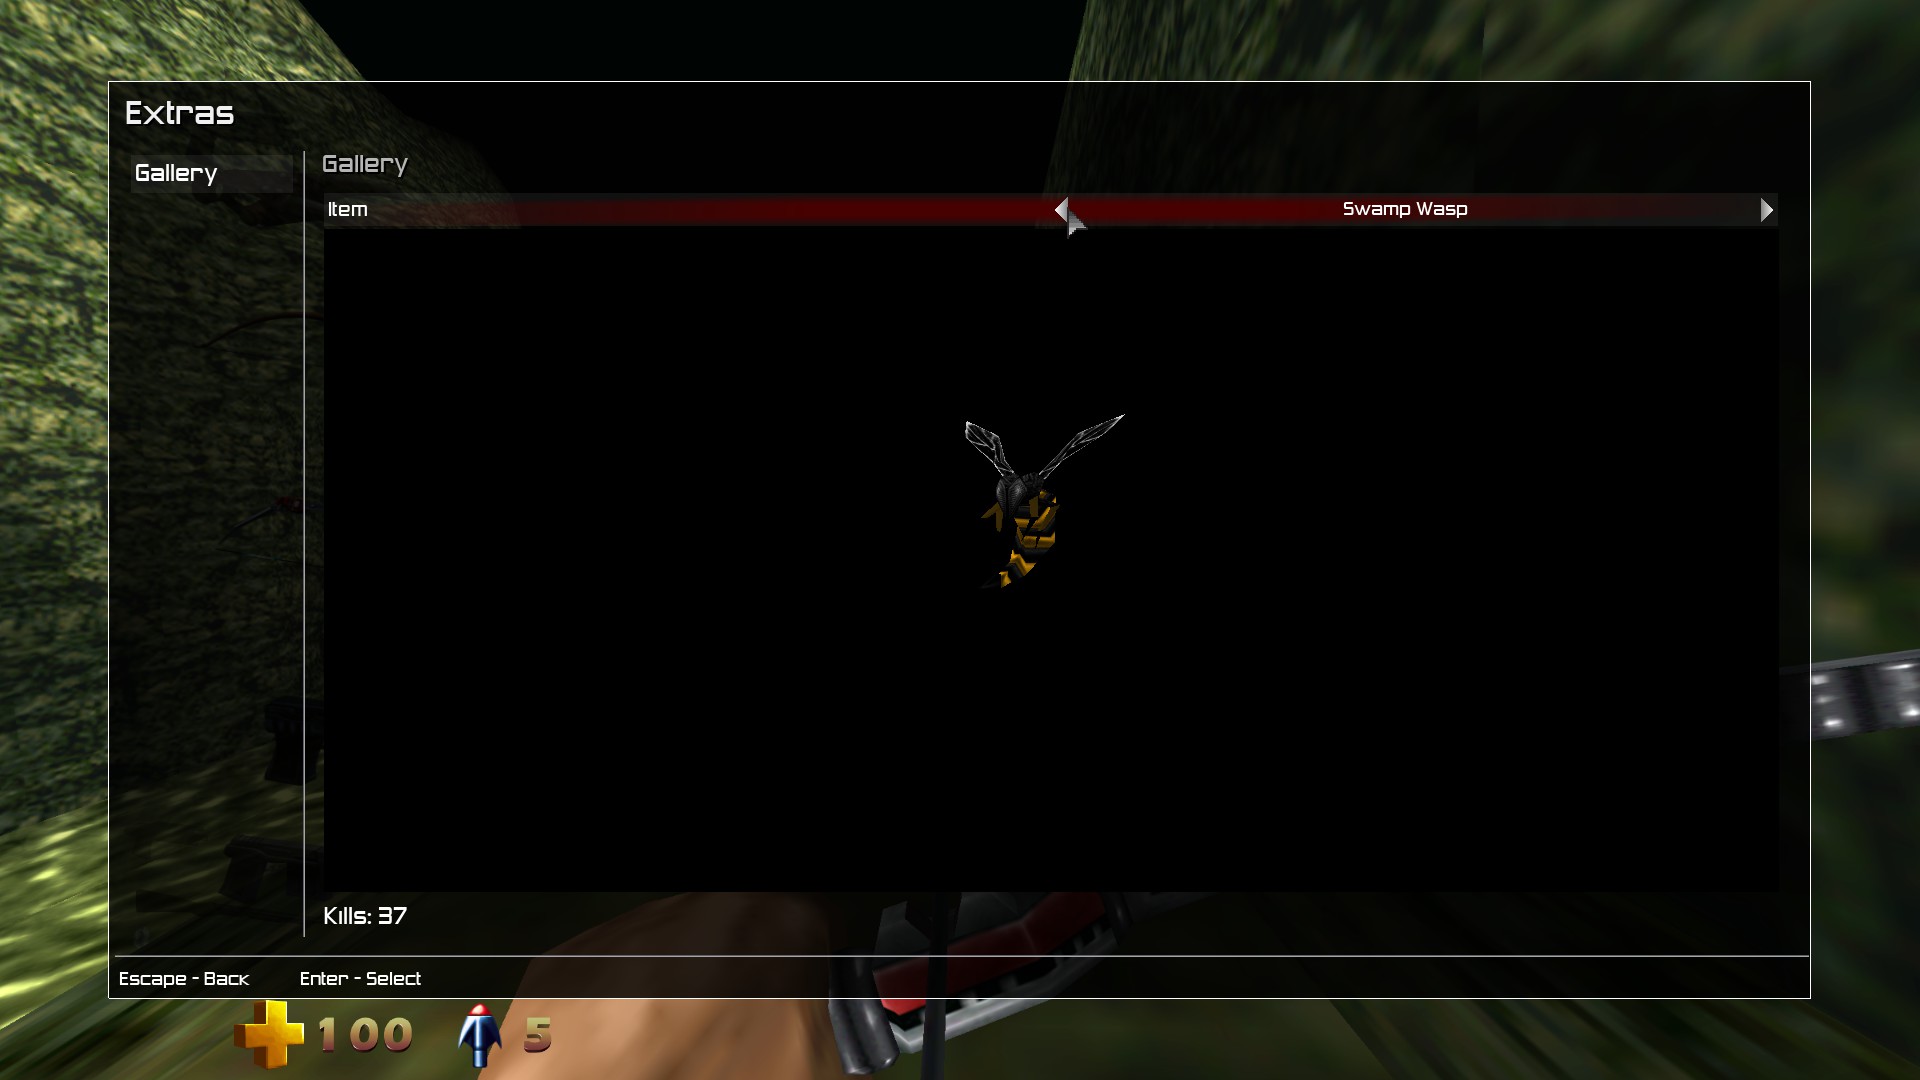
Mine layer is very good at those space flea things. Keep on the run and drop the mine anywhere, then simply keep running and lure them to that mine.

27lueddi87 Jul 21, 2018 @ 3:31pm 
I tried it and it's just too hard and too annoying for me!
I have nothing against a challenge but this is just abnormal!
I do not want to know how it was back then on the N64! :steamsad:
Harmian Dec 24, 2017 @ 7:56pm 
You should really especially mention the sentries in the hive of the mantids.40 dmg + their projectiles sometimes clip through wales.
Bamethyst38 Jun 22, 2017 @ 7:24pm 
The CDR is your friend throughout this. If you are good at circlestrafing, the Warblade helps immensely until you get the Razorwind from Level 6.
Corosar Mar 28, 2017 @ 11:58pm 
that chargedart has definately been one of the best things ever for that hardcore run. would never have gotten through it without it
Ryncage  [author] Mar 28, 2017 @ 2:25am 
@ corosar
I didn't forget, im just a generally lazy bastard. Between work and my taxes, havent hunkered down to top off the guide. Thanks for the comments though, and yes. the charge dart is clutch for the whole run of the game, honestly.

@StrictNine
Glad the guide helped see you through hardcore mode.
StrictNine Mar 26, 2017 @ 12:28am 
Saving and Loading helps a lot. Was able to get hardcore achievement thanks to this guide. Cheers.