Sunrider: Mask of Arcadius

Sunrider: Mask of Arcadius

226 ratings
Sunrider – General Tactics and Upgrade Guide
By Scopedog
This a general guide around tactics and upgrades for Sunrider:Mask of Arcadius.

As this guide goes into detail around all the units available to the player during the game, this contains mild spoilers though nothing story related.
8
2
   
Award
Favorite
Favorited
Unfavorite
Introduction
While Sunrider might seem on first glance to be a space bound waifu simulator, its tactical portions are actually balls hard. On the default difficulty Sunrider is an extremely difficult and unforgiving game, and it’s not very good at explaining its systems and mechanics. This guide is designed to help both new players and more long term players who are struggling, with recommended upgrades and generally applicable tactical advice.
General Tactics
Don’t Split the Party
Sunrider, for better or worse encourages you to bunch your units – this allows you to make use of overlapping shields and flak, severely diminishing enemy laser and missile fire. If you’re going to move, do so as a group. Lone units will usually die in incredibly short order, though the Phoenix with a bit of luck can survive at distance. A generally good formation is Sunrider as a central unit, surrounded by ryders, with your flak enabled units towards the front;


Don’t be stingy with the orders

While you shouldn’t use orders with wild abandon, equally don’t be too concerned about running out of command points – the game is pretty generous, and I ended my run on Captain difficulty with 15,000 still banked. Full Forward and All Guard last five turns, and as a result one or the other should be up at all times – they make a massive difference to either your offence or defence. The vanguard cannon should be used sparingly, but if an opportunity to hit 4+ units comes up (or something just needs to die right now), go for it.

Extra Units Are Extra Actions

As soon as they become available, consider the merc units – in particular the alliance cruisers. These are like mini sunriders, bringing Kinetics, Lasers, missiles and a whole chunk of armour, HP and flak. While they don’t have the damage output of your mainstay units, it’s still extra actions – that last laser blast might be the shot that takes out a carrier. Losing them is very expensive, but they can take a pounding so it’s unlikely that they’ll go down without warning.
I’m less keen on the frigates. With low armour and 400HP, they’re constantly at risk of a stray missile taking them out. They’re only armed with lasers, though they do have a mini shield down ability they can use on the same turn. $750 is expensive enough that losing them is painful.

Understanding Agro
Enemy agro (or targeting priority) is based on two things mainly – vulnerability and kills. You should put some thought into who deals the killing blow to a target – enemies are significantly more likely to target units that have more kills that round. Equally, if you move someone outside of a flak/shield bubble the enemy will usually capitalise on that vulnerability.
This can be used to your advantage – evasive but low powered units like the phoenix can be used to deal the killing blow to severely damaged units, or deliberately move out of support range - this encourages enemies to waste their fire on a unit that’s likely to dodge most of it.

Some Enemies Have to Die Right Now

There are certain enemies that putting it bluntly, are extremely overpowered and if ignored can put you in an unwinnable situation. These should be considered target priority at the expense of everything else.

Support Ryders
Even one of these is a nightmare, and in multiples they can shut down your entire fleet, turning off shields, flak and cutting your energy in half. They also have ridiculous evasion, and even at point blank still have a decent chance of dodging.
However, as their abilities have no range restriction they’re found exclusively at the back of a map under overlapping shield bubbles and flak batteries. You have only two ways to deal with these – an awakened Seraphim, or a hit and run with the Sunrider. Do whatever it takes to make them dead.

Pirate Ironhogs
Thankfully somewhat rare, these fire torpedoes that have an outrageous damage output. These are usually a lot easier to deal with than the support ryders, but still tend to be found at the back of the map. Murder them before they murder you.

Carriers
Extremely common in the second half of the game, carriers are tremendously durable, unit spawning hellbeasts. The assault variant spawns support ryders too, which means that unless you deal with these ASAP you can quickly find yourself completely overwhelmed. The Liberty’s disable ability stops them spawning units – this is usually the easiest way to neutralise them until you can engage them. Thankfully they’re huge targets, so kinetics have a decent chance of hitting even at mid-range.
Weapon Guide
Lasers
Lasers, Pulse

Lasers are extremely accurate and moderately powerful, but shields massively decrease their output. As overlapping shield bubbles are extremely common on enemies even early in the game, this can make lasers very difficult to employ effectively. The Liberty can turn off two enemy shields a turn with a few energy boosts, but this stops her using her other amazing abilities. As such, I would recommend only upgrading lasers on the Blackjack, and then only from lack of better options.

Pulse is a shorter range, multi shot laser blast similar to Assault for kinetics. It can be powerful in the right circumstances, but unlike lasers Pulse is mitigated by both shields AND armour, making those circumstances somewhat difficult to engineer.


Missiles
Missiles

Missiles are powerful and accurate, but very limited and decreased by enemy flak (though flak resistance helps here). Like shields, flak tends to be found in overlapping bubbles on enemies. The Liberty has a flak down ability which can be used three times a turn (assuming you boost her energy to 120), and is a good choice for a turn of burst damage. The sunrider has exclusive access to quantum torpedoes, which do eye watering damage vs targets that have had their flak turned off. Buying an extra missile and adding a few upgrades to damage and flak resistance is pretty cheap, and there are certainly worse choices you could make.


Kinetics
Kinetics, Assault

Kinetics will be your primary source of damage throughout the game unless you have got some very specific builds in mind. Any unit that has full fat kinetics (Seraphim, Paladin and Sunrider), should be considered for heavy upgrades in this area. The impressive damage output is tempered by poor accuracy (with the exception of the Seraphim), so you’ll likely have to spend a turn or two getting into position.

Assault is multi shot, smaller calibre flak capable of shredding enemy ryders. As armour counts twice against Assault, it can barely scratch the paint on most starships unless the armour has been ablated through a pounding with heavier duty weaponry. Assault guns can therefore be surprisingly effective at knocking those last few HP off a tough target.

Melee
Melee

Melee is energy intensive, only works on ryders and on all but the Phoenix you’ll be subject to a counter attack as you move in. This makes melee extremely difficult to employ – even the phoenix is often better plugging away with her SMG. On the plus side, it’s very powerful and accurate, and if an opportunity opens go for it – particularly cheeky is using Bianca’s gravity ability to pull an enemy ryder into melee range, meaning they eat YOUR counter-attack and then get a sword to the chops.

Upgrade Guide - The Sunrider
The Sunrider

It pays to drop a lot of your points into the Sunrider – if it’s destroyed, it’s game over whereas your riders can always live to fight another day. As befits a kick-ass capital ship, you have a lot of options on how to outfit it – but more than anything else, you should be aiming to have it firing its kinetics twice per turn as soon as possible.

The second must take upgrades in my experience are turning the shields back on, and upgrading the shield radius – early on you’ll be glad for the extra defences on all your units, it remains useful for the whole game, and costs a not unreasonable £2500.

Sunrider Tactics
The Sunrider has a huge number of potential options available to it in a turn, and efficient use of the very powerful orders is key to getting the most out of it. The money shot is the vanguard cannon – a multi-target beam that can swing a battle with a single shot. At 2500CP this should be used sparingly, but if the opportunity arises to catch 4-5 units in the blast, go for it.

More common uses of orders is Full Forwards and All Guard – each last five turns, and are a very efficient use of your CP. You should have one or the other up at all times – most battles last between 5-10 rounds, so you shouldn’t have to cast more than twice, and they make an enormous difference to either your offence or defence.

When it becomes available, short range warp can be an absolute battle swinger, and is the only one that can be used in addition to other orders – it can be used multiple times in succession, but as soon as a different order is used that will lock you out of further orders for the turn. The temptation is to line up the perfect vanguard shot at the start of battle, but this is a trap – away from flak and shield support, the Sunrider will almost certainly not survive, and after a vanguard will have picked up an enormous amount of enemy aggro. A better use is to tactically assassinate a couple of key enemies (nearly always support ryders or pirate ironhogs), and then warp back to safety and cast all guard/full forwards. At 2500CP this is expensive, but nearly always worth it to remove these enemies early.

Recommended Upgrades

Energy – you want to hit the 120 energy sweet spot ASAP – with a few points decreasing the energy cost of kinetics, the Sunrider can fire it’s kinetics twice a turn. It also allows the Sunrider to move 4 hexes, which can be useful on those turns where you just need to close the distance, though short range warp does alleviate this once it becomes available.

Kinetics (Kinetics, Assault) – These will be your primary damage dealers throughout the game – put as many points as you are comfortable spending into damage and accuracy, and exactly as many points into decreasing the cost until you go below 60. As a bonus, it also upgrades your assault guns – vs close range ryders they are usually more cost efficient than kinetics.

Hit points – Extra health is never going to be a poor investment. Getting up to 1800-1900 is cheap, so why not?

Armour – Extra armour is extra damage mitigation – it’s definitely worth picking up the first pip, and possibly the second if you feel your defences aren’t holding.

Flak – The sunrider is a missile magnet – I’d put at least one point here.

Shields – definitely worth it, especially early on, and the bubble remains useful throughout the game – particularly when paired with the all guard order.

Repair Drones – 50% HP restoration for an order. Keep at least two on hand at all times.

Solid Upgrades

Missiles – In general, the sunrider will be far too busy taking apart starships with its kinetic cannons to have time to fire missiles. However, upgraded quantum torpedoes unleashed on enemies that have been flak-downed are absolutely devastating – easily capable of one shotting all but the toughest capital ships, and you can fire two of those as well as a kinetic shot in one turn (assuming 120 energy). The torpedo upgrade is £2000, and each torpedo costs 300 – by the time you’ve added a bit of damage and flak resistance, that’s easily well above £3000 just for those two shots. That’s a lot of cash, and every torpedo you fire is essentially firing money at the opponent, but in the right situation it’s a game winner. Tough call.

Vanguard Cannon Upgrade
– You’ll end up using it a lot near the end, and the extra damage and distance is worth the cost – but it’s still something you might fire one or twice a battle at most.

Poor Upgrades

Lasers (Lasers, Pulse) – lasers have a lot of problems, and I don’t believe they’re generally worth the hassle. Kinetics will give you high damage outputs (albeit at closer ranges), and don’t rely on using the liberty to turn off shields every 1-2 turns. It’s possibly worth upgrading the efficiency so they can fire twice – it can be worth it vs distant carriers that have been disabled and are out of kinetic range (though in this case a short range warp might actually end up being the more cost efficient option).

Evasion – Starting at a blistering -25, the Sunrider evades as well as it dances.
Upgrade Guide - The Blackjack
Blackjack is a jack of all trades, and consequently feels underwhelming however you build her. Lacking kinetics she has to rely on lasers or missiles for reliable damage – she’s too slow to use melee and any armour reduces assault guns to almost nothing. She often finds herself as a finisher – knocking off that last 50HP off a capital ship that your real units couldn’t quite finish off. In Liberation Day Blackjack gains substantial buffs, including the addition of full fat kinetics and built in thrusters, so the devs were obviously aware of her issues.


General Tactics
While the Blackjack struggles with dedicated roles, it’s very rare that she will have nothing to do, being at least middling at all ranges. She’s good at preying on enemy units that have foolishly wandered out of shield bubbles – ryders and missile boats being the usual examples, and two laser blasts will bring down both pretty conclusively. Both pulse and assault will make a mess of close range ryders, and there’s always missiles to add a touch of burst damage.

The blackjack also has excellent flak, especially when upgraded – keeping her close to units like the Sunrider and Liberty can help them fend off missile barrages.

Recommended Upgrades

Hit Points – Extra health is always good, and the first few levels are very cheap.

Armour – a few points are dirt cheap, and ups her mitigation

Flak – her excellent starting flak is worth upgrading at least once – keep her close to the Sunrider and support units and she can shine as an interceptor.

Energy – 120 is generally the sweet spot, and that holds true here, allowing her to move 4 hexes or fire her lasers twice.

Lasers (Lasers, Pulse) – Poor Blackjack has to get by on these as her best option – put a few points into damage, and leave it at that. On the plus side, they’re very accurate and if the liberty has a free round turning off enemy shields can make these surprisingly effective. This also upgrades Pulse, which can be used as a superior alternative to assault on non-shielded units.

Solid Upgrades

Missiles – mainly due to poor options than missiles being amazing, I find blackjack makes solid use out of missiles – make sure she can fire two, and put a couple of points into flak resistance and damage. A good option vs missile boats as they have no native flak.

Kinetics (Assault) – this will only upgrade assault, but it’s cheap and cheerful and can make a mess out of enemy ryders. Worthless vs anything with armour.

Evasion – Blackjack actually has solid evasion, so a point here certainly isn’t wasted.

Upgraded Thrusters – on paper completely amazing, halving the energy required for movement. The game tends to push you into shield/flak bubbles, which makes this less useful than it sounds, but it’s still worth a look.

Poor Upgrades

Melee – Blackjack is far too slow even with upgraded thrusters to make good use of this, and doesn’t have stealth so will take the counter attack to the face. Sometimes an opportunity might arise to use melee, but spending resources to improve it is probably unwise.
Upgrade Guide - The Liberty
The liberty is the first support ryder you acquire, and it’s abilities are often the difference between life and death – keep it alive at all costs. You want to get it to 120 energy ASAP, as well as upgrading the shield range to 2 – these should be considered priority squad upgrades.


General Tactics
The Liberty is a lynchpin unit, and it should never be left on it’s own – without any flak of it’s own it’s missile bait, and it’s shield bubble is reason enough to cosy up other units close. If you overlap shields with the Bianca any unit in the bubble will be all but immune to lasers.

Pretty much all of the liberty’s abilities are fantastic – disable utterly shuts down an enemy for a turn, with carriers being priority targets for this to stop them spawning more ryders. Shields down allows lasers to shine, flak down makes missiles viable and aim up allows your kinetics to better engage distant targets. Oh, and The Liberty has the only way to heal your units that aren’t the Sunrider. Thankfully as the liberty rarely uses it’s weapons, it doesn’t tend to draw agro unless it’s isolated.

Recommended Upgrades

Energy – 120 Energy allows you to shields down twice, flak down three times or heal and still move. Consider this priority.

Shield Radius Up – Get this to 2 hexes ASAP –this allows far more flexibility in squad setup, as anyone who moves outside a shield bubble tends to get murdered very quickly.

Hit points – a few points here will prolong the liberty’s lifespan, and for the first few levels is very inexpensive. The Liberty has rubbish starting HP, so I'd strongly recommend this.

Shields – along with radius, putting a point here will give a huge bang for your buck considering you can cover most of a fleet.

Portable Repair Drones - Improves the repair ability, allowing it to heal 500HP rather than 300HP while costing slightly less. As this is the only way to heal your units, this upgrade should be very strongly considered.

Solid Upgrades

Armour – while it’s rare for enemies to target the liberty unless it’s got itself isolated, it can’t hurt to give it a touch more survivability.

Evasion – see above

Poor Upgrades

Lasers
– I can count the number of times the Liberty fired its lasers during my games on one hand – unless it is literally the only thing left that can take those last few HP off an assault carrier, basically anything else is a better use of it’s energy.
Upgrade Guide - The Phoenix
The phoenix is a light skirmisher – blisteringly fast and hard to hit, and armed with weapons that are deadly to ryders but will barely scratch the paint on a starship. Key upgrades are energy, evasion, HP and Flak.


General Tactics

Despite appearances, the phoenix is actually your best tank. The natural inclination with the phoenix is rush in and start hacking apart fools with your energy blade – stealth allows it to avoid the counter attack, and it has extremely energy efficient movement.

This will invariably end up with the phoenix dead in very short order, taken apart by close range lasers. Hit and run attacks are far more efficient, giving up damage to ensure enough EP to retreat to the safety of the main shield/flak bubble. At that point, accurate lasers and missiles can’t touch you and the phoenix’s silly evasion score means kinetics will just miss altogether.
This means that you WANT the enemy to attack you – most of it will miss or be rendered mostly ineffective, saving your durable but easy to hit heavy hitters. The easiest way to do this is to make sure the phoenix finishes off an enemy – this will draw agro. Try to reduce an enemy to 50 or so HP with your heavy hitters, and rush in and kill it with the phoenix’s pop guns.

On the other hand, if you have close range enemy ryders, feel free to hack them into confetti – though in many cases it’s actually more efficient to just blow them away with point blank machine gun fire rather than having to waste EP on stealth and movement.

Recommended Upgrades

Evasion – Expensive but absolutely worth it. Try and find the money to upgrade this at least twice – after that it becomes prohibitively expensive for diminishing returns.

Hit Points – you can double the Phoenix’s HP for a relatively paltry sum, and considering the heat the thing takes this is basically a no-brainer.

Energy – The extremely efficient movement of the phoenix means that it gains a lot from energy boosts. 120 is the sweet spot.

Flak – The phoenix is a missile magnet, and any defence against this is recommended. One point is cost efficient enough to be worth it.

Solid Upgrades

Melee – Upping the damage is probably the only useful upgrade – accuracy is never much of a problem, and efficiency has a strange exponential costing that makes it ridiculously expensive after a couple of pointless upgrades.

Kinetic – Not a bad idea. A few points in damage and accuracy are likely to pay off, and if you can get the cost below 25 then the phoenix can fire 5 times a round.

Armour – Short range assaults from Ryders will kill the phoenix alarmingly quickly, as you can’t dodge all the bullets – a few points of armour can help mitigate this.

Poor Upgrades

Like the other specilaised combat units, pretty much everything is useful to the Phoenix – there are no bad options here.
Upgrade Guide - The Bianca
Your second support ryder, the Bianca isn’t quite as critical as the Liberty – but it’s still extremely useful. Upgrade wise, it’s all but identical to the Liberty – get it to 120 energy and increase the shield range ASAP, as a priority.


General Tactics

Like the Liberty, the Bianca is a battery of support abilities, though most of them are more specialised and less generally useful than its sister. Aim Down will be your most used ability, and it’s brilliant - -25 aim to an enemy for 3 turns for a paltry 30 energy. Assuming the Bianca does nothing else, that can curse a whole fleet with stormtrooper tier accuracy for basically the whole battle, and if they’re targeting the Phoenix they might as well not bother.

Damage up is a solid choice, and lasts for 2 turns – remember it doesn’t stack with the Full Forwards order. Gravity is one of those neat abilities that can be amazing or potentially life saving – sometimes a friendly ryder just needs to be able to move 1 extra square. Other good uses are pulling enemies into melee range (and making them eat a counter attack), and arranging enemies for a vanguard blast. The last ability allows you to heal status effects – if you have the same unabiding hatred of enemy support ryders that I do, this should be rarely employed.

In terms of deployment, treat it exactly like the Liberty – keep it cosied up to flak units like the Sunrider, as it has no native defences of its own.

Recommended Upgrades

Energy – Get this up to 120 ASAP. That’s 4 Aim downs, 2 damage ups or 2 gravities, and allows you to move 2 hexes and still retain a decent amount of offense.

Shield Range – Get this up to 2 hexes ASAP – this will allow the whole fleet to benefit from a huge amount of shields with the Liberty’s help.

Hit Points – While the Bianca will rarely draw agro, it can’t hurt to up the paltry starting number

Shields – considering how far your range extends, upping the strength is almost certainly a useful investment.

Solid Upgrades

Armour – Extra defences at a reasonable cost.

Evasion – see above

Gravitino Generator - Reduces the energy cost of Gravity. Gravity is not what I'd describe as a mainstay power, being used only when necessary or when takinh advantage of an opportunity, but you can't really go wrong with cheaper abilities.

Poor Upgrades

Kinetics – Actually quite powerful, though definitely not the full fat versions on the Sunrider and Paladin. Could be useful if it weren’t for Bianca’s appalling accuracy.
Upgrade Guide - The Seraphim
Your sniper unit, the Seraphim is powerful and accurate but defensively weak. Possibly the biggest upgrade question you will make in the game is “do I want the seraphim to shoot twice?” This is dizzyingly expensive (around £11,000), though in my opinion absolutely worth it later on – when awakened, she can easily one shot enemy support ryders and severely damage distant carriers that are otherwise very difficult to engage. The Seraphim does things the rest of your units struggle to replicate, and as a result pouring a large portion of funds into doubling her offensive output is highly recommended.


General Tactics
The Seraphim is a heavy hitter, and is critical for removing enemies that the rest of the fleet will struggle with – choice targets being support ryders (which should be considered target priority number one), and pirate ironhogs which have outrageous damage output from extreme distances, even on a fleet with extensive flak coverage.

Whether you choose to use awaken on you first turn will generally hinge on these critical enemies, and whether anyone else can realistically deal with them – the sunrider can do a hit and run using short range warp, and pirate ironhogs are found outside of shield range quite often meaning lasers can make short work of them. Carriers are unlikely to go down in any kind of useful time frame without awakening, and they rarely move closer making it difficult to engage them with powerful weapons.

Keeping the seraphim safe is probably your biggest concern – low HP, middling evasion and armour and a high rate of agro can make her a tempting target for enemies. Try to make the phoenix look more tempting by finishing off heavily wounded enemies.

Recommended Upgrades

Kinetics – As her sole weapon system, pour as much into this as you can. Energy cost is only worth upgrading if you want her to shoot twice – the most efficient method is 140 energy, and reduced energy cost to 70. More accuracy and damage are unsurprisingly very helpful.

Energy – If you want to shoot twice, bring this up to 140. Otherwise, don’t bother.

Hit Points – A few upgrades can’t hurt as she often finds herself targeted due to her heavy damage output.

Solid Upgrades

Armour – Due to her being at the back, it’s unlikely kinetics will be targeting her – but this still offers defence against missiles, which she finds herself irresistibly attracted to.

Evasion – see above. Any help against missiles is welcomed.

Poor Upgrades

The Seraphim has very few options, but all are helpful – you can’t really go wrong here.
Upgrade Guide - The Paladin
You get access to the Paladin quite late, which is a shame – she’s built like a brick, and hits like one. Unfortunately she also moves like a brick, which means getting energy up to (surprise) 120 is a good plan as she can then keep up with the rest of the fleet. Armed with similar kinetics to the Sunrider, the paladin can realistically be built to fire three times in the late game if you’re willing to drop the cash, though she’s still savage firing twice. She does have missiles for long range targets, and they’re seriously cheap – consider upgrading these.


General tactics

There’s not a lot to say about the paladin – she’s not going to be chasing down anything with that movement, but anything that moves into range is going to have a bad day. She has plenty of armour, decent flak and no shields, and tends to attract a lot of fire – she’s unlikely to go down in a single round but her lack of evasion means that whatever agro she picks up tends to hurt. Her missiles are helpful for dealing with wounded long range targets, particularly in rounds where she’s been forced to move – with 120 energy she can move two hexes and still pop off two missiles.

Recommended Upgrades

Kinetics – As your second kinetic machine, the Paladin will end up being one of your primary damage dealers throughout the second part of the game. Upgrade damage and accuracy as far as you’re willing, and reduce energy if you’re wanting to fire the kinetics three times

Energy – Get her energy to 120 ASAP. This allows the Paladin to fire Kinetics twice or move three hexes.

Hit points – The first few levels are cheap, and the Paladin’s evasion is nothing to write home about. Due to her high damage, the Paladin picks up a lot of enemy attention.

Armour – The paladin tends to attract agro, and this will help her survive.

Flak – Like the Sunrider, low evasion with high threat tends to make the Paladin a bit of a missile magnet.

Solid Upgrades

Missiles
– as they only require 20EP to fire and she starts with two, it seems a shame to leave these unupgraded. It’s also the Paladin’s only realistic ways of engaging long range enemies.

Evasion – Starting at 10, the paladin’s evasion isn’t great – but it’s not horrible either, particularly if an enemy has Aim down cast on it. Possibly worth bumping.

Poor Upgrades

The Paladin has no upgrades I would dismiss out of hand – it’s a specialised unit, and it has nothing available that does not help with that specialisation.
9 Comments
Norad 2 Jul 4, 2024 @ 7:53am 
Much appreciated!
Dark Sun Gwyndolin Feb 12, 2023 @ 12:01pm 
When I first played this game a long time ago, I got my clock cleaned a few missions in. Knowing the importance of keeping units together to share flak and shield coverage (and because AoE attacks are rare to nonexistent) is great to know.
Cyber Von Cyberus Jul 29, 2022 @ 3:00am 
Thanks a lot for the instructions, that mission I kept dying to has become super easy thanks to it.
1264420493 Jun 20, 2021 @ 6:15pm 
Great!
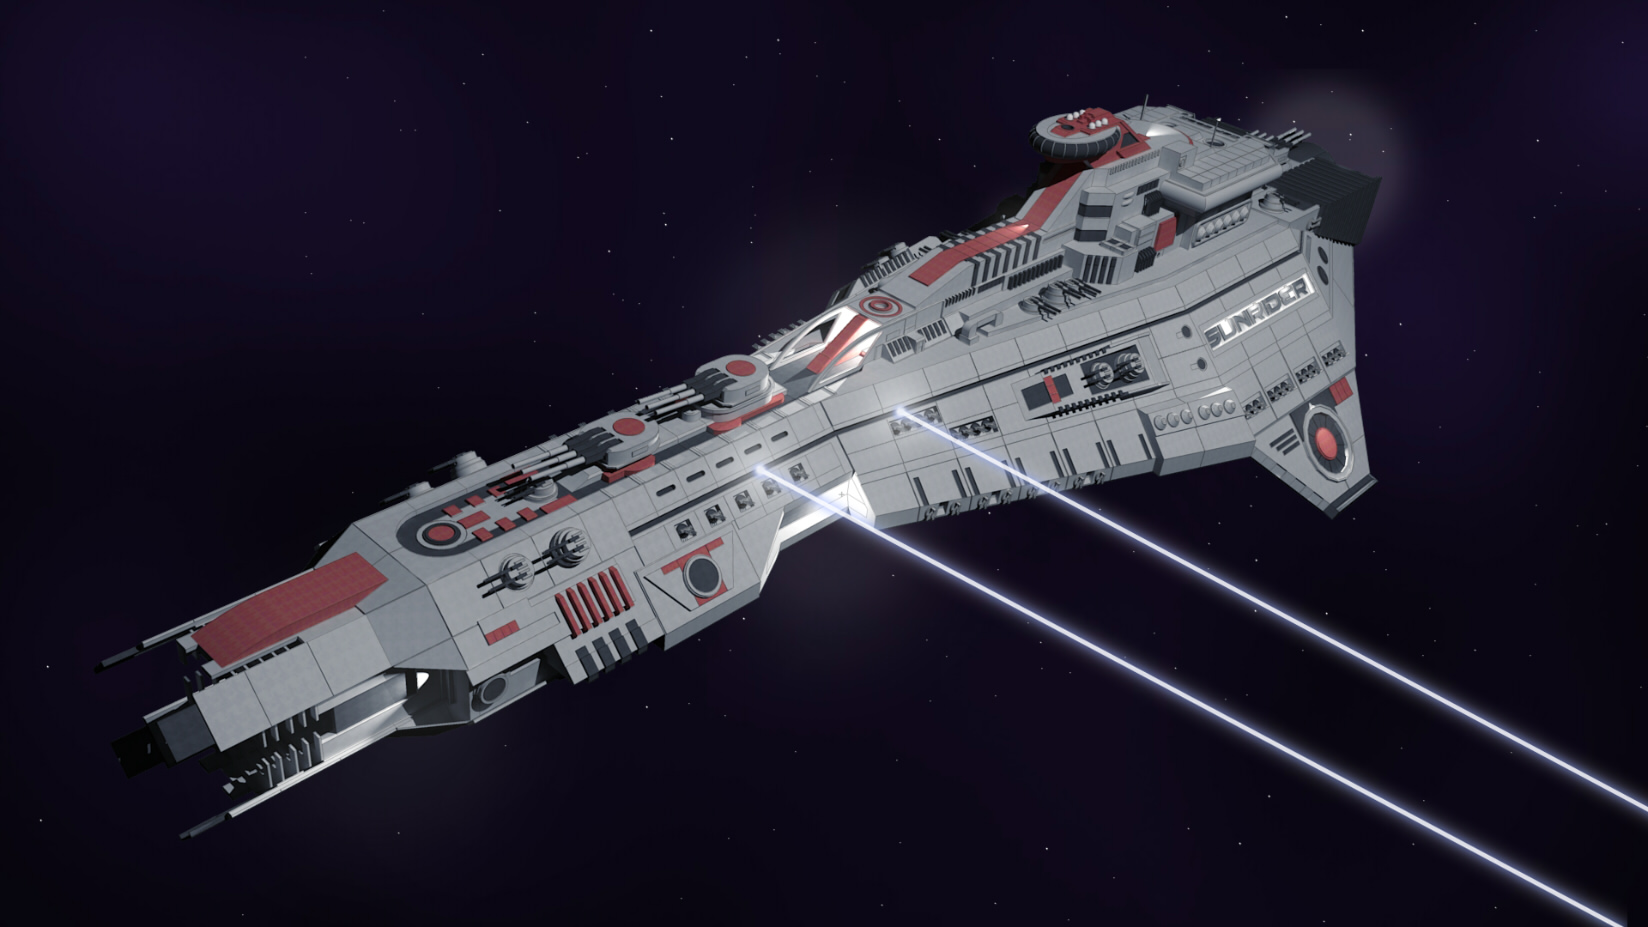
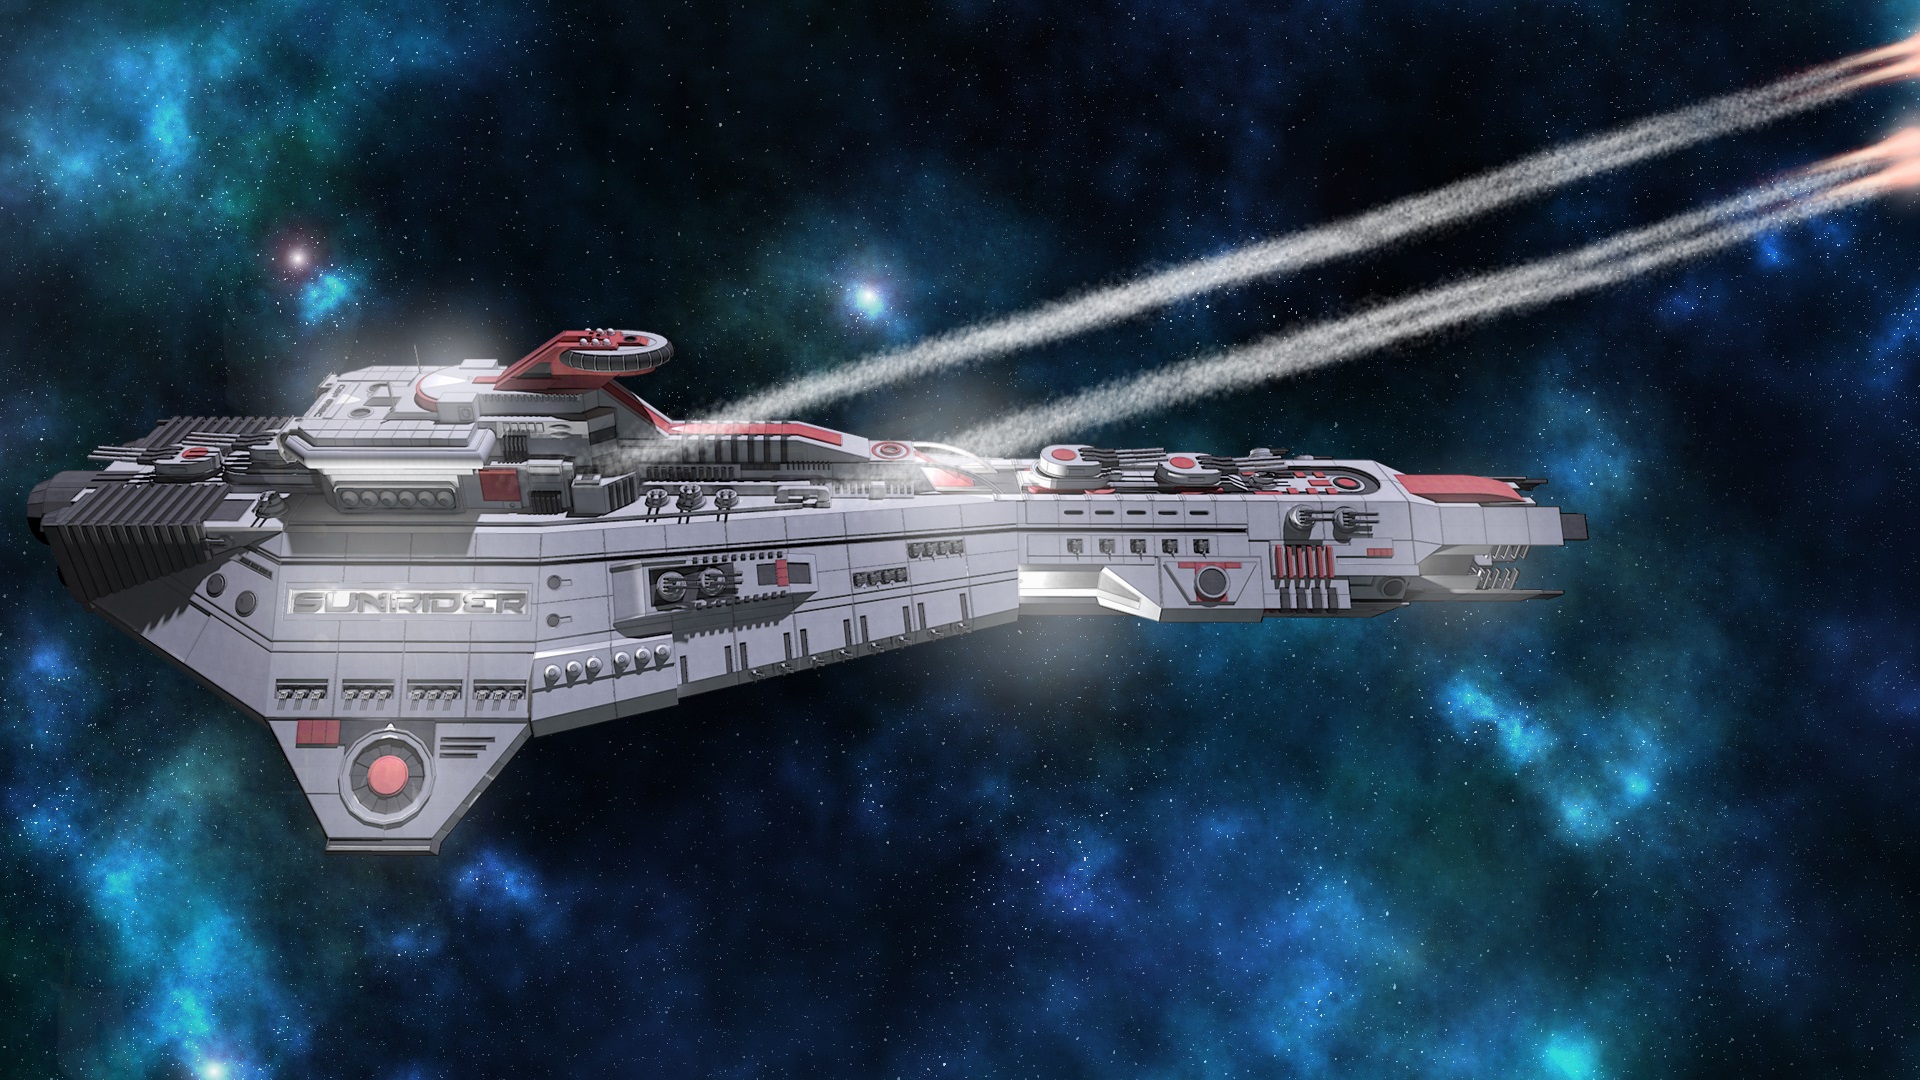
The first time I saw Laser weapon I thought It was very useful for its high accurancy. But it turned out to be I can't evade the enemy and always find it hard to break the trap and wrap. I thougt the kinetic weapon needs too near to fight and isn't suitable for sunrider, but it is also useful to break two enemy one turn or give a large sum of damage,right?
The capital is enough hard...You must spend your fund and point wisely. However, in the same time you'll taste the feeling of a real victory.
Also I want to ask: will the whale difficulty can be taken?
disasternoj Feb 9, 2018 @ 7:45pm 
Great guide!

It's actually a couple hundred credits cheaper to go 130 EN reactor and 65 EN kinetics on the Seraphim. Also, while you're not wrong that 120 EN is a good spot for the Phoenix, I find that 115 with appropriate kinetic cost upgrades is the most efficient way to turn her into a murderbot of a cleanup crew.

(You can check my math in the guide that I just posted. :D )
Zanchev Aug 22, 2017 @ 6:48pm 
This is pretty good, but how can i play this game on hard. I beat liberation day on space whale difficulty (somehow) but i get crushed early in the first game on hard.:steamfacepalm::steamsad::steamsalty:
DerEider Jul 27, 2016 @ 10:40pm 
Great Guide, Scope :Norse:! You included a lot of things I missed/overlooked while playing.

There is one point I think you might rethink just a bit regarding Sunrider's Torpedo upgrades. In considering the overall cost, only 2 torpedoes were considered. The long view should be considered here. One is not going to use just 2 torpedoes in playing MoA. The 2000 upgrade cost is like a program capital cost that must be spread over the total units bought. I haven't added up the number of battles, but assuming there may be 10 and one uses 2 torpedoes each, that would come out to a mere 100 cost extra per unit :steamsalty:. As a "1-shotter", a Quantum Torpedo will likely take the place of 2 regulars. And I feel that takes it out of the "Tough call" :Norse:category.
Scopedog  [author] Jul 3, 2016 @ 9:26am 
It's not that energy weapons are useless, so much as they require an inordinate amount of effort to get working. I've been tempted to do a laser heavy run with the Sunrider, as they can get very powerful assuming you can spare Chiraga. That's a big if though - most of the time I could have done with two of her.

I wasn't aware of the shield off bug/feature - I had little success with the alliance frigates so I mostly just ignored them. I'll test it out, and update the guide accordingly. Thanks!
Bob of Mage Jul 1, 2016 @ 5:22pm 
It might be worth taking a second look at the energy weapons. One of their hidden strenghts is that each upgrade yields a much higher return for the money invested. This means that if you heavily invest in lasers they become VERY powerful.

Also as far as I recall there was a bug with the Shield Down and Shield Off debuffs where they stacked in odd ways. This meant that a use of a Shield Down could add a turn to the length of the Shield Off debuff. So you use Chiraga to turn a unit's sheilds off, and your mercs can keep them off.