Hyper Light Drifter

Hyper Light Drifter

51 avaliações
Hyper Light Drifter: Walkthrough
Por Nightmare
This guide is an 'under construction' guide designed to cover as much as is possible.
It will be expected that there will be parts missing and not included to start with, this is due to the nature of these cryptic games (see Fez for an example) and the sheer amount of secrets that lay within the game.
Expect great things!
   
Premiar
Adic. a Favoritos
Nos Favoritos
Desfavoritar
Introduction
Hyper Light Drifter
This game in 5 descriptive words is; beautiful - cryptic - challenging - fastpaced - fun.
Beautiful: The visuals, music and sound effects are on point and really quite impressive.
Cryptic: If you have ever played FEZ then you should know what to expect in regards to this, there are codes that exist in the world and the language shared between characters is in picture form. This is also in regards to that of the storyline being a mystery and never really explained to you.
Challenging: the Combat whilst not as 'onehit' as titan souls (another awesome game) it can be unforgiving and tough, the enemies are varied and the bosses are tough but all doable.
Fastpaced: This is again in regards to combat, it is heavily skill based and not so easily cheesed.
Fun: probably one of the most important factors, this game is fun. Be it routing your way through the beautiful world of dead giants or uncovering secrets, this game is amazing.

No game is perfect and there are a few issues which I will cover later but other than this I would give this game a solid 9/10.
Things that can be improved:
- The changing of the cursors visability to make it more clear in some areas and fights.
- Altering some points in the map to prevent falling out of it (through some trees that seem like a hidden path but in reality seems to be a broken wall)

Now for the nerd talk.


Note
I am unable to comlete this guide; The shaders tank my CPU (even though i have a pretty decent computer) when i go into an underground area the frames drop and the game becomes reallt hard to deal with. until this is sorted on either my end or the games i cannot continue.
Basics
Controls
This game has both gamepad and mouse and keyboard capabilities; this being said, I used the keyboard controls and that is what I will use and refer to throughout this guide.

These controls are able to be reassigned to whatever you feel comfortable with which I have done for a few of them but I will discuss it all.
Movement: This game has two main aspects of movement, the walking, and the roll.
The walking can either be controlled by 'wasd' or the typical 'up-down-left-right' buttons (better suited for lefties), and the roll is controlled through the spacebar.
Things to note about the roll is that you WILL roll to wherever your mouse is aimed at and at a distance that doesn't change; with upgrades, the roll can vary.

The other buttons include [default]
RMB - Attack (sword)
LMB - Attack (gun)
Scroll - Change gun

Q - Heal
E - Interact
Tab - Map and inventory
Z - Sit
C - Special
1 - Change weapon

My changed version is simply:
F - Special
X - Sit
This was simply due to the comfort of the button positions and is by all means not better.

Death
Whilst the main achievement is to complete this game without dying, do not expect to get it on your first run through, you WILL die from traps, enemies, bosses, and falls. This is a guarentee and it is worth noting that you will not be penalised for it.
You will respawn at the last 'savepoint' with the same health and med kits as you had at that point so there is no benefit or drawback for dying.

One advice, though... kill yourself at the beginning of the game by rolling off the edge for an achievement!!

Money:
The currency within this game are the yellow drops you get from big enemies, bosses, waves and boxes with a yellow symbol on it. You need 4 of these drops to fill out one 'gearbit' (i believe that is what they are known as)

Health:
Found in white boxes with a green symbol on it.
A trick to finding secret ones of these is to look for off the obvious area parts of the map and crates that look out of place.


And as a note, this guide will not have all information as to where the secrets are as there are so many different secrets, my only advice to you is to hit everything look everywhere, if an end seems like its dead but has been a detour LOOK AROUND perhaps there is something to shoot offscreen and most important of all... Let me know what you find, the comments section can be as informative as the guide itself!
Central Hub
The home base, I have glossed over some information about the storyline but that will come in a later spoiler filled chapter.

The house
This is the area where you can equip the items you find within the world be it a variant of the sword or the cape.
Initially, this area houses the map and inventory module that is needed and also a 'cryptic' explaination of what to do.
This message shows that you need to find and collect fragments to fill the shapes, simple as that.


The outside
This area 'houses' shops, people, the WarpPad and secrets!
Some of these people will talk to you some will not, not a lot can be learned from these people.
There is a key door in the bottom right of the central hub containing an elevator to an unknown area!


The shops
There are 5 different shops; the gunsmith - the swordsman - the grenadier - the dashman (lack of a better word!) - health vendor
Within these areas, you can buy upgrades for various things.

Swordsman:
Three upgrades;
Spin attack: deals 5 dmg to enemies within a reasonable AoE (VERY useful)
Deflect: a well-timed swing reflects oncoming bullets
Dash attack 'line': hits enemies within a line of your dash

Dashman:
Three upgrades;
Multidash: Highly useful dash ability that allows for a chain dash; reach 25 consecutive dashes within the shop for an achievement.
Shield dash: A dash that allows for invincibility frames on enemy attacks. (not entirely sure how this works tho)
Dash attack 'sweep': An AoE attack from a dash.

Gunsmith:
These upgrades are based on the selected weapon but all increase the amount of ammo available.

Grenadier
Allows for the purchase of a grenade that can be thrown at enemies!

HealthVendor
This guy will sell you more slots for medkits! kindof worth for the final boss!
Enemies
Disclaimer
These vile little critters vary in their attacks and appearance depending on the area of which you are in. As of this current moment, the names of them all are not known to me so each will have a temporary name.
It is worth noting that alone these enemies arent an issue at all; but in a little horde of multiple creatures... you may find yourself taking alot more damage than expected. So kill the enemy that will kill you from range first whilst kiting the melee ones.

Pre-Hub Area
Imp
The first of these critters you encounter is that of the imps. These little 3HP creatures are not the weakest of enemies but they are on par with some of the most forgiving. They take 3 hits total from your sword and only deal one HP to you when they hit. Alone they are not very threatening but in a large group, care is required as it is easy to be caught out by one and then, in turn, ALL of them.


MeanSquids
These little fellas deal very little damage and have very little health, their existence is pitiful!
easy to kill their only boon is that they tent to fall from the sky adding a little suprise to the mix...


Sniper
This guy isnt a threat on his own and other than his aim being a straight shot he has literally no prediction skills so walk in a straight line (not at him) and he will miss. he has 2 hp and hits for 1. Again though and i cannot stress enough; in groups this can get dicey.


Goops
These little critters pose no threat what so ever! Even though they are always found in hordes they are 1hp enemies and are rather slow. They only hit for 1hp if you find yourself unlucky enough to get hit by them.


Crystal Jungle
Shard
This little bugger is rarely alone, they move fast and are highly annoying if they land an attack. They only have 1hp and only deal 1hp worth of dmg but ifthey get hit you become encased within crystal and need to spam your attack to escape it. Hit them all from range if possible!


CrystalineGiant
This badass poses very little issue at all but with 9 hp and a ranged attack he can be annoying to deal with without the shotgun! Get too close to the blighter and he will melee you firmly, in a short ranged AoE he will stab you with crystal shards like that of the traps found within this area, and if he has seen you he will try and hit you with a ranged iceshard attack.


Lunger
This obnoxious enemy will no doubt be the one to teach you that your roll has next to no I frames (invincibility frames)! with 5hp an attack combo and roll away will be needed, and care to avoid their attacks is needed, they only hit for 2hp but they may hit you often.


Crystal sniper
This take on the typical sniper have got 3hp and hits for 1hp but they first 3 red crystal shots in a delayed style.


Goliath
This bohemouth is highly annoying, with its 7hp of damage, its jumping attack that makes it invulnerble whilst mid air and if it lands on you, you will take 2hp of dmg, its melee is less threatening as it only deals 1hp worth of dmg.


Sunken City

Tentabombs
these pesky creatures are typically weak dealing 1hp of dmg from a melee and only have 1hp themselves and are easy to kill through this, they like to hide as suspicious looking bushes with an antena. The issue is that their corpse explodes in a reasonably sized AoE dealing 2hp worth of dmg and when this happens in a horde its hard to keep track.


Venusmantrap
These monsterous tanks are a personal issue of mine, these guys have gotten the better of me on more than one occasion. They have 6hp and deal 2hp worth of dmg in a junge attack. The best way to deal with these are to hit twice then dodge away from them. Their attack is in a straight line with little predition power so they will miss you if you move in a straight line (not towards them though!).


NinjaFrogs
These throwing star buttheads are strong, end of. They only have 2hp but they hit hard and they hit often. they deal 1dmg per star and their aim is impeccable. Dodge with well placed rolls and or shoot them from a distance.


Skyward Temple

Kawrbird
Named because of the mocking sound i imagine they yell when the knock me off ledges... These obnoxious birds are simple alone as one well timed sword swing kills them but in packs they are bothersome. They only deal 1hp worth of dmg and with 1hp themselves they seem simple enough, but dont be fooled; One combo from them will make you sad... In the picture below you will see why, the best course of action with these birds is to use your starter pistol and kill them from a range (bear in mind the location this happens is not one that you NEED to go to, to complete the game).


Birdman magi
This annoying bird is pretty simple on its own but together and with their movement, they can be tough.
These enemies shoot a short ranged beam that deals 2dmg and have 2hp themselves. The attack is avoidable in the same way of the snipers attack; with just a simple sidestep.


Bigbird
These superior mages: TO BE DONE

Forgotten Lab

Skelebobs
These mean guys are no joke; equiped with a rocket launcher that homes in on your position they are not fun.
They have 5hp total so will not die from a single combo, so combo and dive away to avoid their rockets!


SentryCrab

These monsters are strong as hell, their melee deals 2hp worth of dmg and they have a trishot that makes dodging them tough, hit them with your gun then melee them down. Be careful.


Bosses
This here is a working progress and will be completed upon my second non-newgame plus run (i started the guide after killing the first 4 bosses! so bear with me.

The order in which these bosses are listed are the order that they were completed in by me and in retrospect assisted me in the later game.
After the boss is killed you will be awarded with 3 gearpieces and soon after a main boss; a weapon.

TERRORTOAD

This huge frog is one of the simplist bosses out of them all. Its move base and movement is predictable so take a few times learning his patterns.
His first attack is one where he throws out big barrels that explode, the exact number of these is around 5 (but this is an estimate as i didnt specifically count), these are easily dodgeable by a roll but if they hit they deal 2hp and as with all hits, these will throw you to the floor setting up more of his attacks.
The second attack is dropping exploding enemies () which if they explode on the boss will stagger him allow for some free dmg to be put on him.
The third is a jump, this jump happens around 4/5 times also and if he lands on you it will deal 2hp of dmg, avoid and see if you can get a cheeky hit or two in on the boss.

Weapons: some spoilers
Guns
The first gun you collect is right after your first kill of the imp. This gun is the basic pistol and will be the only gun you have for about 30 minutes of in game play time as the others are a distance away from the start and require certain conditions to be met.
Typical for found items like guns and keys within the world; they share an obvious dark purple wisp animation (see image below for example; albeit a bad one) so are easy to notice!


Pistol
The basic pistol has 6 shots and as with all guns can be recharged by dealing damage to the environments props and the various enemies within the world. The gun deals one damage and is slightly inaccurate as you will notice through its use and like all guns, the ammo capasity can be increased by the vendor within the central hub.


Shotgun
This badass closerange weapon is one of the most useful guns in my opinion, shaped like a dragon and hard hitting it will be REALLY useful throughout the game against bosses and tanky enemies like the Venusman-Trap! With a full impact of this weapon 5dmg can be dealt assisting in murdering foes like no other, the gun itself has only 3 ammo to start with but they are more than enough to effectively wipe out a few enemies.
The shotgun is found after killing the TERRORTOAD.


Traps
There are only a few different traps within this game, most of which will kill you but most are avoidable with a little skill, observation and or dumb luck!

The first of these and my least favourite is that of the falling floors; aside from a pattern ontop of them they are indistinguishable from the other floor tiles... that is, until they flash red and you fall to your doom! Learn to roll; get the chain roll and zip past these. Good luck though, there are a few horrible ones such as the key within the bottom of the Fogotten Lab area. In the picture with the Birdman Magi, a few of these obnoxious tiles are visable. This will deal 1hp worth of dmg as with any falling out of the map dmg will do.


The Second and possibly my favorite trap is the moving cube! This awesome moving cube will smush you, crush you and push you off ALL the edges! easy to avoid but have a few issues in how they work. for example if we use typical compass directions; if the block was moving N to S and back and you touch the W side as its going back, if you touch the wall you get smushed even if it doesnt directly squeeze you... LOVE THEM.


The next and possibly the most useless trap is that of the Flame Tile trap... This tile will hurt you once if you are the curious type and never again if you have an IQ higher than your shoe size xD
It looks appealing the first time but once you know what it is you'll be smart to avoid. They deal 1hp worth of dmg.


The 4th trap is the Floor turret, these will cause you a lot of grief throught your play, there is no way to stop them if there isnt a deactivate button and they will more than likely put you into a position that you dont want to be in!
They fire 3 shots each hitting for 1hp worth of dmg if you are unfortunate and can be easily avoided with a roll or a simple side step. Enjoy!


The final trap is the IceSpike trap, this one has killed me more than once from the BS that it achieves. These traps can be found in some tricky and trolly places. This traps appear to be glimmering stones in the floor but after your first encounter you will learn to roll or mutliroll over them everytime! They hit hard, push you into surrounding traps and or off the edge... GOODLUCK!

Crypitics
I havent sat down to work out the code yet (I BLOODY WILL IF NOONE ELSE HAS), but this section will show the located totems. This by all means is not complete, i have forgotten where one of them is since my first play through; but here it is!

Crystal Jungle

Forgotten Labs

Sunken City
13 comentários
Electrovicane 14 mar. 2018 às 16:41 
I have all but the last gun, do you know where it is? I have the Pistol, Shotgun, Railgun, The one you get from the Hanged Man, and the one you get from the south that in the menu, is between the pistol and railgun
ichnicero 2 out. 2016 às 8:41 
@Nightmare yeah, they made an announcement on most gaming media sites about the 60 FPS, Boss Rush and new achievements update... Personally, I'm having issues with the update (my game won't boot up right at times and the tab/shift feature acts erratic as well) but it's not enough to deter me from playing the game :)
Nightmare  [autor] 1 out. 2016 às 19:17 
@ichnicero; I wasnt aware there was any changes! I'll definitely boot it up soon to see if the issues i was having have been resolved!
ichnicero 1 out. 2016 às 17:06 
Now that the game is 60 FPS will you finish the guide??? I'm having trouble finding all the secrets in this awesome title!
Nightmare  [autor] 13 abr. 2016 às 6:29 
@lux.ligeia
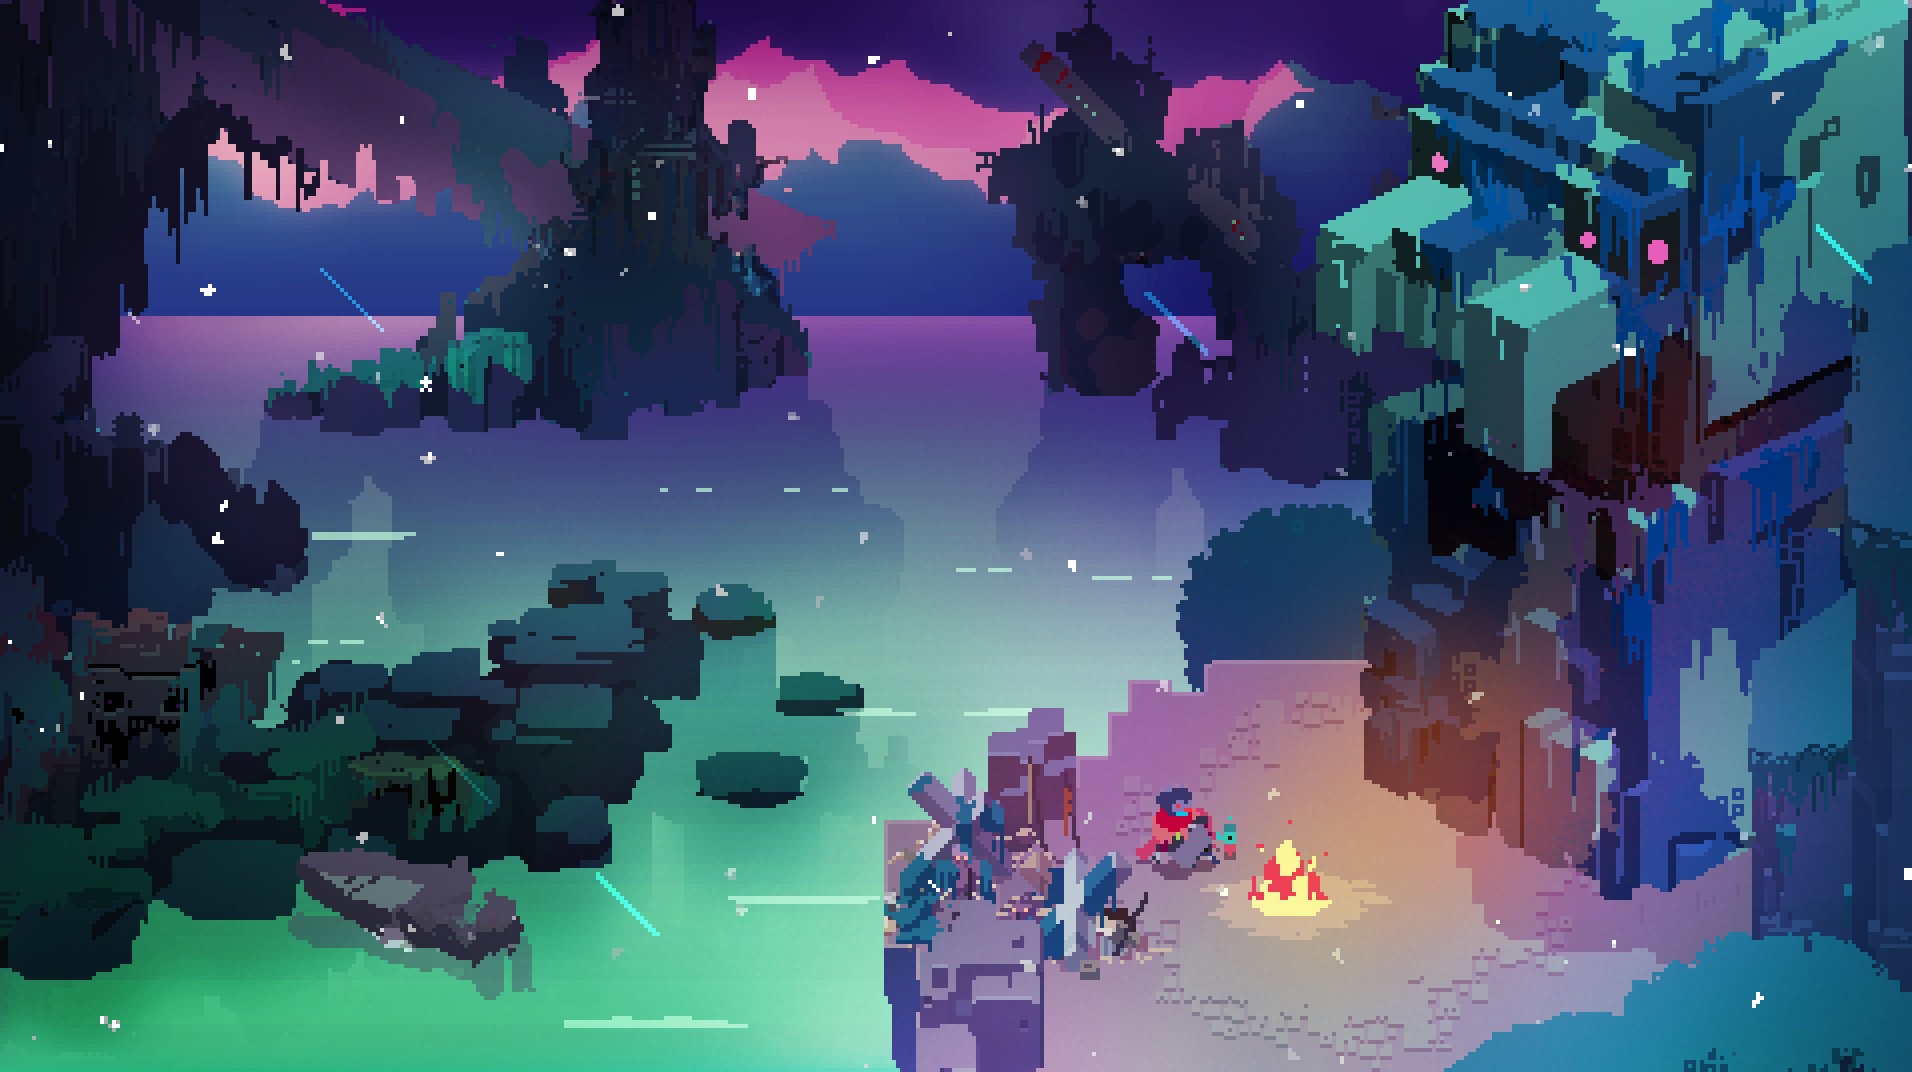
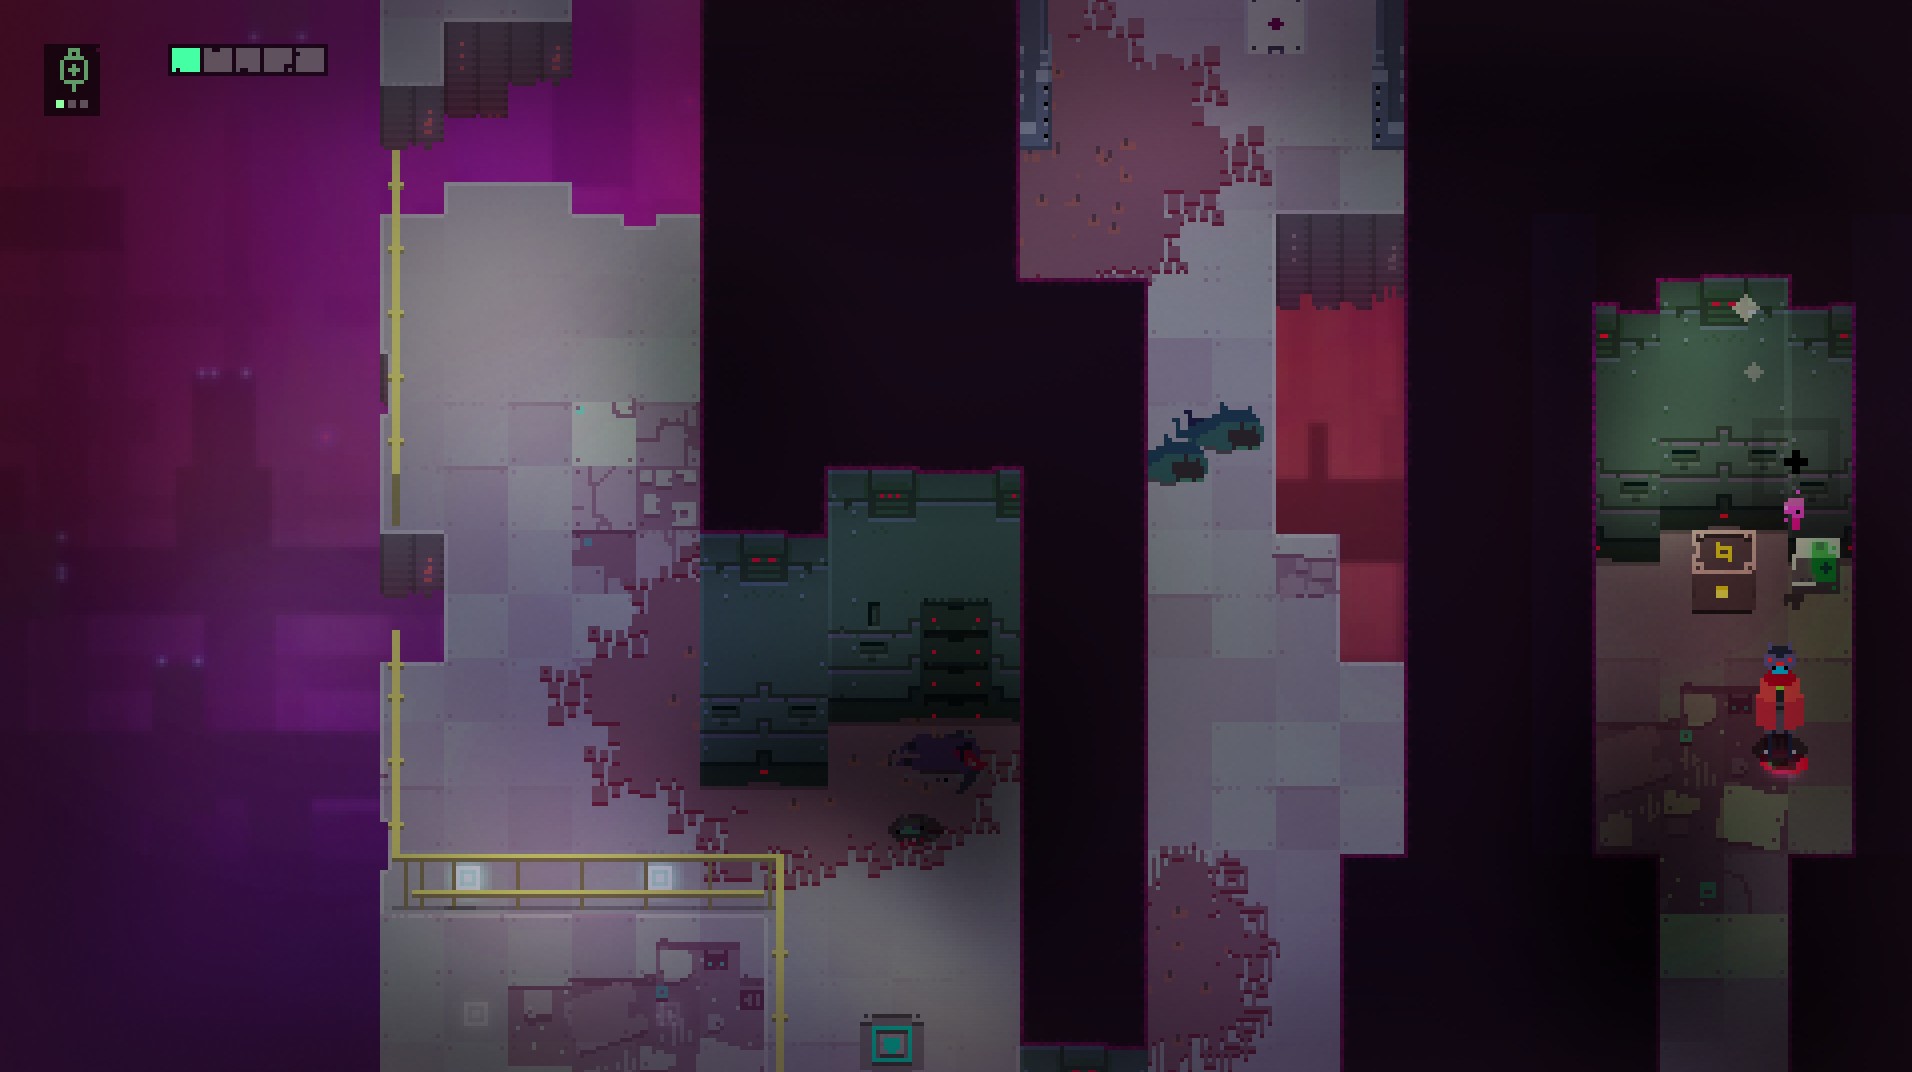
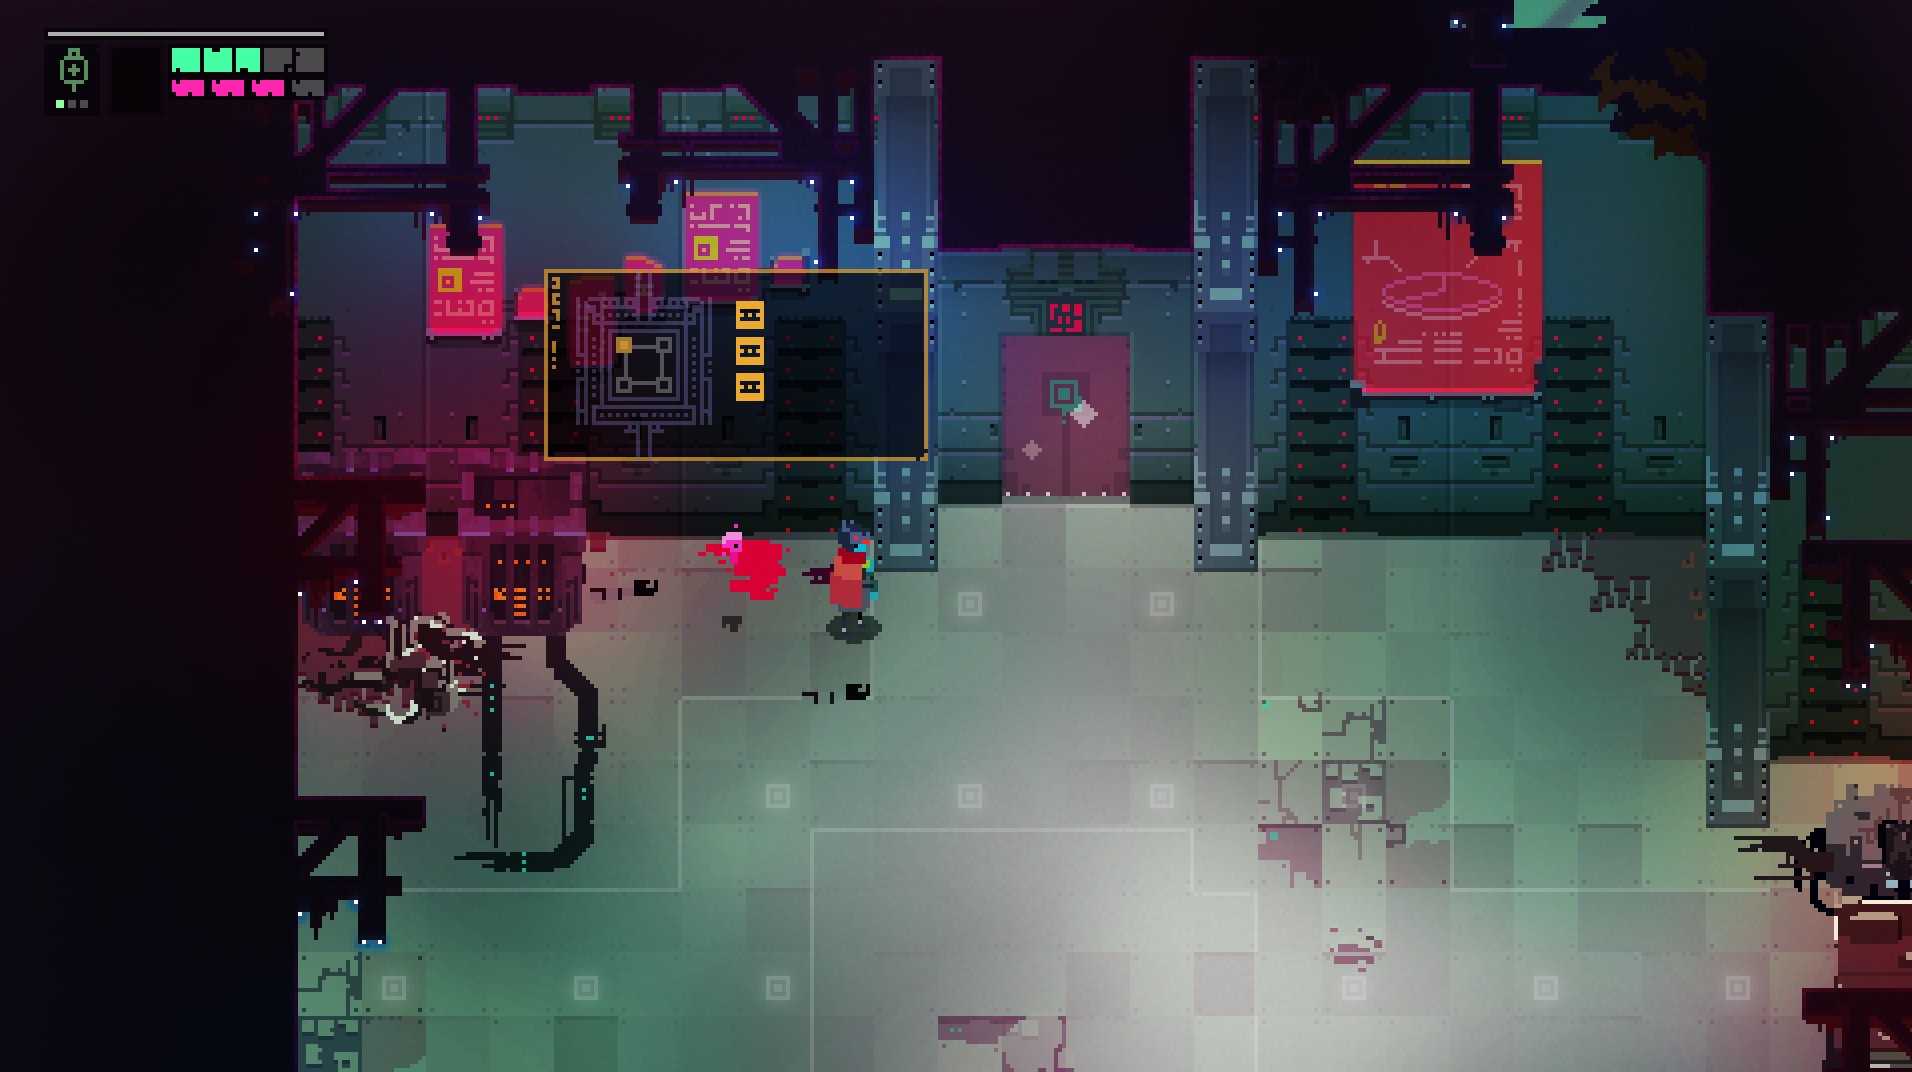
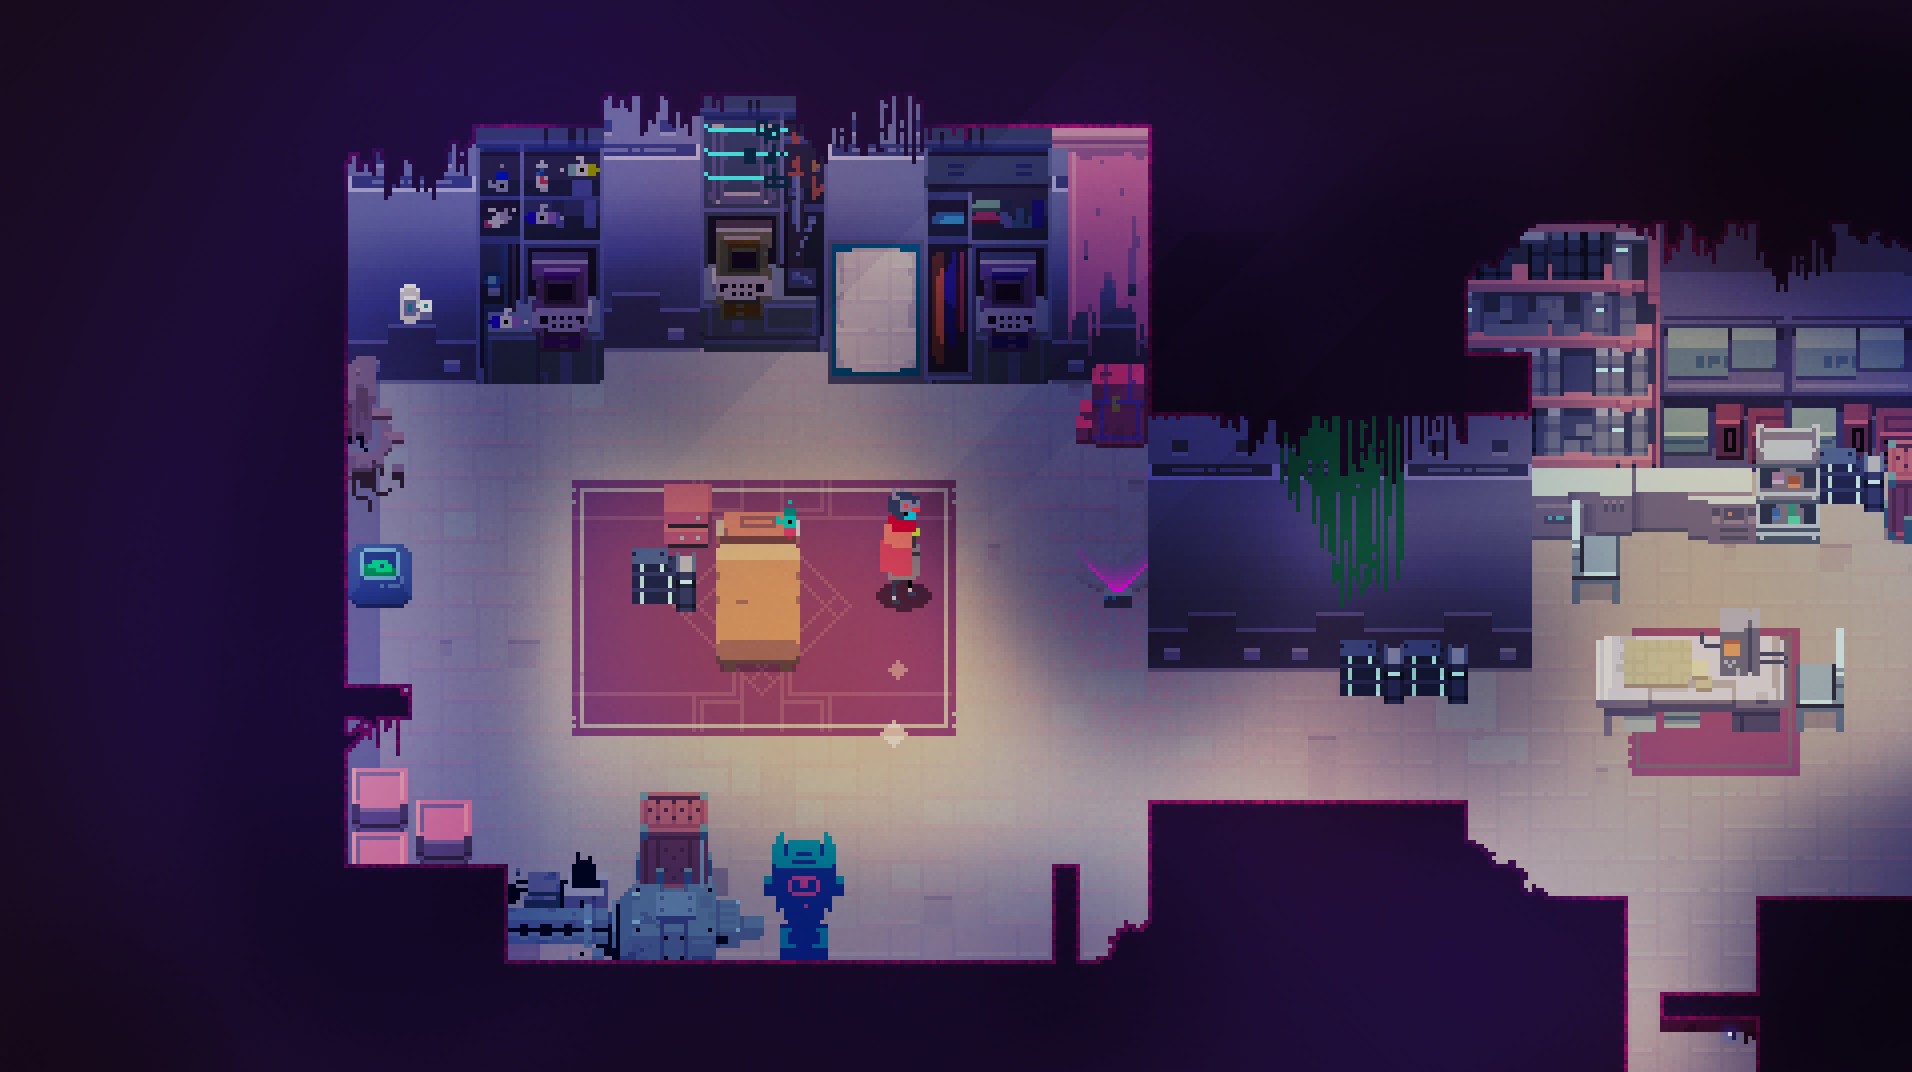
Sure buddy, it isnt a complete guide yet; if you need a full guide similar to this check out my other one on 'Titan souls'. but if you are okay with this unfinished one feel free buddy!
I am interested in this tho; whats it for? PM me!
Baron 13 abr. 2016 às 4:01 
Hey there! Nightmare, I would like to know if I can use your guide for my studies and make a French translation of it please?? My teachers need to confirm it but I want to ask you first ,
Thank you!
Nightmare  [autor] 7 abr. 2016 às 13:37 
ahhhh i have found that one actually (the health packs helped alot on my first run through!), im suprised i didnt screen shot it :/ ty
big the cat 7 abr. 2016 às 5:06 
I found another monolith/tablet thing to the right of the frog boss' room - go to the right, up past the tents, and hit the switch to make a set of platforms appear.
CraftyBirb 3 abr. 2016 às 21:26 
Edit: the shield dash does 3 damage if they hit an object upon knockback. Larger enemies can't be knocked back, though
CraftyBirb 3 abr. 2016 às 8:16 
The shield dash knocks back enemies on hit, dealing additional damage if the enemy hits a wall. You can deal only 1 or maybe 2 on hit, but I've gotten 3 when they hit a wall after being attacked with the shield dash.