MechWarrior Online

MechWarrior Online

Not enough ratings
Getting Wild with the Bacon (AS7-BH) {valid 2021}
By All Thriller No Philler
(valid build 2021) This is my guide to building and running my favorite Atlas setup, the AS7-BH Boar's Head "Wild Bacon" build. It is a heat efficient, hard to kill, heavy-hitting energy build which can be tweaked to your game play tastes.
   
Award
Favorite
Favorited
Unfavorite
The Atlas at a Glance

(please forgive that team damage, but sometimes you shoot through an enemy after blowing them up >_< all was forgiven, though)

The Atlas is one of the tankiest, toughest mechs in the game. It's a 100-ton beast of an Assault class mech with all variations boasting incredible +31 CT and at least +21 ST internal structure bonuses (and >= +10 to arms and +21 to legs). Thanks to this and other factors, the Atlas is able to toe-to-toe brawl with builds which may out-DPS it and still walk away the victor. Taking its standard across-the-board exceptional pros, most of its variations provide some specific way to capitalize on its strengths.

I personally think that all Atlases are a force to be reckoned with, but in particular there are a set of 4 that take the cake and absolutely make the AS7 a must-have for any Assault class enthusiast. You have the AS7-D-DC which horrifyingly sports an ECM, the AS7-K rocking 2 AMS hardpoints, the AS7-RS (and its Champion variant) displaying a solidly variable chassis with an extra bonus to torso twist, and the horrifying AS7-BH with exceptional agility and a -25% chance to be critted on. As this guide is purpose-built to introduce people to the Boar's Head "Wild Bacon" build, I felt it was important to briefly introduce the "Fantastic Four" of the Atlas world, however I won't go in depth on the D-DC, K, or RS variants.

Now that you have been somewhat familiarized with the AS7 chassis, let's dive into the Boar's Head, and the build I've entitled "Wild Bacon."
Why the Boar's Head? (Quirks)
Let's just get this out of the way: Quirks change, they aren't everything, they didn't exist in the beginning, and they aren't huuuuge game changers... *ahem* well addressing all that...


1) Quirks Change:
Yep. And the AS7-BH has been very, very stable! All indications are that these quirks are considered balanced and may in fact even see some extra boon over time.

2) They Aren't Everything:
Precisely! However, a total of +149 internal structure and the coveted -25% chance to be internally critted allows you to tank like a boss, +45% acc/deceleration rate lets you get up close or behind cover like a heavy class chassis, +30% turn rate and +40% torso turn rate (on top of the already incredible arm reach) allows for chasing those circling light mechs, and the little tacked on energy quirks make sure you do that little bit of extra damage that keeps you in the game against Clan assaults. That stacked with the awesome energy hardpoints and the ability to equip a 400 ST/XL engine makes you one scary towering big stompy robot.

3) They Didn't Exist in the Beginning:
They do now, and aren't going anywhere. Next!

4) They Aren't Huuuuge Game Changers:
Actually, in this chassis variant, a -25% chance to be critted on, large side torso internal structure, and improved turning to let you shake damage or place your "best foot forward" makes a HUGE difference. It's what makes the AS7-BH one of the few Inner Sphere assault mechs that are viable to put an XL engine in. I RARELY do, but we'll discuss that below.
Rig the Pig (Garage)
Let's take a look at the way I "rig the pig" for a standard tanky build.


As you can see, it's all about keeping that 56 alpha kicking. Heat management with this beast is incredibly impressive. You put each arm on it's own firing group, and fire them about one second apart from each other, and your heat becomes a non-issue. The damage is pin-point, the arms have a heavy amount of armor and internal structure, and the excellent hit boxes of the Atlas make it hard for enemies to target down your weaponry. It is totally viable to take the 320ST engine out and replace it with a 400XL and to stuff the heat sinks in there, but my personal preference has become to keep the standard in place. The extra internal structure on the legs lets you feel comfortable with 42 armor, and I've never been legged to death in it.

As for that center torso, I absolutely recommend keeping 24 armor on the back with 16 on the side torsos, since you can twist your arm mounts to fire almost 180 degrees behind you, and facing your back to the enemy to allow them to throw a few volleys in it while you let your heat cool down becomes a viable play style. Apart from purposefully forcing the enemy to sink some damage into your back before reenaging with a forward facing assault, it makes you not panic if you get surrounded or jumped from behind. However, I wouldn't fault you for taking 4-6 points off the back and putting it up front if you plan to play spear-head with a good group.

And oh baby, those LPLs pack one HELL of a punch!
Final Adjustments (Modules)
This should be fairly straight-forward, but there are 2 which are likely to be heavily questioned, so let me explain...


First off, the LPL and MPL modules are a no-brainer. You are a big beast, so sharpen your tusks and stick'em deep in the enemy faster and with a larger maximum effective range. No question as to those weapon slots.

Second, however, is my choice to use the Radar Deprivation. I get critiqued on this one, but I feel it is invaluable for bounding from cover-to-cover in order to close the distance on the enemy forces when dealing with missile boats as you WILL be a priority (which is kind'a your main purpose, anyway). It's amazing how little you appreciate this module until you've been running with it for a while and then suddenly remove it.

Third, the dual-purpose Elite slot gets the extra MPL cooldown, but really, it's up to you, and a Seismic Sensor mod makes sense to throw here since without the MPL cooldown, the LPL cooldown module allows you to keep all on roughly the same cooldown pattern anyway.

Fourth is the Coolshot 9x9. Totally worth taking! It's what lets you toe-to-toe with that DWF or a group of heavies and keep the pace. It's what lets you handle Tera Therma or the cauldron in Caustic as an energy build when the combat heats up. That mixed with the Cool Boost improves your long-term engagement combat capabilities drastically.

Finally, that last slot is up to you. Wanna throw in a Coolshot 18? Well, if you have a few extra stocked up from events, why not? But that's not sustainable. Want to put in a UAV? Makes sense since you'll likely be in the middle of the fray, and it's a great way to say, "WOAH! Found'em all, get me some support fire, here!" I do, however, recommend taking an Improved Artillery Strike/Airstrike, as it gives you a "smoke bomb" effect if you need to back off or close the gap, or force someone out of hiding.
Getting Wild w/the Bacon! (Play Style)
Okay, now you got this big beast rigged up, moduled out, and you're feelin' ready to wreck some mechs! Awesome! So, how do we play this? Balls to the wall, peak around corners, seek-and-destroy, or hide in the group? ...well, why limit it to one role?

This build is incredible. It is best played by being cautious, but you can absolutely cry Leroy and let slip the hogs of war. Personally, I play it tentatively, try to communicate with the team to keep them just behind me, and try to make initial contact. Then once the fighting starts: keep a cool head, but a hot barrel. Once you're cresting the 80% heat threshold, pop on your shutdown override, and push yourself to play the overheat game. Try to stay below 98%, but if you get up to 100-105%, don't be afraid. The goal is to be able to keep the fight going, but once you get the chance let them shred your back for a couple seconds while you maneuver to cover and get your heat back down. Then go back out and do it again.

AIM YOUR SHOTS! You have heavy pinpoint damage, so play it like that. Aim for the legs when you can, and if a light is dumb enough to stand still or run into a wall you make them pay for it! If you know an Inner Sphere mech is sporting an XL engine then pop off their side torso. If an area is exposed then hit it with a quick 1-2 combo. Timing and unleashing your combo is more important than just letting your lasers flash across their chassis all willy-nilly.

WATCH YOUR DISTANCE! I've found that keeping around the MPL's optimal range is preferable, but if you're fighting something you know has SRMs, go ahead and let your LPLs do the heavy lifting. The smarter you play this build, the scarier it gets. Also, it doesn't hurt to have a 3rd firing group where your LPLs are chain-fired without MPL interference, just to keep the pressure on a retreating enemy without wasting any heat.

NEVER alpha! Alpha strike is totally detrimental. You can avoid all ghost heat and still output crazy damage by just letting yourself take that slight one second break between your 1st and 2nd firing groups. It'll give you two 28 damage burst shots. The ONLY time I would ever say to go for the alpha is if you know you're going down or you're at top heat threshold and are trying to take them down with you without giving them the satisfaction of counting you as their killing blow ;P

USE COVER! Cover is your friend, especially if one side is taking an especially brutal beating. If you're sporting the 400 XL engine, then you actually have the agility to peek. Here's my recommendation: Bind a button to "Invert Throttle" that you can easily tap (I have it set to "E"). You'll want to get up to full speed a couple steps before you hit the corner, and then tap Invert Throttle. You'll start slowing down and (if you timed it right) you'll expose only enough of yourself to rock out your lead arm's weapons and will be already backpeddling. They might get a shot or two on you, but you'll have seen around the corner and nailed them with 28 points of direct pain.

Again, USE COVER! The peeking method works with the XL, but with the 320 ST engine I recommend taking more committed movements and playing with your lance mates as a unit. This doesn't mean cover is useless, and in fact it becomes an even more integrated part of your play style. Now you will be making use of cover as a way to drop your heat down, and to ambush any enemies who decided to mistake your tactical retreat for a paniced one. Tap that Invert Throttle as soon as you are about to hit the corner, swing your body to deliver a couple "good bye!" shots, and walk your as backward. Kill your throttle, and set up for anyone who decides to foolishly follow you. If nobody followed, then reconstitute your troops and prepare for another push. Jump across to the next cover if you can, delivering that smexy pin-point drive-by time and again, letting yourself seem like an unstoppable laser-mounting Energizer Bunny of doom.

Learn your hitboxes. You have some weird-ass hitboxes in this thing. It's not like a DWF or other prominant assault builds where a shot to your back assures damage to your CT. Spinning and shaking damage will spread it all over, and it's essential to learn how to force damage to specific areas to maximize your longevity.

You're a 100-ton assault class death machine...play like one! Be sure to protect your little buddies. If you see a light mech running away from a brutal barrage, jump in and take a few shots for him while whipping out those big tusks and showing that enemy that daddy doesn't like it when you smack around his little guys. Be the boss that you are while piloting this titanic behemoth.

Make your own final adjustments. Sometimes if the day is showing a particularly brutal amount of LRMs, I'll take off an MPL and throw on an AMS and some AMS rounds. Other times it seems that I keep running into premades of 8+ guys, so I swap out the ST engine for an XL so I can maneuver with the lighter mechs but still have substantial stopping power and the internal structure that makes the Atlas the motherfathering ATLAS!

Above all else...have fun! This is a great build, it's straight-forward, it utilizes its weight and slots perfectly, and still lets you adjust and tweak it to your liking. Now go out there and get Wild with the Bacon! \m/


And yes, I absolutely recommend the pinata-inspired paint job.
13 Comments
All Thriller No Philler  [author] Apr 4, 2016 @ 7:32am 
It's really not that much. It sounds like a lot when you break down ANY mech and include modules. But these are all things you'll end up with anyway (320 engine, LPL and MPL modules, and heat sinks) and the Atlas Mastery Pack comes with the premium time and extra items attached anyway, so if you've been saving up MC from events and it goes on sale it's a DAMN good grab. Also a good choice if you win a pick-a-pack as a prize from any forum or unit tournaments (my unit regularly does game card/pick-a-pack tournaments)
Nostromo36 Apr 4, 2016 @ 1:14am 
Wow. Much cost.
Tnx 4 information anyway
All Thriller No Philler  [author] Apr 3, 2016 @ 10:59pm 
...SO! If you don't own the chassis or a single component, weapon, or piece of equipment, it will cost you at least 7,500 MC and between 14,506,667 and 23,506,667+ Cbills. Realistically though if you get the Atlas Mastery Pack then you'll be looking at just paying the 500k for Standard Structure, 1.5 mil for heat sinks, and about 2 mil for the engine if you don't have a 320 lying around, so like 4 million cbills total.
All Thriller No Philler  [author] Apr 3, 2016 @ 10:59pm 
Well Ermak_, it depends on what you have sitting around.
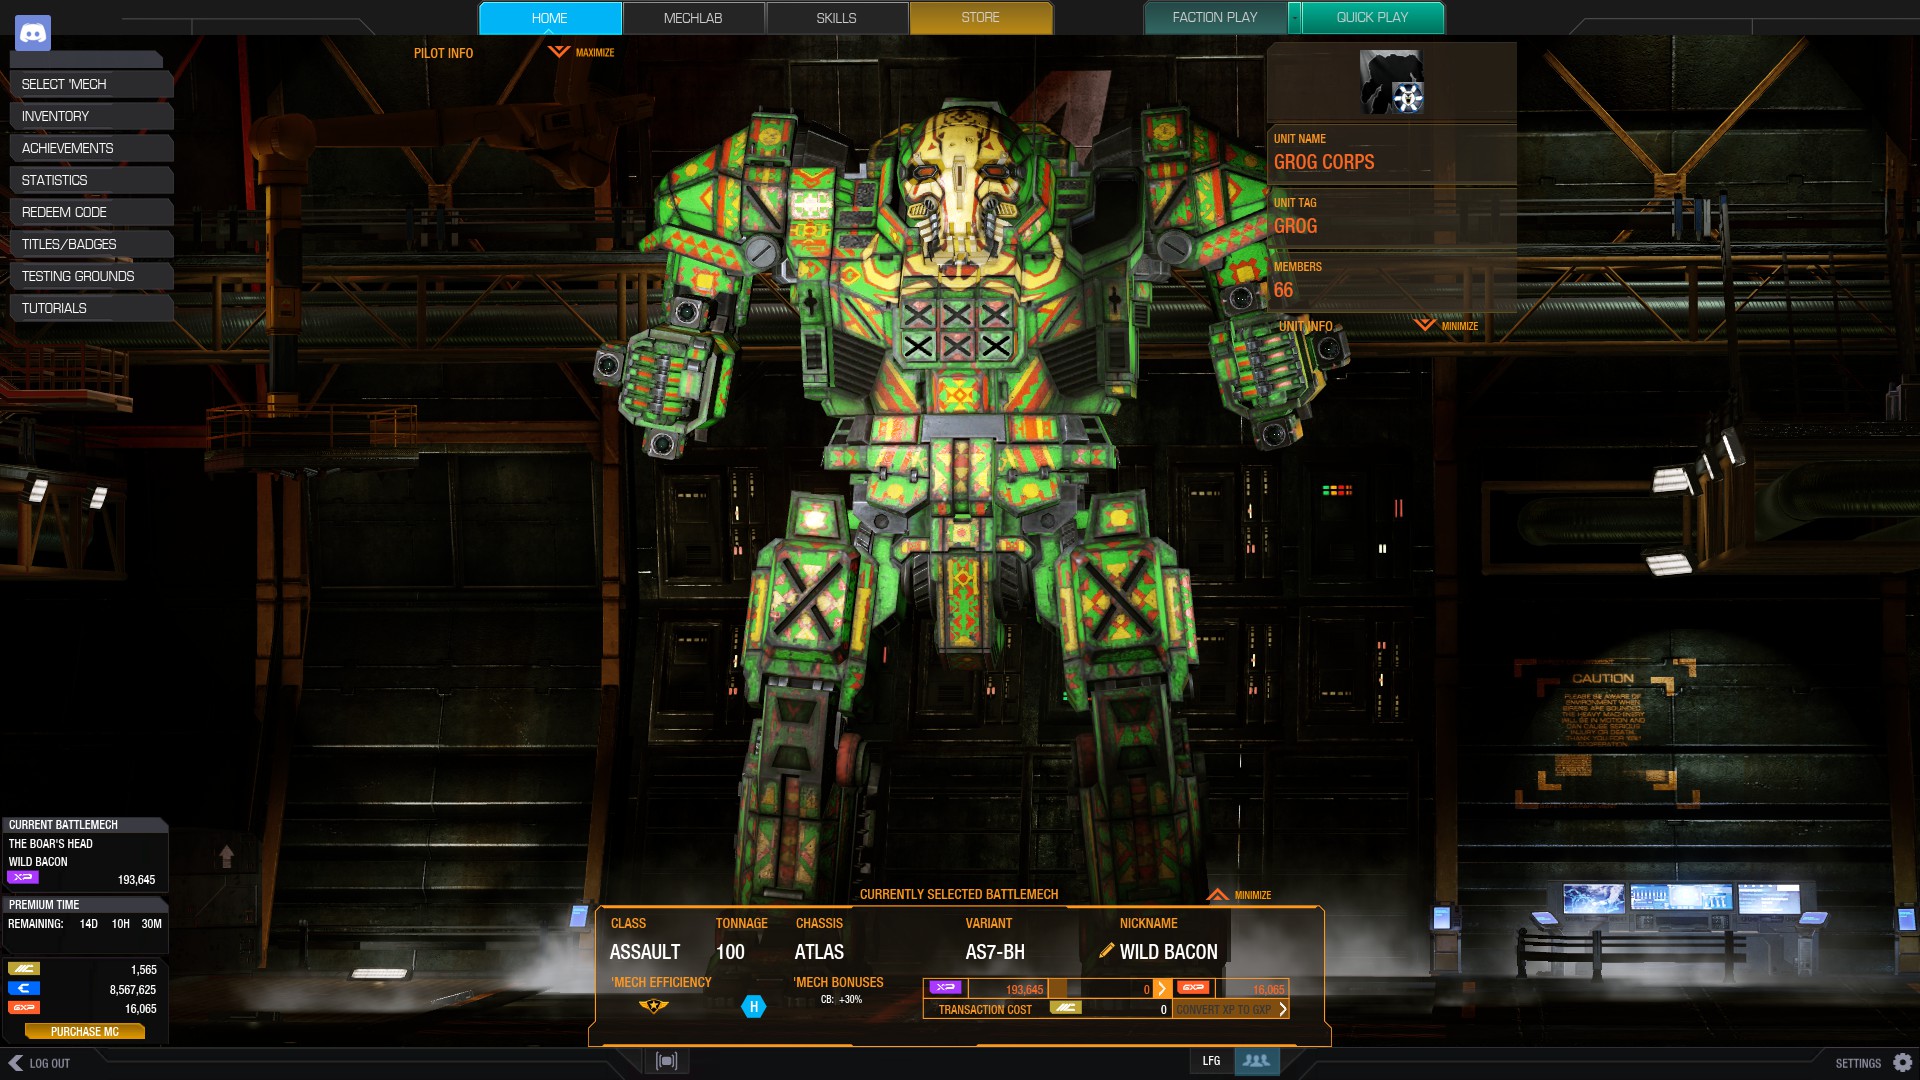
I had been playing for quite a while without putting a penny into the game and had a good amount of MC saved up, so I bought a small MC pack and bought the Atlas Mastery pack when it went on sale for about 7,200 MC (less than the price of the Boar's Head itself!) and it cost me personally very little outside of the modules.
However, to but the AS7-BH and all of these components straight:

AS7-BH Chassis - 7,500 MC (would recommend the Master Pack for only 10k, includes 3 AS7 variants some cockpit items and +30 days of premium time)
Modules - 9,000,000-18,000,000+ Cbills (depending on which you use, 9 mil for the LPL cd/range and MPL range)
320 STD Engine - 1,962,667 Cbills
Double Heat Sinks - 1,500,000 Cbills
4 Large Pulse Lasers - 1,400,000 Cbills
Standardizing Structure - 500,000 Cbills
12 Double Heat Sinks - 144,000 Cbills
2 Medium Pulse Lasers - Free (comes with 6 in AS7-BH stock)
Nostromo36 Mar 23, 2016 @ 1:23pm 
What is the price of mech+all weapons of this config?
Mr.Peanutz Mar 21, 2016 @ 9:56pm 
I drop the 2 medium lasers for an AMS and a TAG. XL engine 380, and a total of 13 Heatsinks and as much AMS ammo I can fill with. With Radar Deprivation perhaps even AMS Overload as a second. I have speed on ya but less firepower and more vulnerability in the back. No LRM damage for me though.
Bassault Mar 19, 2016 @ 8:19pm 
Philso, add me and we'll duel. I'll show you a real Atlas.
KojaK Mar 19, 2016 @ 8:01pm 
I have similar build, but it uses 2 x ML instead of MPL and has a standard 350. It's great, and really effective in CW too
All Thriller No Philler  [author] Mar 19, 2016 @ 7:38pm 
This build obliterates the AC/20 build. I haven't had a single Atlas build stand against it.
Bassault Mar 19, 2016 @ 7:20pm 
>No AC20
Shit