
Install Steam
login
|
language
简体中文 (Simplified Chinese)
繁體中文 (Traditional Chinese)
日本語 (Japanese)
한국어 (Korean)
ไทย (Thai)
Български (Bulgarian)
Čeština (Czech)
Dansk (Danish)
Deutsch (German)
Español - España (Spanish - Spain)
Español - Latinoamérica (Spanish - Latin America)
Ελληνικά (Greek)
Français (French)
Italiano (Italian)
Bahasa Indonesia (Indonesian)
Magyar (Hungarian)
Nederlands (Dutch)
Norsk (Norwegian)
Polski (Polish)
Português (Portuguese - Portugal)
Português - Brasil (Portuguese - Brazil)
Română (Romanian)
Русский (Russian)
Suomi (Finnish)
Svenska (Swedish)
Türkçe (Turkish)
Tiếng Việt (Vietnamese)
Українська (Ukrainian)
Report a translation problem


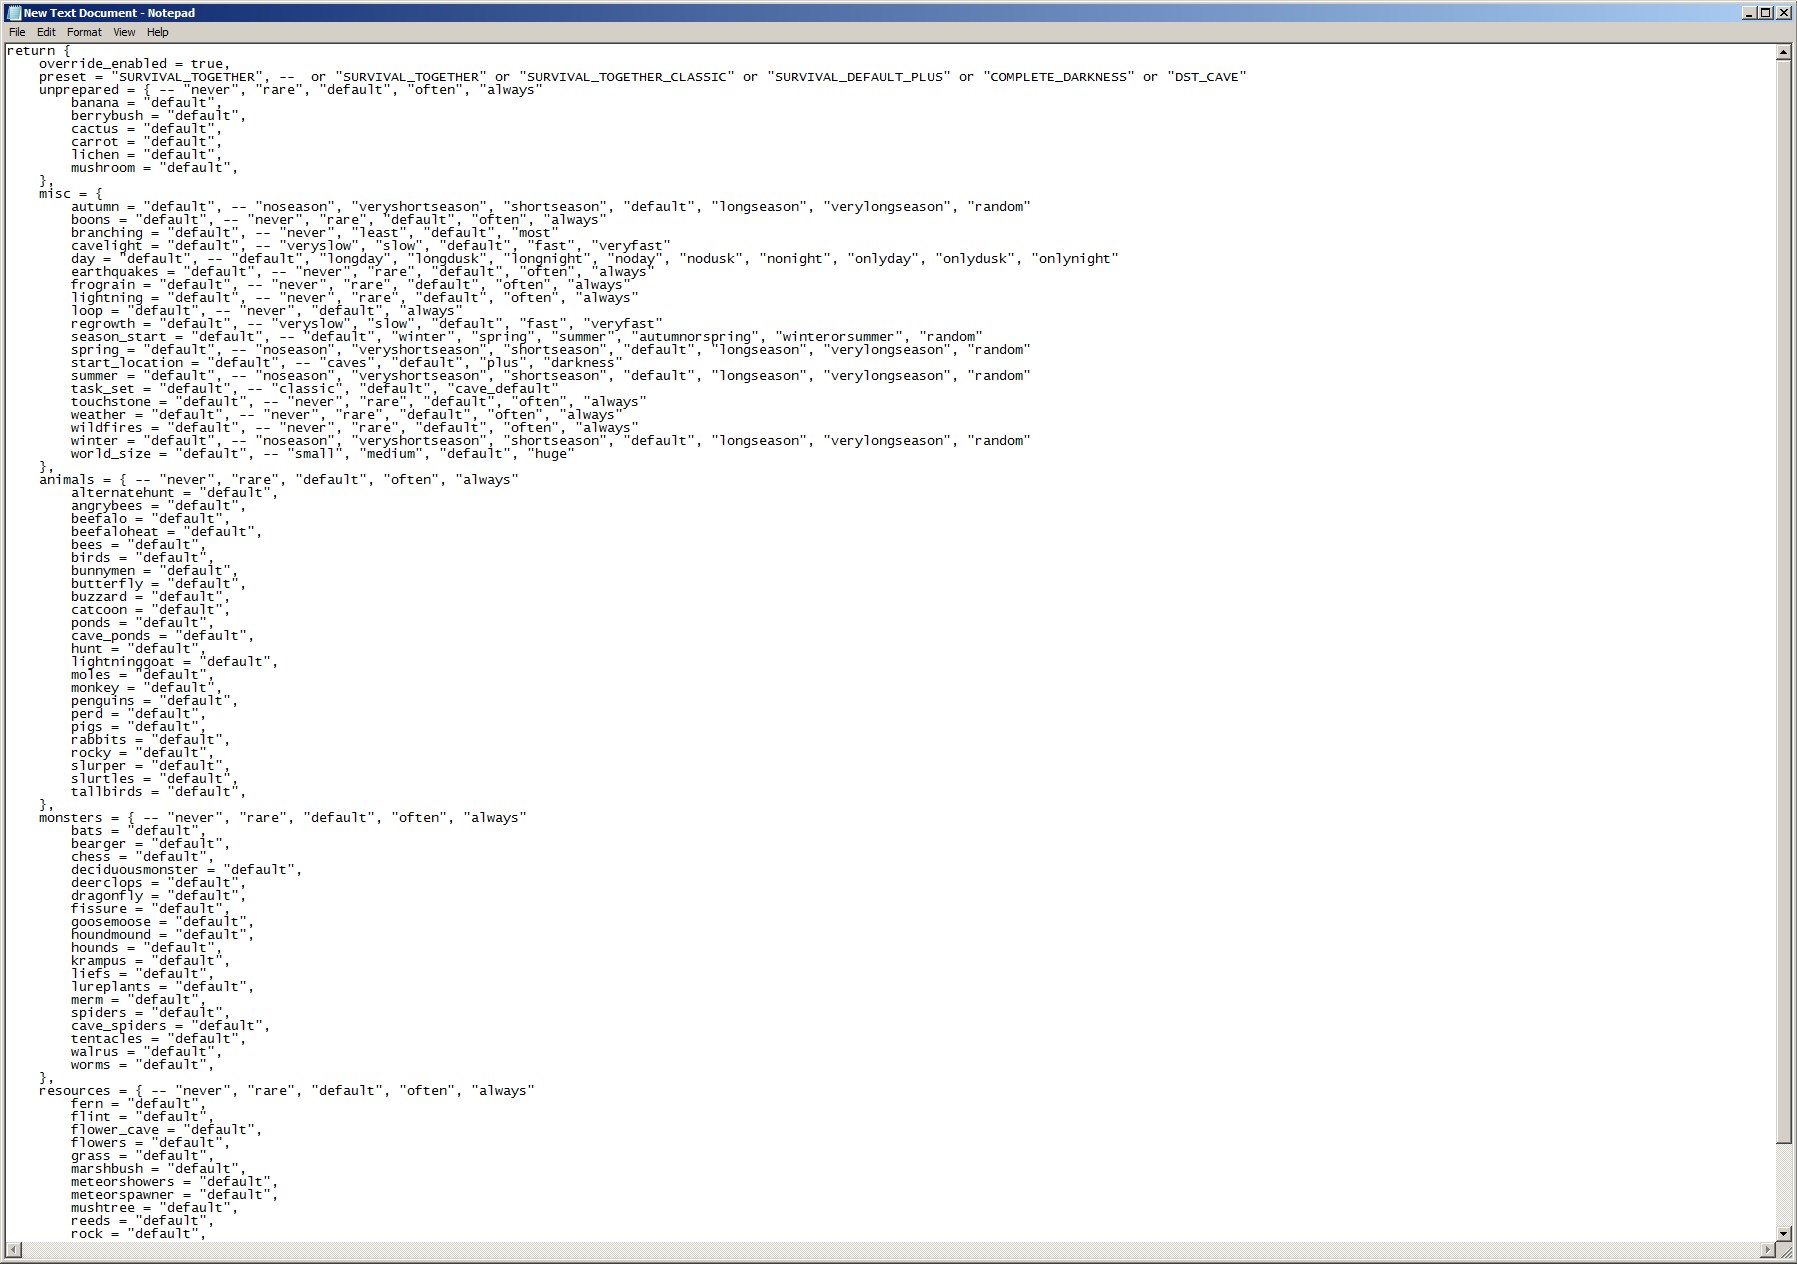


[00:00:00]: THREAD - started 'StreamInput' (15276)
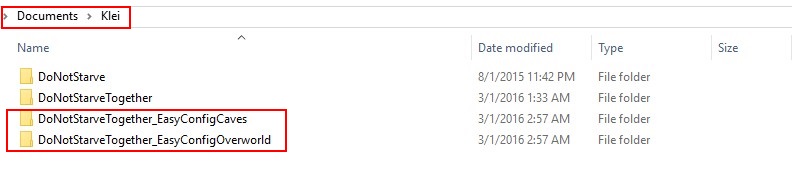
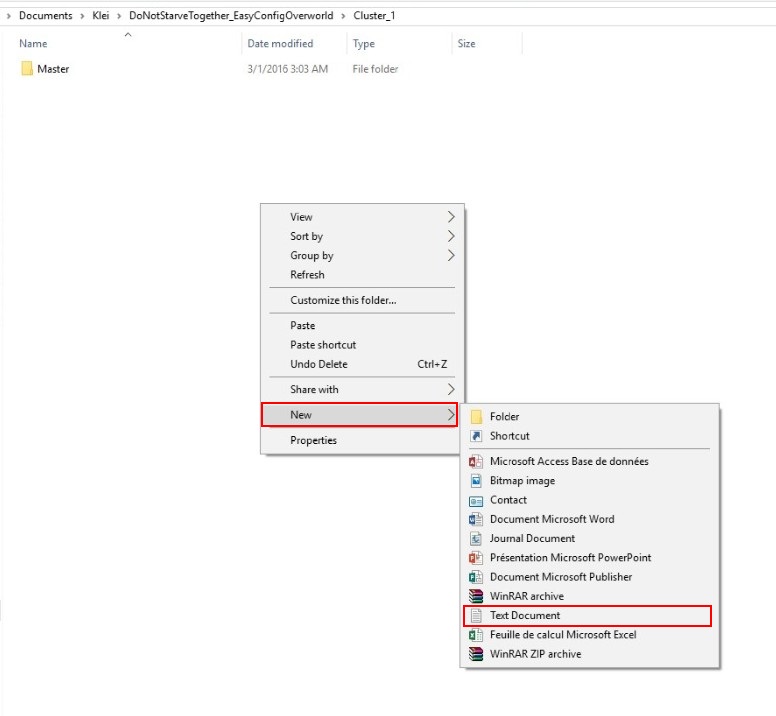
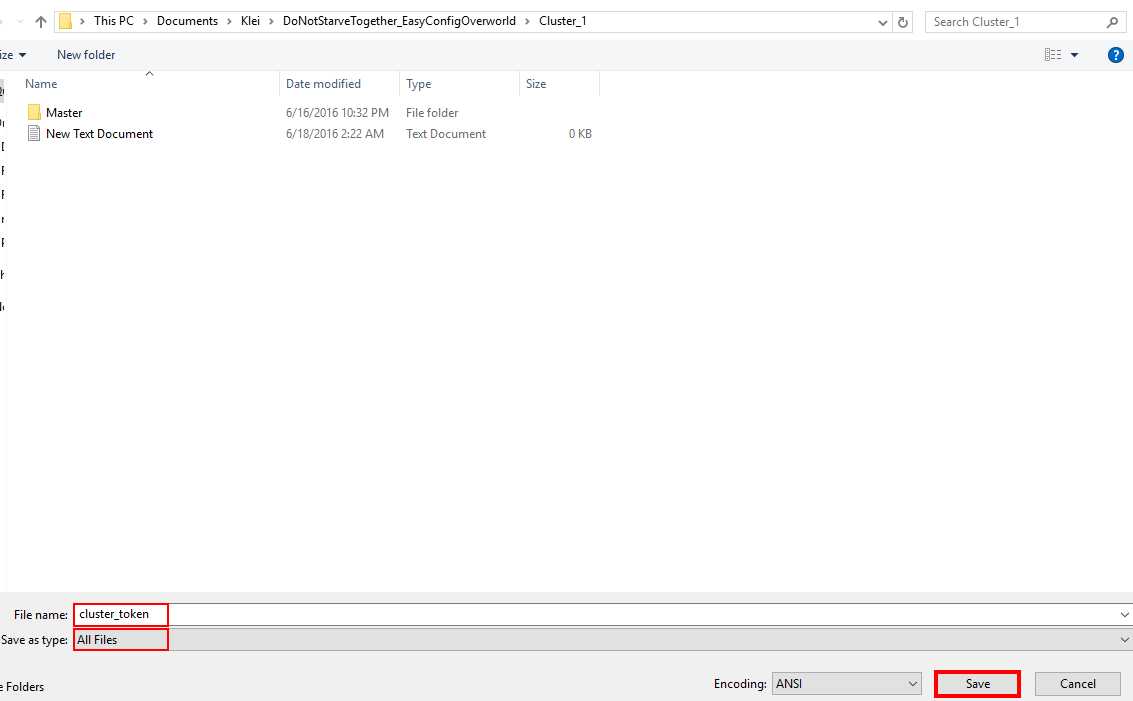
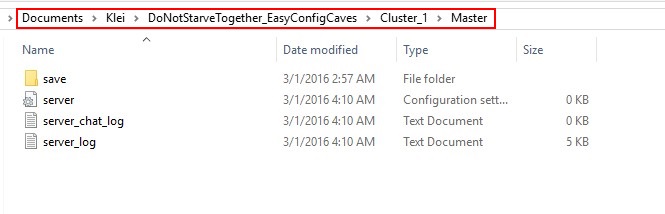
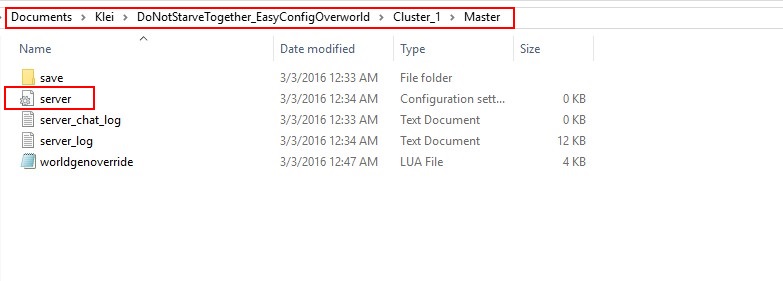
[00:00:00]: OnLoadPermissionList: APP:Klei//DoNotStarveTogether_EasyConfigOverworld/Cluster_1/adminlist.txt (Failure)
[00:00:00]: OnLoadUserIdList: APP:Klei//DoNotStarveTogether_EasyConfigOverworld/Cluster_1/whitelist.txt (Success)
adminlist and whitelist are same IDs. Could that be an issue?
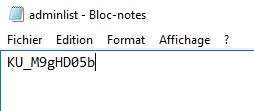
Both lists are containing 3 IDs only (including mine) in following format:
KU_########
KU_########
KU_########
Can anyone assist me in fixing this problem and placing a proper setup to the server (adding 2 more friends as admins) ? :)
Thanks
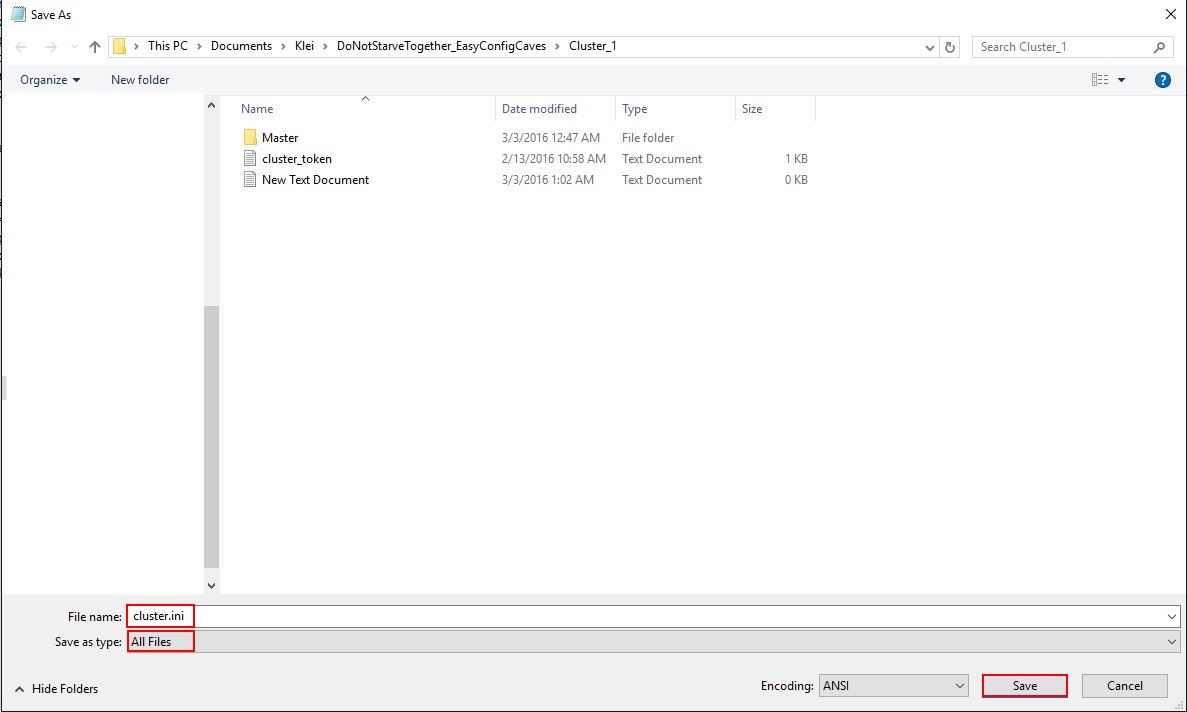
cluster.ini is fine
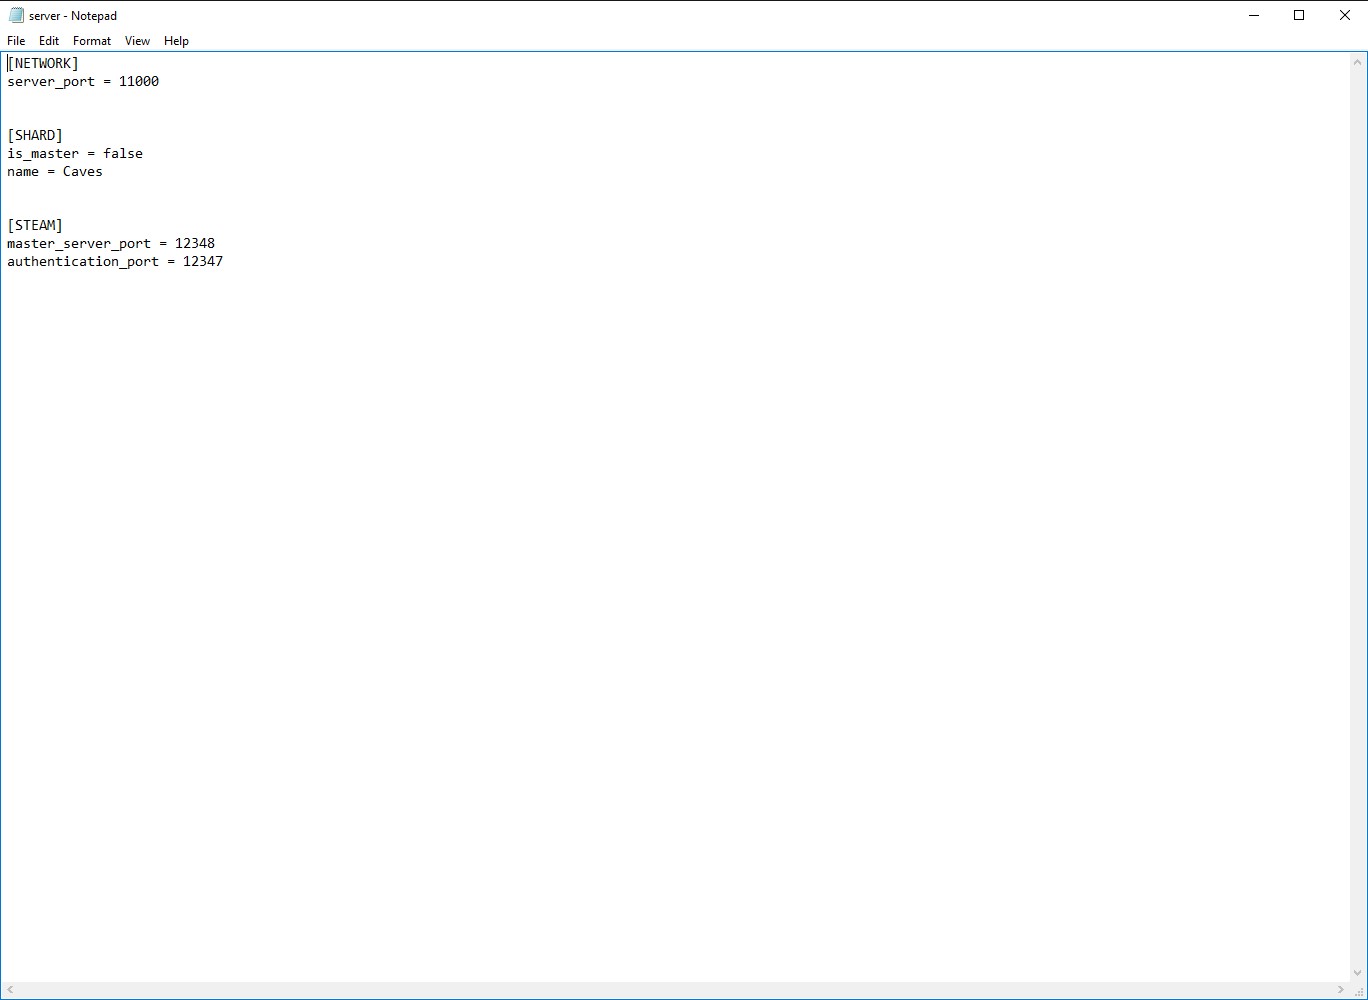
But my slave server is running ok only master is showing "Registering master server in Sing Lobby"
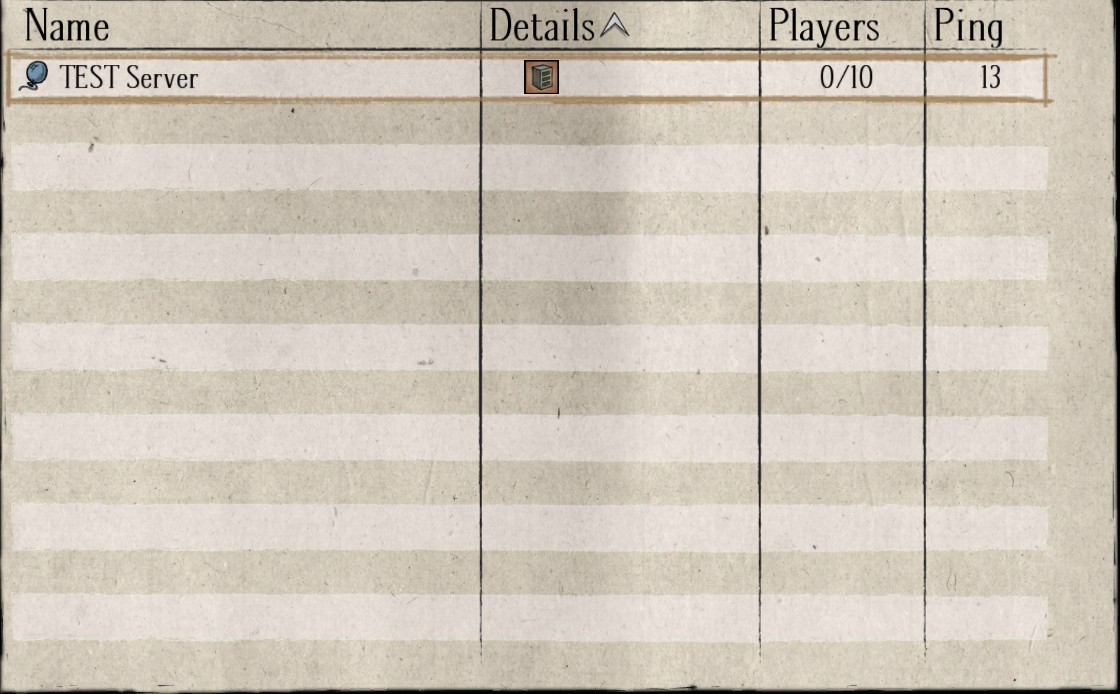
UPDATE: after removing password its showing on LAN