
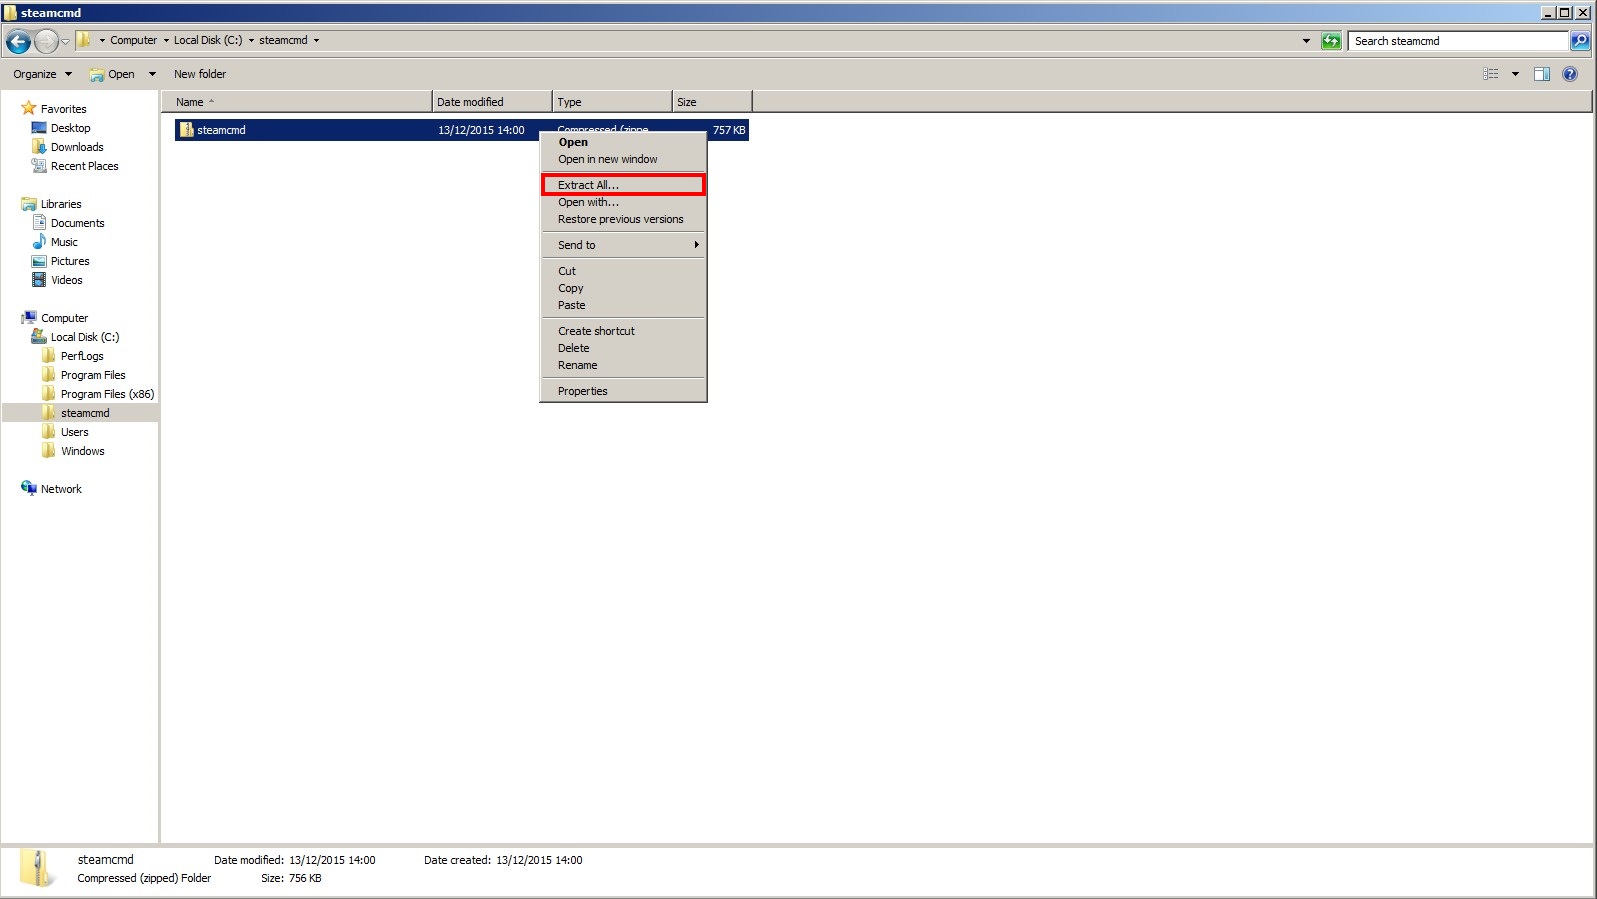
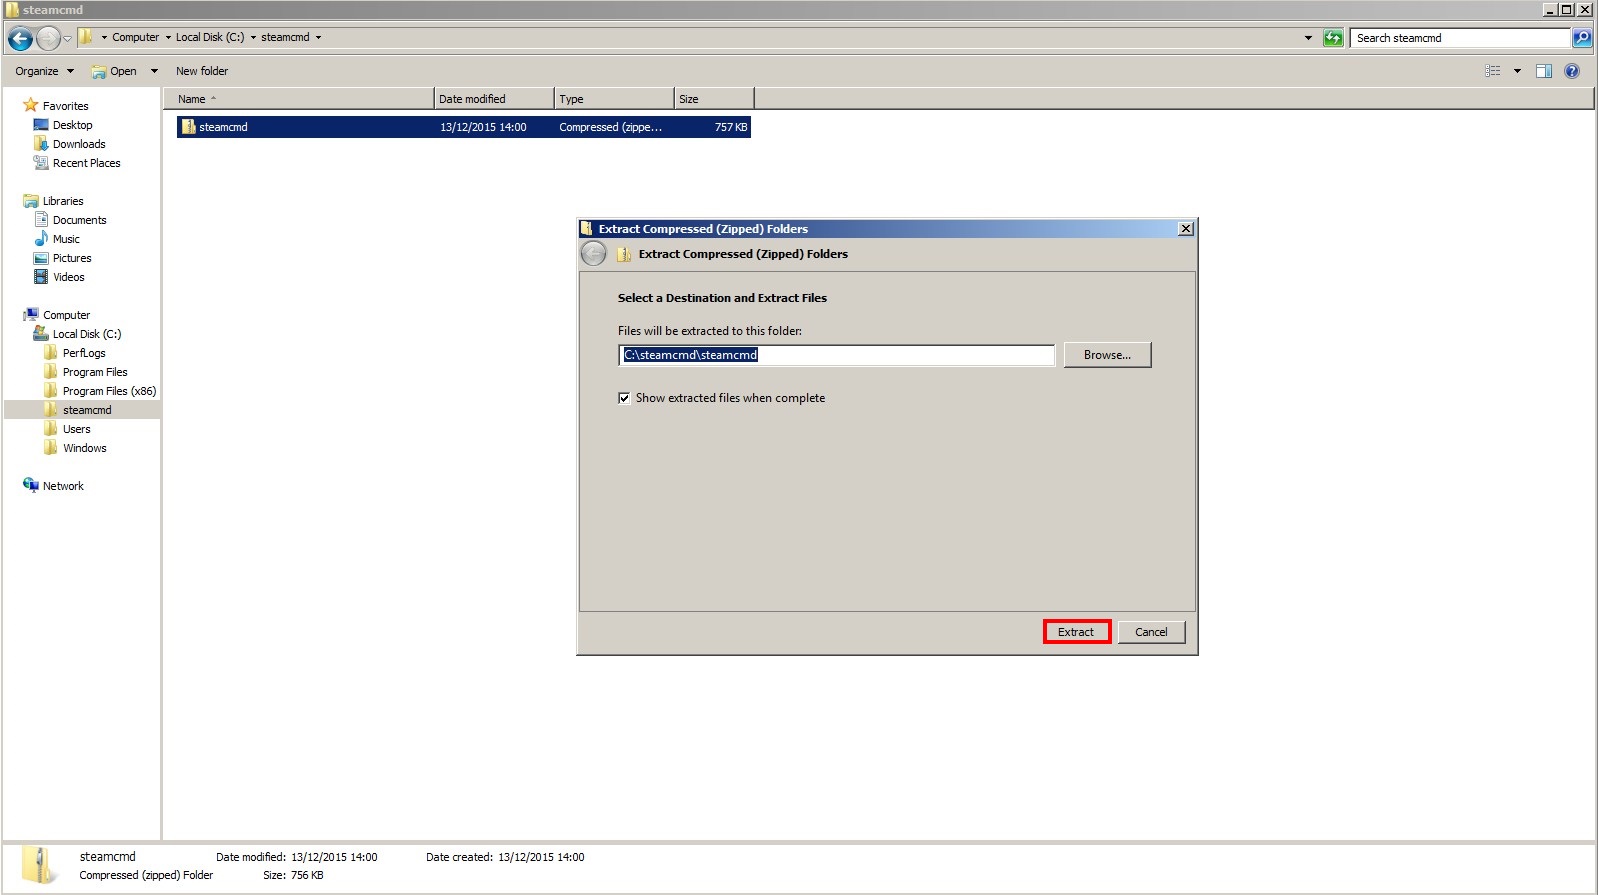
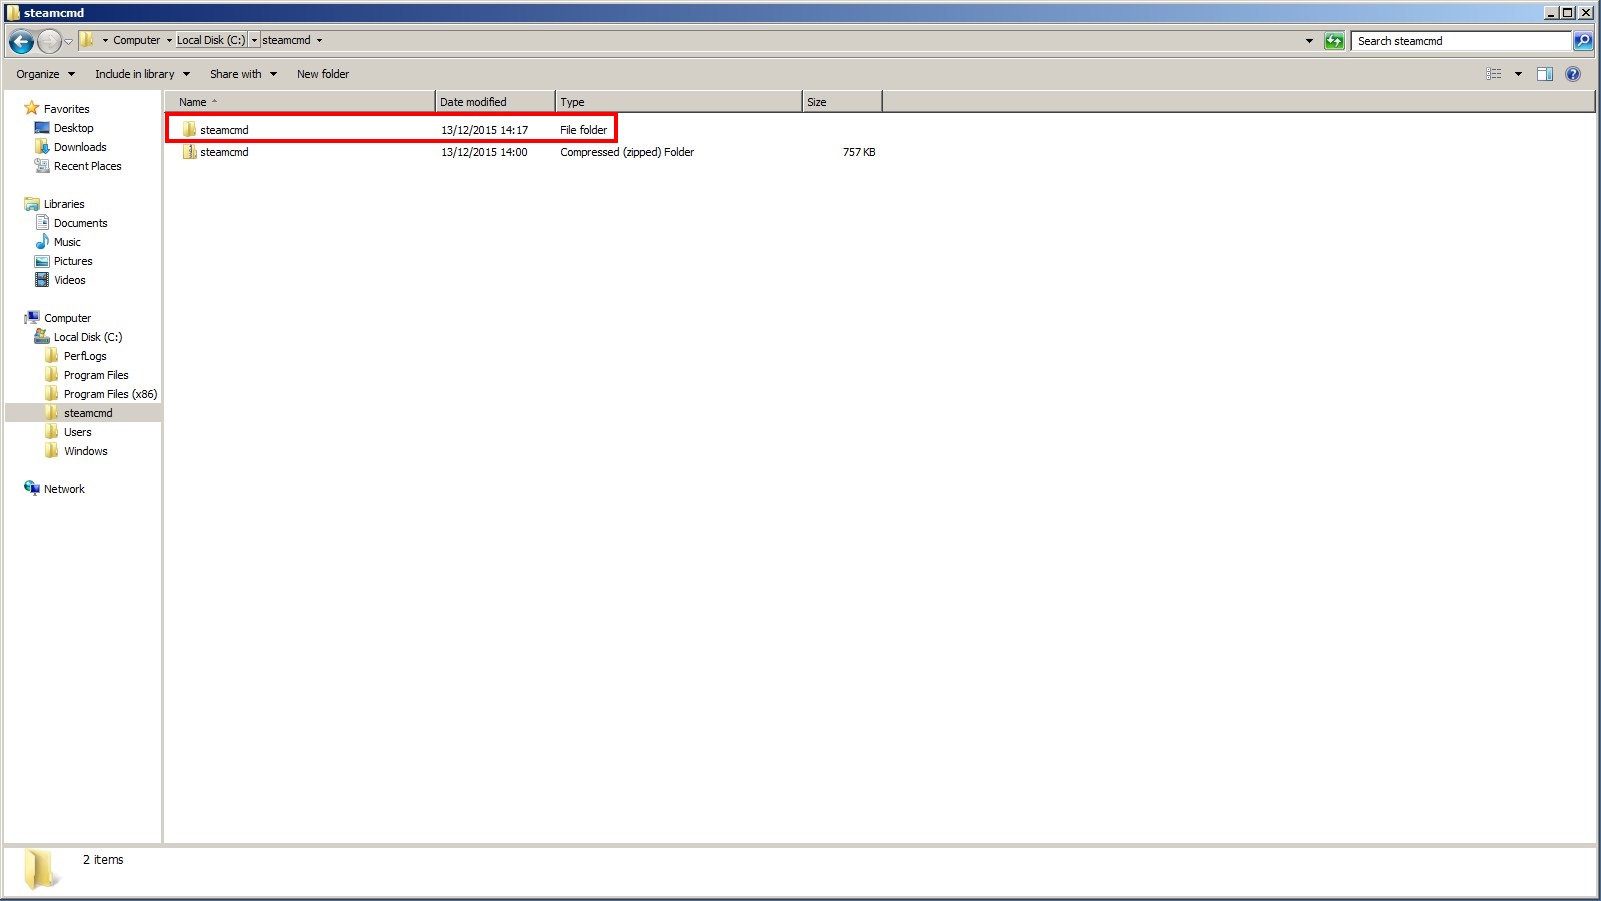
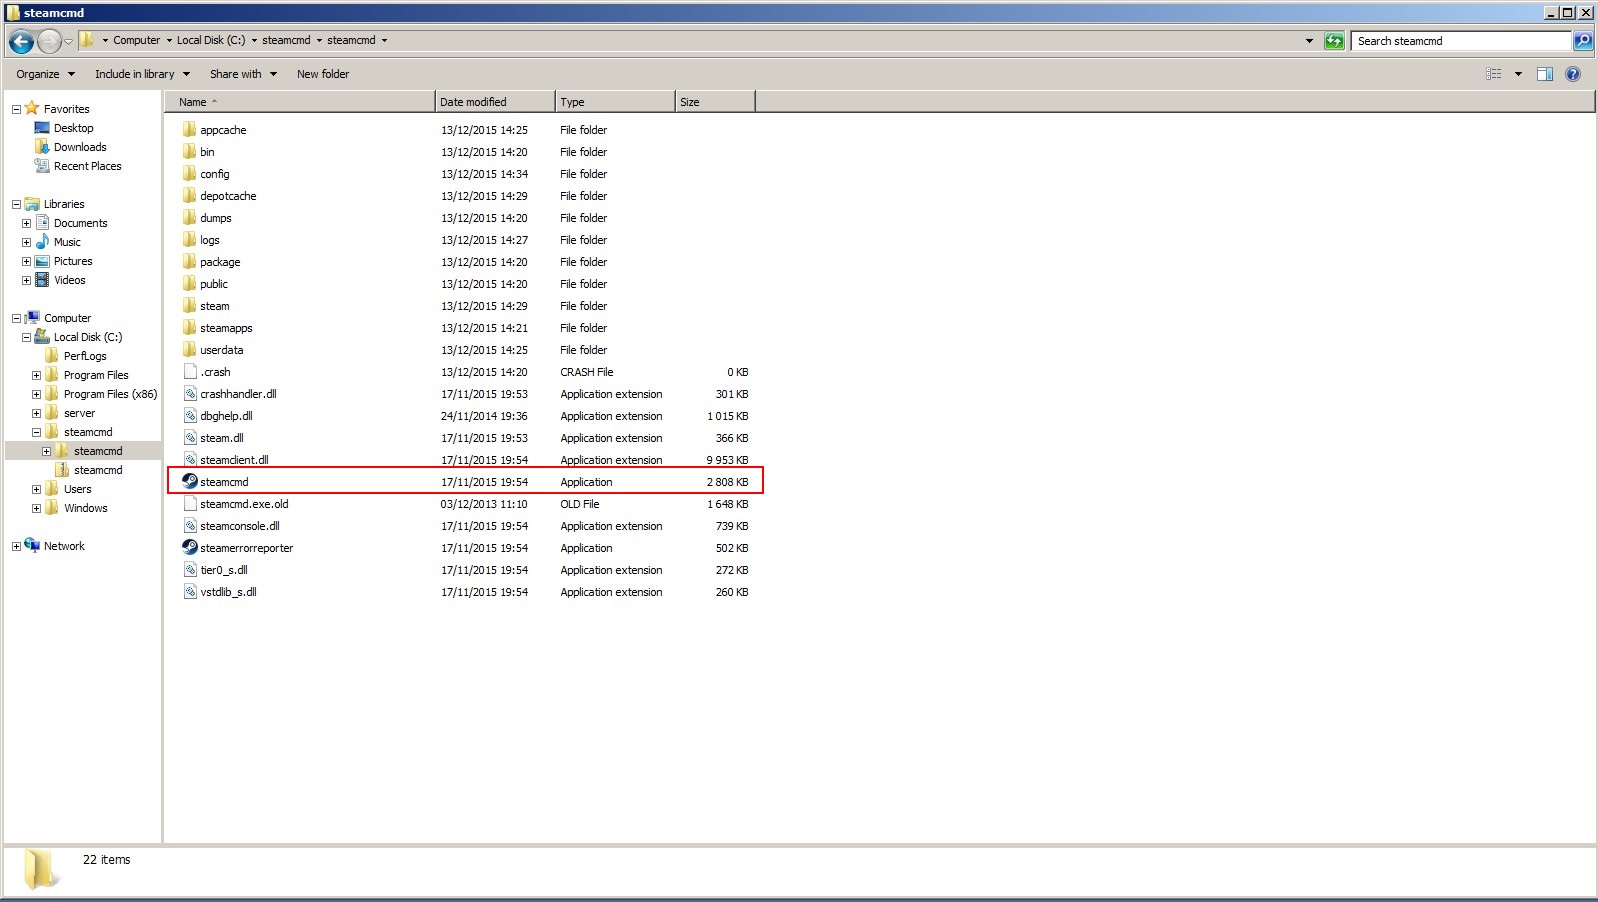
Εγκατάσταση Steam
Σύνδεση
|
Γλώσσα
简体中文 (Απλοποιημένα κινεζικά)
繁體中文 (Παραδοσιακά κινεζικά)
日本語 (Ιαπωνικά)
한국어 (Κορεατικά)
ไทย (Ταϊλανδικά)
Български (Βουλγαρικά)
Čeština (Τσεχικά)
Dansk (Δανικά)
Deutsch (Γερμανικά)
English (Αγγλικά)
Español – España (Ισπανικά – Ισπανία)
Español – Latinoamérica (Ισπανικά – Λατινική Αμερική)
Français (Γαλλικά)
Italiano (Ιταλικά)
Bahasa Indonesia (Ινδονησιακά)
Magyar (Ουγγρικά)
Nederlands (Ολλανδικά)
Norsk (Νορβηγικά)
Polski (Πολωνικά)
Português (Πορτογαλικά – Πορτογαλία)
Português – Brasil (Πορτογαλικά – Βραζιλία)
Română (Ρουμανικά)
Русский (Ρωσικά)
Suomi (Φινλανδικά)
Svenska (Σουηδικά)
Türkçe (Τουρκικά)
Tiếng Việt (Βιετναμικά)
Українська (Ουκρανικά)
Αναφορά προβλήματος μετάφρασης


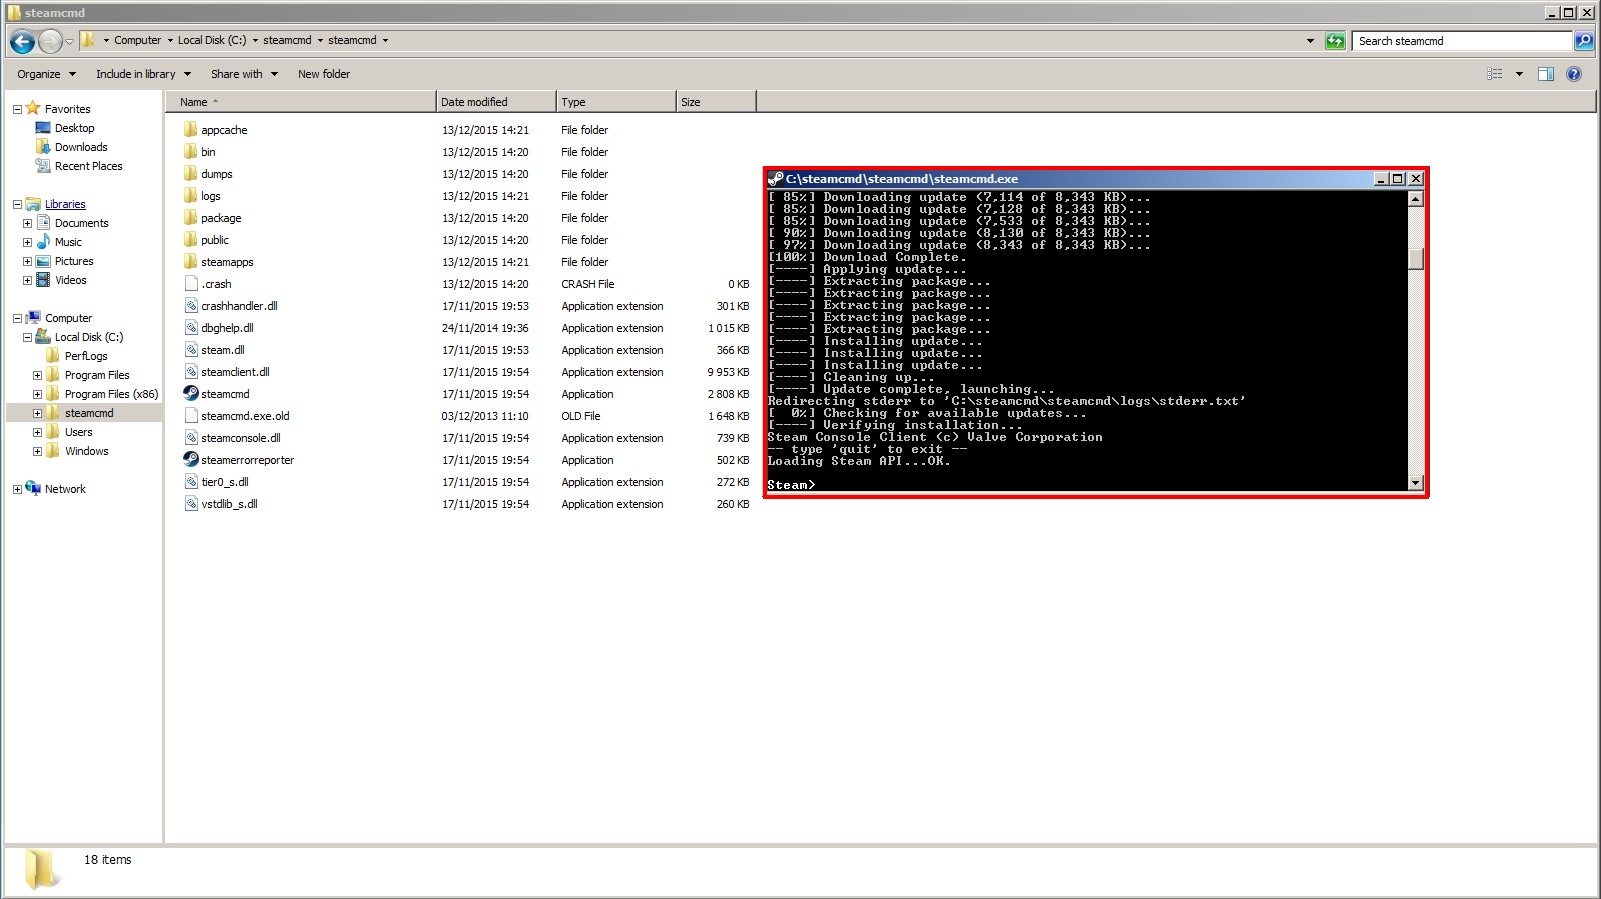
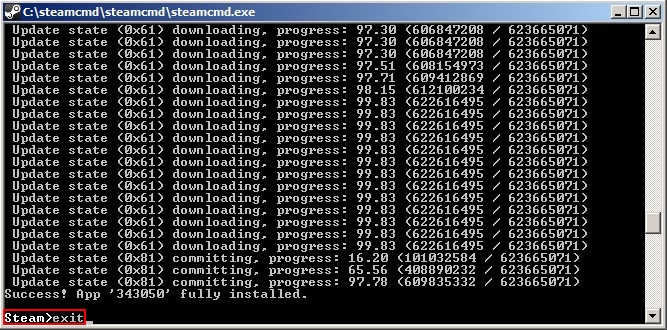


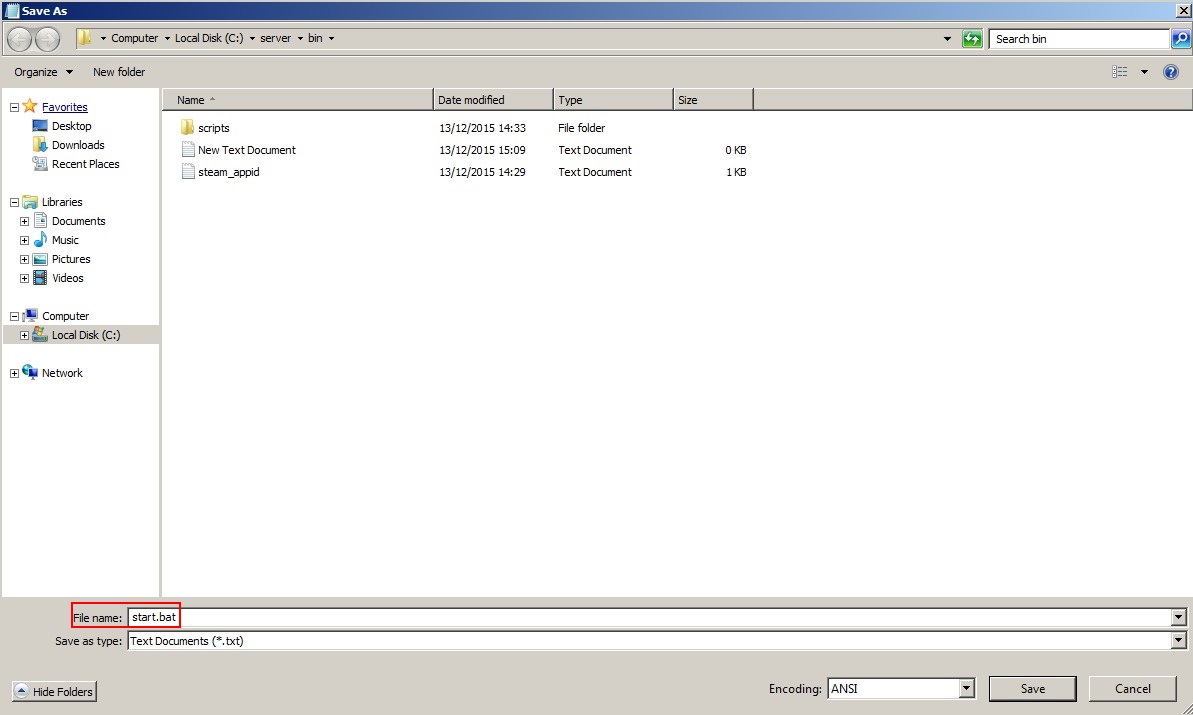


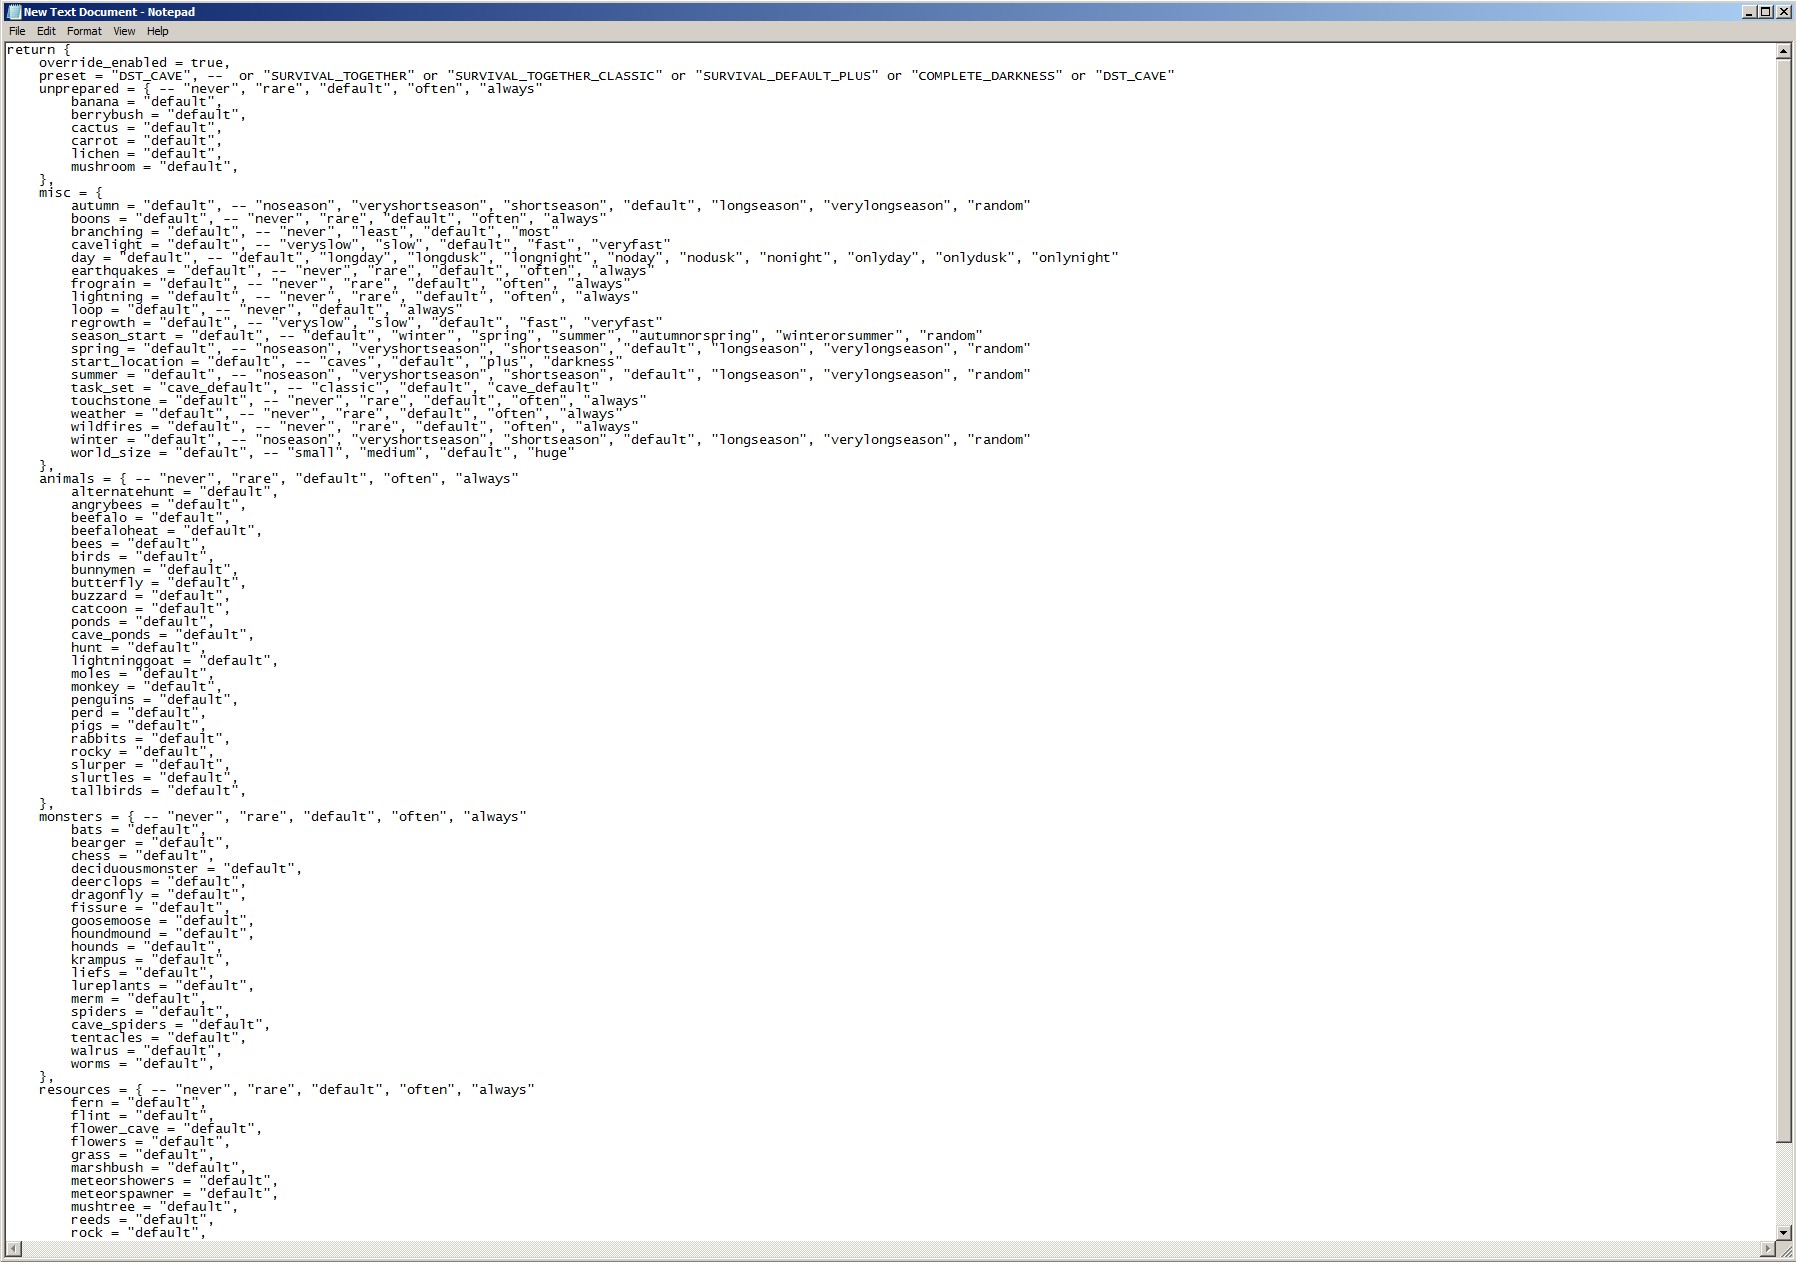


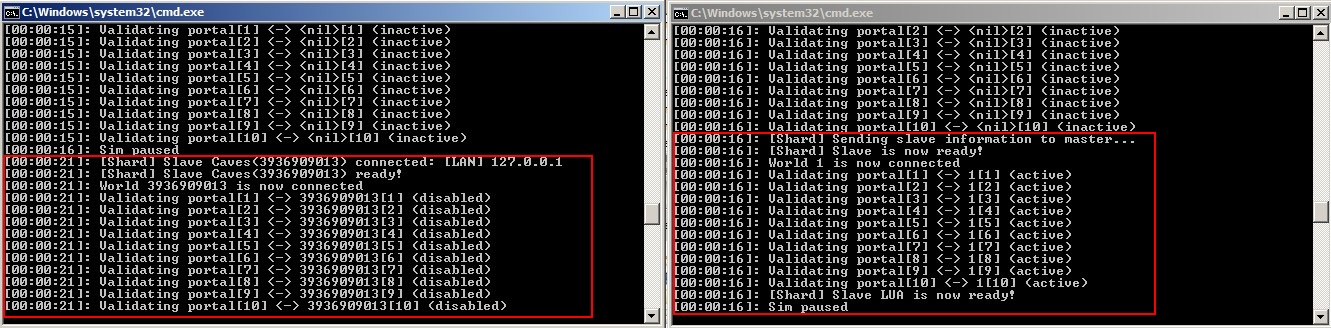


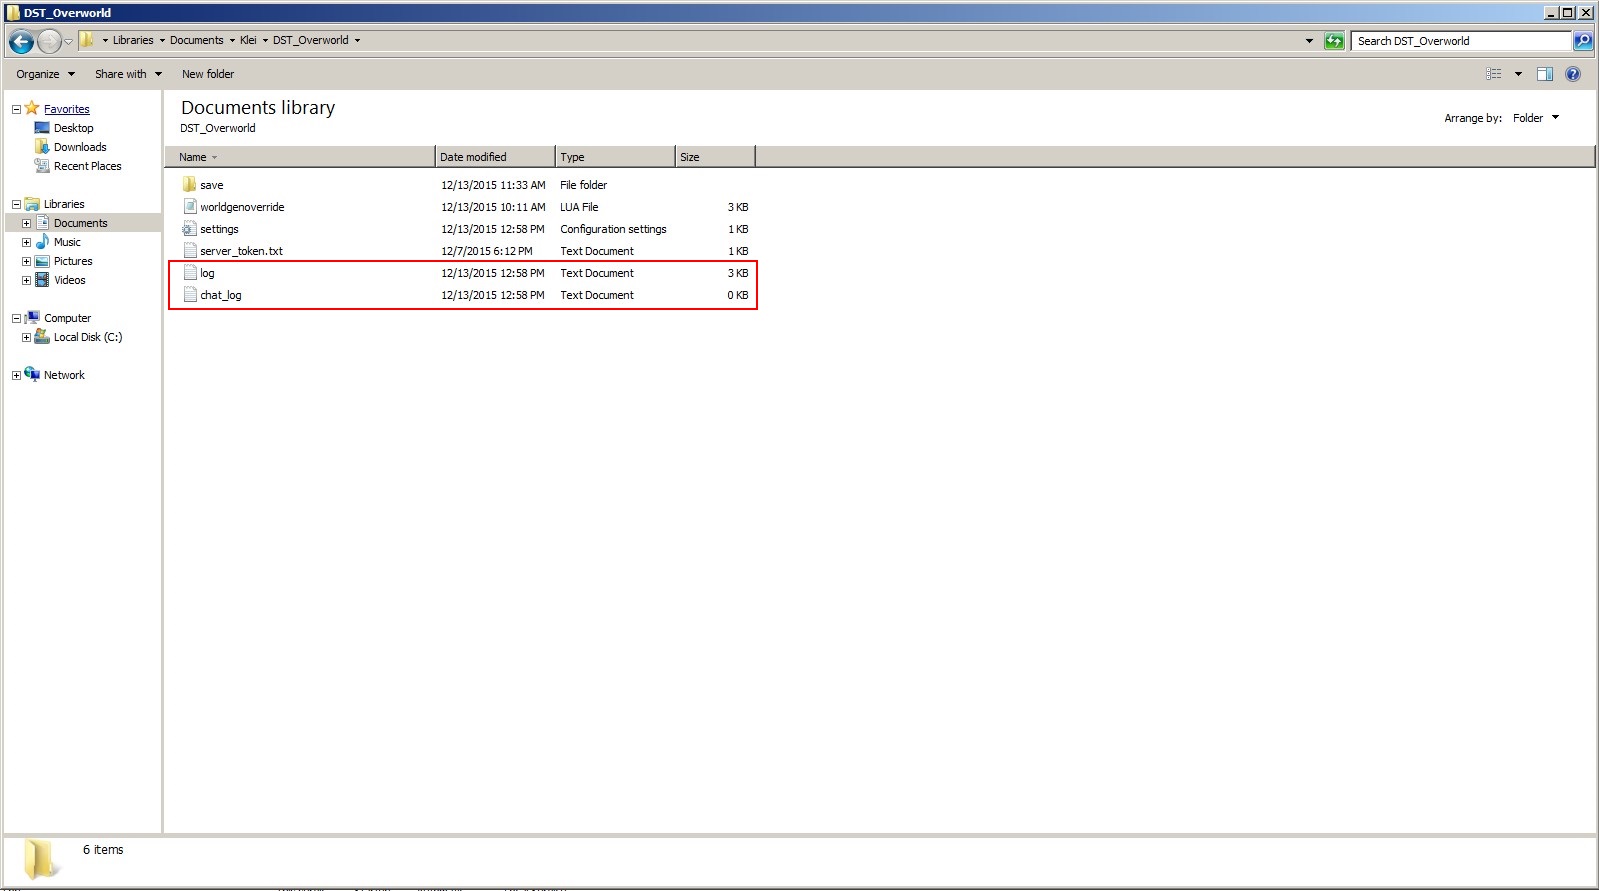
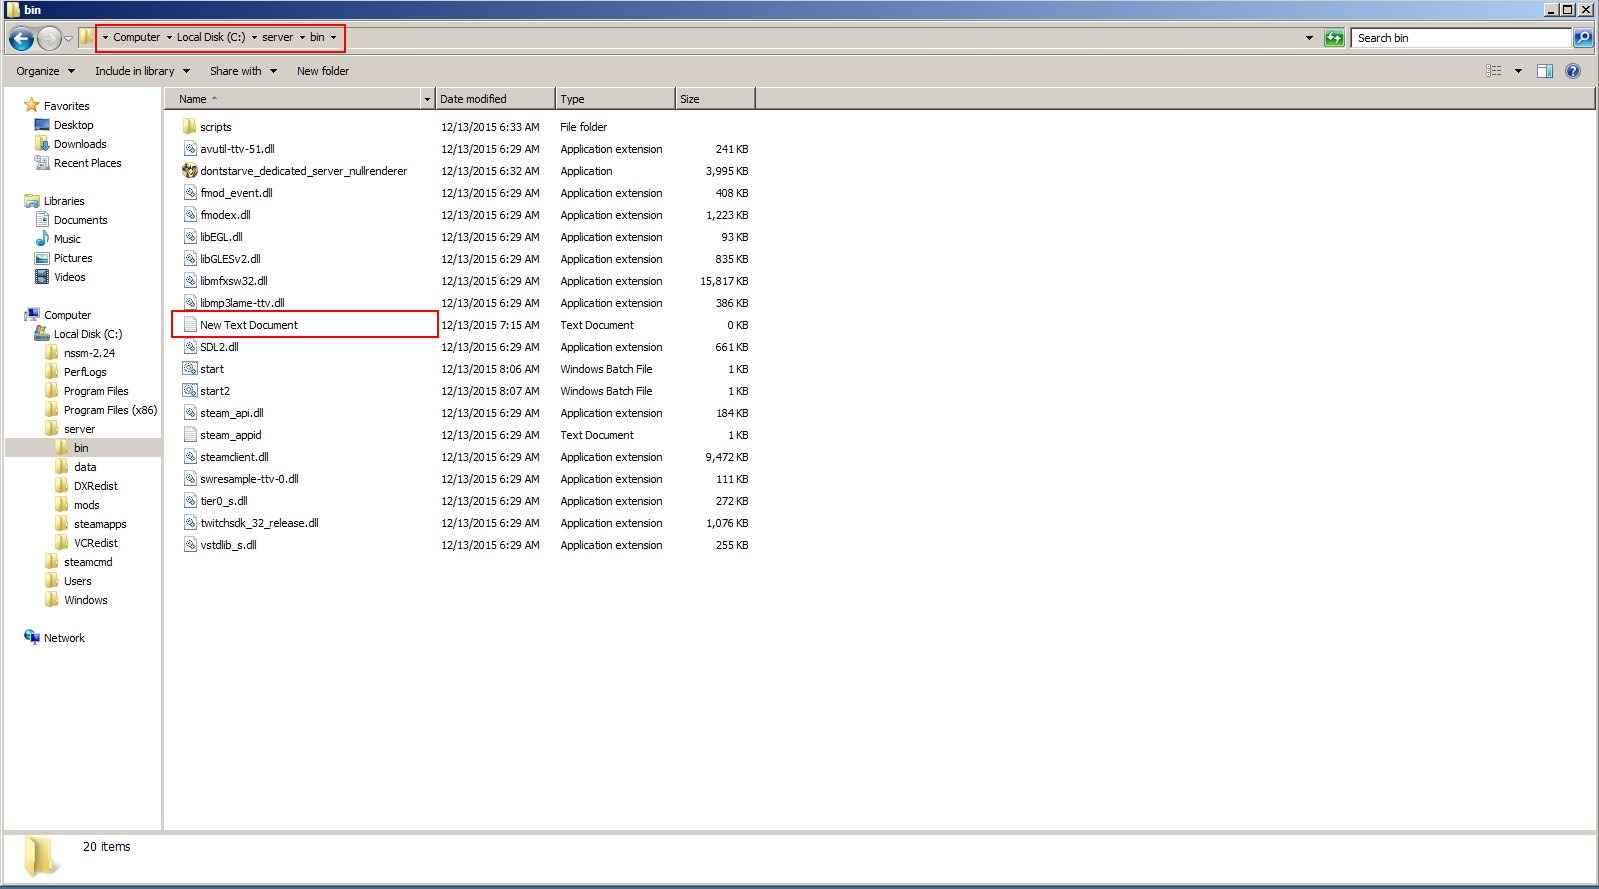
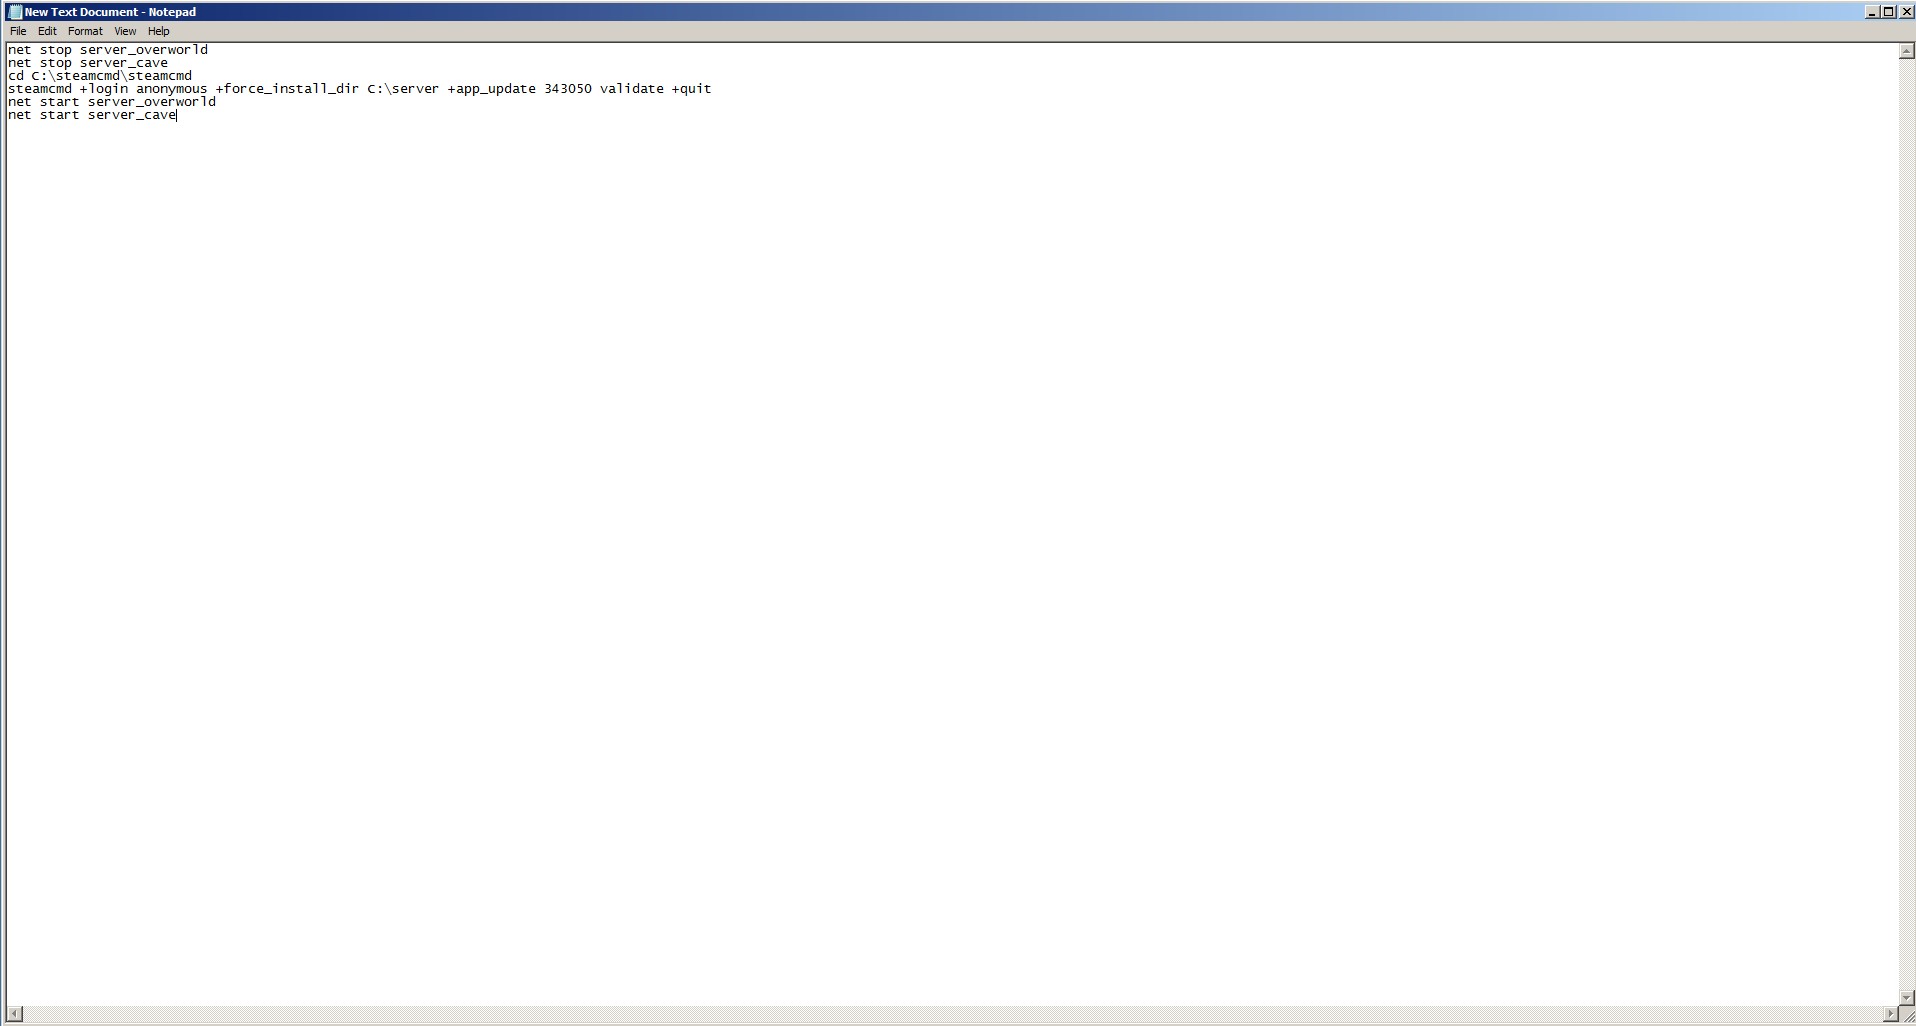
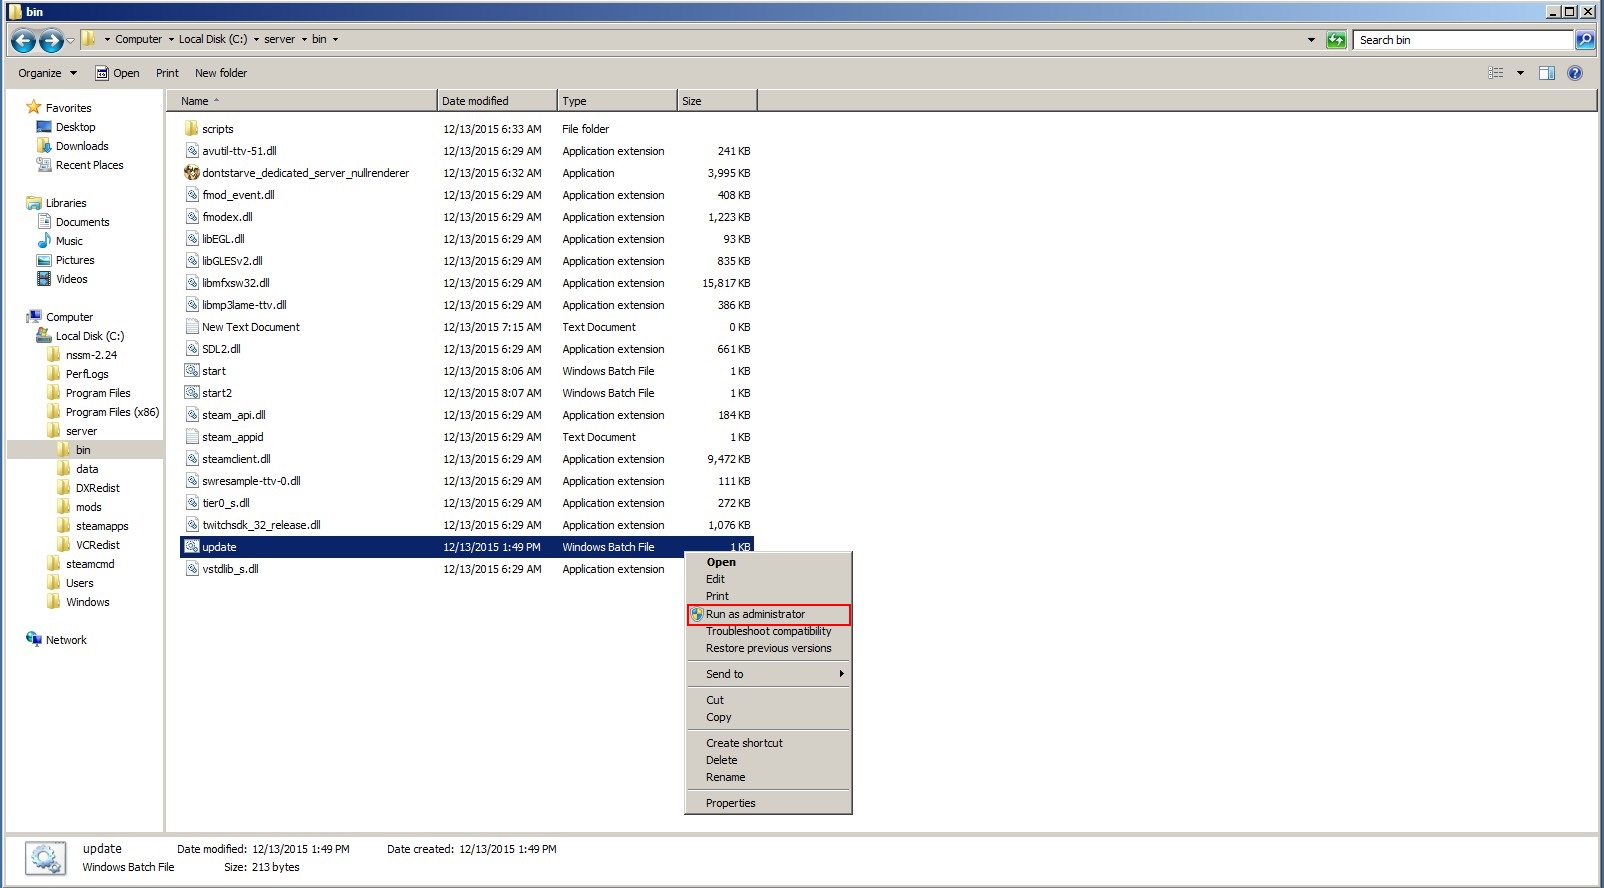

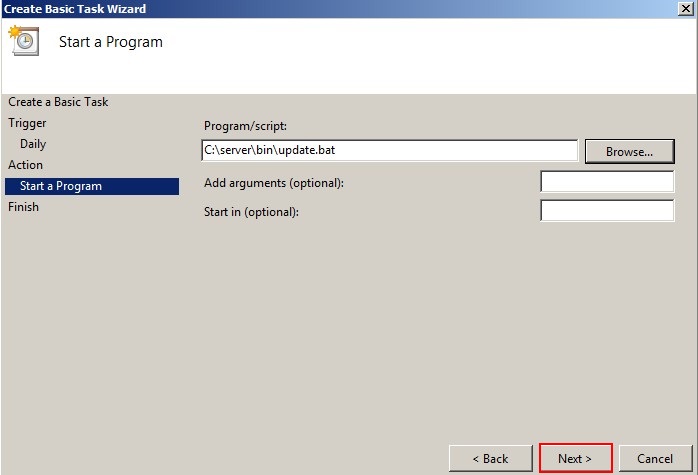
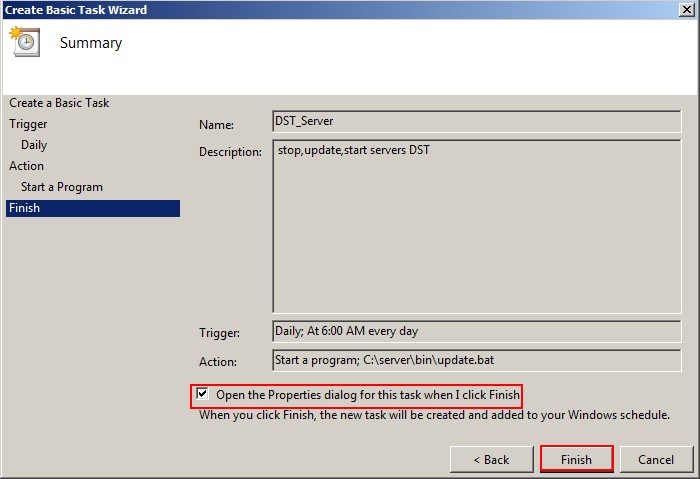
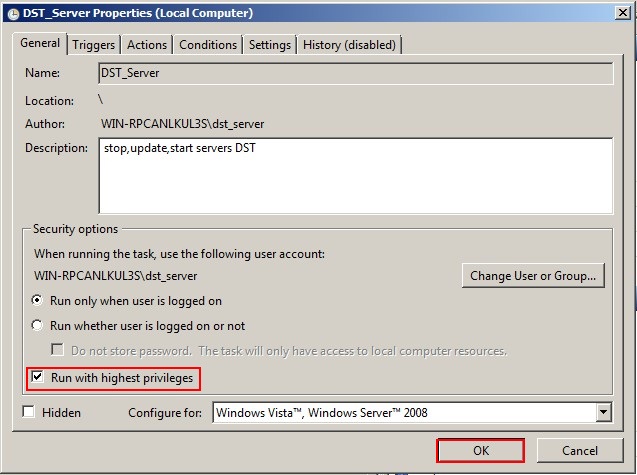


It work nice on my home pc with win 10, but don't work on my dedicated with win 2008 server.
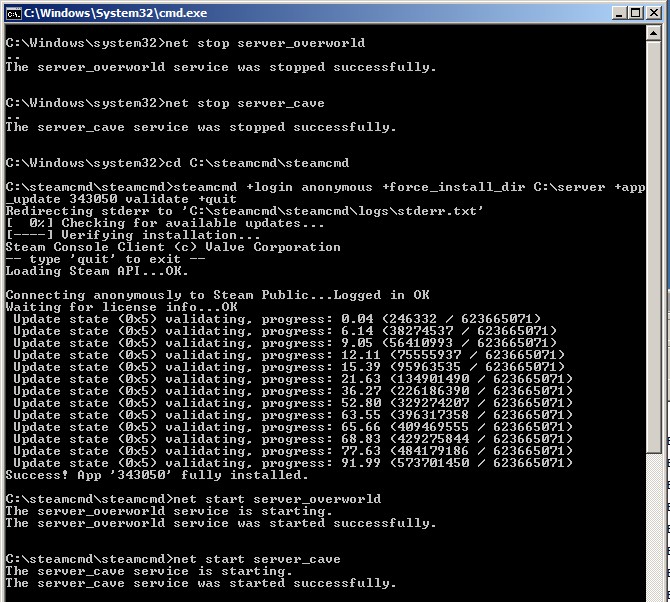
The problem is that after exec the bat to update the server, steamcmd opens, but it stills with the same screen:
Steam>
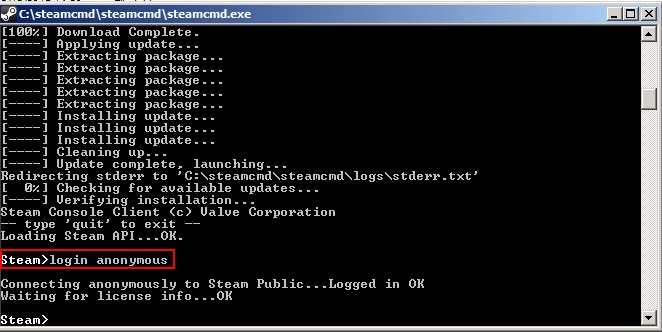
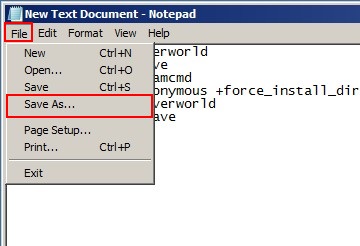
I tried manually put the comand:
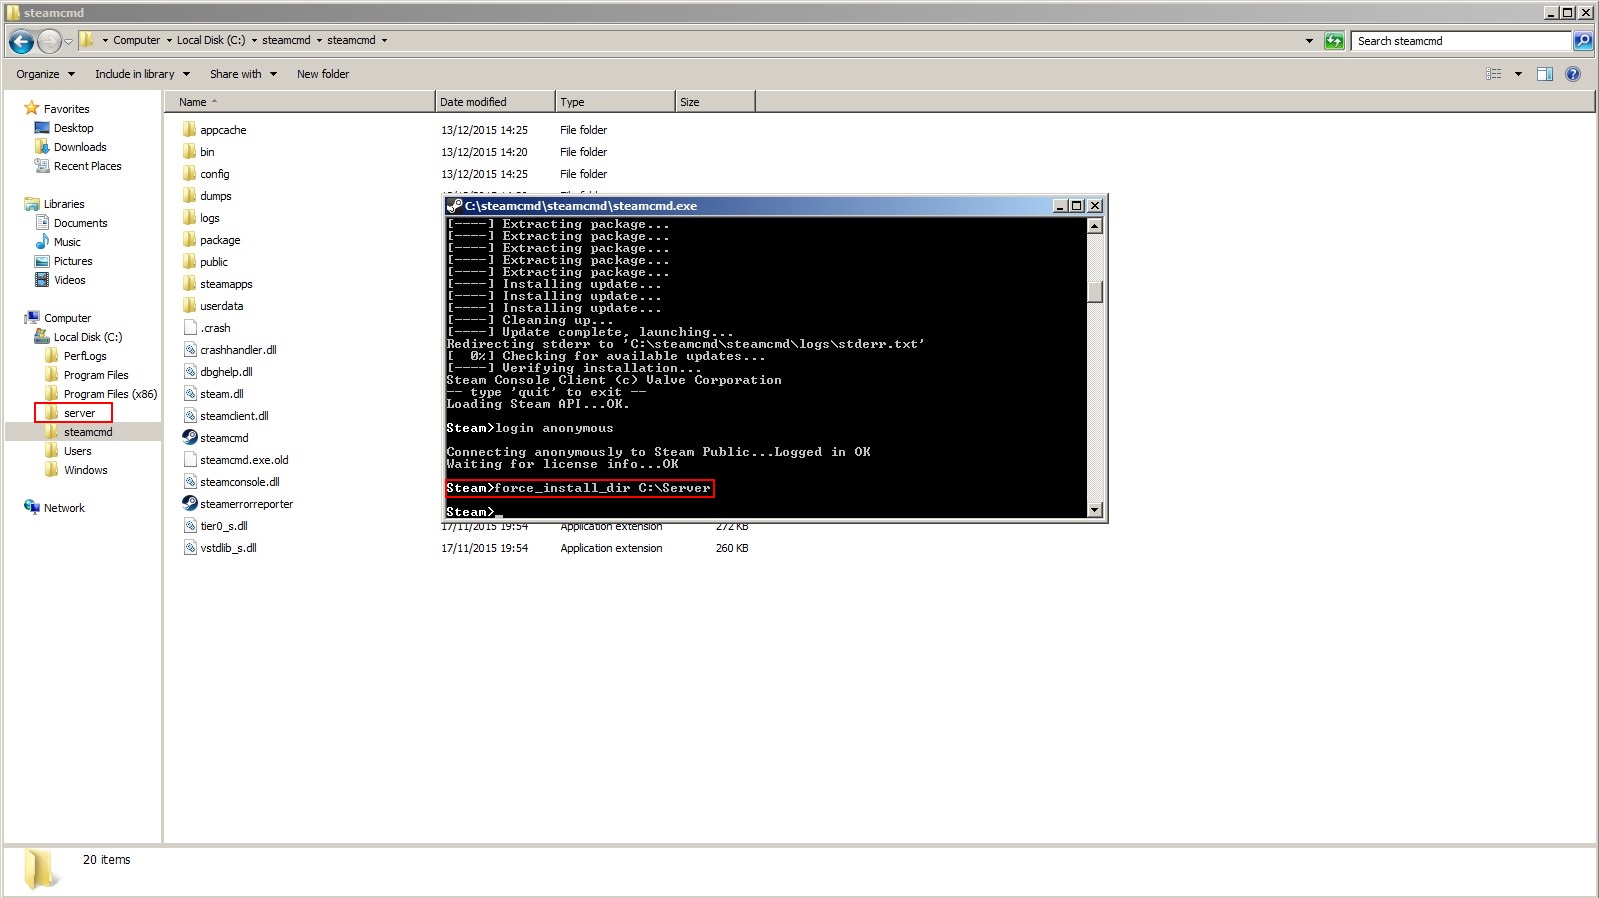
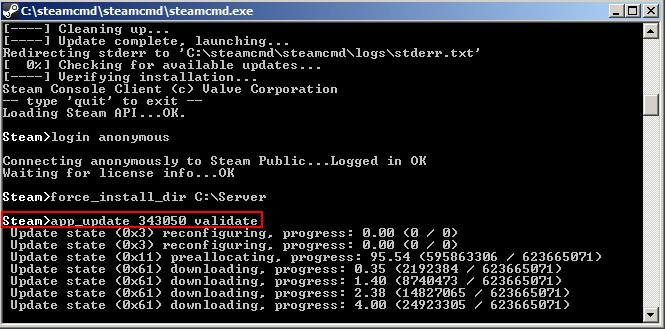
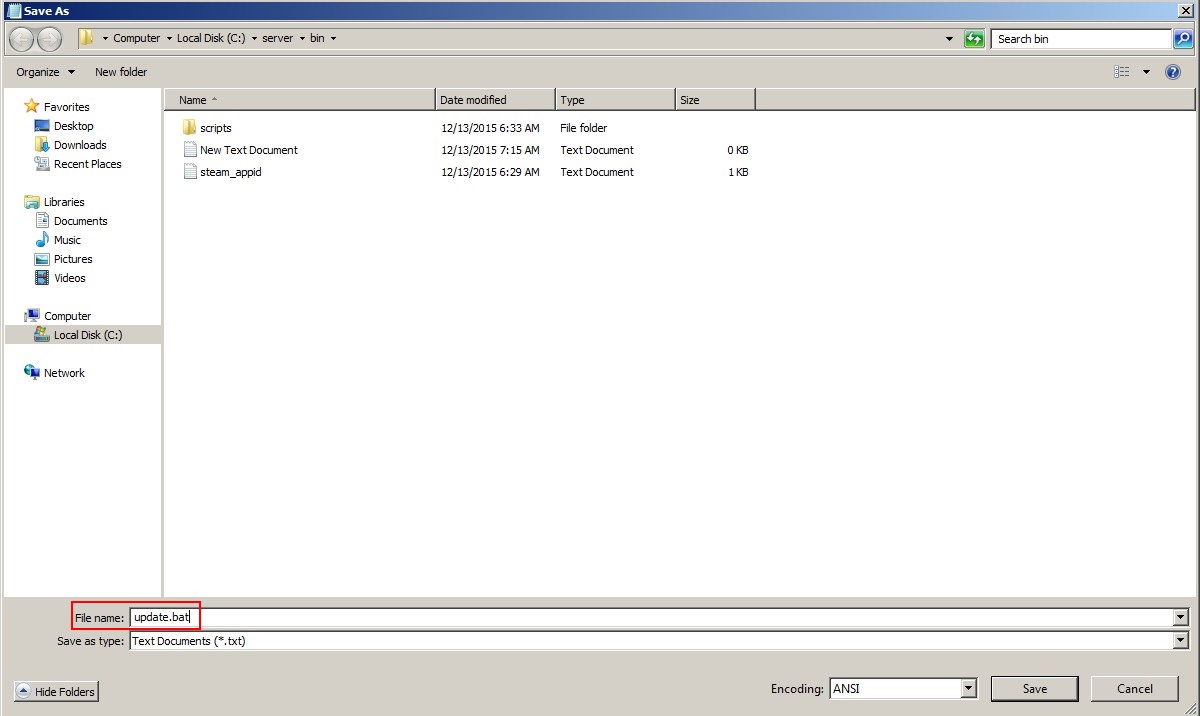
login anonymous +force_install_dir C:\server +app_update 343050 validate +quit
But the screen just flashed very fast and stills on the same screen:
Steam>
Like it don't accepted the command and don't run nothing.
How fix it, please?
ty!
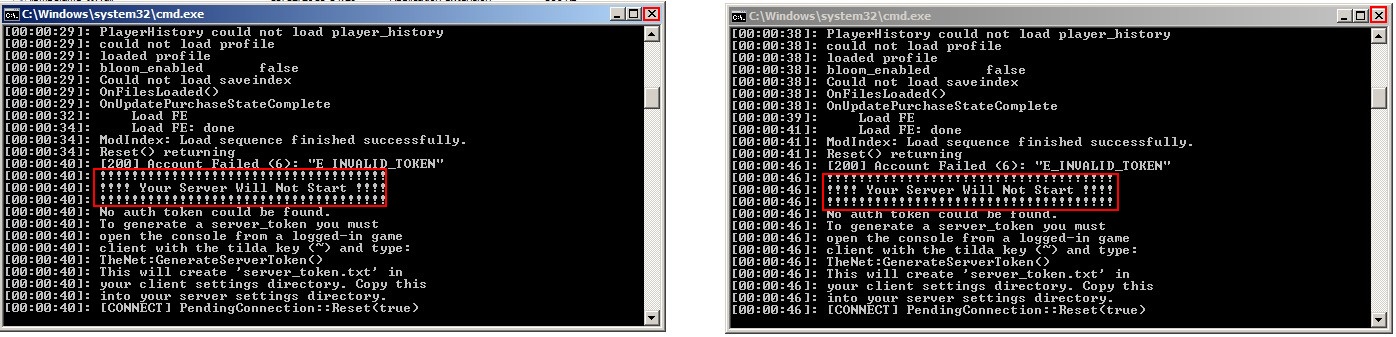
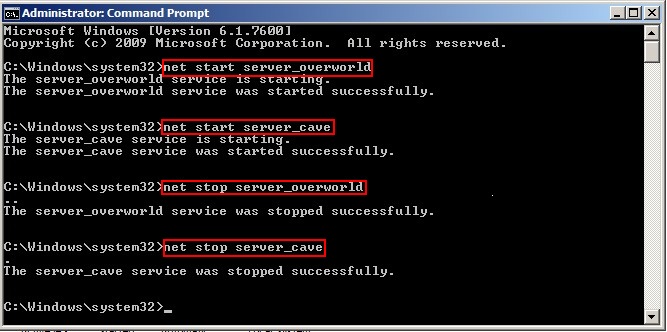
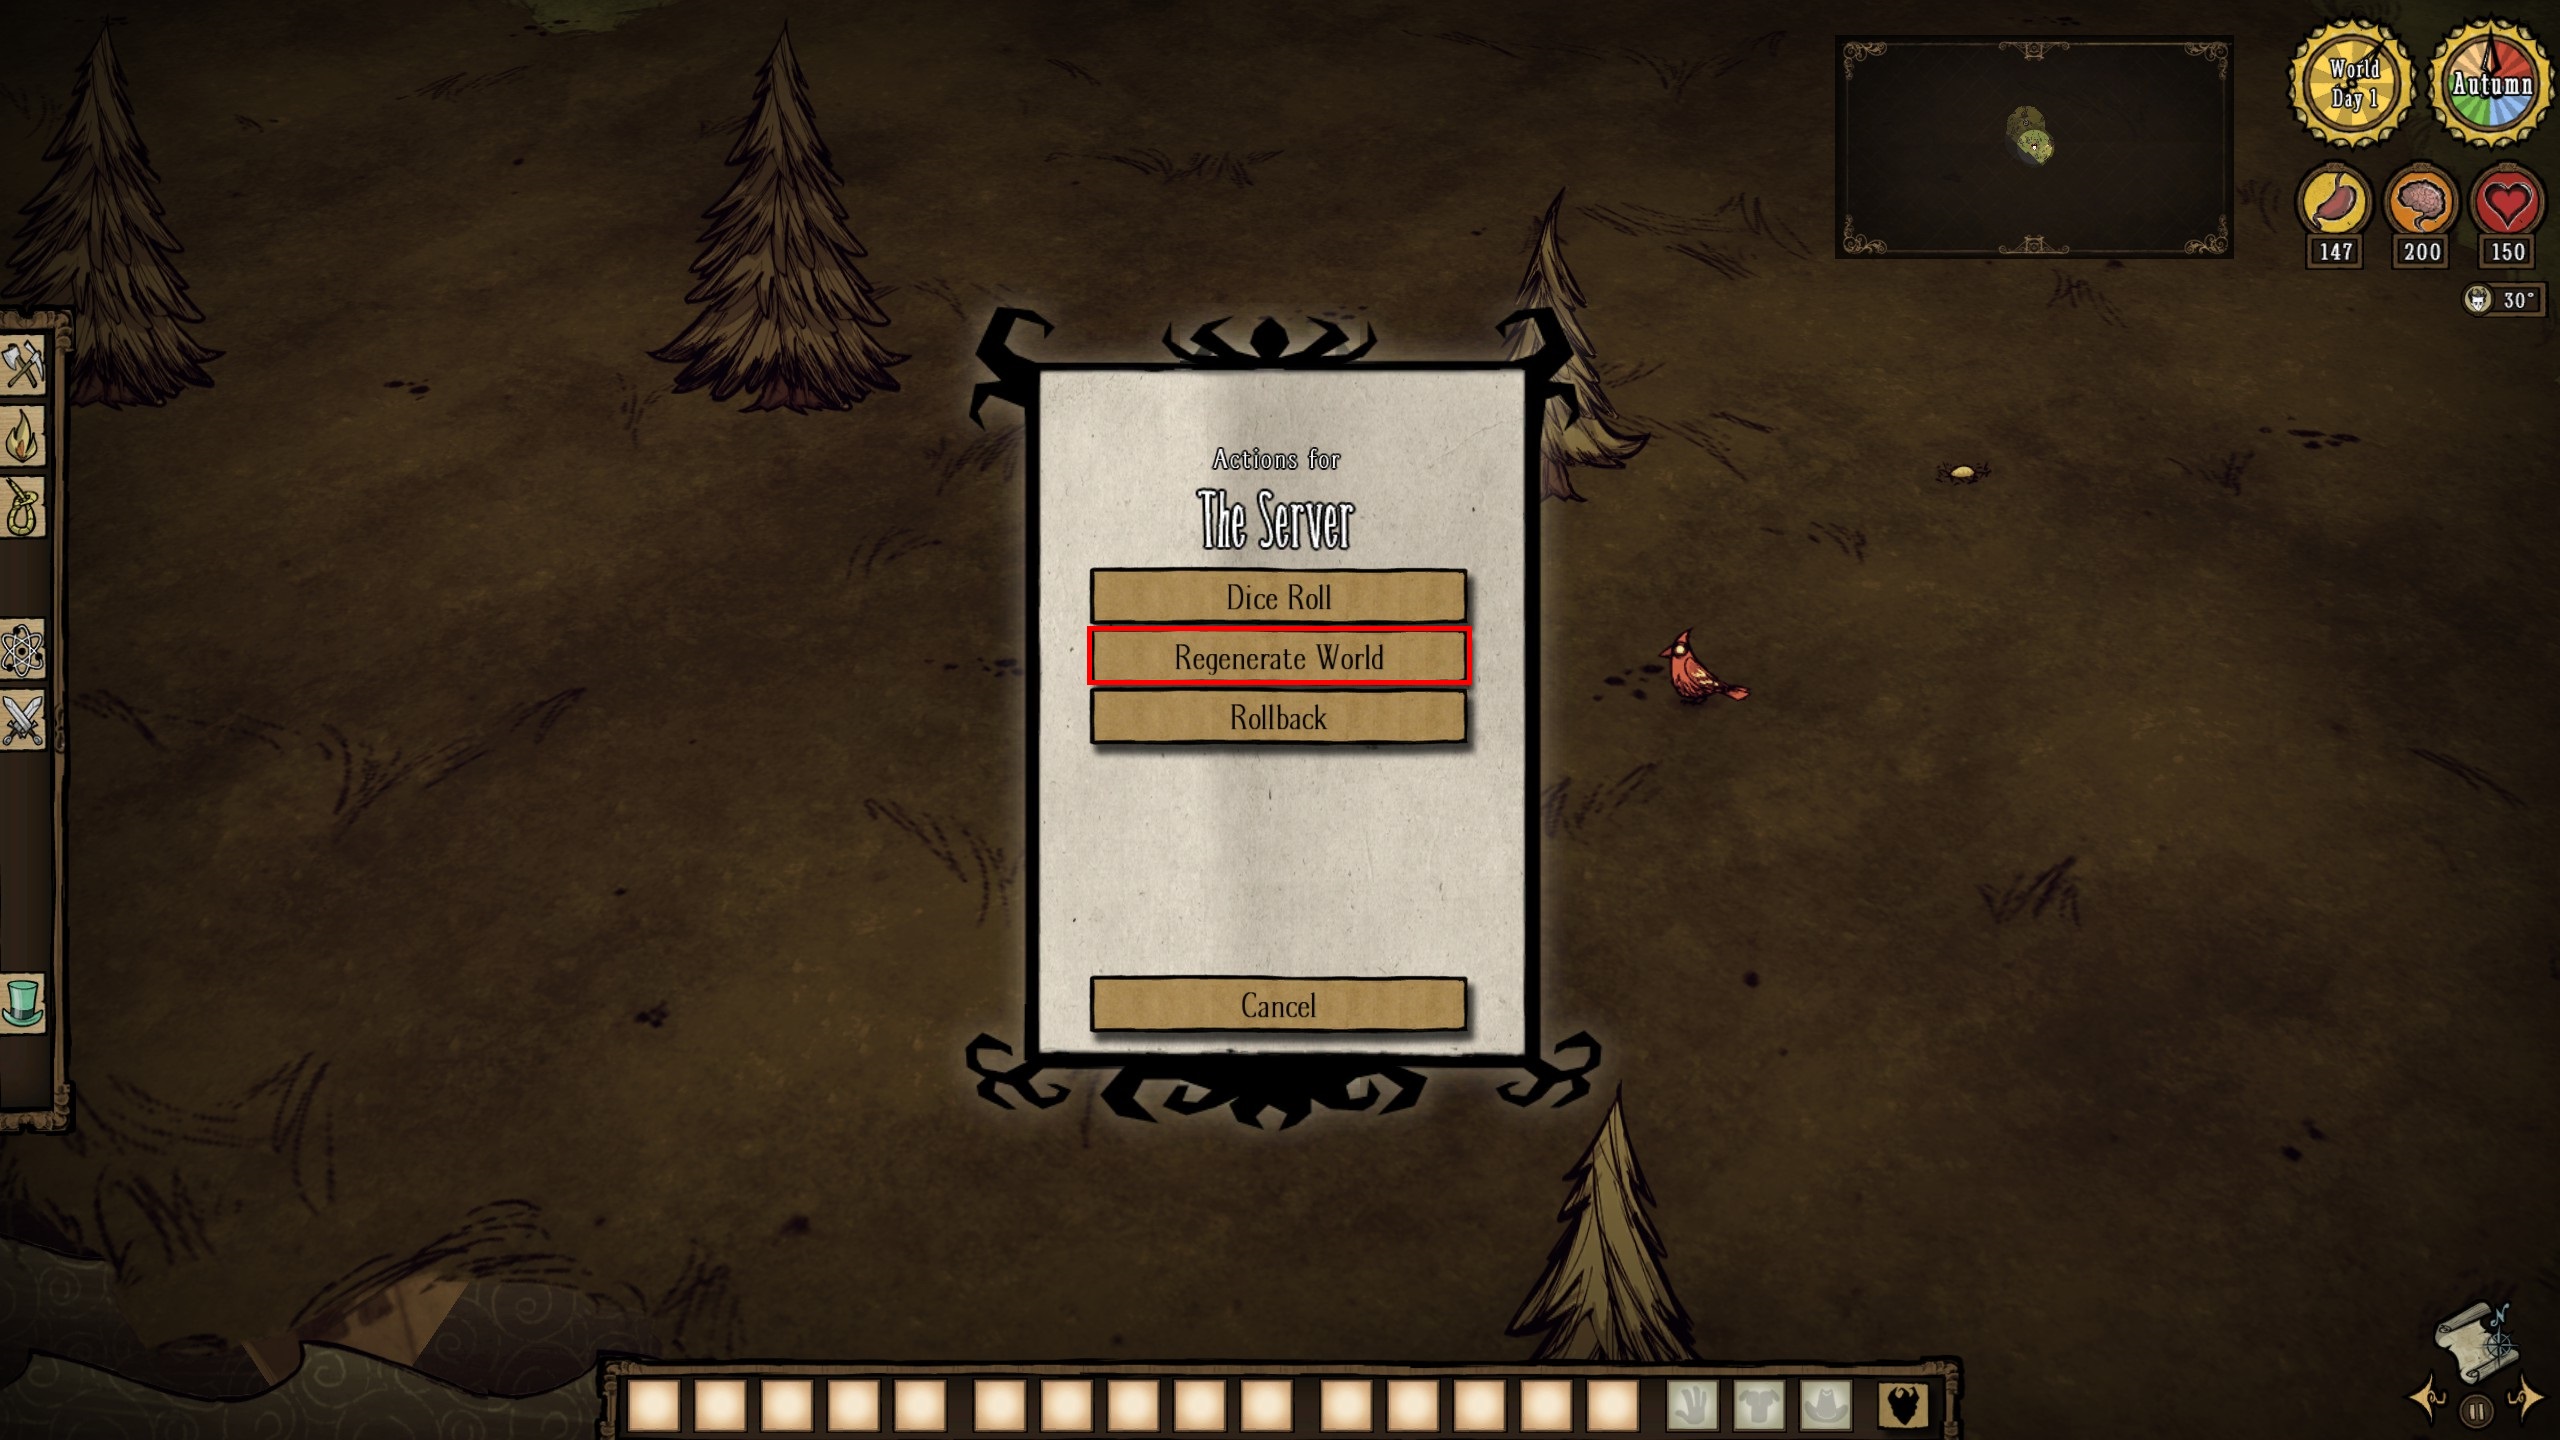
[00:00:04]: !!!!!!!!!!!!!!!!!!!!!!!!!!!!!!!!!!!!
[00:00:04]: !!!! Your Server Will Not Start !!!!
[00:00:04]: !!!!!!!!!!!!!!!!!!!!!!!!!!!!!!!!!!!!
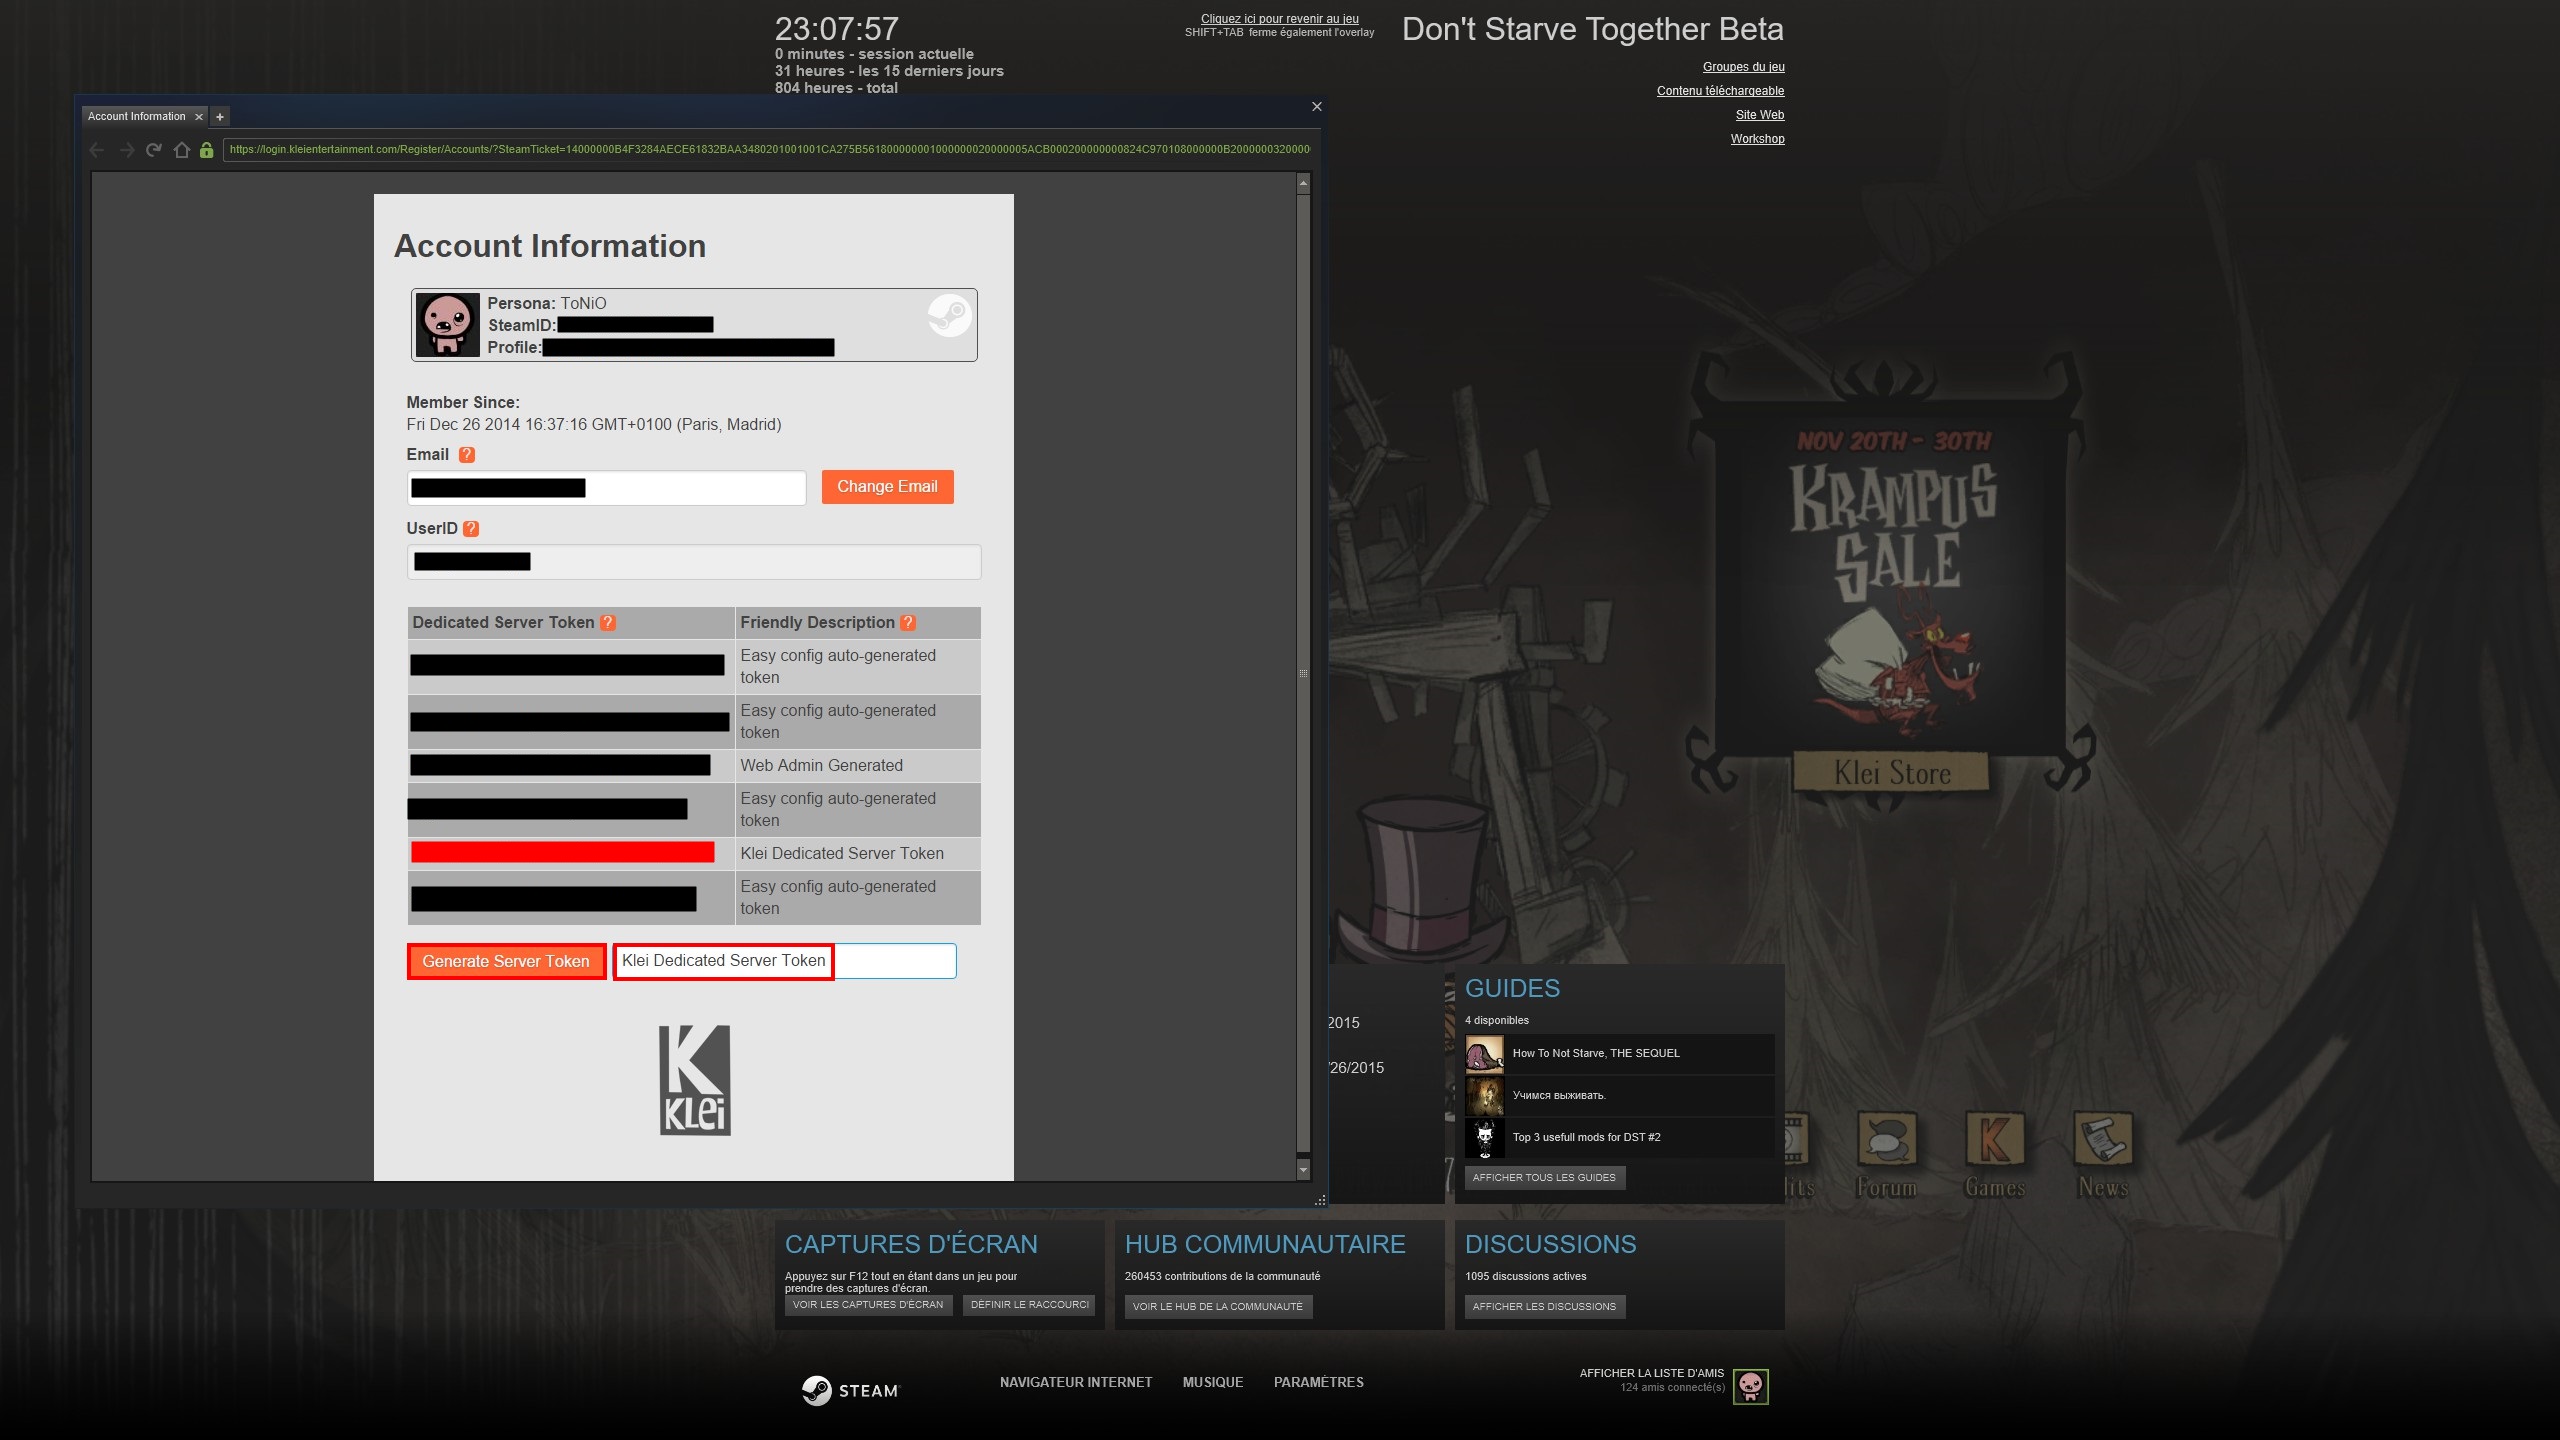
[00:00:04]: No auth token could be found.
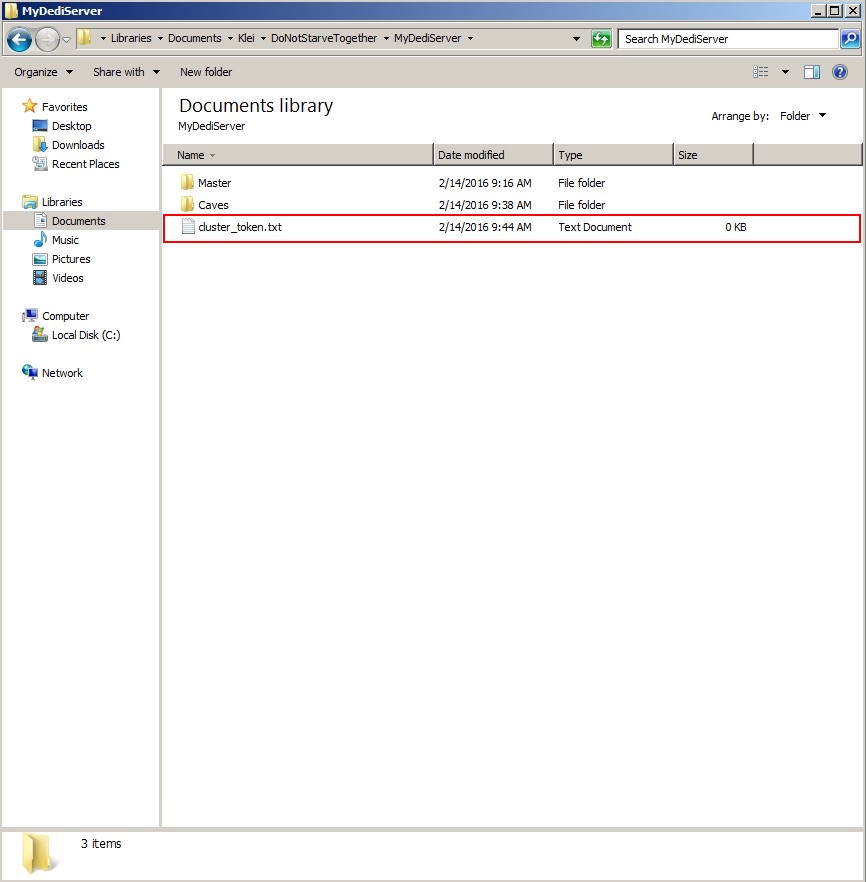
[00:00:04]: To generate a cluster_token you must
[00:00:04]: open the console from a logged-in game
[00:00:04]: client with the tilda key (~ / �) and type:
[00:00:04]: TheNet:GenerateClusterToken()
[00:00:04]: This will create 'cluster_token.txt' in
[00:00:04]: your client settings directory. Copy this
[00:00:04]: into your cluster settings directory.
[00:00:04]: [Connect] PendingConnection::Reset(true)
[00:00:04]: ... FilesExistAsyncThread complete
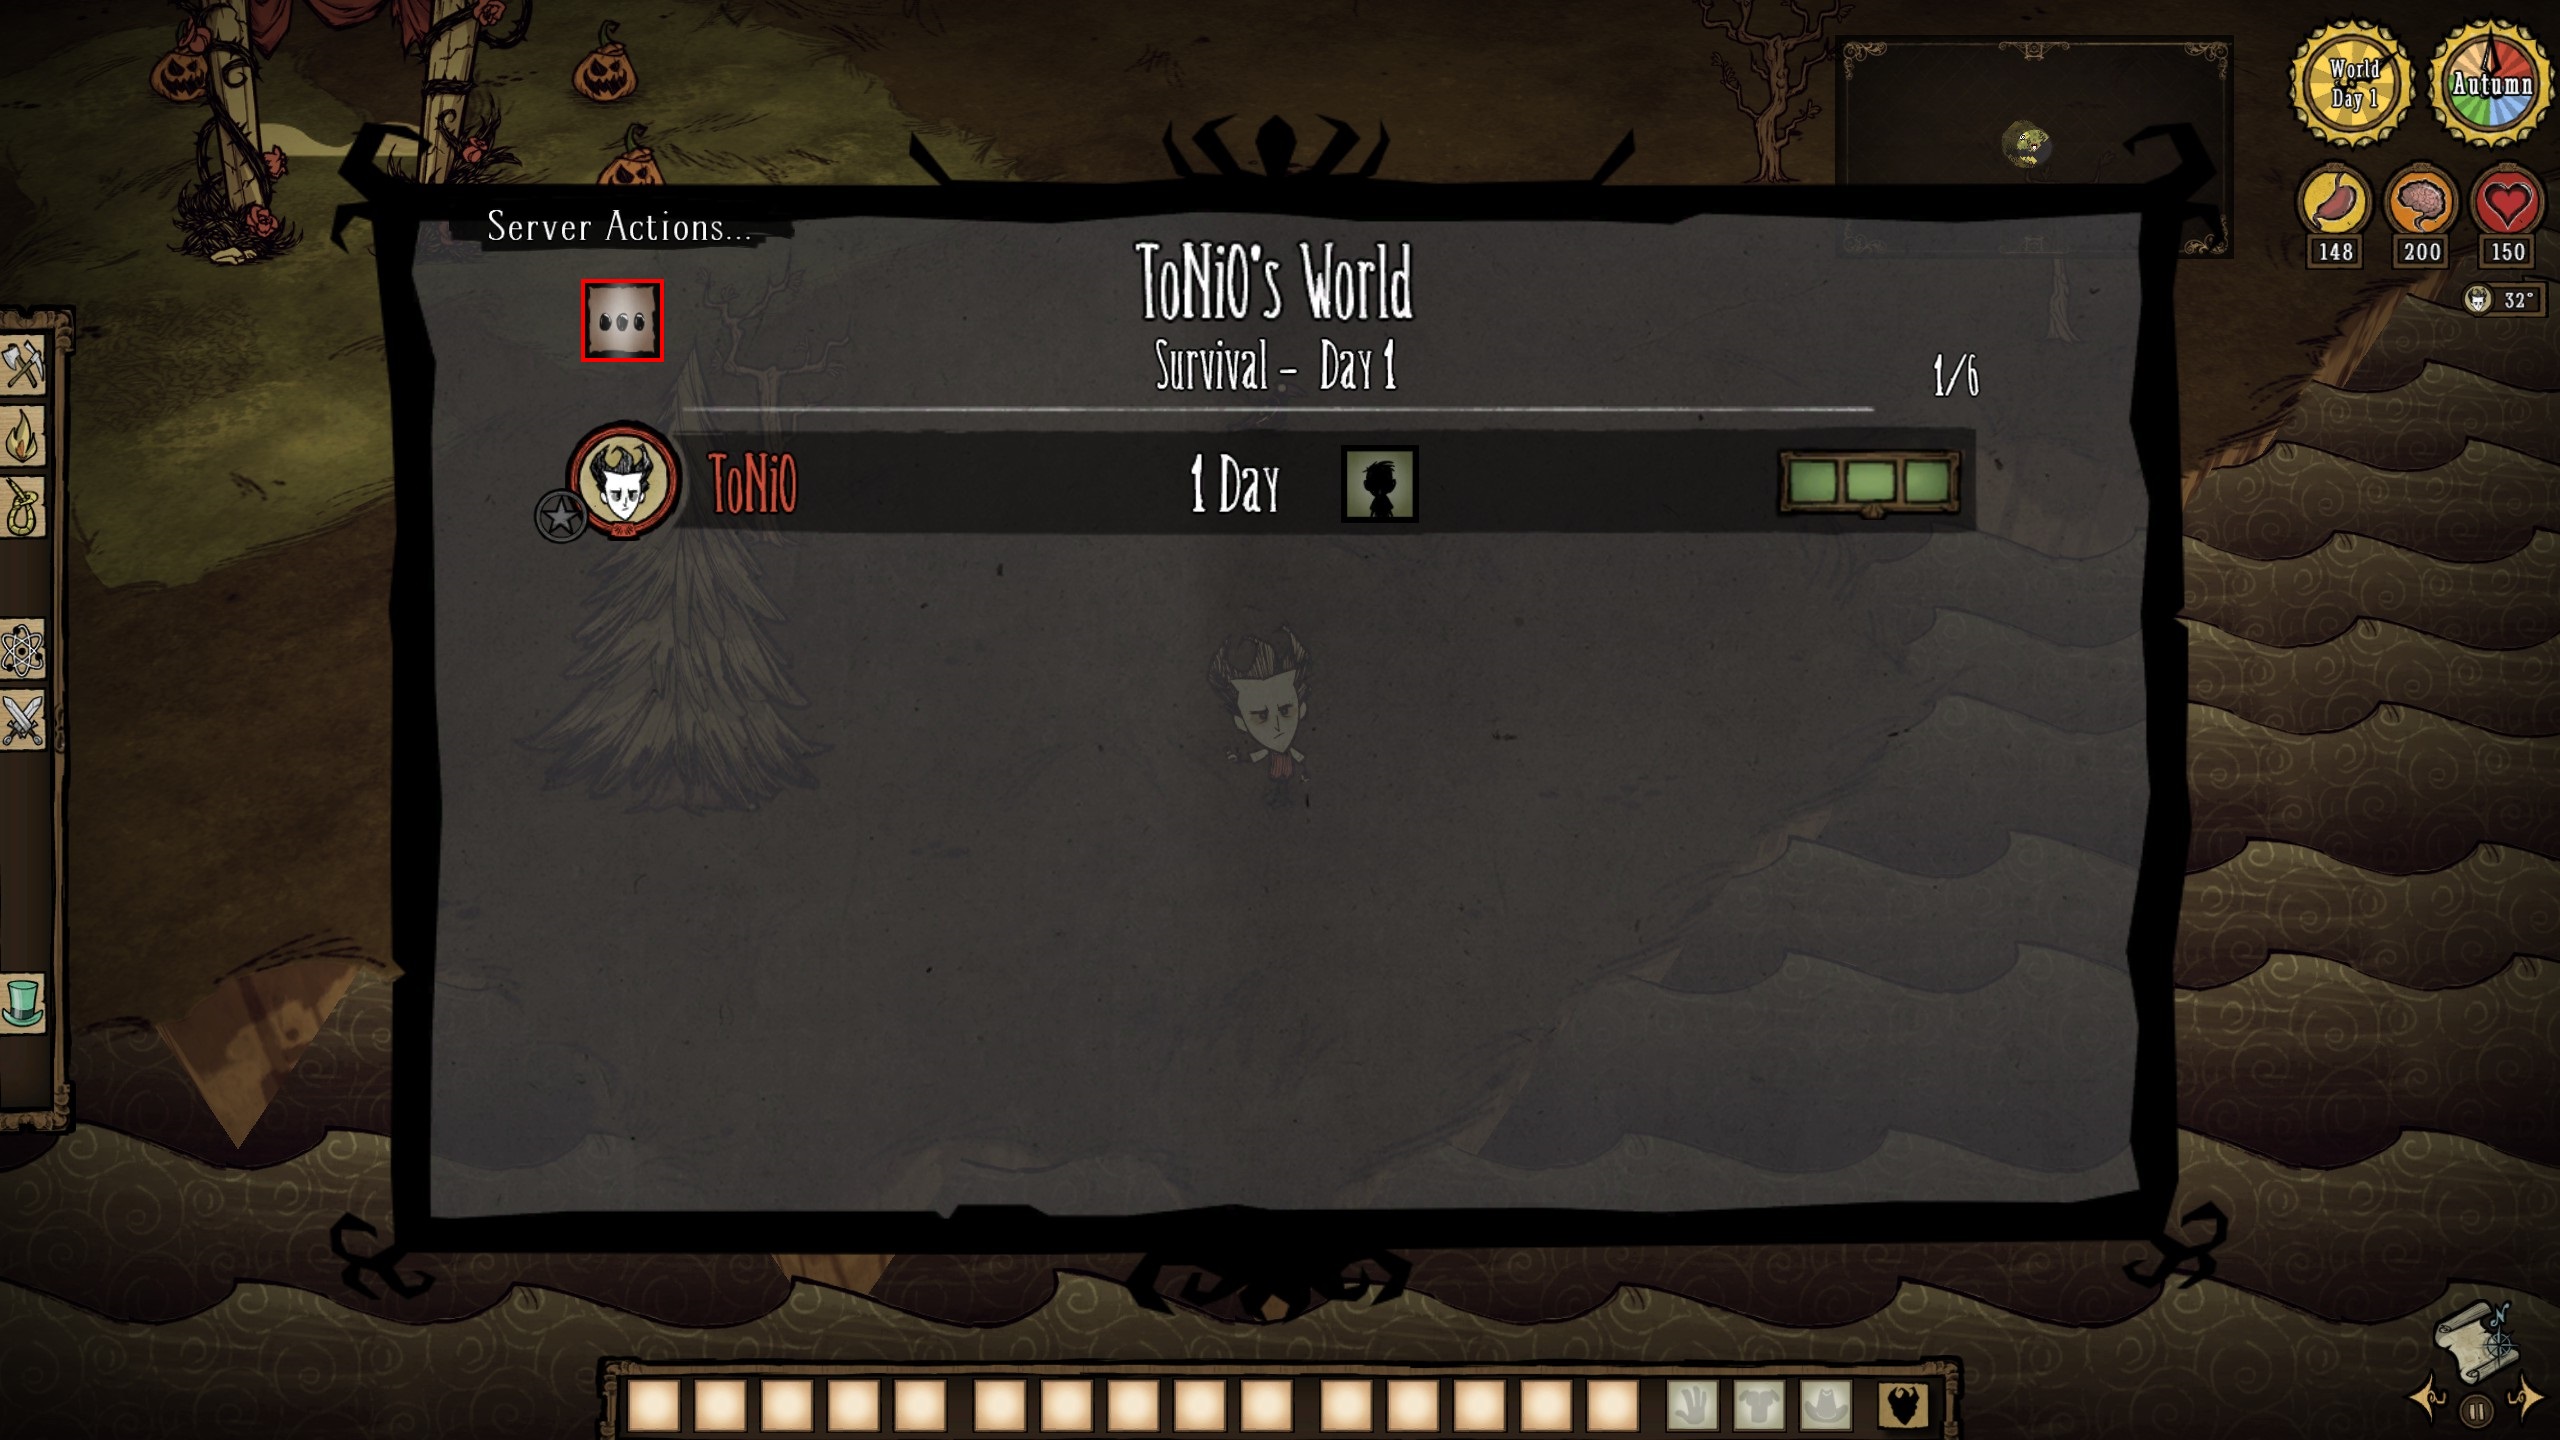
this is happening to me, can somebody help me please?
i doubble-checked everything