Spore: Galactic Adventures

Spore: Galactic Adventures

107 ratings
Spore: Galactic Adventures, How to Make Your Own Adventure
By Eeveecraft
Want to make your adventures to look awesome, have amazing gameplay, puzzles, boss battles, terrain, and depth?! Well, you came to the right place, my advanced adventure making guide! I've got a plethora of tips and tricks that will level you up in your adventure making skills, and make people actually take interest into your adventures that YOU put effort into! Follow me into the depth of this guide, and learn secrets about the adventure creator that you never knew!

DISCLAIMER: I have been working on this guide on and off for over 5 years now. As such, some parts WILL be outdated! Please keep that in mind while reading if you notice a massive fluctuation in quality. Sections are updated as I feel like it, which is completely inconsistent. Thank you for understanding.
6
2
   
Award
Favorite
Favorited
Unfavorite
Chapter One, the Basics
Okay, first part! To start creating your adventure, you need to locate the Adventure Creator; to find, go to the main screen and click "Create" Wha-BAM! You're in! You'll have to choose a starting planet to serve as the base of your adventure, you can still terraform it though! You should see a screen with a bunch of starting planets; like this: After you're done choosing your starting planet, you'll be presented with your planet. Up close, you can see grass or rocks, depending your starting planet. I'll quickly show off the controls:
Middle Mouse Button (For people who have a mouse) and move in the direction you want rotates the camera.
WASD: Moves the camera around your planet.
Left Mouse Button: Selects an object; when a creature, vehicle, or building is selected, hold SHIFT and move the middle mouse button up or down to increase or decrease the size of said object. Example:


> Or < can also rotate the camera.
Scrolling the middle mouse button without anything selected zooms in the camera.
Holding the ALT key while clicking and dragging objects duplicates them, their settings, and even size.
Hold CONTROL and click on an object (Building, fixed object, or gameplay object) drag the cursor up or down to manipulate the object on the Y axis. To put it simply, it raises or lowers the object without moving it side to side. Holding SHIFT instead moves it on the X and Z axis, or horizonatlly without raising or lowering said object. In addition, this combination of keys can also be used in the building creator as well.
CTRL+H hides the HUD, which is perfect for screenshots and cinematic stuff.
You can press CTRL+S to quickly save instead of pressing the save button.
(Thanks to the Spore user Mati500000 for the knowledge!)
While playing an adventure via quickplay or in test mode in the adventure editor, you can use CTRL+ALT+C to activate the freecam cheat without having to open up the command console. Very useful!
I suggest you mess around with these controls to get used to them.
This has been the Spore: Galactic Adventures Creator Basics; moving on!
Chapter Two, Genres and How to Make Them
I see you've headed to the next part, genres! There are a total of nine genres. They go as listed:

  • Template, Attack, Defend, Socialize, Explore, Quest, Story, Collect, and Puzzle.
  • Attack
  • Defend
  • Socialize
  • Explore
  • Quest
  • Story
  • Collect

To you reading this guide, you're most likely ignorant about the subject. Fear not, Eeveecraft is here to assist you!

Let's start with the first genre, attack. So, you want to make an adventure about killing things, huh? How considerate to the poor saps who get murdered by the players! You should start off by naming the adventure after the theme, or what it's about. Try to make it original; not like, "KILL EVERYTHING!" Don't forget to add a description of your adventure! Now, obviously, you need stuff to destroy or kill, right? If you want to be creative, you can make the creatures, buildings, ect. OR, use other people's creations; don't forget to give them credit!

Time to start! Add the creatures you want the player to kill, pick the creature from your Sporepedia, and double-click it. Then drag it onto the ground, and it will spawn. There's even a menu to set it's stance, dialogue, health, even name, and more. Example:
Example of the menu:


You can see which icon does what! On the bottom right, you can see a blue, upside-down droplet that lets you give a role to that cast member; a goal in which the player has to accomplish. Example of the goals you can select:


NOTE: Not all goals can be done for all types of creations; you can't befriend a building!
Next up, I'll merrily chat about Gameplay Objects and how to use them!

Hey, it's present me again, and past me for SOME reason only talked about the attack genre, my apologies! Now, let me continue from where past me left off:

Second in the line of adventure genres in the defend genre. Simply stated, the main focus is defending something OR someone! A good example is defending a city, or a group of entities. Of course, the main goal of the acts will be to defend something/someone, and maybe kill a thing or two. (Combinations of defending and something else are plentiful, so I will only be doing one example. Go experiment yourself!)

For this section, I will be using a map that's work-in-progress (you get a sneak-peak!), and the acts will be: Defend the palace, and kill 10 enemy Penguinslikepies (A buddy of mine, hehe).

Before I dive in head-first, a defend act is where you must ensure the safety of a entity. If said entity dies, then the player loses. After I explain defend acts, I will also explain block acts... For now, onto the examples!

My setup for this little example will be three spawning spots for enemies to spawn, setting them to attack the ally team, and maxing out their awareness. (A little tip: make sure the building/whatever you're defending is on the ally team, so the player doesn't accidentally destroy it.) The enemies will respawn every forty seconds or so, and the goal is to kill ten of them while also defending the palace. Another tip: if enemies respawn, and it's required to kill a certain number of them, you need to have that number of enemies somewhere on the planet. Such as needing to kill ten enemies, I need to have ten of them on the planet somewhere. A good tactic is placing a load of them in an isolated space (if they can respawn), and then putting the amount you want to spawn at once near the player or where the defending area is. Example of isolated space:


And where the enemies will actually spawn and attack the palace/player:


As you can see, the goal is to kill ten, but only three spawn at a time. Next up, I have set up the palace to have 10,000 health (A tad overkill, but this is an example), and the enemies goal is to either kill the player, or destroy the palace. Keep in mind to place power-ups if it's either open-captain, or fairly difficult. Now if you want an infinite amount of enemies to spawn, and have it not required to kill them, then either place another goal other than defend/block, or place a timer for that act; it's as simple as that!

Block acts are very similar: make sure some entity does not come into contact with a certain entity; defend acts allow contact, just not the entity dying. Such as : Don't let this Dragon touch this palace! If said entities come into contact, it's an instant game-over. You can also make block acts involve the player, an example is that the player can't get caught by some sort of monster!
Same as defend acts, there either needs to be another act that's not another block/defend act, or a timer!

The next genre is the socialize genre, and not many people choose this genre because the main focus is either befriending/allying creatures. This genre should be generally avoided (along with required allying/befriending) in an open-captain adventure because you have NO idea the social skills of the player unless it's closed-captain, or if you put a disclaimer in the title saying the social requirements to beat said adventure. For all you know, the player may just have sing one, and that's not really fair. There's not much to say, really. Instead of killing, you're making friends.

One of the more popular genres is the explore genre that of course involves exploring an area as its main focus! This is great for people to show off maps that they've made that has no purpose other than to show off their creating skills. A good example is a template city, or a museum. The main focus, explore, that's all there is to it!

The next genre is the one I use most for my series is the quest genre. Questing around doesn't really focus on one thing such as attacking or exploring, more like a made-up goal, if you will. Other than a made-up goal, there is really no main focus. An example of this is to explore an area, find the means to unlocking the boss, and killing said boss. That alone consists of the attack, explore, and puzzle genre! Why not just group it into the quest genre? See what I mean? Again, a fairly simple genre.

Stories are often done in the adventure editor, as a few friends of mine make story-based adventures. This genre does not involve much gameplay, but more or so more story and dialogue. In the story adventures I've played, most acts consist of dialogue, and/or a few cutscenes, and these types of adventures are fairly short and closed-captain. Not much else to say about the story genre.

Collect adventures, well, involve mainly collecting a load of things. An example is collect all the food to feed your hungry, pet Dragon, or something of that sort. The most popular collect adventures I usually see are egg hunts, or holiday-related adventures. This genre is perhaps the simplest of them all.

Quite opposite in terms of complexity, the last genre is the puzzle genre, which I explain in a different chapter of this guide. But in short, there is a conumdrum YOU need to solve in order to either win or advance. Again, this exaplained in MUCH greater detail in another chapter, but this the puzzle genre in a nutshell.

Other than the template or no genre... genre, that is every single genre in Spore: Galactic Adventures. WHEW, past me left a lot out, huh? Well, past me will see to you in the next chapter, thanks for reading, and this has been chapter two on my guide to advanced adventure making!
Chapter Three, Gameplay Objects
So, want to make a puzzle, teleporters, slides? You've come to the right place! In the creator, there's a tab called "Gameplay Objects." It'll let you select a BUNCH of items from the Sporepedia, I'll show an example here:

There's a few more a little down! As you can see, there are all sorts of objects to use! Even better, you can disguise the gameplay object as a building or vehicle! Example, go to the behavior of the object:
You have three options: Normal, Invisible, or my favorite, disguised. Most people go with invisible or disguised. A good way to hide the teleporter is to disguise it as a door, vehicle, or portal! Obviously, the keys open the gates; only will the gate respond to the key of the same color. Try picking up the key by clicking on it, then walk over to the gate. Example:

You can also reset it to where it will close after a set amount of time. In addition, there are grenades, land mines, crates and barrels. Oh, explosive barrels! I highly recommend you to test them out to learn about them!
Continuing on, we'll be conversing about creating dialogue and bosses, see ya there!

I've decided to touch up a little more on gameplay objects since past me over there didn't explain everything; oh well, that was me over a year ago... ANYWAY, past me only talked about gates, and unlocking them; which isn't really much. So, let's talk a little more about each object and their purposes:

I've already talked about the gate, so let's start with the three types of bomb. First, we have the bomb long, bomb medium, and bomb short; each of course having various timers. The timers for each bomb is as follows:
Long Bomb: 15.5 seconds (Rounded)
Medium Bomb: 7 seconds (Rounded)
Short Bomb: 4.4 seconds (Rounded)

The difference seems to be quite different, about halved each level down. You can alter the amount of damage and the radius of each bomb, the maximum damage is about 2,000 damage (Armor affects amount of damage taken), and the maximum range is 50. Grenades can be altered the same way, but they don't have a time limit to them. The beauty about bombs and grenades is that you damage your allies with them. I've used this in my own adventure, Dragolandic Valley Two, Part 26 (Part one out of two) where the player must kill Confu'Ral (The Boss) with a 'spell' (Grenade) that the player must get from Carie the Scary. Yet, don't shoot her with a missile attack or pulse blast, or else the spell will explode, and you would screw yourself. Confu'Ral is the player's ally in that act so that the player can't kill him normally, thus the player must kill Carie the Scary to get the spell and use it against Confu'Ral. This method is used to prevent the player from cheating, as they can't hit the boss normally; it also makes for a good puzzle. One thing to note about the grenade, though is that the damage radius of the grenade can be much larger than expected, even if the range is literally 0 if the grenade lands on an epic or large building, as their hitboxes are incredibly large, and could potentially spread to unwanted buildings/creatures, so watch out!

Next up, we have the classic crate, also known as the Crate Classic. It's simply an object that has one health that the player can destroy, but gameplay objects can have no other goals set to them other than "Move To" so-and-so object. Crates can be disguised as any object, vehicle, and building alike. When destroying a crate, they don't have the laggy explosion animation; that have a more simple one that's a little more realistic and less laggy when destroying a building or an objects such as a rock formation. To disguise a crate as an object, building, or vehicle, go to the crates menu, open the little bar that says "Normal" and select "Disguised." Like so:

A way the crate can be used is to make a cave with a blocked off entrance, but the blocked off entrance is a crate disguised as a rock formation; the player would have to break their way into the cave. Example:

Yes, I know that cave sucks, it was just for example. Another useful thing to know about crates is that they can be used to create slides. Whenever a creature or the player try to stand on a crate, they will slide off.

Next up, we have the Explosive Barrel; it has basically the same uses as a grenade; same alternate stats, it just can't be picked up by the player. That is the only difference between the explosive barrel and the grenade.

Moving on, the next object that isn't a gate is the jumpad! Jumpads have an array of uses, such as literally sending the player into orbit if used at the right angle, or moving an NPC who doesn't feel like moving. In addition, they can be used to help players who may not have jump, or even to be used in a little cutscene sort of act; such as going through a portal. Another use of the jumpad that most players don't know is that if you turn them upside down, and turn them invisible; they make invisible platforms! This is perfect for making clouds, or making it seem like the player is flying. Example:

These invisible platforms can also keep gate keys in place, as they usually fall off or through the building they're sitting on. Placing an upside-down, invisible jump pad can either halt it or at least help it a bit.

Further down the list, the mine is another clone of the grenade and explosive barrel, except it activates when stepped upon, and can't be picked up.

Being on of the most used gameplay objects, the power-ups consist of various properties, and can be disguised or turned invisible. I also forgot to mention, power-ups, grendes, bombs, keys, explosive barrels, mines, crates, and gates can respawn when used; a timer can be set to tell the object when to spawn. The problem is, that is an entity is too close to the object; it will not respawn, so be careful! Epics usually prevent power-ups from spawning if their relatively close to the power-up spawnpoint due to their massive, clunky hitbox, so be especsially wary of them. As I was saying, power-ups consist of health and energy refills, damage-doublers, speed-boosters, and powered-up armor. If your adventure is the attack genre and is difficult, make sure to include power-ups-- ESPECIALLY if the adventure is an open-captain adventure since the player could be brand new with a really weak captain, so keep that in mind. Items such as grenades and explosive barrels could be also used to help the player, but I personally don't use them.

Finally, there is lastly the teleporter. The teleporter of course can transport the player instantly wherever the other teleporter is set to. It can also be disguised or turned invisible, so that doors can actually act like doors and be used to leave an area. Simply, place the teleporter where you want it, and a orange one should appear; the blue one is the entry way, and the orange one is where it leads to. To put it simple: Blue = Input, Orange = Output. If you want to make a door or some sort of gateway go two ways, you must place a blue teleporter on both sides of the gateway, and an output around in the same area. Just make sure the output doesn't land the player in another teleporter. That's about it for each gameplay object, each described in detail. Use these objects however you like to make your adventure more immersive and fun, see you in about chapter ten in this point in time for me!
Chapter 3.5: Cannons and More
While creating part 53 of my series, I happened to have stumbled across how to create a cannon using jumpads and explosives. Cannons can range from simple ones such as this:

To ones being more complexed as shown here:
Mines and grenades can be used instead of explosive barrels, but the height and distance of the explosives does indeed matter, as shown in the more complex cannon video. Even size can determine the angle in which the bomb/grenade is launched.
Many uses with the cannon mechanic can be done such as automated object transfer, war scenes, and more. For the most part, it mainly takes experimenting to get down, but it's relatively easy to learn with the videos I posted above. One thing to note, however is that even changing the type of explosive or something related to the cannon can mess up the trajectory, thus the entire cannon, so do be careful!
Chapter Four: Dialogue and Captions
Many people craft adventures to tell stories, and to tell stories, you need to be able to add dialogue, world-building, and character interaction. When making a story-based adventure, writing is crucial. Even if you are not making a story-based adventure, you can still add world-building to your adventure to make the setting more cohesive and to encourage player immersion.

In Spore Galactic Adventures, there are two main ways of doing this: either required acts for dialogue and optional captions. With required dialogue, an adventure has a maximum of 8 acts and 24 goals, so your options there are more limited. But with optional captions, the sky's essentially the limit. So let's start with the most basic, required acts.

To give a talk/examine act, you just need to drag the goal icon on the bottom right onto either a creature, building, vehicle, or fixed object like so:


When you click the "talk to/examine" option, this window will pop up:


You get 5 text boxes per talk to/examine goal while you get 5 optional captions and 5 random speech bubbles per creature, building, vehicle, fixed object, and even gameplay objects for 10 each unlike goal dialogue.

From here, each text box has a character limit of 192 characters, including spaces for a total of 960 characters for goal dialogue and 1,120 characters if you combine optional captions and speech bubbles for a single entity.

As a result, Spore absolutely has text limitations, so you have to be careful with how you set things up.

On the right half of the above image, we have four options that basically determines the appearance of the speech bubble for that specific box. We have speech bubble, thought bubble, caption bubble, and radio bubble. This is what they all look like:


For only creatures, using speech bubble will have the goal creature speak and using thought bubble will give a different speech effect with its own echos while the actual mouth of the creature does not move.

A good tip for closed-captain adventures or adventures where the captain talks, when writing dialogue in general, have the captain speak in caption bubbles (or radio bubbles if they are mechanical). This is so the creature does not speak for the captain, but instead looks like they are listening to the player. An example can be seen here:


Notice how I put an indicator that the player is speaking. If you put no indicator, you can have it as a kind of narrative boxed in by asterisks, which is especially useful for optional captions on the environment.

One final note on basic dialogue is that on the left, you can select the emotion for each text bubble from happy, angry, sad, neutral, and scared (less options than the emote command for custom AI), but this only affects speech and thought bubbles. As we can see with the thought bubble set to angry:


And of course, this only applies to creatures as well.

Your other choice for dialogue are optional speech bubbles and captions for literally anything you can place in the adventure that is not an effect. The difference between speech and caption bubbles here is that speech bubbles show up at random intervals in a random order while with captions, you have to click on the entity and they go in order. Minus the camera angle, captions and goal dialogue have the same abilities.

This is what the window looks like:


This makes it possible to make literally everything clickable in an adventure and can be a huge asset in world-building by allowing dialogue and narration that goal dialogue otherwise would not have the space for.

HOWEVER, there is a very odd quirk with captions when making entities that have "Apply Changes to All Acts" disabled. Only acts 1 and 2 work in terms of the same, exact entity being able to have different captions depending on the acts. Otherwise, the entity will have no new dialogue for the rest of the acts even if there is meant to be new dialogue there. Even if the player did not click on that entity until past acts 1 and 2, the captions still will not work.

The only way to circumvent this is to replace the old entity in later acts with a clone with the new dialogue. Example of what that would look like:


Just make sure to keep the creature consistent in behavior and keep track of what goes where in what acts.

And finally when writing captions and dialogue, I cannot stress this enough, SPELL-CHECK YOUR STUFF! It is super easy for typos to slip by because Spore does not have a built-in spell-checker. All that you need to do is open up a google doc or some kind of word document and copy-paste all the dialogue and captions to pick out any obvious typos. If you want to be really thorough, have someone play through your adventure like a beta tester (you can do this by just sending them the PNG of the adventure in your My Spore Creations folder in documents, then just have them drag the PNG into their game) and ask them to point out any typos or grammatical errors that they see.

When doing this, have a sticky note or notepad ready so you can write down where the typo/mistake is in case you forget. Because take it from me, when you have maxed out acts, over 100 props all with captions, and everything, it is super easy to get lost. It is perfectly possible to put enough writing in a single adventure to match a novel chapter, and I am saying this from experience.

Of course, there is the matter of bad vs. good captions, but that really boils down to learning how to write, and a lot of that comes from sheer experience. You can always look up writing courses and studies to get better with sentence structure, punctuation, and grammar, but only so much of it can help you.

Anyway, this chapter desperately needed revamping; it has been sitting in a poor-quality state since at least 2015. I hope this is a much better version of that chapter, and I will see you on the next one!
Chapter Five: Advanced Options
Years ago from now, I discovered that if you click a creature's (this does not work for vehicles, sadly) behavior (when you go into the stats and you see the six options right under their name) while holding CTRL (control), a new menu pops up:


This is known as "Advanced" behavior and it essentially allows you to create customized AI for a creature past the initial six options. And when you CTRL+Left Click a creature, the advanced behavior then shows up as a seventh option for that creature in particular.

In short, this custom AI works as a priority list from top to bottom: top is top priority, bottom is the back-burner and the creature will perform the commands set for it in that order depending on how you set it up. So as we can see with Arcanus's AI, his top priority would be to flee when hit and fleeing would overturn the AI to socialize when interacted with by the player. Below that, he is set to also receive anything by the player or other creatures, and finally, his last priority is to wander aimlessly in a set radius.

Now, this is the AI that makes up the default peaceful option. Down below, these are the other AI settings for the defaults:

Neutral:


Mindless:


Territorial:


And Aggressive:


These are the defaults broken down, but what can you do with the advanced AI settings? Well, many things, in fact that otherwise are not possible with the default settings. When you click one of the blue boxes on the left, this menu pops up:


We get a myriad of options that don't even appear with the default AI settings! These exclusive options are shoot, receive, drop, and emote. For example, yes, you can get the AI to attack with aggressive or territorial behavior, but the attacks they use are random. But with shoot, if they have ranged weapons, they will specifically use their ranged attacks depending on where that command is in the priority list.

So one things you can do with shoot is have it so an enemy will only fire at you if they have enough energy to do so and when their energy is low enough, they switch to close-range combat. Or you can do the reverse and have it so the creature will then try and get some distance between you and them and fire at you when they are low on health.

For the right side, the amount of options depends on what you select. Some options have targets like give, receive, attack, etc while others have no targets like idle, move to (apart from the default move points), and wander. It is important to note that you can only have a total of 10 commands for a single creature.

For the sake of not having too many screenshots, I am going to just list all the options you can have depending on what you have selected:

  • Always (available for every action except for emote and flee where the creature will always perform the specified action)
  • First Sight (creature will only perform this action once upon being aware of a target for the first time)
  • Aware of (creature will only perform this action when aware of the designated target and will cease performing the action when the creature is no longer aware of the target)
  • I'm Carrying (creature will only perform the action when it is holding the targeted item)
  • Health/Energy (creature will perform the action based on the percentage of its energy or health whether above or below a certain threshold)
  • Timer (creature will perform the action in set intervals of 10, 30, and 60 seconds)
  • It's Holding (creature will perform action if another target is carrying a specified item)
  • Attacked by (creature will perform action when attacked by a specified aggressor)

    In terms of targets, they can be anything that has been selected for and placed in the adventure for the most part. What targets are available depend on the command. For example, you cannot get a creature to target a building to pick up, but only specific static and gameplay objects. A good use of this is to get two creatures to fight each other specifically and not just attack anything in their awareness or to specifically target certain enemy teams.

    Another useful tip is that setting creatures to perform actions when aware of anything or specific entities instead of just setting them to always actually improve the AI for some odd reason, especially for movement commands like follow, move to, and patrol.

    Not only does this gives advanced commands and slightly improve AI, this also helps in making in-depth boss-fights, as you can set for how often the boss attacks, its attacking style, whether or not the boss will attempt to retreat or change its patterns at certain health/energy levels. I've done that for a lot of the boss-fights I've made throughout the years.

    There are countless scenarios I could list as examples, but the chapter character limit is calling and lot of it is experimenting and finding what you want. As such, a lot of it boils down to trial and error after you know the tools you have at your disposal.

    This was the third major revamp to this chapter, and I hope this is far more clear and to the point than the previous two iterations. See you in the next chapter!
Chapter Six: Music and Setting the Mood
It's been a bit, huh? Apologies, computer issues had crippled my guide-creating. Anyway, time to learn about how to properly use music in your adventures; it can be quite diverse! First things first, choose what type and what sound you wish to use; there is a BIG list right here:


As you can see, there's plenty more down below, but you can see that for yourselves! There's plenty of ways you can even edit the speed of them by turning them in a certain direction; example here:

Another tip is, if you turn it right, it'll speed up; and if you turn it left, of course; it'll slow down. An example of edited music with these tips is my adventure: Dragolandic Valley Two, Part Four; where only slowed down or sped up music plays. Having different music than the default in your adventure adds even more spice to your adventures; oh, and music can't be edited if you select it as the main music; you must place the music. An example of how NOT to do it here:


Even ambience, oneshot sounds, crowd noises, and mechanical audio can be changed; adding more and more detail to your adventures! Say if you wanted seriously intense battle music, a good but music is usually Metal Madness, but speeding it up is SO much more intense (Example of said music is in my most recent adventure.). I forgot to mention, if you use the arrow pointing up, it increases the volume of said sound/music; neat, huh?

In conclusion, I hope you all use these tips to augment the quality of your adventures to make them more enjoyable. Delving further into this guide of mine, I will explain how to make flashy effects such as flying or for nice cutscenes. See you there!


Chapter Seven: Flashy Effects and Cutscenes
Ever wanted to make it seem like your captain is realistically flying somewhere, or make a cutscene with certain characters? Of course you do! Luckily, I have my sandbox testing map to show how to do these flashy effects!

So, if you want to make it seem like your character is flying somewhere after a certain goal; as example (and only because it's the Fourth of July when I'm typing this) let's finish a goal where we have to talk to this Independence Dragon; which is in an area where the 'Flying effect' is going to take place. See here:

As you can see, I have a LOAD of teleporters ready to teleport the two characters into the sky in the next act; but first, let's set where the 'flying' is going to take place. Let's use some invisible barriers from the gameplay objects tab to form an invisible box around the two characters are going to be 'flying.' Like so:


Next, we shall add some wind effects such as the waterfall effect, and surround the box with it; don't forget to keep the flow in the same direction, and like I said in the last chapter; you can turn the volume up and down of said object up using the arrow that's pointing up when you click it. Don't forget: You can rotate the waterfall sideways by holding theTAB key when selected to show advanced turning options!
Example of box:

And with the waterfall effects in third and first person:

A good way of using this is either setting a time limit to make it seem it took that long to the player to get to his or her destination, or put a teleporter at the end; the player can still move when 'flying.' This is also a good cutsecene or fast travel in an adventure where the player is a certain character that has wings, which does add realism and just looks good.

After the player's flight, simply place a teleport that will take the player to where the need to go; and example is making an invisible one activate after the time limit is up, or place a teleporter at the end of the box. Like so:


By the way, don't forget to hide the teleporters and waterfall effect when not in use, just a reminder! That is how you make the 'flying effect.'

Time to experiment with some other types of cutcenes, a good one as an example is a character casting a spell to... I don't know, to purify a character of evil! To do this, have clones of two said characters, the ones performing the spell; make sure they're idle or performing a certain action of your choice! The reason why we want clones of the characters performing the cutscene is that they can't teleport to a certain location. Making the first ones invisible for that ONE act and placing the secondary ones into the cutscene make it so the characters are in the right place. Said characters used in the cutscene COULD stay to do other things due to objects or creatures can do a certain thing for a certain act. Moving on, if it's a spell, some magic colunms would make logical sense (Depending on what spell it is.), place the secondary characters in the position they need to be in; such as across for each other. One crucial bit of info, make sure the act is on a time limit that has no goals that the player has to complete (Block and defend is fine.)! Place the particle effects to your liking, and add some music; I advise making the cutscene as long as the sound; Oneshot sound effects are perfect for this. Now, make it only so as the sound and particle effects are only active for the cutscene. Example of how I did mine:


I just need to choose a sound effect, and I could test it out, but I'll leave the whole cutscene time limit that corrosponds with the sound effect gig.

After the cutscene it's wise to make an after-effect, where something happens after said cutscene (Like this Lich Dragon getting freed of its curse by making it invisible the next and, and replacing it with a different Dragon.) again, the after-effect is dictated by you; and you determine what effects would suit your cutscene best. What I wil do for my after-effect is use the white poof effect, and like I said earlier, replace the Lich Dragon with a different one. With the knowledge of how to make these cutscenes (You can do more, even cutscenes I haven't show with the skills I have taught.), you can again add detail and life to your advetures. I do hope that my guide helps, I will teach how to add detail by altering time of day, and how characters interact with the time of day if your adventures takes place in a city or village like mine does. See you there!


Chapter Eight: Day and Night Cycle Setting with Daily Activities
For anyone who has a series of Adventures in a village, or an on-going story on the same planet, wouldn't it make sense to see the sun rise and set? In each part of your series, why not try to set the time to morning and change around what the characters are doing? Here, you can learn how! In this chapter, you will learn how to make your town/village/city/world more realistic by changing the time and what the characters are doing!

First, time to set up the time! So, say like the first part of your series starts at the default time, noon. Try changing the time to... morning on the next part, or night? Unless your planet doesn't revolve in your series, it would just make sense to alter the time for each part! As example, the first part of my series: Dragolandic Valley Two, Part Five starts around 6:00AM in the morning; while the first part is of course in the afternoon. For the part in the morning, I changed the atmosphere color to orange to mimic sunrise.

Example of Morning:
As you can see, it appears it's early in the morning! It simply makes sense, and makes the village seem more realistic than it perpetually being noon all the time!

Another way to make it more realistic with altering time is to alter what the characters are doing to make them seem more life-like than just repeating what they are doing. What I do in my series is make certain characters go inside their houses doing different things, making characters who were previously inside go outside and do something else!

Example:
From that screenshot, you can clearly see (Unless you're blind, then how are you even on this?!) that one of the character is doing something, and isn't outside like he was last time.

In conclusion, this is great advice to any who have a series of Adventures that take place in the same location to make things more lively by changing the time, and altering what the characters in said location are doing. Next time, I will discuss how to make intense boss battles with special affects, and how to really challenge the player. See you there!

Several years later, and I only recently learned about an important feature about the day and night cycles in the adventure creator. When you go to the terraforming tab to set the time of day, do you see that little lock next to the time, and when you hover over it, it says, "Lock/Unlock Time-of-Day"? It took me years to figure out what this actually means.

Essentially, if you lock the time of day, the sun will follow the player. Yes, it won't just keep the sun in place like I thought it did. No, the sun will follow the player so no matter the player goes, the time of day will remain the same. This is especially apparent on one of the planet's poles where you can literally see nighttime in the distance, but you can never reach it. So if you want it to stay sunset forever in an adventure, just set it to like, 6PM and lock the time of day and the sun will follow the player at that specific angle.

When the time of day is unlocked, the sun will simply stay in place. So if you travel far enough, it'll eventually become dark. You can use this to your advantage in adventures to show the passage of time if you unlock the time of day and simply have teleporters to identical areas in different time zones.

Another very important note: atmosphere no matter how dense it is vanishes at night. You could have a super thick eye-burning atmosphere, but it's nonexistent when it's night. This is what I mean:

Super dense atmosphere at noon:

And it's magically gone at night:


So if you want your adventure to have a dense fog, it has to be daytime. Yes, this sucks. The best way to try and nullify the sunlight is through adventure filters, which is discussed elsewhere in this guide. Wait... apparently not??? I never explained adventure filters? Seriously? I'll work on that later.

Anyway! Just wanted to add that after all these years. Hope it helps!
Chapter Nine: Thrilling Boss Battles
Want to make boss fights that just don't include murdering an epic? Well, you've come to he right place to learn! Default boss fights where you only slay an epic-- creature especially can get boring; creature epics only stomp and bite enemies, nothing special. If you know how manipulate the acts to make several stages in a boss fight, it would bring the battle to life. As an example, say like the boss you have in mind has a sort of building or vehicle that creates a shield; the player would have to destroy the shield first, right? Then the play could fight the actual boss, or even the player has to kill the bosses' minions as well. Here's an example of a boss fight that requires the player to destroy some sort of barrier before dealing with the big baddie themself:

The idiot explains that he has a shield protecting him from harm, so the player searches for that shield to destroy it. Example:


The player must destroy the shield-generator first, making the boss fight have more purpose; that's not all. As a backup plan, the boss decides to summon some minions; the player must deal with them as well. Oh, and make sure to make the minions invisible in the first act, and make them visible when their role comes into play. Example of Minions:

Lastly, the boss has no other choice than to fight the player himself! Also, I STRONGLY recommend power-ups depending on how tough the boss is; his minions were obliterating my MODDED captain who has maxed out Warrior Weapons, max health upgrades, AND the two pieces of armor that does not consume energy. You didn't see, but my captain was pretty weak after the onslaught of minions since I raised their damage multiplier. (Note: If the minions are creatures, I recommend raising their health and damage multiplier by quite a bit. If a creature uses strike five (10 damage normally) and with the maximum damage multiplier; it only does 90 damage per hit. (Bite does 50). The average health of the captain in my adventure averages to about 500-1,590 health depending on the player's health upgrades.) As I was saying, the boss has no other option, and is at his last stage. As you can see, I used a captain as a boss, as I gave it specific 'moves" that it would use against the player. The boss doesn't have to be stylized like my Tech Dragon. You can hide the weapons and armor in the creature using parts like the bolt (found in the details section of the Captain Outfitter), the Missile Finger (Captain Parts), or captain parts that can be pushed inside the body with a cubic slider to move the part up and down; as you can stack other parts that don't have said slider on the one that does, and twist the inward part to hide the weapons and armor.

Before I set up the fight against this Tech Dragon, I shall show it's stats here:

The Tech Dragon has Missile Attack 1, Energy Slash 3, no armor, 2,000 total energy, and 20 Energy per second regeneration. Oh, and also Health Boost 2. (If you have the multiplier up by just 200%, Energy Slash would do 180 damage; quite a ton for a captain with 500 health or lower!) I shall set up some power-ups before I initiate the battle, make sure to place the orbs a decent distance away from any creature IF they respawn. If they're too close to a creature, they won't respawn. Power-Up Placement:

In additon, make sure that the boss fight is possible for low-level captains who may only have one weapons if you choose to make the adventure playable by any captain. To make sure that a low-level captain can beat the boss, make a captain that is low-tier, and try the boss fight yourself. If you can complete it with a low-tier captain, then other players can as well. If you want the fight to be challenging, such as making the player pretty weak to where they must be resourceful; use gameplay objects such as power-ups, explosive barrels, mines, and grenades to add some spice to the fight. Furthermore, if you wish to extend the battle, make the player defeat the boss more than once; add different tasks the player must complete to defeat the next boss stage. A perfect example of a boss fight as mention is part 17 of my series; Dragolandic Valley Two; take that as an example. But to be concise, I shall only make this boss have one stage, then be truly defeated. As you can see, the boss did not take too long for my captain to kill, but may take longer for others:

In conclusion, learning how to manipulate the acts to make a boss fight more thrilling and not end instantly will add excitement to your adventures, and increase your abiltiy to make adventures. Diving deeper into adventure, I will explain how to create complex puzzles and really use the gameplay objects to make games and conundrums for the player to solve; I shall see you in the next chapter!
Chapter Ten: Perplexing Puzzles
Ever wanted to make puzzles that are actually good in Spore? Well, with the knowledge you've gained about gameplay objects, you can! Today we will be learning how to use gameplay objects in combination with goals to make fun puzzles that will make the player actually THINK about how to complete their goal! There are many different types of puzzles such as: finding a way to progress, quizzes, memory games, finding and destroying or interacting with the correct object, and many, many more.

Since I've already made an adventure that has a few puzzles, I'll just use one of them for our 'sandbox map.' Anyway, the first one we'll be doing is: finding the correct object, and interacting with it in SOME way. (Get your minds out of the gutter!) I forgot to mention that this particular adventure loves to crash people's computers for some reason, so I need to be extra careful when making this guide with the Steam overlay up. Moving on, take a look at this room:

Quick Note: I'm going to make a tally of how many times my game has crashed since I started making this chapter:
CRASH COUNTER: 2

As you can see, one of the Dragon heads are purple! Needing to search, the player needs to destroy that head, and jump into the portal to advance (If their game doesn't crash). Basically, they need to actually take a look around to see what to do. To put it simply: they destroy the purple Dragon head to solve the puzzle. That's only one example. The way I made this puzzle is by putting an act that requires the player to destroy that object, hide a portal in the object (To the point where the player can't see it), and a goal to jump through that portal (A.K.A, the teleporter) to complete that act.

The next example is about finding a way to remove something that's blocking you from advancing; a good example is this guy:
Confu'Ral over here is keeping the player in his toybox, and is not letting them escape! In addition, the player can't kill him since I set him to be an ally (Although he really isn't at the time). As I mentioned before: you can use grenades or any explosives to kill someone on the ally team. Get it? To move on, the player must find a way to defeat Confu'Ral to escape, but not by stabbing him! Essentially, the player must find a 'spell' that force Confu'Ral to release you from his toybox. Luckily, this spell is a grenade that'll do enough damage to complete the act, but where is the spell? The player must find the spell first, THEN use it against Confu'Ral! In short, the puzzle is like finding a key to unlock a door; just imagine that the spell is the key, and Confu'Ral is the door.

New example! Let's see... Quizzes! See if the player is REALLY paying attention to the dialogue (Dear Arceus, I know most people don't read the dialogue or play the past parts, especially new players....). Most people (Especially noobs who don't know the Spore website exists) usually just see an adventure in their downloads, and gasp, "Wow, this is a nice adventure, I'm going to play it even though it says part 50 out of Arceus knows how many previous parts!" Or, even most people in general just spam the enter key whenever there's a goal that involves dialogue.

Sadly, most people don't read the click-captions and dialogue, fail at an adventure that requires them to know that extra knowledge, rage quit, and rate down. It's sad, I know. My adventures require the player to click objects and talk to characters, especially in part thirty of my series since that knowledge comes into play in part 32.

I'm rambling, I know, but the only reason part thirty-two of my series is rated down is because EVERYONE failed at this quiz I put that requires the player to know stuff that's only shown in part thirty (Or the discription of the quiz items). This just proves how many people don't notice that it's part thirty-two out of who knows how many parts. Just proves who's loyal and who's just a noob that has a short attention-span.

Anyway, quizzes again show if the player is paying attention or not. How to make a quiz is simple: place how many objects you want that can be possible answers, set all but the CORRECT one to 'Defend,' and the correct one to 'Destroy/Kill/Move To.' This makes it so if the player gets the question wrong, they lose! If they get the question correct, they get to advance! It's basically a quiz, nothing else.

Next up, we have memory games! They're very similar to quizzes except you have to REMEMBER something or someone, and get it correct! A prompt to this puzzle could be, "What is the name of this charatcer?" or like, "What is this guy's plan?" there's many more, but it requires the player to have pretty good memory.

I just remembered another one! Who doesn't love mazes?! Essentially, the player must traverse a maze, find the exit, or some object that unlocks the exit! Just as a warning: some players use the 'freecam' cheat to beat mazes; a good way to defend against that cheat is to place ceilings just above the walls, so the player's camera can't oversee the top of the maze. An example of an anti-freecam maze:

Before Anti-Freecam:


After Anti-Freecam: (Note: take MUCH more time being neat with the ceilings and the maze itself; I just made this one just as an example with little effort)


As far as I can remember, there's no other type of puzzle I can think of as of right now. I hope you guys find this chapter useful in your puzzle-making quests, and make sure to use gameplay objects and goals depending on what type of puzzle you want. In the next chapter, I will discuss the many issues concerning the infamous 'ban' glitch with adventures, and ways to prevent them. See you there!
Chapter Eleven: The Infamous Ban Glitch
Have you always wondered, "Hey, what's that no entry sign on my or my friend's adventures?" Well, my humble reader: that shows that the adventure is banned, and cannot be played in quick-play or in-game, but can be played in the editor. There are a multitude of ways to get your adventure banned such as:
  • Using modded content
  • Sharing all the props/creations at once if you didn't before, and trying to share the adventure (make sure to replace the shared versions back into the adventure after you shared them!)
  • A really bad glitch (just reshare the adventure after slightly editing it)
  • Having a vehicle or building be considered "too flat" horizontally by the game's standards
  • Or sharing creations that are in the adventure creator (Even just in the cast) and sharing them while they're in the adventure creator


    This is what a banned adventure looks like:
    As I mentioned, there is a glitch like this where your adventures get banned for no reason. To fix this, just edit the banned one a tiny bit, and re-upload it. Don't forget to delete the banned version. Before inserting a prop/creature into the adventure editor, make sure it shared properly (You can check by looking on the website, or seeing if the creation has a comment box where you can insert a comment), and then putting it into the adventure.

    Another way an adventure can be banned for seemingly no reason is if a prop is in the adventure that is considered too flat, not even joking. This actually happened to me when releasing part 56 of my series where Spore users, MetalBlaze (ERROR!) and Derezzed let me know that if a building or vehicle is considered too flat in the editor, the prop won't download in the adventure correctly. However, this can be overridden with the Force Save mod for some unknown reason. As a suggestion, if you need to make a flat prop, consider positioning it vertically instead of horizontally like this:

    This is one thing to note: Modded/unshared captains that are in place of a captain if it's open-captain will cause the adventure to be banned regardless of whether or not it's open-captain since it still downloads the placement captain for some reason.

    A little trivia for this chapter is that closed-captain adventures don't show up in Space Stage, only open-captain adventures. Not only that, but I do believe templates or no genre adventures don't show up in-game either; they must be played in quick-play or edit mode.

    Anyway, I wanted to make this section since this glitch is unknown to people since the creator of the adventure can't see that the adventure is banned unless they download it on another computer. The only reason I can see my banned adventures (Well, my really old ones) is because I made them on my old, yet dearly departed cr@ptop. As a precaution, post in the comments and ask others whether or not the adventure is banned, or ask a friend. That is the end for now, feel free to ask questions!
Chapter Twelve: How to Properly Make Interiors
One thing you commonly don't see in your average adventure are decent/well-made interiors, and that's because interiors aren't the easiest to make. Interiors not only are a pain to make, but if done incorrectly can screw over AI, look bad, and delivers an uncomfortable experience. This is why making an interior must be done correctly, or else less effort would be shown.

To start off, it is up to you if you would like to make walls, ceilings, and/or floors, or look some up in the in-game search. It is always best to at least place the walls and floors before placing the ceiling down, as it's much easier to see inside without a ceiling getting in the way. From my experience, using the walls/floors/ceilings as buildings inhibits the AI of creatures, and should not be done. A way to get the AI to act a little better is to disguise the floors/ceilings/walls as gates, as the AI isn't as sensitive around gates, and it also saves a little bit of complexity.

Now, it is also up to you if you want to start by placing the walls or flooring first, as it doesn't make too much of a difference. With placing the flooring of your interior, you want the floor tiles to be small, and I mean pretty small, as if said floor tile is too large, then you will notice not only the character the player is using somewhat shakes when the player/creature crosses from one tile to another, and it also looks quite uneven. This is a reasonable size for a floor tile compared to a default-sized captain:

You can make the tile a little larger, but this is a safe size. One thing that is not recommended is making floor one large tile, or placing the floor over bumpy terrain; always use one of the leveling tools in the terraforming menu to flatten out an area first before making your interior. Another good hint is by using the ALT key to easily copy the tiles/ceilings/walls to be the same size, and hold down the SHIFT key, so the tile cannot move about the Y-axis; this ensures that the floor will be leveled and smooth. In addition, place the floor tiles/walls close enough to each other to where you see NO gap inbetween. Example of what to do and what not to do (in order of how they were stated):
The same rule with spacing should be applied to the other two unless they're specifically supposed be uneven for something like a cave, or a ruined building. In terms of size, ceilings and walls have different guidelines because the player is not going to walk on them; this means the ceilings can be MUCH larger along with the walls to save complexity.

With varying factors, floors can be an issue at times; most textures except for a few make a creature's feet sink into the floor tile if large enough, but isn't as noticeable if the tile is small, or very close to the ground (you can do this by holding the CTRL key to move about the Y-axis). Walls can also be affected by this and allow some small and speedy captains to clip through said walls, so be careful! This is another reason why making the floor one tile or very large is not recommended. Ceilings are fine regardless of texture, so go nuts... unless there's a jump-pad that can allow them through. Example of feet sinking in the floor:
As you can see, this Dragon's ankles and feet are in the floor, and it's not the most pleasant to see.

In terms of tips and advice: this tip is completely optional: decorate the interiors well. No-one likes a bland, empty room! If it's required, make some props as not only a way to get better at prop making, but also to customize your new room. Make sure to use these props as disguised gates to aid the terrible AI and to reduce the oh-so valuable compexity of the adventure. An example of a decorated interior and example of a not so decorated interior:

Making the entire interior as one building can also be helpful, as it lowers complexity. Floors generally WILL eat up complexity, even if you have mods that increase the complexity limit! As such, making entire interiors as this could be worth the trouble:


Yet, this is more complex to do than simply building with individual blocks, and you will need at least some advanced skill in the building editor to get proportions and furnishing to look decent/correct.

Again, this is completely optional, but it's highly recommended. Anyway, t/hat about wraps up this chapter on how to make a splendid interior to one of your amazing adventures! The next chapter of this guide has not been decided, but stayed tuned! This concludes chapter twelve of my advanced adventure making guide! Thanks for taking the time to read my guide!
Chapter Thirteen: Map Building 1/2
One of the biggest compliments I always get in my series is that the "visuals are drop-dead gorgeous" (Starcutter), and it made me wonder, what made my adventures appealing? It was even to the point to where some even saw my series that is supposed to be an RPG as a visual novel, is it the character design...? Or... map design? Either way, map design in adventures are a massive contributor to how people will like your work. Usually, maps with poor or lazy design do not make it far unless they have a really interesting a fun concept/story to back them up, and those skillsets vary from person to person. Overall, it also depends on what you're going for in your map. Are you making a sprawling city or a fantasy setting? Regardless, there are a few things you should follow to make the best out of your maps!

When making a map, you want it to look clean. Essentially, this means:
  • No floating buildings and make sure that objects/buildings are not unintentionally clipping into other objects, flora, or walls of any kind. Use CTRL/SHIFT + Moving the mouse while holding LEFT CLICK to move the object on the Y/X+Z axis respectively.
    Examples:


  • Don't have all the plants/structures facing the same way, try to add some variety (Hold TAB to reveal extra turn wheels for everything except creatures and vehicles):


  • Make sure the roads are clean and not jutting out accidentally:


  • Make sure that the creature/NPC sizes are in proportion to the props/setting:


  • Ensure that any type of captain (unless otherwise specified) can properly move around the map (this includes wide enough doors, stairs/ramps that allow creatures to move up, etc):


  • Remove pointless weather hazards unless specifically for the purpose of the map:


  • Don't make the planet colors eye-melting unless it is the intended purpose (adding a warning about said colors is advised):


  • Make sure that grass and/or rocks are not sticking into the floors of buildings or other props (Use the Floral Removal tool in the terraform section of terraform mode to remove natural rocks and plants):

With all those images and tips aside, you also want to make your props as best as you can make them. It is alright to use other's props (with credit) if you are not the best prop maker, but it is strongly suggested that you make your own props anyway. Not to just practice, but to also impress other users with your dedication to use only your own creations. In fact, there is an achievement for making 50 adventures using only your creations known as:
It is still preference, but using only your own props does have its benefits.

For mainly map building, there are mods that can be used to expand the complexity limit of the adventure creator, allow infinite colors, make unshared adventures worth 100 points each, and even make creatures any size you would like. All the abilities of mods out there for Galactic Adventures that I mentioned DO allow adventures to be shared and edited, only that the infinite complexity mod will prevent others who don't have the mod from editing the adventure if it goes over the default complexity limit.
The mods can be found right here (MAKE SURE TO FOLLOW THE INSTALLATION STEPS PROPERLY!):
Enhanced Color Picker Mod (Requires Spore ModAPI): http://davoonline.com/phpBB3/viewtopic.php?t=6301
Working Version of Infinite Adventure Complexity, Infinite Size, and 100 Points Mod as of the newest client update for Spore (Working, seperate versions not currently available(THANKS, ROB!)): http://davoonline.com/phpBB3/viewtopic.php?p=31253#p31253 (Post #63)

There are other mods out there that add to the adventure creator, but users require the mods to play them, so I will not be posting them here. Of course, these are optional unless you're like me where you end up nearly maxing out the modded complexity limit nearly every time no matter what you do. It simply allows for more possible areas, details, etc, but do note that adding a large amount of trees or objects that generate a high amount of shadows CAN lag the game unless the shadows graphics setting is placed on medium or low. Not only that, but this specific particle effect is INCREDIBLY laggy and can even crash other people's games if there are too many of them:

Of course, using explosives of any kind in the adventures can also cause lag along with excessive particles effects in one area, massive amounts of entities, and so on.

For making your adventures a bit more creative in design, there are ways to use some objects and particle effects in unique manners for what you desire. Some can be seen here:
  • The "Rainfall Splash" effect being used as a barrier:

  • The "Pond" effect being placed multiple times in the same spot (use ALT while dragging the object to duplicate it) to serve as a portal:

  • "Garlands" and/or "Vines" effects along with invisible platforms (invisible jumpads upside down) to create a pathway in the air:

  • The "Waterfall" effect being used to represent speed or wind:

  • The different fog effects to be used as clouds/platforms:

  • The "Tornado" effect as a sandstorm (Make sure to sink it into the ground a fair bit):

Then there are also creative ways to use items in the "Fixed Objects" tab as well:
  • "Blooms of Euphoria" can be used to represent tentacles bursting from a rocky wall:

  • Different Rocks can be used to make caves:

  • Turned over plants can be used as logs/debris:
There are more combinations for both categories, but those were some of the most useful tips in terms of objects and effects without creating your own props.
Another tip is that buildings disguised as gates cost less in terms of complexity than buildings, and even work better with Spore's absolutely terrible AI and collision issues. This can be done by selecting a gate, clicking on the Yin/Yang symbol on the top right when hovering the mouse over it, then select the dropdown tab that has the default "Normal" and select "Disguised," then choose your building/vehicle.
Chapter Thirteen: Map Building 2/2
Apologies for having to split this into two, but I somehow reached the character limit, ANYWAY...
A few more tips that don't require any screenshots can be said as well, such as a good map always takes a fairly long amount of time to make-- especially if it is a map that uses interiors and custom props. Most adventures that have outside areas that do not usually have many structures are generally seen as too basic unless you can pull it off using mods that allow larger trees, more complexity for more plants, or even if you add caves, burrows, wildlife, etc. Detail is key unless you need to make some sort of barren wasteland or void. Some maps can even take months to create if you are working on it consistently, but it is usually well-worth it.

Perspective of the area is also quite imperative to the general opinion of it, as it gives atmosphere and an aura to the area. An example can be seen here:

Gives off quite the imposing, towering feeling, right? You want to give people that bold sense that makes them go, "Holy goodness... that is cool." Unless your adventure is intended to be clashing and random, you also want to make sure that the props and music go with the setting and area to produce the correct effect you want to instill into others.

Another tip is to look up references of something you would base the area off of. Make sure to include fauna and flora variance and terrain varience if you wish to make a more natural location than something similar to a populated area. Unless it is intended, make sure the areas are logical in some way or realistic.

Apologies for this other half for being short-- just that I don't really have much else to say. Anyway, I hope you enjoyed this needed section, and I will see you in the next chapter!
Chapter Fourteen: Captain Parts and Which Ones to Choose 1/2
This section was inspired by a Spore user saying level 1 energy slash is better because the cooldown was faster, so I did the math with each level and came to the conclusion that level 3 was actually the best, thus I was inspired to make this section. As such, we're going to be going over most captain parts and their stats, then my recommendation for which level to use (if the part has more than one level). I have done extensive testing to see which level is the fastest at killing something, the percentage of damage shields absorb, and so on. Shall we?
(Note when I mean "Best" with the weapons, I mean which level of the three can kill a creature the fastest.)
We have the basic stats of each part here down the normal list when in the captain outfitter:
Bladed Knuckles (damage halved to buildings):
Level 1: 30 damage, 60 energy (+6 attack)
Level 2: 50 damage, 70 energy (+12 attack)
Level 3: 90 dmage, 90 energy (+18 attack)
Best: Level 3

Plasma Pulser:
Level 1: 20 damage, 70 energy (+6 attack)
Level 2: 35 damage, 100 energy (+12 attack)
Level 3: 55 damage, 125 energy (+18 attack)
Best: Level 3

Lightning Striker (damage halved to buildings):
Level 1: 35 damage, 80 energy (+6 attack)
Level 2: 70 damage, 110 energy (+12 attack)
Level 3: 115 damage, 135 energy (+18 attack)
Best: Level 3

Missile Flinger:
Level 1: 35 damage, 150 energy (+6 attack)
Level 2: 60 damage, 180 energy (+12 attack)
Level 3: 90 damage, 220 energy (+18 attack)
Best: Level 3

Poison Blade (+6 attack):
10 damage initially (5 to buildings with no damage over time), damage over time 45, 10.5 seconds, 55 damage total

Swarm Magnet(+6 attack):
10 damage initially (25 to buildings with no damage over time), damage over time 45, 10.5 seconds, 55 damage total

Icy Band(+6 attack):
No damage, freeze time 7 seconds

Hypnomelder(+6 attack):
No damage, mind control time 15 seconds

Compact Generator:
Increases energy regen by 150%

Compact Battery:
Increases energy storage by 150%

Power Generator:
Increases energy regen by 200%

Power Battery:
Increases energy storage by 200%

Invigorator:
+1 health per second

Stam-Booster:
Increases health by 200%

Super Invigorator:
+2 health per second

Mega Stam-Magnifier:
Increases health by 300%

Ducal Cape:
+6 Sing
Princely Pad:
+6 Dance
Regal Ring:
+6 Charm
Imperial Robe:
+6 Pose

Harpolizer:
Level 1: +6 sing, 100 energy
Level 2: +12 sing, 150 energy
Level 3: +18 sing, 275 energy

Hop Gogs:
Level 1: +6 dance, 100 energy
Level 2: +12 dance,150 energy
Level 3: +18 dance, 275 energy

Synergizer:
Level 1: +6 charm, 100 energy
Level 2: +12 charm,150 energy
Level 3: +18 charm, 275 energy

Fettipopper:
Level 1: +6 pose, 100 energy
Level 2: +12 pose,150 energy
Level 3: +18 pose, 275 energy

Sprint Pack:
950 energy per full sprint

Glider Pack:
100 energy per flap, 20+ max flaps

Stealth Helmet:
Stealth for 23 seconds per 1,000 energy maximum

Jump Jet:
Can jump for 4 seconds per 800 energy, needs 200 energy to jump initially

Protecto-Shell:
Negates damage by 25%

Danger Reductor:
Negates damage by 50% with a 60% energy cost per hit taken

Power Shield:
Negates damage by 60% for 1,000 energy, 80% for 2,000 energy with a 100% energy cost

Regen Deflector:
Negates 10% of damage with 100 energy given per 10 damage taken

Okay, okay, I know that's a load to take in at once, but these are important to keep in mind for making creatures with specific stats or efficient captains, and I want to go into detail with most of the parts to paint a better picture for you.

Warrior Weapons
From the list, you can tell that for all warrior weapons, level 3 is easily the best, but not just for their DPS, but also because of the bonus effects they (except for the plasma pulser, the worst outta the bunch) have if they're level 3.
All except for the plasma pulser, the warrior weapons have an area of effect and half of them (the ranged ones) do normal damage to buildings unlike the melee weapons where their damage would be halved. Both the missile flinger and the lightning striker can also stun for a brief moment, which can mean loads when fighting enemies.
Personally, the warrior weapons are the better of the two weapon sets with the only real downside being energy management, especially if you have other parts that require energy, but most adventures provide energy anyway.

Shaman Weapons
Immediately, the greatest downside of the shaman set is that NONE of them are good against buildings, which the most they can do is five damage with the poison blade and 25 with the swarm magnet. Two of the later parts don't even do damage at all, and I would consider the hypomelder to be the most useless out of the available weapons unless you need to socialize or destroy buildings.
Though, the swarm magnet and icy band have a long-lasting stun effect (unless you hit the enemy where if they weren't epics and you hit them after freezing them with the icy band, they'd immediately be able to attack you again) which is longer than any of the warrior weapons.
Another bonus is that the shaman weapons consume zero energy, thus you can use the energy-hungry shields for loads of defense.
My consensus for the shaman weapons is that if you want survivability, pair these up with the shields and it would be ridiculously hard to kill you, but killing things (especially buildings) would take forever.
Scientist Parts
These are especially important if you go with warrior weapons, as warrior weapons need a good supply of energy to sustain their high DPS or if you have the trader parts. If you're going with shaman weapons, then these aren't really necessary at all.

Ecologist Parts
Depending on what adventure you're playing these parts can make one hell of a difference.
If you're playing an adventure where the health multiplier is low, then the regen parts are more important, but if you're playing an adventure that gives you a high multiplier, you're seriously going to want the stam boosters since they provide a 2x and 3x health multiple that could make you unkillable, which regen parts fall short since unlike the stam boosters, the regen parts don't multiply health regeneration as well.
However, it's still important to have some health regen since not all adventures are forgiving with health.

Diplomat Parts
Most people don't use these unless they're specifically making an adventure where the player has to befriend other creatures and unless you come across an adventure where you need decent social and your creature doesn't have it, you're most likely not going to need it.
These are basically the shaman equivalent to social parts where they don't take up any energy and they don't eat up as much complexity. They're usually nice to have to also speed things up.

Bard Parts
The warrior-equivalent of social parts, they cost energy, but not very much. They make socializing super easy, which can be beneficial if you want some allies that are hard to befriend in adventures. Also, the animations are personally pretty entertaining to me, but they're not as crucial as weapons or armor in most cases.

Trader Parts
These are NEVER necessary from what I've seen and can just be made up with creature parts. Not only that, but these cost energy to use (and the stealth field is easily the most useless one since normal sneak makes you practically invisible no matter what level of it you have). The only two I personally find useful are the sprint and hover packs since they don't take up as much complexity as feet or wings and actually are worth the use of energy.

Zealot Parts
Unless you're using ONLY shaman weapons, the only two shields that are useful are the protect-shell and regen deflector, ESPECIALLY the regen deflector with warrior weapons since unless you're trying to break buildings, you're practically never going to run out of energy. And besides, taking less damage can save you more times than you think.
Chapter Fifteen: Captain Parts Tips and Consensus 2/2
Apologies for the cut, I ran out of space in the previous chapter. Continuing on from that, I want to further my thoughts and finish my consensus on each category and hopefully not run out of space this time. Anyway, let's start where we left off.

With warrior weapons, it's hard to go wrong with them. The only time I can see them being incorrectly used is if you haven't gotten any scientist parts, thus you run out of energy ridiculously fast. Otherwise, my recommendation is just to use the right weapon for the situation, whether you need to destroy buildings or utilize AOE (area-of-effect). Warrior weapons are always worth the investment.

Recently, I tried playing a combat-oriented adventure with only shaman weapons and no sprint, which it was utter hell. Since the fifth act of this adventure had a time limit, the character I used failed multiple times because she didn't have the speed to get around the map fast enough, or just couldn't do enough damage to enemies in time (which happened to DarkedgeTV once in a video). The adventure required buildings to be destroyed, too, which this is where the hypnomelder was actually useful for once since I was able to mind-control minions into helping me kill the boss and destroy the buildings, but most of the time, it wasn't enough. In the last chapter, I highlighted how slow the shaman weapons were, which they are even slower than I let on. My consensus is that shaman weapons are useful as secondary weapons, but you should NEVER have just shaman weapons without an extra warrior part for the sake of not taking forever since being a 100% shaman's like being a chansey from Pokemon to out PP stall your opponents, but slower.

Scientist parts, you can only go wrong with them if you have zero parts that require energy, but that's about it. They just make things faster by allowing you to attack or do whatever for longer that requires energy. Most of the time, they're a must-have.

I mentioned this before, but ecologist health boosters can make you incredibly broken for the adventure if the health multiplier's high and they're always great to have for that extra durability. Any extra health or defense could be the difference between life or death in an adventure, so it's best not to take that chance.

Unless you're playing a lot of social adventures (which are super uncommon that are actually decent), you won't need these parts. Though, they can prove to be helpful if you play a lot of adventures that allow you to ally creatures since that's extra damage and meatshielding and it also makes the AI more consistent with following. Yet if most of the adventures you play are 100% solo, these parts won't really aid you.

I personally prefer bard parts over diplomat parts since they're much faster and less likely to not be enough somehow, but it's mainly preference and you can go with either if your captain needs some social parts. Energy-wise, the bard part's energy consumption may be an issue if you're doing loads of befriending, which is unlikely.

Some trader parts (the first two) are better than others. The sprint and glider packs I personally use on some captains and are wonderful if you got the energy to keep it up. Others like the jump jet and stealth helmet are actually worse than their creature counterparts since sneaking normally requires no energy and has the same cooldown while the stealth helmet consumes loads of energy for example. The jump jet can be helpful if you're using a captain with low jump, but height is rarely an issue in adventures to begin with.

Both the regen-deflector and the protecto-shell add up to 30% less damage taken plus 10 energy per one damage taken, being a great combo. The power armor is pretty bad if you have other things that require energy like trader, bard, or warrior parts. But otherwise, they provide over 100% damage reduction all together at the cost of your entire energy pool, which is good for shamans who want to stall their enemies to death, but most of us aren't PP stalling shamans.

After some recent testing, I found that the danger-reductor actually changes how much energy it takes and actually can give back energy based on what the captain's energy is and what they're doing. Such as taking the first hit takes the most energy, but later hits and especially while attacking will sometimes give some energy back to keep fighting even with low energy, but this is also with the energy-absorption piece. You may not be at full energy when fighting, but the piece will make sure you have enough energy to fight while also adding extra protection, so this piece can be surprisingly useful. However, it may not give enough energy back for more energy-hungry weapons like the missile flinger since it seemingly gives roughly 120 energy when hit at low energy (and I mean less than 100 energy) and gives less and less the higher your energy is, thus it would take multiple hits and waiting per high-energy attack, so keep that in mind! Though, energy given and taken may also vary depending on the amount of damage the enemies are dealing.

My personal opinion on this combination of the regen-deflector and danger-reductor is that sure, you're taking less damage, but if you're only taking damage to get energy, then it's better to just have the protect-o shell and the regen-deflector since you get much more energy back from taking damage. As in the long run, you'd take less damage if you only had to get hit much less often for the sake of a lot of energy instead of taking less damage, but having to get hit a lot more to get much less energy. Still, it's personal choice and it may also depend on the situation and how badly you need that extra protection.

Some captain parts are more situational than others, but all of them can be fun to use if used in the right situations. Hopefully in the next chapter, I'll be going over some helpful glitches and tips in the GA editor that can prove to be incredibly useful!
Chapter Sixteen: Recommended Mods List
Believe it or not, there are quite a few mods for Spore that greatly aid in adventure creation. The best part? Plenty of these mods still allow the adventure to be perfectly shareable and playable by people with completely vanilla games. Please note that some of the mods listed are purely for the adventure editor while others can aid in other areas like the building and vehicle editor, and will be categorized as such.

IMPORTANT NOTE: Mods on the Steam version of Spore are very finicky and unreliable! This is because of Steam's DRM causes compatibility issues. As such, if you are using the Steam version of Spore and cannot transfer to Origin or GOG, please use these at your own risk! If you want to transfer your game from Steam to Origin, please check out this thread: https://answers.ea.com/t5/Bugs-Technical-Issues/Steam-users-unable-to-create-Spore-account-or-redeem-game-on/td-p/10069057

Before downloading any mods, make sure you have SporemodAPI Launcher downloaded and installed. Any .sporemod file HAS to be installed with SporemodAPI Easy Installer and it just makes it easier to install and keep track of mods in general. Any mod marked with [!!!] requires SporemodAPI to install it.

LINK TO SPOREMODAPI LAUNCHER KIT: http://davoonline.com/sporemodder/rob55rod/ModAPI/Public/

Adventure Editor Mods:


The mods listed further blow do not directly impact the adventure editor, but they can make creating creatures, vehicles, and buildings a lot less of a hassle.

Miscellaneous Mods (Still Very Useful in General):


If you have problems with any of these mods, I recommend going to The SPORE Modding Community Discord[discord.gg] server, as they have support staff there who can help troubleshoot problems with you. I am no modder, just someone who's modded their game for several years. I can't guarantee that all of these mods will work for you. However, they make creating adventures so much easier and less limited, so they're worth at least trying out.
150 Comments
vee-kay Jun 12, 2023 @ 1:10pm 
Nicely illustrated and detailed guide, thanks!
Geof Morgan May 17, 2023 @ 2:07pm 
there is a typo near the end of chapter 3 where grenades is misspelled as grendes
darkscythe7 Feb 2, 2023 @ 5:24pm 
this is a great guide, nice work on making a guide to give even the newest players (like myself) great information to make their adventures come to life!
Eeveecraft  [author] Jan 13, 2022 @ 1:57am 
Thank you! I'm glad the guide I made years ago still proves to be helpful.
DarkScryer Jan 4, 2022 @ 5:56am 
This is one of the best guides I have seen on Steam, and I will always be grateful for your making of it. It has helped me greatly, and I happily grant you my award. Sorry it couldn't be more, but I don't have enough Steam Points to comfortably afford more valuable awards.
MJRAHOLE Jul 17, 2021 @ 11:41pm 
Don't you just hate it when you manage to make an adventure that earns a Green face, but it also means your chances of meeting the other adventures you made become very slim?
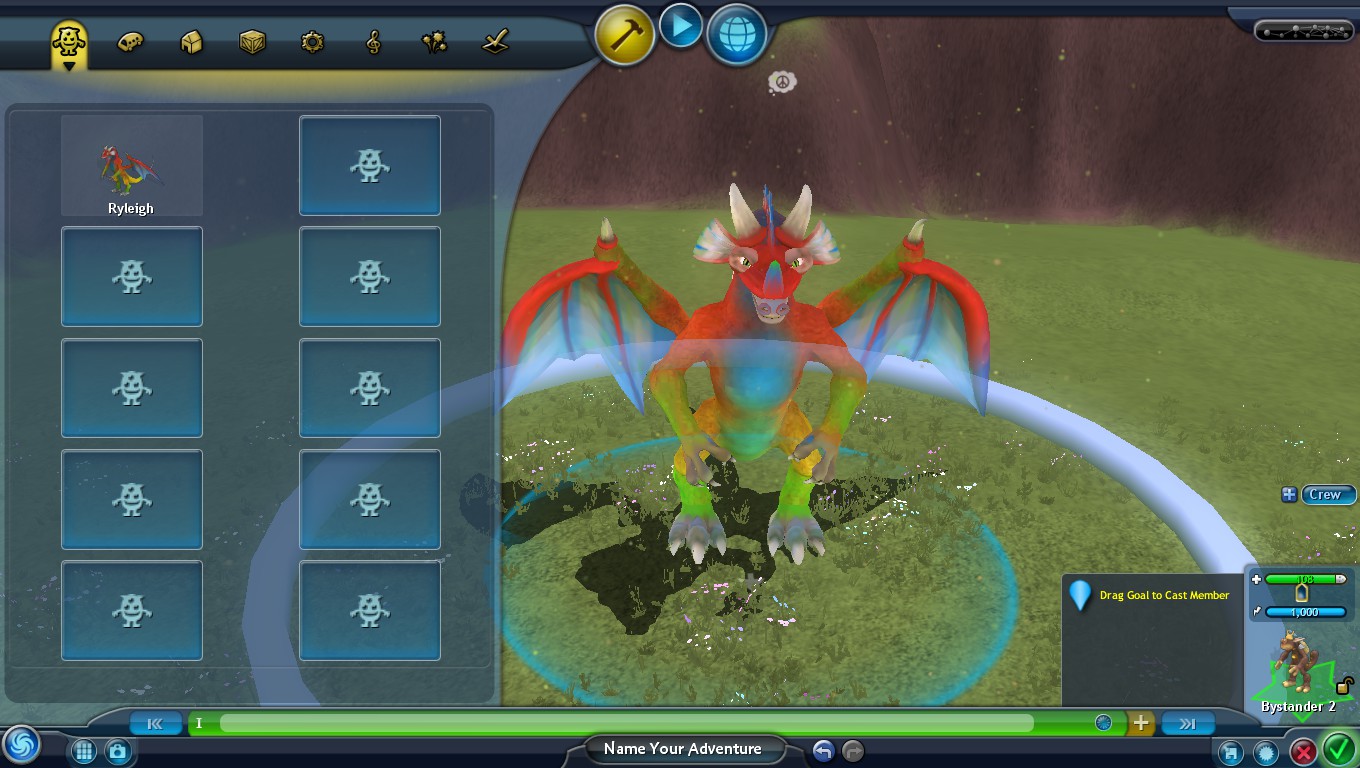
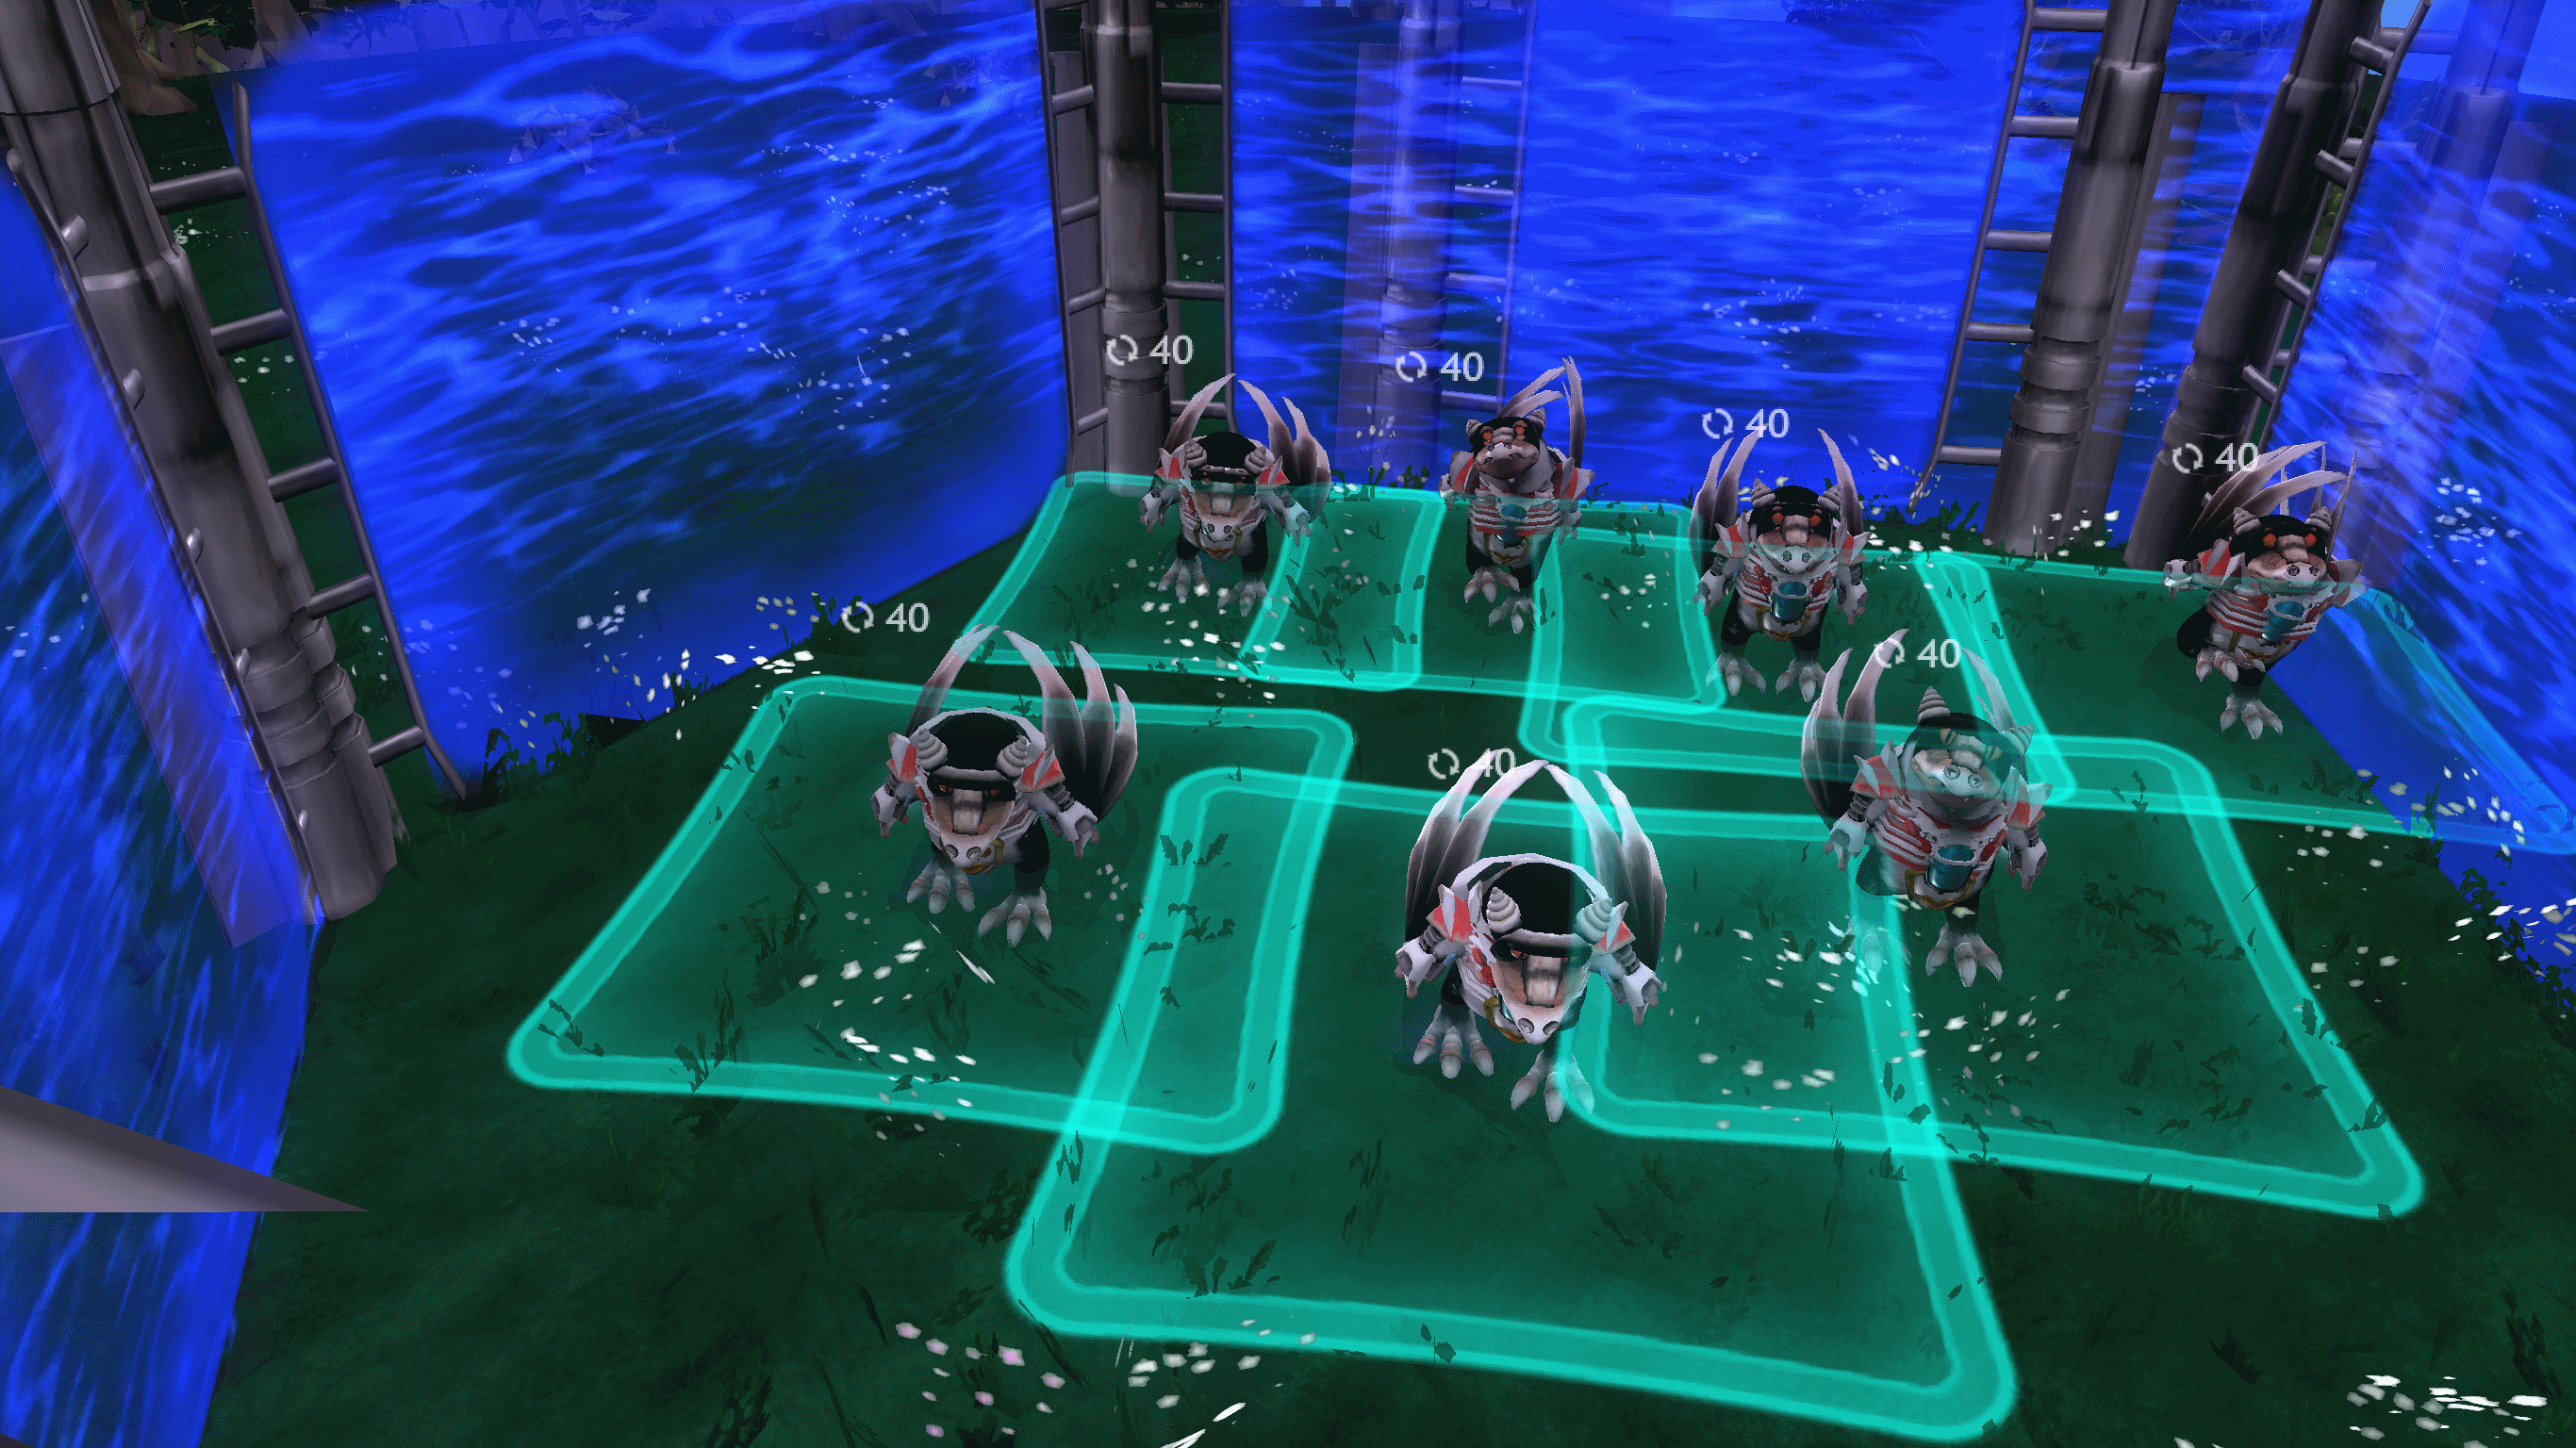
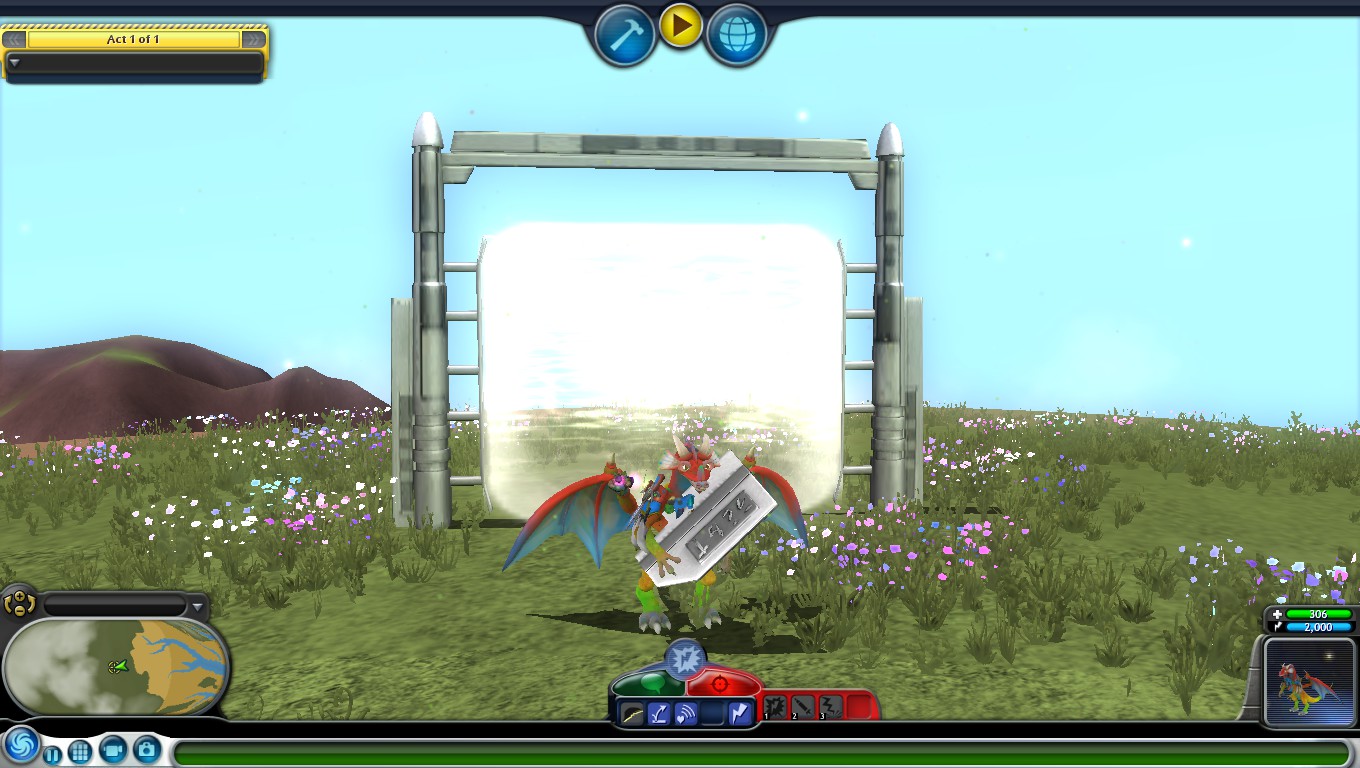
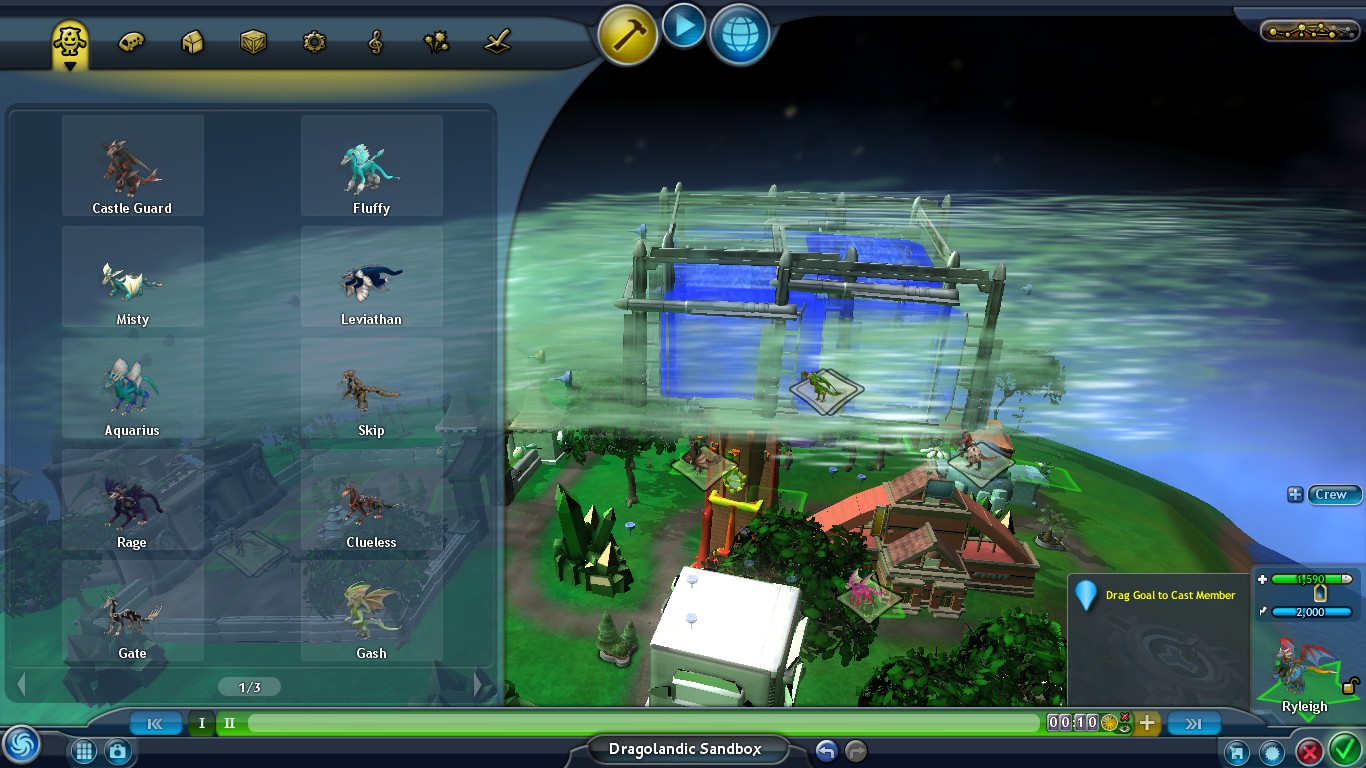
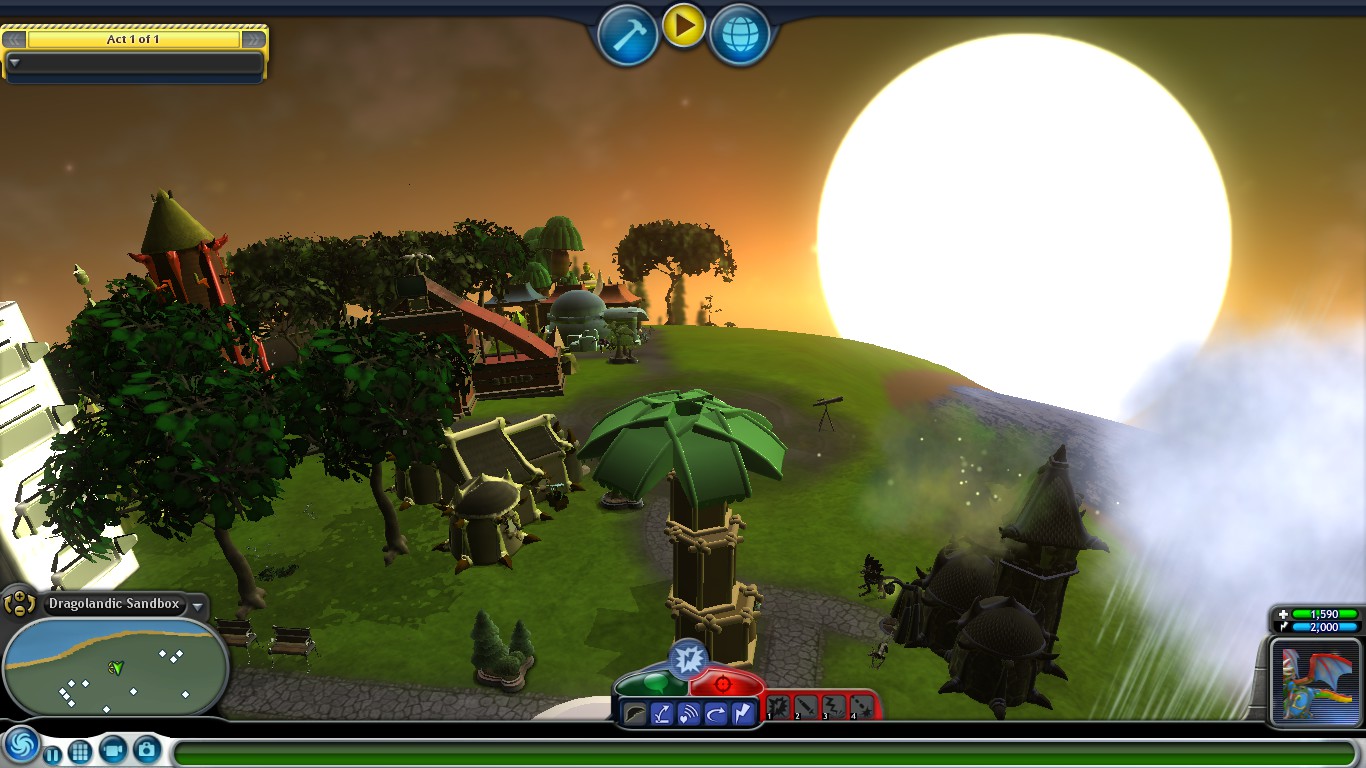
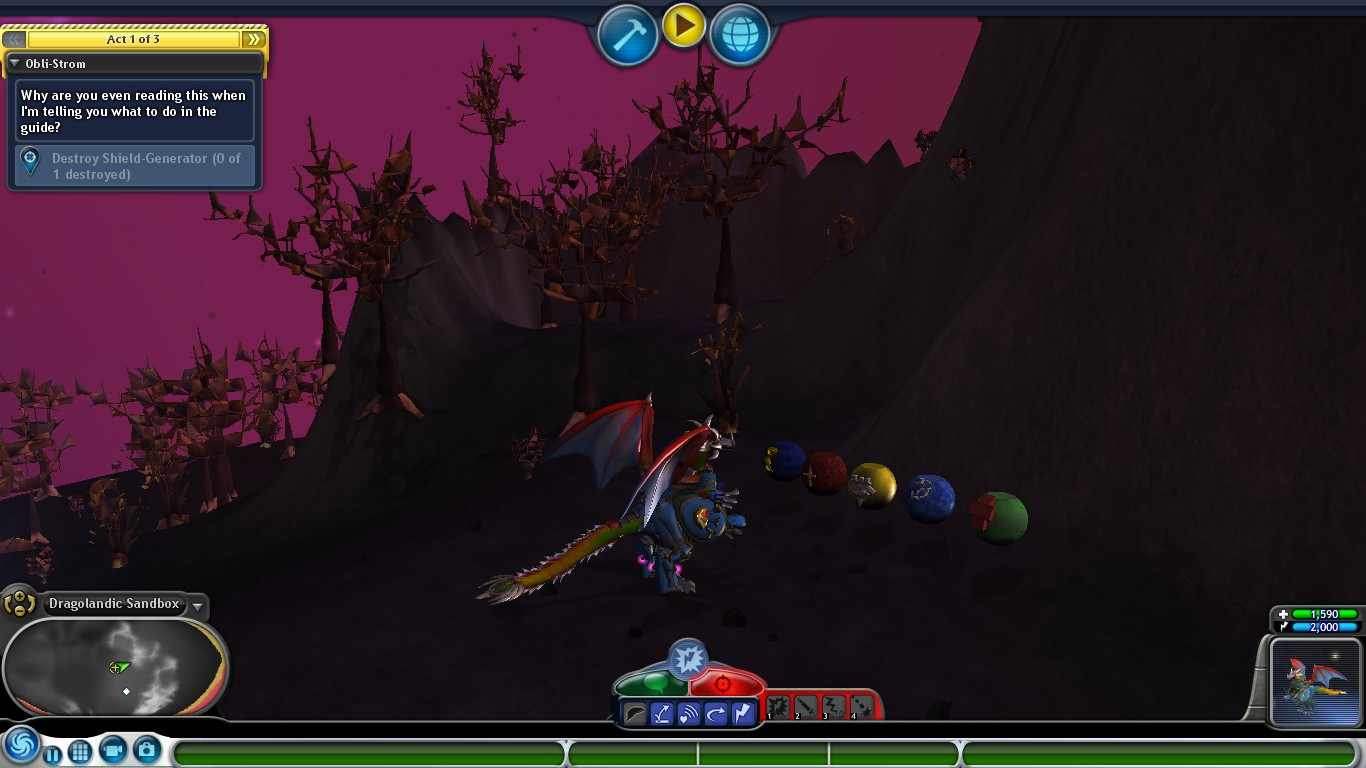
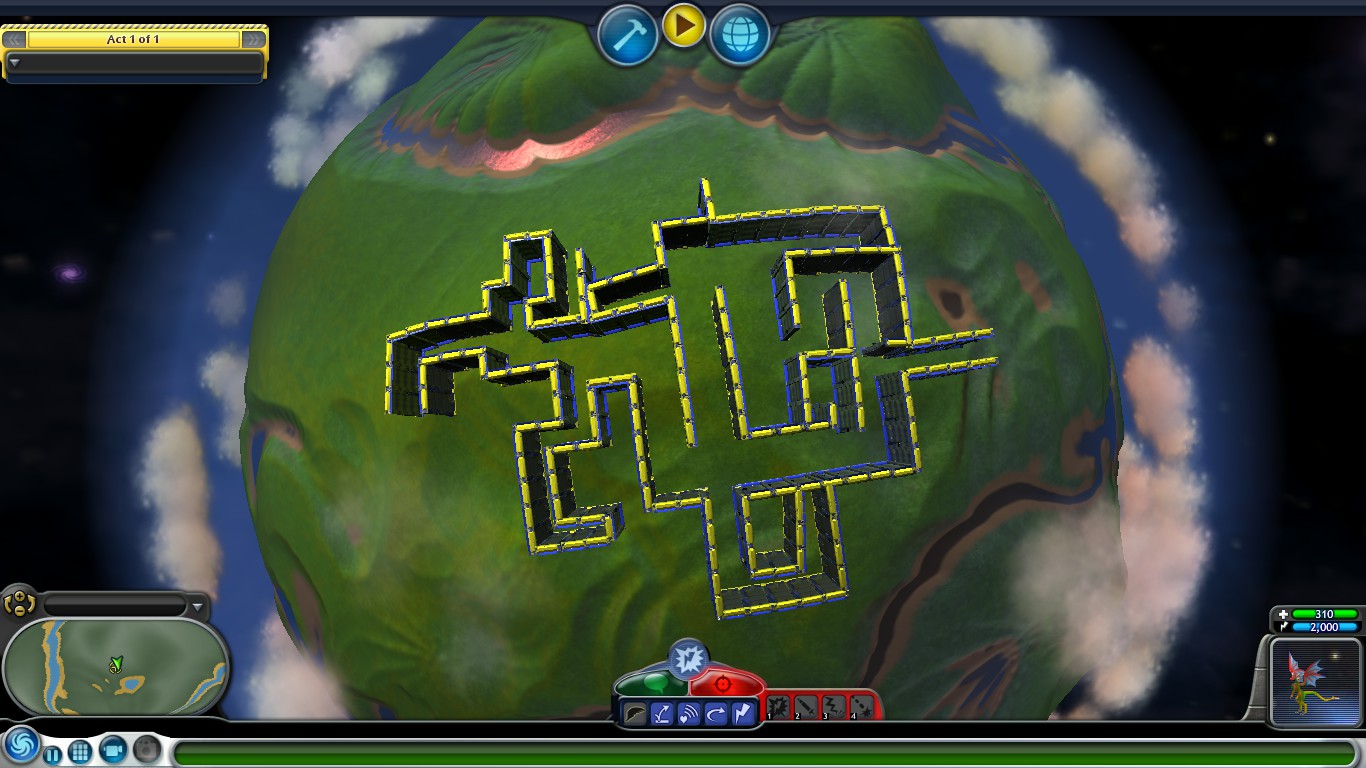
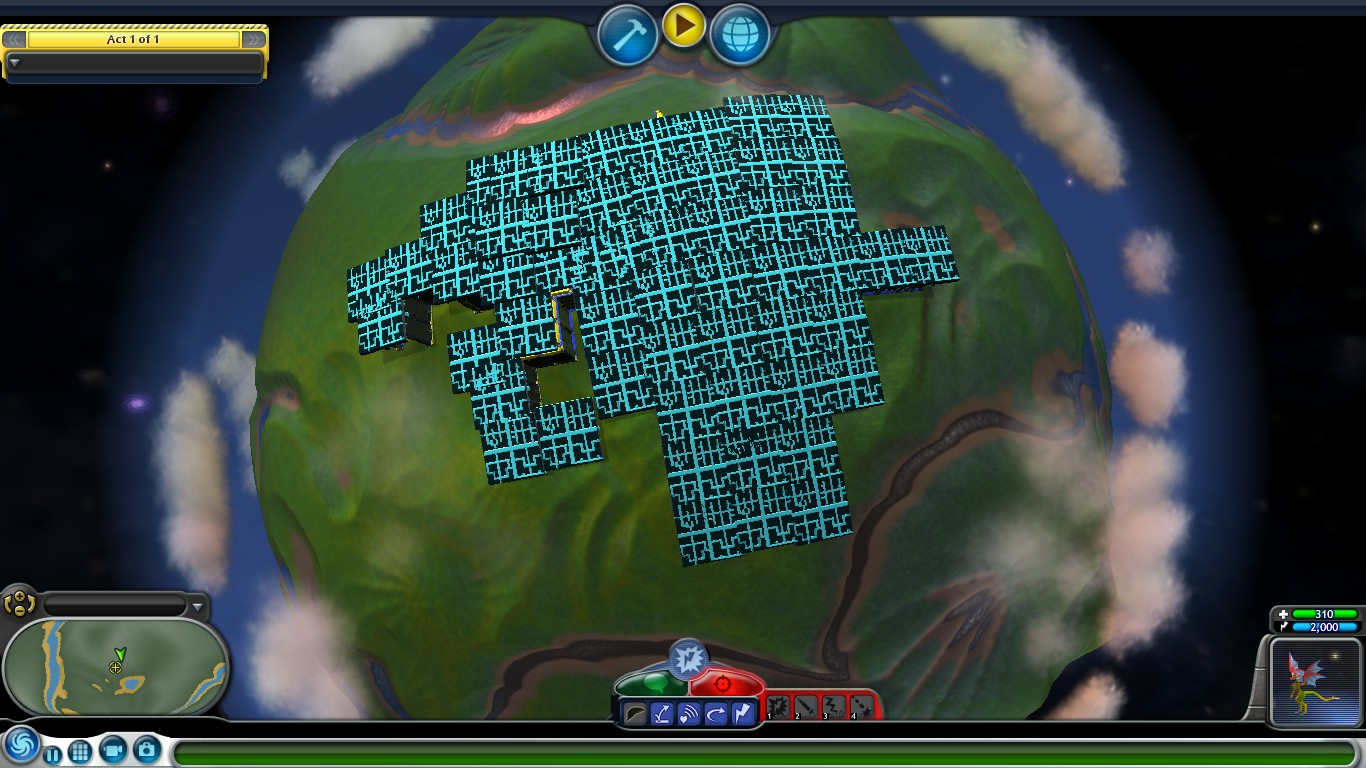
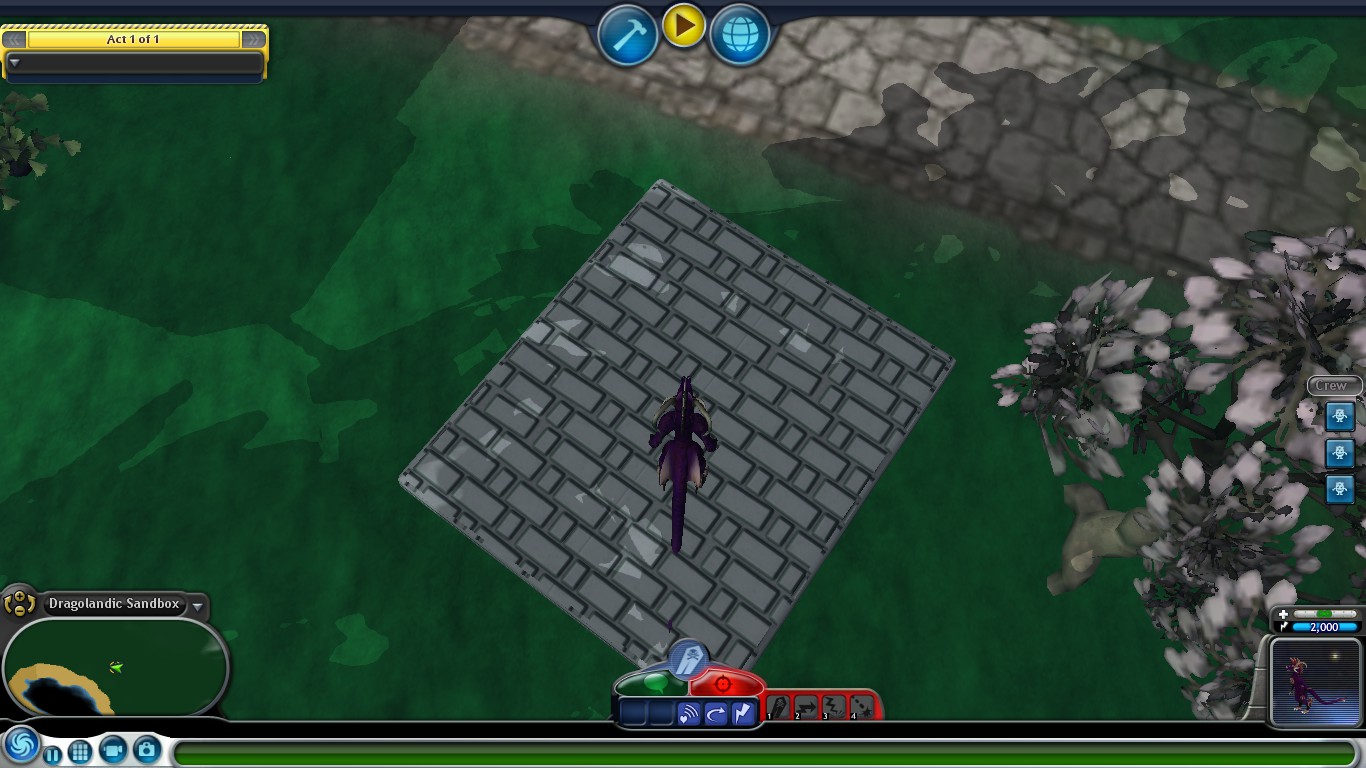
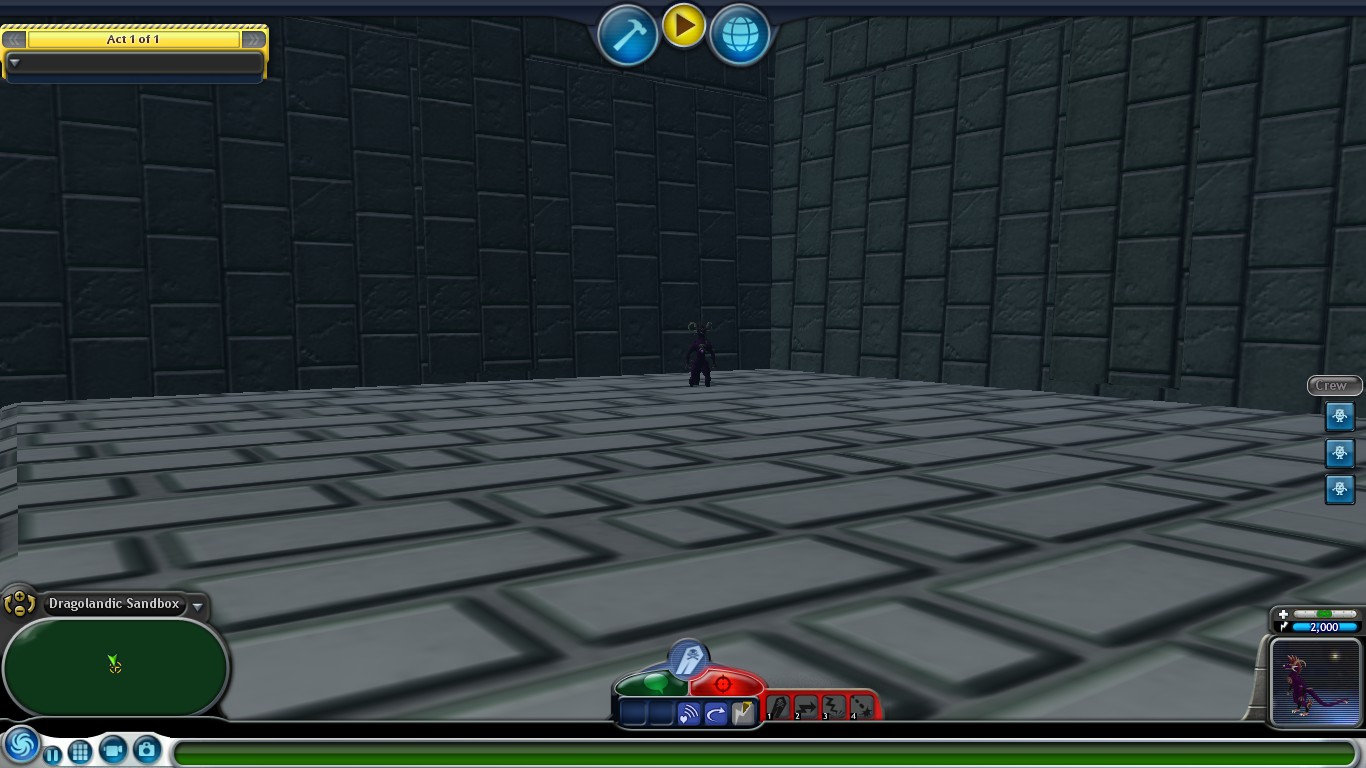
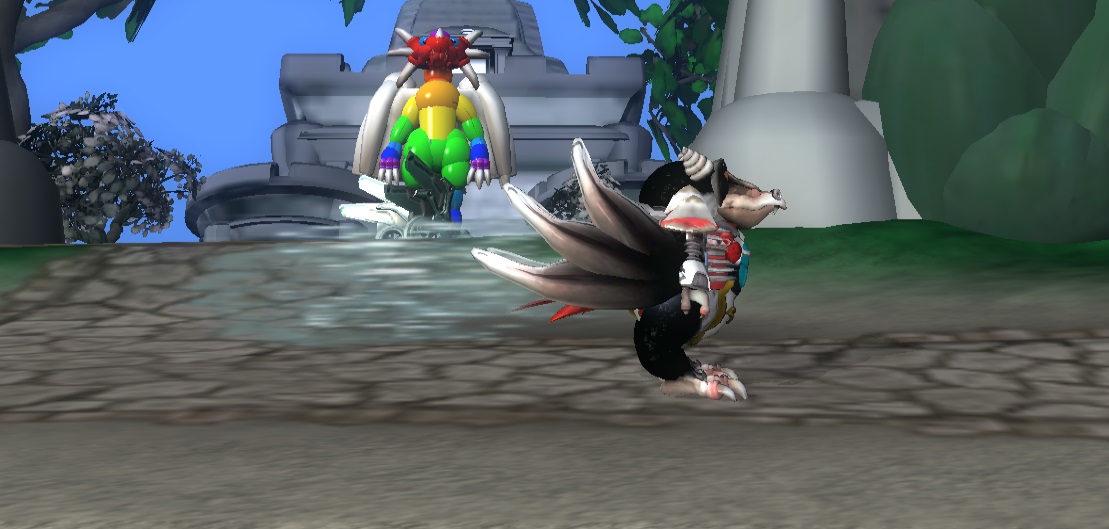
In case you're curious, adventure name is called "Droid Attack!"
MJRAHOLE Jun 29, 2021 @ 11:04pm 
And to rest my case... I can't add anything else, this adventure is officially finished unless there's MORE bugs that players are running into then my job ain't done.

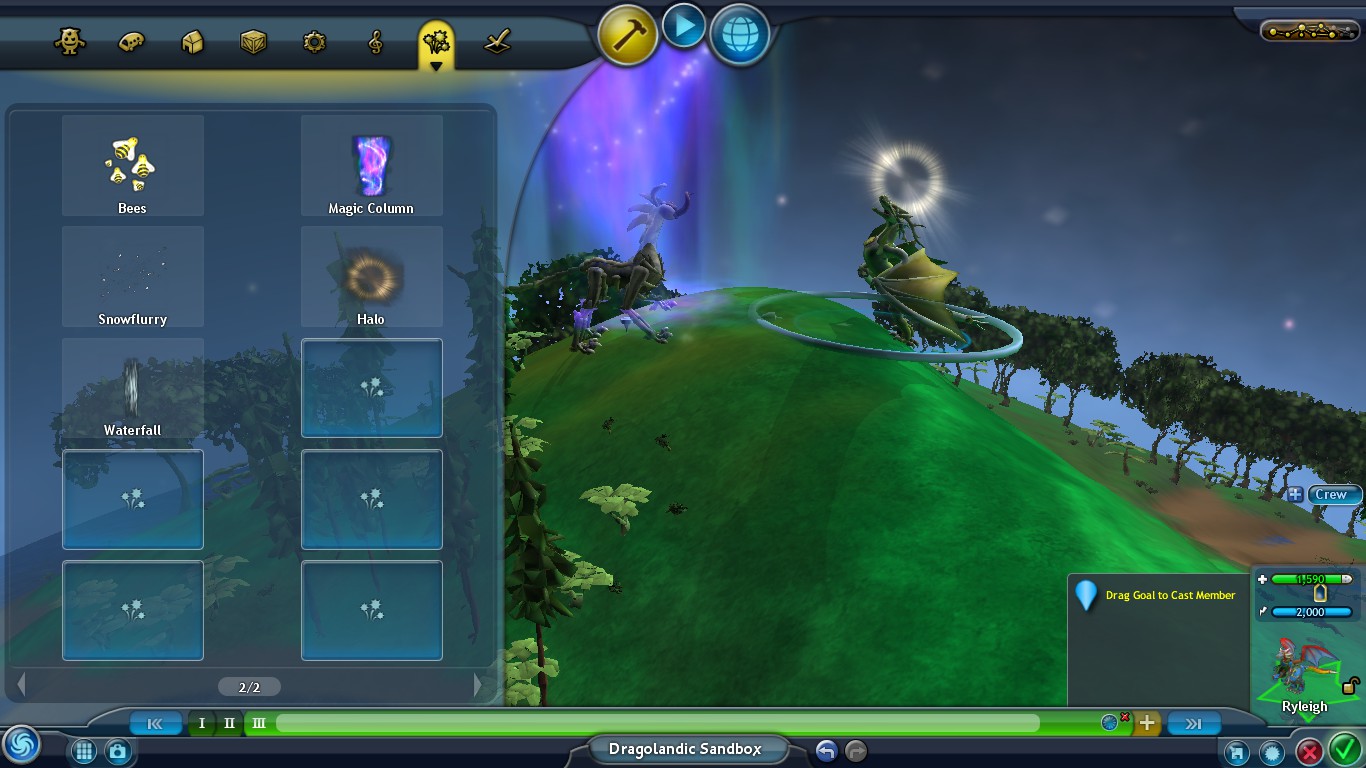
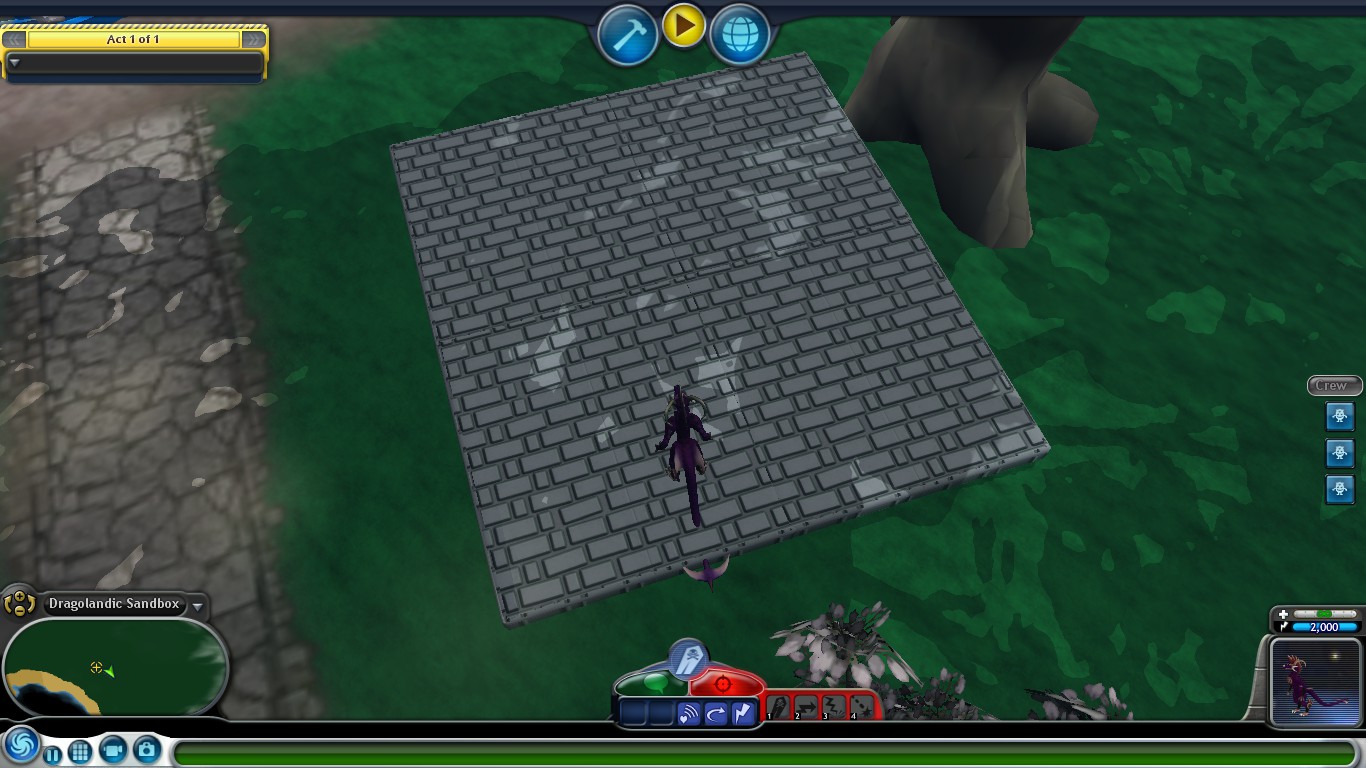
Such as being able to sequence break in Arena 2's conclusion... Wait.
MJRAHOLE Jun 29, 2021 @ 11:01pm 
Alright Eevee, I've updated the adventure to include more things, jump pad to the maze to make the maze accessible to players who don't have the parts and/or can't jump.

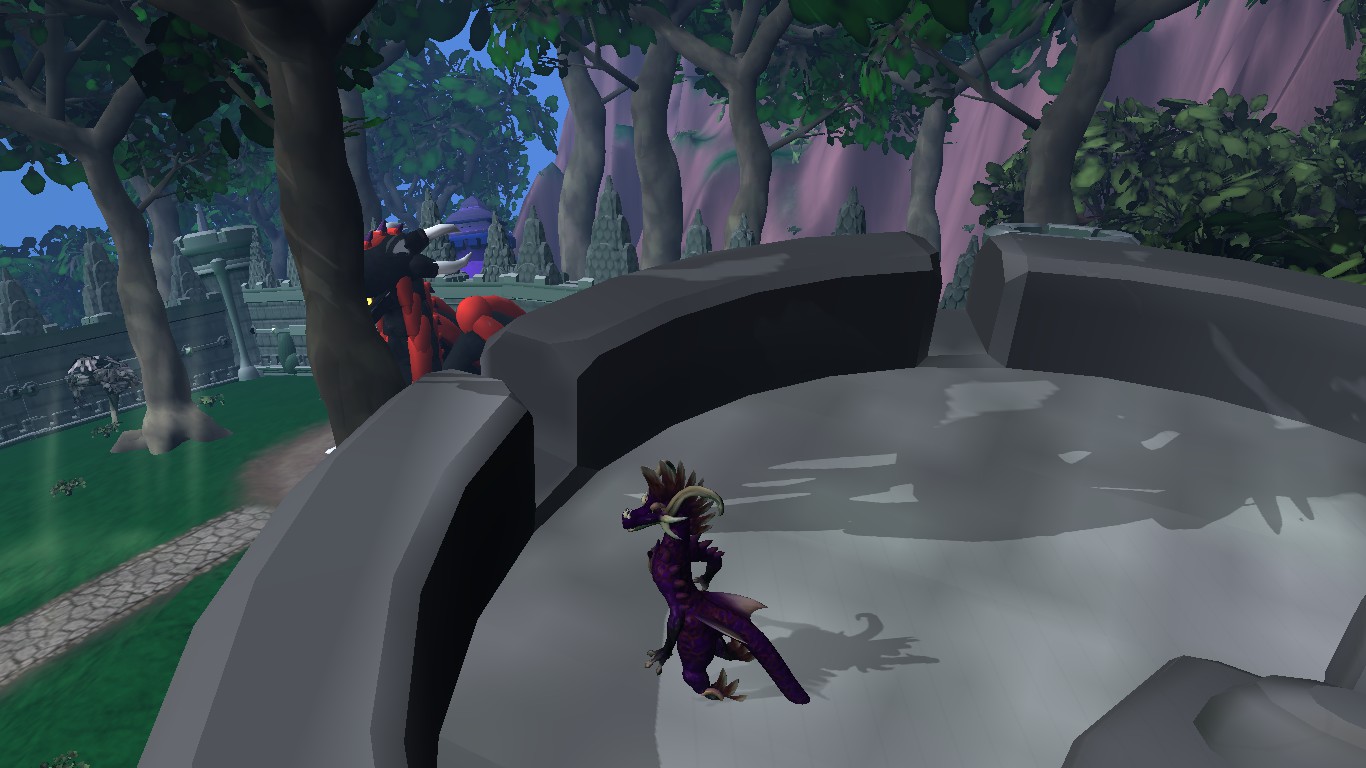
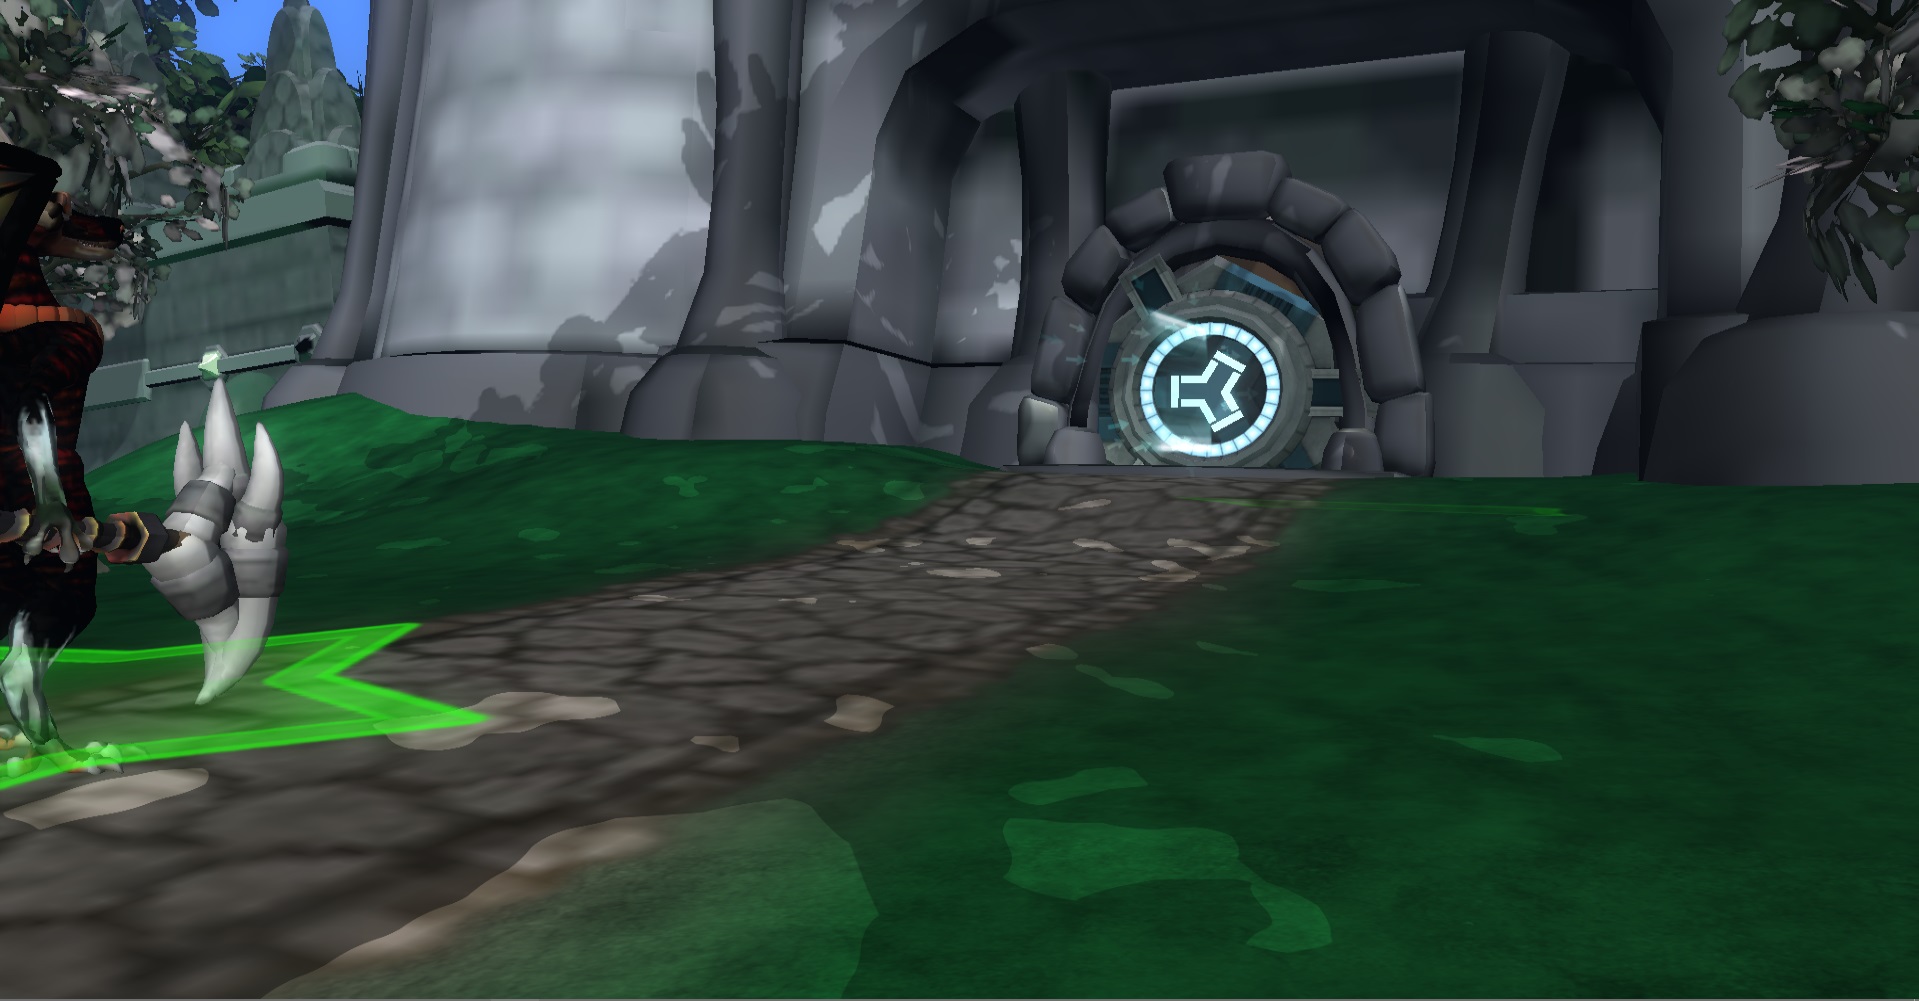
The knights and squires are training in the first arena!

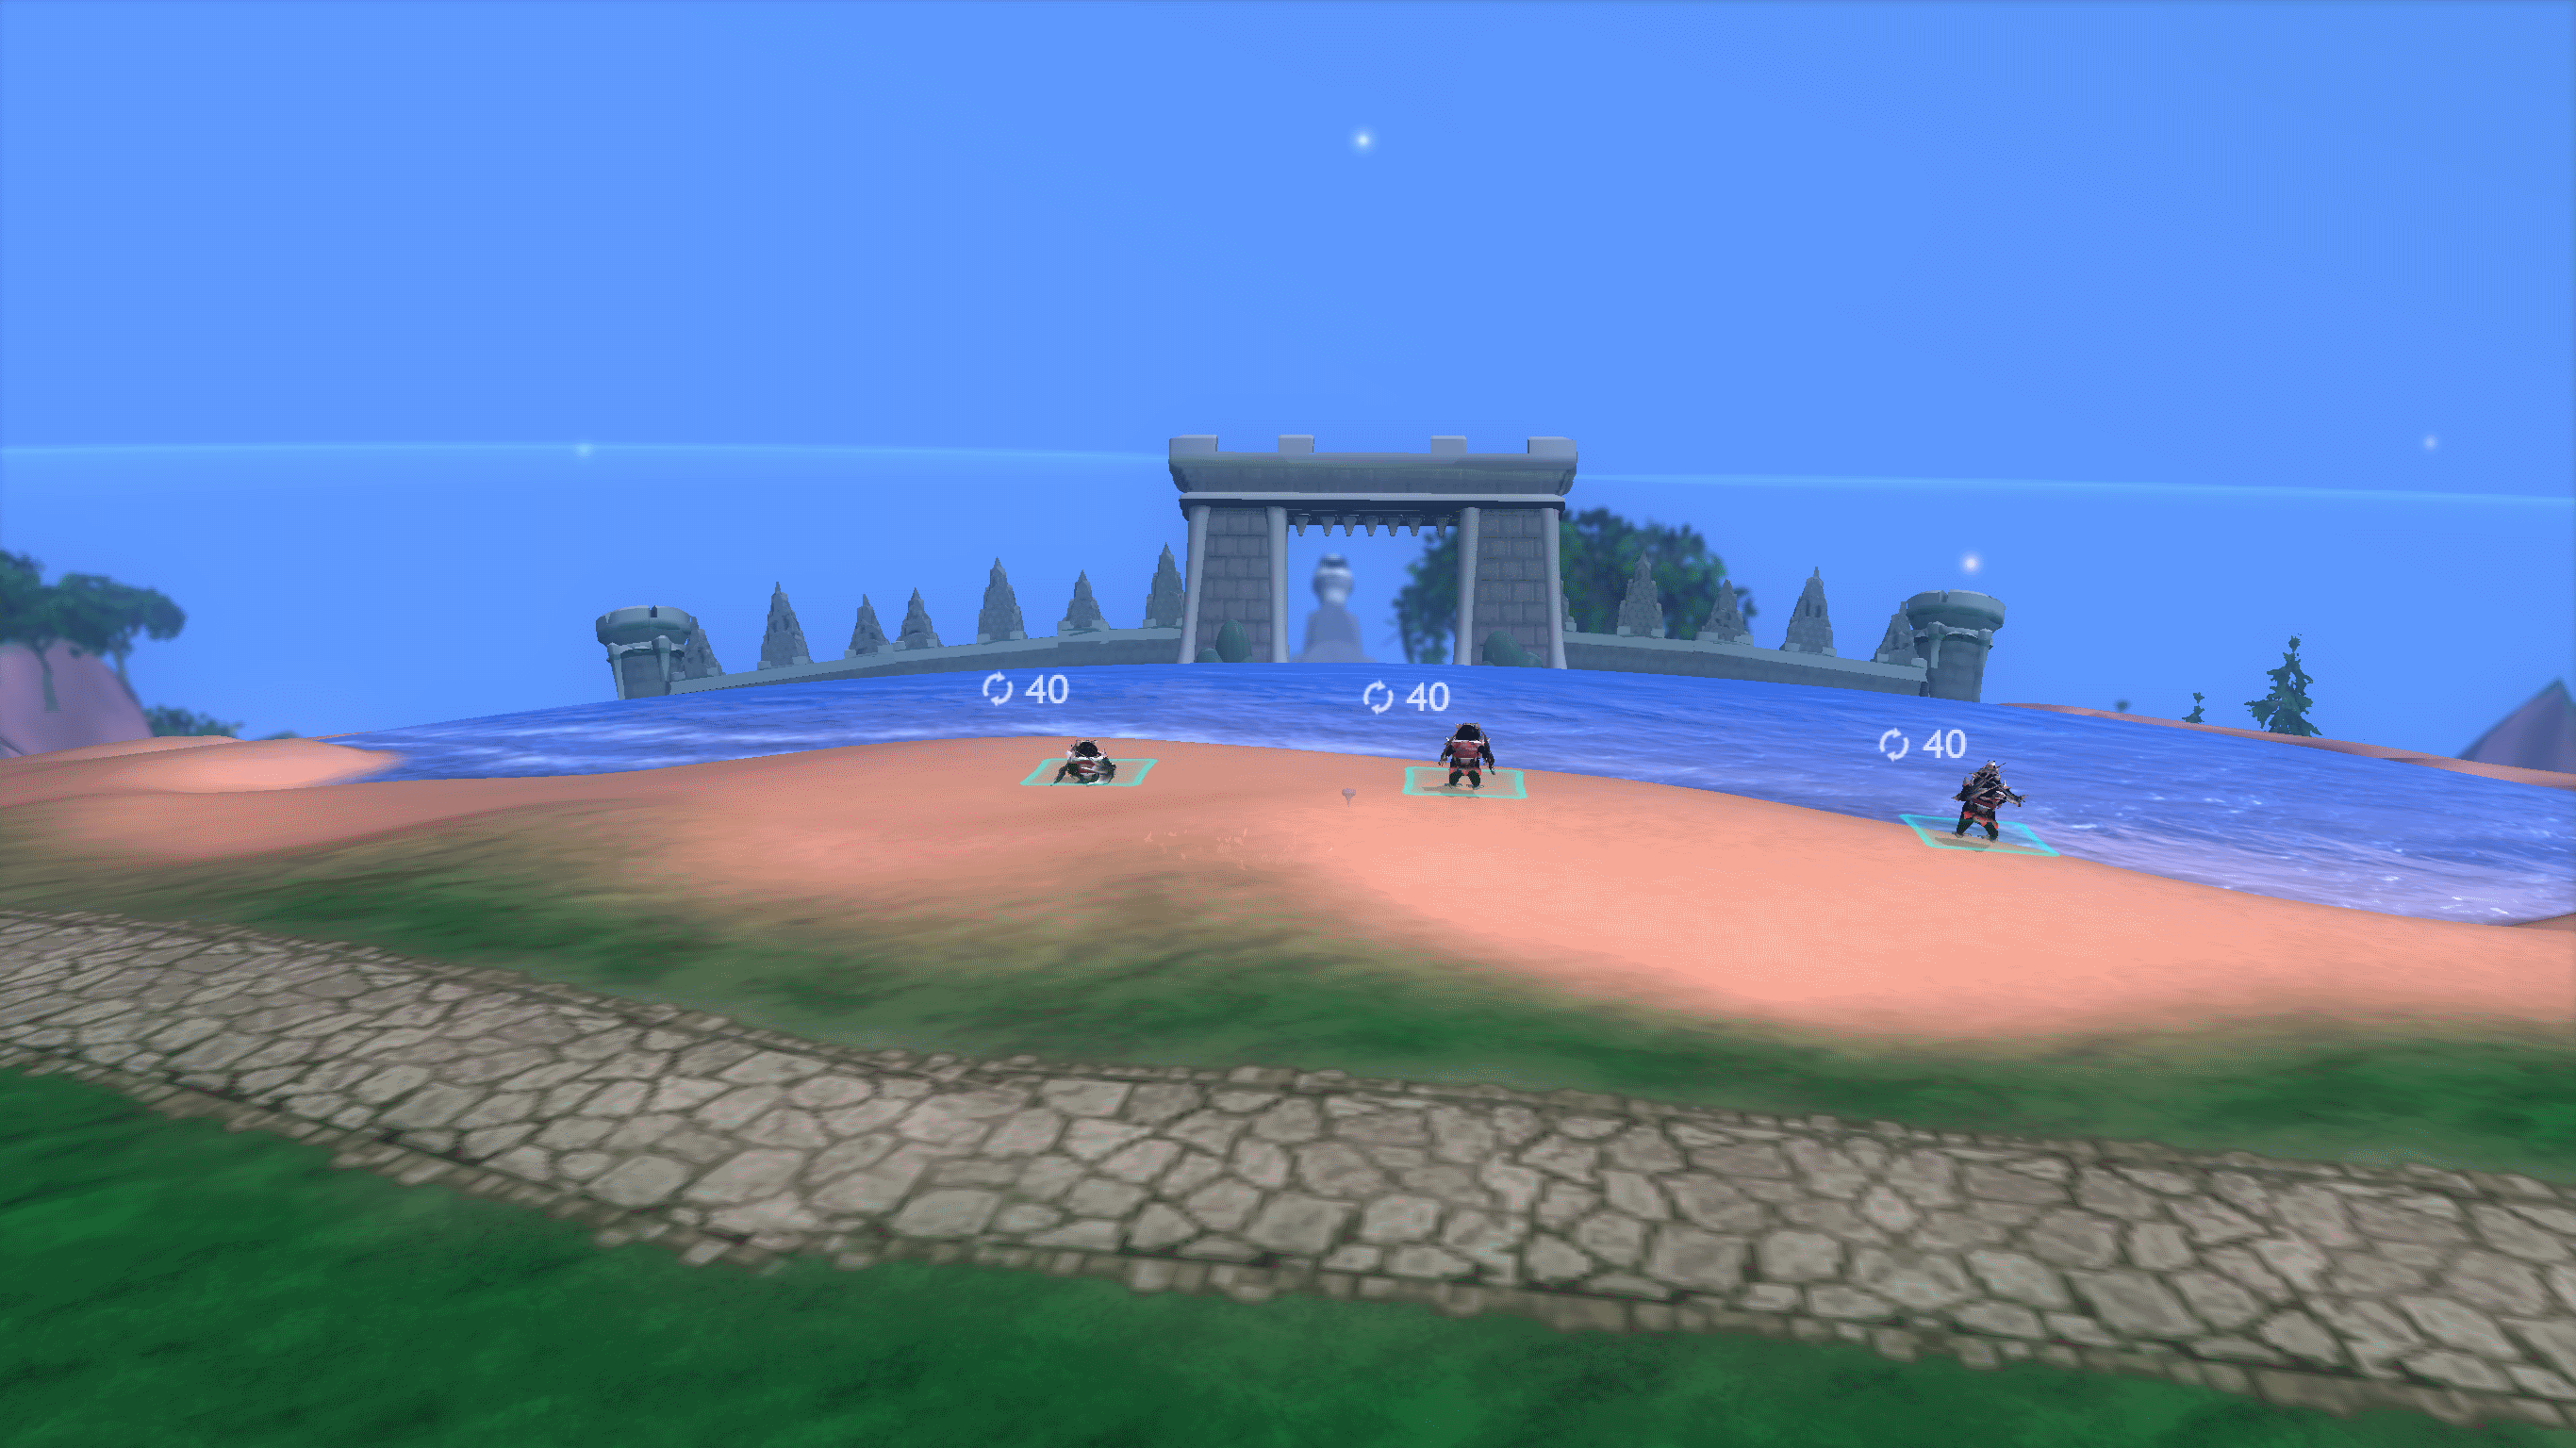
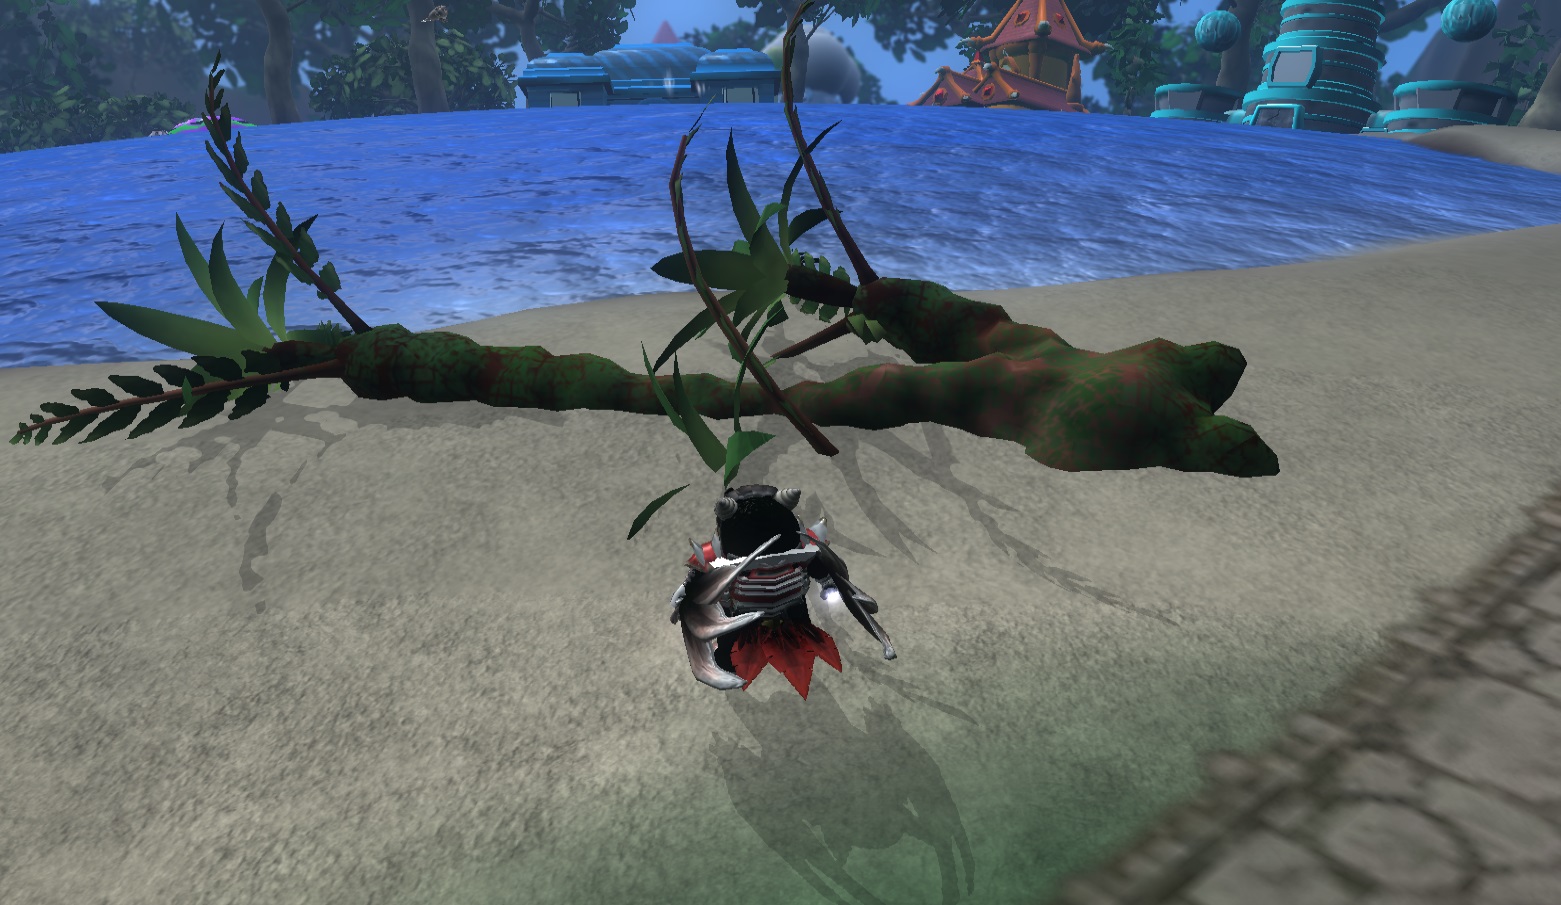
There's a man outside who wants fruit to trade to the Shopkeeper!

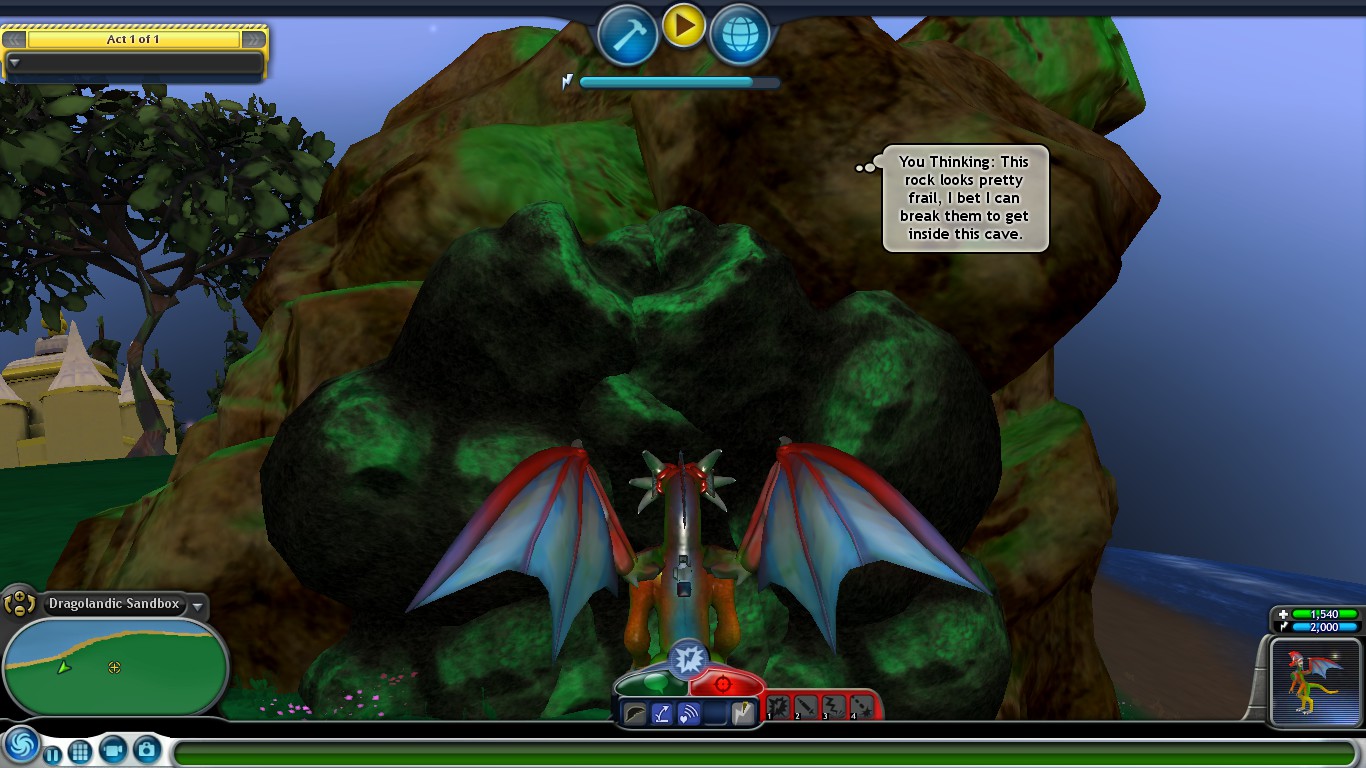
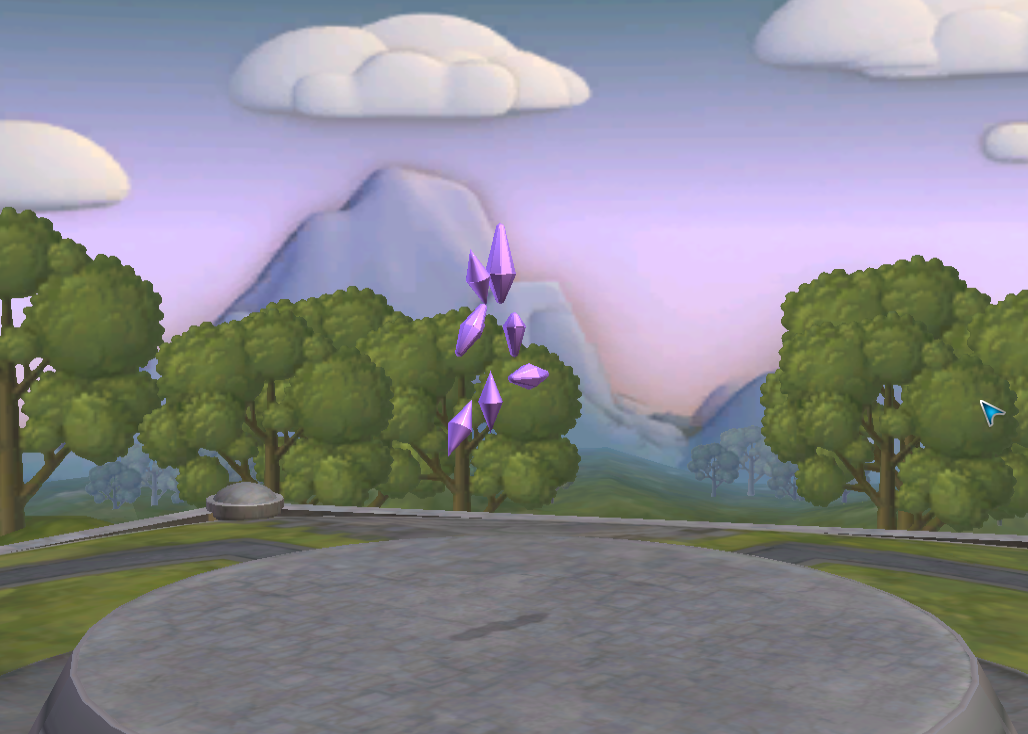
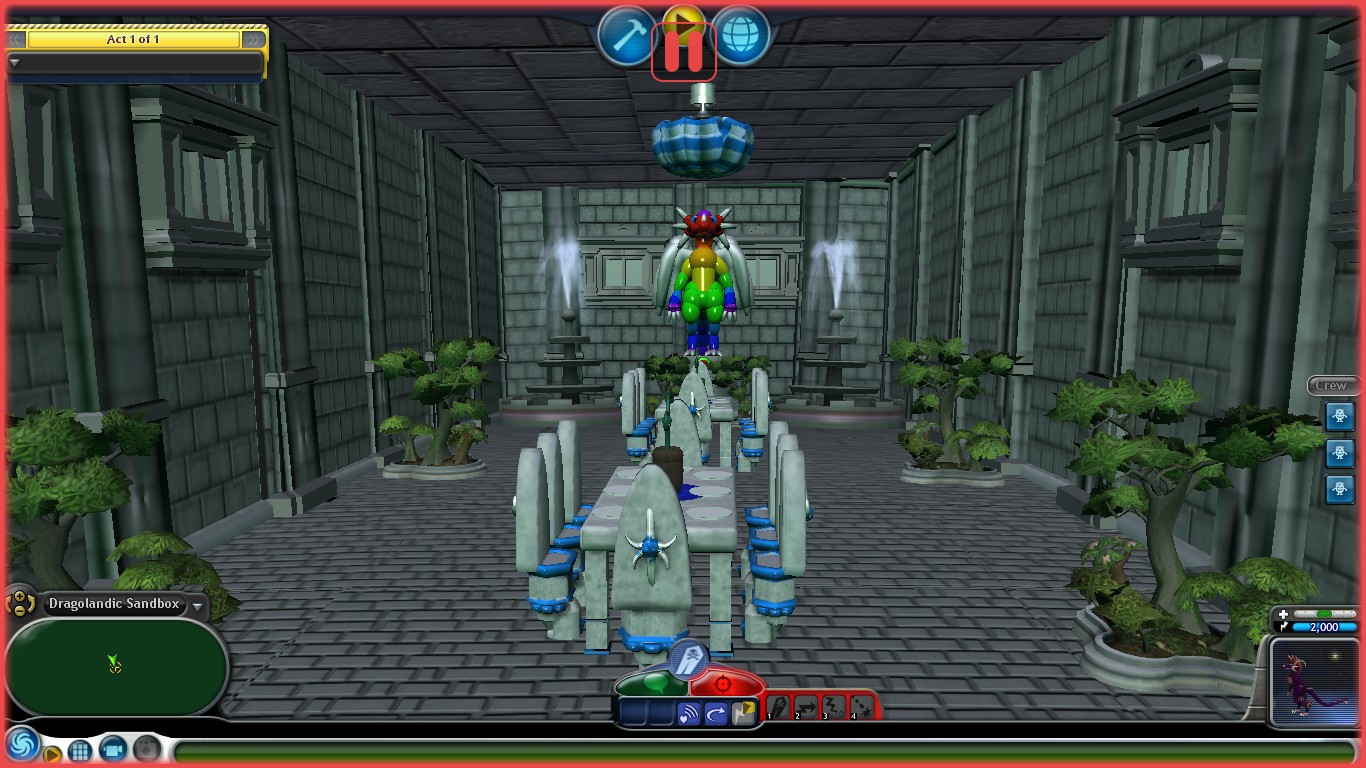
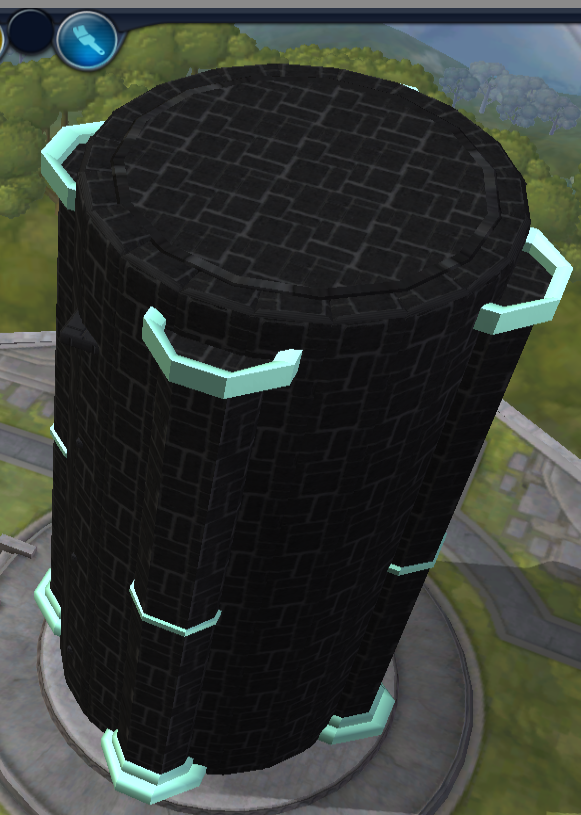
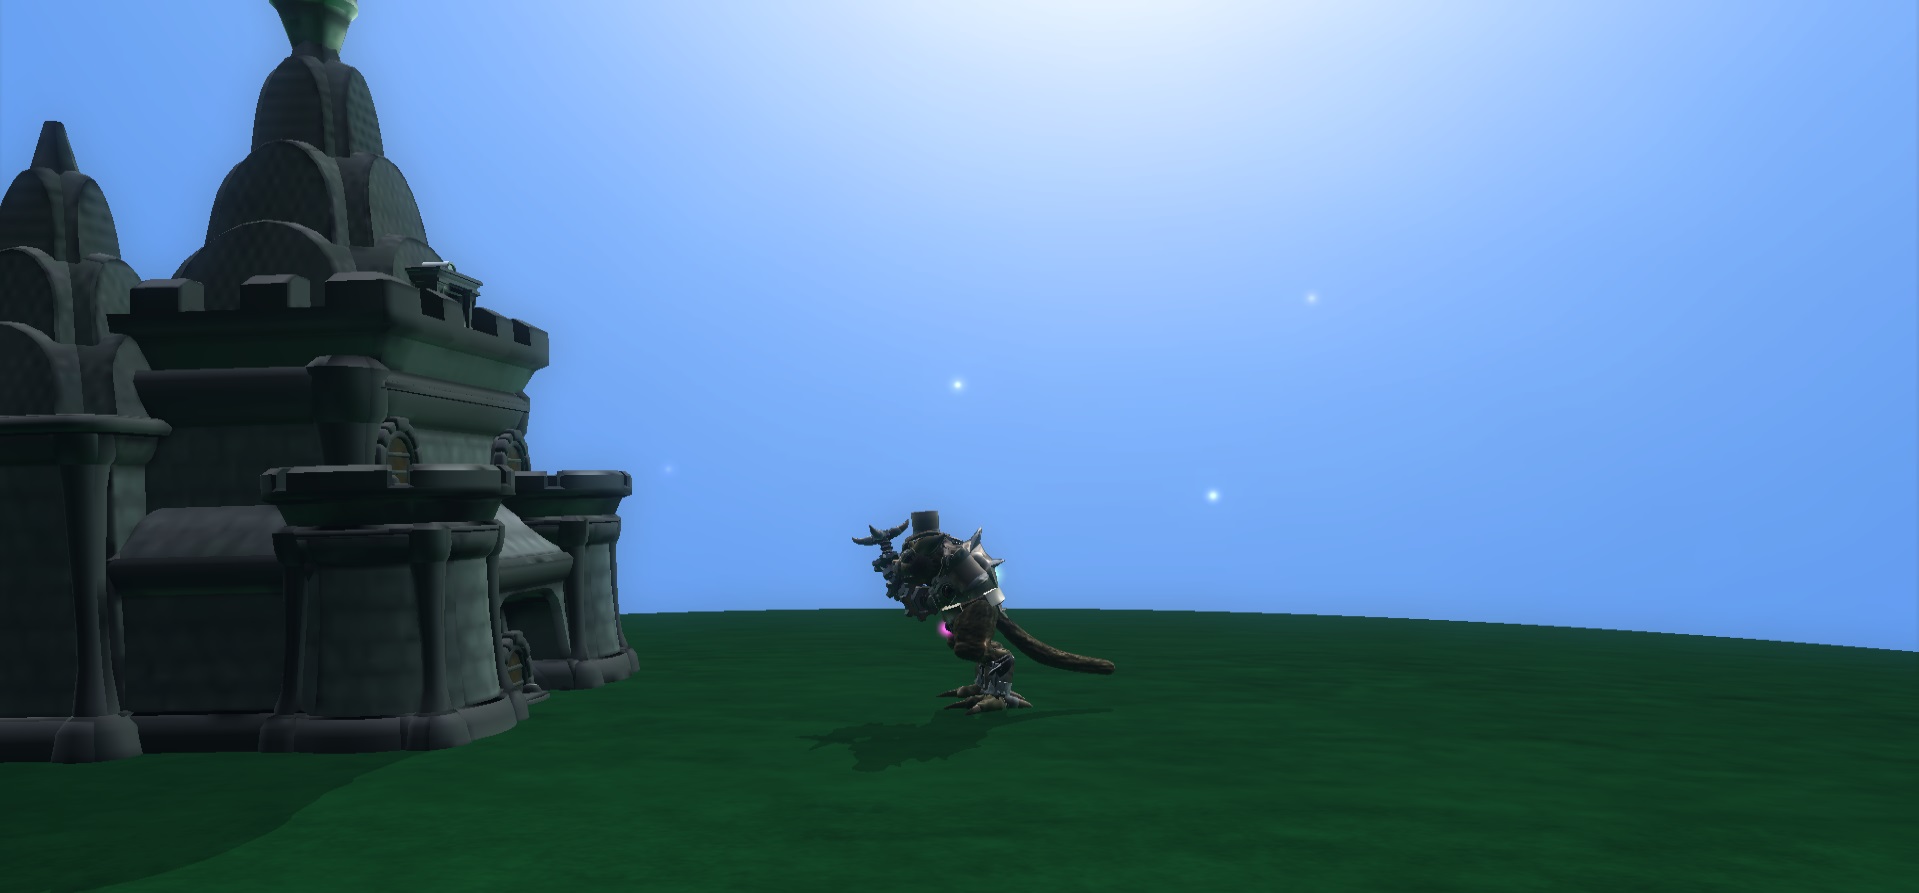
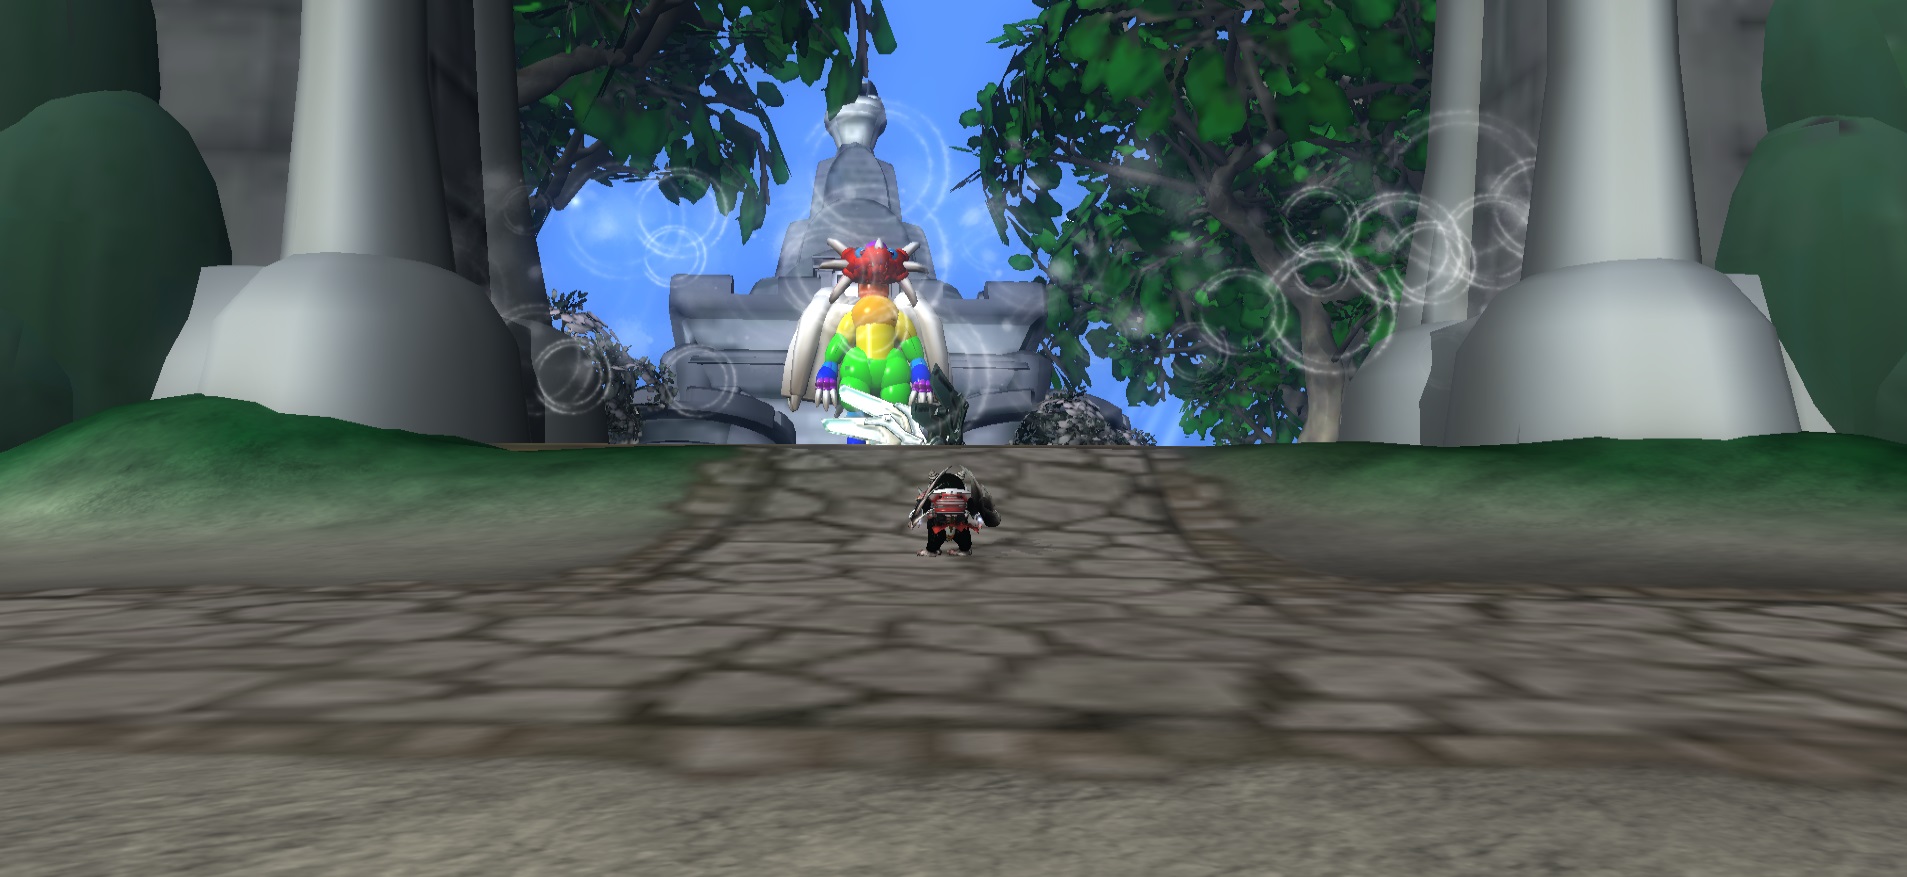
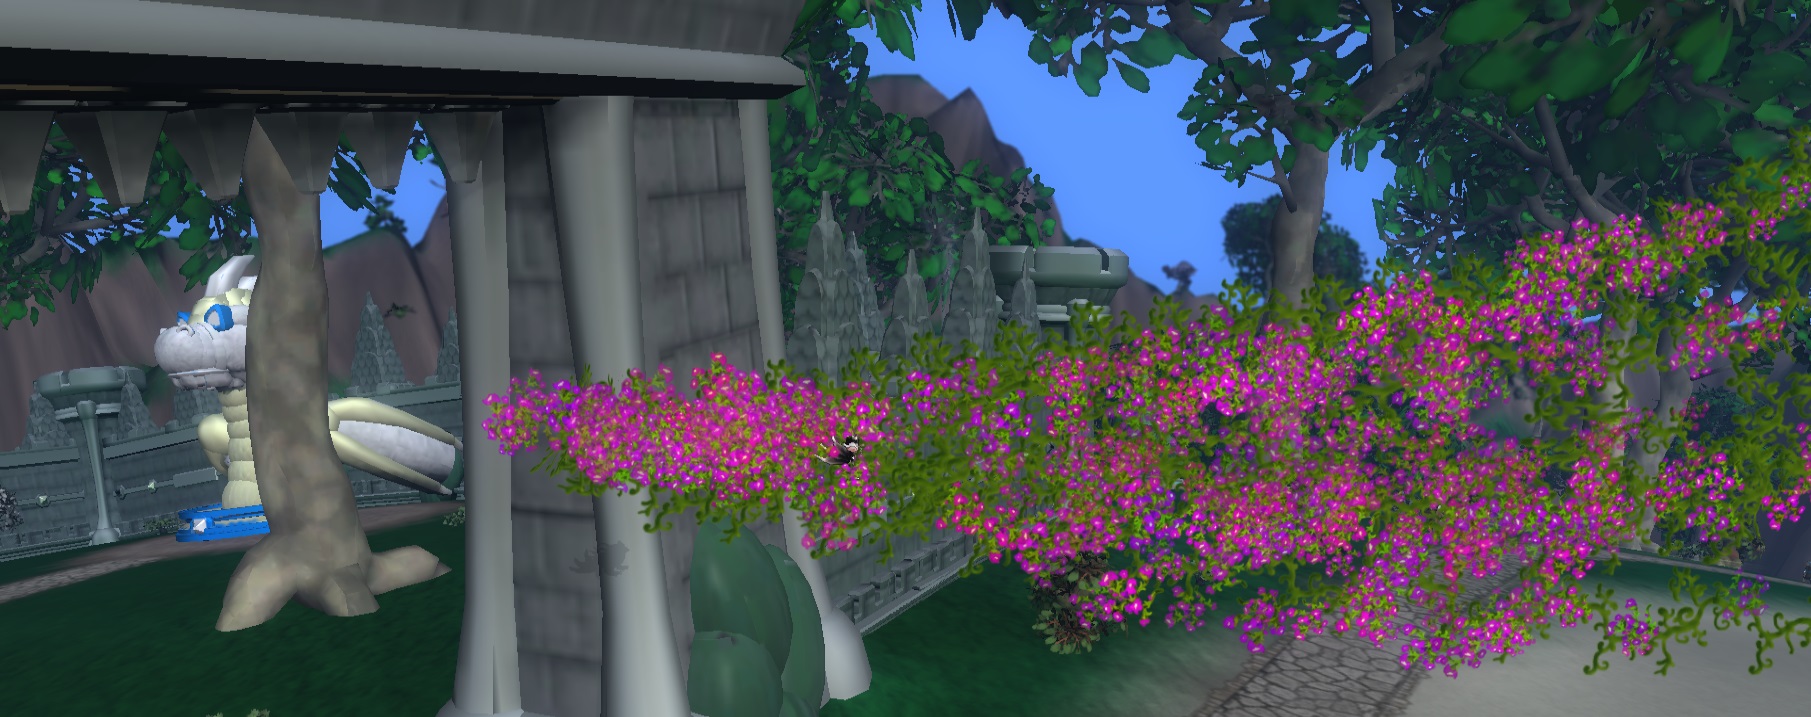
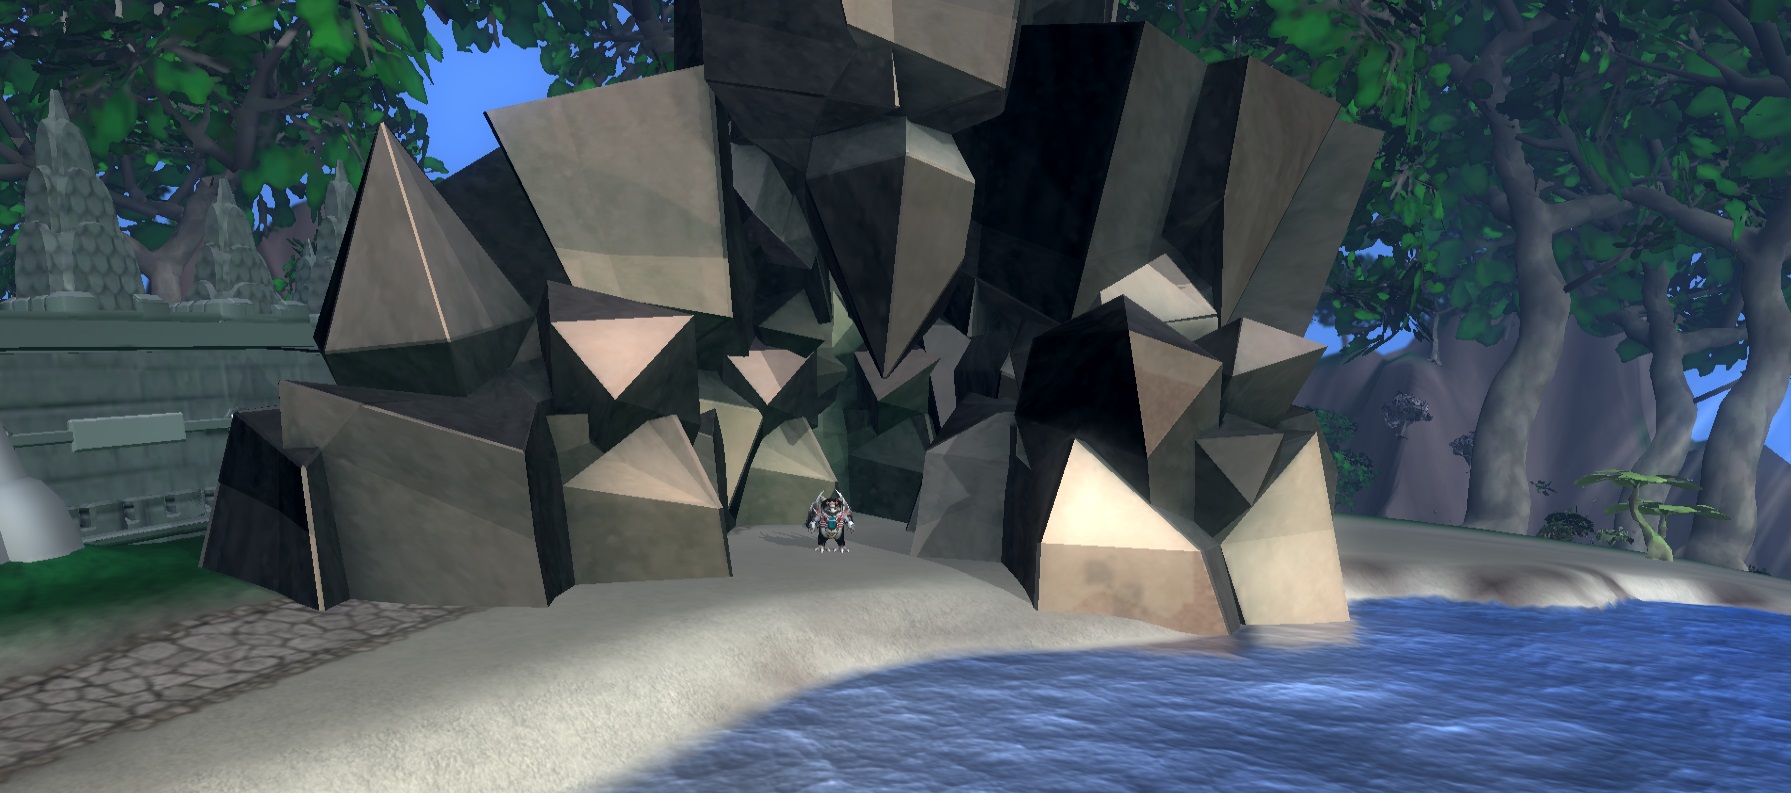
There's Sporehenge that has a tablet that gives more insight into Antioch the Great!

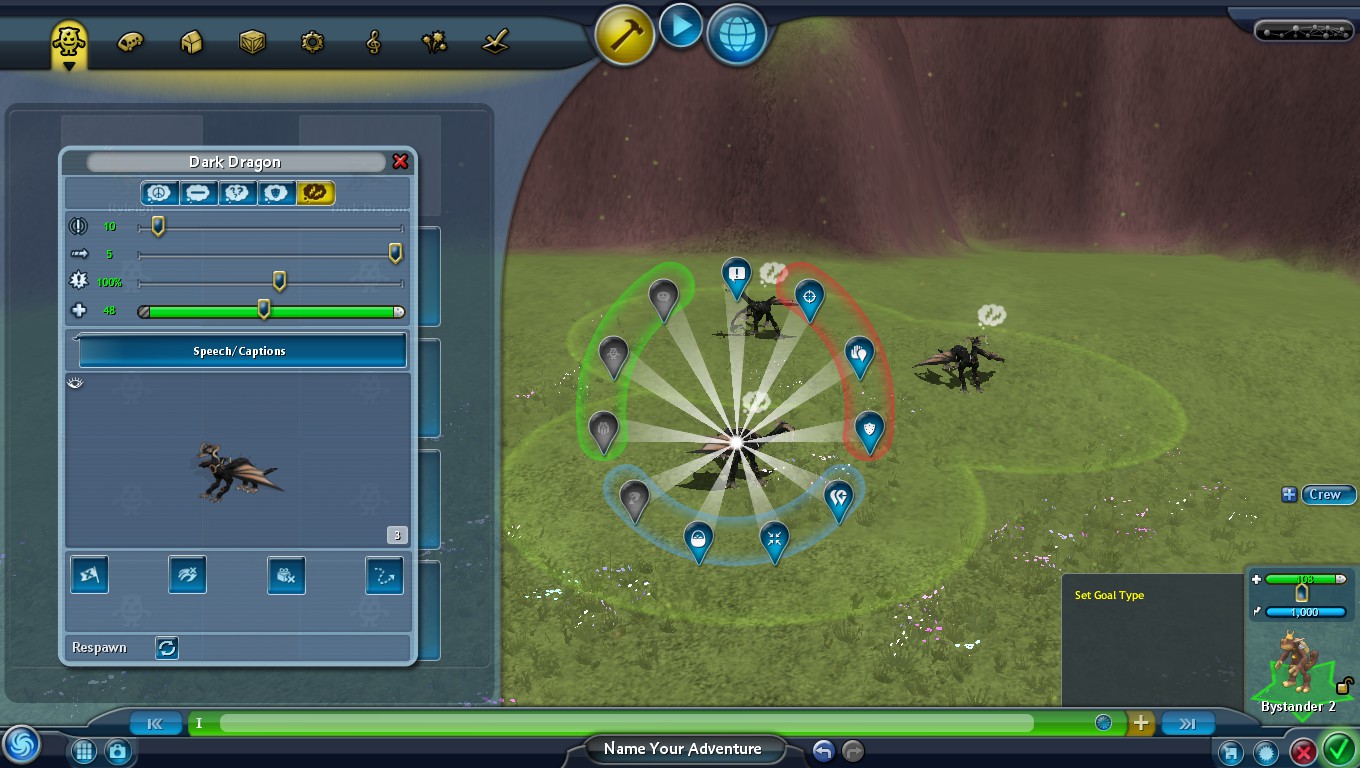
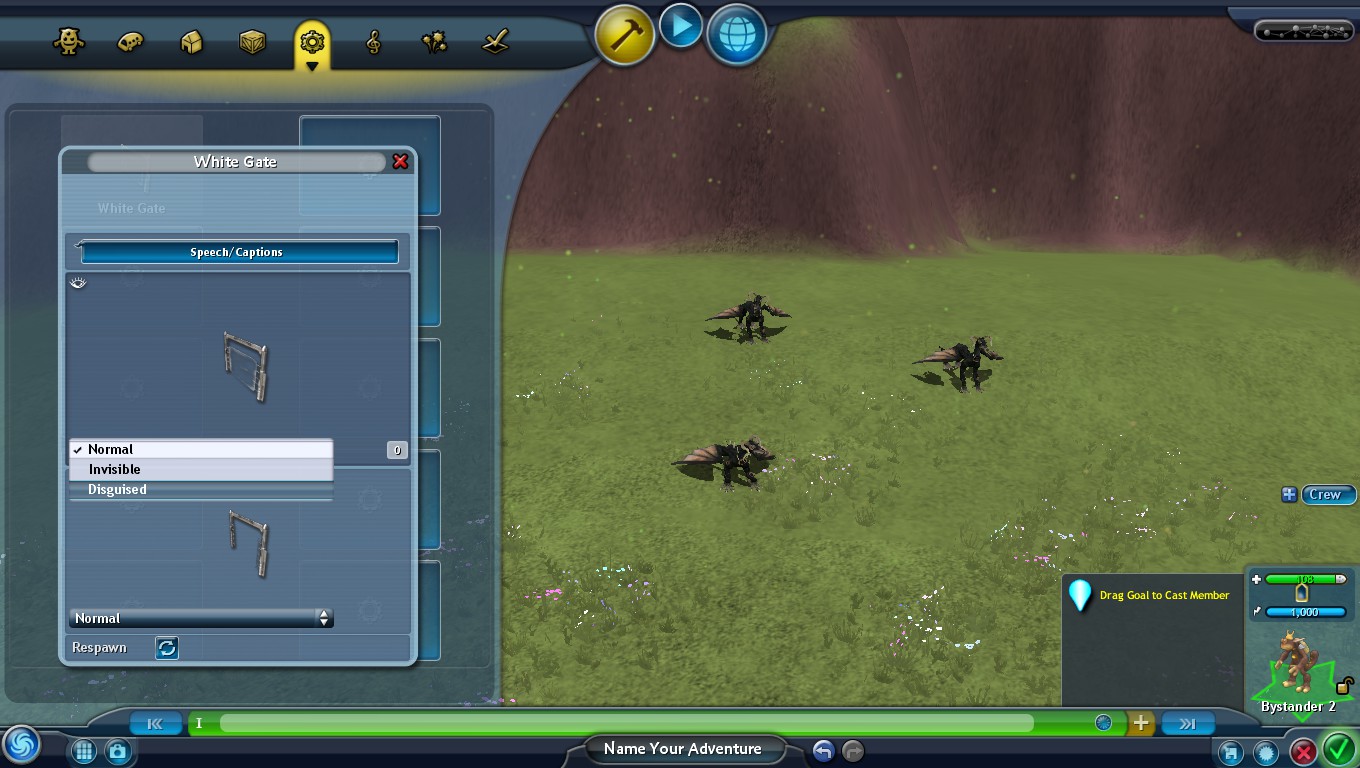
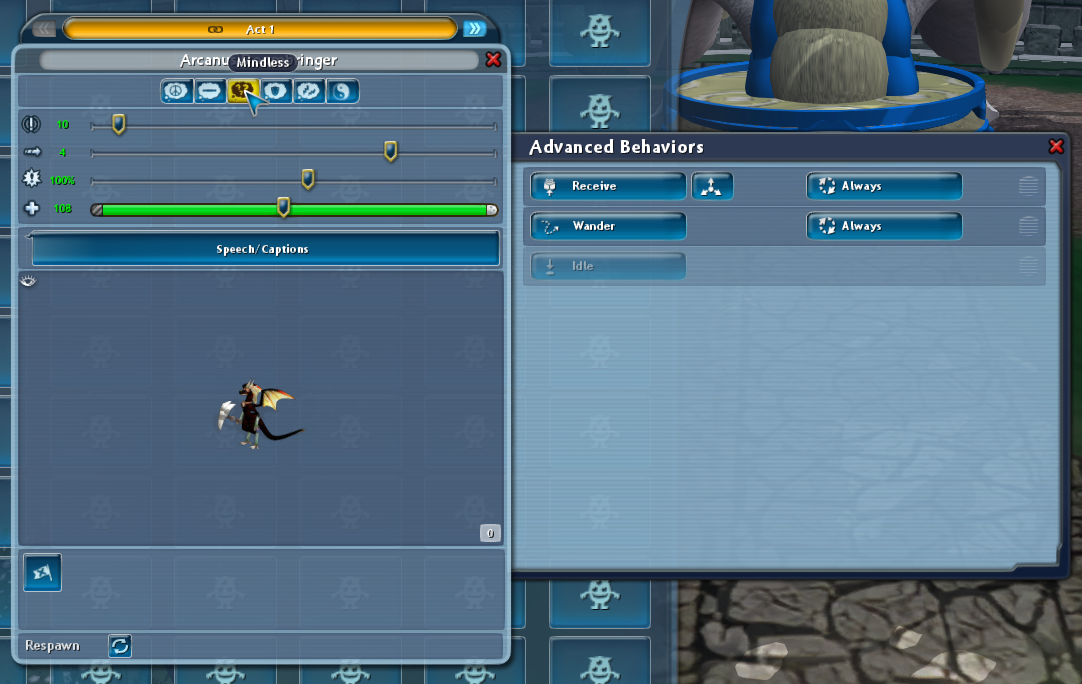
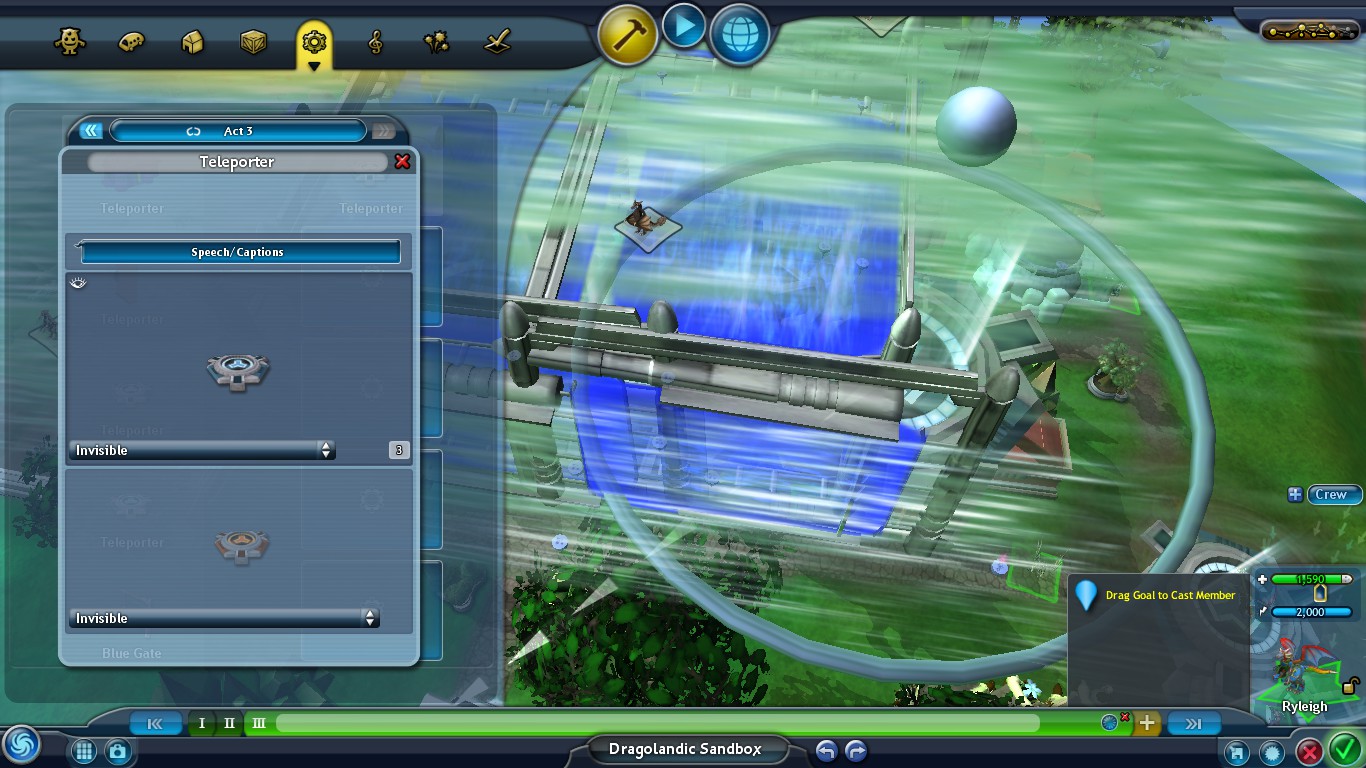
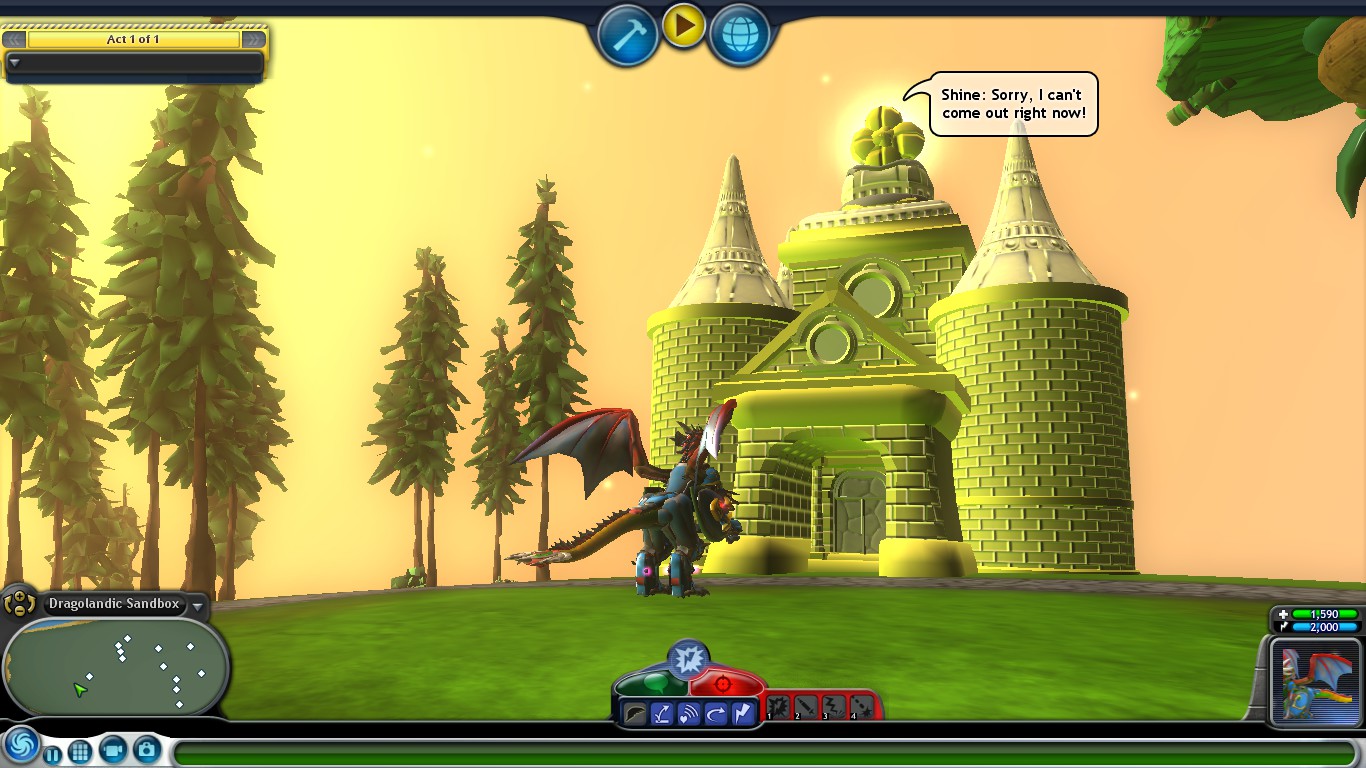
I think that's all... Oh yeah and I messed with the objectives a bit, and finally John follows you if he fails to follow in 30 seconds.
Eeveecraft  [author] Jun 29, 2021 @ 8:51pm 
With awareness, he'll start following again once you're back in range unlike first sight where that's a one-time thing.
MJRAHOLE Jun 29, 2021 @ 8:42pm 
And from my testing, John will stop following the player if the player comes out of range when it comes to when he's "Aware of" the player.

And I think I managed to replicate your bug, after breezing by John and not talking to him. So I thought of a Timer to be used in case John doesn't start following the player, which'll hopefully work as a charm.