Schedule I

Schedule I

305 ratings
Schedule 1 Ultimate GuidešŸ–¤[Early, Mid and Lategame] - ENG
By FlaiJack
I'm going to give you tips and advice to help youšŸ–¤
16
6
3
20
2
2
2
3
3
3
2
   
Award
Favorite
Favorited
Unfavorite
šŸ‘‹ā€‹HELLO
I've played for almost 80 hours and I'm currently in the final stretch of the game's current content. I'm here to share a lot of things that can help you in your completely legal hard drug business <3

I'm currently working on the Spanish translation of the complete guide.
Steam doesn't make it easy with their automatic content verification system—it made me pause the creation of this guide for hours.

I’ll also be responsible for keeping the guide updated—not just with any updates and changes added to the game, but also with new tips I discover.
šŸ„ŗā€‹EARLYGAME
Alright, to keep it quick — the earlygame is the stage with the fewest shortcuts.


Things to keep in mind:

Playing with other people lets you bring in $10,000 per week per player, which means your limit jumps from $10,000 to $40,000.

The game can feel a bit overwhelming at first — especially with all the businesses, clients, vehicles, money system, preferences system, employees, etc.

What I recommend is: don’t be afraid of automation. Buy both properties and businesses.
(Once you own all the businesses, you'll be able to launder $20,000 per day, which means $140,000 per week — a massive amount considering your initial limit is only $10,000.)

In this instance, it's straightforward progression. Focus on getting clients, unlocking the different types of herbs, and making a name for yourself in the criminal world.

The best weed to get everyone in the city addicted is Green Crack — with it, you can make THE BEST WEED MIX IN THE ENTIRE GAME. (Remember to use the Mixing Station MK2)

Green Crak + Gasoline = Mix 1
Mix 1 + Paracetamol = Mix 2
Mix 2 + Cuke = Mix 3
Mix 3 + Banana = Mix 4
Mix 4 + Gasoline = Mix 5
Mix 5 + Cuke = Mix 6
Mix 6 + Viagra = Mix 7
Mix 7 + Banana = FINAL PRODUCT

This gives you a total of $148 per sale, although that won't be the final price. Before moving on to the next stage of the game, let me tell you about YOUR clients' pricing:
šŸ’²ā€‹PRICING
First off, there's the base value of the product automatically assigned by the game (in the case of the Green Crack mix, the value is $148—but that's not the price we're going to sell it for).
When clients are just starting to taste your creation, they’re not hooked enough to pay a huge amount of money yet. So the first thing you’re going to do before putting your precious drug up for sale is multiply the base value (in this case $148) by x1.4. Once you’ve calculated that new price, set it as your initial selling price.

After a while, we move into the second stage—a slight price increase. For this, take the same base value ($148 in this case) and this time multiply it by x1.6.


IT’S IMPORTANT TO FOLLOW THIS FOR EVERY DRUG YOU PLAN TO SELL.

Why not just multiply it by 1.6 right away? Well, the game has a system that tracks preferences, addiction, and loyalty. The more your product matches the client’s tastes, the higher their addiction level, and the more loyal they are, the more they’ll be willing to pay.

Start slow—then fill your pockets with money.
ā€‹ā³ā€‹SCHEDULE​
Always, always make your sales at night.

Why? Because time freezes at 4:00 AM—which means employees stop working, plants stop growing, and clients don’t get tired of waiting.

Use the daytime to keep your legal labs running and your businesses laundering money.

Use the night to sell everything you've got. That way, not only do you avoid time pressure, but you also get the extra cash bonus for selling during curfew.

šŸ«‚HOW DEALERS WORK
Okay, dealers have 5 compartments where you can leave them stacks of drugs. You can give them any type of packaging and still fill all 5 slots.

But how are they going to distribute the drugs if they don't have space to make baggies?

Don't worry! Dealers have a total of 10 hidden inventory slots so this won't be an issue.

And regarding what they sell, how does that work?

Well...

Dealers receive offers the same way we do.
The customer sends the order to the dealer, the dealer sets the time, and once the time comes, they'll make the delivery.

As for the products they choose to sell, this is tied to the preferences system I mentioned in the guide. If you're selling multiple products, they'll choose the one that best matches their personal tastes.
šŸ‘ØšŸ»ā€šŸ¦°ā€‹DEALERS
Keep in mind the clients you assign to your dealers — here’s the order from first to last:


Benji:
Austin Steiner
Beth Penn
Chloe Bowers
Donna Martin
Kathy Henderson
Kyle Cooley
Ludwig Meyer
Mick Lubbin


Molly:
Charles Rowland
Doris Lubbin
Joyce Ball
Keith Wagner
Kim Delaney
Meg Cooley
Trent Sherman
Jerry Montero


Brad:
Mrs. Ming
Peggy Myers
Peter File
Sam Thompson
Elizabeth Homley
Eugene Buckley
Greg Figgle
Jeff Gilmore


Jane:
Jennifer Rivera
Kevin Oakley
Louis Fourier
Lucy Pennington
Philip Wentworth
Randy Caulfield
Anna Chesterfield
Billy Kramer


Wei:
Cranky Frank
Genghis Barn
Javier Perez
Lisa Gardener
Mac Cooper
Marco Barone
Melissa Wood

You may have noticed that Wei doesn't have 8 clients and the final dealer in the game (Leo Rivers) isn't included.

This is because it's VERY IMPORTANT to keep the clients who pay the most for yourself. That way, the only people who message you are the ones you can charge extra.

(In my case, with a cocaine batch that has a real value of $735, I can sell it for $1600.)
šŸ‘§šŸ»ā€‹DEALERS (BUT WITHOUT SELLING BY YOURSELF)
If what you're looking for is to maximize your profits without having to sell yourself, focusing on production instead of commerce, this is the assignment you should take on:


Benji:
Austin Steiner
Beth Penn
Chloe Bowers
Donna Martin
Geraldine Poon
Jessi Waters
Kathy Henderson
Kyle Cooley


Molly:
Charles Rowland
Dean Webster
Doris Lubin
George Greene
Jerry Montero
Joyce Ball
Keith Wagner
Kim Delaney


Brad:
Ludwig Meyer
Mick Lubin
Mrs. Ming
Peggy Myers
Peter File
Sam Thomson
Meg Cooley
Trent Sherman


Jane:
Anna Chesterfield
Billy Kramer
Cranky Frank
Genghis Barn
Javier PƩrez
Lisa Gardener
Mac Cooper
Melissa Wood


Wei:
Alison Knight
Carl Bundy
Chris Sullivan
Dennis Kennedy
Hank Stevenson
Harold Colt
Jack Knight
Jackle Stevenson


Leo:
Elizabeth Homley
Eugene Buckley
Greg Figgle
Jeff Glimore
Jennifer Rivera
Kevin Oakley
Louis Fourier
Lucy Pennington
šŸ‘½MIDGAME
What is the midgame?
Mid game is the stage where you're either running a big marijuana operation or selling meth like crazy.

What can you do at this point?

In this guide, you'll find sections about the pawn shop and employees & automation.
If you haven’t started working on either of those yet—now is the time!

Let me share with you the meth recipe that made me hundreds of thousands. It uses 7 ingredients:

Meth + Banana = Mix 1
Mix 1 + Cuke = Mix 2
Mix 2 + Paracetamol = Mix 3
Mix 3 + Gasoline = Mix 4
Mix 4 + Cuke = Mix 5
Mix 5 + Battery = Mix 6
Mix 6 + Horse Essence = Mix 7
Mix 7 + Mega Bean = FINAL PRODUCT

This will give you a product with a base value of $340.

Before you start selling it, make sure to check the ā€œPRICINGā€ section in the guide, where I explain how to squeeze every last penny out of the poor addicts funding your Genshin Impact passes.
šŸ§šŸ»ā€ā™‚ļøEMPLOYEES & AUTOMATION
Let’s take a quick tour of the employees.

Cleaners:

Their job is as simple as keeping the workspace clean. Each one can be assigned to manage 3 trash bins. Make sure to check the area of effect for each bin—it’s limited.

Botanists:

They’ll take care of your minty little plants. All you need to do is assign them to the pots and the storage where they’ll grab their supplies.
Pro tip: Always use fertilizer—this will ensure your plants are of the highest possible quality.
Bonus tip: Press "E" while aiming at a pot (or hold Shift and click on a group of pots) to choose the seed, the additive, and the storage location where the harvest will be dropped once the plant is fully grown.


Chemists:

These guys are your mini-Heisenbergs in the candy-selling empire. Each chemist can be assigned up to 4 workstations: mixing stations, lab ovens, chemistry stations, cauldrons, etc.
Whatever equipment you’ve got, they’ll handle the processing.
Again, you can set where you want them to drop the finished product.

Handlers:

Without a doubt, these are the most important employees you’ll have. They handle placing supplies into the stations and moving stuff from point A to point B. All you need to do is assign them a route.

So how do you get these brain-dead workers to function as a team so your drugs basically make themselves?
(And I say "basically" because you’ll still need to buy the supplies for your empire.)

Let’s break it down:

Cleaners are only necessary where you have plants or cauldrons. Once everything else is automated, it won’t generate trash.

Botanists will only take care of your plants. Ideally, assign them a drop-off point, and have the handlers move the harvested goods from there.


FOR METHAMPHETAMINE (I’ll explain the general process for all drugs afterward):
Assign a handler to move the supplies (acid, phosphorus, and pseudoephedrine) from the shelf where you placed them to the chemistry station.
Once the materials are there, the chemist assigned to that station will handle the mixing.
Manage the station to set the product's output to a lab oven, where the chemist will cook your sweet treat.

FOR COCAINE (general steps for all drugs come next):
Once the botanist drops off the coca leaves at a shelf, assign a handler to move them to a cauldron (remember it needs gasoline—gas use is minimal, so no need to automate this. Just keep a nearby shelf stocked with gas).
A chemist will start cooking once the leaves are there.
After that, make sure the cauldron’s output is set to a lab oven (this is handled by the chemist, not the handler).
Then, the chemist will cook the cocaine.


GENERAL PROCEDURE FOR ALL DRUGS:
Once you’ve got the final product (whether it's weed, meth, or coke), set the output destination (either moved by chemists in the case of meth and coke, or by a handler for weed) to the first mixing station.

The number of mixing stations depends on how many ingredients your recipe needs (for the ones I use—and the ones in this guide—you’ll need 8).
To automate this:

Place a large shelf BEHIND each mixing station. On each shelf, place 160 units of the SAME ingredient you’ll be using.


Assign a handler to move supplies from the shelf into the mixing station.


Once both the base product (weed/meth/coke) and the ingredient are in the mixing station, a chemist will begin the mixing process.

Set the output of each mixing station to the next one in line (I prefer left to right, but use whatever layout works for you).

Do this for all 8 mixing stations.
Once the product has gone through all stations, assign a storage spot where your final product will be dropped.


IMPORTANT:

When employees interact with items, they’ll always do it from left to right.

Also, the first time you make a product, you need to name it or at least confirm it. If you don’t, everything will pause.
šŸŖBUILDINGS TO INVEST YOUR MONEY IN
Time to review the buildings we can buy

Properties

These places are used to set up your labs or grow operations.

Motel
Value: $75
No loading bays
No employee space


Sweatshop
Value: $800
No Loading Bays
Employee limit: 1


Storage Unit
Value: $5000
Loading Bays: 1
Employee limit: 1


Bungalow
Value: $6000
Loading Bays: 1
Employee limit: 5


Barn
Value: $25,000
Loading Bays: 2
Employee limit: 10


Docks Warehouse
Value: $50,000
Loading Bays: 2
Employee limit: 10


Businesses

These let you launder your money (convert cash to bank balance without the weekly limit).

Laundromat
Value: $4000
Money to launder: $2000


Post Office
Value: $10,000
Money to launder: $4000


Car Wash
Value: $20,000
Money to launder: $6000


Taco Ticklers
Value: $50,000
Money to launder: $8000

šŸ¤“šŸ»PAWN SHOP AND GOLD BARS
Alright, let’s talk about the pawn shop and gold bars.

UPDATE: For anyone who’s unsure, gold bars (among other items) can be found at the boutique, located next to the real estate office.

Inside the game files, there's a detailed breakdown of how this system works.

Once you’ve bought all the businesses, are in the mid/late game, and can launder $20,000 a day, the best investment you can make is in gold bars.

Why?

As you already know, there's a pawn shop in the city where you can sell stuff you no longer use.
That shop runs on a system I’ll explain:

The amount of money you’re offered IS NOT RANDOM. According to the game files, there’s a system that uses the first letter of the item you’re trying to sell (in this case, the ā€œGā€ in ā€œgolden barā€) + the day of the week, and plots that combo on a chart ranging from 44% to 180% of the item’s value.
So for gold bars, that means between $4,400 and $18,000.

Put simply:
First letter of the item + day of the week = how much money you’ll get.


Now, you’re probably wondering what the best day is to sell your precious gold.

The answer is: Thursday.


Sounds too good to be true, right? Well, here’s the catch: the money you get from the pawn shop is in cash, which means you’ll have to launder all of it (that’s why owning businesses is key).

Always remember to keep some money aside for buying supplies for your ā€œlegal labsā€
ā˜ ļøLATEGAME
If you’ve made it to the late game, there’s not much left to learn.

By now, you’ve mastered cocaine production and automation, your businesses are running smoothly, and you’re already investing in that shiny gold.

So… what’s left?

Grandma’s cocaine recipe—the one responsible for Voldemort’s missing nose.
This mix uses 8 ingredients:

Cocaine + Motor Oil = Mix 1
Mix 1 + Cuke = Mix 2
Mix 2 + Paracetamol = Mix 3
Mix 3 + Gasoline = Mix 4
Mix 4 + Cuke = Mix 5
Mix 5 + Battery = Mix 6
Mix 6 + Horse Essence = Mix 7
Mix 7 + Mega Bean = FINAL PRODUCT

Here’s the thing:
Once you apply the pricing strategy (check the ā€œPRICINGā€ section), you’ll see this product is worth over $1000.
The problem? The game only allows 3-digit prices, so you can only set it to $999.
Set the product value to $999, but don’t actually sell it at that price.
Instead, from the very beginning, apply the pricing increase based on the steps in the ā€œPRICINGā€ section.
In my case, I’m selling it for $1400 to $1600 per unit right away, depending on client addiction and loyalty.
šŸŽ²CASINO
It's time to talk about the casino.


Yes, the casino is a tempting option.
Yes, the casino is a fun option.
Yes, the casino is a waste of time.

While it’s possible to walk away with a profit from the casino, in the long run, it’s nothing but a time sink. I strongly recommend using your free time to restock your automated labs, keep your businesses laundering money non-stop, and even check which clients might need a personal visit to sell at a discount—this helps lock in loyal clients and push their addiction to 100%.

Seriously, don’t use the casino as a way to make money—use it purely for fun.


UPDATE: To clear up any doubts, this is specifically about midgame and lategame. At the beginning, the casino is useful — but again, in the long run, once your businesses are up and running, what you earn at the casino (while preventing you from managing your labs or sales) means nothing. In fact, it's counterproductive.
🌟EXPERIENCE
If you're looking to level up quickly (without using cheats), here are some things to keep in mind:

For each sale you make, you'll earn 20 experience

For each sale your dealers make, you'll earn 10 experience

For each successful sample, you'll earn 50 experience

You'll also receive 50 experience for free samples

You'll get 5 experience for each plant you harvest (if you want to farm this too, the most practical way is not to assign your employee a place to store the harvested buds — this way the plants will stay at 100% growth, waiting for you to do your gardening work)

THE METHOD THAT GIVES THE MOST EXPERIENCE IS ESCAPING FROM THE POLICE
This depends on your wanted level:

Arrested: 20 experience

Wanted: 40 experience

Dead or Alive: 60 experience


So you just need to find a cop, hit them or aim your gun at them, then run as far as you can until you lose them.
šŸ†ACHIEVEMENTS
The game features 11 achievements, most of which are pretty easy—nothing to worry about.

Left in the Dust: Simply complete the prologue.


Welcome to Hyland Point: Once you collect the money from Uncle Nelly, return to the remains of your RV and pick up the note.


The Long Arm of the Law: Get into trouble and let yourself get arrested. Just make sure you're not carrying any drugs or cash when it happens, or you'll get fined and your stash will be confiscated.


Indian Dealer: Steal the product you just sold to a customer. To do this, simply make a sale, wait for the customer to turn around, aim at their back pocket, and hit "Pickpocket"—you'll get a skillcheck.

If you're having trouble, you can use blends that give you the "Sneaky" effect, which makes the skillcheck area larger.

Sneaky Blend Example: Green Crack + Paracetamol


Master Chef: You can unlock this one with the recipe I included in the ā€œEARLYGAMEā€ section, since the product will sell for over $100.


Dodgy Dealing: In the early stages of the game, you'll unlock Benji. The easiest way to do this is by befriending Chloe Brewers—she works at the Gas Station in Northtown. The quickest way to gain her trust is to sell her a lot of cheap product.


Upstanding Citizen: Probably one of the most annoying achievements. Just fill your inventory with grabbers, check the large garbage bins around the city, and be patient.


Rolling in Style: Once you’ve bought the Bungalow house, I recommend saving up the $1500 for the golden skateboard. It’s not just for looks—it’s super useful for maximizing your APM.


Business Man, Bigwig, and Magnate: These achievements will unlock automatically as your net worth hits certain milestones.
One thing to keep in mind: the game does not include the money and inventory of your dealers or your drug bricks when calculating your net worth.
Remember to collect the money from your dealers, and if you ever need it, break down your drug bricks — that way, their value will be added to your total business worth.
With this in mind, just keep playing and using the tips I’ve shared throughout the guide — they’ll come naturally over time. Good luck!


šŸ”§OPTIMIZATION
One of the problems the game has (justified by being in early access) is optimization.

Why?

Well, the trash generated by the city gradually accumulates over time, and trust me, no one is going to clean that up.

The solution? Enable the commands solely and exclusively to use the 'cleartrash' command until this issue is fixed in future updates.

šŸ–¤THANKS
To conclude, I want to thank Tyler for the game—it's clear that there's love and passion behind it. In an industry full of bad practices and consumer exploitation, it was a real pleasure to analyze the game in depth and discover that there are thoughtful details in every tiny aspect.
I'm looking forward to seeing the upcoming updates.


If this guide helped you, don’t forget to leave a positive rating. Thank you!šŸ–¤
48 Comments
deltahazer 7 hours ago 
@FlaiJack - Another small correction- You don't have to hold down Shift to select multiple pots (or other management targets) for managing all at once. Just click to add it to the group, click a second time to remove it from the group, or right-click once to deselect everything all at once.
FlaiJack  [author] May 20 @ 9:57pm 
Thats right
BryanChung May 20 @ 2:12am 
Oooo that's a good idea, to use 2 location to do that. :D Never thought of that. But have to manually drive over the base products to the bangalow right?
FlaiJack  [author] May 19 @ 11:20am 
In fact, yes.
That's how I did it:
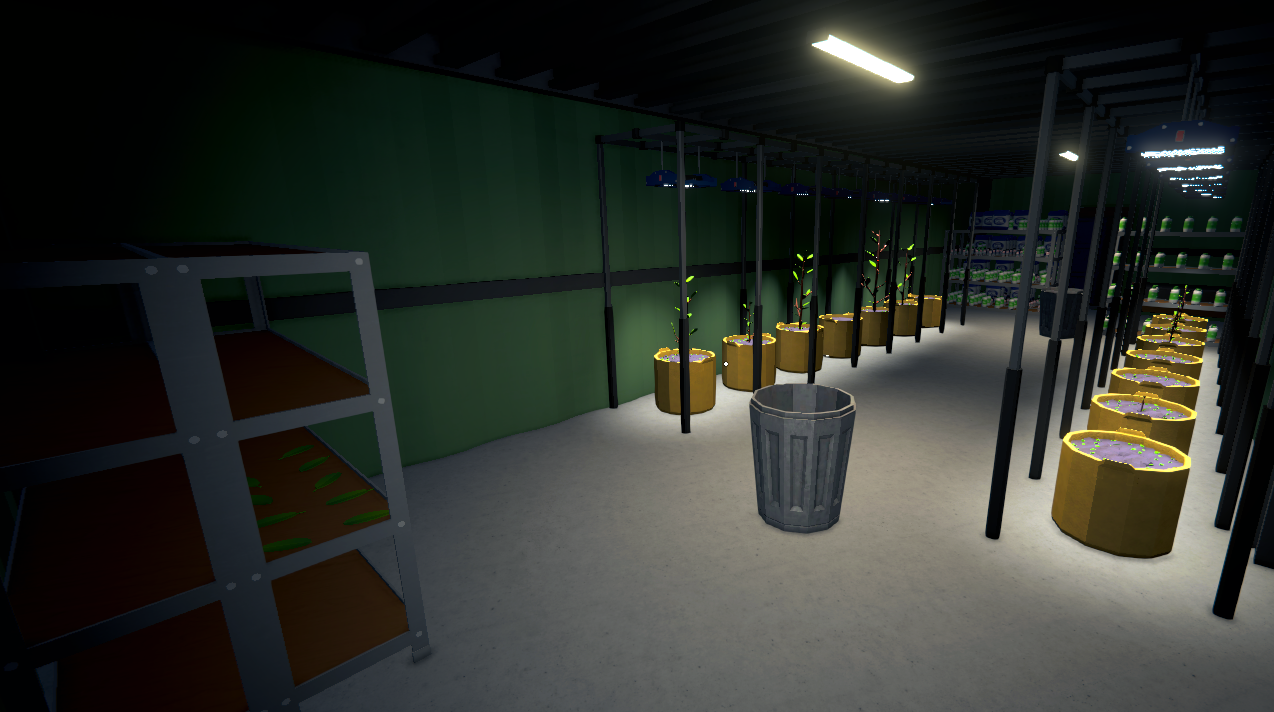
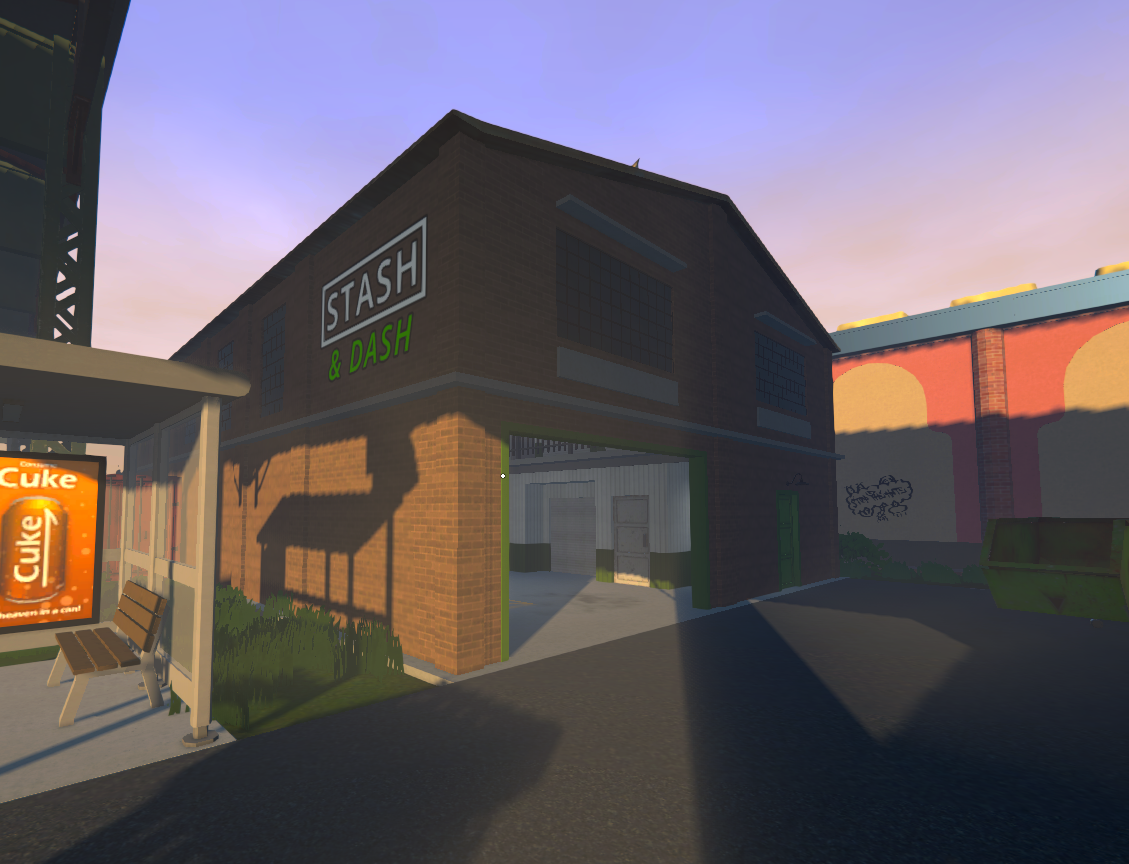
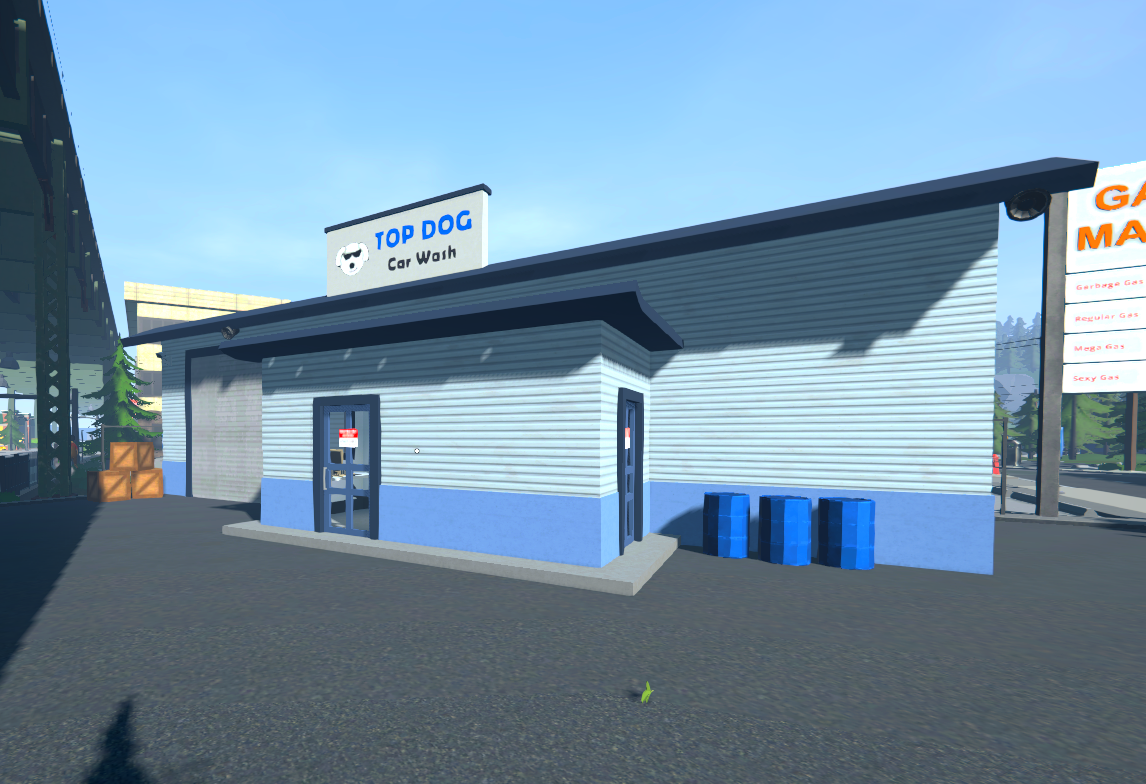
In the sweatshop, I placed the plantation (or the base product).
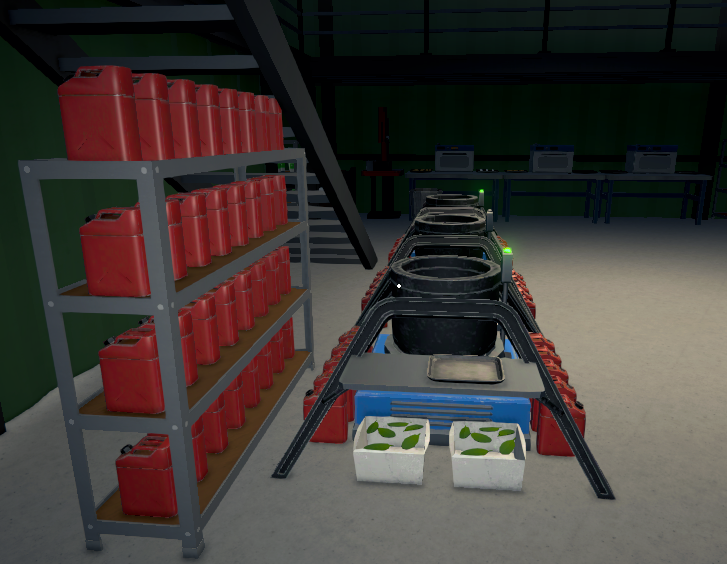
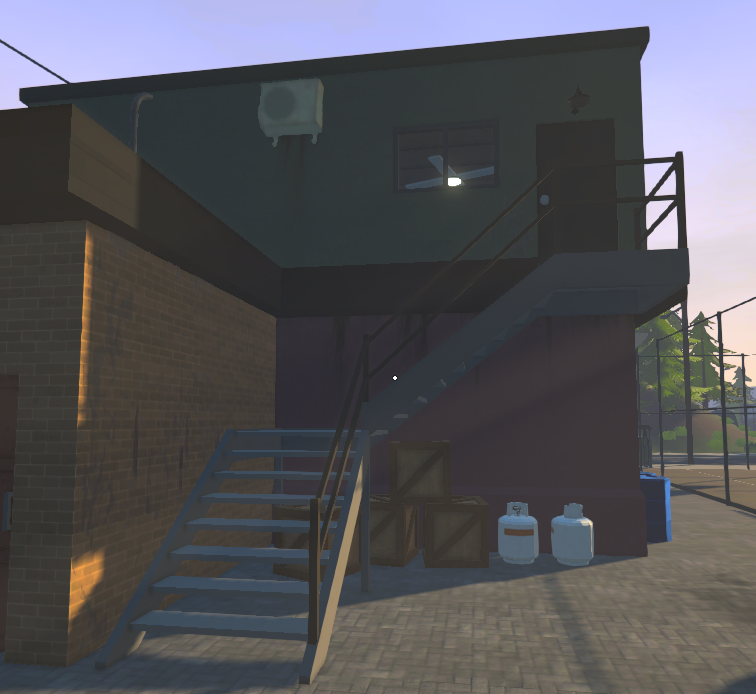
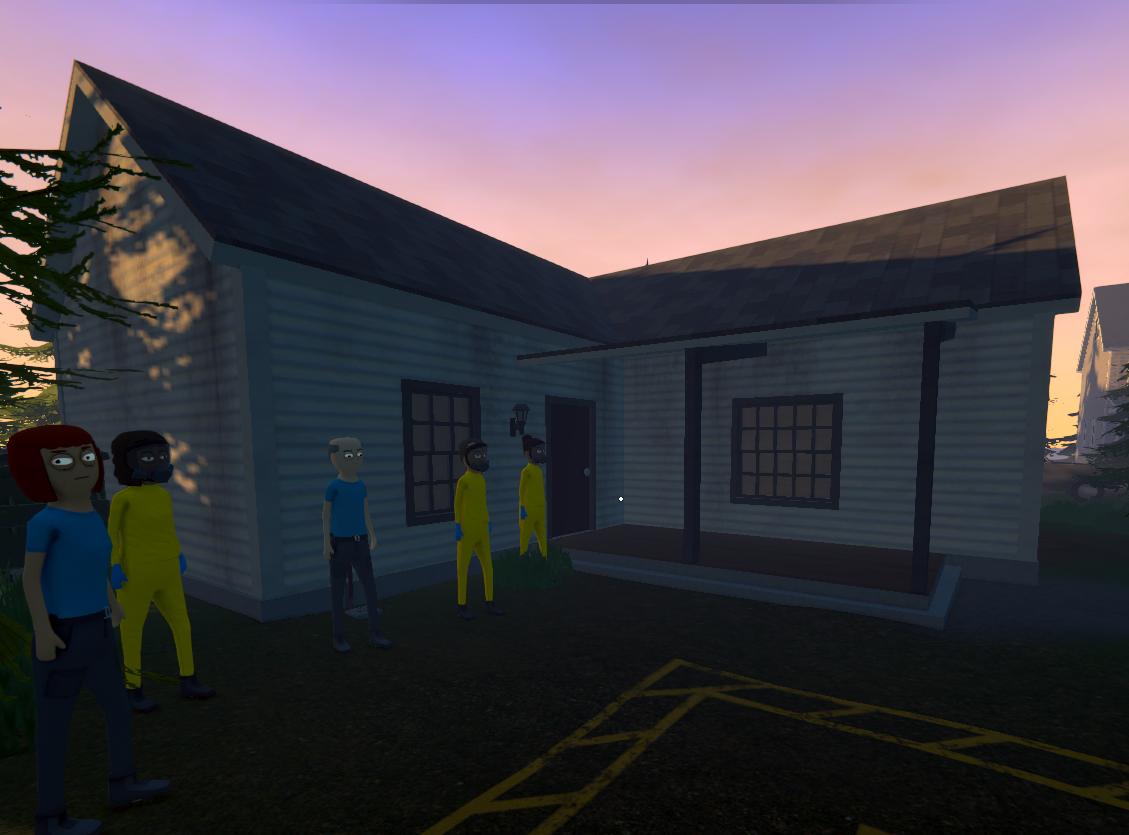
In the bungalow, I put all the processing, thus requiring 2 handlers and 2 chemists.
BryanChung May 19 @ 4:13am 
But I won't have enough workers to fully automate it right?
FlaiJack  [author] May 18 @ 11:50am 
Yes, it's possible to do it in the Bungalow.
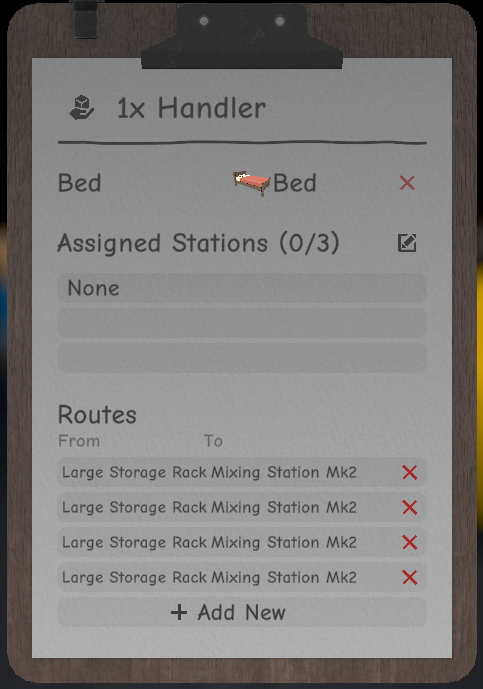
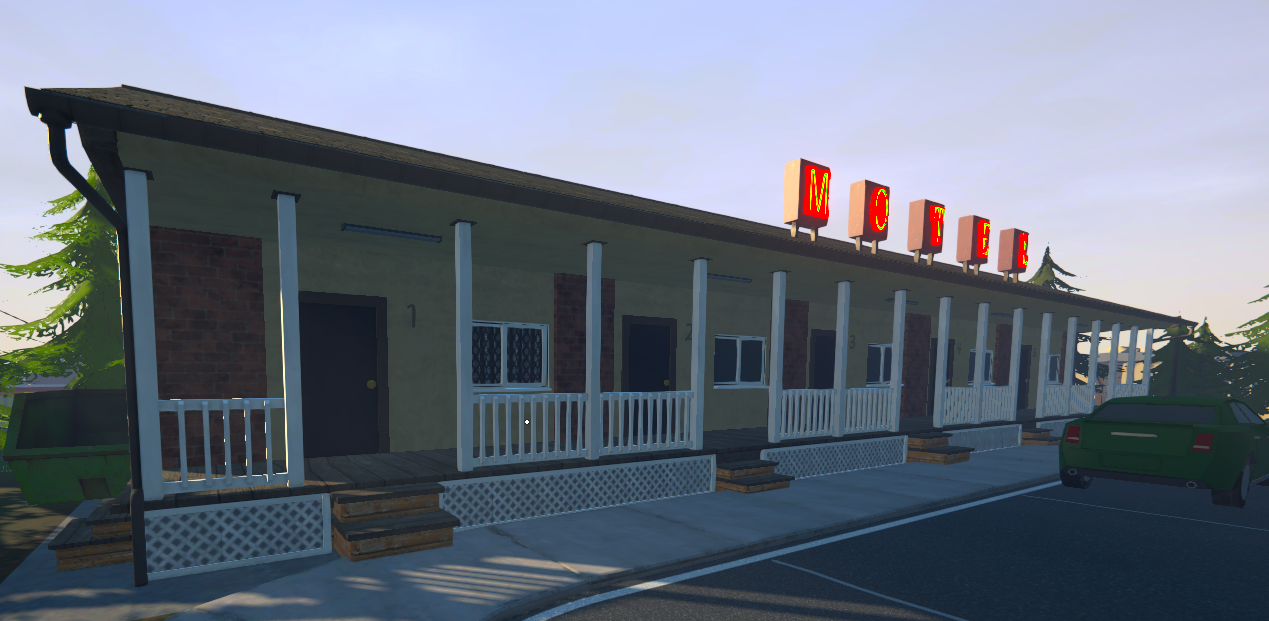
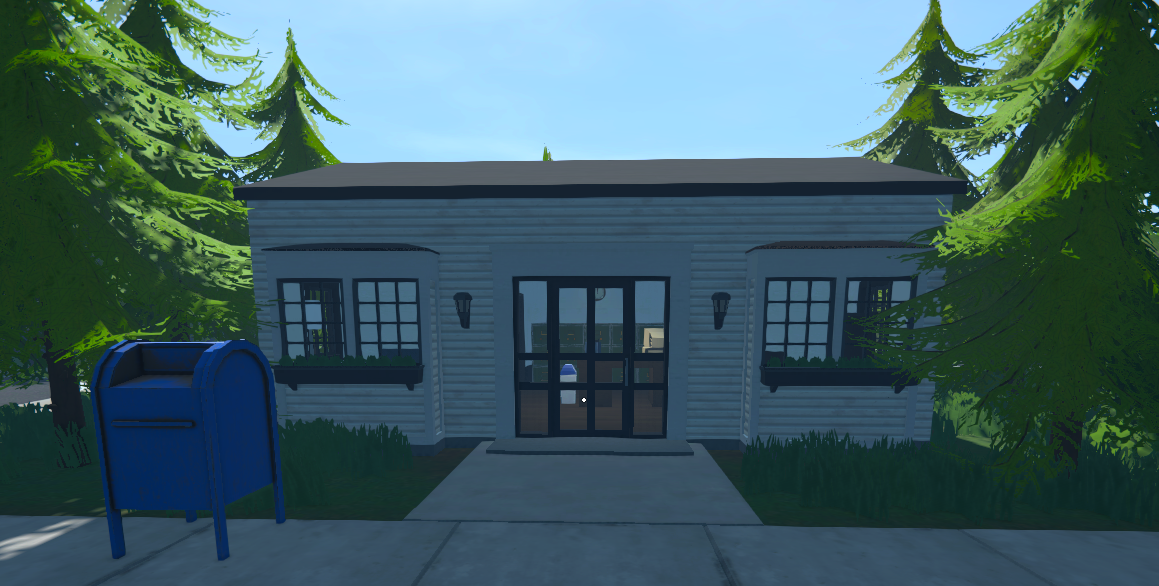
In the first room, place the beds and the packing station.
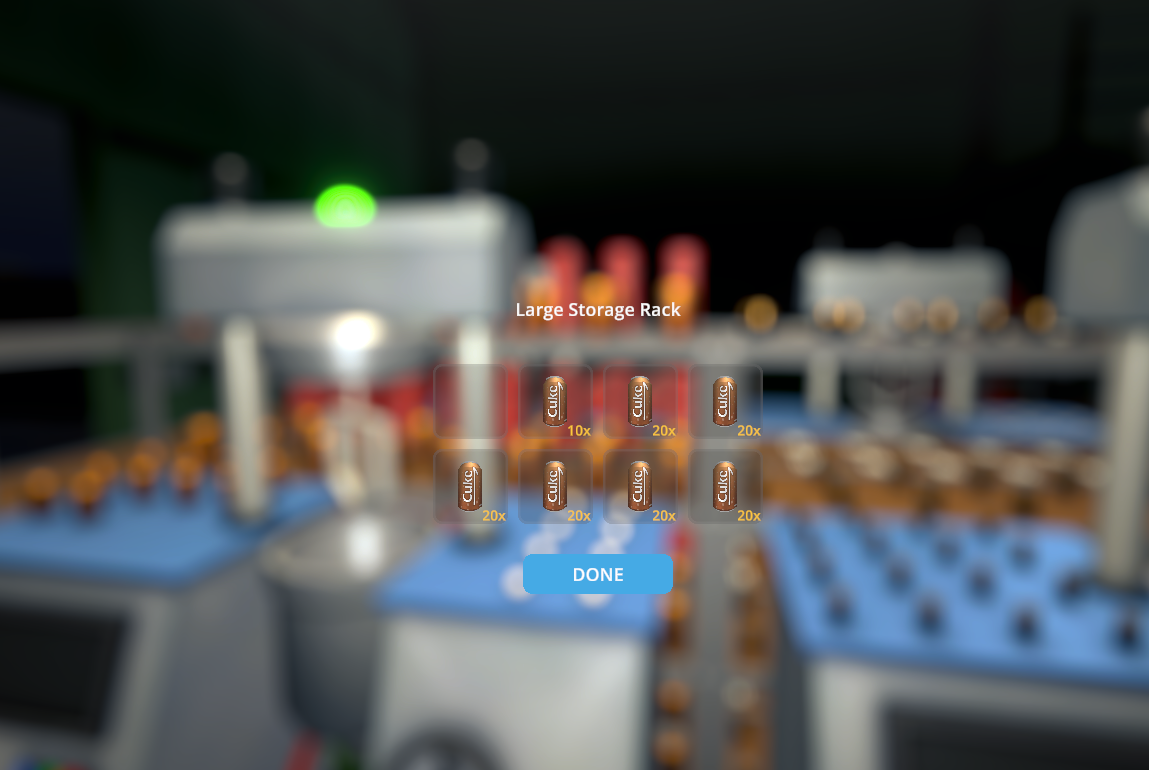
In the kitchen, place the shelves and one mixing station (the final one).
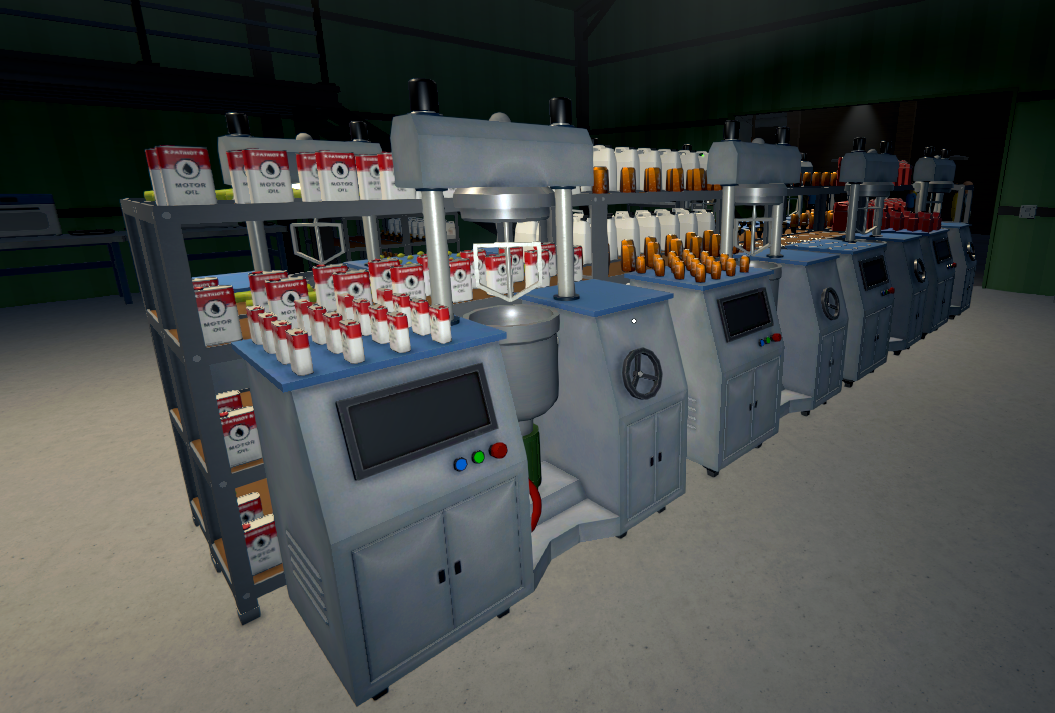
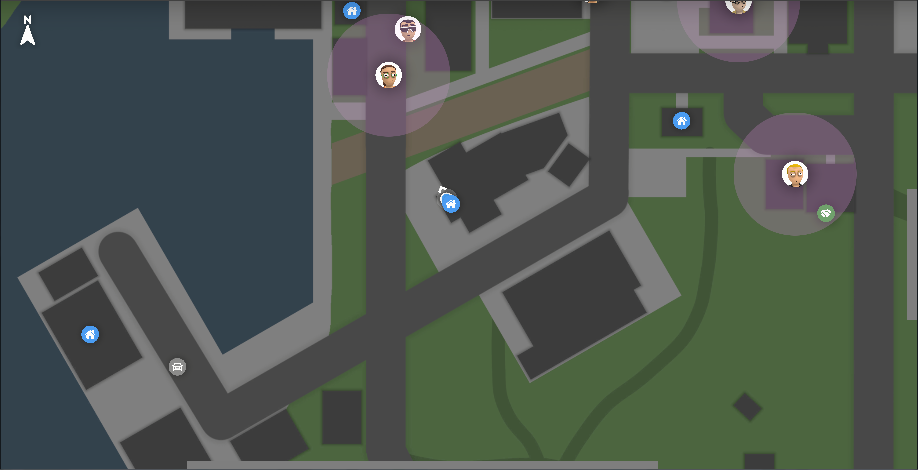
In the last room, you can place 7 mixing stations with their respective shelves behind them.

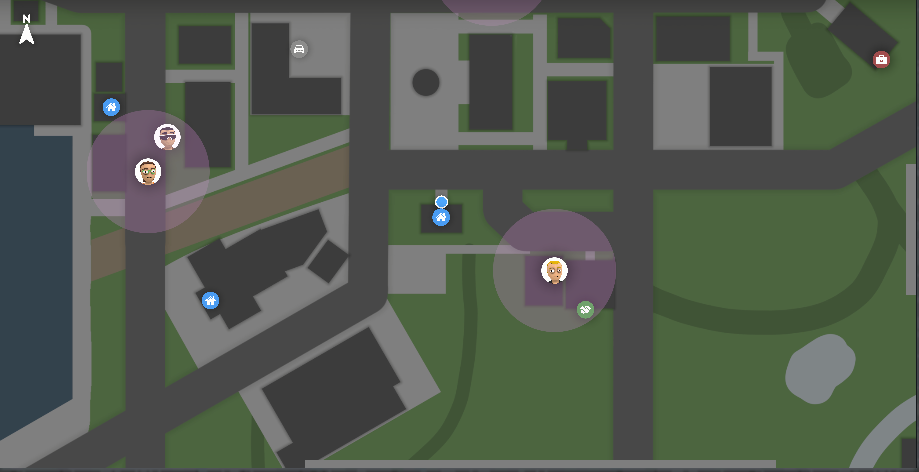
Remember to check the automation guide to get a clearer idea.
BryanChung May 18 @ 8:02am 
I'm trying to follow this guide.

I've only just unlock the Bungalow. For the "Mix 7 + Banana = FINAL PRODUCT", I should be doing it in the Bungalow? If so, is it possible for full automation? Do you have a blueprint for that automation if yes?
FlaiJack  [author] May 16 @ 6:04pm 
Thank you! I'm really glad I can help
carlwoodworth39 May 16 @ 4:44pm 
Very inclusive guide thanks for taking the time to write it all out including early mid and late game mixes to max profit:steamhappy:
FlaiJack  [author] May 16 @ 12:45pm 
"UPDATE: For anyone who’s unsure, gold bars (among other items) can be found at the boutique, located next to the real estate office"