Clair Obscur: Expedition 33

Clair Obscur: Expedition 33

176 rating
Clair Obscur: Expedition 33 Guide - 100% Achievements, Missables & More!
Oleh Llamakazi
Hello there! Been having a ton of fun with this game so far, so I thought I'd get the ball rolling on an achievement guide (+ some extras) WIP for a bit, but community support totally welcome!
9
7
3
2
2
   
Penghargaan
Favorit
Difavoritkan
Batalkan favorit
Introduction


Hello there! I didn't see a guide posted for this yet, so I thought I'd get the ball rolling to help each other out.

Note: There will absolutely be spoilers in here, even with the spoiler tags like these in many places, so please be careful if you haven't progressed past certain points before consulting this guide.

Status/Progress Update:
Still actively playing through the game myself (currently in the endgame) so this guide is still an active WIP, but will be coming back here every now and again to continue fleshing it out as much as I possibly can! Thanks for your patience!

I'll also be checking in with the comments section on a regular basis, to add more information that y'all find and report (and confirm!)

Note: if any additional achievements are added in the future; I'll be absolutely sure to cover those as well.

If you are so inclined, you can hit the Favorite & Like buttons up top to easily come back and consult this guide in the future. It also helps with overall visibility!
Spoiler Free Tips & Tricks
Saving & Loading
There are no manual saves! The auto-save is fairly generous though, and you can scroll down past the "Load Previous Saves" menu beyond the most recent 3 (a bit hard to see, but there is a down arrow there)

If a fight isn't going to plan, or you just want to practice Dodges & Parries, you can open the Pause Menu during combat and just reload the last save fairly quickly.

To trigger an auto-save anywhere, go into your menu, swap a weapon, then close the menu to force the game to auto-save. This way, you can "checkpoint" yourself directly before a tough fight and retry directly from the menu without having to look around for auto-save triggers.

Dodge & Parry
Same with the save/load tip above, any time you enter a new area/encounter new enemies, save right before to take the opportunity to learn their attack patterns. If you've got a decent setup, the loads should be fairly quick and let you practice to your heart's content.

If a Dodge says "Perfect" instead of "Dodge", then the timing is identical to that of pulling off a Parry. So, if you've practiced Dodging a set of moves that now show up as "Perfect", then that means you're good enough to Parry them all now instead!

If you have Camera Movement Enabled under Accessibility (by default it is on), then when the camera zooms in at the last minute is also a significant part of the timing for a Dodge/Parry.

If you're having trouble with those, I found that Disabling Camera Movement also made some attacks a little clearer - due to the lack of camera movement, making the wind-up a little easier to read.

For some (not all!) enemies, there is a sound cue before their attack is about to land. Technically speaking, if you wanted another Accessibility option, you could turn down the Music from 100% to 50% (or even 0%) in order to hear these cues better.

The caveats are that the sound itself isn’t always the same, and the Dodge/Parry timing is relative to the cue, but not necessarily consistent between enemies.

Leveling Up Your Stats
The 5 Attributes you can level up are:
  • Vitality - Primarily correlates with Health which "Increases the character's health pool."
  • Might - Primarily correlates with Attack Power, which "Increases all damage dealt."
  • Agility - Primarily correlates with Speed, which "Makes the character play more often."
  • Defense - Primarily correlates with Defense, which "Reduces incoming damage."
  • Luck - Primarily correlates with Critical Rate, which "Increases the chances of dealing critical hits. Critical hits deal 50% more damage."
While it may seem like Might is the best option, you can actually fairly safely ignore it, even though it does boost your damage, quite slightly (we're talking 10-20% or so)

All healing from skills and items is *percentage* based, so Vitality & Defense dramatically boosts your survivability, as well as allows you to safely learn all the enemies' timing for Parries & Dodges.

The different being a 10% damage boost OR taking 50% less damage is hard to pass up during your first experience. Later it it may make more sense to go all out, but for now your damage will not suffer greatly as a result.

Agility influences Speed, which is great for the Action Economy (more turns than the enemy -> more damage overall, and sooner) With enough Speed, you can even double up on turns before the enemy has a chance to move once!

Many skills have additional triggers from critical hits, so that is also a completely valid option, and Luck also boosts some of the other stats as well. Later on it's possible through some combinations to reach 75-100% Critical Rate, so eventually it could be dumped for another Attribute altogether.

World Map
Always try to fight enemy groups on the Overworld/World Map at least once, as they tend to drop New and/or Upgraded Weapons & New and/or Upgraded Pictos for your party. This can only happen once, but they will still respawn if you rest, so you can still fight them multiple times if you like.

Zones & Dungeons
Getting lost without a mini-map? Hit Y/Triangle on your controller, or Y on your keyboard to show a Compass in the middle left of your screen. Extremely useful to get your bearings, especially for some of the more maze-like areas.

For any text directions given in this guide, it will absolutely make use of those Compass directions, so please check it out and remember that it's another valuable tool in your kit!
Missable Achievements & Items
Prologue - Missables
The game opens up significantly after the Prologue, but before then it's all world building and character development, as well as some missables! Here's the quick rundown before you proceed to the main continent:

Nicholas the Painter
There's a painter, Nicholas, standing near the main plaza. If you talk to him and finish a duel with Sophie (basically a tutorial for dodging), you'll recieve a Recoat item, which allows you to "re-spec" a character. Recoats are very expensive from shops later, so give yourself some extra options by doing this!

Trash Can Man
In that same area, keep interacting with a non-descript Trash Can until it starts talking! You'll get a Chroma Catalyst for the trouble (weapon upgrade material). Don't worry if you miss this one, you'll get plenty of these later.

The Mime
Near the harbor area, head to the right as you approach it; you should see a stage with people performing. Just to the right of that is a Mime which you can fight for a MISSABLE ACHIEVEMENT, as well as the Lumière Record for winning, which is required for the "Connoisseur" achievement to "Find all 33 music records".

The Expedition Festival (after Gommage/Harbor cutscene)
During the Festival before departing for the main continent, there will be 3 booths that you can redeem tokens for rewards. You start with 1, and you can get the other 2 by dueling Maelle (and winning) as well as completing Antoine's quiz.

The solutions for Antoine's Quiz are: When was the Fracture? "67 years ago." Which was the first expedition to depart for the continent? "Expedition Zero." What is a "Lumina?" "Abilities you internalise by using a Pictos in battle after enough times."

The rewards are: a Weird Pictos, a Bun (haircut style) for Gustave, and an Old Key. If you can only get 1 of these, make sure you get the Old Key as it unlocks something later that provides a Record for the "Connoisseur" achievement.

The Weird Pictos is given to a Gestral Merchant called Jujubree, the first one you encounter in the Gestral Village Market. You get a "Augmented Aim" Pictos (Lv 5, 39 SPD, 5% Crit, "50% increased Free Aim damage.") in return. Not a huge deal if you miss this, as there's other sources of that Pictos passive ability.


ALL Acts - Missables
In the middle of Spring Meadows in Act 1, you'll encounter a Jar Nevron that you can speak with, be sure to do everything it asks, and don't "Attack" it. You'll need to do this with every single friendly Nevron you encounter; do EXACTLY what they ask of you, or you may miss out on the "Aiding the Enemy" achievement.

Note: you can still "Attack" them AFTER doing their quests and getting the achievement, but there will be some consequences for that later...


Act 1 - Missables
After recruiting the 3rd party member, you'll meet a Gestral Merchant, Noco! Eventually they will move on from that location, so buy everything you can from him before then.

Regarding a missable unique weapon after recruiting the 4th party member in Act 1: in the Gestral Village, win the tournament with Maelle to get the "Medalum" Weapon! (Physical Damage, DEF/AGI Scaling, Lv 4 "Start in Virtuose Stance.", Lv 10 "In Virtuose Stance, every Burn applied is doubled.", Lv 20 "In Virtuose Stance, Burn deals double damage.")

You can win with your other party members, but they'll just be weapons you likely already have, which will then just get a simple Level Upgrade.

If you miss it here, you'll have another chance if you defeat Golgra (the "Chef"/Chief) with Maelle... but be warned that the fight is MUCH harder than the tournament, and you'll likely be well into the Act 3 Endgame before being able to accomplish it.


Regarding a Quest for an outfit near the end of Act 1: In the Gestral Village there's a Gestral in the far west side of town working on the "Ultimate Sakapatate" who asks for help. When going through Esquie's Den you can find a glowing mushroom, take this back to the Gestral to get a Pure outfit for Gustave. You cannot complete this after Act 1!


Act 2 - Missables
After a certain point where you can choose which order to tackle the Story next: there is a camp scene after defeating the First Axon that you can seemingly miss. Be sure to "Check up on the others" every chance you can at the first available opportunity.


Act 3 - Missables
There are some achievements related to your party member's relationship levels, for Maelle - after doing her Side Quest and reaching Relationship Level 6, do NOT lie to her, or you'll miss out on the "Maelle" achievement, which will become completely locked out. More details for that are below in the Act 3 Achievements section.
Achievements In Order - Prologue (1-4)
A Peculiar Encounter

Defeat the Mime in Lumière.

[MISSABLE - If you don't get this early, you'll have to wait until New Game +]
While exploring Lumière before heading to the harbor, explore to the right where there are some dancing people on a stage. There's a Mime just next to them. Interact with it, fight it, and defeat it!


Once you're near it's location, it'll really stand out.


Time to Spill Some Ink

Break an enemy.

[Can be done in any combat]
The simplest way to achieve this is to use Gustave's Overcharge ability (if you fight the Mime, it's a prime candidate for this)


The break bar for an enemy is the yellow one directly underneath their health bar.


Overcharge

With Gustave, use a fully charged Overcharge that Breaks an enemy.

[Can be done any combat]
Also on the Mime in Lumière, build up your AP to 10 then unleash Overcharge! You can still get this later on any enemy if you missed the Mime.


Parry attacks and spend your extra AP on Lumière Assault to gain 10/10 Overcharge (leave some AP unspent to use it)


Lumière

Embark on the expedition.

[Required for Progression]
Continue the story until you've officially departed on the expedition.


Title card drop shortly after this!
Achievements In Order - Act 1 (5-13)
Professional

Defeat a boss without taking any damage.

[The earlier the better]
I ended up doing this one on the first area/zone boss, Eveque. Later boss fights are also possible with this same strategy: practice the boss fight, primarily with dodging until you learn all their moves and their timing. If you get hit, you can pause the game in the middle of the battle and easily load your last save to try again.

You can also accomplish this on "Mini-bosses" as well, as the "Chromatic Lancelier" (the one Lune says "looks dangerous") in Spring Meadows also counts!


Eveque here has some pretty predictable moves; many you'll learn quickly if you repeat the fight for practice.


Spring Meadows

Find your way through Spring Meadows.

[Required for Progression]
After defeating your first area/zone boss, Eveque, this one will trigger once you've reached the World Map!


The end of Spring Meadows is right after defeating Eveque (and some light climbing)


Paint Cage

Break a Paint Cage.

[Can be done in many areas]
The first Paint Cage you can find is in Flying Waters, near the beginning. "Paint Cages contain rare loot. To unlock the Cage, find its 3 locks and shoot them."


The "locks" in question look like this. Use your ranged attack while close enough to trigger them.


Weapon Upgrade

Upgrade a weapon once.

[Can be done anytime in camp after The Manor]
After finding and recruiting Maelle in the Flying Waters, leave to the World Map and set up camp. The Curator will have followed you there, and offers Weapon Upgrades.


Now you can get everything up to Level 3, then choose your strategies for each party member!


Lumina

Consume a Lumina point.

[Can be done anytime in camp after The Manor]
After finding and recruiting Maelle in the Flying Waters, leave to the World Map and set up camp. The Curator will have followed you there, and offers Expedition Upgrades.


You'll finally be able to use all those Colour of Lumina items you've been hoarding!


Flying Waters

Find your way through Flying Waters.

[Required for Progression]
Once you've reached Goblu, just beyond the Lumieran Streets Rest Point, you'll know you've reached the end of the Zone. This boss also has some pretty easy tells, so this is another good opportunity for the "Professional" achievement as well (no damage taken from a boss) if you don't already have it.


With enough dodges during the jumps and avoiding the 2-hit combo, you can take this boss down in fairly quick order.


Curious

Witness an optional scene at camp.

[Can be done anytime in camp after Flying Waters]
After Flying Waters, you'll automatically be in your camp. After checking the campfire, you'll get the option to "Check up on the others." Hit it, and you should get another cutscene with your party discussing what's happened so far.


Really hard to miss this one!


Perfect Flow

With Lune, consume Stains 4 turns in a row.

[Just need Lune and a battle that lasts long enough]
If you have the "Trebuchim" weapon (dropped in the Ancient Sanctuary) that "Generates a random Stain on Free Aim shot.", then you'll basically have unlimited Stains to consume. Combine this with the skill "Thermal Transfer" (for AP) or feed Lune all of your AP items to make sure she can keep spending every turn.


Good targets for this (that last long enough) are bosses, the Mimes, and the Petank.


Synergy

Maelle, use Percée on a Marked enemy while in Virtuose Stance.

[Just need Maelle and a battle that lasts long enough]
After recruiting Maelle, you'll start with the skill "Percee", and soon unlock other that trigger her "Virtuose" stance. Gustave has a "Marking Shot" skill that guarantees that the enemy will be marked. Make sure Maelle has enough AP, the correct stance, and the target stays marked to trigger this one. Note: you can skip other party members turns if you don't want them to use up the "Marked" debuff!


Lots of setup but a really big payoff! Good targets for this (that last long enough) are bosses, the Mimes, and the Petank.
Achievements In Order - Act 1 (14-19)
Ancient Sanctuary

Find your way through Ancient Sanctuary.

[Required for Progression]
This one will trigger right as you defeat the final boss, the Ultimate Sakapatate.


Final boss of the area; keep an eye out for his weak spot on his arm behind the shield!


Gestral Village

Find your way through the Gestral Village.

[Required for Progression]
Talk to the "Chef" of the village, then win the Arena Tournament. You'll get the password for Esquie's Nest from Golgra after that! Once you leave the village, this achievement will trigger immediately before the next cutscene.


"Get outta my way!"


Maximization

With Sciel, consume 20 Foretell on a single target during Twilight.

[Requires Sciel but can be done any combat]
Can be done after you recruit Sciel at the end of Gestral Village. This one, like Lune and Maelle's achievements, are more easily done on longer fights, like Mimes and Bosses.

Method 1: Feed her AP boosting items! Build 10 Foretell before the Twilight phase. Foretell gained is doubled during the Twilight phase, so leave 10 on an enemy, then apply another 5 (doubled to 10) until you reach the new 20 Foretell max during Twilight. Spend it before Twilight wears off in 2 turns, and you've got it!

Method 2: Feed her AP boosting items! The Spectral Sweep skill (with critical hits) during Twilight can generate 20 Foretell all on it's own (some luck required!), otherwise save up for Final Path much later, which applies 10 (20 doubled) Foretell. Spend it all with a cheap skill, and you've got it!

Method 3 (easiest): Get the Chation weapon for Sciel, from Greatsword Cultists in the Stone Wave Cliffs. At Level 4 it provides: "Sun Skills always apply 10 Foretell, but all damage taken is doubled." It goes without saying but this weapon makes this achievement a total cakewalk!


"It's a lot of info to absorb, but play around with Sciel and you'll get used to it!"


Legend

Unlock Esquie.

[Required for Progression]
Triggers at the same time as Esquie's Nest. The entire area is pretty simple, all you need to do is beat up Francois then talk to Esquie again, although there is a Mime and Petank here.


"Faster travel! The blue rocks are now crushable!"


Esquie's Nest

Find your way through Esquie's Nest.

[Required for Progression]
Triggers at the same time as Legend. The entire area is pretty simple, all you need to do is beat up Francois then talk to Esquie again, although there is a Mime and Petank here.


"Once you learn about the Stone Wave Cliffs, you'll be on your way!"

Loading Screen Tips
After winning 4 battles with a Pictos, its Passive effect can be quipped on all Characters via the Lumina menu.


Stone Wave Cliffs

Find your way through Stone Wave Cliffs.

[Required for Progression]
One of the longest areas/zones we've been to yet; you'll know you're near the end after the 5th Rest Point and a boss fight with the Lampmaster. Feel free to prepare and explore as much of the World Map and this area/zone as you can before progressing; the world will open up much more once Act 2 begins (after several cutscenes in a row, of course)

Spoilers for Act 2: Gustave will die after a final stand against the White Haired Man, and you'll recruit Verso in his stead. If for some reason you don't have the "Overcharge" achievement by now, then that is, in fact, missable.


"Simon Says: see if you can solve the Lamp Trial while you're at it!"
Achievements In Order - Act 2 (20-31)
Perfection

With Verso, reach Rank S.

[Available after recruiting Verso, can be done in any combat]
Just like with the other Challenge achievements related to each character, you need enough time for setup to reach full potential. In Verso's case, it's much easier than the others, since you can just skip turns and keep dodging/parrying until you've reached Rank S.

Additional Method 1: When helping out the Nevron Troubadour in the Stone Quarry, you keep your rank throughout the trial, so if you intentionally fail the trial, you'll eventually get to rank S without much trouble (or needing to gear him up at all for that matter!)

Additional Method 2: For a significantly easier time, use Verso's Sakaram weapon which provides "Can't lose Perfection. No damage increase from Rank."


"Just need enough time to build up Perfection and you're golden!"


Forgotten Battlefield

Find your way through Forgotten Battlefield.

[Required for Progression]
Once you've reached the Ancient Bridge Rest Point, you'll encounter the Dualliste boss right after trying to cross the bridge. Defeat it, and the end of the area is very shortly after that. Leave out of the other end of Forgotten Battlefield, and the achievement will trigger!


"2 phases to this fight, just like with the Lampmaster."


Expedition 33

Unlock all playable characters.

[Required for Progression]
Right after meeting Monoco at Monoco's Station, defeating him in a duel, then defeating the Stalact boss, you'll officially recruit Monoco as your final party member and trigger this achievement!


"Should be a relatively easy fight, but watch out for the elemental absorbs when it changes element!"


Monoco's Station

Find your way through the Grandis Station.

[Required for Progression]
Right after doing Monoco's tutorial (or skipping it) this achievement should trigger immediately.


"It also comes with a free Nevron foot!"


Expeditioner

Reach level 33.

[Can be done any combat]
You're likely to trigger this one automatically at or around Old Lumière. I got it just outside, with the giant chunks of experience you'll get from these higher level mobs!


"There's a few enemies you've fought many times before now, you'll likely start getting that +20% Experience boost from 'No Damage!'"


Old Lumière

Find your way through Old Lumière.

[Required for Progression]
Triggered directly after the boss fight with Renoir at the end of Old Lumière. You'll have to fight this one with Lune, Maelle, and Verso to start; and if you don't do a Gradient Parry he will make your party members disappear!


"Good to know he can bleed..."


Wheel Control

With Monoco, cast an Upgraded Skill 4 turns in a row.

[Just need Monoco, can be done any combat]
You can get this achievement any time after recruiting Monoco, but you very likely will build up a collection of Skills for him first, from all the Nevrons you'll be defeating (de-feet-ing?)

Highly recommended after you recruit Monoco to leave him in your party at almost all times, because he will NOT learn the Skill unless he's in the active party.

Ended up doing this one with these low AP Skills & feeding Monoco Energy Tints (gives AP):
Abbest Wind (2 AP) - Agile Mask (Purple)
Rocher Hammering (3 AP) - Heavy Mask (Green)
Braseleur Smash (4 AP) - Balanced Mask (Red)
Chevaliere Piercing (3 AP) - Agile Mask (Purple)
Bruler Bash (4 AP) - Caster Mask (Blue)
Cruler Barrier (4 AP) - Heavy Mask (Green)

All of these Skills can be learned if you bring Monoco into every single fight after recruiting him, and finishing Old Lumière. A good enemy that will last long enough are the ones directly West of Old Lumière on an island on the World Map, but any enemy will do.


"Any cheap AP Skills will do, just make sure you have 1 of each color!"


First Axon

Defeat the first Axon.

[Required for Progression]
You can tackle the 2 Axons in any order. In my case; I ended up tackling the Visages area first. When you defeat the Mask Keeper through the direct path that he mentions, the achievement will trigger shortly after the boss fight.


"Another 2 phase fight, both with oodles of spectacle - good luck to you!"


Second Axon

Defeat the second Axon.

[Required for Progression]
The Axons can be fought in any order, but in my case, I ended up fighting Sirène second. Before you fight Sirène, get Anti-Charm from the optional boss fight with Tisseur. It makes for a significantly easier fight - but you can still avoid the Charm effect if your timing is on point.


"With Anti-Charm enabled, this fight should be fairly breezy."


Monolith

Reach the Monolith.

[Required for Progression]
The crescendo of your critical path, as soon as you've breached the barrier with the weapon forged from the 2 Axons, it'll trigger after a few turns of trying to attack the "Paintress".


"Get ready for the longest area yet...!"


Paintress

Defeat the Paintress.

[Required for Progression]
You'll get this one for defeating the 3rd and final phase of the Paintress fight at the very top of the inside of the Monolith.


"Congrats on a winning a difficult fight! Sit back and get ready what comes next."


Back to Lumière

Go back to Lumière.

[Required for Progression]
The final achievement for Act 2, this one will automatically trigger shortly after defeating the Paintress.


"Huzzah for a happy ending! Unless...?"
Achievements In Order - Act 3 (32-41)
Sciel

Reach relationship level 7 with Sciel.

[Can only be done in Act 3]
If you've been speaking with Sciel consistently; a short ways into Act 3 you'll be able to reach Max Relationship level with no extra fuss! Afterwards, she unlocks the Level 3 Gradient Attack "End Slice".


"The lead up can be a little spicy too, depending on your choices..."


Plane, Train, and Submarine

Discover all of Esquie's abilities.

[Can only be done in Act 3]
You'll unlock Esquie's ability to swim underwater by reaching Relationship Level 6 with him! Just make sure you're speaking with him consistently, and a short ways into Act 3 you'll be able to do it.


"The whole world is now open to you and your crew!"


Esquie

Reach relationship level 7 with Esquie.

[Can only be done in Act 3]
Shortly after unlocking Esquie's ability to swim, you should also be able to Max out his Relationship Level with no additional fuss. Afterwards, Verso unlocks the Level 3 Gradient Attack "Angel's Eyes".


"The adventures continue!"


Lost Gestrals

Find all of the Lost Gestrals.

[Can be done any time in Act 3 - No combat required]
Check out the section titled "Lost Gestrals - Locations & Rewards" for the full list of Lost Gestrals, including which Acts they can be first accessed on, as well as their full set of rewards!


"Sastro thanks you! Back to doing his one true passion..."


Chroma Proficiency

Use a level 3 Gradient Attack.

[Must have reached Relationship Max/Level 7 with anyone first]
Once you're in Act 3, Relationship Levels will now be available to be maxed out (Level 7) Reach Level 7 with anyone you want, then enter a fight long enough for you to build up to and spend 3 Gradient Points on a Gradient Attack.


"Takes a while to build up, but the payoff is pretty grand!"


Aiding the Enemy

Finish all of the Nevron quests.

[Can be done over the course of the game, with the last few being in Act 3]
See the "Friendly Nevron Quests - Locations & Rewards" section for the full list of Friendly Nevrons, including which Acts they can be first accessed on, as well as their full set of rewards!


"The final prize for this one is actually worthwhile, so give it a go!"


Trailbreaker

Reach level 66.

[Can be done at any time, most likely in Act 3]
There are many, many locations that will absolutely destroy you if you try to tackle them immediately after starting Act 3.

The safest place to go right at the beginning while still making decent progress is The Reacher in the very northwest near The Crows, which is required for Maelle's 6-7 relationship levels.

Now that you have a way to breach 9999 damage, you can also now tackle Frozen Hearts and the Dark Shore which should both now around your overall power level.

Progressing like normal in Act 3 without any kind of grinding session will absolutely get you to Level 66 no problem. There's more than enough enemies, dungeons, and zones to explore and fight, even though most are completely optional if you just want to go straight to Lumière and finish the game.


"The Act 3 power level fluctuates wildly, but if you find a good spot, take advantage."


Maelle

Reach relationship level 7 with Maelle.

[MISSABLE - Can only be done in Act 3, after getting Maelle to relationship level 5]
Unlike Sciel and Esquie, you'll need to do a Side Quest through a major Optional Dungeon/Zone first before getting Maelle past relationship level 6, and then 7.

You'll get a map marker for The Reacher, just above The Crows on the northwestern-most side of the World Map. The power level for this dungeon is such that it can be done very shortly after starting Act 3. Breach the dungeon, then progress all the way to the end and defeat the boss. You'll return to camp shortly afterwards.

HOWEVER, this achievement is MISSABLE if you say the wrong thing to Maelle during a scene at camp.

The moment of truth... (literally) is here. Do NOT lie to her; you must tell the truth or you'll be completely locked out. Afterwards, you will unlock Maelle's Level 3 Gradient Attack: Gommage.


"Be very, very careful here!"


Sprong

Beat Sprong.

[Can be done anytime shortly after Act 3 starts]
After completing The Reacher (and probably Frozen Hearts, or the ability to clear out Dark Shore) you should have enough damage to take out Sprong, the large monster Nevron on the ocean, just outside of the Blades' Graveyard.

If you like, trigger the auto-save trick on the island just south of it, so you can re-try and practice the timing for it's attacks.

The reward for defeating Sprong is absolutely key for tackling the rest of the optional superboss content in Act 3: the "Cheater" Pictos (Lv 24, 1198 HP, 400 SPD, "Always play twice in a row.")


"Sprong is now Sprung!"


Lune

Reach relationship level 7 with Lune.

[Can only be done in Act 3, after getting Lune to relationship level 5]
Another Side Quest that you must do to unlock level 6-7 relationship with Lune, is to head to Sirène's Dress on the eastern side of the same island that you completed the Sirène dungeon. You can't get in here unless you've talked to Lune first about it, so make sure you get the Quest first!

Unlike Maelle's Side Quest with a full dungeon area, here you'll only need to fight a single enemy, the Chromatic Glissando. If you recall the fight in the Sirène dungeon area, then there will be some familiar patterns!

Defeat it, get the Journal in the back, then return to camp to unlock level 6-7 relationship with Lune!


"Treat yourself!"
Achievements In Order - Act 3 (42-55)
Monoco

Reach relationship level 7 with Monoco.

[Can only be done in Act 3, after getting Monoco to relationship level 5]
Speak with Monoco in camp until you get a request to bring Noco back to life at the Sacred River. It can only be reached by flying (just north of Monoco's Station) and it will be highlighted on your map after accepting the Quest from Monoco.

There's a Gestral merchant here with some valuable Lv 20 Pictos (after fighting them) and 1x Colour of Lumina, but the main attraction is right in the middle with the option to resurrect Noco. Give it a try, then Golgra will stop you! Monoco challenges her to a trial by combat, which you must win with only Verso and Monoco.

With enough damage, you can skip Golgra's 2nd Phase, which is significantly deadlier, and with harder combos to avoid. You can come back later if your damage is still not good enough.

Afterwards, you'll bring Noco back to life, and head back to camp. Speak with Monoco to reach Relationship Level 6-7! Monoco will then learn his Level 3 Gradient Attack: Break Point.


"The bromance continues!"


Gestral Games

Win all of the Gestral games.

[Can be done over the course of the game, but can only be finished in Act 3]
There are 5 Gestral Beaches on the World Map, one in Act 1, three in Act 2, and a final one in Act 3, accessible only by flying.

***WIP*** provide directions for the locations for all Gestral Beaches.

There is no combat, only timing and parkour challenges, so your experience may vary greatly on finishing these!

***WIP*** additional strategies on each for those struggling with certain games.


"A time honored JRPG (FRPG? J'RPG?) tradition!"


Weapon Mastery

Fully upgrade a weapon.

[The item for this can only be obtained in Act 3]
The best place for the final weapon upgrade material is the Flying Manor, which is on a floating island, high above Monoco's Station, to the south.

You'll need to defeat 4 powered up bosses that you've fought before, and *most* of them will drop a Perfect Chroma Catalyst, which will take a weapon from Level 32 to Level 33. The enemies in here also drop weapons at around Level 28, so it's a small leap to get them to max level.


"Of course it maxes out at 33, for good measure"


À On

Beat the Serpenphare.

[Can be done any time during Act 3.]
The Serpenphare is hanging out in the sky just above White Sands, in the eastern side of the World Map. It'll absorb all of your AP at the beginning of the fight, and use it to deal massive damage later on. You can power through the restriction with enough damage, otherwise practice avoiding it's moves by auto-saving nearby.

Similar to the bosses from the Flying Manor, it'll drop a max level weapon upgrade, a Perfect Chroma Catalyst!


"It'll either be the fight of your life, or with enough power, a short distraction."


Carreau Parfait

Beat the Chromatic Pétank.

[Can be done any time during Act 3.]
In the large area completely landlocked in the very southeastern part of the World Map, there will be a gigantic Chromatic Pétank you can chase, just like within the zones & dungeons. Chase it from the very northern tip, all the way down to the south until it becomes trapped. Fight it, defeat it, and get your achievement.


"By now, these don't put up much a fight, and neither does this one!"


Noir et Blanc

Solve the Painting Workshop’s mystery.

[Can be done any time during Act 3.]
There are 3 Painting Workshops located throughout the world. Halfway down the workshop (leveraging your parkour skills, of course) you can speak with a Faceless Boy. In each one, you'll get a Light of the Beast, Shape of the Beast, and a Heart of the Beast.

Use all 3 one of the statues at the very bottom, right next to the Rest Point flag. After that, you'll fight another Lampmaster. Defeat it, and get the achievement.


"How many times do we have to teach you this lesson, old man?"


Clea

Beat Clea.

[Can only be done in Act 3]
***WIP*** Full Strategy Guide incoming very shortly


Feet Collection

Acquire all of Monoco’s skills.

[Can only be done in Act 3]
***WIP*** Full Strategy Guide incoming very shortly


“Endless”

Reach the top of the Endless Tower.

[Can only be done in Act 3]
***WIP*** Full Strategy Guide incoming very shortly


Peace At Last

Beat Simon.

[Can only be done in Act 3]
***WIP*** Full Strategy Guide incoming very shortly


Connoisseur

Find all 33 music records.

[Can only be done in Act 3]
***WIP*** Full Strategy Guide incoming very shortly


Follow The Trail

Find all of the journals from prior expeditions.

[Can only be done in Act 3]
***WIP*** Full Strategy Guide incoming very shortly


Survivor

Reach level 99.

[Can only be done in Act 3]
***WIP*** Full Strategy Guide incoming very shortly


The End

Reach the end.

[Can only be done in Act 3]
***WIP*** Full Strategy Guide incoming very shortly
Collectables - Records & Journals (Act 1)
Prologue - Records & Journals - In Order
Found in Lumière
  • Record - Lumière (1/33 MISSABLE) - From defeating the Mime near the harbor.

Act 1 - Records & Journals - In Order
Found in Spring Meadows
  • Journal - Expedition 81 (1/49) - The first one you find, can't miss this one since it's part of a cutscene when you meet the Jar Nevron (the one that wants you to "find light")

Found in Flying Waters
  • Journal - Expedition 68 (2/49) - Directly in the main path to the end of the zone; I would be very surprised if you didn't get this on the playthrough!

Found in Ancient Sanctuary
  • Journal - Expedition 63 (3/49) - Found just off the brick pathway that leads to the end of the area.

Found in Gestral Village
  • Journal - Expedition 52 (4/42) - Located past a small path just to the right of the Infirmary Doctor.

Found in Esquie's Nest
  • Journal - Expedition 66 (5/49) - After completing the area and Esquie knocks over the pillar, follow and explore that path.

Found in Stone Wave Cliffs
  • Journal - Expedition 78 (6/49) - After the first Rest Point, hug the right wall until you reach a rope. It'll be just at the top.
  • Journal - Expedition 56 (7/49) - Once you reach the cliffs area, hug the left side and you'll see it near a statue.
  • Journal - Expedition 50 (8/49) - After the Paintress Shrine, hug the left side again and you'll see it near the cliffside.


Found in The Small Bourgeon - Optional Area
  • Journal - Expedition 53 (9/49) - At the very end of the area.

Found in Yellow Harvest - Optional Area
  • Journal - Expedition 38 (10/49) - After the Harvester's Hollow Rest Point, next to the giant lake, before the cave with the Mime.
  • Journal - Expedition 44 (11/49) - After the Harvester's Hollow Rest Point, on top of a large ramp next to the lake.
  • Journal - Expedition 59 (12/49) - in a cave to the left of the Yellow Spire Wrecks Rest Point.


Found on the Overworld/World Map/The Continent
  • Journal - Expedition 62 (13/49) - Behind some blue rocks breakable by Esquie north of Gestral Village.
  • Record - Goblu (2/33) - Bought from the merchant just north of The Small Bourgeon.
  • Record - Lights of the Past (3/33 Requires Esquie first) - Found in the Ancient Gestral City, east of Flying Waters on the World Map.
  • Record - Un 33 Decembre a Lumière (4/33 Requires Esquie first) - Found in the Twilight Quarry, south of Esquie's Nest on the World Map.
  • Record - Aline's Glasshouse (5/33 Requires Esquie first) - Found in the Lost Woods, just past the Yellow Harvest (a completely optional area/zone)
Collectables - Records & Journals (Act 2)
Act 2 - Records & Journals - In Order

Found in Stone Wave Cliffs
  • Record - Gustave (6/33) - Where you fought the Lampmaster. There's a rear entrance for quick access once you've started Act 2.

Found in the Forgotten Battlefield
  • Journal - Expedition 41 (14/49) - Found directly to the right of the Battlefield Rest Point, in the trenches just before the Chromatic Luster Nevron. Hug the left wall to find it.
  • Journal - Expedition 57 (15/49) - Found shortly after the Battlefield Rest Point, on the way to the Ancient Bridge.

Found in Monoco's Station
  • Journal - Expedition 65 (16/49) - At the end of the zone near the East Exit, past where you first met Monoco across a train track bridge.

Found in Old Lumière
  • Journal - Survivor (17/49) - When the party is split up and you're in control of Maelle and Verso, you'll see a large pipe sticking out of the side of a cliff. Climb on, drop down inside, and use the Old Key from the beginning of the game to unlock the gate.
  • Journal - Expedition 58 (18/49) - Can't miss this one, it's the Journal that Lune finds in the cutscene at the end of their path.
  • Journal - Expedition 42 (19/49) - Facing towards the Manor at the end of the zone, head right before the hedges, then down a rope to find this Journal.
  • Record - Renoir (7/33) - On the left side of the Manor at the end of the zone, behind the hedges, there's another door to a room in the Manor that has this Record.
  • Journal - Renoir (20/49) - Also in the same rooms where you found the Renoir Record.

Found in Visages
  • Journal - Expedition 69 (21/49) - Found in the leftmost path (Joy) Continue hugging the left wall until you find it under a stone outcropping.
  • Journal - Expedition 39 (22/49) - Found in the middle path (Sadness) Hug the right wall and climb the cliff to find it at the top.
  • Journal - Unknown (23/49) - Found in the path just to the right of the middle path (Anger) Hug the right wall until you find a cave; a Manor door will be in there. Go inside to find the Journal.
  • Record - Verso (8/33) - In the same place in the Manor as the Unknown Journal.

Found in Sirene
  • Journal - Expedition 55 (24/49) From the Dancing Classes Rest Point, head up the stairs and you should see it fairly easily on your right.
  • Journal - Expedition 67 (25/49) Next to the Dancing Area Rest Point, near some boxes and corpses.

Found in The Monolith
  • Record - L'amour D'une Mere (9/33) - Past the Tainted Battlefield Rest Point, you'll encounter a cave that leads to The Manor. It'll take you to a greenhouse with the Record.
  • Journal - Aline (26/49) - Next to the L'amour D'une Mere Record in the same greenhouse.
  • Journal - Expedition 70 (27/49) - Past the Tainted Lumière Rest Point, you'll find an alleyway past a large circular set of stalls. Continue down that way, and the Journal will be there.


Found in Stone Wave Cliffs Cave - Optional Area
  • Journal - Expedition 54 (28/49) - Right next to the Chromatic Hexga. You can just grab it and try to fight it later, if you are so inclined.

Found in Crushing Cavern - Optional Area
  • Journal - Expedition 45 (29/49) - After the Giant Sapling boss, follow the critical path behind it and you'll find the Journal.

Found in White Tree - Optional Area
  • Journal - Expedition 36 - (30/49) Right in the middle, can't miss it.
  • Record - Honeymoon in Lumière - (11/33) Right in the middle, can't miss it.

Found in Stone Quarry - Optional Area
  • Journal - Expedition 48 (31/49) - Right next to the friendly Nevron Troubadour that you teach how to play.

Found in The Meadows - Optional Area
  • Record - Our Painted Family (12/33) - Right in the middle, can't miss it!

Found in Blades' Graveyard - Optional Area
  • Record - Révérance - (13/33) - Right in the middle, can't miss it!

Found in Boat Graveyard - Optional Area
  • Record - Alicia's Birthday Party (14/49) - Right in the middle, can't miss it!

Found in The Carousel - Optional Area
  • Record - Le Grand Cafe de Lumière (15/49) - In the main carousel area after entering, there's a low key path to your left. The Record is at the end of that path.

Found in Falling Leaves - Optional Area
  • Record - Alicia (14/33) - After the first Rest Point there's a couple ropes to go down. There's a Manor door down here, go in to find the Record behind it.
  • Journal - Expedition 35 (34/49) - Near the Manor door, there's a climbing spot which leads to this Journal.
  • Journal - Expedition 49 (35/49) - Behind the Young Boy, after doing what he asks.
  • Record - Until Next Life (16/33) - Given by the Young Boy, after defeating the boss.

Found in Frozen Hearts - Optional Area
  • Journal - Expedition 51 (36/49) - Past the first Rest Point. Enter the area with all the broken trains (straight ahead after crossing the train track bridge), and you'll find the Journal next to a patrolling enemy.
  • Record - Clea! Don't Pull Your Sister's Hair! (17/33) - Past the cave with a rope. There'll be a grapple point at the end, which leads to a Manor door. Enter that door to get the Record.

Found in Sinister Cave - Optional Area
  • Record - Nocturne Pour Lumière (18/33) - When you first enter the area, you'll see a light above and what appears to be a merchant. Hug the right wall, until you reach a grapple point. Turn around after grappling, to grapple again across the chasm. Follow the path to drop down to the Merchant and grab the Record.


Found on the Overworld/World Map/The Continent
  • Record - Lost Voice (10/33) - A trader, Strabami, is selling it north of the exit when you finish the Forgotten Battlefield.
  • Journal - Expedition 64 - East of Twilight Quarry, after landing on a small beach.
  • Journal - Expedition 47 - Far west, as far as you can go on land, after exiting Monoco's Station from it's northwestern-most exit.
  • Journal - Expedition 43 (Esquie Reef Break ability required) - Decently far east of the Coastal Cave.
  • Journal - Expedition 40 (Esquie Reef Break ability required) - On an island very close to the Paintress' Monolith barrier, this is the island you'll be on once the barrier is broken.
  • Record - Robe de Jour (Esquie Reef Break ability required) - On a small island south of the entrance to Sirène. You can buy it from the Merchant there.
Collectables - Records & Journals (Act 3)
Act 3 - Records & Journals - In Order

Found in Lumière
  • Journal - Expedition 60
  • Record - Our Drafts Collide - Added automatically after beating the game.


Found in The Fountain - Optional Area
  • Journal - Expedition 84 - This Journal can be found just past Noire, the friendly Nevron.

Found in Sirene's Dress- Optional Area
  • Journal - Expedition 46

Found in The Canvas - Optional Area
  • Journal - Unknown

Found in The Abyss - Optional Area
  • Journal - Simon

Found in The Reacher - Optional Area
  • Journal - Unknown
  • Journal - Expedition 61

Found in The Crows - Optional Area
  • Journal - Expedition 34


Found on the Overworld/World Map/The Continent
  • Record - Forlon
  • Record - Children of Lumiere
  • Record - Linen and Cotton
  • Journal - Expedition 37
  • Journal - Julie
  • Journal - Verso


Found by increasing Relationship Levels
  • Record - Sciel - Reach Relationship Level 6 with Sciel!
  • Record - Lune - Reach Relationship Level 6 with Lune!
  • Record - Monoco - Reach Relationship Level 6 with Monoco!

Additional Journals & Records Notes
While your Journal can be completely "filled out" (e.g. all greyed out Journals filled in), there are hidden Journals that do not show up in the greyed out list.

So, if the "Follow The Trail" achievement (All Journals from prior Expeditions) is not triggering, double check specifically that you have all of the hidden Journals too.
Quests - Lost Gestrals & Nevrons
Lost Gestrals - Locations & Rewards
Note: ALL of the Lost Gestrals are found on the Overworld/World Map/The Continent. There are none inside any of the zones or dungeons.
  1. Act 1 - Right in front of Esquie's Nest, can't miss it!
  2. Act 1 - Just east of the Stone Wave Cliffs entrance, past a giant Bourgeon (the ones that eat you)
  3. Act 2 - On the same island as the White Tree area, just across the water from the first Gestral Beach.
  4. Act 2 - East of the Monoco's Station south entrance, in front of 2 distinct green trees surrounded by snowy ones.
  5. Act 2 - North of Old Lumière, on a Red Island behind 2 Mimes.
  6. Act 2 - On a small beach just north of the Coastal Cave entrance.
  7. Act 3 - Near the Endless Night Sanctuary entrance, far to the east.
  8. Act 3 - North of The Reacher entrance, in a landlocked clearing.
  9. Act 3 - On a distinct floating island, high near and above the Endless Tower entrance.
Rewards for Lost Gestrals (Speak with the Large Gestral Sastro at the back of your camp)
1 Saved: Gestral Hair Style for Maelle
2 Saved: Gestral Hair Style for Lune
3 Saved: Gestral Hair Style for Sciel
4 Saved: You can now destroy Paint Spikes with Paint Break! Time to start backtracking for all those Blue Paint Spikes you've been seeing all game.
5 Saved: Gestral Hair Style for Verso
6 Saved: 3x Colour of Lumina
7 Saved: 3x Colour of Lumina
8 Saved: 5x Colour of Lumina
9 Saved: The "Pro Retreat" Pictos (Lv 19, 1019 HP, 203 SPD, "Allows Flee to be instantaneous")

Friendly Nevron Quests - Locations & Rewards
You are given the option to "Attack" the friendly Nevrons after helping them. You can do so, and still get the "Aiding the Enemy" achievement, but there will be consequences for your choice later on.
  1. Act 1: Jar (Spring Meadows) - Find the Resin item, give it to the Jar, then shoot the tip of the staff. Rewards 1x Healing Tint Shard.
  2. Act 1: Démineur (Floating Waters) - Find the Intact Mine item, then return it to Démineur. Rewards a weapon for Lune: the Deminerim (Lv 3, 81 Power, Lightning Elemental)
  3. Act 1: Bourgeon (The Small Bourgeon) - Give the Small Bourgeon a Bourgeon Skin, from defeating any Bourgeon. You can just leave and come back immediately for your reward: 1x Colour of Lumina.
  4. Act 1: Hexga (Stone Wave Cliffs) - The Hexga is found overlooking a cliff just before the Tide Caverns Rest Point. Get 3 Lustrous Rock Crystals from the darkened cavern area ahead, then return back to the Hexga. Rewards the "Auto Shell" Pictos (Lv 7, 411 HP, "Apply Shell for 3 turns on battle start.")
  5. Act 1: Bénisseur (Red Woods) - Pay 5000, then 10000, then 25000, and finally 50000 Chroma to fulfill their request. Rewards the "Recovery" Pictos (Lv 20, 2000 HP, 324 DEF, "Recovers 10% Health on turn start.")
  6. Act 2: Troubadour (Stone Quarry) - Accept it's request then dodge the Red Notes and let the Green Notes hit you. After 3 phases, you'll have completed it! Rewards the "Healing Parry" Pictos (Lv 10)
  7. Act 2: Portier (Esoteric Ruins) - Retrieve the Wood Boards item at the end of the zone, then return it to the spirit. Rewards the "Protecting Heal" Pictos (Lv 10, 395 HP, 78 SPD, "Healing an ally also applies Shell for 1 turn.")
  8. Act 2: Danseuse (Frozen Hearts) - Parry all of the attacks from the Danseuse teacher to complete their request. Rewards the "Danseuse" outfit for Lune.
  9. Act 3: Chalier (Floating Cemetary) - Defeat Chalier in a fight after helping them choose 1 of 3 weapons, then they'll ask you to kill them afterwards. The reward for killing them is the "Auto Powerful" Pictos (Lv 19, 241 SPD, 20% Crit, "Apply Powerful for 3 turns on battle start.") If you refuse, it will still count for the "Aiding the Enemy" achievement, but they won't give you anything. When you return later they will be dead, impaled by all 3 weapons, and there will be 11680 Chroma on the floor in front of them.
  10. Act 3: Noire/Blanche (The Fountain) - Help at least 6 out of 9 of the other friendly Nevrons without killing them (except Chalier) to count as helping Blanche. Afterwards, speak with them to receive a whopping 100x Colour of Lumina! If you've been helping and then killing them afterwards instead... then Blanche will attack you! The Battle Loot for winning this fight is only 10x Colour of Lumina, which absolutely pales in comparison.
Puzzles - Paint Cages & More
Act 1 - Puzzles
Flying Waters


Ancient Sanctuary


Stone Wave Cliffs


Act 2 - Puzzles
Old Lumière


Sirène


Inside the Monolith


Note: This one requires the Paint Break ability from rescuing 4 Lost Gestrals.


Stone Wave Cliffs Cave - Optional Area


Esoteric Ruins - Optional Area


Frozen Hearts - Optional Area


Act 3 - Puzzles
Isle of the Eyes - Optional Area

Similar to the Paint Cages, instead pop the 3 eyeballs shown here to cross the bridge and fight the Chromatic Boucheclier.

Flying Manor - Optional Area

Note: This one requires the Paint Break ability from rescuing 4 Lost Gestrals.

Skills - Monoco (Enemies & Locations)
Note: if you're not a fan of hunting down disparate enemies (or using Monoco at all) you can just take him through the entire Endless Tower gauntlet and he'll learn every single Skill that way instead.
  1. Abbest Wind
  2. Aberration Light
  3. Ballet Charm
  4. Boucheclier Fortify
  5. Braseleur Smash - Braseleur (World Map - West of Old Lumière)
  6. Bruler Bash
  7. Bénisseur Mortar
  8. Chalier Combo - Chalier (Monoco starts with this Skill)
  9. Chapelier Slash
  10. Chevalière Ice - Ceramic Chevalière (Old Lumière)
  11. Chevalière Piercing
  12. Chevalière Thrusts - Steel Chevalière (Old Lumière)
  13. Clair Enfeeble
  14. Contorsionniste Blast - Contorsionniste (Visages)
  15. Creation Void
  16. Cruler Barrier
  17. Cultist Blood
  18. Cultist Slashes
  19. Danseuse Waltz - Danseuse (Sirène)
  20. Duallist Storm - Dualliste (Flying Manor)
  21. Démineur Thunder
  22. Gault Fury - Gault (World Map - South of Monoco's Station)
  23. Glaise Earthquakes
  24. Grosse Tête Whack - Grosse Tête (World Map - West of Coastal Cave, Flying Manor)
  25. Hexga Crush
  26. Jar Lampstorm
  27. Lampmaster Light - Lampmaster (Flying Manor)
  28. Lancelier Impale
  29. Luster Slices
  30. Moissonneuse Vendange
  31. Obscur Sword
  32. Orphelin Cheers
  33. Portier Crash
  34. Potier Energy
  35. Pèlerin Heal
  36. Ramasseur Bonk
  37. Rocher Hammering
  38. Sakapatate Explosion
  39. Sakapatate Fire - Ultimate Sakapatate (Monolith - Tainted Sanctuary)
  40. Sakapatate Slam
  41. Sakapate Estoc - Ranger Sakapatate (Ancient Sanctuary, Monolith - Tainted Sanctuary)
  42. Sapling Absorption
  43. Stalact Punches - Stalact (Monoco starts with this Skill)
  44. Troubadour Trumpet
  45. Échassier Stabs
  46. Évêque Spear
***WIP*** actively filling out the rest; organizing by position in Monoco's Skill page in-game for an easier time cross-referencing
Misc - Paint Spike Locations & Rewards
You'll gain the ability to destroy Paint Spikes (the large blue "this definitely looks like I could destroy it somehow" spikes) after and rescusing 4 Lost Gestrals. Speak with Sastro in your camp to unlock the ability.


Here is the first one you'll encounter in Spring Meadows (next to the friendly Jar Nevron) but you won't have a way to destroy it for a while.
  • Camp - The first one you'll encounter is right next to Sastro in Camp. Underneath it is 1x Colour of Lumina.
  • Spring Meadows - At the Abandoned Expeditioner Camp Rest Point, head to the right of the friendly Jar Nevron. You'll find 1x Colour of Lumina and the "Aegis Revival" Pictos (Lv 12, 218 DEF, 108 SPD, "+1 Shield on being revived")
  • Spring Meadows - In the area directly after Abandoned Expeditioner Camp, before where you fought Eveque. Behind the Paint Spikes are 3x Colour of Lumina.
  • Flying Waters - Starting at the Lumieran Streets Rest Point, hug the left wall until you reach some handholds. Climb it, and see a patrolling enemy. To the right of them will be a Paint Spike with 1x Colour of Lumina underneath it.
  • Ancient Sanctuary - After the Sanctuary Maze Rest Point, move forward until you see a fork in the path, then hug the left wall. Continue hugging the left wall until you find the Paint Spike, which has a new area behind it, with the Gestral Totem Rest Point. The loot here is: 1x Resplendent Chroma Catalyst (Lv 19 Weapon Upgrade), 1x Colour of Lumina, 6570 Chroma, and the "Piercing Shot" Pictos (Lv 12, 546 HP, 15% Crit, "25% increased Free Aim damage. Free Aim shots ignore Shields.")
  • Gestral Village - On the east side of town next to the "This is fine" Gestral, there's a Paint Spike with a weapon for Lune behind it: Betelim (Lv 12, 859 Power, Nature Elemental)
  • Gestral Village - Directly east of the Infirmary is a house with a Paint Spike in the entrance. Behind it is the "Powerful Shots" Pictos (Lv 12, 983 HP, 44 DEF, "20% chance to gain Powerful on Free Aim shot.")
***WIP***
Outro
Spot anything I missed or found something you would like to add? Add a comment and I'll look into it when I get the chance!
91 Komentar
Llamakazi  [pembuat] 1 jam yang lalu 
@Joonge
Affirm I have that one as well; I just need to go through my video footage and I'll call it out a little better (should have it updated by tomorrow)

@Pingu
Damn, that's one of the only ones you can Attack outright without being forced to help them first. That'll have to be done in New Game + then, unfortunately!
Pingu 3 jam yang lalu 
@Llamakazi

Yes exactly there! And sadly i attacked first and never gave him the mine
Joonge 4 jam yang lalu 
There's a record in the manor that's not mentioned here anywhere. You need to flip 4 switches on the wall and it unlocked a square hole on the second floor. It' called Nocturne pour un masque de tristesse. I dunno if it's part of the ones you need, but I never seen mention of it in all the guides I've checked so far.
Llamakazi  [pembuat] 5 jam yang lalu 
@Whirly
Thanks! I'm still messing about endgame, but that's a handy tip; I'll test it out myself then add it as the 99 achievement :steamthumbsup:

@AstralKat
Because it's still a Work In Progress, as posted! I'm updating that one tonight though.

@NeonVoid
Aye I have only a few left in Act 3; that one will likely come second to last
NeonVoid 5 jam yang lalu 
missing Simon achievement, you can get this by killing Simon, by going to Renoirs drafts dive location, progress through here to get to abyss. fair warning Simon is not only the hardest boss in the game but probably the hardest boss I've ever beaten and I'm a souls veteran
AstralKat 7 jam yang lalu 
This list misses the Chromatic Petank achievement outright for some weird reason, if anyone needs this one, you can find him slightly north east of The Meadows in a large clearing, and its really easy to herd him to his spot as he pretty much only moves in a straight line
Whirly 8 jam yang lalu 
@Llamakazi - feel free to reference this!

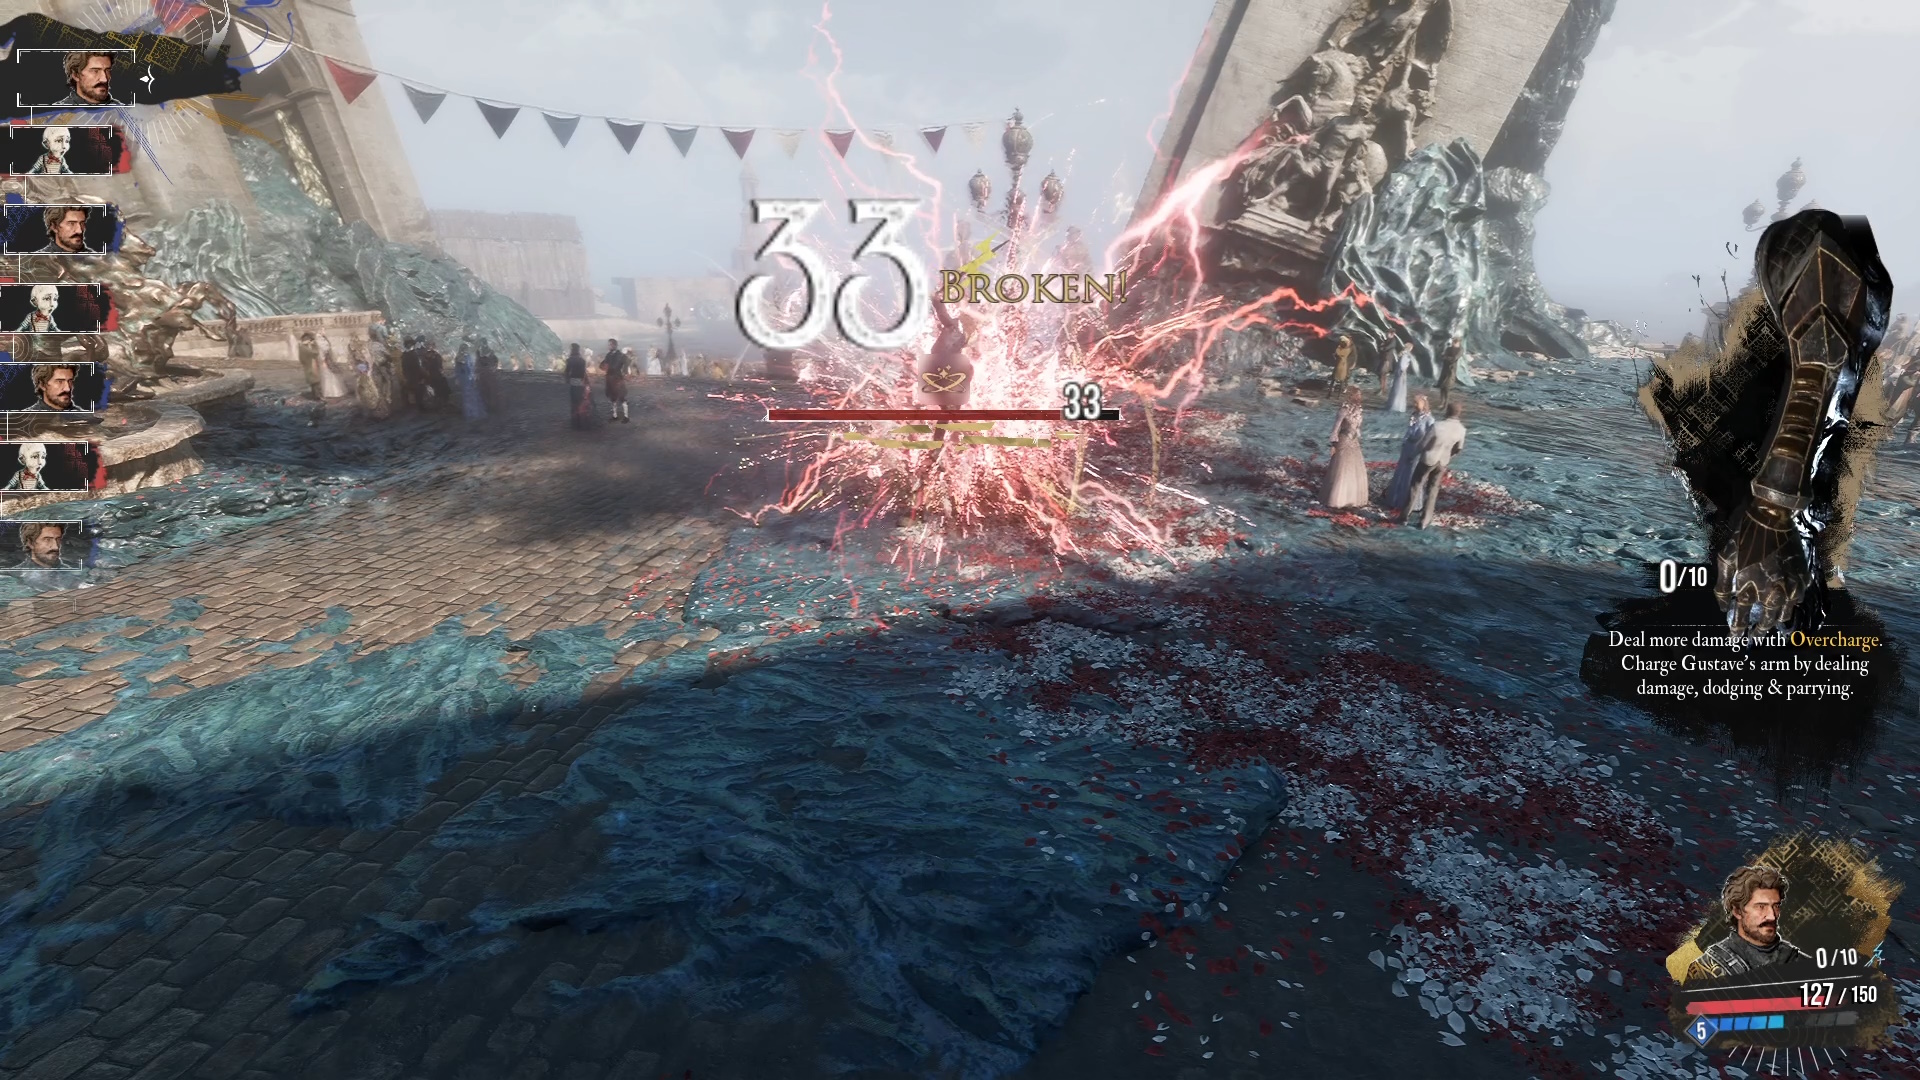
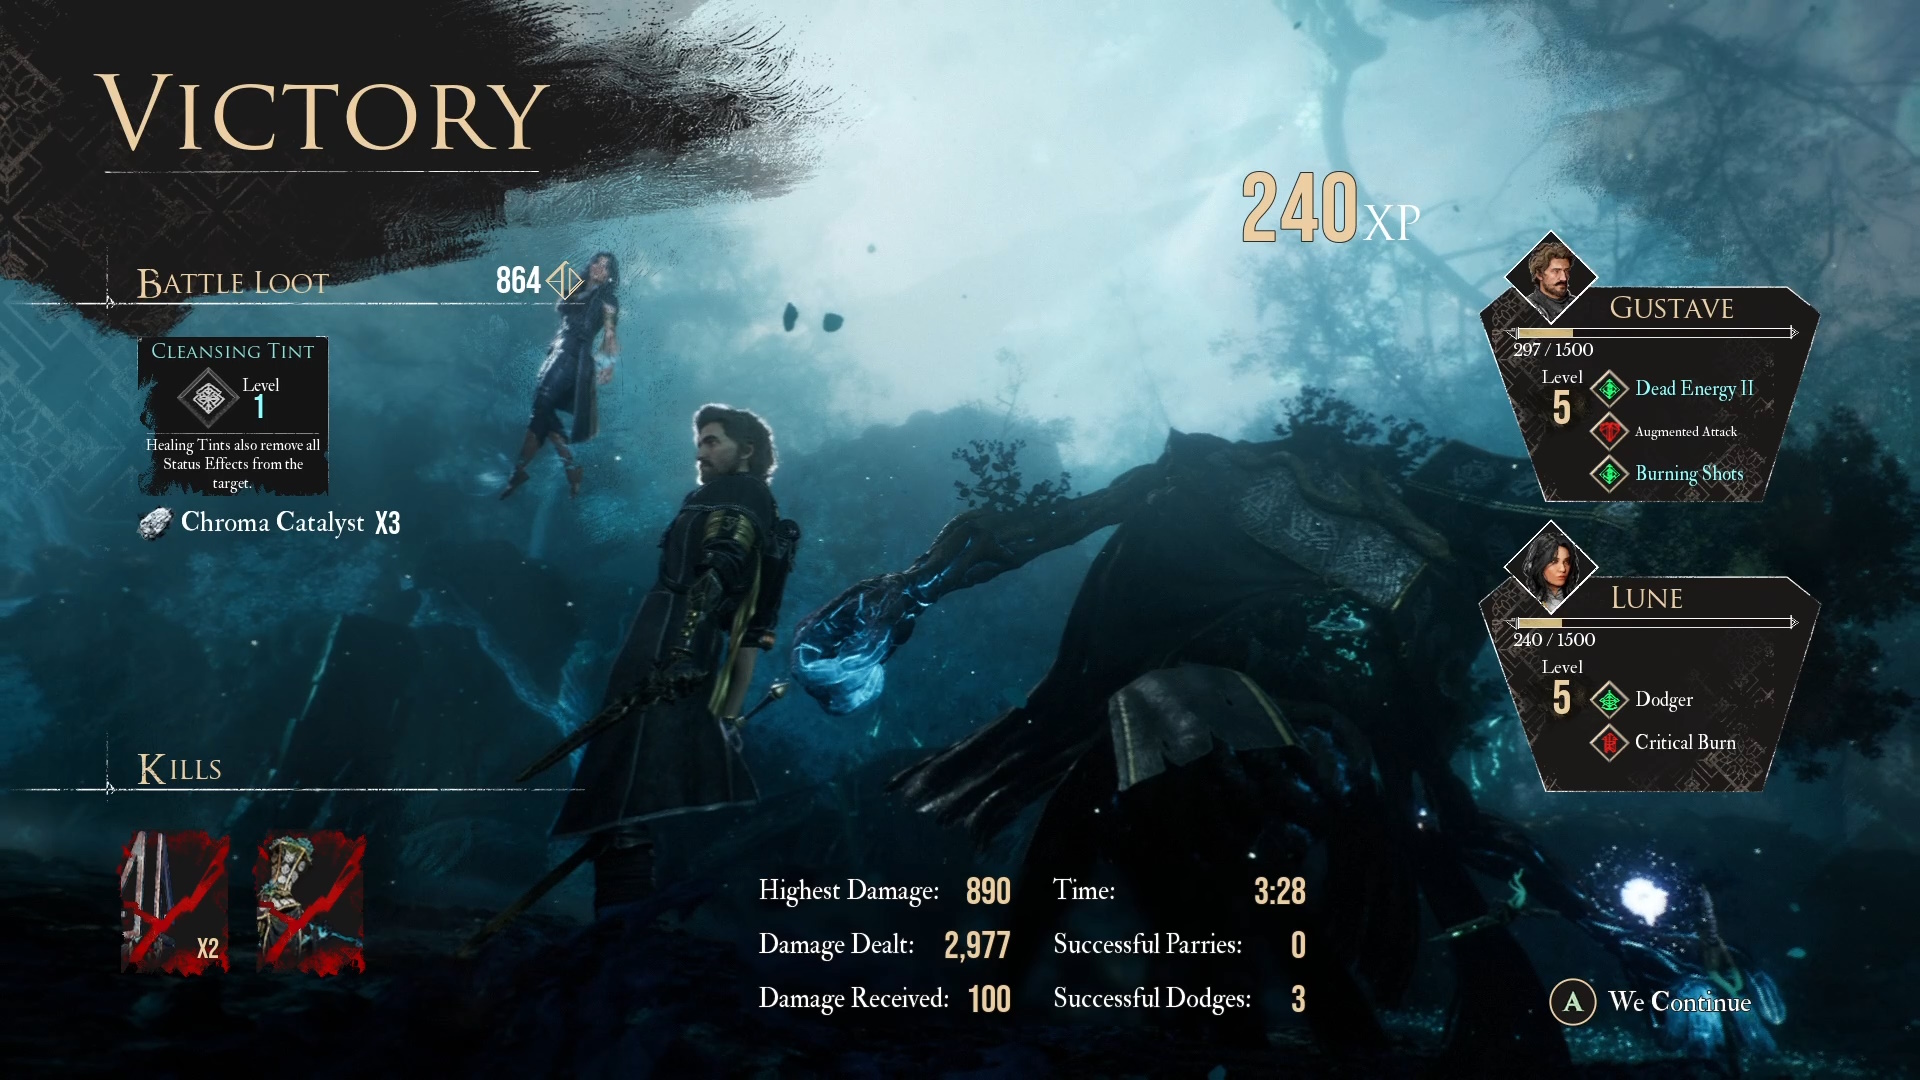
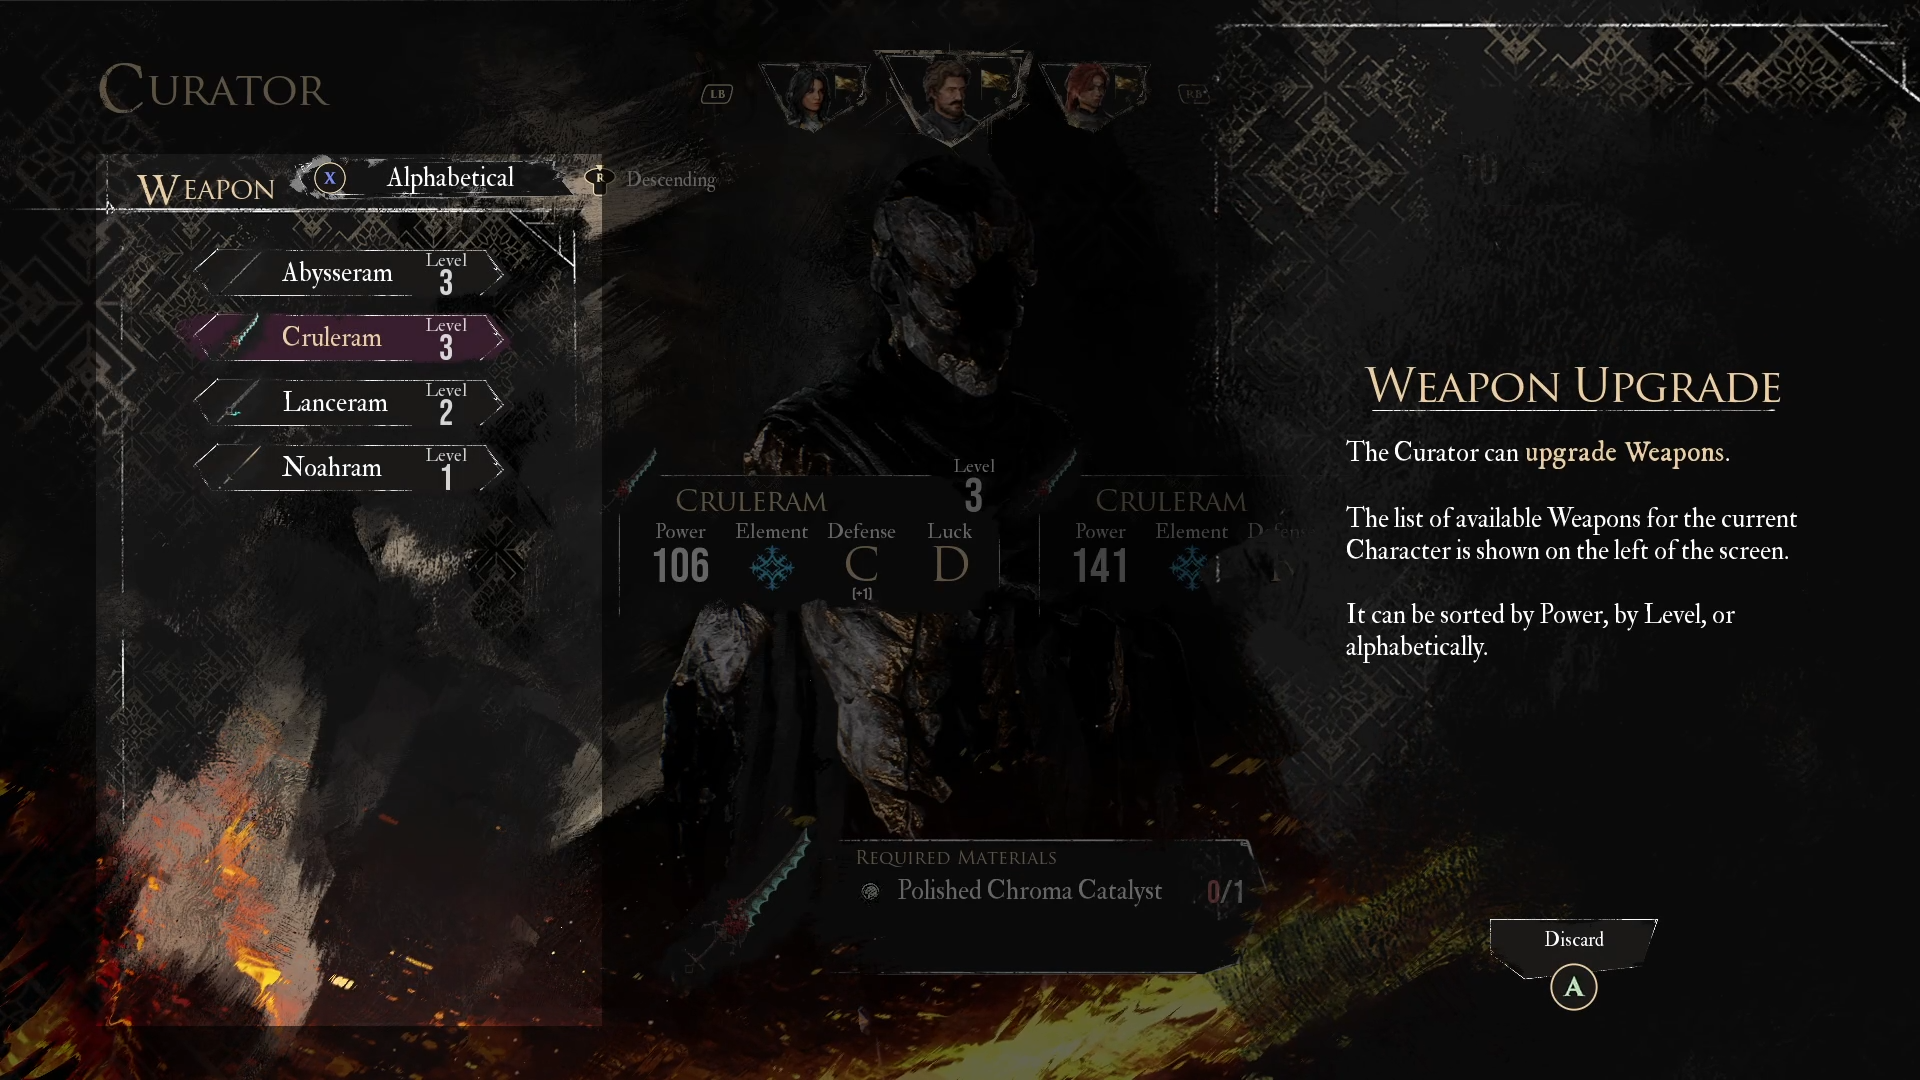
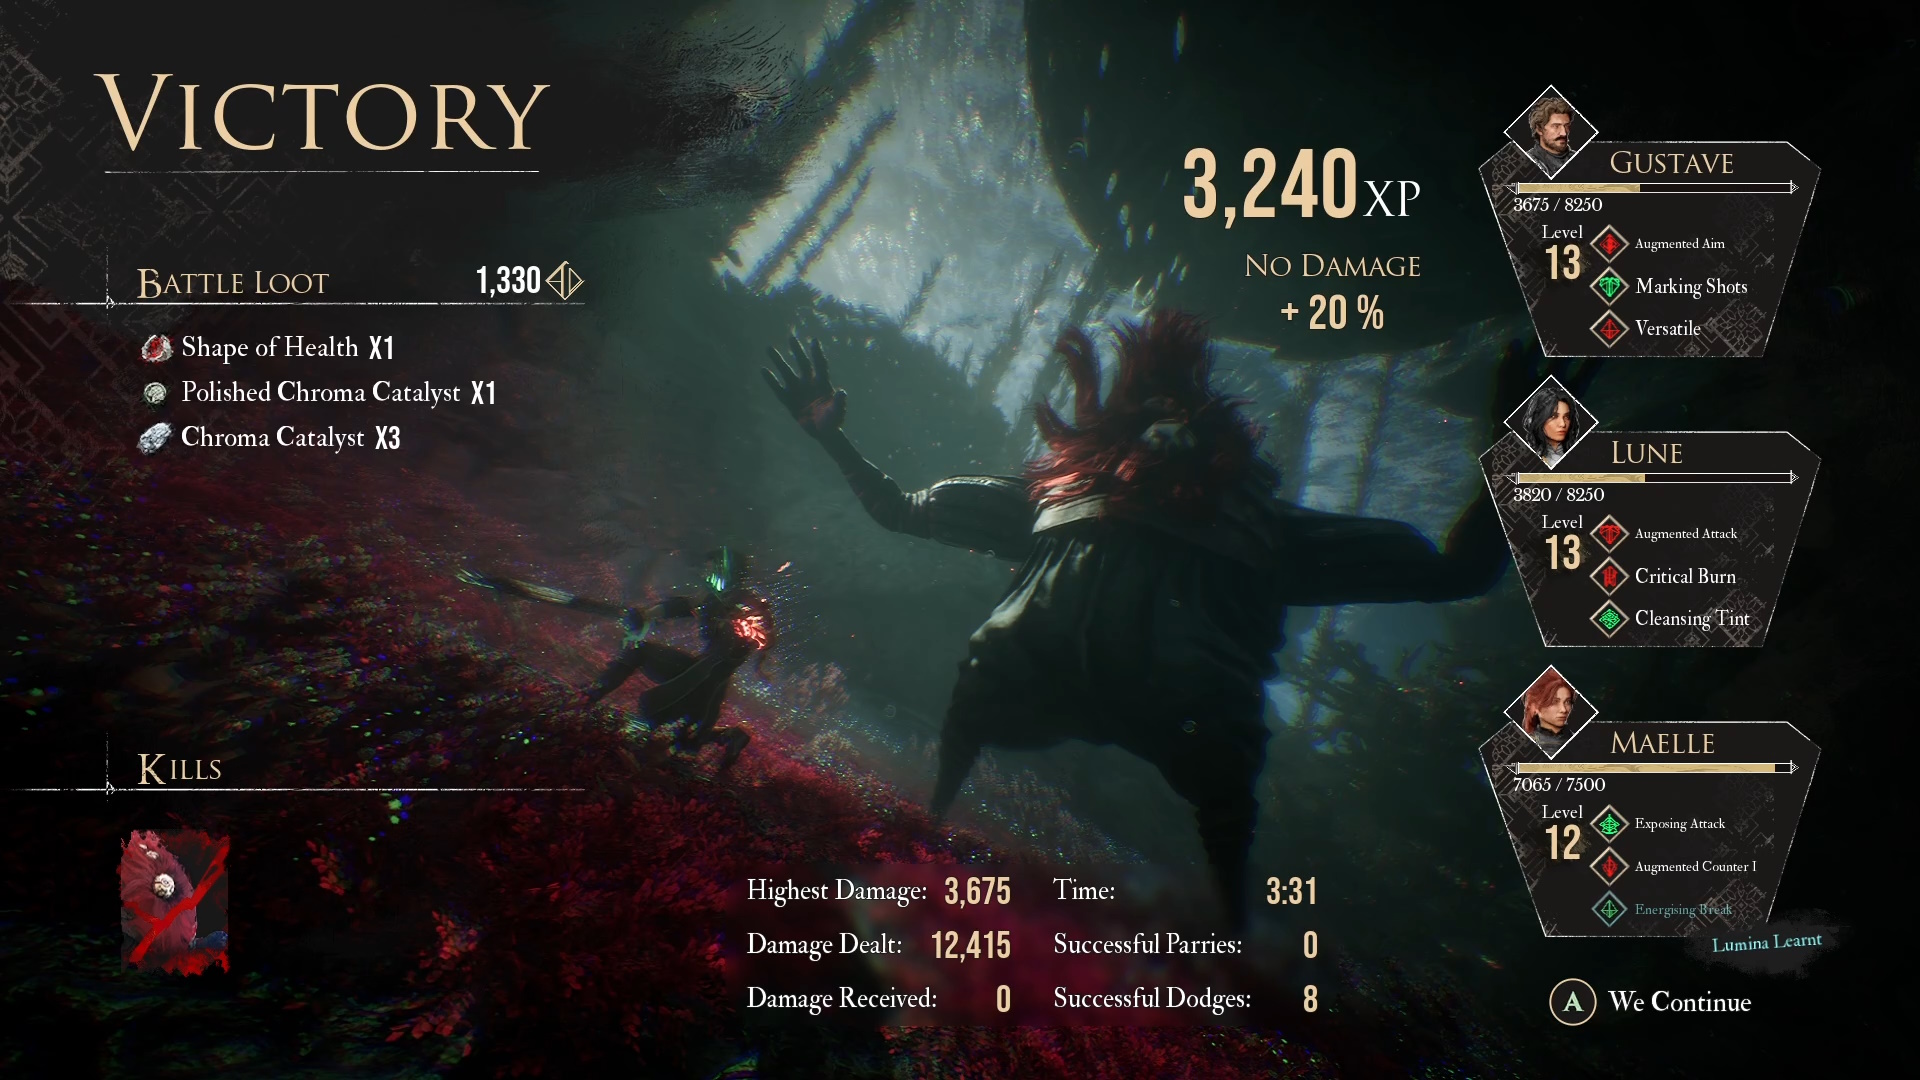
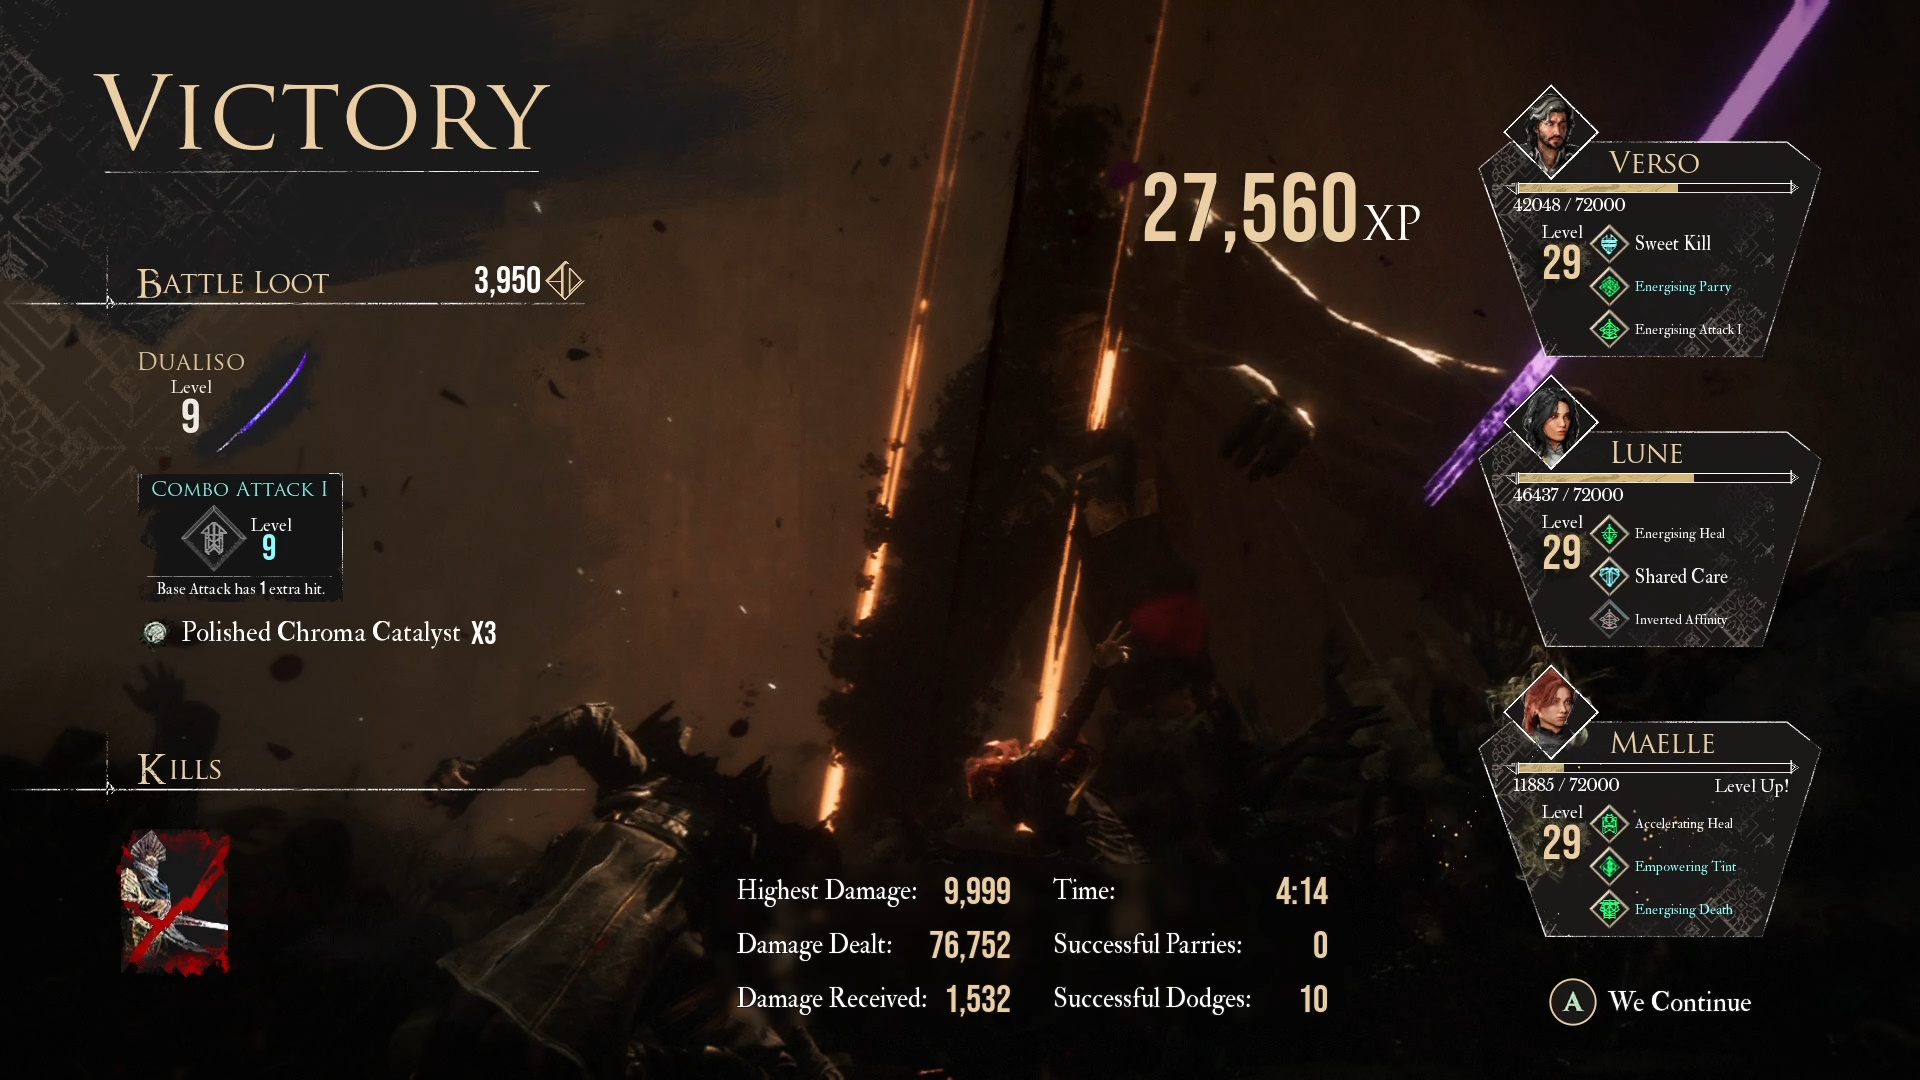
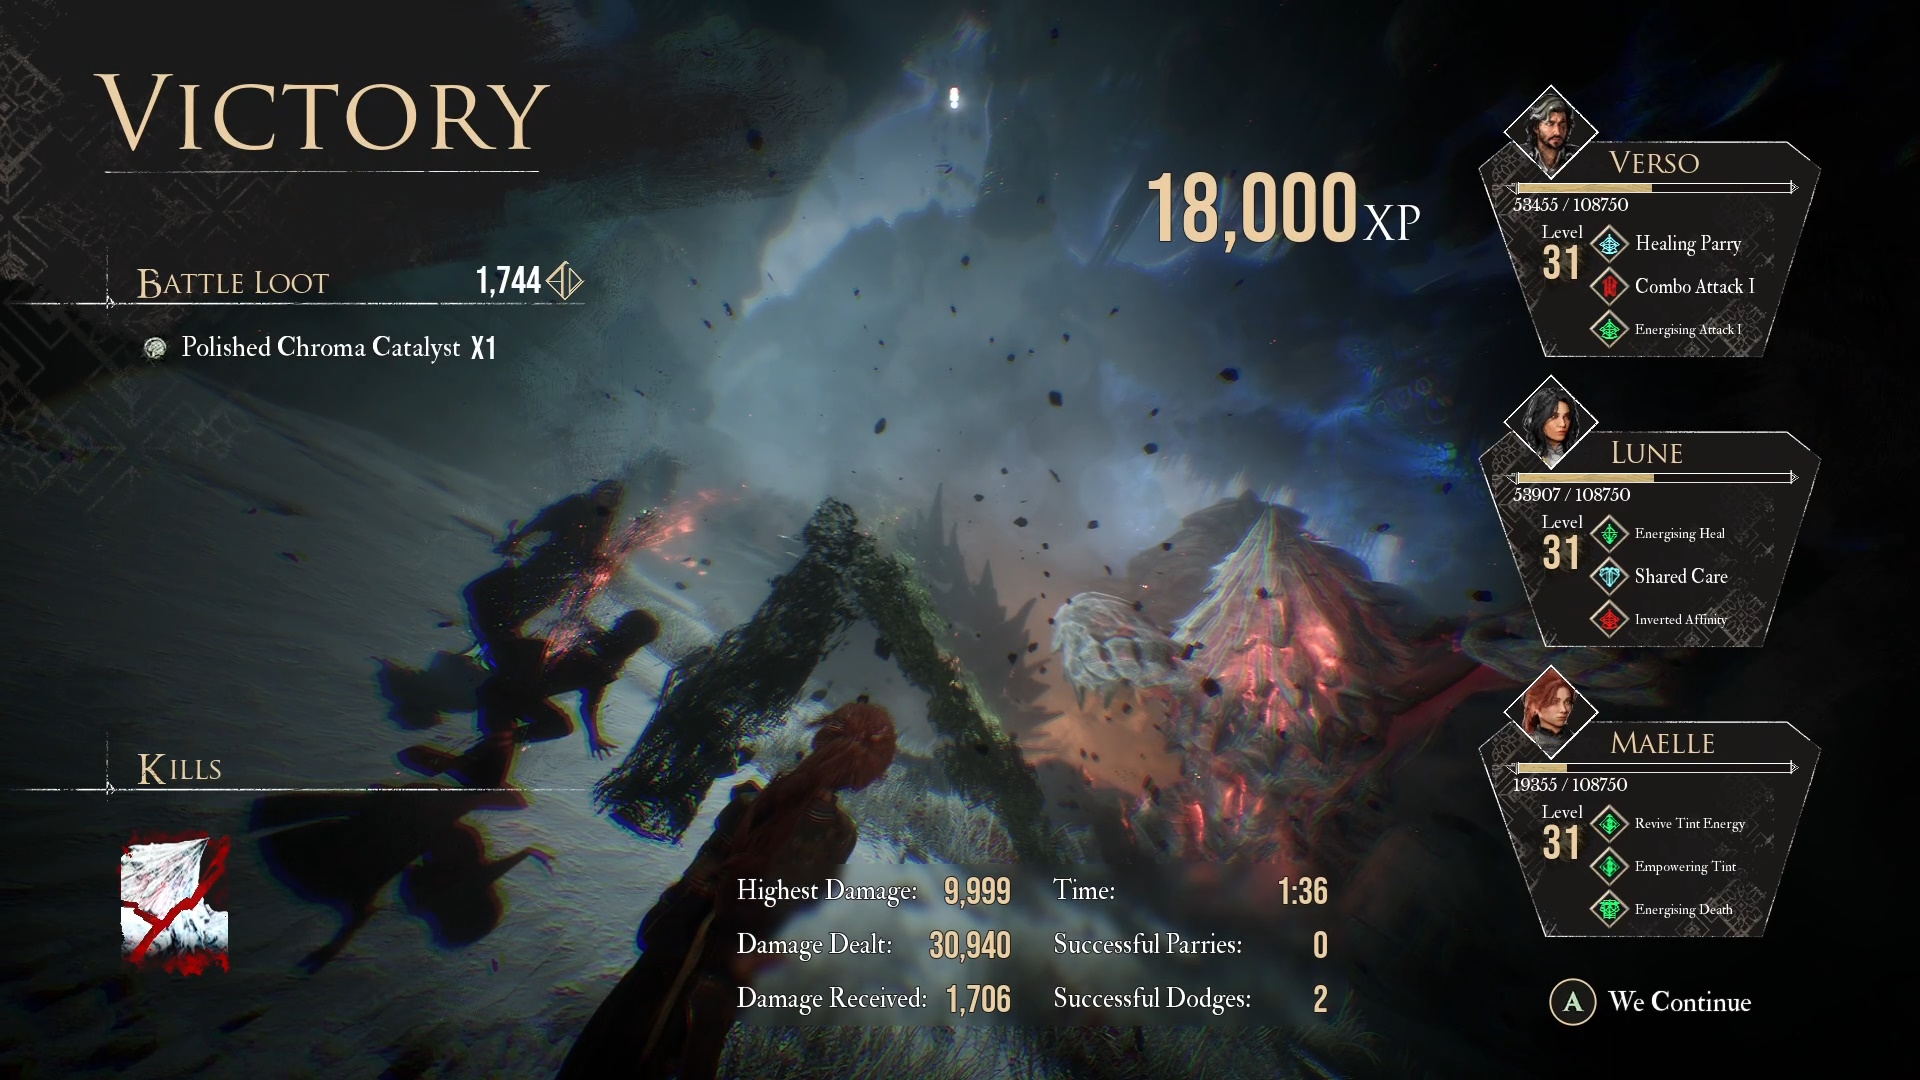
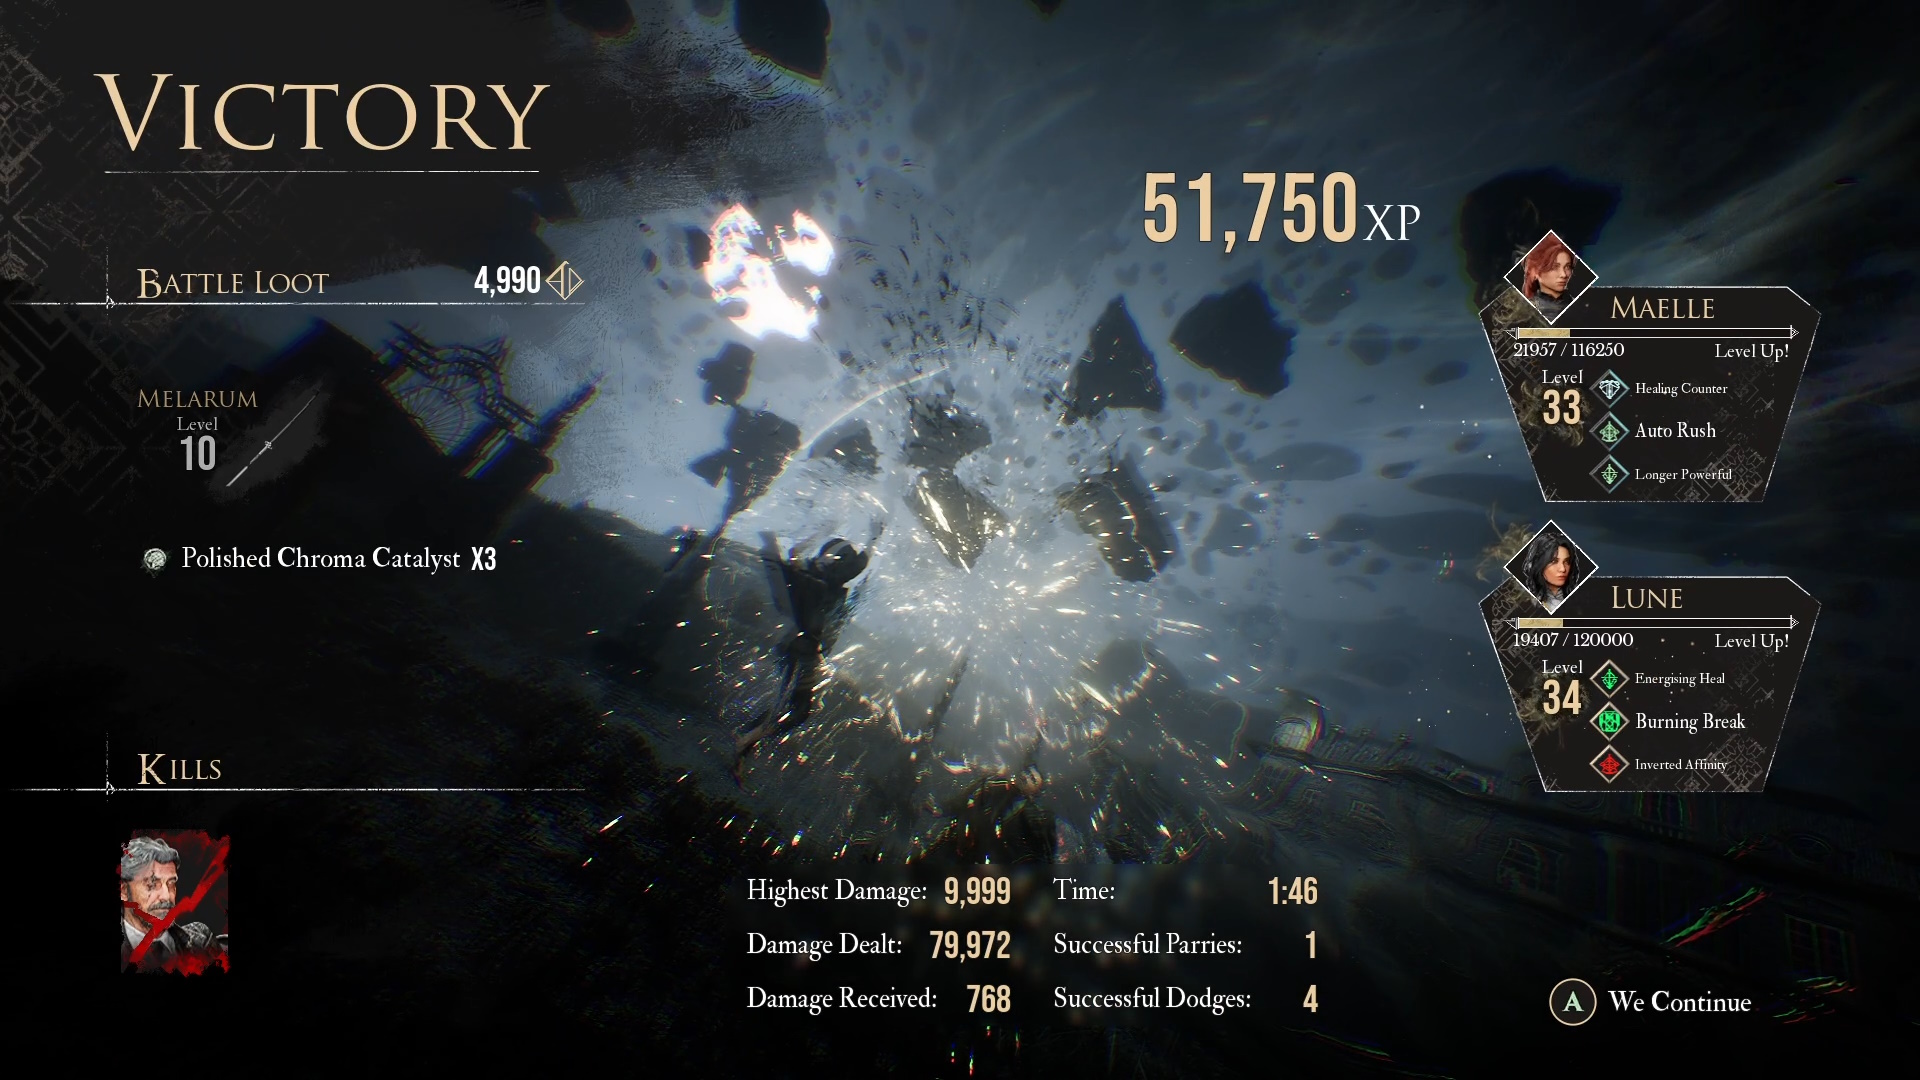
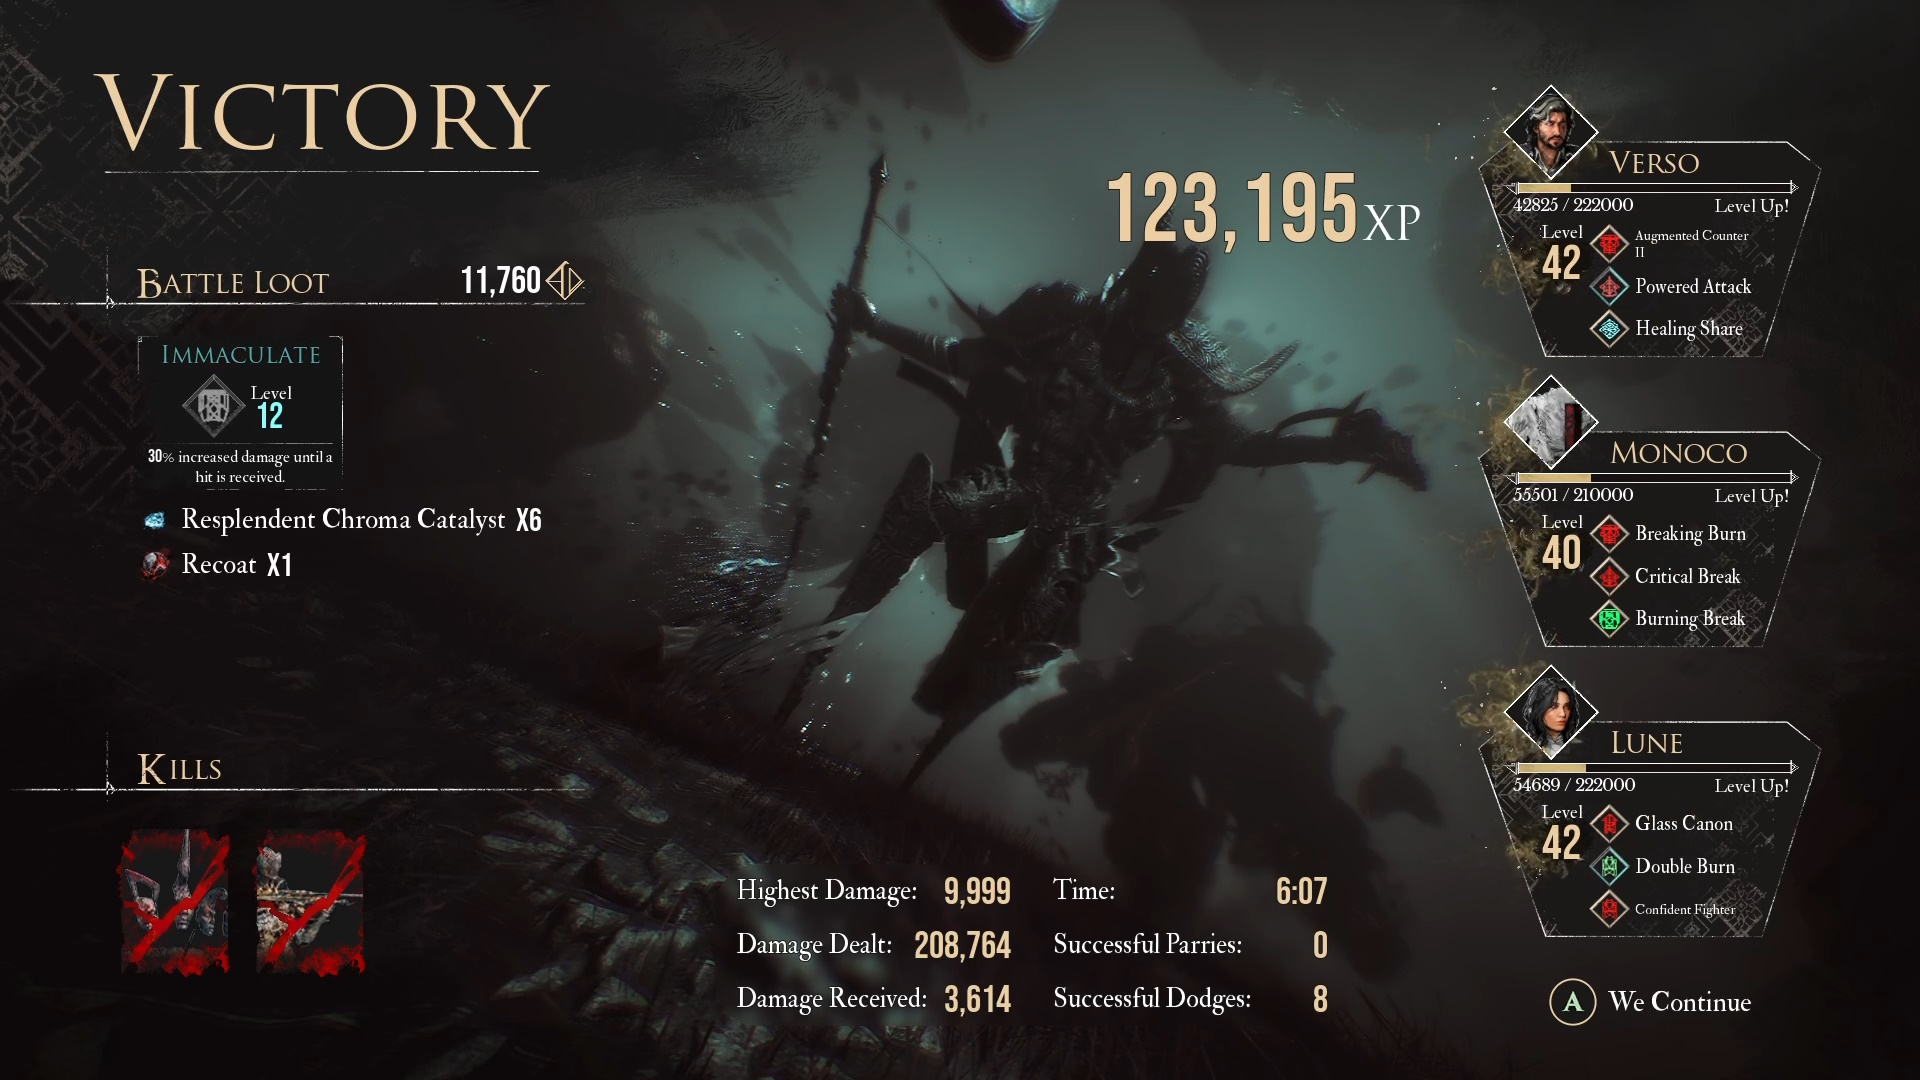
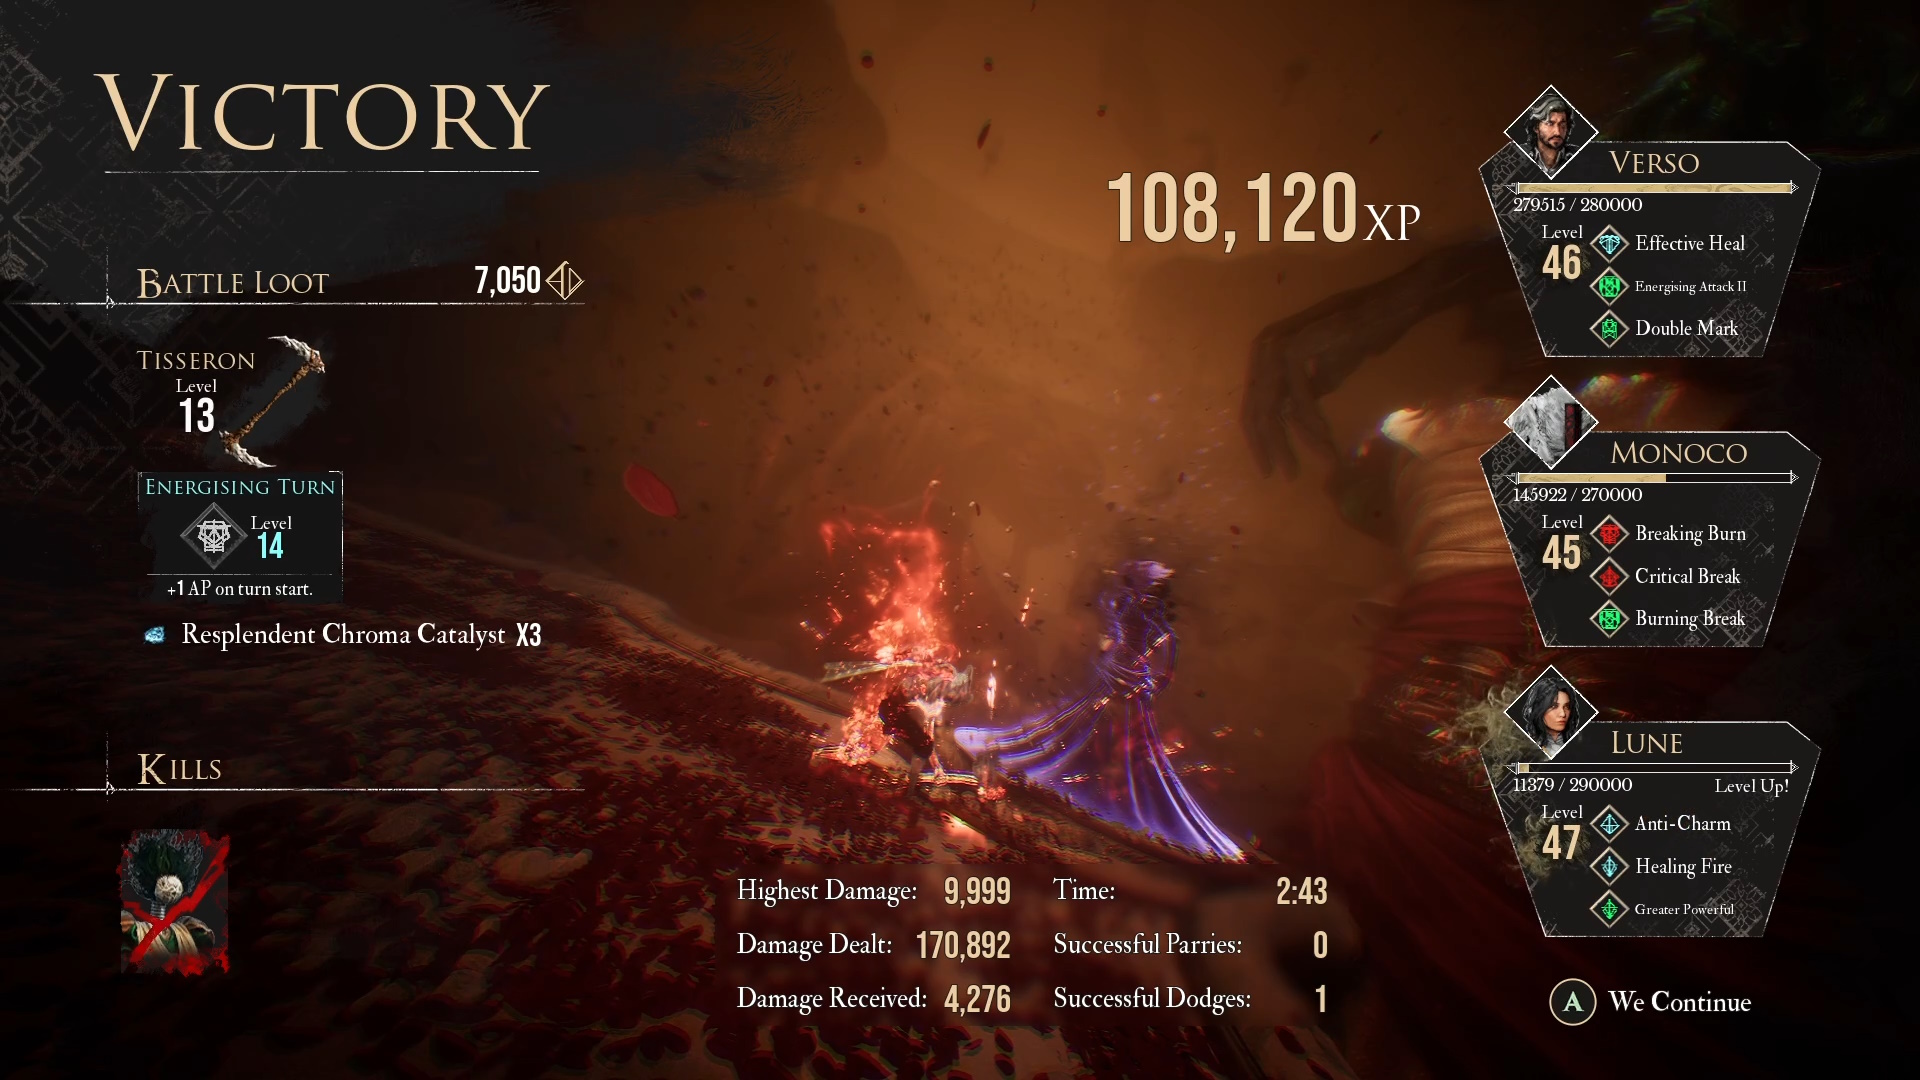
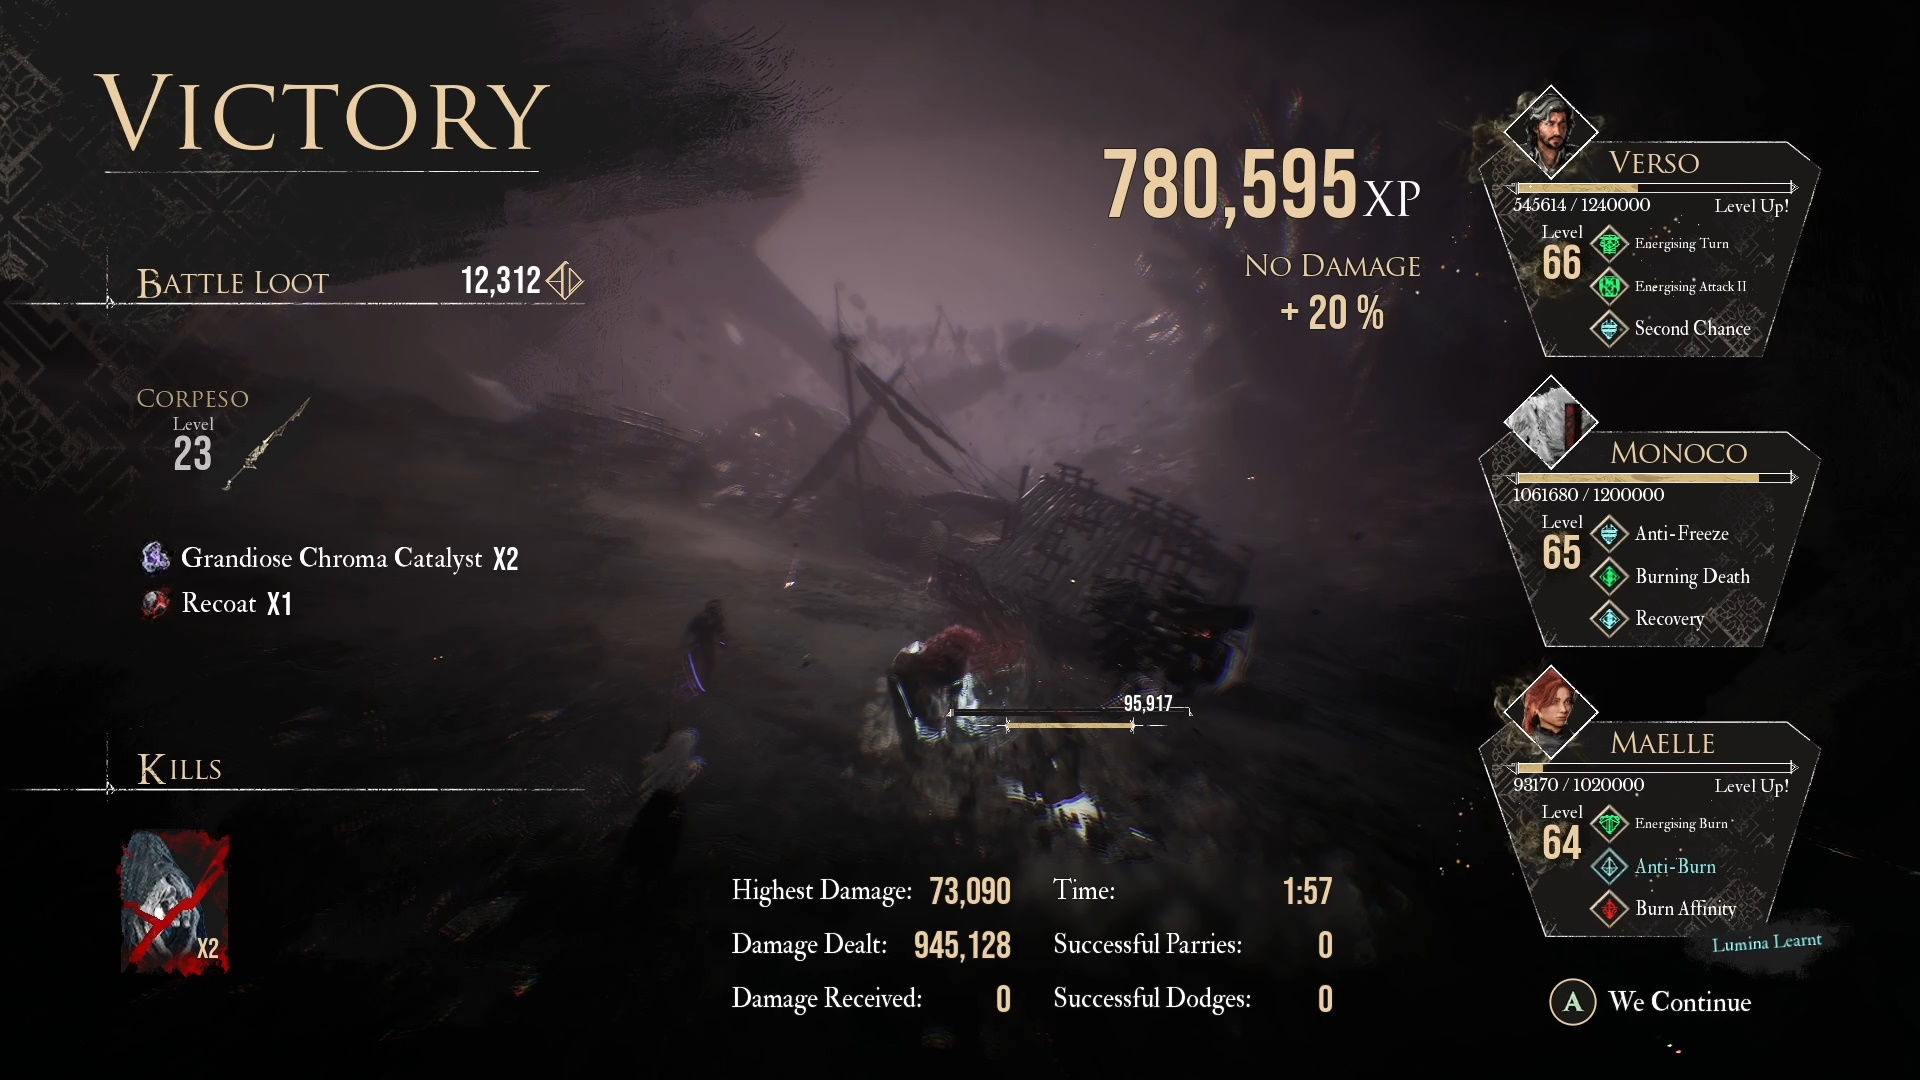
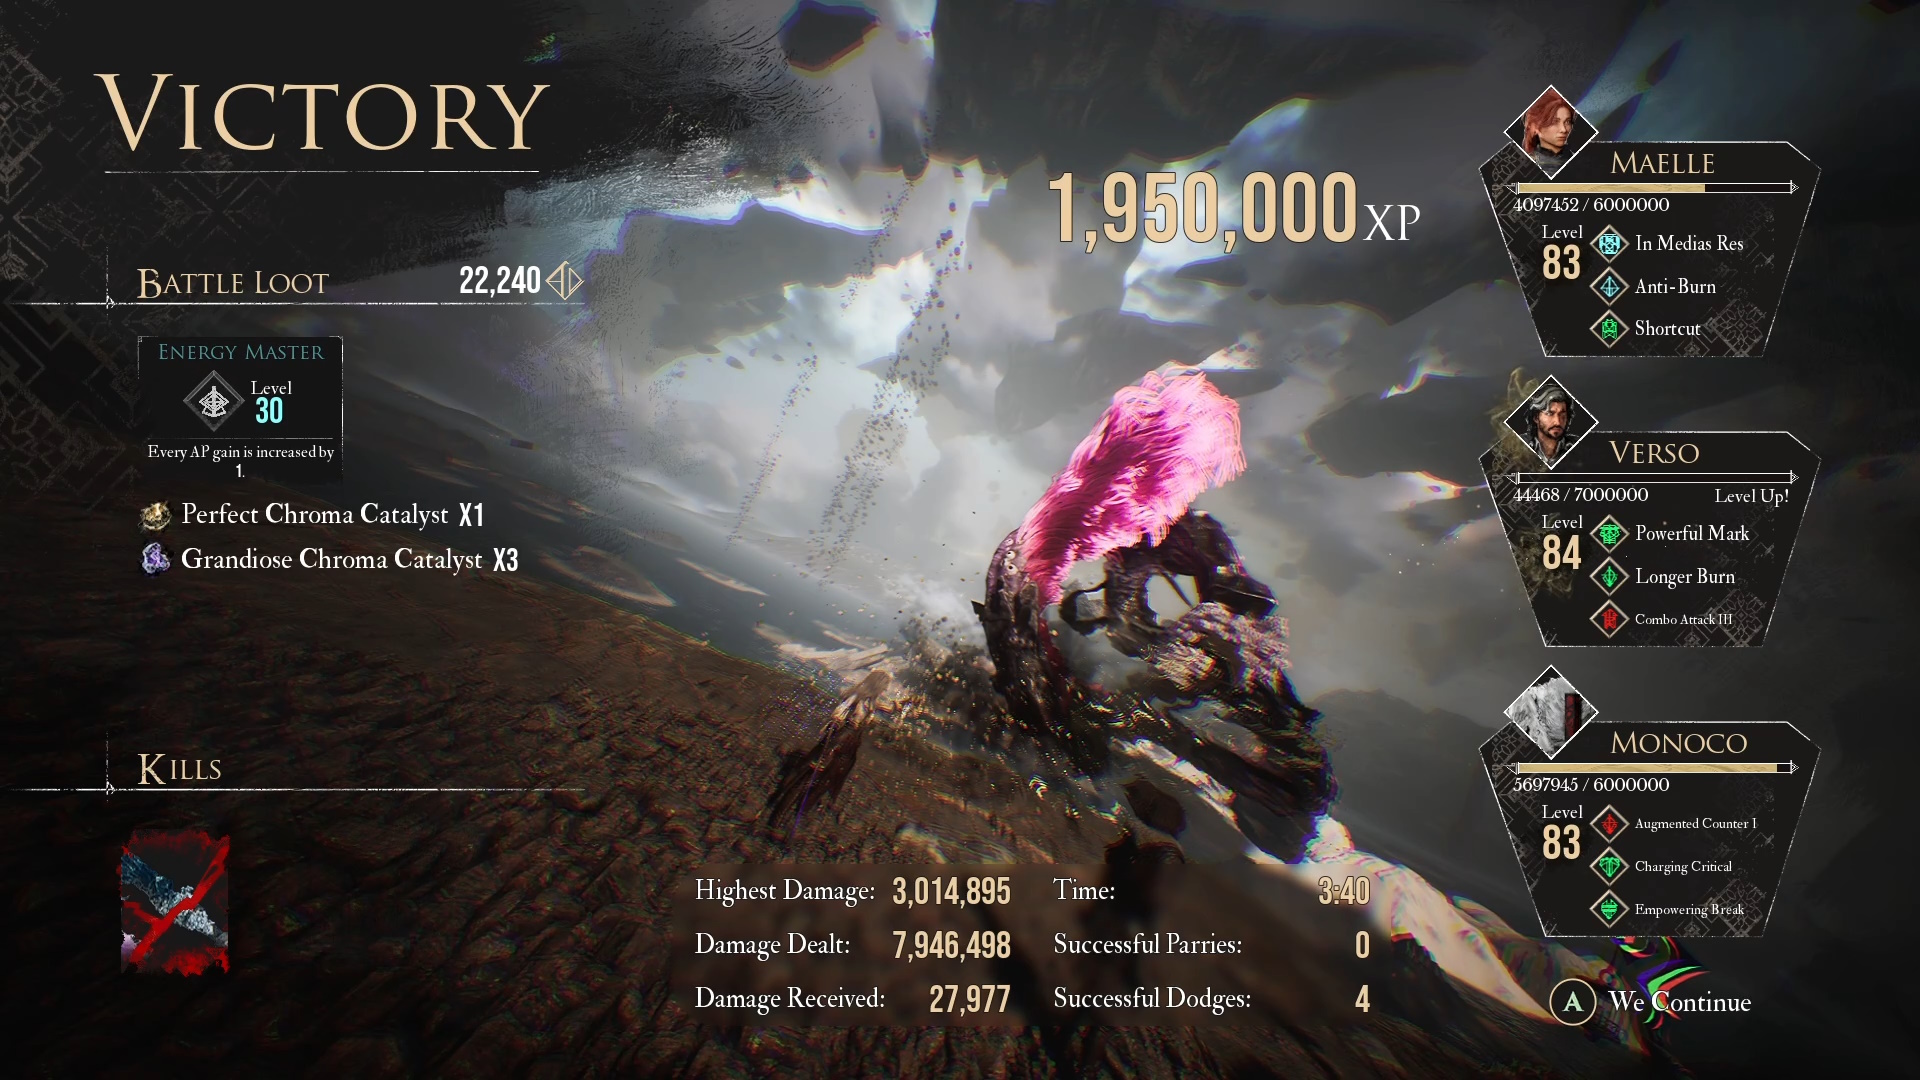
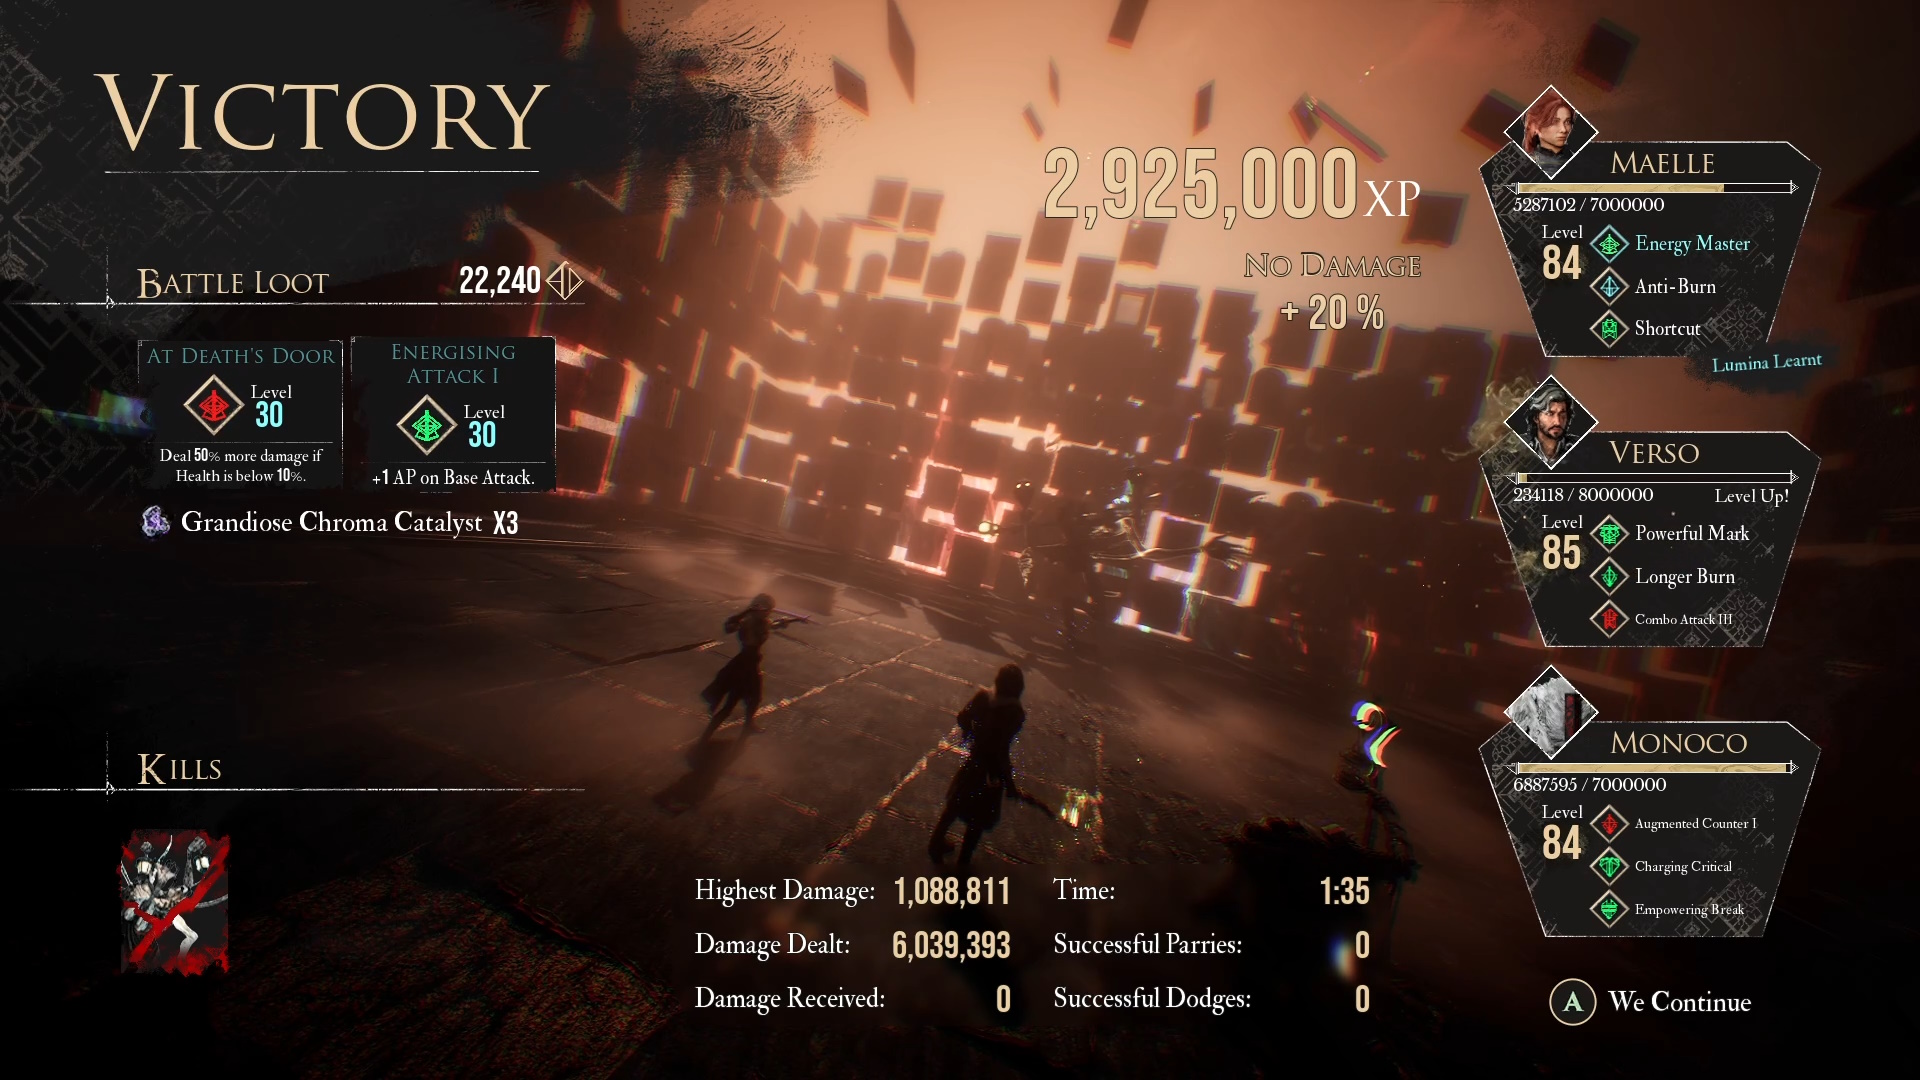
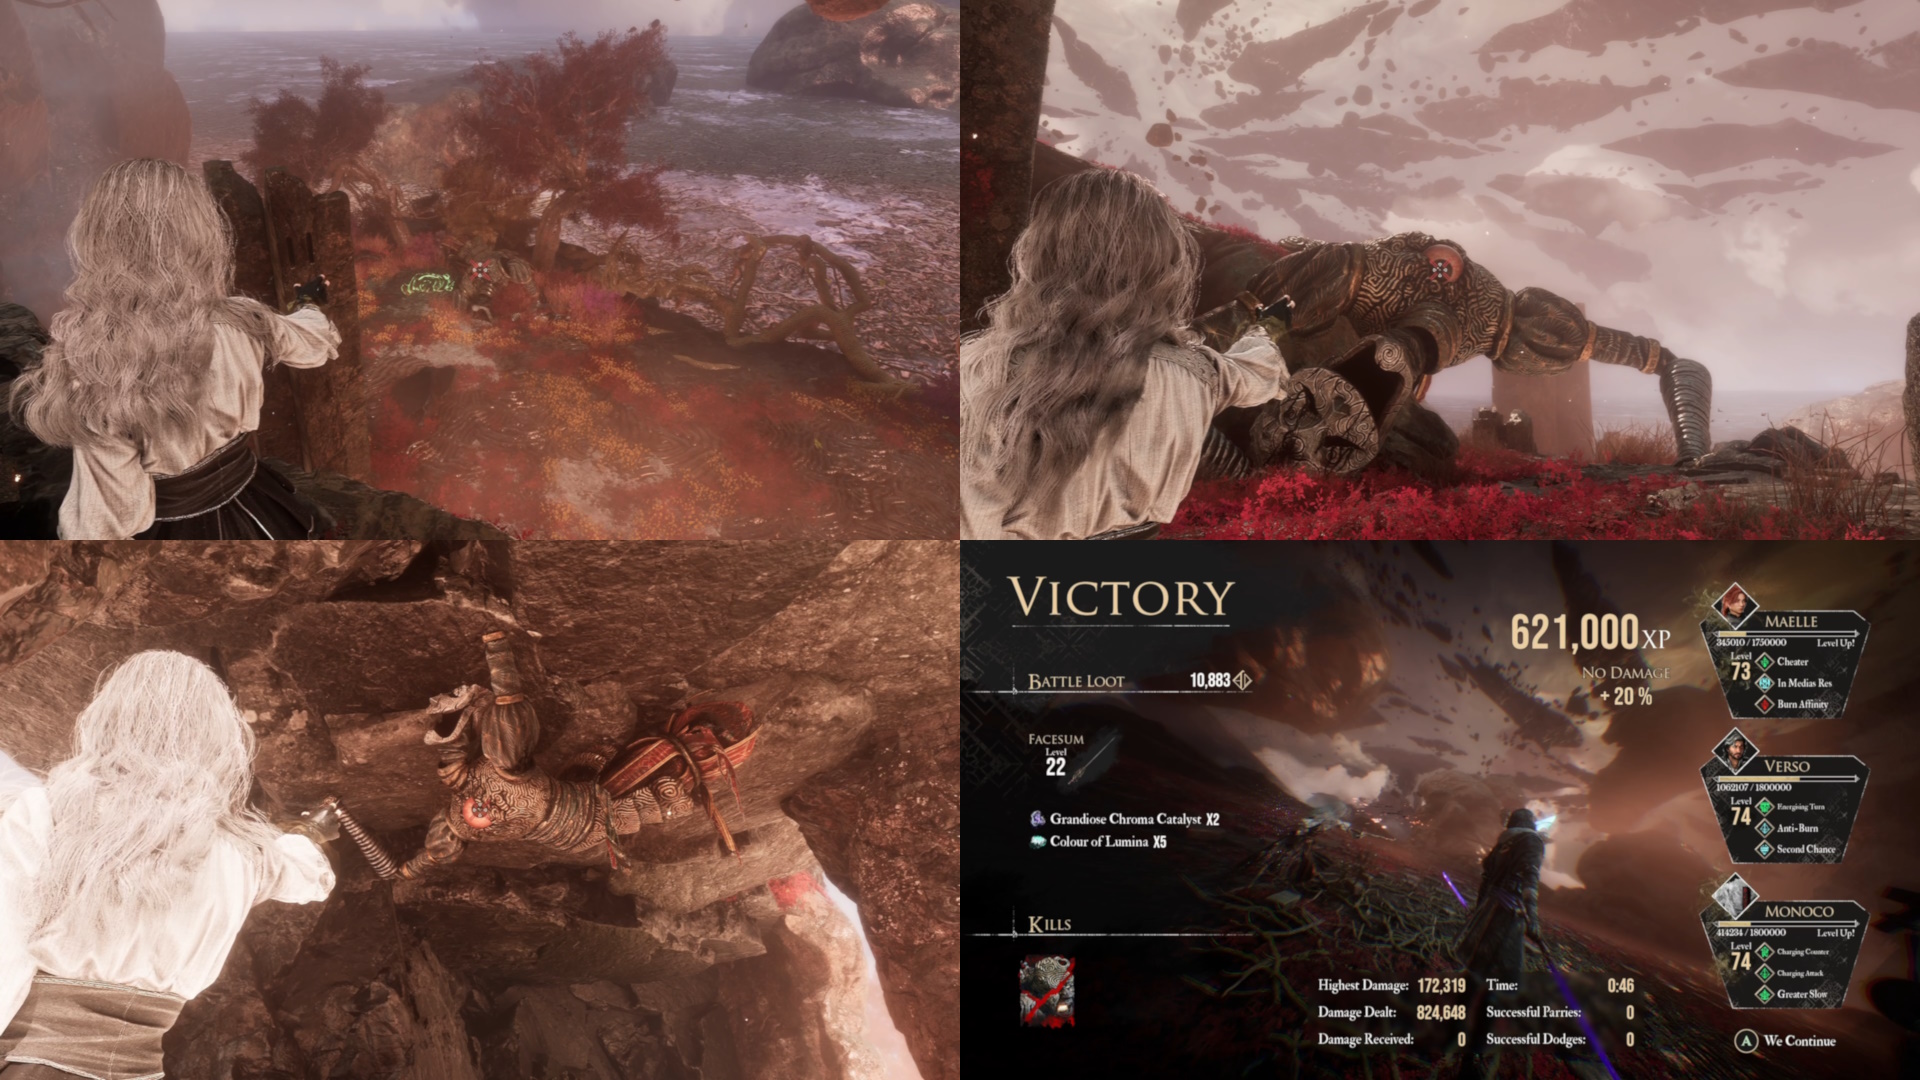
i was able to get from 90 to 99 in about 20 min of grinding the gestral merchant in Renoir's drafts!

Location:
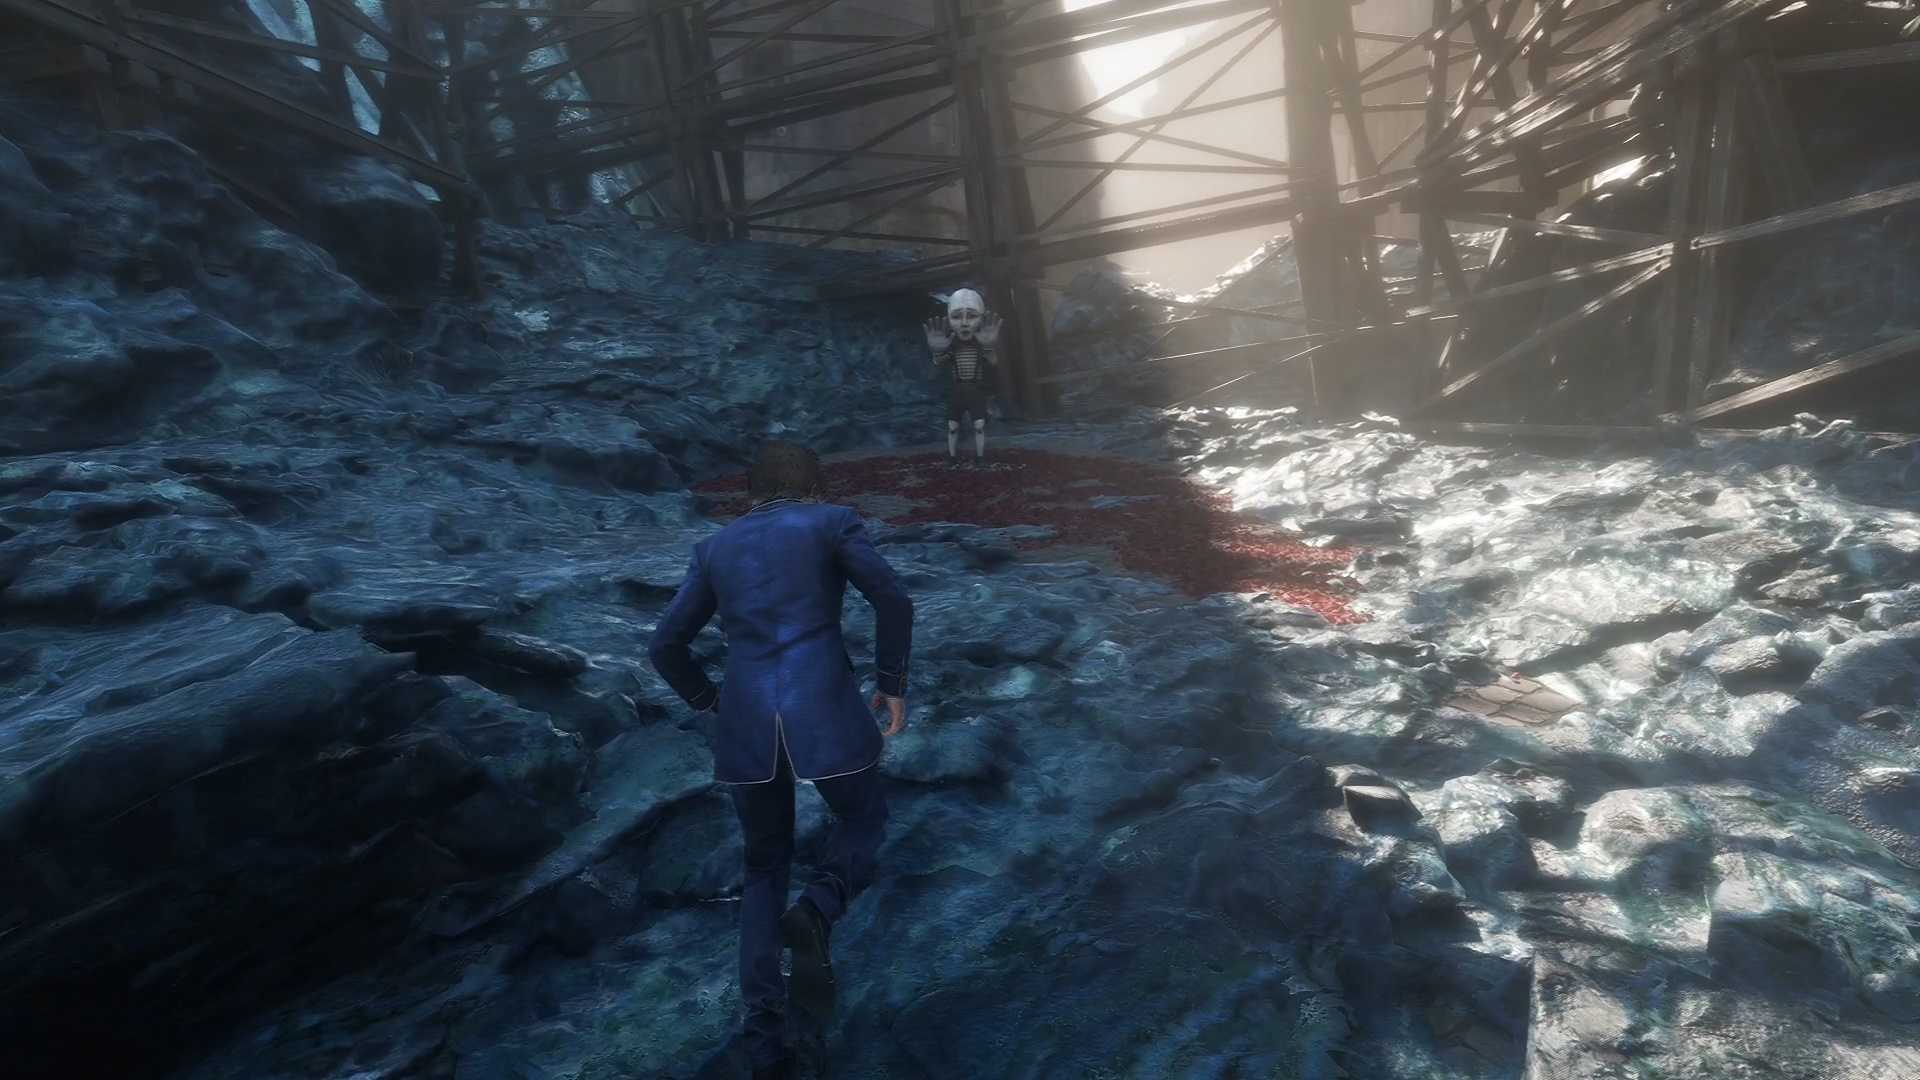
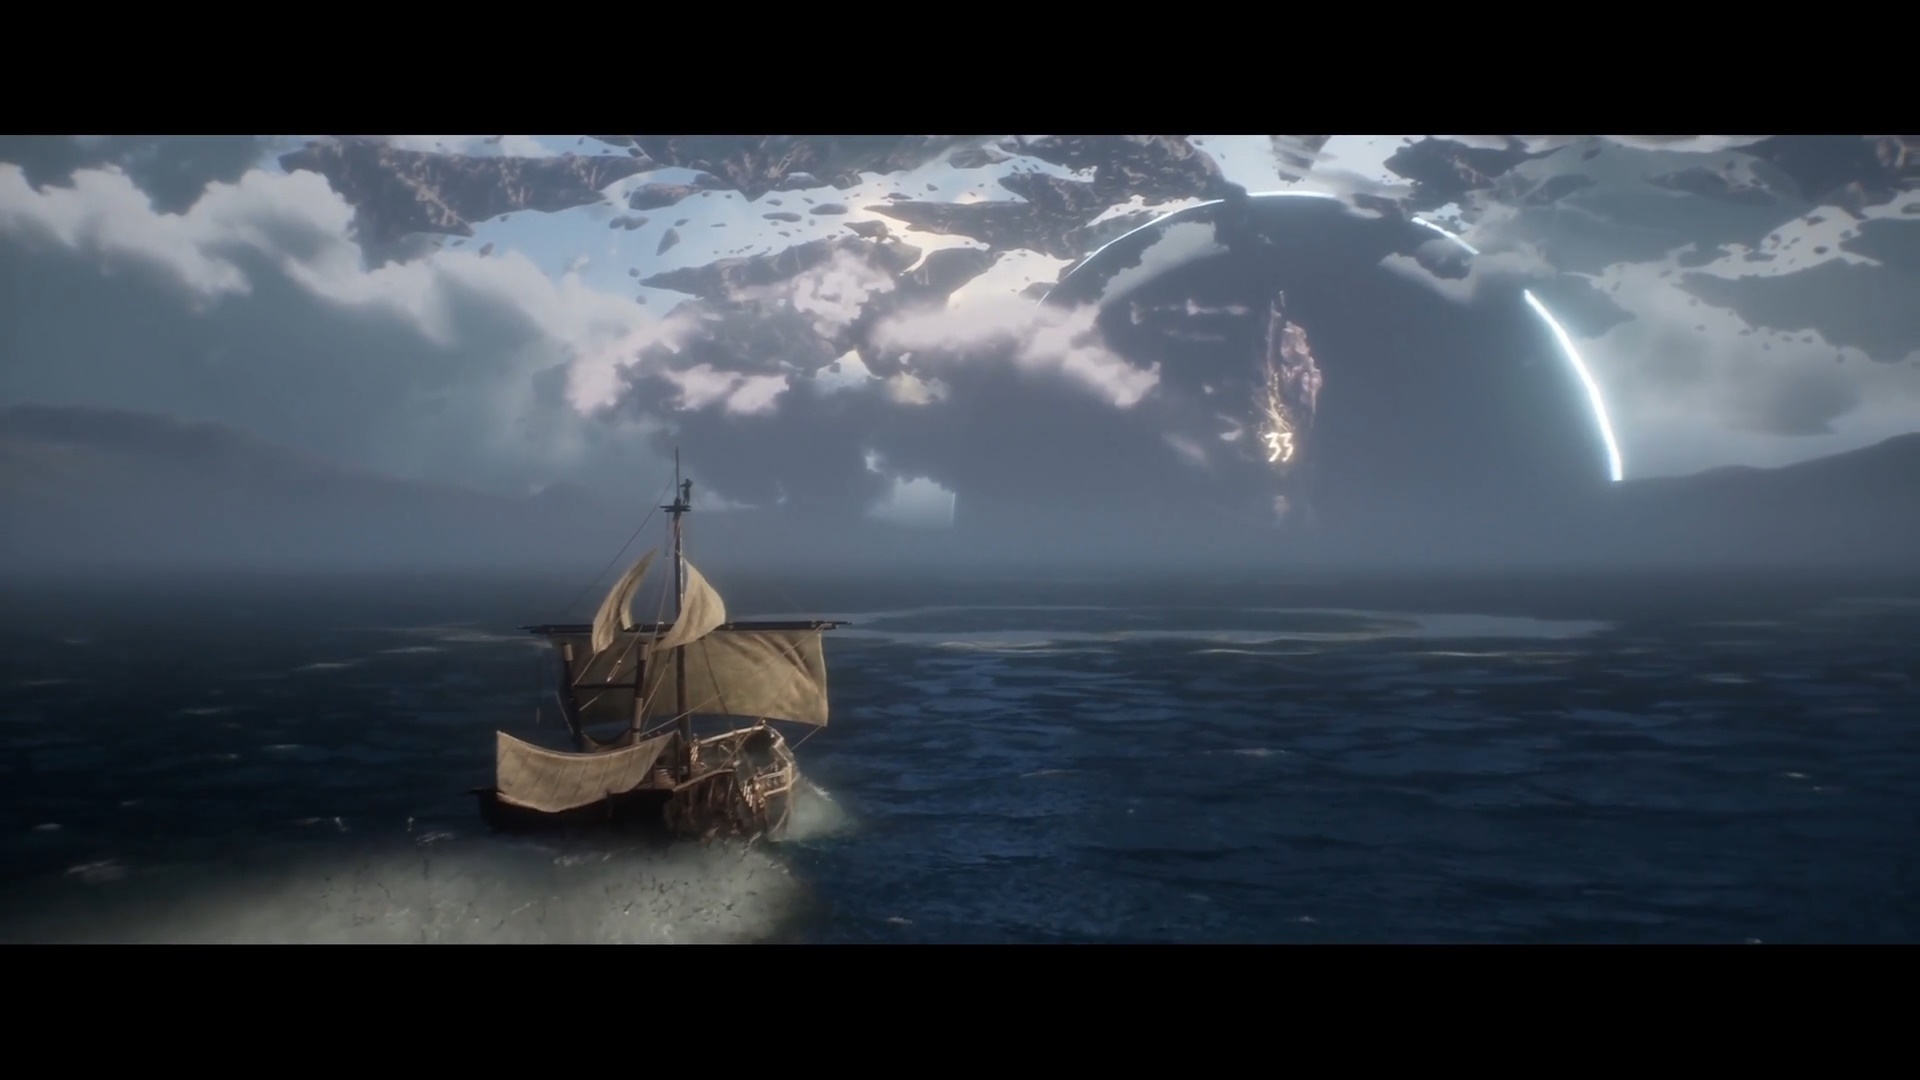
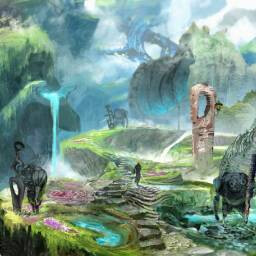
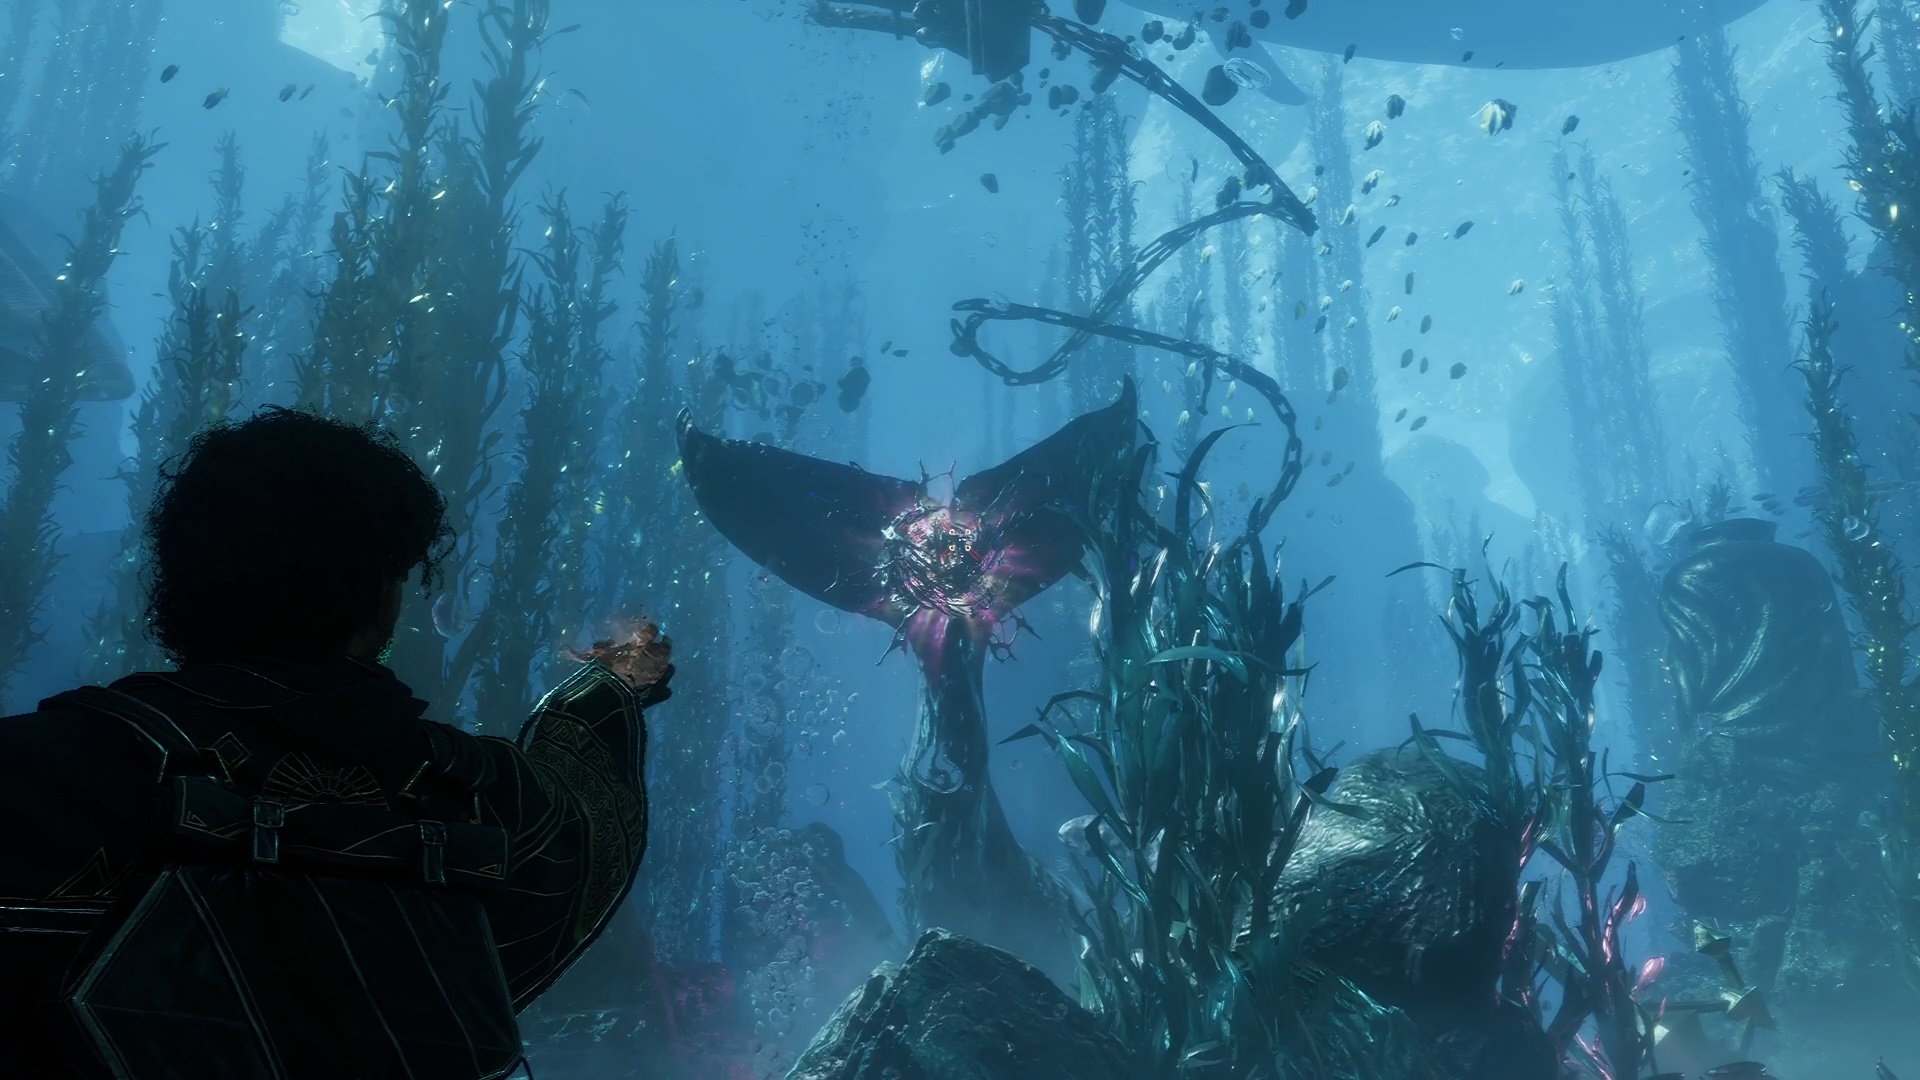
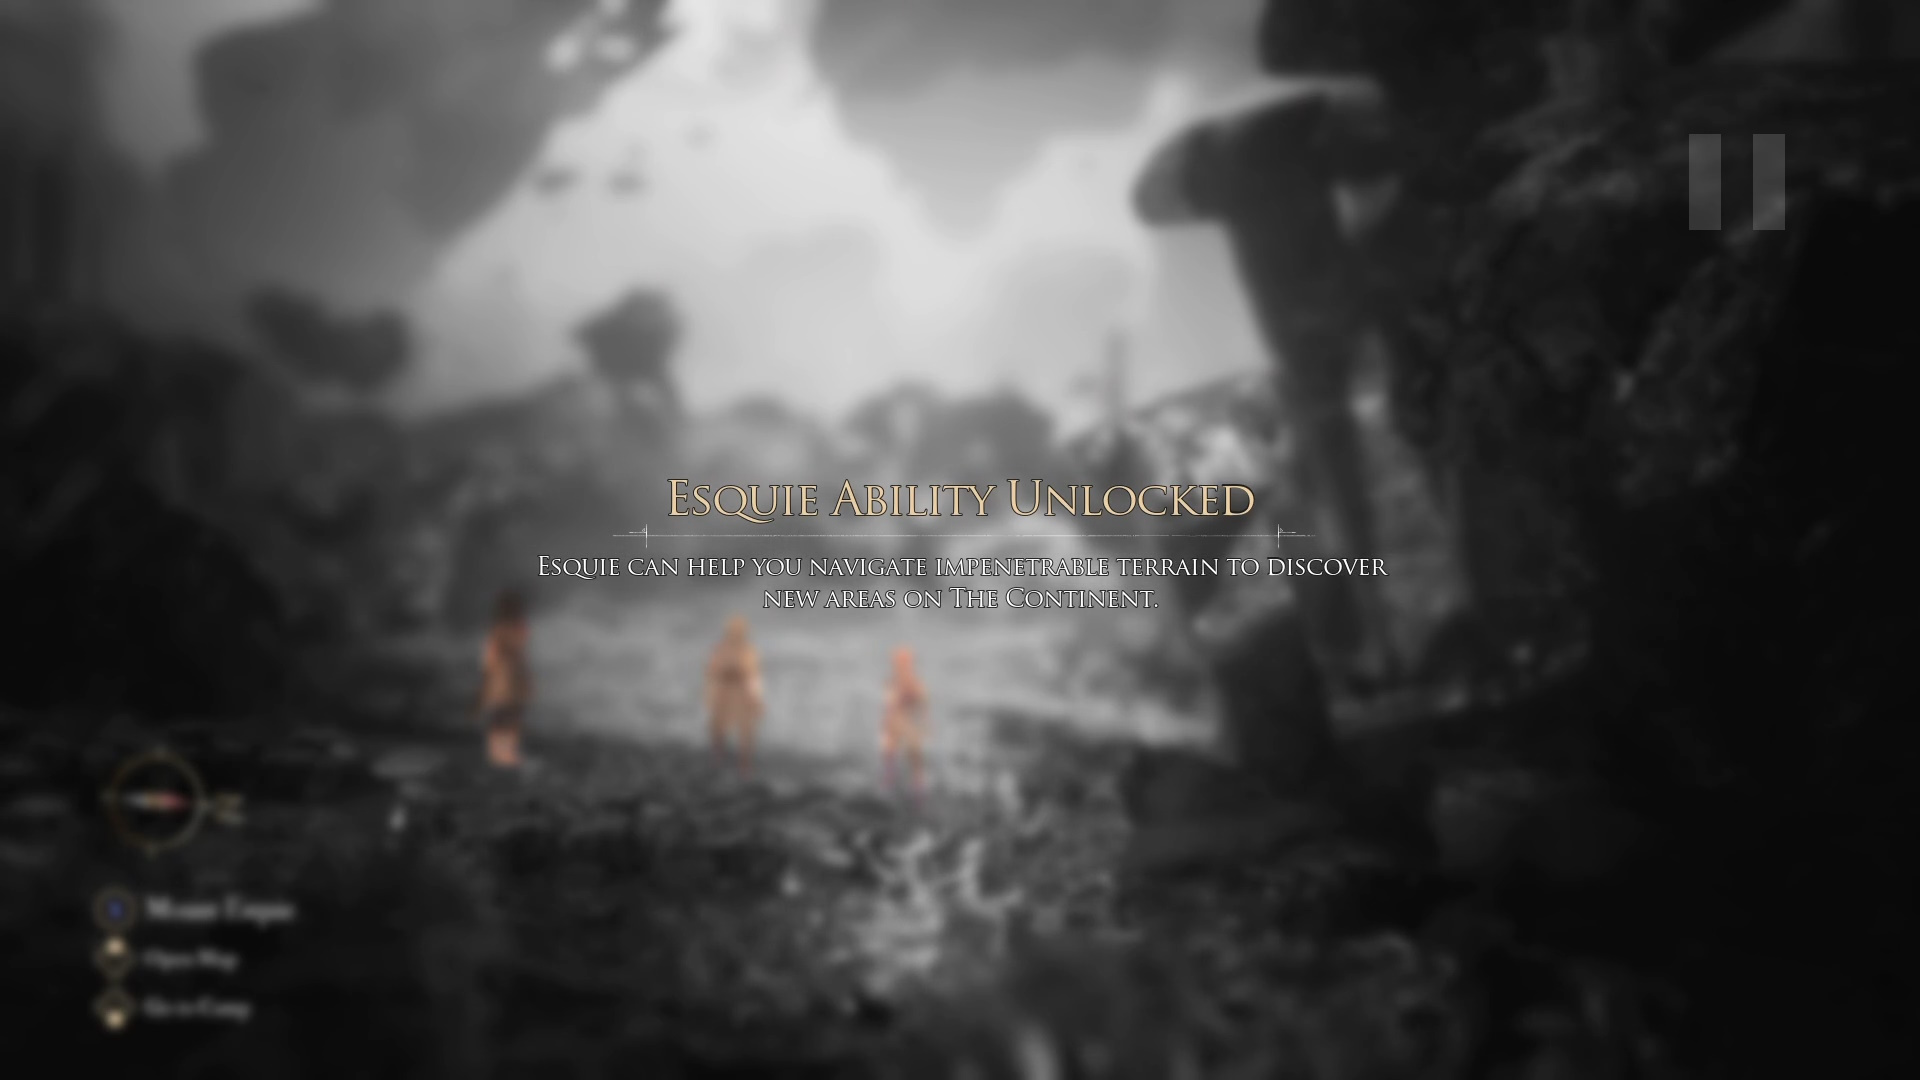
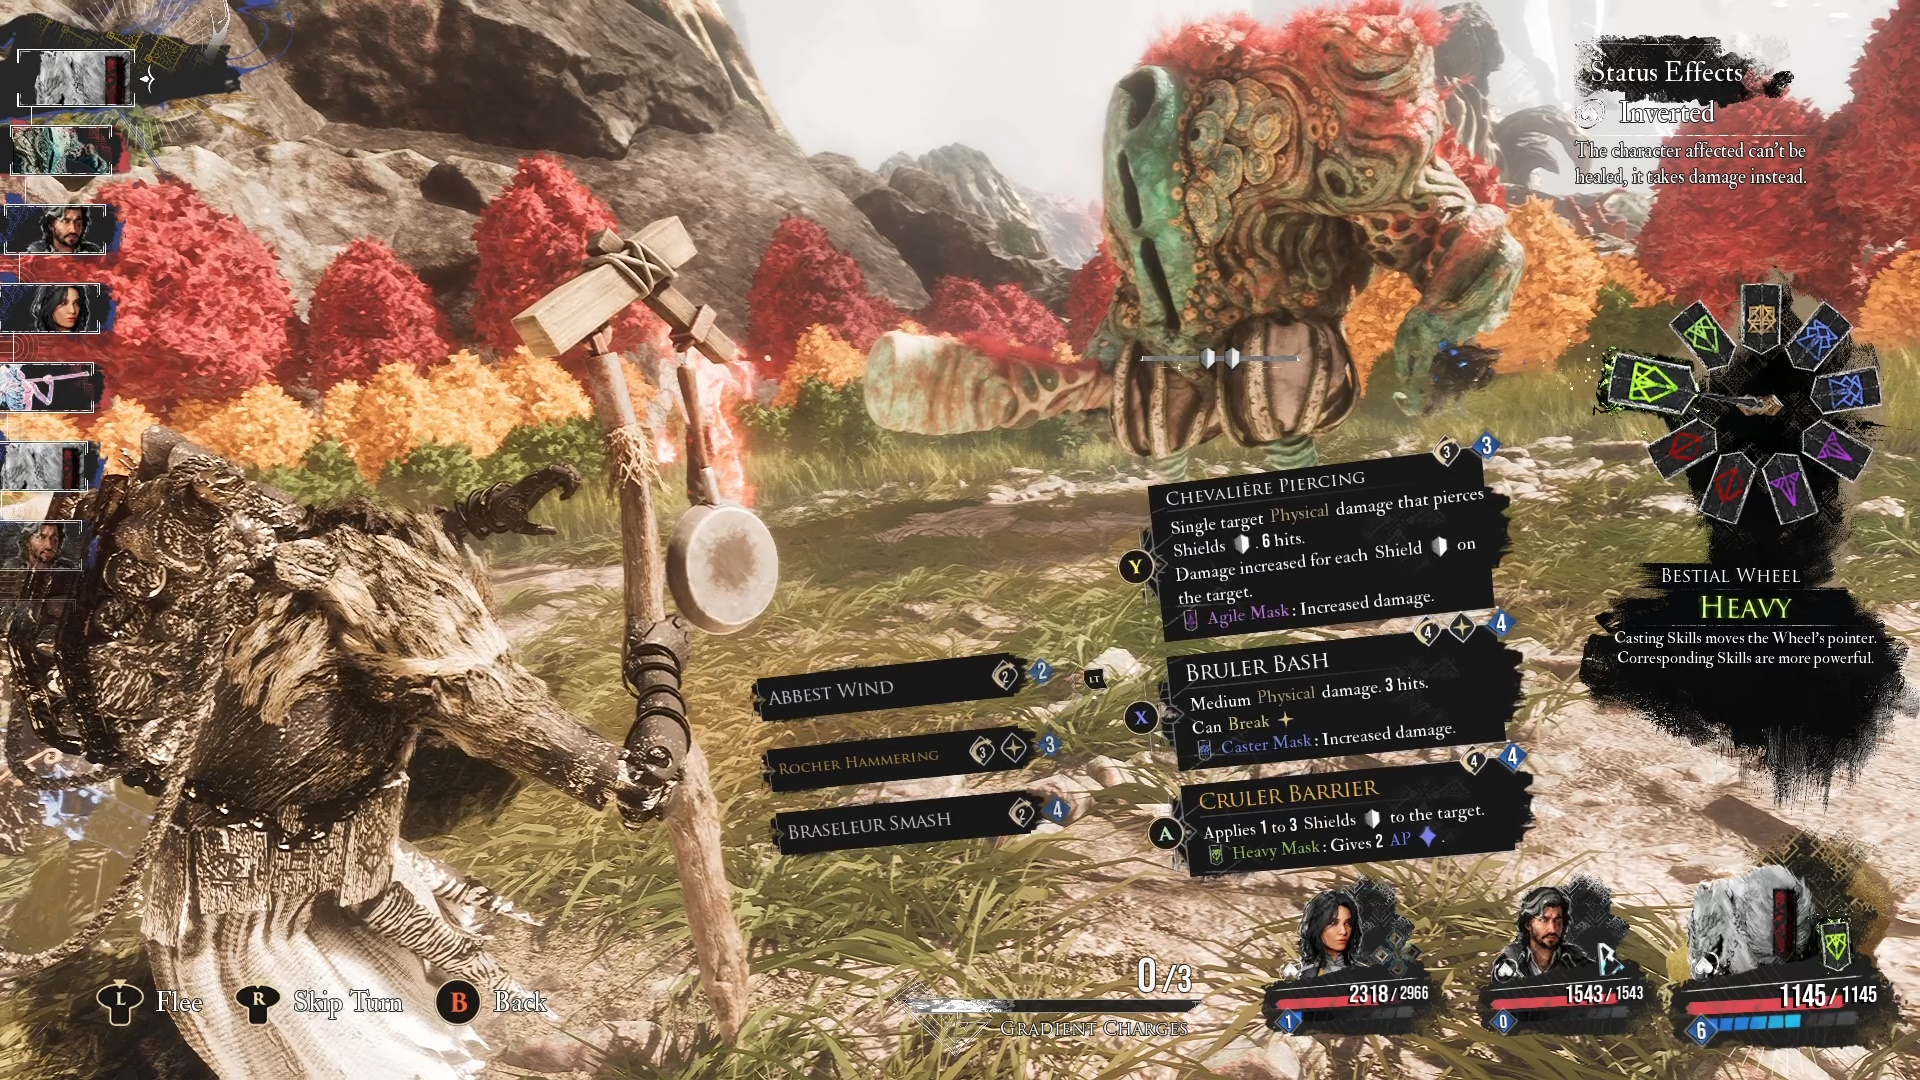
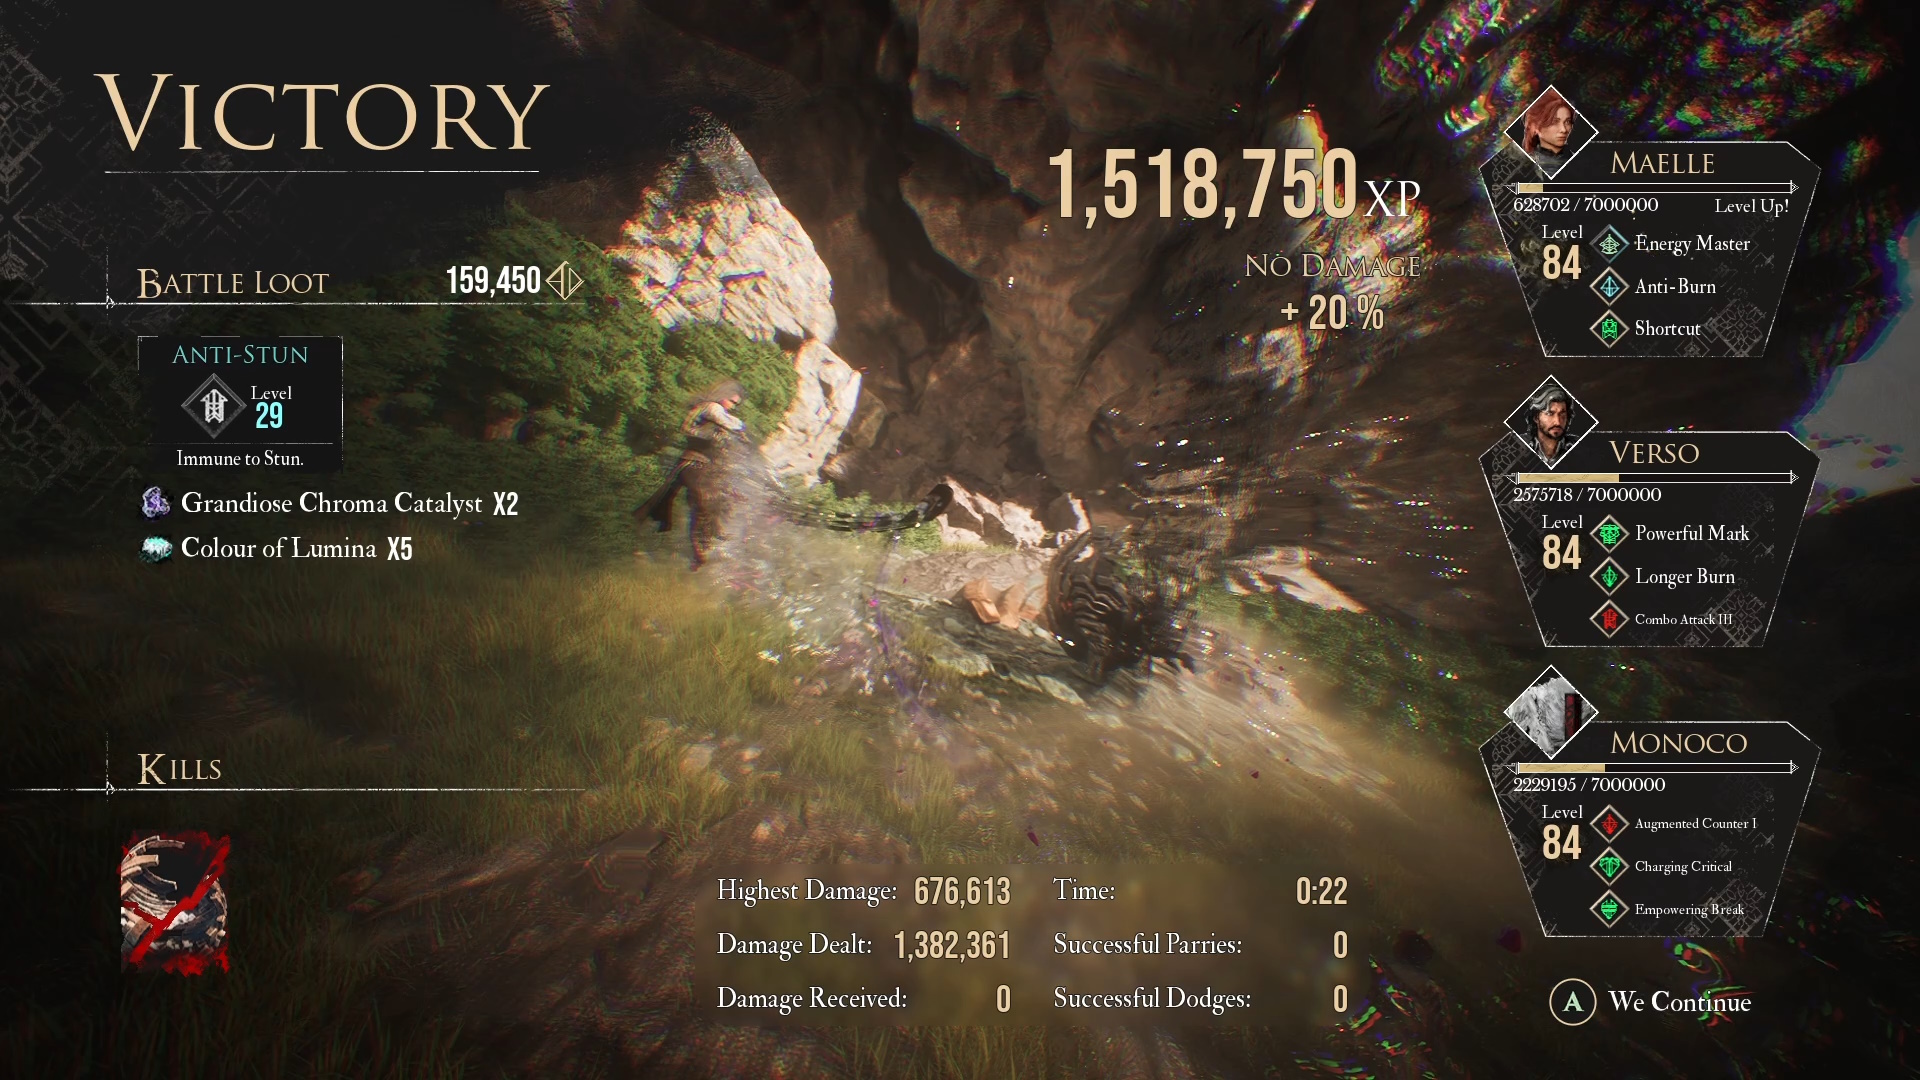
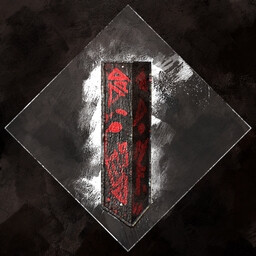
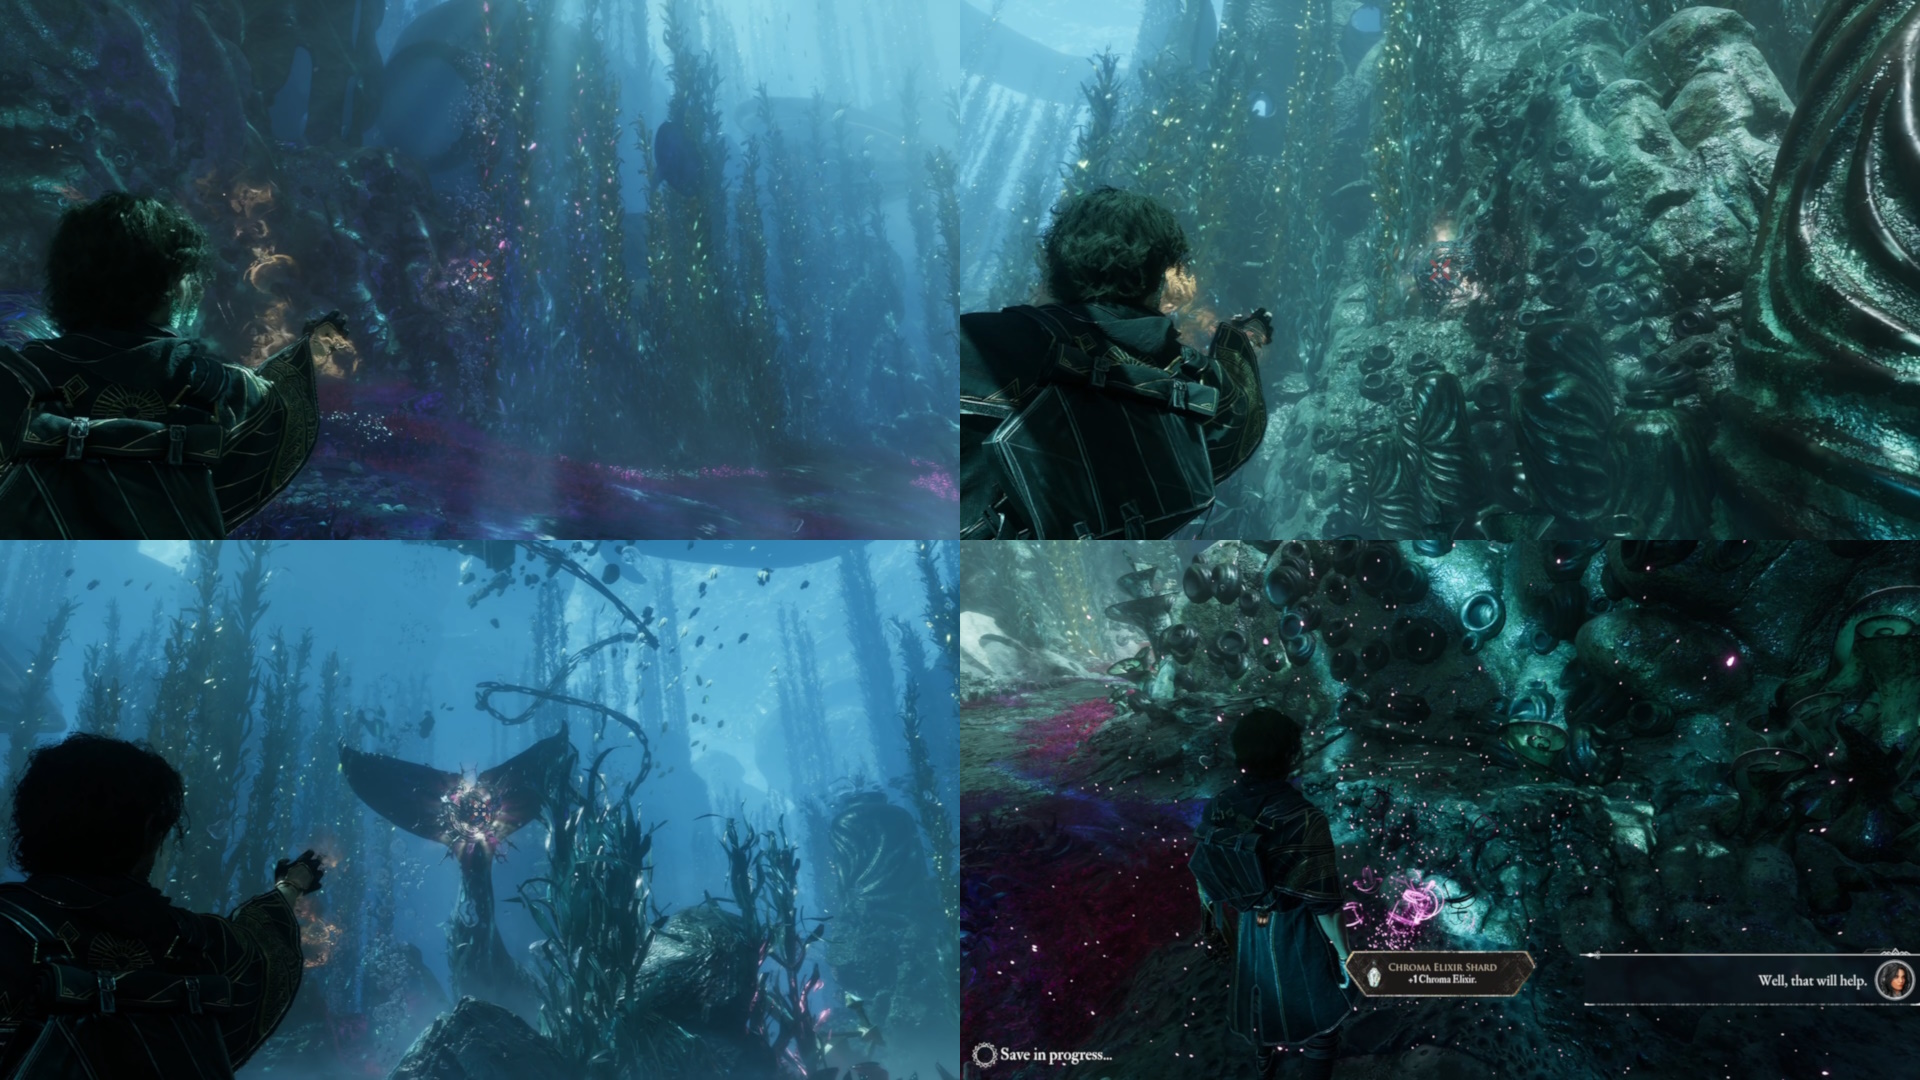
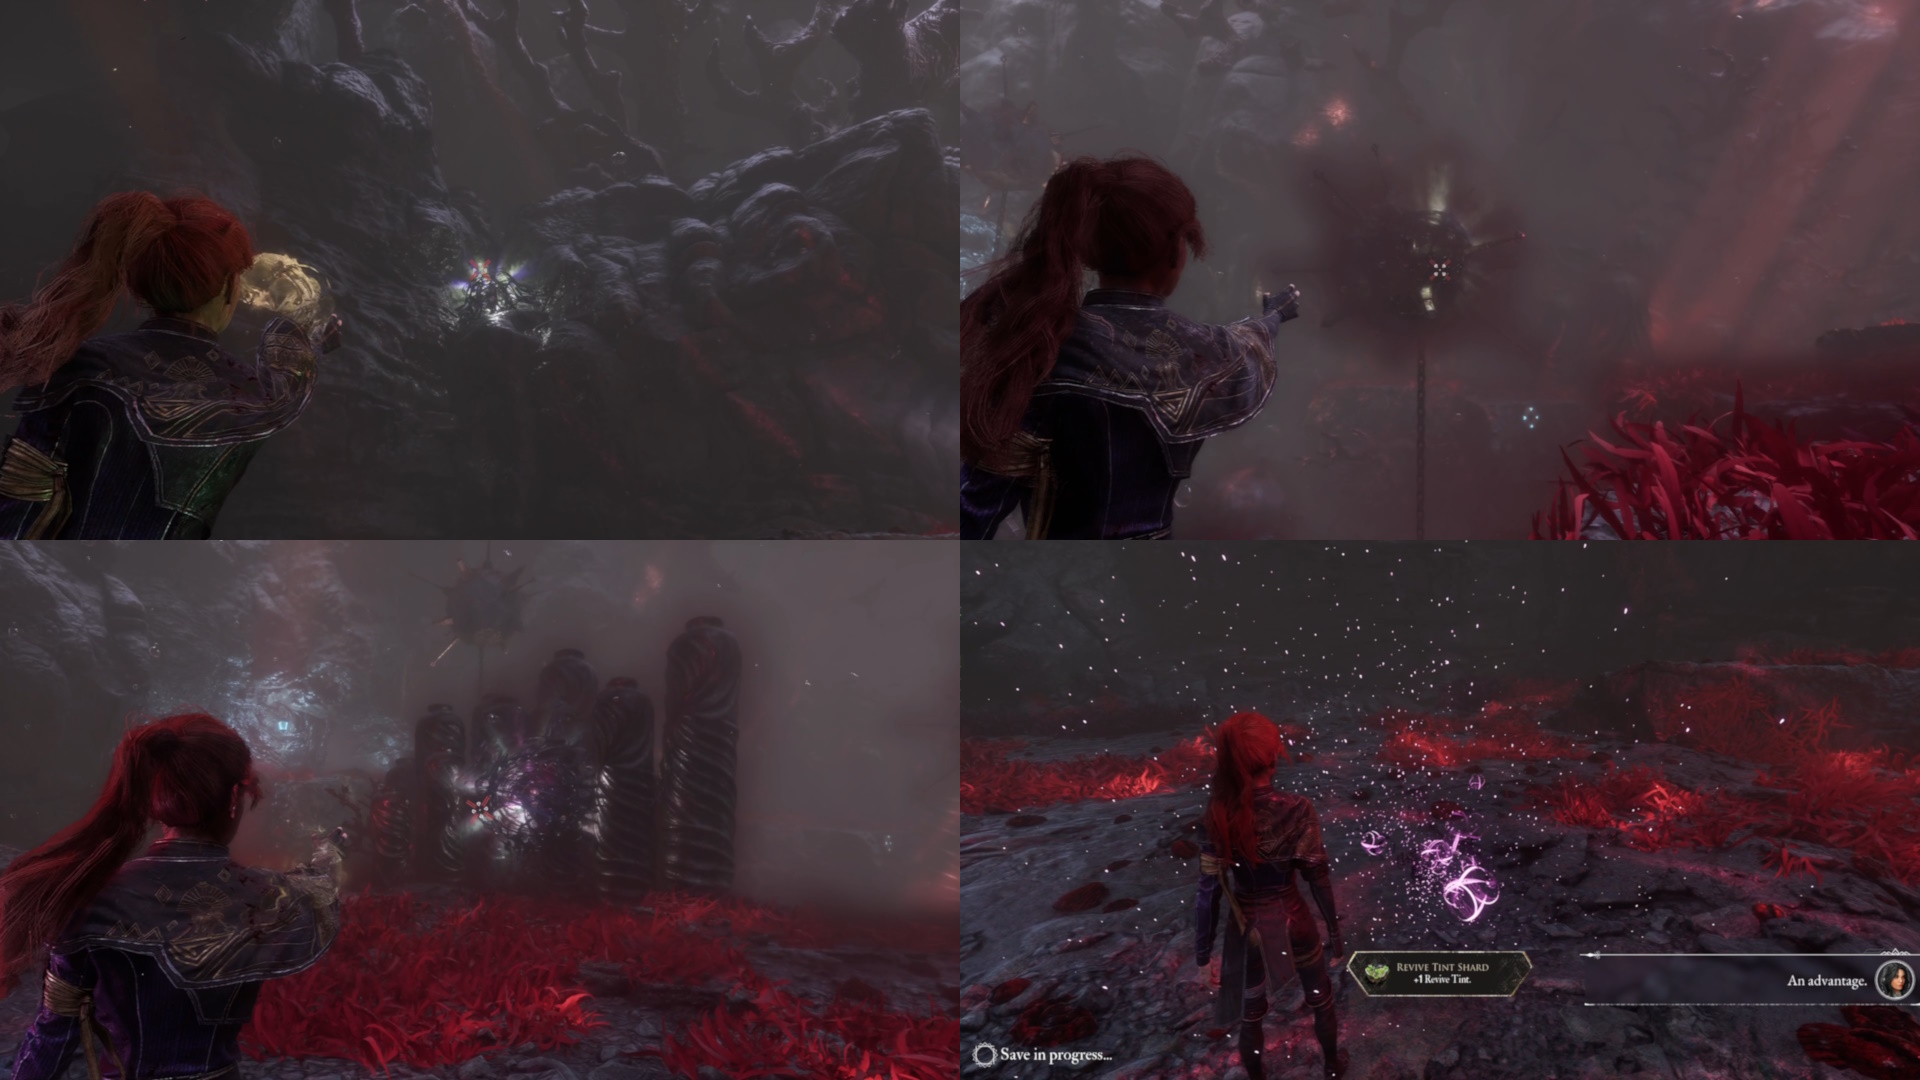
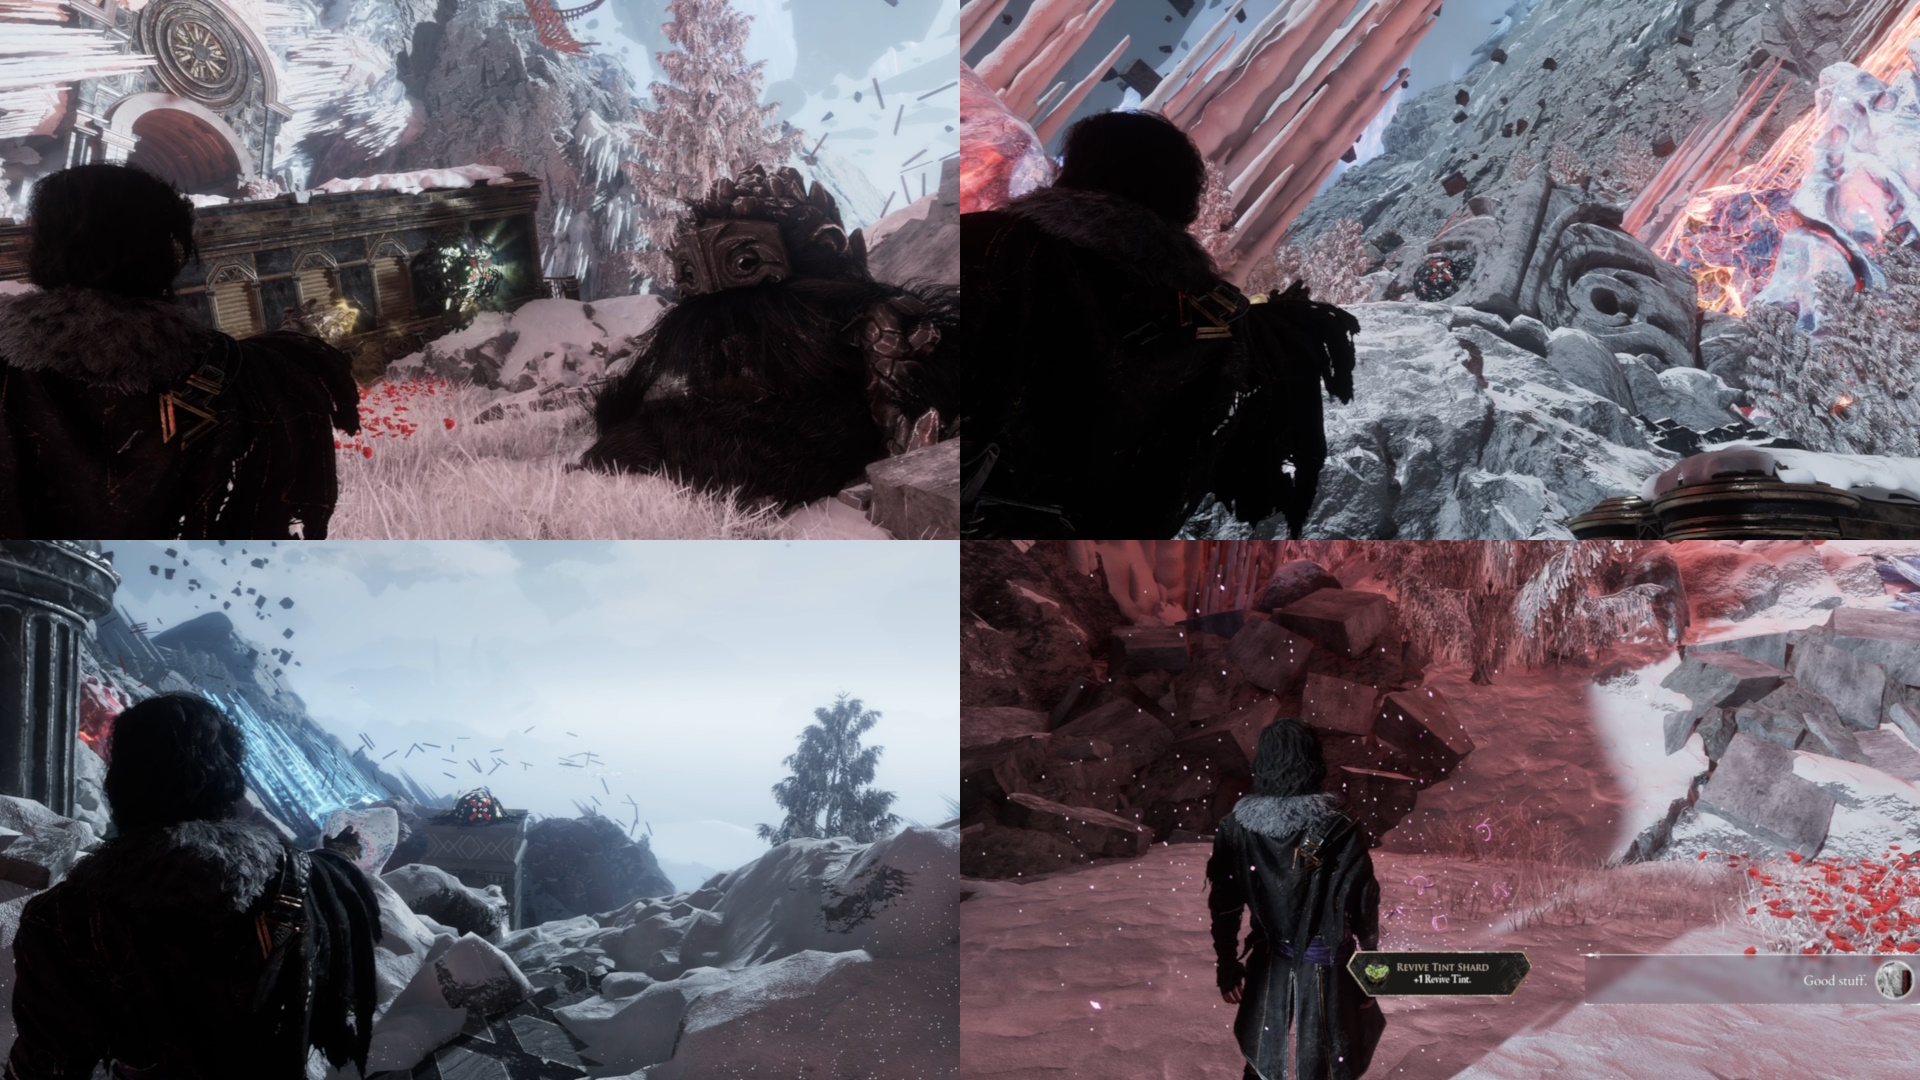
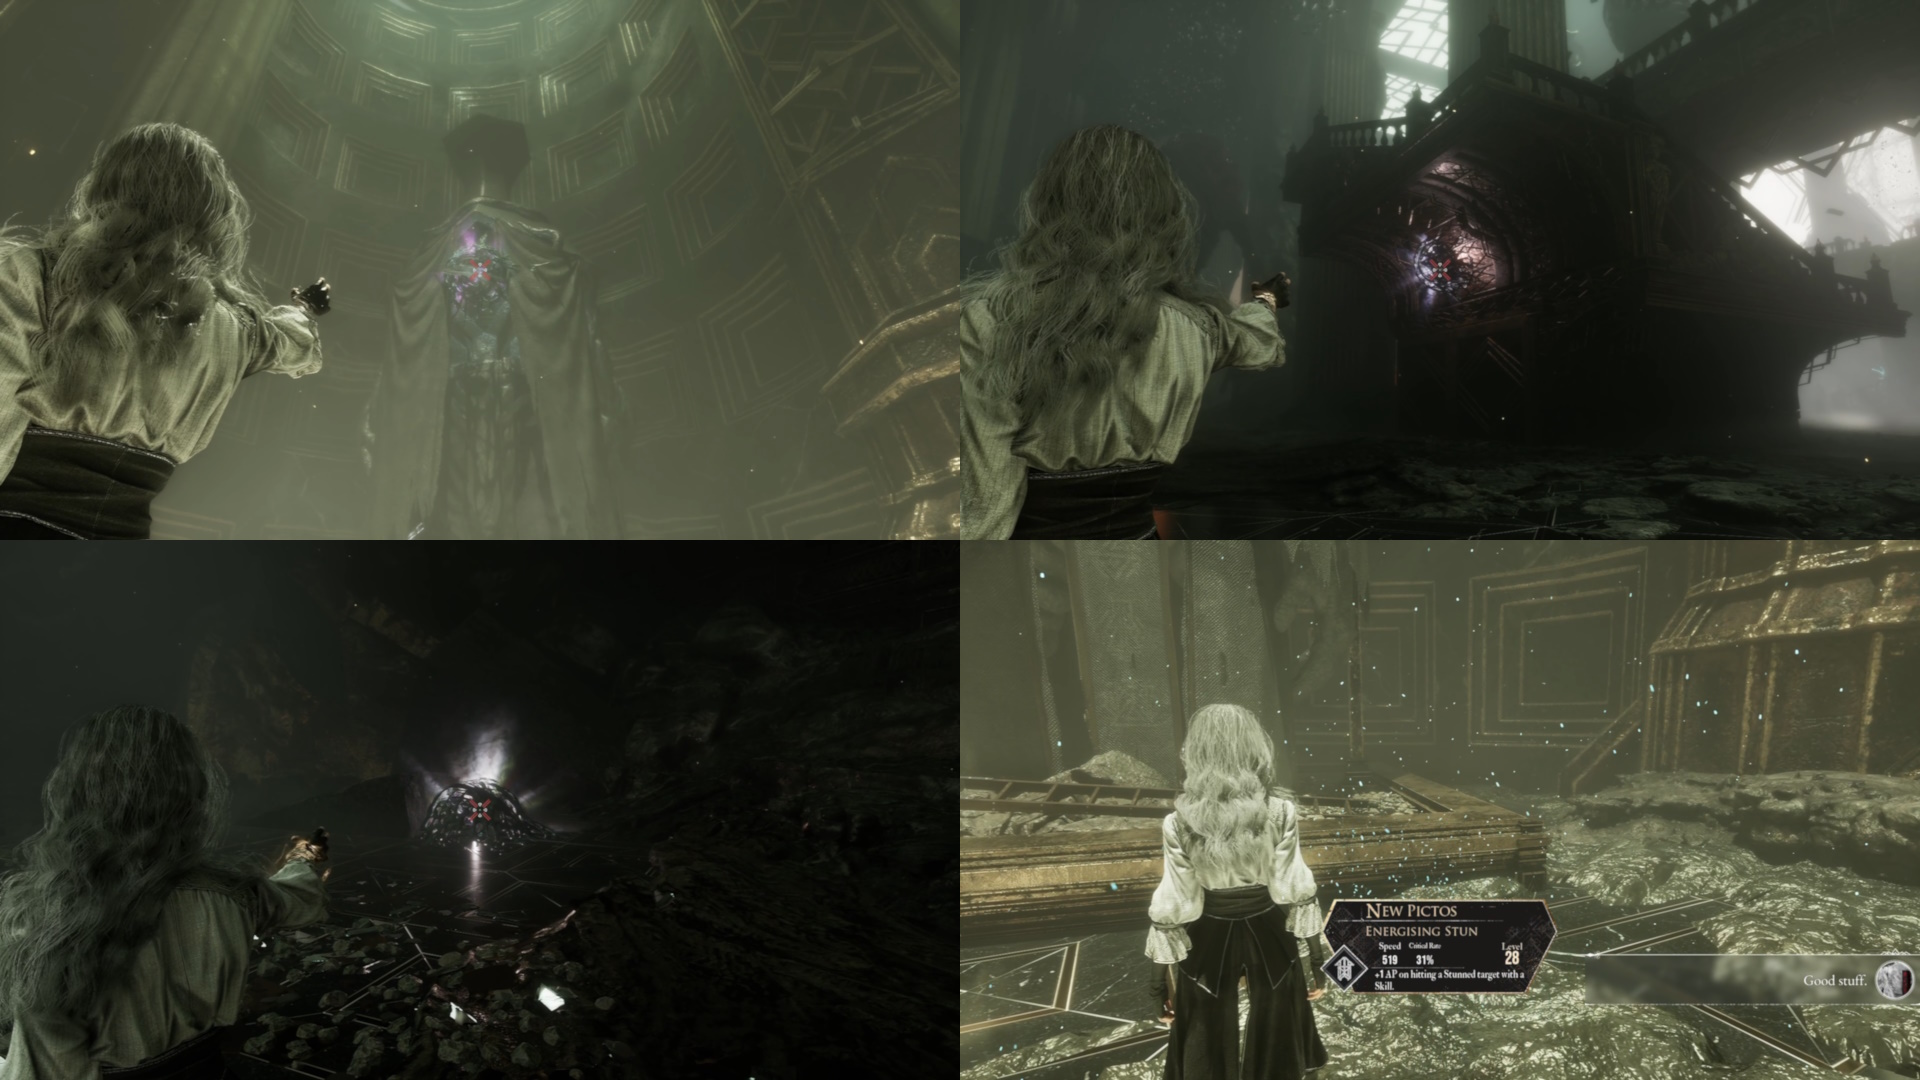
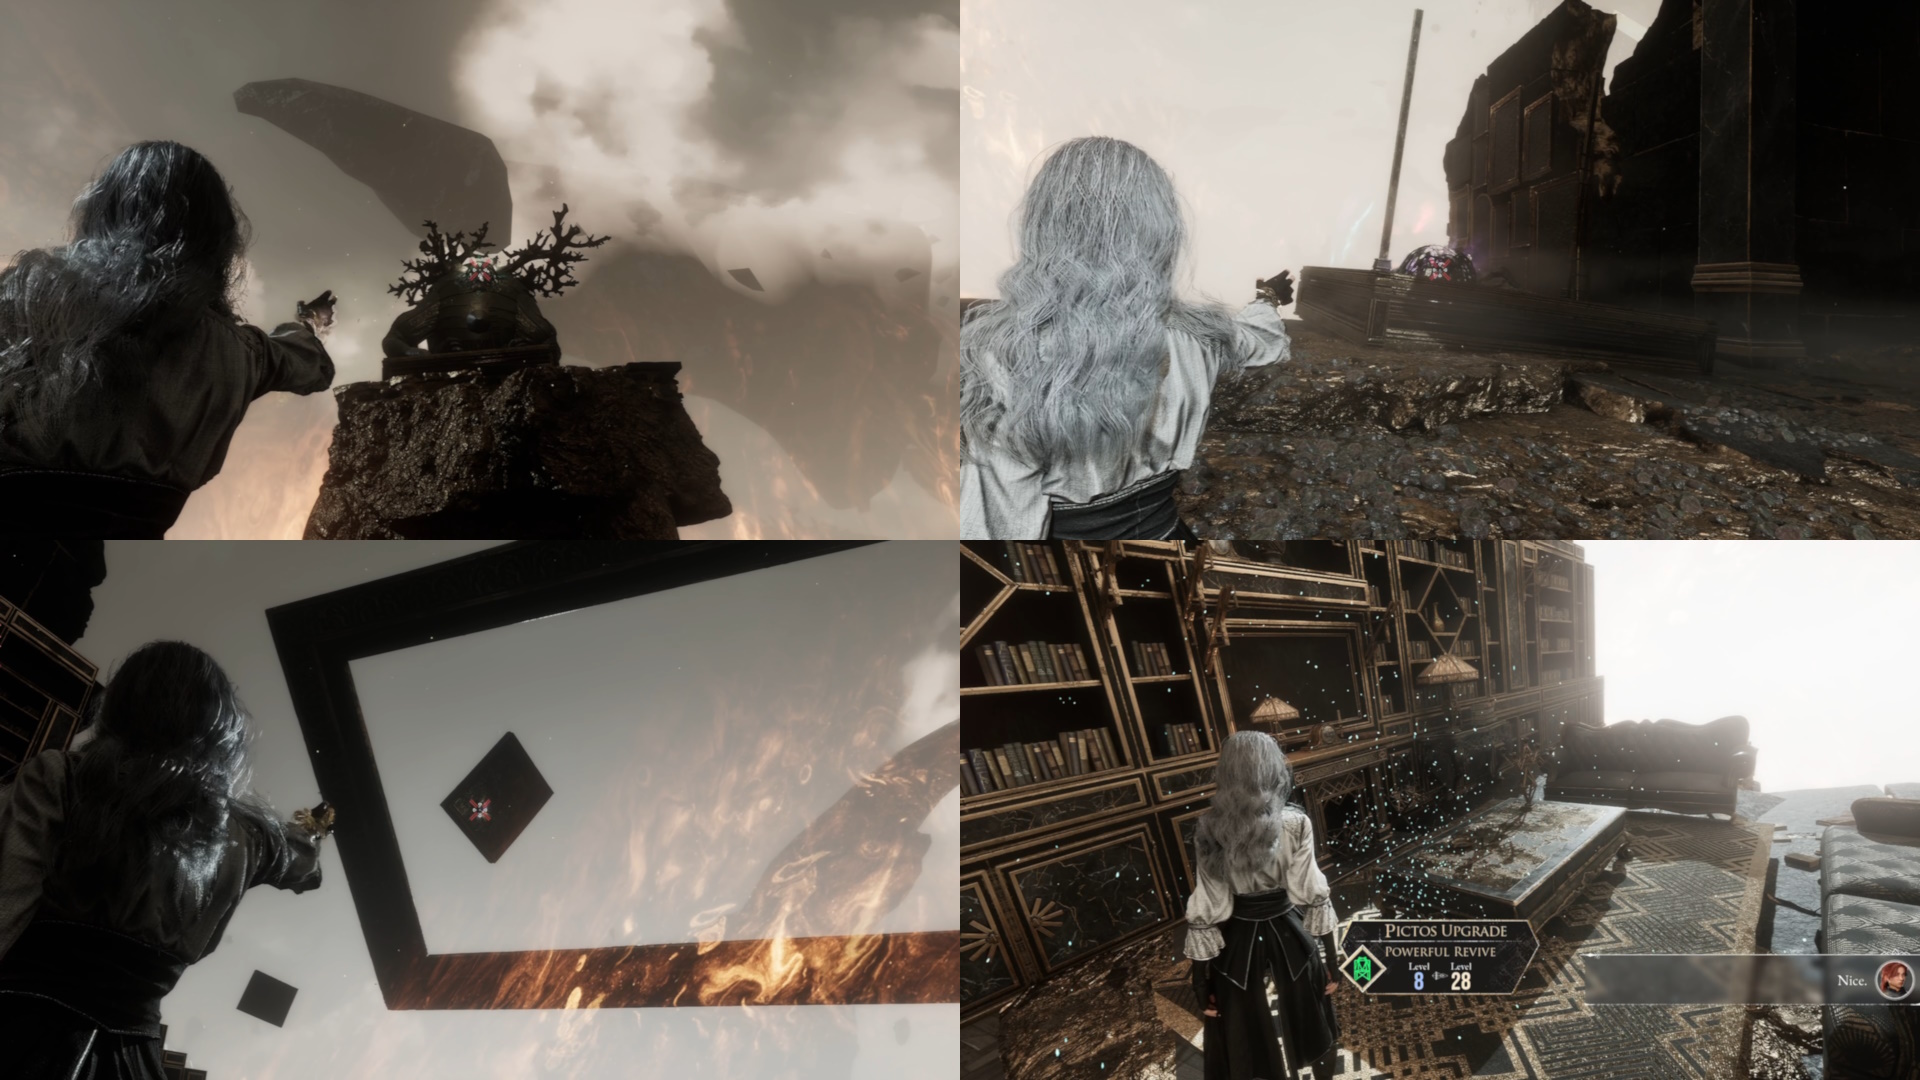
1. Go to Renoir's Drafts (need the ability to go underwater with Esquie) - located a bit north of Old Lumiere
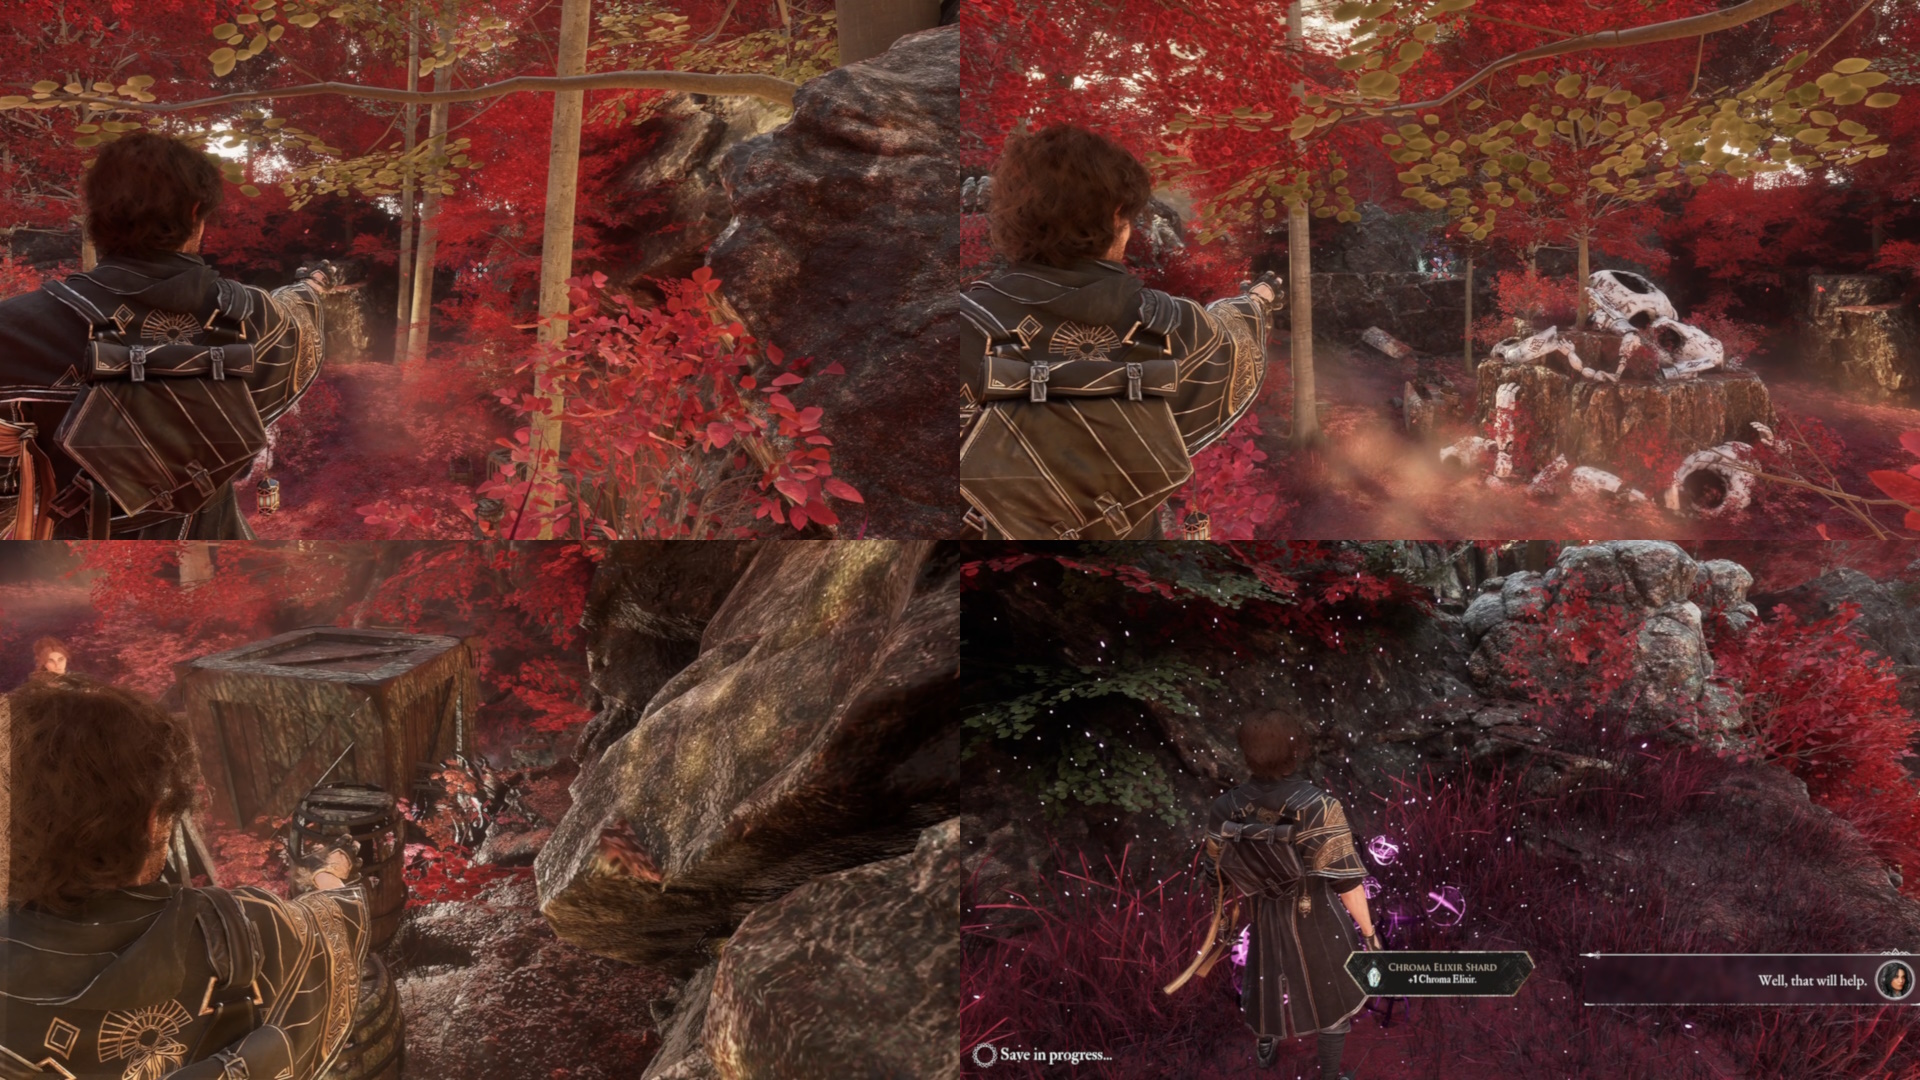
2. Navigate through this zone until you get to the 2nd expedition flag (Golden Tree)
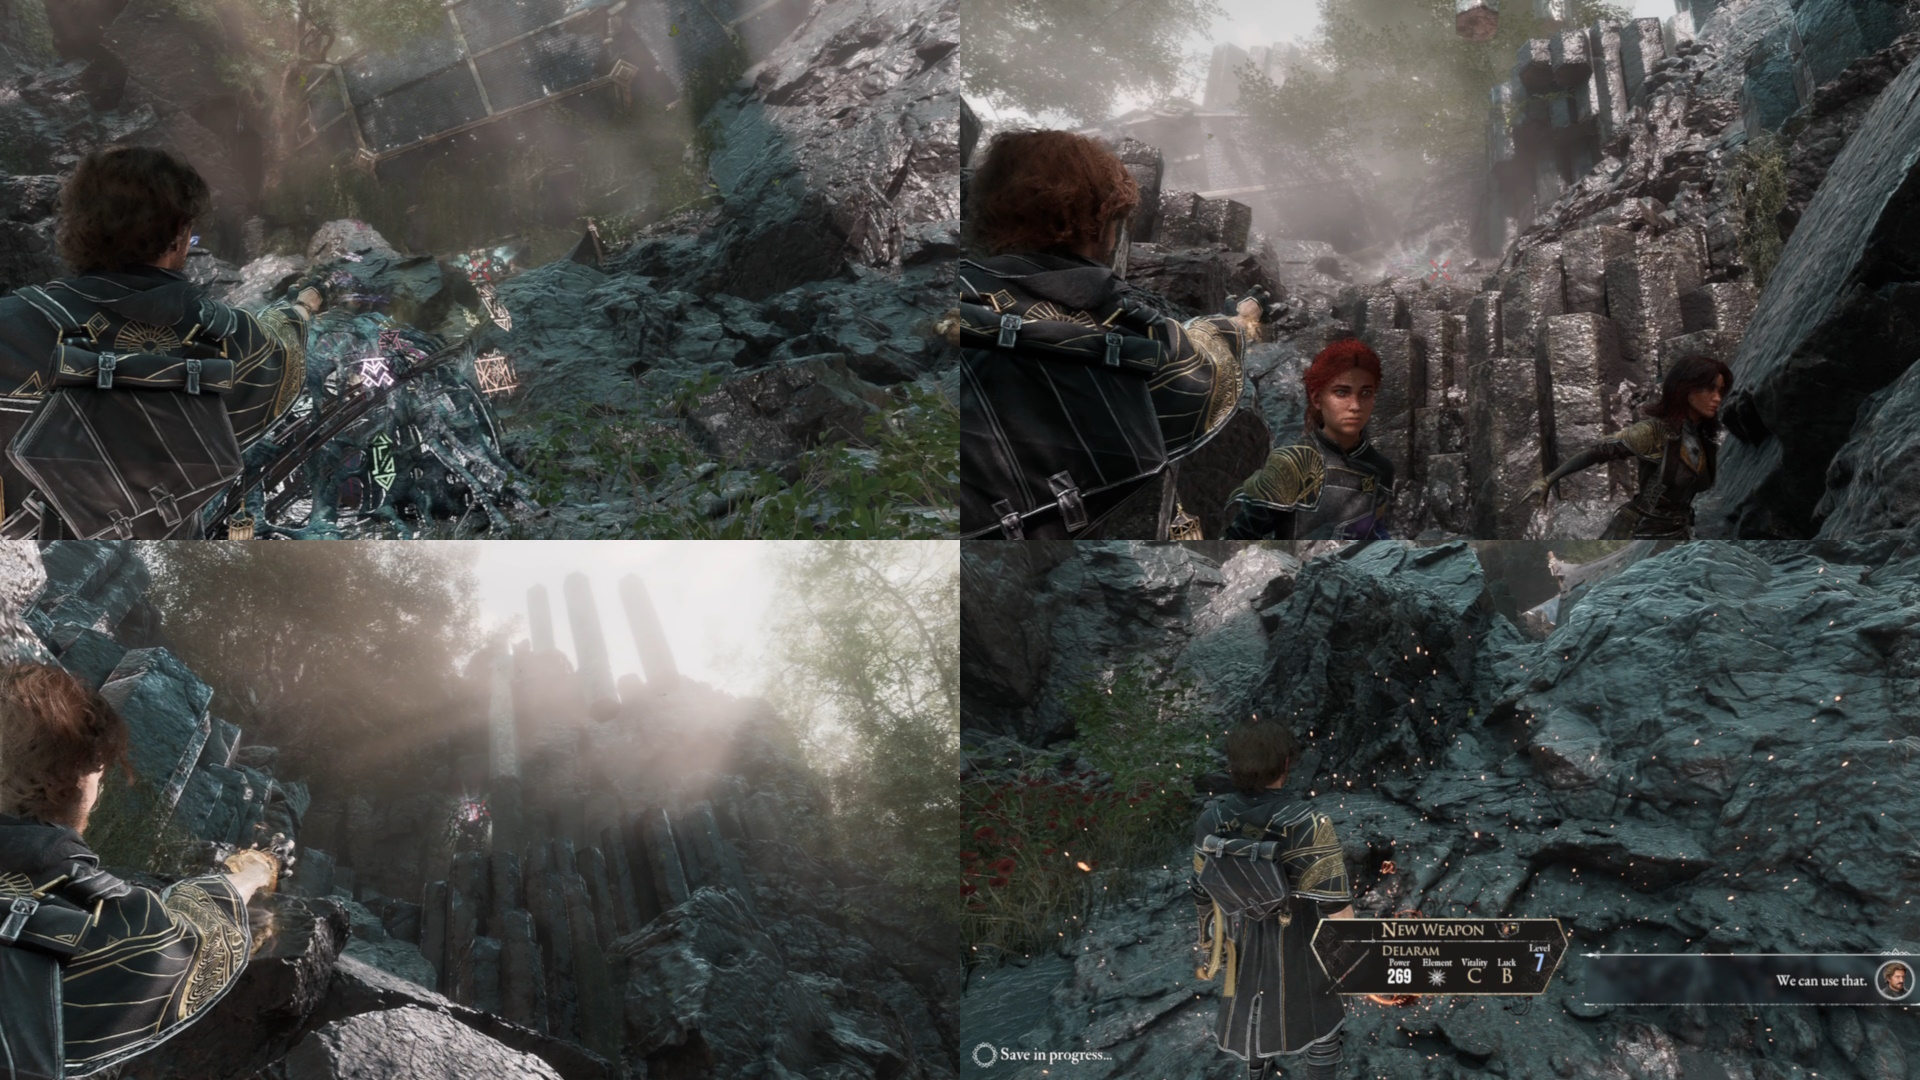
3. Just before this expedition flag, there is a ledge you can grapple to next to some enemies (feel free to run to the side of these enemies to the grapple point)
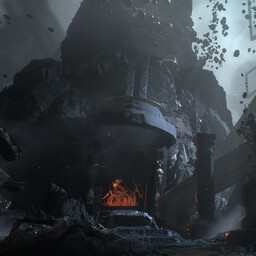
4. Fight merchant & repeat!

I'd only really recommend doing this in the last couple levels (probably 85+), as you need to do quite a bit of damage round 1 to be efficient! I was able to get to 90 just by doing all of the other content/achieves in the game!

For xp around 65+ I got most of my levels by doing all optional dungeons, endless tower, dark shore mobs!

Hope this helps someone trying to get the last couple levels! :D
Fab 10 jam yang lalu 
@LLamakazi Thank you! I was indeed missing some hidden ones.
ロレンゾ 11 jam yang lalu 
yeha, street's voice were right, i did it without killing him for the quest
Llamakazi  [pembuat] 11 jam yang lalu 
@ロレンゾ
You should still be able to, according to the word on the street! I triggered mine by granting the Chalier's request to kill him, but people have told me they still got it by helping all the others and refusing to kill the Chalier. I'd say if you want to play it safe, grant their request.

@Pingu
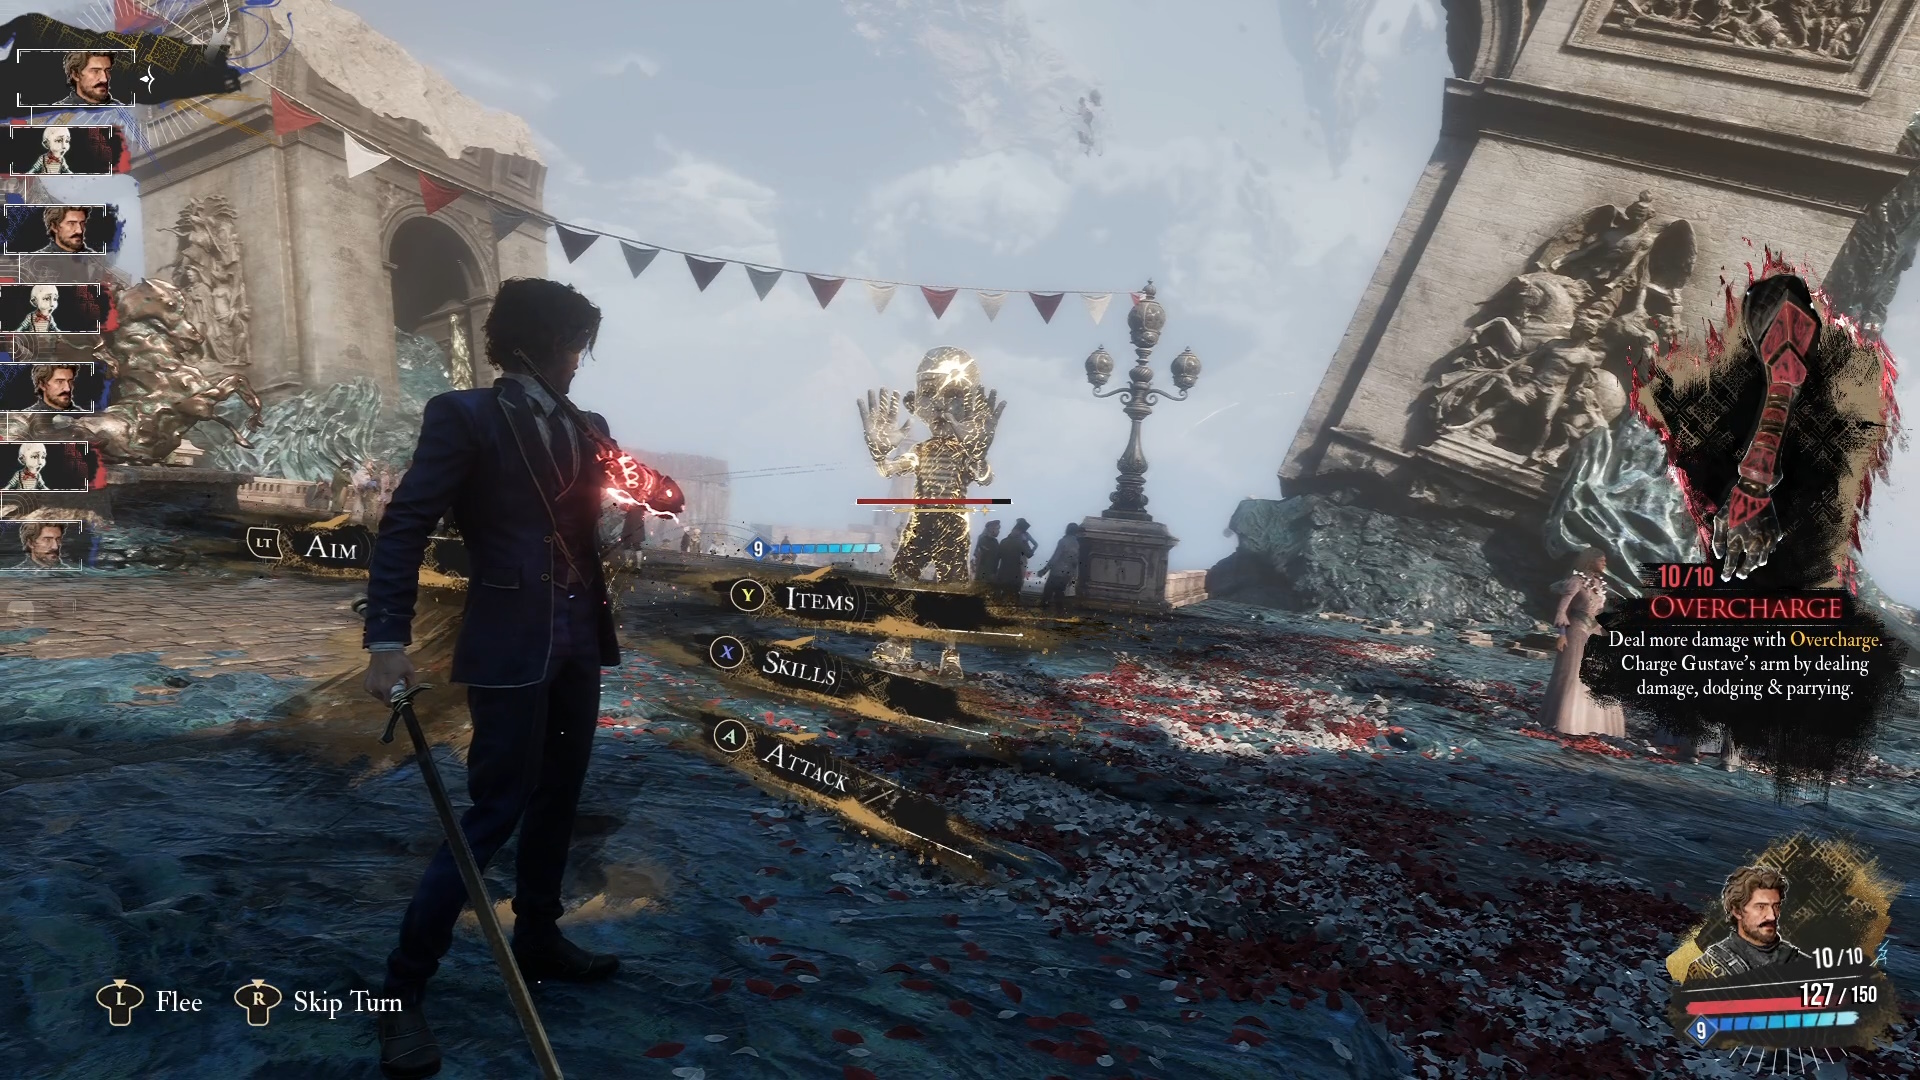
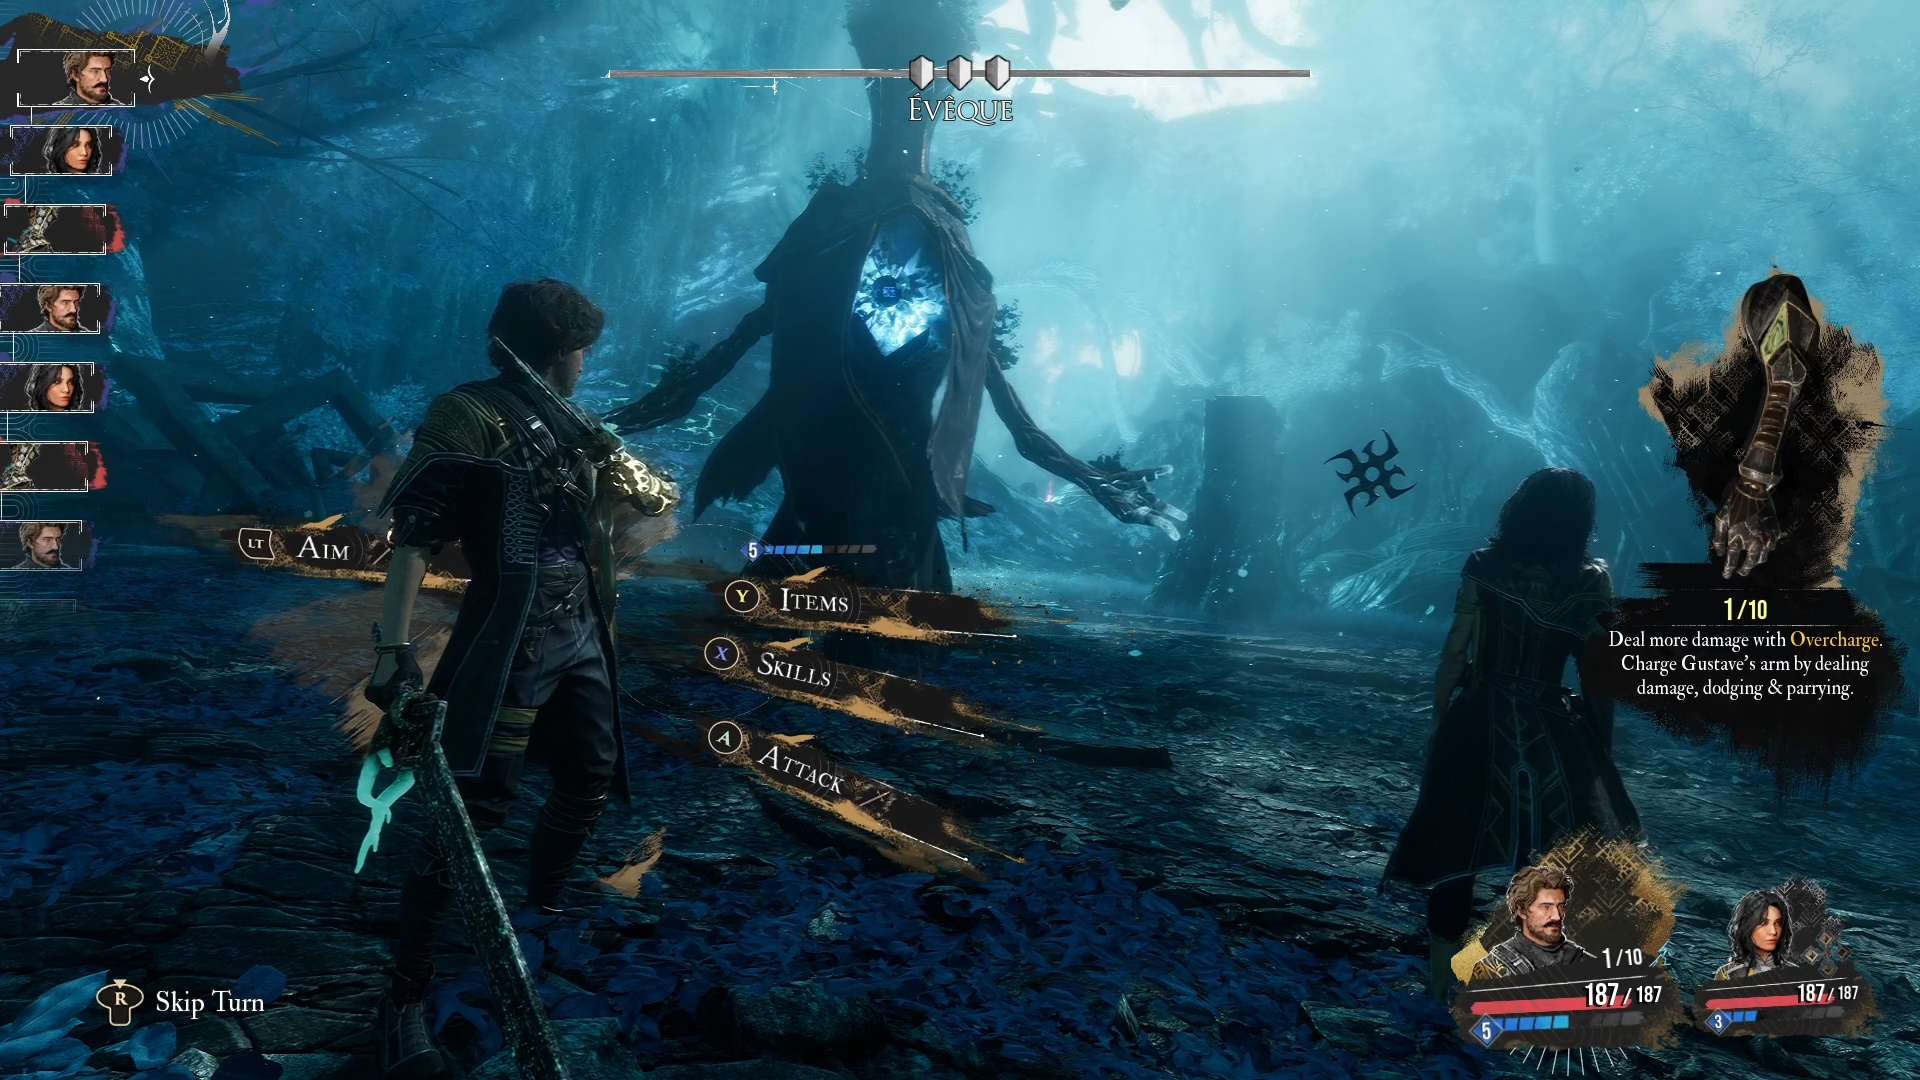
By the underwater world do you mean "Flying Waters"? That would be Démineur - did you get them their "Intact Mine" first before attacking? If you got them the Mine *before* attacking, then it should still count.