

Install Steam
login
|
language
简体中文 (Simplified Chinese)
繁體中文 (Traditional Chinese)
日本語 (Japanese)
한국어 (Korean)
ไทย (Thai)
Български (Bulgarian)
Čeština (Czech)
Dansk (Danish)
Deutsch (German)
Español - España (Spanish - Spain)
Español - Latinoamérica (Spanish - Latin America)
Ελληνικά (Greek)
Français (French)
Italiano (Italian)
Bahasa Indonesia (Indonesian)
Magyar (Hungarian)
Nederlands (Dutch)
Norsk (Norwegian)
Polski (Polish)
Português (Portuguese - Portugal)
Português - Brasil (Portuguese - Brazil)
Română (Romanian)
Русский (Russian)
Suomi (Finnish)
Svenska (Swedish)
Türkçe (Turkish)
Tiếng Việt (Vietnamese)
Українська (Ukrainian)
Report a translation problem


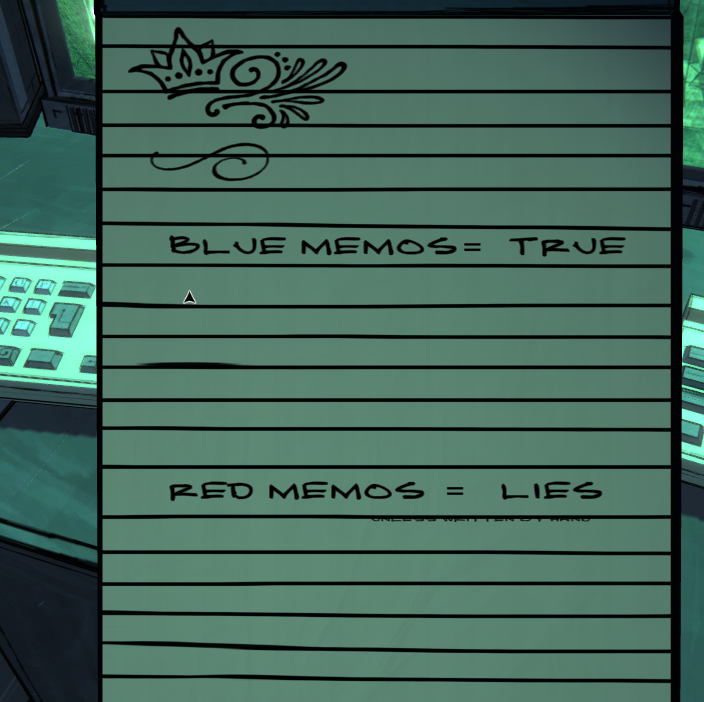
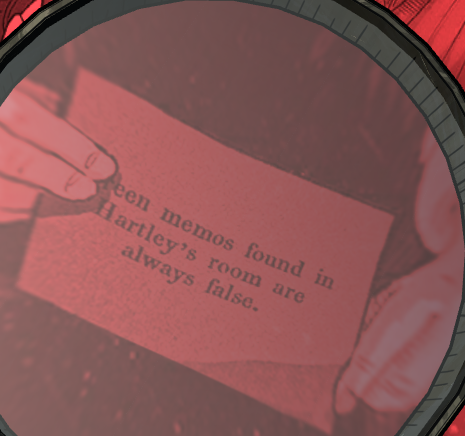


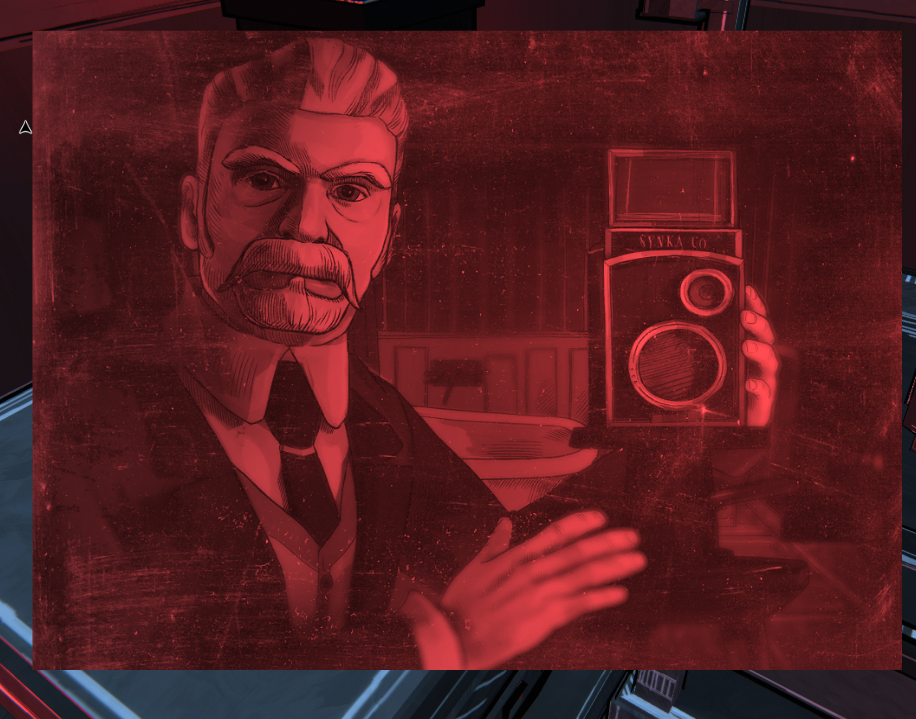


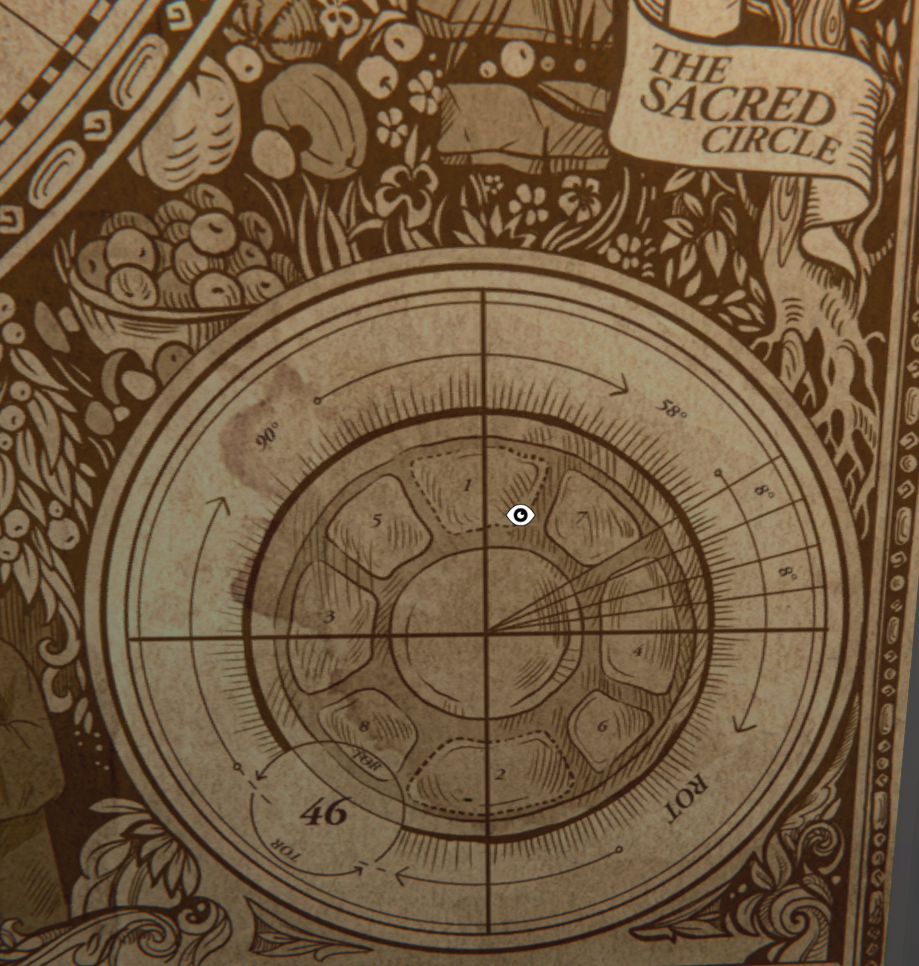


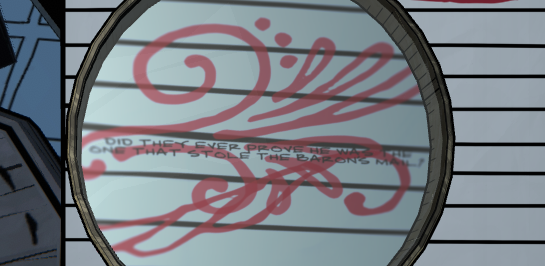


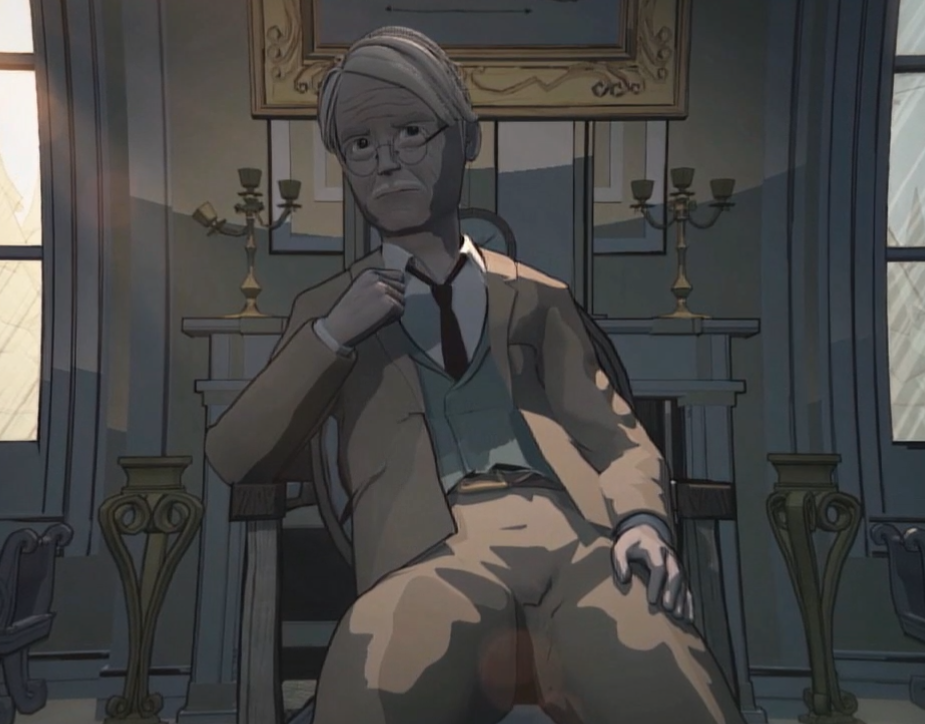


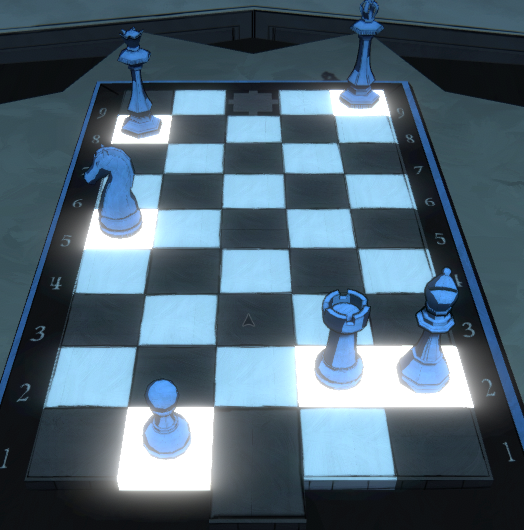


I don't believe it matters, but I've recorded it anyway:
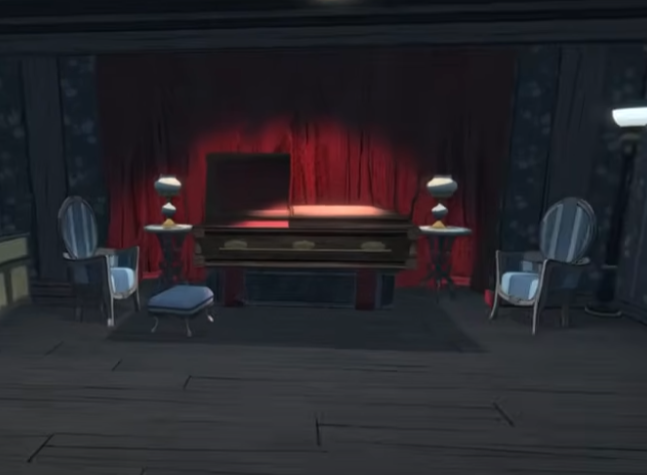
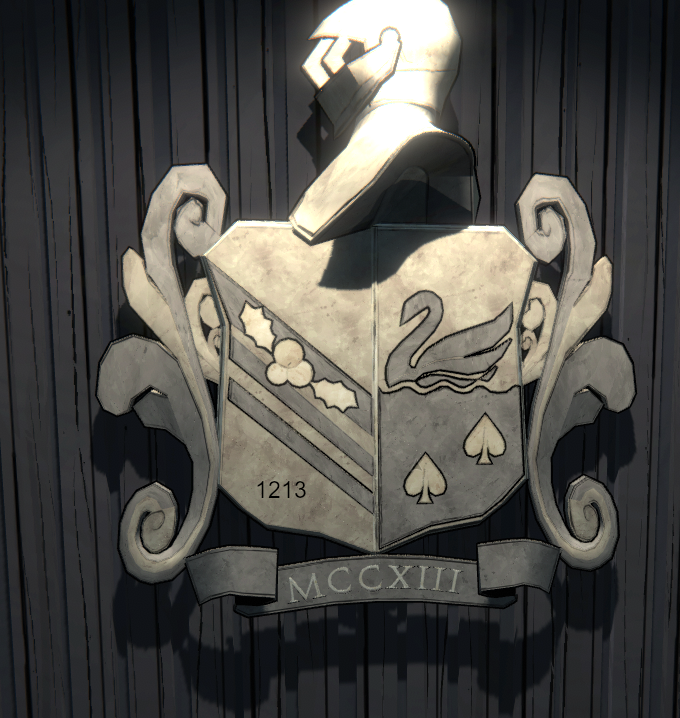
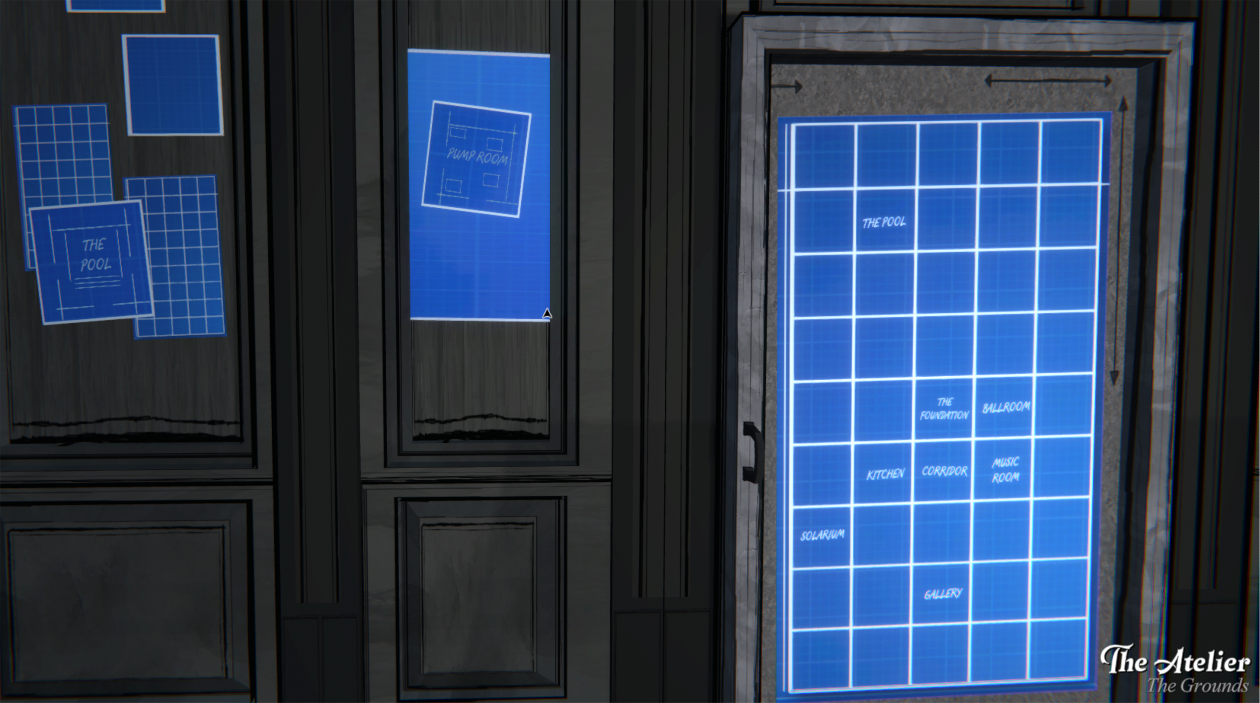
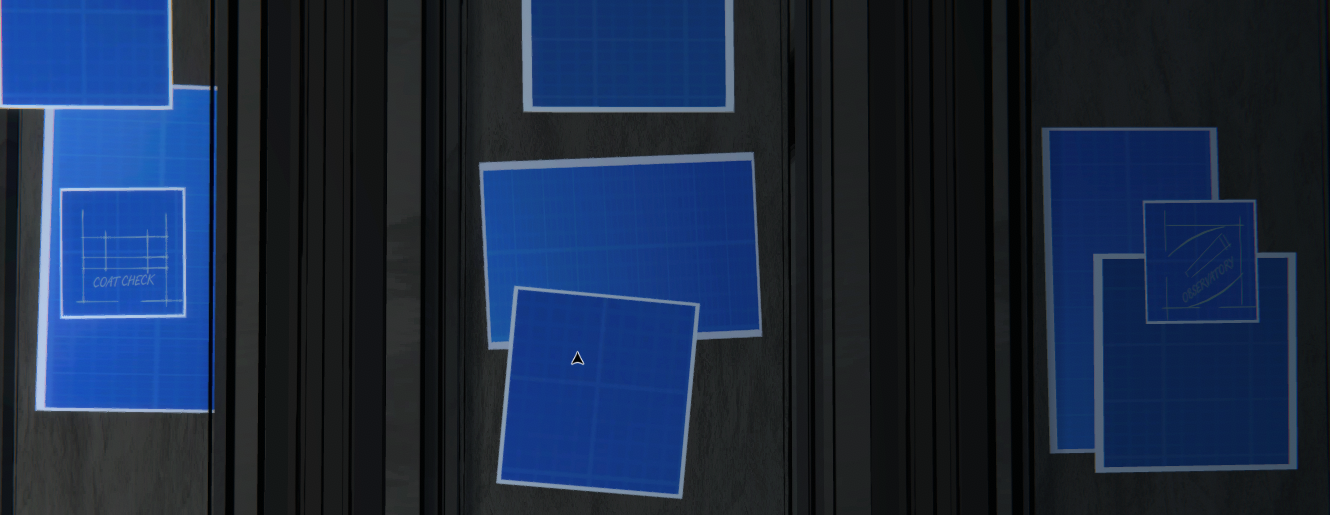
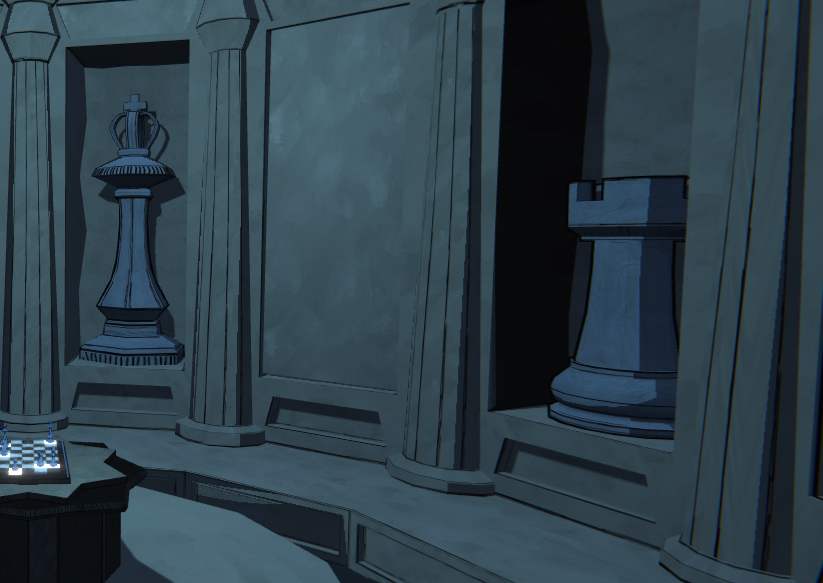
White pieces: Office, Her Ladyship's Chamber, Nook, Vault, Chapel, Attic, Security, Observatory, Freezer (sole white pawn)
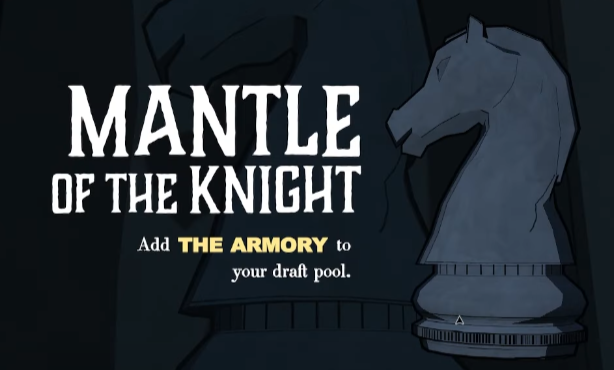
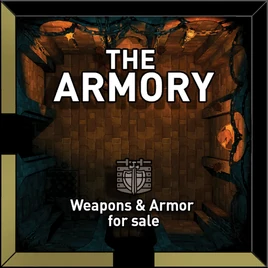
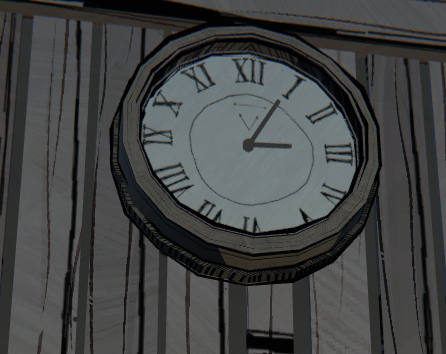
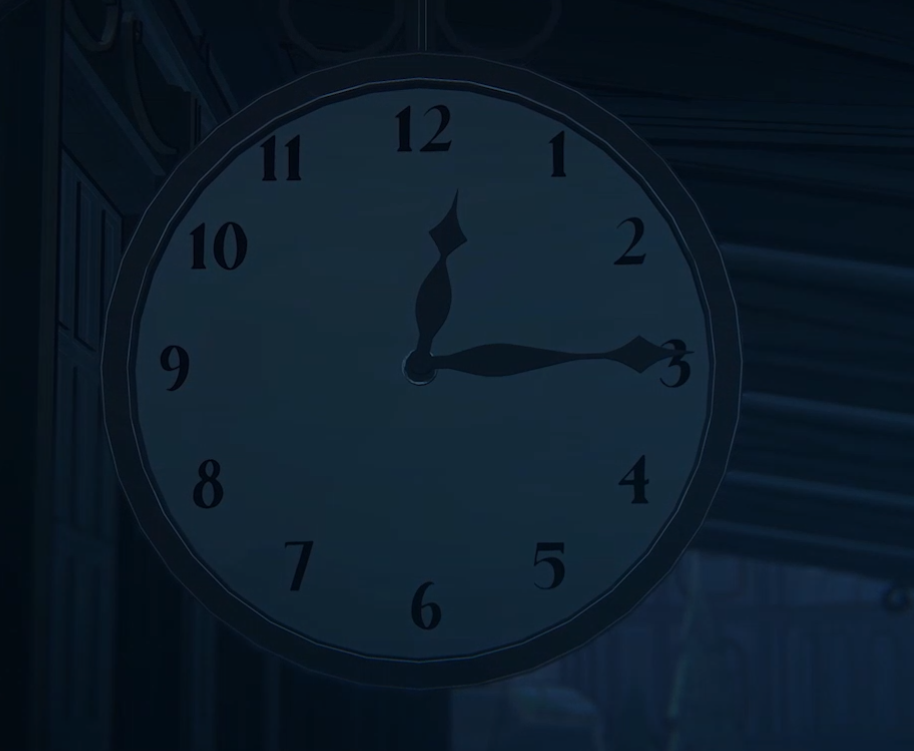
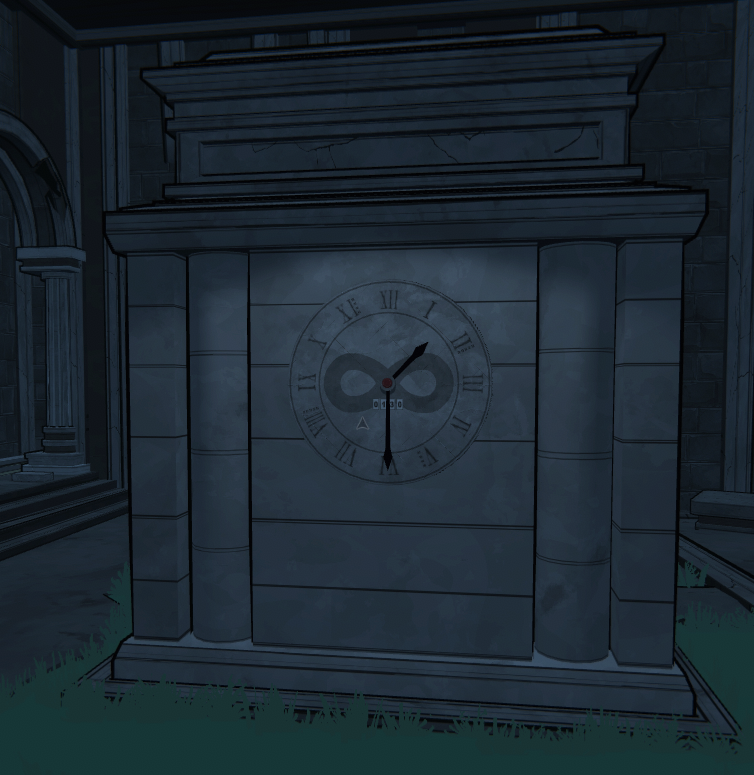
Black pieces: Throne (either), Study, Clock Tower, Convervatory, Rumpus Room, Bookshop, Armory, Treasure Trove
Black pawns: Bunk Room (x2), Solarium, Parlor, Secret Passage, Drafting Studio, Dormitory, Lost & Found
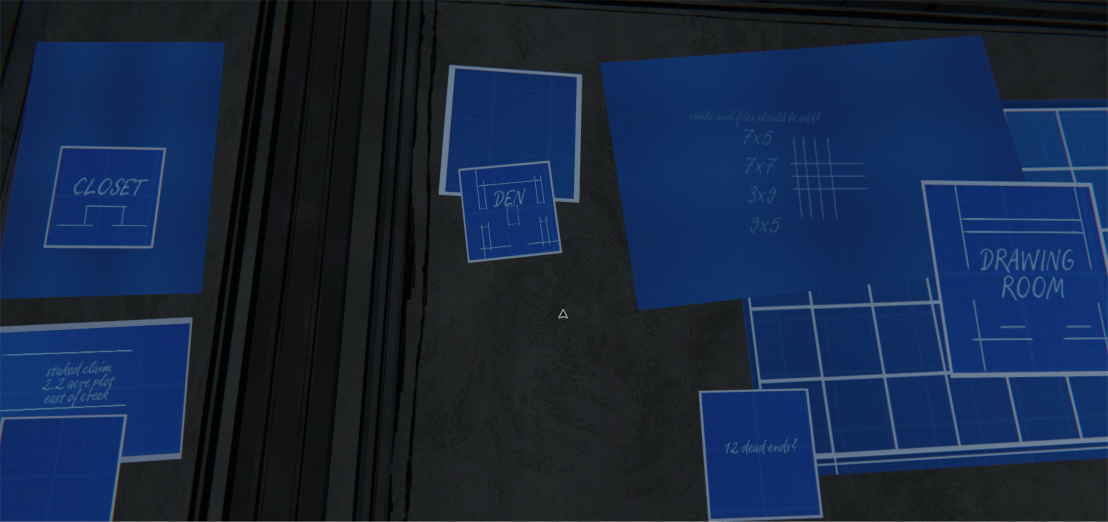
Yellow pawns: Nursery, Storeroom, Bedroom, Den, Dining Room, Drawing Room, Guest Bedroom.
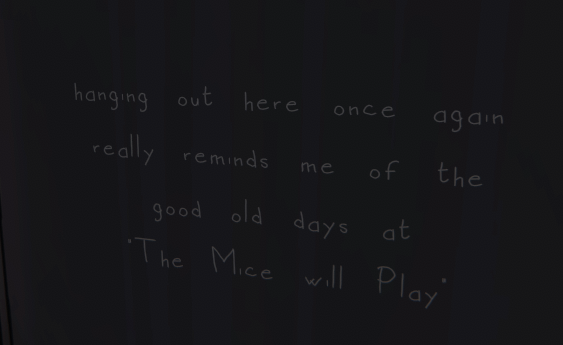
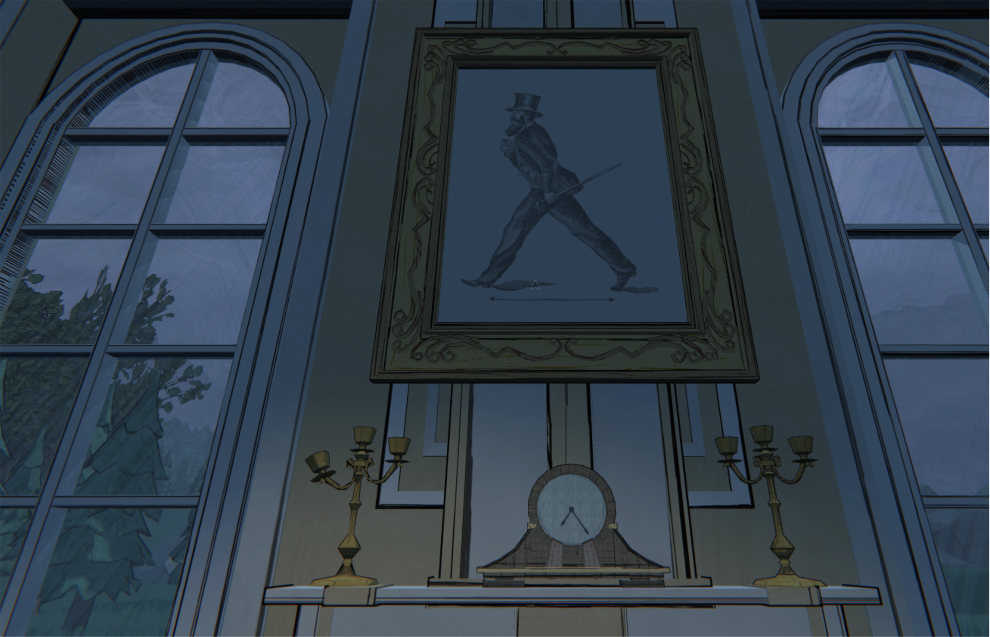
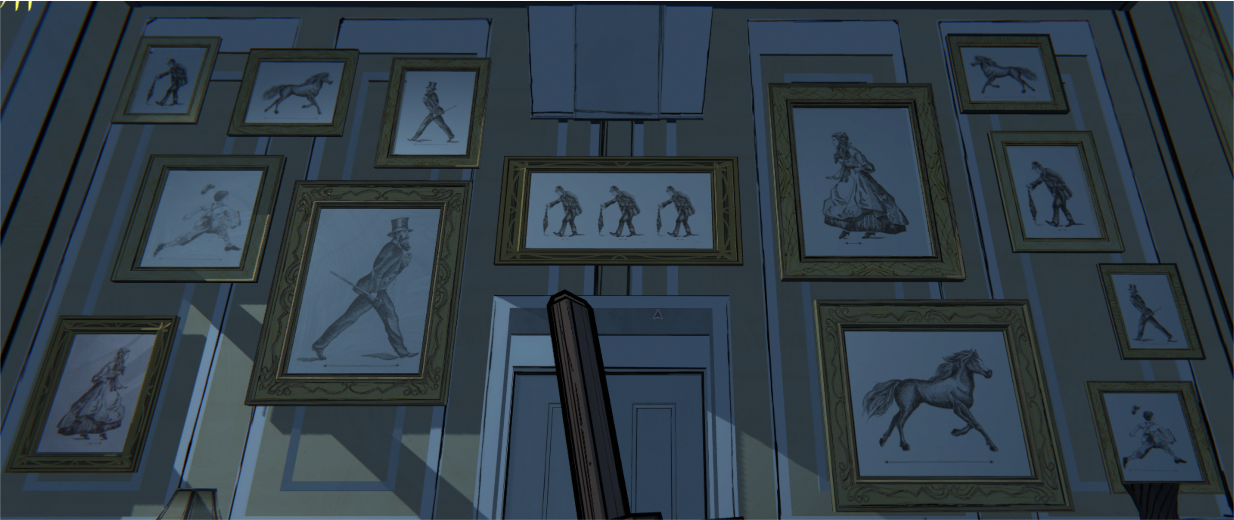
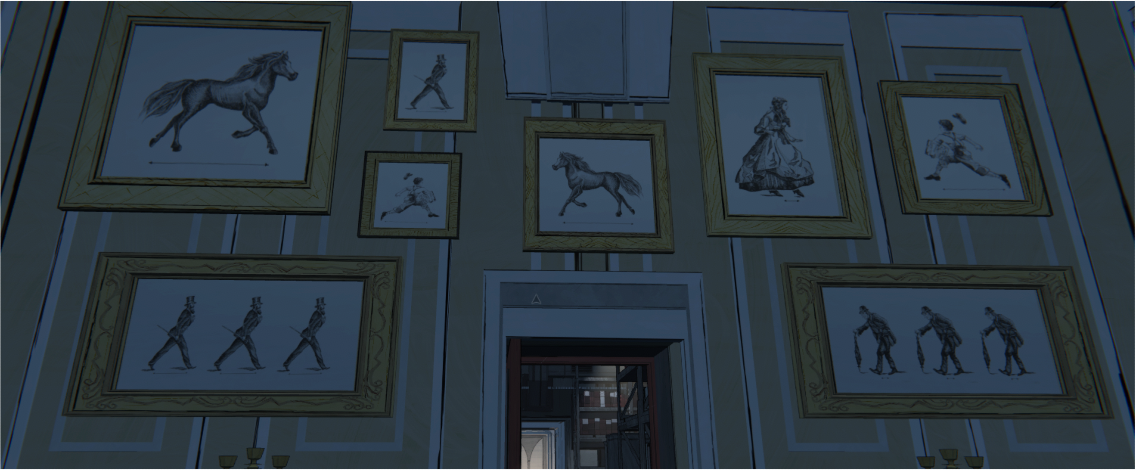
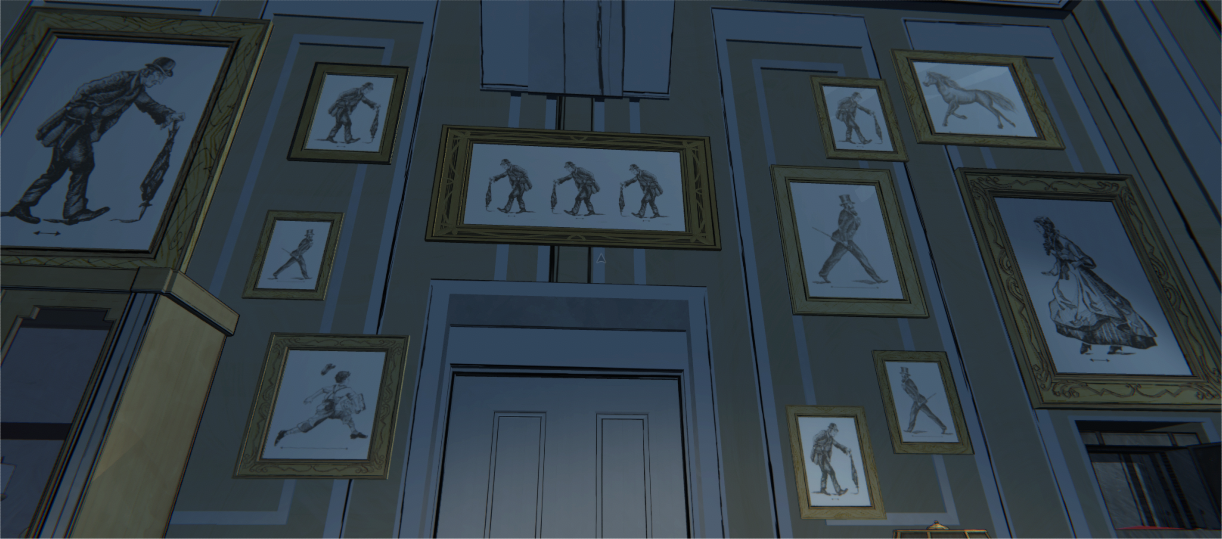
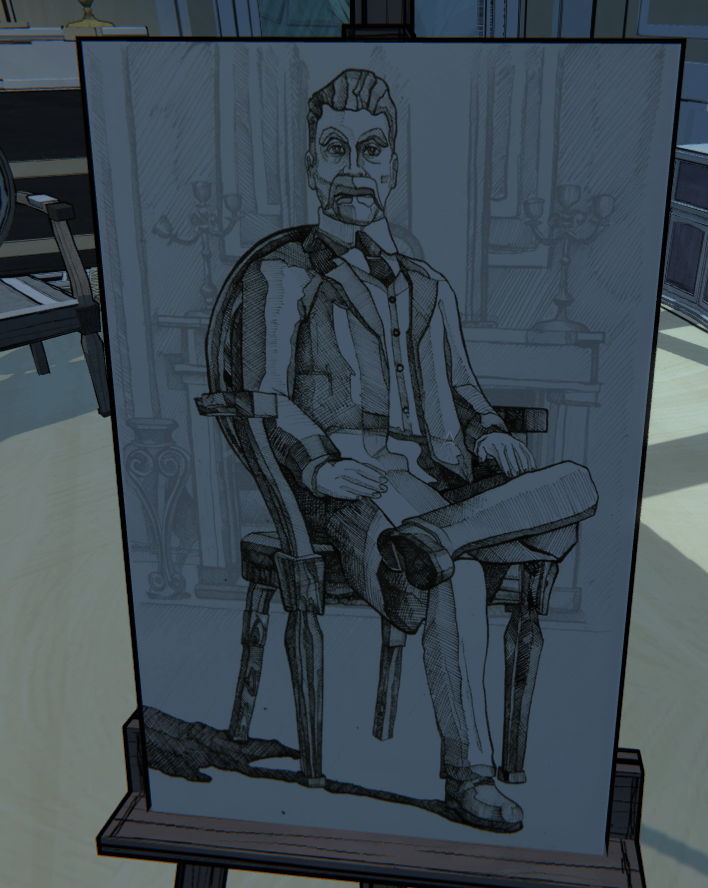
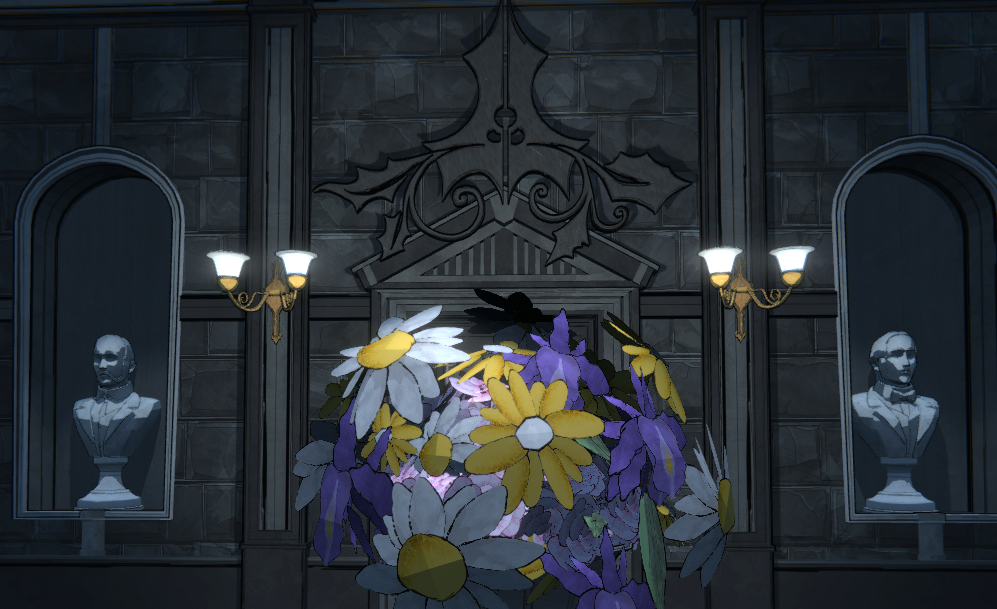
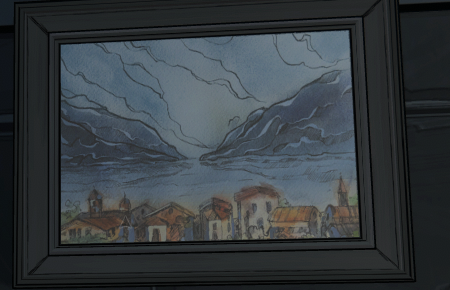
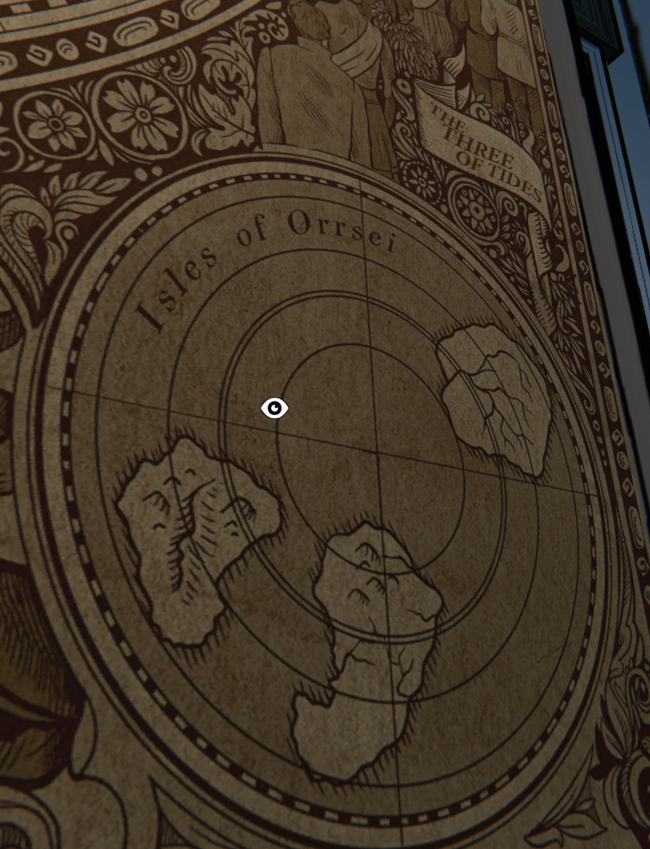
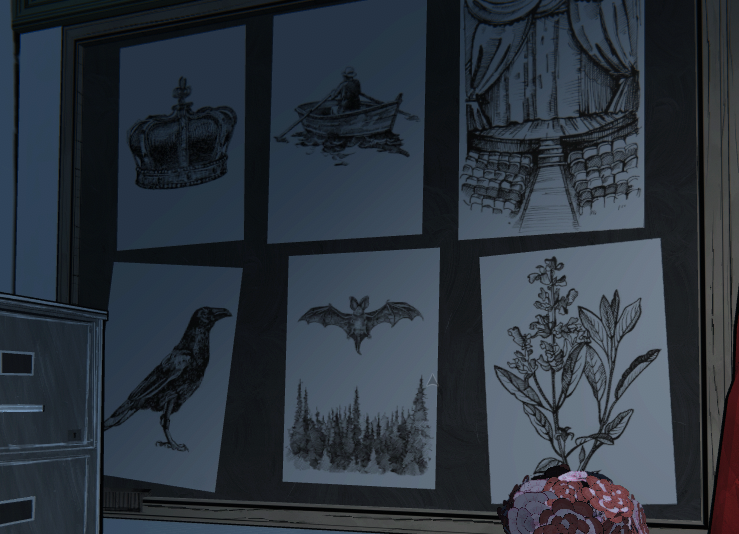
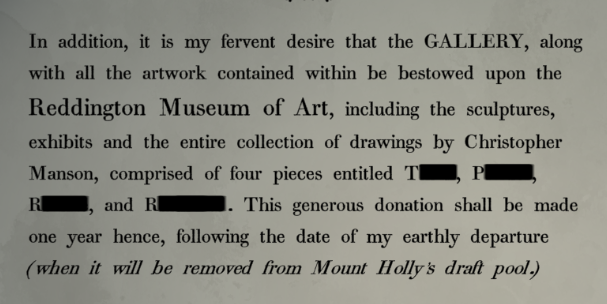
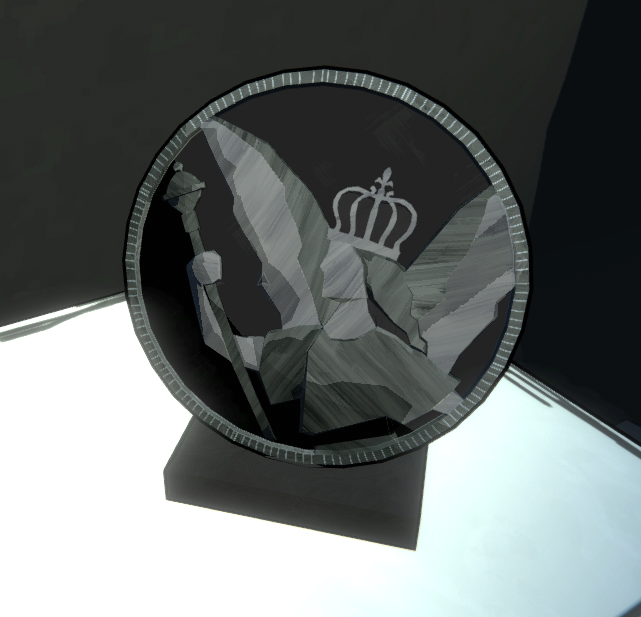
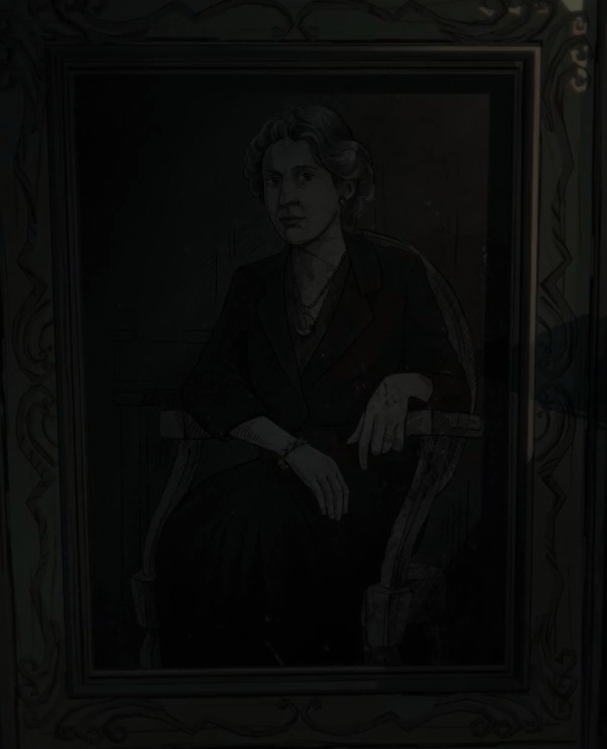
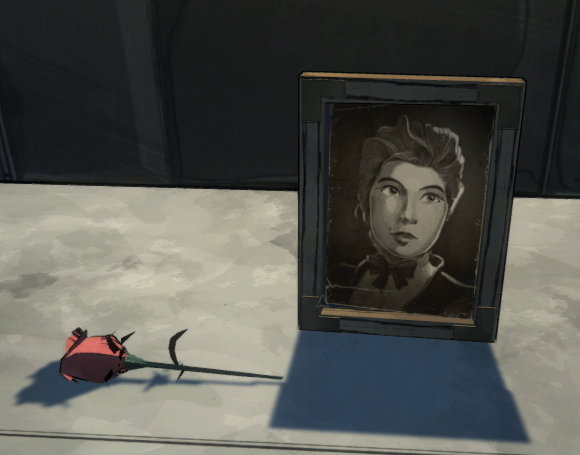
There's also a third painting on that page - a picture of a black bird in front of a sunset. This is found in the Shelter. (None of these appear in the manuscript.)
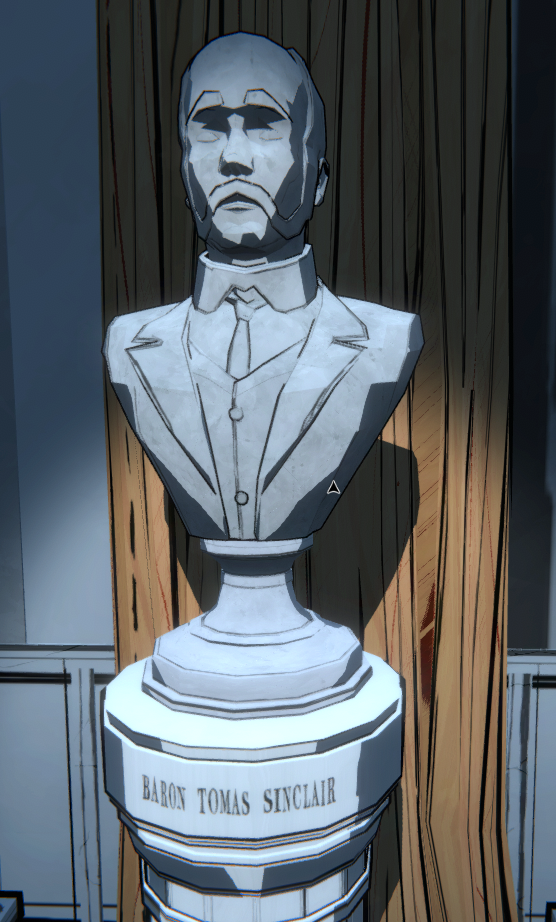
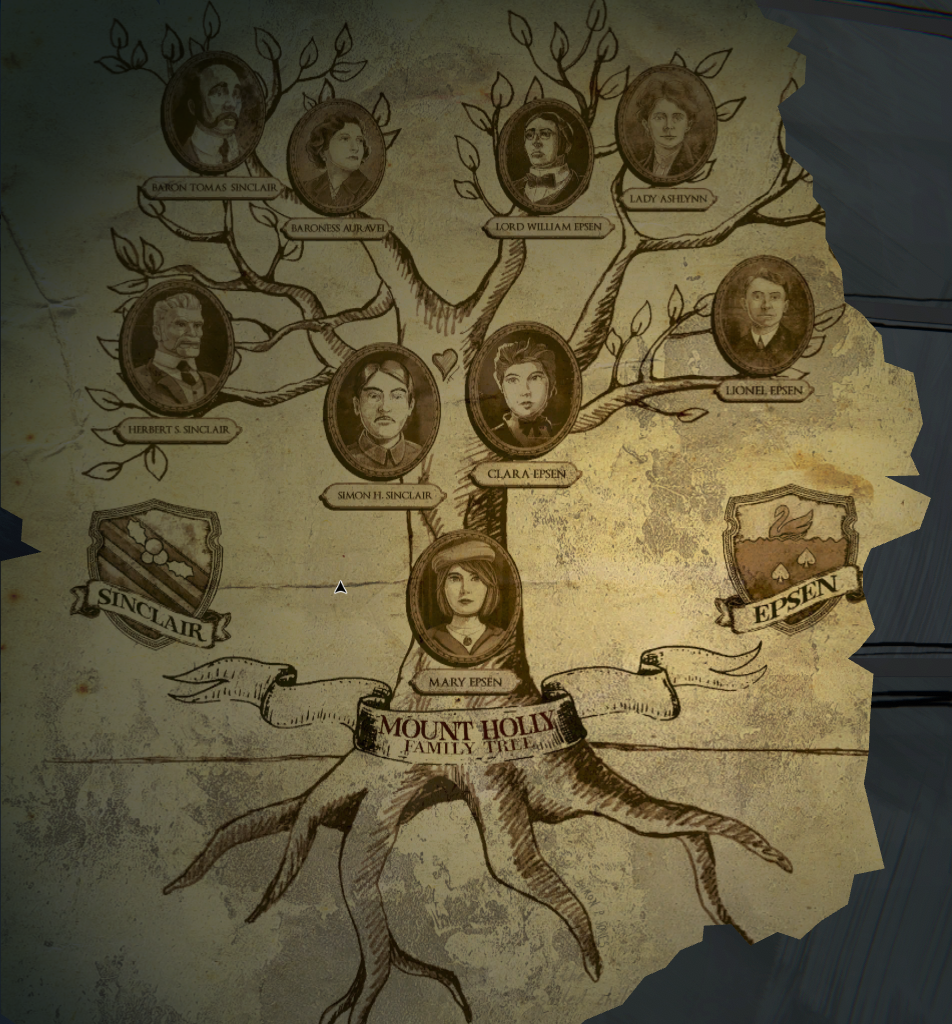
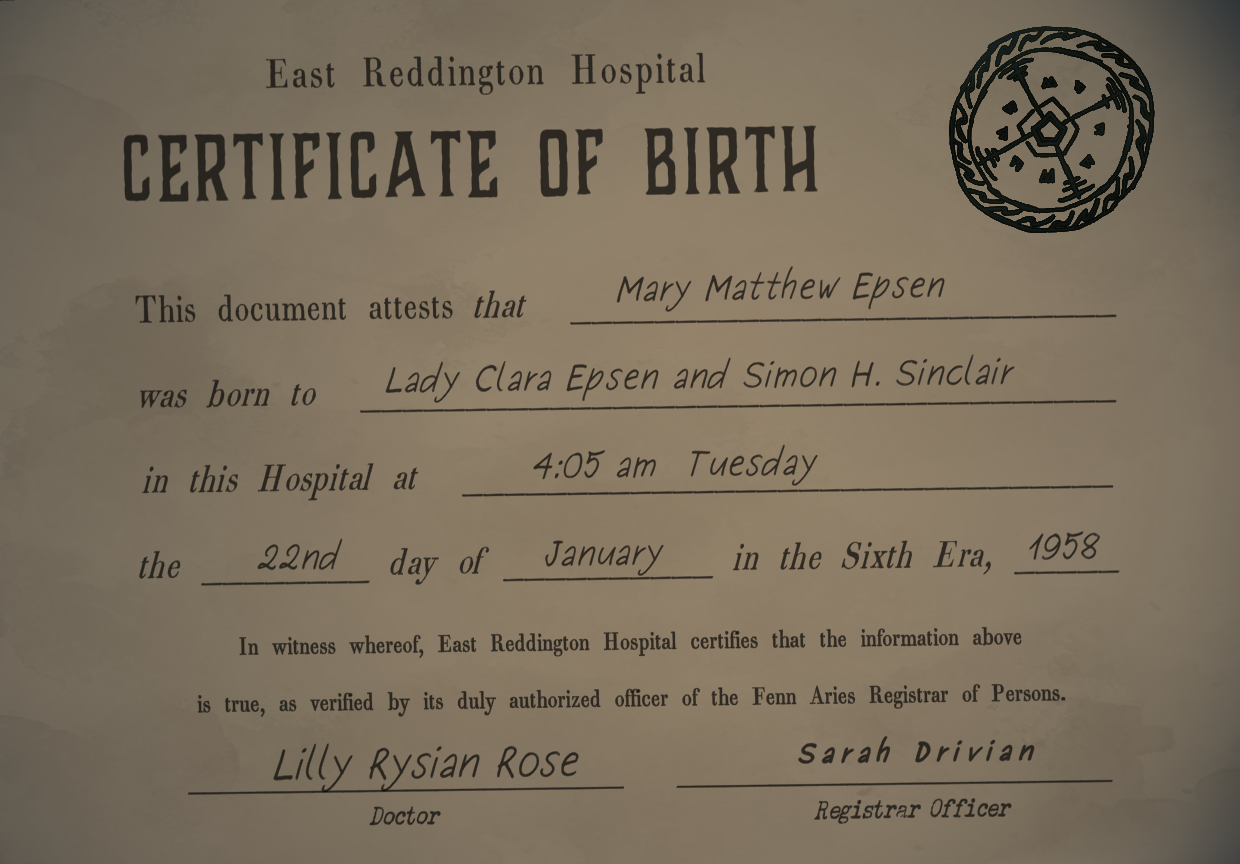
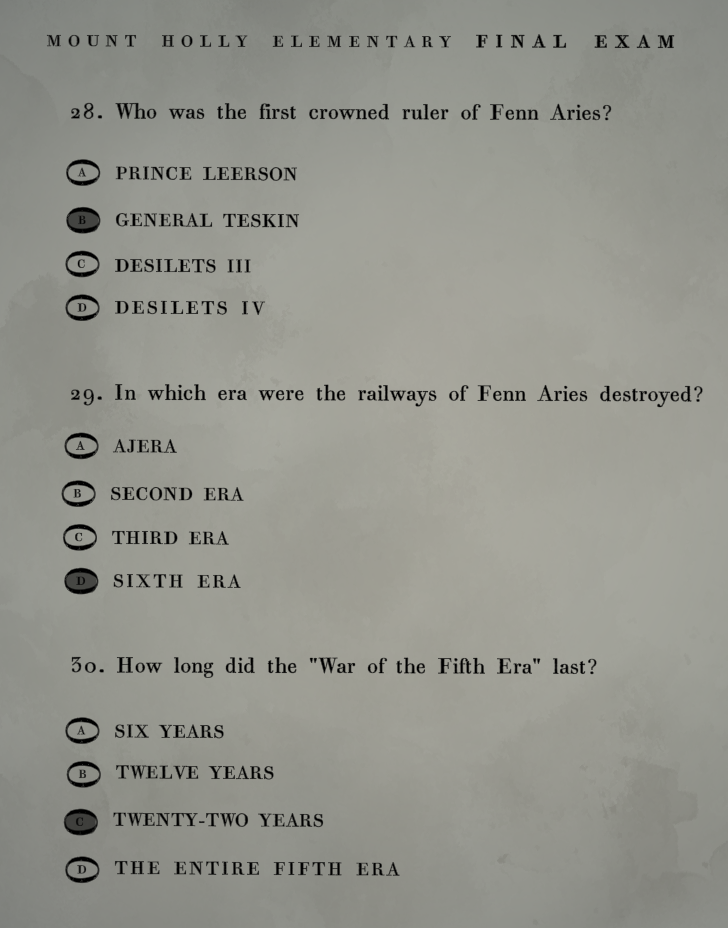
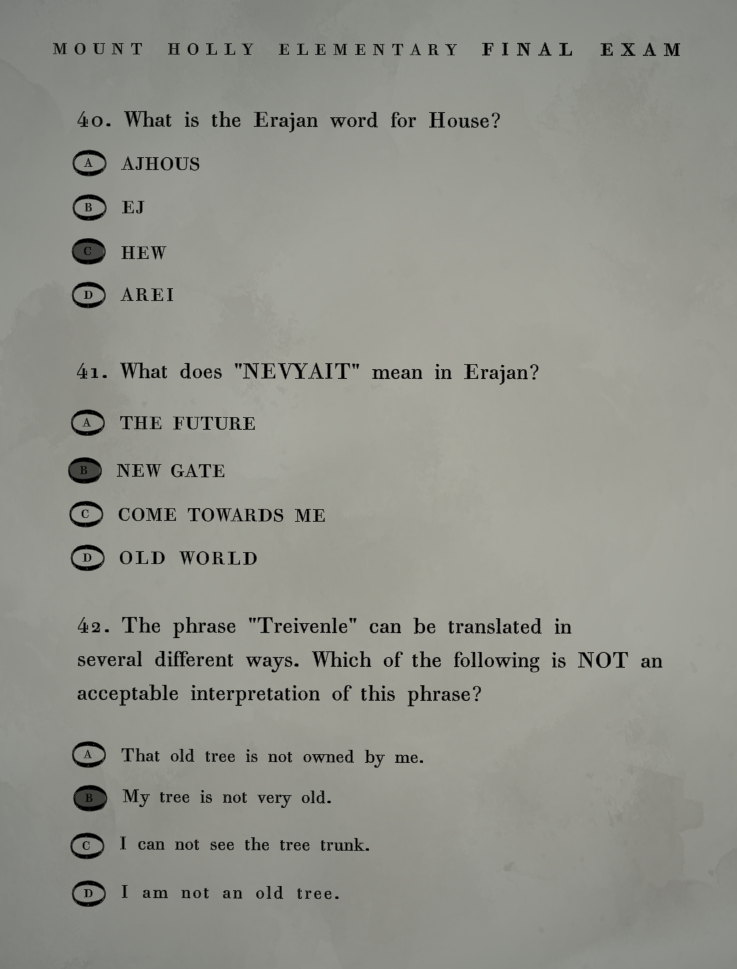
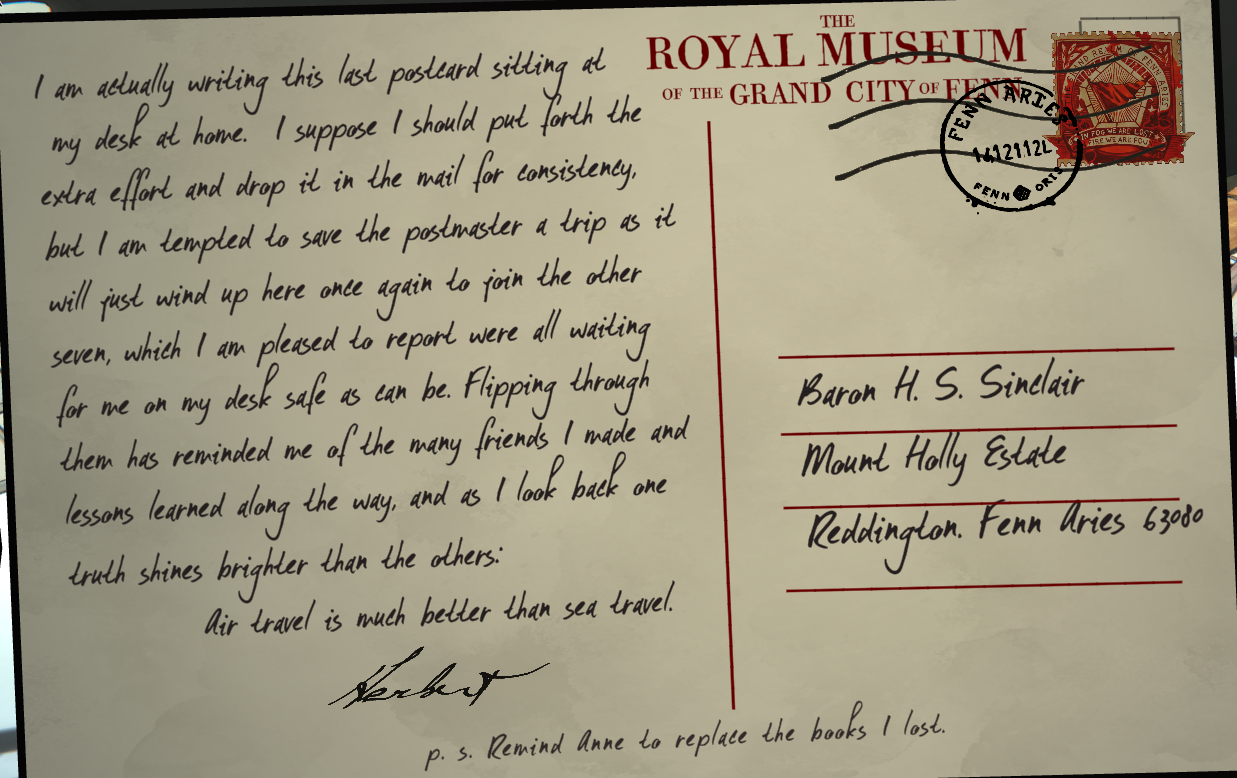
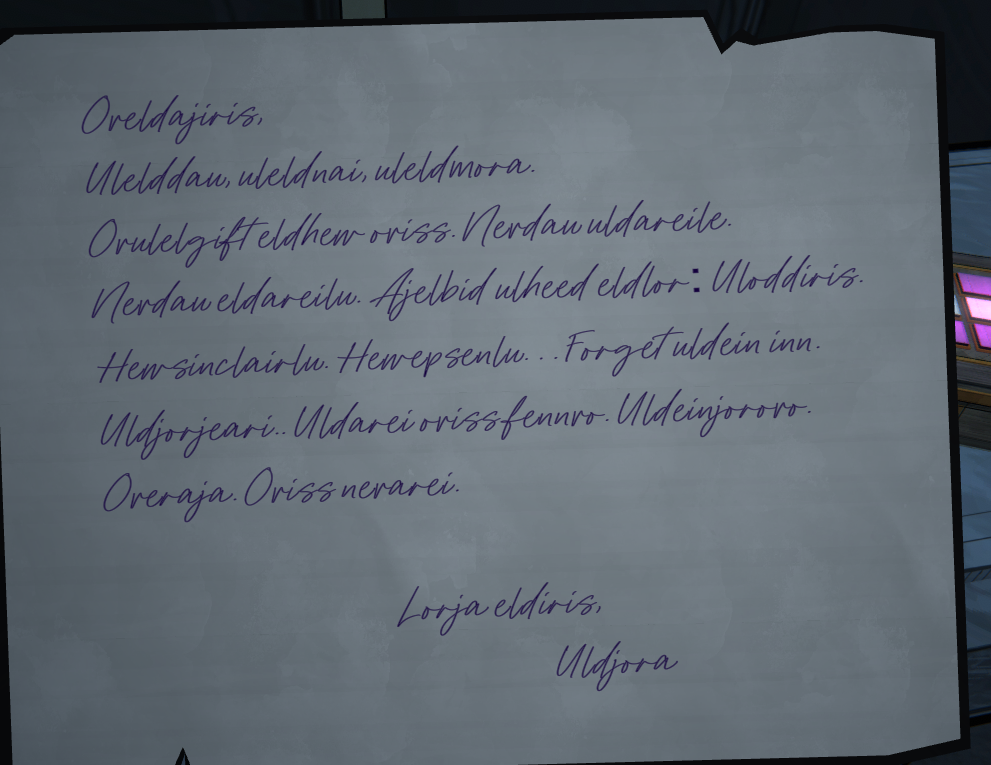
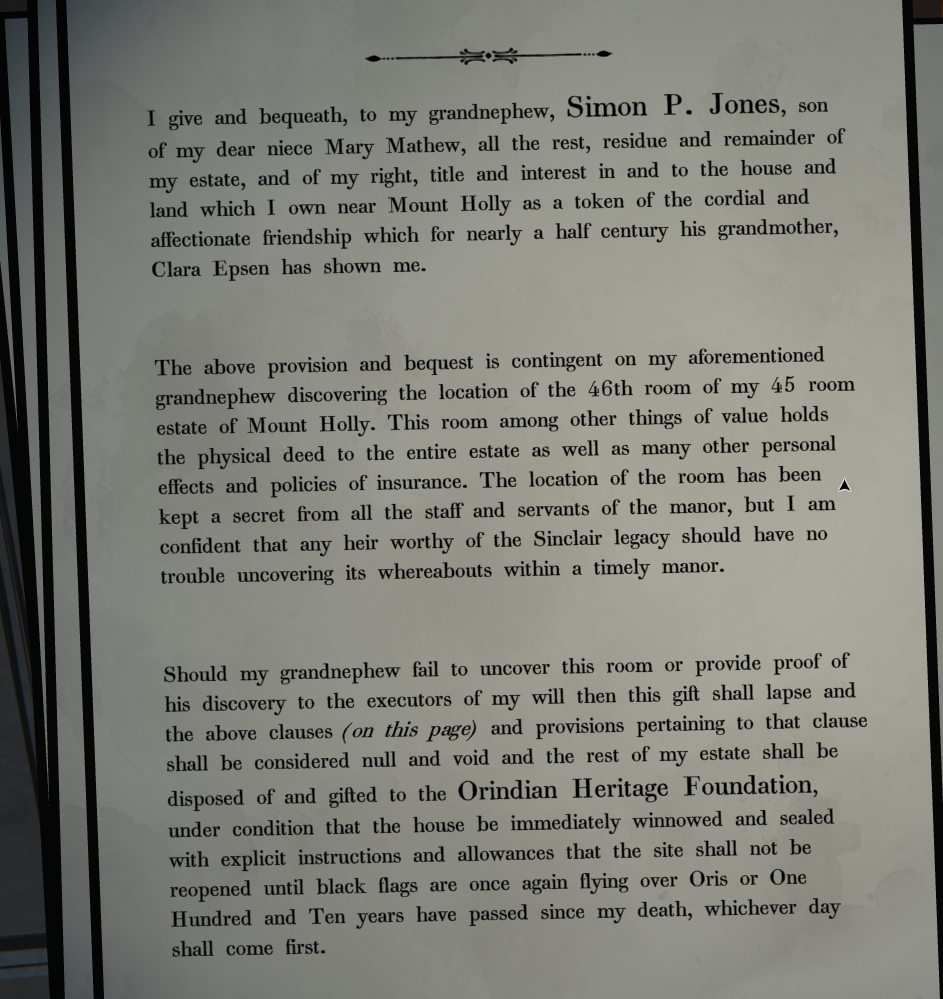
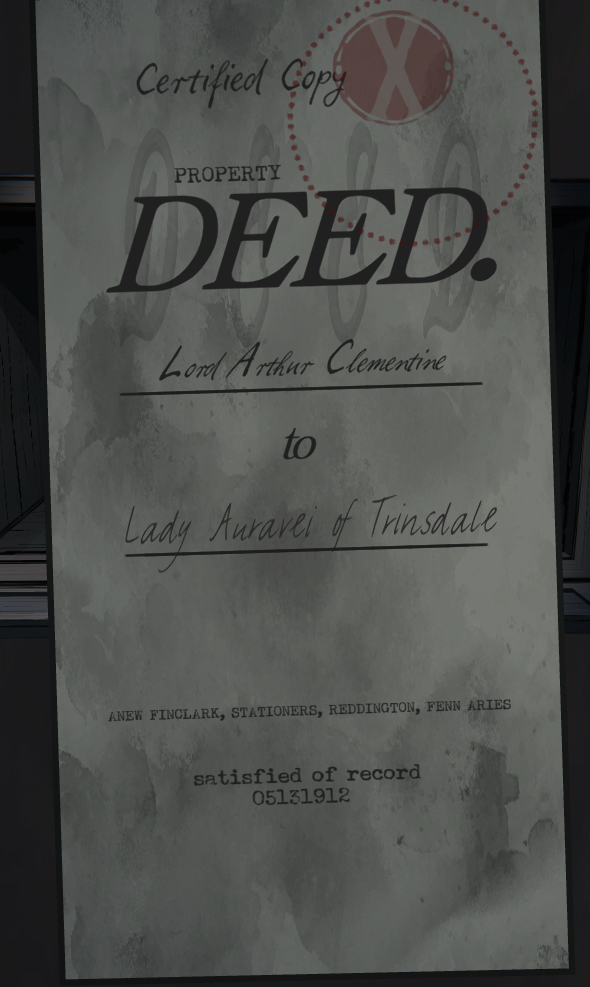
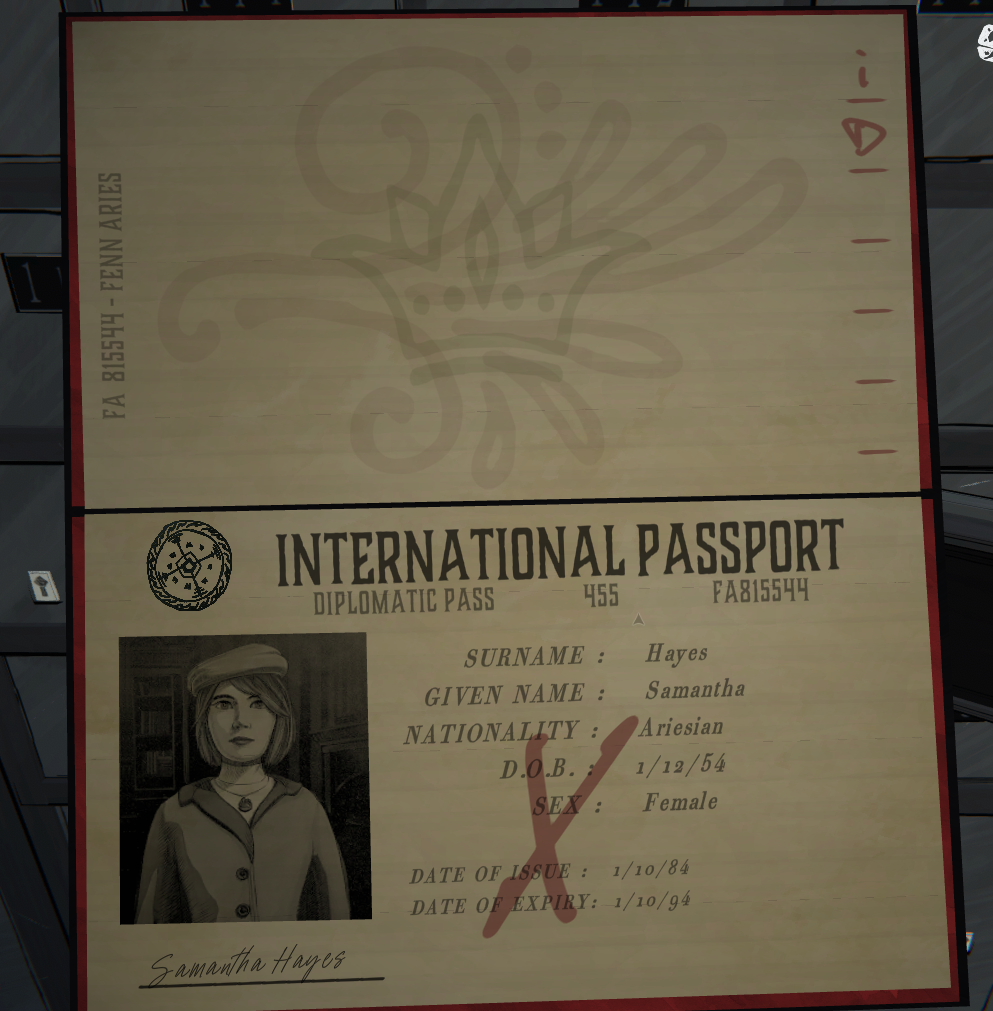
Hew-sinclair-lu: it's not Sinclair's house
Hew-epsen-lu: it's not Epsen's house
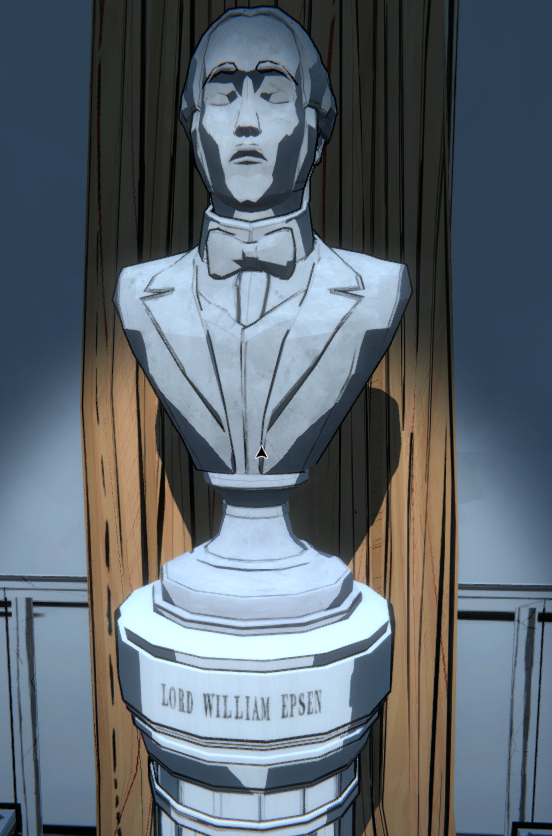
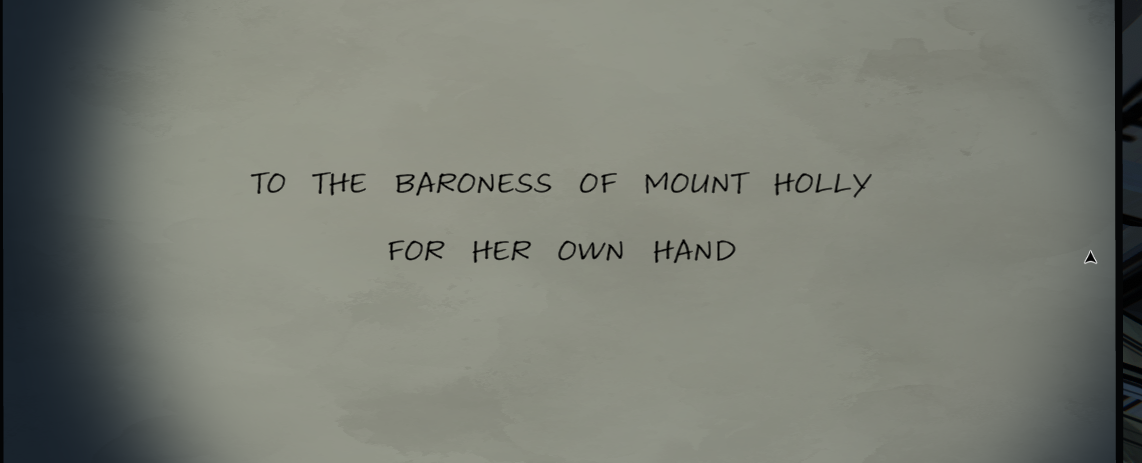
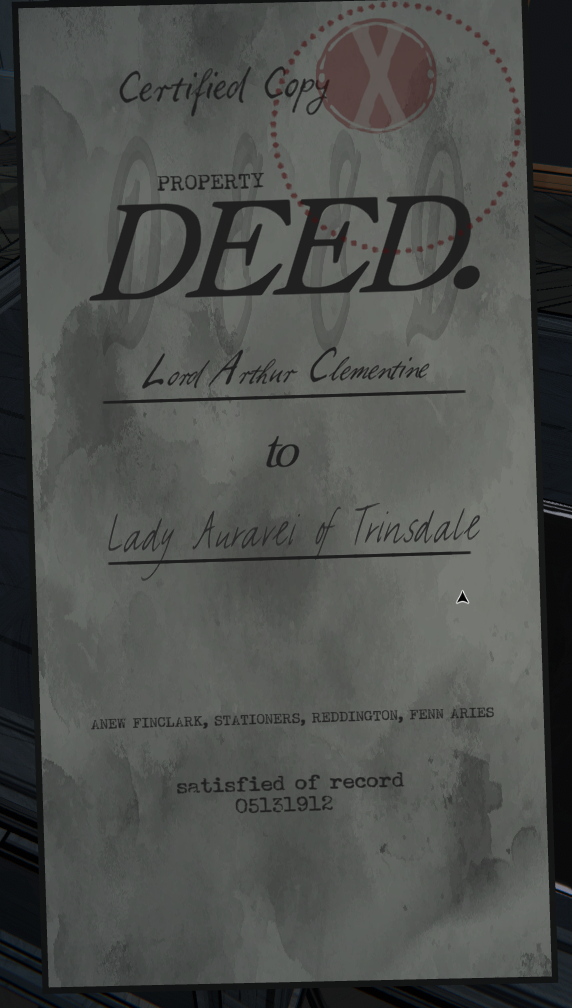
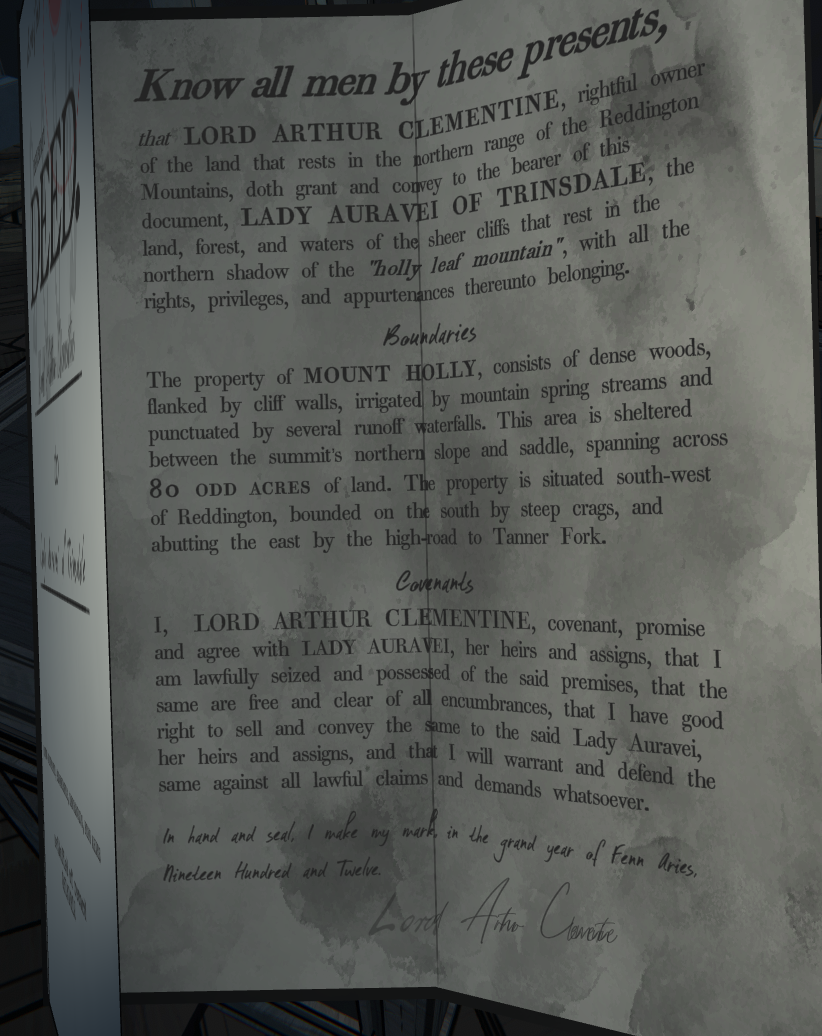
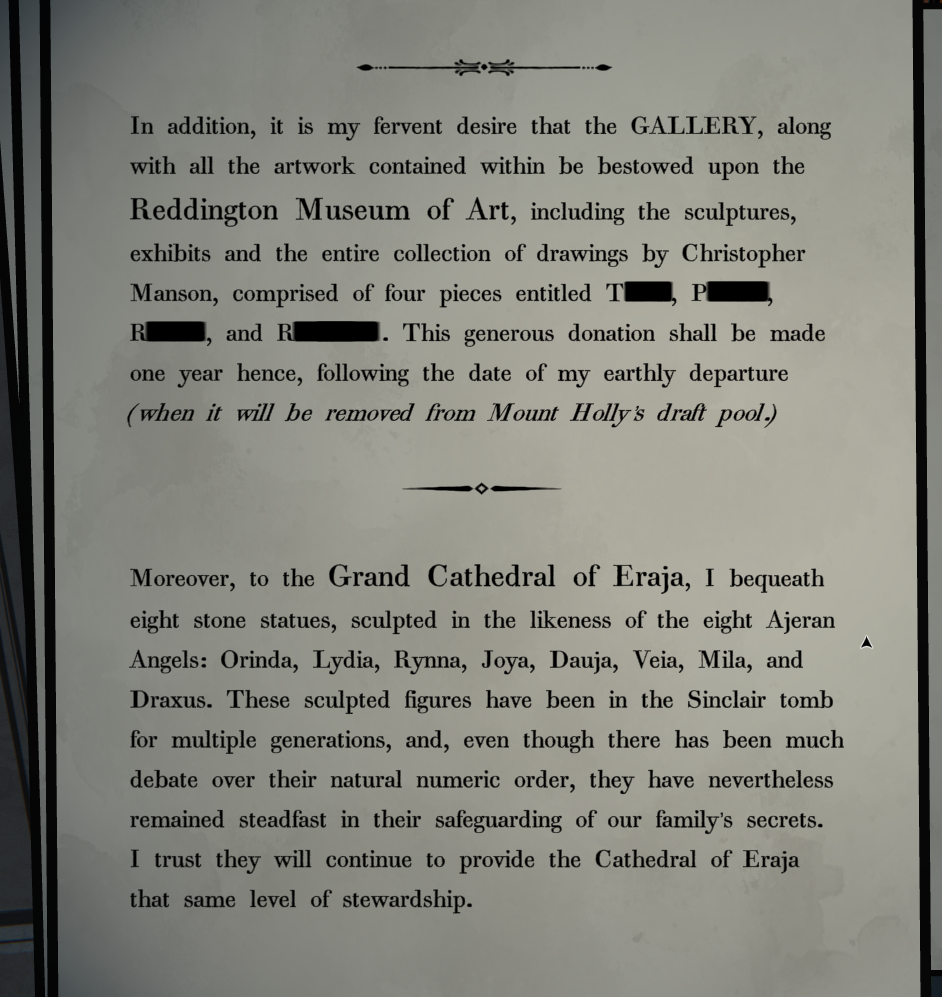
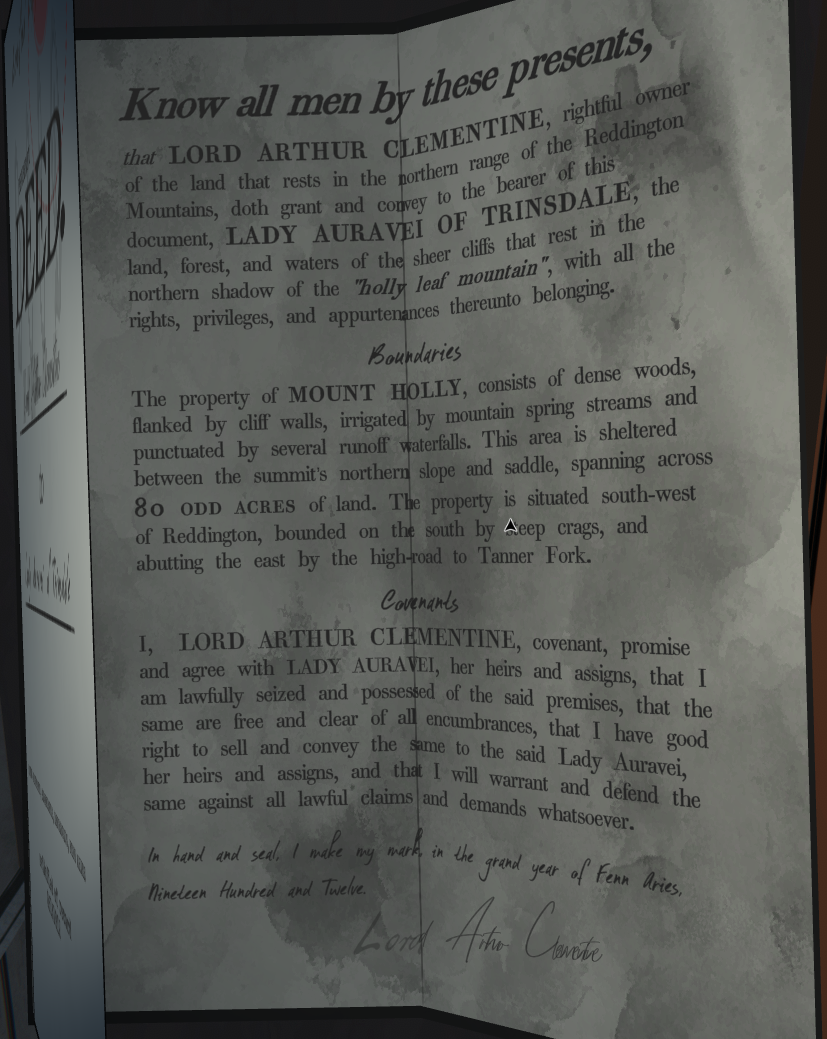
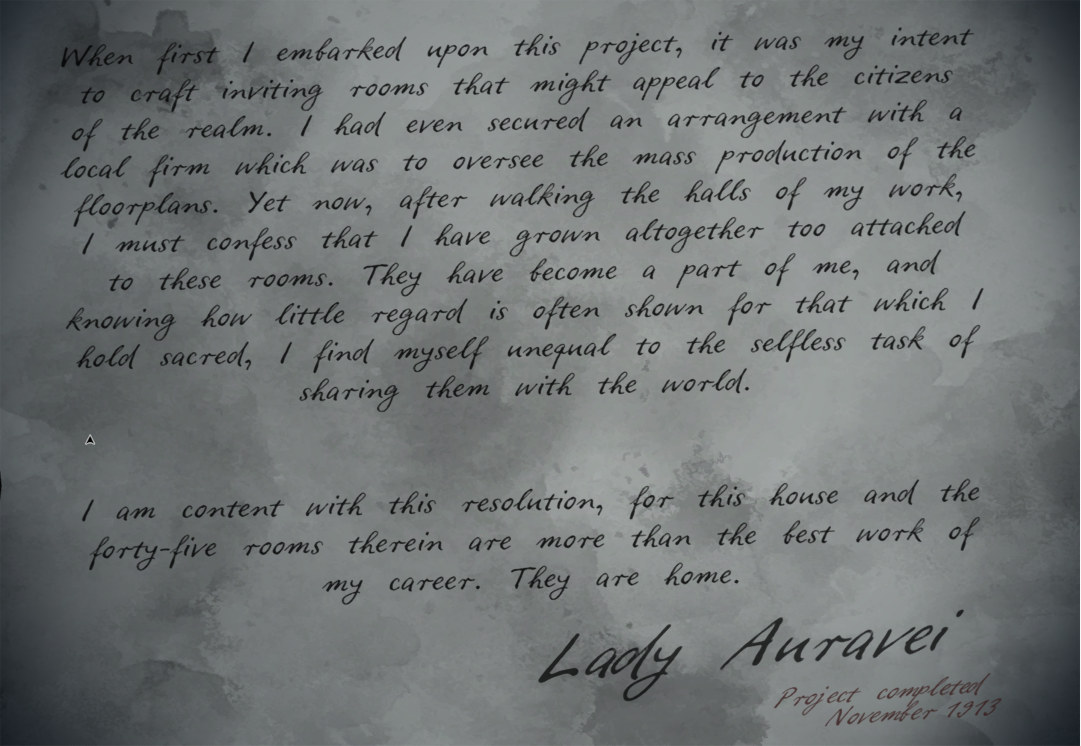
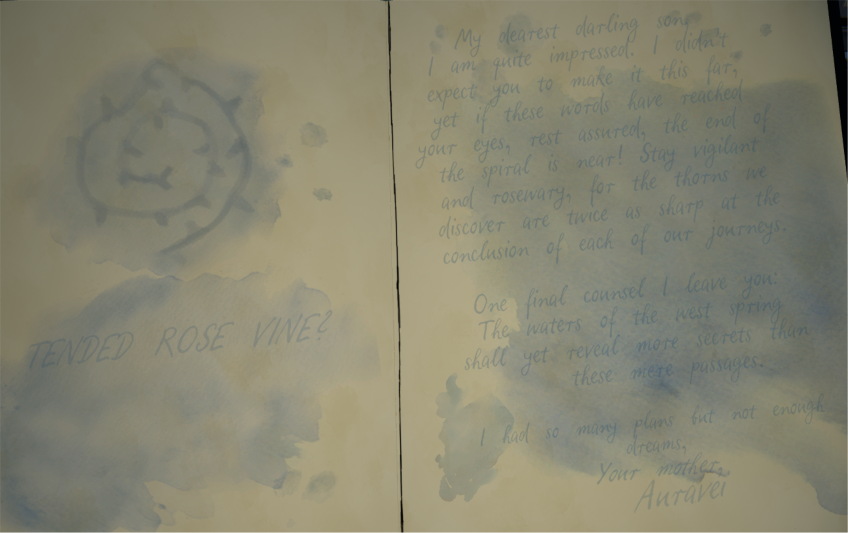
That would be coherent with the Baroness' will "it's actually Auravei's house" and Lady Epsen feeling more at home in Eraja
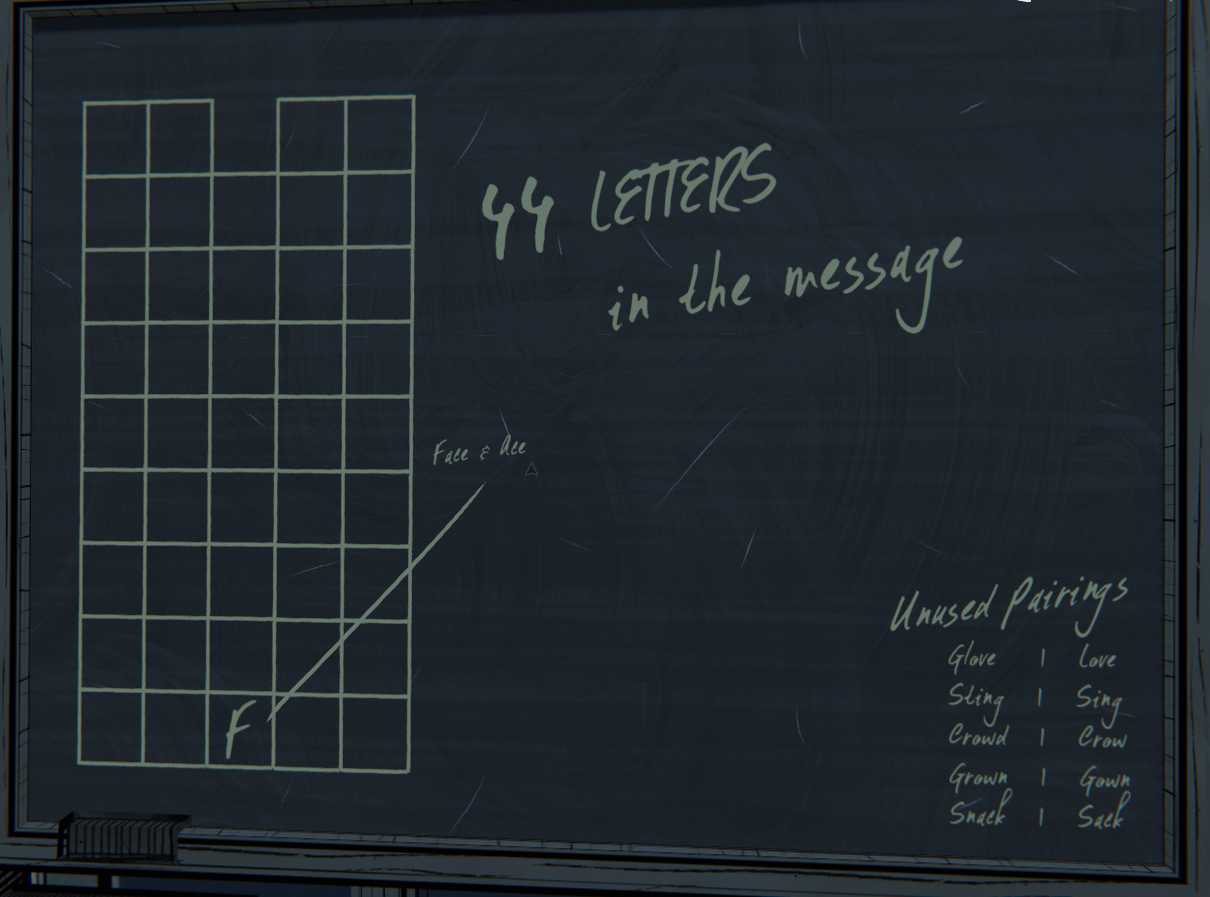
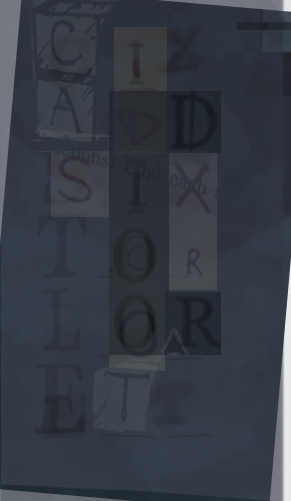
@Joric thanks for the solutions! I think E2 was left out by mistake, will have it fixed!