
Install Steam
login
|
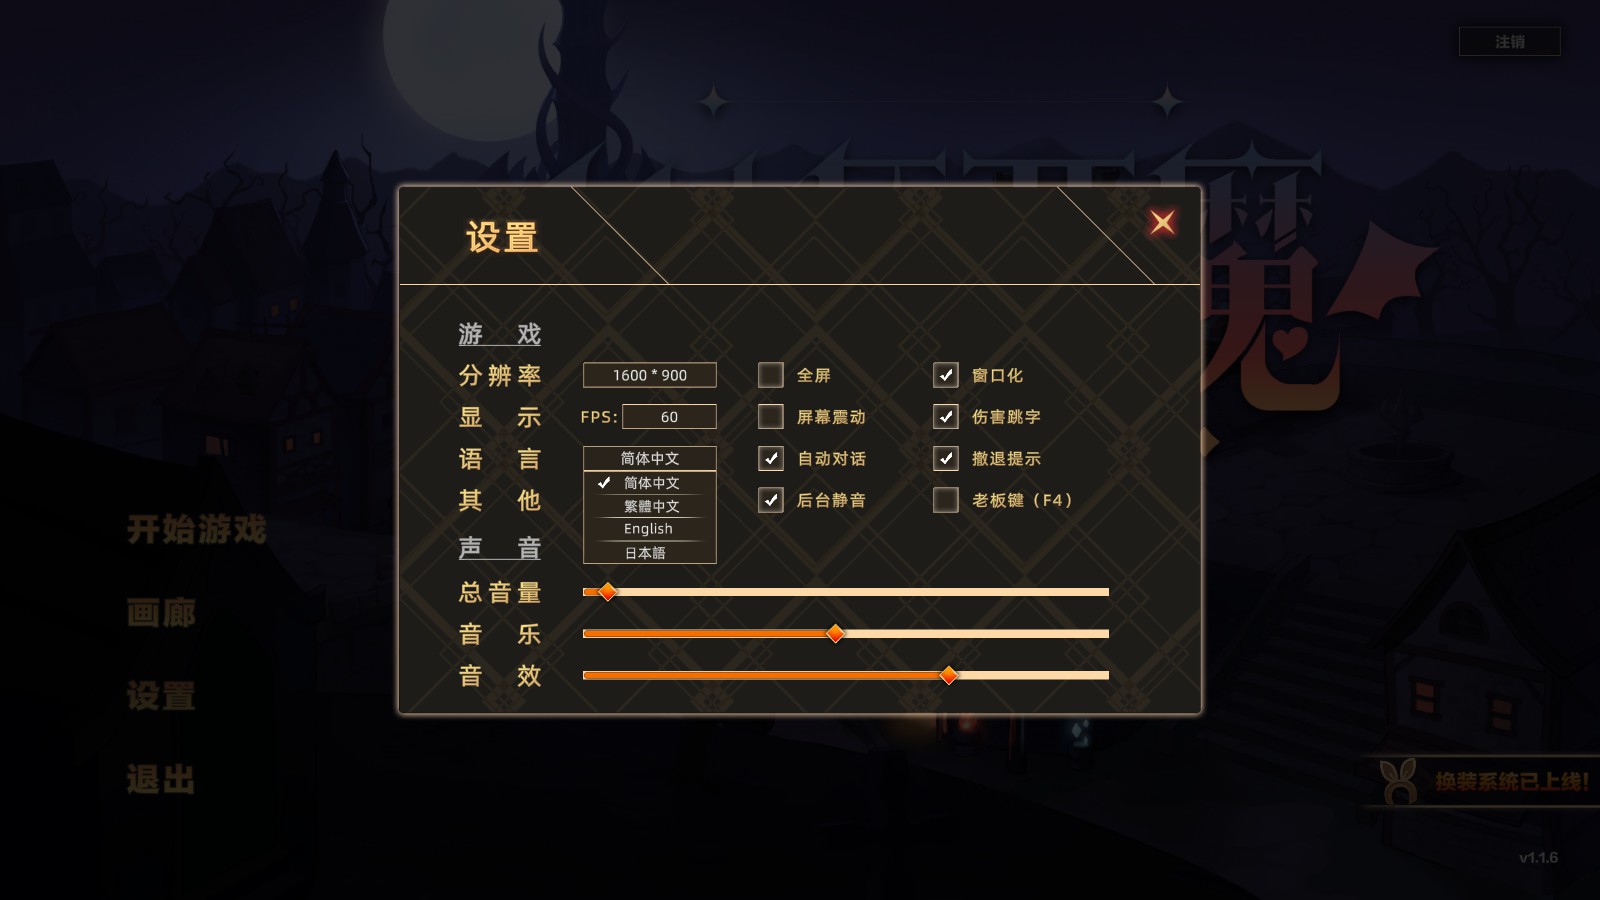
language
简体中文 (Simplified Chinese)
繁體中文 (Traditional Chinese)
日本語 (Japanese)
한국어 (Korean)
ไทย (Thai)
Български (Bulgarian)
Čeština (Czech)
Dansk (Danish)
Deutsch (German)
Español - España (Spanish - Spain)
Español - Latinoamérica (Spanish - Latin America)
Ελληνικά (Greek)
Français (French)
Italiano (Italian)
Bahasa Indonesia (Indonesian)
Magyar (Hungarian)
Nederlands (Dutch)
Norsk (Norwegian)
Polski (Polish)
Português (Portuguese - Portugal)
Português - Brasil (Portuguese - Brazil)
Română (Romanian)
Русский (Russian)
Suomi (Finnish)
Svenska (Swedish)
Türkçe (Turkish)
Tiếng Việt (Vietnamese)
Українська (Ukrainian)
Report a translation problem


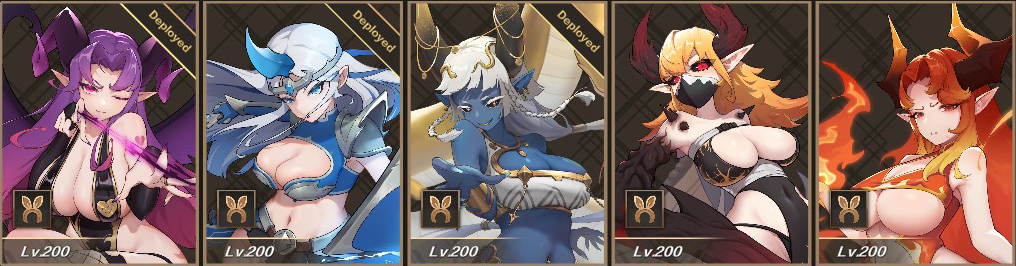

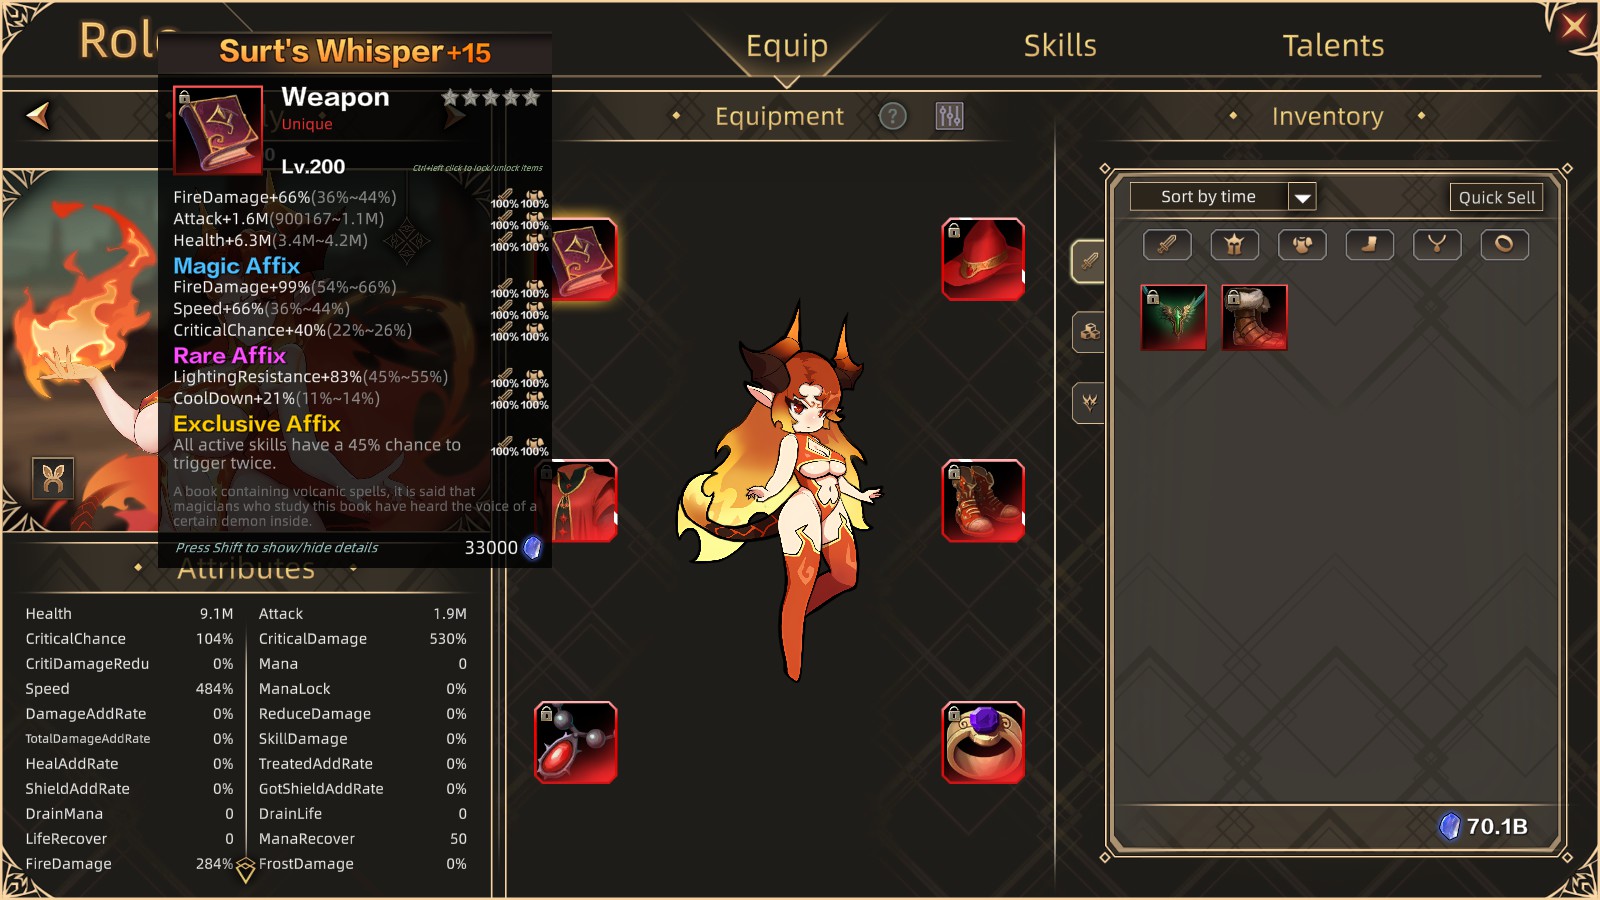


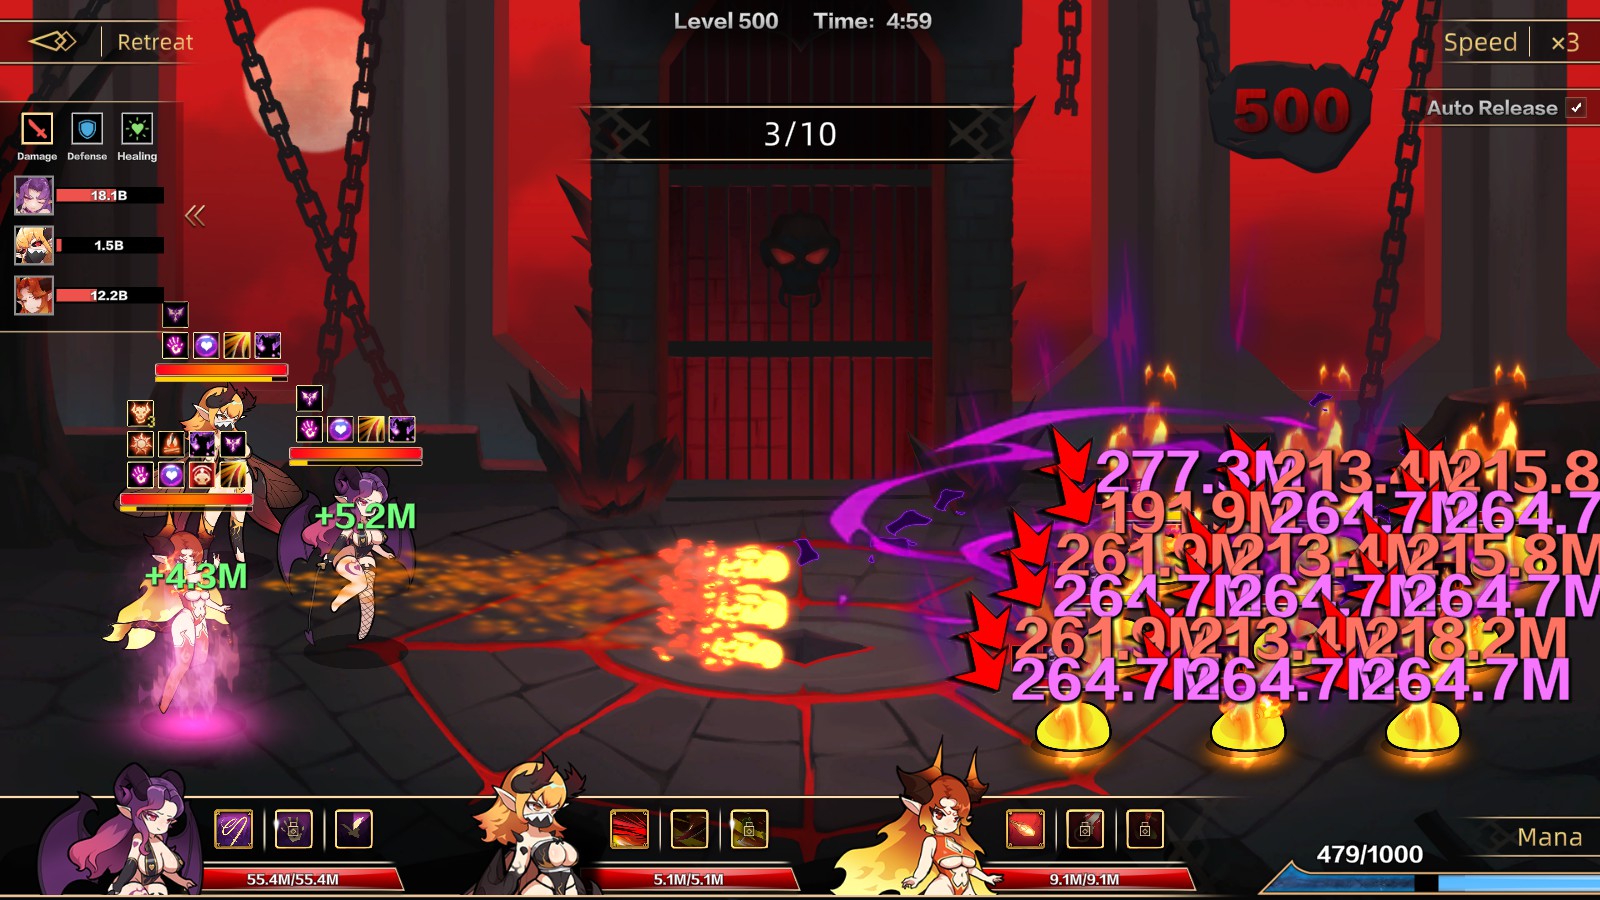


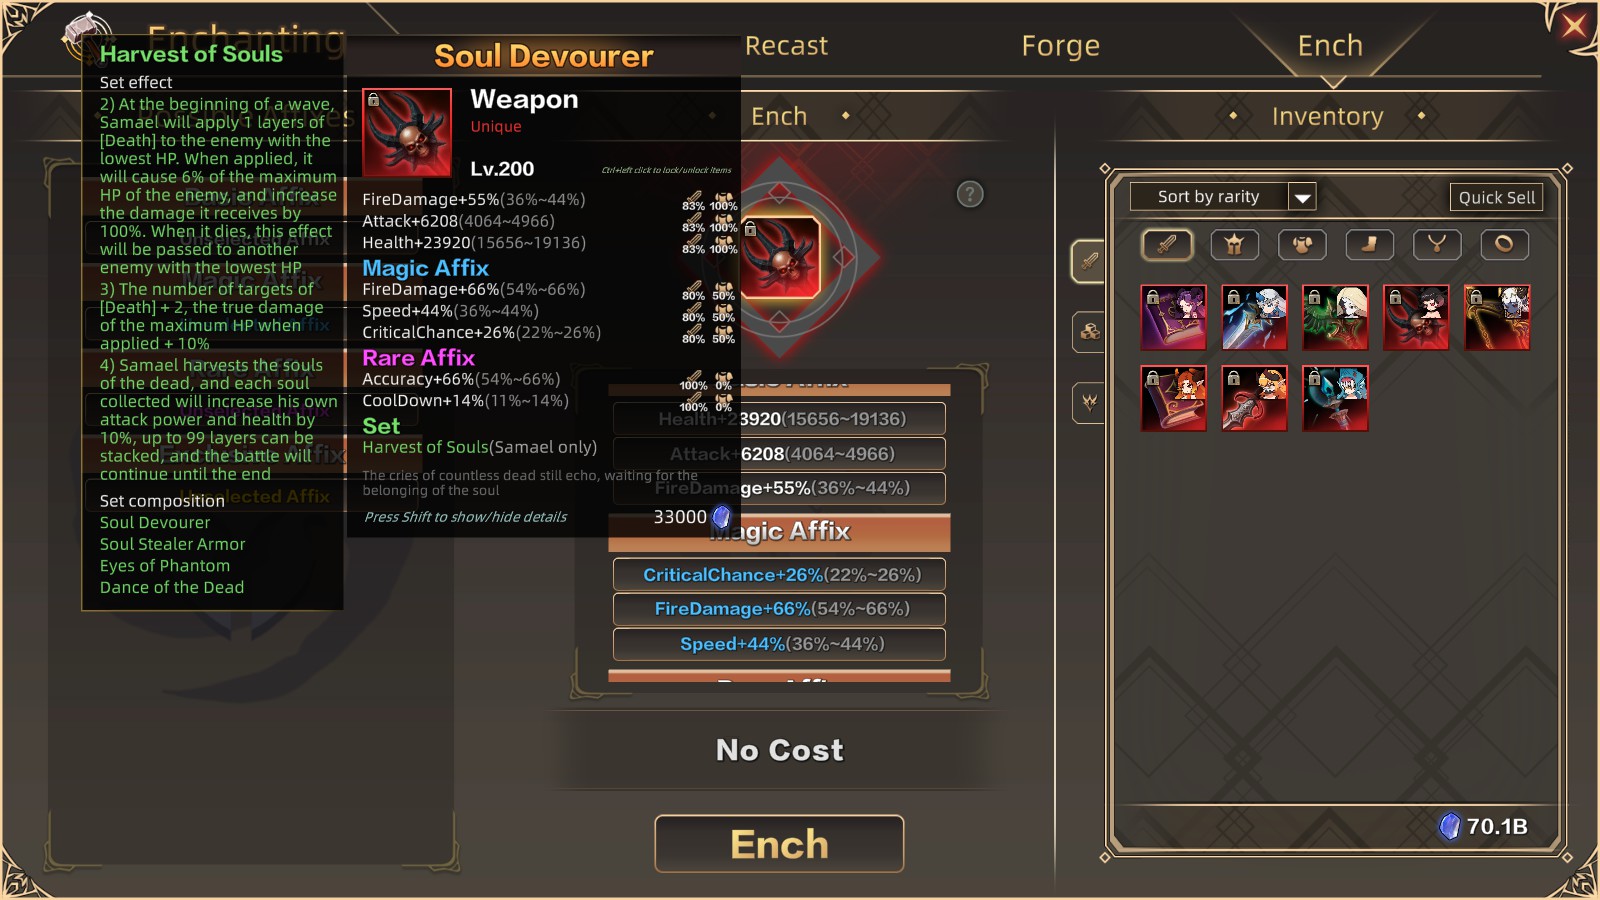


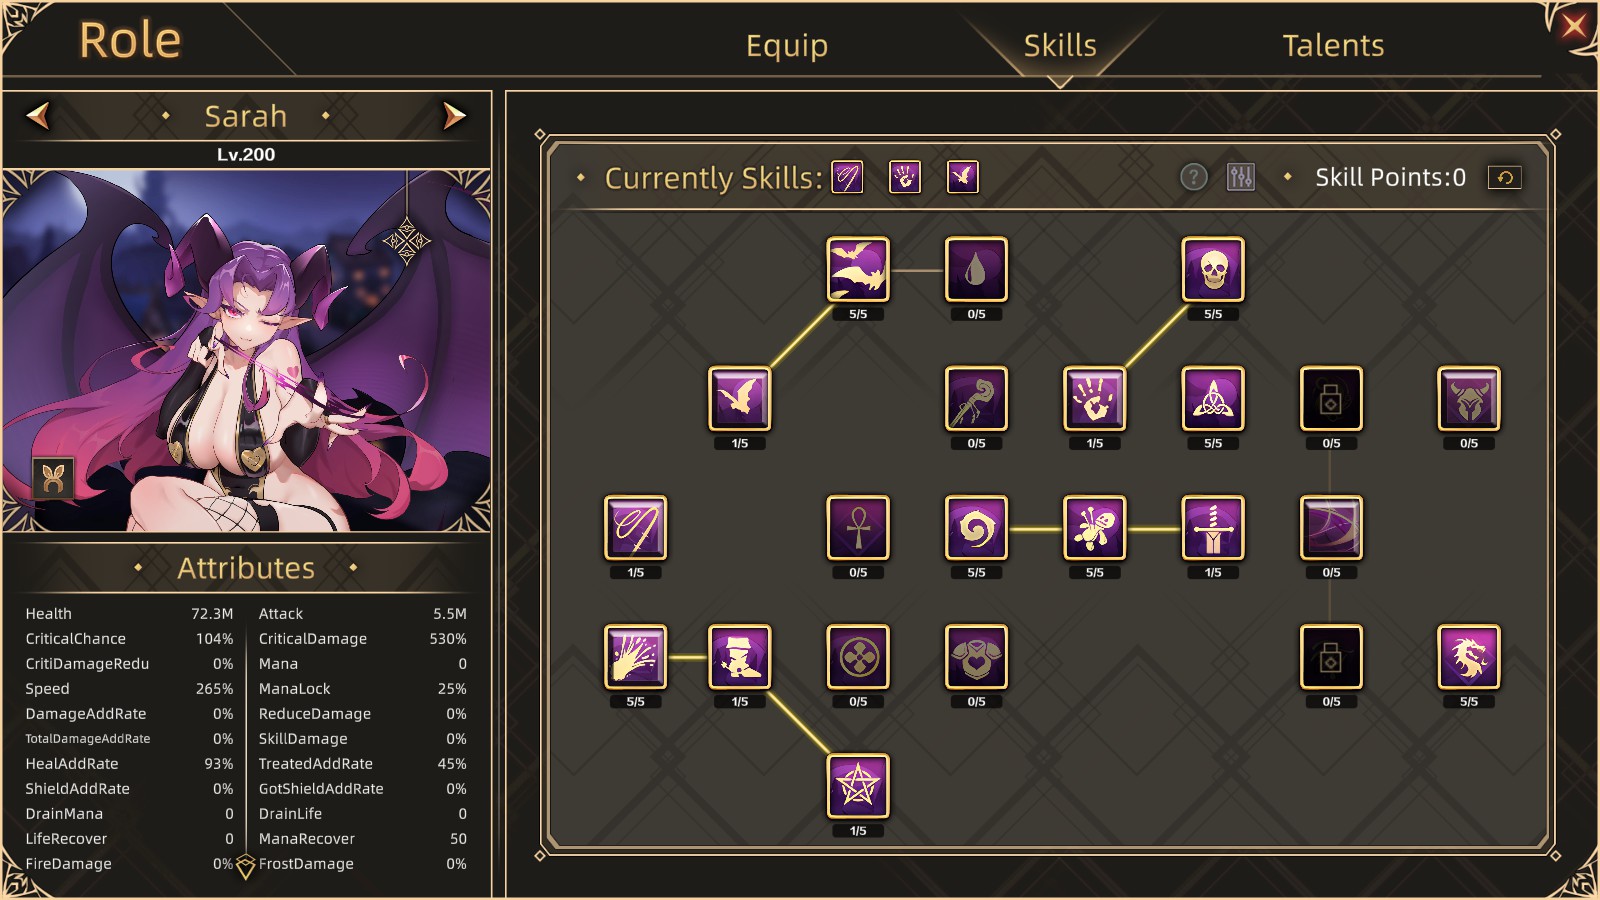


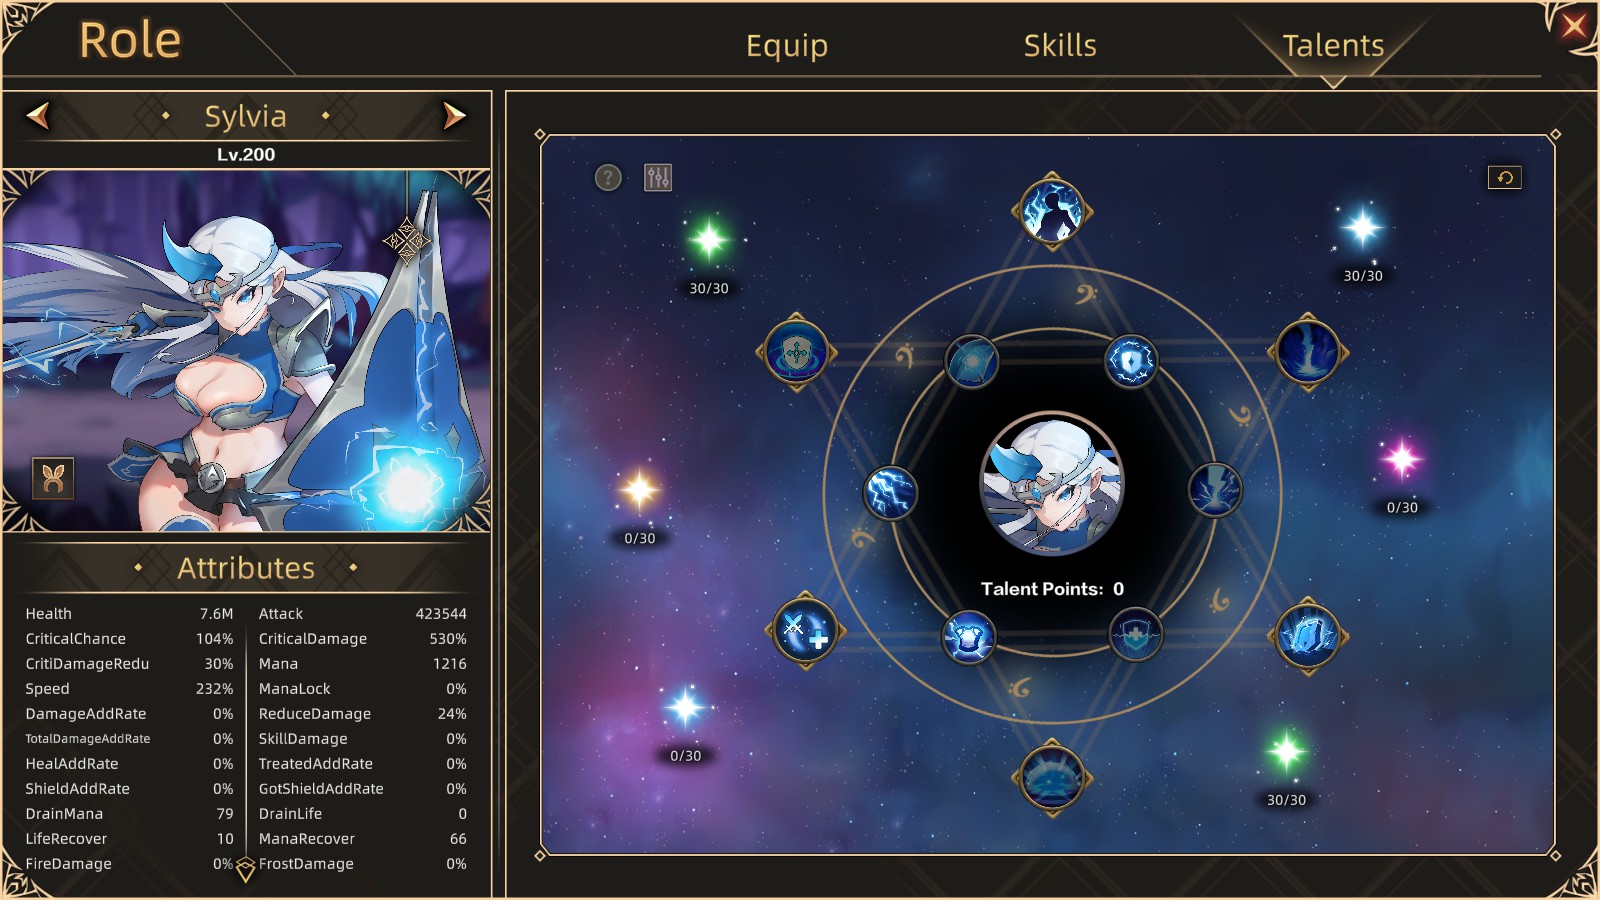
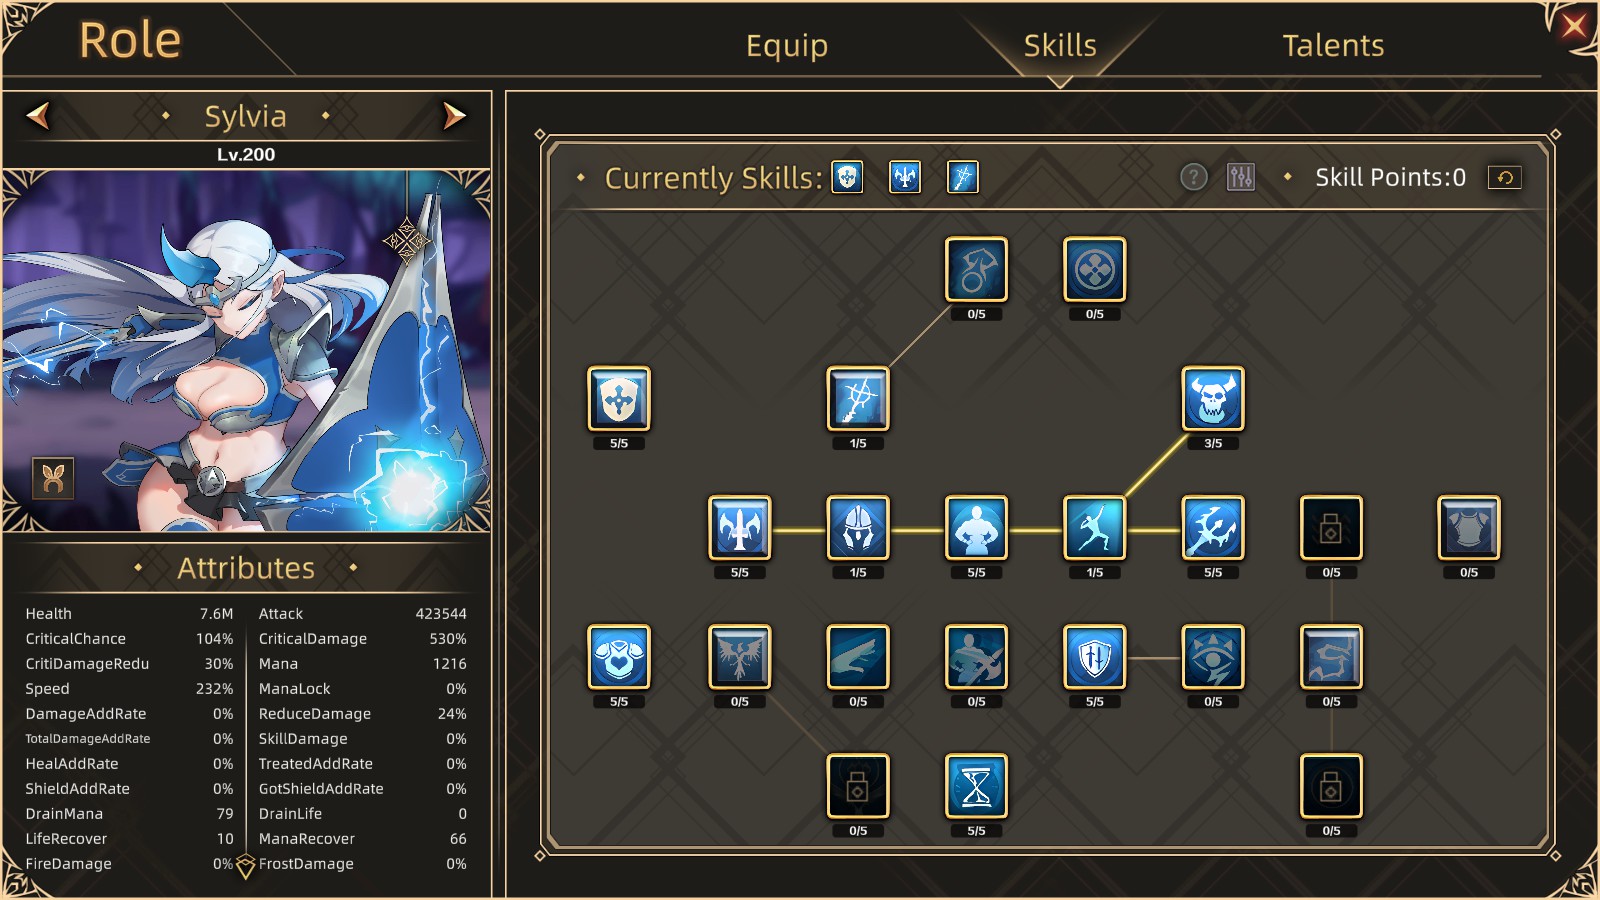
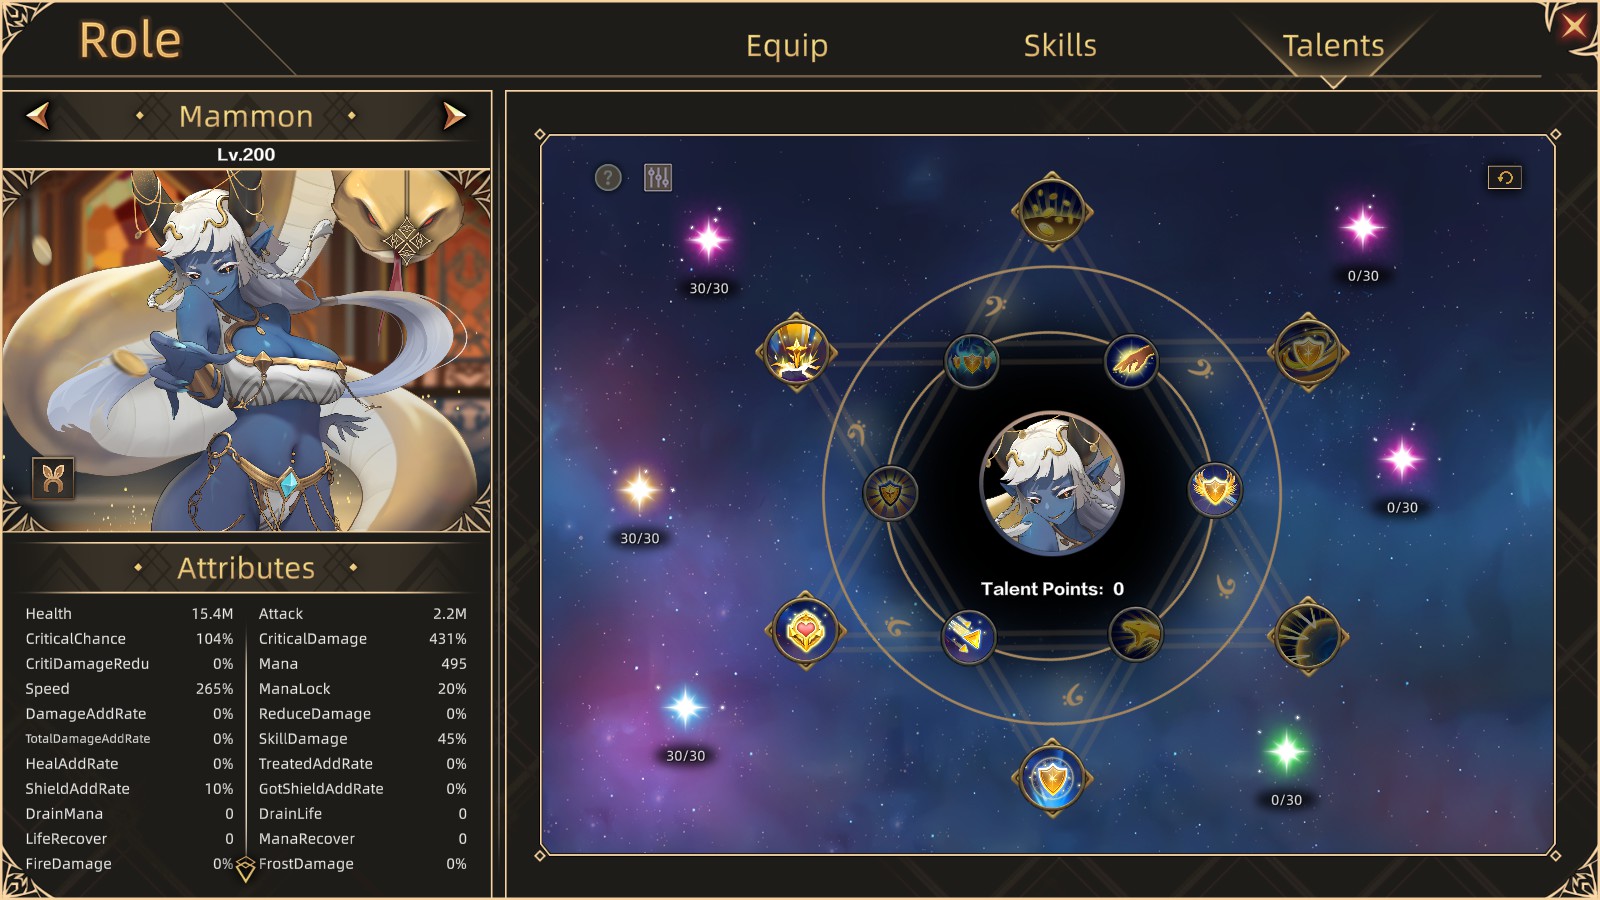
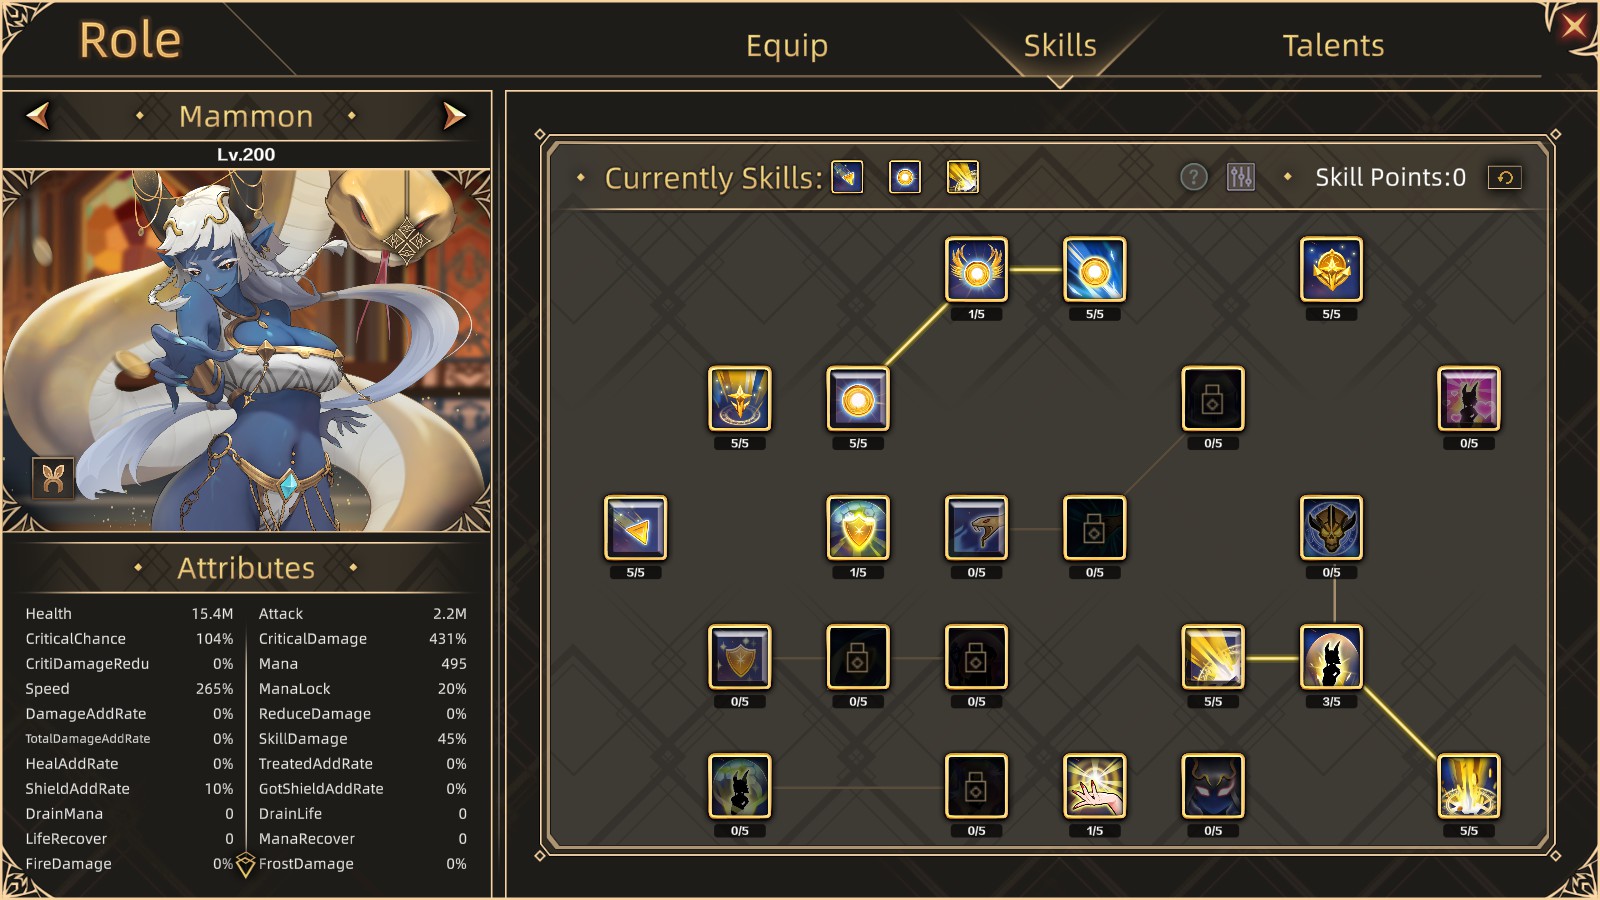


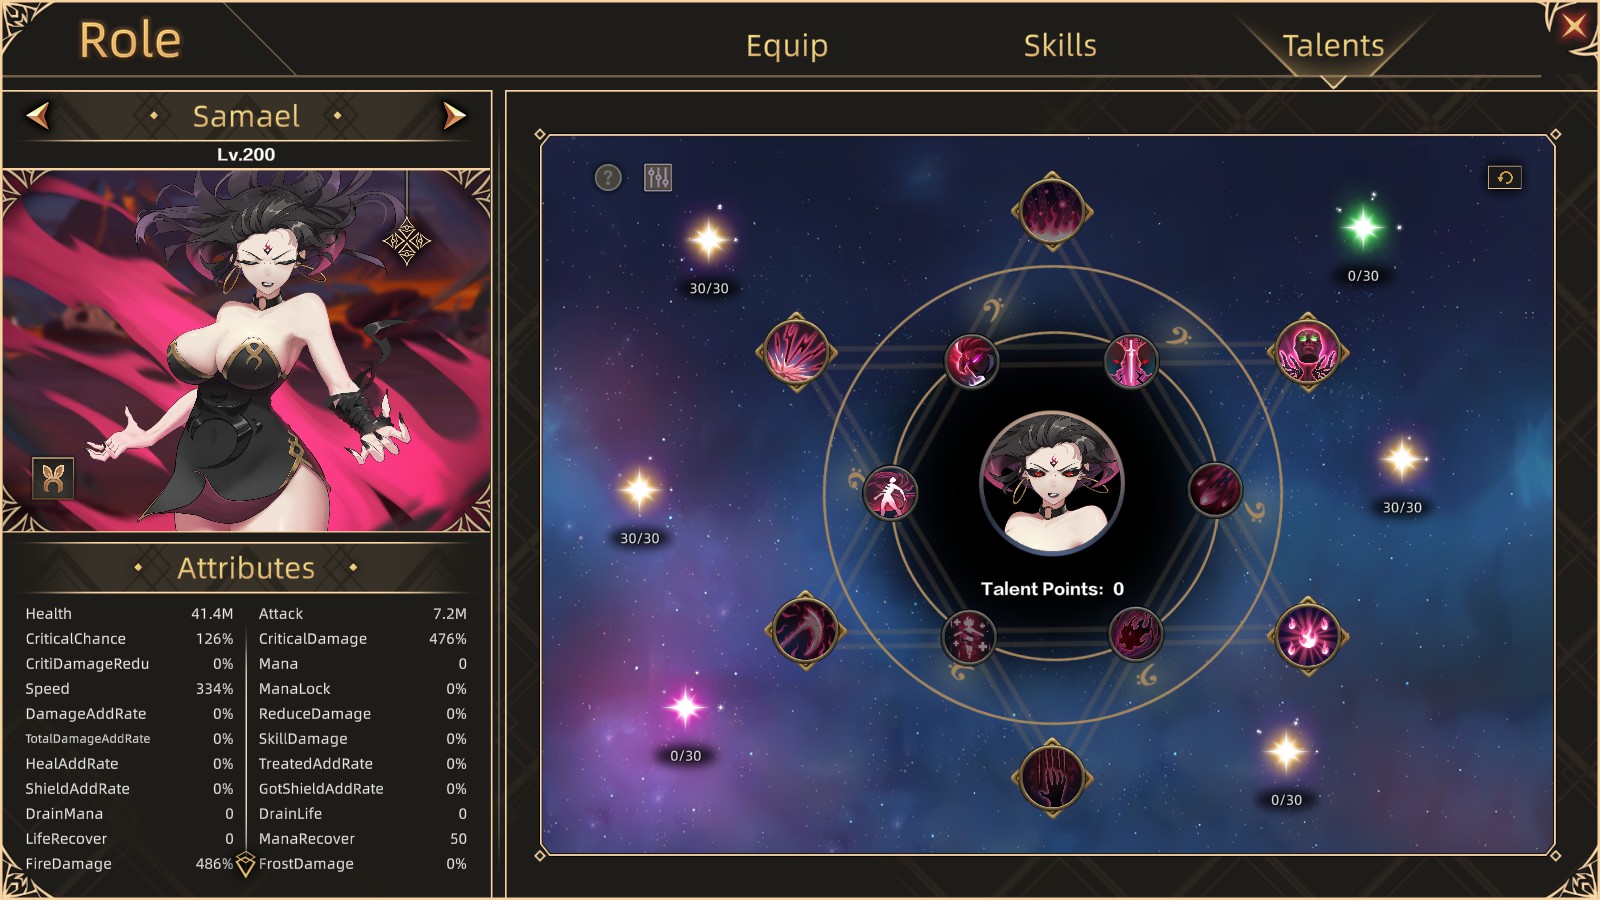
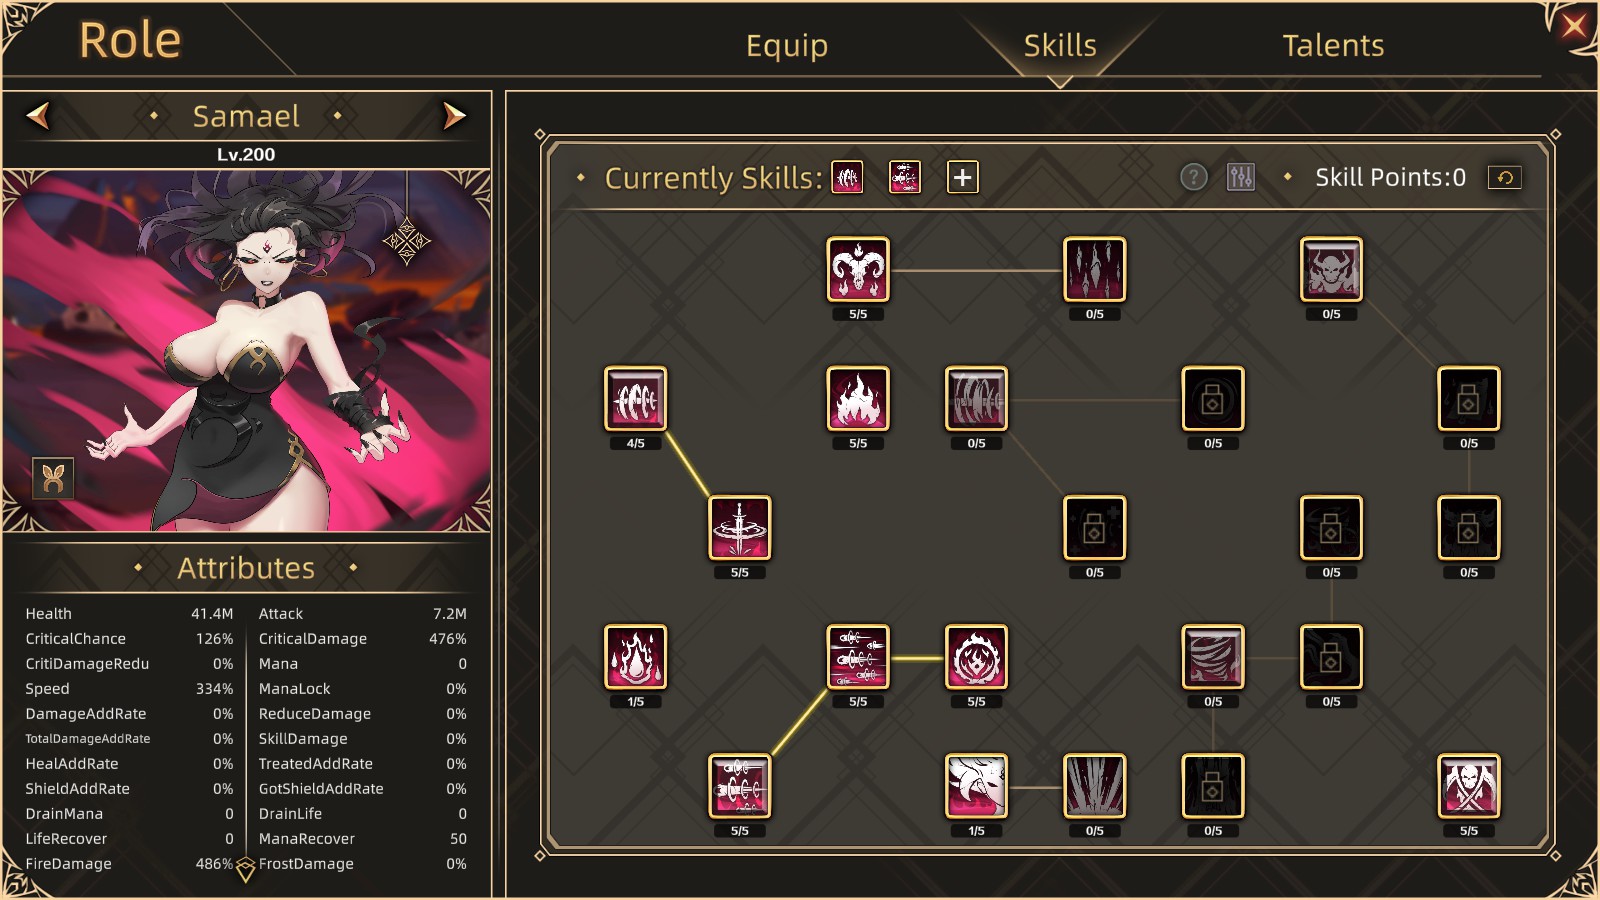
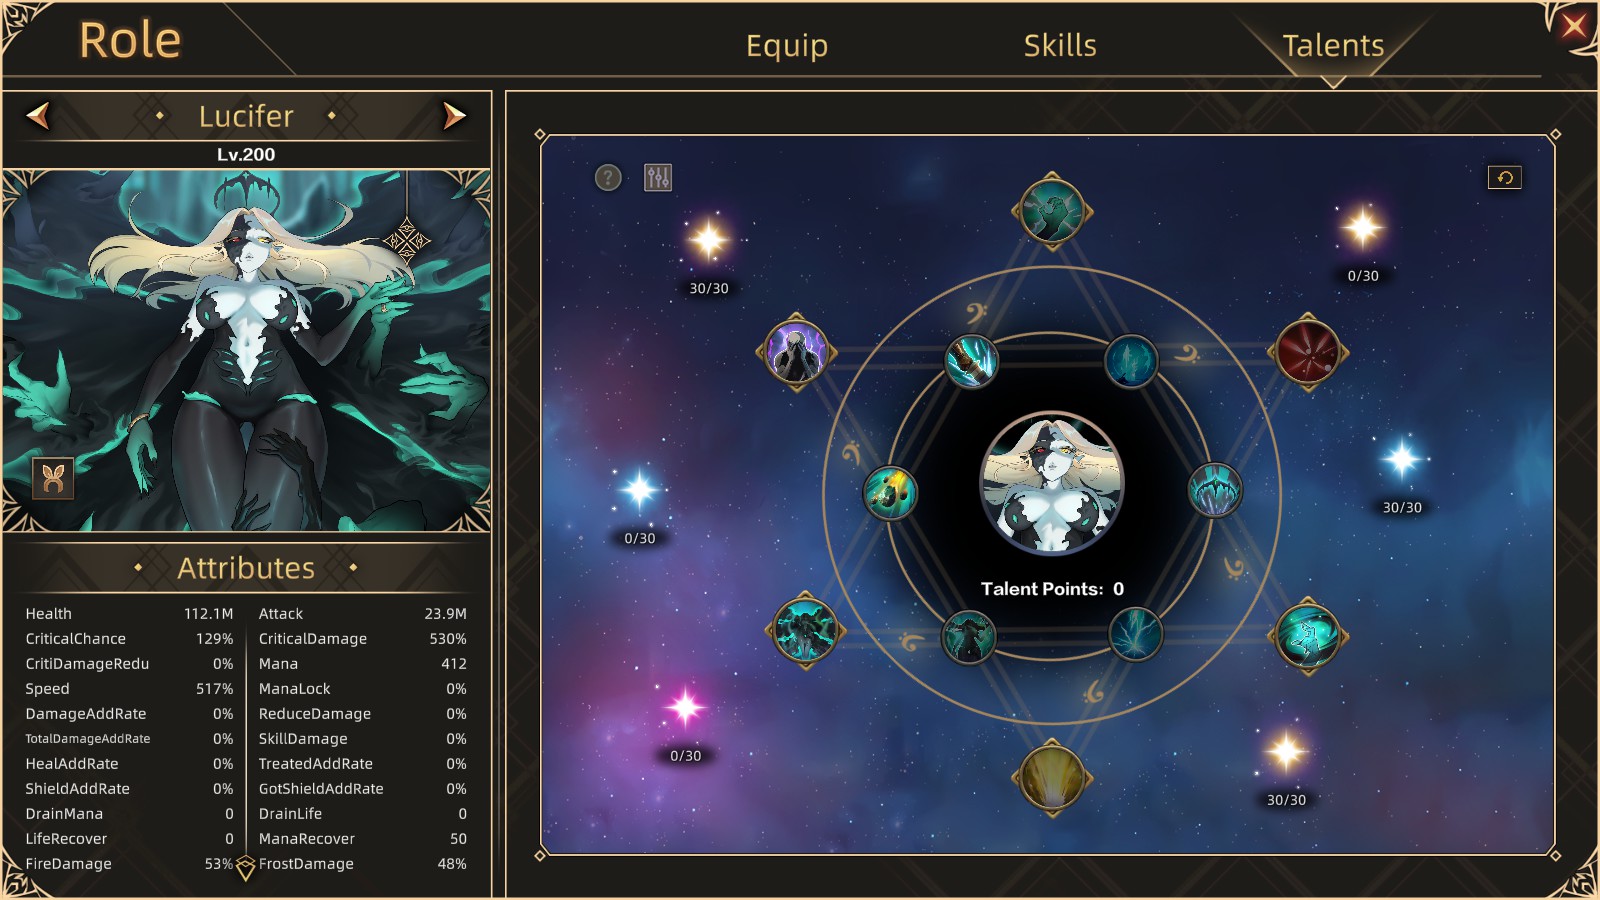


Samael first % hit, 1 star fall from lucifer (140000T damage) and Belzebub beheading.
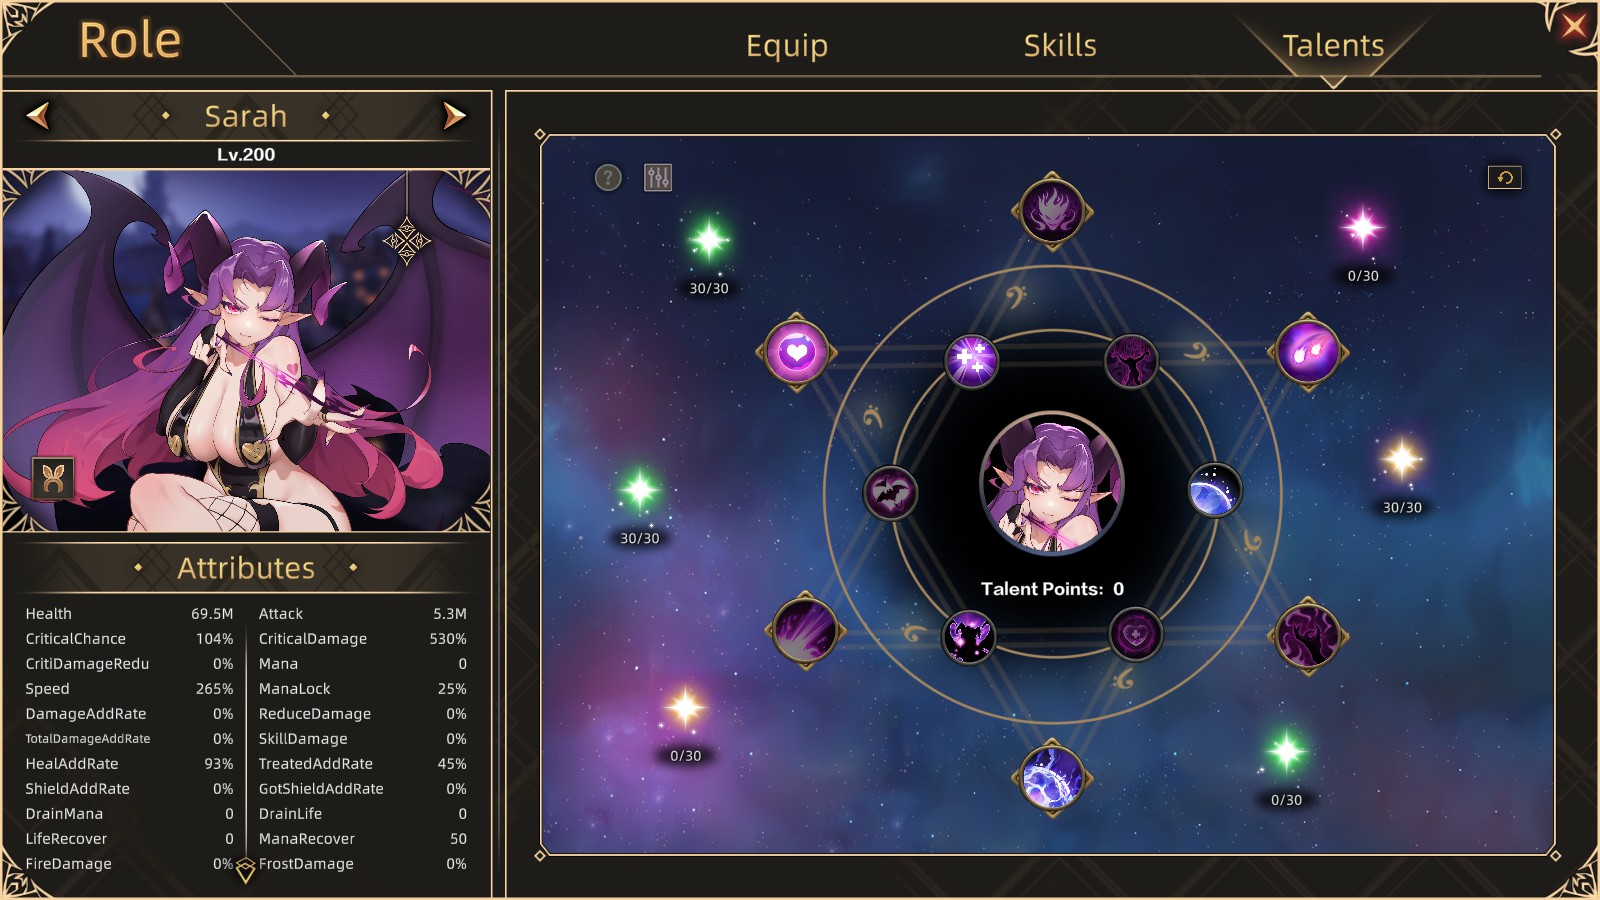
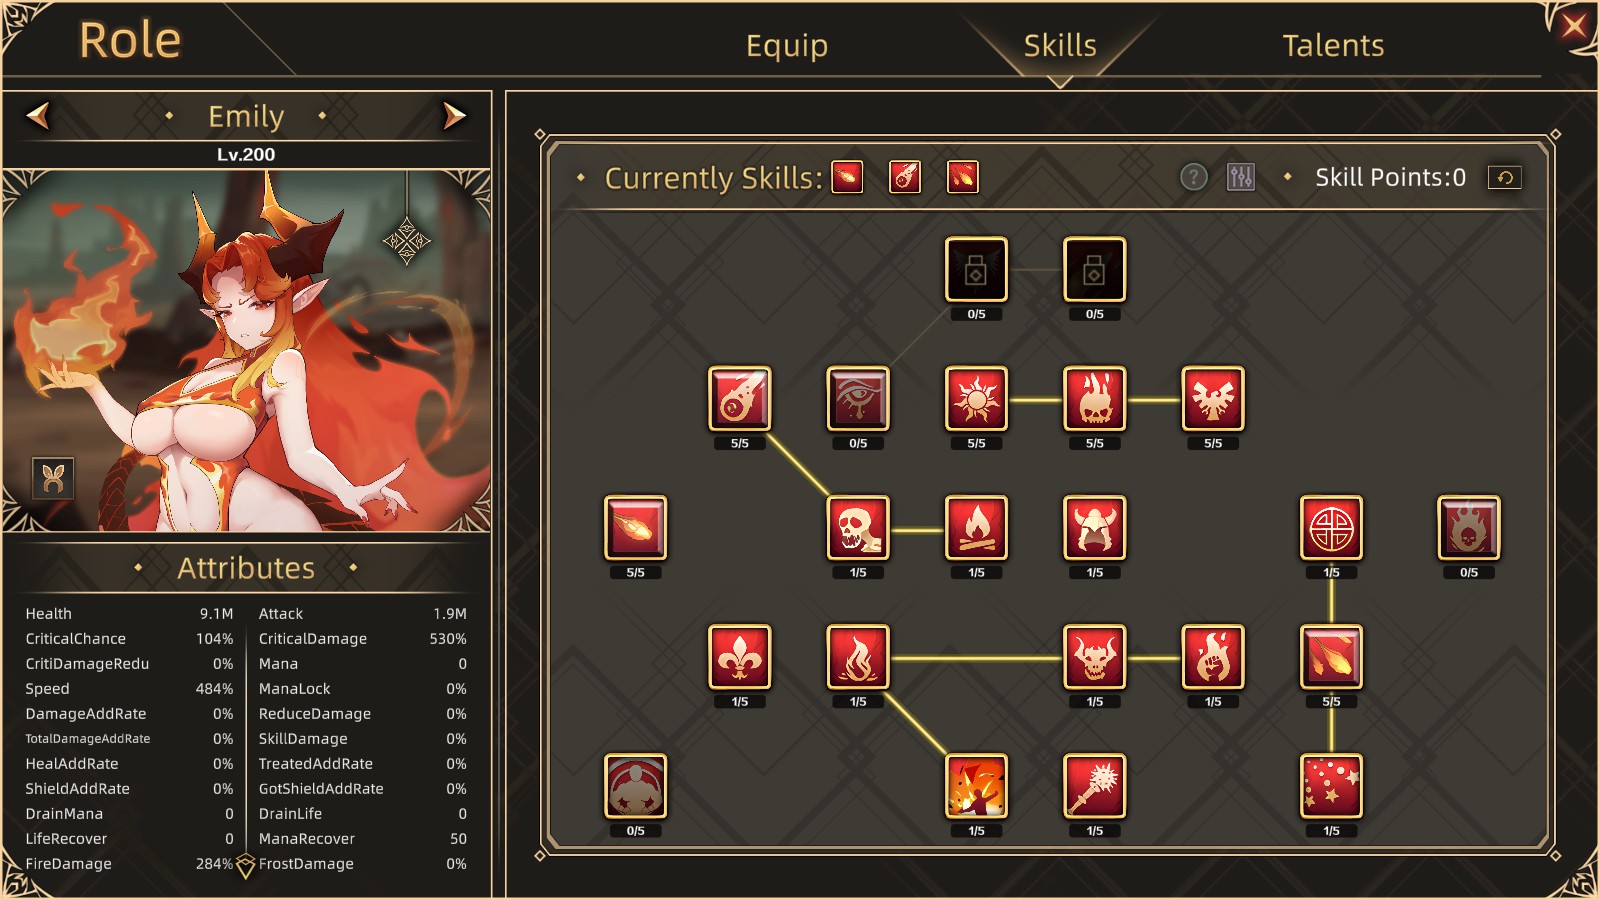
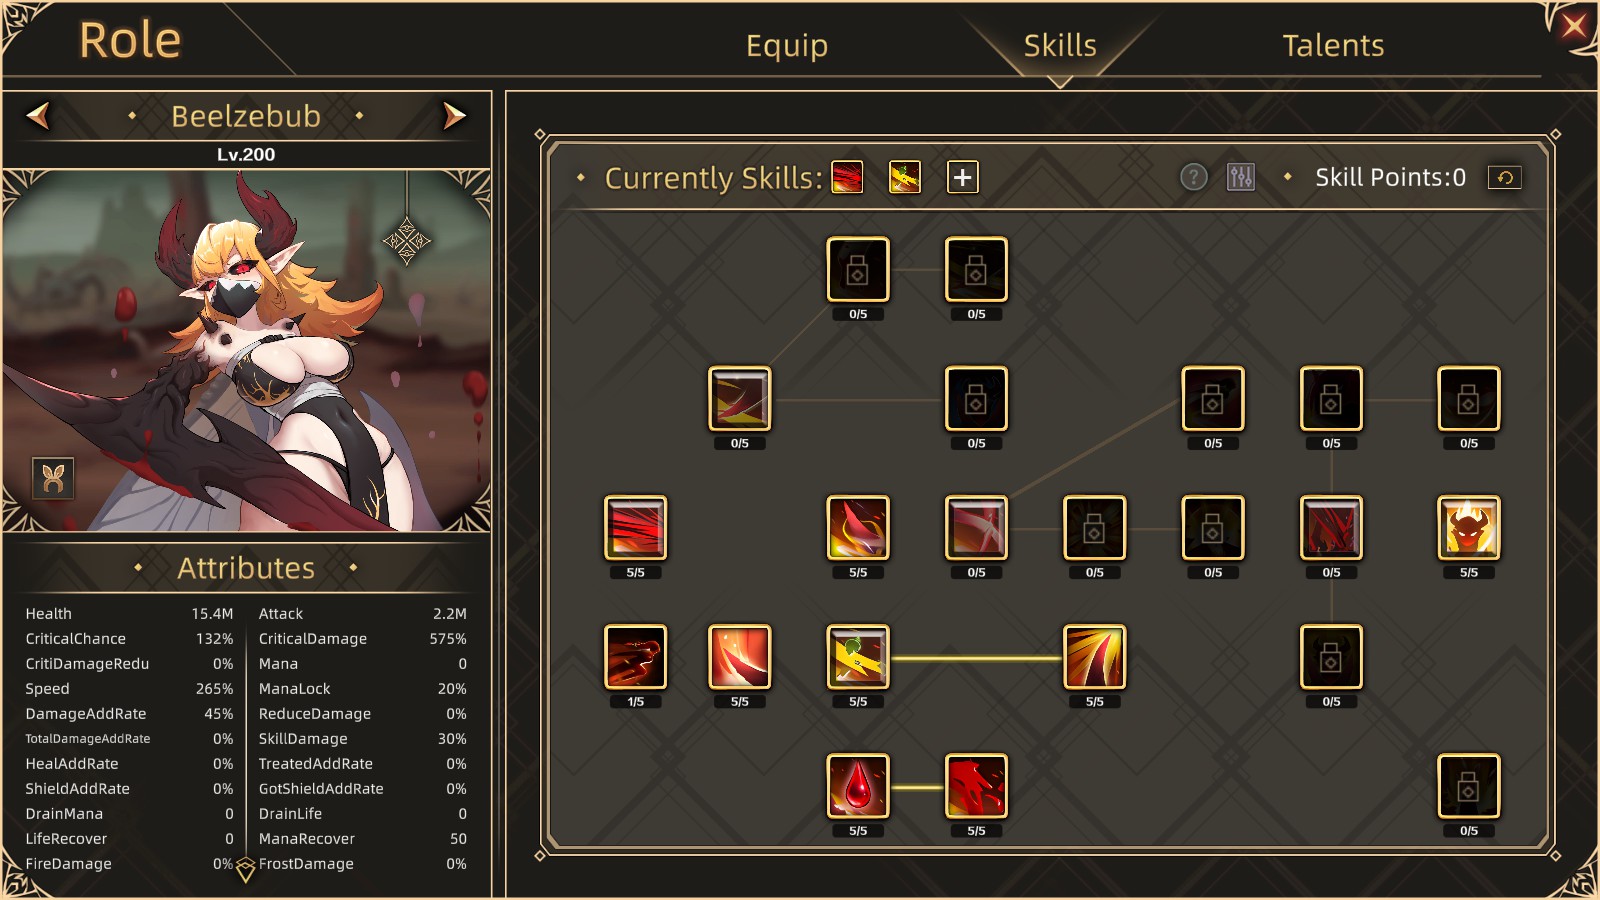
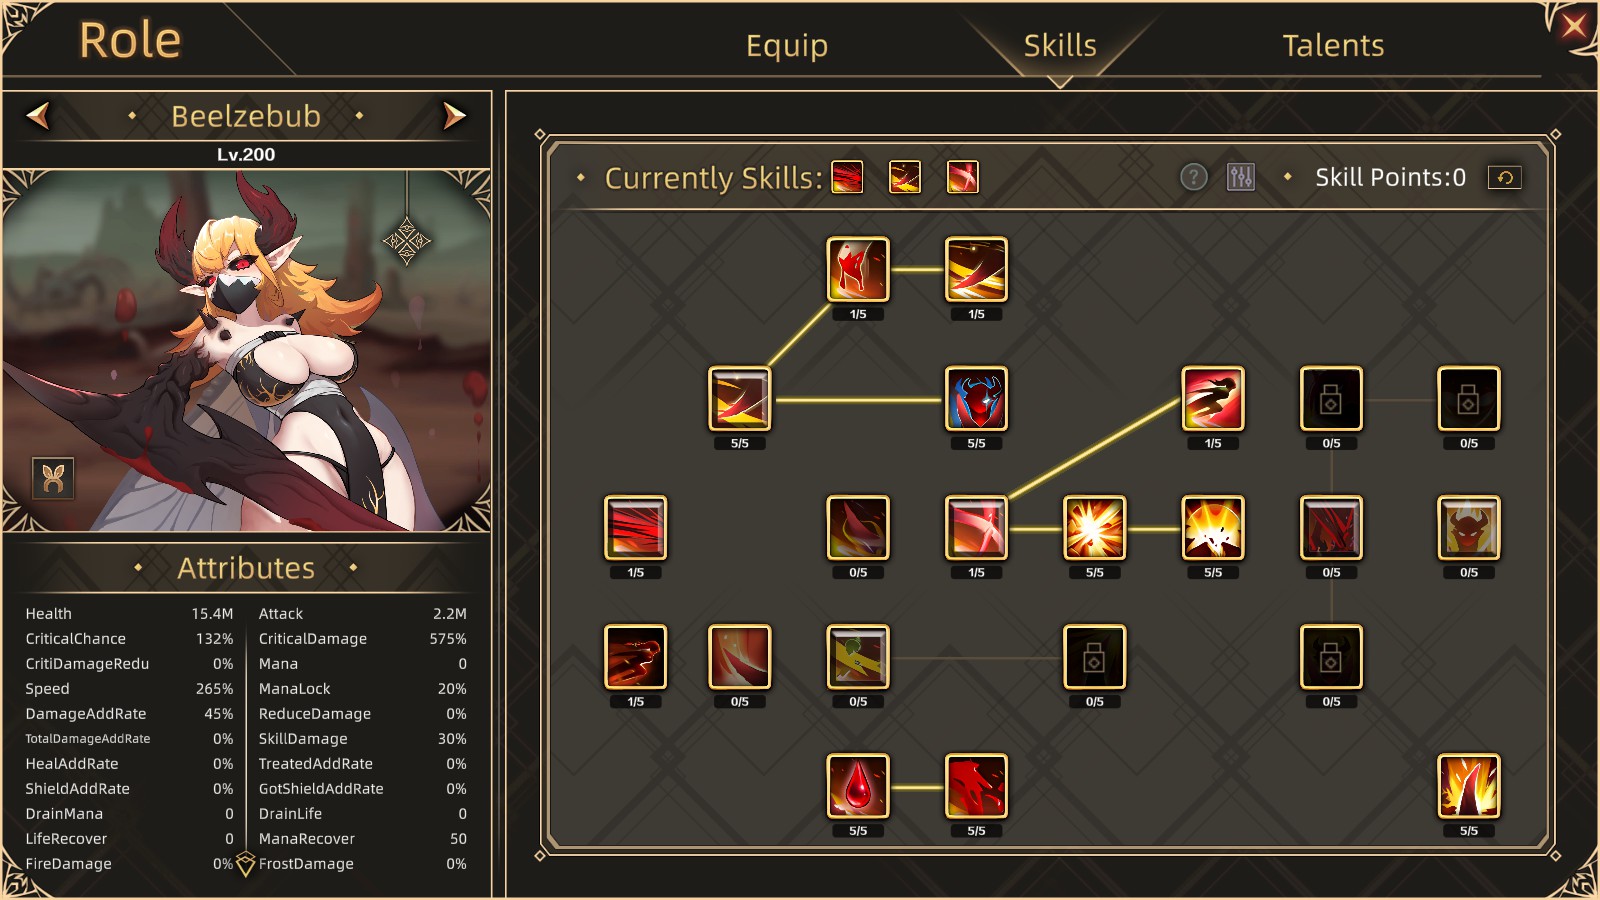
Full char set for the 3 of them.
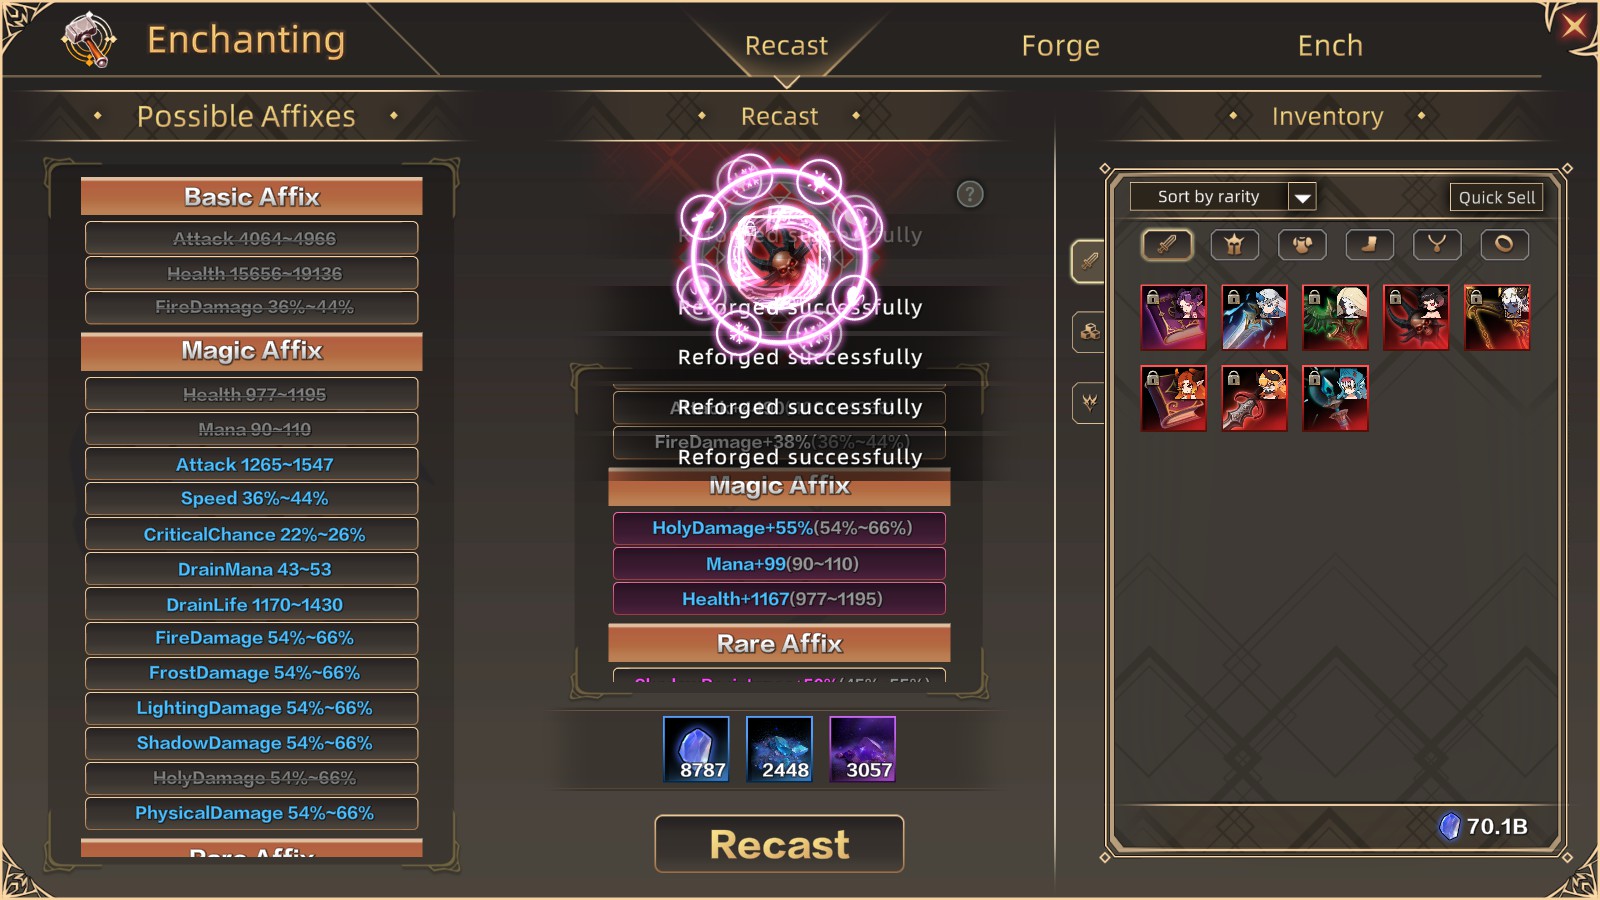
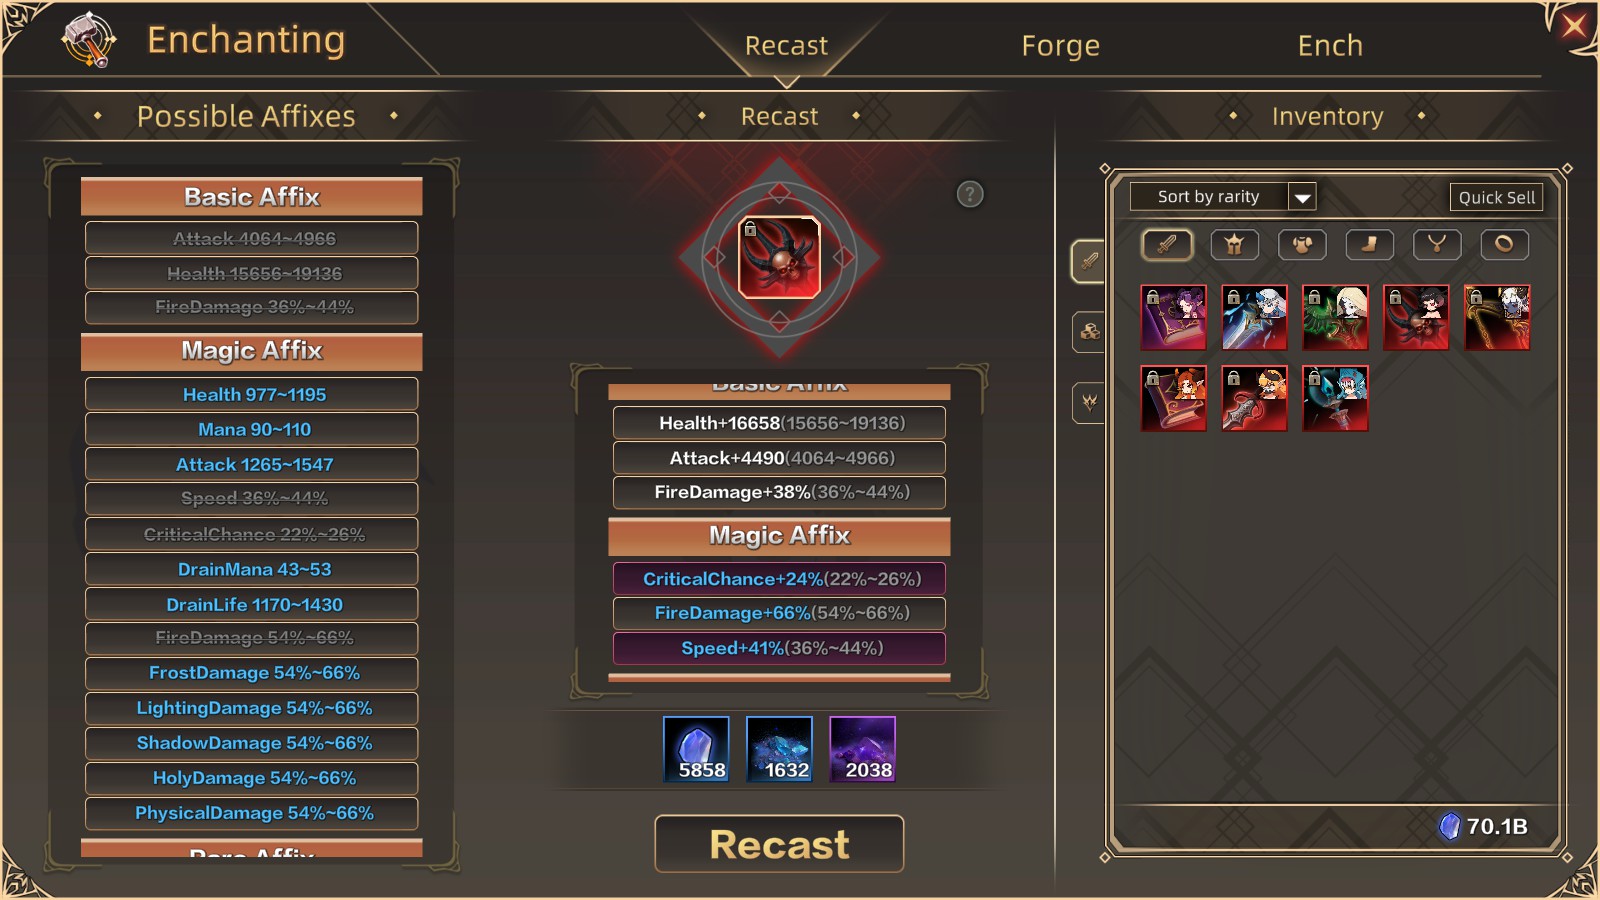
Requires Forge 99 Lucifer weapon and amulet (no other items from the team needs forging)
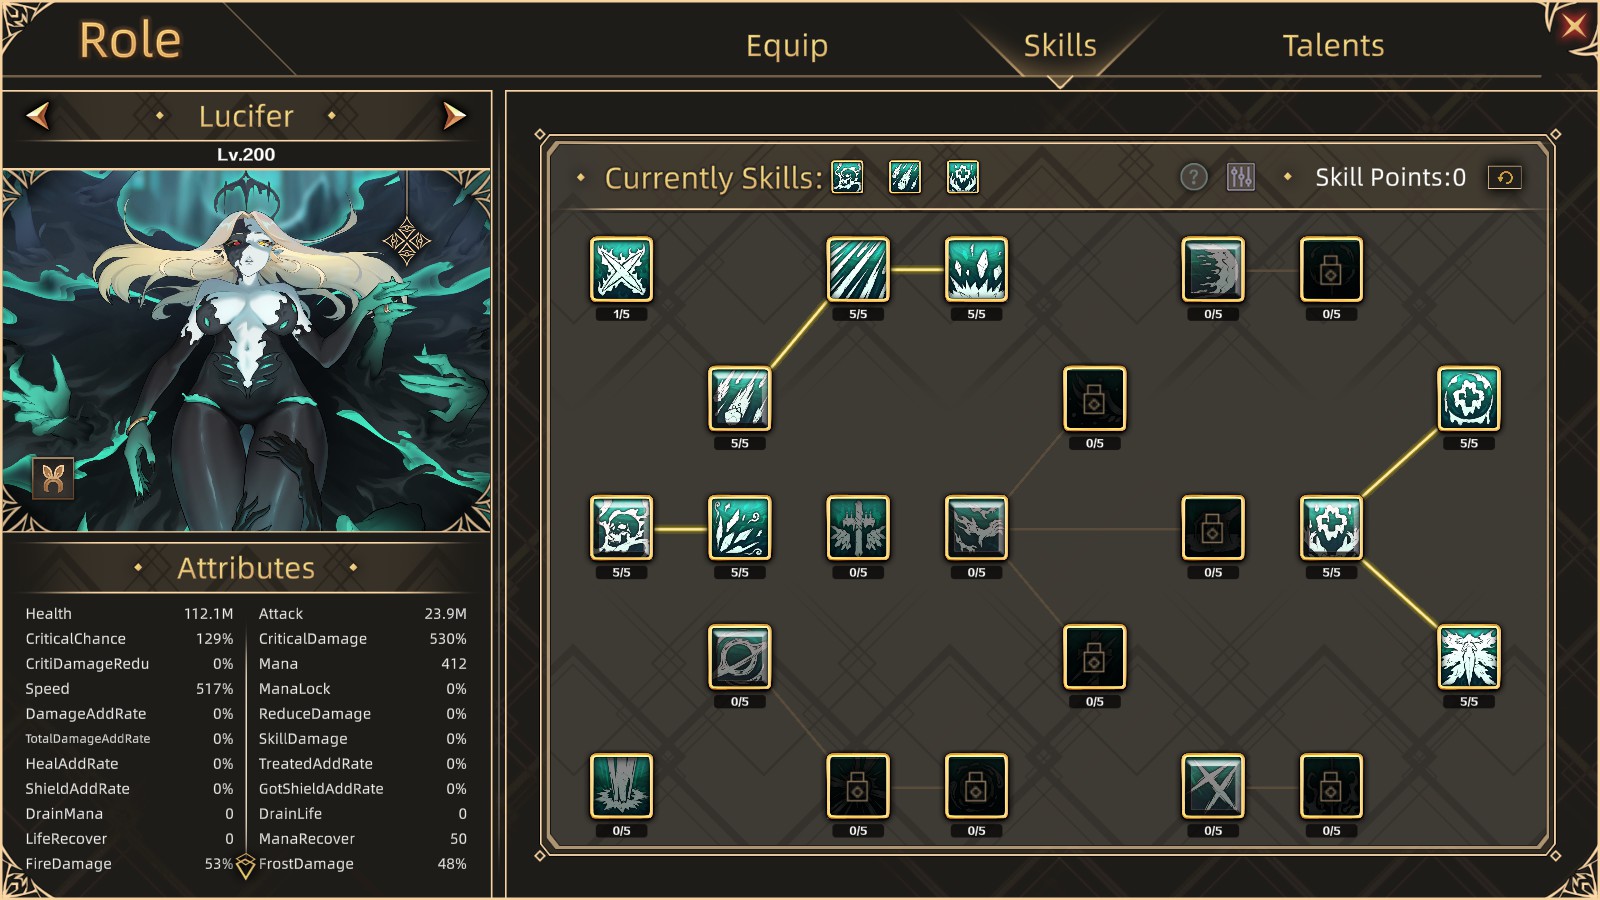
Physical damage on lucifer to benefit from Belzebub buffs.
Belzebub first slot so she cast her power that debuf the enemy for 1sec (4 sec cd power).
Starfall as third slot power for lucifer so everything is in place the moment it is cast.
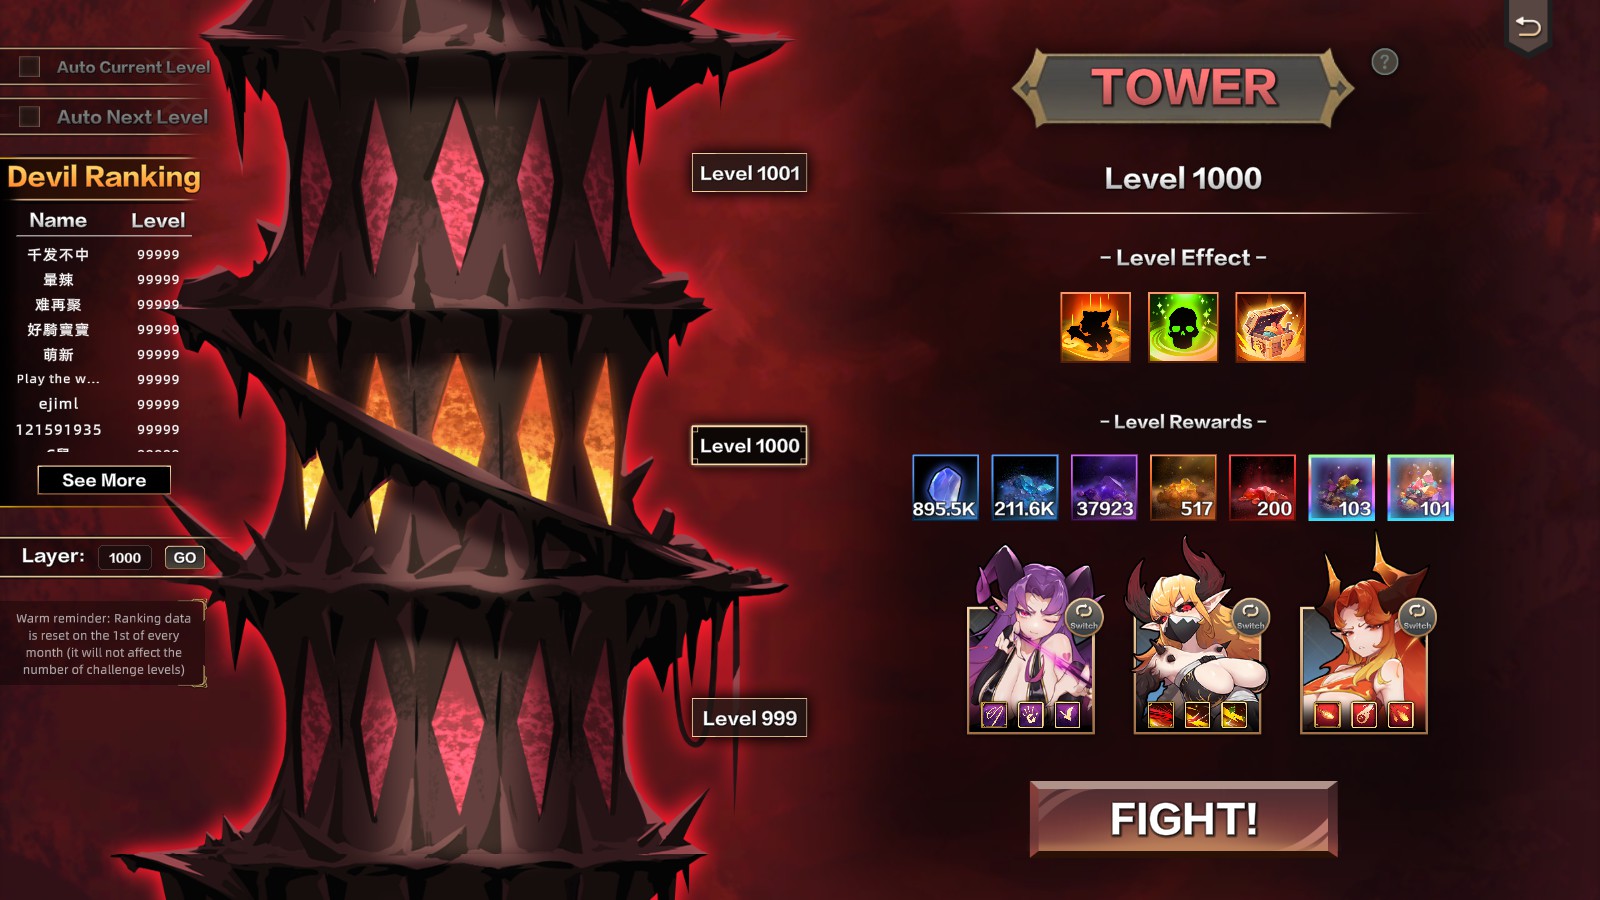
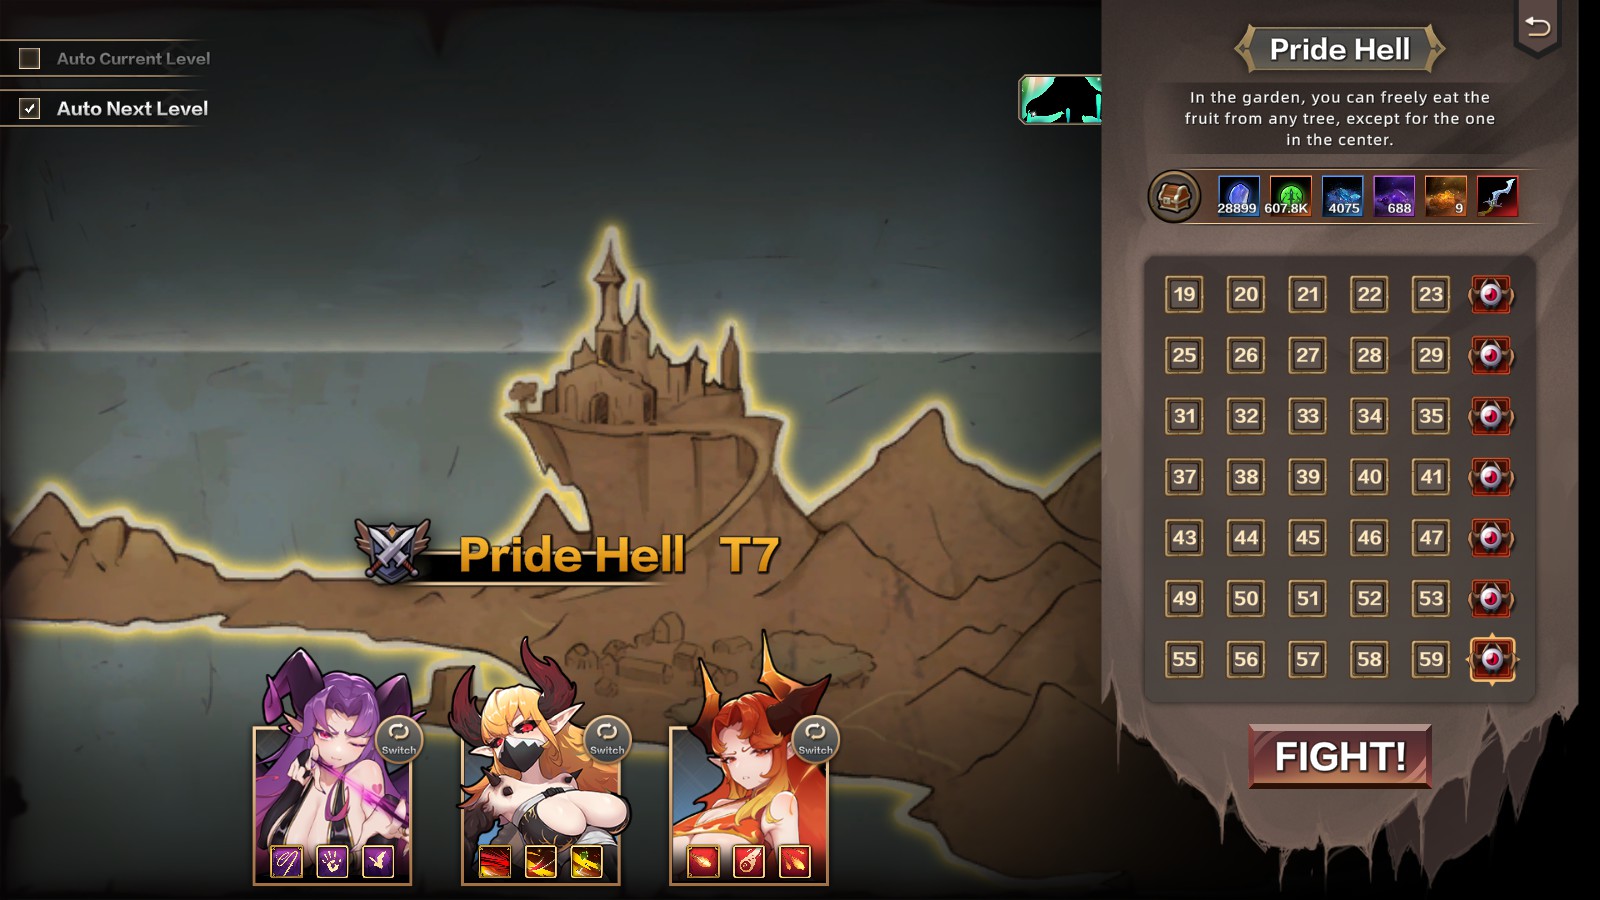
My goal now is to clear 60-9 with one shot :)
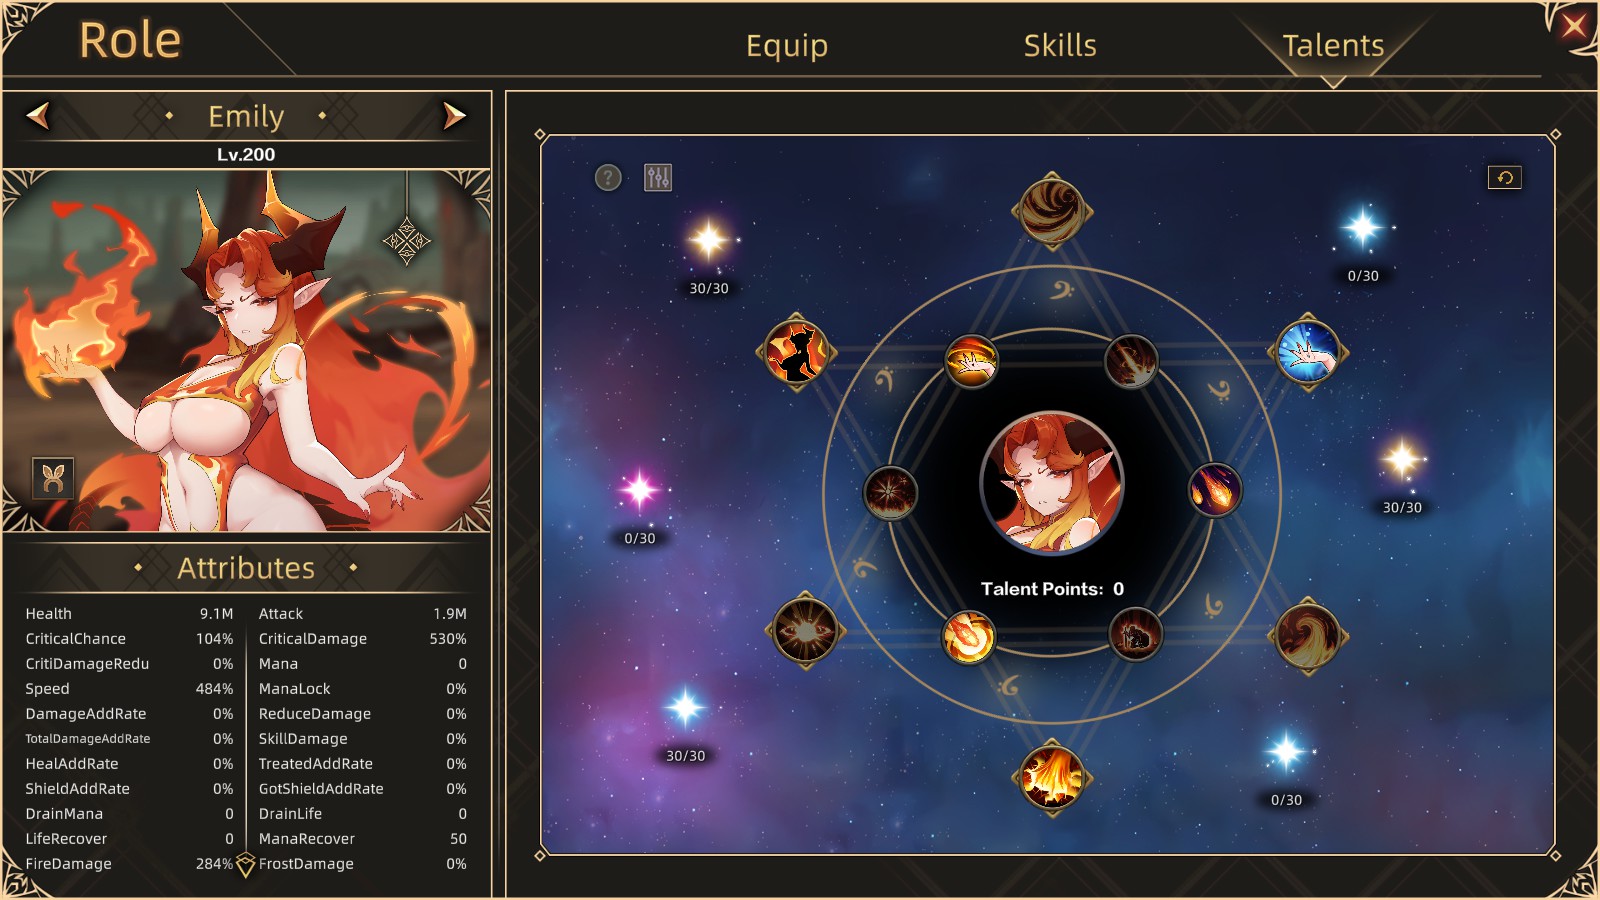
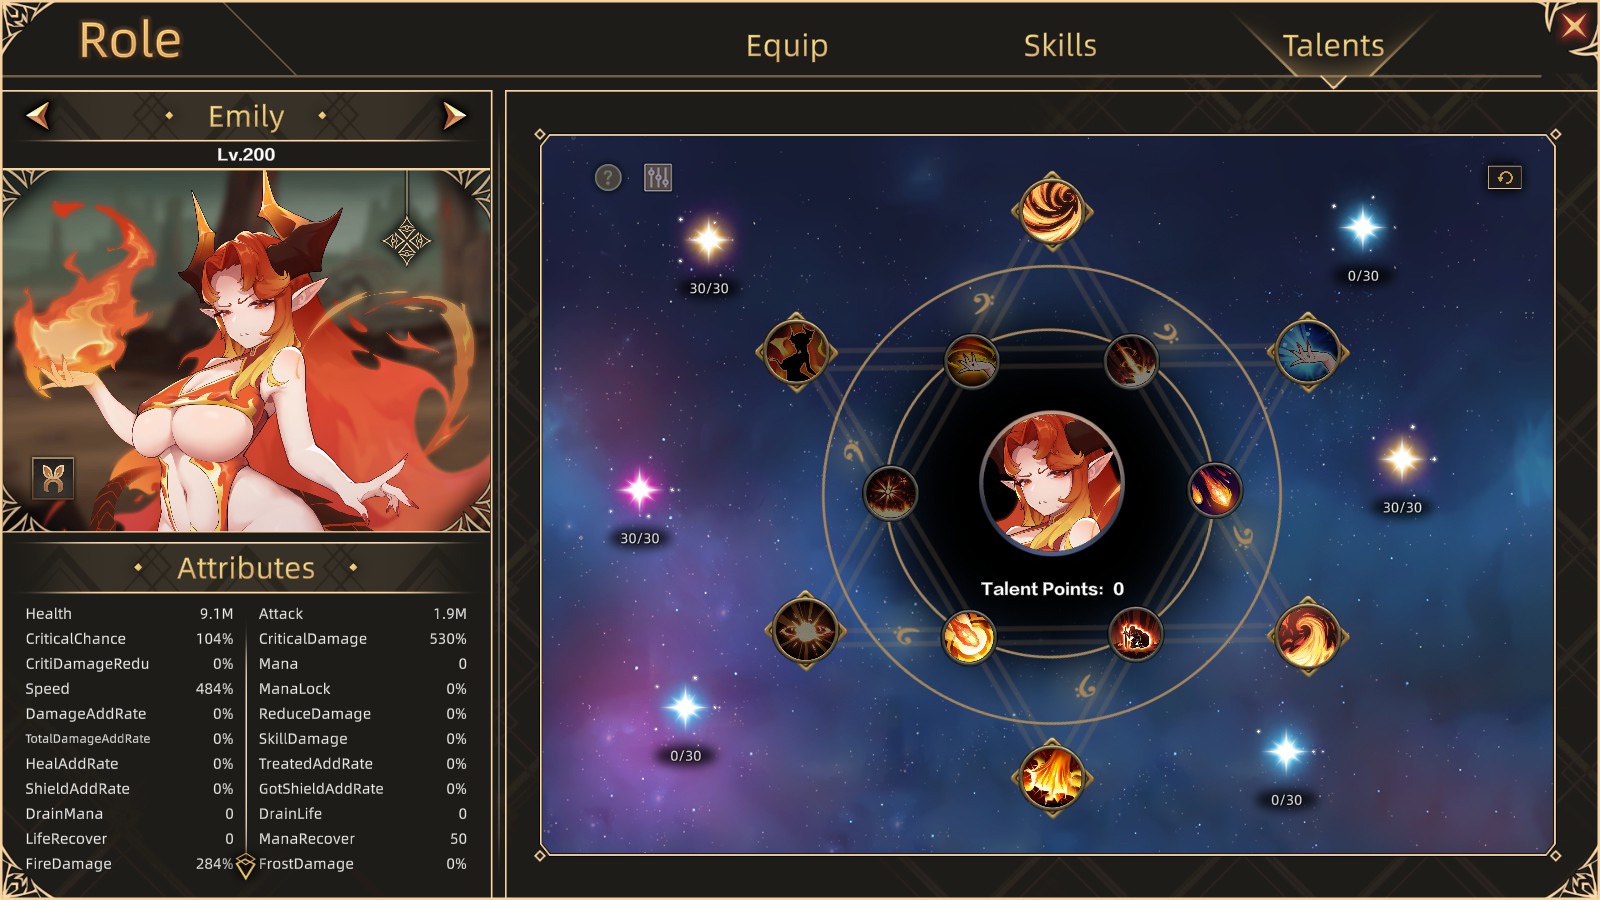
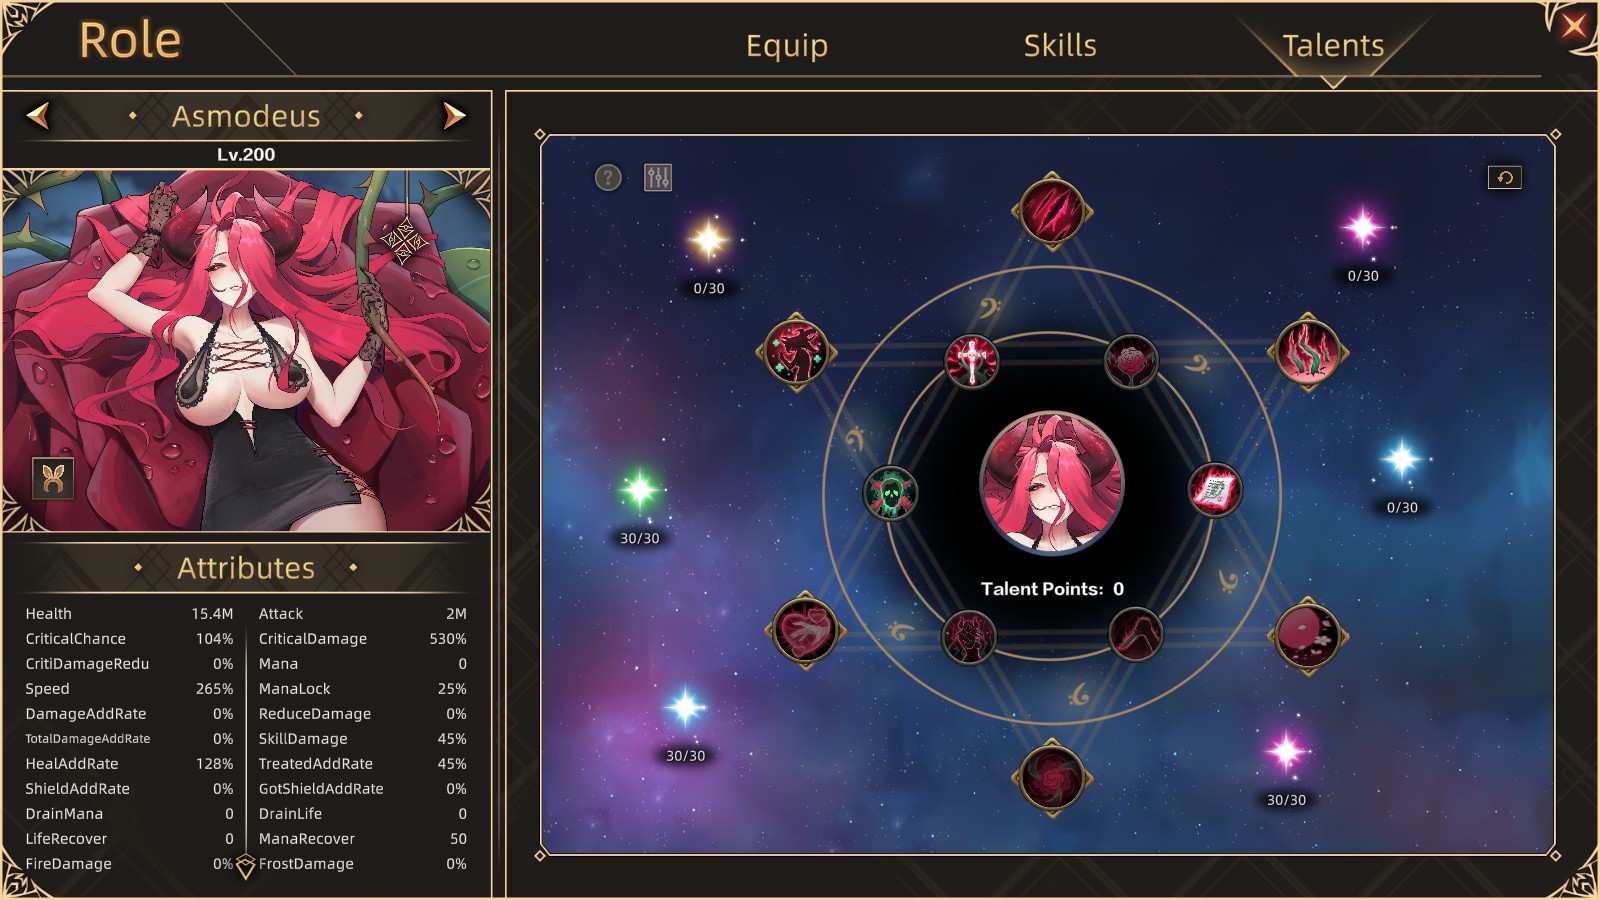
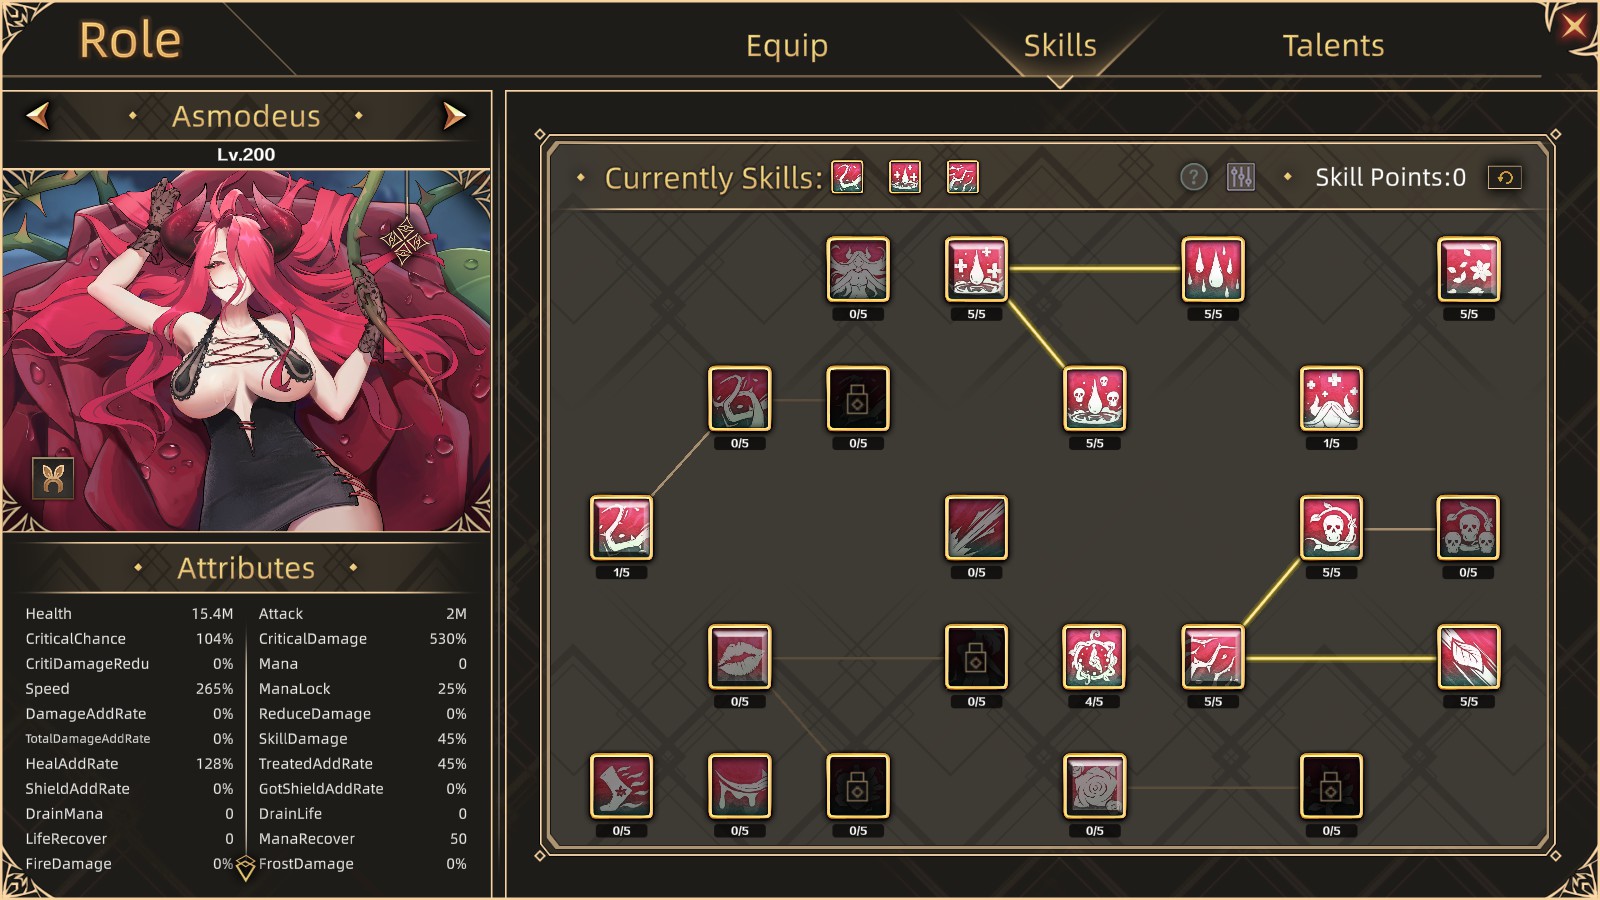
PS: still dont find a good asmodeous build
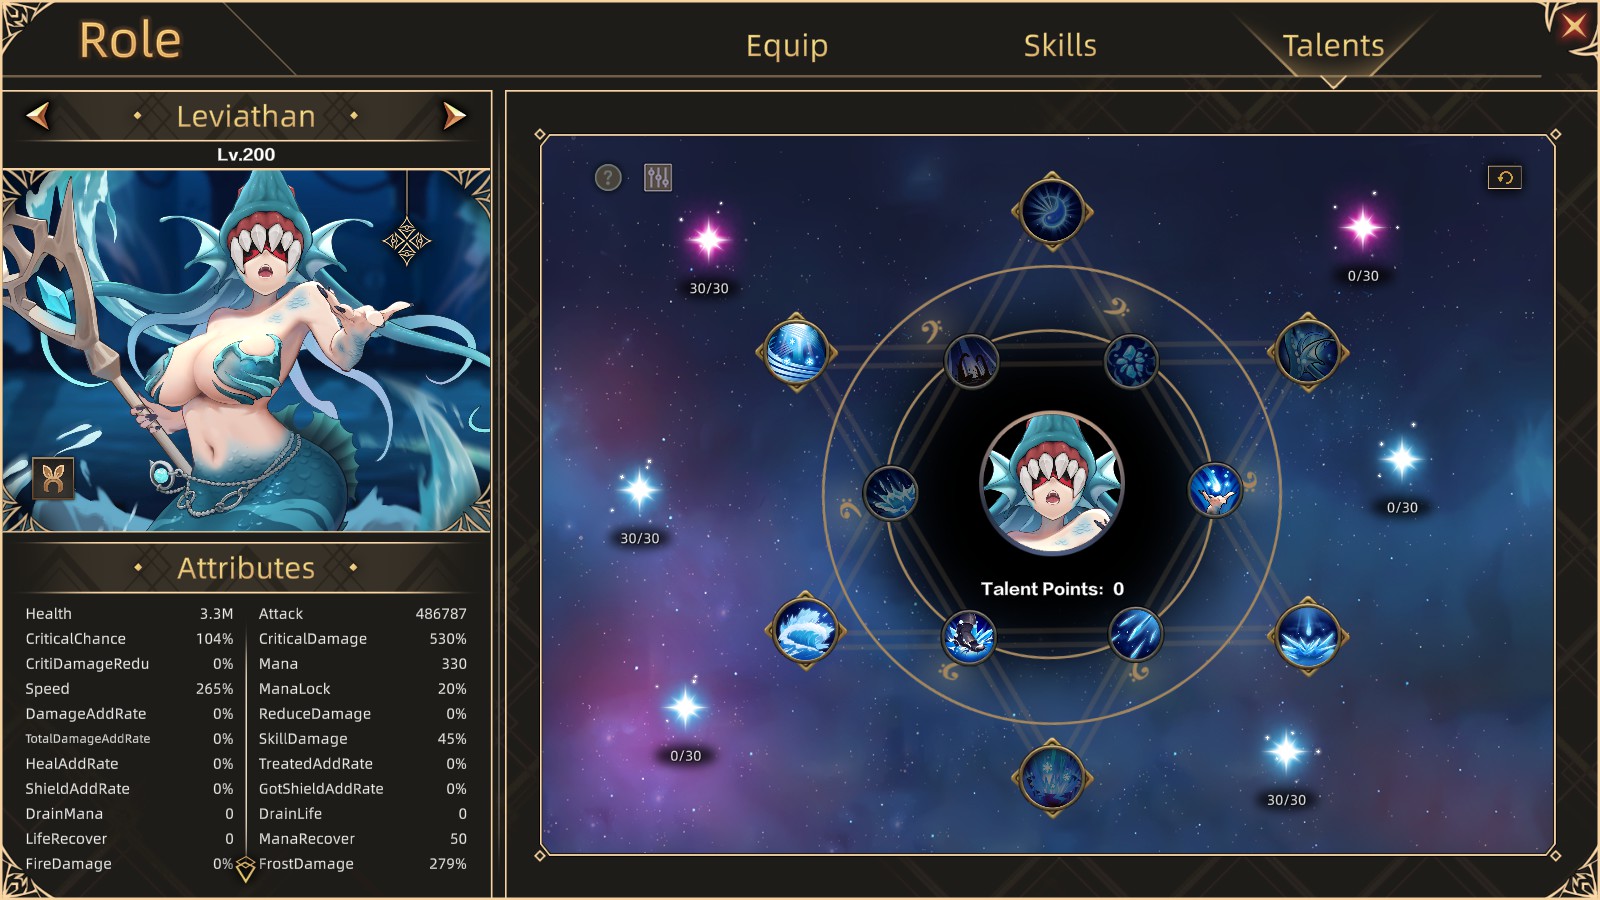
Yeah mana is not working but is not like there anything good, maybe MF or BonusGold. Also, yes Luci is a must for chaos due to de invincible. (Didn't try sylvia yet in 60-9)
If you have different builds share them