Metaphor: ReFantazio

Metaphor: ReFantazio

Nicht genug Bewertungen
Gimp'$ Den Guide: Million$ Must Grind
Von NO
Money runs the world, they say, and Euchronia is no exception!
In this guide, it'll break down and explain a custom dungeon grind setup for the early-game in Metaphor: ReFantazio to gain a financial leg-up.

3
2
   
Preis verleihen
Favorisieren
Favorisiert
Entfernen
Pre-ramble

The version this guide is published in is based on the game setting on Hard difficulty on a first (blind) playthrough, so there's plenty of room for optimization and later additions, I'm sure.
The tips and tricks featured here are leaning on experience, and if you find anything useful or like to contribute any insights or the like, feel free to partake in the comments!

Contains Light Plot- and side content spoilers.
Couple of the explanations touches on plot related and side content, so unless you're not willing to read the info, come back when reaching Martira, or skip reading all together.

Introduction
Getting equipment and gear doesn't come cheap, and a lot of strats have popped up during the game's early phase in how to farm both exp and money.
This guide however services primarily on the money-side of things.
As the game opens to the player over time, there are rare wares like Igniters and trinkets that can give the player a run for the money, even on Idlesday.

Luckily, this strategy is about runs. A lot of them!
Looking cursory over the dungeons featured in the game as far as to Brilehaven and their designs, none comes as close as streamlined as the Imp's Den, located in the outskirts of the hub town of Martira.

This guide will explain starting with an overview of the dungeon of interest, the grind set-up that will net the player hundreds of thousands per hour (may vary, more on that later!), an excessive breakdown of the strategy, additional info in and about the area, thought around what to do running the loop to pass the time, and then some.

The guide will be of interest to those that are looking for:
  • Netting a steady cashflow for pricier shops ahead of the adventure.
  • MAG-flow to awaken Archetypes and unlocking inhereted skills.
  • Slow, but long-term invested in XP. and A.XP boosting for mid-game advantage.
  • A routed and charted dungeon run that require chill player input and navigation.
Imp's Den Overview


The Imp's Den is a medium-to-large size one-floor forest area located outside Martira.
Notable for having open terrains connecting one another with winding interconnected paths, the Imp's Den is the home of the Goborn King, the bounty target in "The New King of the Imps" (unlocked at the Recruitment Center at Thoroughfare Square the 29th of June), and his merry band of Goborns.


The Imp's Den's overworld design for these interconnected areas can be described in terms of "pockets", "squeezes" and "opens".

Opens - Vast, sparse opendoor areas.
Pockets - Smaller, confined spaces, tucked in corners of the map and between areas.
Squeezes - Appearing as small corridors, the squeezes act as small intersection or border into areas and paths.

Note: These areas have no effect on the player or the enemy in the grand scheme, but for later reference when explaining the strategy.


Enemies
The Imp's Den is filled to the brim with enemies, the main of the Den being the Goborns, previously appearing in Belega Corridor in the "A Bullish Embargo" mission, interspersed with Insectoids.


Goborn- Low level melee mook, and easy to one-shot. What these critters does have in advantage is their pounce attack when charged fully. They will lunge at the player from wide distances, and can be a hassle to deal with when several of these are clustered.
XP: 1
A.XP: 4


Goborn Esto - Lvl. 17 melee fighter. Esto versions of Goborns. Can charge pounce, but within a smaller range. Takes 1-2 hits if appearing as Weak.
Loot: Old Coin
XP: 7
A.XP: 6


Hexer Goborn Esto - Lvl. 18 spell casters. They are slow in casting Cyclo, since they have to charge and lock onto the player, but the spell is wide and travels fast at the casted direction. Takes 2-3 hits if appearing as Weak.
Loot: Tinned Torpor
XP: 10
A.XP: 6


Manhunter Goborn Esto - Lvl. 18 melee fighters. Goborn Esto with a shield. Takes 2-3 hits if appearing as Weak.
Loot: Medicine
XP: 8
A.XP: 6


Archer Goborn Esto - Lvl. 18 bowmen. Often seen holding a distance to the player, and surrounding themselves with other Goborns as meatshield. As an Esto version of regular Archer Goborns, if the player is stunned, the Archers will shoot magic arrows to rain on the player.
Takes 1-2 hits if appearing as Weak.
Loot: Stunning Arrow
XP: 7
A.XP: 6


Vesp - Lvl. 19 wasp. Takes 1-2 hits if appearing as Weak.
Loot: Poison Stinger
XP: 10
A.XP: 6


Papyros - Lvl. 20 Moth. Takes a one-shot if appearing Weak.
Loot: Magla Pills
XP: 7
A.XP: 10


Mandatory Conditions
The player must have unlocked a few key conditions in their game to set up the grind.

Playing the game up to Martira
Arriving in Martira with the gauntlet runner in the story is the base condition to open its hub area and continue the storyline mission started in Gran Trad, by accepting the bounty for Heismay following the wrap of the events in the game's plot in Gran Trad.

Accepting "The New King of the Imps"Bounty
In preparing for the chase for Heismay, the player is adviced to get cash to gear up for the trip to Heismay's hideout.
A local bounty in Martira for the Gorbo King, holed in the Imp Den, is posted by the bounty office in Thoroughfare Square.
Accepting this, reveals the location on the map to take the gauntlet runner to the Den.
This mission takes One Day to complete, and it's optional to stay and continue exploring once the quest is finished. Do stay in the area, as performing the grind after the quest hits two birds with one stone.


Bonding with Brigitta: The Benefits of The Merchant
The player will have met Brigitta, the Lycaon Igniter Shop owner, upon entering Gran Trad at the start of the game.
Getting her as a Follower is key, as the Archetype awakened by socializing with her grants the player and the party The Merchant Archetype.
Brigitta will do a skill check if the player's Wisdom is above 2. If the player pass, she'll hand the player the mission "A Bullish Embargo", tasking them to kill a Guptauros in the ruins of Belega Corridor.
Having completed this mission will unlock her as a Follower.
Belega Corridor is also a good place to do some grinding to familiarize with Goborns, their unit types and attack patterns.

The Merchant's unique Hero Passive effect, Alchemy, gives the player a money bonus upon each defeat of an enemy in the overworld.
The Merchant's Hero Passive increases also in yield for each level the player gains throughout the game with an addition of 15 per level.

The Merchant's overworld attack with the abbacus produces wide slash arches when button mashing, followed by a spinning slash cycle. This wide attack pattern can cover a decent size of enemies within its attack range, and the final spinning slash cycle can cancel the repose state of the attack's phase by dodging, should an incoming attack occur.


During the runtime of the Imp Den, the player will need to channel primarily the Merchant in the overworld to have any effect in earning big. Switching to other Archetypes for XP and A.XP should be sidelined, and focus using the Merchant to reach its Master Rank.
From there, every 1,000 A.XP earned with a Mastered Merchant, will generate Hero's Leaf of Light of the same value, for use of boosting party member's or player's Archetypes.


Bonding with Gallica: Based and Magla Pilled
Unavoidable, as this is scripted to awaken the Mage Archetype.
This Archetype is worth its weight in the gold you'll be making, as the Archetype's Hero Passive will recover Magla Points (MP) for each enemy defeated in the overworld, saving the player from using money on Magla Pills.*
The Mage's overworld attack pattern casts a ranged cyclone that damages any nearby enemies within the circle and on the rim. The attack is slow, but sweeps any surrounding units.

* Sidenote: Magla Pills are dropped as loot in defeating Papyros. Should the player have enough Magla Pills in reserve, it's recommended using them, as using Mage is a less expensive, but time consuming alternative.


Bonding with More: A/S/L? (Archetype/Skills/Level)
Studying Archetypes for More's research at Rank 2 benefits the player the Archetype hotbar in the Main Menu to instant access the Archetype Tree at any time, than having to visit the Akademia to inspect and study it.
For the player's bond to reach Rank 2, they'll have to awaken the Healer Archetype in recruiting Maria as a Follower, and gain Archetype Rank 10 with any character channeling The Healer.

Accessing the Archetypes mid-dungeon to swap the character's channeled Archetypes while grinding, or for the player to switch from Merchant to Mage, is a boon to maintaining the run's flow, than to make it more labor intensive than it have to.


Optional Conditions
Overleveling
The player, if grinded at any point (either in the Cathedral or by the Belega Corridor) before Martira, may be overleveled for the Imp Den, but that is desired.
The up-side is that any enemy in the overworld appearing Weak, highlighted in blue by Gallica's Fae Sight, and is defeated by one or few hits, skipping past any nuisance and Squad combat that'll break up the overworld flow of the grind.

Entering overleveled can be a drawback if the player visits the Den again or later into the story as a side-activity while waiting for the road to clear up to Brilehaven (or even later than that).
Instilling the mind in prioritizing the amount of money in return for the time put in, and see leveling and ranking as sweeteners, is the attitude to tolerate the commitment.


Beating the Martira Storyline
Completing the storyline is optional to save a day's activity for the Imp Den.
Doing the storyline in unlocking Heismay as a party member and his Archetype Thief, to buff his levels and Archetypes will make the stay more directional, as some player (like me) may have overleveled to the point where he's got a lot of catching up to do.
Beating the Martira storyline mission will also unlock the chance to recruit Bardon as a Follower, by awakening the Commander Archetype, which is essential to More's quest of studying Archetypes, in particular the General, the Adept Archetype of the Commander lineage.
The more Achetypes there are available to grind at this stage, the better in covering their bases, and having Heismay on the team is another extra team member for reasons detailed later in the guide.


Game Mechanics

I'll like to take a minute on game mechanics, as it's necessary to note its effects on the dungeon.


Quick Healing
Metaphor: ReFantazio is generous game in its treatment of player time, and with the perk of letting the player instantly heal at the cost of a few MP in the overworld at any time when in a dungeon.
This nulls use of Health potions in the Imp's Den overworld, canceling the need to open and browse several menus to scroll for potions, o the need to use the Hero Passive of the Cleric Archetype, in favor of the player to completely lock in.

This fundamentally affects the gameplay and game in breaking it by accident in the Imp's Den, as what is about to be shared below will explain why.


Plateau Points and Floor Resets
Partway in the first-floor of the Regalia Cathedral crawl, More informs that his cat Plateau can be spotted in the dungeons.
Plateau Points (P.P's) are usually seen in dungeon's mid-sections, and before entry to any boss room, acting as an active mid-dungeon savepoint and a quick stop to the Akademia, without entering a Magla Hollow, a passive rest stop.

The Imp's Den contains no Magla Hollows, but one P.P located at the intersecting paths of the forked roads at the start of the forest area, and the road leading deeper into the Den.

Here is where the exploit of the Imp's Den, affected by the Healing Mechanic shows itself:
Entering and exiting a Magla Hollow always resets the current floor with fresh enemies, but the same happens when the player uses a P.P to enter and exit the Akademia.
With the addition of recording progress, as the player is barred from saving in-dungeon through the menu, the P.P can reset the floors infinitely all the while saving player progress, as a Day does not end unless the player exits the Den fully.
This means the player can in perpeturity grind Imp's Den without consequence, aside from HP/MP management and occationally saving.

On a metagaming level, the functions of the P.P inadvertedly creates an opportunity for player respite, to grind in the Den on their own leisure, though at the cost of being heavily repetitive in execution that commands the player attention and active input.


The Gimp'$ Den $trategy
To put it bluntly, The Gimp'$ Den $trategy is a time-consuming execution that can be chaulked up to be running laps around the forest areas.

The positioning of the Plateau Point (P.P) can be visualized as the start, and finish line, as the player and the squad will be making rounds around squeezes, opens, and pockets.
The lap, nicknamed "Glaydan's Run", completed in full, times at a 2 and a half to about 3 minute long circuit from and to the P.P, including entering and exiting the Akademia.


To add some maths, here's a small rundown what to expect will happen when it all is set in motion:
As explained earlier, the Merchant's passive increase with the player level, and applies as a flat bonus against all enemy units.
This means that the longer spent grinding and leveling up, the sum earned changes dramatically each incriment.
This factor does not take to account the small sums the player receive for defeating an enemy.
Below is a table displaying the Level-to-Bonus rate:


Level 28
Level 29
Level 30
Level 31
Level 32
Level 33
Level 34
Level 35
Level 36
Level 37
420
435
450
465
480
495
510
525
540
555

The second factor is the amount of enemies themselves.
Across the map there are located aprox. 60 units, not counting for the Elementa if defeated.
The attraction for grinding this dungeon specifically is in its population size-to-level design, as each unit congergation is diverse to not feel like every encounter a total slog, or overwhelming.
The clusters of enemies will themselves provides enough a mix-up to keep the player entertained and engaged, and room to experiment new ways to sweep the units each time when encountering them in a new lap.

The final factor are the amount of laps in a real-time hour. If the player circles in flow (that is from and to P.P and enter and exit Akademia) in 3 minutes, it's estimated to be between 18-20 an hour.
Note: Player performance such as dodge, being hit by, and defeating the units affect the time completing the circuit. The math is not solid, as its contingent on this factor.

A for-moolah to those that want to figure out how much they'll will gain in an hour, I surmise look like this:

M.B (Merchant Bonus) X 60 (Units) X LAP (laps per h.)

                                        example: 555 x 60 x 19 = 632,700/hour


Running with the speedline effect toggled on can cause eye strain, so it's recommended to turn the dash effect off in the Settings. It's also adviced to throw on a podcast or alternative music to make the audio less monotenous.

Alternative Activities
Grinding this map is labor intensive, and so its recommended to keep the brain occupied while pulling this off. Here are some custom activities I've come up with to keep the fun factor... fun:

Leaf Production - Mastered Archetypes can produce Hero Leafs of Light that contains 1000 A.XP. It is certain that at some point doing this grind, the player's Merchant will hit Mastered Rank, but cannot hop over to other Archetypes, because of the Alchemy passive.
The player, and a party member which have an Archetype mastered themselves, can be put on so-called "Leaf Production", sacrificing the other party member's chance at ranking,
This is why unlocking Heismay (or any future additional members) as an additional party member is beneficial.
1 Hero's Leaf of Light can jumpstart the ranking of any Archetype recently awakened by 4-5 by consuming one leaf.
If the player and a party member is put on Leaf Production as early as possible during a run, the better.

Archetype Specializing - Picking 3-4 Archetypes for each party member to focus on passively generating ranks, can a long-term investmet in gameplay and in battle options through Inherited Skills and Synergies.
Having bonded with Followers past Rank 3 at this point in the game storyline, awaken Adept Archetypes, Hulkenberg, Strohl, Maria, More and Gallica's Adept Archetypes (Magic Knight, Swordmaster, Cleric, Magic Seeker, and Wizard respectively) unlocked advance skills and having a broad option to inherit them down to lesser ranked Archetypes is a plus, though it is if the player have spent time reaching these Bond Ranks prior to enter the Imp's Den.

Old Coin Collecting - As straightforward as it gets: gathering Old Coin to the max (99).
There are other, more valued items to pick up, such as Imp's Cross Bow, Desert Robe, and Iron Knuckles, that sell for a pretty coin, as well as huge amounts of Tinned Torpor and Poison Stinger.

Time Attack - Aiming for the fastest laps. If you decide try this out, feel free to post your time in the comments!

Slain Chain - Aiming for the longest chain of enemies felled. Always a treat to see the Result sheet with numbers going up! The best shot at this are from GP1 - HG, if lucky with the unit placements and orientations.

Reverse Running - Playing the run in reverse, switching up the orientation. Do at own risk.


Glaydan's Run: An Overly Descriptive Breakdown
In this segment of the guide, is the step-by-step navigation of the lap, with screenshots, directions, and details of each enemy unit area using the terms mentioned earlier.
As this is a custom lap, I've drawn on the floor-map of the dungeon the directions and specific area tags.

                         this is the lap outline for the grind. Note the shorthands for each area


Starting from the Plateau Point (P.P), it is optional out of the gate to take on the first Vesp Pocket (VP1) nearby with 2 Vesps, before progressing to the first Goborn Pocket (GP1), featuring 2 Goborn regulars, 1 Goborn Esto (G.Esto), 1 Hexer Goborn Esto (H.Esto), 1 Goborn Manhunter Esto (M.Esto), and 1 Goborn Archer Esto (A.Esto).

Past this pocket, the player encounters a Vesp Squeeze (VS) featuring 3 Vesps, a forked pathway were the path splits. Ignore the one to the right, as this is the exit for later.


                         ignore the whiteout area to the right, and keep to the left


Taking to the left of the path after slaying the Vesps, the player maintains their course by hugging to the left, then continue down and to the right until they get to the second Goborn Pocket (GP1).
This is the most crowded pocket of 7 regular Goborns, and it's best to focus on them before taking on the H.Esto, M.Esto, and G.Esto.

                       luckily, the swipe of the Merchant's abbacus can hit multiple targets


Continuing past this and steering to the right will take the player to the Goborn Open (GO).
This open area features 1 H.Esto, 1 G.Esto, 1 A.Esto, and 5 Regulars.
To the left from where the player enter into the Open are two Vesps by themselves (VO).


Steering to the right, three Papyros (P) will hover in front the narrowest squeeze of the whole run.
Past this, the player will have to continue straight forth, past the Vesp pocket (VP3) on the left right after the squeeze to the left, to take care of the Goborn Squeeze (GS).
This Squeeze features 1 H.Esto, 2 M.Esto, and 4 Regulars.
Completing this squeeze, the player will have to trek back and veer right for the pair in the Vesp pocket (VP3), and head to the right.


Up in the clearing, a sentry of 3 Vesps will surround a Hexer Goborn in the open (HO).
Running past and up ahead to the right will take the player to a pocket of Goborn (GP2) containing 5 Regulars and 1 H.Esto., before the player hugs left for the course up to a pocket with two Vesps (VP4). After killing this pocket, the player will have to track to the right.

                      tucked to the left, the Vesps in this section are scattered, so the focus
     ought to be on the one leftmost, before going for the next one on the path to the bend into GP3


Having past the bend after VP4, is the final pocket of Goborns (GP3), with 2 M.Esto, 1 G.Esto and 3 Regulars.
Upon defeating them, the path out will be a winding and rocky exit out to the first Vesp squeeze (VS1).


Heading past the first Gorbon Pocket (GP1), the player will have completed the lap reaching Plateau.


To reset the floor, simply hit up Plateau, and go to Akademia, and hurridly rush for the exit out!


Nerd Stats

Glaydan's Run
VP1
GP1
VS
GP2
GO
VO
P
GS
VP3
HO
GP3
VP4
GP4
Total XP
20
27
30
32
29
20
18
29
20
40
15
20
19
319
Total A.XP
12
30
18
46
38
12
30
34
12
24
26
12
32
326
Total MAG
82
181
123
238
212
82
276
199
82
200
142
82
122
2021


Afterthoughts
Having read up some tactics that utilizes Crystals to infinitely spawn enemies in crammed spaces, I was inspired to find a solution for an easier experience that lessened the pressure in grinding, and circle around the game's constriction for activities to do between deadlines.
It wasn't until after sticking around to see what could be worked with the Den, the strategy came about.

From personal notes after having spent some time doing it myself, throwing some hours in the Den can really set up the player with cash to buy more expensive items and equipment in Brilehaven, Virga Island, and the Igniter Shop in Gran Trad, as the prices increase for each new hub town.
Bonding deepens with Brigitta, who's influence on the MAG exchange, and discounts on Idlesday, is however a huge bonus and inversion to the prices for those who are looking to minimize expenses and keep some dough for the future.

It's not without its sore spots, and blatantly so.
Though it's a slow burn to level in the Den, that comes to a crawl when in the late 30s and early 40s, the leveling in the Den is the weakest aspect in returns, unless the party have a member of a lower average level to the party, to help boost them.
On the other hand, the Archetype XP boost can take all Base Archetypes up rapidly in ranking. The issues begin with Adept Archetypes, as they require a lot of A.XP to master.
Knowing this, the conscious effort in doing the "Leaf Production" activity and focus in specializing a party member with a limited range of Archetypes, are recommended, over generalized ranking.


That being said, let me know what your thoughts are of this and if it's of any use to you!
Now I must get back in there Goborn Slaying... I hit the limit of my previous returns in Shinjuku .


Have fun!


Editor Note Dec 8th: Will add more visualizers, and polish the writing at a later time.
3 Kommentare
admontblanc88 15. Jan. um 15:42 
Forest areas in general are good for grinding Magla Pills since the moth enemies always spawn in those dungeons. Merchant and later on Tyccoon are essential for grinding everything at once, but MC on Thief is enough if you only care about getting item drops.
Potjack 13. Jan. um 18:15 
This is incredibly comprehensive and really impressive. Thank you so much!
NO  [Autor] 27. Dez. 2024 um 12:09 
Addendum and Expansion:
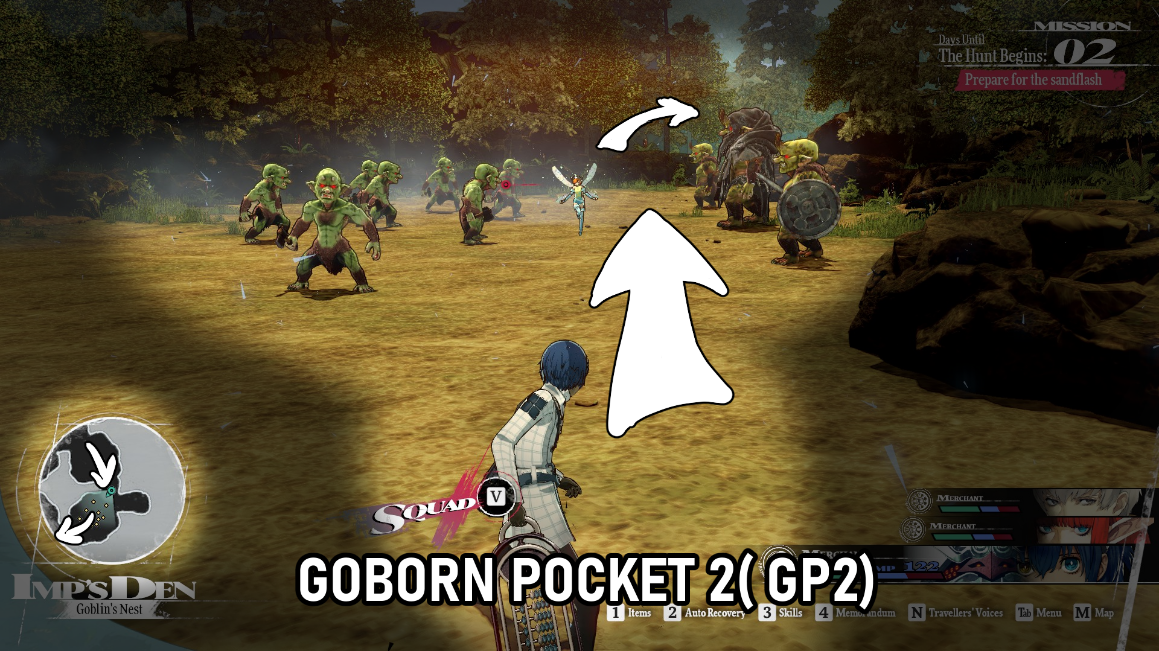
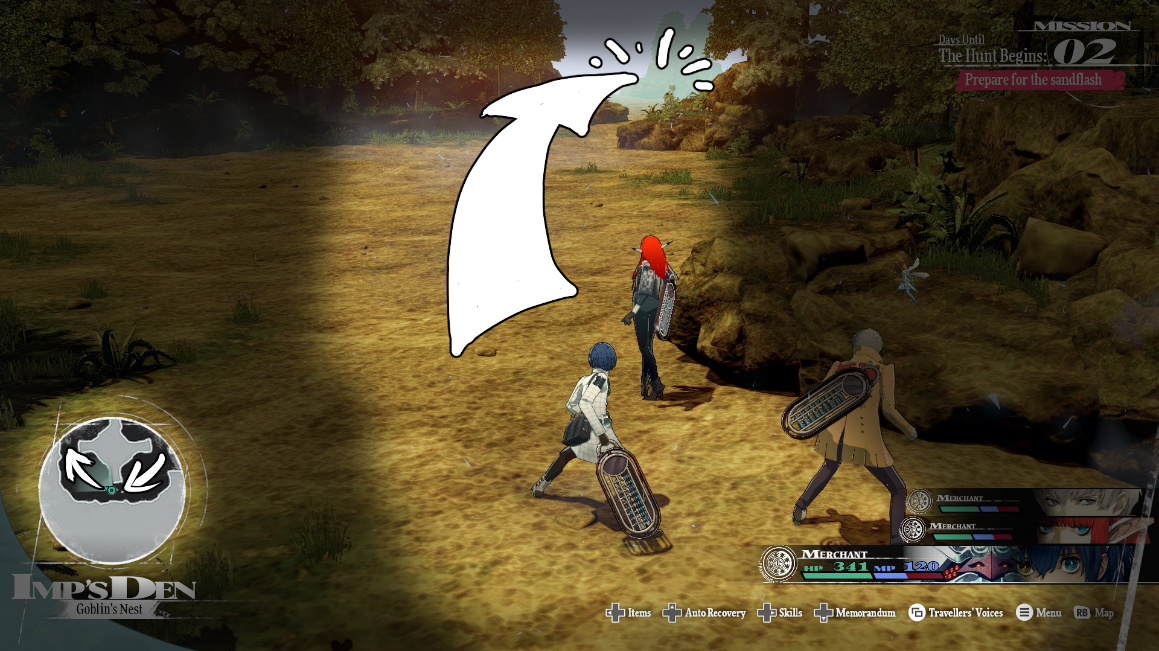
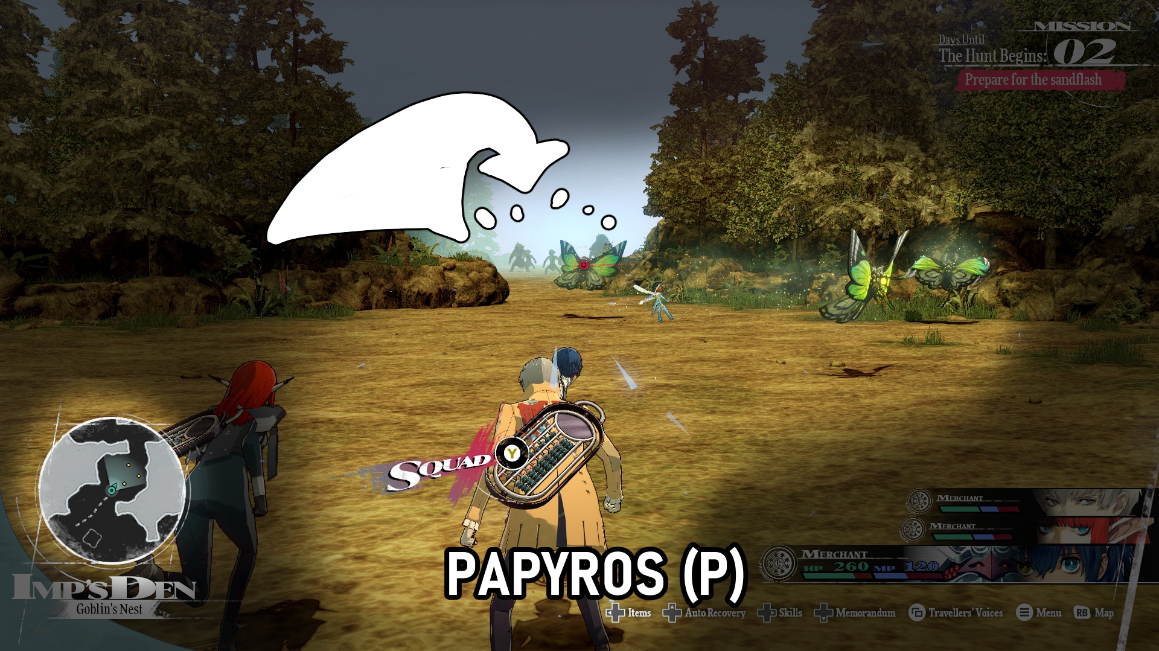
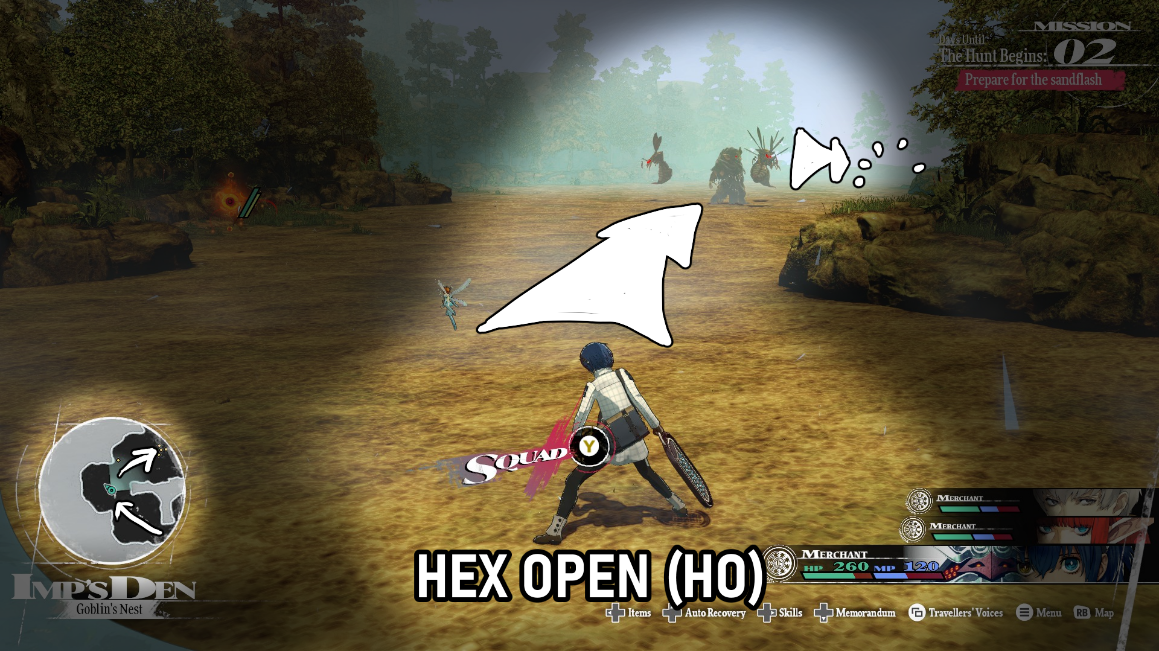
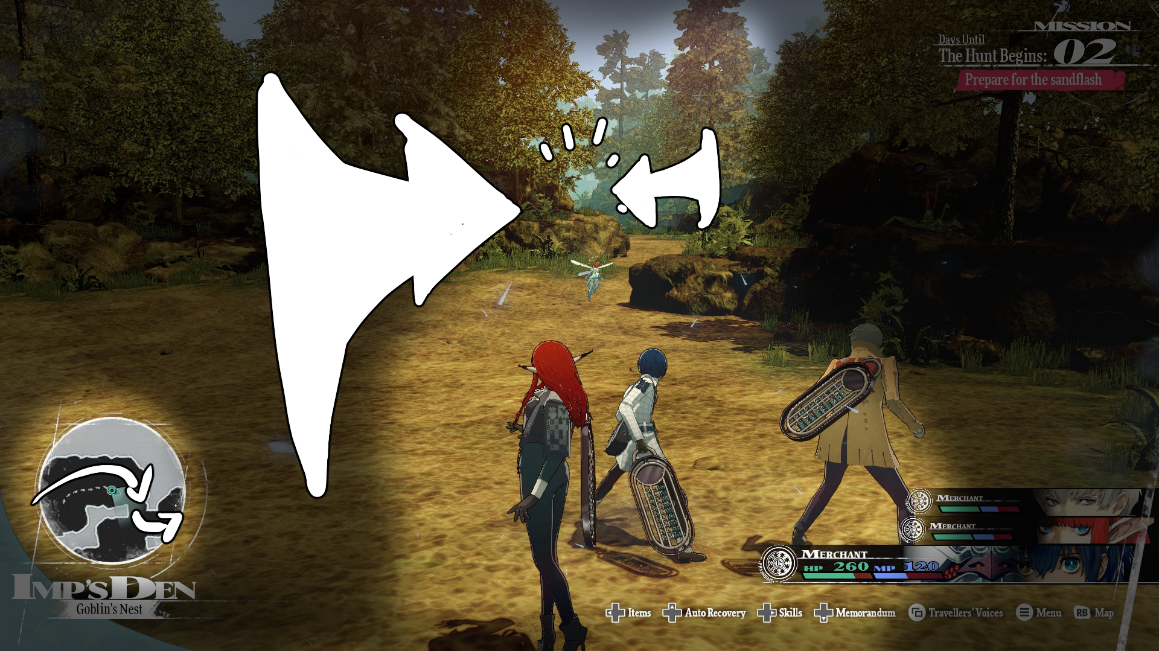
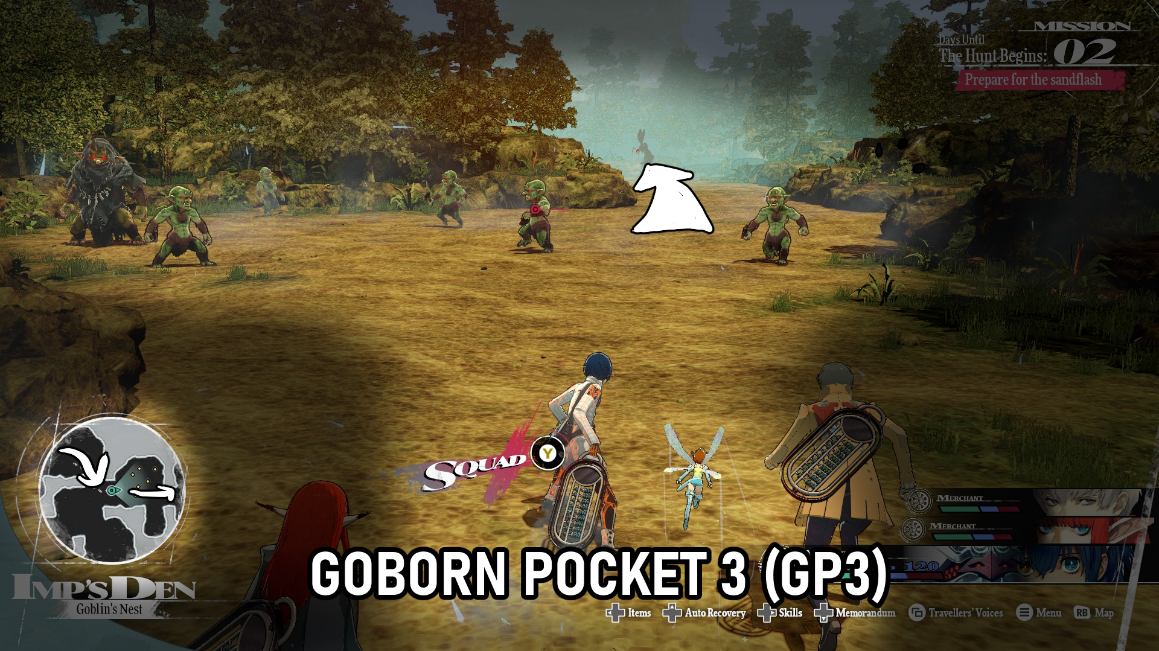
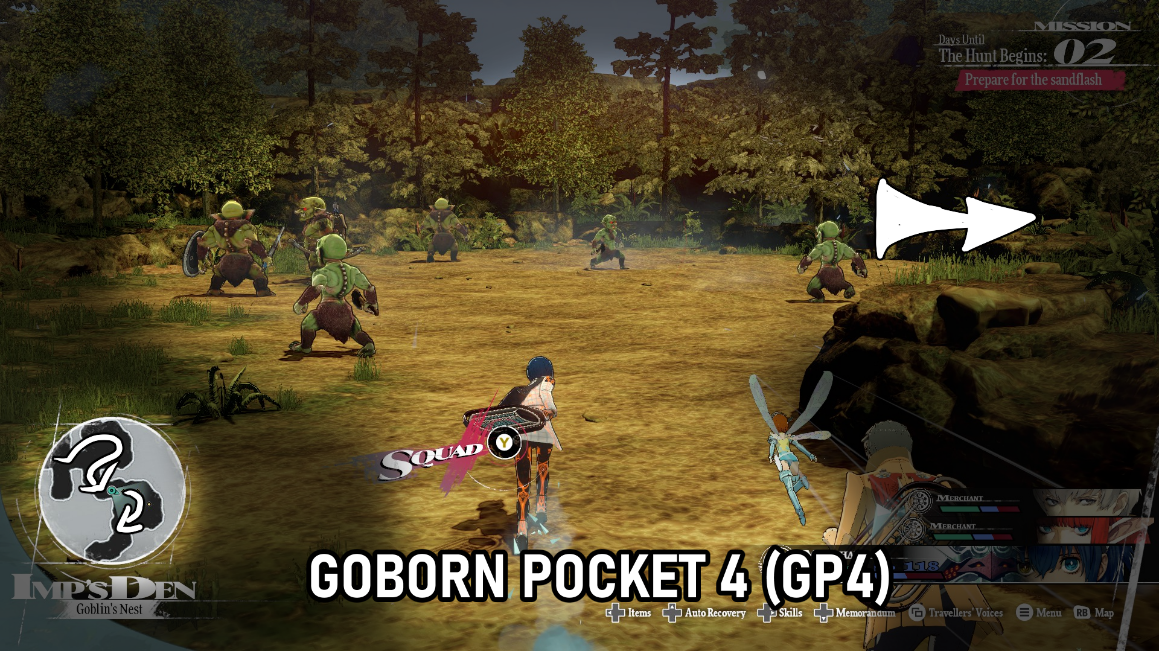
Having played into the mid-late game, running this setup outlined here at the Everfrost Forest will reward players with massive XP, A.XP and money rewards due to the unique enemy encounters, even if the yield eases out past overleveling the enemies, unlike in the Imp Forest.

I recommend to build strength to do the story mission in Altabury Heigths (and for later game sub-quests), with the active bounty for this area in one fell swoop.

gl!