UFO 50
50 betyg
Mooncat Guide - All Warps, Maps, Secrets, & Walkthrough
Av Llamakazi
Heya! Here's a full set of maps, warps, and all the possible paths you can take in Mooncat, as well as some advanced movement techs and a full walkthrough for the completionists out there!
5
   
Utmärkelse
Favorit
Favoritmarkerad
Avfavoritmarkerad
Introduction


1-2P, Platformer
"Jump and dash through forests, caves, and mountains, in search of the egg."

Heya! I had fun playing this "Game Jam fever dream turned into a fully featured reality" so I thought I'd throw together my stitched together maps and notes real quick to help y'all out!

For the wild completionists out there, not only are there full paths to the Green Egg, Yellow Egg, and Red Egg, but also all 42/42 Levels to round out your Mooncat Stats!

Levels 1-10
-Level 1-


Exit -> Level 2 (Path to Green, Yellow, & Red Egg)


-Level 2-

Open image in a new tab and zoom in for best resolution

Exit -> Level 3 (Path to Green, Yellow, & Red Egg)


-Level 3-

Open image in a new tab and zoom in for best resolution

The Flower here indicates a Warp is nearby.

Exit -> Level 4 (Path to Green, Yellow, & Red Egg)
Warp -> Level 23 -> Level 6 (Shortcut & Path to Green, Yellow, & Red Egg)


-Level 4-

Open image in a new tab and zoom in for best resolution

The Flowers here indicate Warps are nearby.

Exit -> Level 5 (Path to Green, Yellow, & Red Egg)
Warp 1 -> Level 25 -> Level 26 -> Level 10 (Shortcut & Path to Green & Red Egg)
Warp 2 -> Level 24 -> Level 7 (Shortcut & Path to Green & Red Egg)


-Level 5-


Exit -> Level 6 (Path to Green, Yellow, & Red Egg)


-Level 6-

Open image in a new tab and zoom in for best resolution

The Flowers here indicate a Warp is nearby.
To reveal the Hidden Egg Platforms, do a short hop over the Egg Trigger.

Exit -> Level 7 (Path to Green & Red Egg)
Warp 1 -> Level 31 (Path to Green & Yellow Egg)
Warp 2 -> Level 22 (Similar to Level 5, but actually a completely different Level for the "LEVELS SEEN:" statistic. Basically forces you to repeat Level 6 though)


-Level 7-

Open image in a new tab and zoom in for best resolution

Exit -> Level 8 (Path to Green & Red Egg)


-Level 8-

Open image in a new tab and zoom in for best resolution

The Flower here indicates a Warp is nearby.
To reveal the Hidden Egg Platforms, do a short hop over the Egg Trigger.

Exit -> Level 9 (Path to Green & Red Egg)
Warp -> Level 27 -> Level 11 (Shortcut & Path to Green & Red Egg)


-Level 9-


Exit -> Level 10 (Path to Green & Red Egg)


-Level 10-


Exit -> Level 11 (Path to Green & Red Egg)
Levels 11-20
-Level 11-

Open image in a new tab and zoom in for best resolution

Exit -> Level 12 (Path to Green & Red Egg)


-Level 12-


Exit -> Level 13 (Path to Green & Red Egg)


-Level 13-


The Flower here indicates a Warp is nearby.

To reach the Warp, you'll have to bounce backwards off of the first enemy. Let go of buttons in mid air, then hit a left face button then right face button to alter your direction.

Exit -> Level 14 (Path to Green & Red Egg)
Warp -> Level 28 (Shortcut & Locked in path to Green Egg)


-Level 14-

Open image in a new tab and zoom in for best resolution

There is a shortcut across the first chasm by bouncing on Hidden Fruits (see image)
The Flower here indicates a Warp is nearby.
To reveal the Hidden Egg Platforms, do a short hop over the Egg Trigger.

Exit -> Level 15 (Locked in path to Green Egg)
Warp -> Level 29 (Path to Green Egg & Red Egg)


-Level 15-


Exit -> Level 16 (Locked in path to Green Egg)


-Level 16-

Open image in a new tab and zoom in for best resolution

Exit -> Level 17 (Locked in path to Green Egg)


-Level 17-


Exit -> Level 18 (Locked in path to Green Egg)


-Level 18-

Open image in a new tab and zoom in for best resolution

Exit -> Level 19 (Locked in path to Green Egg)


-Level 19-


Exit -> Level 20 (Locked in path to Green Egg)


-Level 20-


Exit -> Level 21 (Locked in path to Green Egg)
Levels 21-30
-Level 21-


Defeating Boss A (The Jumper) will reward you with the Green Egg!
It'll take 8 solid hits to defeat them. They'll get faster and faster for every hit!
You'll need to start a new game to try and get the other eggs.


-Level 22-


Exit -> Level 6 (Path to Green, Yellow, & Red Egg)


-Level 23-

Open image in a new tab and zoom in for best resolution

To reveal the Hidden Egg Platforms, do a short hop over the Egg Trigger.

Exit Warp -> Level 6 (Path to Green, Yellow, & Red Egg)


-Level 24-


Exit Warp -> Level 7 (Path to Green & Red Egg)


-Level 25-

Open image in a new tab and zoom in for best resolution

Exit -> Level 26 (Path to Green & Red Egg)


-Level 26-


Exit Warp -> Level 10 (Path to Green & Red Egg)


-Level 27-

Open image in a new tab and zoom in for best resolution

Exit Warp -> Level 11 (Path to Green & Red Egg)


-Level 28-

Open image in a new tab and zoom in for best resolution

Exit Warp -> Level 16 (Shortcut & locked in path to Green Egg)


-Level 29-


The Flower here indicates a Hidden Warp is nearby.

Exit -> Level 30 (Locked in path to Green Egg)
Warp -> Level 41 (Locked in path to Red Egg)


-Level 30-


Exit Warp -> Level 18 (Locked in path to Green Egg)
Levels 31-42
-Level 31-

Open image in a new tab and zoom in for best resolution

Exit -> Level 32 (Path to Green & Yellow Egg)


-Level 32-

Open image in a new tab and zoom in for best resolution

Exit -> Level 33 (Path to Green & Yellow Egg)


-Level 33-


Exit -> Level 34 (Path to Green & Yellow Egg)


-Level 34-

Open image in a new tab and zoom in for best resolution

The Flower here indicates a Hidden Warp is nearby.

To reach the Hidden Warp here, do a ground pound next to an eyeball to bounce it up one platform. Then you can use it to bounce up to where the Warp is.

Exit -> Level 35 (Locked in path to Green Egg)
Warp -> Level 36 (Locked in path to Yellow Egg)


-Level 35-


Exit Warp -> Level 16 (Locked in path to Green Egg)


-Level 36-

Open image in a new tab and zoom in for best resolution

Exit -> Level 37 (Locked in path to Yellow Egg)


-Level 37-

Open image in a new tab and zoom in for best resolution

Exit -> Level 38 (Locked in path to Yellow Egg)


-Level 38-

Open image in a new tab and zoom in for best resolution

Exit -> Level 39 (Locked in path to Yellow Egg)


-Level 39-


Exit -> Level 40 (Locked in path to Yellow Egg)


-Level 40-


Defeating Boss B (The Ghost) will reward you with the Yellow Egg!
Hitting them once will split them into 2 smaller ghosts, which when hit will turn into even smaller ghosts (4 total). After a solid 7 hits on all the various ghosts, you'll succeed!
You'll need to start a new game to try and get the other eggs.


-Level 41-


Exit -> Level 42 (Locked in path to Red Egg)


-Level 42-


Defeating Boss C (The Rabbit) will reward you with the Red Egg!
It'll take 8 solid hits to defeat them. You can get many hits in a row if you've got a handle on the controls!
You'll need to start a new game to try and get the other eggs (assuming this isn't your last one)
Advanced Movement Tech
Besides the usual Mooncat movement that you'll discover quite quickly as you play, there's a few tricky movement techs you may not stumble upon quite so easily!

Note: for these examples, ← will denote left facing movement buttons, and → will denote right facing movement buttons.

Some of these might come in handy, though you can still clear the game without them:

Air Slam - Bounce Direction:


You'll experiment for the default Air Slam (by hitting ←→ at the same time in the air) and likely maintain your momentum by accident at first, but you can actually bounce on the same target repeatedly (let go of buttons, then hit ←→ at the same time), or even reverse your direction (let go of buttons, then hit ←→ with the direction you want to go FIRST)

"Coyote Time" Slide Dash into Somersault Dash:


The Slide Dash from double tapping a direction (←← or →→) comes with some built-in "Coyote Time" so you can still jump at the apex of the Slide Dash even though you're over a chasm. If you chain it with another double tap that triggers a Somersault in the air, you can do extra long jumps!

"Coyote Time" Slide Dash into Somersault Stall:


Jumped too far? Double tap a direction in the opposite way you're currently travelling to attempt to pull back some of your momentum before it's too late.

Slam 'n Jam


Can't get a good angle on an enemy? Slam nearby and they'll flip! Then just walk into them for an easy elimination.
Full Video Walkthrough
Still having trouble? Check out this full casual walkthrough & playthrough of Mooncat with the requirements for a Cherry Cart!

Hopefully there is a technique or two not explicitly covered in the guide above that will help you accomplish your goals!

Recommended Egg Paths
Green Egg
Longest Path - No Warps (Demonstrated in Video Walkthrough above):
Level 1 -> 2 -> 3 -> 4 -> 5 -> 6 -> 7 -> 8 -> 9 -> 10 -> 11 -> 12 -> 13 -> 14 -> 15 -> 16 -> 17 -> 18 -> 19 -> 20 -> 21

Shortest Path - 2 Warps:
Level 1 -> 2 -> 3 (Warp) -> 6 (Warp 1) -> 31 -> 32 -> 33 -> 34 -> 35 -> 16 -> 17 -> 18 -> 19 -> 20 -> 21

Yellow Egg
Shortest Path - 3 Warps (Demonstrated in Video Walkthrough above):
Level 1 -> 2 -> 3 (Warp) -> 6 (Warp 1) -> 31 -> 32 -> 33 -> 34 (Warp) -> 36 -> 37 -> 38 -> 39 -> 40

Longest Path - 2 Warps:
Level 1 -> 2 -> 3 -> 4 -> 5 -> 6 (Warp 1) -> 31 -> 32 -> 33 -> 34 (Warp) -> 36 -> 37 -> 38 -> 39 -> 40

Red Egg
Shortest Path - 3 Warps (Demonstrated in Video Walkthrough above):
Level 1 -> 2 -> 3 -> 4 (Warp 1) -> 25 -> 26 -> 10 -> 11 -> 12 -> 13 -> 14 (Warp) -> 29 (Warp) -> 41 -> 42

Longest Path - 1 Warp:
Level 1 -> 2 -> 3 -> 4 -> 5 -> 6 -> 7 -> 8 -> 9 -> 10 -> 11 -> 12 -> 13 -> 14 (Warp) -> 29 (Warp) -> 41 -> 42
Gift, Gold, & Cherry Requirements
For the Garden gift:
FIND A WARP

For the Gold cart:
FIND THE EGG
Note: any 1 of the 3 eggs qualifies for this.

For the Cherry cart:
FIND ALL 3 EGGS
Note: can be acquired in any order. You'll also need to start a NEW GAME every time to collect a new one.
Easter Eggs
About some familiar looking Rooms & Levels: Level 5 and Level 22 look exactly like the first Room in Barbuta, which is the "spiritual precursor" to Mooncat (see History tab):


Level 22 in particular has the same missing tiles where BARBUTA would've been written:


About a Meta Secret: in 2 player, if you bounce on your co-op buddy 3 times in a row, you'll hear a special sound effect to let you know you're on the right track!


Then, if you beat the game as normal (any of the 3 eggs), then you'll see a secret hidden message written at the bottom of the screen that says "L O U N G E W E A R F O R E V E R"


This is a callback to an Easter Egg in Barbuta! This tracks since the History tab for Mooncat states this game is the Barbuta "spiritual successor"
Soundtrack
  1. Mooncat - Forest A[phlogiston.bandcamp.com]
  2. Mooncat - Cave[phlogiston.bandcamp.com]
  3. Mooncat - Underwater[phlogiston.bandcamp.com]
  4. Mooncat - Mountain[phlogiston.bandcamp.com]
  5. Mooncat - Fortress[phlogiston.bandcamp.com]
  6. Mooncat - Boss[phlogiston.bandcamp.com]
  7. Mooncat - Forest B[phlogiston.bandcamp.com]

Bonus Video for Top Tier Gameplay & Tunes!

Outro
Spot anything I missed or found something you would like to add? Add a comment and I'll look into it when I get the chance!

Want more? Then please check out my other:
Please do not copy without my permission! If you'd like to support my work by buying me a coffee I'd greatly appreciate it! https://ko-fi.com/llamakazi

Also if you can, please help out with this guide's overall visibility by clicking the real versions of these buttons up top - many thanks y'all!
2 kommentarer
EtherBunnny41 | TTV 12 apr @ 7:21 
Is there any way to cross the chasm in the second level? I've done some fairly precise Coyote Time long jumps and I'm darn sure that bit of platform just doesn't exist, but I'm so intrigued as to what might be over there, considering the next level is like, a future version of that area and it has those capsules. Is it possible?
Obi-Wan Cannoli 21 feb @ 20:18 
Super great guide! This has been a massive help finding on some of the harder warps especially.

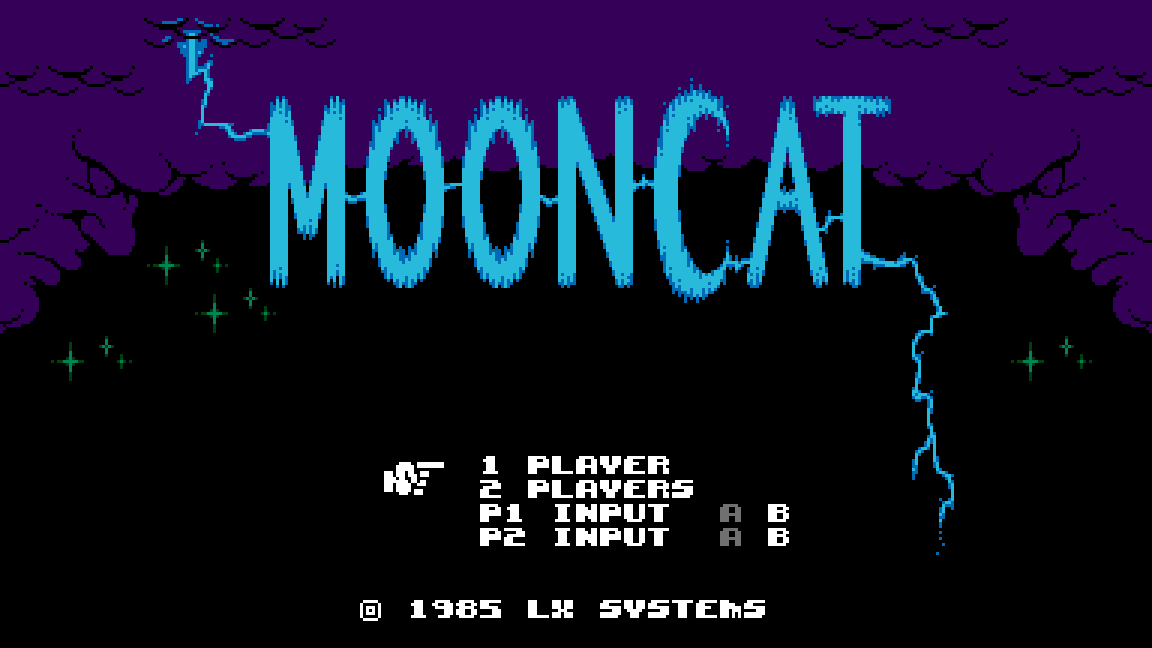
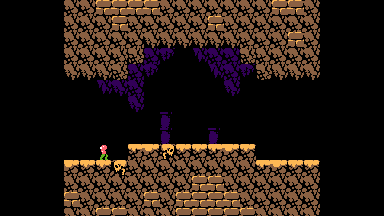
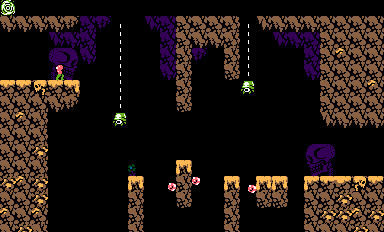
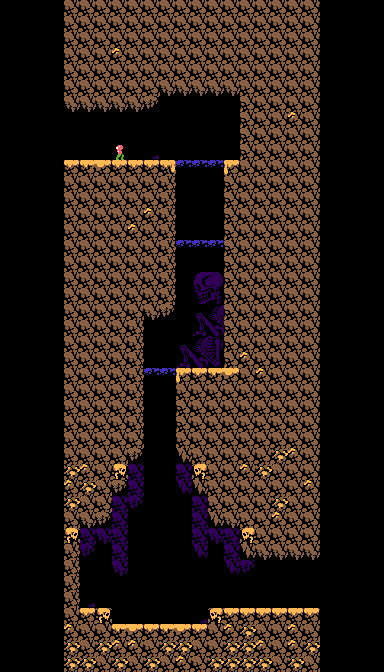
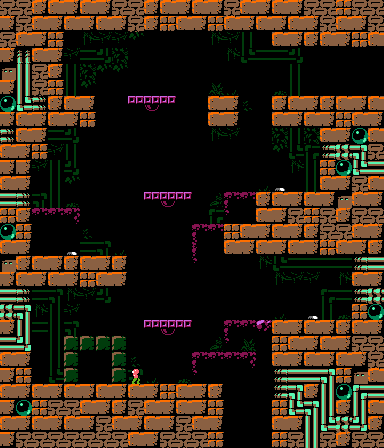
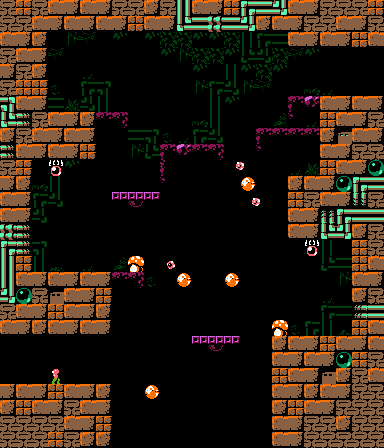
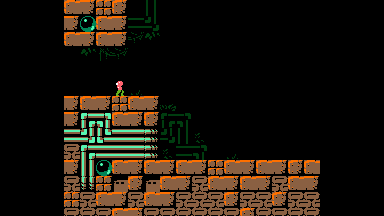
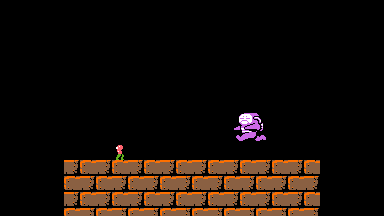
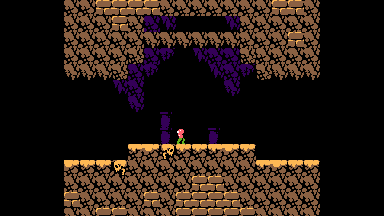
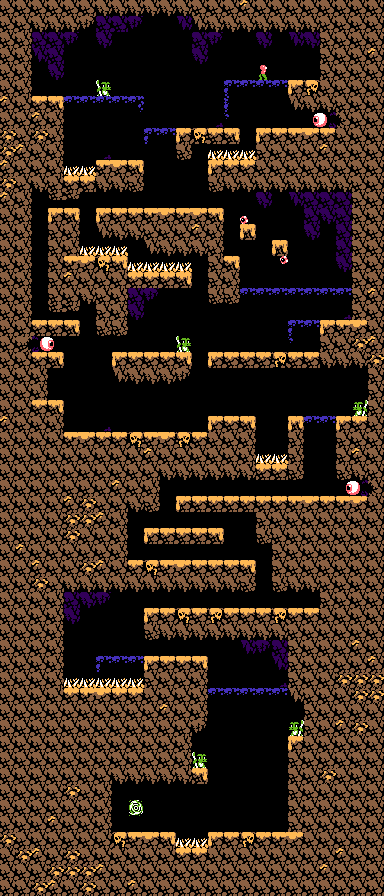
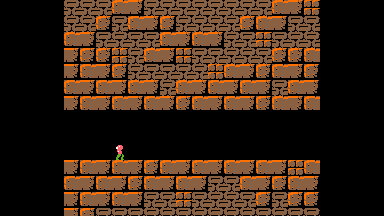
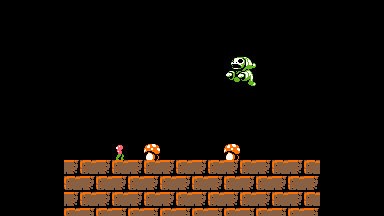
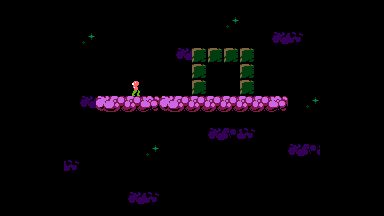
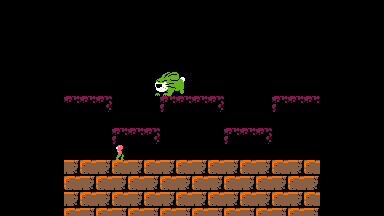
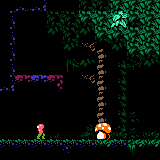
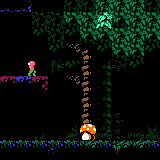
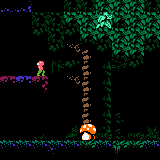
One more important thing to note is that this game doesn't save your progress between levels at all. I learned that the hard way when I wanted to take a break before a boss battle, thinking I could swap to a different game and come back later to the same room...