
Install Steam
login
|
language
简体中文 (Simplified Chinese)
繁體中文 (Traditional Chinese)
日本語 (Japanese)
한국어 (Korean)
ไทย (Thai)
Български (Bulgarian)
Čeština (Czech)
Dansk (Danish)
Deutsch (German)
Español - España (Spanish - Spain)
Español - Latinoamérica (Spanish - Latin America)
Ελληνικά (Greek)
Français (French)
Italiano (Italian)
Bahasa Indonesia (Indonesian)
Magyar (Hungarian)
Nederlands (Dutch)
Norsk (Norwegian)
Polski (Polish)
Português (Portuguese - Portugal)
Português - Brasil (Portuguese - Brazil)
Română (Romanian)
Русский (Russian)
Suomi (Finnish)
Svenska (Swedish)
Türkçe (Turkish)
Tiếng Việt (Vietnamese)
Українська (Ukrainian)
Report a translation problem


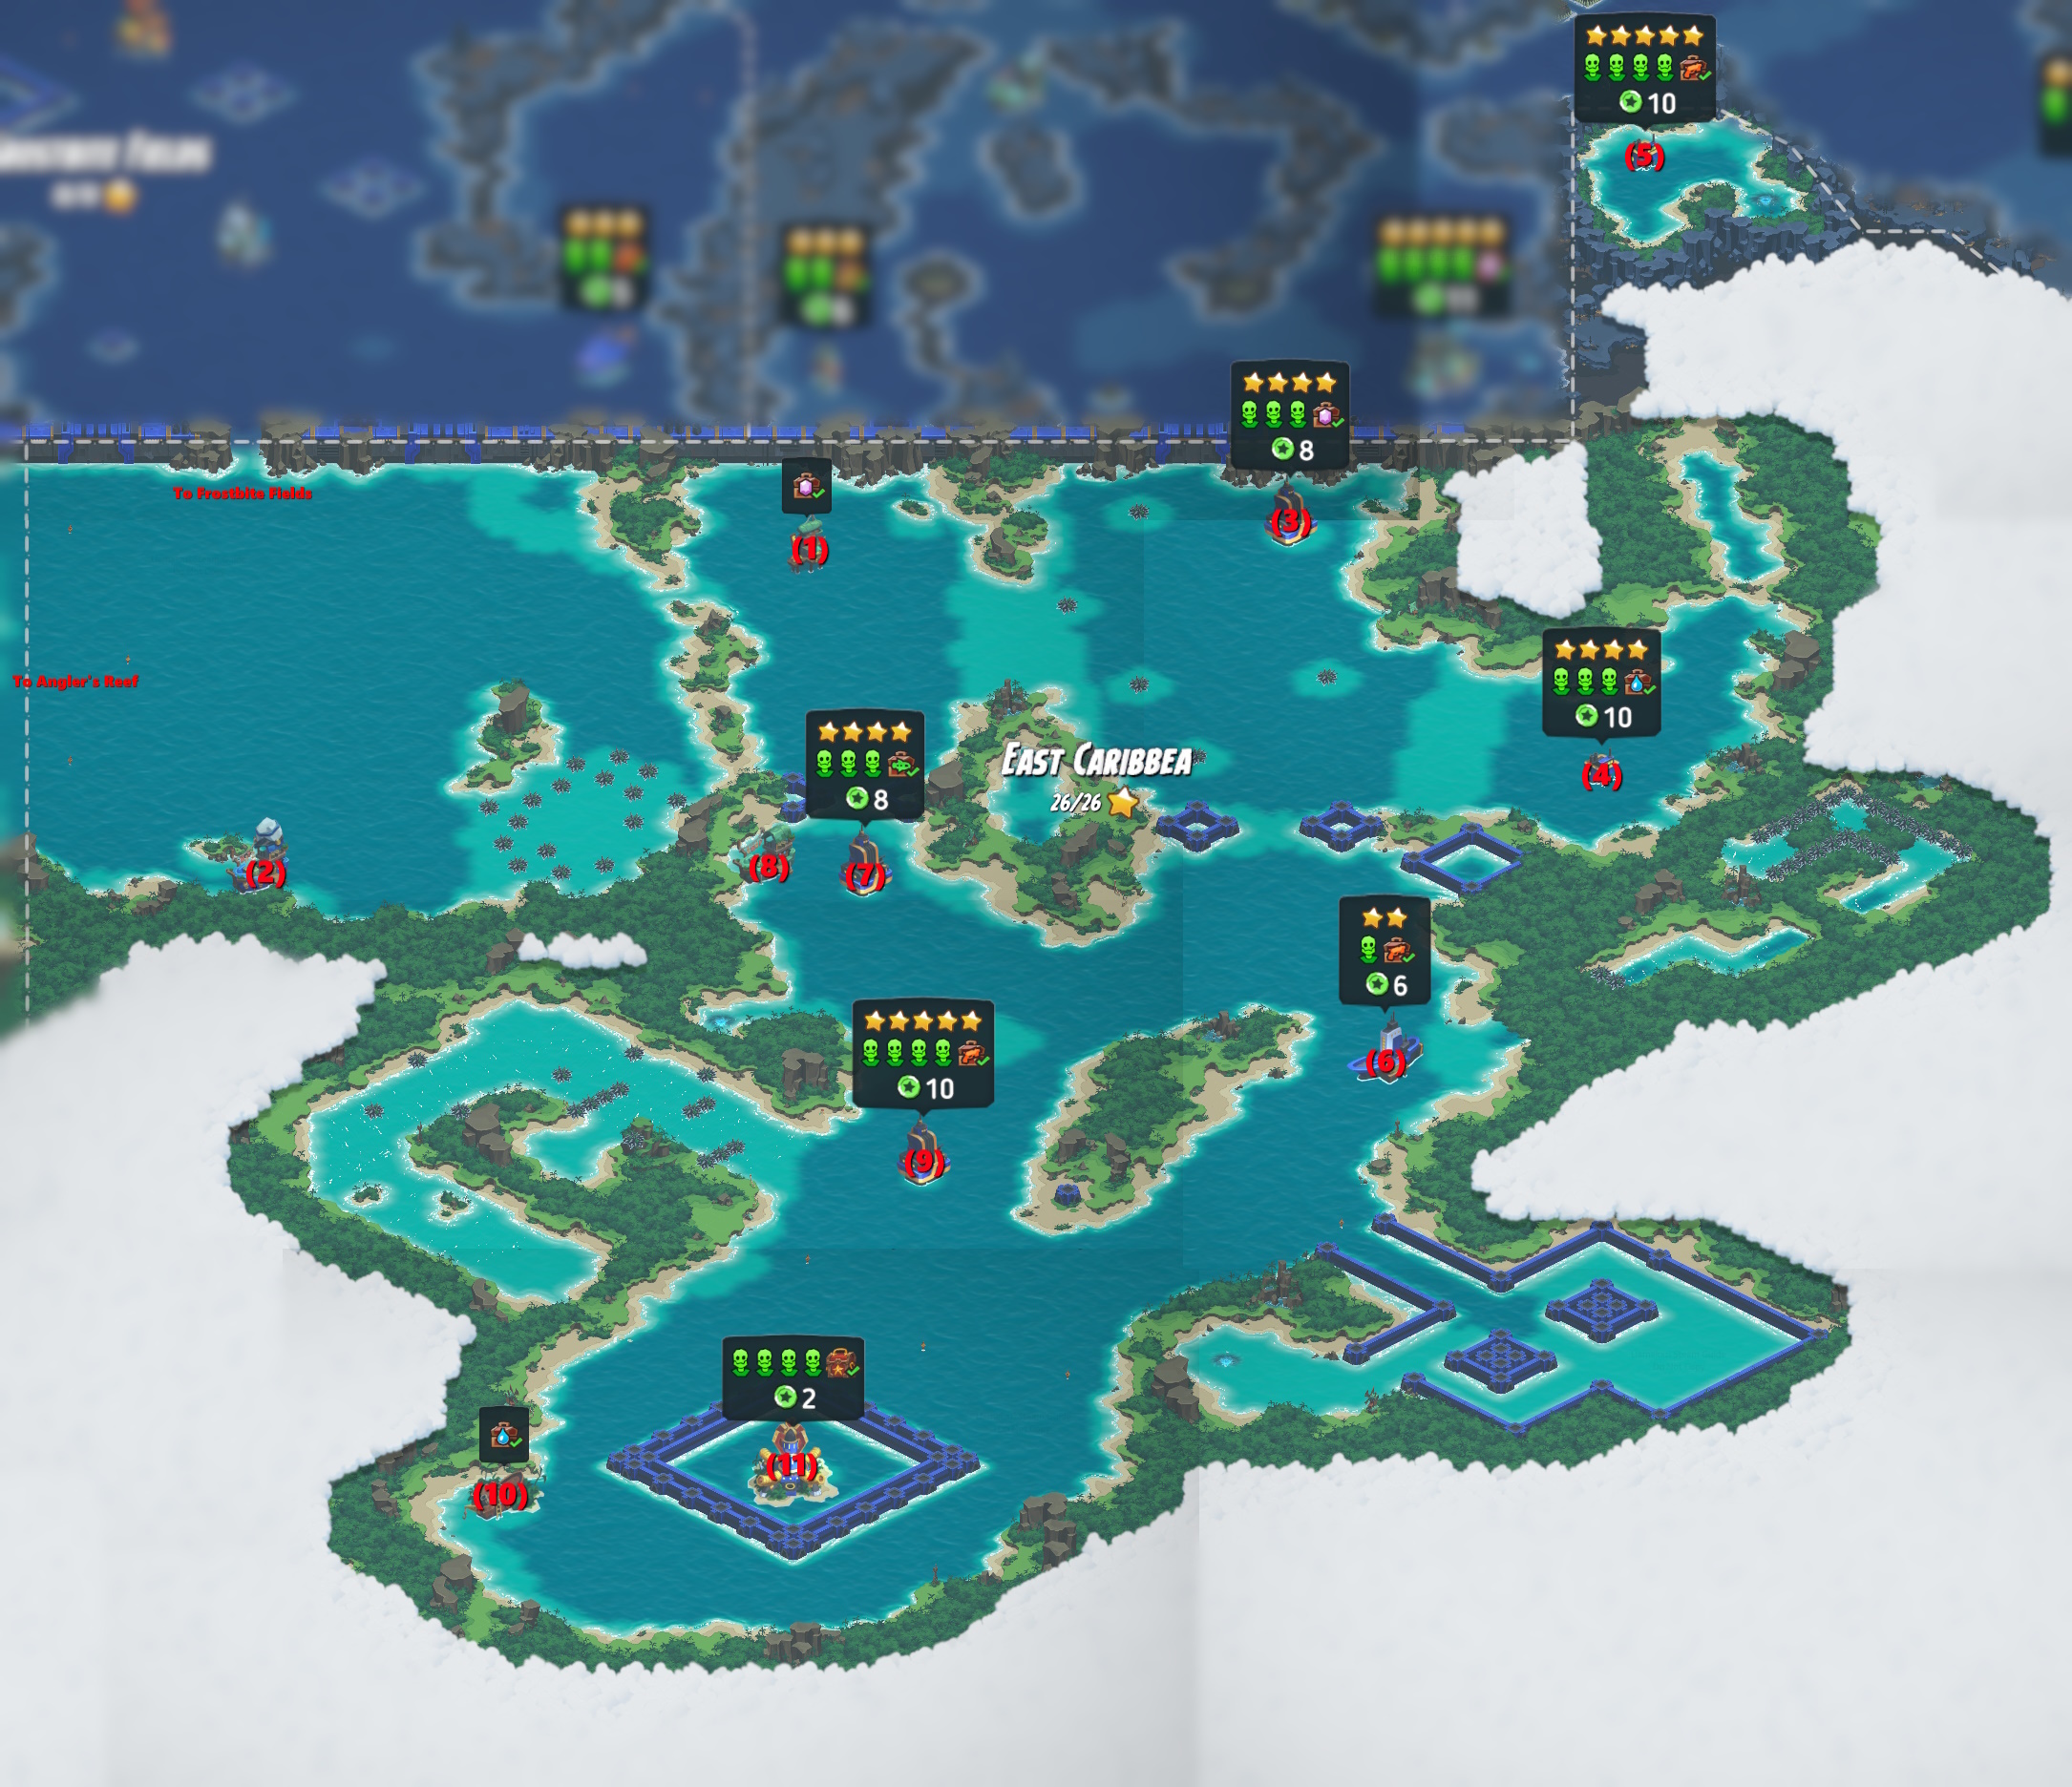


Do some hats only have chances to spawn on the enemies that start in the mission and not reinforcements, am I just extremely unlucky, or like 1 post I found on a random website saying safari hat was glitched for them and doesn't spawn, am I screwed?
Tried like 10 times already. Only random hat i get there is Bearksin. Is this info correct?
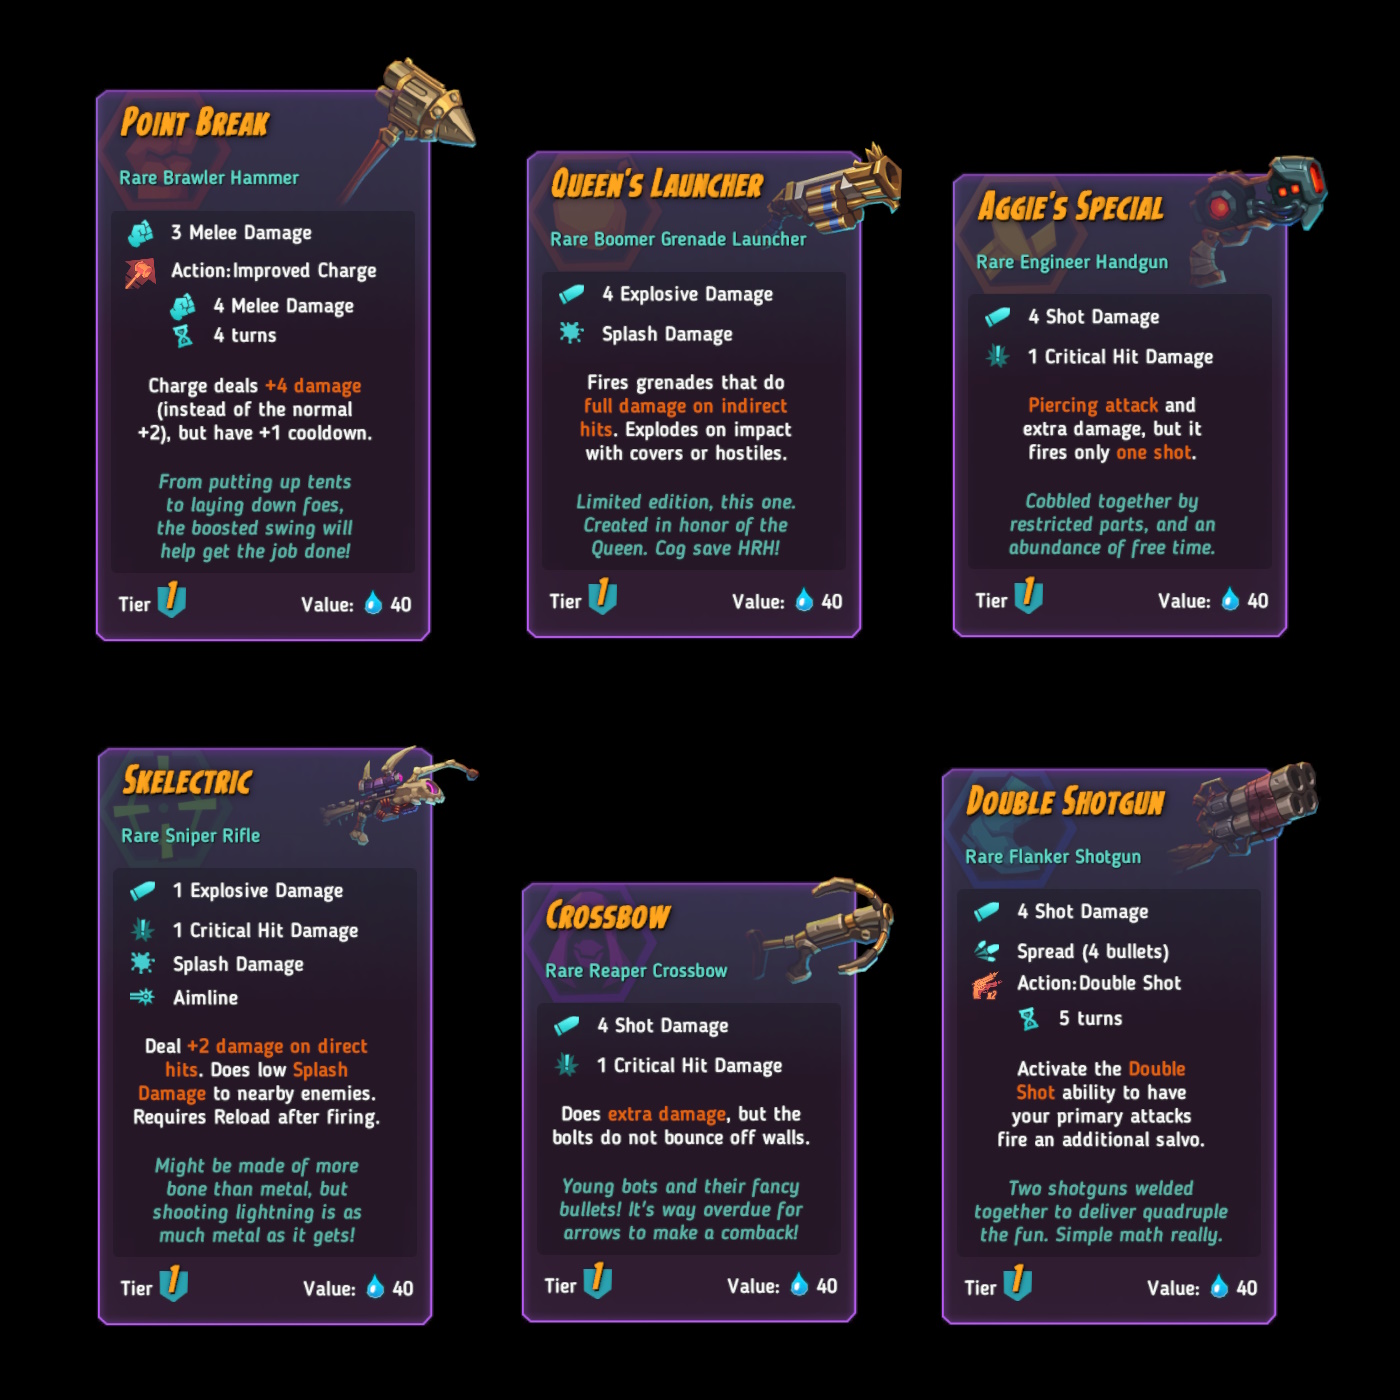
It seems "one shot" also means "one turn". I was using a character with the "Free Sidearm" perk from Brawler who was carrying three side arms. I took three separate shots at three different enemies scattered around the level i.e., not lined up, and the achievement popped. This makes getting the achievement much easier than trying to line up three enemies in a row.
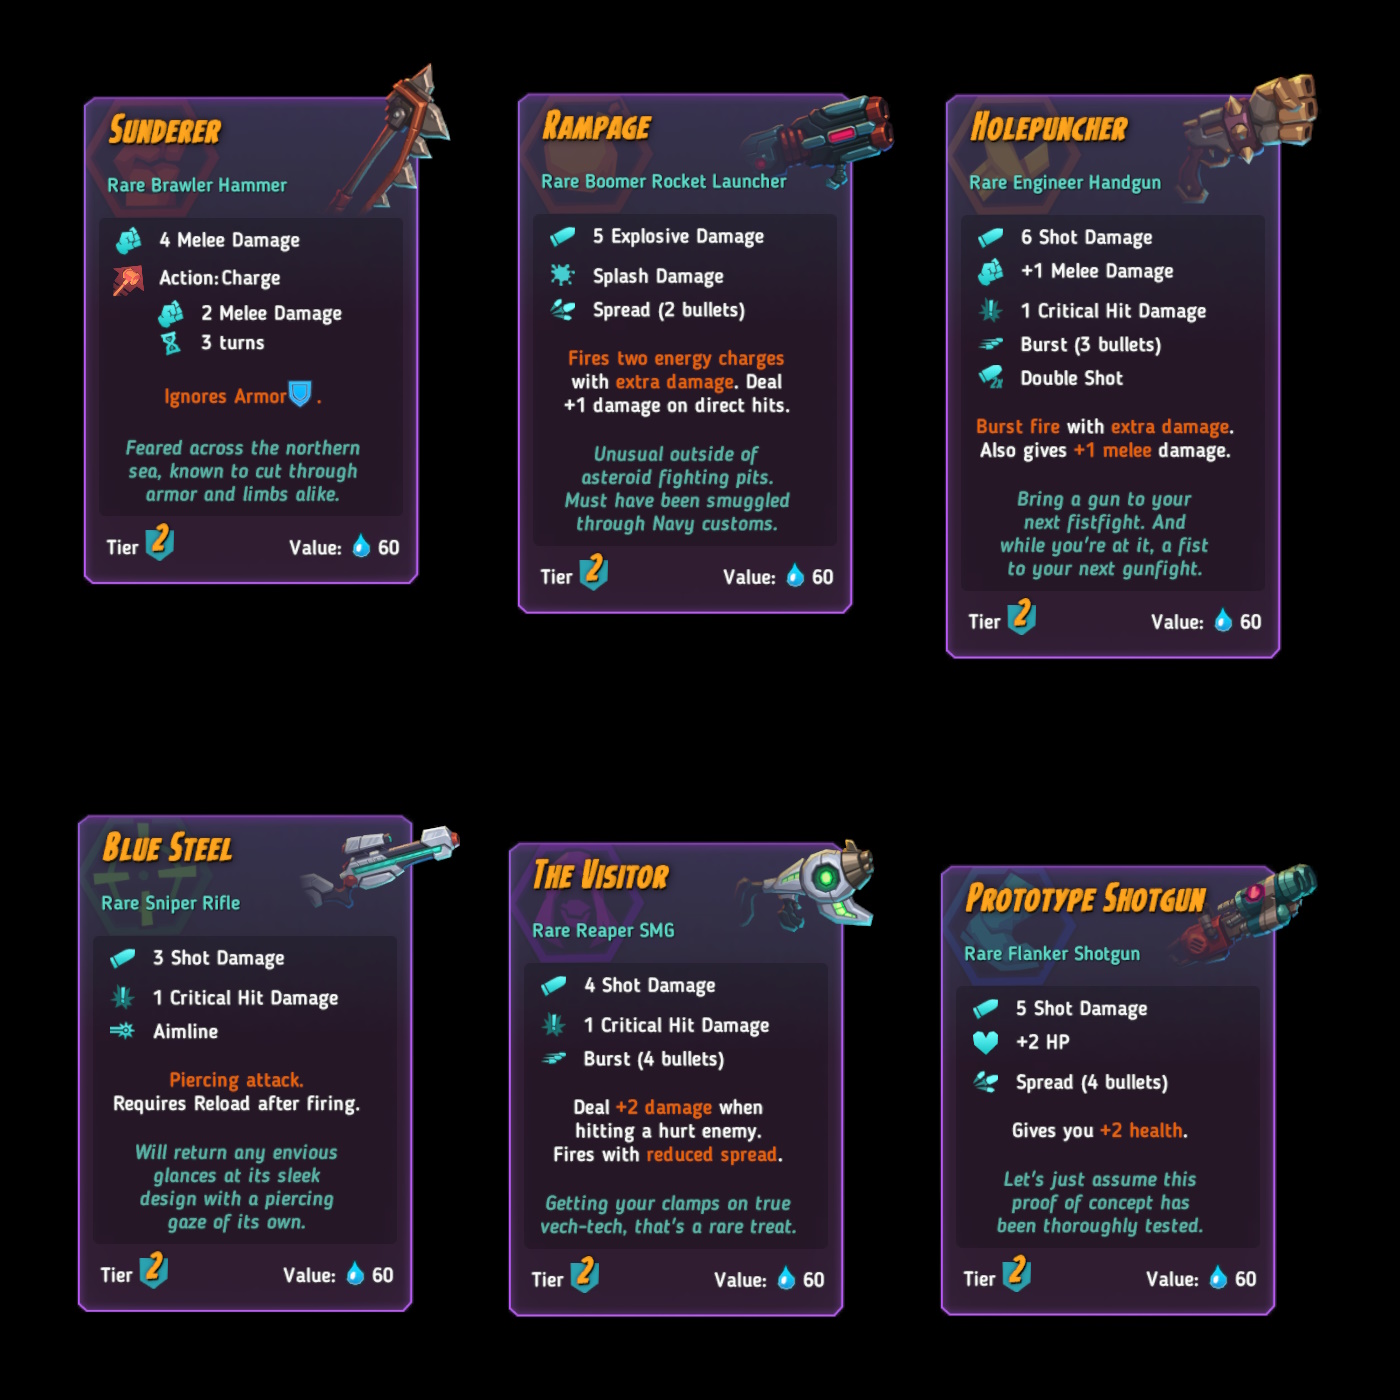
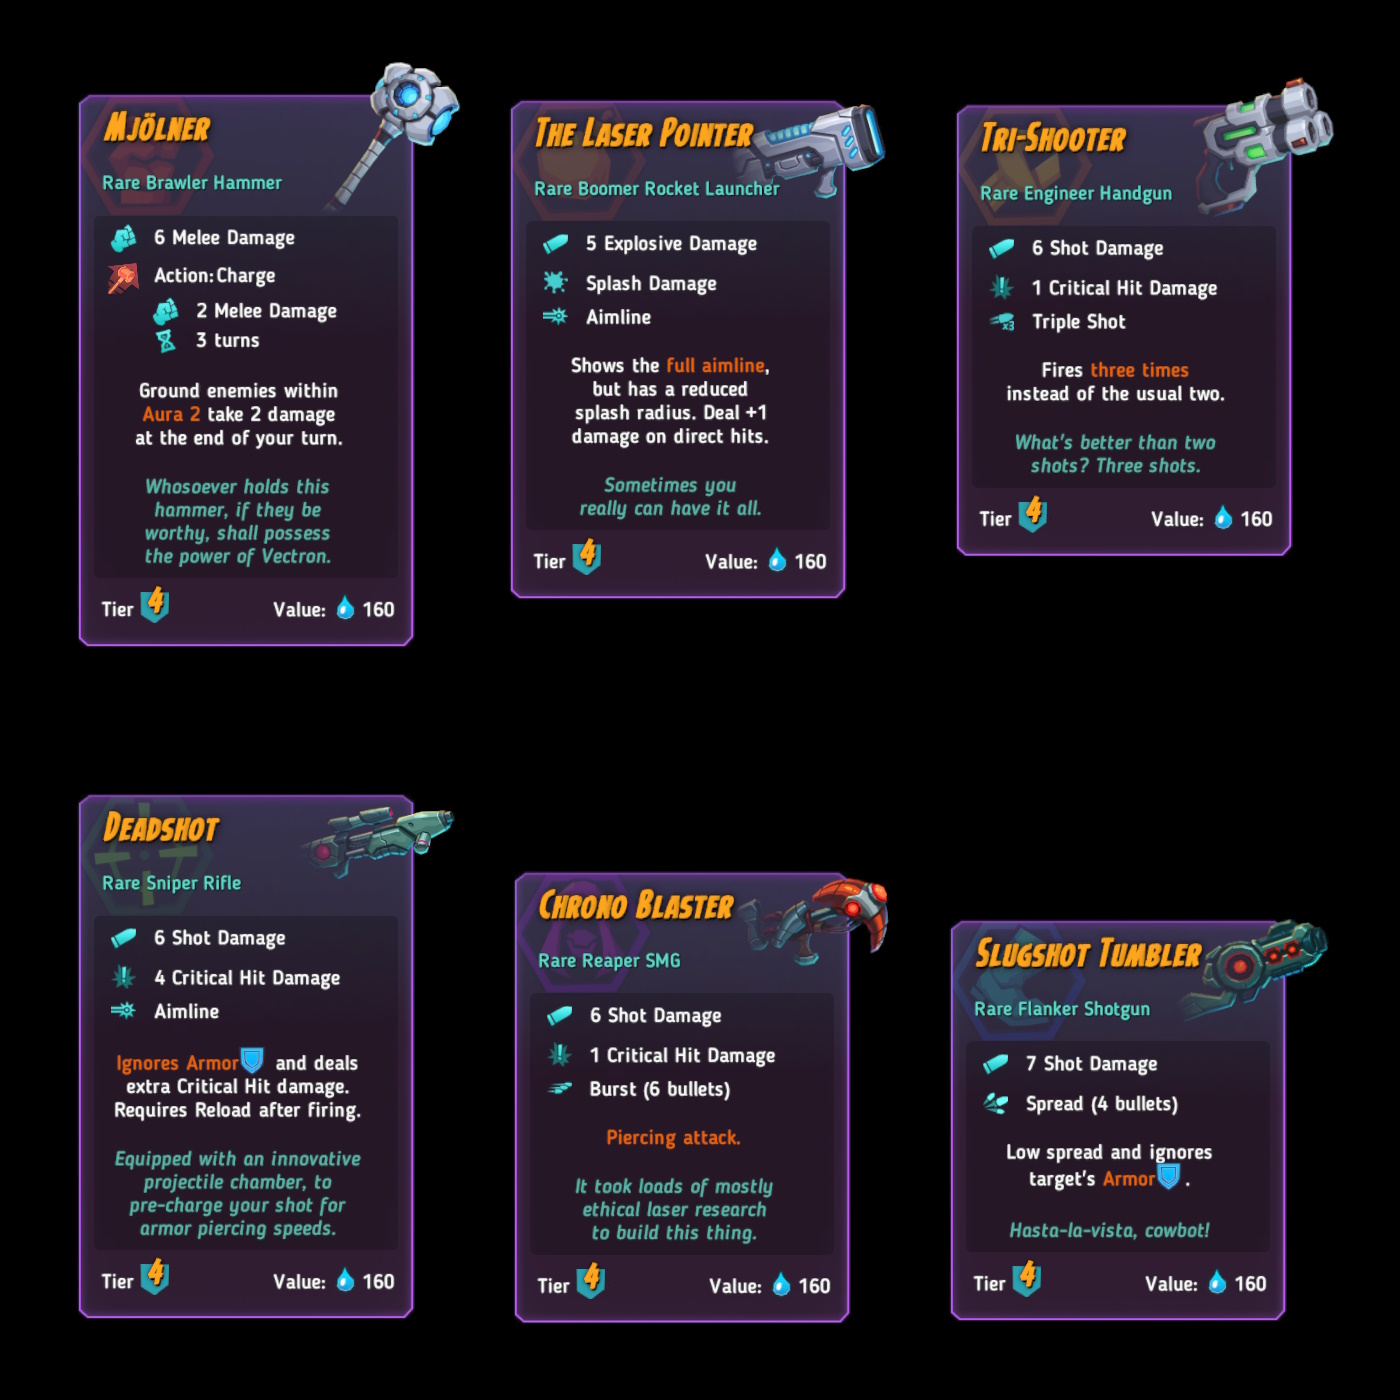
Also, if you are carrying a sniper rifle or pistol as your primary weapon, this will give you four shots to get three hats. Using the Tier 4 rare engineer pistol "Tri-Shooter" gives you six shots to get three hats.
Suffice to say, this setup was the setup I used when grinding to complete my hat collection.
Thanks! I'll have to grind some more as I managed to miss that one
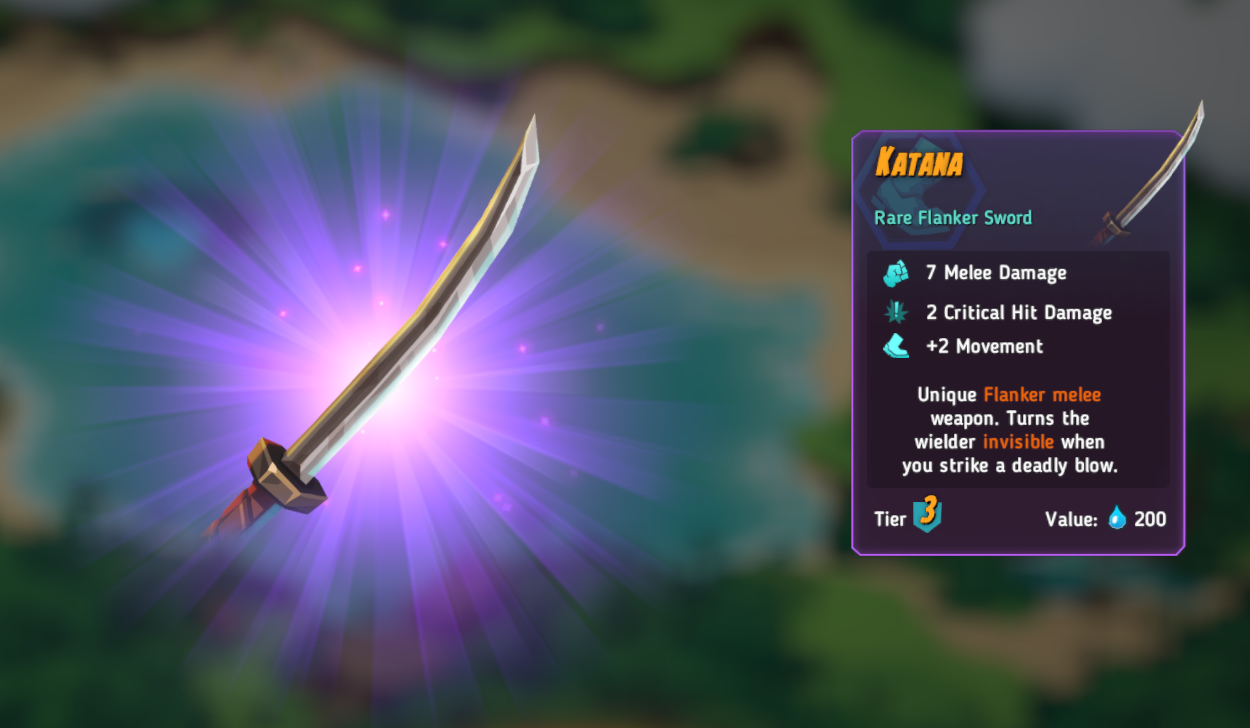
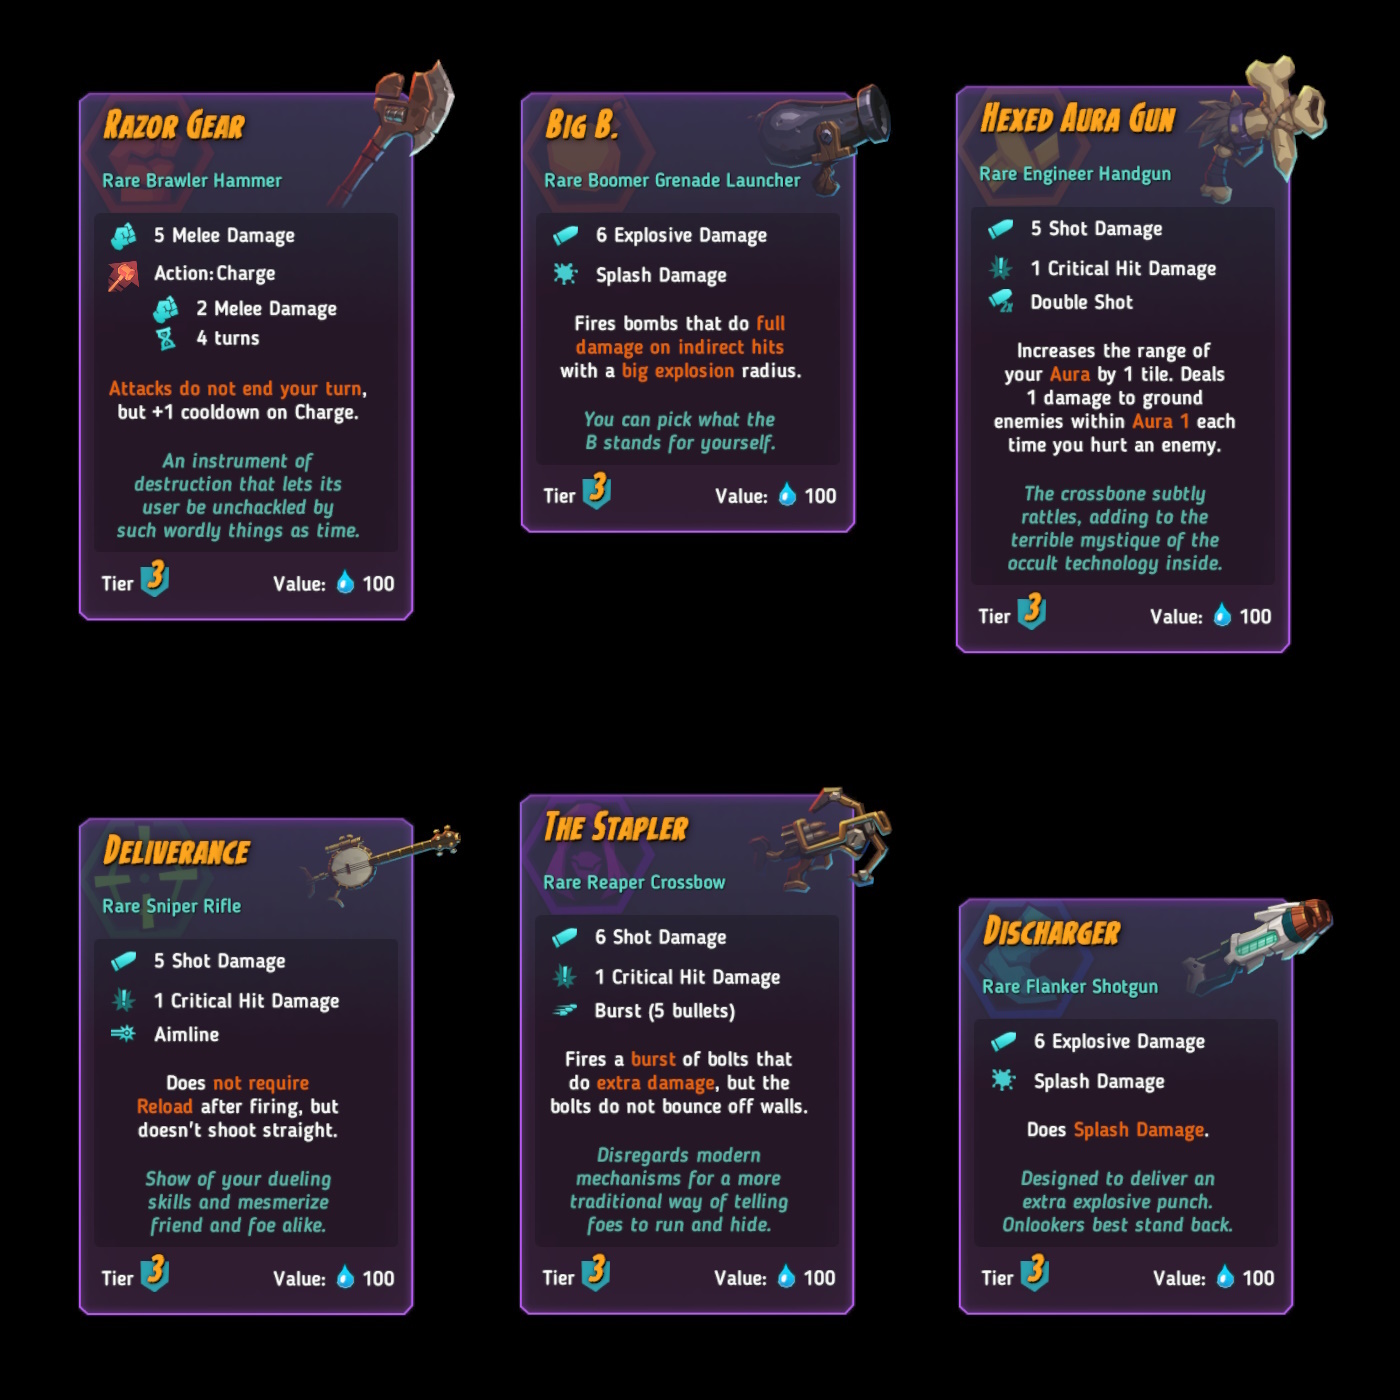
Just random chance from chests that drop other Tier 3 items; not a guarantee like some of the others!