
Installa Steam
Accedi
|
Lingua
简体中文 (cinese semplificato)
繁體中文 (cinese tradizionale)
日本語 (giapponese)
한국어 (coreano)
ไทย (tailandese)
Български (bulgaro)
Čeština (ceco)
Dansk (danese)
Deutsch (tedesco)
English (inglese)
Español - España (spagnolo - Spagna)
Español - Latinoamérica (spagnolo dell'America Latina)
Ελληνικά (greco)
Français (francese)
Indonesiano
Magyar (ungherese)
Nederlands (olandese)
Norsk (norvegese)
Polski (polacco)
Português (portoghese - Portogallo)
Português - Brasil (portoghese brasiliano)
Română (rumeno)
Русский (russo)
Suomi (finlandese)
Svenska (svedese)
Türkçe (turco)
Tiếng Việt (vietnamita)
Українська (ucraino)
Segnala un problema nella traduzione


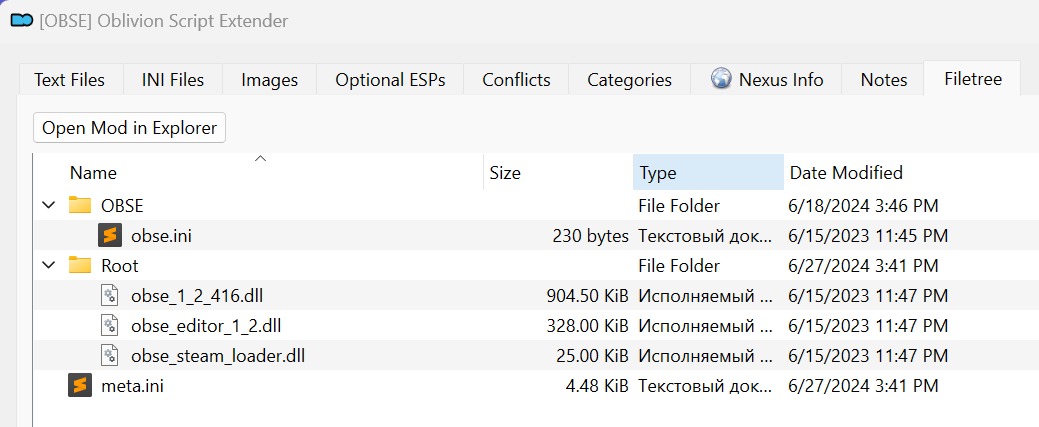


ObjectsCulling=0
That's worked pretty well for me.
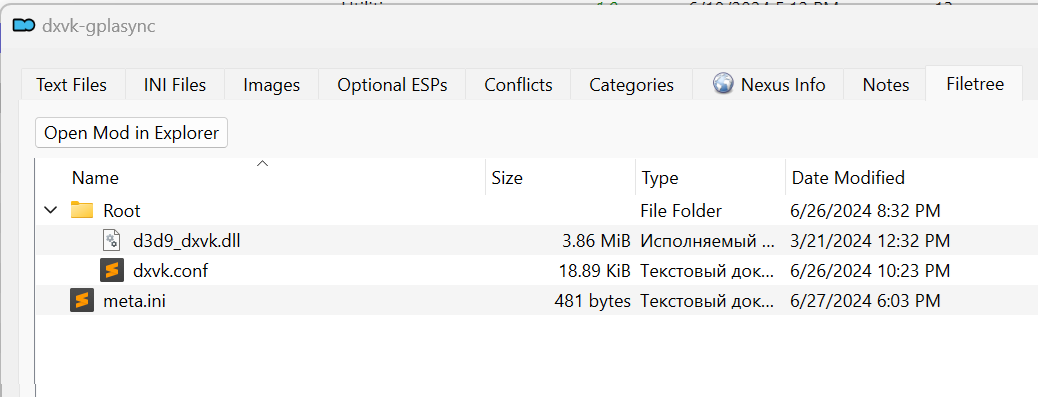
My current problem. I got everything working well with just ORC and DXVK, but I've tried introducing Enboost and now my shadows are flickering.
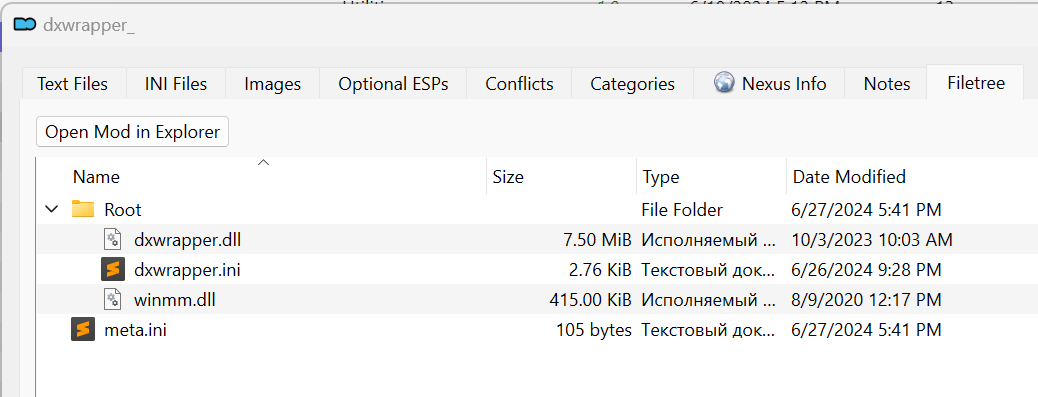
You can simply disable all new shaders. Check the ORC2_1.ini file, especially the entries under the [PotatoPC] section. There's a setting called SimpleShaders=0 - try changing it to 1.
Thanks a lot for your guide. Oblivion now (finally) works super stable (didn't had any crash in hours).
But following this guide I have one issue: In some (just some!) interiors, the player, NPCs and furniture become invisible. Some wall and doors are blue and you can see-through.
Here a screen.
https://steamcommunity.com/sharedfiles/filedetails/?id=3473534825
Any idea how to fix?
I've tried to change the new options in the F10 menue, but none had an effect on this.
Thanks and best wishes
Is there anywhere that has more information on configuring the ORC ini? I followed your setting but I'm still having for shadow weirdness.
Absolutely, you can. Installing them in MO2 is the same as with any other mod listed here in the guide. MO2 has a solid built-in tutorial, and plenty of beginner videos are available on YouTube. Just install the Unofficial Patches, Ultimate Leveling, and any other mods you need, then hit Sort to run LOOT, and you’re good to go.
So just to be sure, I can use MO2 to install Ultimate Leveling and the "Unofficial Oblivion Patch" + "Unofficial" DLC Patches too?