Dread Delusion

Dread Delusion

156 Bewertungen
Dread Delusion: All Sidequests Guide
Von ( ͡° ͜ʖ ͡ °)
(Last updated 08.08.24) A detailed sidequest guide for Dread Delusion: full list, directions, rewards. Mostly spoiler-free.
12
7
3
8
13
2
3
2
   
Preis verleihen
Favorisieren
Favorisiert
Entfernen
Preface
A guide for all sidequests in Dread Delusion. No story retelling or plot twist reveals, only information tied to quest progression and what you get for doing this or that.

The guide includes:
◌ Text directions + screenshots of quest locations and where they are on the map.
◌ Quests added in the final update.
◌ Rewards: items, amount of Glimmers of Delusion (GD), faction reputation, achievements.
(Quest rewards are the same in normal mode and hard mode)

UPD (08.08.24) - checked all sidequests again in Hard Mode, the guide should be accurate for v1.1.2.0. If you find any incorrect info in the guide, please leave a comment and maybe add a screenshot for proof. I cannot check all sidequests after every patch as it would be too time consuming, so any help hunting down stealthily changed bits like stat check numbers is very appreciated.

If somebody decides to revive (or start a new) Dread Delusion wiki - feel free to copy information from my guides. This, however, does not apply to professional websites who steal entire steam guides and monetize them. You people suck.

Are there...
Faction-locked quests? No.
Time-sensitive quests? Yes, one quest has a timer which you get warned about.
Missable or mutually exclusive rewards and achievements? Yes.


Quests break sometimes ¯\_( ´•ᴗ•)_/¯
The game is full of bugs, some of them are game-breaking and can permanently ruin your playthrough since there's only one autosave per character. Backup your savefile every once in a while as a preventive measure. And don't forget to leave bug reports here or in the official discord server - devs are patching them!

Dread Delusion savefiles are located in
C:\Users\name\AppData\LocalLow\Lovely Hellplace\Dread Delusion


My other guides for Dread Delusion:
https://steamcommunity.com/sharedfiles/filedetails/?id=3257161724
https://steamcommunity.com/sharedfiles/filedetails/?id=3257833635
https://steamcommunity.com/sharedfiles/filedetails/?id=3288514607
STAT CHECKS - General Info
Dread Delusion features four types of checks: Might, Lockpick, Lore, Charm. Lockpicking is done by rolling a dice - meaning it gets easier with the higher stat but you still have a chance to fail. Other three are "hard checks" - if the required stat is high enough then you pass the check, if it isn't then you don't. Sometimes an obstacle can be bypassed in multiple ways (like by picking a lock or activating nearby lore devices connected to it), and sometimes there's only one way to do it (like breaking a door).

Some quests feature mandatory or optional checks. My advice: don't bother making a specialized build by dumping all exp into a single attribute, instead save your Delusions until you hit a stat check you can't pass yet and then level up a necessary attribute.
STAT CHECKS - Temporary Buffs
This section describes in detail various ways to increase stats to pass checks without spending Delusions on resp. attributes, and can be considered spoiler-y.


All possible buffs
Lists all buffs that can be applied simultaneously to increase a stat's value.

Might
Might is the only check that is tied to a core attribute instead of a stat. The only ways to temporarily raise it are Elixir of Luck (Death's Veil x2) and sidequest "Thornwood Manor" route B reward - both raise all core attributes by 1, but are considered the same effect and therefore do not stack with each other.

Lockpick
◌ Spectral Finger (10)
◌ Rogue Hood (10/20/30) or Emberian Helm (20)
◌ Skill construct (20)
◌ Elixir of Luck (5)
◌ Accessory Lockbug lowers difficulty of locks by 1.
◌ Accessory Mechanical Lockpick prevents lockpick from breaking if you rolled a number 1 less than that of the lock.


Lore
◌ Emberian Calculator (10)
◌ Thinking Cap (10/20/30) or Emberian Helm (20)
◌ Skill construct (20)
◌ Elixir of Luck (5)
◌ Scryshroom Tea (5)


Charm
◌ Charisma Augment (10)
◌ Scruffy Hat (10/20/30) or Emberian Helm (20)
◌ Skill construct (20)
◌ Alcohol (stacks 2/4/6/8 + amount needed depends on drink's quality)
◌ Elixir of Luck (5)
◌ Clockwork Tea (5)
◌ Accessory Alluring Perfume gives a chance to pass any Charm check. Some checks can be passed by simply trying them repeatedly.


Skill constructs
Skill constructs are special items which, when activated, temporarily boost one of skills by 20. There are multiple ways to gain access to constructs that raise skills utilized in stat checks: by befriending one of three major factions, by decorating Thornwood Manor using faction furnishings, and by obtaining a Splendid Cabin for your airship. Buffs from the same constructs in different locations do not stack, meaning 20 is the max bonus you can get.


Faction chambers
Reaching a Friendly status with one of three major factions (Apostatic Union, Wikkans, Outlaws) unlocks a respective faction chamber with a skill boosting construct inside.
Apostatic Union: Council building in Hallow Town, boosts Charm by 20.
Outlaws: Lost Purse in Hallow Town, boosts Lockpick by 20.
Wikkans: Wikkan Island above the Vertical Shell in Hallowshire, boosts Lore by 20.

To raise your reputation:
  • Complete quests in that faction's favor.
  • Kill members of enemy faction (+1), Wikkans/Outlaws for Union, Union for Wikkans/Outlaws.
  • Do not kill members of the faction you want to befriend (-1).
  • Collect and sell Squirming Godlets to that faction (+1). Selling Goldets to a faction worsens your relationship with two other factions (-1).
If your relationship with a faction drops below Friendly you will lose access to their faction chamber.

Reputation thresholds:
[-20] <- [-15] Hated
[-14] <- [-10] Enemy - roaming Apostatic Union members become hostile.
[-9] <- [-5] Disliked
[-4] <-> [4] Neutral
[5] -> [9] Accepted
[10] -> [14] Friendly - roaming Wikkans and Outlaws stop attacking you.
[15] -> [20] Loved


Faction furnishings
Faction furnishings can be used to decorate Thornwood Manor. With each style come three constructs that can boost your stats: 1) in the garden; 2) in the armory; 3) on top of the spiral stairs.
Union: Regen, Barter, Charm (20) --- purchased in Hallow Town.
Outlaw: Health, Defence, Attack --- purchased in Hallow Town.
Endless: Mana, Spellcast, Lore (20) --- purchased in Sepulchre.
Clockwork: Stamina, Agility, Lockpick (20) --- purchased in Ferropolis.


Splendid Cabin
Is a reward for sidequest "Raiders of the Drifting Island". Contains skill constructs for Lockpick, Lore, and Charm.
LIST OF SIDEQUESTS
List of sidequests, in the order they're presented in the guide.

The Blinding Light
  • Damn Fine Tea
  • The Whispers of Ghosts
  • An Old Friend

Pwyll
  • Militant Agriculture
  • A Debt Unpaid
  • The Rotten Onions
  • Secrets and Spores

Erudite Academy
  • Flying High
  • Hallowshire Cartography
  • A Divine Captive
  • We Don't Need Roads

Hallowshire
  • A Simple Delivery
  • From Under His Nose
  • Thornwood Manor
  • The Golden Typhos
  • The God Hunt
  • A Castle, Cursed
  • War Stories

Endless Realm
  • All Good Things...
  • Below the Endless
  • The Ethics of Eating Flesh
  • A Morbid Appetite

Clockwork Kingdom
  • Safe Passage
  • Madness of the King
  • Missing Persons
  • The Vision Trade

Airship
  • Raiders of the Drifting Island
  • Belly of the Beast + Skysnail airship & Shroomweave Ore locations
Damn Fine Tea
Location: Tutorial area / The Blinding Light

[1] Speak to Inquisitor Ignavius, he will ask for Scryshroom Tea.

[2] Head to Pwyll Village and purchase x1 Scryshroom Tea at the local store.


[3] Return to the Inquisitor and give him the tea.

Reward: x1 Remarkable Treasure, 1GD
Achievement: "DAMN Fine Tea"
The Whispers of Ghosts
Location: The Blinding Light

[1] Speak to the ghost in your room in the Blinding Light.


[2] The ghost's second location is at the northeast of Hallowshire. The bridge leading to the area she's at is around a house at the northern edge of farmlands and the Inquisitor Raid landmark. The area itself is neither on the map, nor is it a landmark.


[3] Third location is an isle on the northwest of the Endless Realm, near the northern mausoleum.


[4] The final location is on the northwest of the Clockwork Kingdom.


Reward: Completing the quest makes it possible to unlock achievement "There Is Another Way" later in the game.
Achievement: "A History Lesson"
An Old Friend
Location: The Blinding Light

This sidequest becomes available after you complete main quest "Underlands".
[1] Speak to the High Inquisitor, she will give you Void Steel.

[2] Go to the Strange House in the northwest of Hallowshire. It is located on a small floating isle that is connected to the lake where the western river begins. Speak to the ghost in front of the house, then head inside.


★ Ending A
Fulfill the High Confessor's request, then return to the Blinding Light.
Reward: 2GD
Achievement: In "The Name Of The High Confessor"

★ Ending B
Fulfill the ghost's request, then return to the Blinding Light.
Reward: 2GD
Achievement: "Unforgiven"
Militant Agriculture
Location: Pwyll

[1] Speak to a farmer in a small farmhouse to the east of Pwyll Village.


★ Ending A
Head to the snowy mountain behind the farmhouse. At the top of the mountain you will find a hostile mech. Destroy it and return to the farmer.
Reward: 10 coins, 1GD

★ Ending B
Head to the snowy mountain behind the farmhouse. At the bottom of the mountain you will find a control box.

Pick the lock or use the lever on its back to enter. Pass a 10 Charm check to alter the mech's protocols and return to the farmer.
Reward: x1 Remarkable Treasure, 1GD
◌ Disabling the robot remotely grants the same reward as destroying it.
A Debt Unpaid
Location: Pwyll, Rotten Onions

[1] Head to the headquarters of the Rotten Onions and speak to the Rotten Onion Guard at the entrance. In exchange for letting you into the headquarters the guard wants Pwyll Village mayor's ledger.


★ Ending A
Walk past the guard or use the Entice spell on him to make him and the rest of the Rotten Onions hostile. Killing the guard completes the quest.
Reward: ¯\_(ツ)_/¯

★ Ending B
Pass a 25 Charm check to complete the quest.
Reward: 1GD + free access to the fortress.

★ Ending C
At night, break into Mayor Olwen's house and get Mayor Olwen's Ledger on the second floor. Bring it to the guard.
Reward: 10 coins, 1GD + free access to the fortress.
The Rotten Onions
Location: Pwyll Village

[1] Speak to Mayor Olwen in Pwyll Village. She lives in a house with a bright garden.


[2] Head to the headquarters of the Rotten Onion - a fortress with a chained monster above it, to the south-east of Pwyll.


You can use a Truth Potion near the fortress - one can be purchased from Ghutrid at the mill - to skip straight to [4].
If you don't have one, you will have to find a way to get inside.
◌ Speak to the Rotten Onion Guard at the entrance and complete his quest "A Debt Unpaid"
◌ Pass a 25 Charm check.
◌ Start a fight with the guard.
◌ Sneak in through the back door.
Options 3 and 4 make all Rotten Onions in the fortress hostile, and so does attempting to use the Entice spell on the guard.

[3] Regardless of how you get into the fortress, head into the building and check the glowing table there.

◌ Or speak to the leader (if he's awake - and alive) and pass a 30 Charm check for the exact same result.

[4] Return to the Mayor and share your findings with her.

Reward: x1 Glorious Treasure, 20 coins, 1GD
Achievement: "Settle The Sellswords"

◌ The reward is the same regardless of how you decide to deal with the Rotten Onions. The mayor doesn't care if you complete "A Debt Unpaid" either.
Secrets and Spores
Location: Pwyll Village

[1] Speak to Culwych. Weight yourself, then speak to him again. Culwych wants you to investigate something for him, and offers an Apostatic Union Passport in return.


[1b] Should the quest get bugged and leave you without a reward, or you decide not to complete it yet - there is an alternate way to obtain a Passport. Speak to Dwynn in the shop across the street and mention rumors about contraband in Pwyll. Pass a 15 Charm check to get Smuggler's Key - it unlocks the basement of the local mill. Head to the mill, pull a lore candle to reveal the entrance to the basement, and unlock/pick the lock on the door. Speak to Ghutrid and purchase the Passport.

[2] Speak to Dwynn or Nudd in the shop across the street. Wait for the nightfall, then follow the person outside to a secret cave. Doesn't matter if they see you, they won't run away or attack. Next day share your findings with Culwych and he will give you the Sacred Shroom Key.

[3] Head to the giant Sacred Shroom below Pwyll Village and make your way to the top.


★ Ending A
Let the sacrifice die. Return to Culwych to get your reward.
Reward: x1 Apostatic Union Passport, 20 coins, 1GD
Achievement: "The Price Is Paid"

★ Ending B
Save the sacrifice (with or without passing the 20 Charm check). Return to Culwych to get your reward.
Reward: x1 Apostatic Union Passport, 20 coins, 1GD + speak to the Mayor to get x1 Eye of Paeguth
Achievement: "No Going Back"
◌ After one of recent patches, choosing this ending now makes the Sacred Shroom interior inaccessible for the rest of the game.
Flying High
Location: Pwyll | Hallowshire | Endless Realm | Clockwork Kingdom

[1] Find an Academy Scholar. One can be found in the shroom forest below Pwyll Village.


[2] Academy Scholar will give you a Cartography Notebook and ask to bring him Cartography Cipher-Charts which can be obtained by recording landmarks.

[3] Record and turn in three Cipher-Charts, for example Vela's Fortress, Sacred Shroom and Rotten Onions in Pwyll (see maps for locations). In return you will get Academy Recommendation which grants entry to the Erudite Academy.

[4] The entrance to the Erudite Academy is located in Hallowshire, not far from the elevator to Pwyll. Show your Recommendation to the face on the gate.


Reward: 1GD + Access to the Erudite Academy
Achievement: "Academic Achievement"
Hallowshire Cartography
Location: Pwyll | Hallowshire | Endless Realm | Clockwork Kingdom

[1] Find and speak to one of Academy Scholars. One can be found in the shroom forest below Pwyll Village.


[2] Academy Scholar will ask you to mark four landmarks in Hallowshire: Hallow Town, Inquisition Raid, Hollowerd-Out Tree, and Vertical Shell. You can find their locations in this guide. Once you mark down all four, the quest will automatically complete. Head to the nearest cartographer tent and request your reward.

Reward: A few extra coins on top of the regular payment for charts.
A Divine Captive
Location: Erudite Academy

[1] Speak to the Inquisition Agent.


[2] Speak to an Endless named Ghelm, Chief Historian. She can be found on the second floor of the main building.

[3] There are 4 usable candles, you need 30 Lore to activate them.
First is in the same room as Ghelm. Second is in the storage room on the first floor of the same building.


Third is in the alchemist's room. Fourth is inside a small building at the end of the bridge.


[4] The entrance to the secret room is in the same storage room as the second candle. Step inside to get an Incriminating Notebook.

★ Ending A
Give the Incriminating Notebook to the Inquisition Agent.
Reward: 30 coins, 1GD

★ Ending B
Give the Incriminating Notebook to its owner.
Reward: 1GD

Both endings unlock achievement: "Have You Got A License For That God?"
We Don't Need Roads
Location: Erudite Academy

[1] Speak to Natalya, Chef Engineer. Agree to help her. She will give you a Portal Key. This unlocks fast travel, but portal chambers need to be activated first. Interact with the portal chamber next to Natalya.


[2] This guide shows locations of all portal chambers in the game, but for this quest only two are needed: Endless Realm and the Clockwork Kingdom ones.

[3] After you activate both portal chambers return to Natalya.

Reward: 30 coins, 1GD
Reputation: +2 Apostatic Union
Achievement: "The Only Way To Travel"
A Simple Delivery
Location: Hallow Town

[1] Speak to a lady in the docks. Agree to deliver a Crate of 'Silks' to her friend Bardolph in the tavern. He's in a small room on the first floor.


[2] On the way to the tavern you will be stopped by a guard.
◌ Pass a 15 Charm check ("My friend is a respected tailor") to keep the crate.
◌ If you let the guard open the crate, you will have to pass a 30 Charm check ("I'm an agent of the Inquisition") or pay him 20 coins to get the crate back.
◌ You will lose the crate if you offer 5 coins (he will ask for 10) or beg to let you go (in this case the guard will also steal a bunch of items from your bag, in my case it was 1 HP Potion, 1 Mana Potion, 1 Stamina Potions and 1 Beer).

[2b] If you save and quit the game at this stage, the guard's quest trigger might break and he won't ask to check the crate on reload. In that case just head to the tavern.

[3] Regardless of the outcome, speak to Bardolph in the tavern.


★ Ending A
Bring the crate to Bardolph.
Reward: 20 coins, 1GD

★ Ending B
Speak to Bardolph empty-handed.
Reward: 1GD
Reputation: +4 Outlaws
From Under His Nose
Location: Hallow Town

[1] Complete "A Simple Delivery", then make your way to the Lost Purse. The entrance is hidden behind a lore skull in one of derelict houses past the docks. Speak to the girl from the docks.


[2] Exit the Lost Purse through the sewers. Further in the corridors you will find a locked door. Pick the lock, or break it. Loot the purple chest inside to get a Merchant's Artifact. Give the artifact to the girl.

Reward: 50 coins, 1GD
Reputation: +4 Outlaws
Thornwood Manor
Location: Hallow Town

[1] You can find posters for this quest all over Hallow Town. Head to the Council building in the upper part of the town and speak to the Council Clerk, to the left of the entrance.


[2] He will offer to sell Thornwood Manor for 200 coins, or - with 90 Charm - for half the price. Make the purchase, and you'll be given a Thornwood Manor Deed.
This unlocks achievement "To The Manor Born".

[3] Your new home is located on a separate isle on the southern edge of Hallowshite, accessed by an elevator.


[4] There are multiple inaccessible places in the manor, each requires an upgrade of a related area for it to get unlocked. To progress the quest, use an upgrade station in the caretaker's house to fix all four areas.

Sidequest aside, rebuilding the manor is more than worth the investment:

◌ Contains all plants which regrow every 3 days. Death's Veil is hidden in the church basement.
◌ Respawning x1 Iron Ore (3 days), x1 Fine Ore (5 days), and a Godlet (5 days).
◌ A book that records all other books that you find in your travels - appears to be bugged in v1.0.7.5, books from the Clockwork Kingdom don't appear in it.
◌ Faction furnishings - each style comes with three skill constructs that temporarily boost various skills: 1) in the garden; 2) in the armory; 3) on top of the spiral stairs.
Union --> Regen, Barter, Charm (20)
Outlaw --> Health, Defence, Attack
Endless --> Mana, Spellcast, Lore (20)
Clockwork --> Stamina, Agility, Lockpick (20)
Faction furnishing can be purchased in shops.
◌ A mirror in the cave next to the garden leads to Hallow Town.

[5] Leave, return, and take a nap in the bedroom. Not required, but adds some extra details to the quest.

[6] Break into the attic of the manor to get the Thornwood Manor Master Key. Use it to get into previously inaccessible (now simply locked) areas.


[7] Collect a Statue Head, a Hourglass Statue Arm, and a Serpent Statue Arm. These can be used in the manor's basement. Inside, you will be presented with a choice.

★ Ending A
*SHANK*
Reward: 2GD + the manor's bed becomes safe to rest in.

★ Ending B
[8] Agree to help - you will be asked to find an Old Spellbook, and given a Manor Annex Key. The manor's location is in the southwest of Hallowshire. There's no path leading to it; use the Agility's Addendum spell from a nearby hill to cross the gap.


[9] Bring the spellbook back.

Reward: 2GD + from now on resting in the Thornwood Manor's bedroom will temporarily boost your attributes by 1 (same effect as Elixir of Luck, doesn't stack) in exchange for a chunk of health, mana, and stamina.

◌ If you choose to go route A then the dilapidated manor will stay locked for the rest of the game, but there's nothing else in there aside from the book required for Ending B.
The Golden Typhos
Location: Hallow Town

[1] Speak to Vernon Berwig in the Winged Merchants Guild building.


[2] You can see the airship orbiting a mountain on an island to the southwest of Hallow Town. Board the ship and loot Artifact of Paeguth from it.


[3] Bring it to Vernon, rest in the tavern for a day, then return to him again to get your payment.

Reward: 20 coins, 1GD
Reputation: +4 Apostatic Union
Achievement: "A Rightful Owner"
The God Hunt
Location: Hallow Town

[1] You can find posters for this quest all over Hallow Town. Head to the Council building in the upper part of the town and speak to the Union Polymath. The Polymath will suggest investigating people in the farmlands, to the north east of Hallow Town.


[2] Head to the fields to the northeast of Hallow Town. There, find an unmarked house not far from a hanging site. Speak to the woman inside and pass a 30 Charm check to get the next clue - a nearby mountain.


[3] Said mountain is located between the farmlands and the Erudite Academy. Take the road to the mountaintop sanctuary and speak to a Paeguth's follower inside. Either bring x1 Shroom Wine, or pass a 40 Charm check to get Paeguth's Key.


[3a] You can buy Shroom Wine from a merchant who can be found in a two-storey building to the south of Hallow Town, not far from a giant vertical shell. And if you pass a 20 Charm check you'll be able to grab it for free from a chest on the second floor.


[4] The key unlocks a dungeon below Hallow Castle, which can be found on a small isle to the south-east of Hallow Town. Walk underneath the stone bridge leading to the castle entrance, and you will find a small door below castle walls. Inside, you will be given an Aspect of Paeguth.


★ Ending A
Bring the Aspect to the Union Polymath in the Hallow Town.
Reward: x1 Apostatic Union passport, Apostatic Amulet, 20 coins, 2GD
Reputation: +10 Apostatic Union, -5 Wikkans
Achievements: "If These Walls Could Talk", "Fighting The God Fight"
◌ When equipped Apostatic Amulet increases stamina recovery speed but at the same time slowly drains mana.

★ Ending B
Place the Aspect at the top of the Apostatic Union council building.
Reward: Leech of Truth, 2GD, a cool view :)
Reputation: +10 Wikkans, -5 Apostatic Union
Achievements: "If These Walls Could Talk", "The Old Ways"
◌ When equipped Leech of Truth grants a Truth Potion effect, but at the same time slowly drains mana.

Leech of Truth continues to function even after you completely run out of mana, and when the screen goes from bright colors back to the usual darker palette (usually happens when you transition between areas) that's just a minor visual bug that doesn't actually affect the trinket either. You do not need to drink mana potions or re-equip the Leech all the time. It Just Works.

I assume other equipment that drains the player's mana functions the same way but i haven't checked that myself, so don't quote me on that.
A Castle, Cursed
Location: Hallowshire, Hallow Castle

[1] Hallow Castle can be found on a small isle to the south-east of Hallow Town.


[2] Enter the castle and speak to the servant. To see secret passages either drink a Truth potion, or simply facetank every giant painting that stands on the ground.

[3] Speak to a Wikkan priest on the second floor. To unlock the room holding the potion either activate all sets of armor scattered around the castle, or pass a 40 Charm check in a conversation with the priest.

[4] On the last floor you will find the Duke and in another room, his son.

★ Ending A
Give the potion to the Duke.
Reward: Ring of the Robust, 1GD
Reputation: +4 Wikkans
Return later, in one of derelict houses in front of the castle bridge you will find x1 Glorious Silk.
◌ Ring of the Robust offers a minor boost to Health, Mana, and Stamina.

★ Ending B
Give the potion to the son.
Reward: Plague Flechette, 1GD
Reputation: +4 Wikkans
Speak to a woman in one of derelict houses in front of the castle bridge to get x1 Glorious Silk.
◌ Plague Flechette is a spell that launches a poisonous projectile.
War Stories
Location: Hallow Town

[1] Speak to Drangorg. He can be found on the second floor of the building near the main mana station.


[2] Forget about this quest until you progress the main quest to the point when you get an airship. After that go backup your savefile because the thing is buggy as hell and might actually softlock your game.

[3] Aristide's Rock can be found in the upper left corner of the map.


[4] Now get in the ♥♥♥♥♥♥♥ robot Shinji.


[5] The front entrance requires you to be quite persuasive (80 Charm check), and the backdoor requires some lockpicking skills. Head to the bridge and pick up a God War Pendant from the corpse.


[6] Return to Drangorg and exchange the pendant for a reward.

Reward: x1 Void Ore, 2GD
Achievement: "Old Soldiers Never Die"
All Good Things...
Location: Endless Realm

[1] You can start this quest by speaking to Chiasma in the building right past the Apostatic Union gate.


[2] Head to the Castle of Ribs at the top of Sepulchre and speak to the Seneschal. They will give you the Castle of Ribs Crypt Key.

[3] The royal crypt is located right underneath the Castle. Interact with the door guardian inside, then return to the Seneschal. The Seneschal cannot help you.


[4] There are two ways to bypass the spell, one requires passing a Charm check, the other doesn't.

★ Big thanks to grey for telling about the 2nd method.

◌ Head to Lord Rhydder's estate. It is located on a cliff connected to the southern bridge of Sepulchre. Speak to Lord Rhydder and pass a 40 Charm check to get Blood of a Loyal Servant.


◌ Head to the Flesh Farm. It is located right past the northern bridge of Sepulchre. On the second floor speak to Penitent Thaw to get Blood of a Loyal Servant for free.


[5] Head back to the crypt and give the vial to the guardian. Talk to the Entombed One, then return to the Castle of Ribs and speak to the Seneschal. They will recommend you speak to the Queen of Silver and Penitent Thaw. The Queen of Silver will give you a Necklace of Sacrifice, and Penitent Thaw will give you a Vial of Happiest Memories.

[6] Once again, return to the royal crypt underneath the castle. Giving the Entombed One the Vial of Happiest Memories immediately locks you into Ending A. Instead, show the Entombed One the necklace first.

★ Ending A
After showing the necklace either pass a 60 Charm check, or give the Entombed One Penitent Thaw's vial, then return to the castle and speak to the Queen of Silver.
Reward: Mind Syphon Ring, 2GD
Reputation: +10 Endless Royalists, -5 Endless Cadavers
Achievement: "Endless Evermore"
◌ Mind Syphon Ring increases your attack, but drains your mana every time you land a hit.

★ Ending B
After showing the necklace agree to help the Entombed One. Ask the Queen of Silver to visit the royal crypt. Rest for a day, then go to the Castle of Ribs.
Reward: Blood Syphon Ring, 2GD
Reputation: +10 Endless Cadavers, -5 Endless Royalists
Achievement: "The End Of The Endless"
◌ Blood Syphon Ring increases your attack, but deals damage to you every time you land a hit.
Below the Endless
Location: Endless Realm, Sepulchre

[1] Speak to Romulous Chairon VII. He can be found in a building on the right side of the entrance to the Castle of Ribs. If you pass a 40 Charm check he will pay you 20 coins in advance.


[2] The entrance to the mines is located below western cliffs of the Endless Realm.


[3] In the first area, with a friendly crystallized Endless sitting on a chair, only the left passage is currently available. Go there, and at the fork go down the left passage. At the end of the passage climb the rafters and pull the lever. This unlocks the other door in the area with the friendly crystallized Endless.

◌ The right passage is a dead where you can find some ore.

[4] Past the now unlocked door you will find a large cavern. On the left side there are two passages, and on the right side is a small grotto hidden by an illusory crystal wall (contains a bed and a smithy) and another locked door marked by a torch. Take the second passage from the left, the one leading down.


◌ Roughly midway the 'circular staircase' there's a platform with a smithy, around it is a puzzle with 4 skulls - that unlocks a nearby door that contains some goodies.

[5] Past the circular staircase you will find another fork. To the left is a prison cell locked by a nearby lever. Speak to the Inquisitor MCCXVII inside, and they will give you Terminus Prism - this item is required for Ending A. Pass a 50 Charm check in the conversation with him to get a Shielding Potion.


The passage on the right is a dead end containing some Fine Ore.
Pick it up and return to the [4] large cavern, then take the leftmost passage, the one leading up.

[6] Further in, you will find another fork. The right passage is a dead end that contains some Fine Ore.


[7] The left passage leads to a large cavern with another friendly NPC. Go past them, and you will find yourself above the [4] large cavern.


[8] There are two ways forward. To the left is a locked door, and to the right is a hanging railway. They both eventually lead to the same place, but take the right path - there you will find a shortcut (an elevator) back to the surface. The passage to the left of the elevator leads to a friendly NPC who will unlock a nearby gate if you pass a 40 Charm check.


This gate leads to the second lever, which unlocks the torch door below.


[9] The passage to the right of the lever circles all the way back to the locked door of [7], but around midway there's a separate dead end (up the river) that contains x1 Emberian Ore.

[10] Return to the level below and enter the torch door. From there, it's one way forward. Near the waterfall you will find rafters that lead to a mirror portal that's connected to the entrance. After that, simply follow the river to the last cavern.

★ Ending A
Interact with the statue and use the Terminus Prism. Return to Romulous Chairon VII to get your reward.
Reward: Sleeper Mask, 1GD + x1 Fine Wine (if you pass a 30 Charm check)
Speak to the NPC in the building with a mana station in front of the mine's entrance to get x1 Elixir of Restoration.
◌ Sleeper Mask makes you immune to attacks when you sleep in unsafe beds.

★ Ending B
Speak to Lucia, agree to join the club and then interact with the statue.
Reward: Epoch Crystal Shard, 1GD
Speak to an Endless sitting on a chair in the first large cavern of the mine to get 30 coins.
Speak to Romulous Chairon VII for an option to do a small funny.
◌ With Epoch Crystal Shard in your bag every time you interact with a mana station/checkpoint your health will get fully restored.
The Ethics of Eating Flesh
Location: Endless Realm, Penitent Thaw's Flesh Farm

[1] Flesh Farm is located right past the northern bridge of Sepulchre. On the first floor, go past an Endless, Maggotson, to the wooden bridge. After the conversation ends, speak to Maggotson.


[2] Speak to Penitent Thaw on the floor above, then return to Maggotson.

[3] Head to Lord Rhydder's estate. It is located on a cliff connected to the southern bridge of Sepulchre. Speak to Maggotson on the first floor, then to Lord Rhydder on the second floor.


[4] Return to Penitent Thaw. She will give you a Cluster of Phage-Spider Eggs.

★ Ending A
Use the cluster, then speak to Penitent Thaw.
Reward: 30 coins, 1GD
Reputation: +5 Endless Royalists

★ Ending B
Crush the cluster, then speak to Penitent Thaw.
Reward: 1GD
Reputation: +5 Endless Cadavers
◌ A small military camp appears near Lord Rhydder's estate, but (at least for now?) the change seems to be purely cosmetic. You can find a couple of consumables there.

Both endings unlock achievement "Food For Thought".
A Morbid Appetite
Location: Endless Realm

[1] Climb a mountain to the southwest of Sepulchre and speak to the Crypt Wyrm.


[2] Now you need to find three Urns of Anguish. All three are located on the main island.
The first one is in the Northern Mausoleum.


The second is in the Southern Mausoleum.


The third urn can be found in a small mausoleum on the western cliff of the Endless Realm.


[4] Return to the Crypt Wyrm with the urns.
Reward: x1 Glorious Treasure, 1GD
Achievement: "Worm Food"

◌ The third big mausoleum that is located on a small island is irrelevant to the quest. It used to be completely inaccessible, but was unlocked by the devs and can be looted now.
Safe Passage
Location: Hallowshire, Clockwork Kingdom border

[1] So you want to get to the Clockwork Kingdom, but the guard refuses to let you through unless you pass an absurd 120 Charm check, the highest in the entire game.


Spoiler: the check can, in fact, be passed.
Legit way: Starting class bonus (20) + 10 Persona (50) + Extravagant Hat (30) + Union faction chamber / Union house furnishings (20) = 120
A funnier way: Accessory Alluring Perfume grants a chance to pass any Charm check, even if your Charm stat isn't high enough. Equip and repeat the dialogue until you pass ( ͡° ᴥ ͡°)
Spoiler 2: passing the check does, in fact, unlock the bridge, but does not complete the quest.

[2] Speak to a merchant who's standing not far from the Apostatic Union bridge which leads to the Clockwork Kingdom.


[3] After speaking to him go south along the cliffside and across a small bridge until you get to a hidden dock. Speak to the captain, Mikhail, and give him x1 Apostatic Union Passport. You will get x1 Mikhail's Passport in return.


[3b] Return to the merchant, he will reward you with 20 coins.

[4] Travel with Mikhail to the Clockwork Kingdom. Speak to him on arrival, he will tell you to speak to the Royal Factor.

[5] The Royal Factor can be found in Ferropolis - in the first building on the left past the bridge. Ignore the waiting line and speak to the lady on the second floor.


[6] The Royal Factor wants you to locate missing cargo. It can be found near the western Union gate. Loot the chest inside to get a Pickled Head.

◌ The western gate can be unlocked with a regular Apostatic Union Passport and is irrelevant to the quest.

[7] Return to the Royal Factor and hand over the cargo. She will give you a Clockwork Travel Permit. Head to the southern gate and speak to the gatekeeper to complete the quest.


Reward: x1 Remarkable Treasure, 1GD + unlocks the southern passage to the Clockwork Kingdom.
Achievement: "Is Something Ticking?"
Madness of the King
Location: Clockwork Kingdom, Ferropolis

[1] While exploring the city you will be stopped by a trio of local gentlemen. You have an appointment with the king, and they're there to escort you.


[2] After the chat with the King you will get a cryptic note asking for a night meeting.


[3] Wait until nighttime, then go to the gazebo. To find it, face the palace entrance and go across the bridge on its right, then pass between two buildings and a staircase.


[4] Speak to Aphra, she will give you Aphra's House Key and tell you to find a certain house on the lowest level of Ferropolis. The easiest way to find it is to follow the flow of sewer water not far from the gazebo. Jump down, exit the area and turn right, the house is in the dead end.


[5] Interact with the mirror inside, then return to Aphra. She will give you her Machinists' Guild Insignia and tell you to explore the Object Graveyard. The graveyard is located to the northwest of Ferropolis.


[6] Explore the graveyard and interact with gurgling shaking boxes. Eventually you'll find one that will give you the Graveyard Noise Transcript. Bring the transcript to Aphra. If you don't already have a Cranial Moderator then she will tell you to find Morozov to have it installed. Morozov's tower is located to the north of Ferropolis.


[7] After you get the implant, Aphra will give you a Metal Machine Music for the Royal Beacon in the Corrupted Lands. She will also give you access codes needed to get into the Corrupted Lands, if you don't already have them.
Climb the beacon and use the punchcard.


[8] Now you need to find a market trader named Reza. Contrary to the given description, they're not at the Ferropolis market - you will find them in a previously locked house on the lowest level. Reza will give you a Saboteur's Punchcard. After that speak to Aphra to get Aphra's Punchcard.


[8a] Completing sidequest "Missing Persons" unlocks additional dialogue with the Clockwork King and Aphra, but isn't necessary to finish this quest and doesn't affect quest rewards.

★ Ending A
Speak to Sunil and give him both punchcards to complete the quest.
Reward: 3GD + 216 coins (if you agree to sign the NDA)

★ Ending B
Use Aphra's punchcard, then speak to her to complete the quest.
Reward: Rapid Myrmidon Petition, 3GD
Achievement: "Like Clockwork"
◌ Rapid Myrmidon Petition is an infinite-use consumable that temporarily summons a mech at the cost of HP.

★ Ending C
Use the Saboteur's punchcard, then speak to Aphra to complete the quest.
Reward: Mechanical Lockpick, 3GD + Rapid Myrmidon Petition (if you pass a 40 Charm check in the final conversation with Aphra)
Achievement: "The Clock Stops"
◌ When equipped, Mechanical Lockpick prevents lockpicks from breaking if the attempt nearly succeeded.

Regardless of the chosen outcome, check out Reza's location to get a Truth Potion.
Missing Persons
Location: Clockwork Kingdom, Ferropolis

[1] Check the noticeboard to start the quest.


[2] Oleg's house is located on an islet behind the elevator shaft. He will give you Oleg's Locket and direct you to the Library of Untruth.


[3] The Library of Untruths is located on a cliff to the west of Ferropolis, not far from the western Apostatic Union gate.


[4] Speak to the librarian, then head to the top of the library. Check the records on the missing person, then speak to the librarian again. She will direct you to the Royal Cleanup Camp in the Corrupted lands and give you access codes to get there if you don't already have them.


[5] Speak to a worker in front of one of cages, then to Cleanup Leader Huang. Go back to the cages, and interact with the corrupted. If you don't already have a Cranial Moderator then on the way out you will be stopped by Cohen who will suggest you speak to Morozov. Morozov's tower is located to the north of Ferropolis. On the way there you will find a corpse, loot Morozov's Parcel from it. Speak to Morozov, get the implant.


[6] Return to the cleanup camp and interact with the corrupted again. What you choose to do with the locket and whether you speak to Sunil or not doesn't matter. Return to Oleg, then place Oleg's Candle at the noticeboard.

Reward: Clockwork Smuggler's Key, Invigorating Locket, 2GD + unlocks additional dialogue with some NPCs at the end of "Madness of the King" if you haven't completed that quest yet.
Achievement: "Last Seen".
◌ When equipped, Invigorating Locket increases your stamina threshold.

★ Clockwork Smuggler's Key
The last reward becomes available for collection after you obtain an airship. The small isle where the freight capsule lies is located to the southeast of the Clockwork Kingdom.


Reward: x1 Clockwork Ore.
The Vision Trade
Location: Clockwork Kingdom, Ferropolis

[1] You will find the questgiver, Yasmeen, on the top floor of the tall building to the right of the entrance to the palace, across a small bridge.


[2] Vidal's shop can be found in front of the Machinarium.


[3] Royal Vision Works are located at the northern edge of the Clockwork Kingdom, past mountains. You need either 40 Charm, or the Machinists' Guild Insignia + 30 Charm to get past the receptionist. Alternatively, there's a lore device on the outer right side of the building which unlocks a small gate on the left side - it leads past the locked gate.


[4] Speak to Pripp, he will give you a Vision Works Welcome Pack. Return to Yasmeen.

★ Ending A
Give Yasmeen 120 coins for the equipment.
Reward: Ferropolis House Deed, 1GD

★ Ending B
Suggest moving Nadja to the facility (30 Charm check just gives extra dialogue), then speak to Vidal to get your reward and close the quest.
Reward: Ferropolis House Deed, 1GD + 23 coins which can be given back.

Both endings unlock achievement "A Corner of the Kingdom".
Raiders of the Drifting Island
Location: A small unmapped island to the northwest

★ A huge thanks to typervader and theroyalrabite from the official DD discord server for searching for the skulls together with me.

[1] To start the quest speak to an adventurer on a small island in the upper left corner of the map - it is not far from Aristide's Rock.


[2] The adventurer wants you to find and activate 10 magical skulls scattered around the Oneiric Isles, but there's a catch: he has no clue where they are. Also there's a time limit, which is 10 minutes.

Here are all skulls mapped + exact location of each skull is described below.

◌ The new island isn't on the map because i yoink'd it from the wiki before it's been updated. Has it been updated since? No idea ( ͡° ͜ʖ ͡ °)

Skull 1: On the island where you start the race.


Skull 2: On a tiny island under Aristide's Rock.


Skull 3: Desert Island, in Rasmussen's hut.


Skull 4: Hallow Town, on the second floor of the Winged Merchants Guild building.


Skull 5: Hallowshire, on the second floor of Thornwood Manor keeper's house.


Skull 6: Endless Realm, on a table in the Duchess' study.


Skull 7: Endless Realm, in Lord Rhydder's estate.


Skull 8: Pwyll, in a derelict farmhouse not far from the Union Gate which leads to the Endless Realm.


Skull 9: Erudite Academy, on a table on the second floor of the main building.


Skull 10: Ferropolis, in a trash pile on the lowest level, below babushka Xenia's teahouse.


[3] Pull the lever when you're ready to start the timer. The race ends when you activate the last skull. Return to the adventurer to get your reward: a new cabin for the airship.

Reward: Splendid Cabin (img), 2GD
◌ Inside the cabin you will find a book that records all other books you found on your journey, and three skill constructs (Lockpick, Lore, and Charm) that boost each skill by 20. Unfortunately, all boosts are considered the same effects as those granted by skill constructs in faction chambers and by faction housing furnishing, therefore none of them stack with each other.

Also no idea if there are matching airship parts for the Splendid Cabin anywhere in the game.
Belly of the Beast + Skysnail airship & Shroomweave Ore locations
Location: Creature Island

[1] Sail to the Creature Island on the southwest edge of the map. In the mollusc's mouth you will find a corpse and a note. Read it to start the quest.


[2] Inside the mollusc, follow the flow of the river and descend into a small valley, then pass under a giant bridge. At the end of a corridor inhabited by a bunch of frogs you will find one of two enterable squidussies[x.com](с) dev a mine entrance.


[3] Right after you descend you will see a road fork. On the left is a dead end with a depleted vein, on the right - a passage further into the mind.


[4] Next is a large area with a passage on each side and a small waterfall between them. The one on the left leads up, to a door locked with a golden lock. Past it is a cliff with another depleted vein. Don't jump down, continue through another corridor.


[5] You will find yourself in another large area and another cliff. Once again, do not jump down, go into a passage next to a blue chest. Right behind a corner you will find a purple chest containing ★ Shroomweave Ore. Continue going up.


[6] In the next area you will find a door locked with three lore devices (65-70?), and an open passage next to the 2nd lore device. Emberian Spectacles might help to spot them.


Past the door is a chest containing exp, x1 Glorious Treasure, and a depleted vein.

[7] Enter the open passage, you will find yourself back in [5], but on the opposite end. Use the hanging railway to cross to the 3rd cliff. Use the construct (90 Charm) or pick the lock to unlock the door. Inside you will find ★ Skysnail Hull for the airship.


The other passage, before the hanging railway, leads to the small cave between [9] and [10]. You can use Agility's Addendum to collect money and the elixir on the platforms.

[8] Continue walking along the railway. In the next room you will find a purple chest, containing Temporal Pickaxe. Picking it up completes the quest. From now on, all previously depleted veins in the game will start giving Iron Ore, Fine Ore, and Emberian Ore.


[9] In the same room you will find an elevator which leads back to the surface, and another passage leading further into the mine.


[10] Pick the other route, unlock 2 doors on your way, and eventually you will find yourself on the ground level of [5].


[11] Behind some boxes you will find a blue chest containing x1 Remarkable Treasure. The open passage not far from it leads to the source of the waterfall between [4] and the cliff above it. Ignore it, and instead break or pick the lock on a door next to a river. Inside you will find the Ring of Ironskin.


And that's it for this mine.
Reward: Temporal Pickaxe, 2GD
◌ Temporal Pickaxe allows to mine previously empty veins across the world.

★ Shroomweave Ore no.2
Can be found in the Wikkan chapel in the castle.


★ Skysnail Cabin
Skysnail Cabin is in on the 2nd floor of a house at the edge of Dredgetown.


★ Skysnail Sails
In a destroyed house in a tunnel on the very end of the island.


The tunnel's entrance is locked with 5 lore skulls. One is right next to the entrance.


Other four are hidden in nearby derelict houses.

Fin.
If the guide was useful to you, please consider giving it a rating!
26 Kommentare
Reffan 25. Apr. um 7:08 
Oh, nevermind, turns out I am just a moron. i didn't realise there was a second conversation to be had inside the cove in Endless Realm before she moved to the airship in the Clockwork Kingdom. That's playing at 2am for you I guess. :P

Thanks for the guide by the way, invaluable stuff!
( ͡° ͜ʖ ͡ °)  [Autor] 25. Apr. um 0:36 
@ Reffan
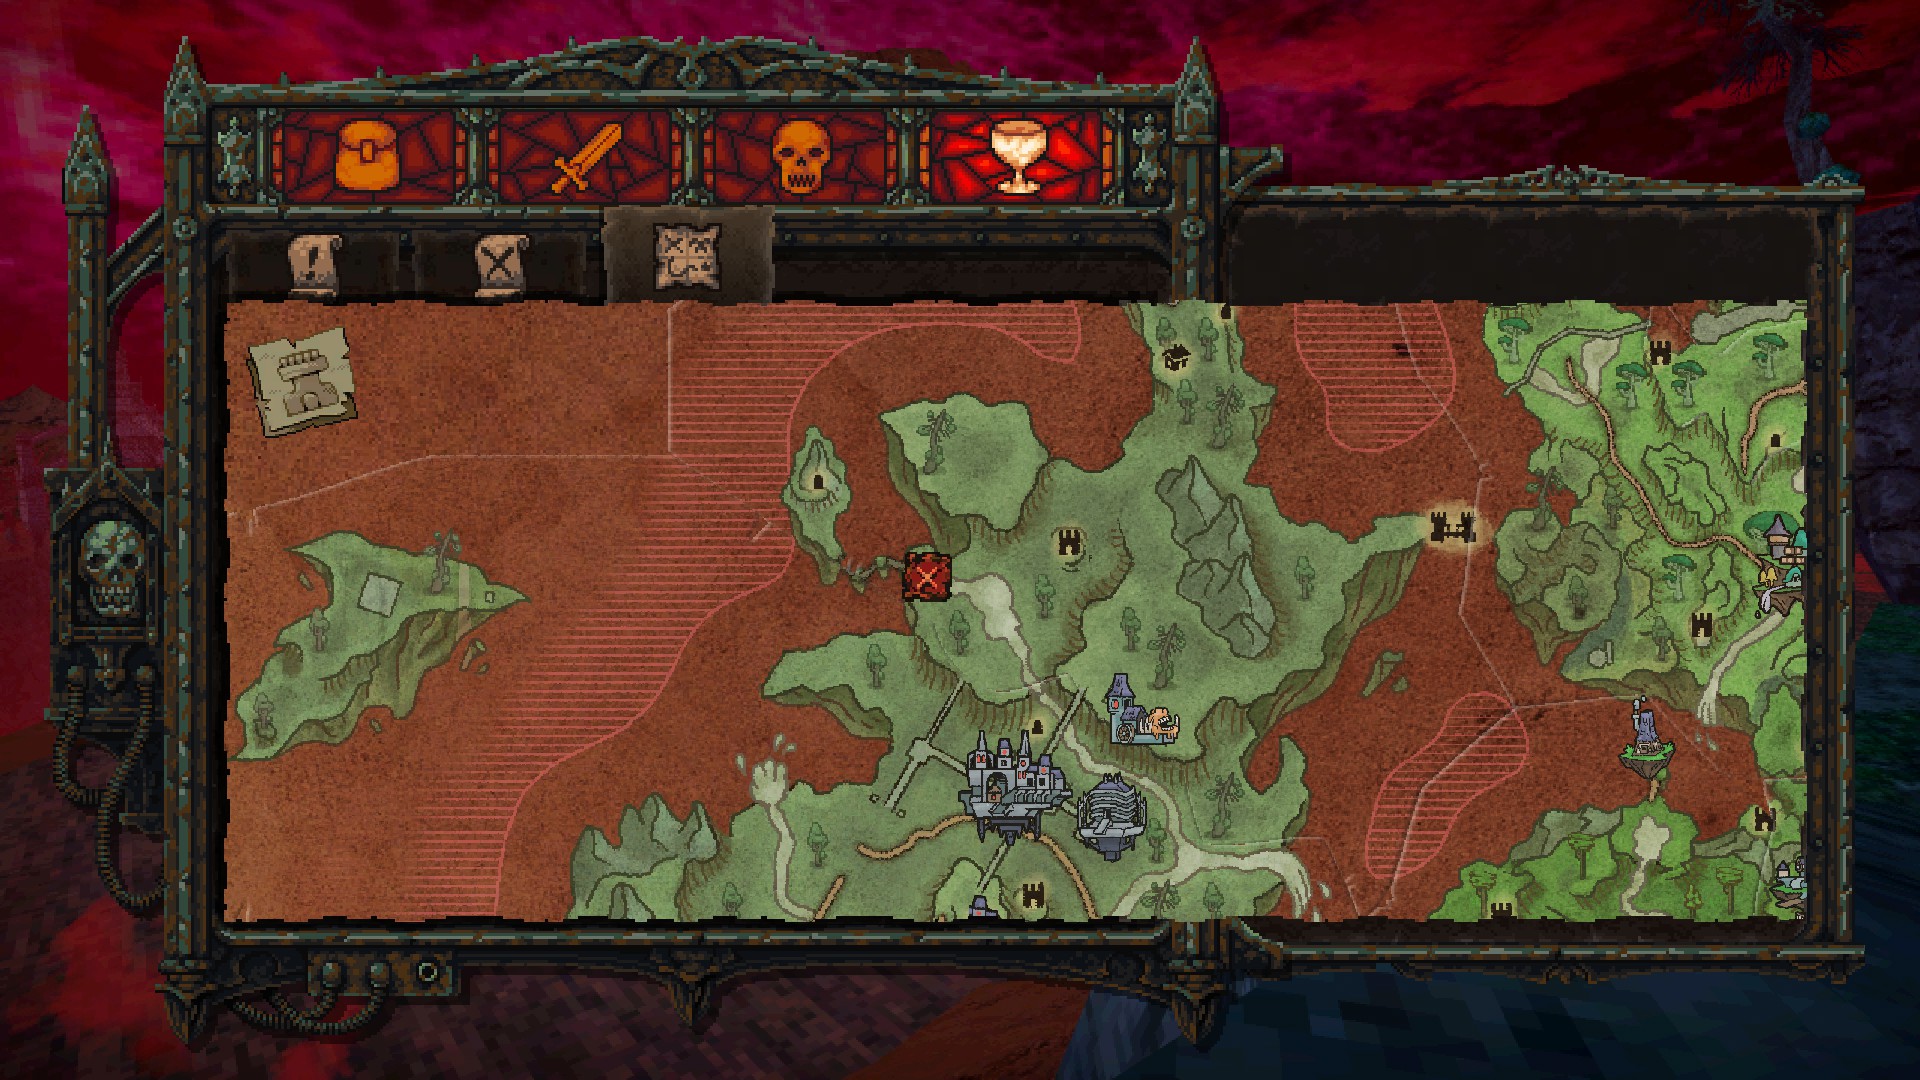
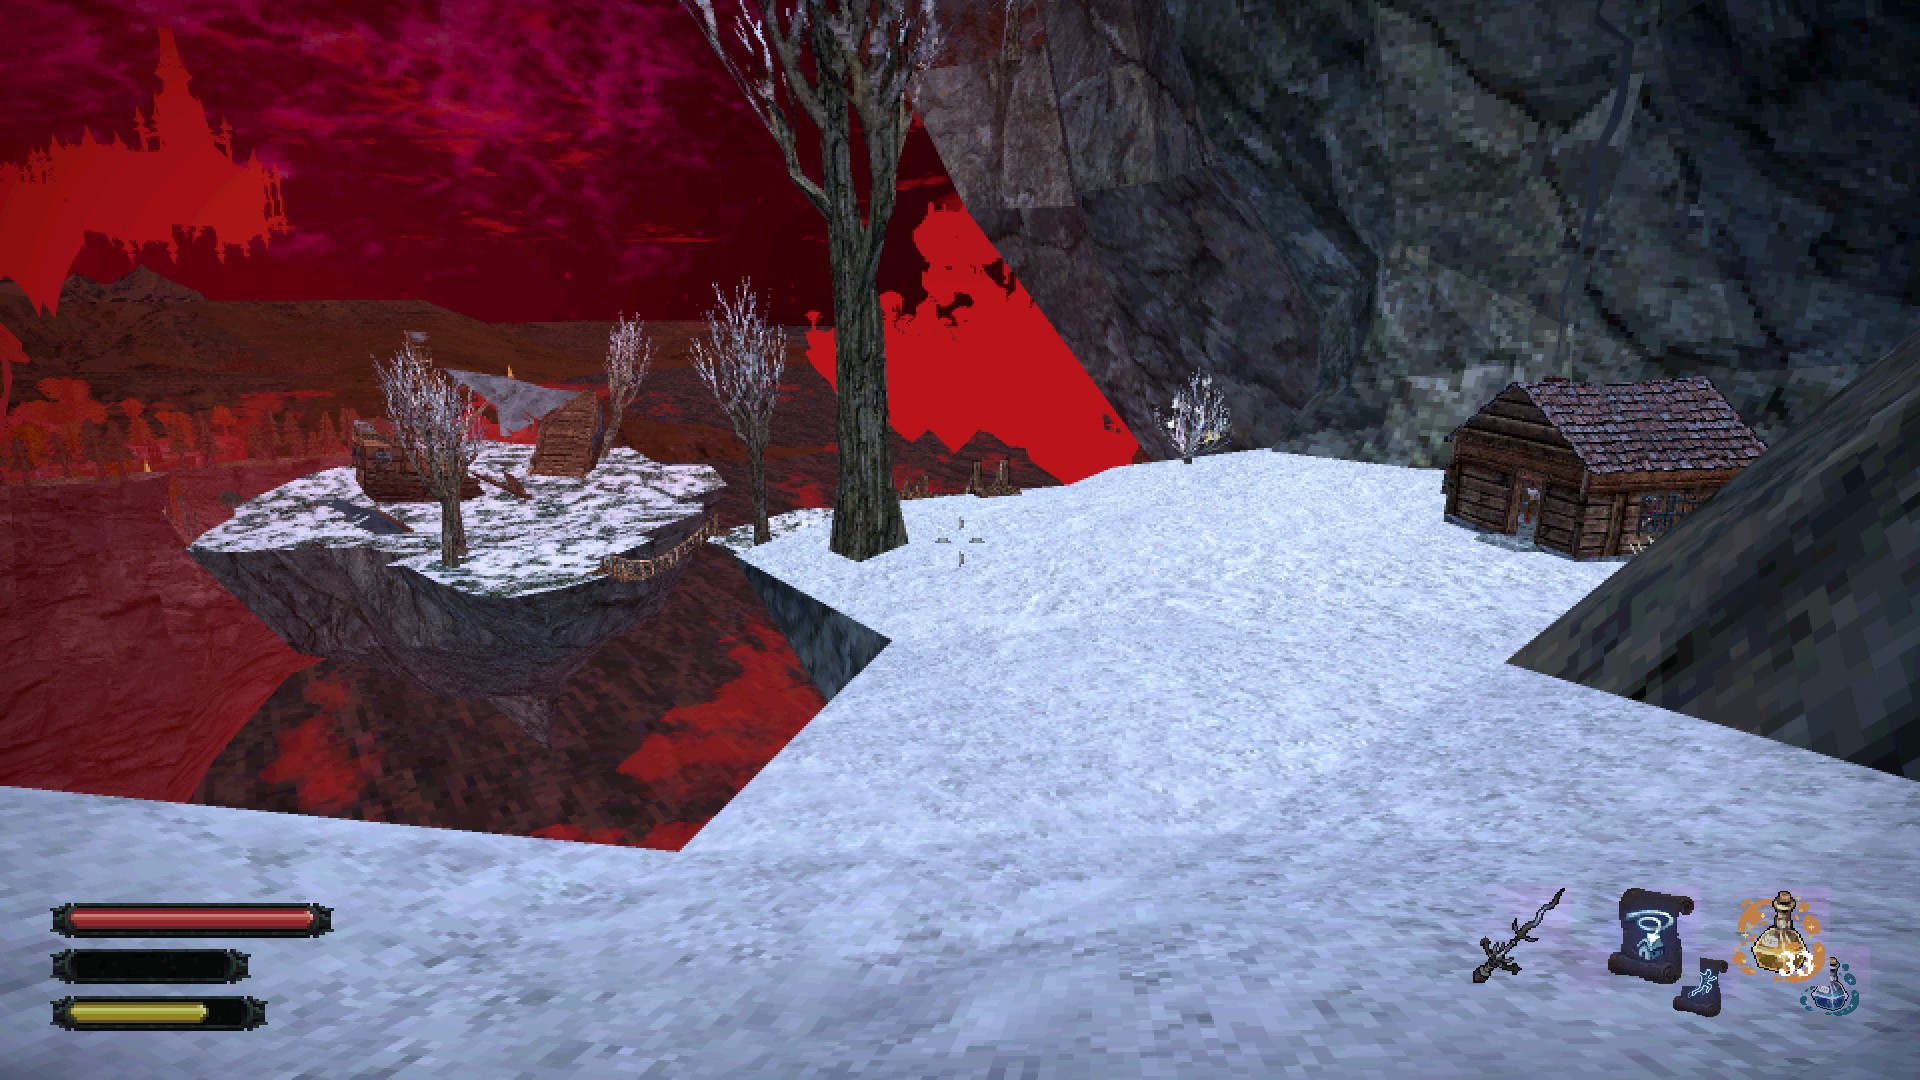
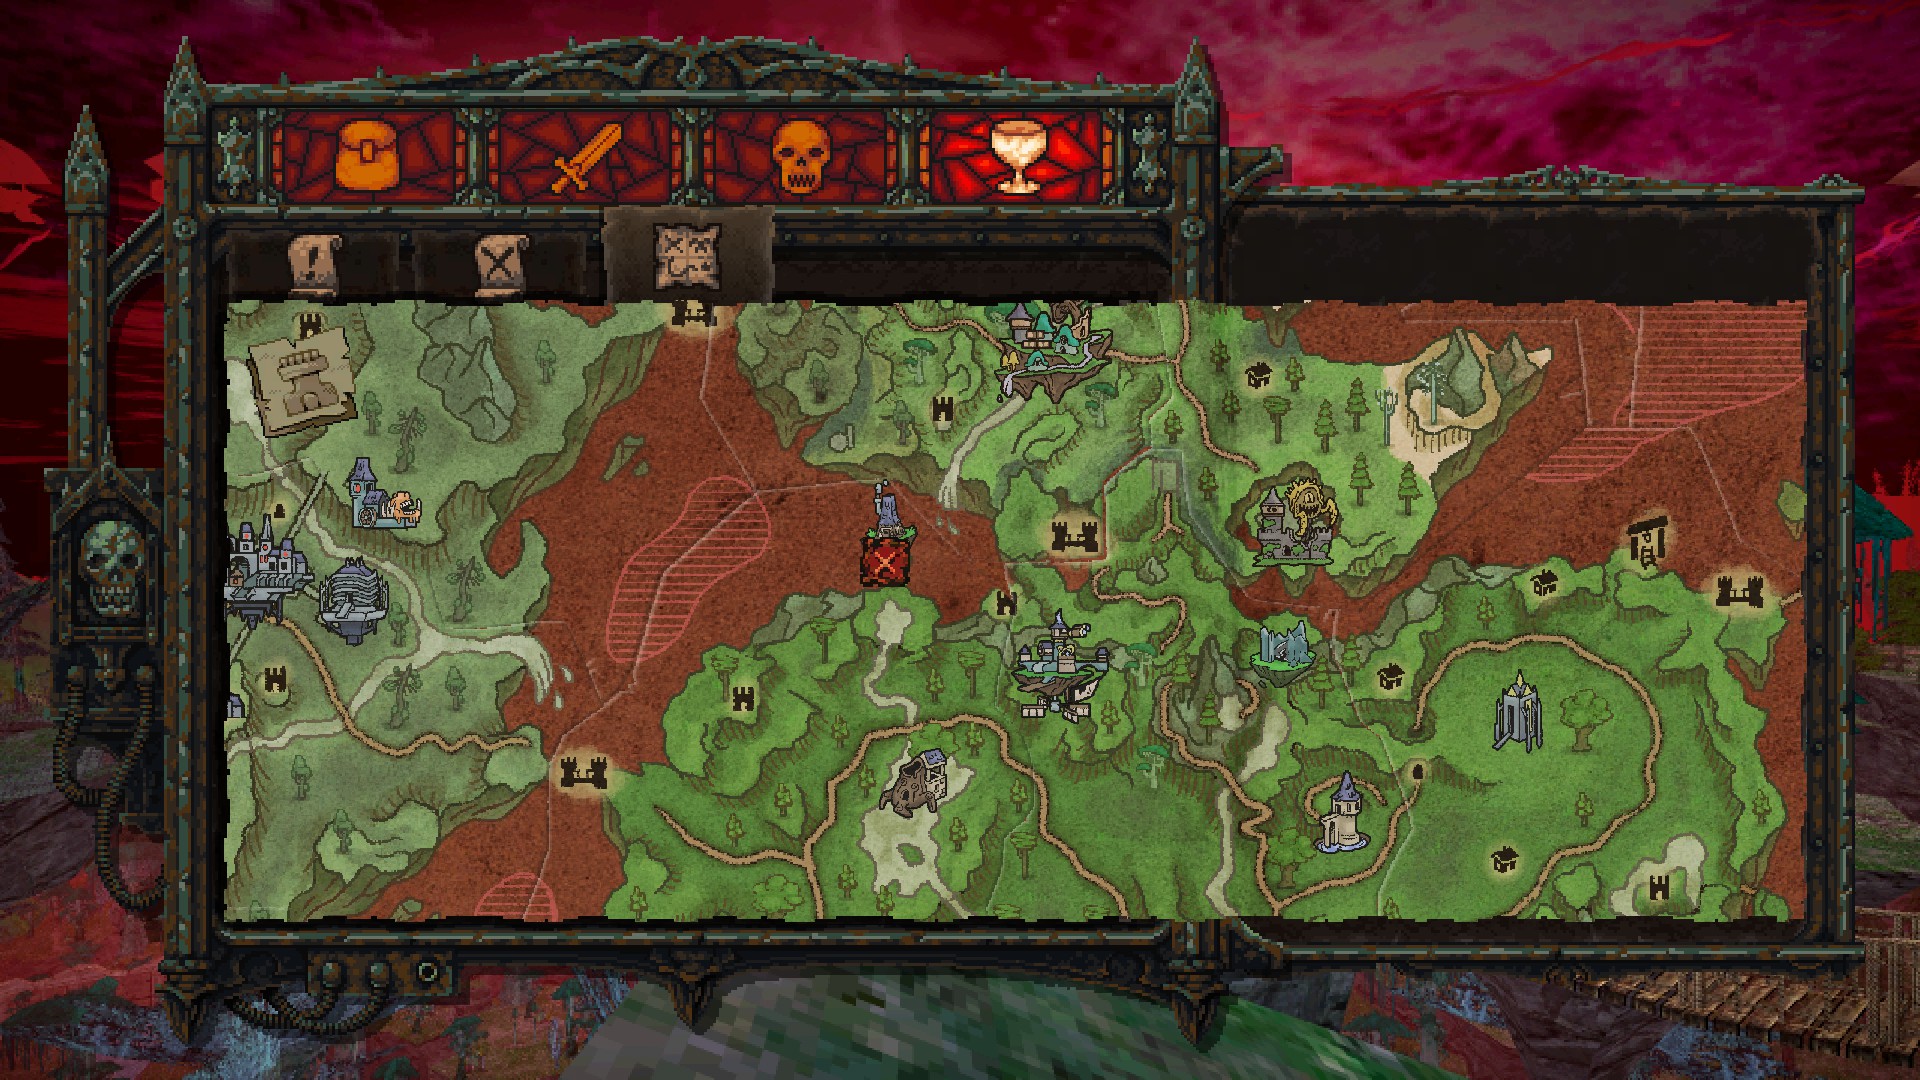
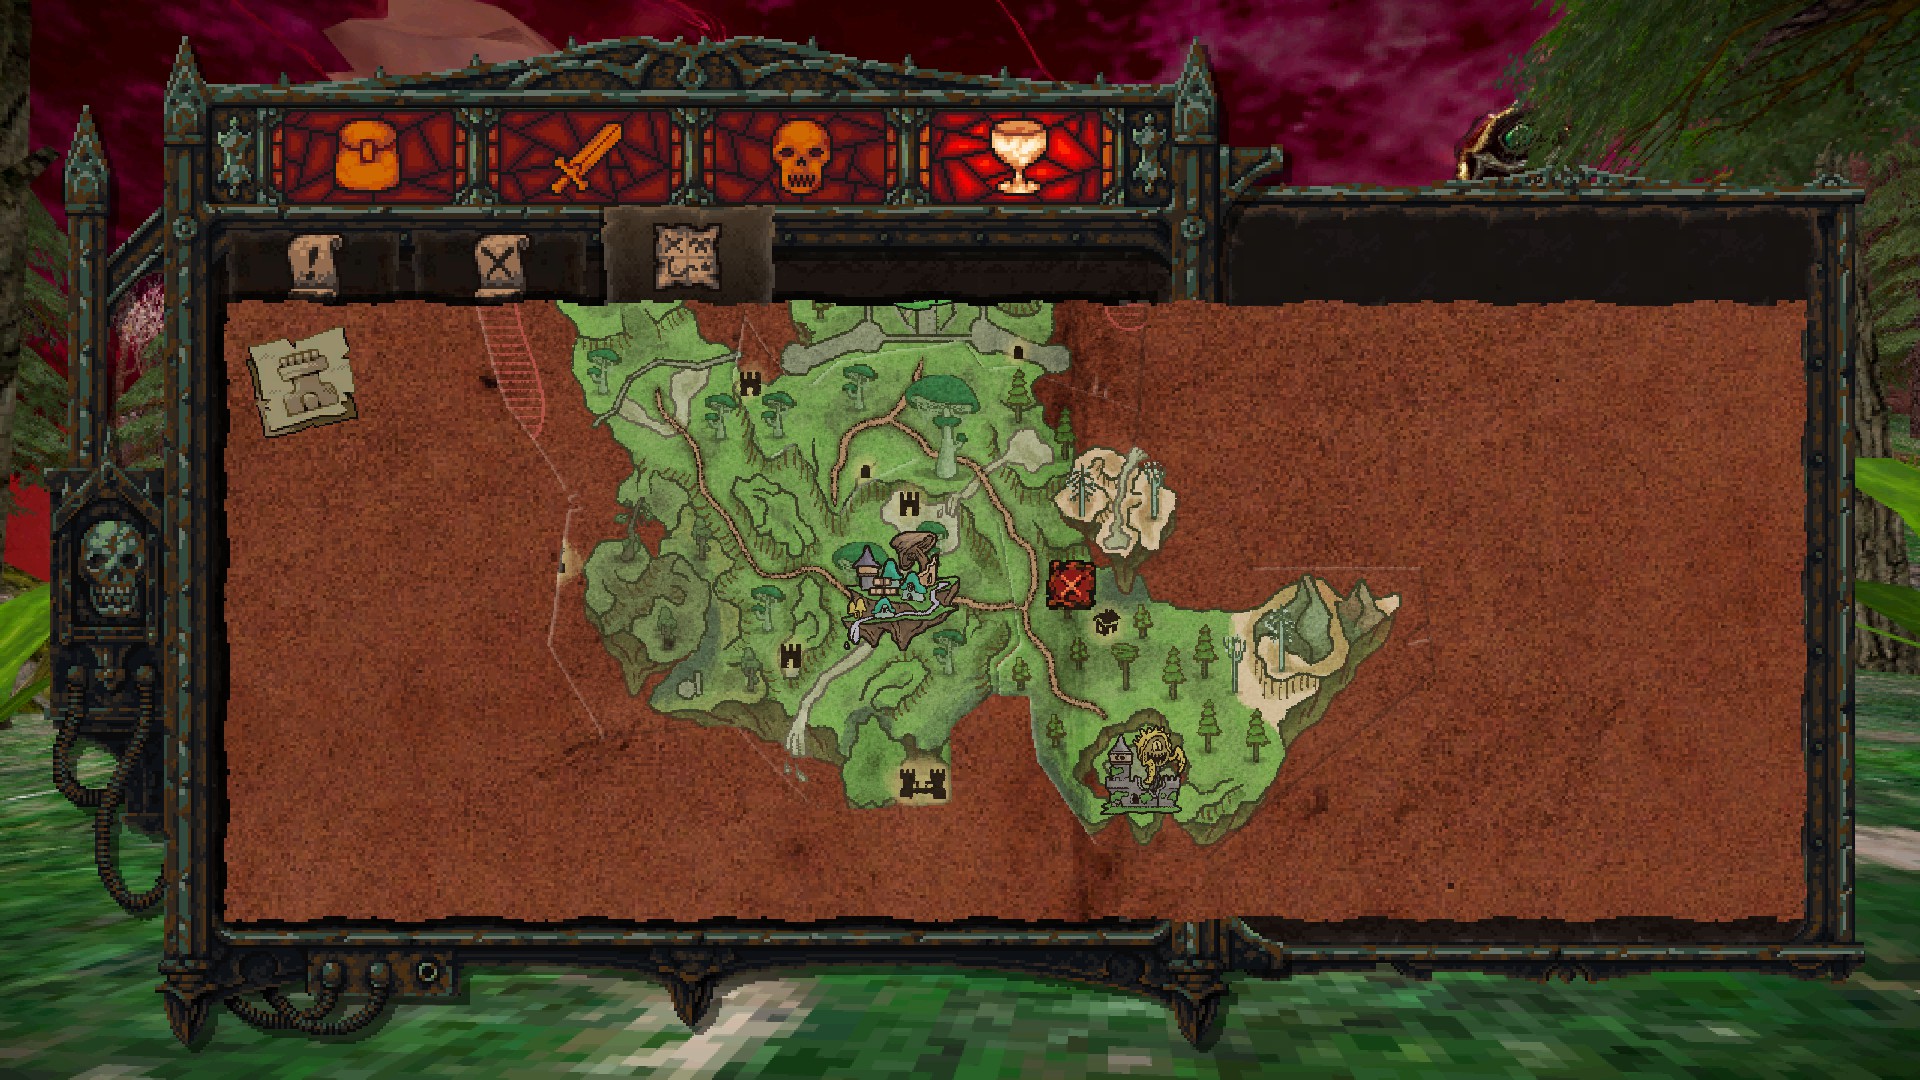
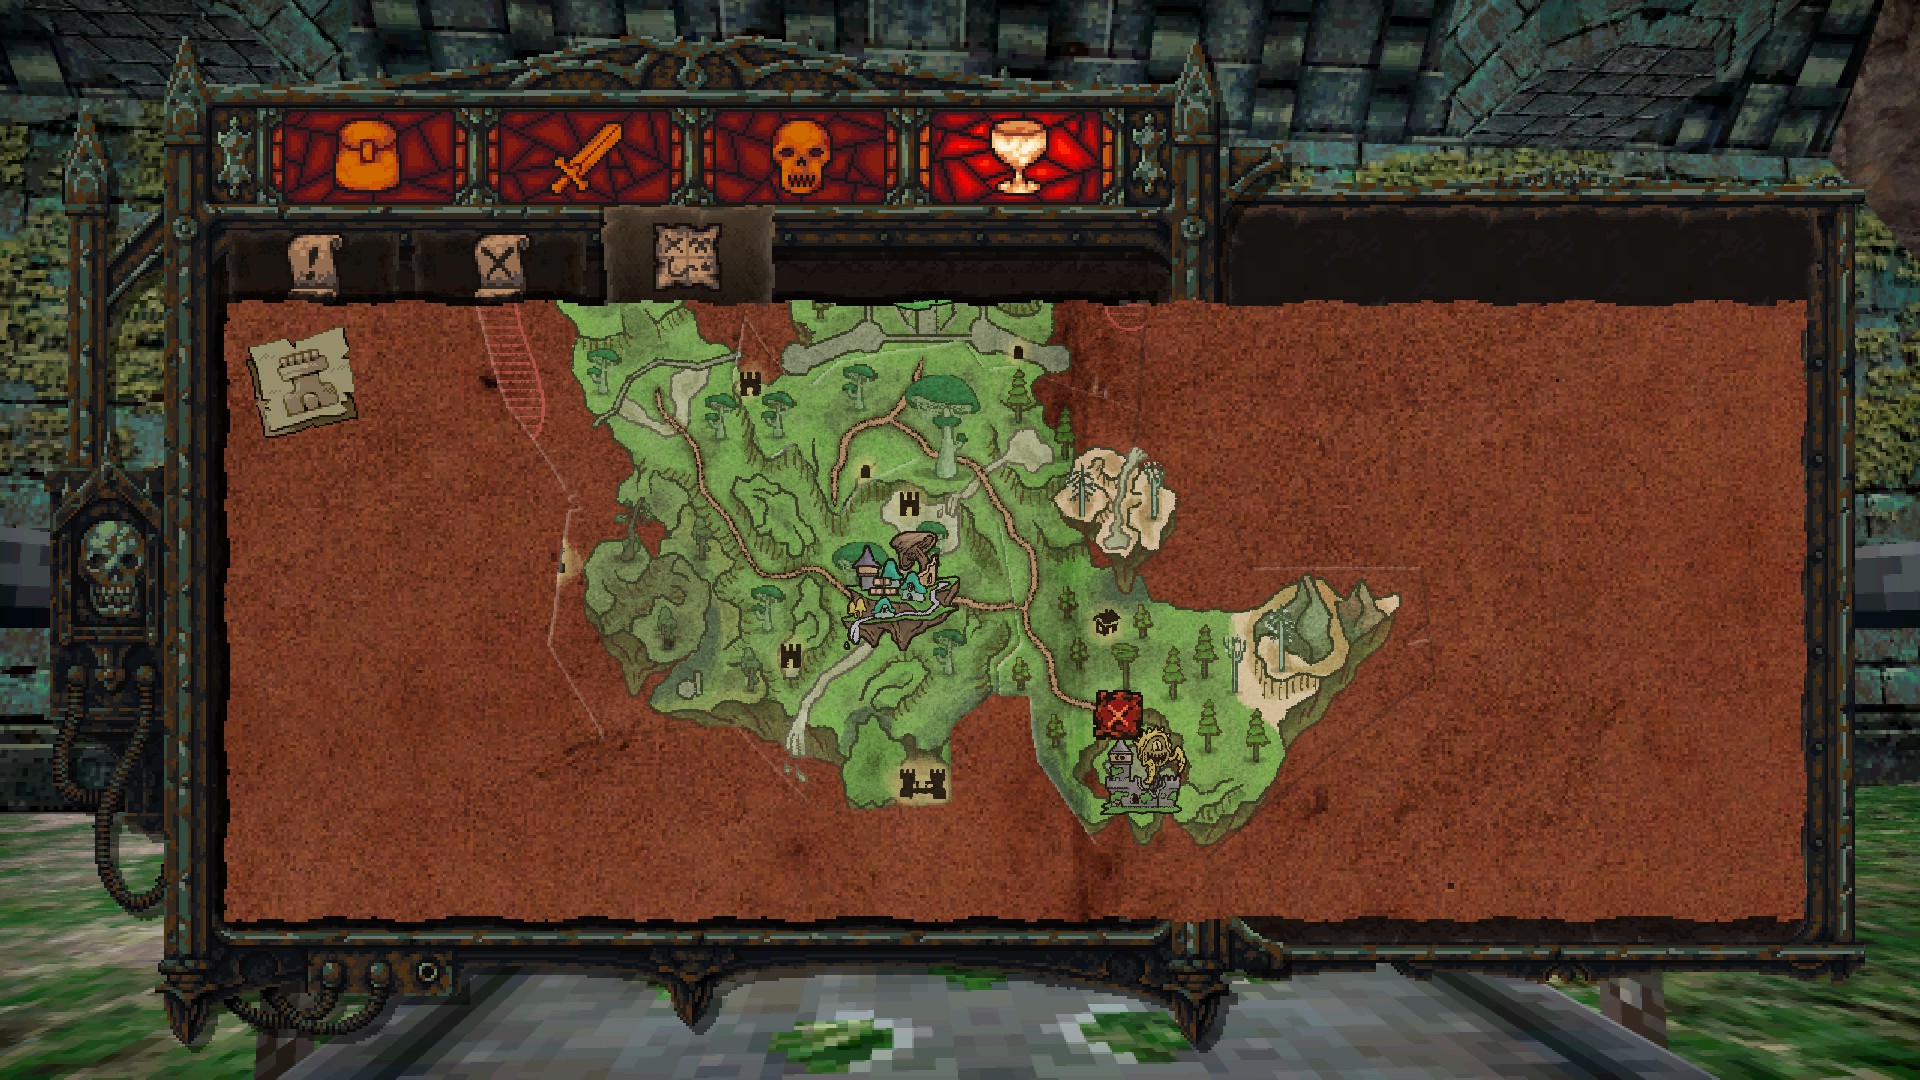
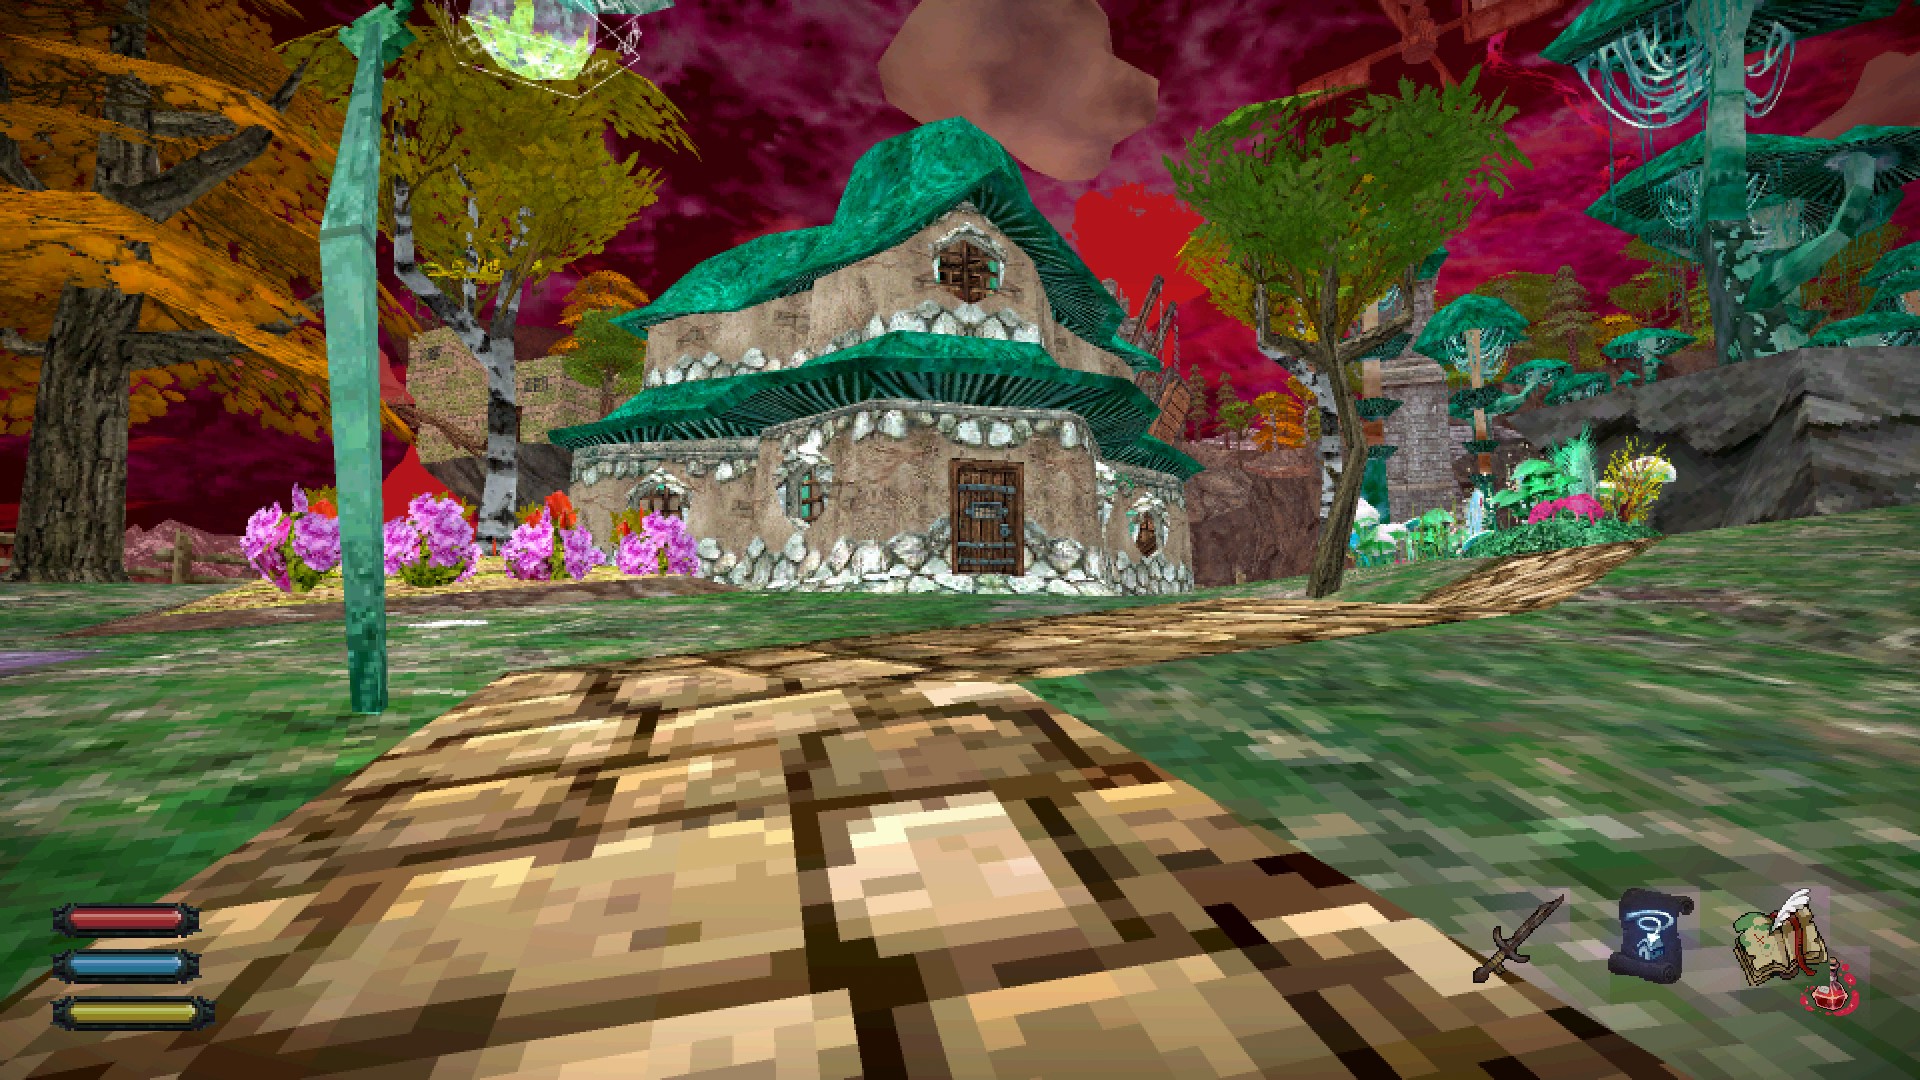
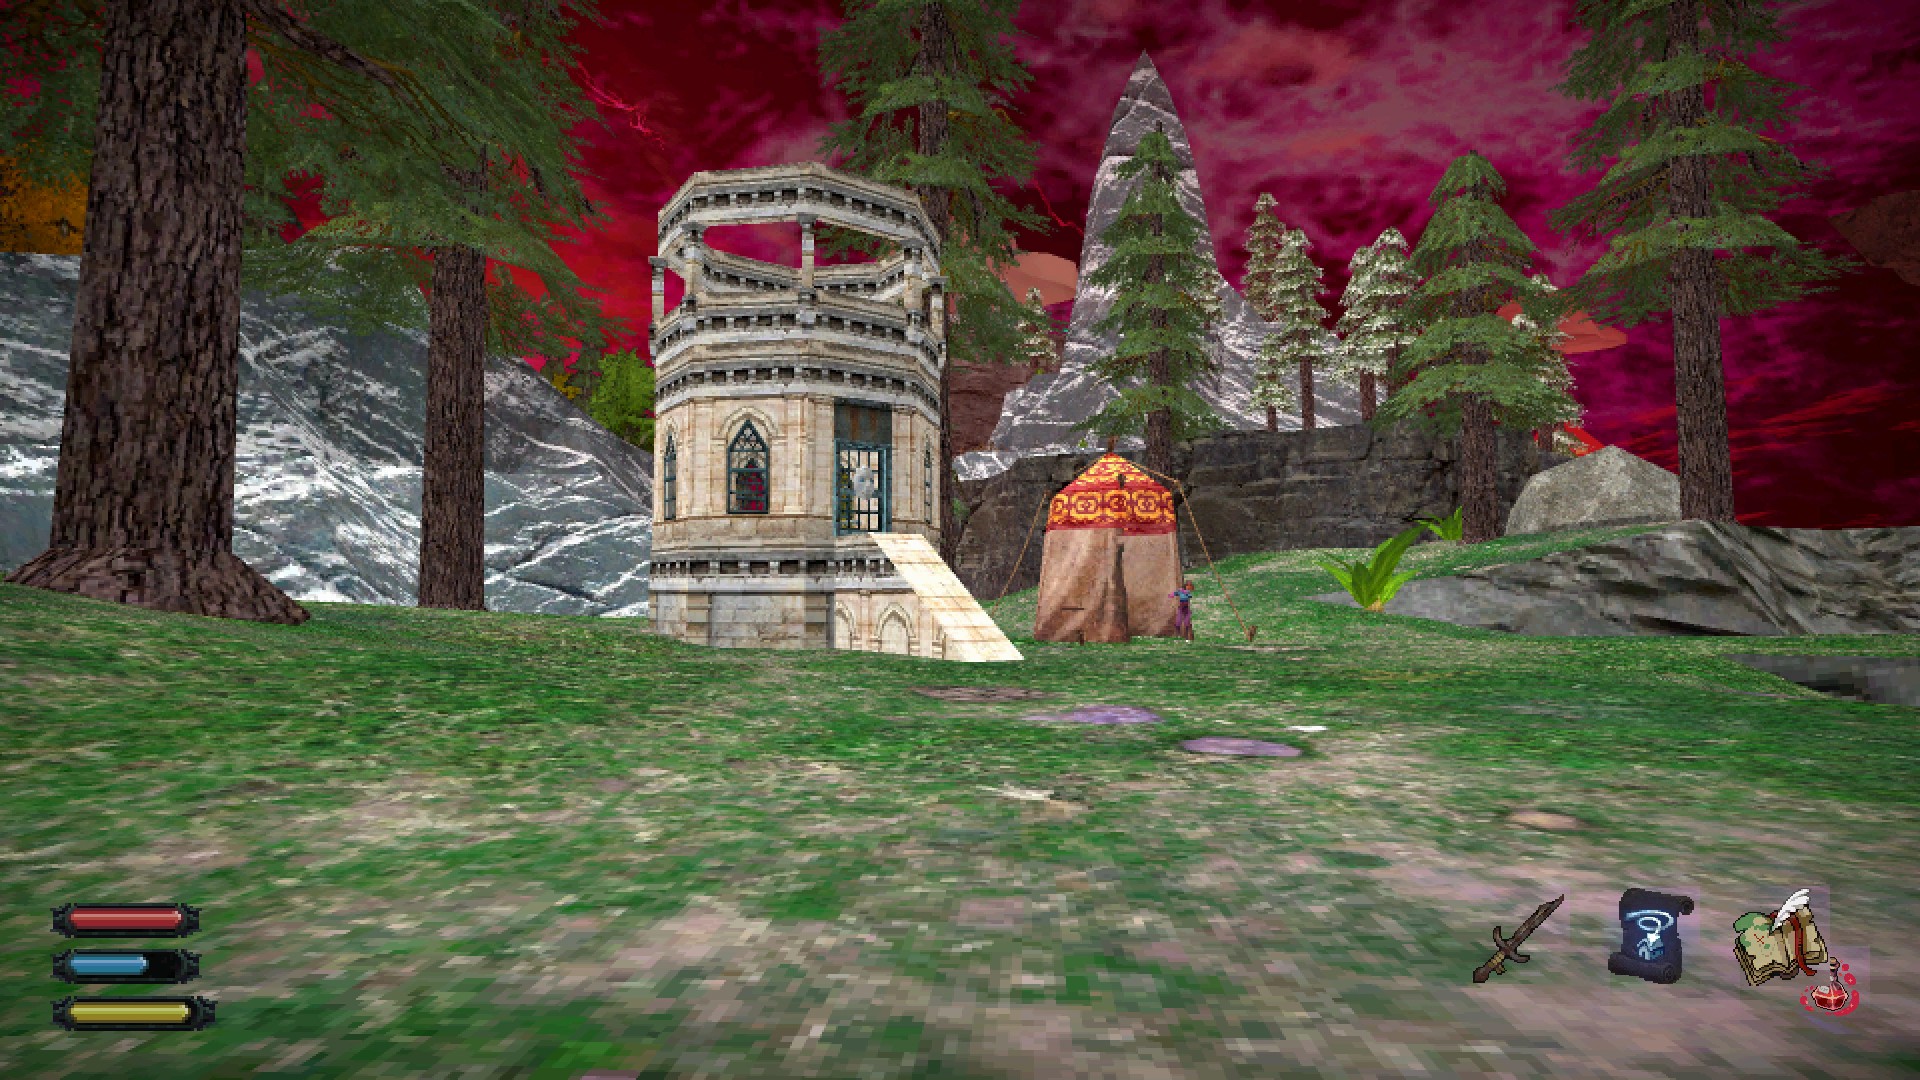
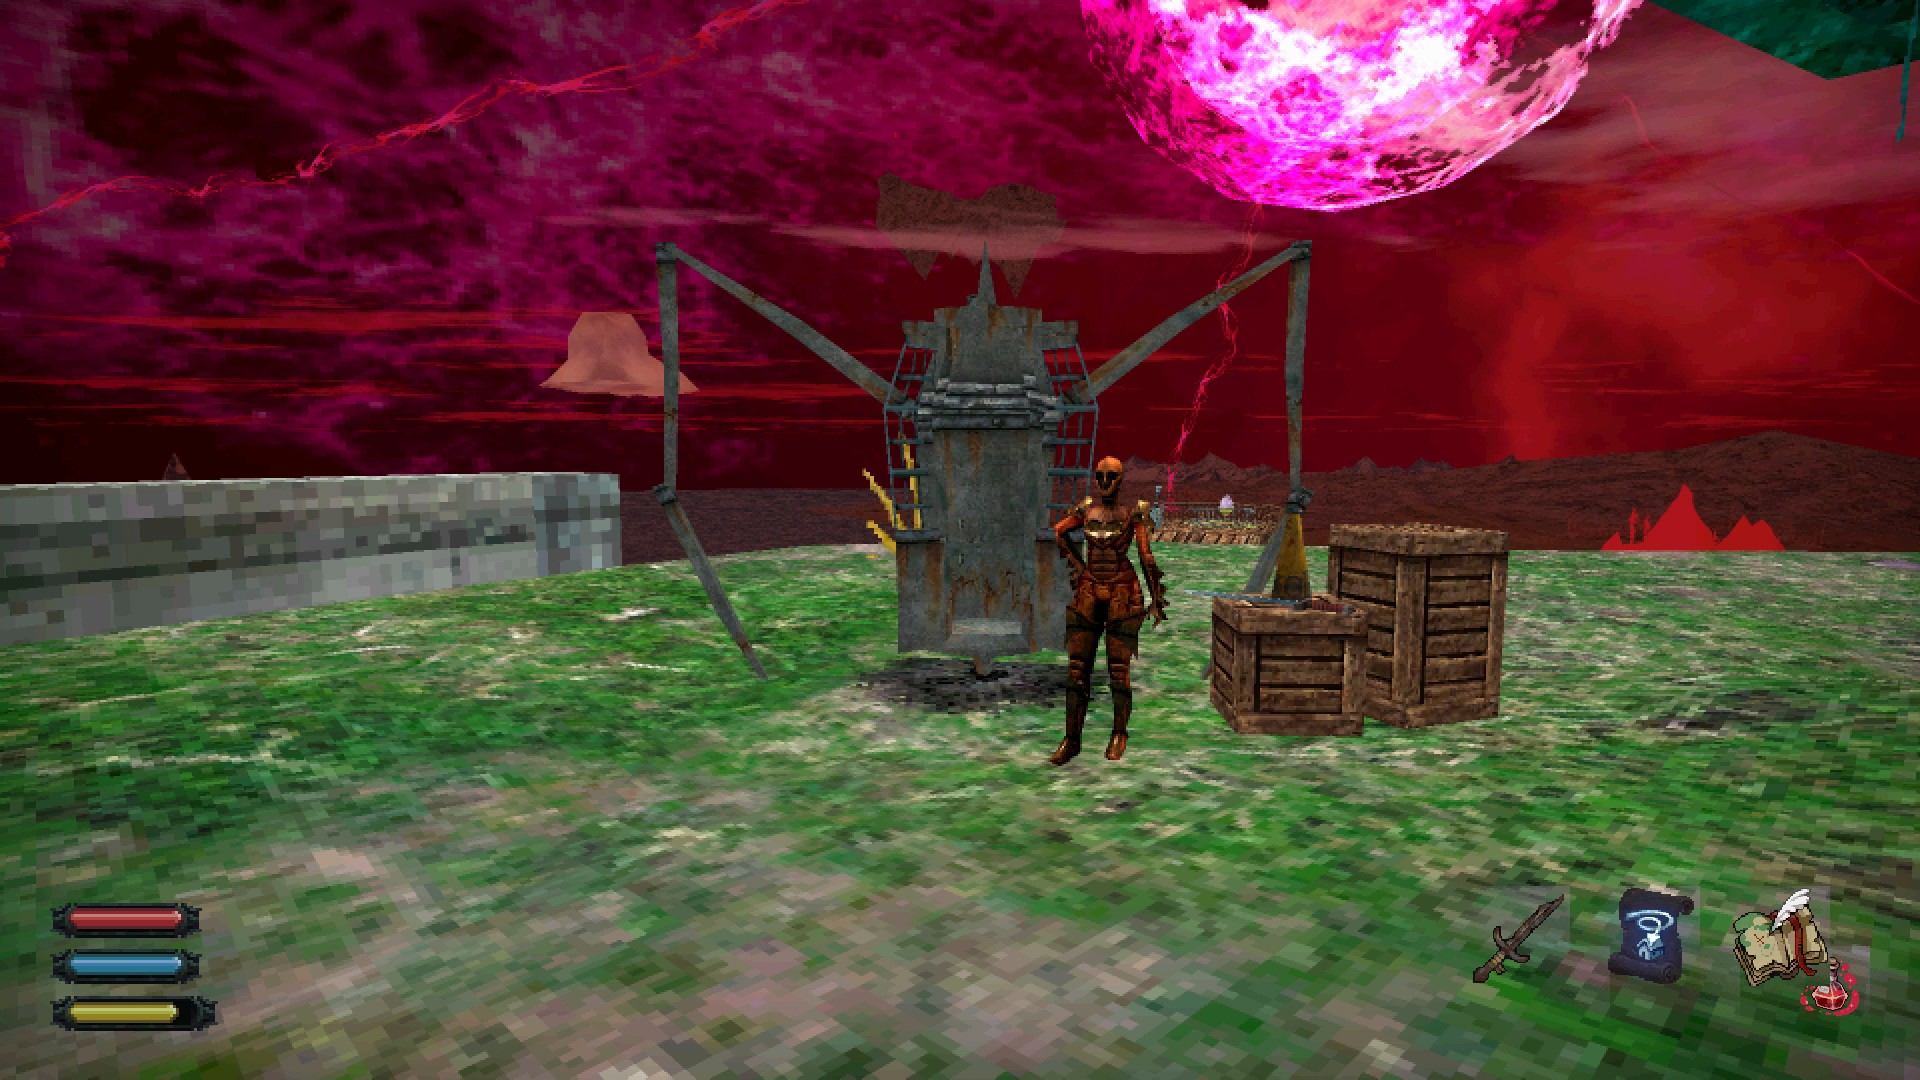
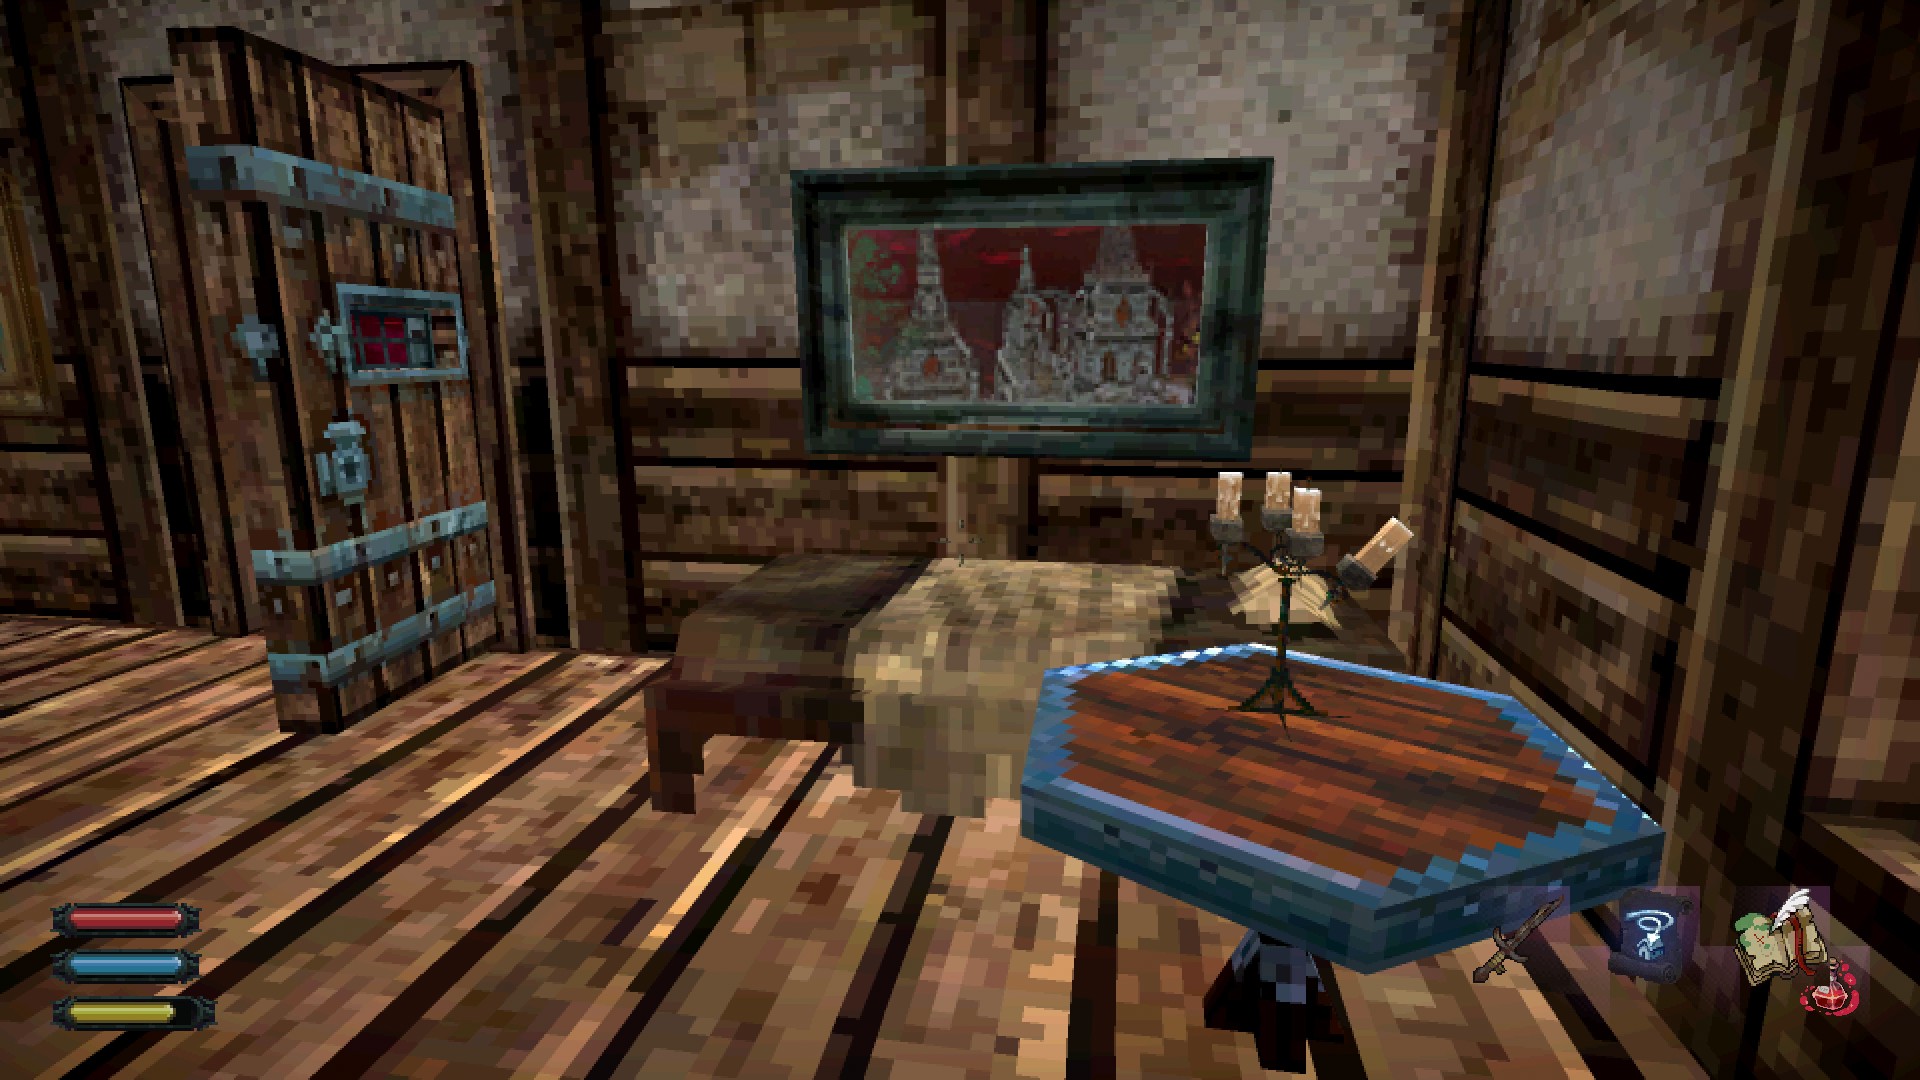
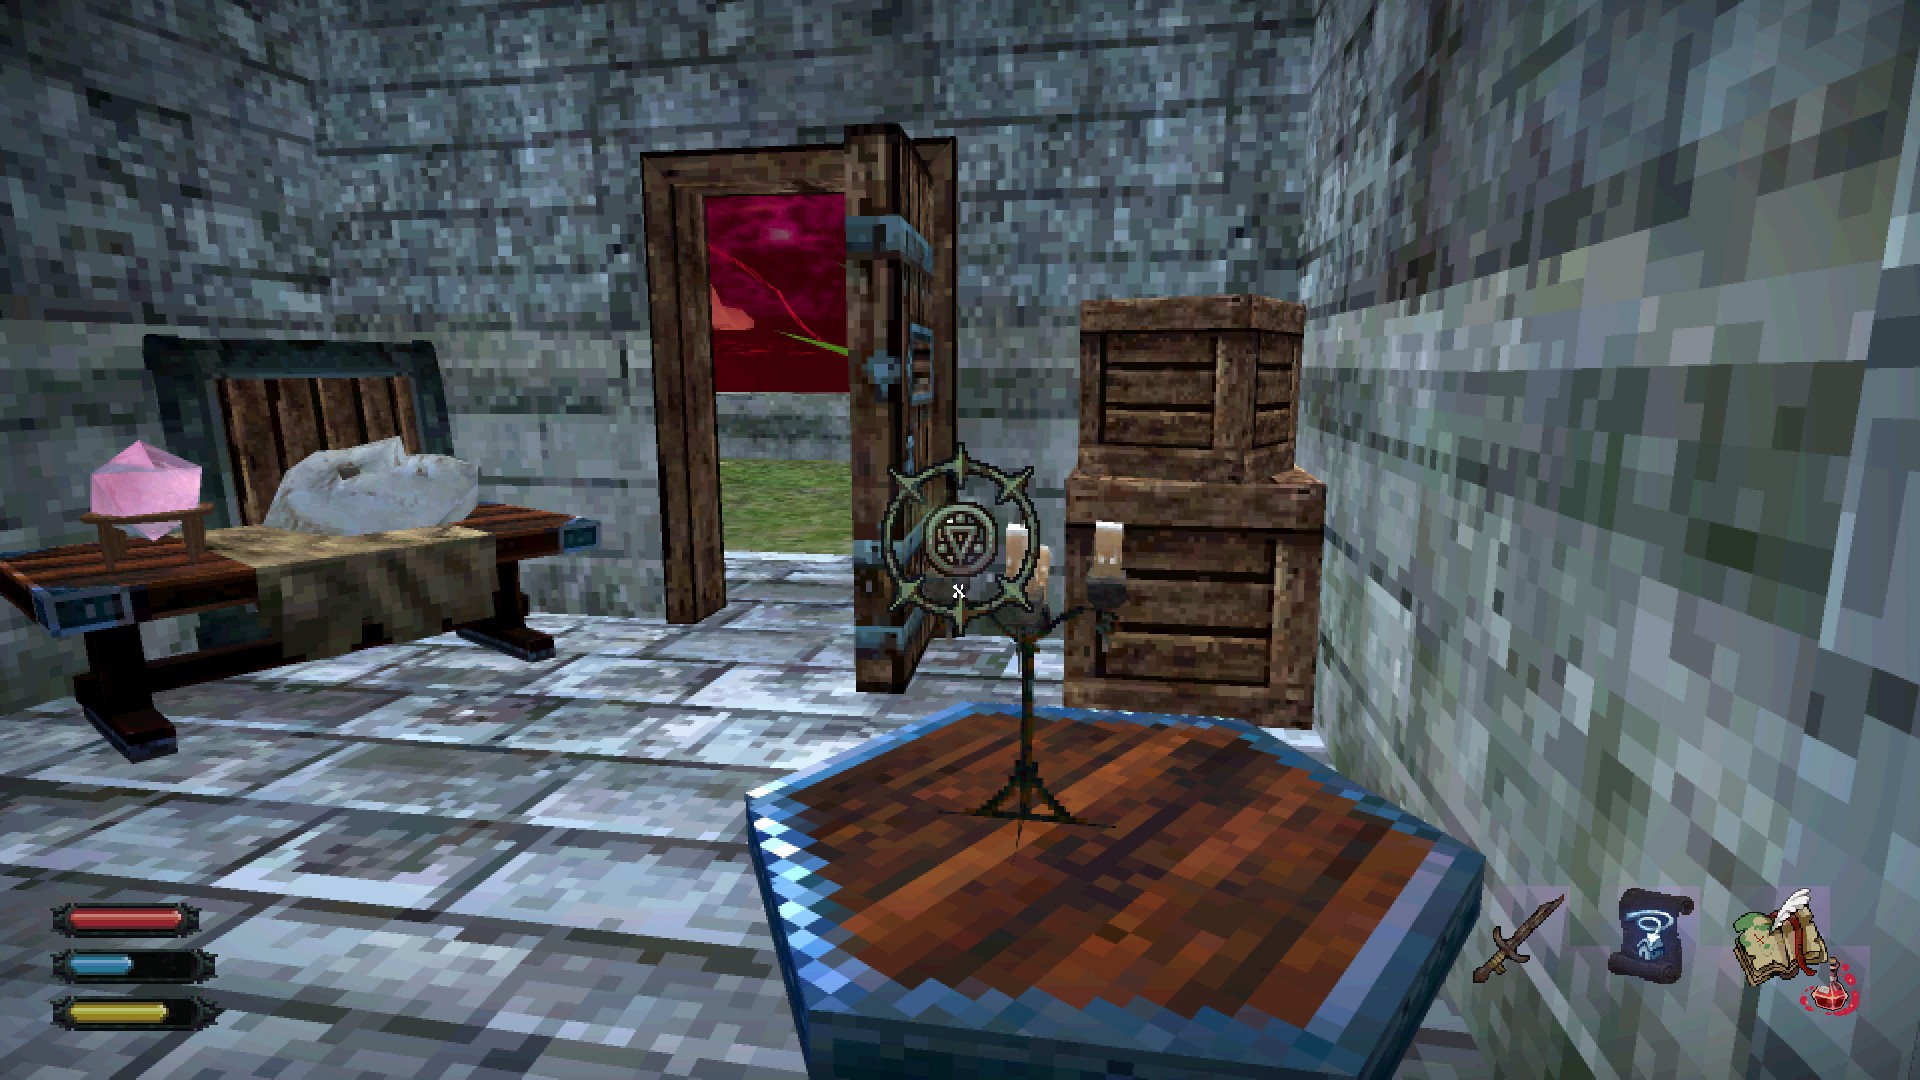
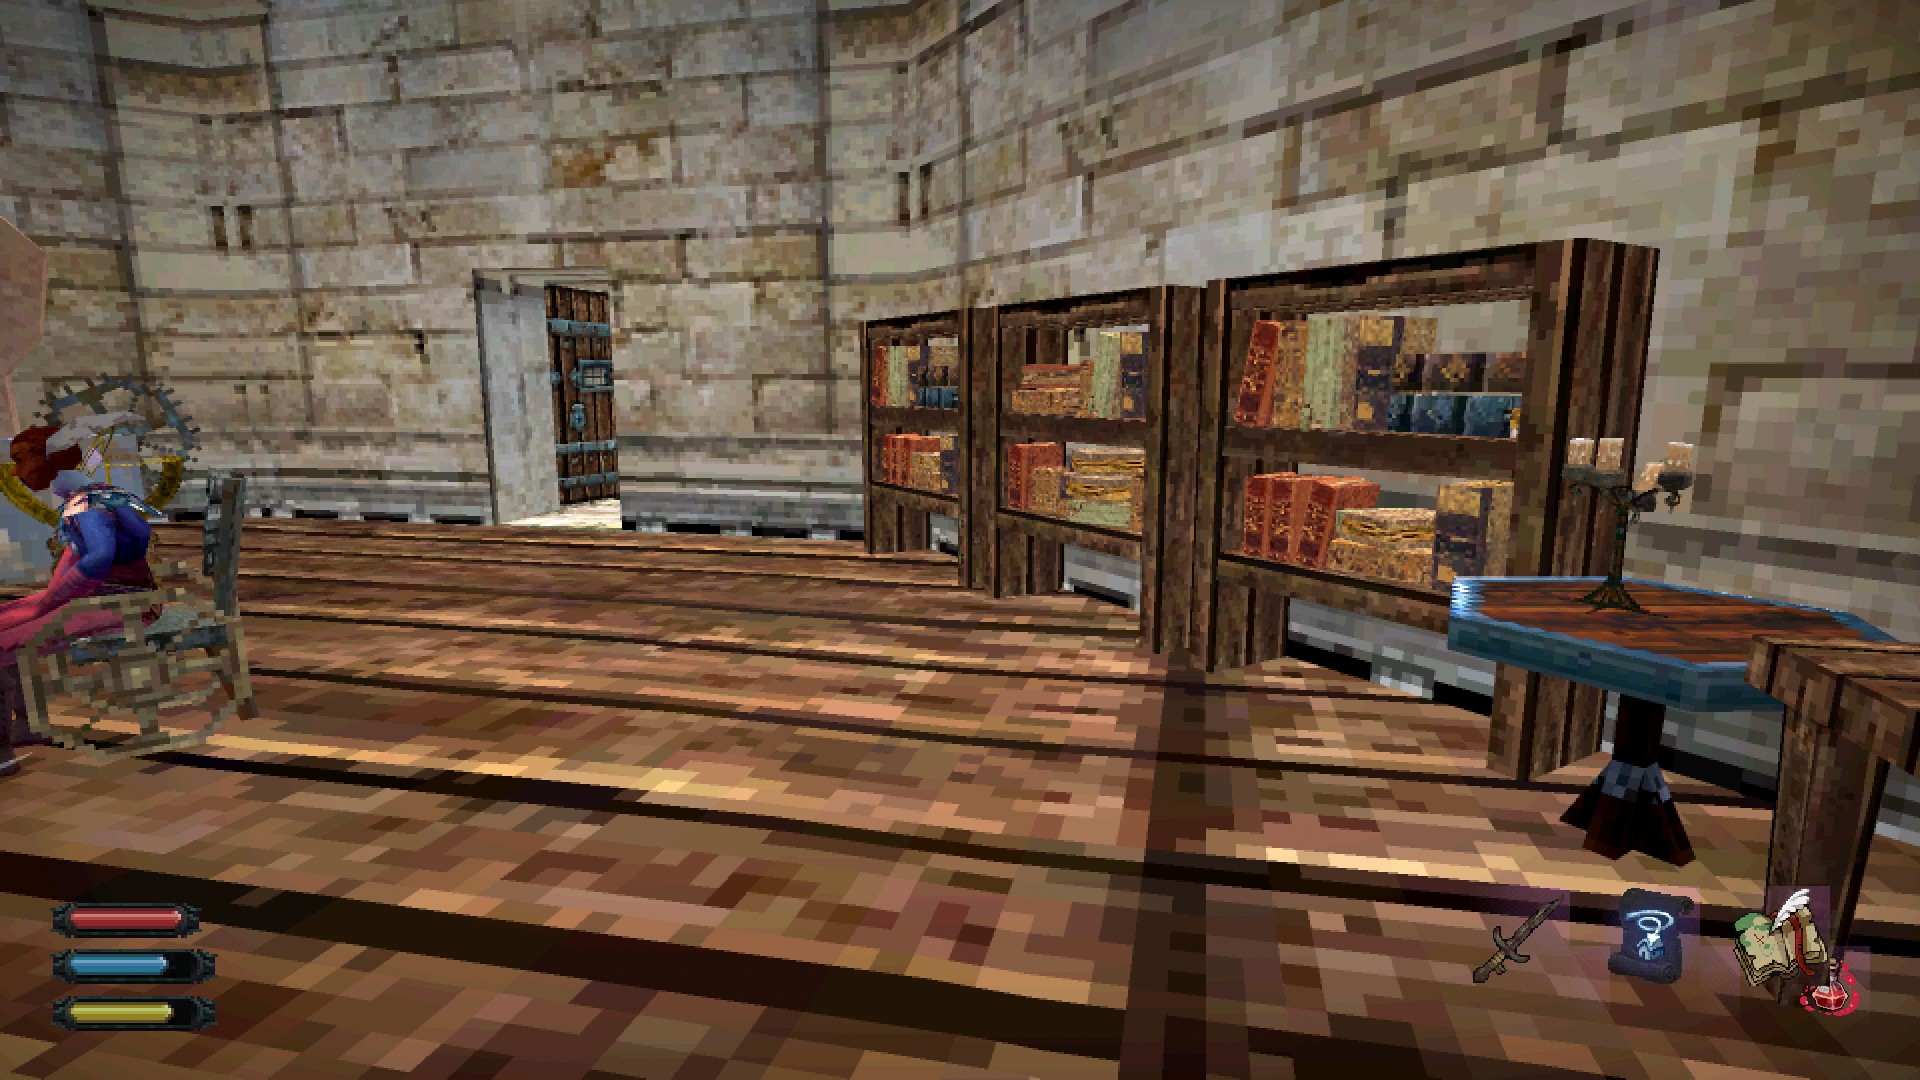
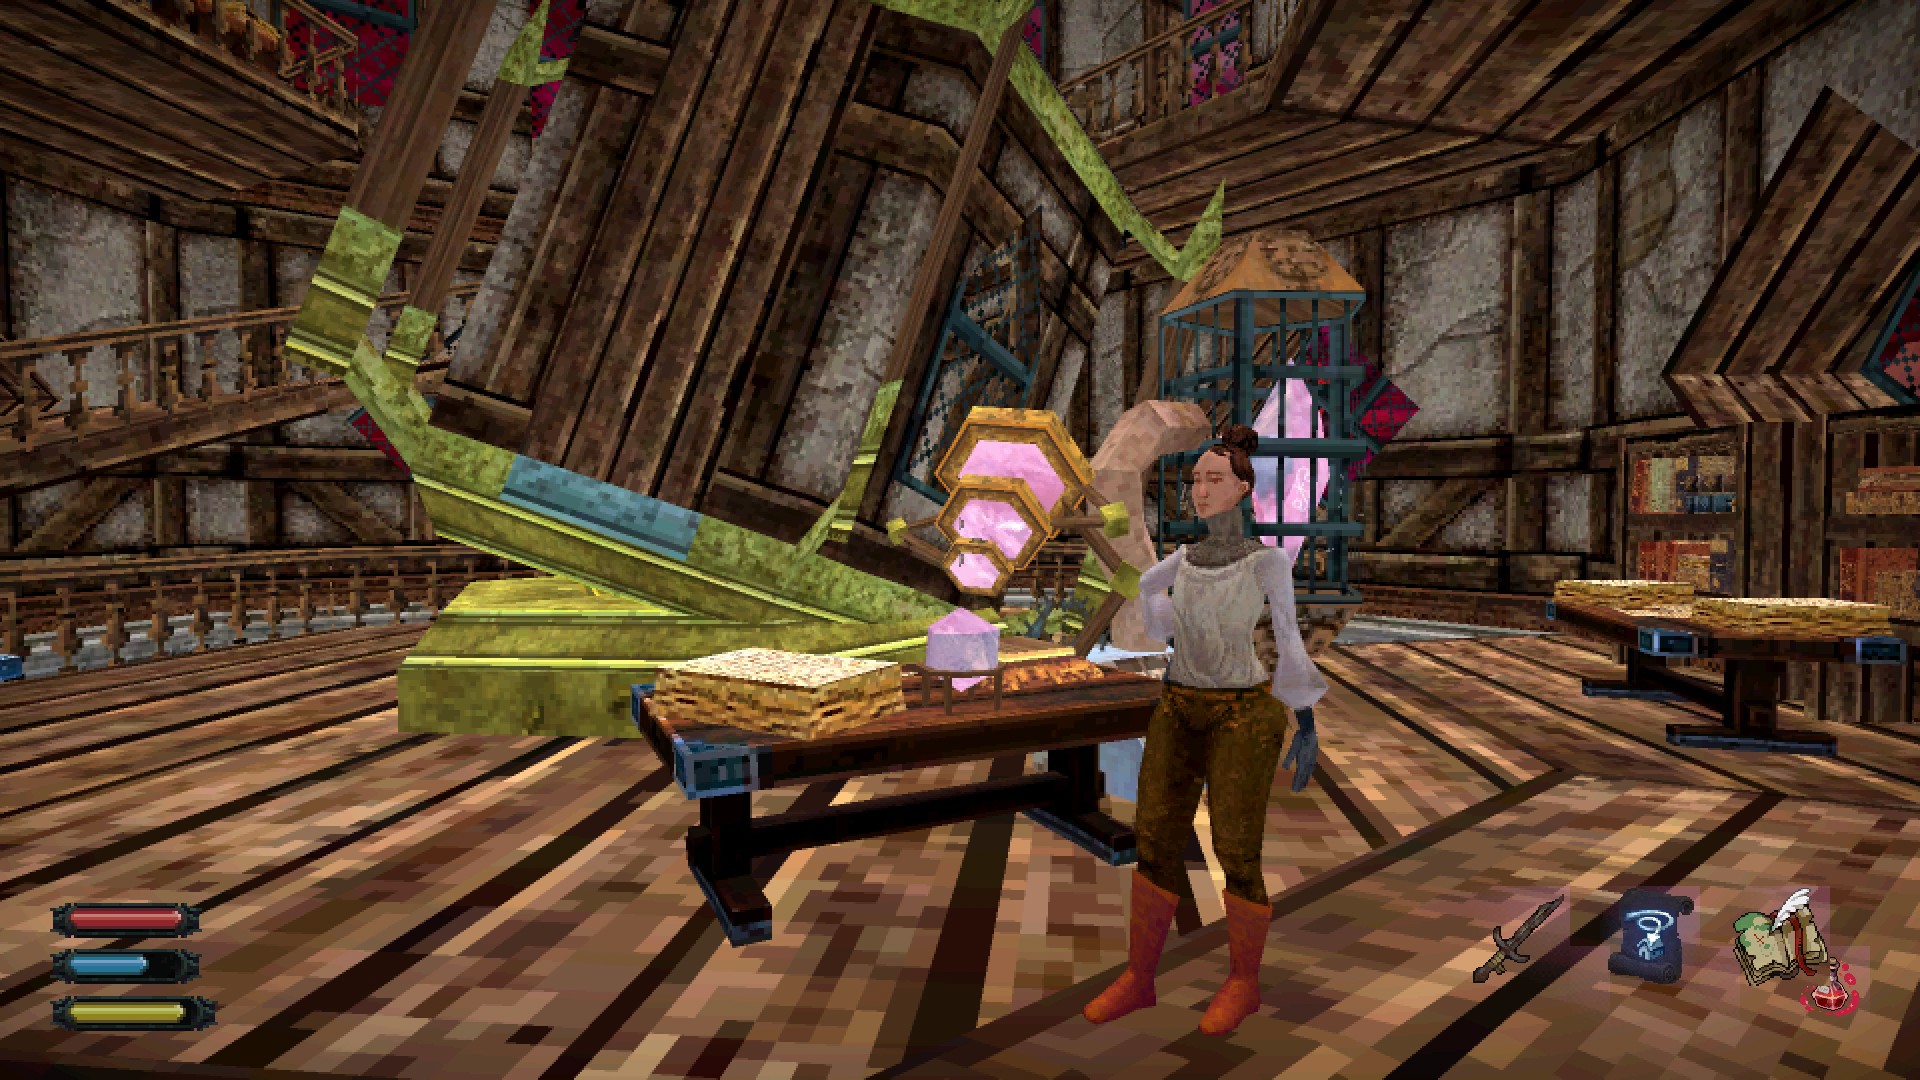
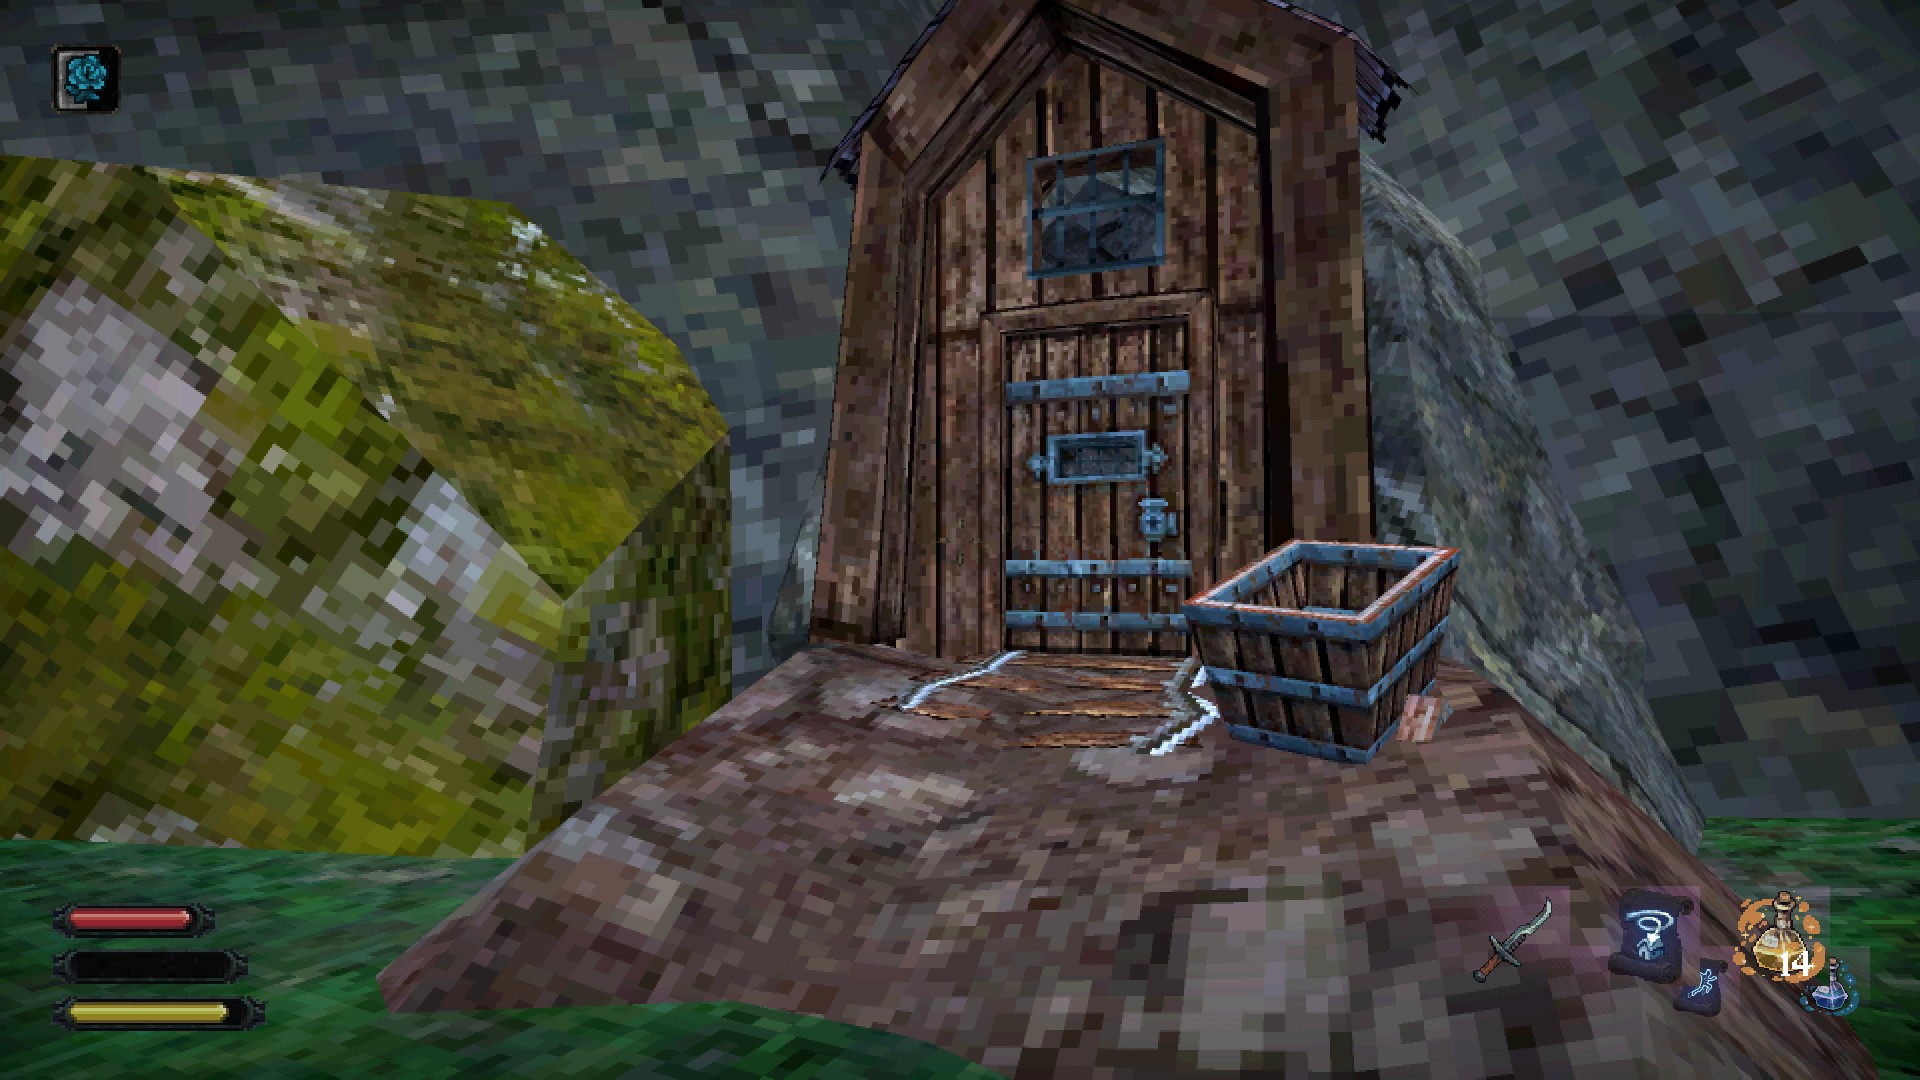
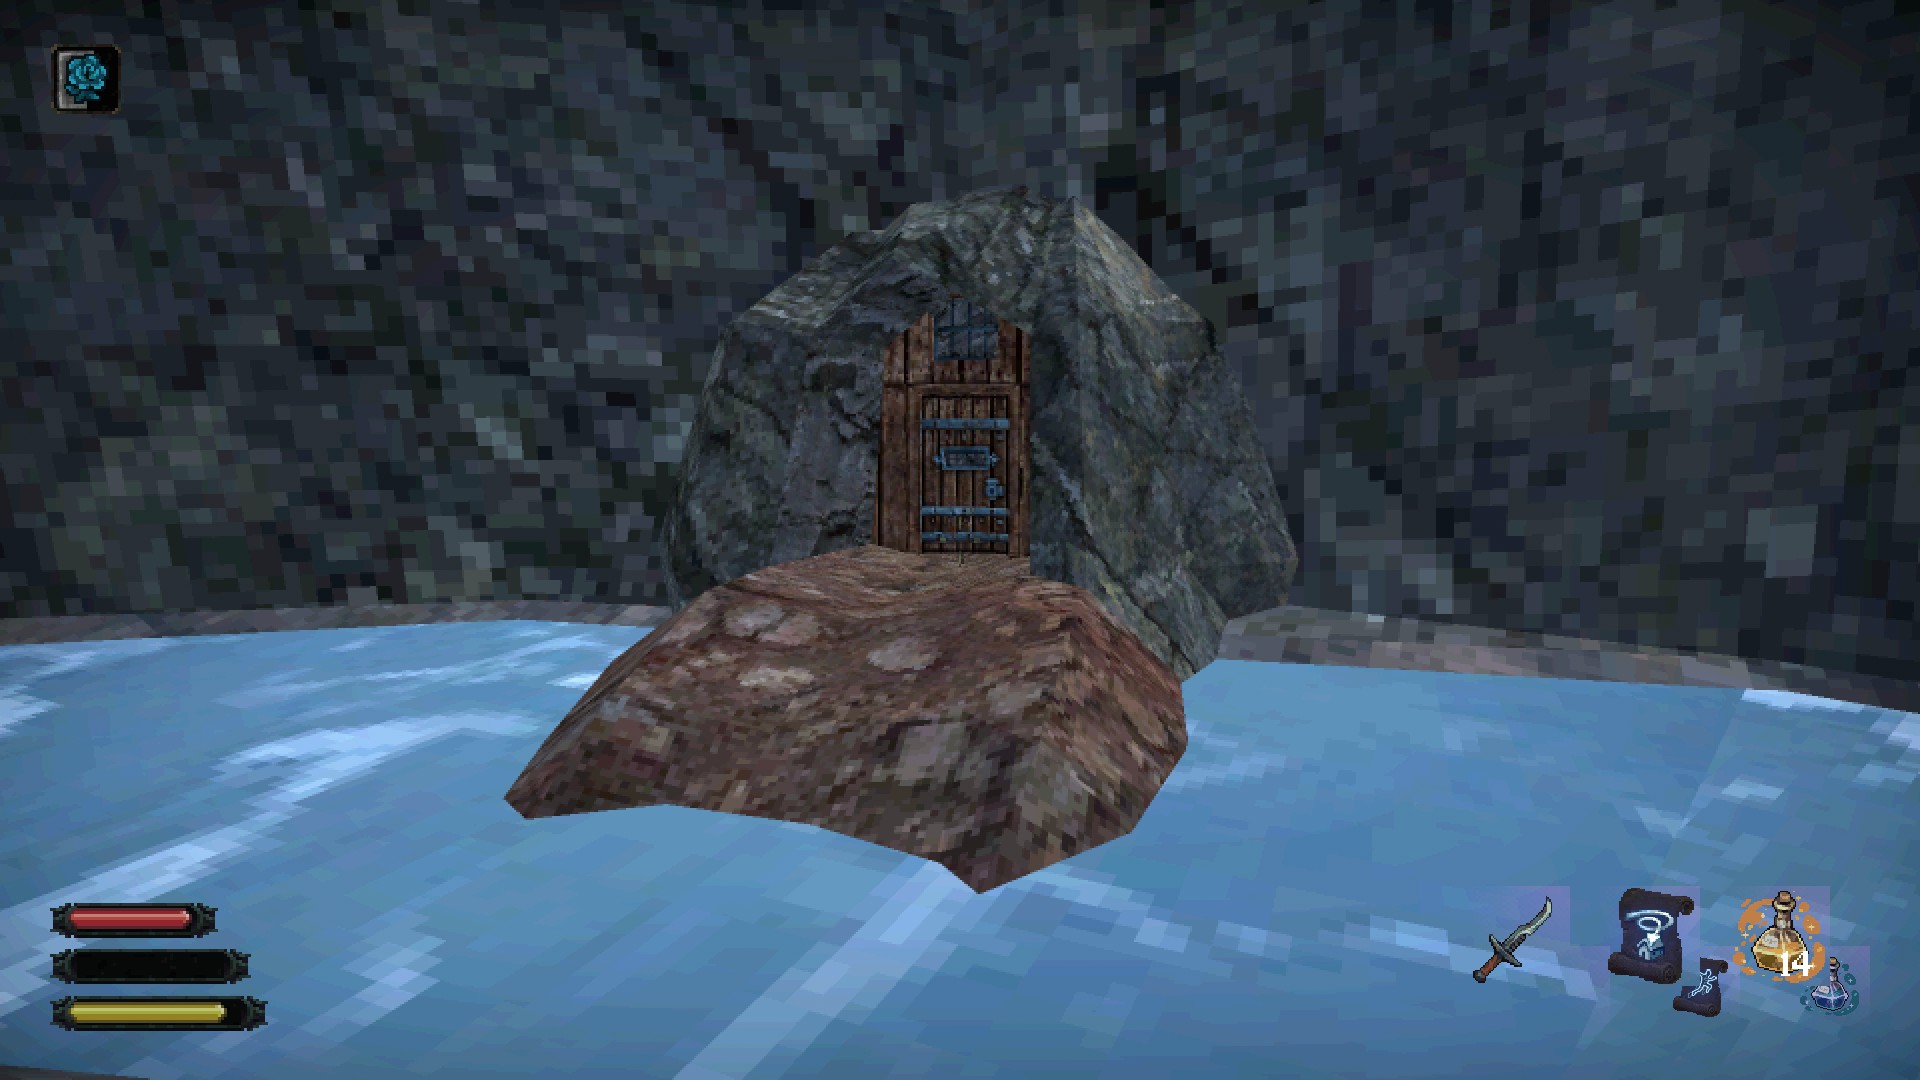
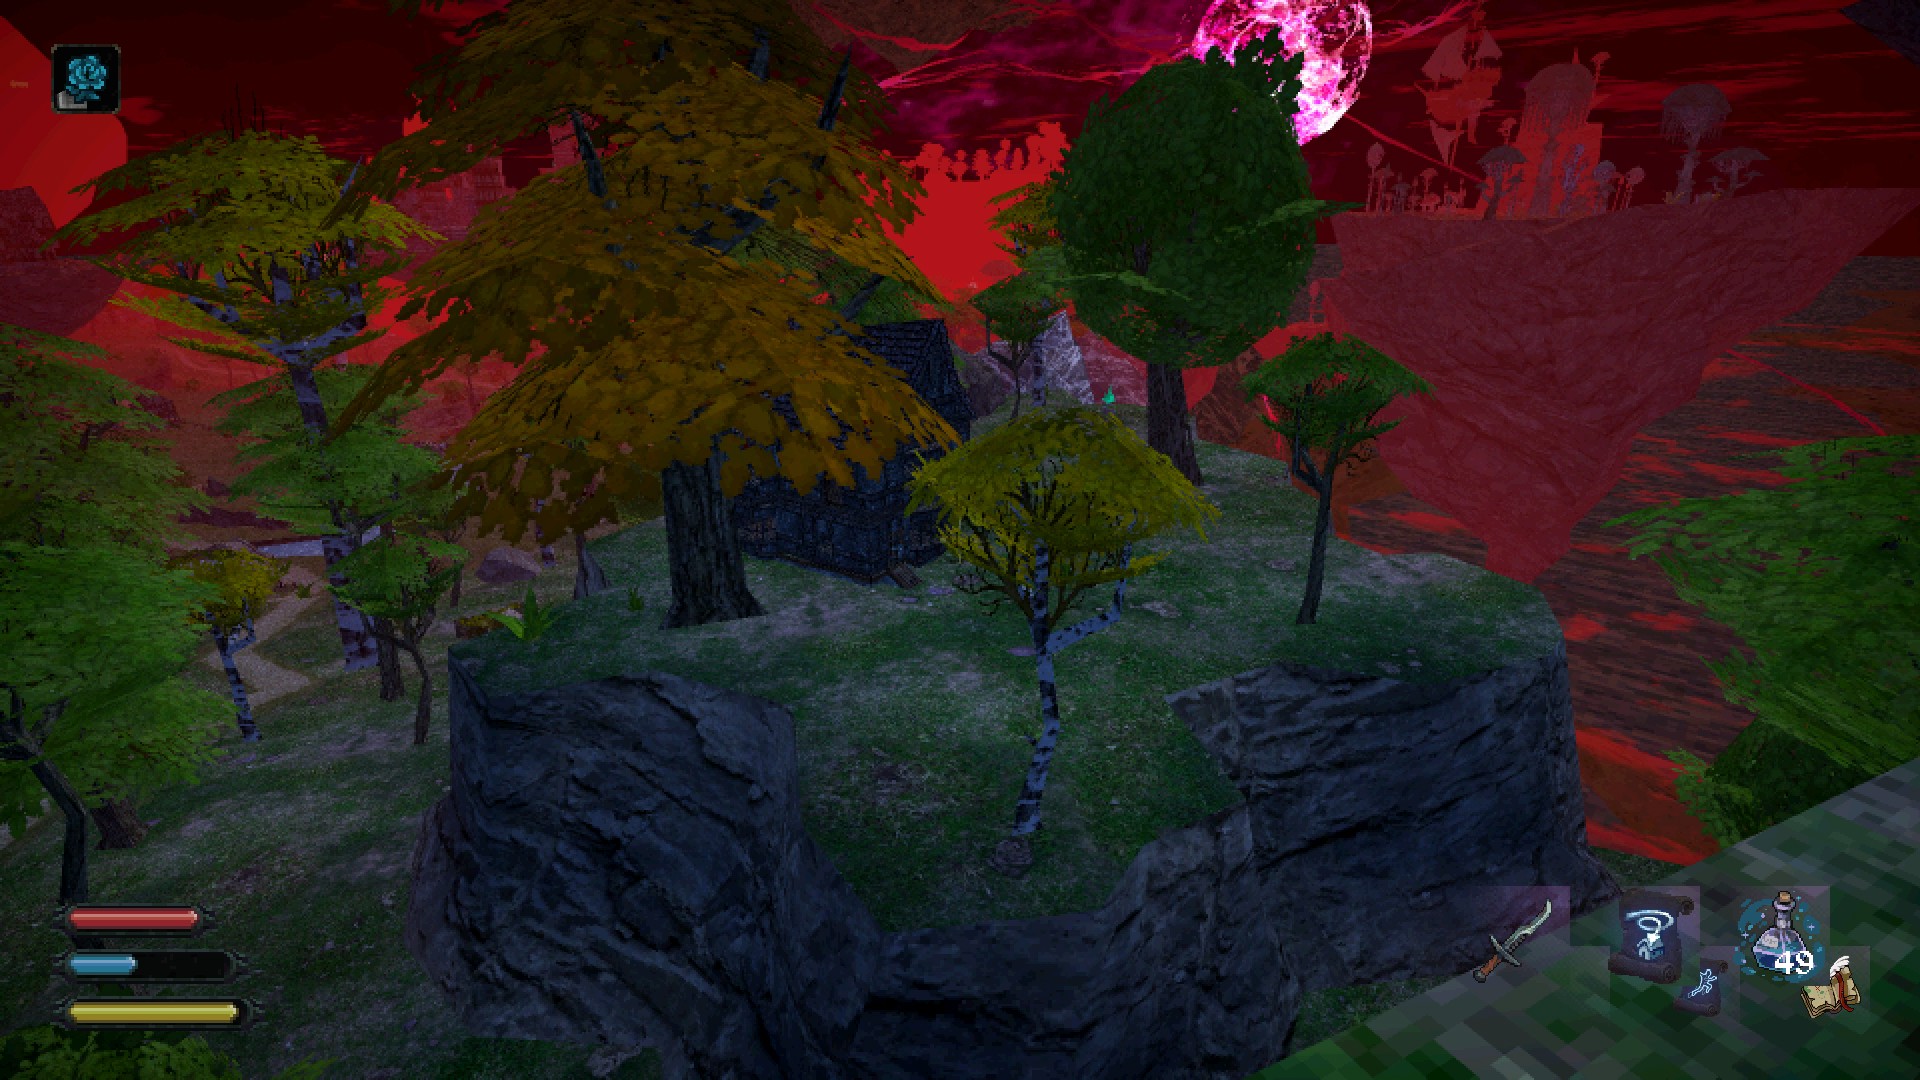
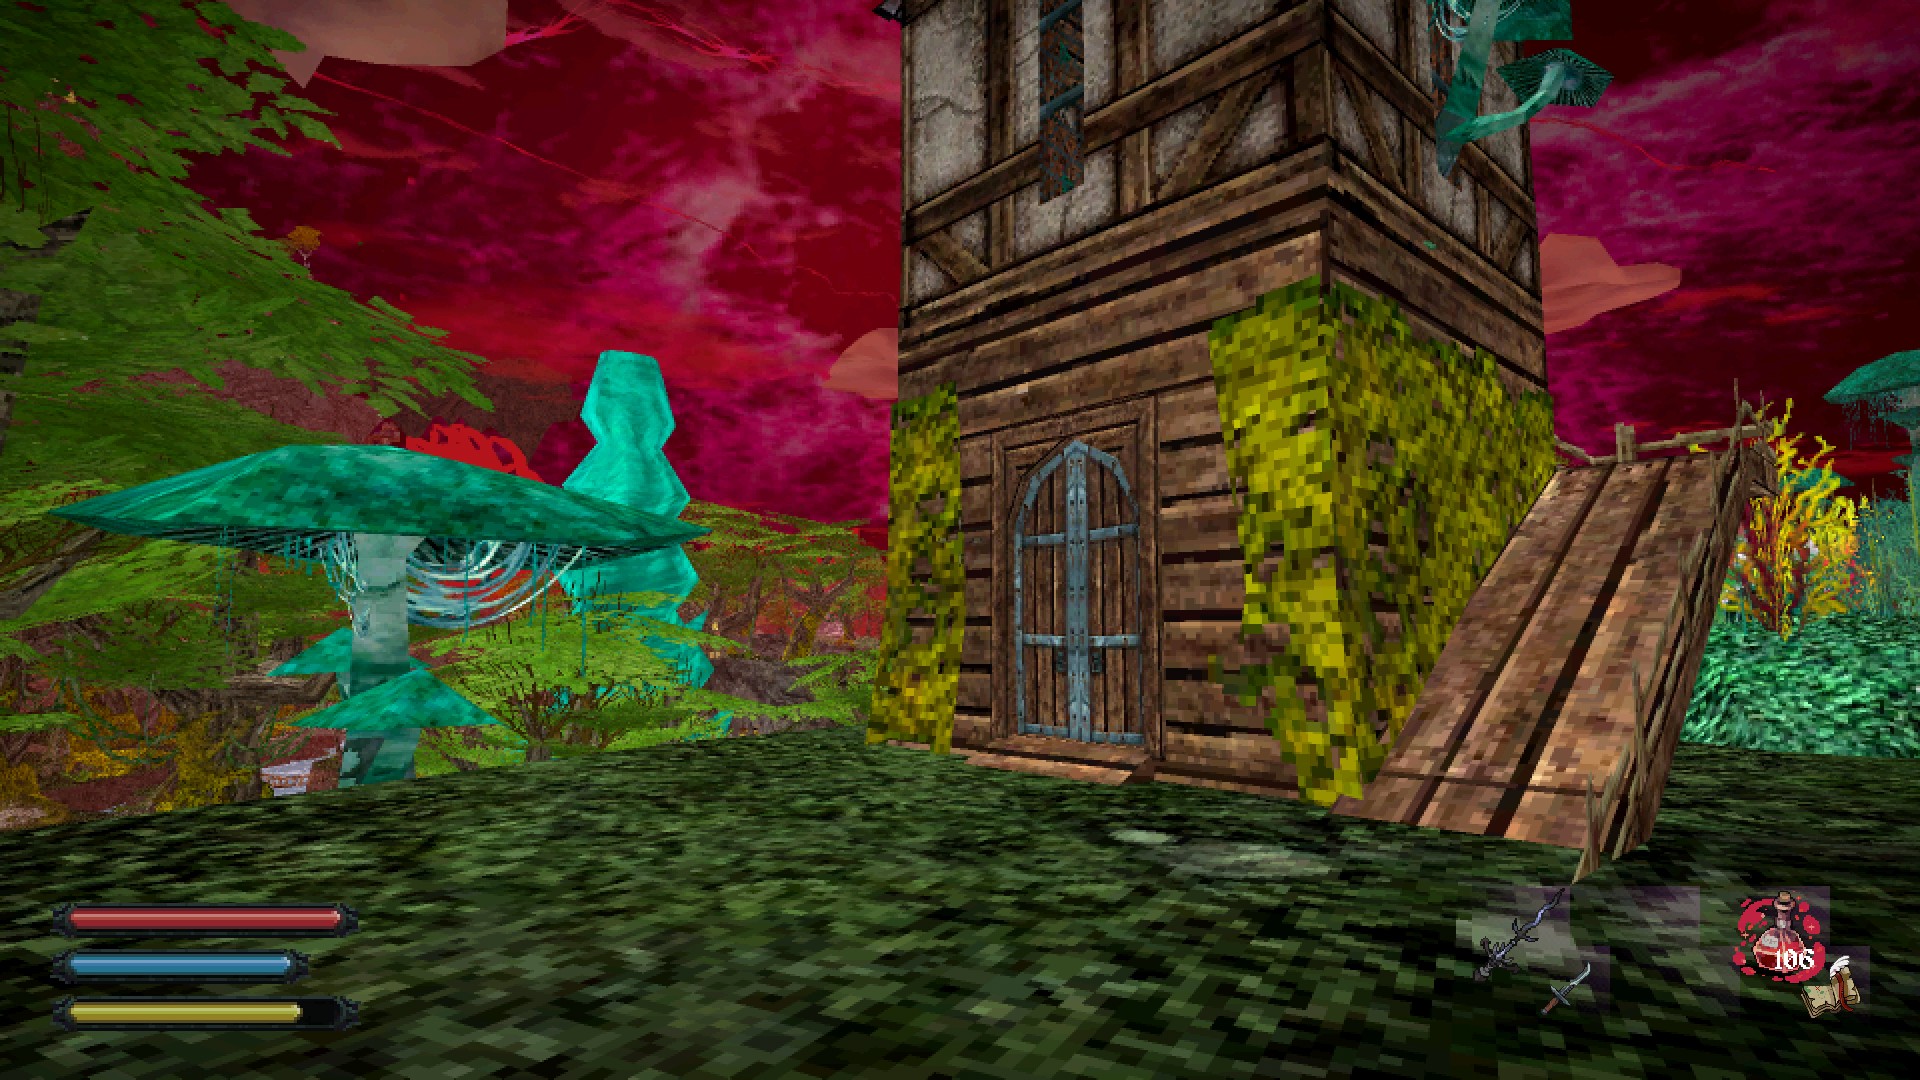
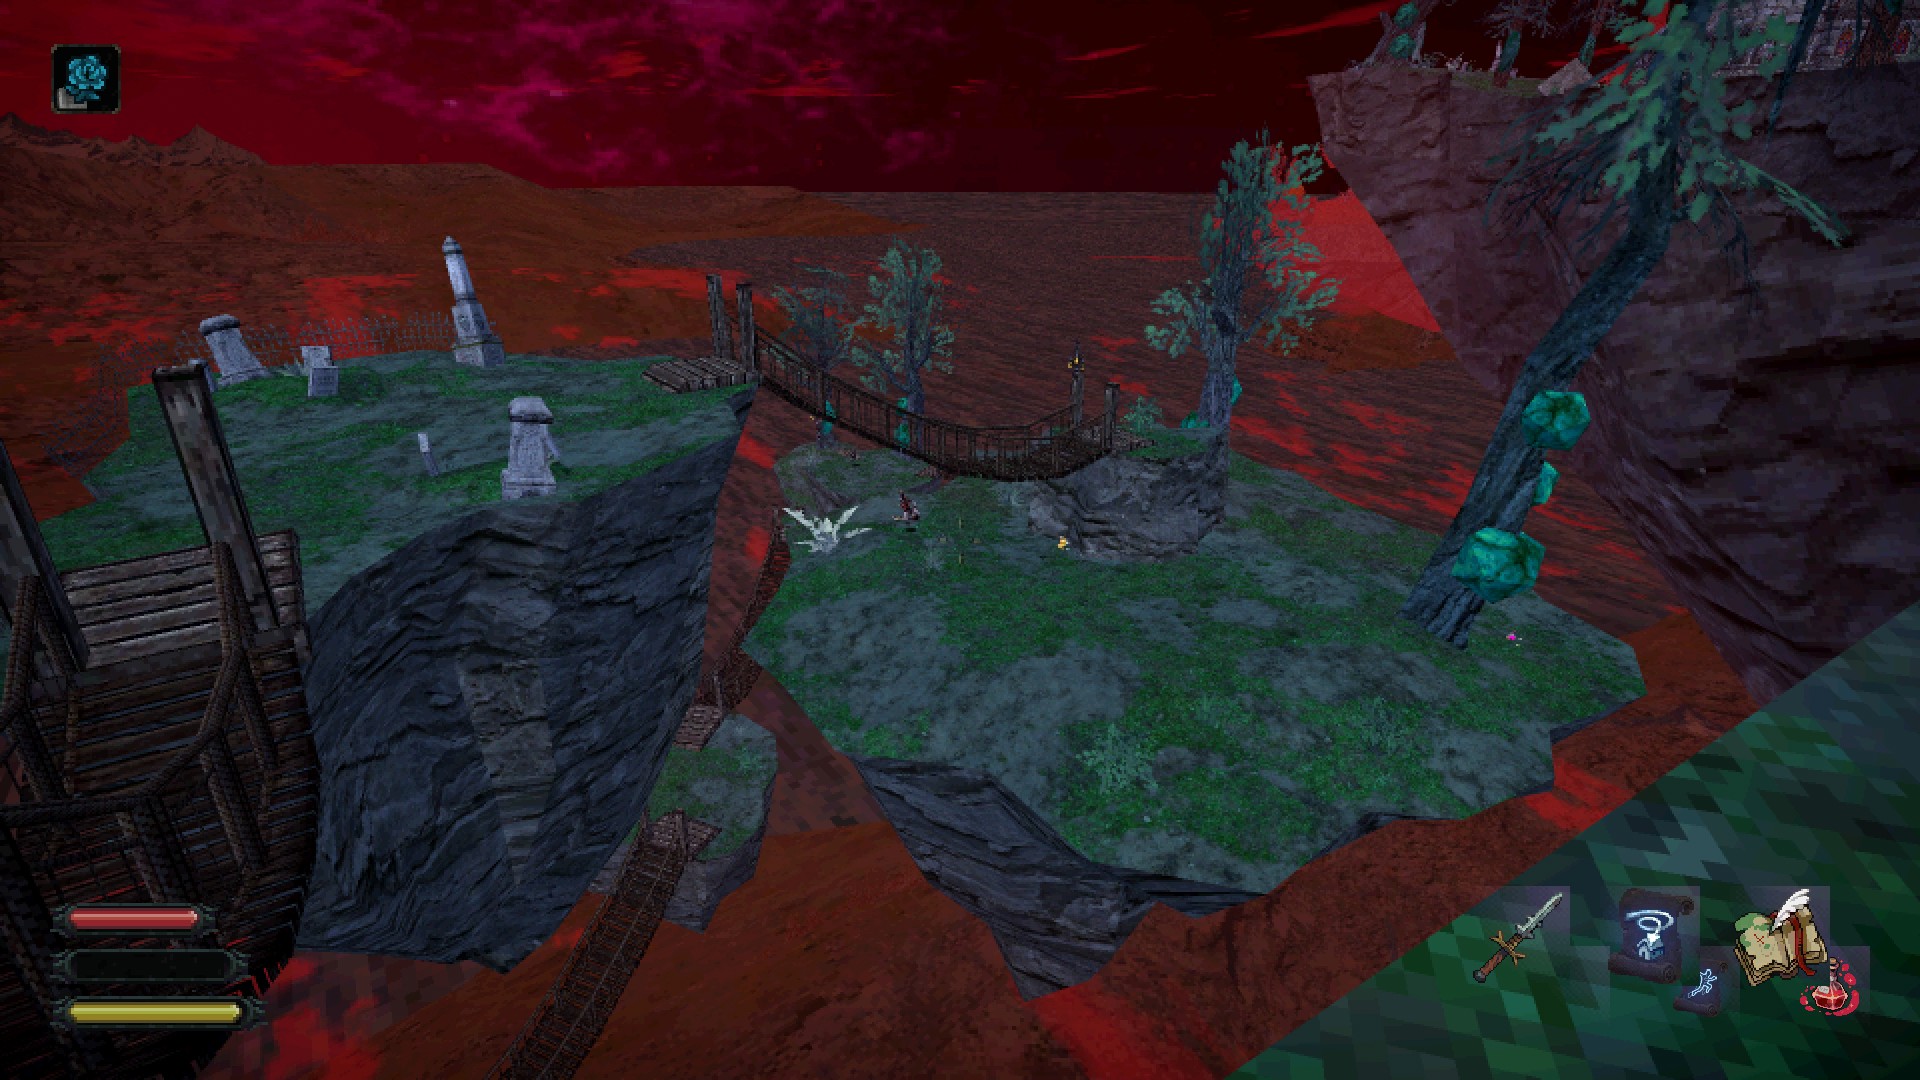
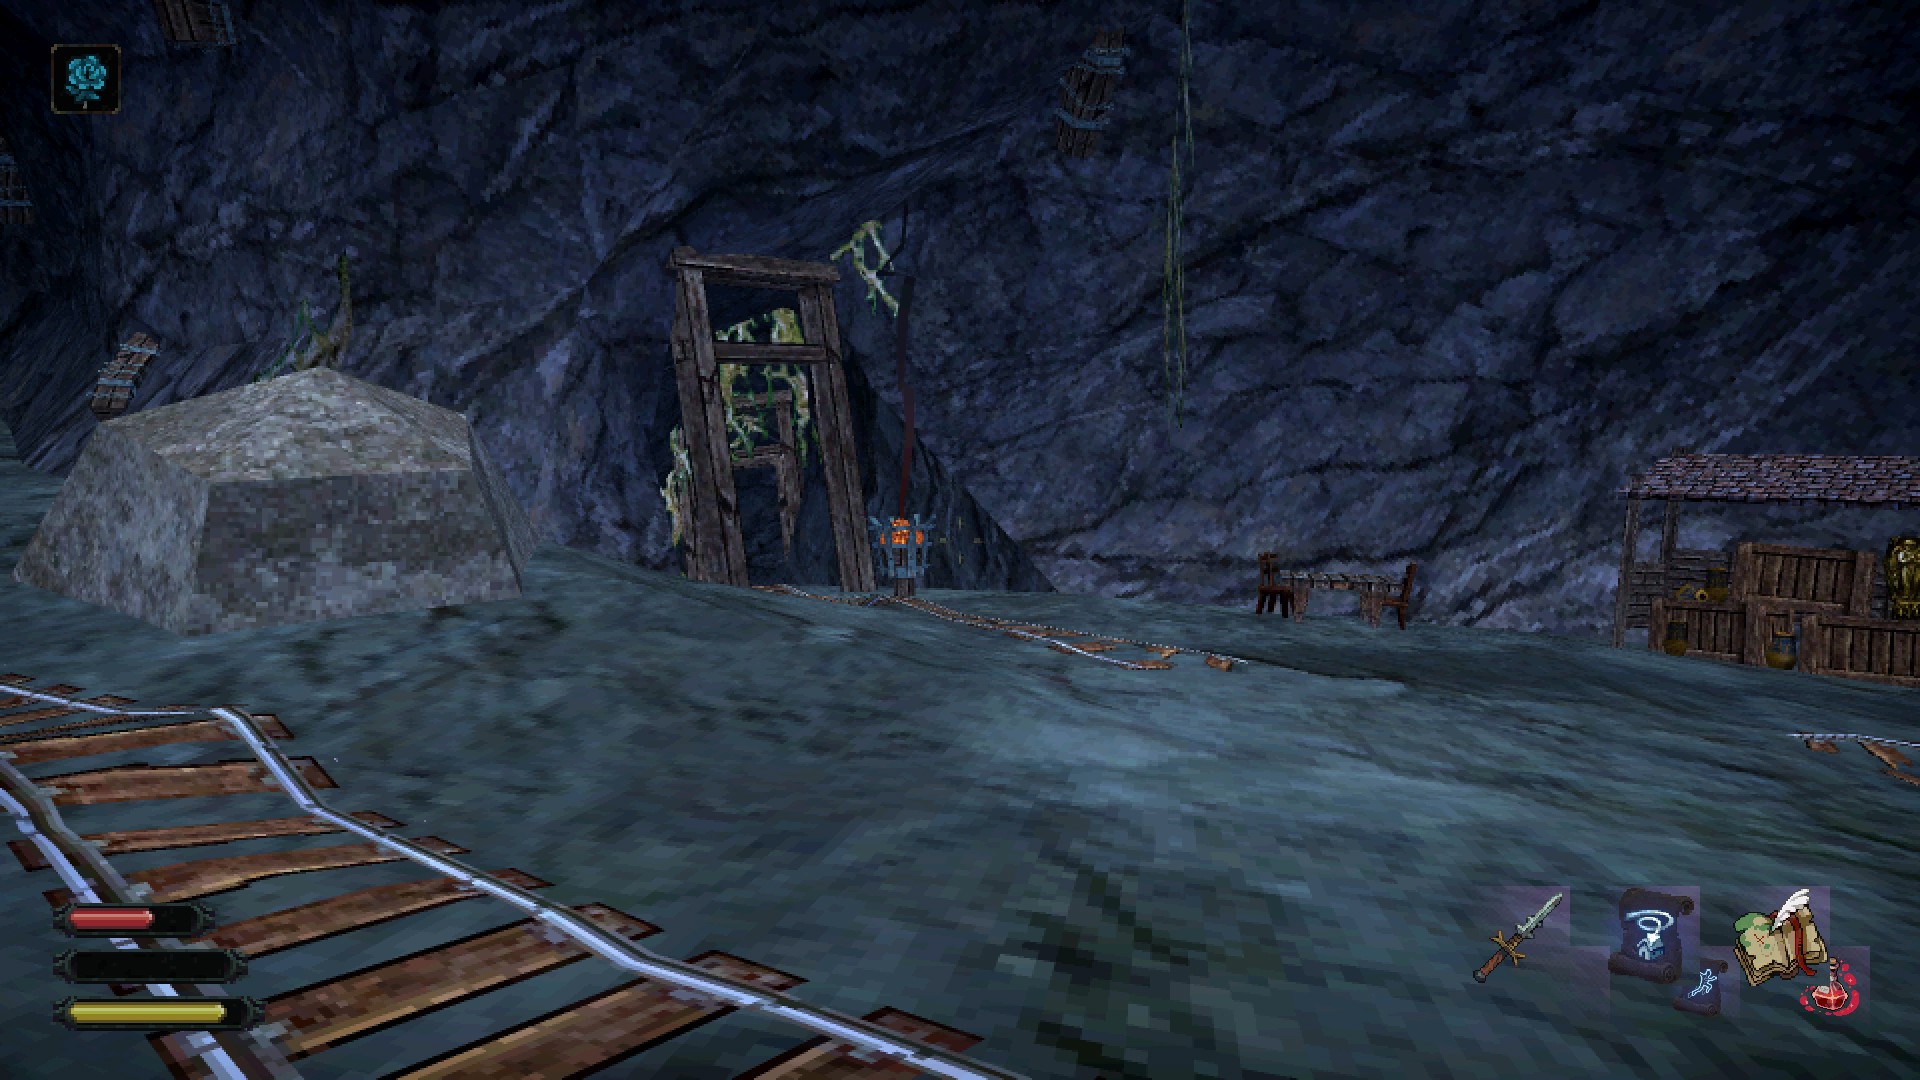
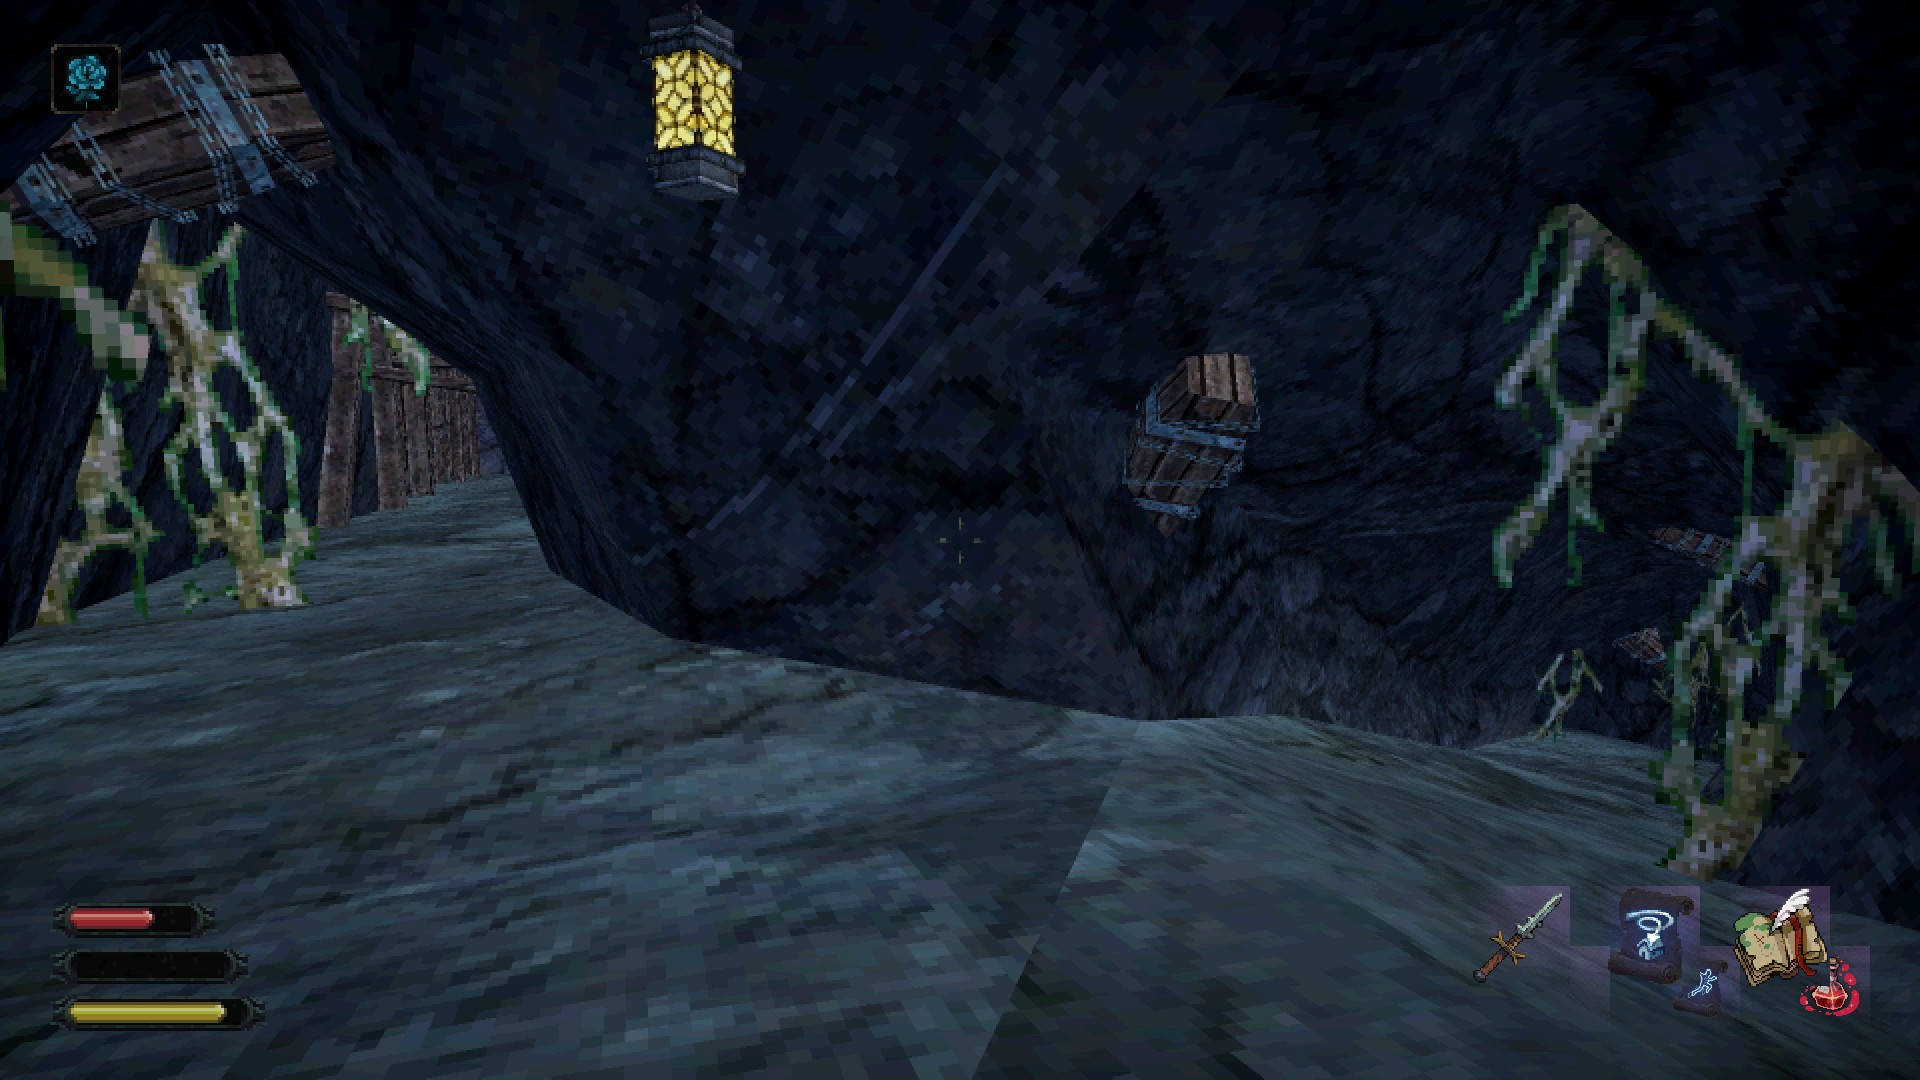
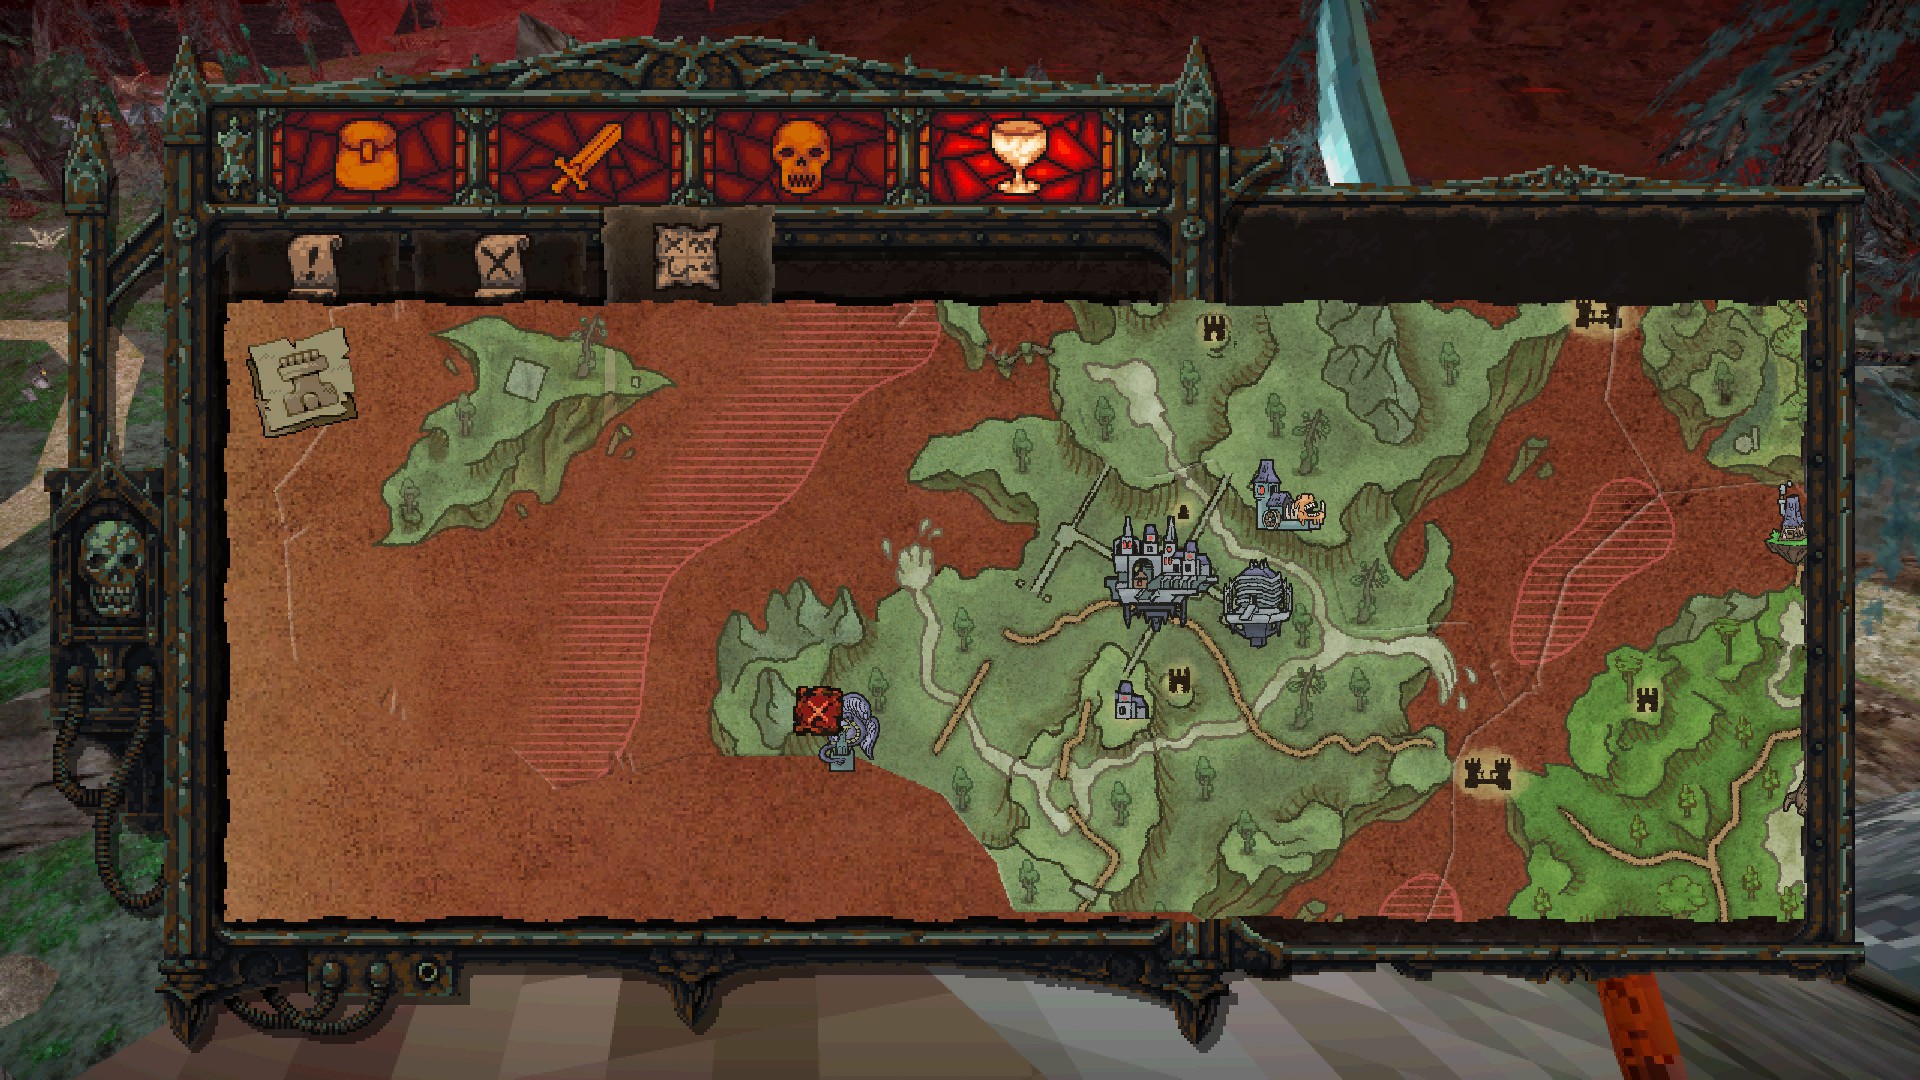
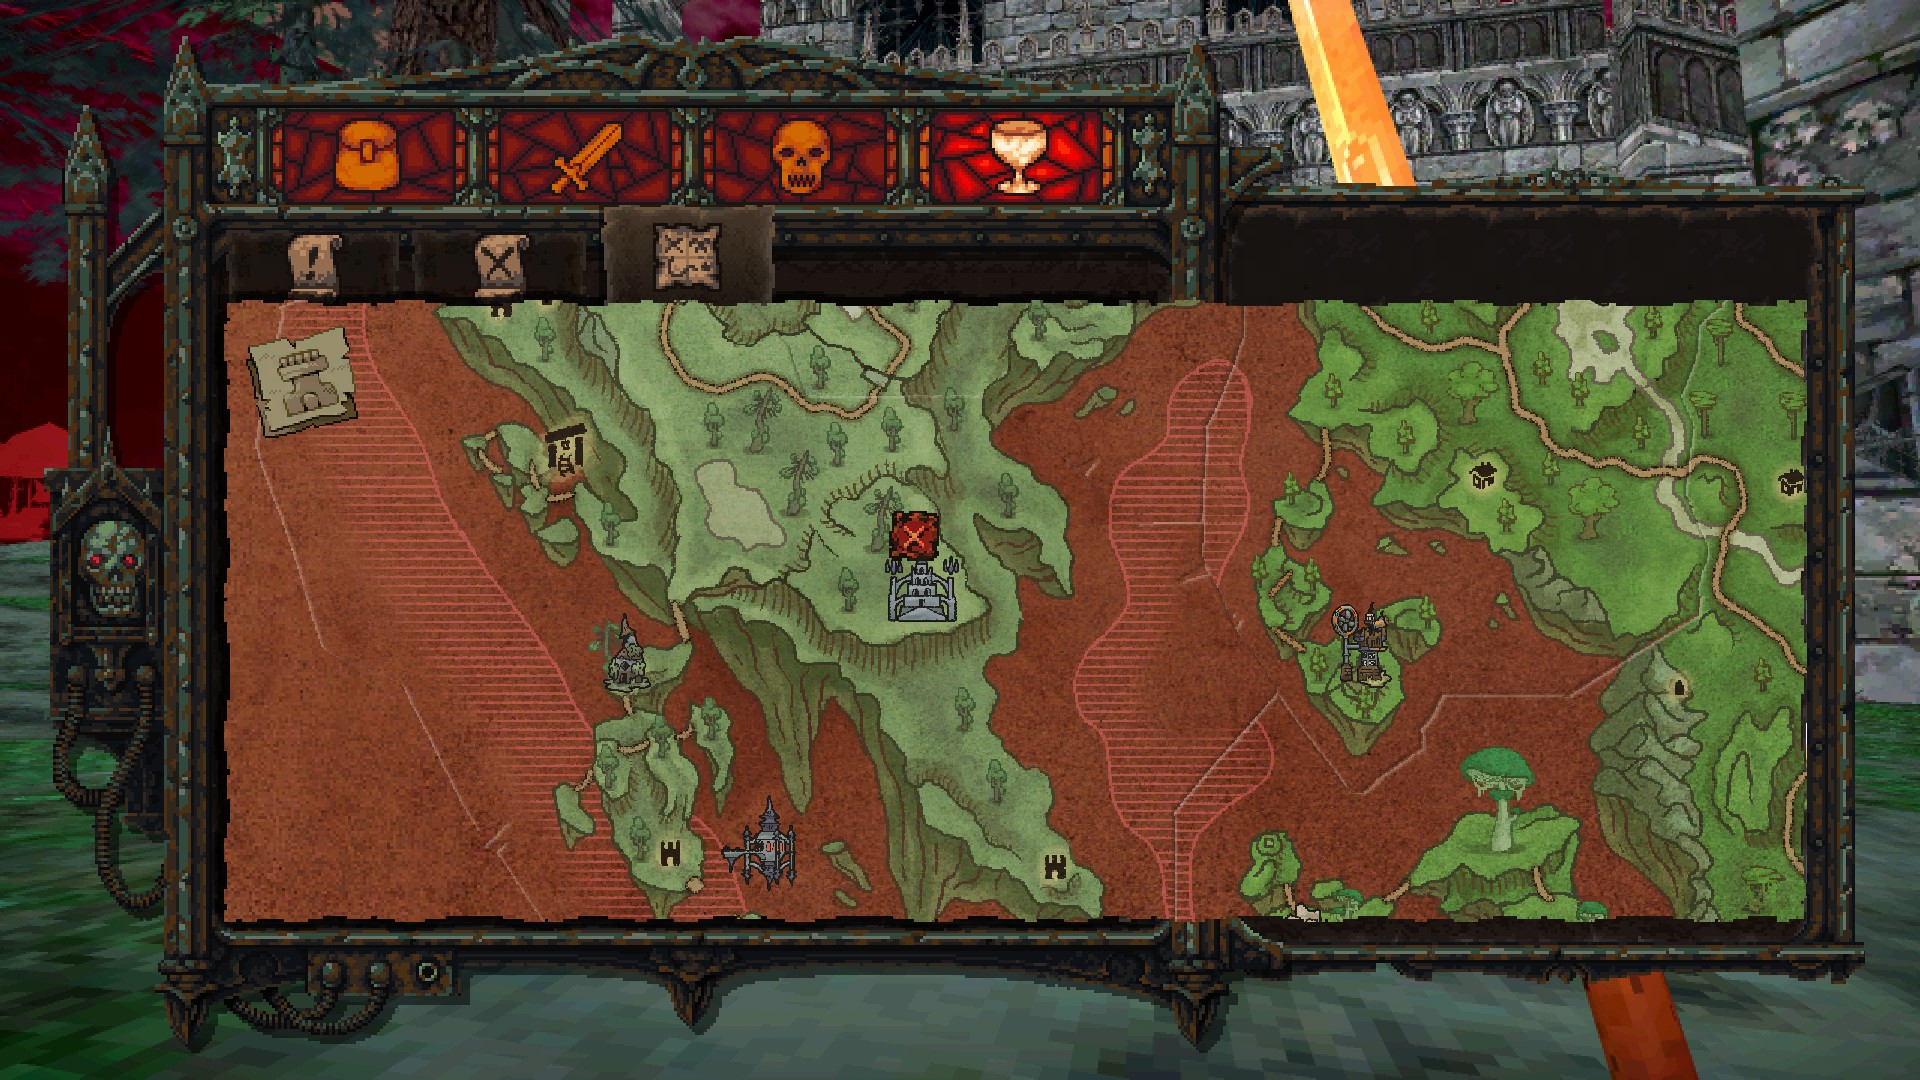
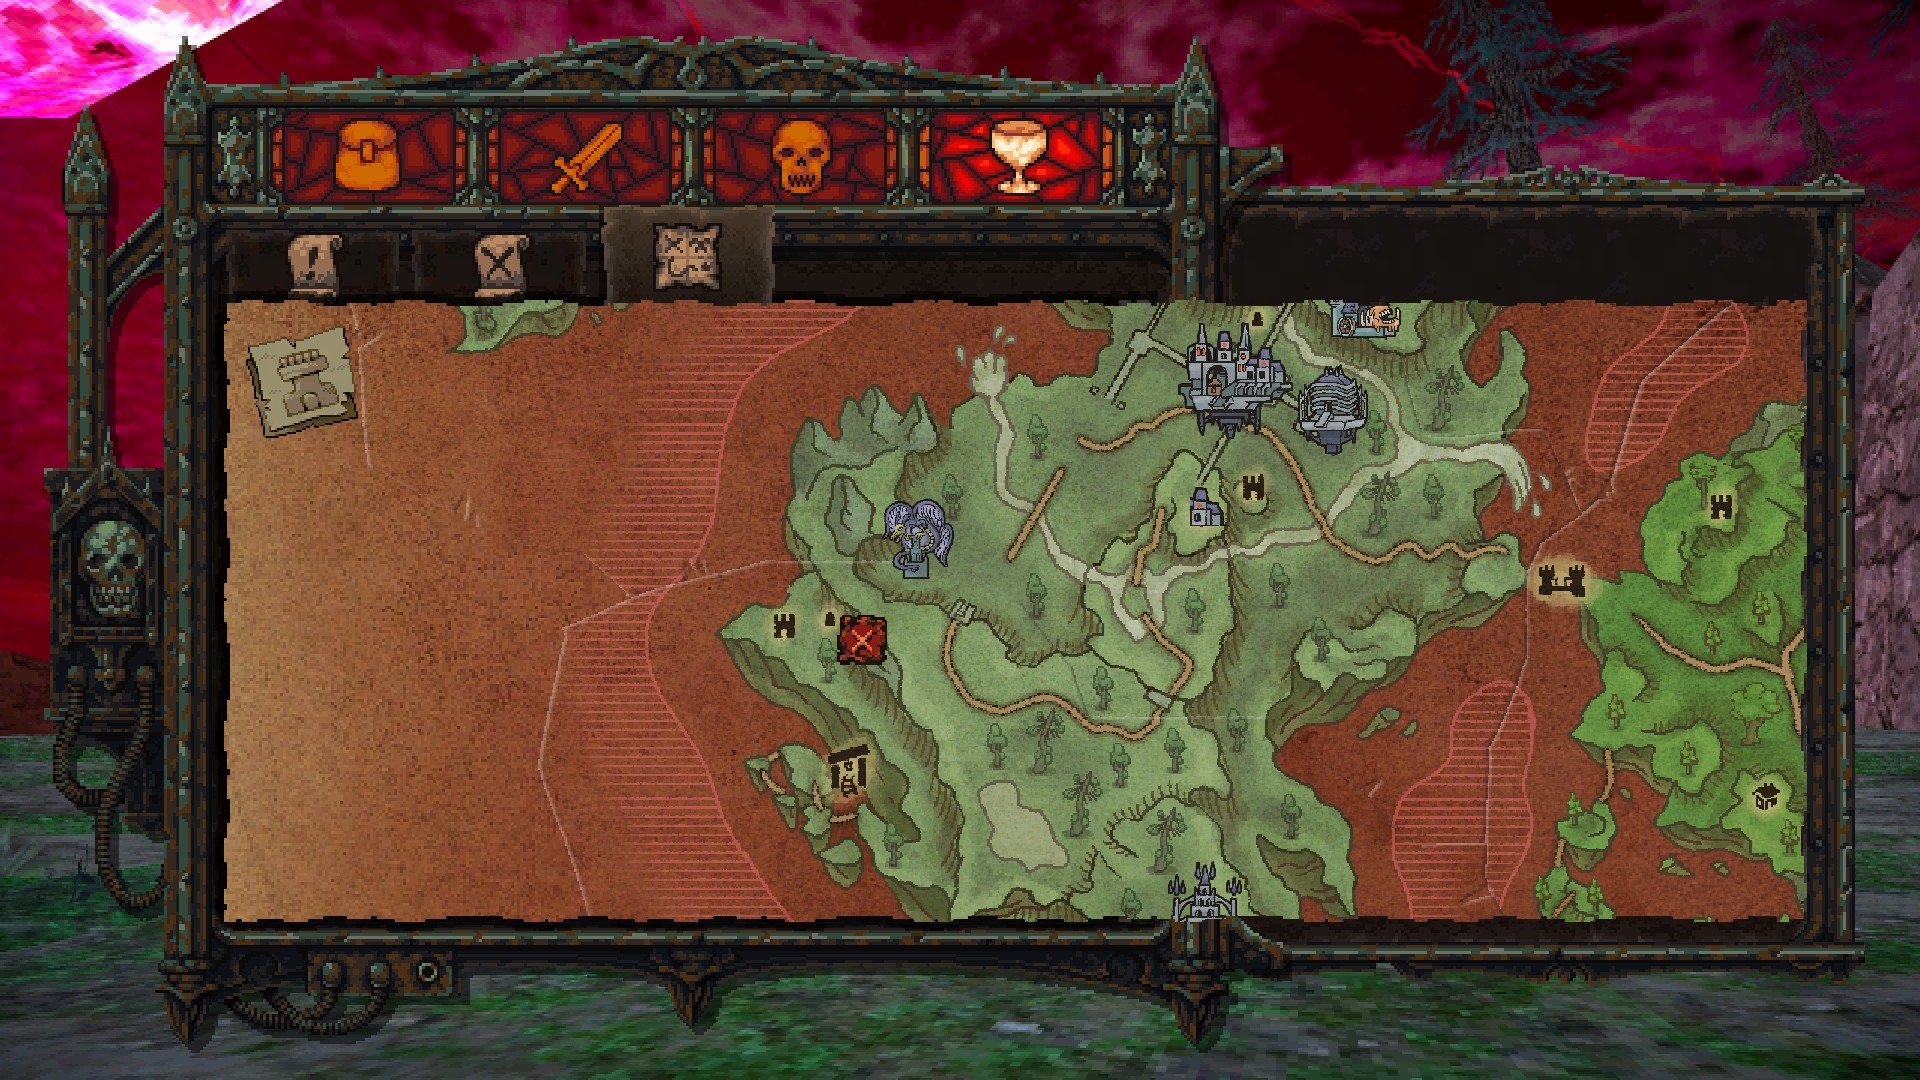
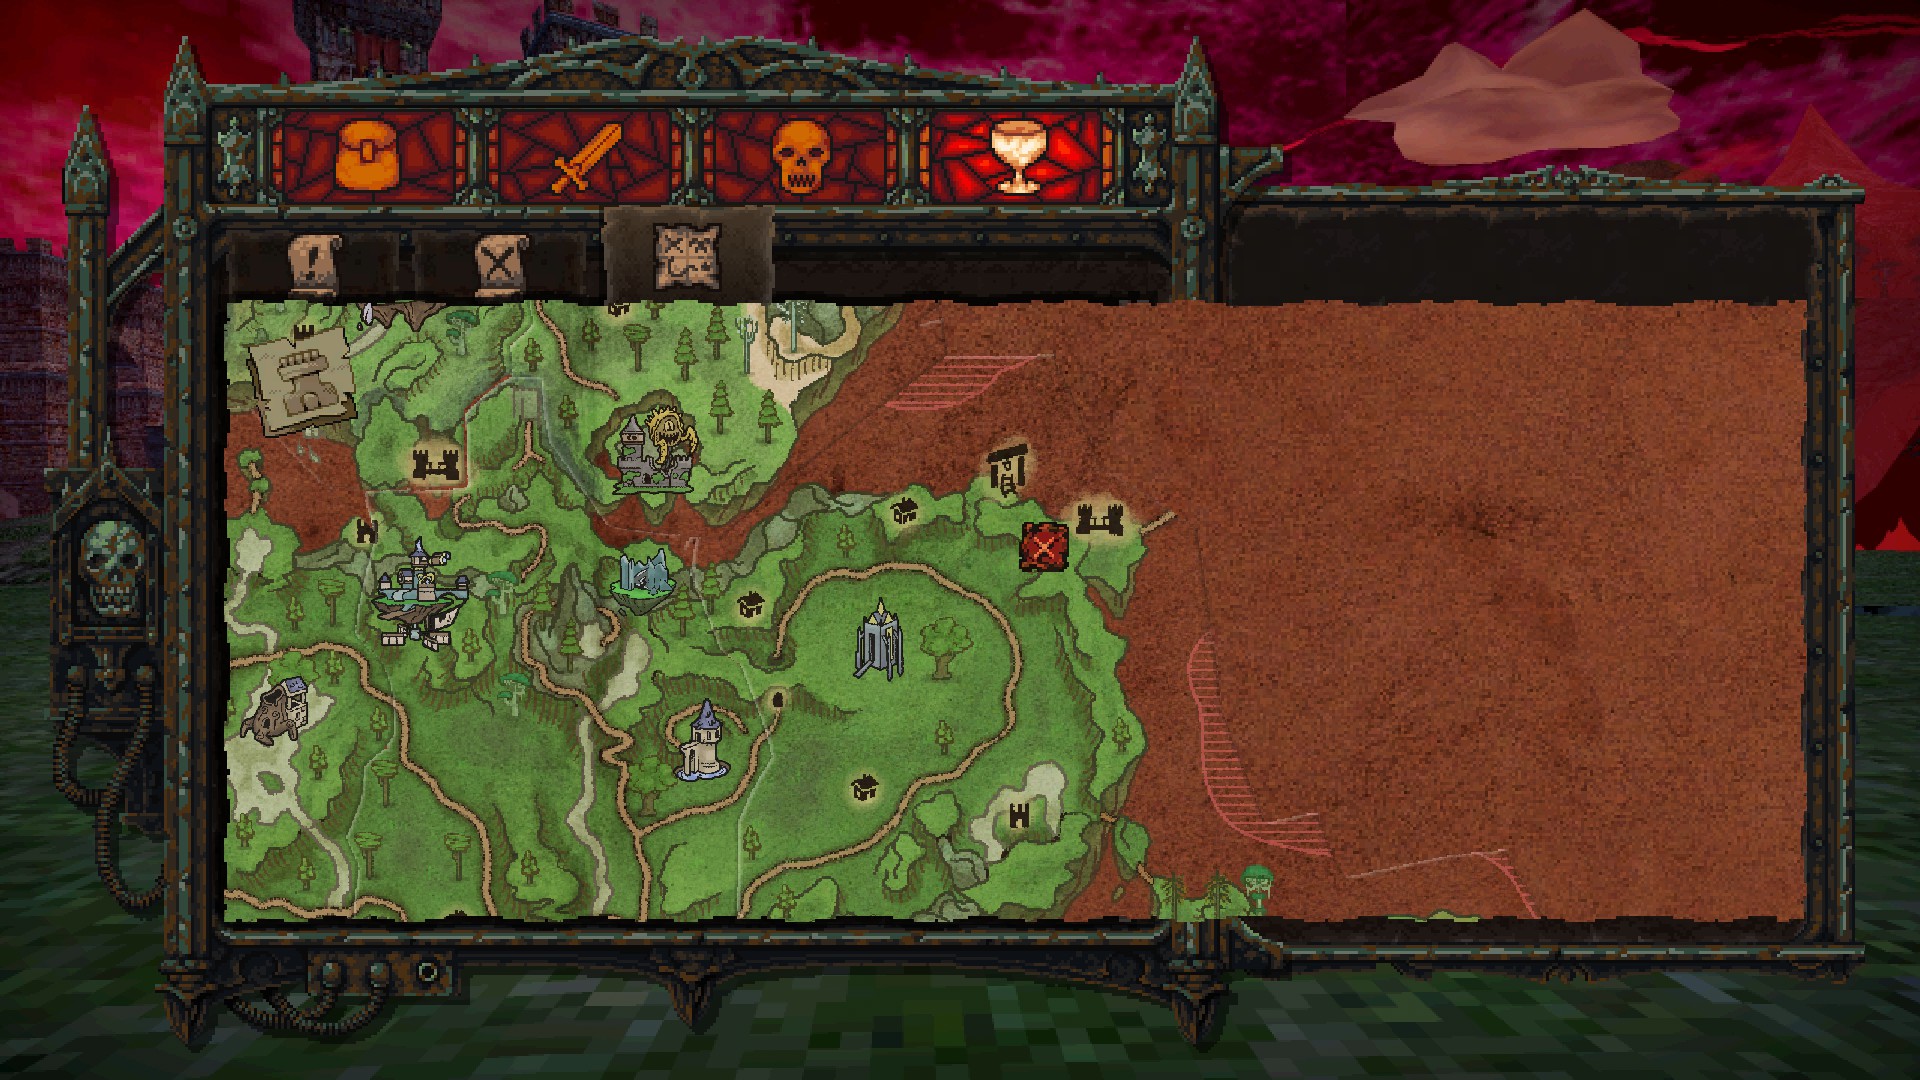
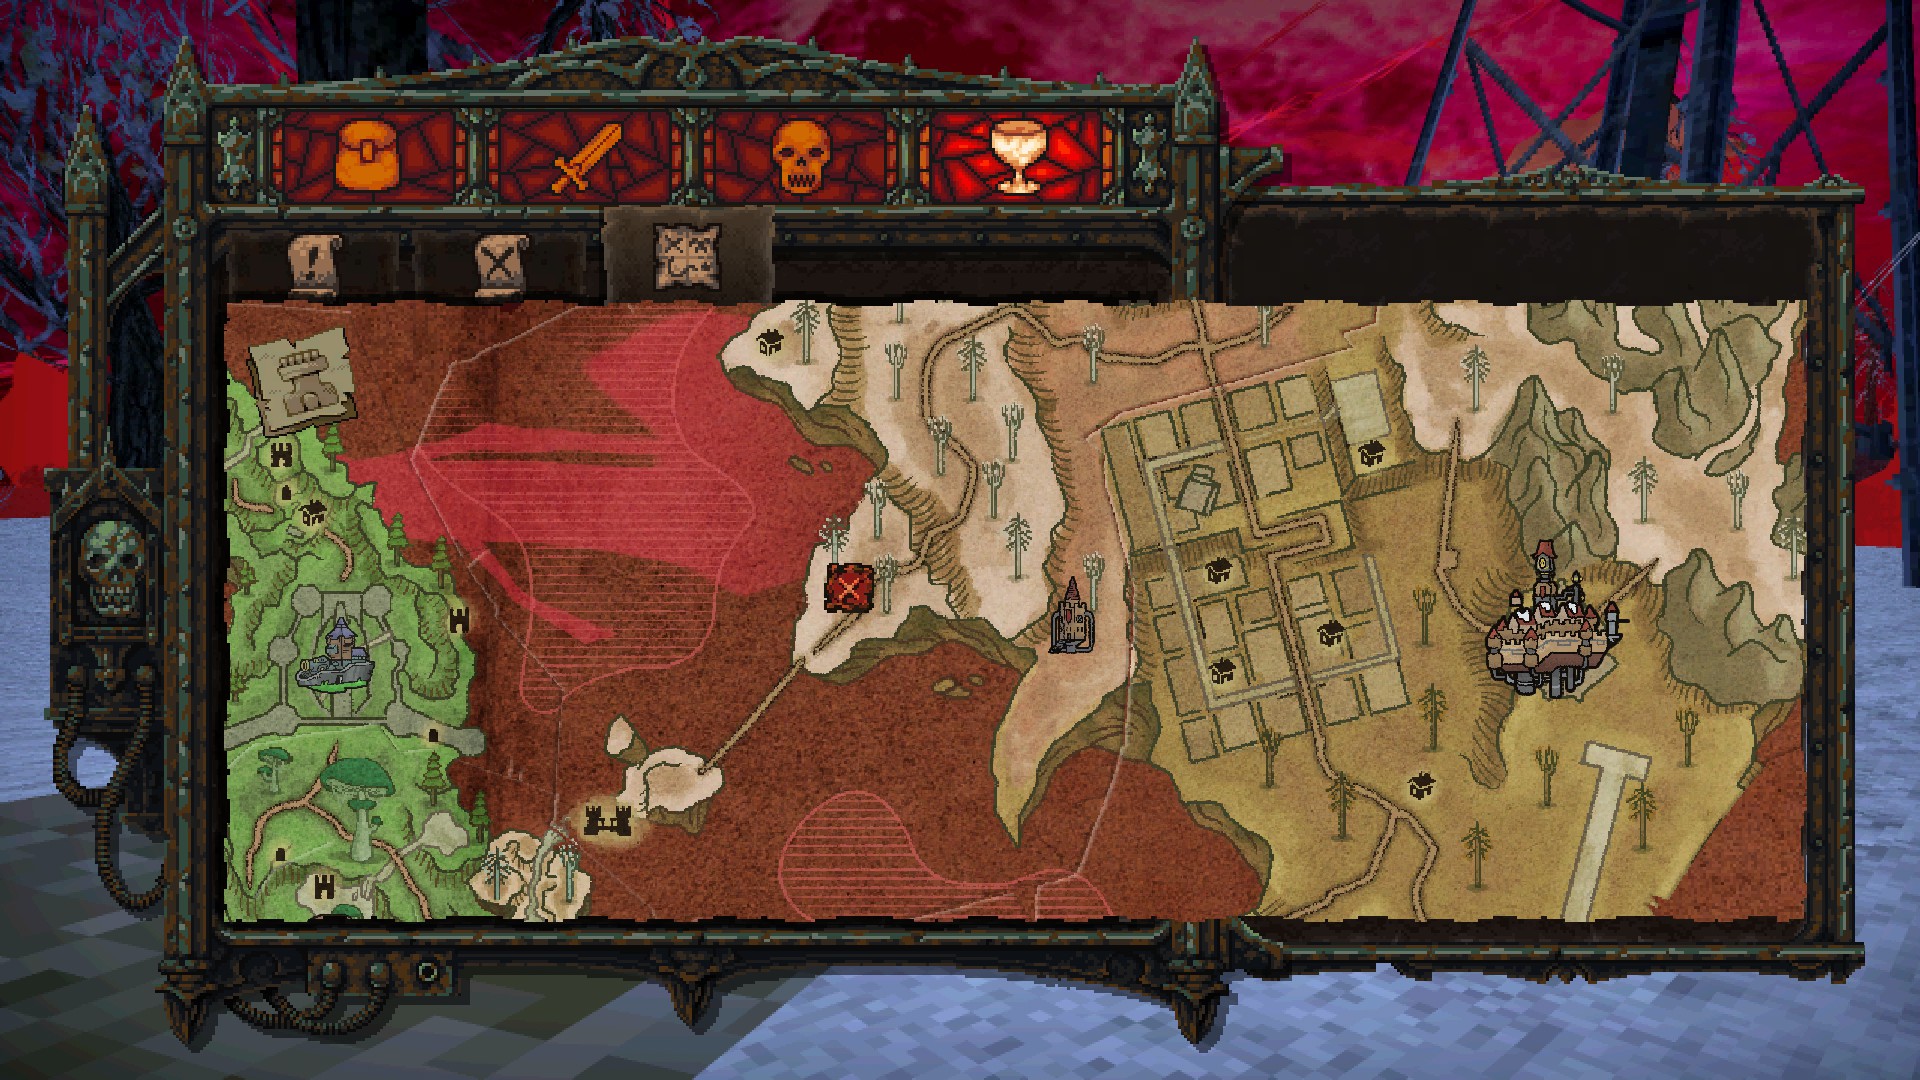
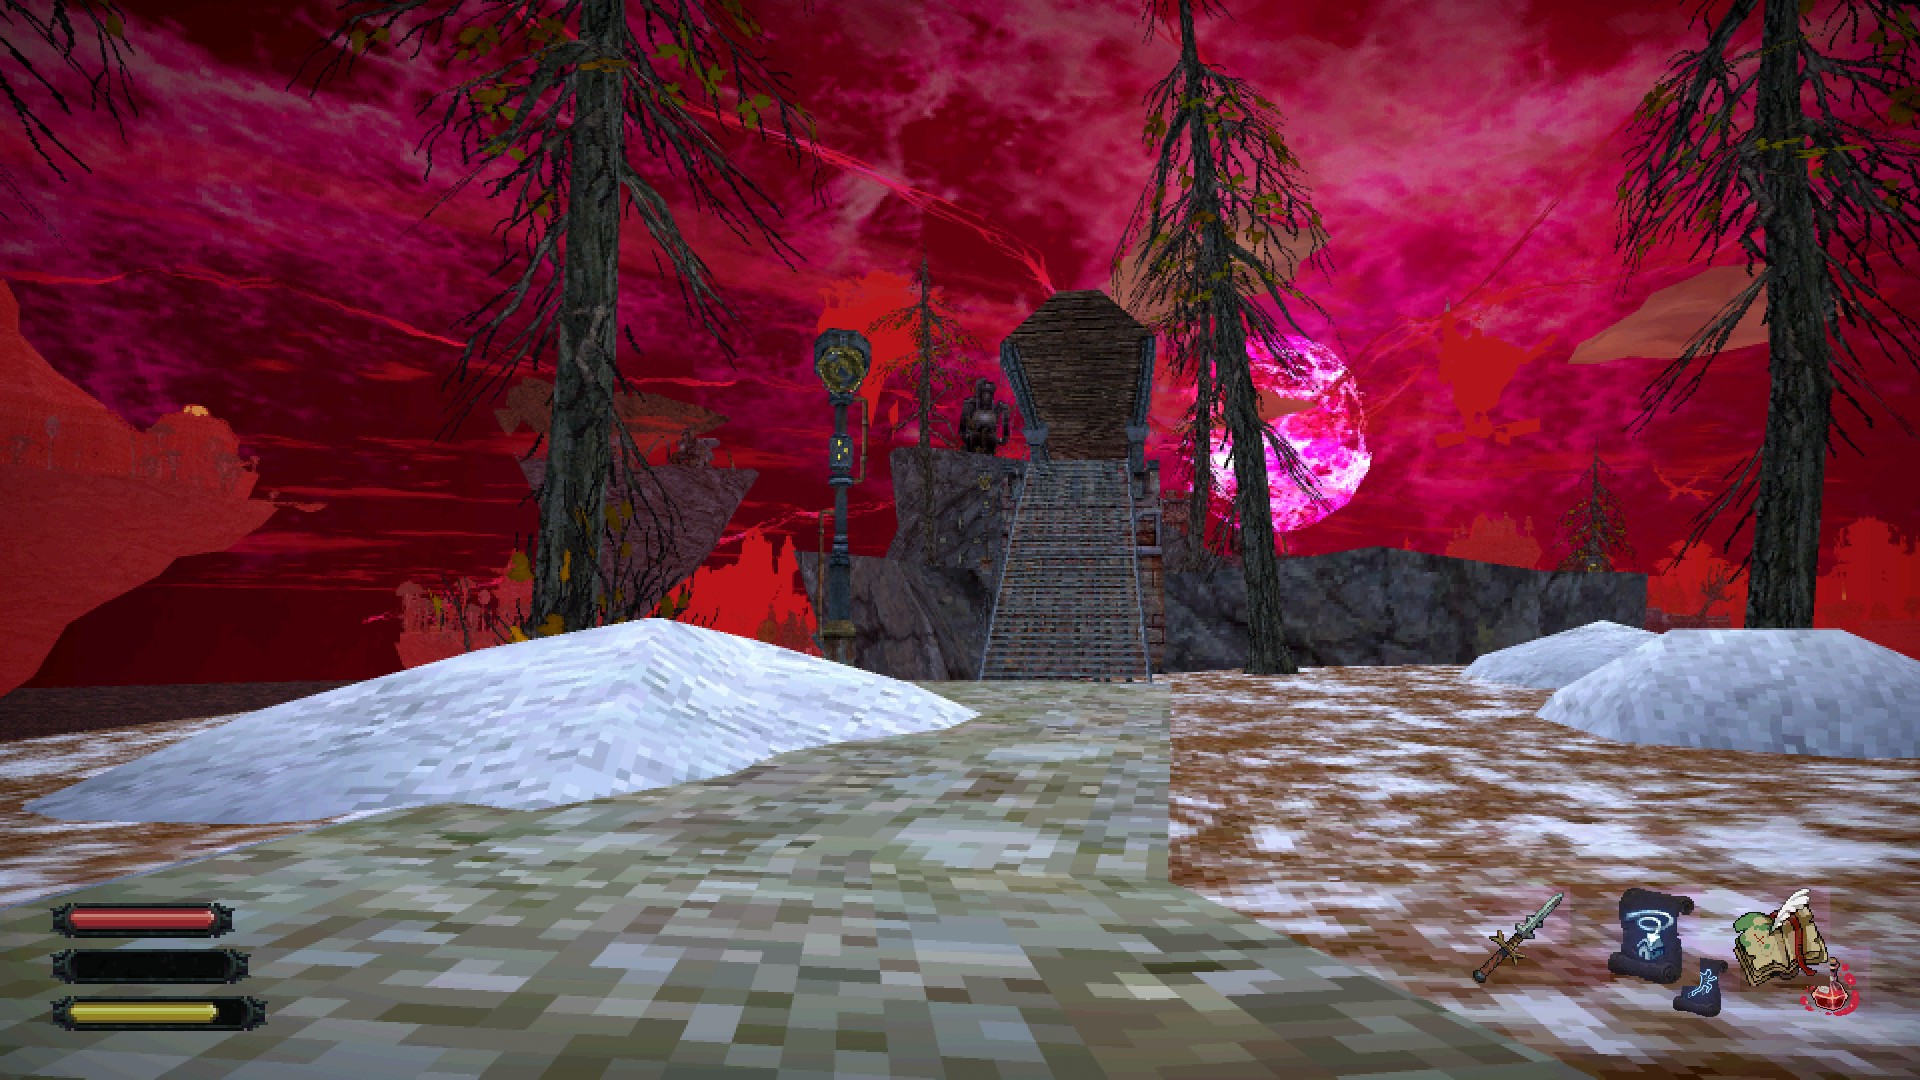
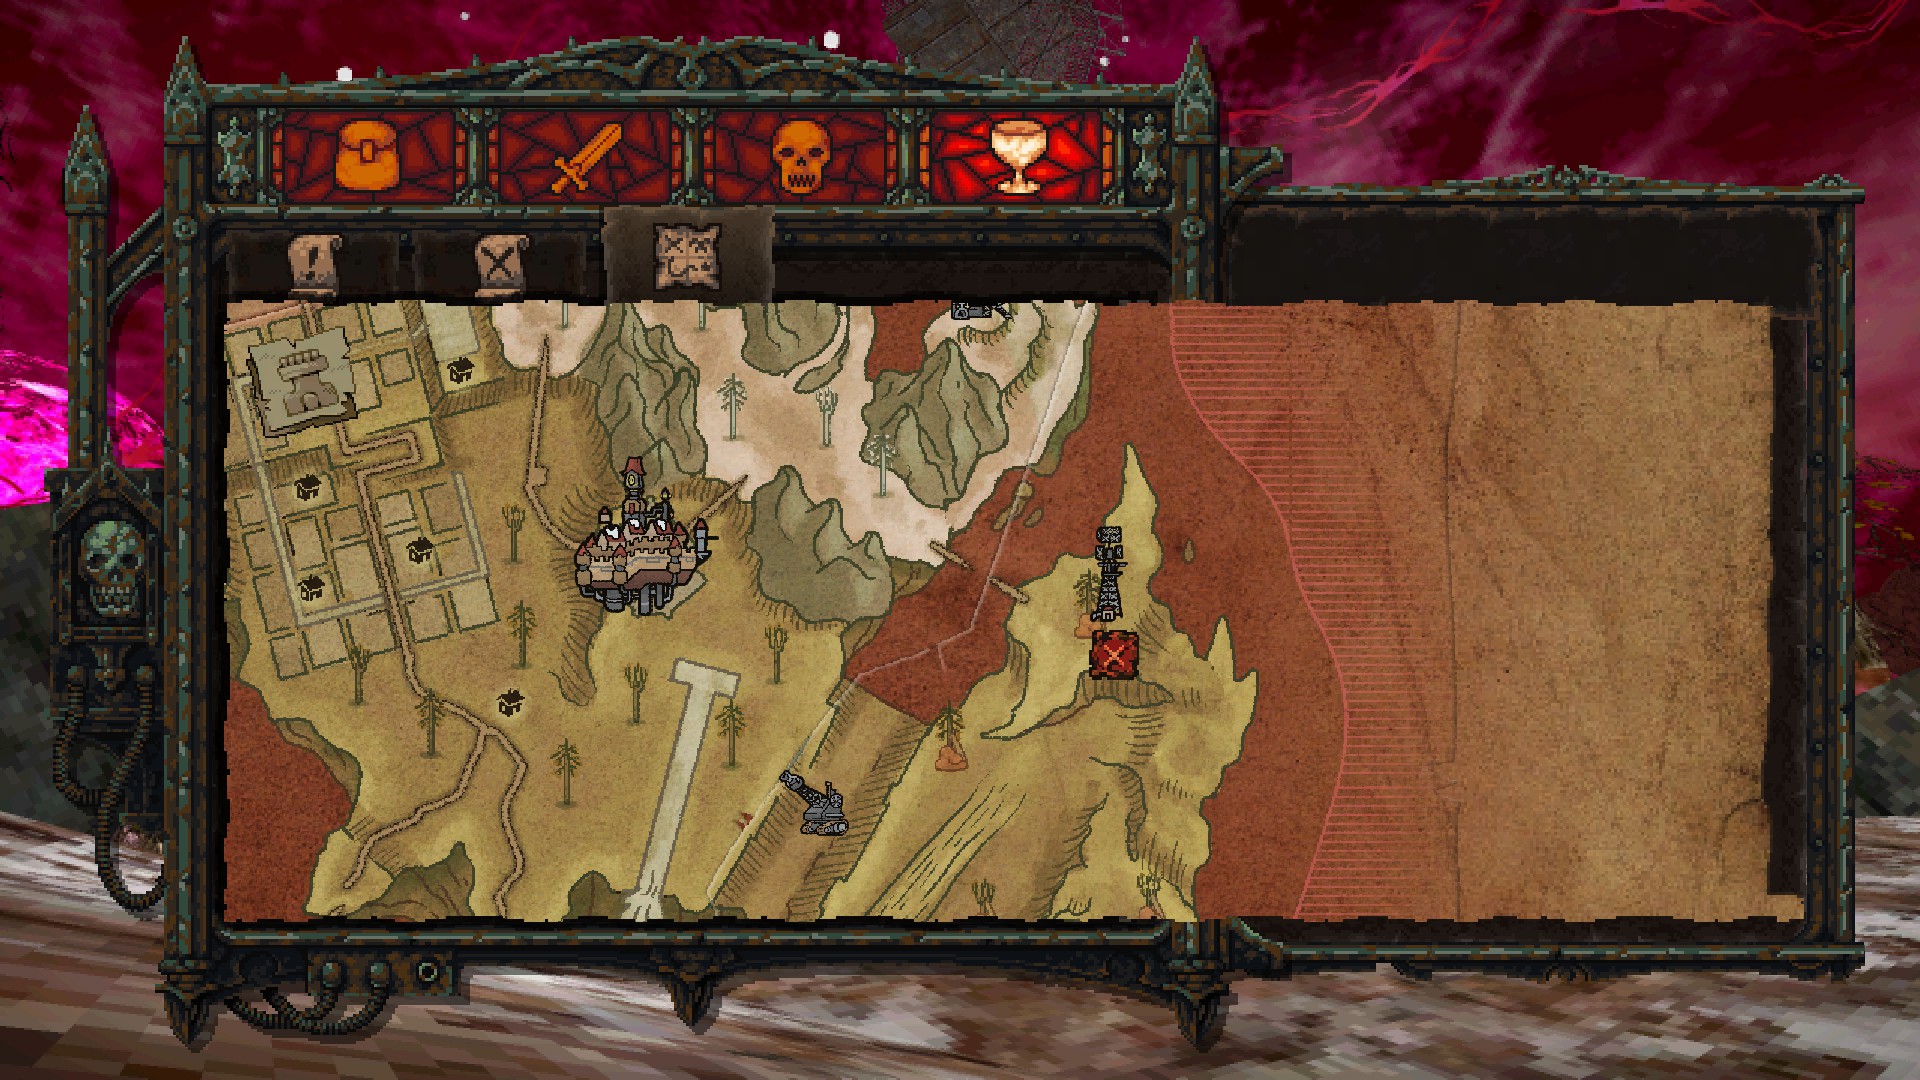
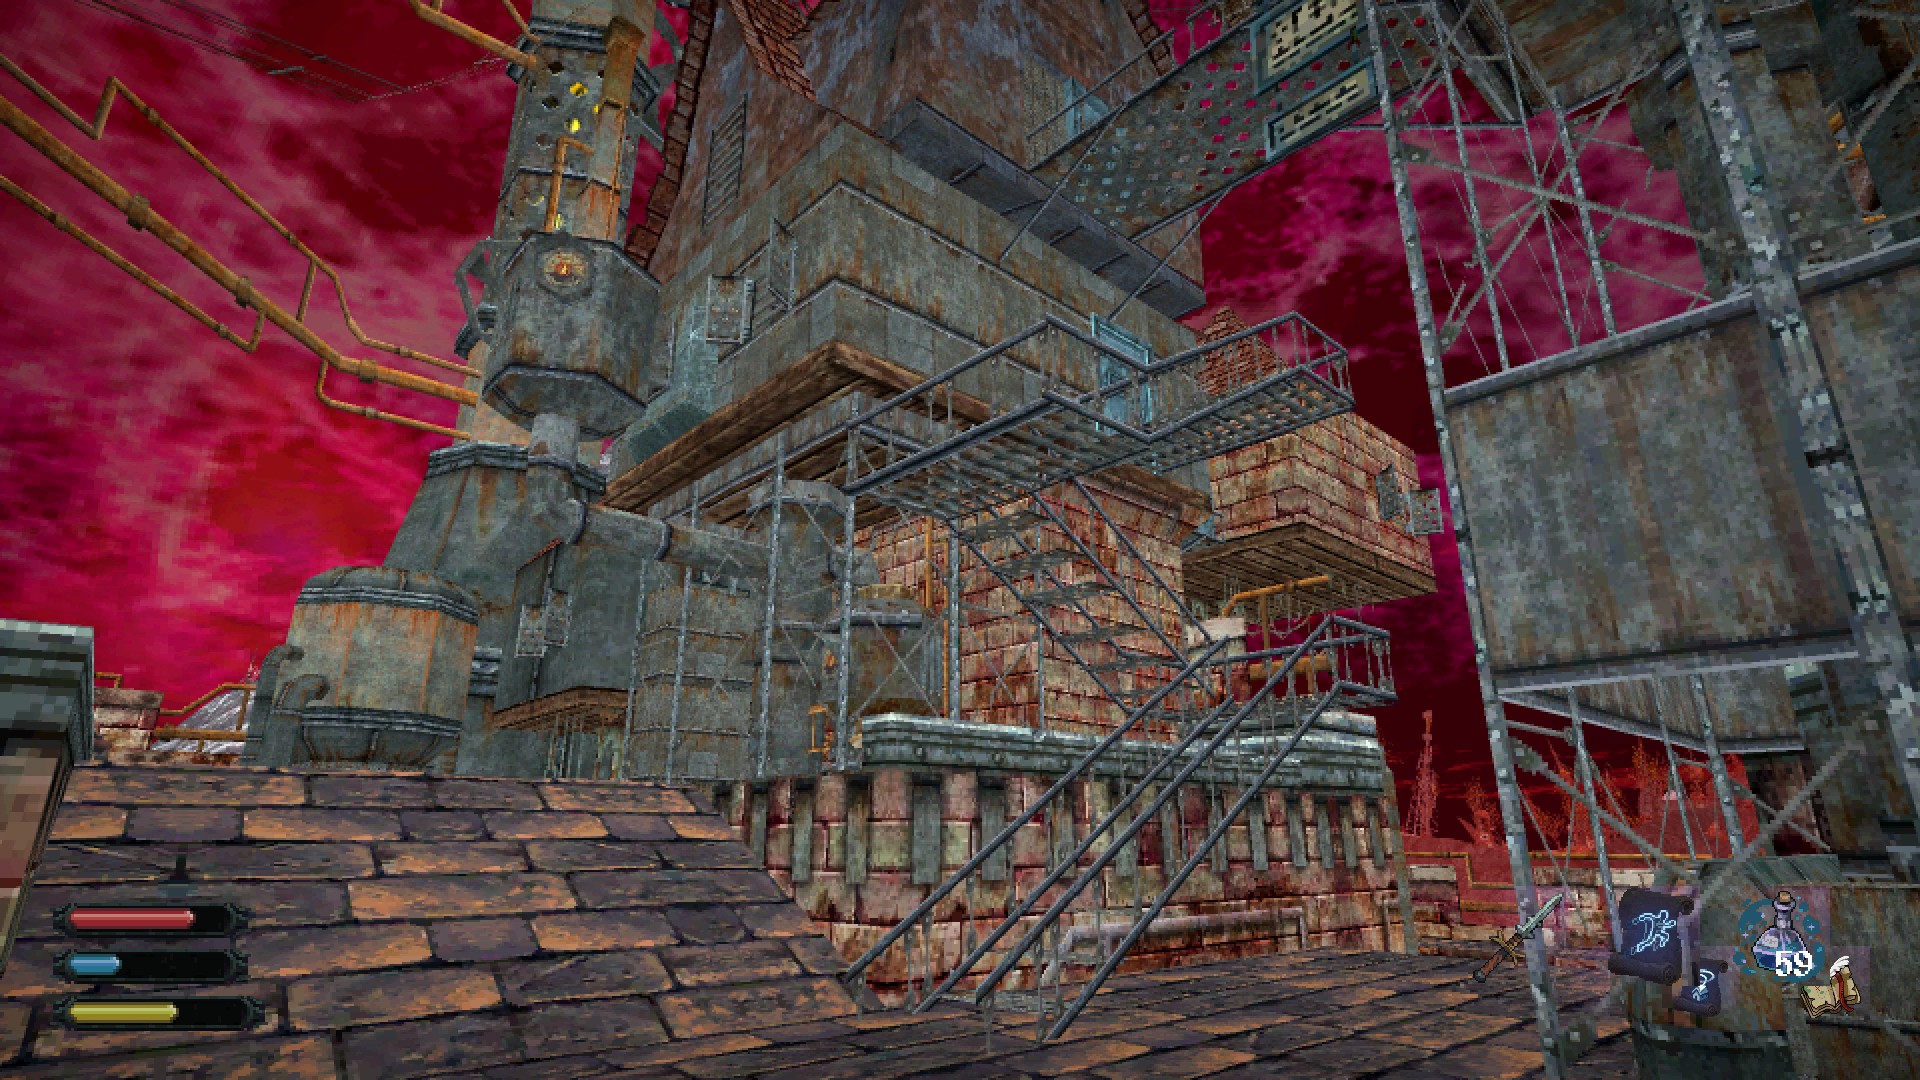
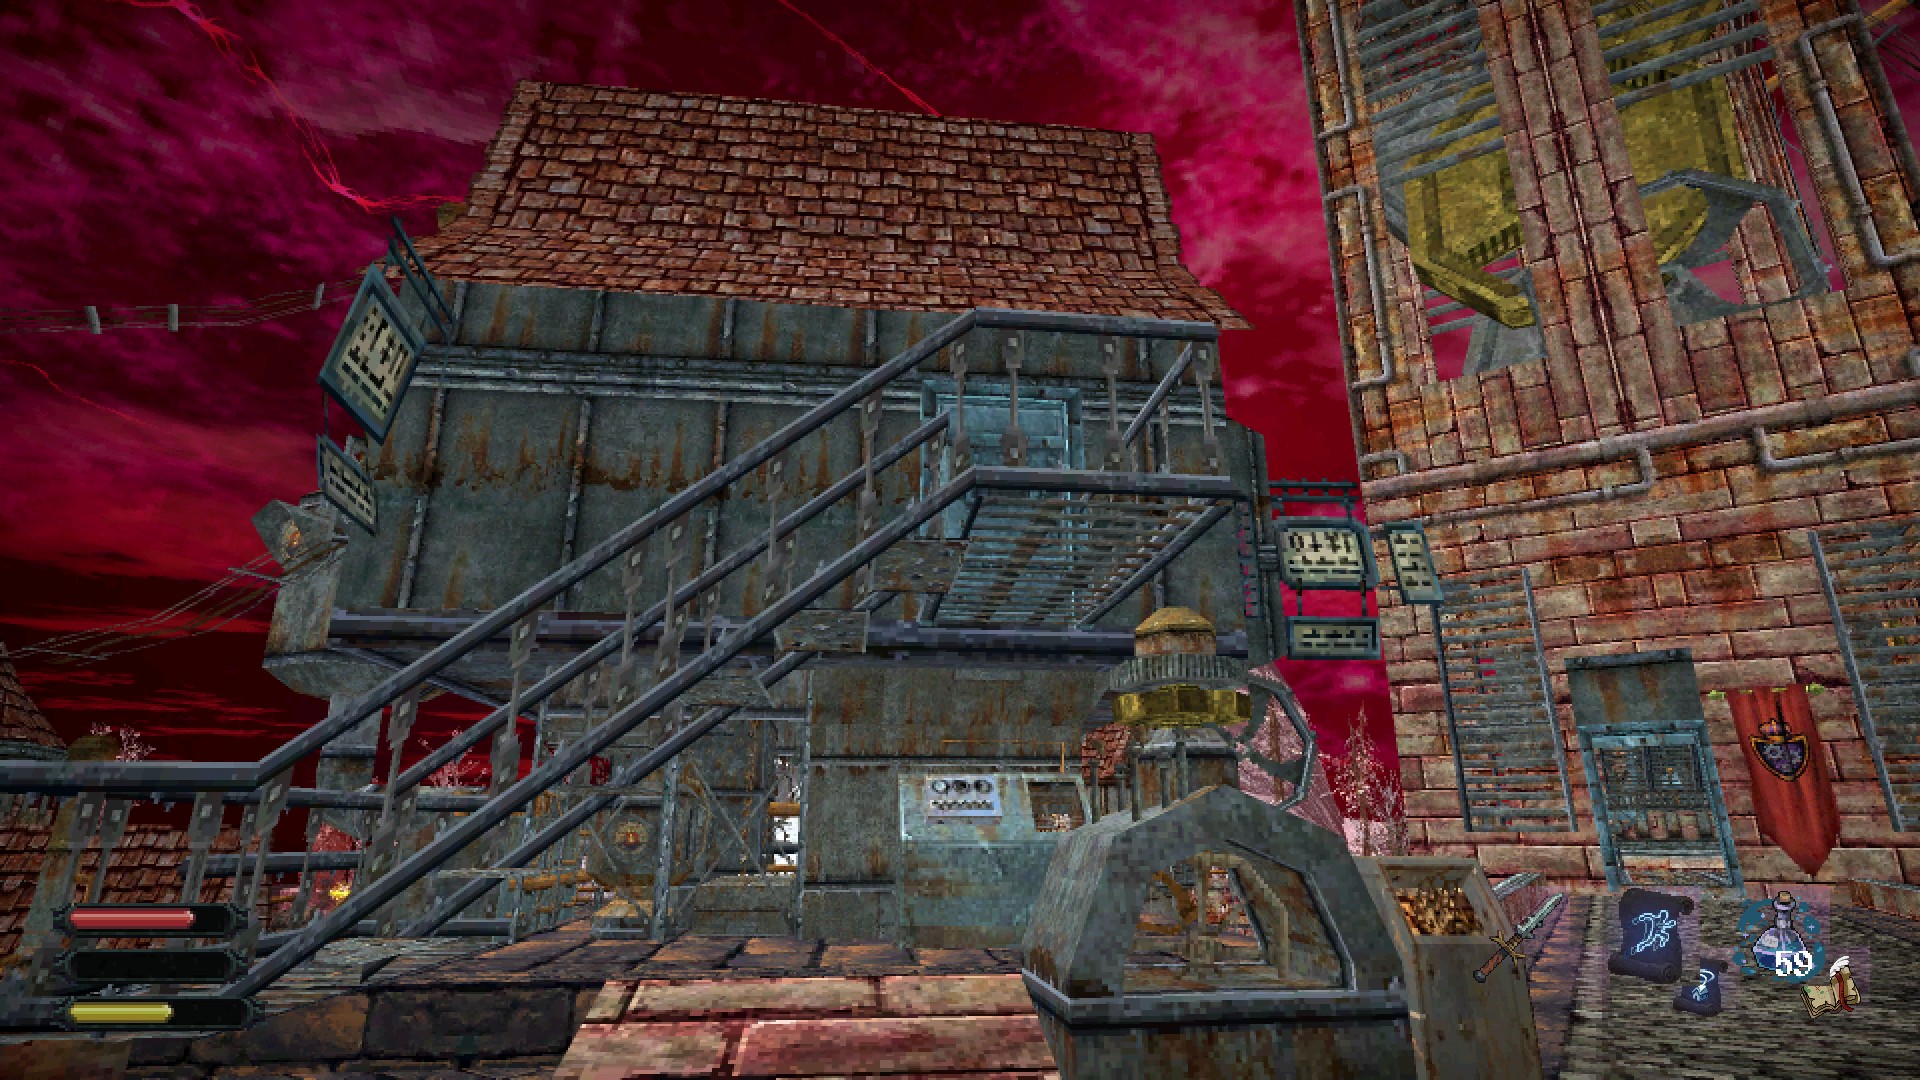
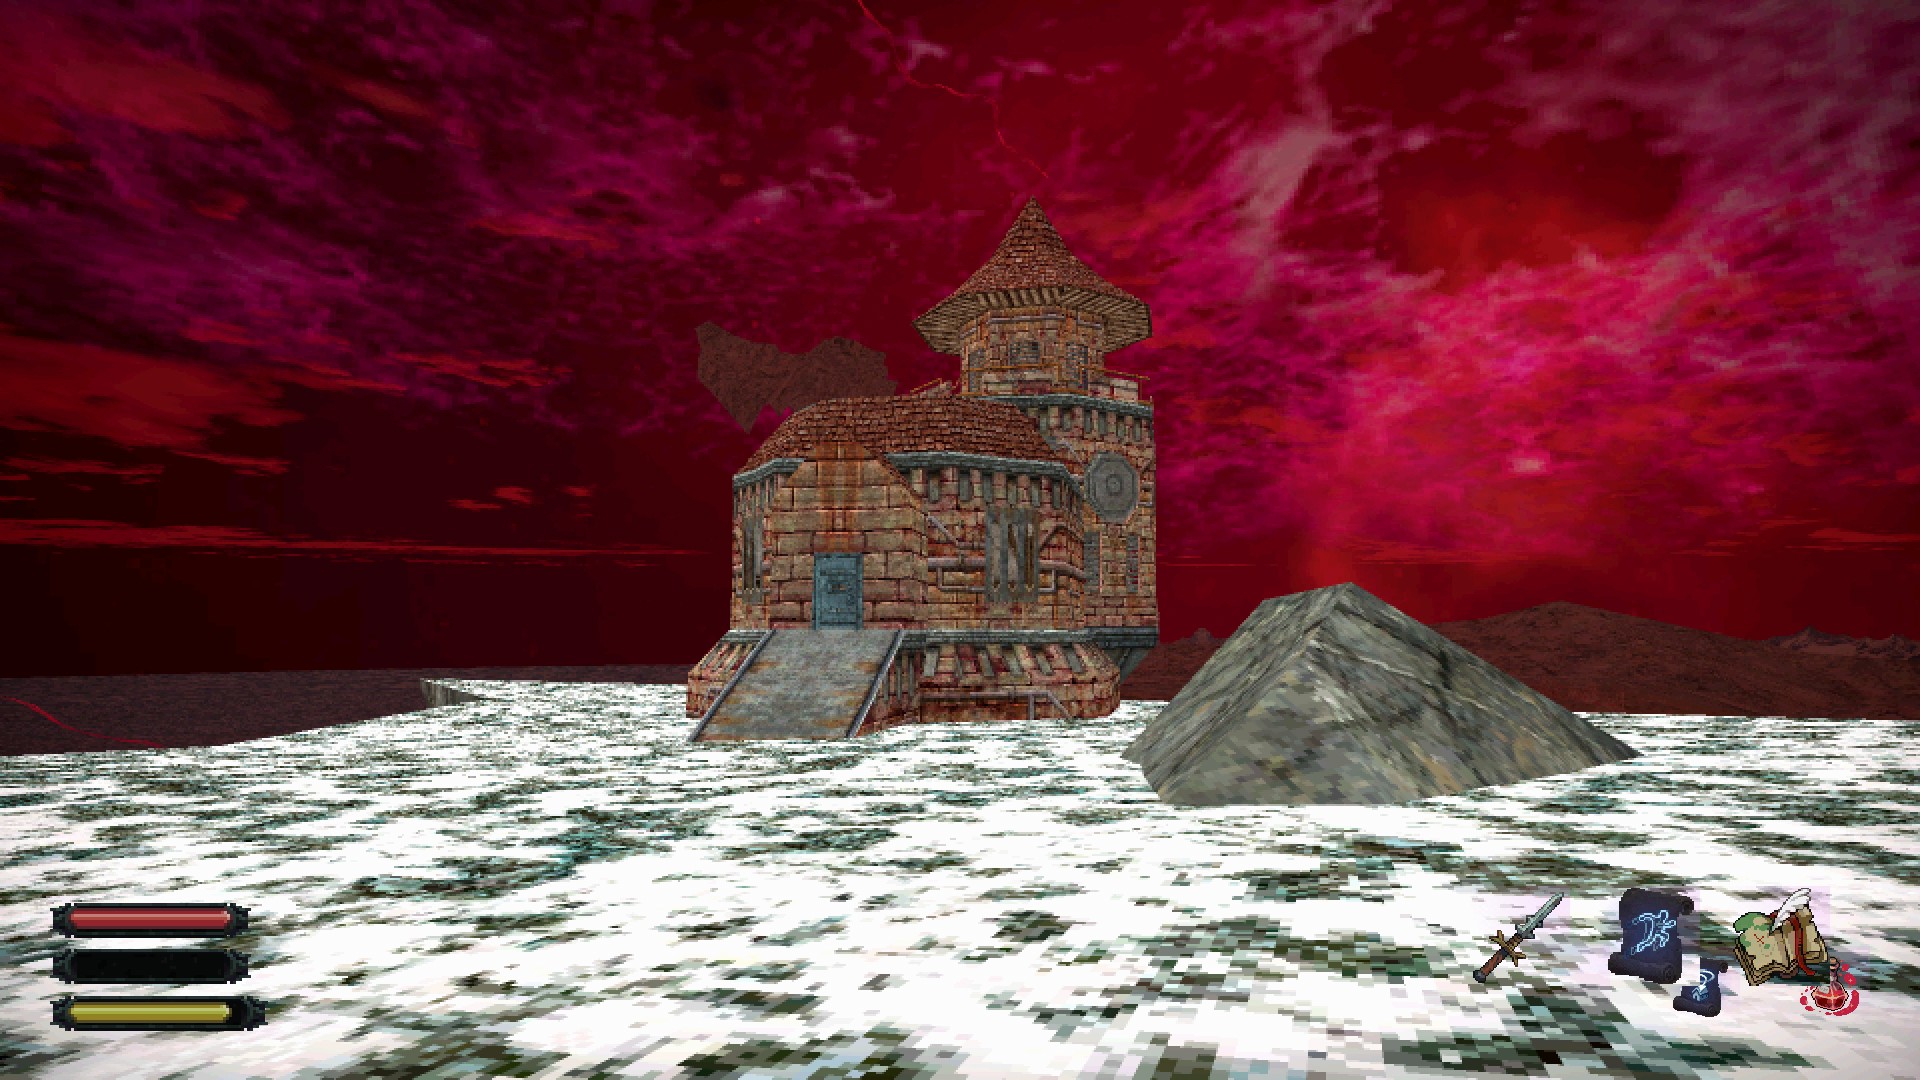
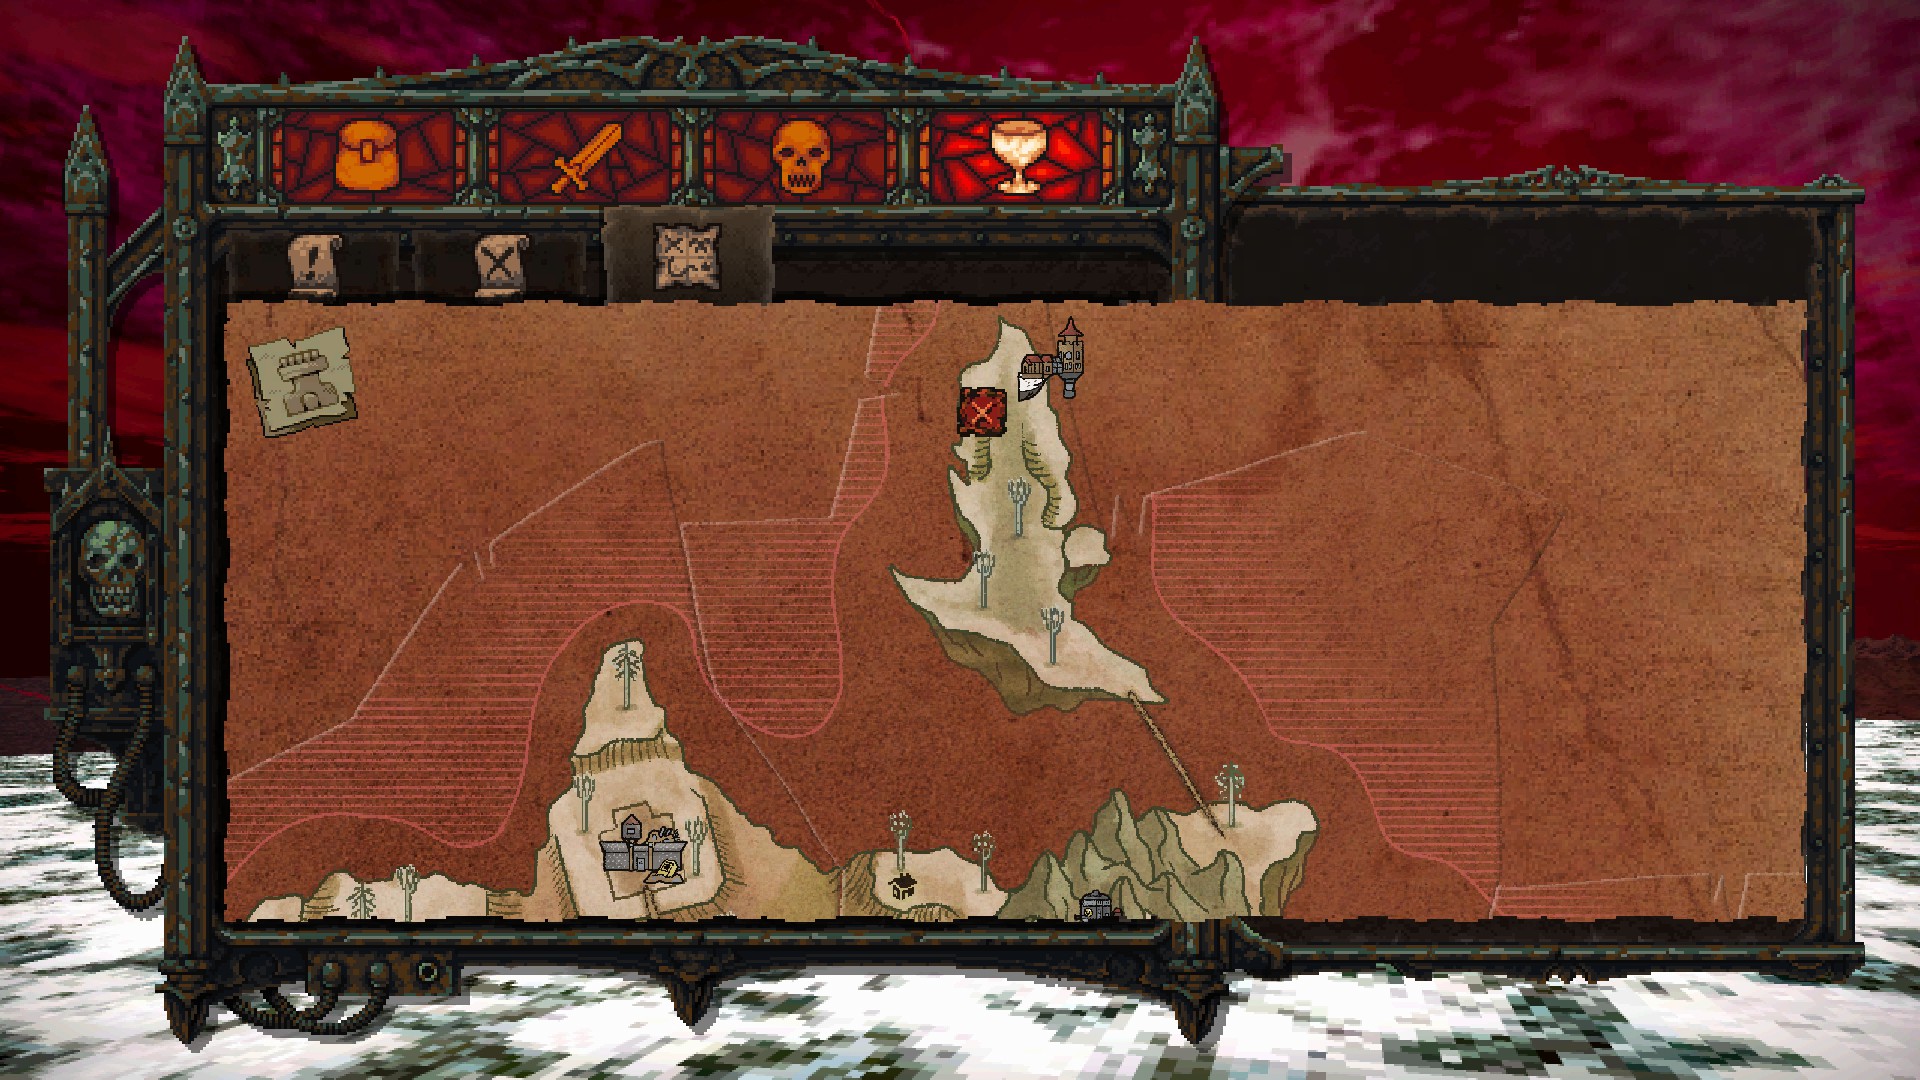
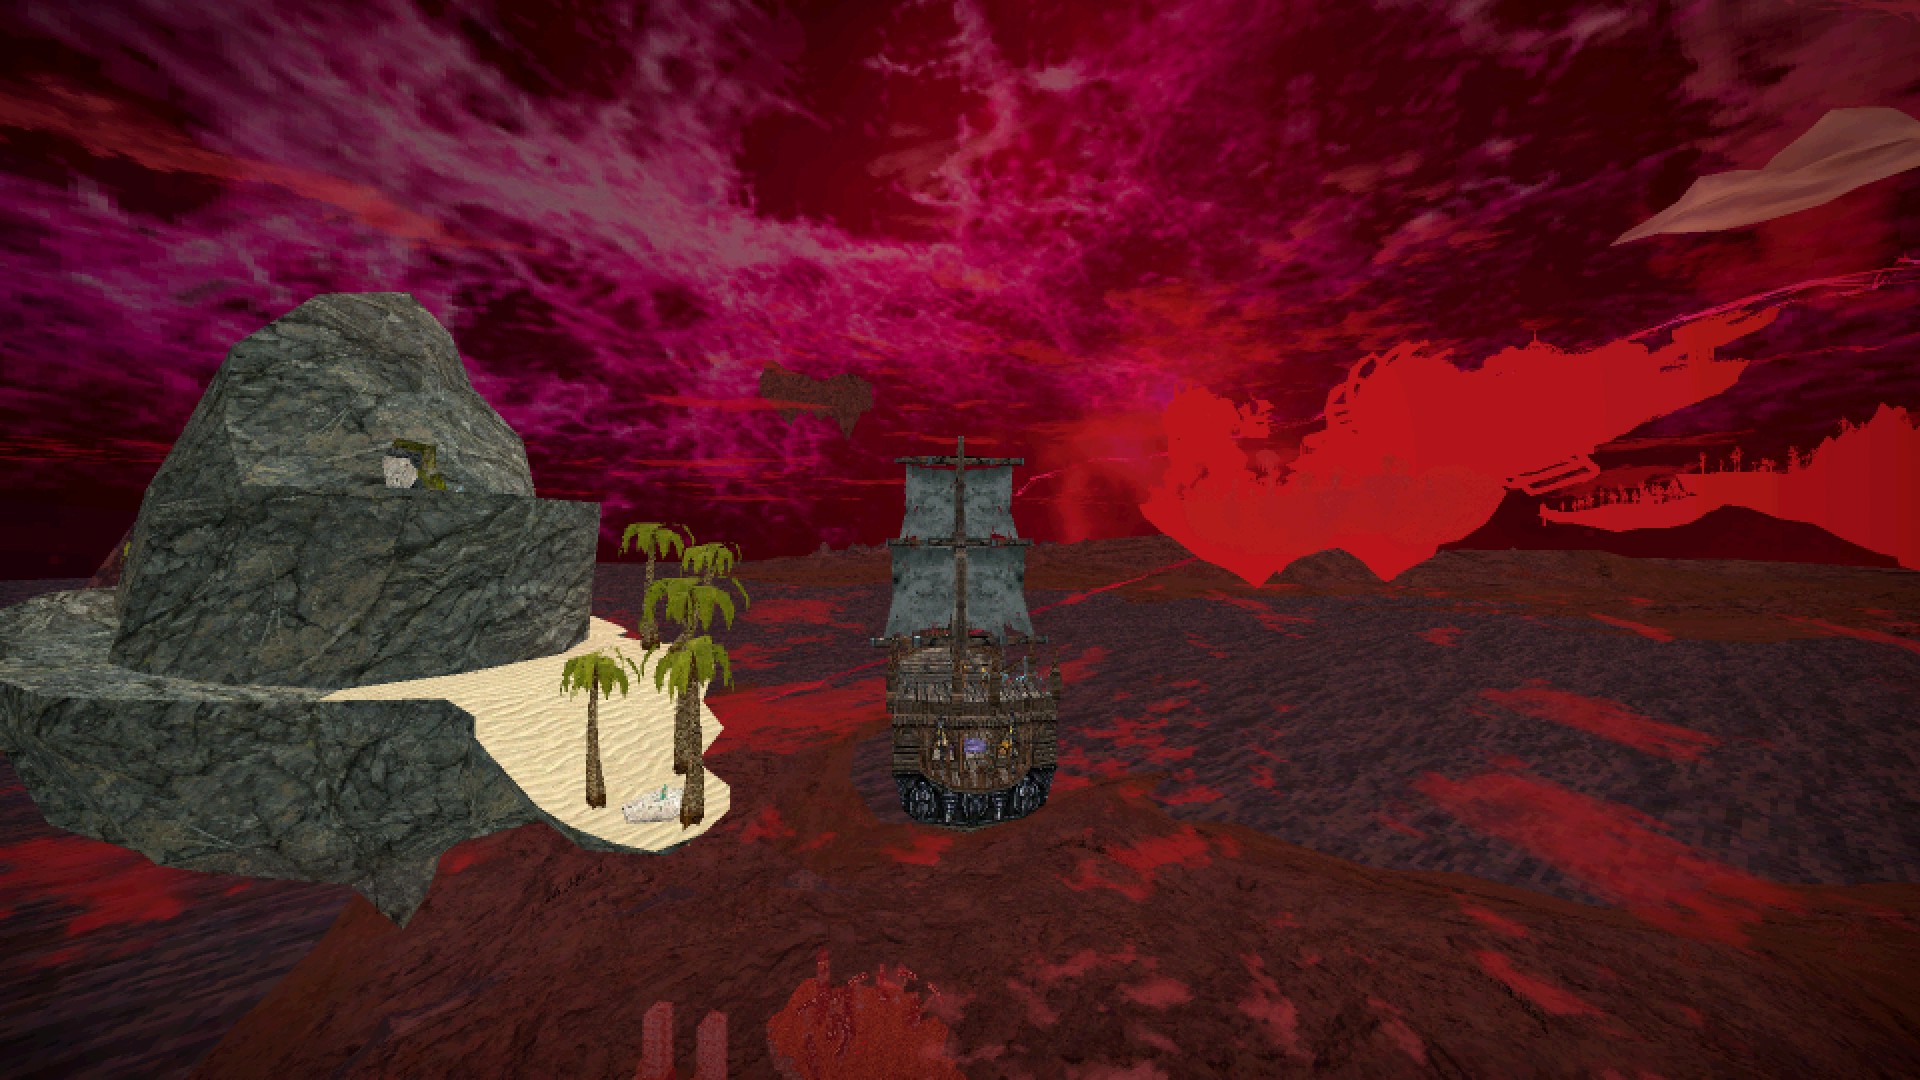
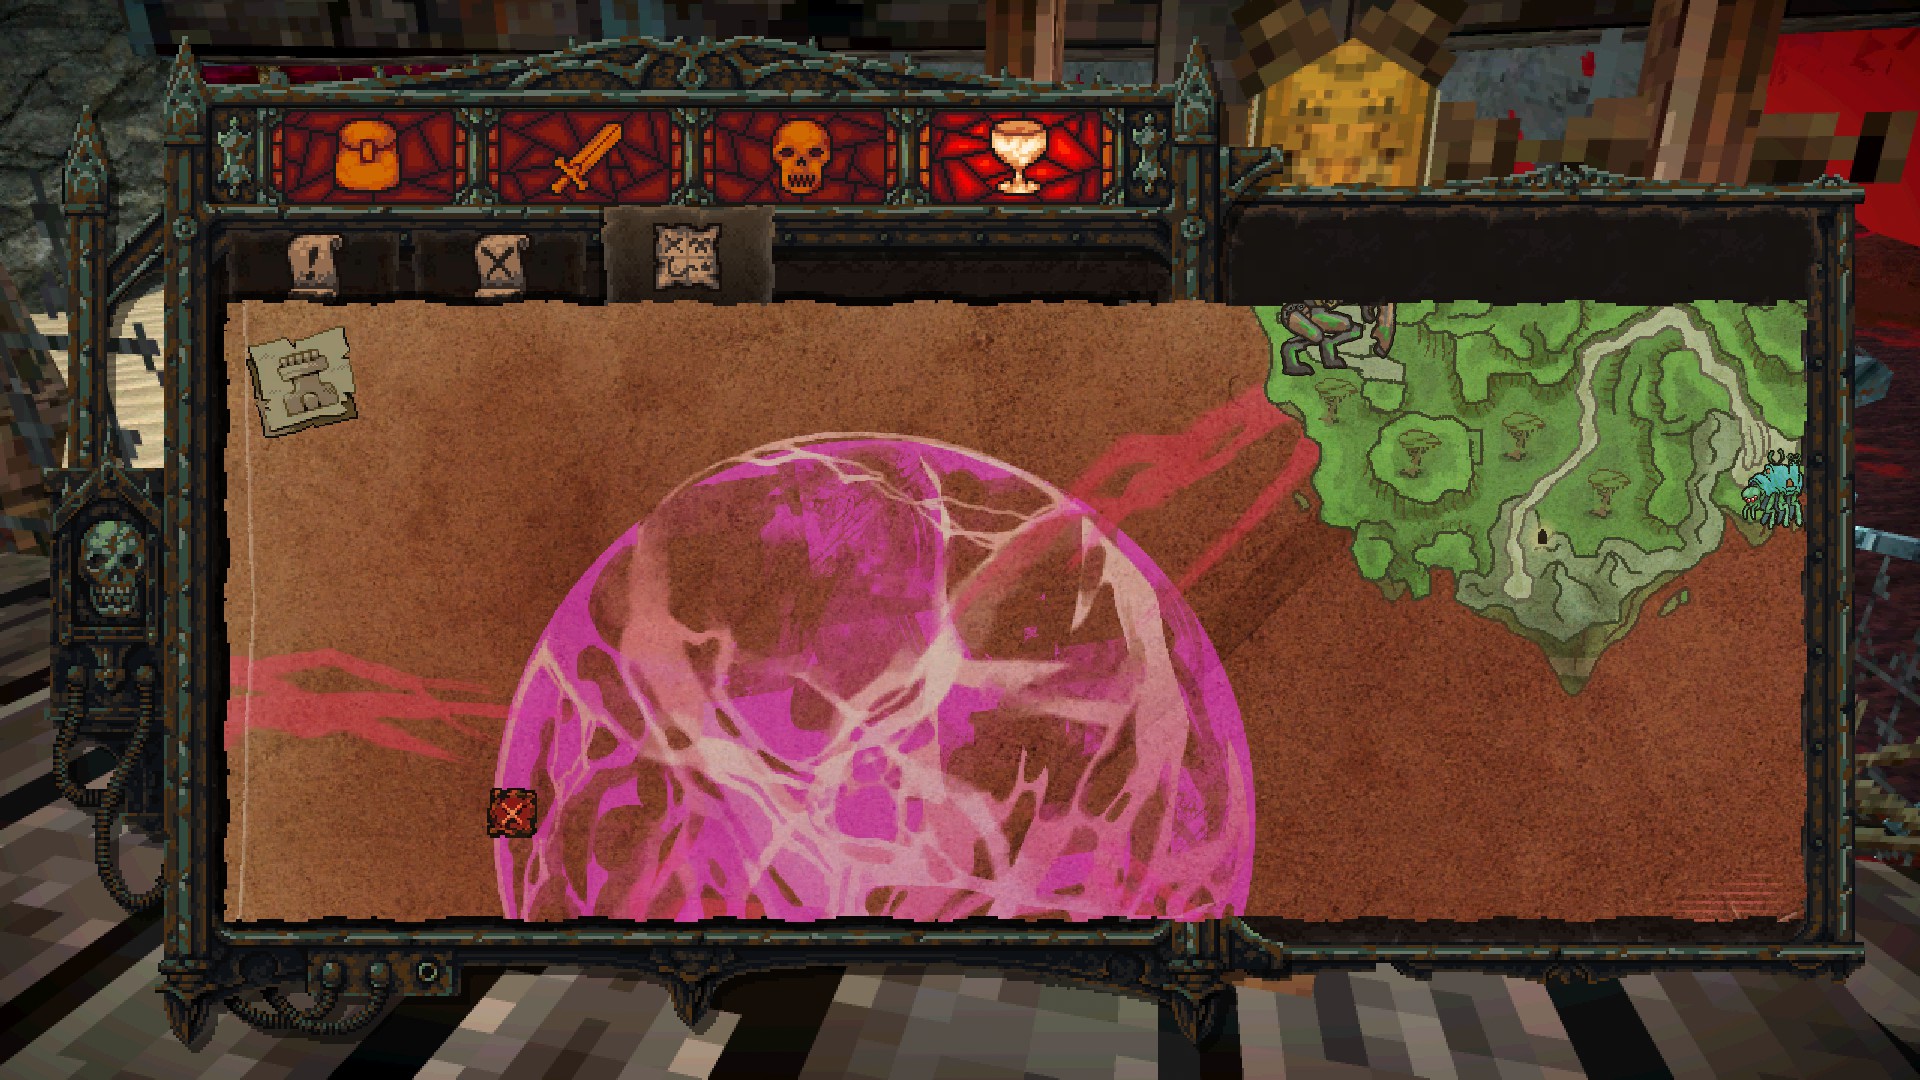
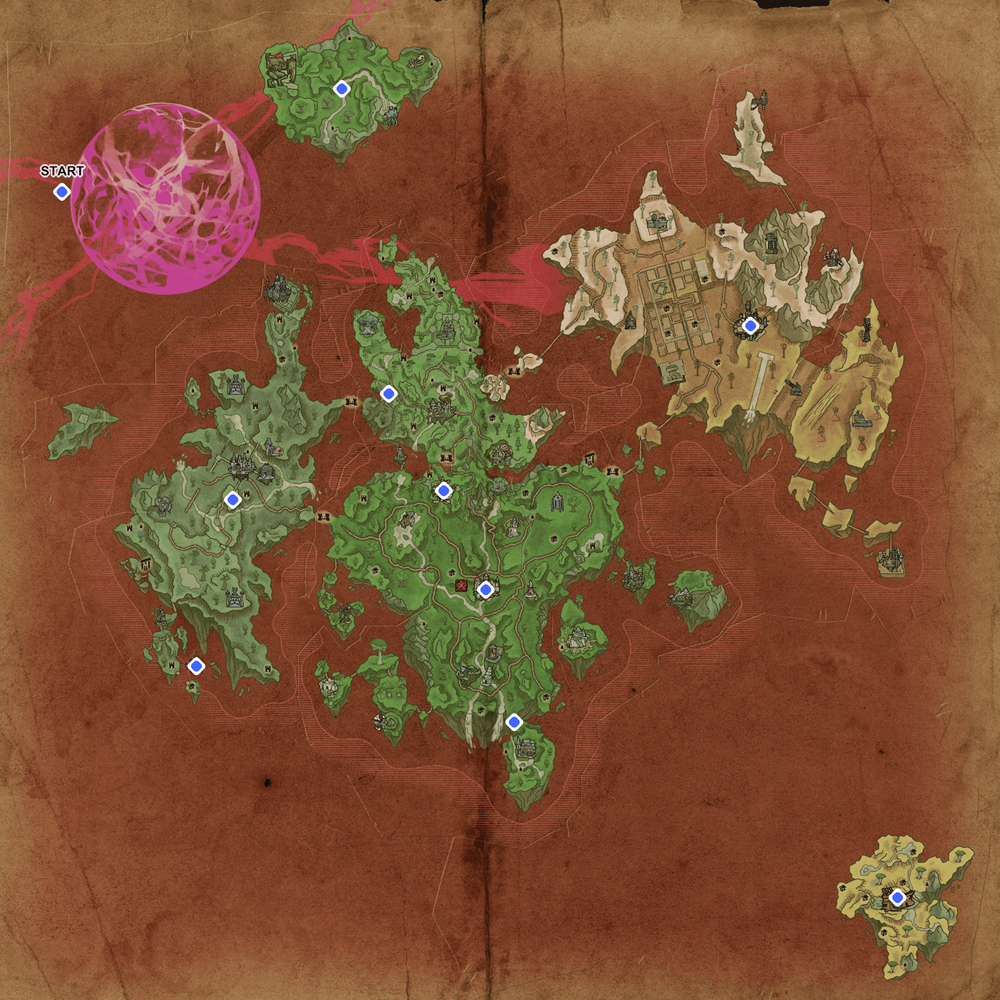
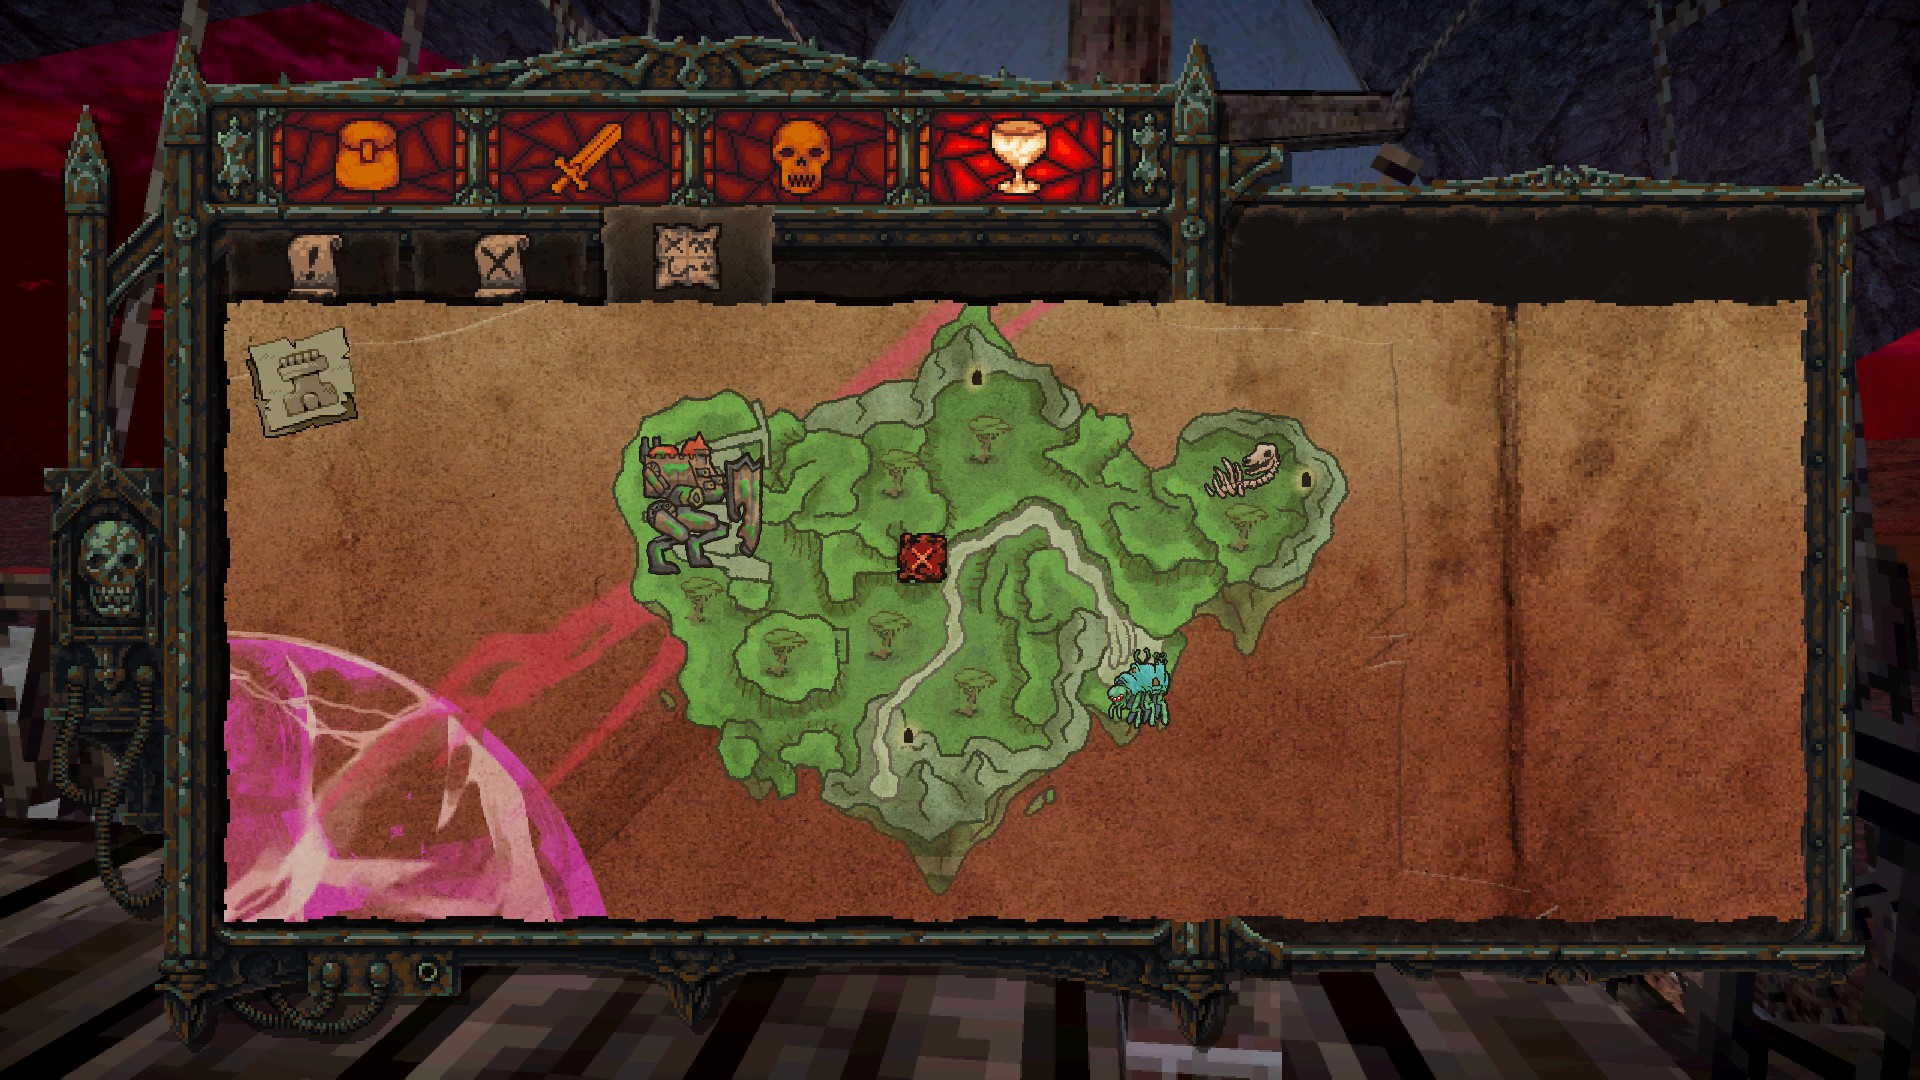
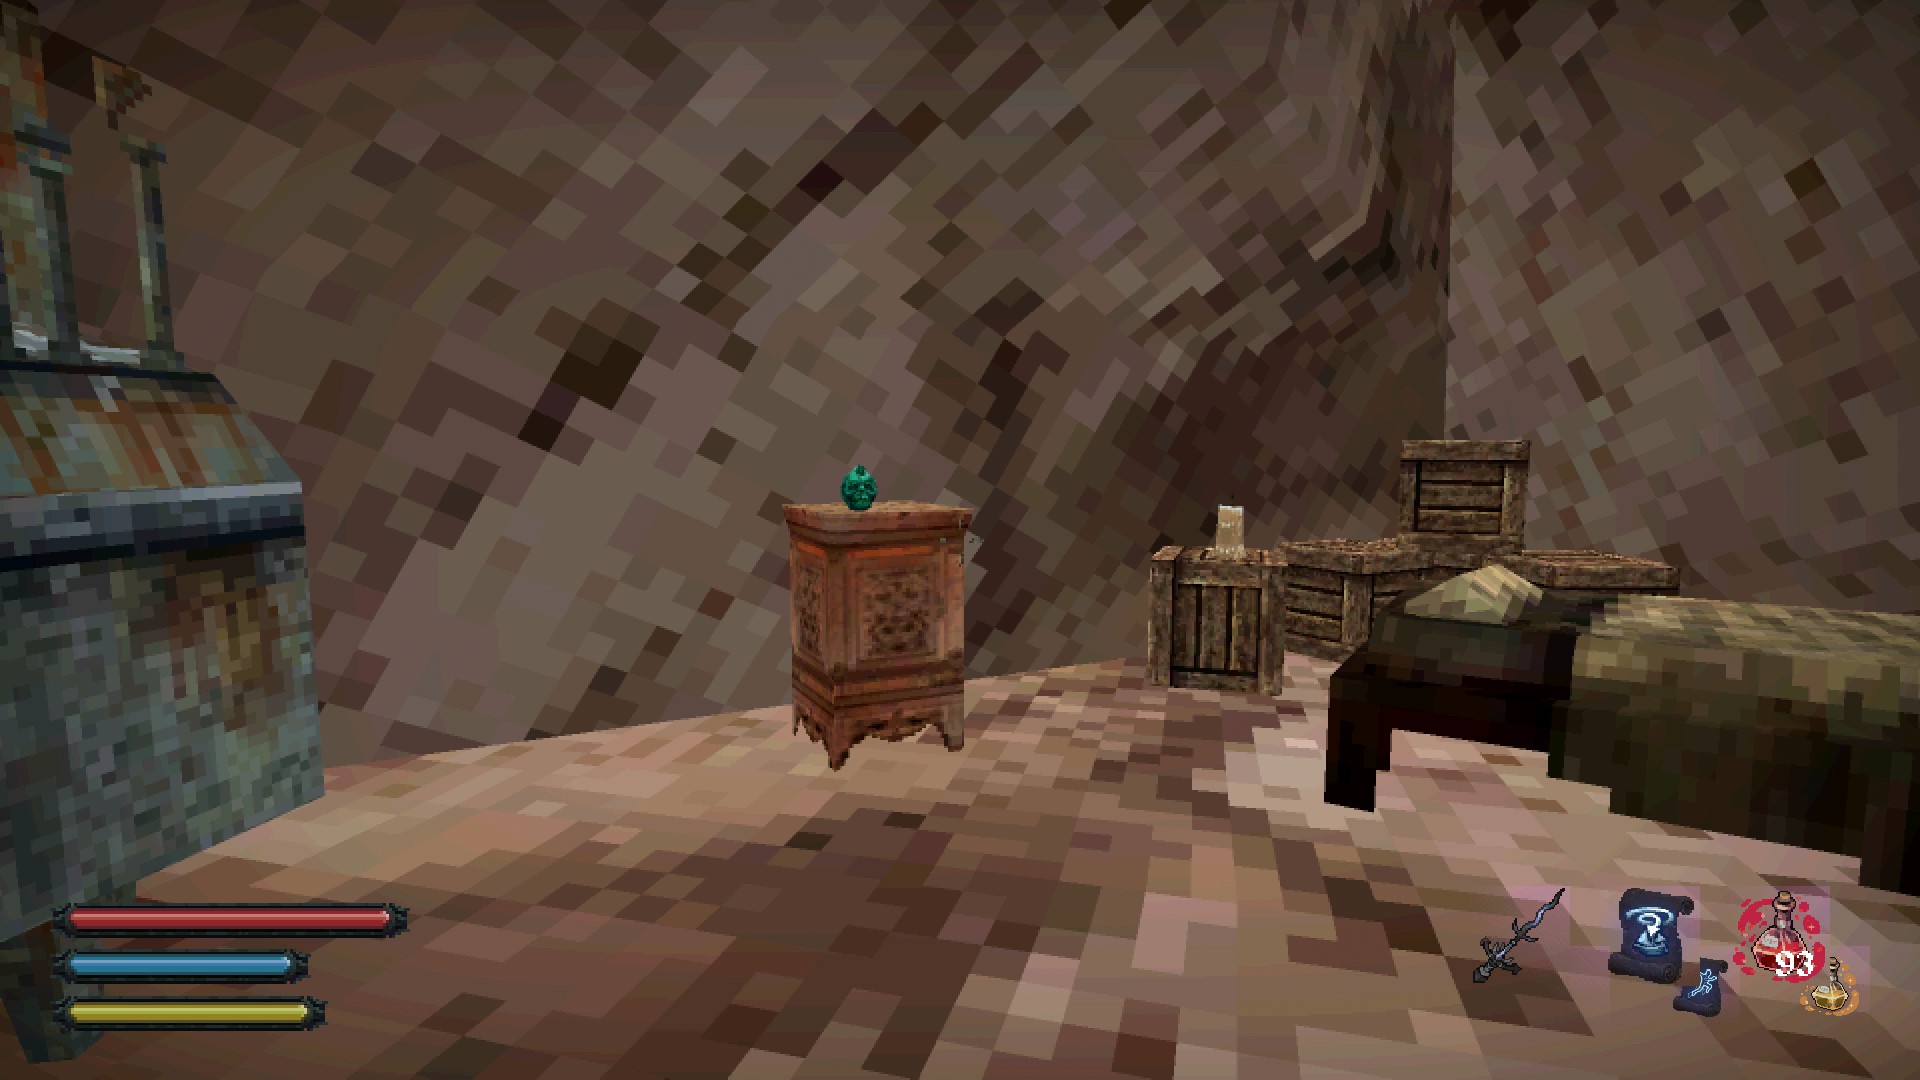
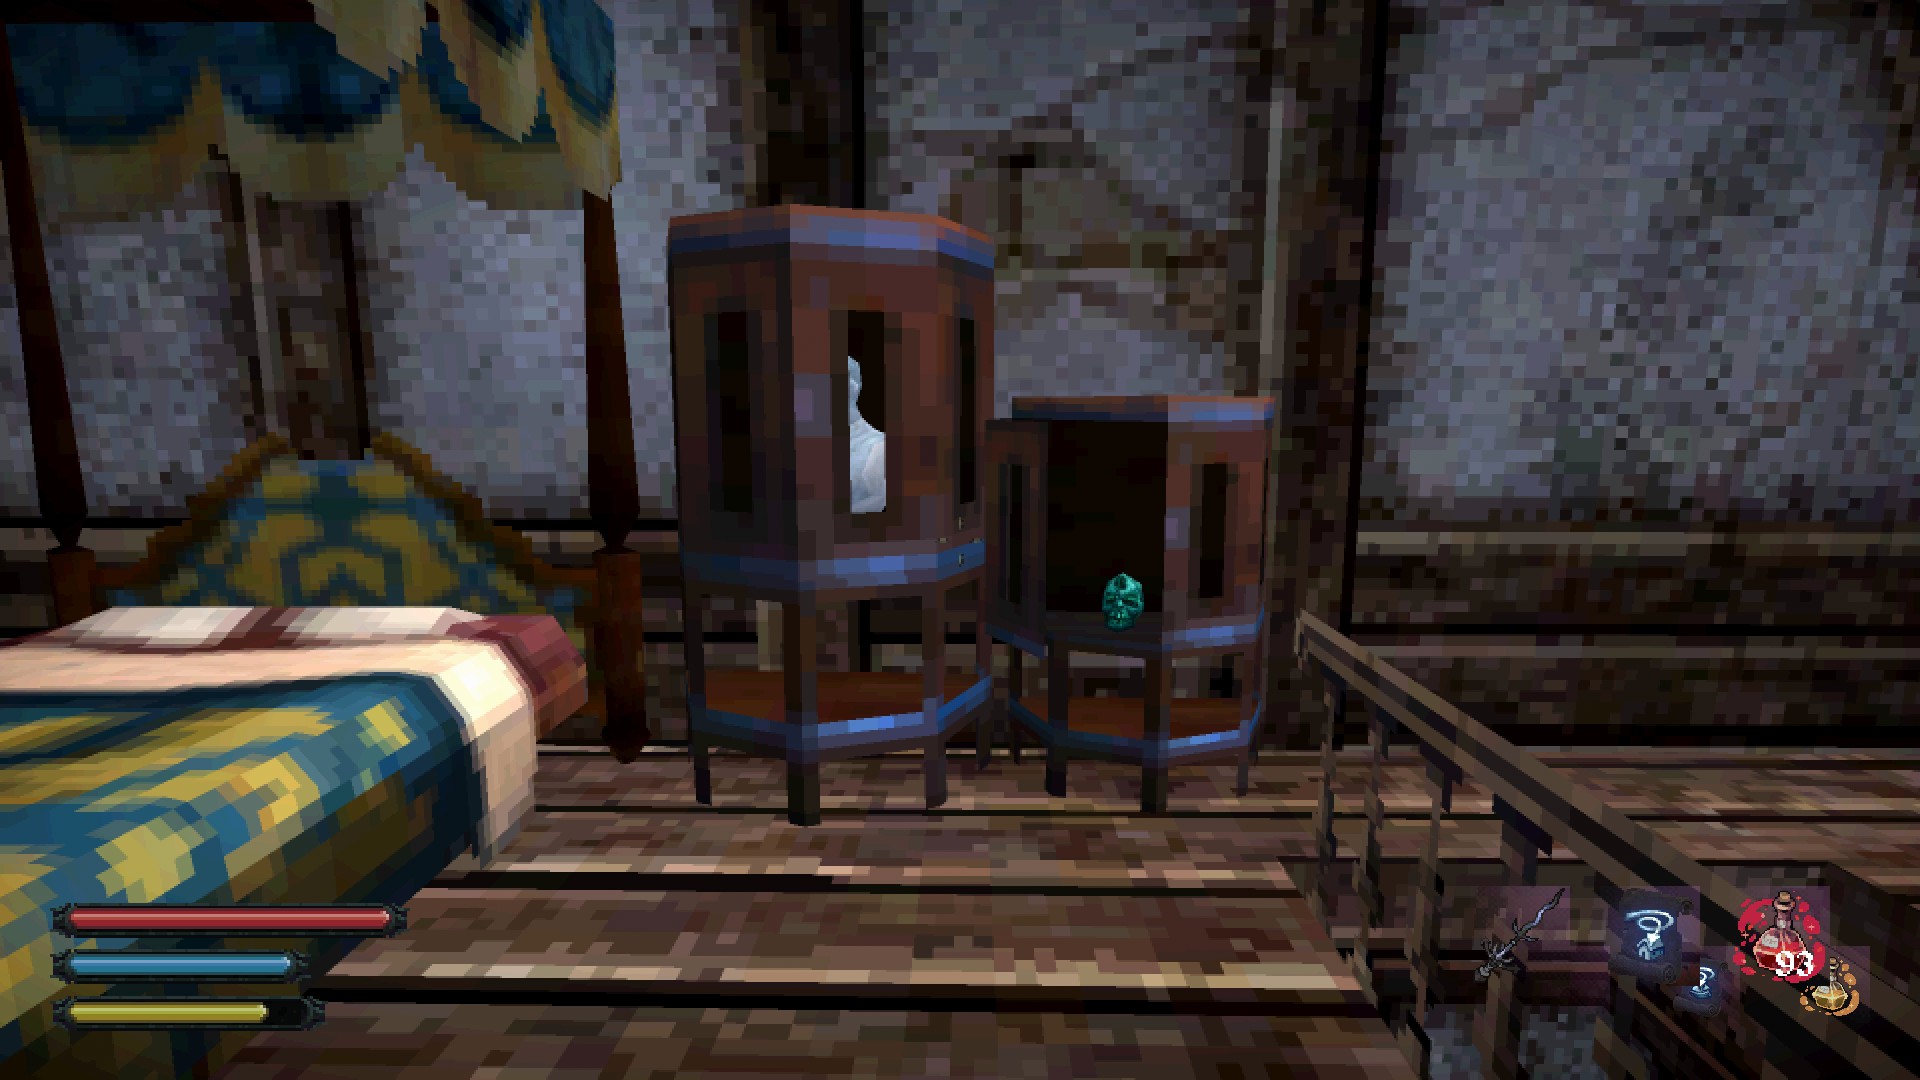
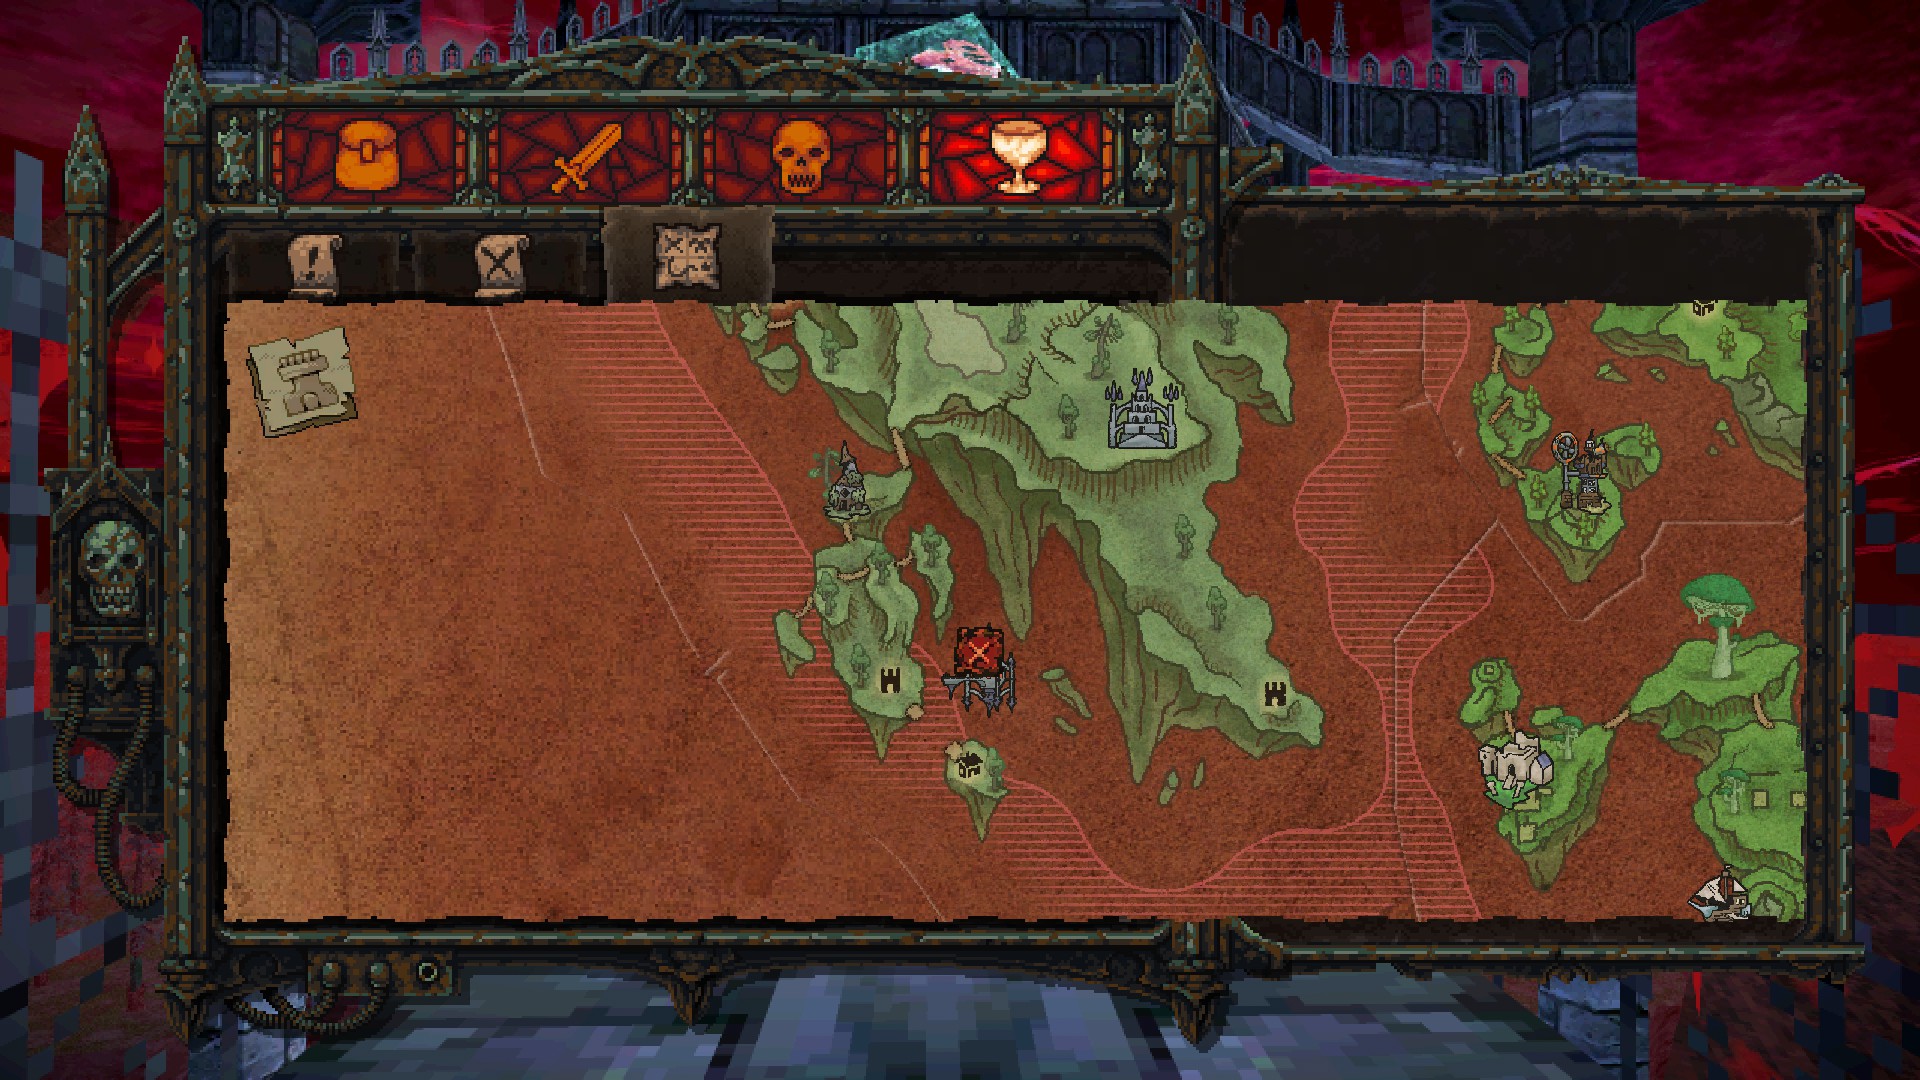
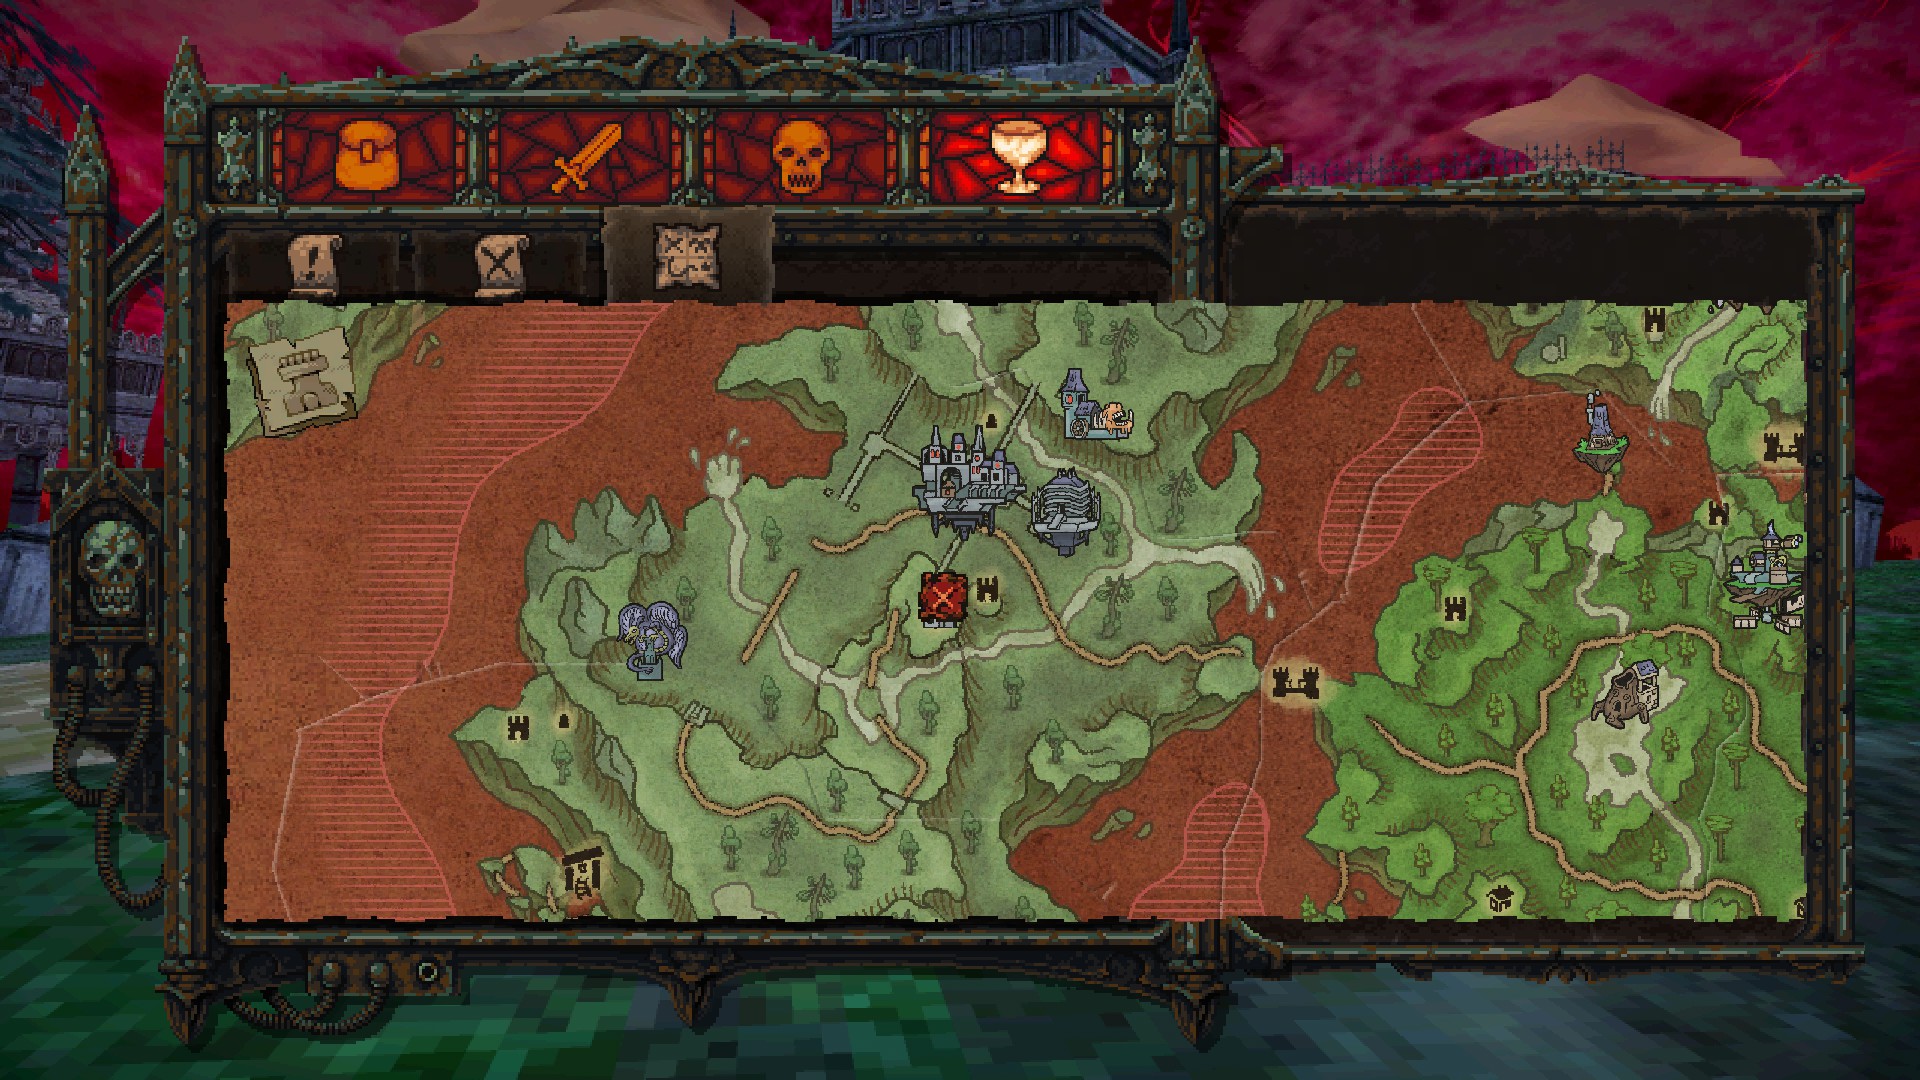
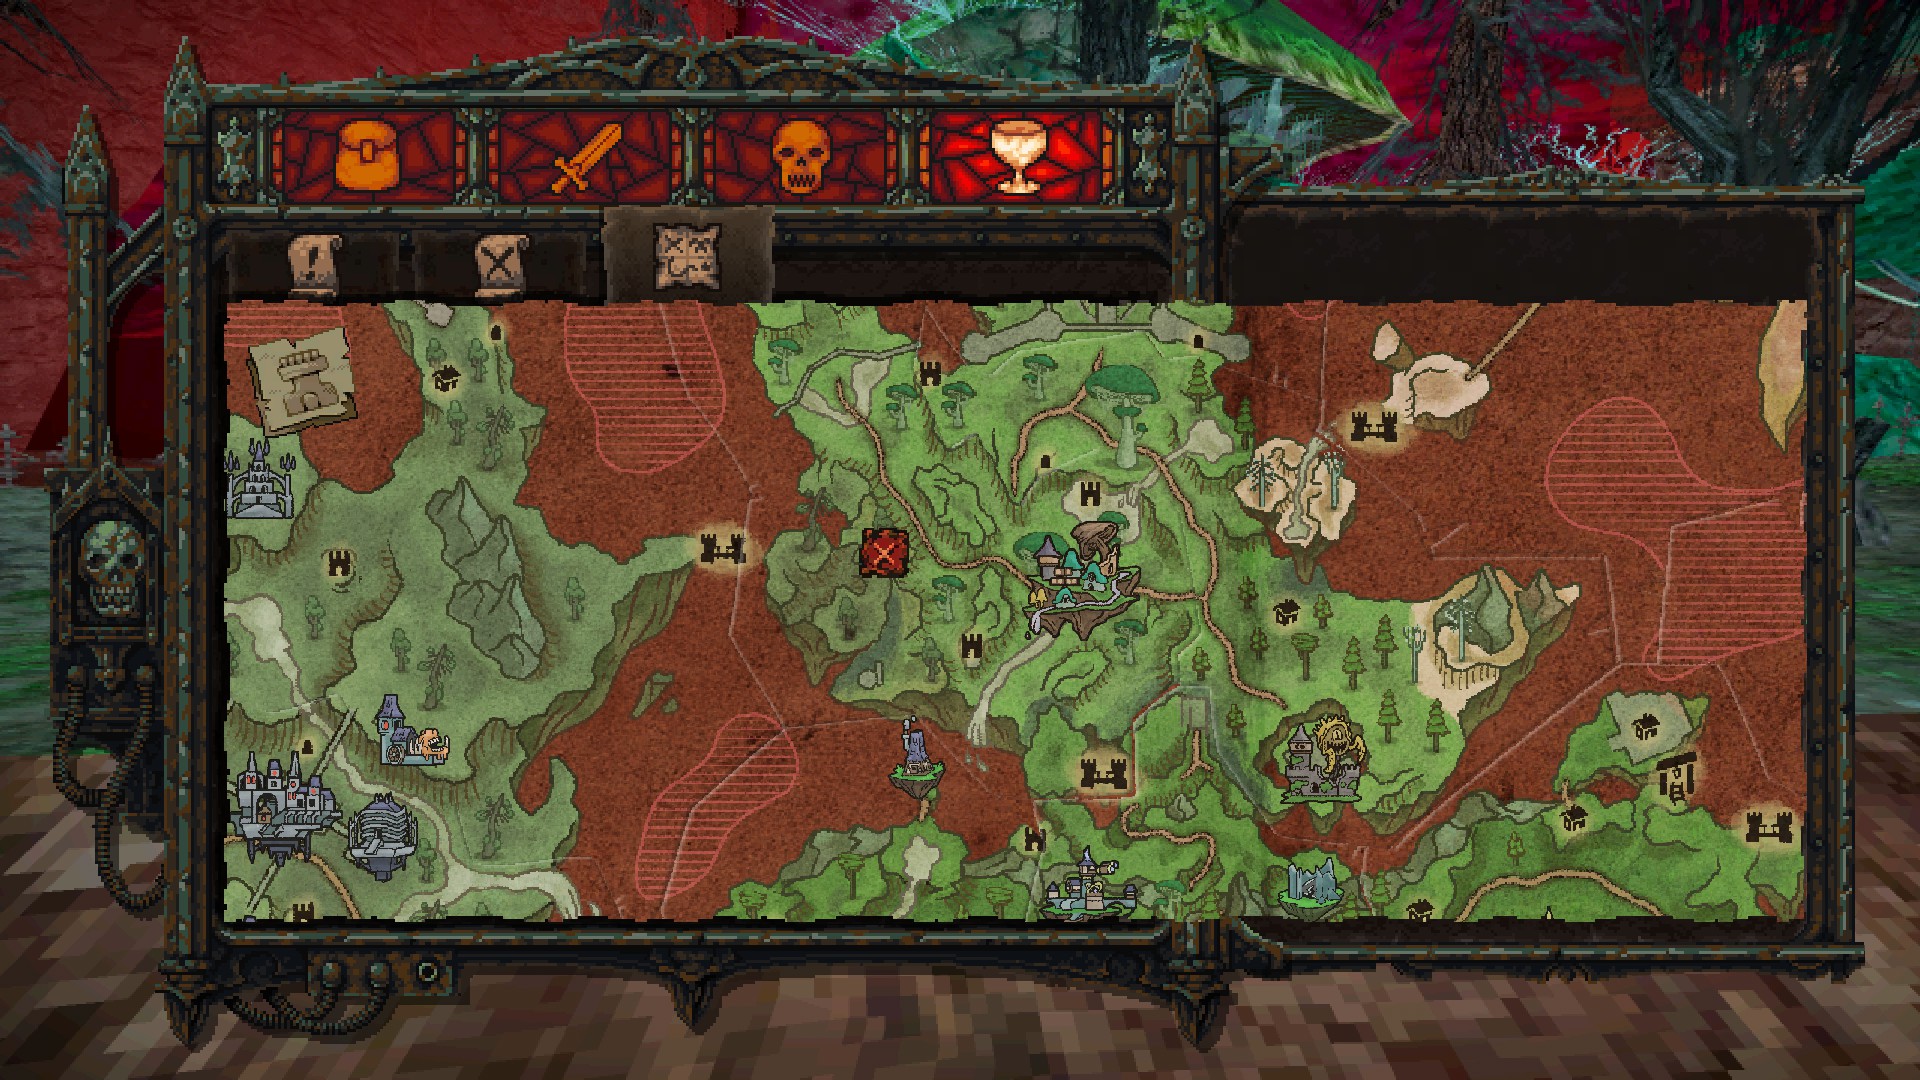
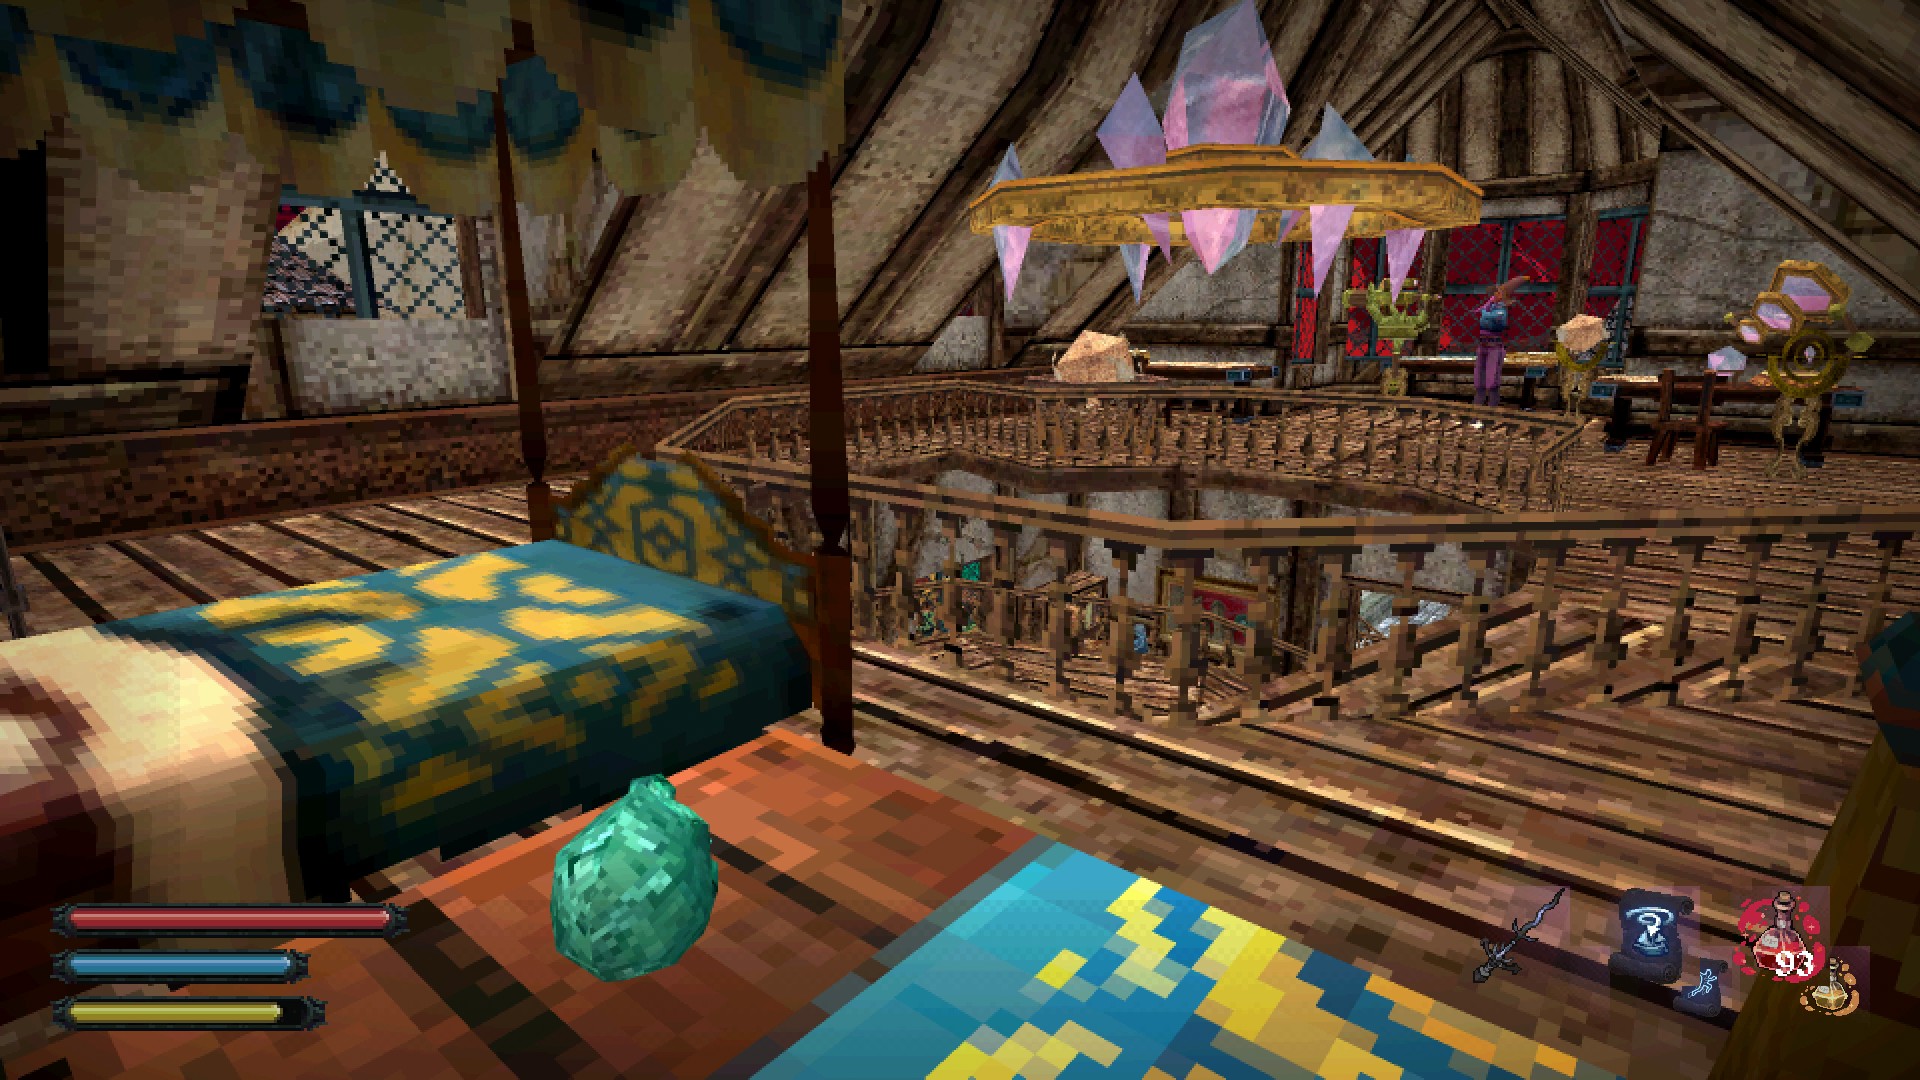
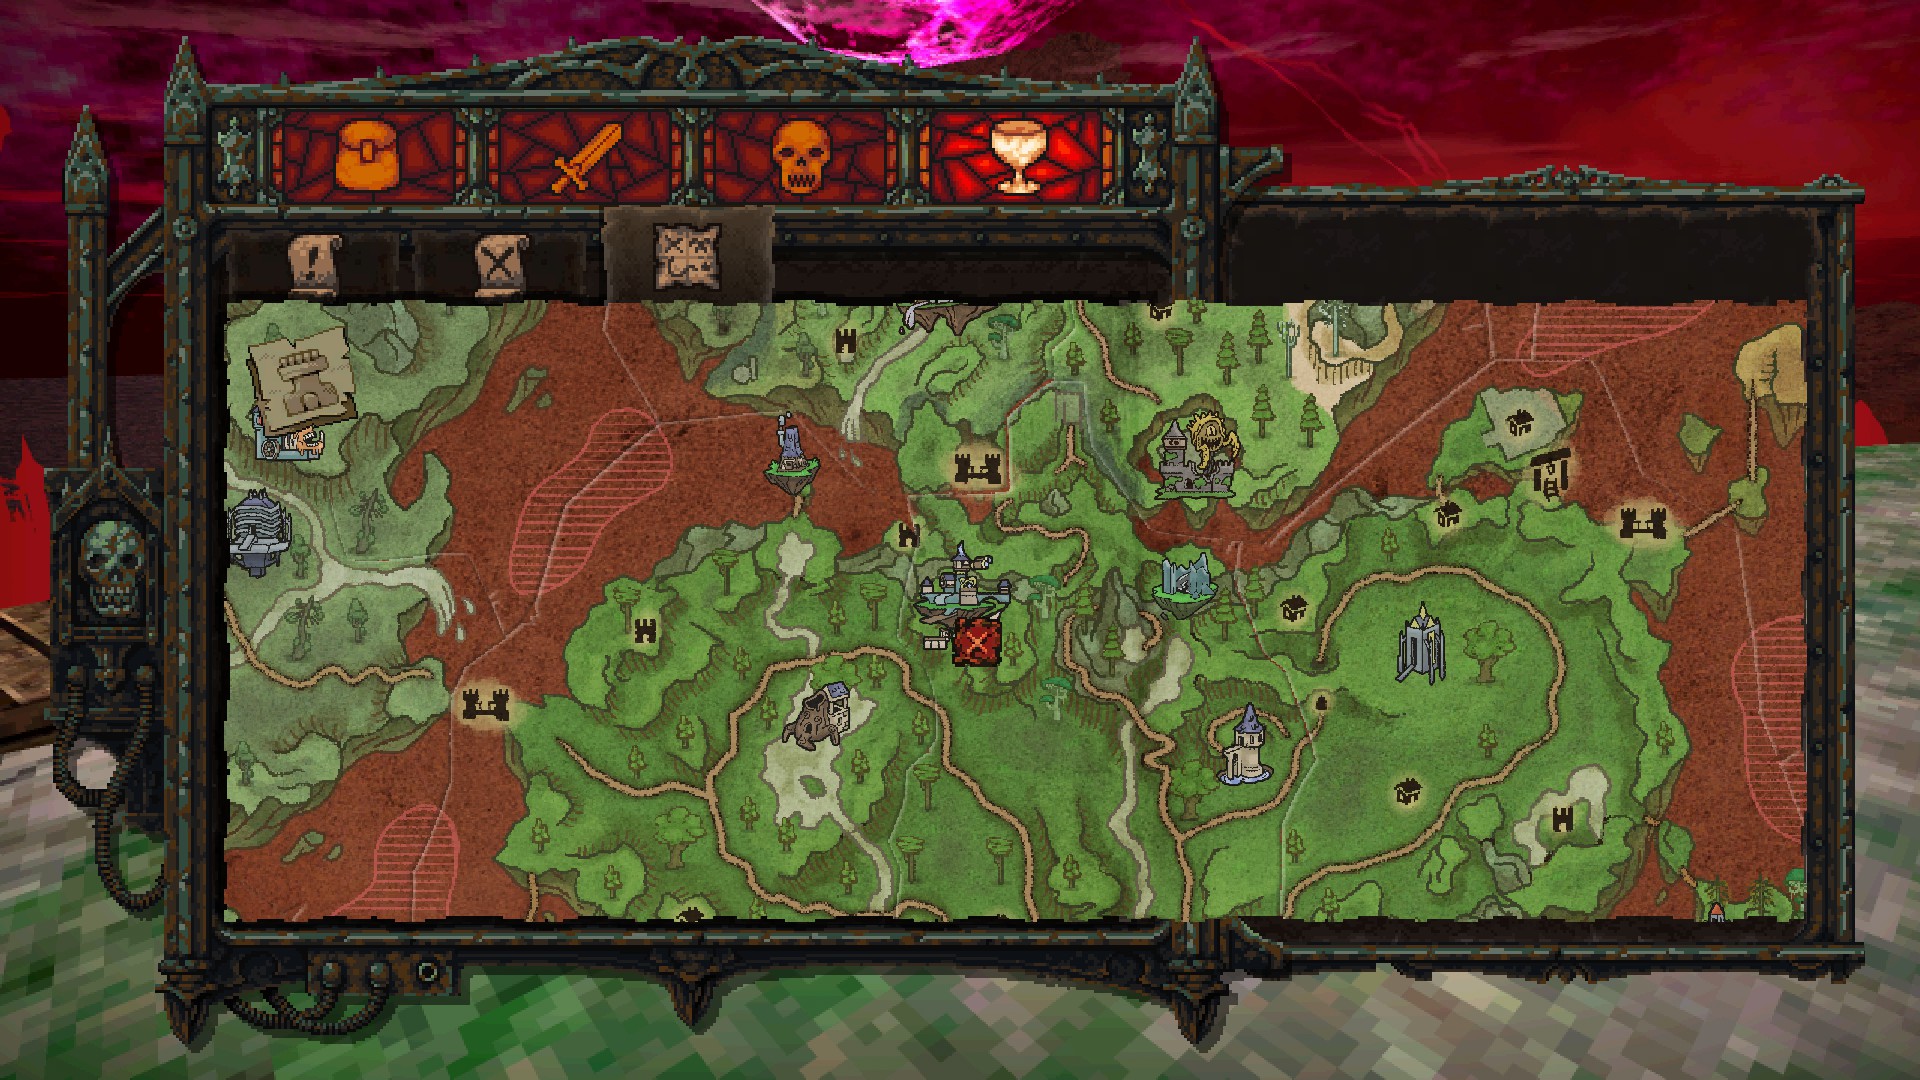
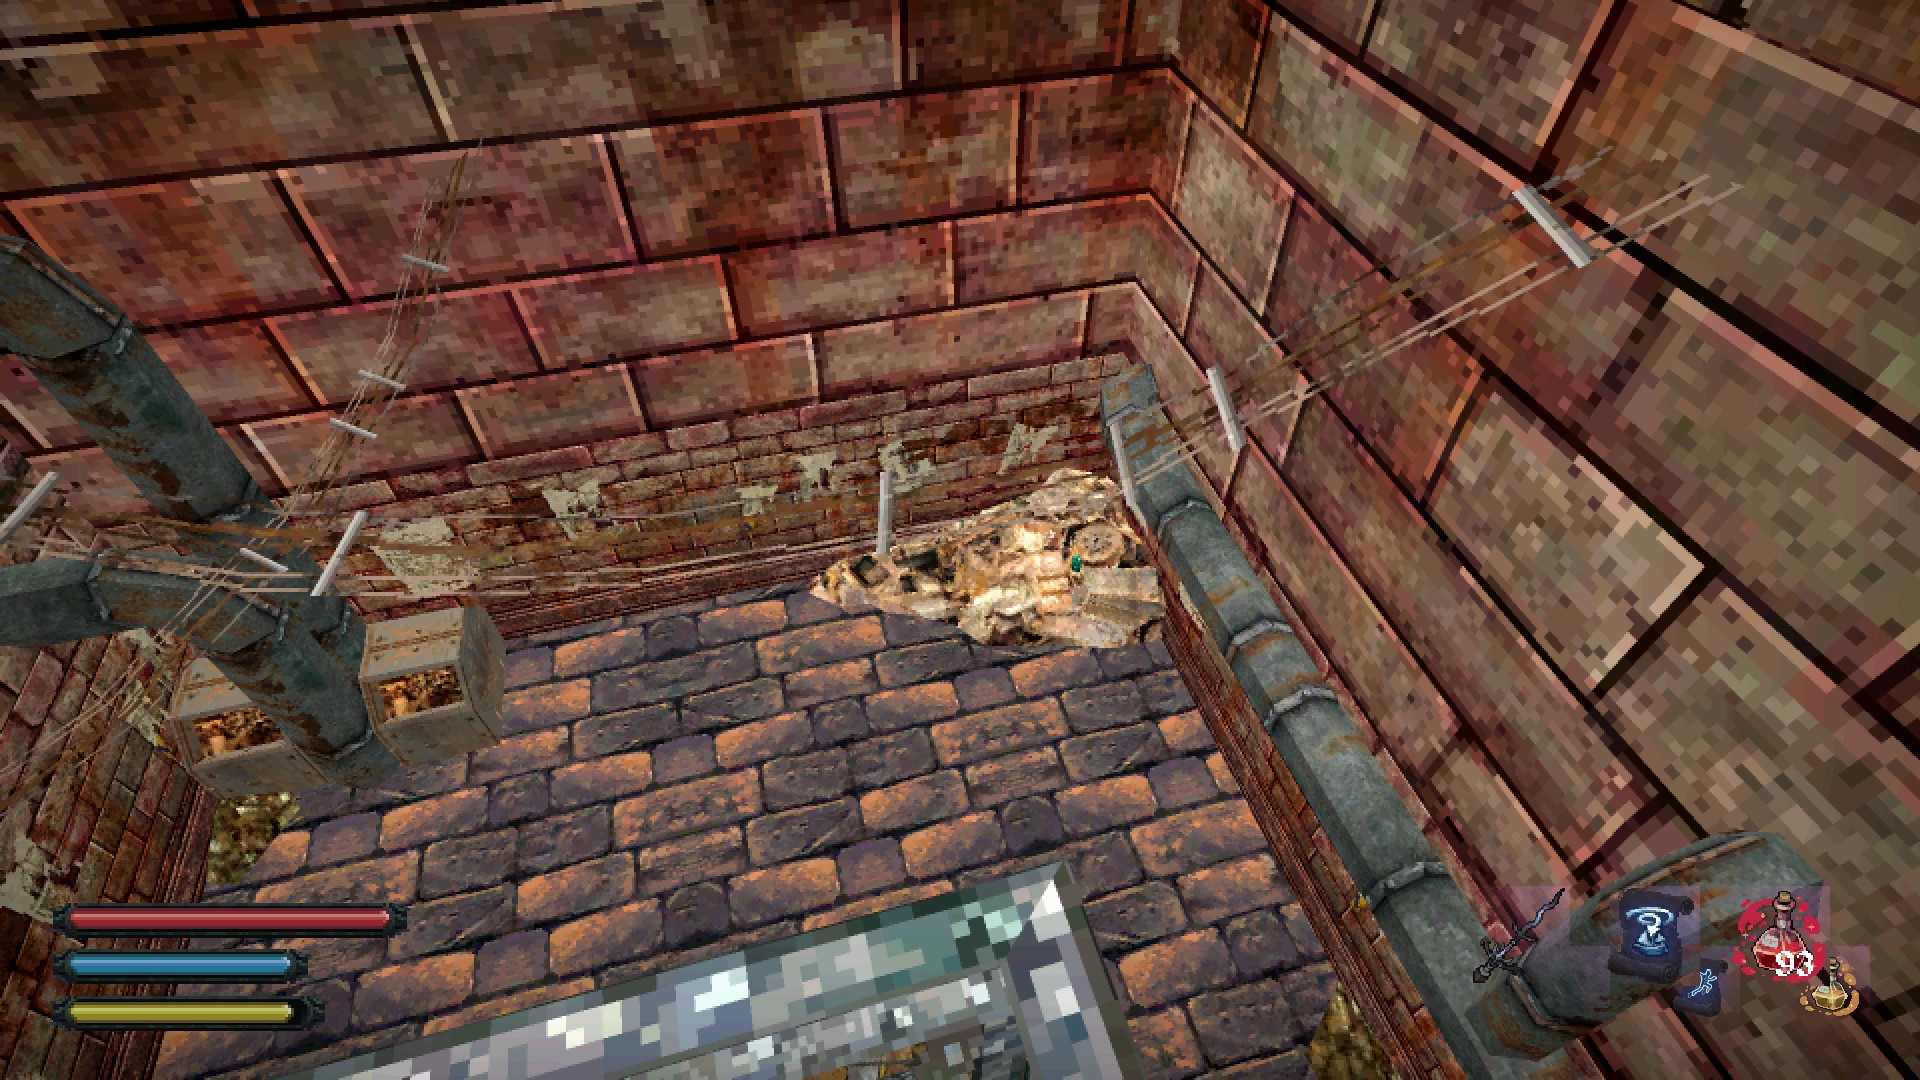
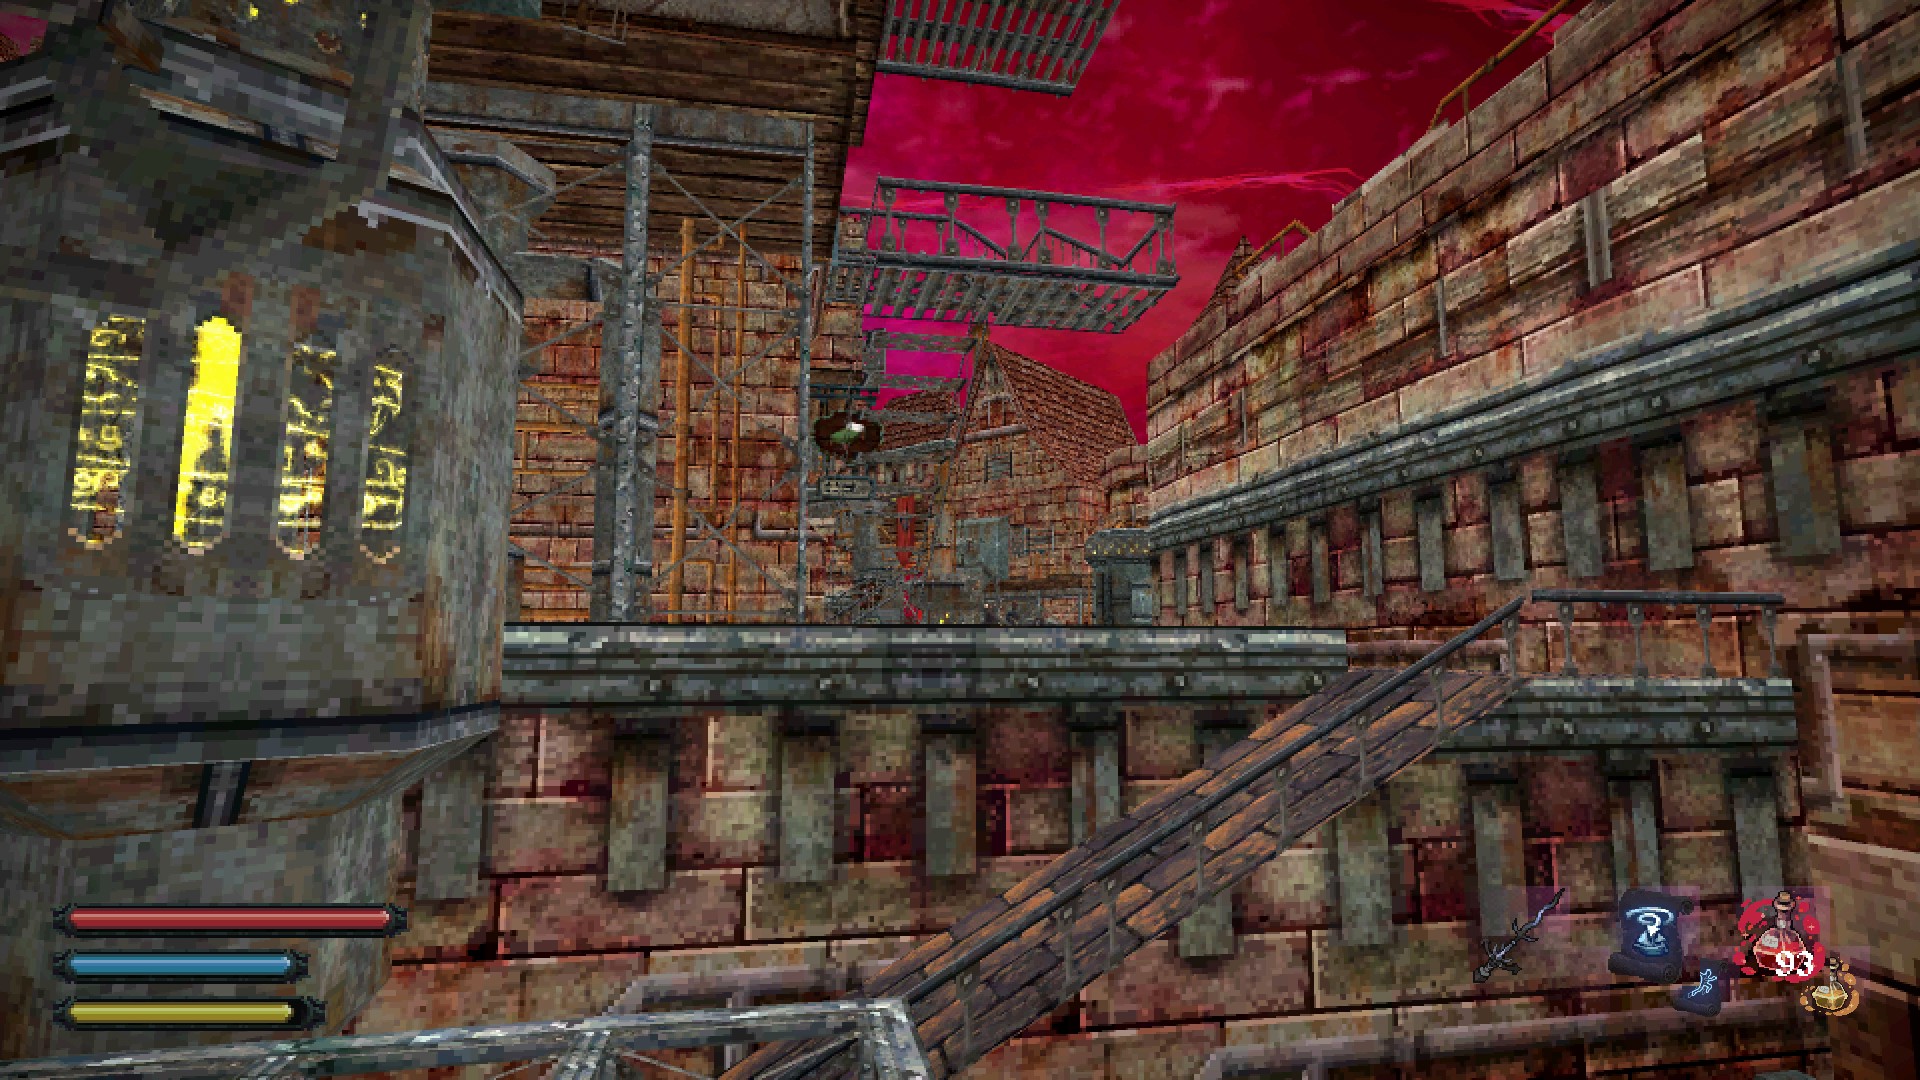
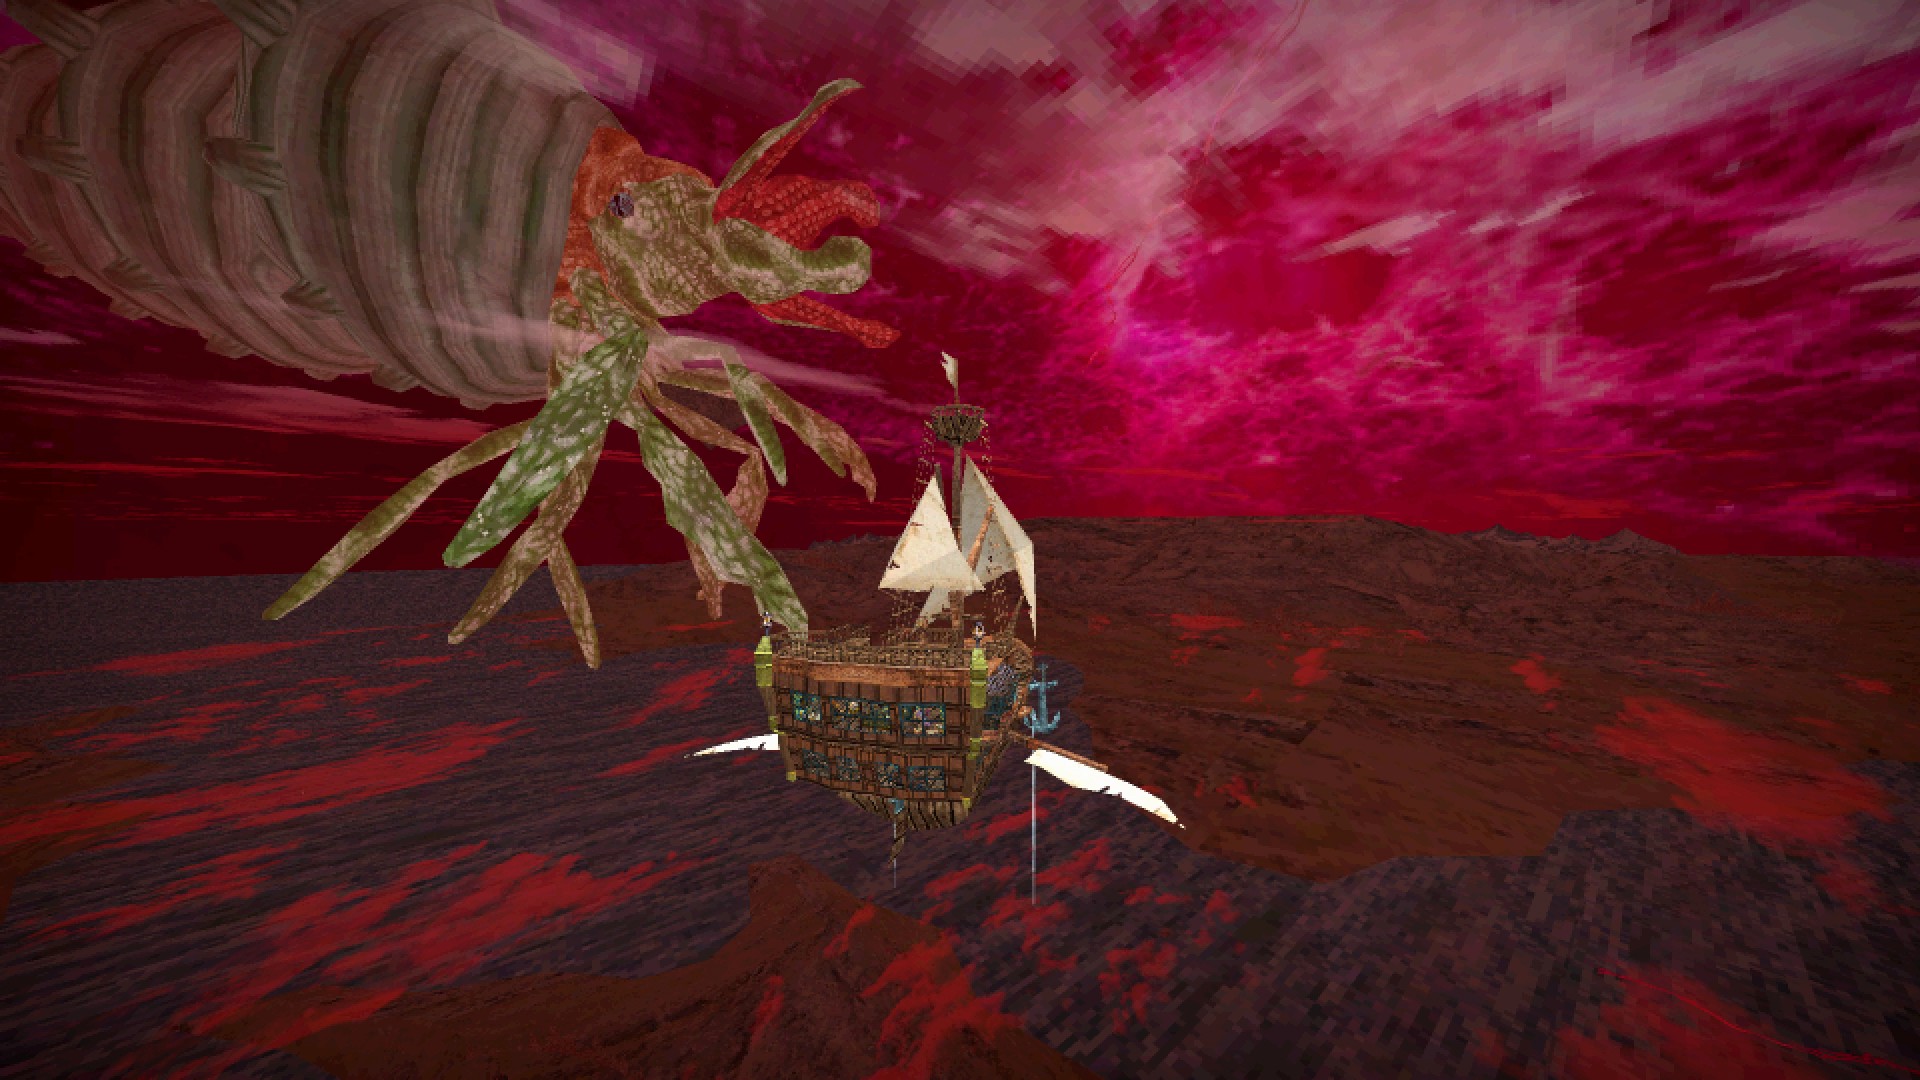
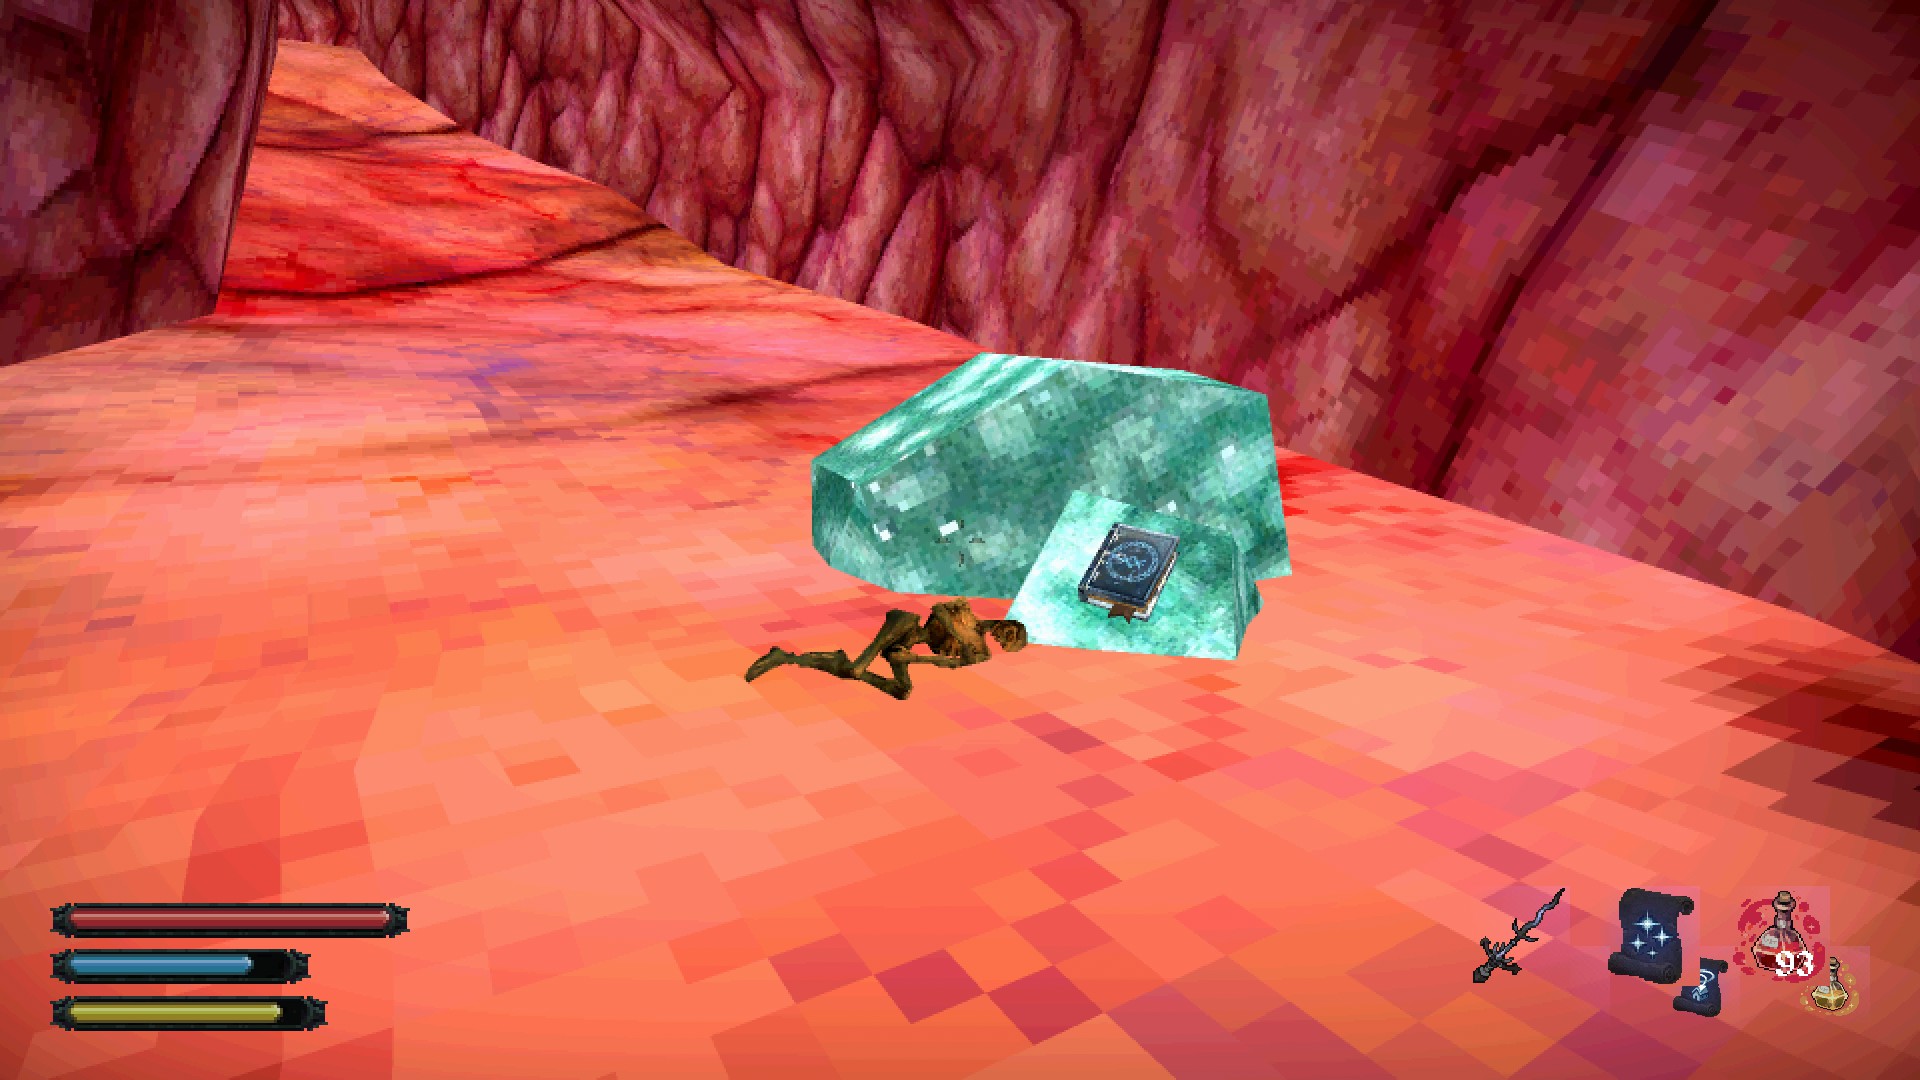
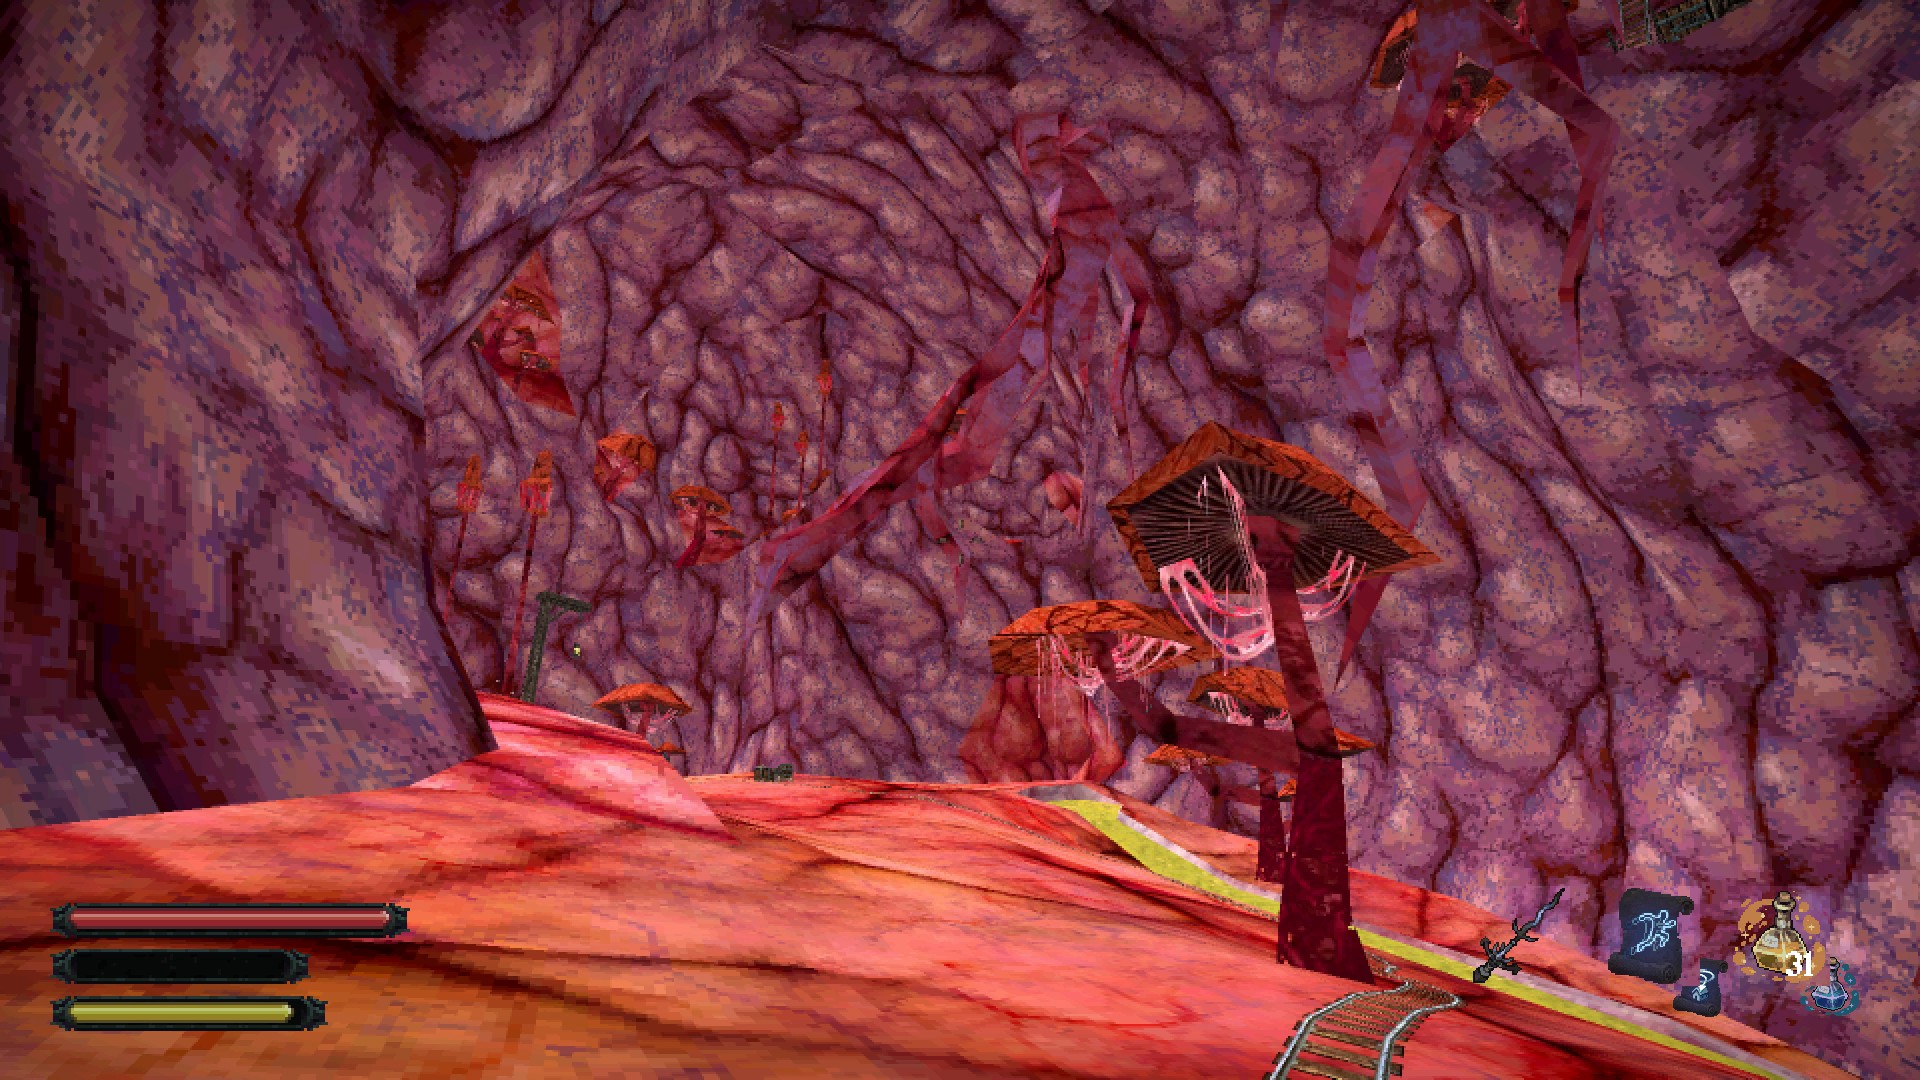
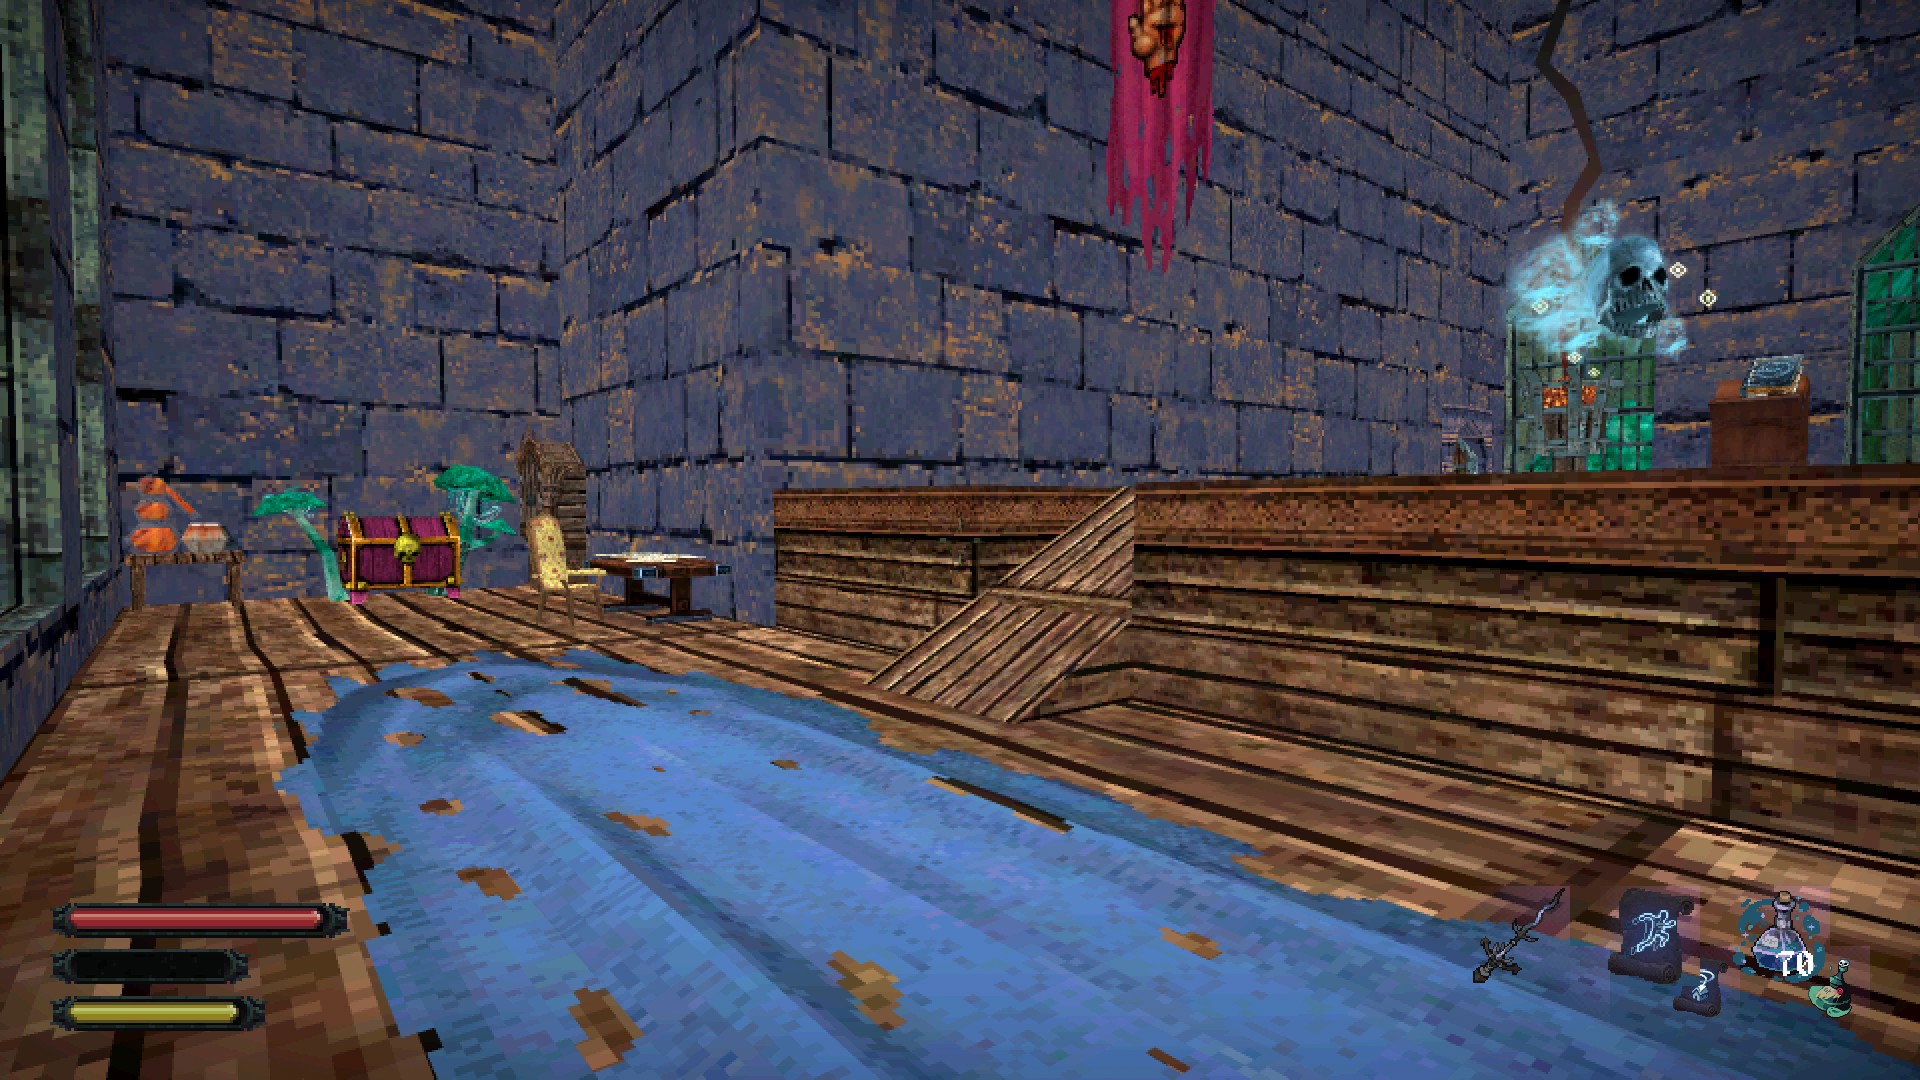
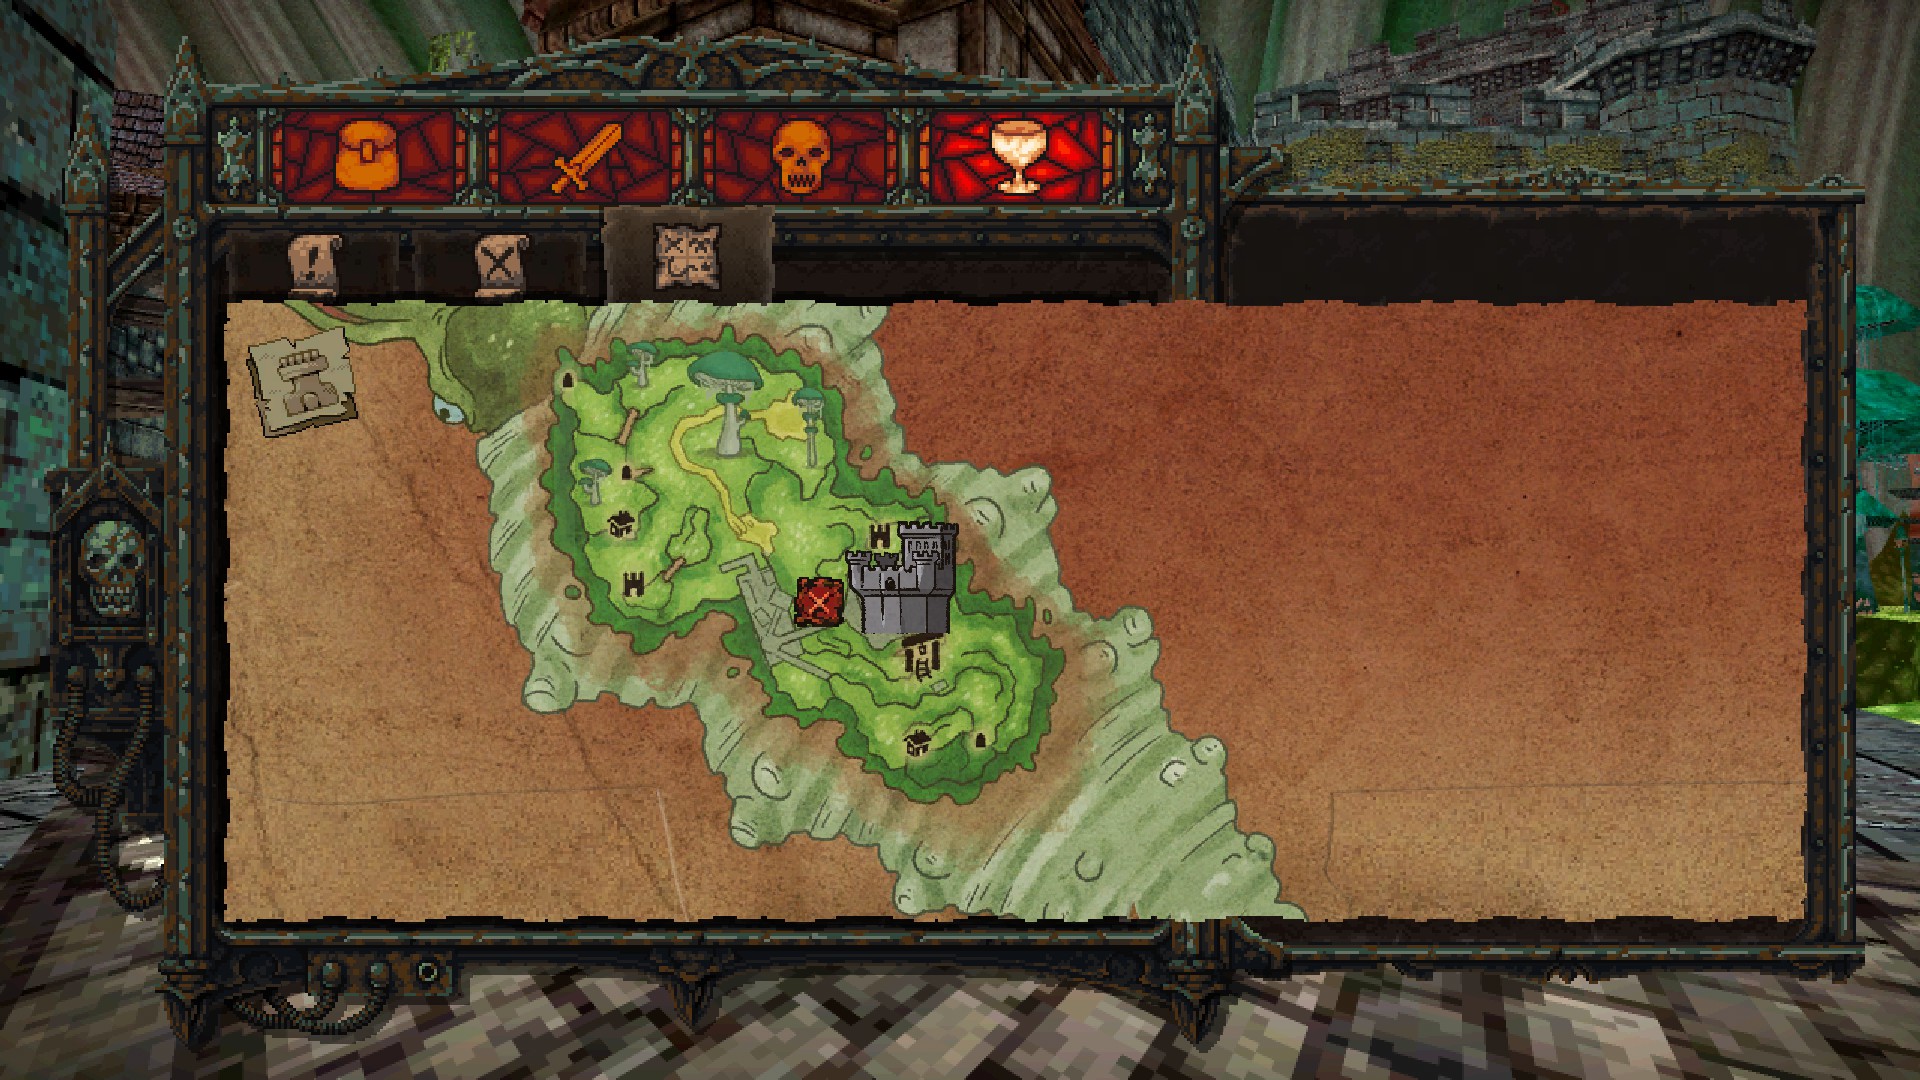
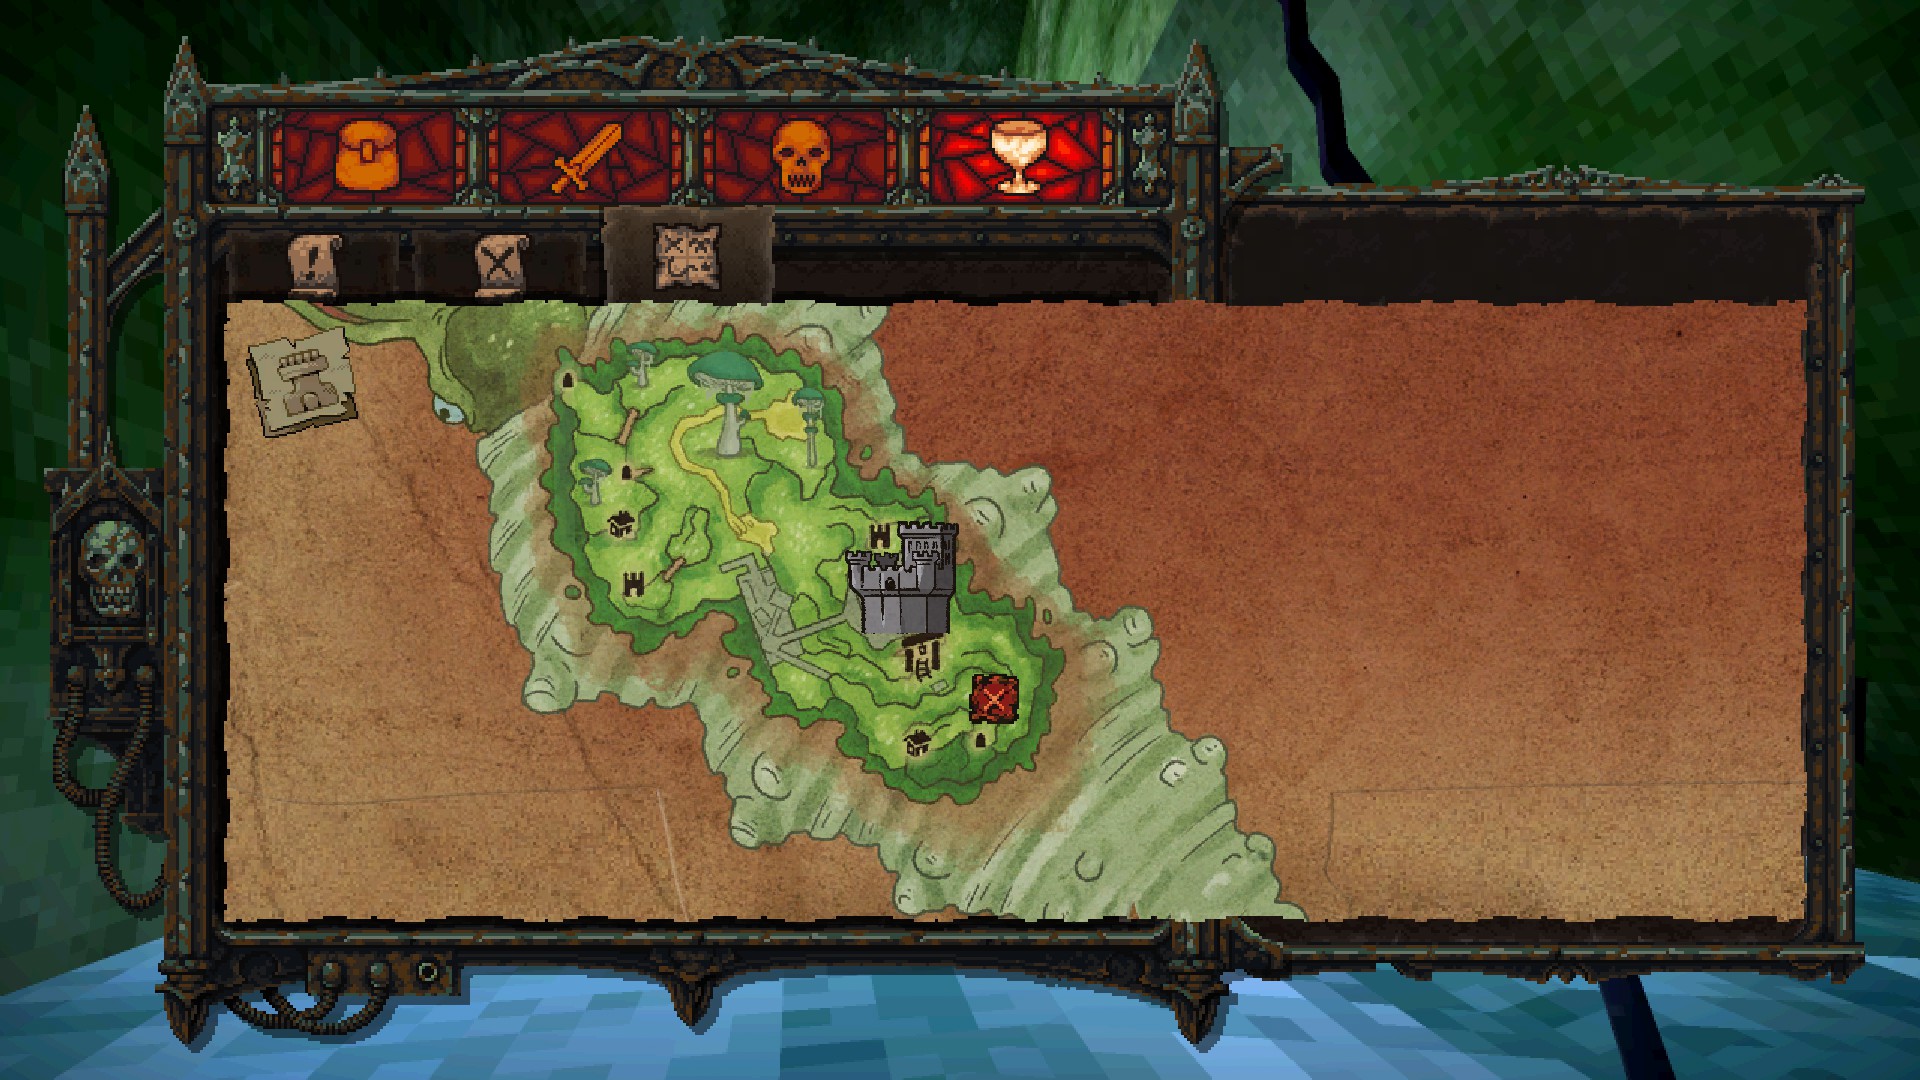
Sorry, no idea. I haven't had any issues with the quest in any of my playthroughs, for me she always spawned in the cabin (Blinding Light) -> the manor (Hallowshire) -> the cavern (Endless Realms) -> the ship (Clockwork Kingdom); but i had seen people on the main forum complain about her not spawning here and there. What does your quest log say about the quest?

Technically, it is possible to edit your savefile to reset and fix broken quests, but i haven't done so myself so can't give any further advice on this.


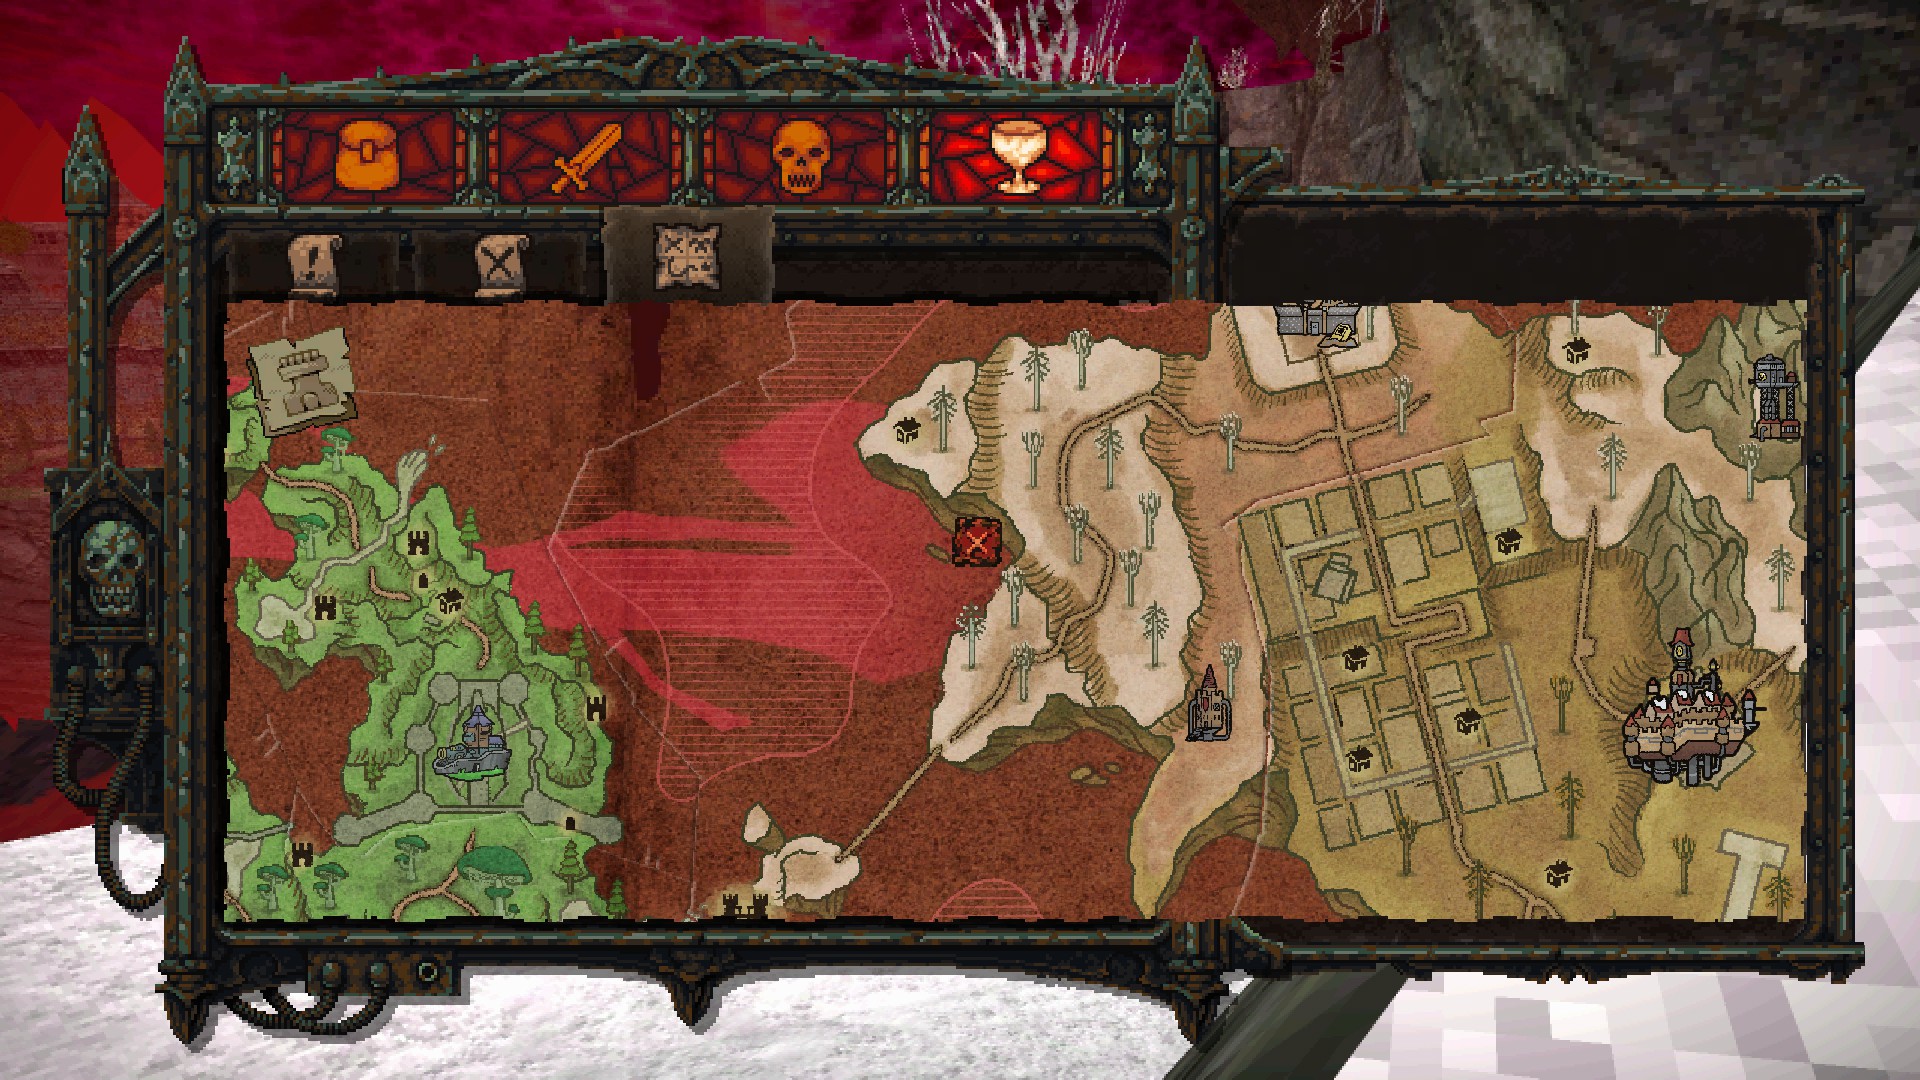
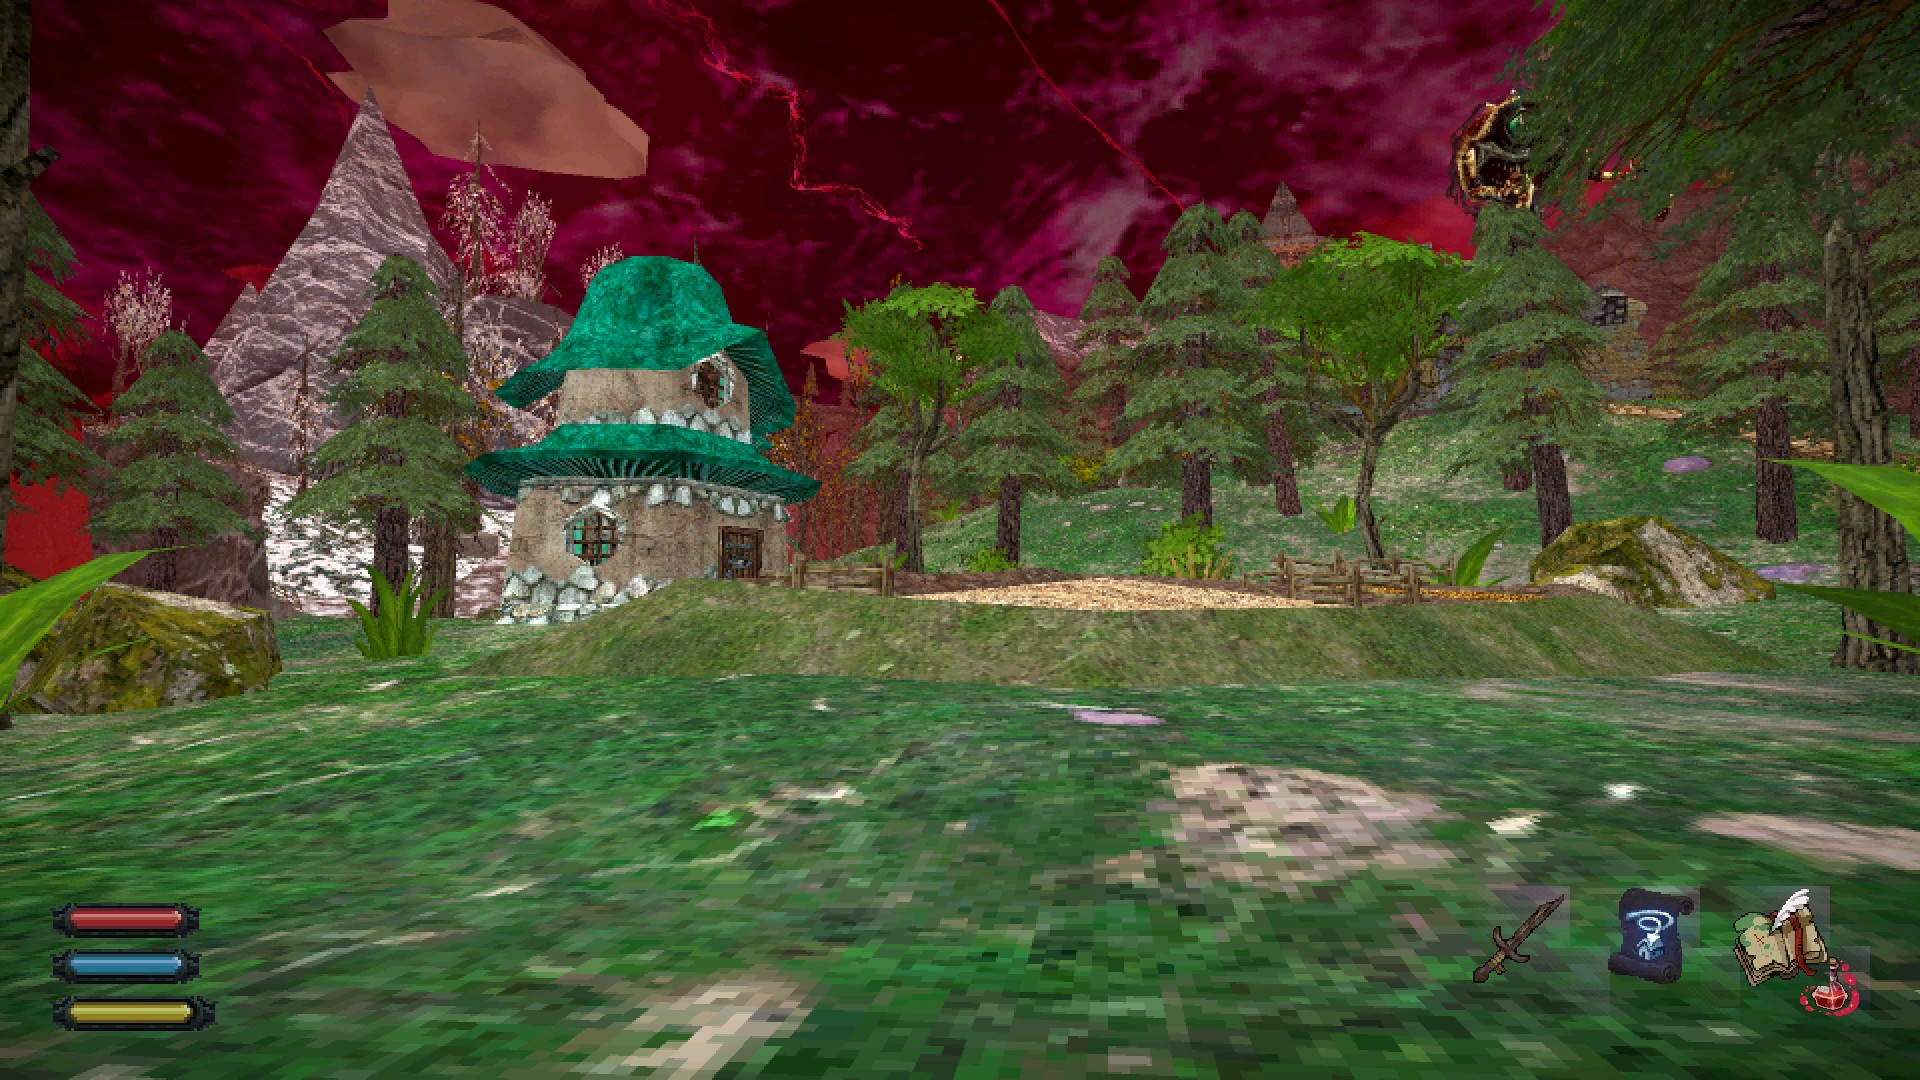
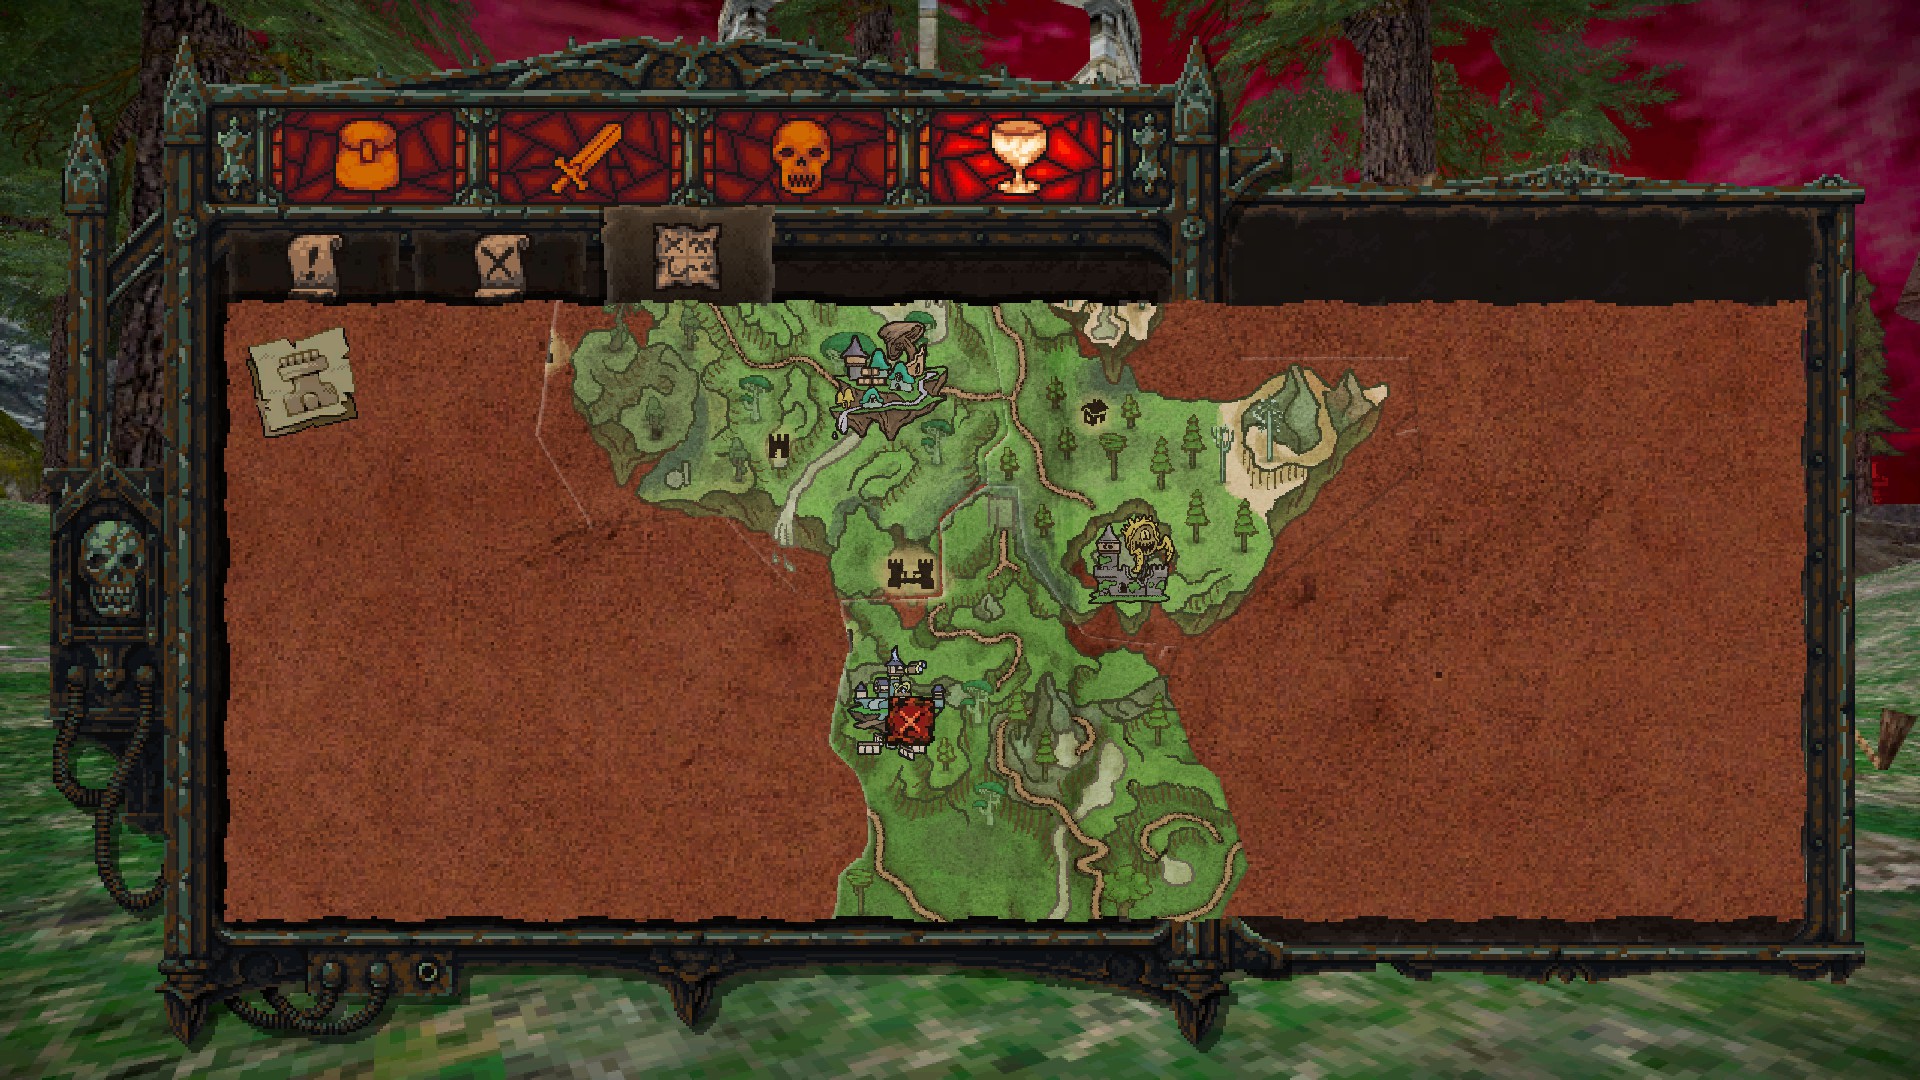
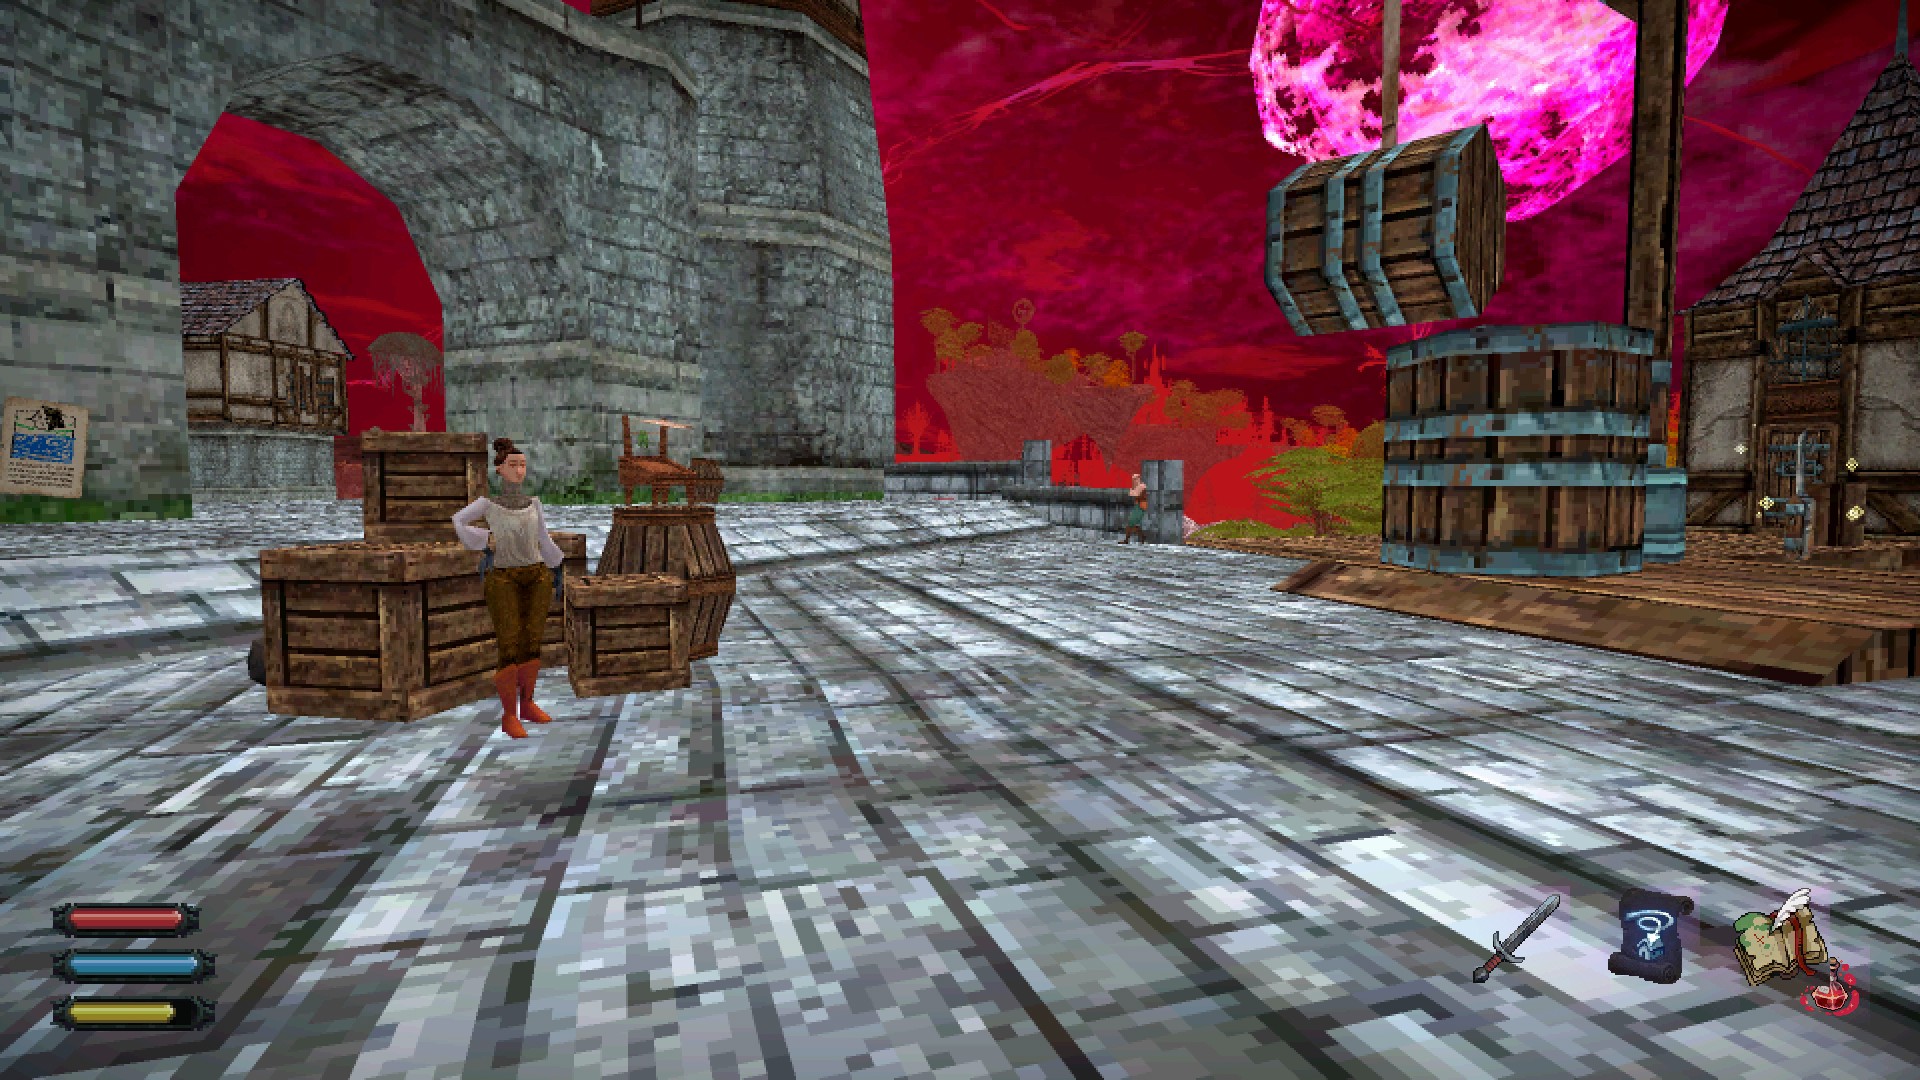
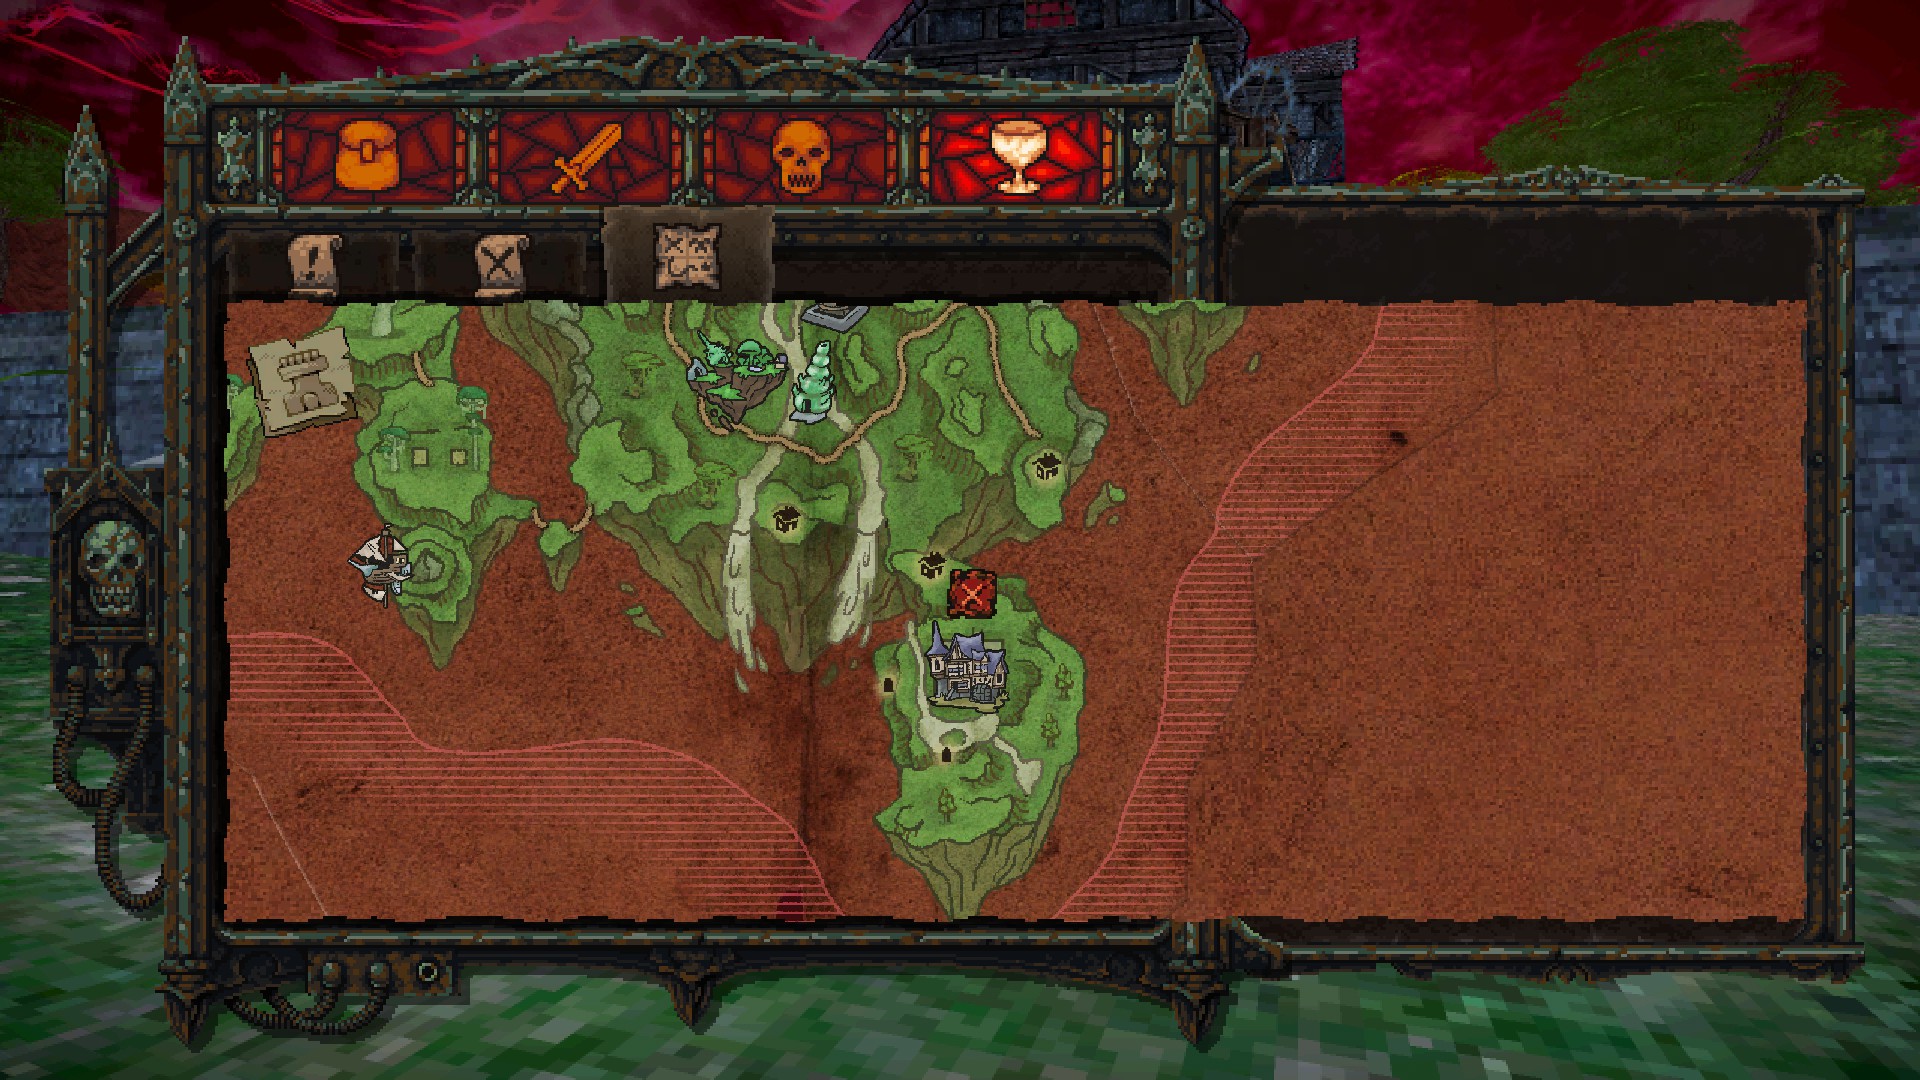
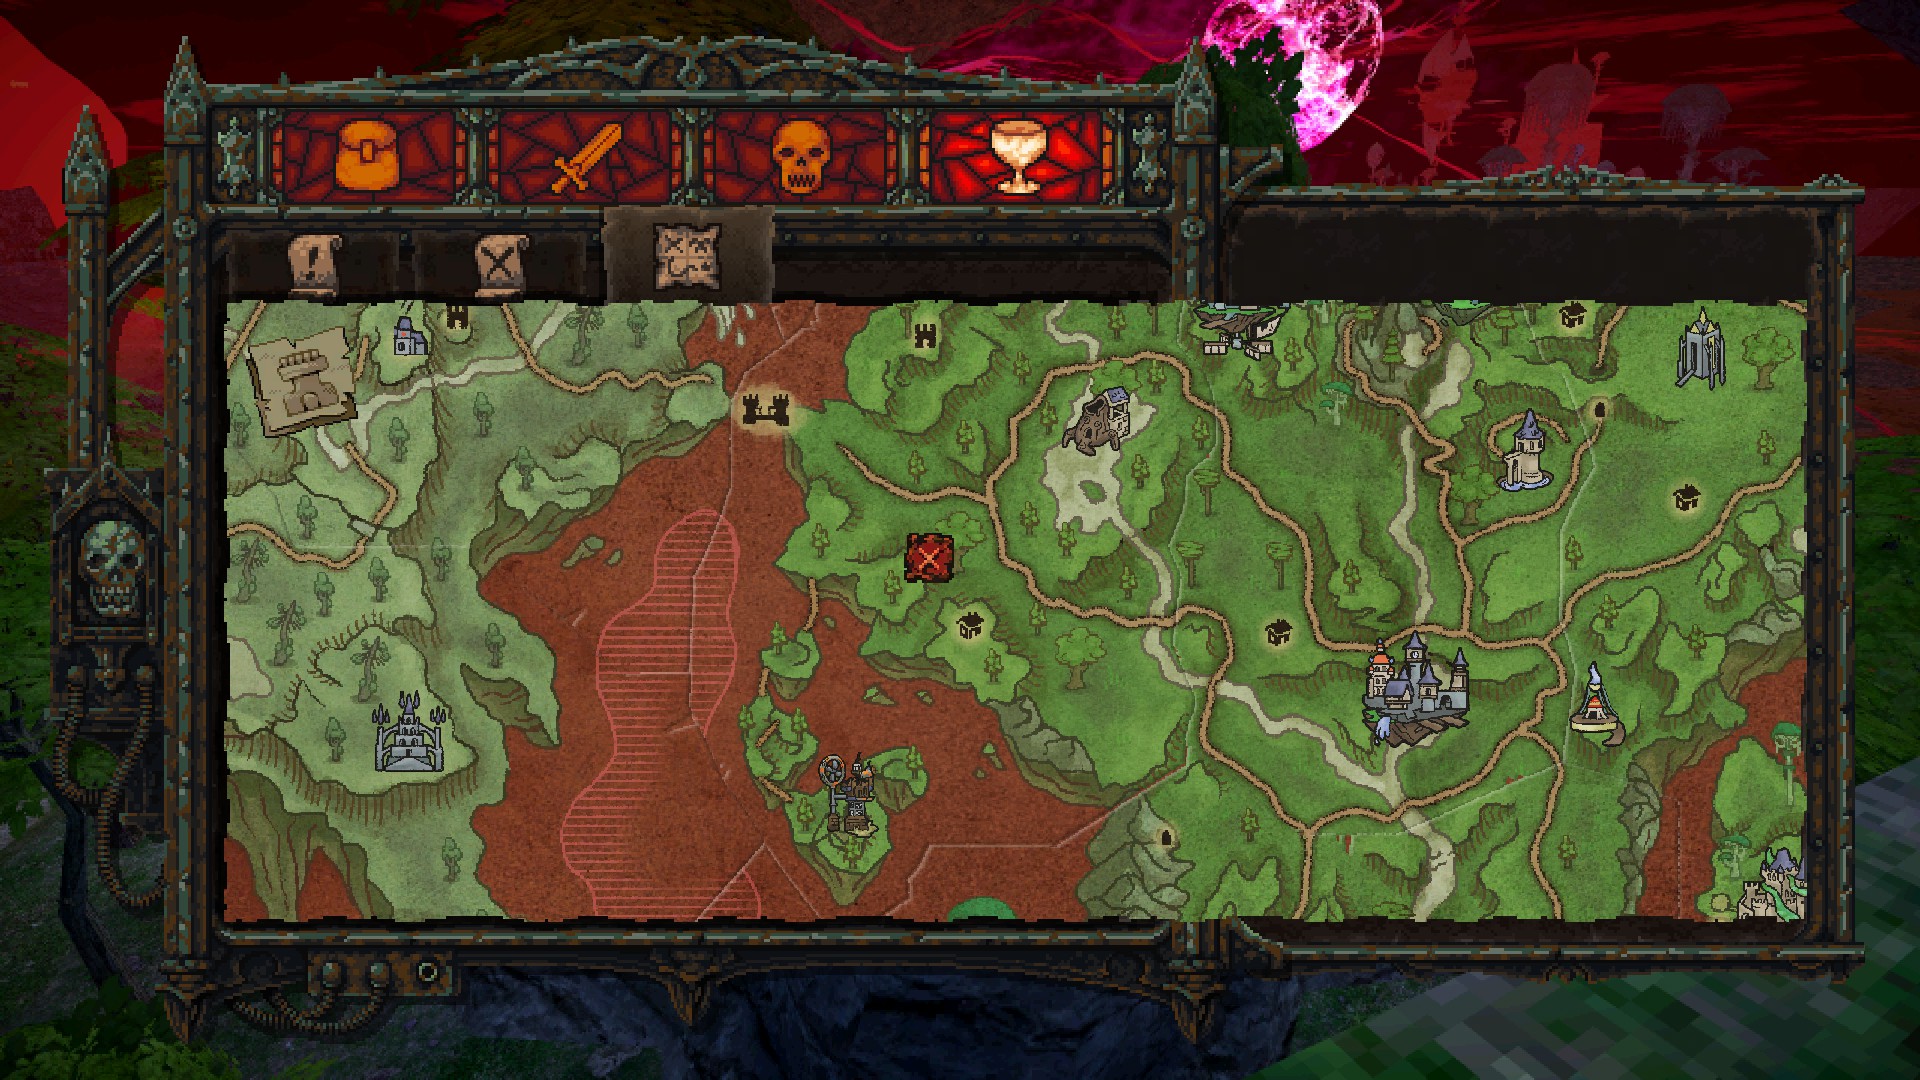
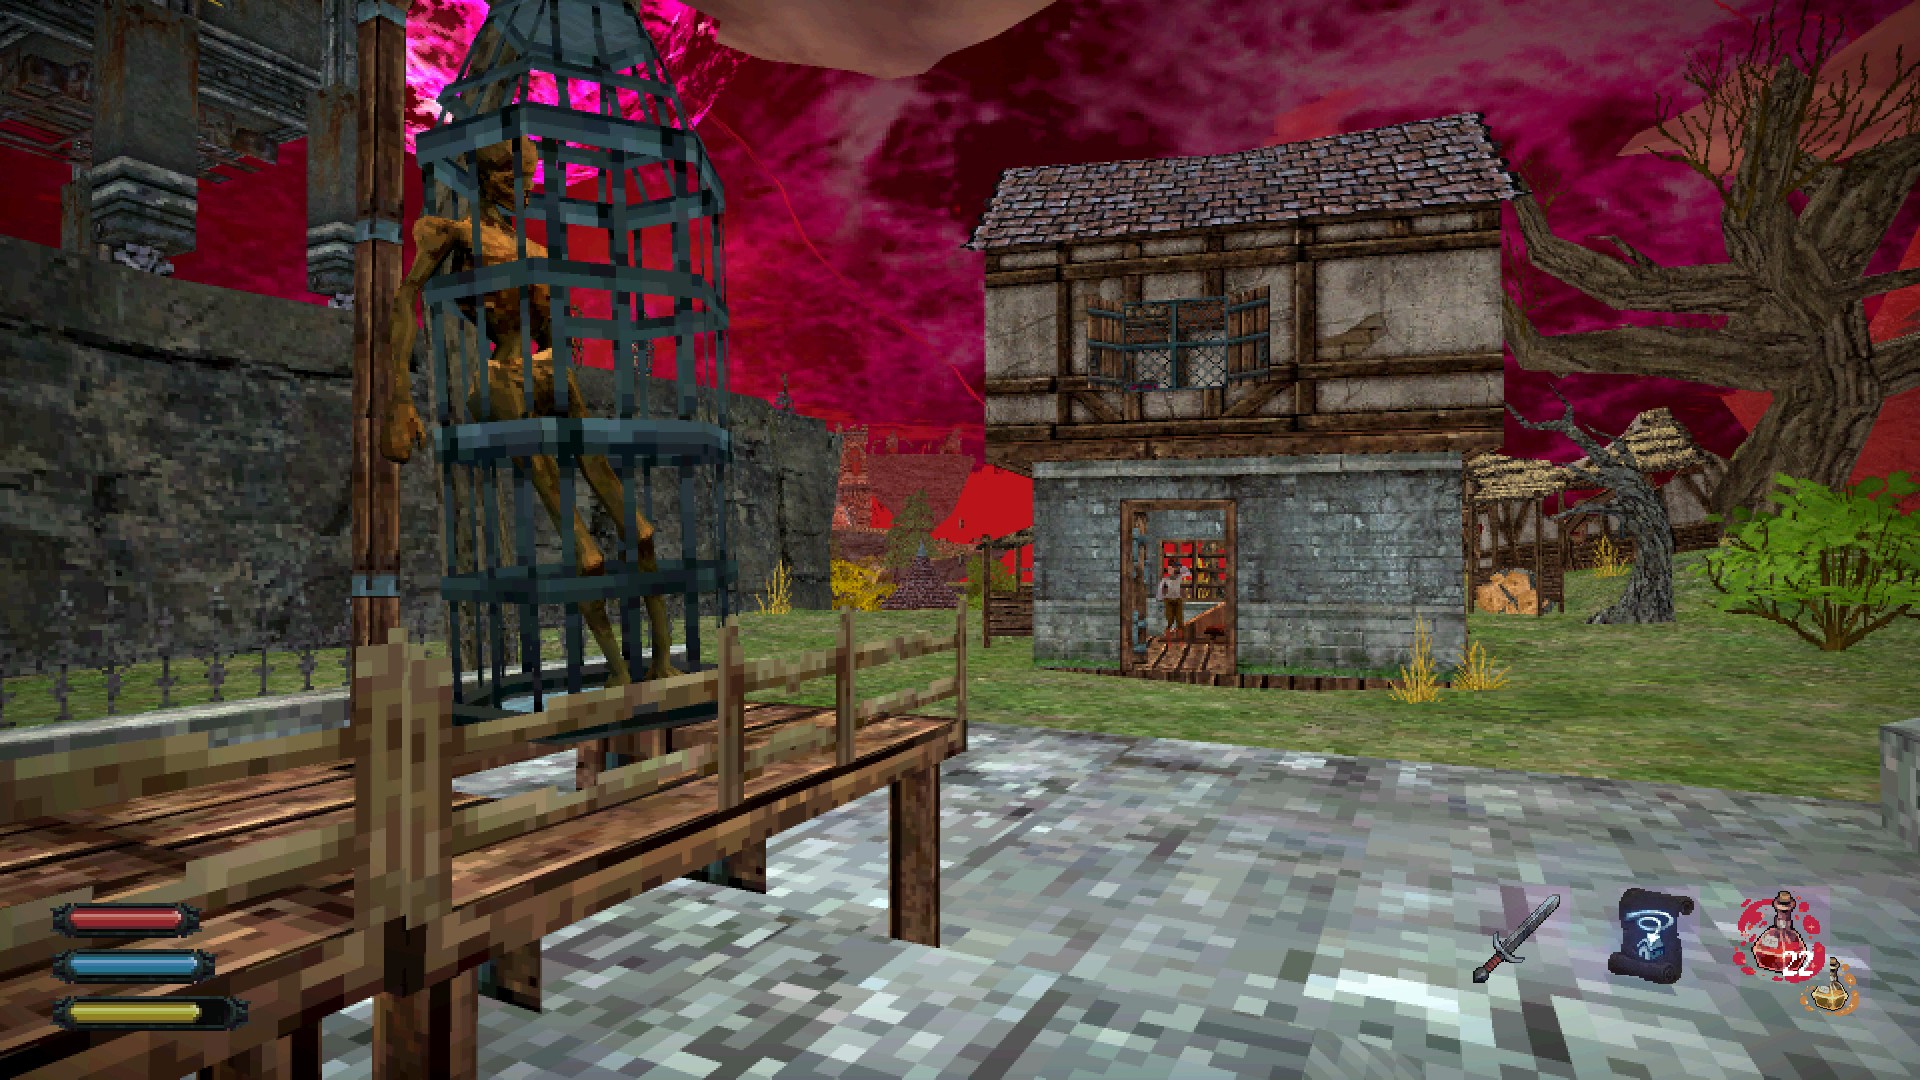
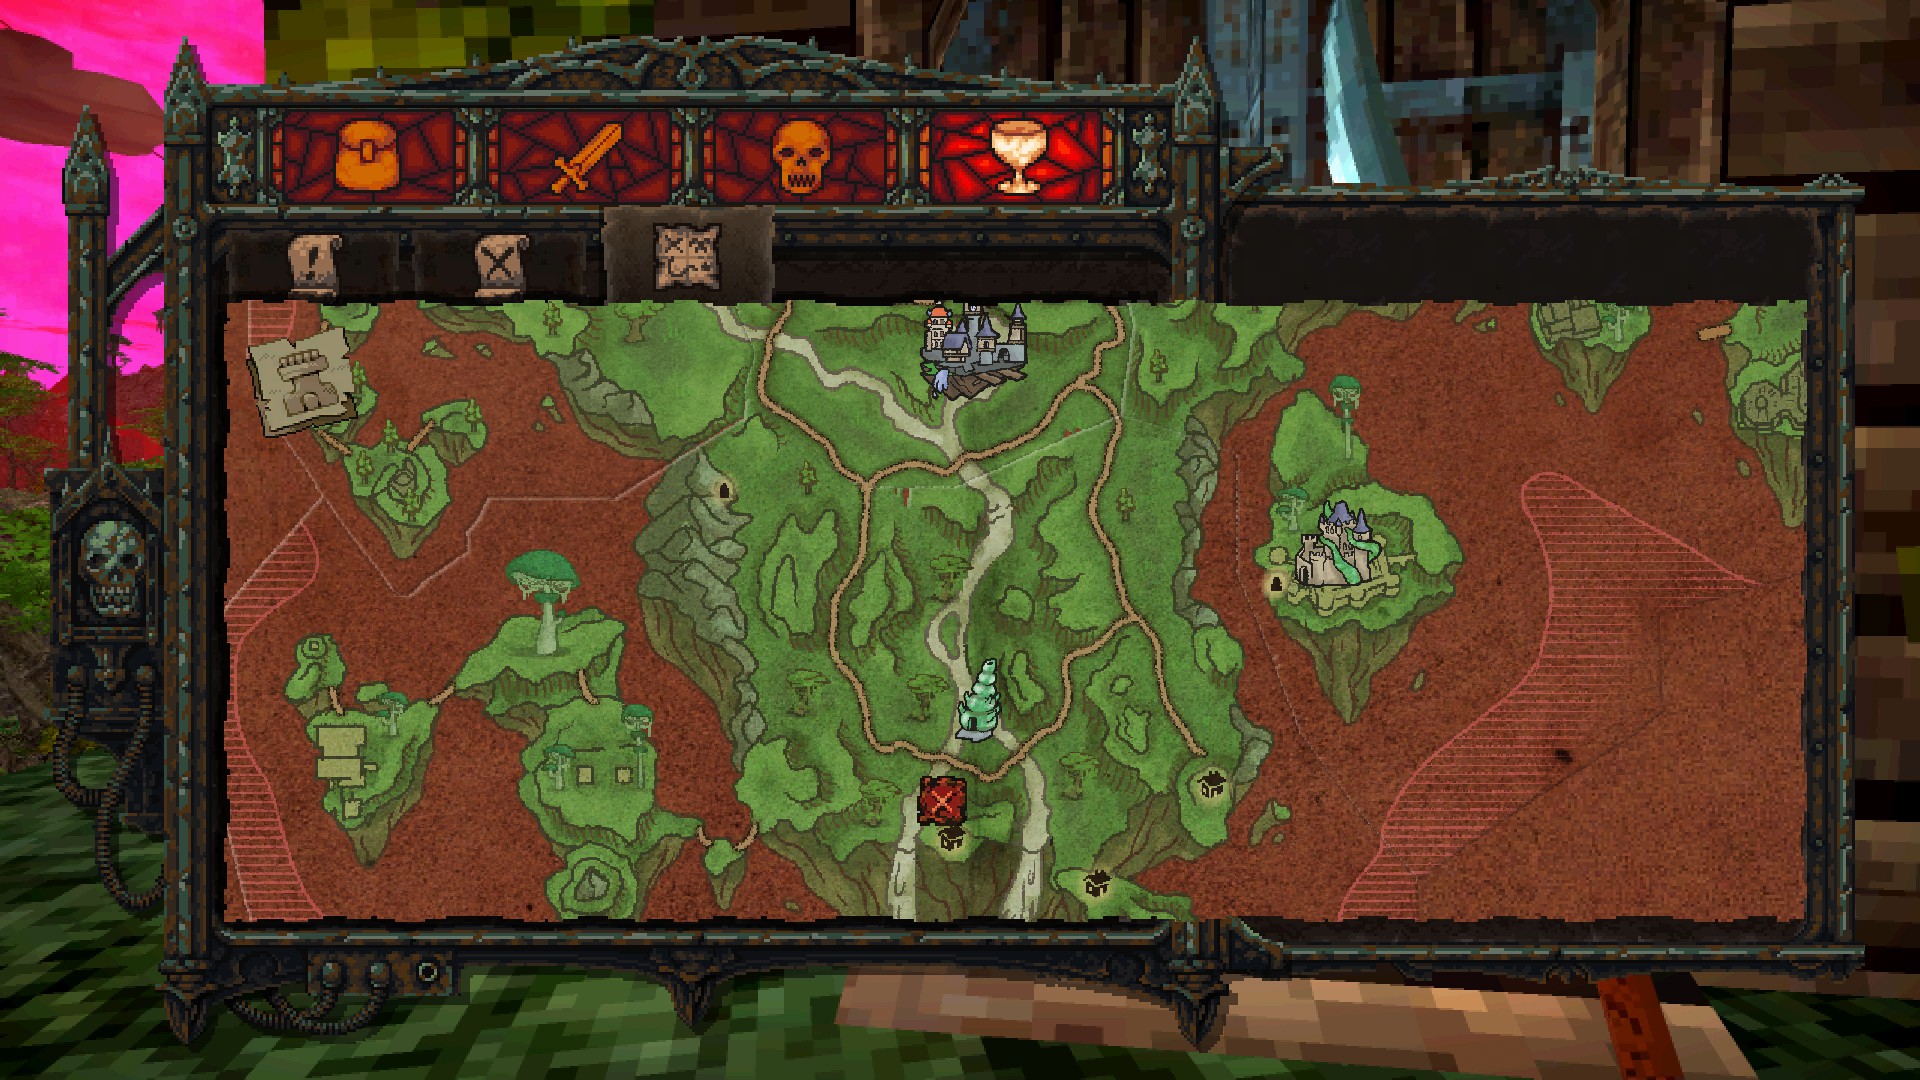
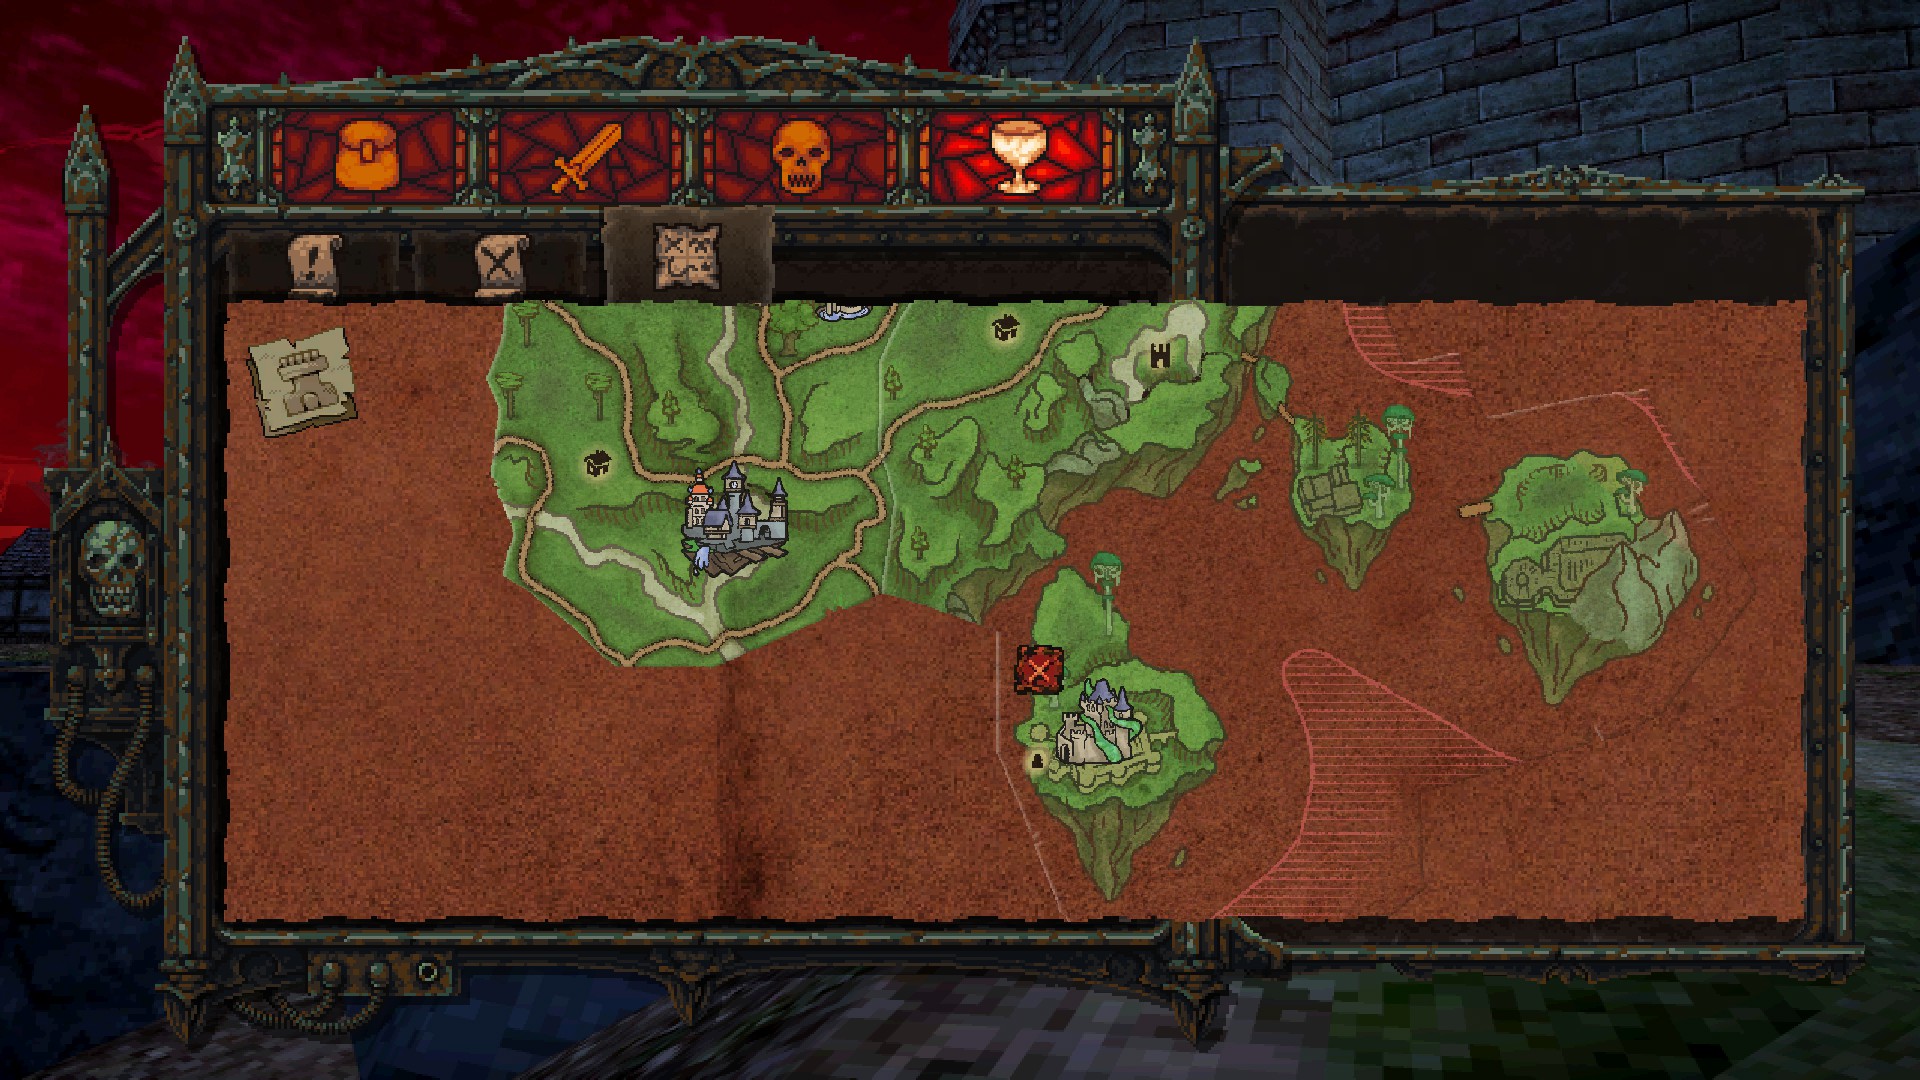
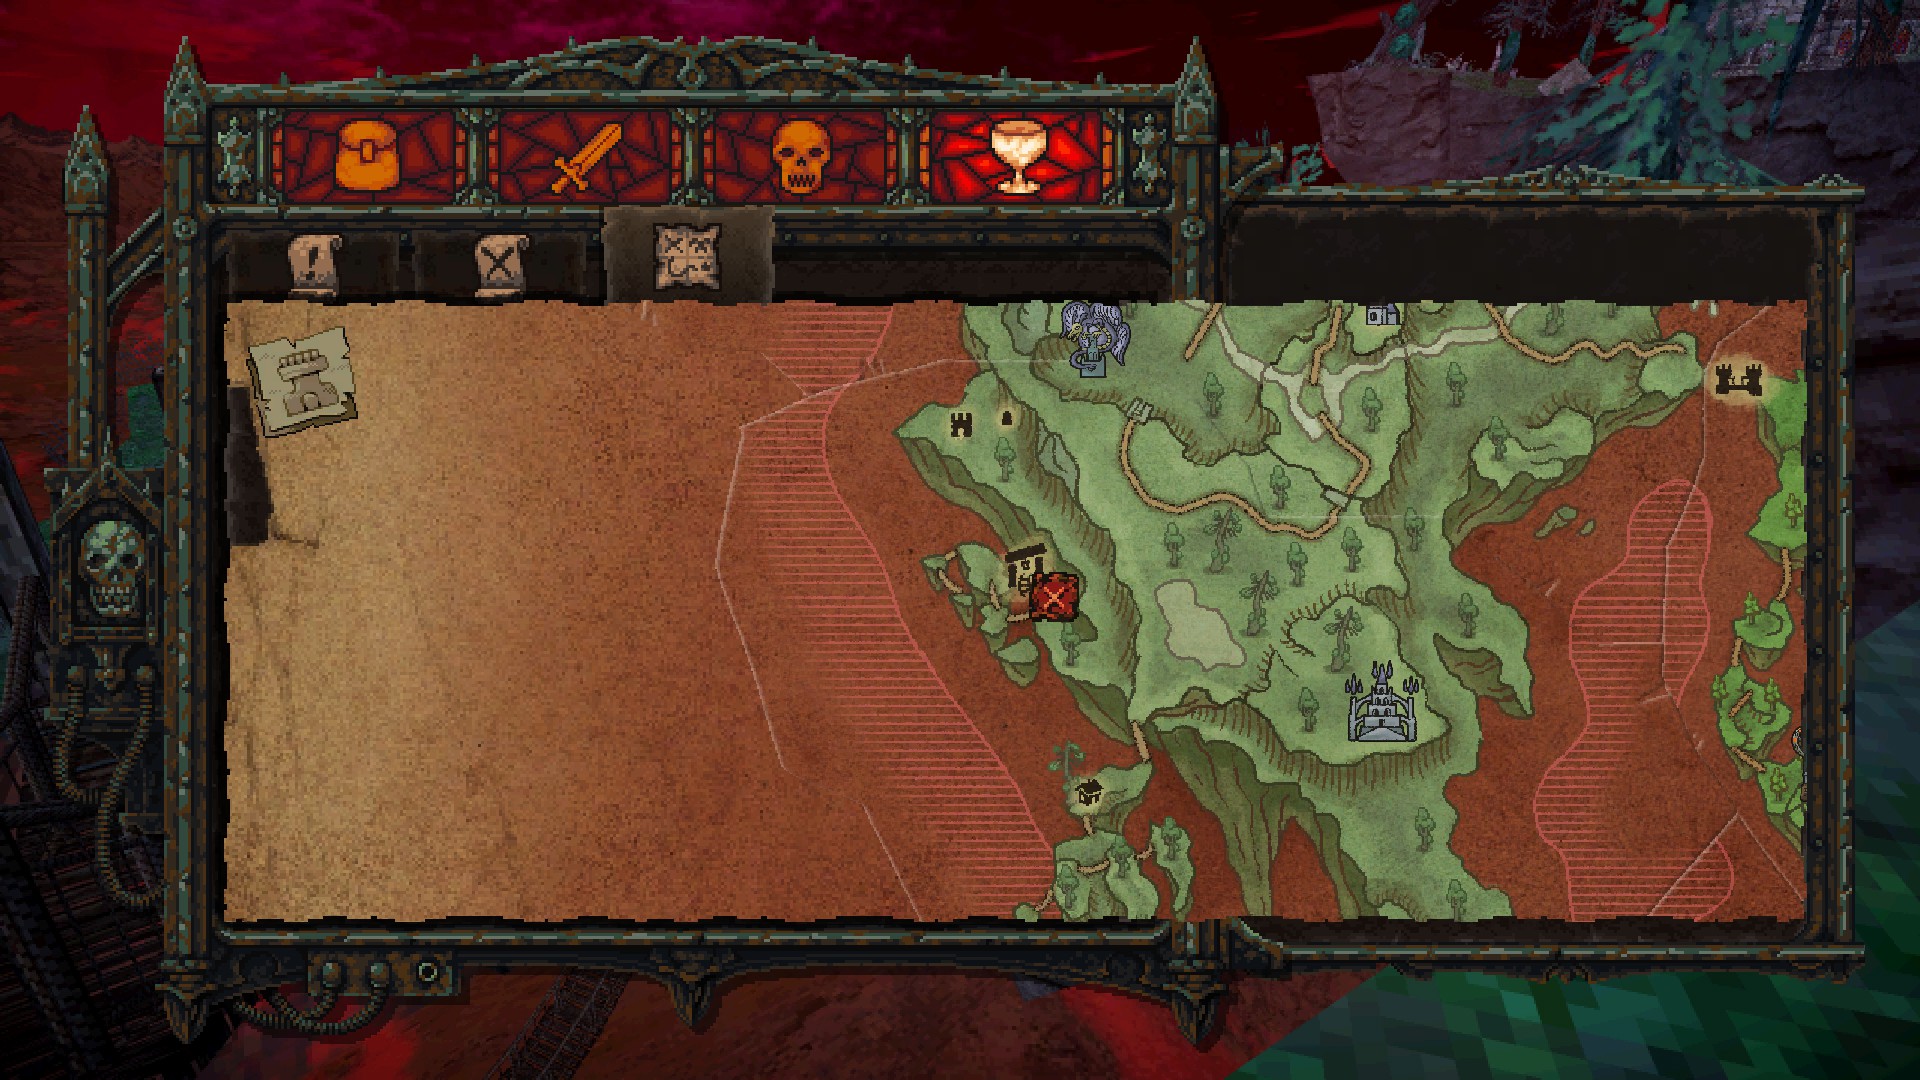
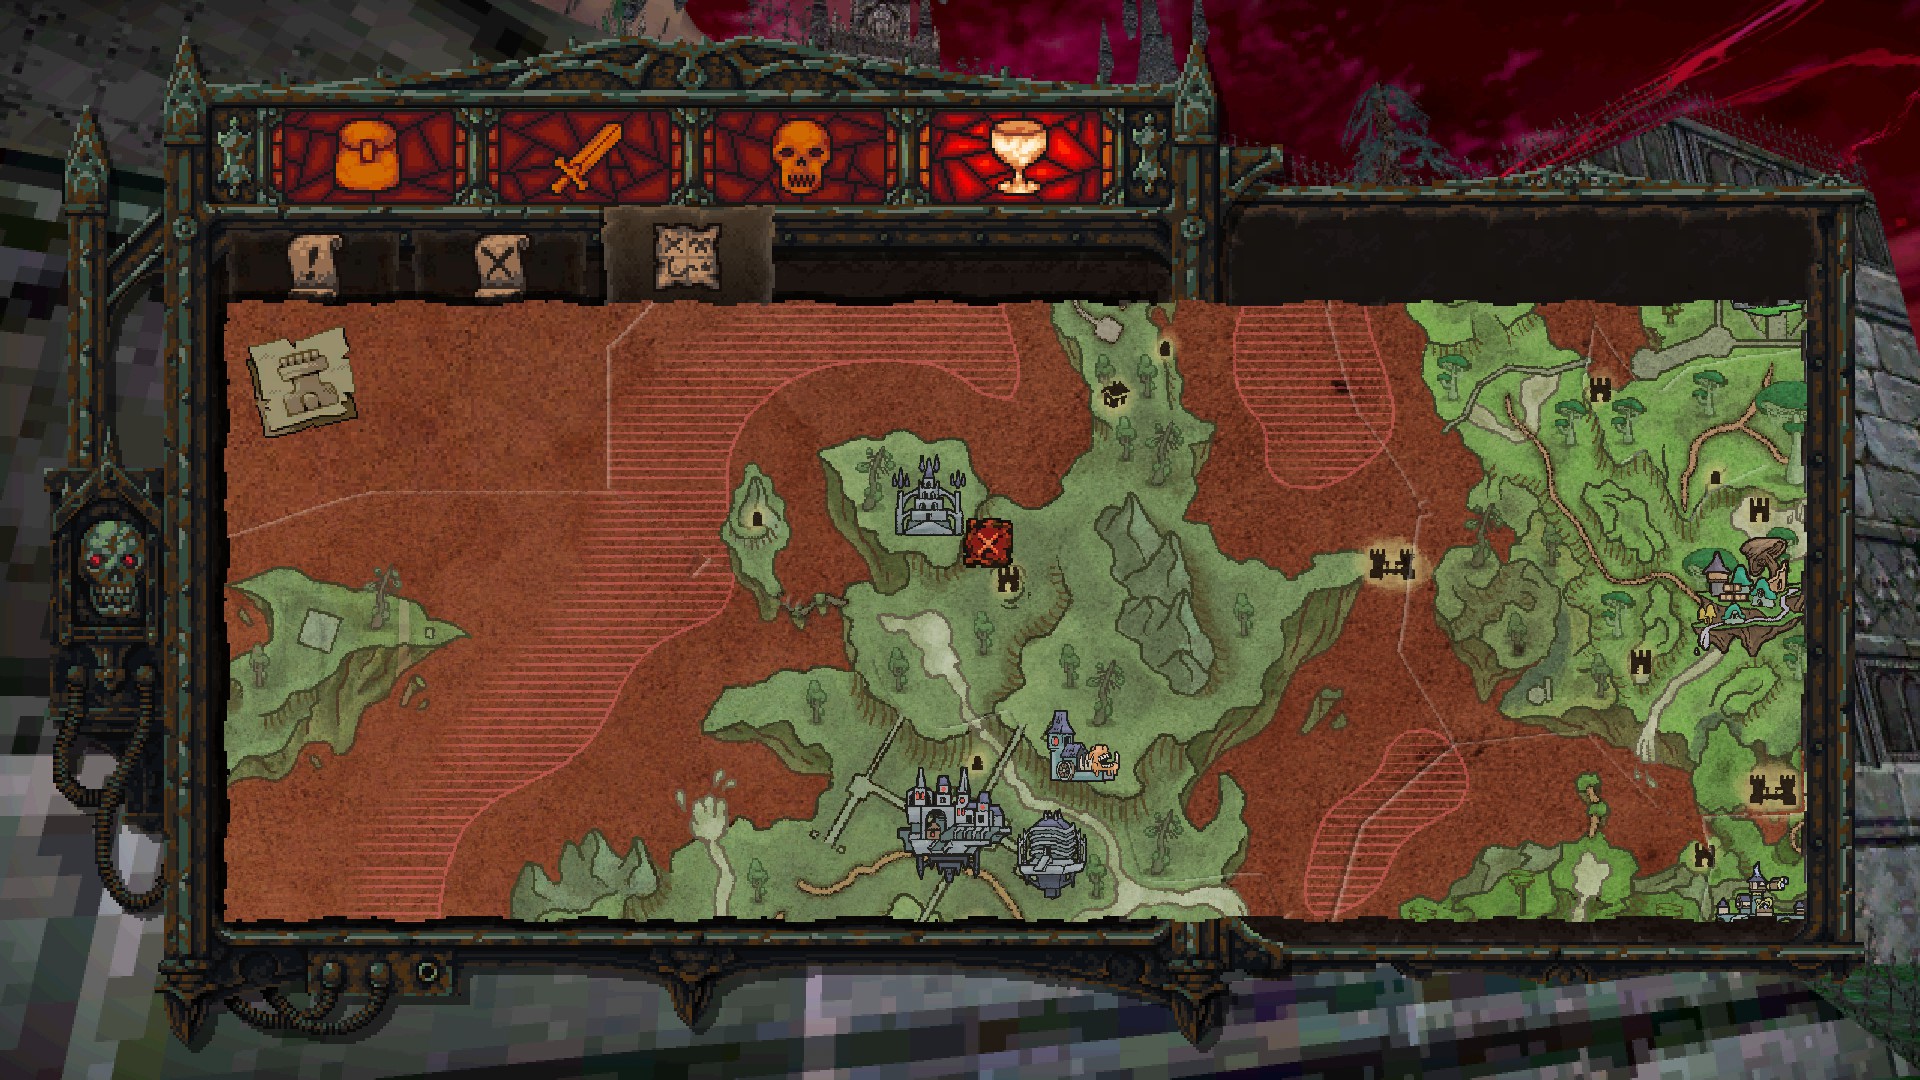
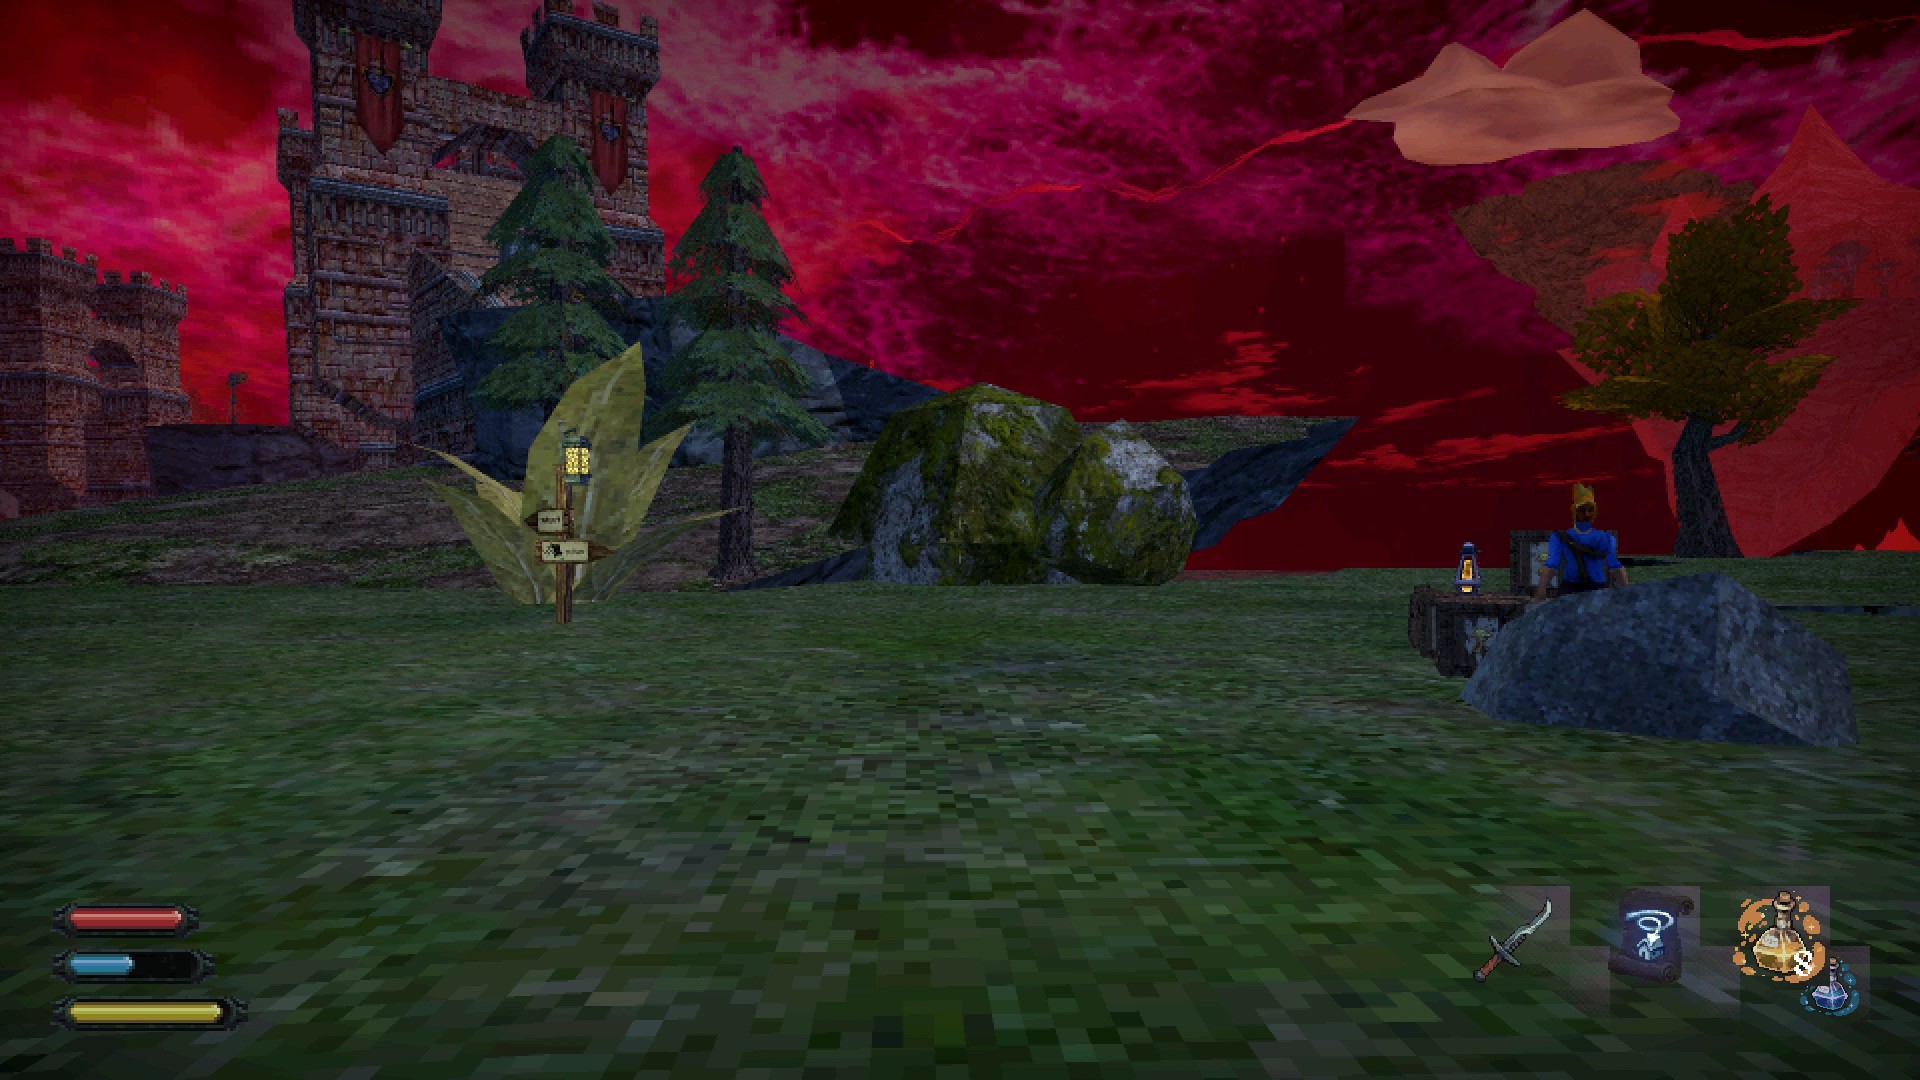
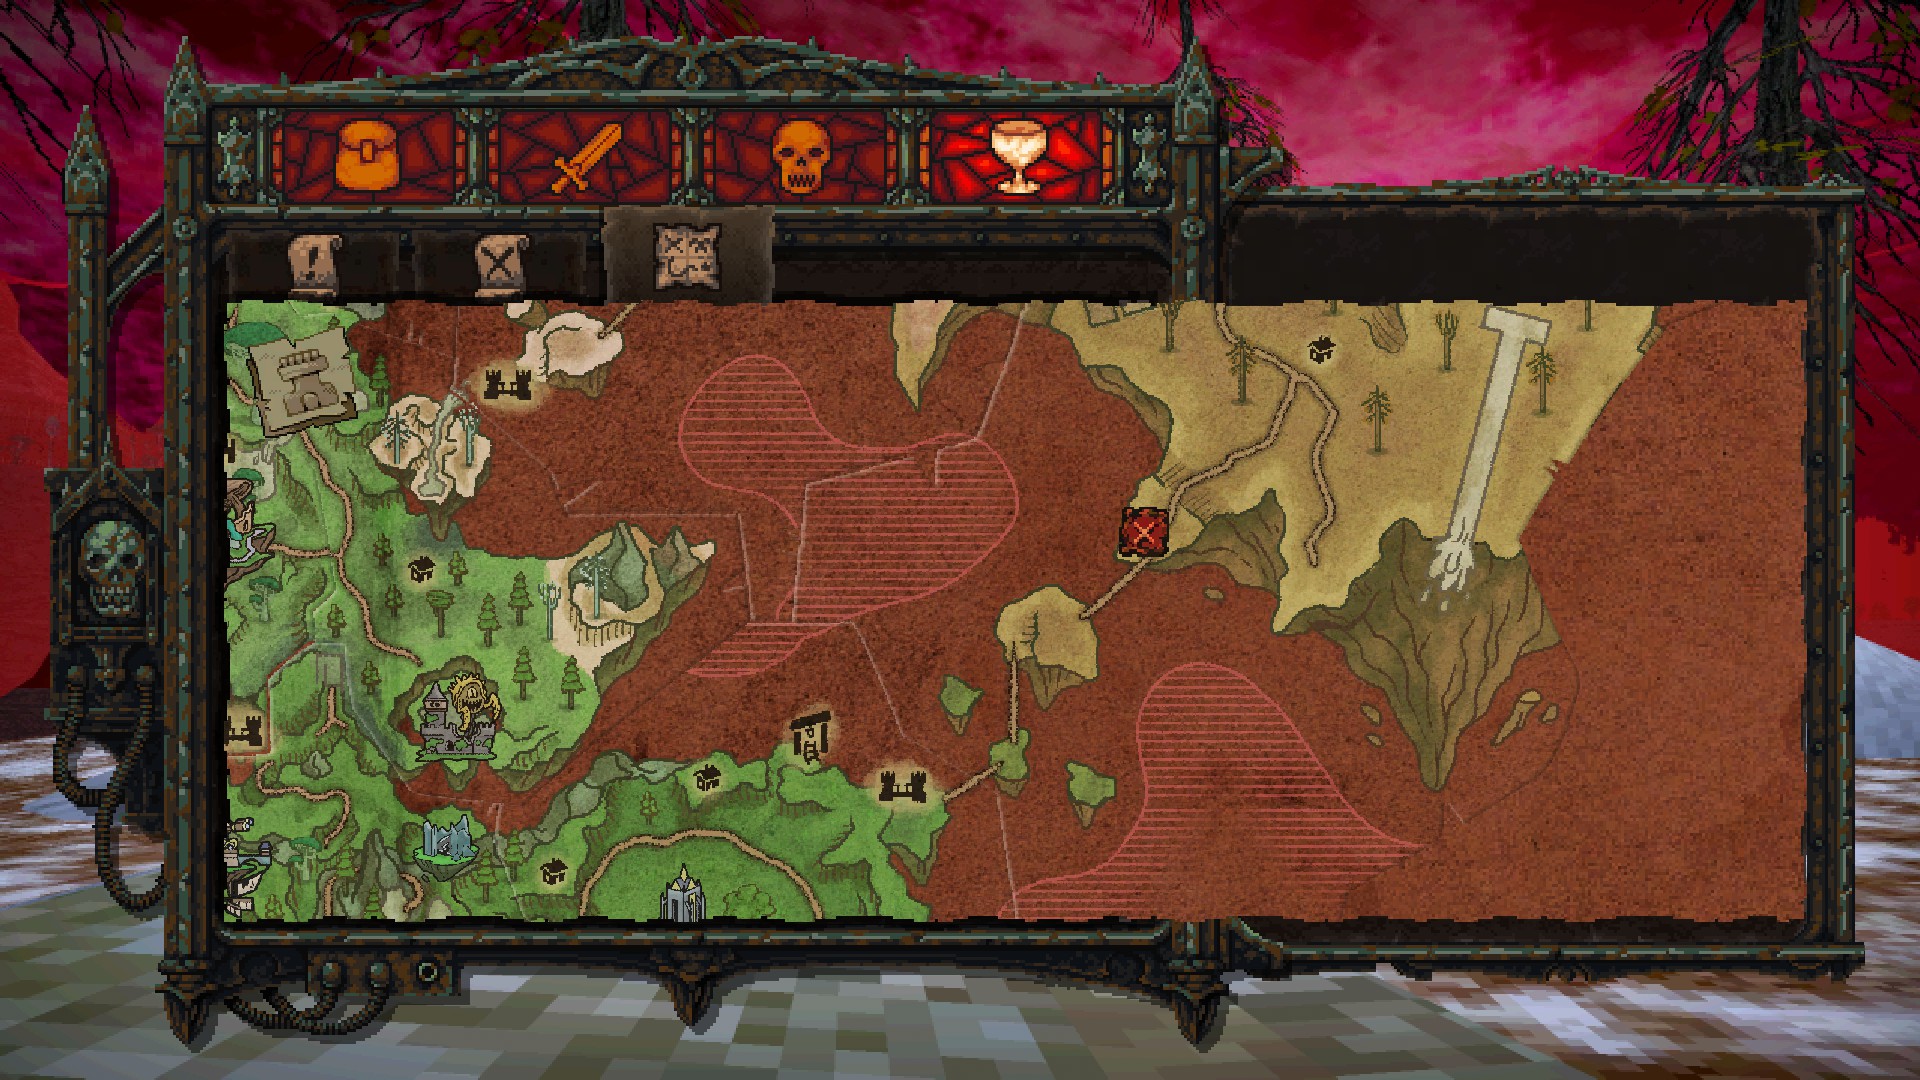
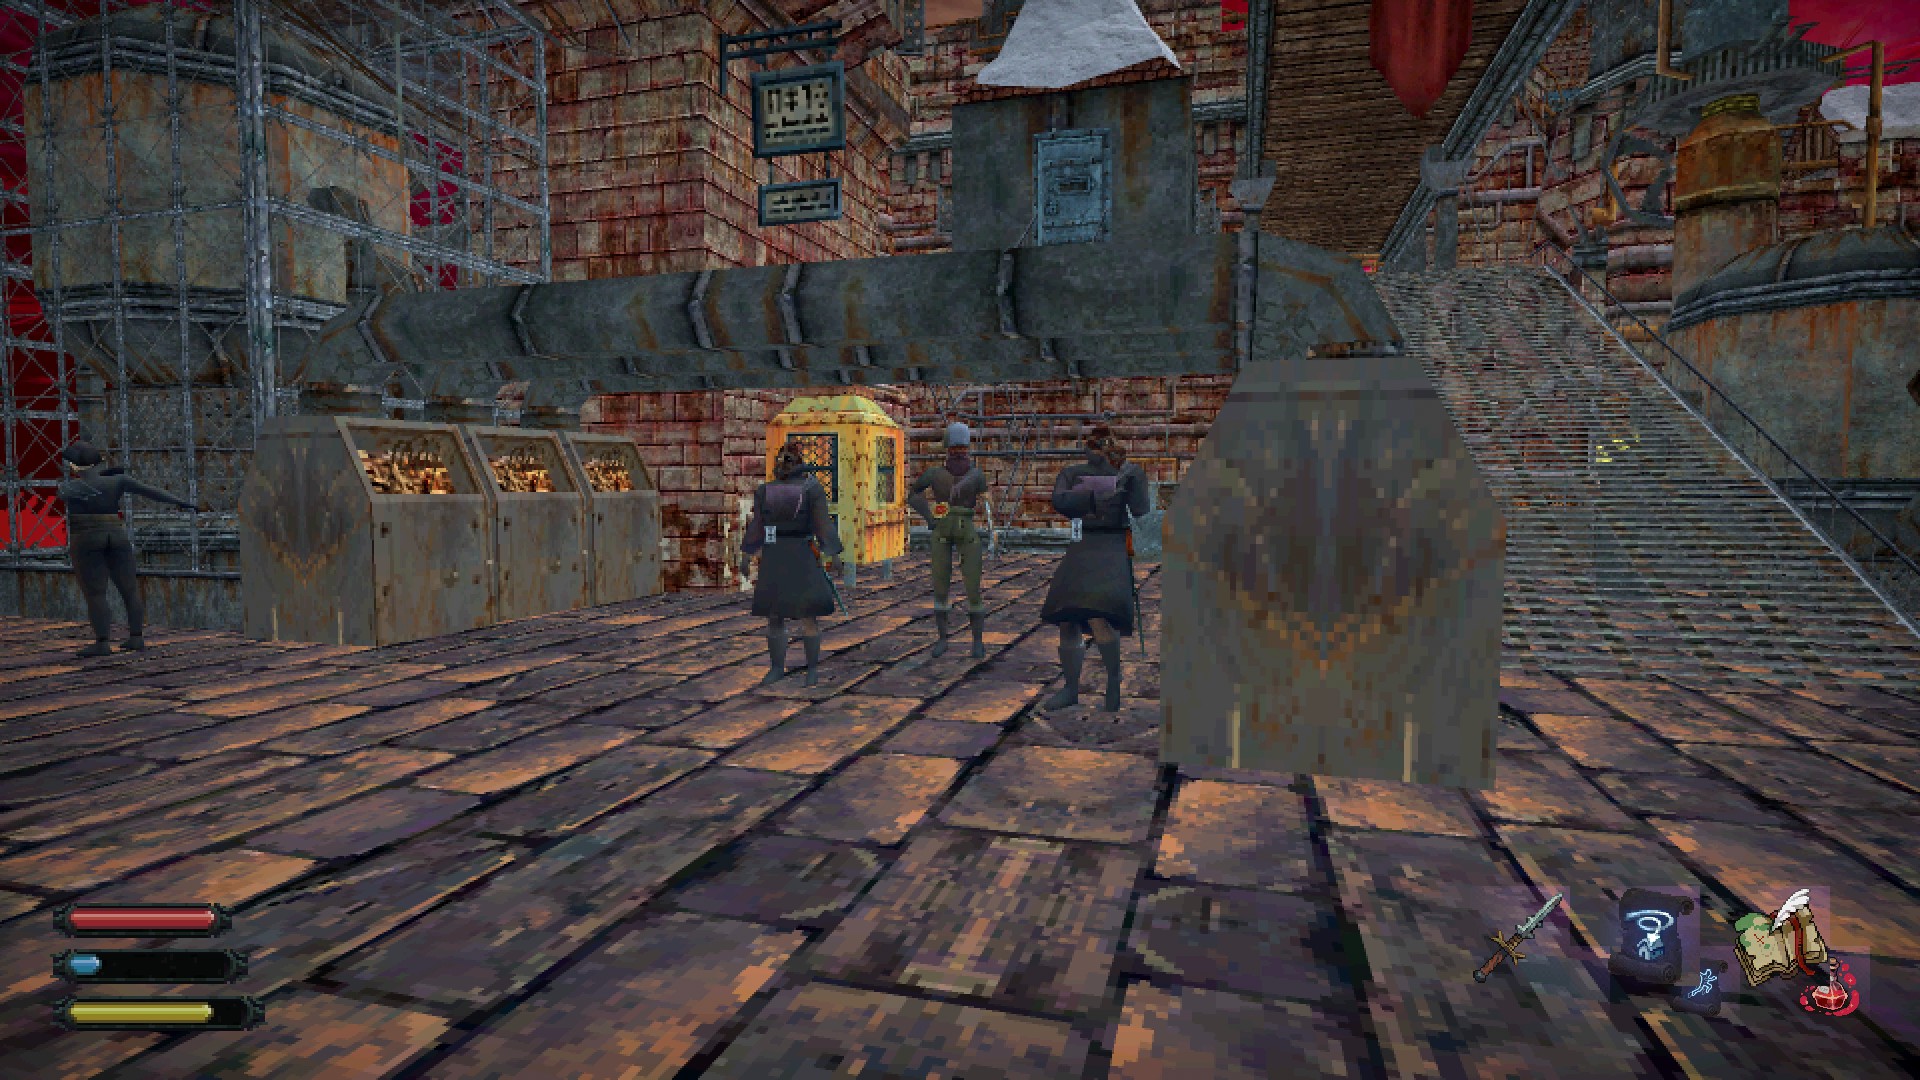
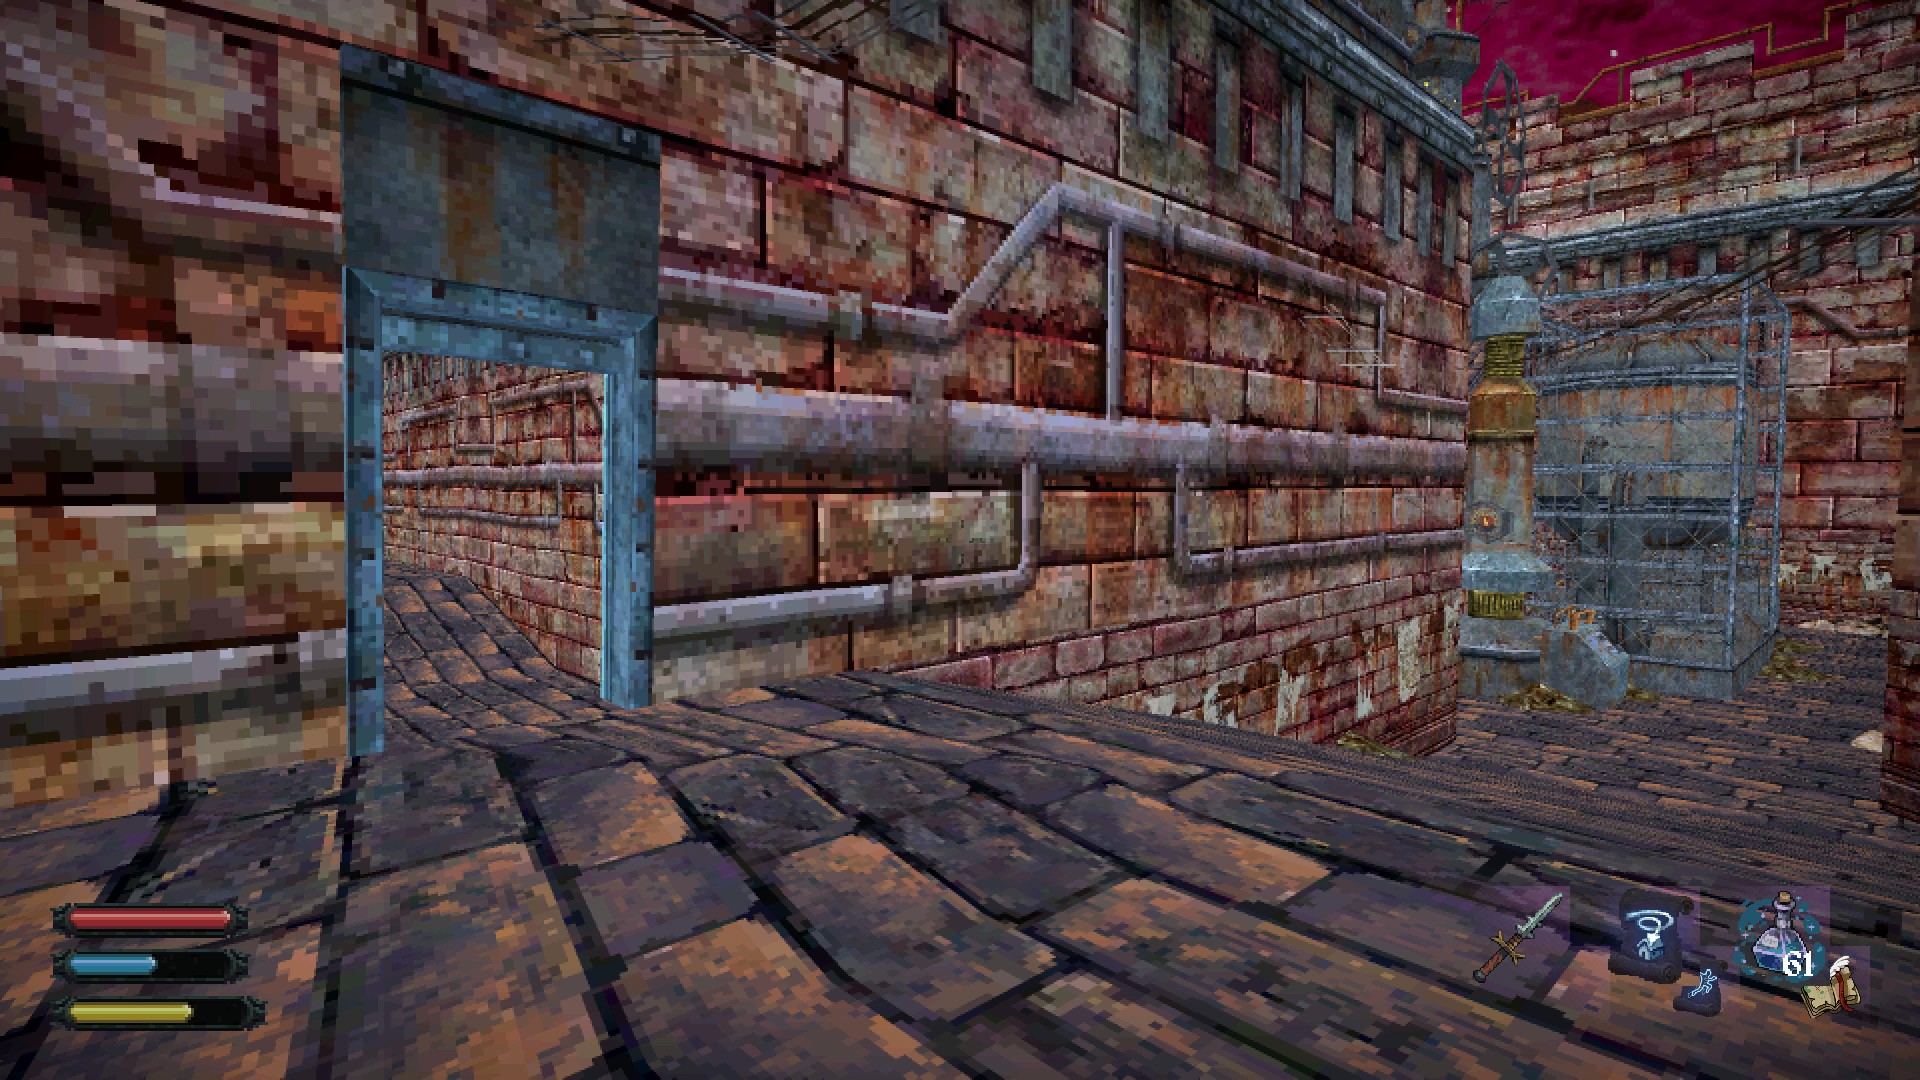
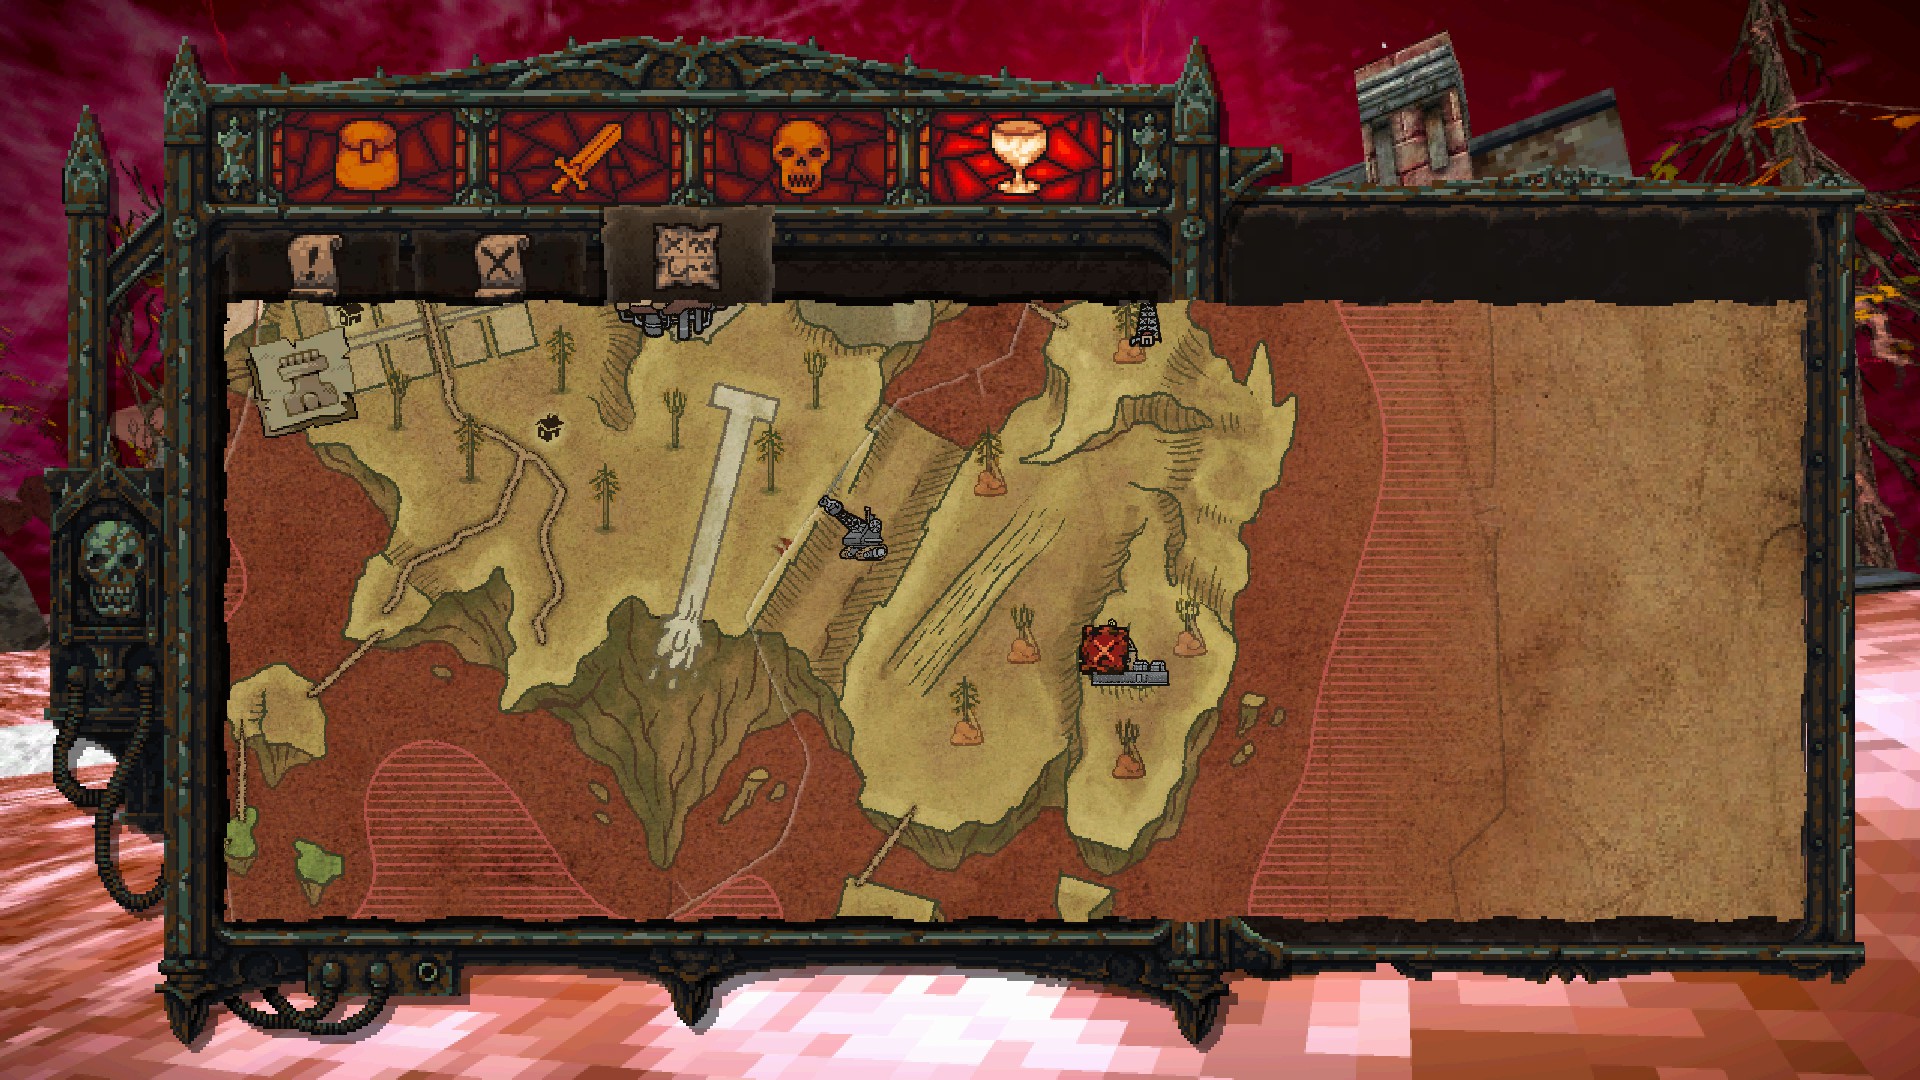
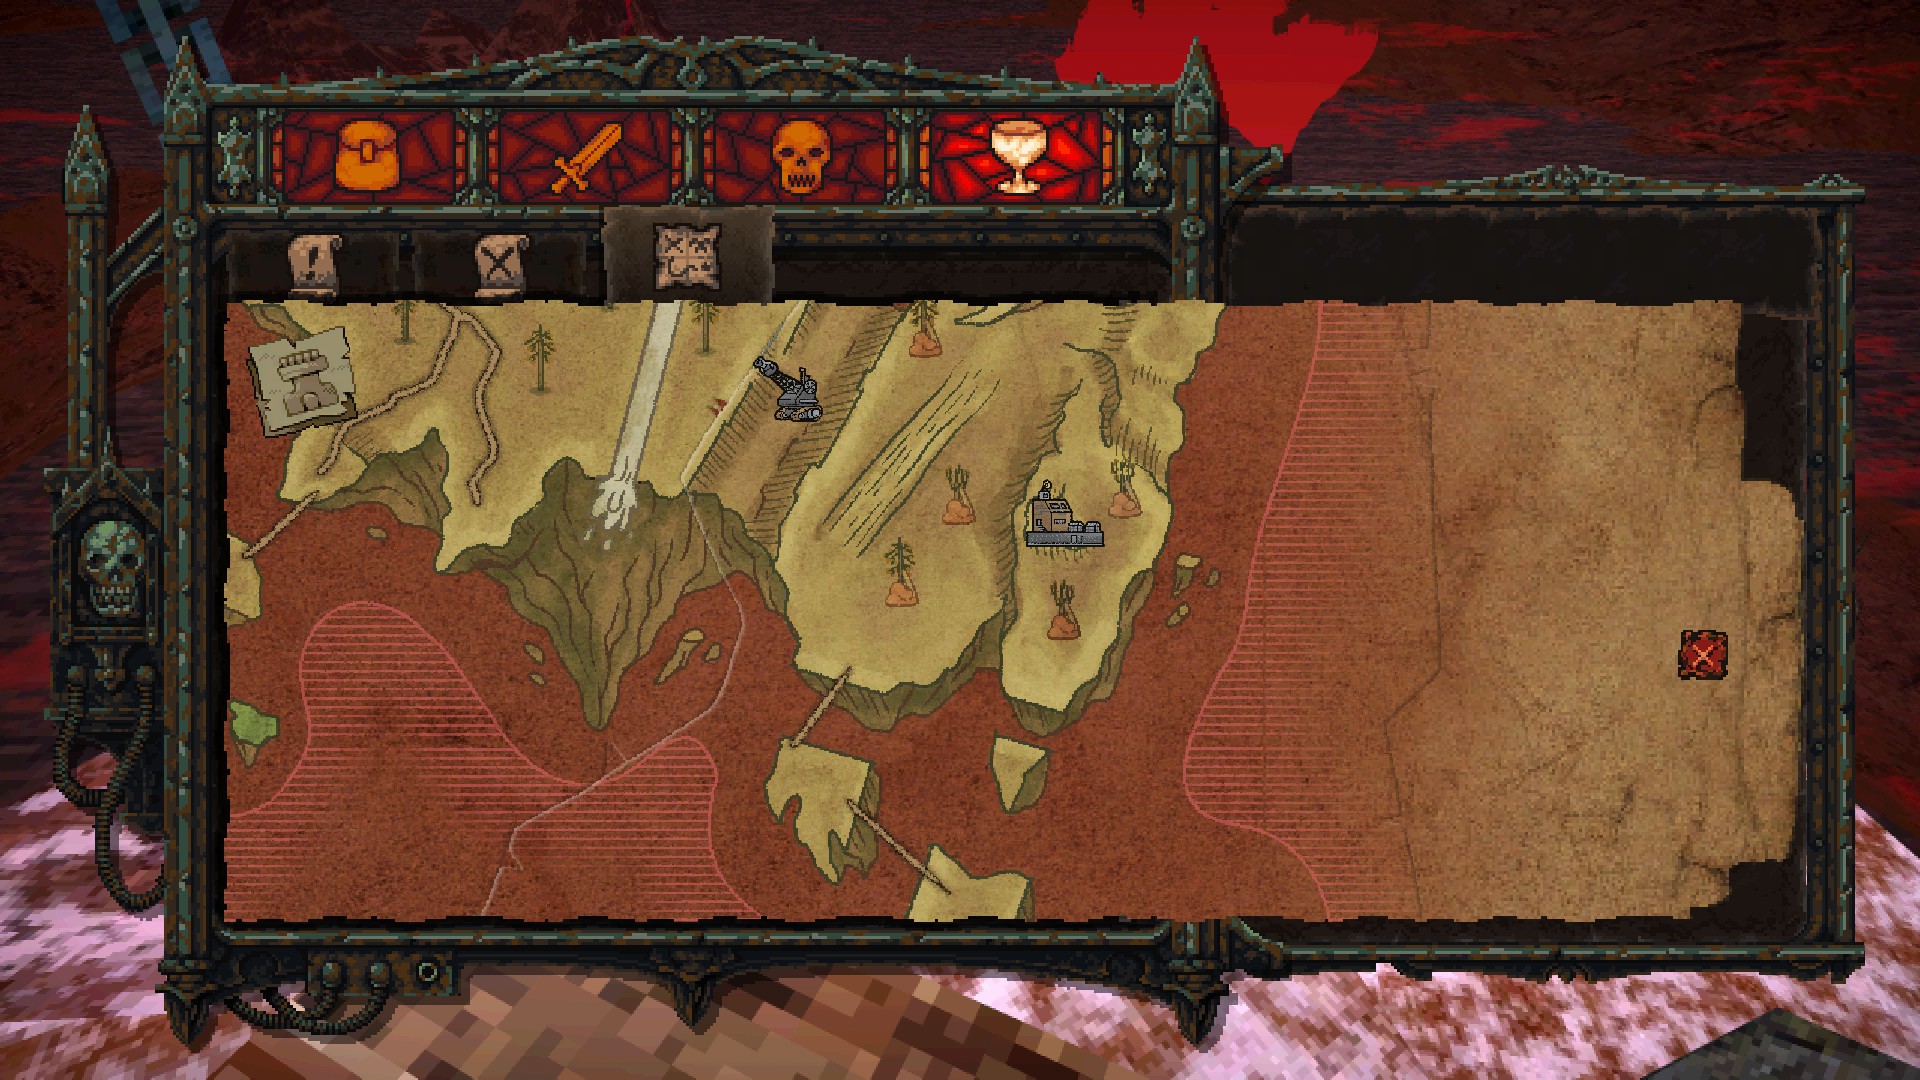
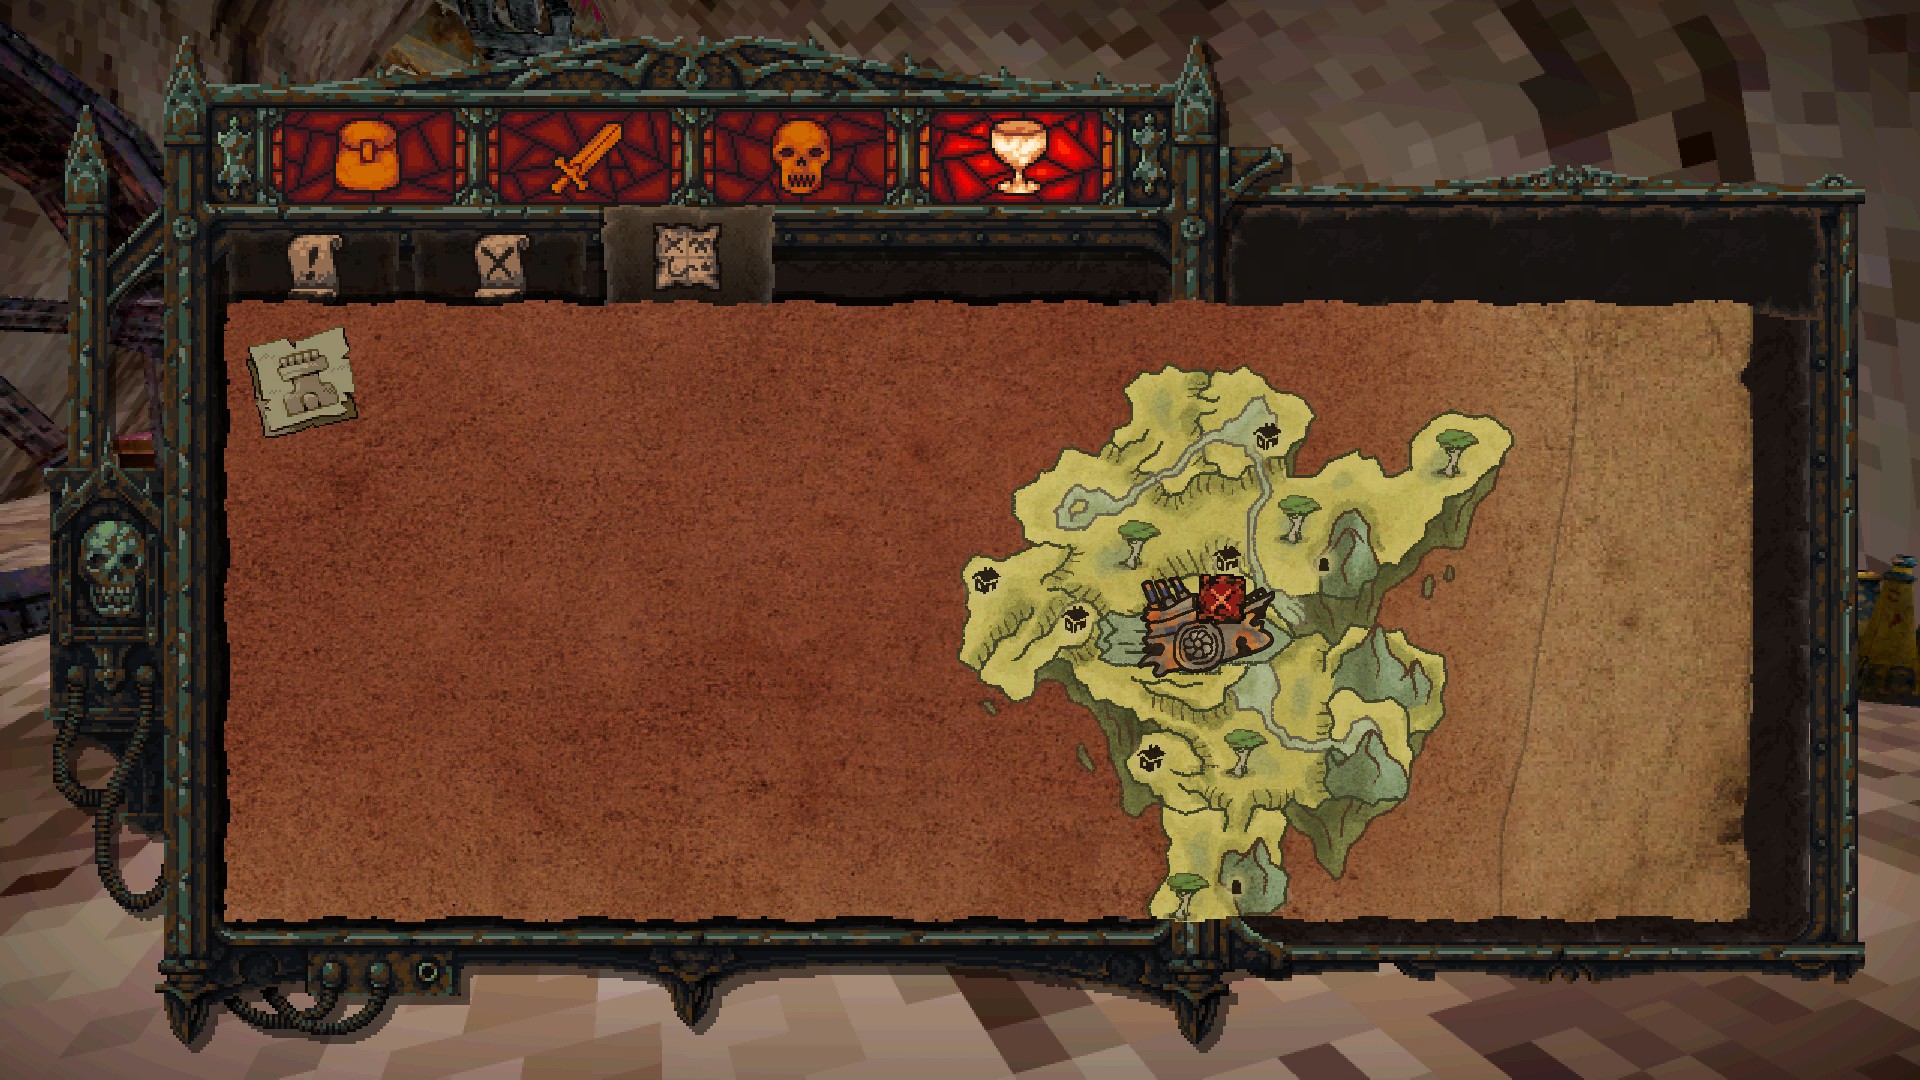
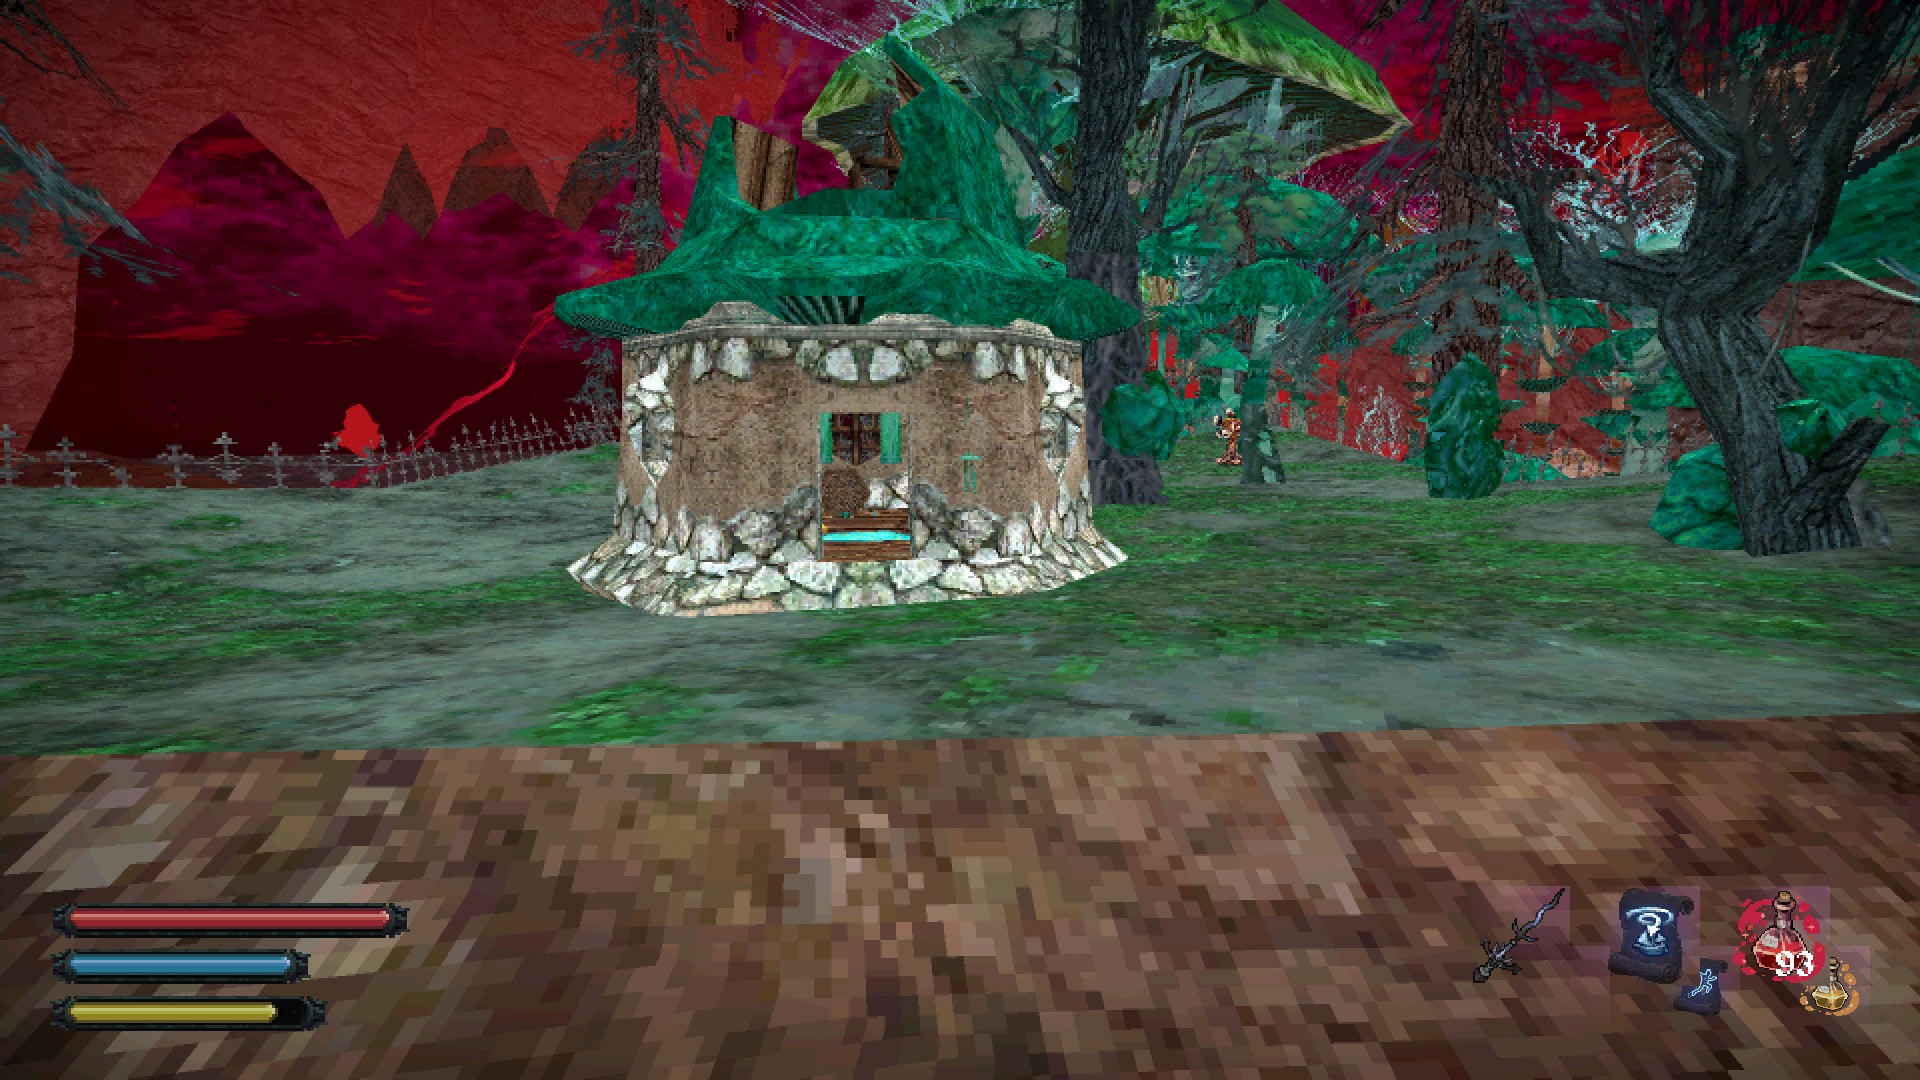
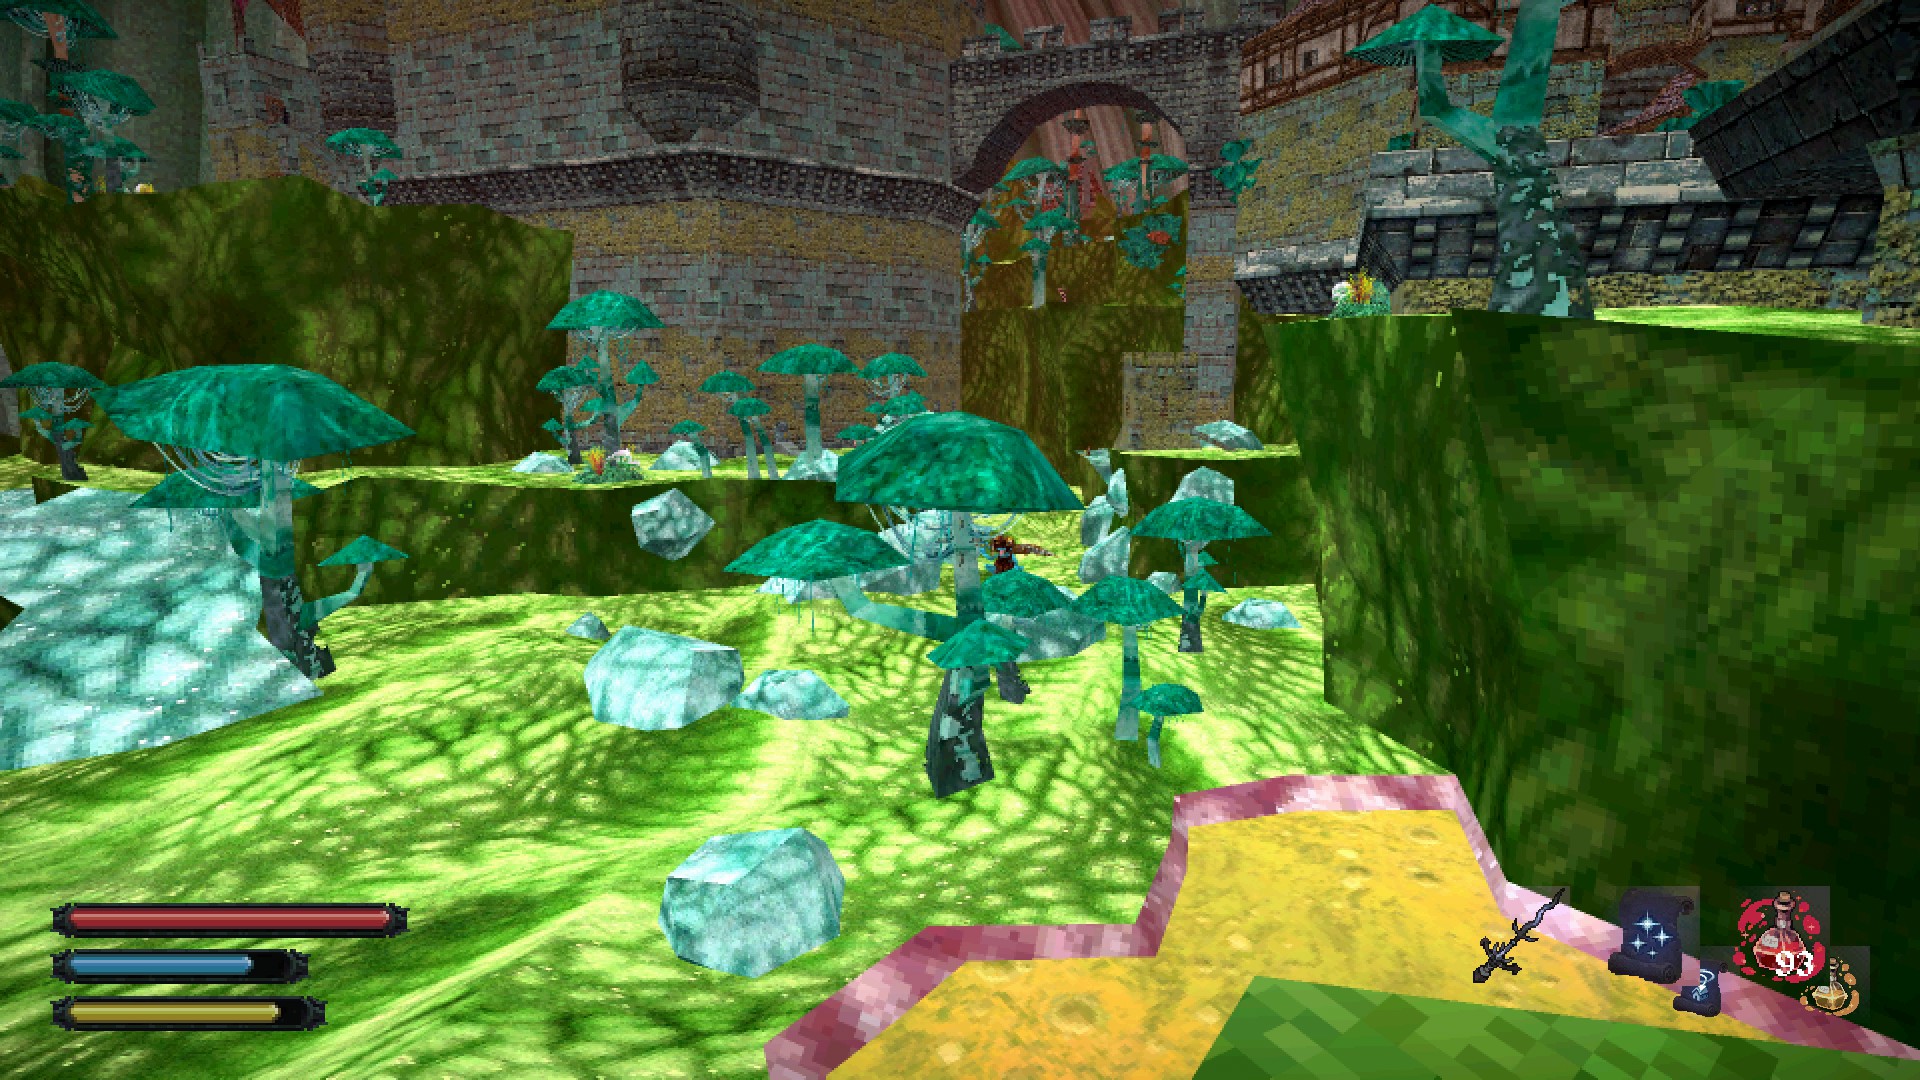
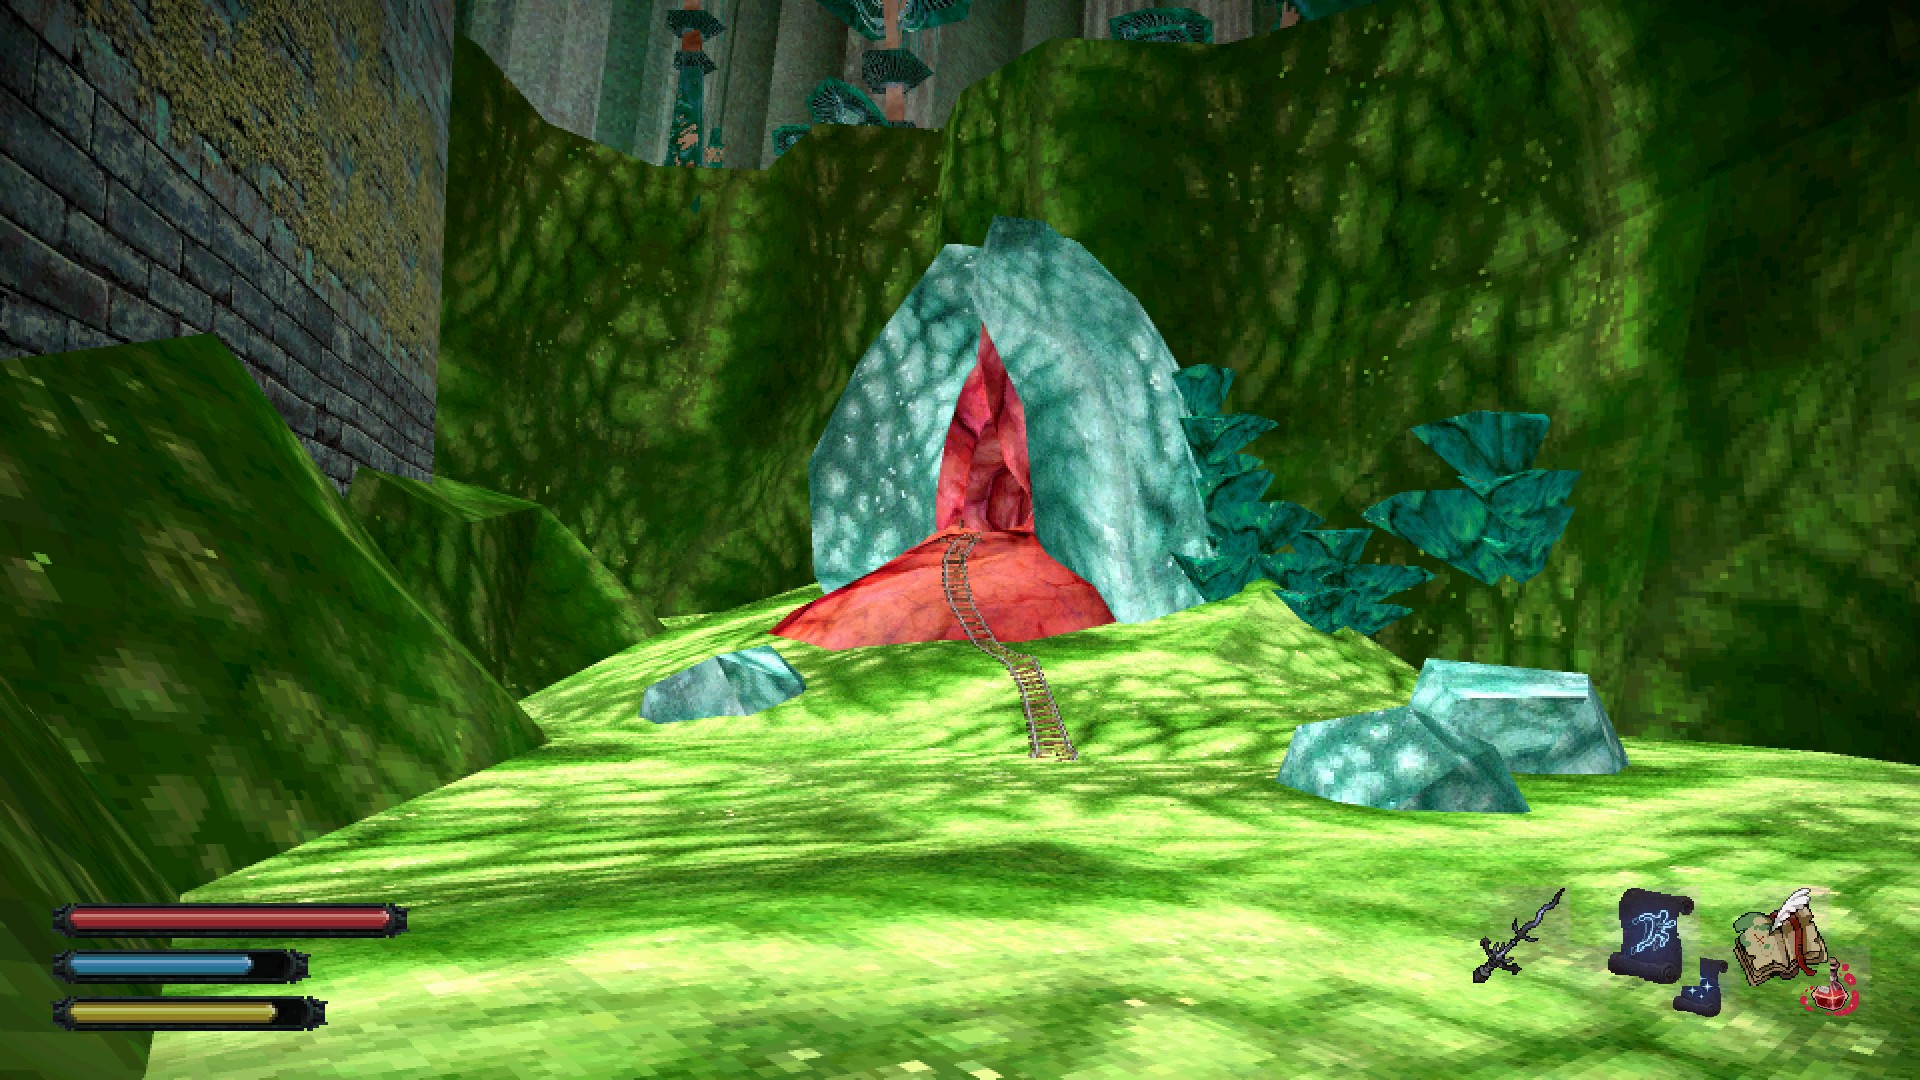
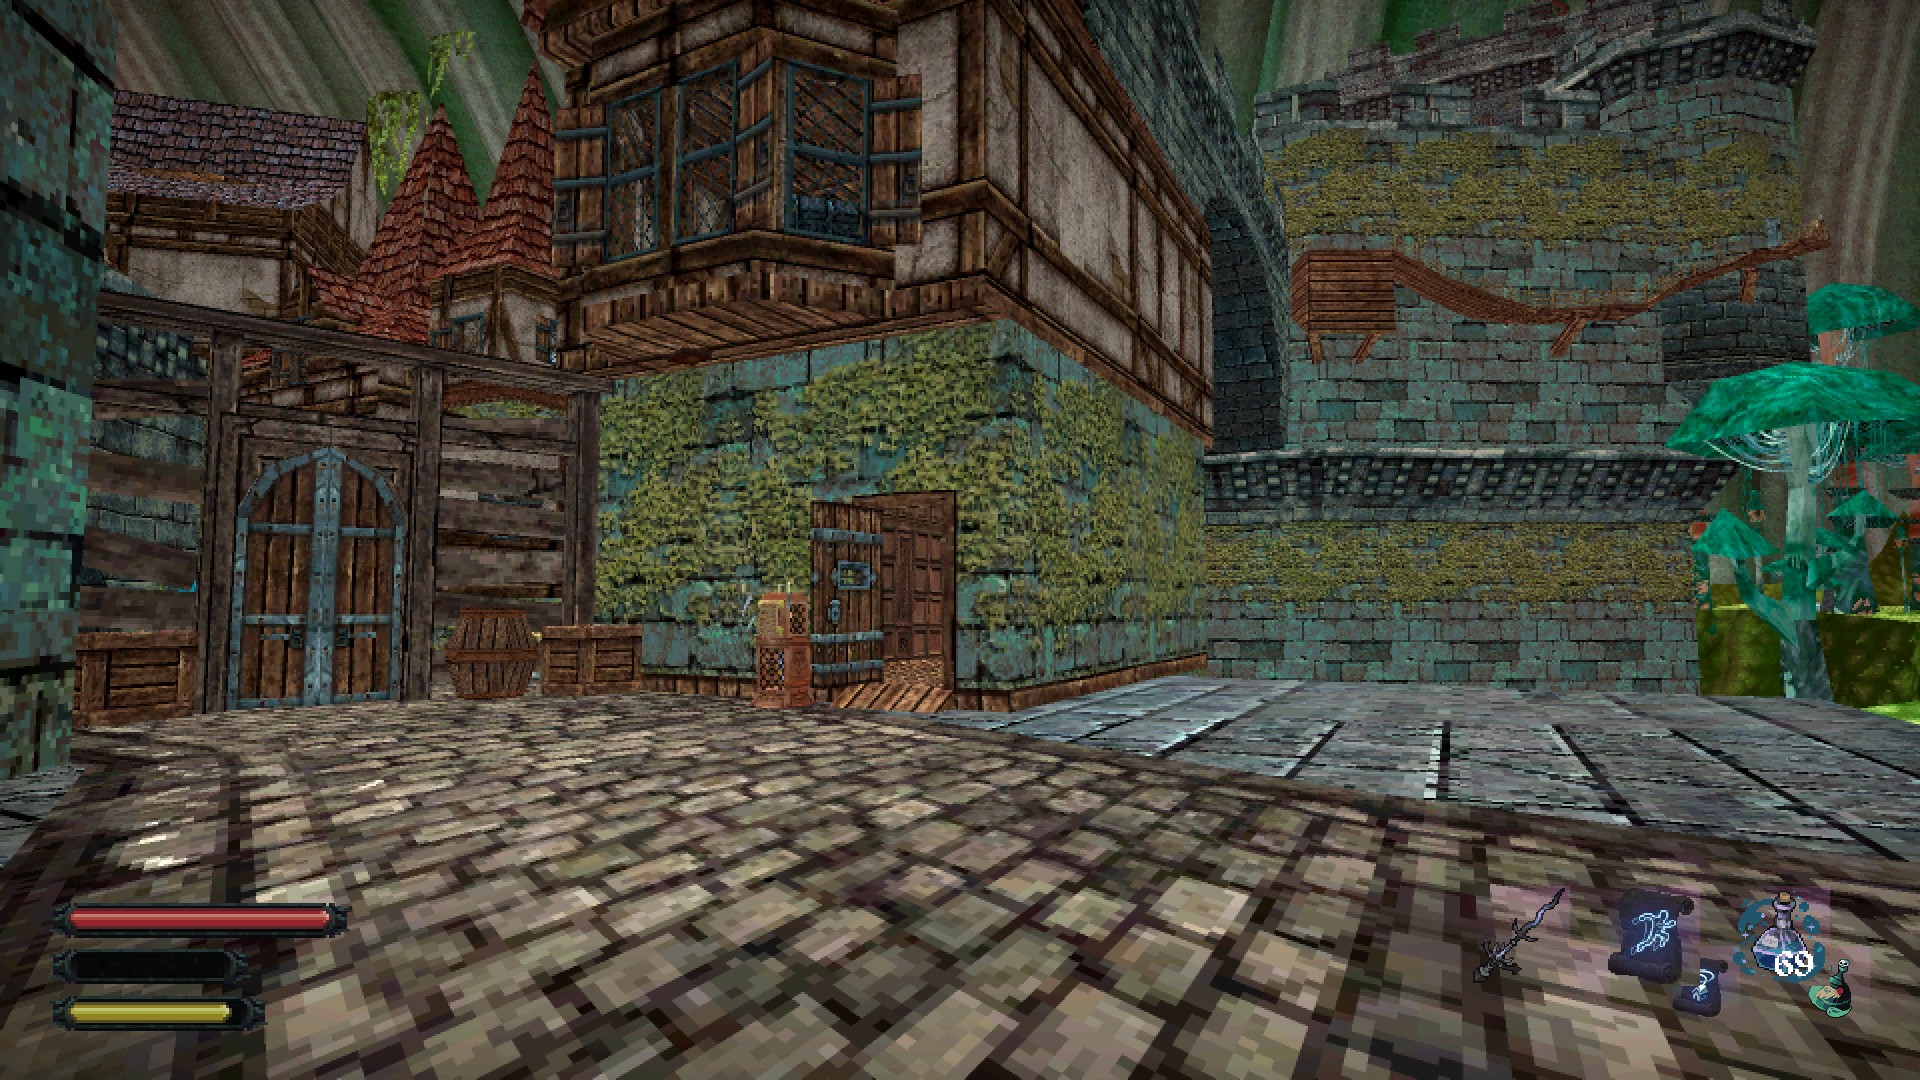
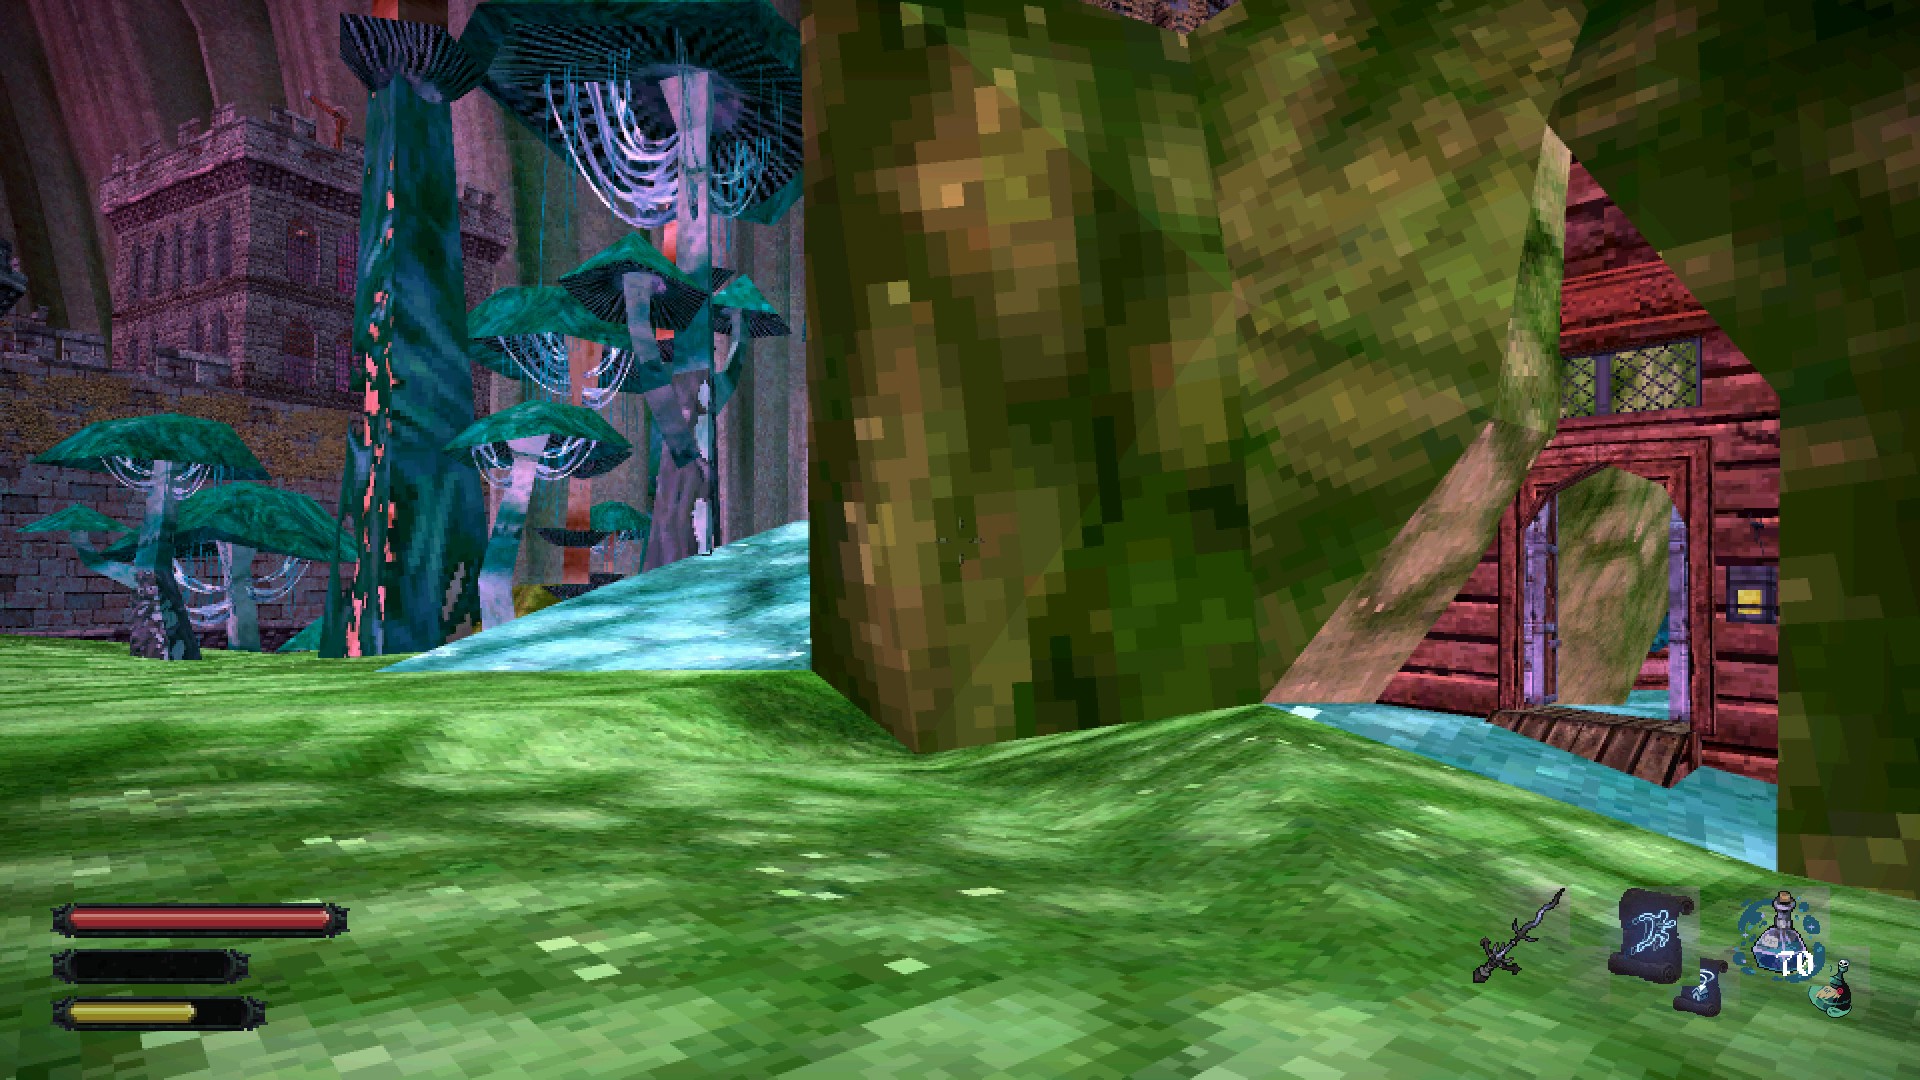
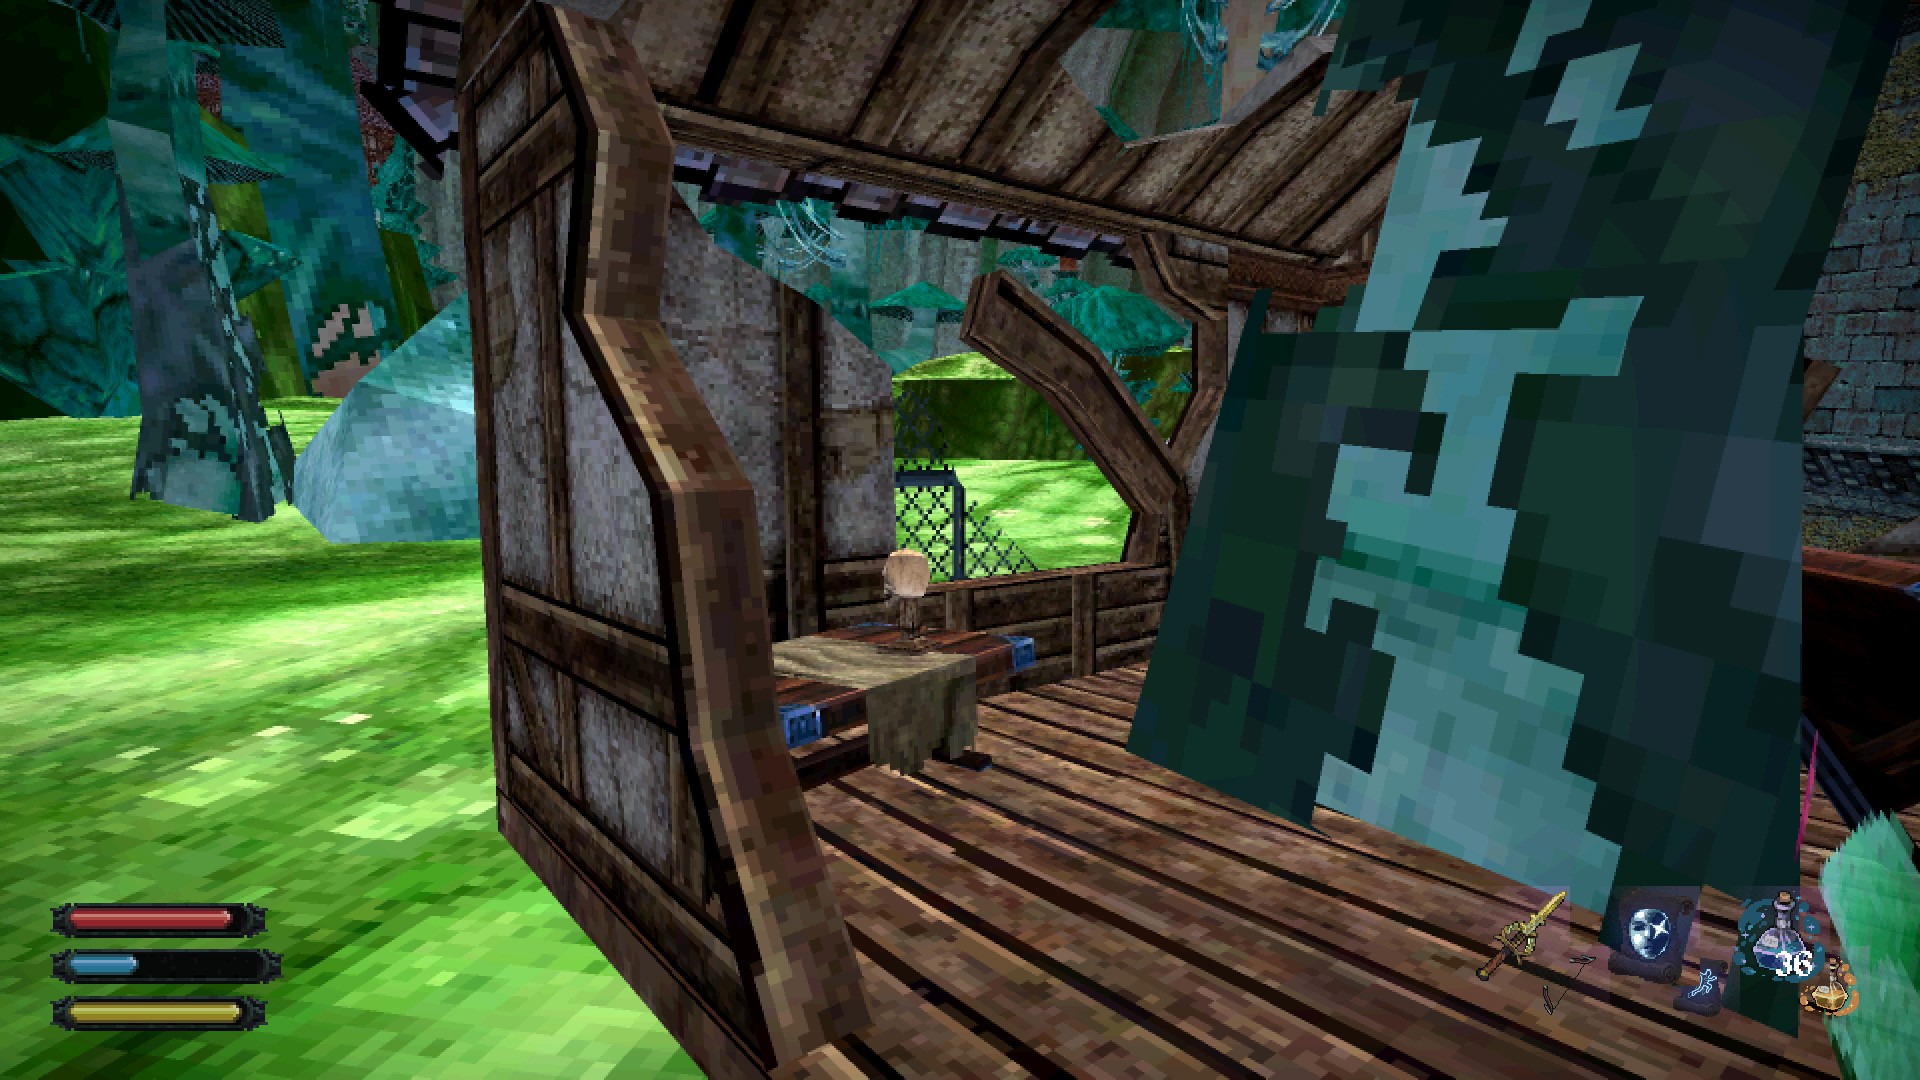
That house is irrelevant to the quest. IIRC it spawns after you gain access to the southern part of the Clockwork Kingdom.
Reffan 24. Apr. um 17:18 
I wonder if I am missing something regarding "The Whispers of Ghosts". That ghost spawned close by just as I arrived in Clockwork Kingdom with Mikhail, talked with her, ran around the island for a while and when I go to the spot you marked, she's not there. That little house on your screenshot isn't there either.
( ͡° ͜ʖ ͡ °)  [Autor] 21. Apr. um 9:34 
@ grey
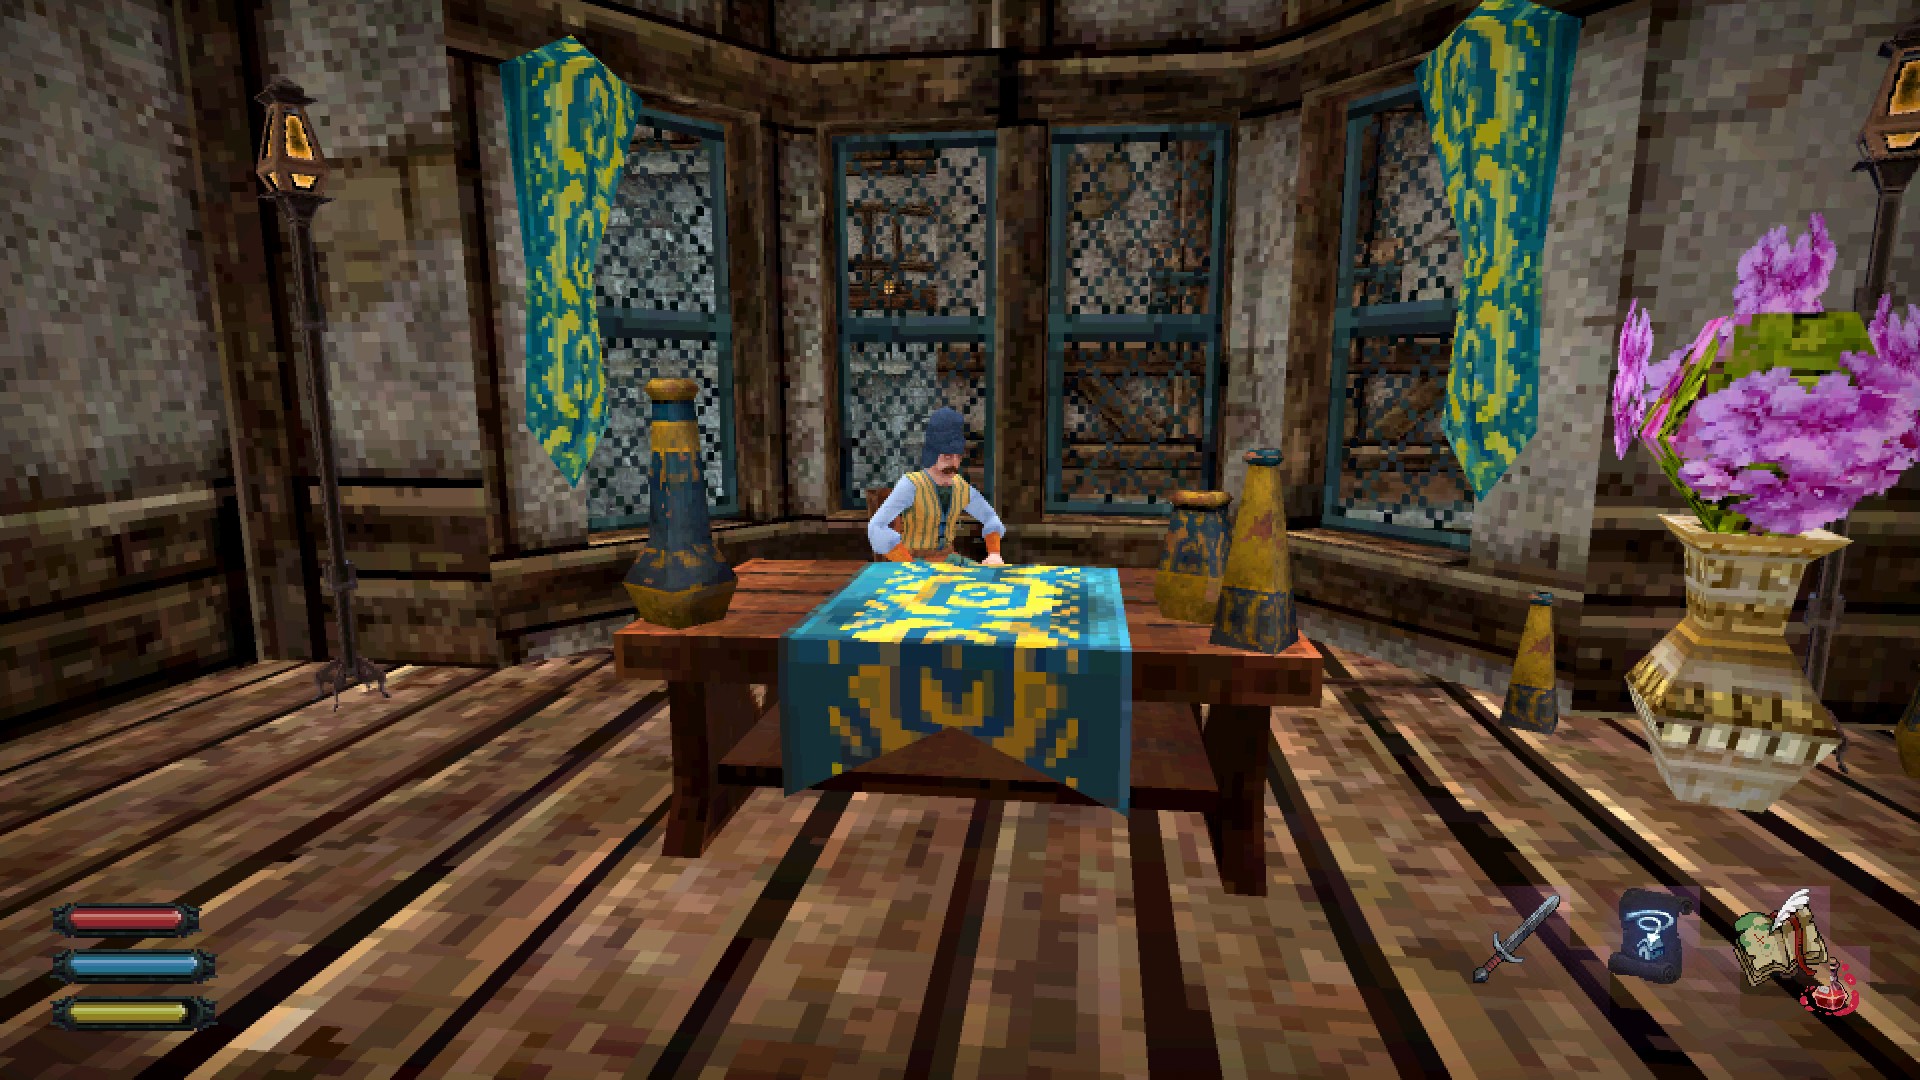
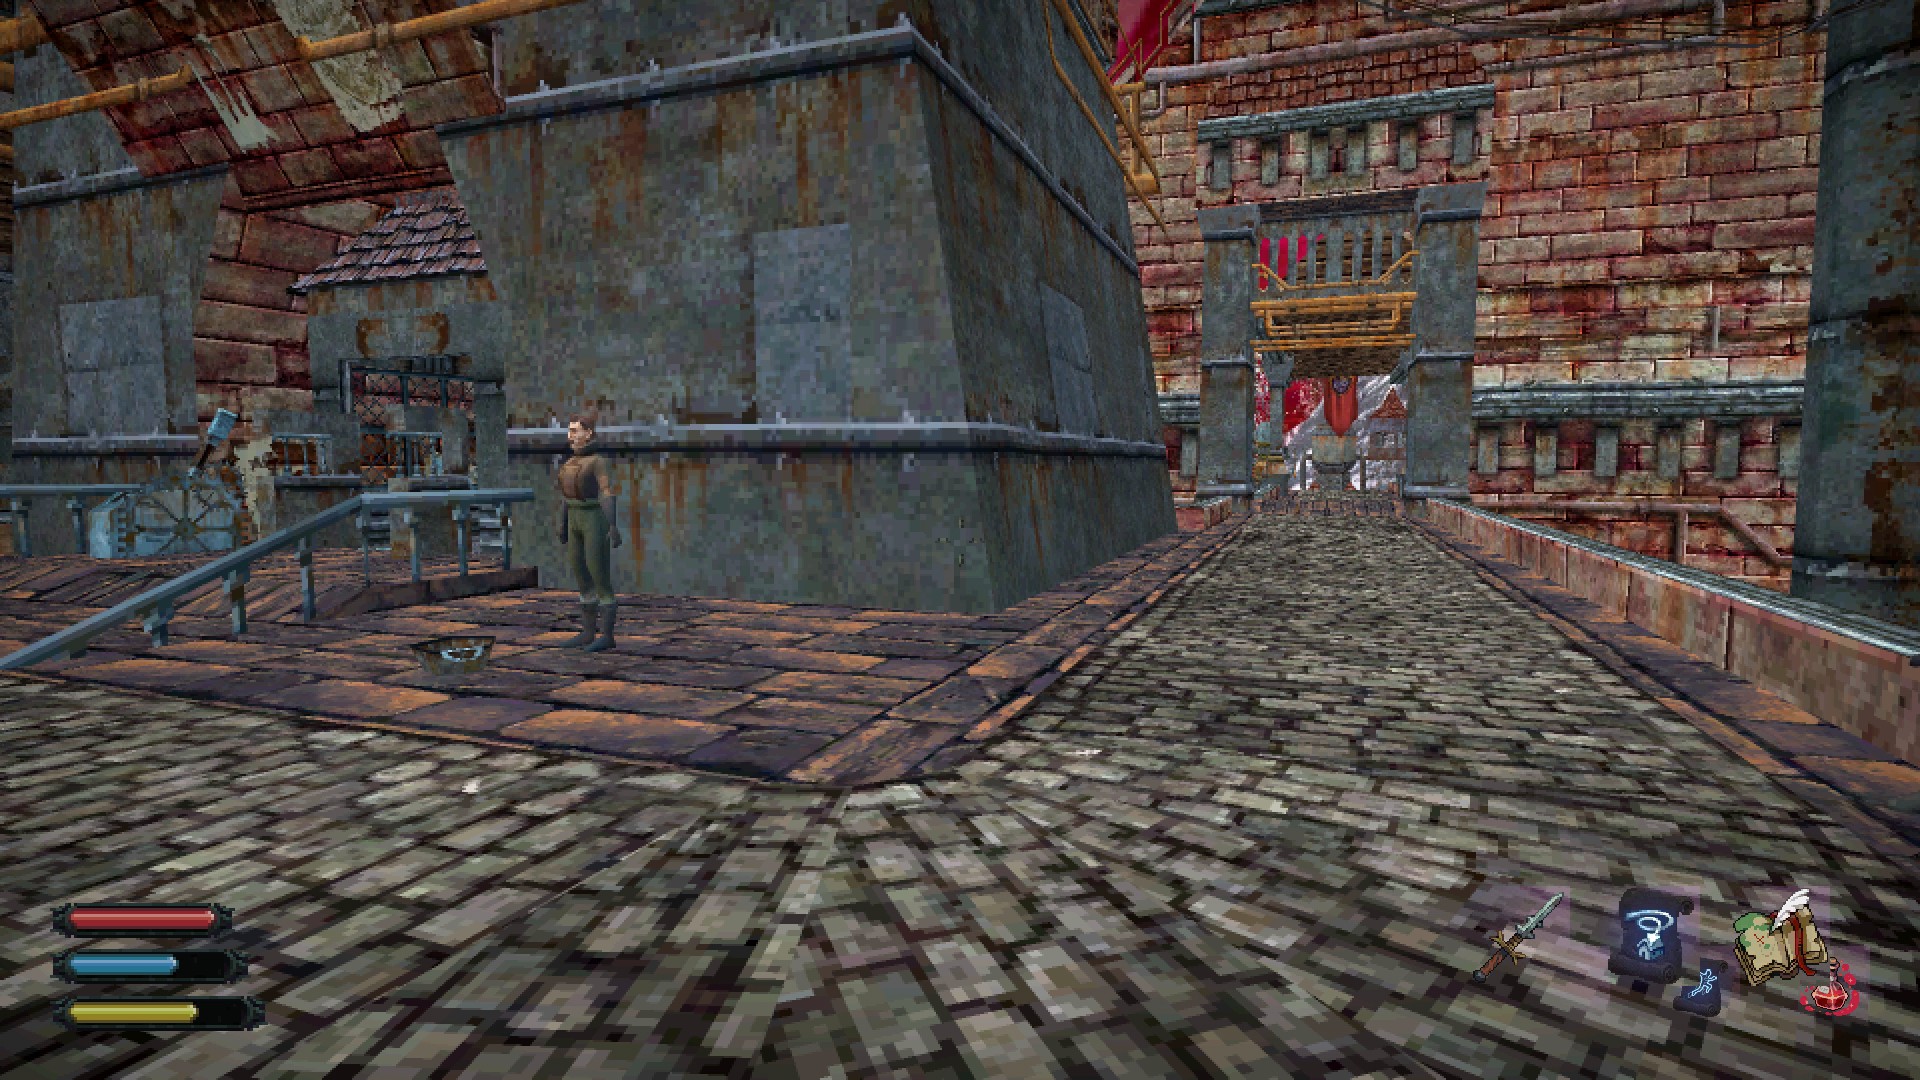
Oh, i was wondering if there was an alternate way to get blood, but ig didn't think of speaking to her back then? Thank you, i'll update the guide later:d4_smile:
grey 21. Apr. um 1:34 
Heads-up: seems like it's also possible to get the Blood of a Loyal Servant for "All Good Things" from Penitent Thaw if you talk to her before Rhydder. She makes an alchemical replica out of your own blood instead. It serves to open the door successfully; no idea yet if there's any future consequences.
( ͡° ͜ʖ ͡ °)  [Autor] 10. März um 13:47 
@ A Hungry Thing
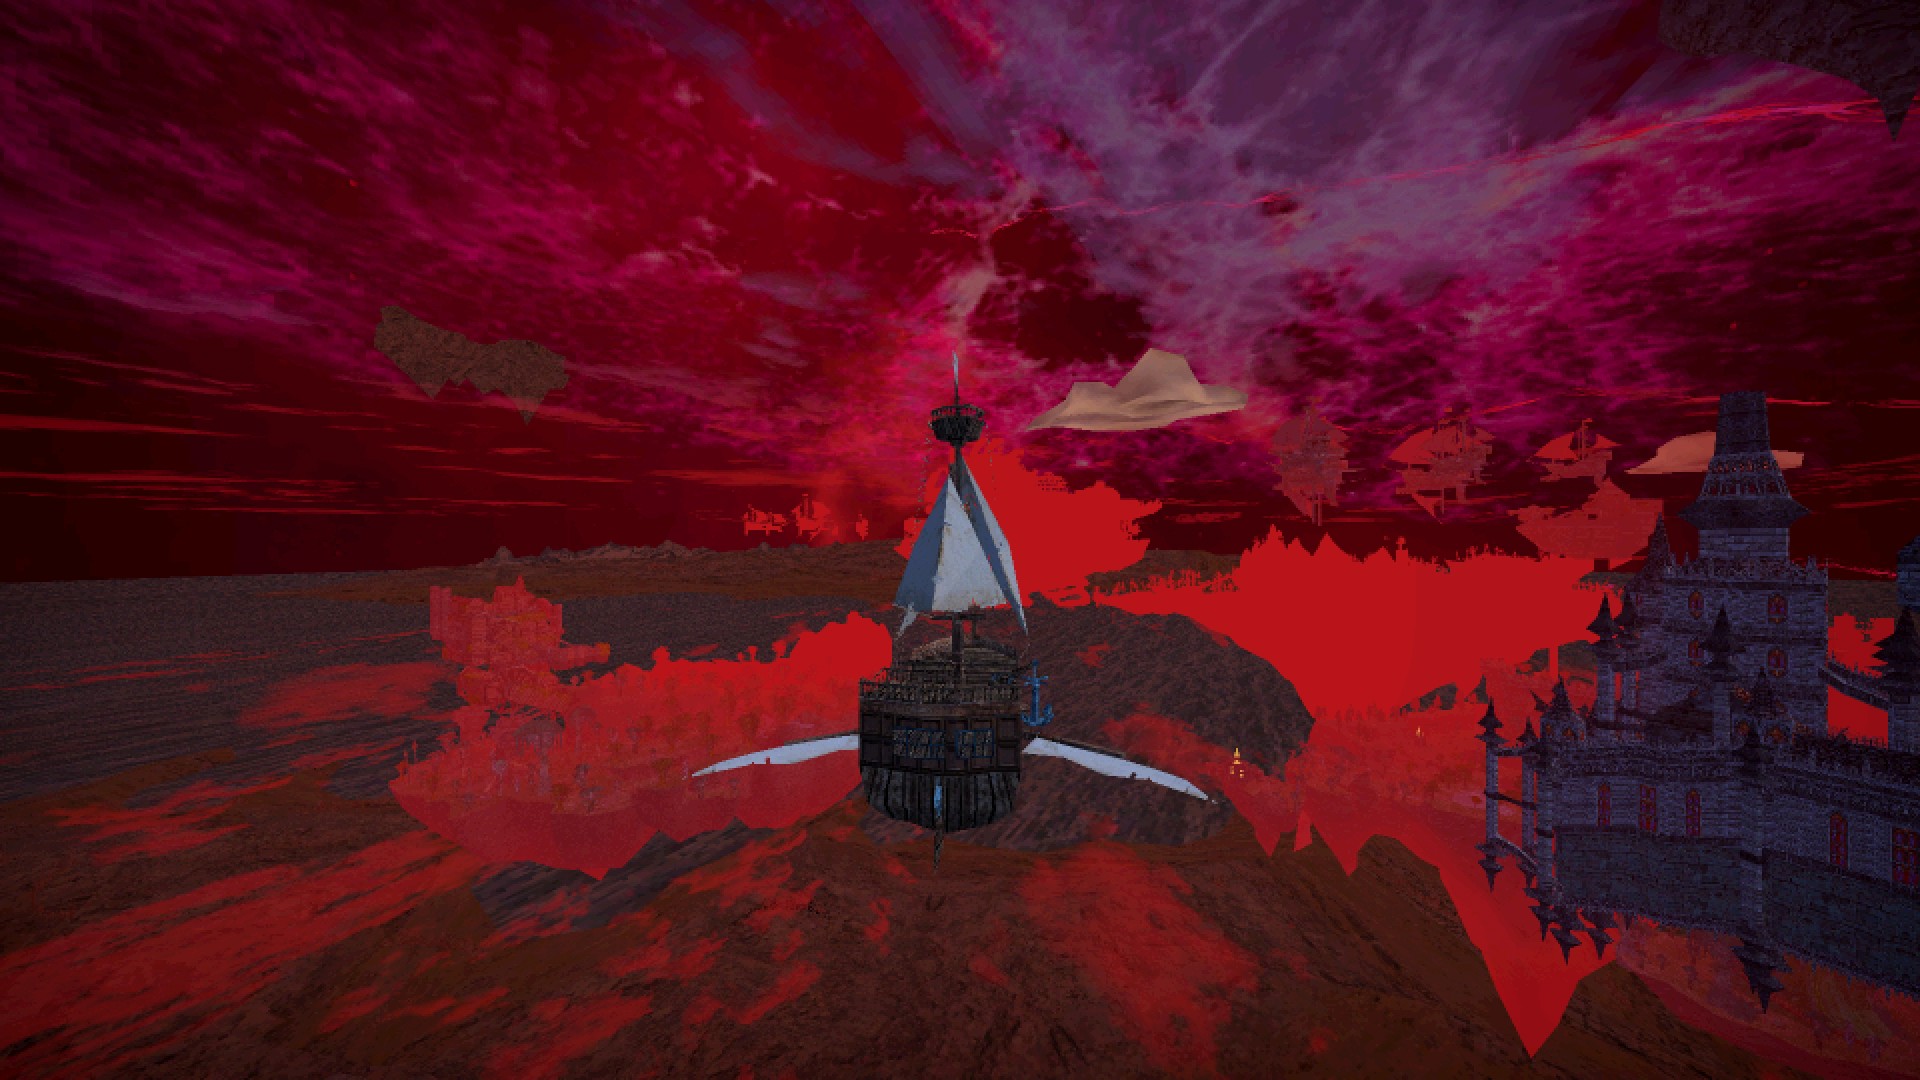
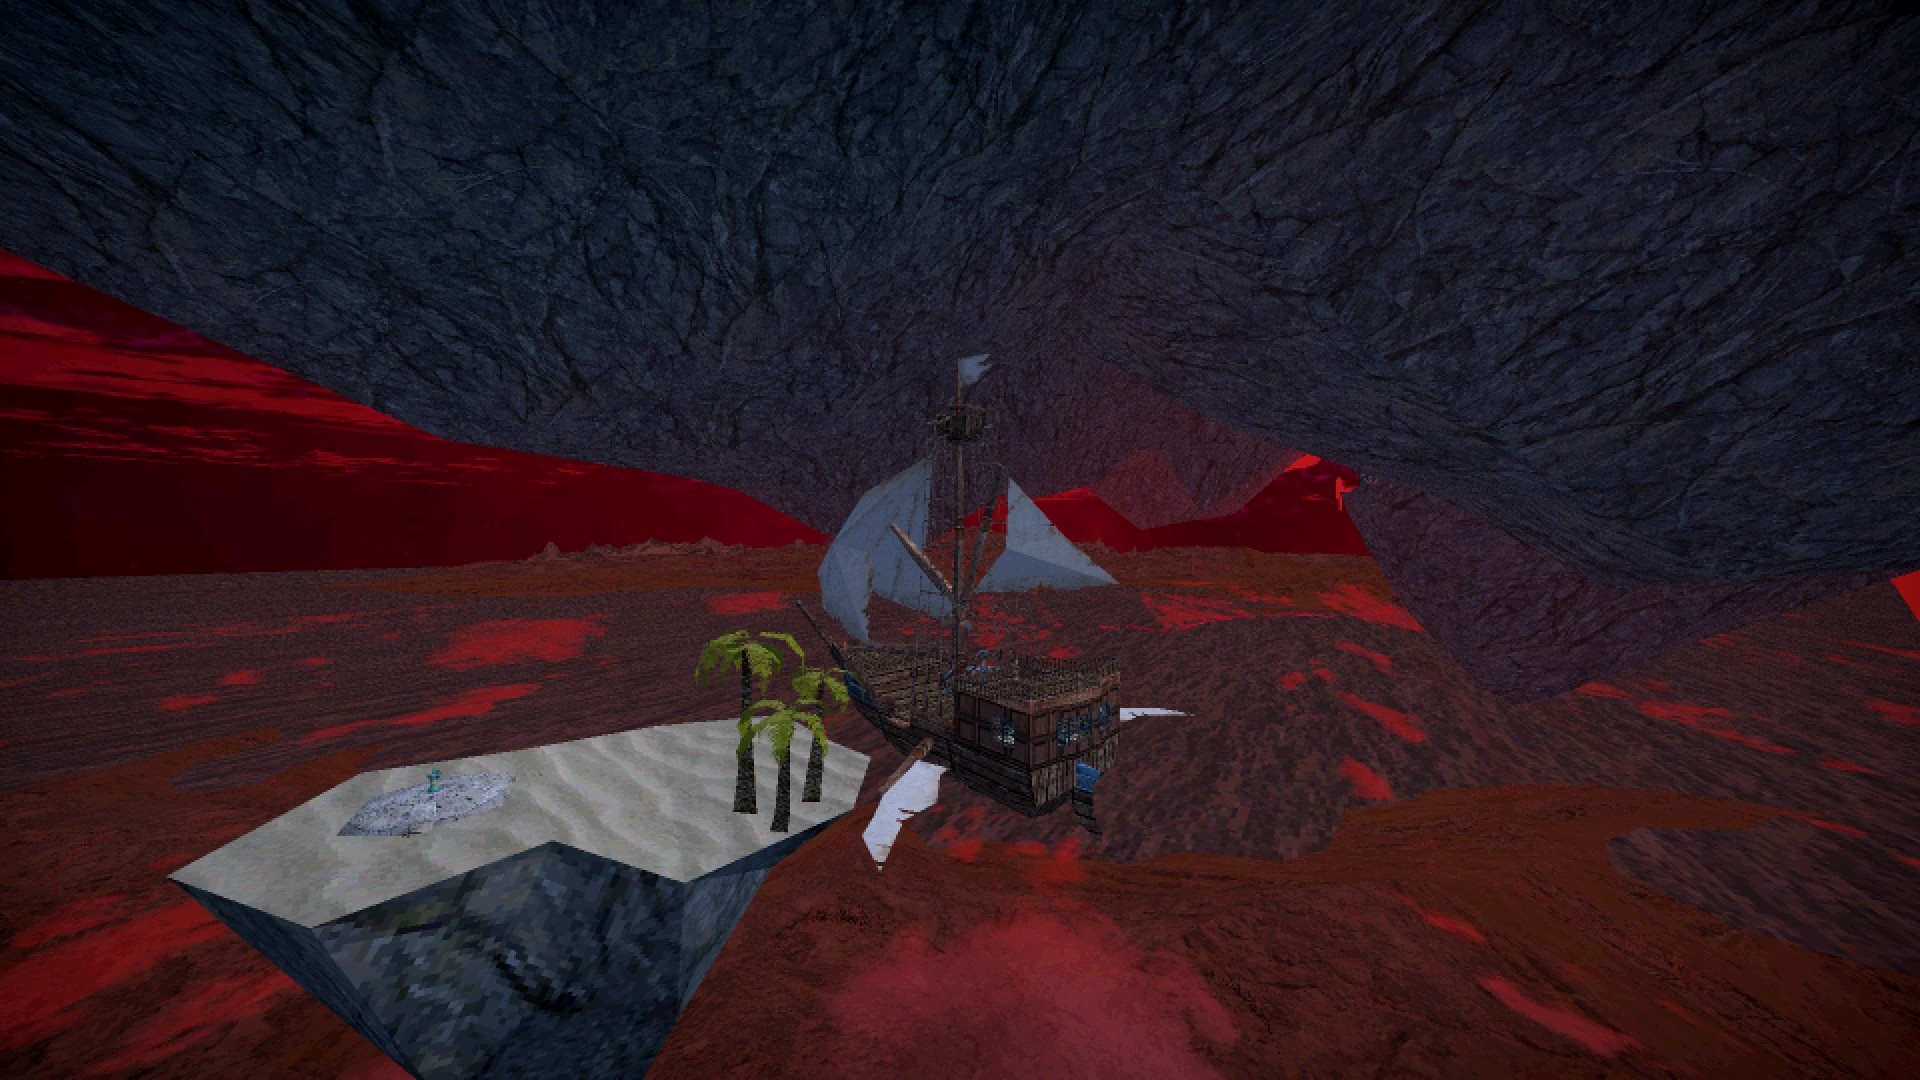
I might be wrong, but i don't think other parts actually exist in the game. I took a quick look at the game's assets a while ago, and unlike other airship sets, only the Splendid Cabin has an icon and an item description, no assets for the hull or sails.

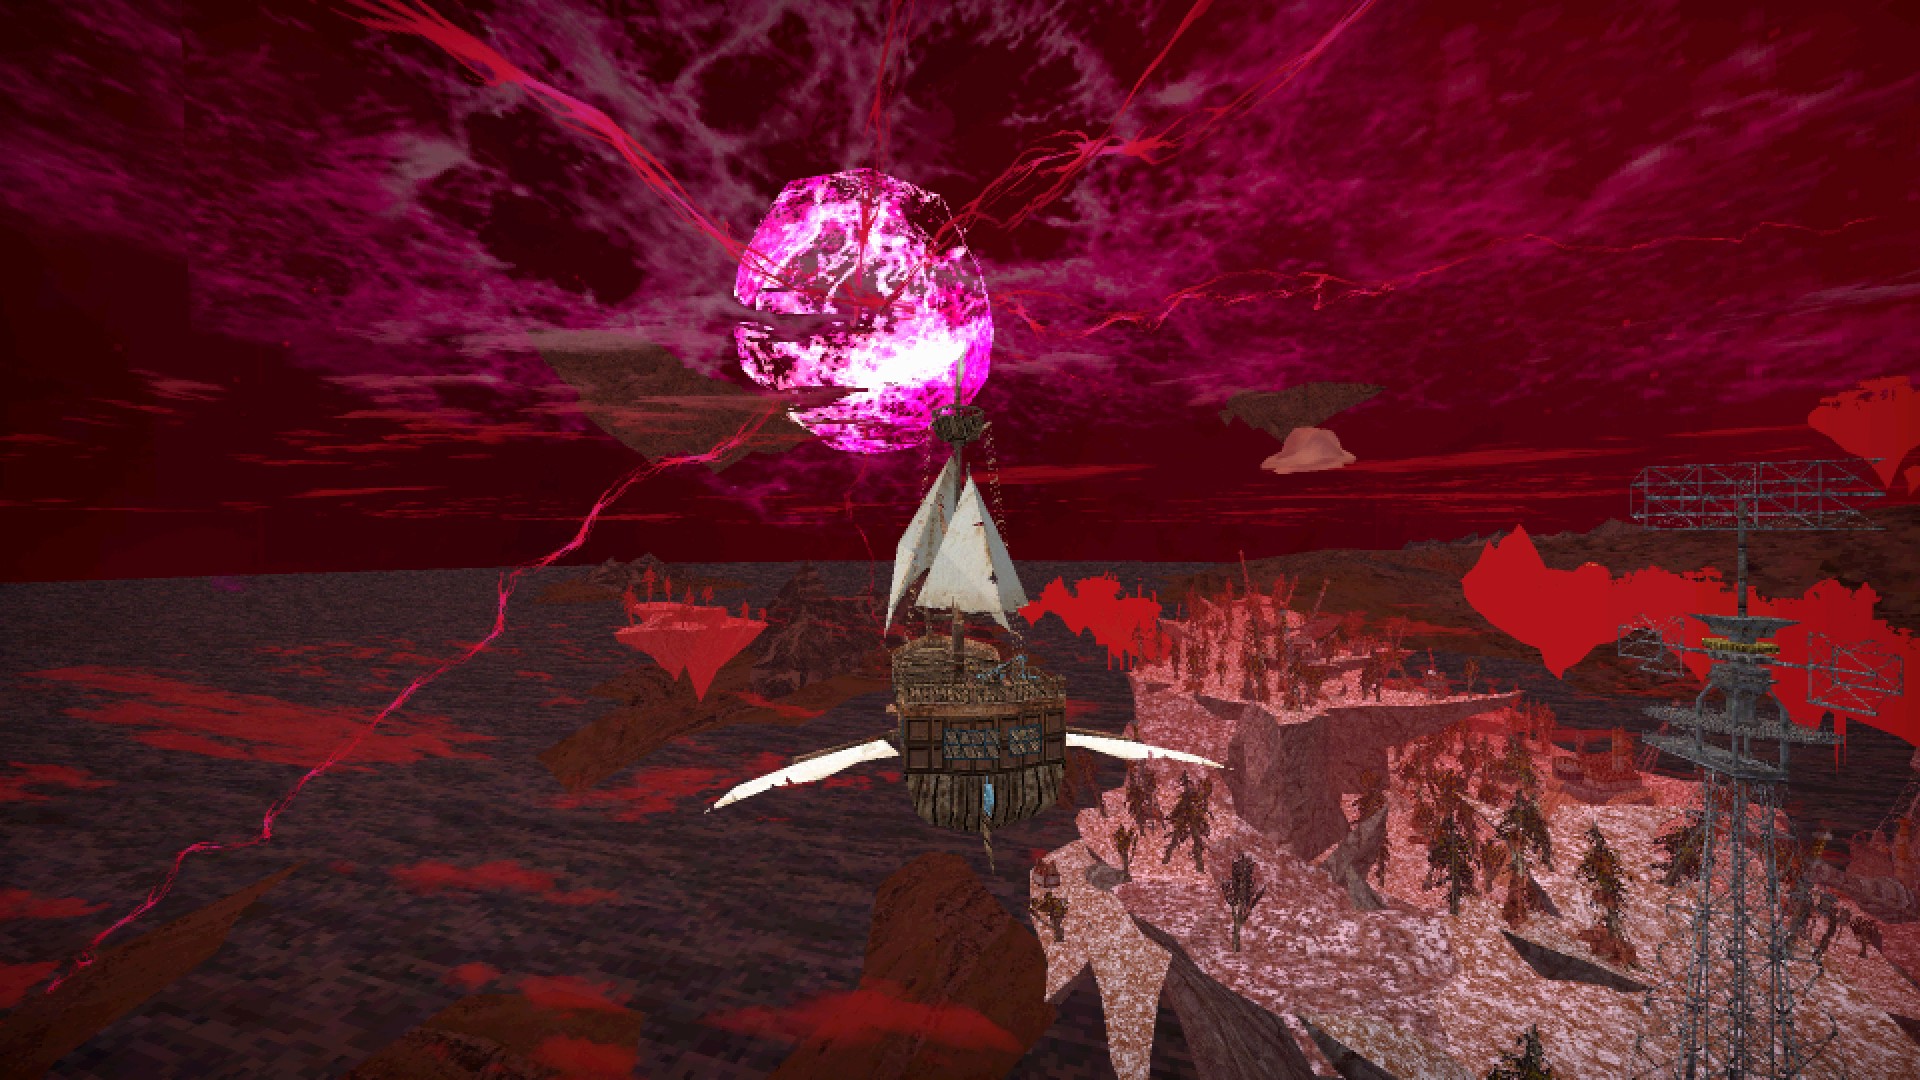
Cipher (Cypher?) Star, on the other hand, does have both an icon and a text description. Hell if i know where it can be found, though.
A Hungry Thing 9. März um 17:39 
The end credids of the game show a ship with splendid hull and sails, no idea how to get em thou.
vinceTheFISHDead 8. Jan. um 3:22 
God dude the missing persons quest broke me inside a good bit. I started tuning more into the story, as if playing this game was like reading a book, I'd become often consumed. Eventually I stumbled upon this side quest because i got stuck here, so I started doing the side quests and now I'm contemplating my life choices. The guy at the missing persons board area even says "what you don't know can't hurt you, am i right?" or something along those lines, and fuck me he was right.
Akira 3. Jan. um 15:37 
Absolute legend compiling all this together. Way better than trying to find the quests on the wiki.
Candlestone 13. Sep. 2024 um 22:00 
Thank you for making this, it's helped me a lot.