
Steam installieren
Anmelden
|
Sprache
简体中文 (Vereinfachtes Chinesisch)
繁體中文 (Traditionelles Chinesisch)
日本語 (Japanisch)
한국어 (Koreanisch)
ไทย (Thai)
Български (Bulgarisch)
Čeština (Tschechisch)
Dansk (Dänisch)
English (Englisch)
Español – España (Spanisch – Spanien)
Español – Latinoamérica (Lateinamerikanisches Spanisch)
Ελληνικά (Griechisch)
Français (Französisch)
Italiano (Italienisch)
Bahasa Indonesia (Indonesisch)
Magyar (Ungarisch)
Nederlands (Niederländisch)
Norsk (Norwegisch)
Polski (Polnisch)
Português – Portugal (Portugiesisch – Portugal)
Português – Brasil (Portugiesisch – Brasilien)
Română (Rumänisch)
Русский (Russisch)
Suomi (Finnisch)
Svenska (Schwedisch)
Türkçe (Türkisch)
Tiếng Việt (Vietnamesisch)
Українська (Ukrainisch)
Ein Übersetzungsproblem melden


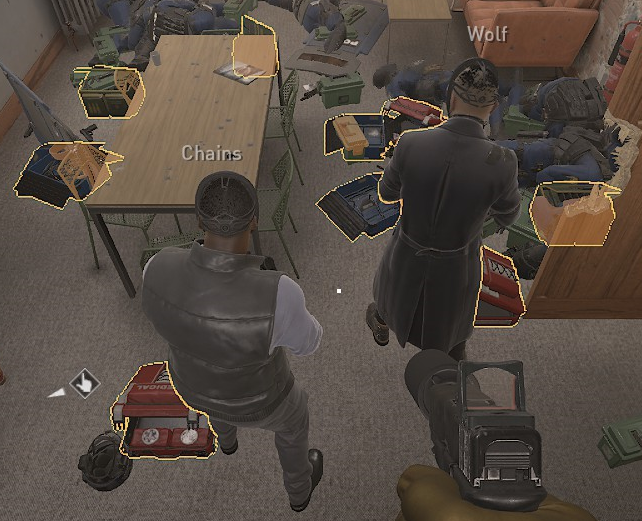


That said, you can of course use other armor if you want, I just find it a lot harder to survive with so little.
It overall makes the most sense to use either 4 bar armor, or 2 bar armor, because using an armor bag always brings you to an exact half. You will have issues pulling off the strategy in this guide with 1 bars or 3 bars. With 3 bars you'd have to stick to having 1 bar, at which point you may as well take 2 bar armor instead.
but very good tutorial, always good to know more about mechanics, thanks for making it :)