HoloParade
평점이 부족합니다.
The Okakoro Style: (Obsolete) Early Game Guide
Necrobern 님이 작성
DISCLAIMER: This guide was made before a major update that added a lot of QoL features. Is still helpful for the early game where most of those things aren't obligatory to use in this strategy.
2
   
어워드
즐겨찾기
즐겨찾기됨
즐겨찾기 해제
About
This guide was created right on the release of Holoparade, so has a lot of major differences to its current state.

HOWEVER, is still a fun team involving Okakoro, and still quite useful for early to mid game. End game can choke under a lot of pressure, so I had to do a new formation that you'll find out in another guide.
The Team


Obviously, the major problem with Holoparade is its gacha system. The good news is that you can replace some of these units with others you see fit. This also means that either I might've missed some alternatives, and/or they'll add better options in future updates.

HOWEVER, is highly important that you get 2 units for both Cymbal and Xylophone bonuses. Mainly the Cymbal, as is the main way to get your winning condition in most stages faster.

Skill bonuses given is RNG hell just try to stick with the rarest ones (Yellow colored, otherwise purple). But try to focus towards generic buffs, not just those against certain auras (E.G. 5% against Red is worse than an overall 5% ATK). If anything, Movement Speed can be incredibly good for any unit in general. You can use Noel Milk if needed to reroll towards good skills, but once an unit hits Lv30 you can keep rolling skills with money.

Lastly, the summons you must keep atleast the Rushia cutting board. Is specially helpful in the early segments of a stage, and depending of your second pick can pile enemies for a big strike (Like Kanata's).


Now to present the members:


Bubba (Motivation generator)
Bubba is the most important member, and despite its cost it must come out as soon as you can. The Cymbal bonus increases the Motivation production, and the more Cymbal characters and other symphonies are active, the more Motivation you'll obtain along the Motivation you get defeating enemies. If Bubba dies, you MUST get a new one right away, atleast in the early parts of a stage.


Knight and Robosir (Cheap units and passive buffs)
Knight and Robosir are mainly in the team for their incredibly low cost and tanky roles. Because they are cheap you can easily replace dead ones with new ones, keeping a steady defense while Bubba's cymbal stays highly active. While Knight is given right at the start of the game, Robosir can be replaced by similarly cheap alternatives or aim for stronger ones with slightly higher cost.


Chocolat (Healer)
Chocolat is probably the best unit in the game just for the fact of being the only healer along Azki (Which being UR has high cost to deploy). If you can summon two of them you are pretty much settle for the rest of the stage, although don't rely on their pressence much since late stages might swipe them away, so pay attention. Despite its 10 cost can come out quite fast with the Cymbal buff present, specially due its high cooldown makes it a priority to bring more Chocolats as soon as possible. Just make sure it stays behind the other units, as a few pushes from enemies might put it in range of attacks.


Matsurisu (Long range)
This is practically the filler slot, as Matsurisu is another replaceable unit. But you'll need a long range attacker to deal with enemies while your melee units take the hits. Up to preference, but is my pick due its symphony giving defensive buffs to combine with Knights and Robosirs. So you can experiment with other units or Symphonies and see what makes you work better.


Mio-Fam (Supporter)
As far as I know, Mio-fams won't attack. However, it keeps giving an attack boost to all other units.
Try to have 3-4 so you have a strong frontline while they keep the buff active (And maybe stack together?). It's most important factor however is sharing Symphony with Chocolat, increasing its healing on our units.


Okayu (Main Long Range DPS and Motivation Generator)
Okayu is your first winning condition, and once she's out the entire stage will go in your favor. Not only has a very big projectile to deal with enemies in front of her, but will stack her Cymbal with Bubba's and quickly produce tons of Motivation. Be aware she can go down very easily, so make sure your frontline is strong. You can replace her with Suisei since she also has Cymbal, but is way more expensive to deploy.


Korone (Close Range DPS)
The Oshi, the wincon, the God Dog. Korone literally runs towards wherever the enemies are located and start dealing big strikes that will wipe out most mobs and finish bosses in a few punches. On release she only hit one enemy at a time and that was a problem in end game stages and modes, but after being changed into an AOE attacker can knock back waves of enemies on her own. Make sure that Chocolat is present once she's out as depending of how many enemies has to deal with, might die thank you forever in seconds. If you're not into Korone any DPS based Holomembers can be used instead, but be aware most of them don't have high movement speed like her to run back into the fight when needed the most.
Before We Begin
First of all we must mention the two types of stage the game has: Normal Parade and Flag.

Normal Parade is usually pretty safe and nothing unusual besides some aura enemies every now and then. You might need to use the cutting board now and then and that's it.

Flag on the other hand, needs to point two things for the right mindset.

- You and the enemy side basically have two barriers (The flag and A-chan). If the flag is taken down on your side don't panic, specially since you are compensated with Motivation points and you can immediately summon Okayu/Korone or any other big unit you have ready to go.

- On the other hand, if the enemy's flag goes down it will spawn a boss which can range from just a big enemy, to a troublesome one like Shubangelion. This means that DON'T RUSH TO TAKE DOWN THEIR FLAG, as you'll force out the boss while unprepared to deal with it. Take your time to prepare a strong army before they push forward. And make sure the cutting board is ready to deploy once the boss comes out.

After this quick PSA, let's go to the main point of this guide.
The Strategy


Believe it or not, the loadout I have is also a way to show me and you the order we must deploy the units during the level. Obviously there will be some other plays, so pay attention.

One main tip to point out is that if one unit goes down, SUMMON A NEW ONE AS SOON AS POSSIBLE, atleast in the early parts of the stage. Not only to keep the Symphonies buffs, but also have Cymbal in particular at its highest. The units with defensive buffs can be ignored at times to bring new units of them so you can prioritize Chocolat and/or the Okakoro duo.

Also, don't forget the higher player level, the more motivation you'll have at the start of a stage. So not only this team will be faster to play, but you can replace units with more expensive ones.

Here's the game plan:

1) If you played games of the likes of Plants Vs Zombies or Arknights, you know the most important play to do at the start of the game is to increase your currency. BUBBA MUST BE THE FIRST UNIT TO COME OUT. As long one Bubba is on the field and other units start appearing, the Motivation will keep rising. If Bubba dies along other units, he must be the priority.

2) Summon Knight and Robosir. These two alone will give two levels to your Cymbal, and their low cost makes them easily replaceables if they go down. Nousagi and Nekko are cheaper units and worth consideration since once Cymbal Level is high enough will practically be free units, but they will go down too easily in hard stages.

3) Bring Chocolat. Congratulations, now you're in a stalemate with the enemy waves. However, you will still need to replace defeated units and summon the cutting board every now and then, so don't leave your guard down.

4) Bring Matsurisu and Mio-fam. The latter is probably more important, as its attack buff will make our units start pushing forward, while its Symphony will combine with Chocolat's to increase healing input.


5) Okayu is out, dealing big AOE attacks and going double down with Bubba's Cymbal. This is where your units will start pushing the enemy away, but don't leave your guard down.

6) ONCE OKAYU IS OUT, BRING ANOTHER CHOCOLAT RIGHT AFTER. Two Chocolats in combination with Mio-fam's buffs will make your units near invincible. Keep using summons and replacing defeated units until the big play coming now. Chocolat's cooldown is very high, so you might need to jump ahead to the next step and get the second Chocolat a few seconds later.


7) Korone is out, the enemy falls in horror. Since she runs until hits an enemy, no matter the state of the game she will immediately arrive to assist us. You basically completed the stage, but now we can go a bit extra.


8) With Cymbal at its highest and your units (Mainly Okakoro) taking down enemies and making more Motivation, start bringing the most expensive units one after another. More Chocolats means more healing (Specially for Korone since might become the main tank), more Matsurisus and Bubbas means more damage, or keep 3-4 Mio-fams arround for their buffs. If they are in cooldown then spam Knights and Robosans in massive waves.

Congratulations. Now do the same thing over and over.
Video Showcase
SPOILER WARNING: This is in 4-20 and reveals the final boss before Post-end game content

Notable Enemies
While the strategy is stable besides taking one or two alternative plays, there are a few enemies that can become troublesome, or completely destroy our game plan. Besides simply farming levels and pulls, you need to approach these enemies a different way.

Usually in Flag stages, specially in very late game, is better to wait a bit so enemies and your units meet at the blue flag so the flag itself tanks while you can calmly pile units and even summon Holomembers. But there's still instances that these enemies can screw things up.

(I will use the fan names since I can't confirm if they have enemy names. I won't mention special bosses since the majority deal AOE damage so is clearly a priority to take down)


Nekko
If you see a stage starts with this enemy, you better start taking it easy with the blue flag strategy pointed above. Is not a threat whatsoever, but being frail makes it our troops advance way ahead than expected. This can become a serious trap if our units destroy the enemy flag and spawn the boss, as will make us unprepared for a potential wipe. Try to make slow plays, atleast until you can bring your Holomembers.


Bloop (Black Aura)
Black Bloops barely do any damage, but the problems come due being extremely tanky. Therefore they form a wall where the enemies remain safe from our attacks. Try to have summons ready as time passes enemies will keep piling. Chocolat should be a priority if you are stalling with the blue flag.


Lui Tomo
These enemies are mostly a problem in early game due their big hits and knockback. However, while more bearable as your units get stronger, is an enemy you should not leave your guard down. Try to use summons to wipe as many of them if possible.


Subatomo (Boss)
This enemy often appears in Tours, and can become incredibly annoying. Doesn't do a lot of damage, but its DPS is very high and will keep hitting our units over and over. The main issue with this is that tends to cause a lot of knockback, leaving units like Chocolat and Okayu open for attacks. The cutting board is usually enough to stall it for some time and atleast pile more of our units to take it down.


Poyoyo (Boss)
If you are playing a Tour, three of them at once can easily become the run killer. Their attacks can easily one hit kill most of our units INCLUDING Holomembers, and will wipe our entire army in seconds if unprepared. If prepared you still have to be super ready, mainly a cutting board to stall them and deal some damage. The good news is they mostly show up in Flag stages, so if really needed them taking down our flag will give us a comeback by summoning our Holomembers and healers back.


Maguchi
This is mostly about the Boss form, but normal ones are still something to be dealt with quickly. Their attacks can cover most of our units at once, often wiping out dozens of our characters with 2-3 hits. This can be specially dangerous since they can take down our Chocolat(s) and cause a domino effect with consequent explosions. Use as many summons as needed and make sure that atleast your DPS can constantly cause knockback so they won't explode our army.


SSRB
These are kamikaze units that will explode upon reaching either our units, flag, or spawn point. Usually since is a free kill most of the time you might even get free Motivation from them, so is not overall a major threat unless in big numbers (Which is rare). The thing to point about them is if they appear at the very beginning of a stage, since is better to wait and just let them explode in our flag/spawnpoint before start deploying our units.


Udin (Aura)
This enemy compensates its slow pace with heavy hits, so due the former gives you plenty of time to prepare. However, the ones you must be careful with are those with auras (Mainly black), and those deal enough damage to take down the majority of our units. If they pile together, specially in the flag or spawnpoint, the state of the game can be irreparable. Try to have the cutting board ready so your units stay safe while attacking any Udins piled together.


Chocolat
The screenshot says it all. Much like you can pile Chocolats and Azki for an invincible army, the enemy might end pulling the same with their bosses. This causes either a stalemate or softlock, or the enemy side win over the endless beatdown since in Tours they'll keep gaining passive stats. This ocurrence is honestly up to RNG and timing, but if becomes way too often you might have to add units or summons that can hit the Chocolats or atleast cause knockdown so you can get close enough to the barrier and destroy it.


Taranchama
This boss becomes a recurring enemy in the Post-end game stages, yet is not something that will take down our units in a few hits. However, the problem comes that is incredibly fast and can easily show up close to our spawning point at the start of a stage, and being a tanky enemy makes it troublesome to deal with when we are still building our army and/or waiting to summon Holomembers. Usually a cutting board should be enough, but use other summons to keep some damage input towards it while dealing with other enemies gathering together.
Alternative Plays If Things Fail


Post-End Game content and Tour RNG might make this strategy struggle at times, specially if Bubba and/or Okayu go down too soon. But you can still keep the team and just make slightly different plays.

1) Stalling on your side of the stage is actually helpful: Play Bubba then Chocolat before going back to the usual order (Wait until Okayu for the second Chocolat). If your team pushes too early, specially in Flag stages, big enemies and bosses can show up too soon and wipe you out. Not only that, but because you're close to your spawn point your units will pile together faster. Also, don't forget that losing the blue flag is quite often beneficial since you get a lot of Motivation points to spend, as well letting the flag take most hits while your units counterattack. Otherwise, I must point out that YOUR FLAG CAN BE HEALED, potentially becoming your best tank along Chocolat while you keep gathering points for a big wave of units.

2) Play Korone before Okayu: Okayu is a long range unit and thus can be easily taken down by certain bosses and/or overwhelmed by enemy waves. If you see your starting units are struggling (AKA need to be replaced constantly), bring out Korone so can rush into the fight. Then bring Okayu and a second Chocolat to continue the gameplan.

3) Grind Tour a pair of times: Due the game's slow pacing, hours of farming is torture. But usually 2-3 runs will catch you up nicely. Get currency to level up, tickets to pull missing units, and Noel Milk to reroll skills. Obviously this will also increase your player level, and thus better passive Motivation production. Also don't forget that beating story stages will add more units to pull in the gacha. If you get the right build in late game, Tour stages will take you 2 minutes each to beat.

4) Change Holomembers: As said several times, this is a team planned towards Okakoro being the winning condition. But experimenting with other Holomembers, being oshi or not, can change things for your playstyle. Amelia casts debuffs to all enemies, Flare is seen as one of the best attackers in the game, Azki along Chocolat(s) can make your army near invincible, etc.
Roadblock? Time for Other Units


Starting at 5-10 this team can start to choke, mainly due the cheap units can't take all the damage the enemies at this point causes and enemies will break through and wipe out Okayu and the Chocolats. This is the part you really should consider farming some money and pulls to obtain these alternatives. Otherwise, you can use this section as units you can use instead of the ones used in the main strategy.


Udin (Close Range DPS)

Replaces: Robosan

Although slightly more expensive, Udin is not only tankier, but quite often will one hit kill small enemies. This grants you not only a strong damage dealer, but also another way to generate Motivation over time.


Pioneer (Pusher. Close Range DPS)

Replaces: Up to preference but mainly Mio-fan

Ironically I noticed Hololive streams using this unit a lot, and no wonder why. I didn't pull it until very late game and this can easily be a reliable DPS that can replace most non-holomember units. Is a runner therefore will be wherever is needed quickly (Specially with Movement Speed), and its attacks has high knockback which let us push forward. Not only that, but since will keep knocking back enemies it means that can cancel or delay their attacks, giving you enough seconds to attack and heal safely.


Azki (Healer)

Replaces: Matsurisu. Chocolat if you don't have it

Azki is worth considering to use a team involving three holomembers instead of the average two. While Chocolat casts one heal per attack, Azki does 3-4 heals in one cast. That makes most of your units back to being healthy to continue fighting, even cheap units that will usually go down in two hits. Despite costing double of a Chocolat, her overall performance is worth three Chocolats. Not only that but she tends to stay away from danger while Chocolats have a bad habit of getting gradually closer towards the enemies, making her quite easier to survive while keeping our whole army at peak performance.


If you wanna go for the three members strat, is up to you when to summon Azki. You can either bring her very early on like in the screenshot by stalling, or wait until everyone else is out (Including Okakoro or the other members) to bring her out. The latter has some risks given Azki is a slow walker, while the former is up to which enemies appear and if the flag is available to tank hits or go down and give us points to bring her out along others.
Epilogue and Disclaimers


This is far from a "Brainded AFK strat". I hope you don't take the base walkthrough word by word and blame me because you couldn't beat certain stages. There's still several factors to be aware of like the units you pulled, skills equipped, and passive bonuses you get by simply playing and leveling your game.

Korone is my favorite Holomember and thus found a solid way to not only use her but also along Okayu for the peak Okakoro experience. Every Holomember is literally the hypercarry in most stages and should be your goal. You don't like using Okakoro for any reason? You have your Oshi and/or alternatives plenty to choose and experiment with. Azki and Sora give support to other units, while the likes of Pekora and Marine deal long range attacks. Combined with their respective symphonies, and quite likely the character pool will increase in the future, please go ahead and try diferent things with your favorites.

If the team doesn't work for you, or the gacha is being mean to give you Bubba and/or Chocolat, then now you know Cymbal is the most important trait to invest on. Otherwise you might need to grind a few levels and increase your passive Motivation production and hopefully obtain more gacha pulls. But honestly I barely did any heavy grinding besides a few tour rounds now and then. Once you reach the 5th world after the credits, then you might need some time spent on Tours to polish your team.

Lastly and needs repeating, the game was out for a few days when writing this guide. Other players might've found other teams and units more effective than this one. The game clearly has updates planned to add more Hololive members and units, and even we might have rebalancing and power creep in some cases. If you're reading this in the year 203X and you think this team is obsolete, then that's because Yagoo was added and is the must have unit or something.
댓글 10
Zunkin 2023년 12월 17일 오후 3시 24분 
I've found doubling up effects causes you to take a huge voltage hit in most cases. Is it really worth it to double up on the cymbals and healing?
bob 2023년 12월 7일 오전 6시 02분 
One other thing on the PR points stuff: you don't get them for just doing any mission. You only get them for doing parades within 1 overall parade of whatever your current one is. I.e. If you are on the 3rd parade, then doing the 1st parade missions (the tutorial stuff), won't give you any PR points. So Keep that in mind if you are just doing missions and go back to farm for trophies, tickets, or money.

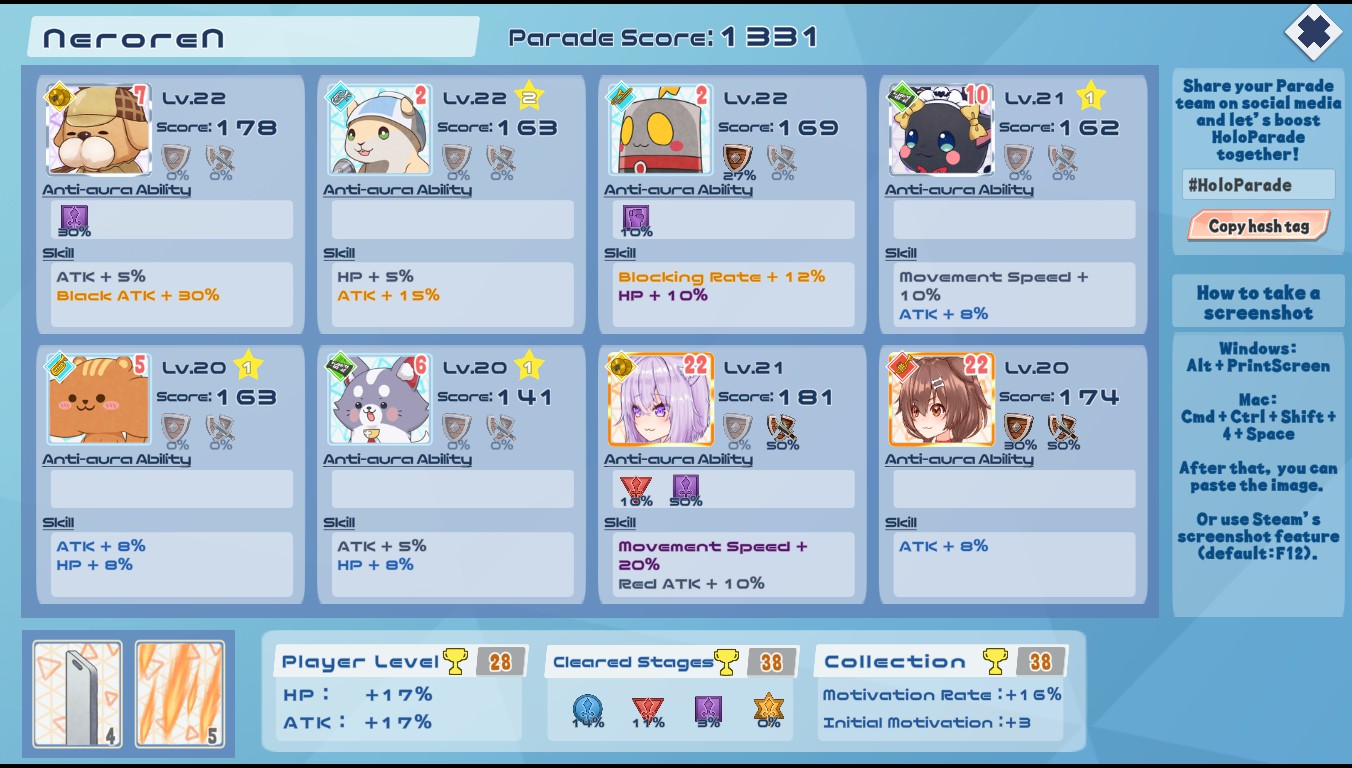
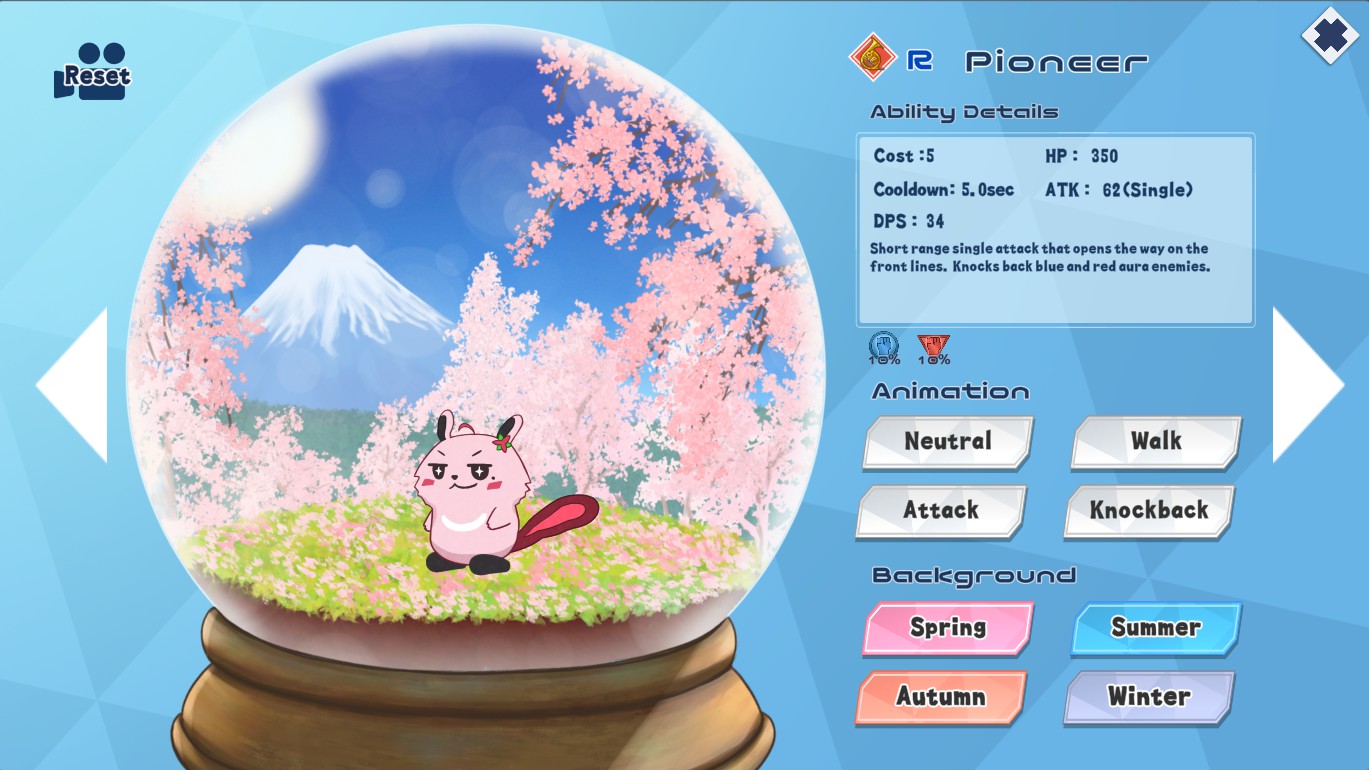
Oh and overall for the PR stuff: leveling your PR team increases their PR abilities, so make sure to assign folks you are willing to level but might not take with you to a mission.
bob 2023년 12월 7일 오전 5시 54분 
@Maffcio When you use the PR points it uses all of them. Each point, with a max of 5, adds a multiplier to whatever results you get back: 1 being 1x, and 5 being 5x. So the 'big hit' strategy is to wait until you have 5 points, look at the survey, have a post with the 'Trending' tag on it, then do a PR push based around it. Unfortunately, due to the RNG of the game, that rarely happens, so for a more consistent hit, after each battle that gives a PR point, take a look at the survey and look for a 1k+ liked post and do a PR push based upon that. Oh and any time you hit 5 PR points, just do something with it, since you can't accumulate above that.
Maffcio 2023년 12월 6일 오전 7시 18분 
Tips for SNS Survey?
Touch Me-Sama 2023년 12월 5일 오전 8시 46분 
Roboco is the Best Damage Deal in the game imo, She deal 2064 dmg, even tho the description say (single) she is actually attack multiple single target in burst dmg, also fast attck speed, DPS say 516 DPS. for that "high spec", i consider her as the best DPS char and cheap only 24 point,

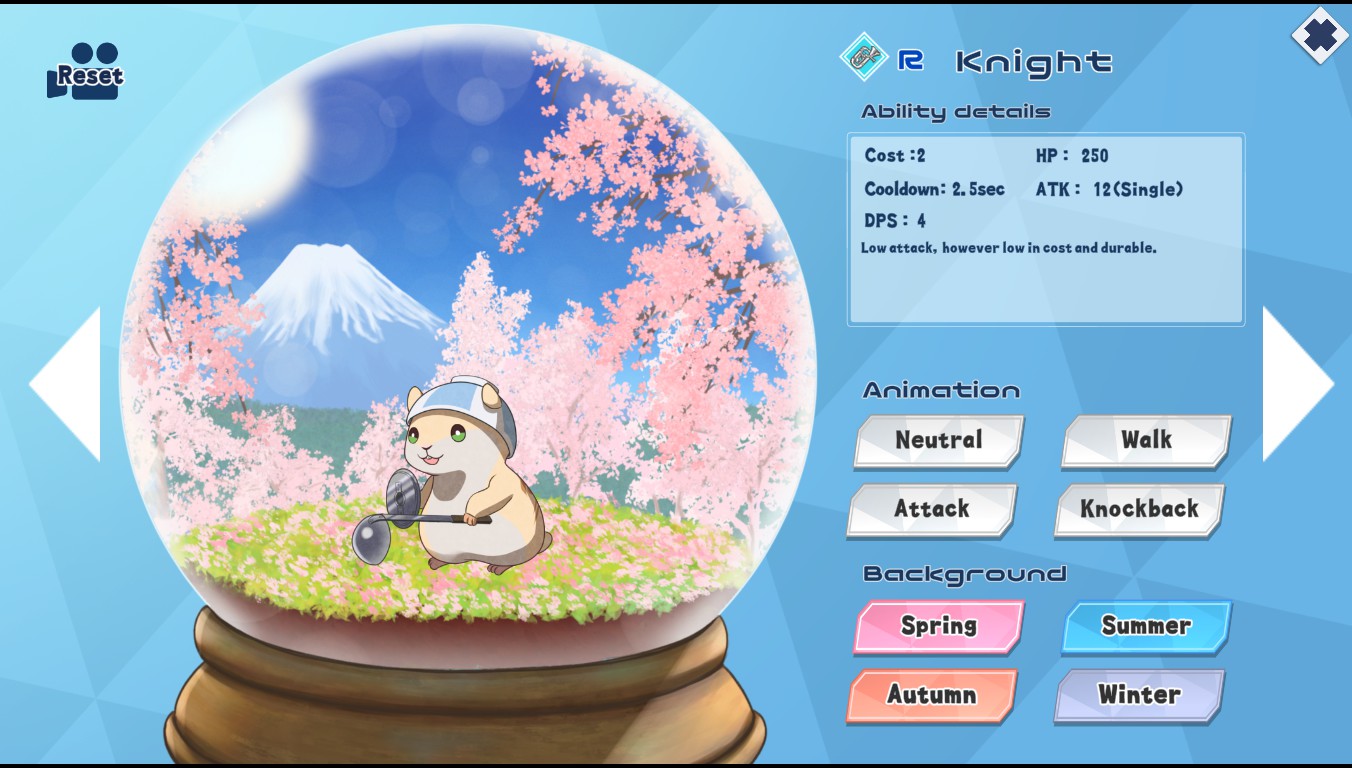
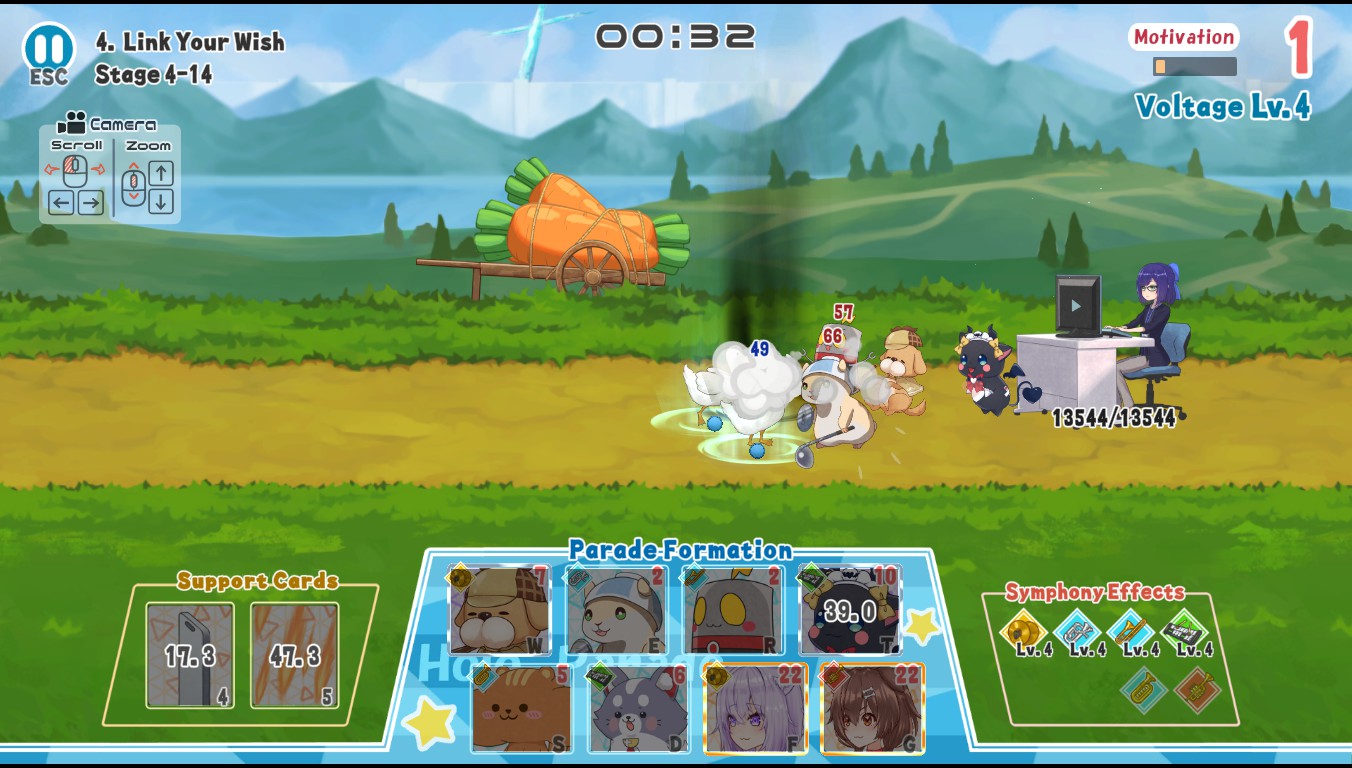
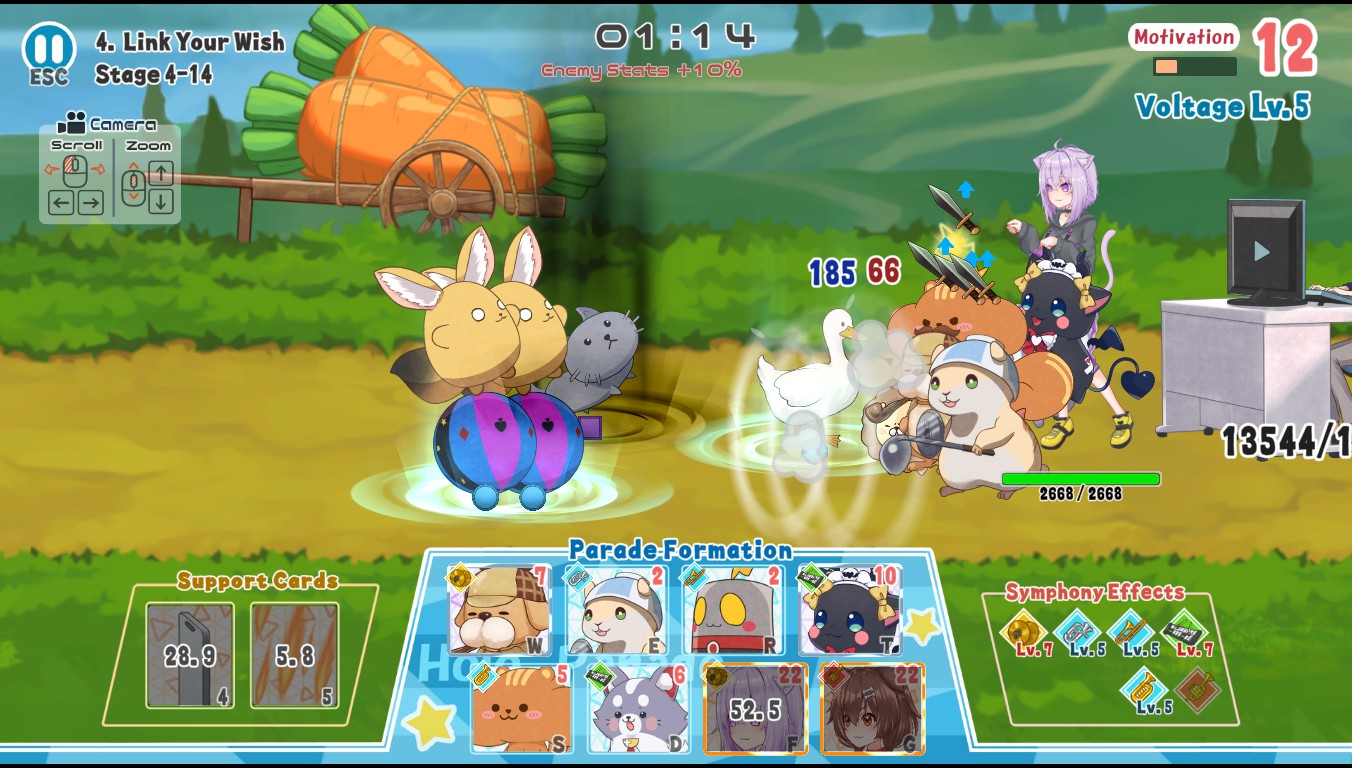
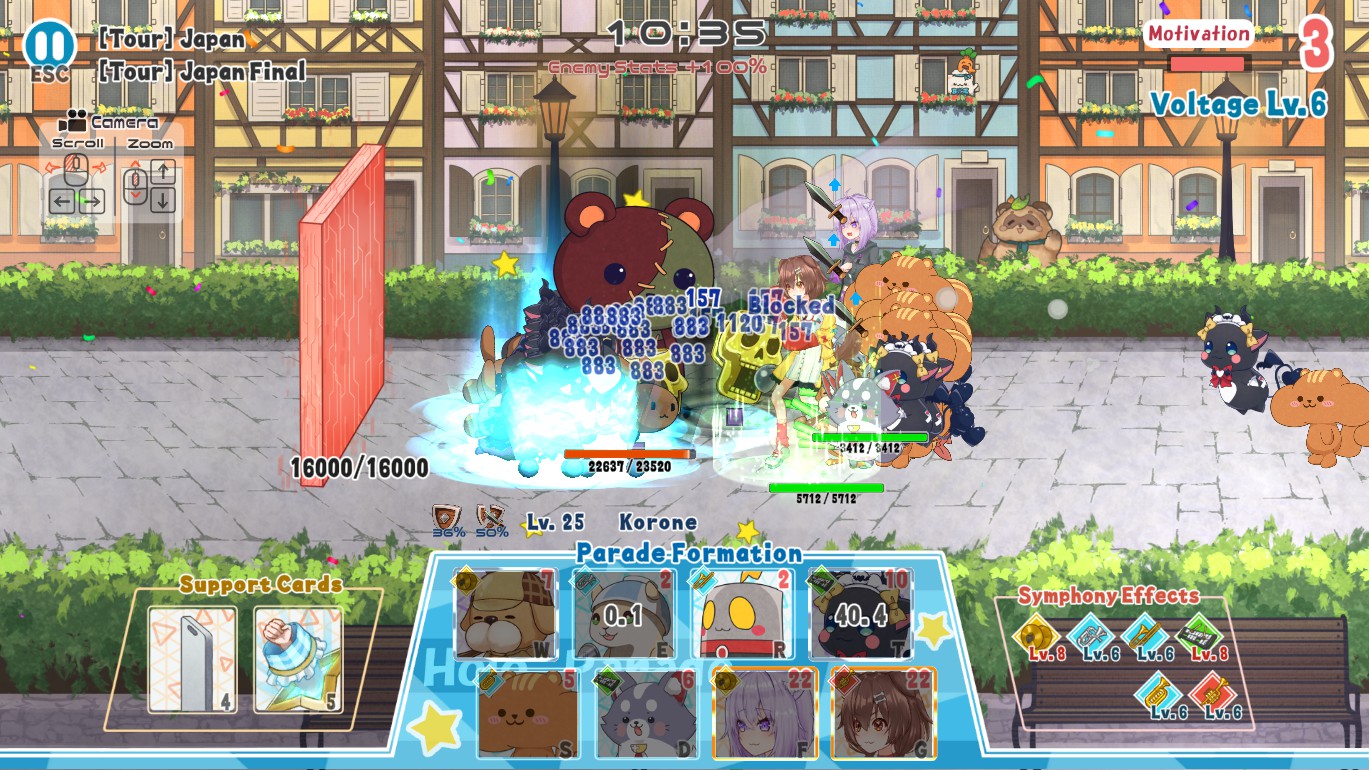
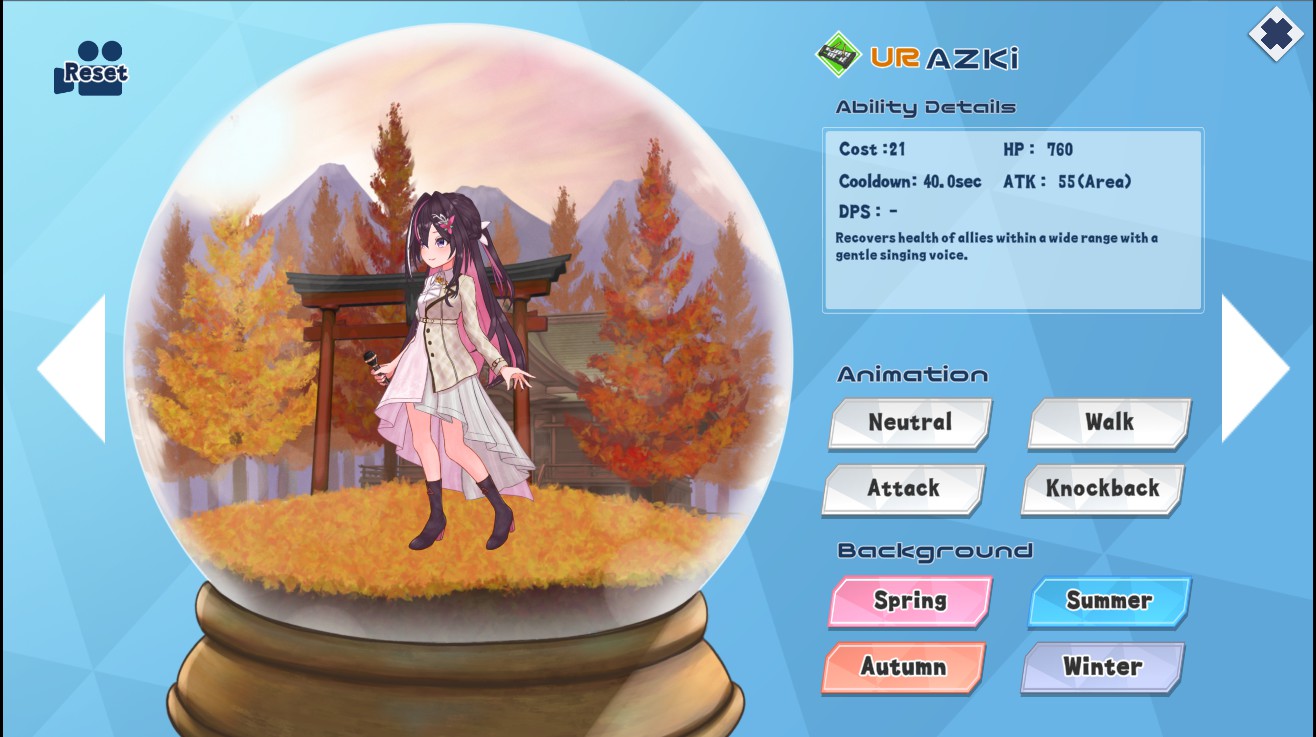
draft with Lu-Knight as tank (10 point, 3192 HP), and Azki as healer (only 21 point, able to huge area heal 3 triple brust can heal 500hp each), its never fail..

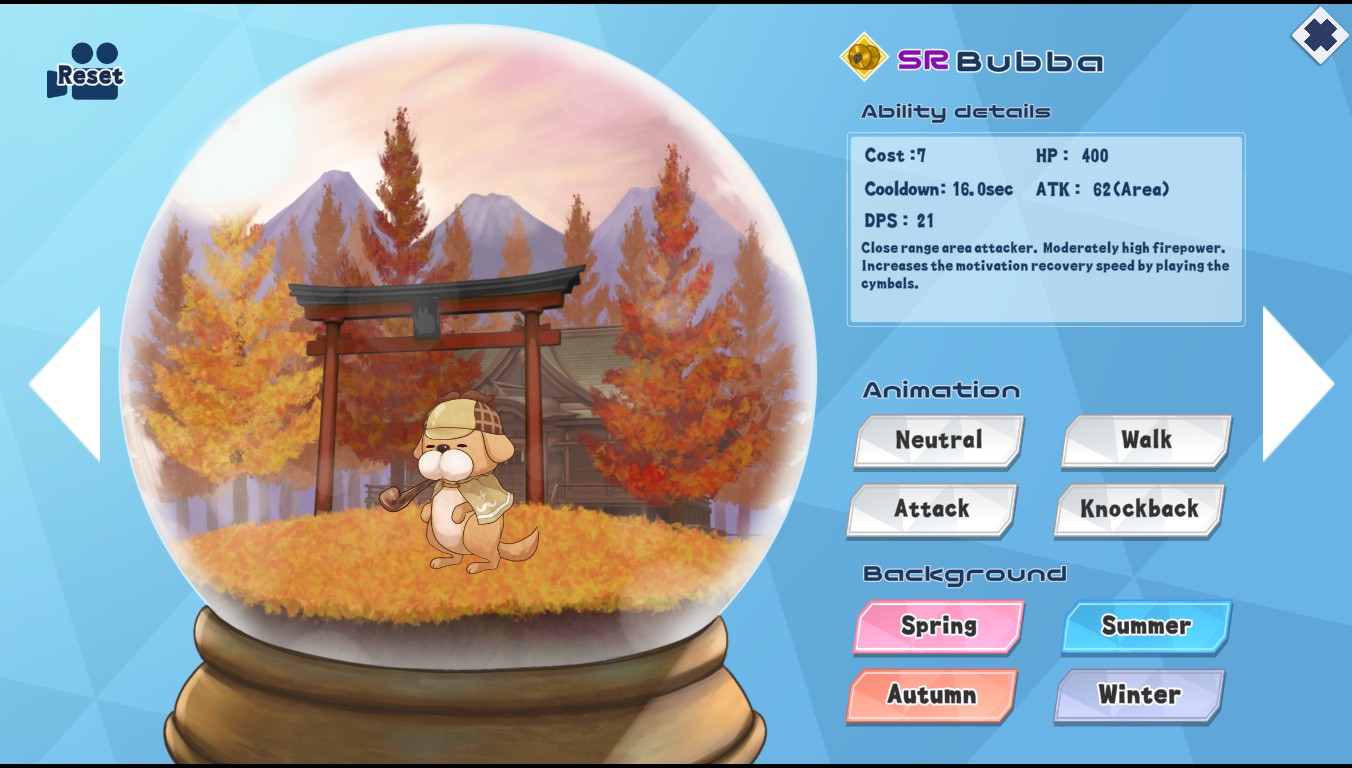
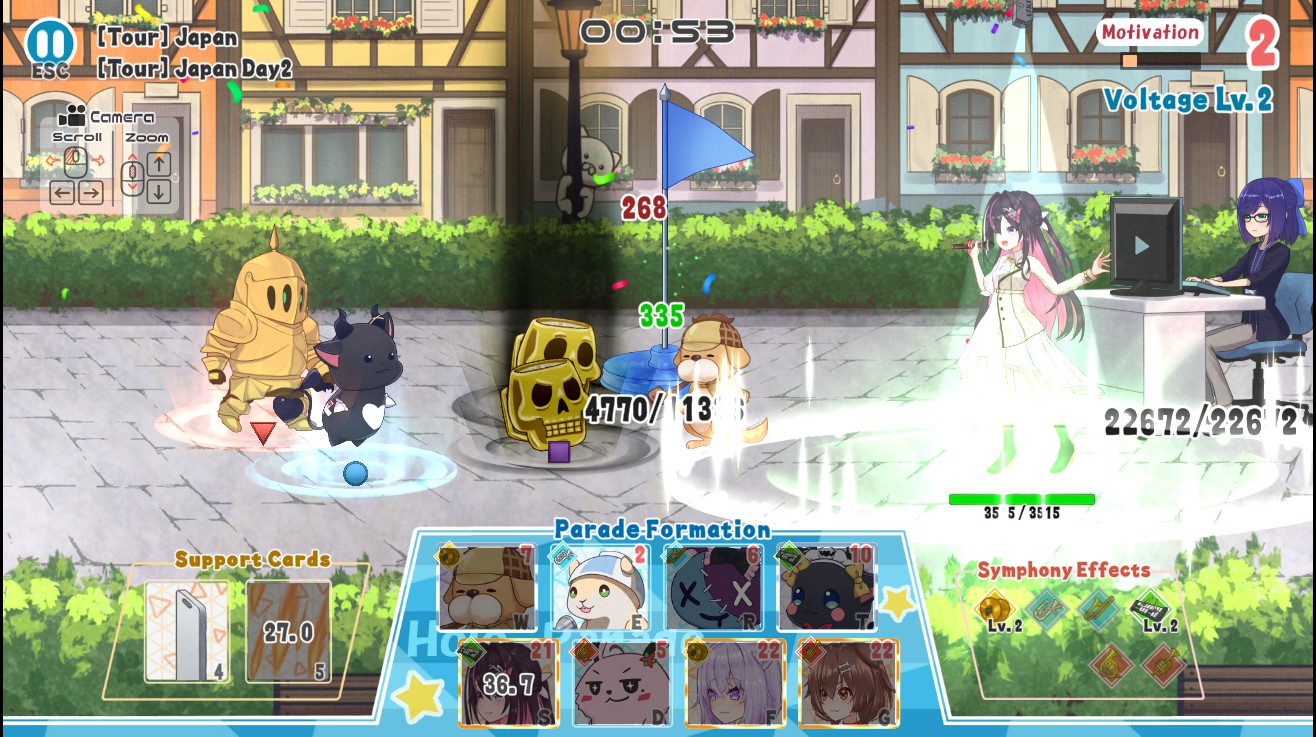
first 4 char is cheap (2,2,1,1 point character) to accelerate point generation.. maybe Bubba if u have him..
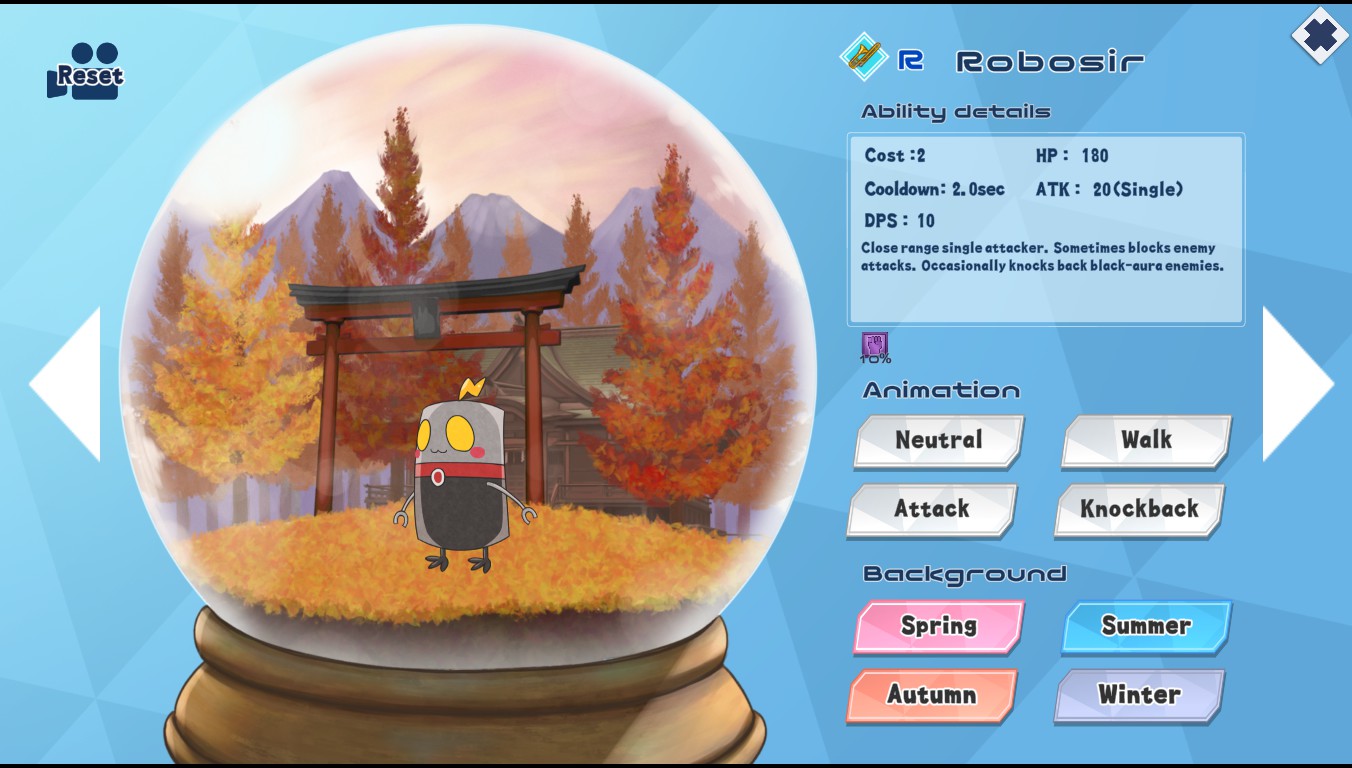
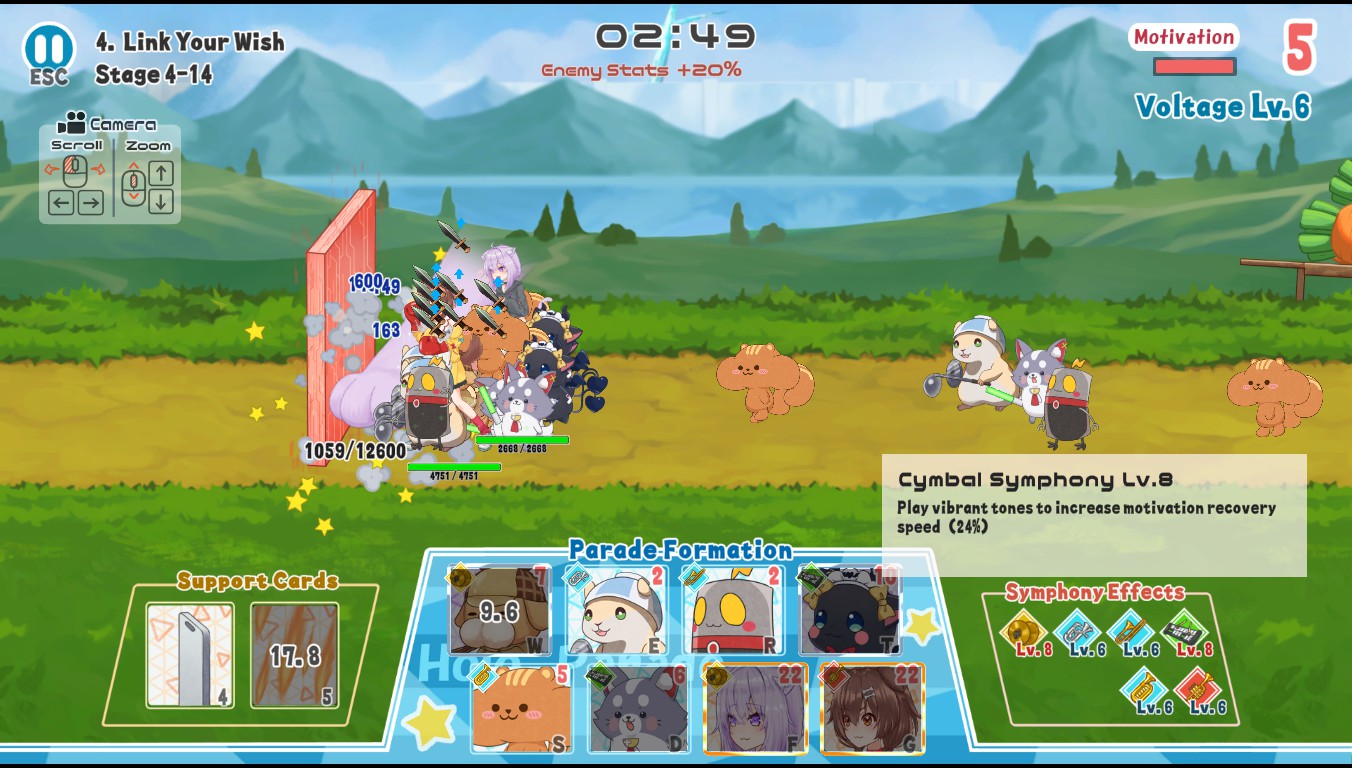
save up to 34 and spawn Lu Knight and Roboco, then save up to spawn azki, then spam Lu Knight, work everytime.. EVERYSINGLE TIME.. 30.000+ HP boss? GONE..

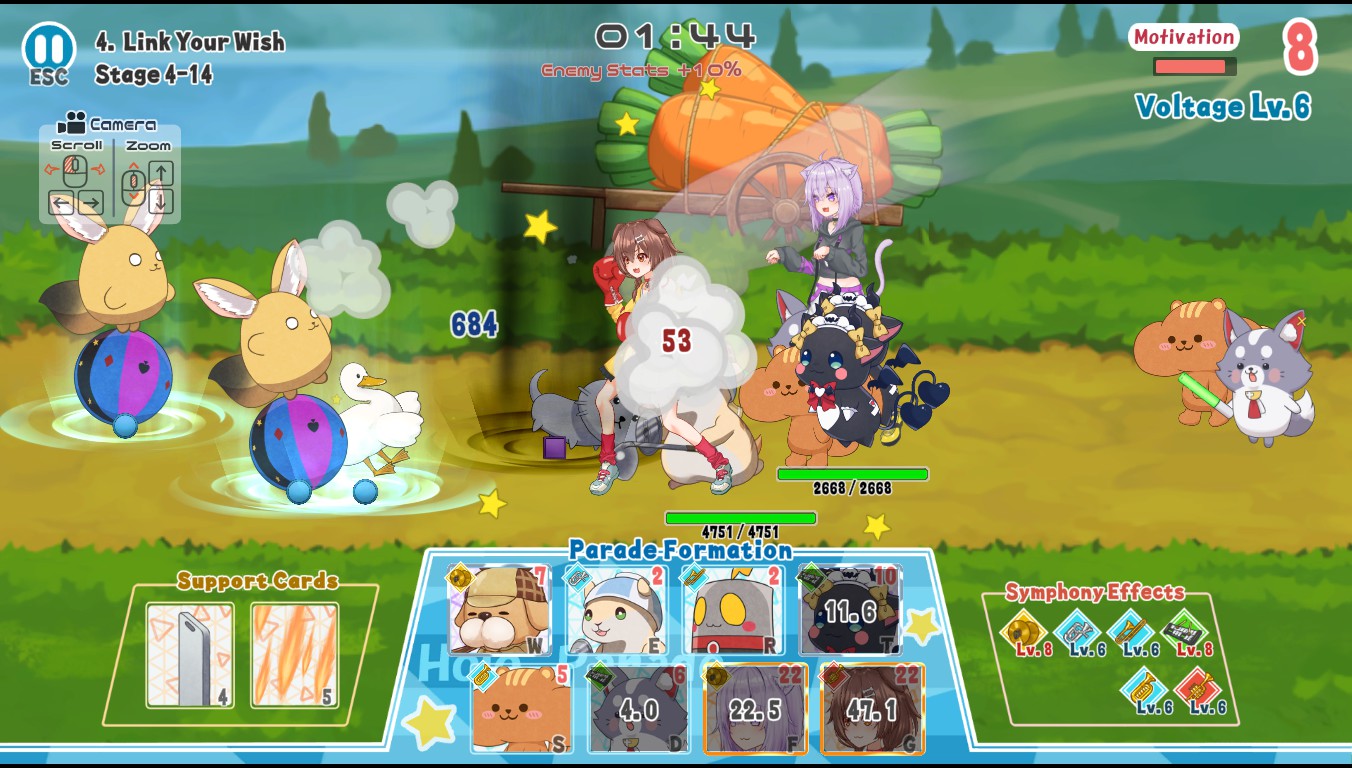
(also last empty spot is optional, depend on situation, i switch between Ina 27 point (if i need area dmg dealer counter blue red), Gura Counter Red 24 point (120%+ dmg of 717 small area dmg), Kiwawa 28 point 4634Hp, 1433dmg area.)
Czaczaczar 2023년 12월 4일 오전 3시 22분 
I agree with @bob. I use Bubba, Azki, Flare & Knight. Azki can keep everyone alive while Flare stomps everything.
bob 2023년 12월 3일 오전 6시 54분 
Regarding Mio fan and Sora, the two buffers available: Mio fan is way more useful, but Sora has something over Mio fan: She has a different symphony bonus. Mio fan, Chocolat, and Azki all have the same bonus, meaning if you are using 2-3 of them, you've capped your max voltage level at a lower level due to overlapping effects. Meaning you're lowering your possible Motivation income. So if you are aiming to maximize that, you've got to switch Mio fan out for Sora eventually, if you are wanting to keep the buffs and healing and maximize your voltage.
bob 2023년 12월 3일 오전 6시 50분 
I'm most of the way through the game as it is currently, and there are only 2 healers currently: Azki and Chocolat. Chocolat is easier to get out, but 1 Azki is worth like 4 Chocolats when it comes to keeping stuff alive, because Azki has massive range and does several heals in rapid succession. 1 Bubba and Azki can tank a lot of stuff, because Bubba has just enough HP that once Azki starts healing, she can heal Bubba to max HP pretty fast, and multiple heals keep it up.
進擊の連装砲 2023년 12월 2일 오전 10시 59분 
One tip I'd like to leave here is to try not to pick a win more UR. I had a choice of Roboco and Sora, and I picked Sora, she does give 3 atk buff, assuming it stacks otherwise would be stupid af, and it doesn't even display how many stacks a unit can hold. I tried but there's just no place for this type of UR (Sora and Azki), mio fan and chocolat are much better units than the URs.
進擊の連装砲 2023년 12월 2일 오전 10시 50분 
Good to know about Cymbal since I haven't got any. I'm at 4-14 atm with all trophies with a much lower team level, 10 - 14 for most of them. I just switched around for different color teams for different stages. One big problem with the game is that the tutorial is so bad and doesn't seem to let you check later in the game. It only introduced a red aura, being double hp double atk. What about the others? just a different type of it? and the display is worse, in the battle stage, I can't even see the details of what each member does. overall an ok game, but just felt like it's in an alpha stage to me with so many essential features missing.