Sonic Adventure™ 2

Sonic Adventure™ 2

54 oy
Hard Mode - Knuckles and Rouge
j u n tarafından
Emerald Locations for Knuckles and Rouge on Hard Mode (Mission 5). Covers all levels.
   
Ödül
Favorilere Ekle
Favorilere Eklendi
Favorilerden Çıkar
Intro
Hello again! Although Sonic Adventure 2 has been out for a very long time, I was surprised that no one made a Guide for Knuckle's and Rouge's Master Emerald Locations (for Hard Mode). Unlike their other levels, the Master Emerald pieces are always in the same spot, its just a matter of finding them. This guide below will give you the Locations of the emerald pieces, as well as advice and the time's needed to receive an A Ranking. In advance, just to warn you my English is pretty Shifty, so I am sorry about that! You'll Man up and manage!

And just to remind you, there is no Emerald Mission for Route 280 or Cannon's Core. Instead, Route 280 requires that you finish the Level in under 3:25 (the lowest score you can receive in this level is a B rank, 3:20 and below is an A Rank). For Cannon's Core, it's just hard mode like majority of the other character, and it applies both for Knuckles and Rouge. The score you must receive to get an A rank is 29,000.
Upgrade Locations
In order to do these upcoming levels, You will need to have Knuckles and Rouge's upgrades (preferably all of them). Some Levels you can get away with having just a few, and really, the one upgrade that is absolutely needed is the Sunglasses/Scope (everything else you would have had to have had up to this point.)

Knuckles
  • Sunglasses - REQUIRED! In order to get the Sunglasses, you will need the Hammer Gloves. The Sunglasses are located in Meteor Herd. From the beginning of the level, turn towards the giant structure in the middle of the map and climb up to the bottom floor (with the dormant meteors). There will be a lone platform with a single Meteor on it. Glide to that platform and punch the meteor straight across to the accompanying Door (Should be right across from the meteor). Inside will be a switch, that once flipped, will show that the floor inside the structure is now open. Climb up the structure and jump down into the floor below. You can't die or burn in here, so just glide over to the lowest platform to receive the upgrade.

  • Hammer Gloves - Located in Death Chamber. From the beginning, hit the hour-glass and head into the door in front. In the hallway, turn right and there will be 4 boxes lined up against the wall. Break them to reveal the room with the upgrade.

  • Mystic Melody - Located in Wild Canyon and will require the Shovel Claws. From the start of the level, go into the wind turbine and take it to the top. From here, there will be two balcony on each side. Under one of the balconies is an Egyptian like painting with a square in the middle. Dig into the square and you will be taken into the room with Mystic Melody.

  • Air Necklace - Located in Aquatic Mine. At the start of the level, set the water level to 3 and look for the vertical tunnel that has a Brick Outline. Just as a Word of Advice, from this point forward is a race against time (As the rest is underwater). Enter the water below and dash across the tunnel, entering a room that has wooden planks lined up on the floor. To the right corner of the room is a few Item boxes and a dip in the floor. Go through the dip and into another room with another vertical tunnel. Swim up to the surface of this tunnel and the upgrade will be above your head.

  • Shovel Claw - Located in Pumpkin Hill. Impossible to miss and are required for this level. They are literally right in front of you. I can't even explain it any better then that.


Rouge
  • Treasure Scope - REQUIRED! In order to get the treasure scope, you will need Mystic Melody and the Iron Boots. This item is located in Security Hall. As soon as the level starts, head to the left and jump on the spring that takes you to the above platform (the one with the pully that takes you to the up-most level.) From here just glide all the way to your right and you should see an electric Flying Beetle.

  • Mystic Melody - Located in Dry Lagoon, requires Pick Nails to obtain. At the start of the level, run forward and take a left turn (opposite of the turtle). Climb up the wall to the second level (it is about the height of the gazebo.). There will be an Egyptian style picture on the wall. Dig into the center of it (over the square) and inside will be Mystic Melody.

  • Iron Boots - Located in Mad Space. It is impossible to miss them, as you get them in the beginning of the Level. At the start of the Level, head to the launch pad with the Yellow Lights. This will take you to a small planet. Inside the little shed on the planet will be the Boots Upgrade.

  • Pick Nails - Located in Egg Quarters. This item is required to finish the level, so its hard to miss. Its located in the Egg Fish Chamber (fish head above the door). Use the middle in this room to break the bars that contain the Upgrade.
Explanation of Points
Instead of Time, Hard Mode tends to follow a Point system. Points can be earned from defeating enemies, collecting rings, and also the speed in which you find your Emerald. A good way to tell what kind of speed/points your aiming for with your emeralds is what the term above your head is when you obtain an emerald. It can be anything from PERFECT to GOOD. While everything sounds nice and honky dory, this does effect your end level score, and if your aiming for an A Rank, then GOOD just doesn't cut it. Here is the basic break-down on what each term means to you.

TERM
POINTS
Good
100
Nice
200
Great
300
Jammin'
400
Cool
500
Radical
600
Tight
800
Awsome
1000
Extreme
1500
Perfect
2000

Usually what effects these scores is time over anything else. Obtaining an emerald at the best speed will usually get you a PERFECT score. However, this can change if you end up looking at a TV screen. When you look at a TV Screen, a small hint will appear at the bottom of your screen (and Pause menu). Because you Obtained a hint, your score will immediately drop. This can be a problem on Hard Mode especially, since having a lower score will effect your Ranking.

When your aiming for a score of 12000, having 3 perfects really helps, that would bring you alone to 6000, which would be half your goal. Though, as I said, there are other ways to receive points as well, such as rings (10 points per ring), Item boxes/balloons (200 each), Destroying enemies and even collecting the animals and chao drives. This would take forever though, to get all the points from that, so that is why we have the Time Bonus. The Time Bonus is just finishing the level as fast as possible. You receive your time as soon as the Level finished (after the third emerald.) Usually about 10000 is rewarded easily after a minuet (and minuses about 20 points per second afterwards.) This will almost guarantee you an A Rank just by finishing with time and perfect scores!
Wild Canyon
WILD CANYON
Requirements: Sunglasses, Shovel claws
A: 17,000
B: 15,000
C: 10,000
D: 8,000

Wild Canyon is Knuckle's first stage, and as such, is pretty easy and straight forward. This is a small level (probably the smallest?) so finding the emeralds shouldn't take more then a Minuet and a half at most. To make this level super fast, I recommenced getting Emerald 3 first, since its on the way to the other two emeralds. And on that note, doing Emerald 2 Last (since its in an isolated room). Going from Emerald 3-1-2 should take you just under a minuet.

Emerald 1
Once the Level starts, go ahead and destroy the Gun vehicle in front of you. Head into the Wind Turbine to be taken to the top of the level. Once out, Glide over to the Right hand side of the map (The one with the sitting Statue and the large X sized platform before it. Glide towards the section and if your high enough, you should already get the emerald that is below the Platform. If not, just climb up something and go for it again.


Emerald 2
Do you remember our buddy the Chao? If not then you maybe you should review your life. Either way, glide back over to the Middle of this area (where the wind turbine is) and head to the right, under the one balcony. Here, there should be a painting you can dig into. Go ahead and dig into here. Once inside, you can flip on your Treasure Scope (or just go into the third painting on the right side) and you will fall into the room where the chao once was. Inside is now an Emerald.


Emerald 3
Head back outside by digging into the wall from which you came from. You should now be back at the bottom of this level (mmmmaaagic!). Glide over to the pillar with the 20Ring box on top of it (its line up across from the Chao box). Put on your sunglasses and you might be able to see the spring just underneath this pillar*. Just drop down to the spring and it will shoot you to the emerald below.
(*If not, just glide over to the lowest pillar next to this one, there should be a spring here as well, that will shoot you into the other spring that shoots you to the emerald.)
Pumpkin Hill
PUMPKIN HILL
Requirements: Shovel Claw, Sunglasses
A: 16,000
B: 14,000
C: 12,000
D: 10,000

I recommend getting Emerald 3 first for this level, as it is the one that usually can ruin your time. Just head towards the third emerald, after that, hit up the first one, then finish off with the second emerald. That usually goes a lot faster.

Emerald 1
Head straight ahead (either killing or avoiding the beetle) and take the right turn towards the rocket that may be protected by a Stitched Ghost (He will vanish sometimes). Take the rocket up and then drop down towards the bottom of the floating structure. Underneath will be two rotating spiked-balls and the emerald in the middle. Just try to fly into the emerald as fast as you can, this will probably take some time on your first try.


Emerald 2
From there, Glide over towards the rocket that takes you to Pumpkin Mountain (the one with all the pumpkins). When the rocket stops, drop down a bit and head towards the very lower corner on the right side (there will be one flying beetle and 3 flaming skulls. Kill the Beetle (because his shots will hit you if your digging into the wall anyways.) and dig in the spot on the wall right above the flames.


Emerald 3
Only one emerald left, from here, glide into the opposite direction towards the rocket that takes you to the top of Church Mountain. Once here, glide over to the church and latch on. Climb up to the very top of the tower, literally standing on the tippy-top. Make sure your facing away from the grave yard (face Pumpkin Hill). When your comfortable with your location, put your sunglasses on and a spring will appear from under neath you. At the max height of your jump, start gliding in the opposite direction of the grave yard, and you should glide right into the last emerald.
Aquatic Mine
AQUATIC MINE
Requirements: Air Necklace, Treasure Scope, Mystic Melody
A: 15,000
B: 13,000
C: 10,000
D: 9,000

Another pretty simple level. This one doesn't require you to adjust the water levels either, and doing so can mess up a few of your emeralds. Again, best to go out of order for this one (The best? either 1-3-2 or 3-1-2). What ever path you take, make sure you have your Air Necklace, this is one of those areas where without it will mean death!

Emerald 1
Lets Take a Dive start off this level by going forward to the main pulley and heading to the top of the level. Activate Mystic Melody and head towards the Ghost Room. Make sure that the water level is still set to what it was at the beginning of the level. Once you drop down, swim past the large Stitched Ghost and towards the path of rings. Follow them up till you reach a hidden hallway. Follow the path along and you will see a Spiked ball and another pulley. Ignore the pulley and walk around the spiked ball to obtain your emerald (and hopefully that extra life!).


Emerald 2
Head back out and towards the Ghost room again. Swim back to where you first entered (the entrance is above a small spiked cage if you cant find it.) and climb up, back to the top of the level. Drop down from here, again keeping the water level the way it is, and dive into the water below. Swim to the mine entrance on the Second level (will have a board with a 2 on it next to the entrance) and swim inside. Follow along the path, and swim into the next hallway. Once you make it to the end, swim downwards to the abyss, seeing ghost pop up every few seconds. Once you reach the bottom here, follow the short path and dive even deeper, this time its not only ghost, but spiked balls as well. The emerald will be at the bottom.


Emerald 3
ASSUMING your doing this in order of the indicator, then you still should have one emerald left. Head back to the top (avoid the spiked balls), and make your way out of this tunnel. Remember, its just Up, short hallway, Up again, then head out and across and you should be back outside (For some reason, it just seems like something to get stuck with.). Surface back to the top of the water. Locate where the spinning wheel is on the wall (it will be next to one of the fans in the corner.) Climb and/or glide over there and land on top. Put on your Sunglasses to reveal another spring for you to walk into to. Ta-da! Your now one emerald (and emblem) richer!

Death Chamber
DEATH CHAMBER
Requirements: Air Necklace, Hammer Gloves, Mystic Melody
A: 12,000
B: 11,000
C: 10,000
D: 8,000

This is probably one of the worse levels to be mentioned in this guide (especially for Knuckles). Its a bit reminiscent of the Chao level (as in you have to do that annoying water puzzle again). I'll be honest, this is like the one level I was least looking forward to covering in this guide. If you wanna do this faster, I actually think doing Key 1-3-2 is the quickest, since Key 2 and 3 are both located in the same room (Key 3 just takes a bit longer to collect.). I'm not even kidding, its so much easier to do Emerald 3 before 2 (your less likely to be shot or maimed by spikes) And why yes, it did take me 8 minuets to get screenshots, thanks for noticing!

Emerald Key 1
Once the level starts, run forward and flip the switch. Quickly run to the left exit of this area (it was to the left of where you started the level.) Be quick, the door closes after 3 seconds. Watch out for the Stitched Ghost in the next room and head on through the hallway. Kill the E02 (or w/e they are), and fall down the hole with the pulley. Flip the switch and enter the metal hallway. On the right wall is a painting you can dig into. Once inside of here, I recommend destroying anything that can hurt you (including the ghost.). On the left wall, there should be four metal boxes you can break. You can either flip the switch in this room to make a platform for you to stand on, or just stand below them and do your uppercut attack. Break the boxes and flip the switch in the alcove to move the door on the floor. Run to the middle of the room and dig into the floor before the door closes to receive the Key.


Emerald Key 2
Go back out to the hallway you were once in and flip the switch. Head back to the red room you were in once before at the start of the game. (Go to the pulley, hallway, ???, profit!) From here, your gonna want to flip the switch and head down the long hallway under the statue (closest to where you flipped this switch. Run fast enough and past this ghost to make it to the other side of the door. Run forward, flip the switch here, and go past the E02 to the main Engine(?) Room, where all the rooms connect. Glide across and drop down next to the Mystic Melody Shrine. This is the part you were not looking forward to (at least I wasn't.) Go ahead and play Mystic Melody and open the door below. Swim down and head towards the left. Keep going until you see the bouncing Ghost and the Switch below. Hit the switch and quickly swim back to where you once where to the now closing door on the wall*. Make it inside and you sill see another switch. Flip this switch and head across to the closing door into the other room (watch out for the E02). Once in the other room, swim across and avoid all the ghost. In here, there will be an E02 shooting at you, swim around him at there should be a little tomb. Behind it will be a spiked enemy and the Key.

(*If your having troubles with this, avoid bobbing up and down too much, just get enough speed to head straight across. Don't stay to close to the ground either as the Ghost will follow you after you hit the switch as well.)

Emerald Key 3
Once you have this key, just surface a bit to the top and look for the opening (its near the entrance of this room) and head upwards to the opening above you. If your camera doesn't mess up, you should actually see a large black and red weight above you as you surface. Once your out of the water, climb up the wall all the way to the very top, and shimmy over the scarabs and in the shadows above should be a switch for you to hit. Hit it and drop down just enough to see the lowest step of the ceiling. Here there should be a switch for you to hit. Flip the switch and dive back down into the water, as you do, you should now see the Key visible in a little cave. Collect it before the two doors close.
Meteor Herd
METEOR HERD
Requirements: Sunglasses
A: 13,000
B: 11,000
C: 10,000
D: 7,000

Last one for Knuckles. After that last level in Death Chamber, this one should be a total piece of cake! Delicious rocky space cake.

Emerald 1
Glide across from where you begin in this level to the Obelisk in front. Once here, your Indicator should already be yellow, if not green. Hit the meteorite closest to the right and gently get it to go around the corner. Hit it into the first wall container and destroy it, revealing the first emerald.


Emerald 2
This one is kinda funky. From where you are now, just find the closest spring and bounce your way up to the middle of the structure. There should be a floating platform here with another spring. Jump on that and glide over to the floating platform with a spring and floating containers. Its a pretty big platform and shouldn't be hard to see. On the corner of this platform there is a structured beam with a Life on top. Go ahead and grab the life, then put on your sunglasses. A spring should now be visible in front of you. Jump onto that spring, and you should see another spring near by right after. Jump on that spring and wait till you reach the maximum height. Glide a bit to the left and you should obtain the emerald piece (It might take a bit to find which direction to glide, if you don't get it the first time, you probably will the second.)


Emerald 3
Head in the opposite direction and just glide to the other side of the map towards another large platform (past the floating containers, should have a chaos enemy in the middle). Watch out for him, and jump up to the platform near by on the left side (with the spring and the moon symbol. You could have glided over to this, but you probably would have not reached it). Take the spring to the next platform with a rocket. Grab on to that rocket and take it to the top. Once the rocket stops, just glide around the building, until you reach the balcony with the Red Flying Gun enemy. Destroy it and stand near the moon symbol. Put on your glasses to reveal the spring that is there. Walk onto it and it will fling you into the air. By now, you should see the rings making a path for you. Just drop down a bit and glide into the the emerald at the end.
Dry Lagoon
DRY LAGOON
Requirements: Treasure Scope
A: 17,000
B: 15,000
C: 12,000
D: 10,000

Same as Knuckles, this level is generally easy, as it is Rouge's first level. The first two emeralds are located in the main area, and then the last one is located in the main water spot of the oasis.

Emerald 1
From the starting location, just run all the way to the monument across from you. (to make emerald 3 a bit easier, just kill the gun soldiers now and free the turtle.) Climb all the way to the top (pretty much where the Bulls-eye mark is.) and fly across to the opposite side of the map, where a balcony with 4 black boxes and one brown box will be located. Break the brown box and a spring will be underneath. Jump on the spring and reach the maximum height, then fly BACK towards the direction of the Monument (it will be floating just above maybe the edge of the balcony).


Emerald 2
Your indicator should be going off right as soon as you obtain this emerald. As soon as you get emerald one, just drop down and the second emerald will be floating below you. It might take some timing to get to the right spot. (If you cant find it, its above the gazebo, floating in mid-air.) If you miss it, just climb up the tower again and glide over to it. It takes some speed to reach it, that or a nose dive, mainly because it is hovering in a no gravity area (making it hard to reach it without falling and trying again.)


Emerald 3
Once you got that, just drop down and head towards the gazebo (or kill the gun soldiers and free the turtle if you did not do so earlier). Jump on the turtles back and head to the other Oasis. Once there, jump onto the main island in-front of you, and throw on your Treasure Scope. Walk forward and fall back into the water (do not press the jump button or you will have to re-apply the scope). Dive down and a spring should be visible just underneath the main island. Hit it and it will ricochet you into the last emerald.
Egg Quarters
EGG QUARTERS
Requirements: Iron Boots
A: 13,000
B: 12,000
C: 10,000
D: 8,000

Egg Quarters main levels are a bit tedious and usually annoying (at least for me, any of the Chamber/Quarter levels are a nightmare). Thankfully, this shouldn't be too hard with a bit of practice. Do not worry to much about the Scarab here, for most of these, you should be able to out run him. If he sees you, just keep running past him, he'll give up. EACH emerald in this level will require you to pick up a bomb, so get ready for that! I DO RECOMMEND doing this level out of order, going Emerald 2-3-1 (Really just following along the path of the Scarab) or Key's 1-3-2 (Going from Red, to Blue to Green back to Red.), however, you really can do this in any order. I listed it via the way the indicator list it.

Emerald Key 1
As soon as the Level starts, destroy the Gun solider in-front of you and head into the LEFT hallway. In here there will be a Kiki throwing bombs, go ahead and grab one of the Bombs it drops. (It will not explode on you if you pick it up), and bring it back into the Red Room. If you must, wait for the Scarab to pass by, then run into the hallway that he came from. Avoid the Gun Soldiers that are shooting at you and continue forward. As soon as you drop into the metal hallway attached to this room, turn around and you will see the Key inside the Metal Box. Break the box with the bomb and collect it. (If you fail to get a bomb, one will be provided for you by the Kiki in this room. Its huge and will most defiantly hurt.)


Emerald Key 2
Head back towards the Red room or Alternatively, just continue on to the next room (Blue room), follow the bottom path to the next hall, and into the Green Room, where, again, follow along into the next hall which should be the large Chamber room with the rotating spikes and the pillars. From the POV of the Green Entrance, on the top right side, there should be a tomb with Metal boxes of different types (Silver, Black, and Bared). Break the boxes that you can, and jump off the table. Locate the Kiki in this room (its atop a pillar) and grab the bomb it throws*. Once you have it, walk back over to the Bared boxes and drop the bomb next to them, breaking them in the process. The Painting on the wall should now be fully visible. Dig into the lower corner and obtain the Key.
(*If you have problems finding the Kiki or the Bomb it throws, in the next hallway there will be a bomb throwing Kiki as well, with easier to find bombs. Just grab one of those.)


Emerald Key 3
Finally, After obtaining this Key, go ahead and put on your Treasure Scope and grab another bomb. Once you have it head BACK to the green room. Watch out for Ghost and the Weight on the way there (if you have the bomb, if not, pick it up from the Kiki in the hallway here). With the scope on, a large spring will appear in the middle of the room. Walk into it and it will propel you to the top alcove with a Metal Box and a Key inside. Drop the bomb and obtain the key.
Security Hall
SECURITY HALL
Requirements: Treasure Scope, Iron Boots
A: 16,000
B: 15,000
C: 13,000
D: 10,000

This level is pretty easy to finish on A rank, as there is less room for mess up (compared to the previous missions on Security Hall, this one should be a Breeze!)

Emerald 1
Right from the start, your locator should go off. (if not just walk a bit forward, but since your using a guide its not needed, I'M YOUR LOCATOR AFTER ALL!). Make a right turn and glide over the air vents, you should already see the Emerald floating in the top right corner (from where you should be facing). Real simple, just dive into it. BE WARNED! This emerald is pretty close to the edge of the Vent, and it can make you dive out of the throwback, letting you fall out of the map. Assuming you get it, just continue on to emerald 2.


Emerald 2
Glide back over to the middle spring of the level (the one that is now guarded by a Gun Solder, nestled between two boxes). Take it up to the pulley that takes you to the up-most level of Security Hall. Jump off the pulley when you make it to the top and climb up the wall. Here you should be in the middle of the room and your Indicator going crazy. Just circle around to the left or the right and climb up the far wall, just to the point where you can walk on the half walls that make the Middle section. From here, aim towards the middle of the section (it should have a lot of lasers and be between a few Junk Cubes. You should see the emerald from here, just drop down a tiny bit and glide over to it (watch for the lasers). If your depth is shot, it might take a bit to actually get it.


Emerald 3
Before you Drop back down to the lower portion of the level, glide over to the A Section of the top level. If for some reason, you do not know where this is, it is the Left side of the top floor, as you would normally play. Make sure to hit the balloon at the end of this section to unlock all A Sector safes (the red ones). Head back to the opening and drop slightly down, just enough to leave the shaft. Start gliding once your out to the Support beam closest to your left (it will have a GUN Solider and two black boxes). Kill the Gun Solder, and destory the metal container. Put on your treasure scope and a spring will be right next to you. The spring will bounce you to the top of the level, where a balloon switch will turn on, raising a weight that will be locking the last emerald. After hitting the switch fall and bellow and your indicator will go off. As you fall, you should see a weight that will be raised. Under that weight will be a locked safe (and your indicator will be glowing red). Just dig into the safe and voila! Emerald Get!
Mad Space
MAD SPACE
Requirements: None, for once this level doesn't really require anything other then the ability to Glide and Kick things!
A: 12,000
B: 10,000
C: 8,000
D: 6,000

Notice how low the point requirement is for this level? Maybe its because the last emerald is impossible This should make it less of a trouble for you with time. Just avoid dying, and you should get a 12,000+ no problem! This is another level where I think doing it out of order is a bit more helpful (such as 1-3-2, 3-2-1, W/e) But again, not much to worry about with this one.... Except for Emerald 3, this is one of those levels I see a lot of people complain about. So take a deep breath, grab something you can punch, and lets get on with it!

Emerald 1
Once this level starts, you should already hear shots being fired. In front of you there will be a Blue Chaos enemy, either kill him or ignore him, just watch out. Either way, head to the Blue terrace and activate the rocket here. Take it to Blue Planet (with that annoying gravity ring) and fall down. Don't LAND on the planet, just fall along side it and glide once your near the bottom. Just time it right and head under the planet, where the Emerald is located.


Emerald 2
Once you got the emerald, go ahead and drop down from gliding for a second and locate the Yellow planet (also with that bad gravity intact). Glide over to the Planet and land on one of the floating Grey and Yellow Platforms. From here, glide towards the bottom of the planet, where the gravity starts to mess up. Do not let go of the Glide button, as on this planet, you technically fly. You won't fall to the ground unless you let go of the glide button. Anyways, just follow your indicator and glide towards the platform with the emerald on top. One more to go!


Emerald 3
Head back to the top of the planet where the rocket is located. Go to the bottom of the platform and break the metal box, where the rocket switch is located, and hope onto the the rocket. Once the rocket breaks, just glide away from the Capsule planet until you are sure you are not within its Gravitational Pull. Drop back down to the Y shaped platform (from where the level starts) and head towards the Red lite corner. Flip the switch below to activate the rocket, from there go to the next rocket and then the next (by now you should know where these rockets are, since you have been using them non-stop in the previous levels. However, if your somehow unsure, they are all located right next to where they drop off.) Once you make it to the last rocket, you should be near the top of the level. Climb up to the balcony on the right side of where you landed. On top there should be red light post (and your indicator should be going off.) Across from this balcony is a lone platform with spiked balls, a floating asteroid, and a star shaped symbol on the ground. just kick in the star area to reach the emerald above. It can take some time for this, and WILL probably get you killed the first time around, so just practice at it! Master the Screw Kick! Remember to do this OVER the star, not near it, because you will miss almost every time.
Closing
That's all there is to it! That should be all of Knuckles and Rouge's Emerald Hunt levels. I hope this was able to help someone who is still new to the game, or just someone whom never found all the emeralds before. It can take a lot of time and patience to do these levels, but you will be surpsied how easy it is to obtain an A Rank while doing them! Also, If you managed to do these, you should at least now have completed all of Knuckle's levels (Rouge still has those racing ones, and your on your on THAT one buddy.)
12 Yorum
Salsa 5 Nis 2022 @ 7:15 
In Wild Canyon for the 3rd one you said "Once inside, you can flip on your Treasure Scope (or just go into the third painting on the right side)" but it's the middle one on the right side to just skip through, not the third. Just in case people don't want to bother with the scope.
Chadworthy 9 Oca 2022 @ 15:55 
Thanks for the guide!
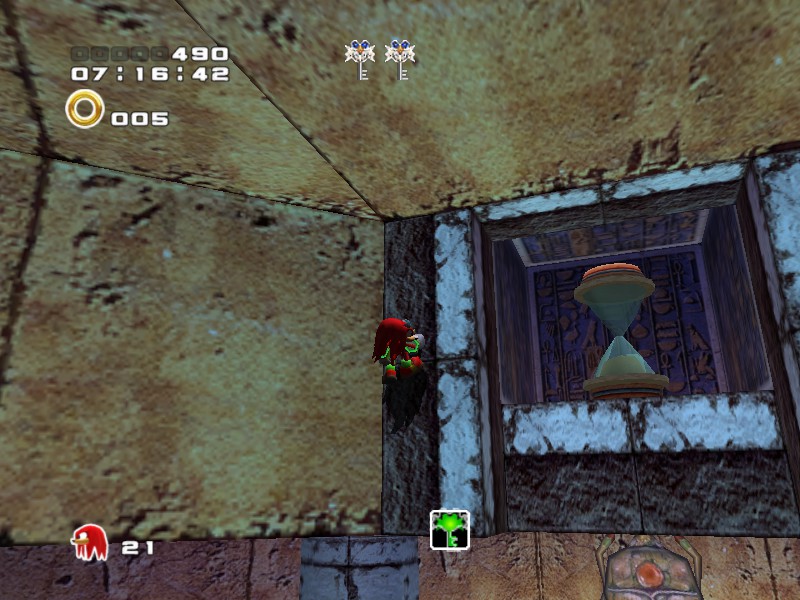
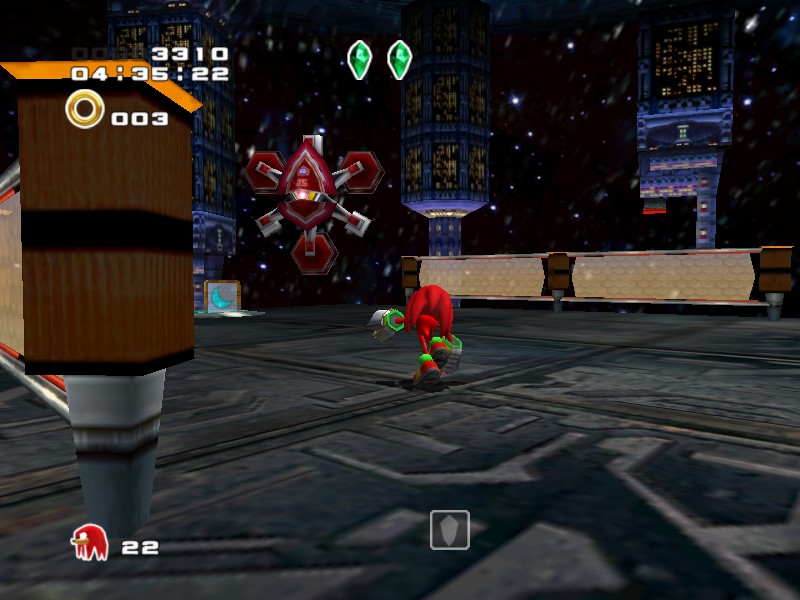
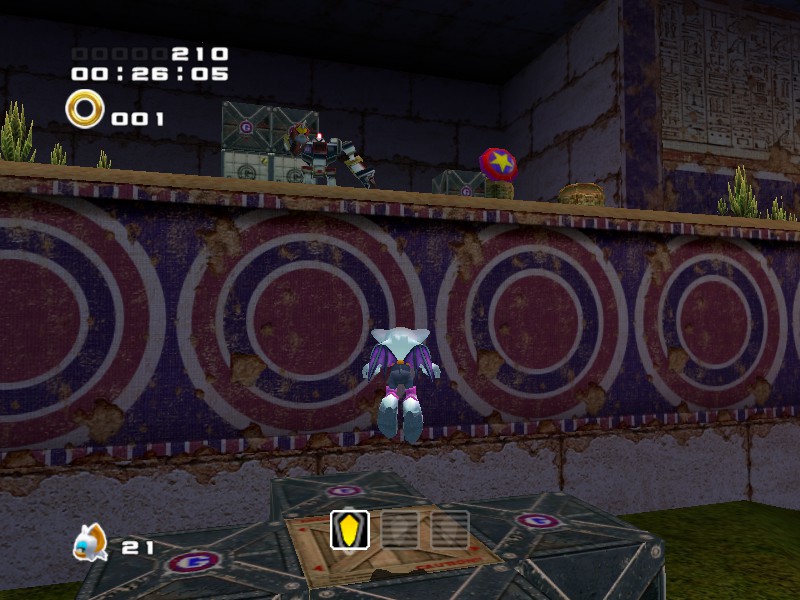
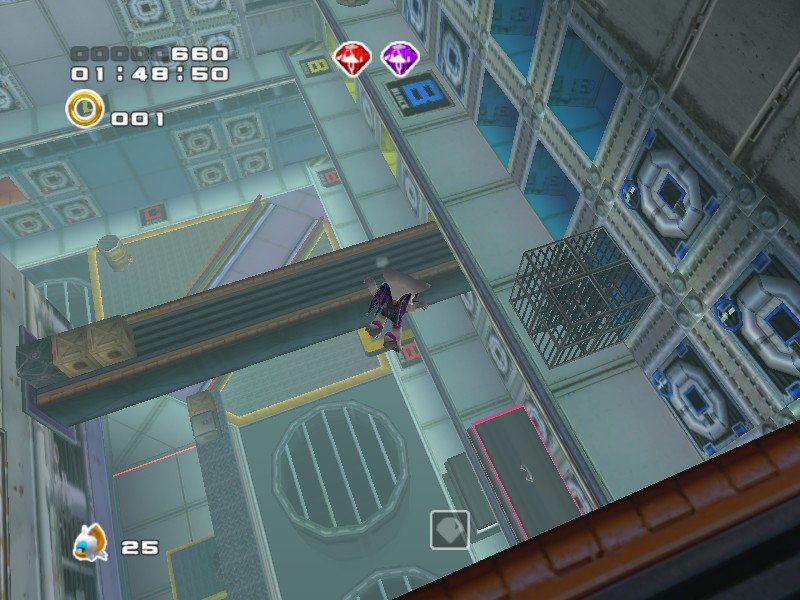
A note on Security Hall, "glide over to the A Section of the top level. If for some reason, you do not know where this is, it is the Left side of the top floor" The three switches are by color, and each floor has vaults A, B, and C on the walls, so the switch that unlocks the bottom floor would be the Red switch, and next to it are the red letters A, B, and C.
portalfan 6 Mar 2021 @ 10:58 
Hard mode Rouge sounds a bit...odd
SotiCoto 23 Haz 2020 @ 11:19 
Funny how you went on about Death Chamber being the worst and then called Meteor Herd a piece of cake.
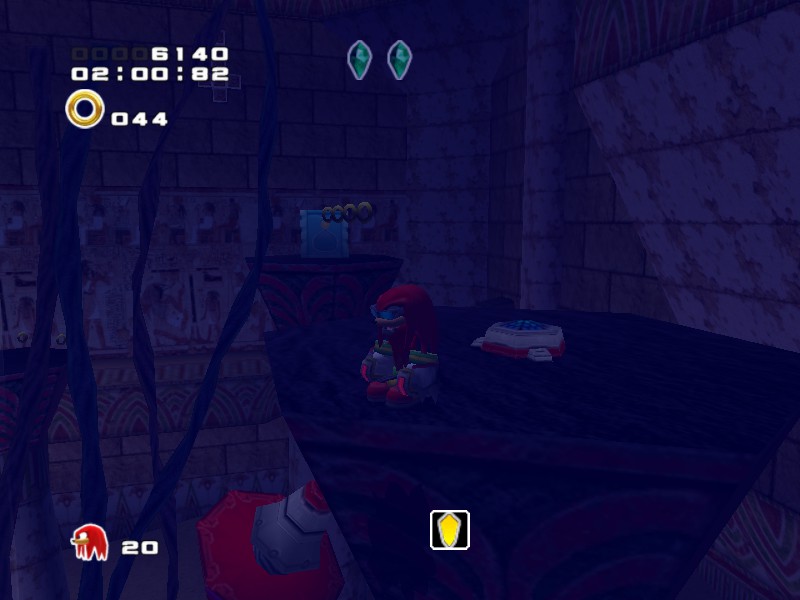
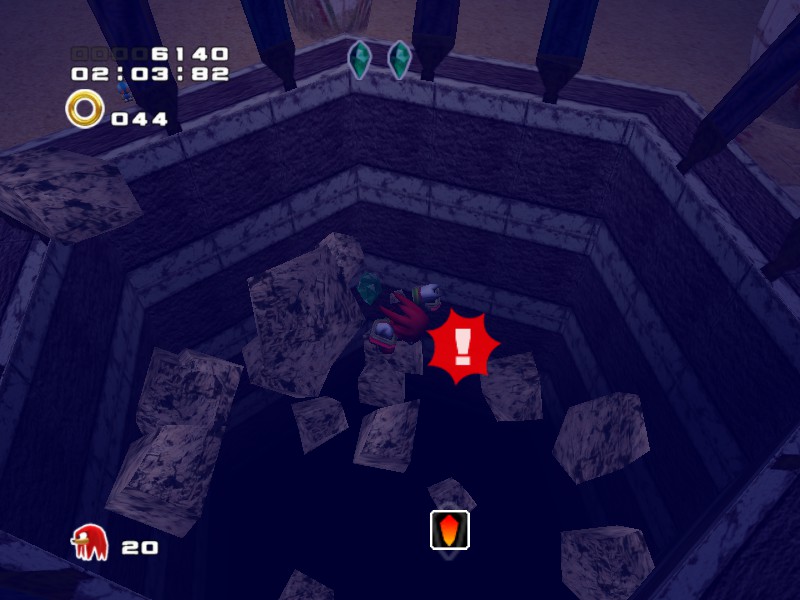
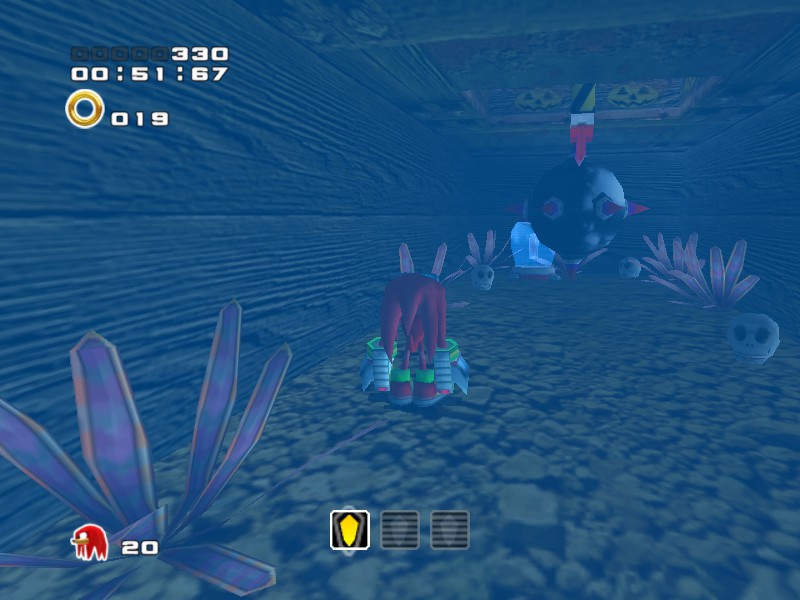
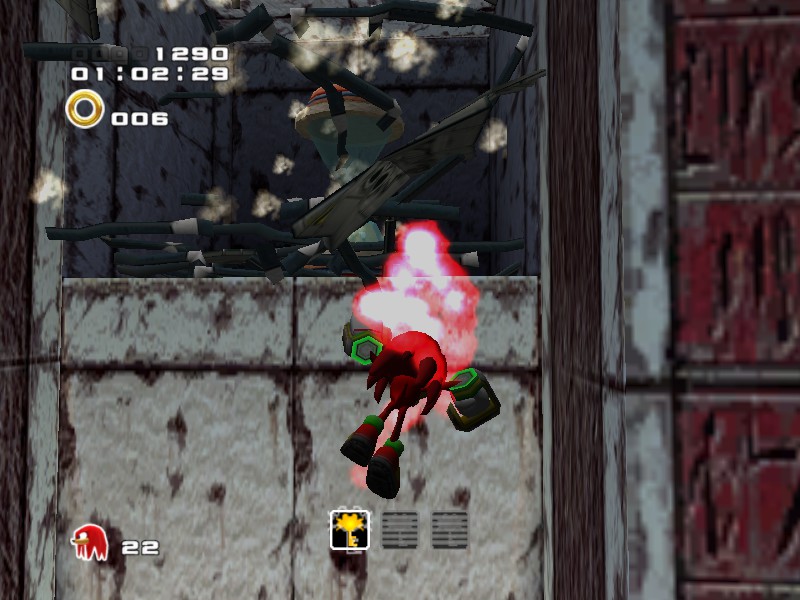
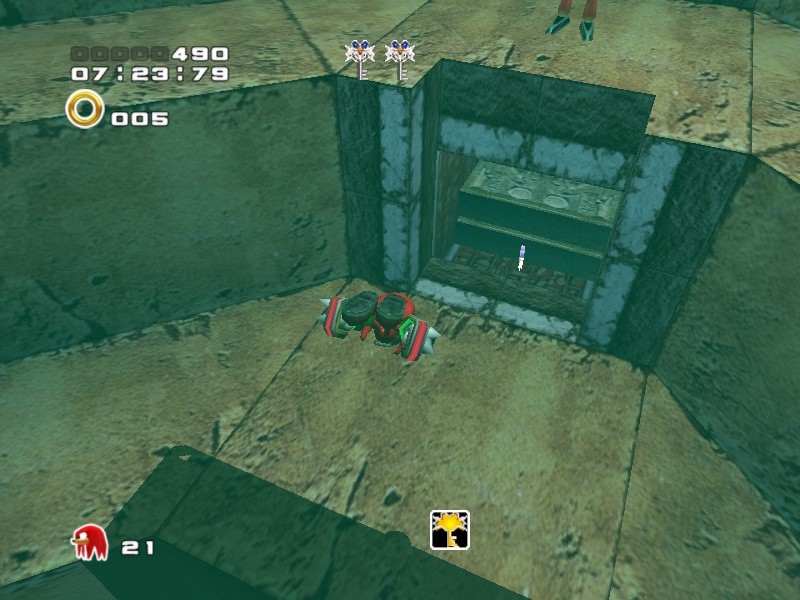
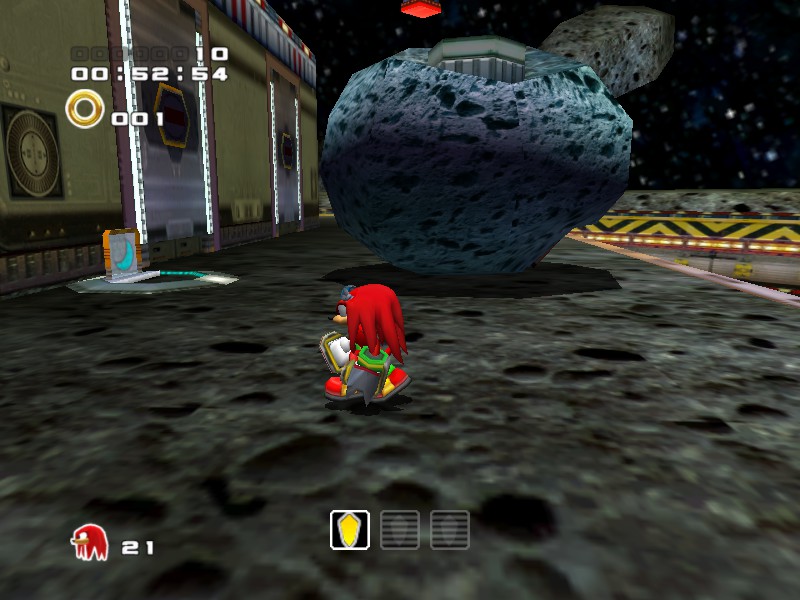
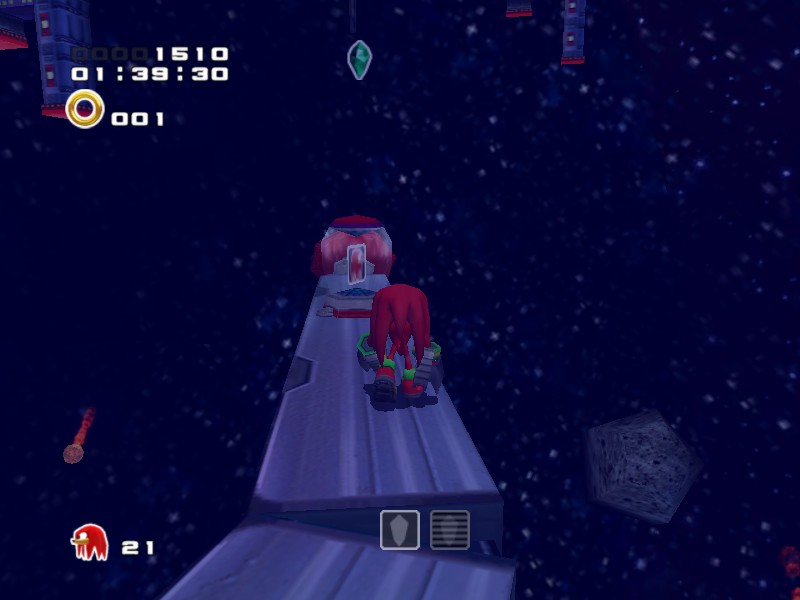
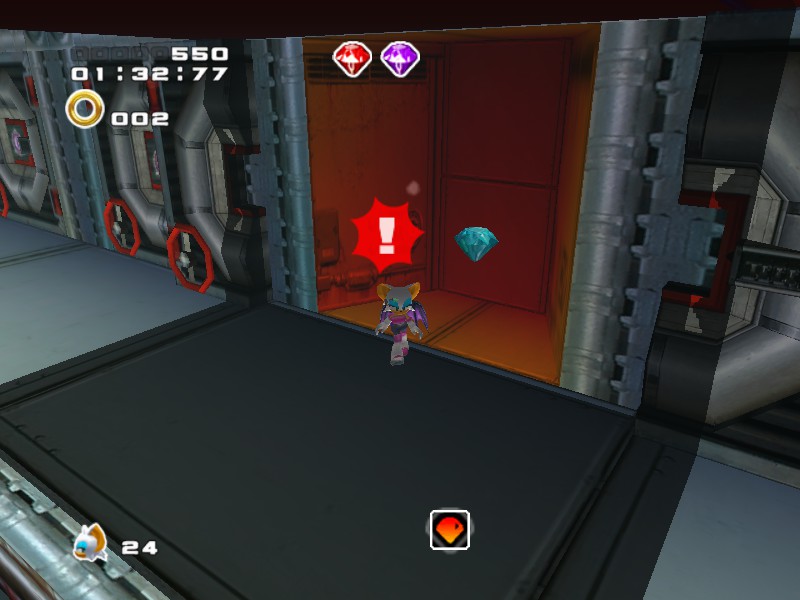
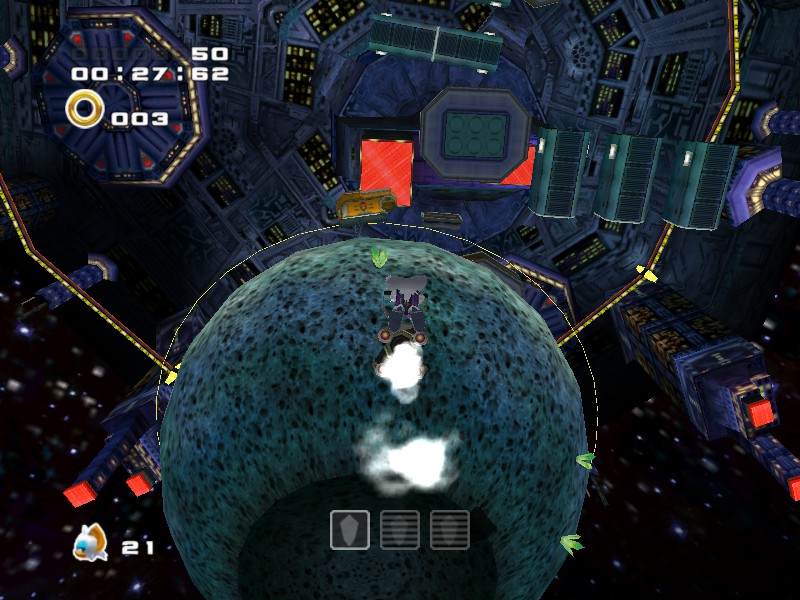
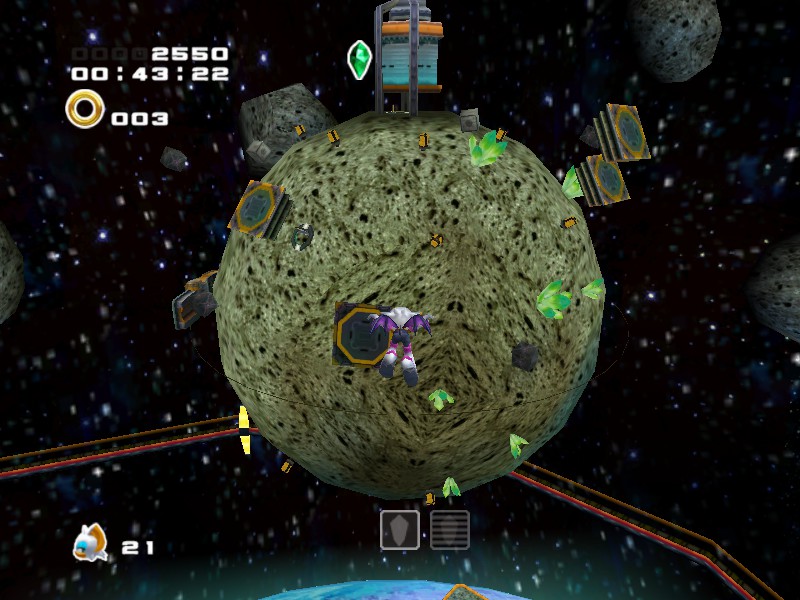
I got the Death Chamber keys without even a hint of difficulty just from the mention that two of them were in the Lost Chao area... but Meteor Herd was an absolute nightmare.
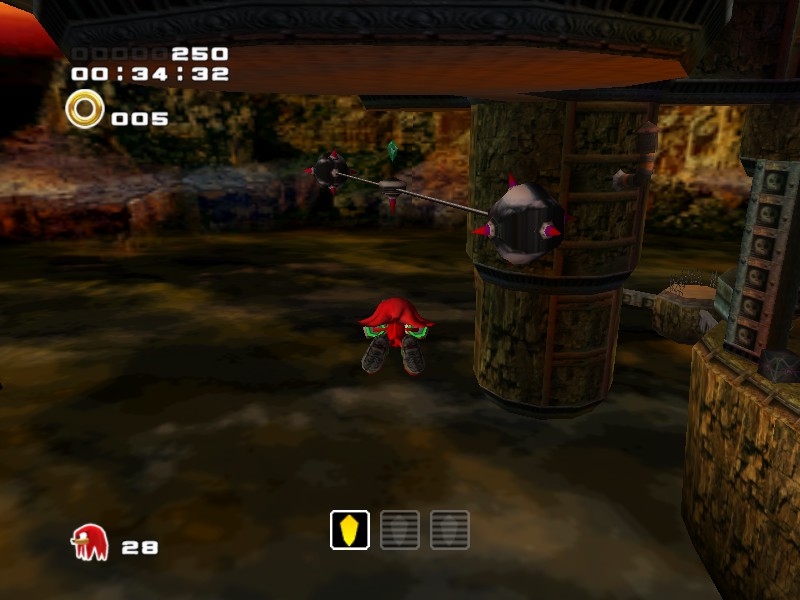
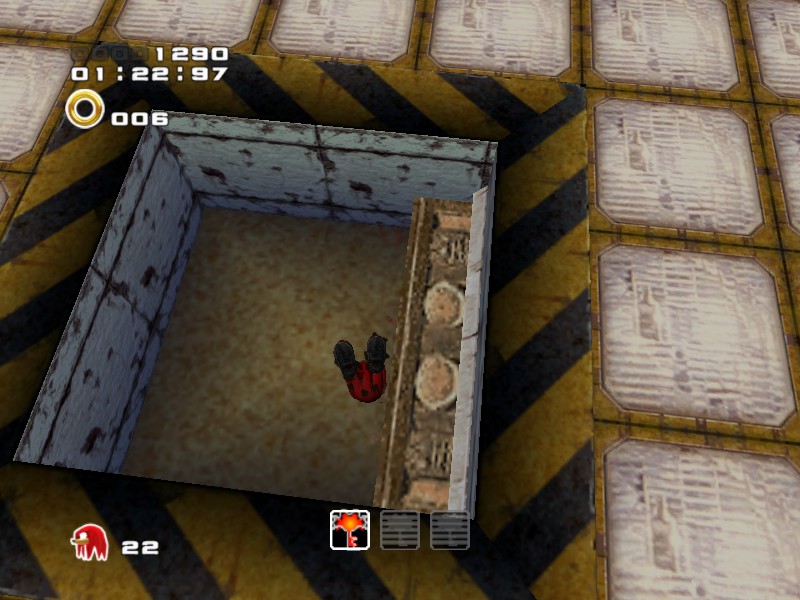
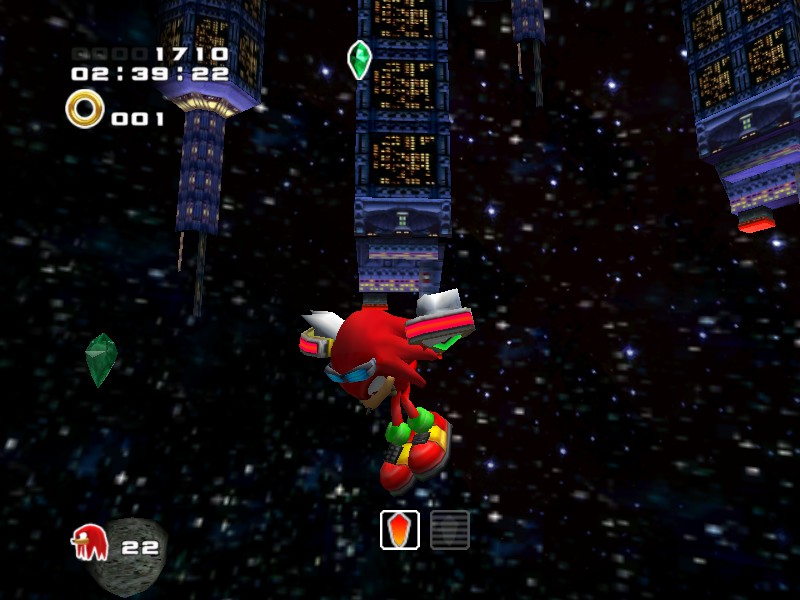
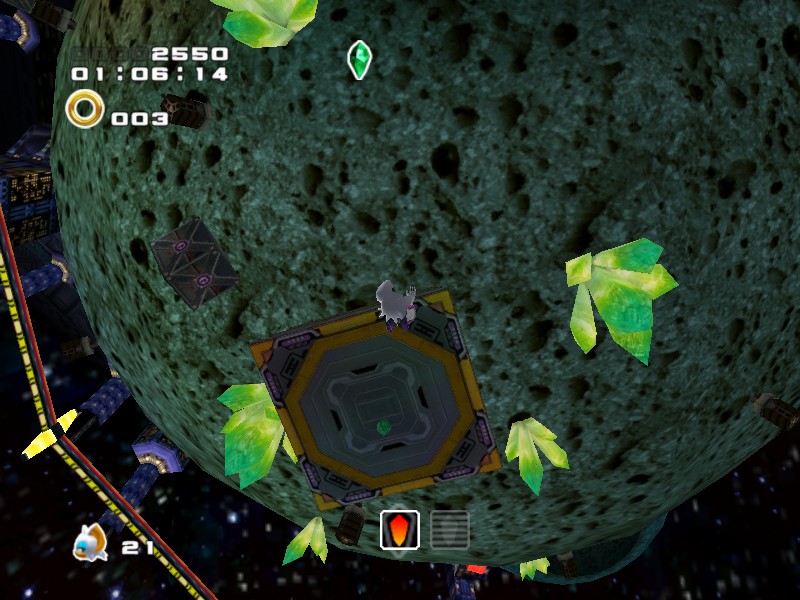
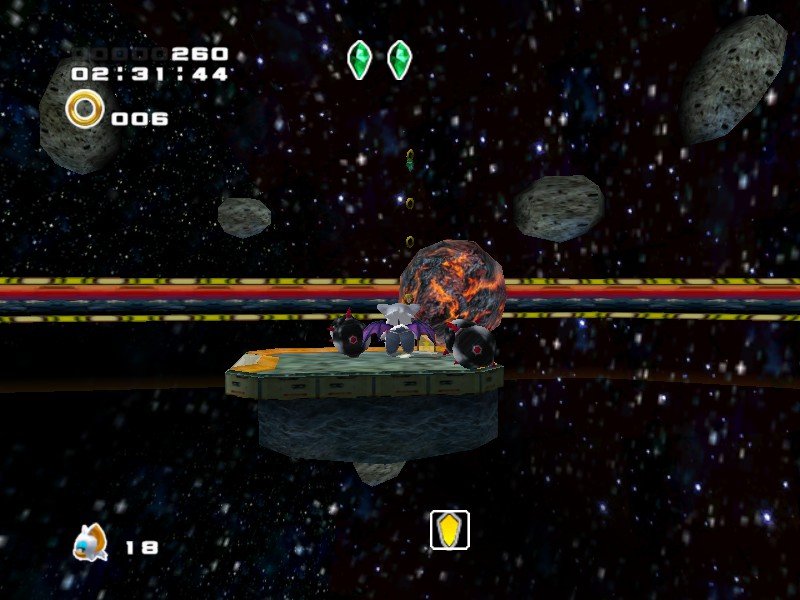
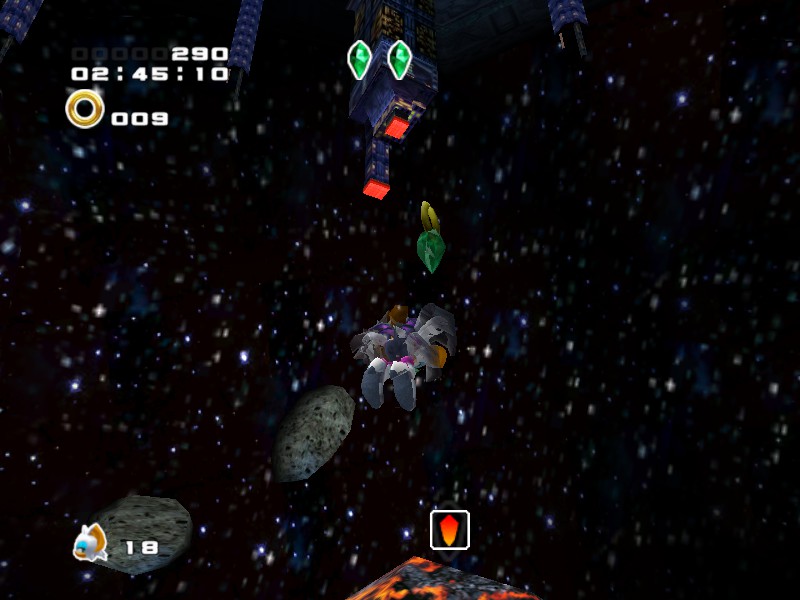
The first one took me about 20 tries to knock the damned rock into the door because it kept going flying off or getting blown up by meteors or smashing on the wall... then your instructions for the 2nd and 3rd just confused the hell out of me and I ended flying about lost for about half an hour between the two of them trying to find the damned platforms you were referencing... before giving up and watching a video guide instead.

=/

Water Enjoyer 22 Oca 2019 @ 6:27 
Thank you! It really helped me a lot :3
j u n  [yaratıcı] 12 Eki 2018 @ 18:40 
@sarahjanebamber (part 2) Anyways, go ahead and drop down. Once down you should see another Hexagonal opening for knuckles to go through. Follow through and you will in an open area again. Make your way downwards, past the wooden support beams. Let the camera adjust so you can see yet another hexagonal section. Swim through and once out of the tunnel, make your way upwards. If memory serves right, there should be nothing that can hurt you in this area, so feel free to rush up as quickly as possible. Once up, just climb up and grab your new Air Necklace. There is also a Dragon animal up in the corner (if your making a dragon chao hehe).

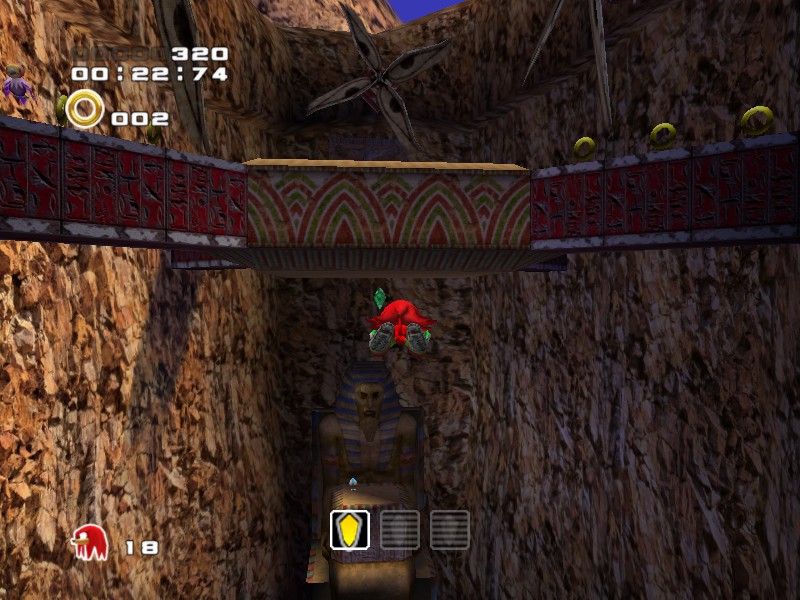
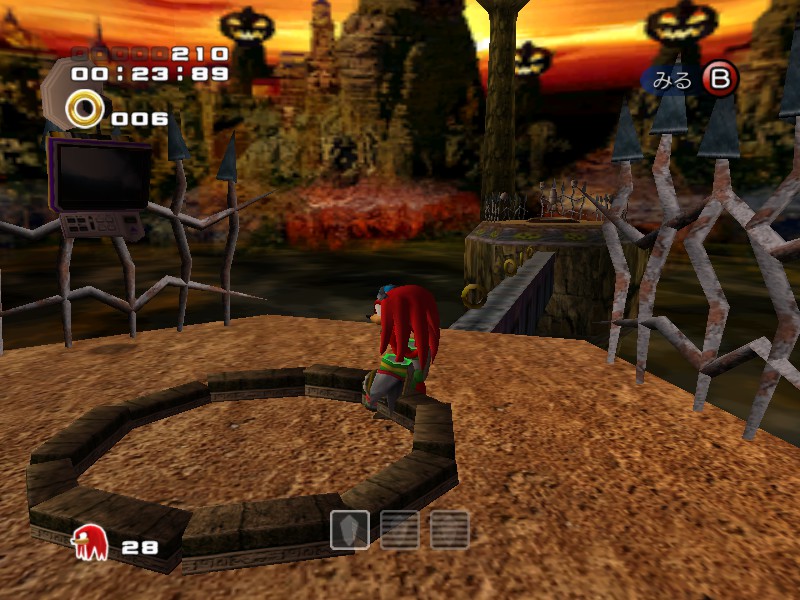
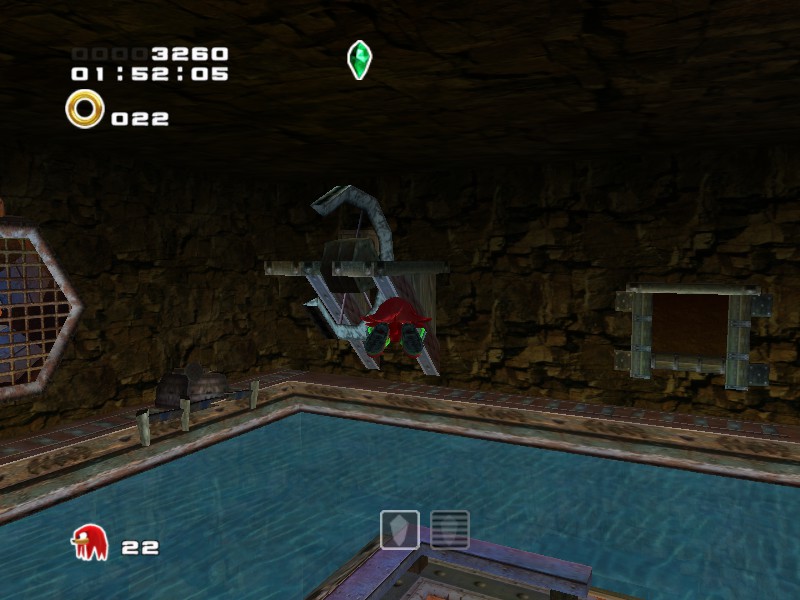
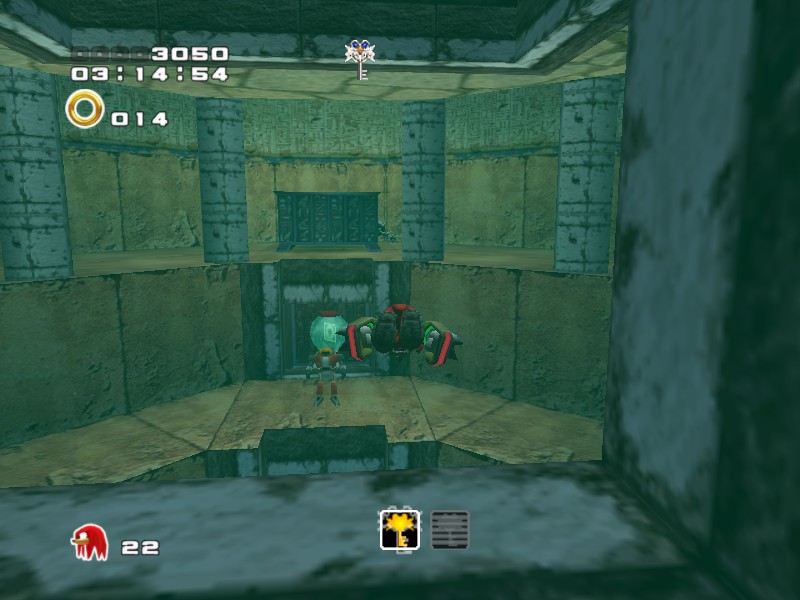
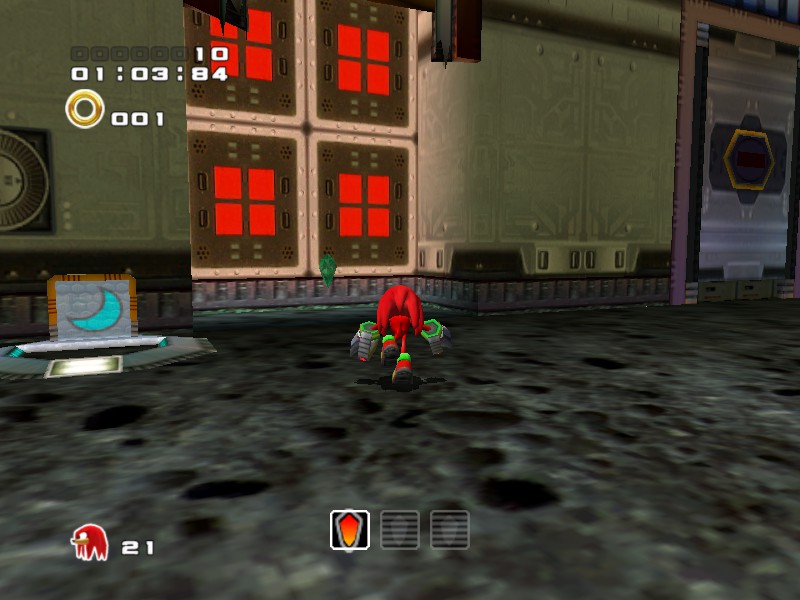
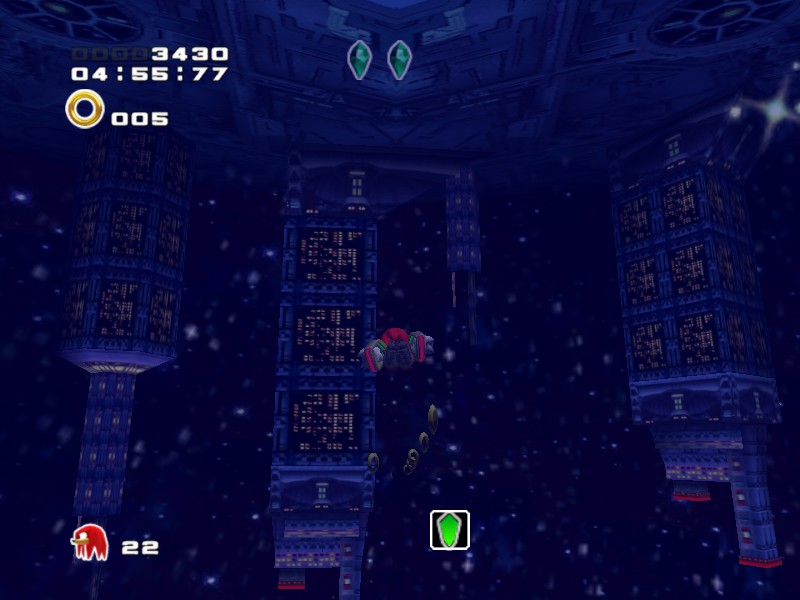
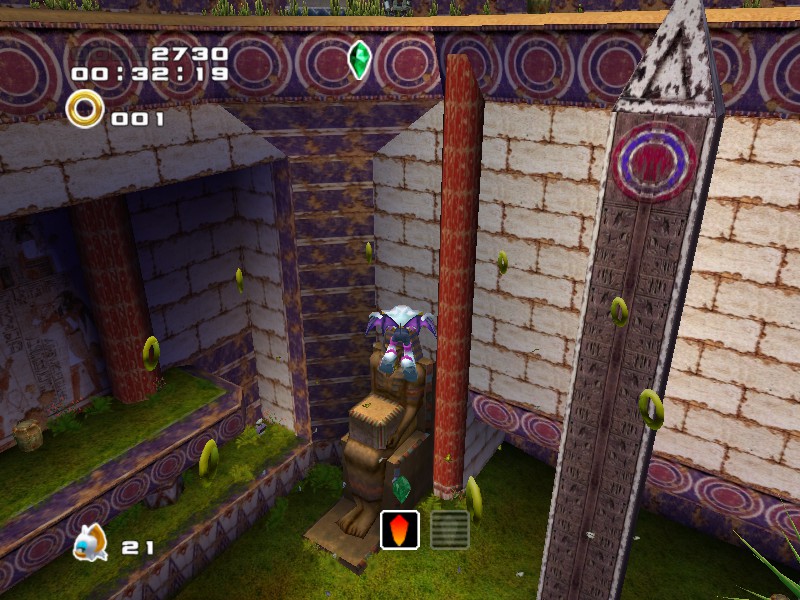
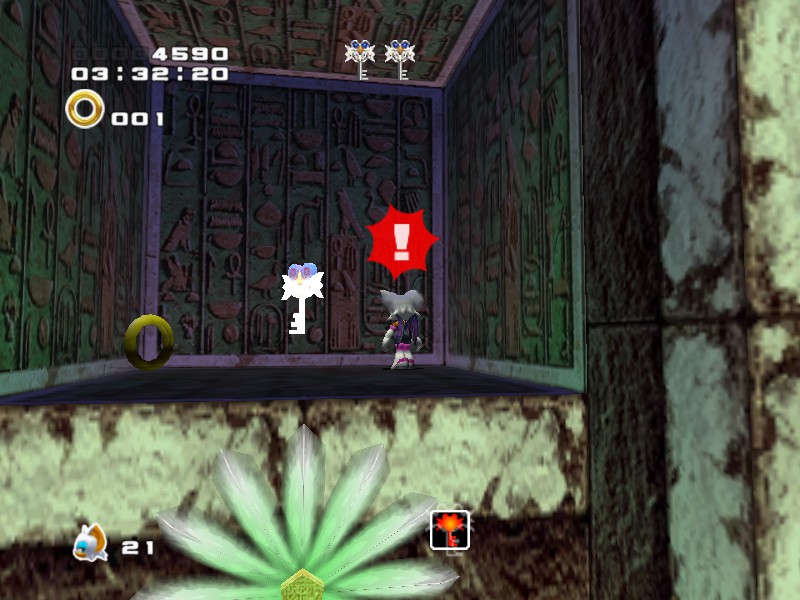
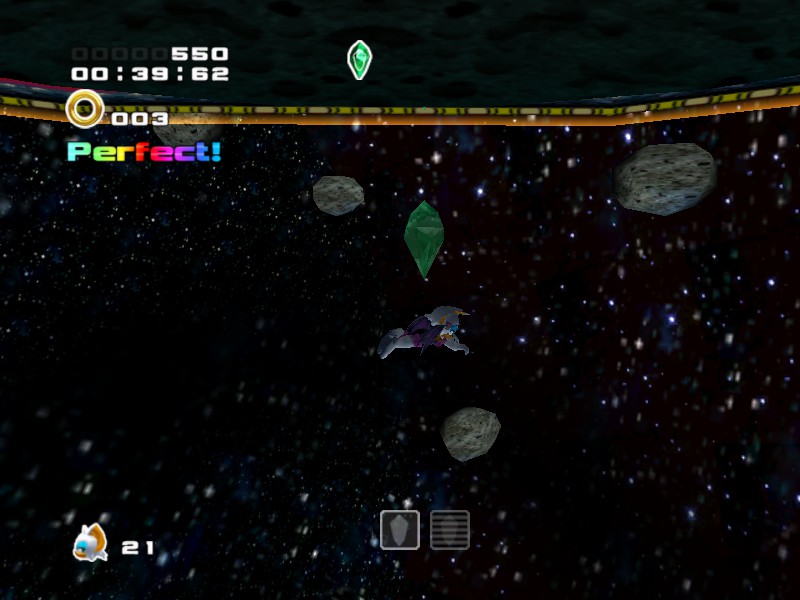
In the future, this area will hold a Life Box.

(sorry steam has a character count, had to split this in two)
j u n  [yaratıcı] 12 Eki 2018 @ 18:40 
@sarahjanebamber You can find it as Knuckles. Just load up any level of Aquatic Mine. Once there, go forward and up one of the pulleys, and make your wait to the highest floor. Set the water level to 3 (which will set it to the lowest amount). Once done, go ahead and head back down the way you came. Now that the water is at the lowest possible point, head toward the shaft that has the sign that says "CAUTION" and shows a black arrow between two ghost. This should be on the middle level of the stage. You will know its the right one by the hexagonal tube that goes downward. This will take you to an area underwater. Don't stress to much, but in order to get the necklace, you will have to traverse the area underwater. There is no way to drain this area.
spaceman8002 12 Eki 2018 @ 8:24 
cant find air neckless
help
j u n  [yaratıcı] 10 Nis 2015 @ 23:58 
Hmm its very weird, and Im sure you dont want to like uninstall your game or anything. If your 100% sure its not facing the correct way, and you want to avoid reinstalling, the best bet I could say is to see if you can Drill into the wind tunnle before being kicked up. This is very unlikely though, as this is why the spring was installed on the side of the pillar.
Upsilon 10 Nis 2015 @ 15:40 
I did it does the same