Submachine: Legacy

Submachine: Legacy

88 Bewertungen
[SPOILERS] Complete Monolith locations
Von skerl
All monolith location across all chapters, spoilers ahead
4
3
10
2
   
Preis verleihen
Favorisieren
Favorisiert
Entfernen
Before you start
In this guide I will show you the locations of the micro stabilizers and the monoliths
I assume you've completed all chapters excluding the Shattered Quadrant
Heavy spoilers ahead for those haven't finished.
Chapter 1 (I)
  • After cranking all the levers, go back to the coin room and activate the last lever
    IMPORTANT: MAKE SURE YOU PICK UP THE COIN

  • Go to this room, there should be a ladder pop from the ceiling
  • Go inside and look at the board. If there is one red spot it means you HAVEN'T PICKED UP THE COIN or haven't done all the objectives
  • Go back and the one stabilizer should be there
  • Go to chapter 8, warp to the 5th layer and go back to chapter 1
  • Go to this room next to the radio room and enter the portal

Chapter 2 (II)
Stabilizer locations
  • Go to the left most room from the start, go up once and the first is on the chair
  • In the projector room, click on the cracked tile on the wall
  • In the hallway above the light
  • From the sewer entry, go left 4 times and down once
  • In the braille puzzle room on the hand machine (4x)
  • In the left air vent when approaching the top of the lighthouse
  • Inside the dug out tunnel

Monolith
  • Go to chapter 8 and warp to the 4th layer
  • Go back to chapter 2, inside the dug out tunnel and enter the portal
  • Insert the secrets and pass through
Chapter 3 (III)
  • solve the puzzle on the last level (MIMBLA in break the loop) and press the button
  • Wander around when you find this room
  • Go to chapter 8, warp to layer 2
  • Go back to chapter 3 and enter through the karma portal.
Chapter 4 (IV & V)
Stabilizer locations
  • Enter the attic and go to the furthest right
  • In 104, go to the bottom and it's on the sphinx's eye
  • In 104, use the hammer to smash the cracked square under the horse statue
  • Under the lamp in this specific room in 690
  • Next to the lazer machine in 529
  • In the small crack on the wall in 043
  • Inside the wire box in 800
  • Use the energy coil on the machine in 001 on the 2nd floor
  • In 462 after ringing 4 bells
  • On top of the statue head in 452

Monolith
IV
  • Go to chapter 8, warp to layer 3
  • Go back to chapter 4, go to the room to the left of 529 and enter the karma portal.
  • After activating the device there warp back to 001. The right side gate should be opened
  • Insert your new found secrets and go through
V
  • Located in 104 next to the sphinx statue. Insert all the stabilizer to disable the shield
  • Go to chapter 8, warp to layer 6
  • Go back to chaper 4 and go through the karma portal, the monolith should be there
Chapter 5 (VI & VII)
Disclaimer
I will call the cipher plates in order of acquired

1 and 2
The coordinates shall follow accordingly
For example, if the player inserts cipher plate 1 and then cipher plate 2 into the box, they will be taken to the coordinates (1,2). (0,0) will be the default location

Stabilizer locations
  • In 552, go to the side of the machine
  • In (0,1) go to the room at the bottom to the left, remove the plates in the corner
  • Grab the coil you found at (2,0) and go back to (0,0), plug the coil in the socket of the right most room
  • Go to back to (2,0) and press the button on the wall
  • Go to (0,2) and search behind the valve pipe
  • After blowing up the wall in (2,0) go in and go to the left and up

Monolith
VI
  • Go to chapter 8 and warp to layer 7
  • Go back to chapter 5 and go to 747, go right until you see a cabinet. Open it and get the red key
  • Go to left most and open the door
  • Insert the secrets and go through the portal
VII
  • Go to chapter 8 and warp to layer 5
  • Go back to chapter 5, in (0,1) go down until you see the dog statue, turn the knob
  • Go to (2,1), down in the dog staute room, go left and enter the portal
Chapter 6 (VIII & IX)
Disclaimer
It is important that you find the stabilizers before finishing chapter 6, since mainframe room cannot be accessed again after using the portal to Thoth engraving

Stabilizer locations
  • Go to this room and rotate the valves until both facing down
  • Go back to the three way tunnel and go down
  • After retrieving the cube, input the following into the screen
  • Go back to this tunnel and it's on the bottom left (very hard to see)
  • From this location, continue left
  • Leave the Thoth room as so and go outside of the sewers, towards left
  • In the mainframe room on the bottom right (very hard to see)

Monolith
VIII
  • Go to chapter 8 and warp to layer 2
  • Go back to chapter 6, go to the Thoth engraving wall and go through the portal
IX
  • In the 8 room, on the first pod, enable the 54-1 protocol
  • Go back to the start and plug in the old machine, enable 54-5
  • Go to the 54-5 tunnel behind the elevator and input the secrets
Chapter 7 (X)
IMPORTANT: REMEMBER TO PICK UP THE LIGHT BULB FROM THE START

Stabilizers
  • Behind one of the pots near the portal
  • On the crack near the control room
  • On the crack of the karma in the portal within 2nd portal (tongue twister)
  • Behind the platform in the paper room
  • Behind the desk near the end

Monolith
  • Insert the lightbulb in this room
  • Go to the room before the end, use the wheel on the desk
  • Go back down and enter the portal
  • Go to chapter 8 and warp to layer 3
  • Back to chapter 7, enter through the portal
Chapter 8 (XI)
Stabilizers
  • In layer 1, move the yellow beam to its original location
  • Go to layer 3 and go left
  • In layer 3 on the floor beside the spin device
  • Grab the hammer and a stone button in layer 7
  • In this location in layer 1, warp to layer 3 and smash the dome with the hammer
  • In layer 5, smash the statue with the hammer, insert and press the button
  • In layer 6, smash the pipe in the far right

Monolith
In layer 5, go left beside the gate
Chapter 9 (XII)
Disclaimer
IMPORTANT: DO NOT USE THE LADDER RUNG, YOU ONLY GET TO USE IT ONCE
If you already finished the chapter, pick up one of the crystal in the previous layer and put it in layer 8, there should be a portal back

Stabilizers
  • Ring the 2 bells and return to the gold statue up top

  • Go to this room with the missing gylph, warp to layer 4 and use the ladder rung
  • Use the ritual brass bowl in this room with a hole in the ground and use the lever
  • Go back down to the tunnel leads to Mur's tomb (the left most tunnel covered in sand)
  • In Elizabeth's tomb, go to the right most and use the switch under the cow statue
  • Go to Mur's tomb to the left most, under the cow statue
  • On the shaft right before you descent, go left and pick up the scale
  • Put the scale on this machine, tilt it left
  • Go to this hole with an open gate, pull the lever
  • Go back to the scale room, tilt it right
  • Go to Elizabeth's tomb, under the open hole is the final secret

Monolith
  • Warp to layer 8 and grab the key from this room
  • Back track to this room and enter
Chapter 10 (XIII & XIV)
Stabilizer locations
  • In 100, go to storage 32/1. It's on a small hole in the wall
  • In 100, go to storage 33/2, enter the Looping traps. It's on the broken panel
  • Grab the magnet on a string in storage 33/3
  • Go back to the hole in 000 and grab your 3rd secret
  • In Sub 7 world in 011, grab the two telescope pieces and assemble it in this room. Don't forget to give it a look
  • In 111, go through the portal to Sub 9 world. Go to the farthest right and grab the secret on the sand
  • In the Basement section in 000, grab two pearls and a spoon
  • Go back to the Red Basement and put the spoon on the altar
  • Go back to the Lighthouse section and insert the pearl in the machine on the far left
  • Do the same on the similar machine in 110
  • In 110, go to the farthest right and use the karma stabilizer on the floating debris
  • Do the same with the debris at the very start

Monolith
XIII
  • Grab the battery under the stairs in 110
  • Use it on the S-3-C slot in the ship at the start
  • Go to 110, through the portal to Sub 6, enter the S-3-C room.
XIV
  • Go back to the basement area and grab 4 stone cubes
  • Back track to the area right after Sub 1. Use the stabizier on this device
  • Enter the portal and insert the 4 stone cubes in the missing spots
  • Go through the RED WIRE portal
The Future (XV)
Go to chapter 8, warp to layer 2
Go back to the Future (lol), in the room next to the plush, enter the portal.
The Ruin (XVI)
Pretty straight forward. Solve the puzzle and activate the thing. Easy!
The Sand (XVII)
Another very straight forward one. Do the thingy activate the thing. Ez peezy
And that's it!
Congratulations you did it! You found all the secrets. Thumbs up and favorite is much appreciated!.


Now there's one more thing left to do..


34 Kommentare
ItsChugg 16. Apr. um 3:45 
I'm having trouble finding the energy coil to put in the machine on Chapter 4. I completed it a while ago and not sure where it is.
89o 16. Dez. 2024 um 12:49 
Sooooo.... does beating the Future actually unlock anything? It's quite cryptic.
OrangeDog 7. Dez. 2024 um 12:59 
When I return to Chapter 4 after completing it I do not have a coil in my inventory. Have I forgotten where I left it, or does the chapter have to be restarted to open the machine in 001?
Rusty Myst 17. Aug. 2024 um 17:49 
In chapter 6, 54-5 needs to be flipped to the right, not the left.
Nat the Chicken 9. Juli 2024 um 2:39 
@peppypanda17 if you're still struggling with this: you do not need to restart the chapter.
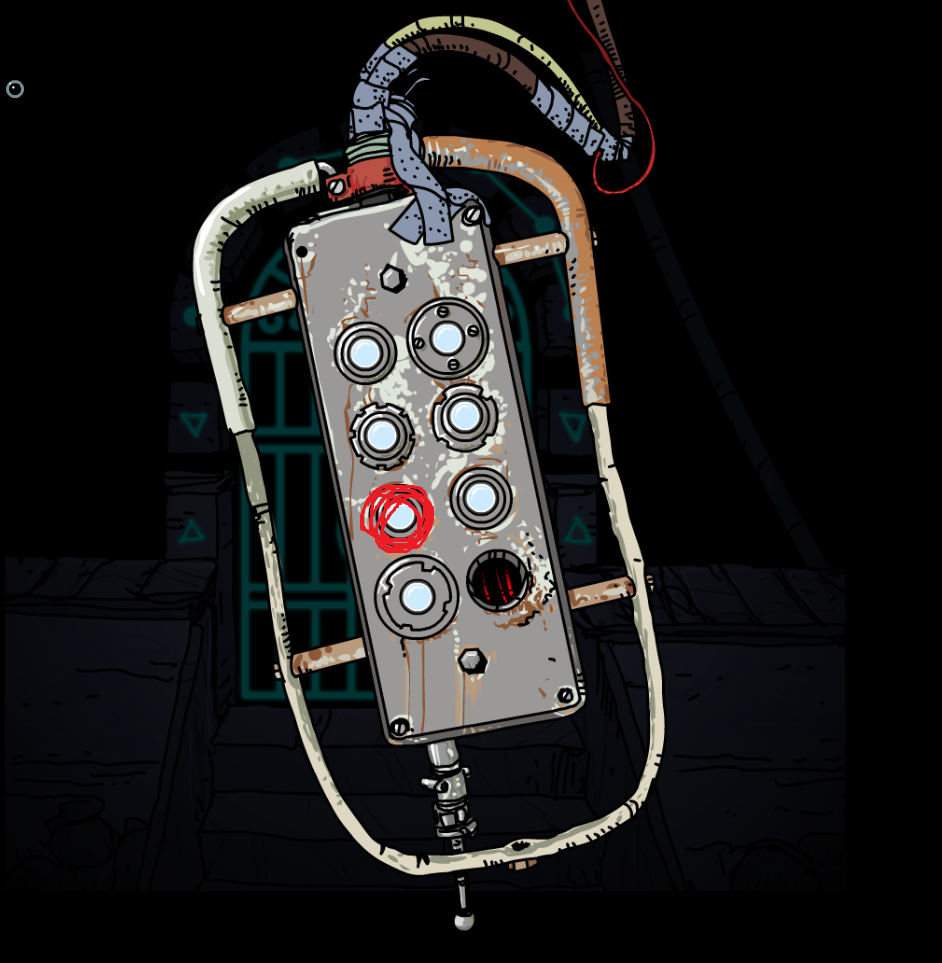
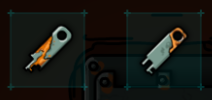
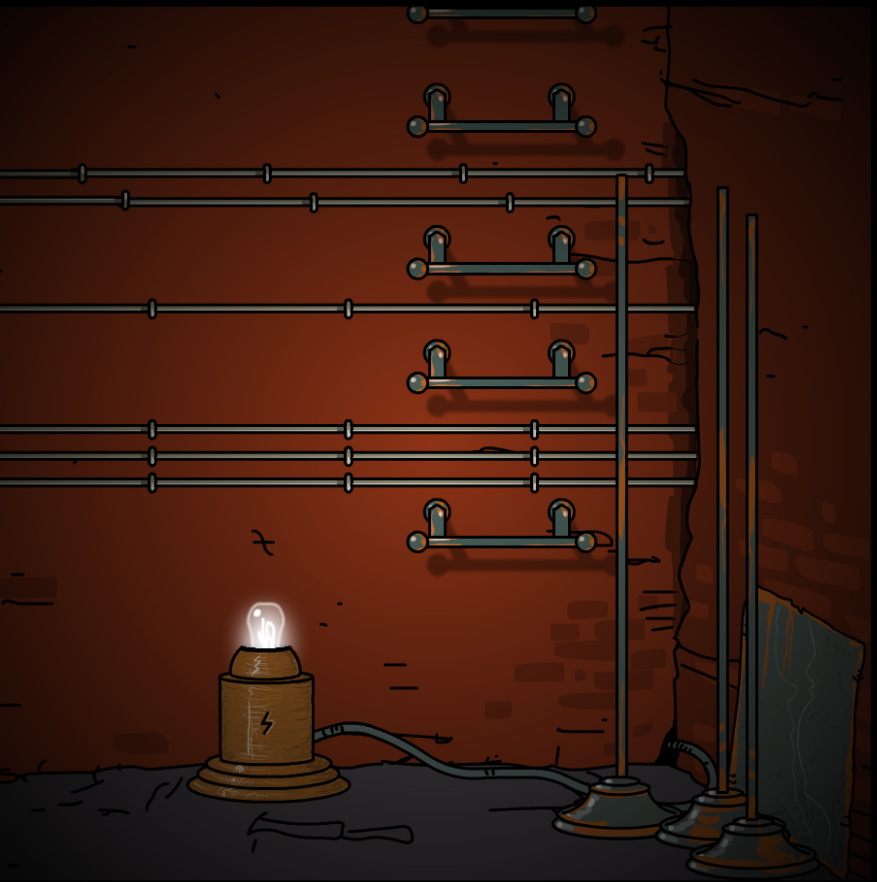
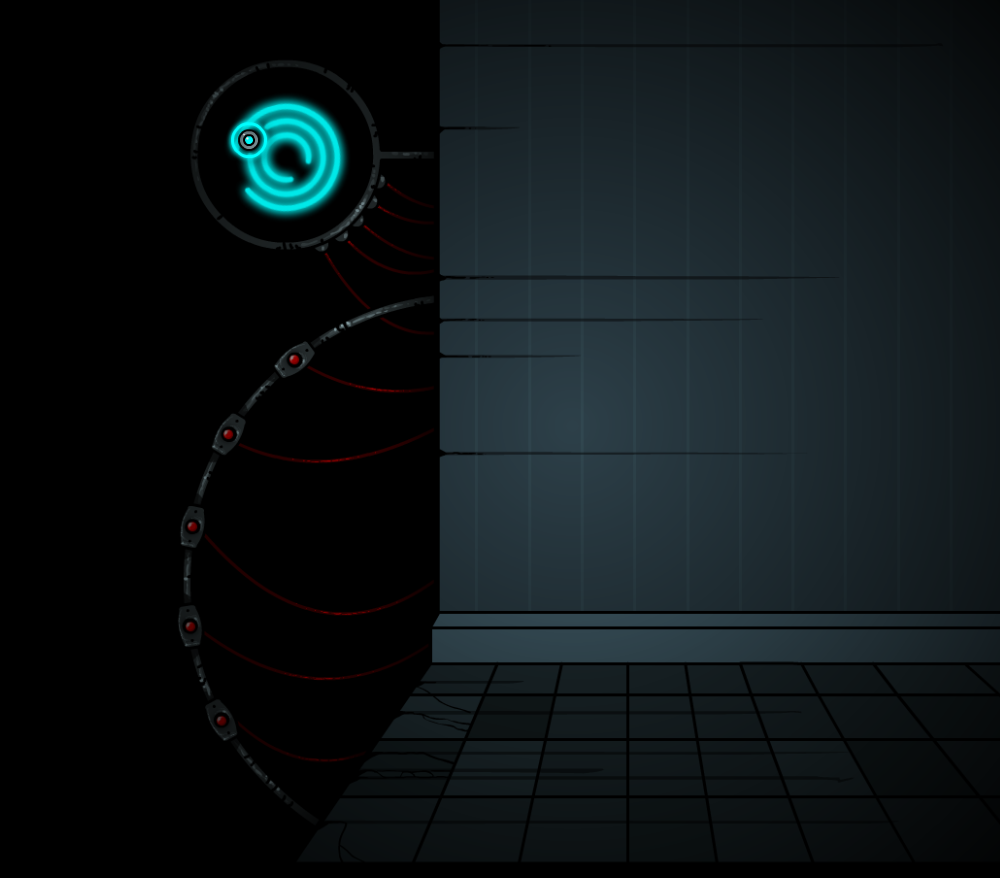
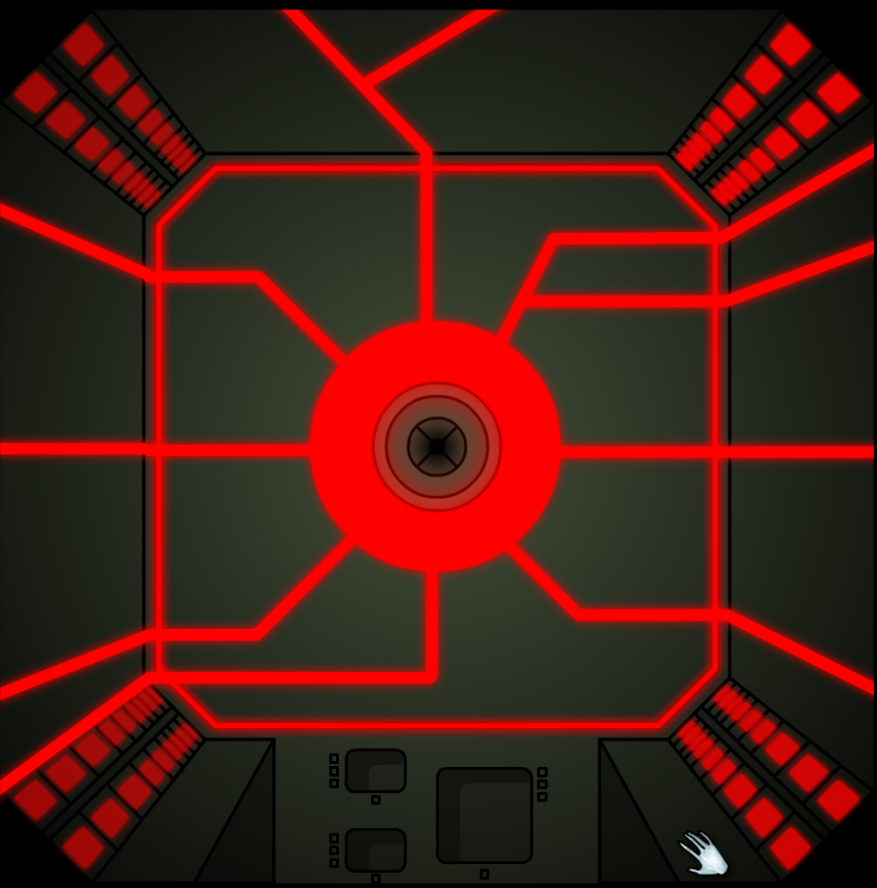
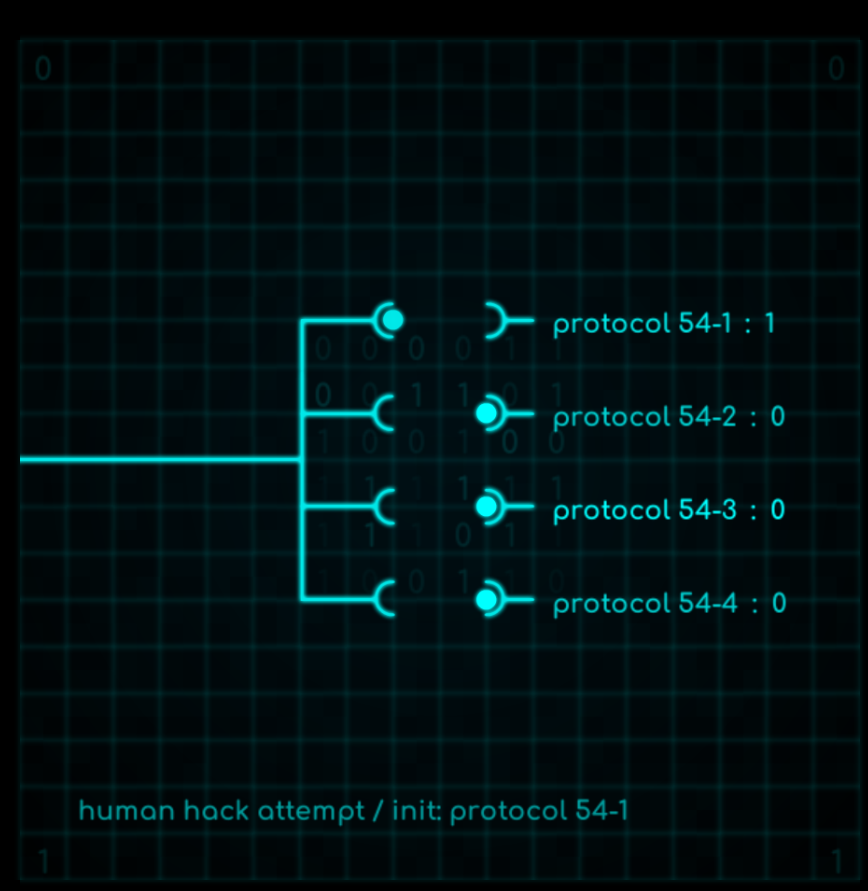
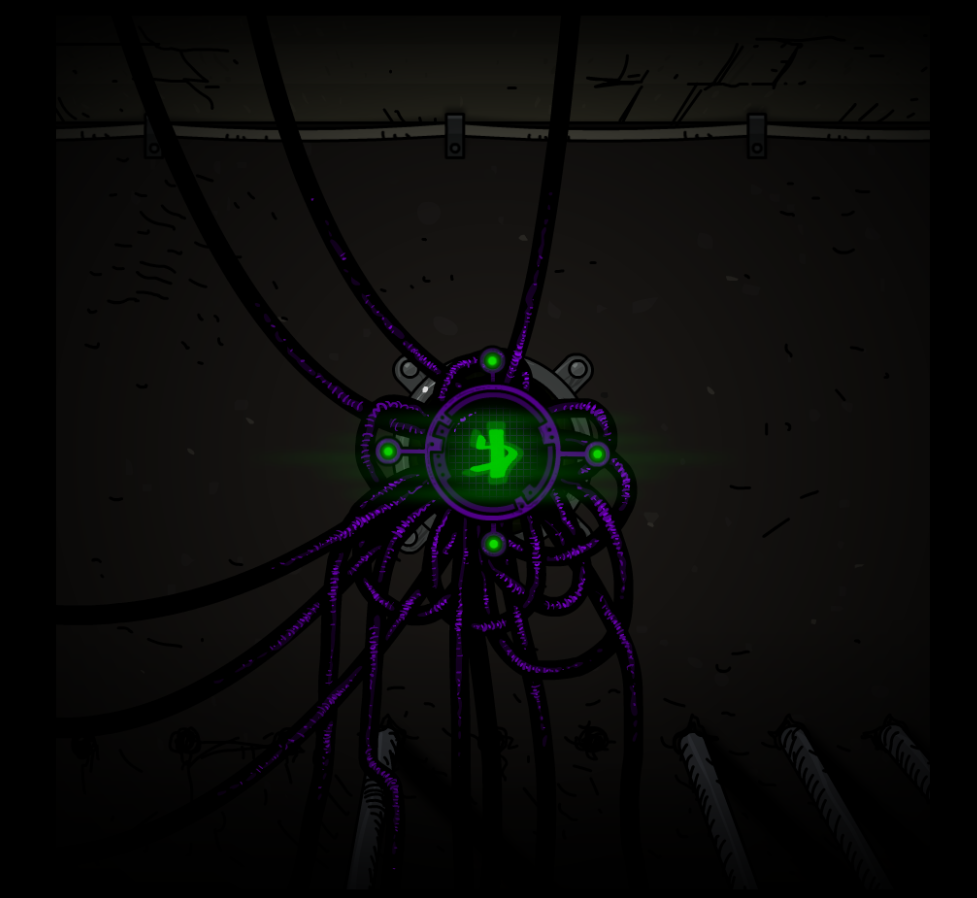
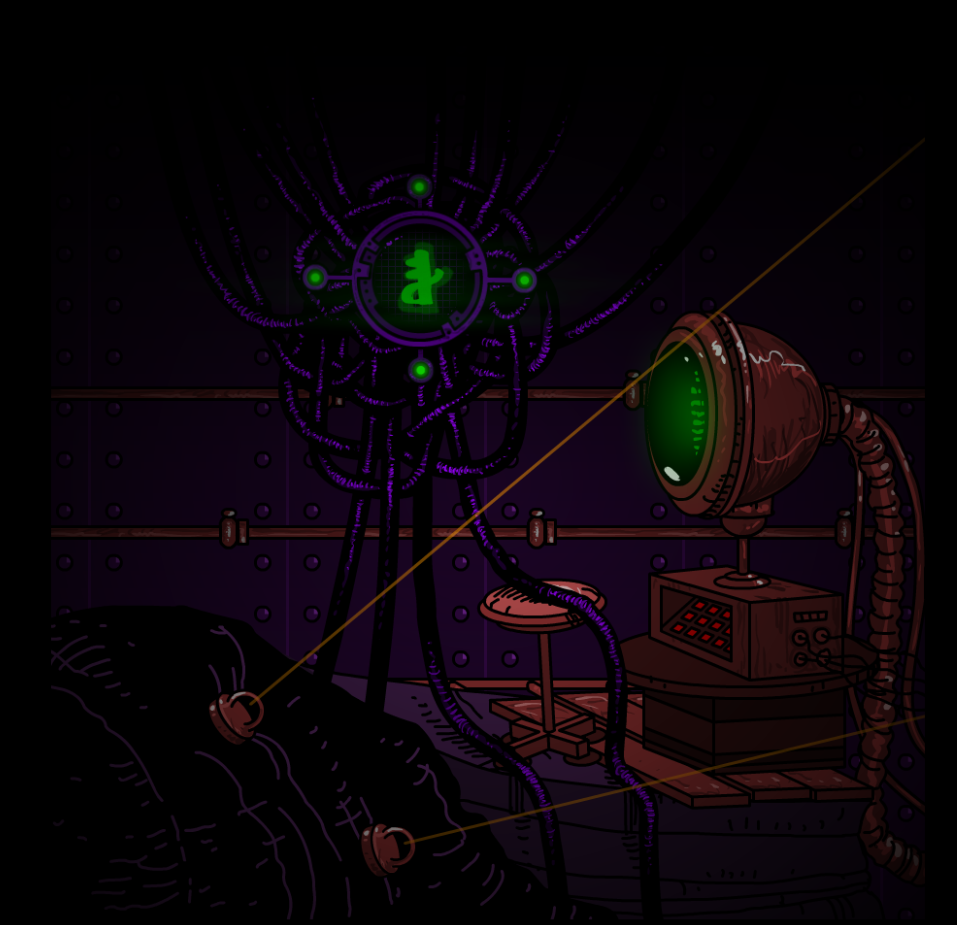
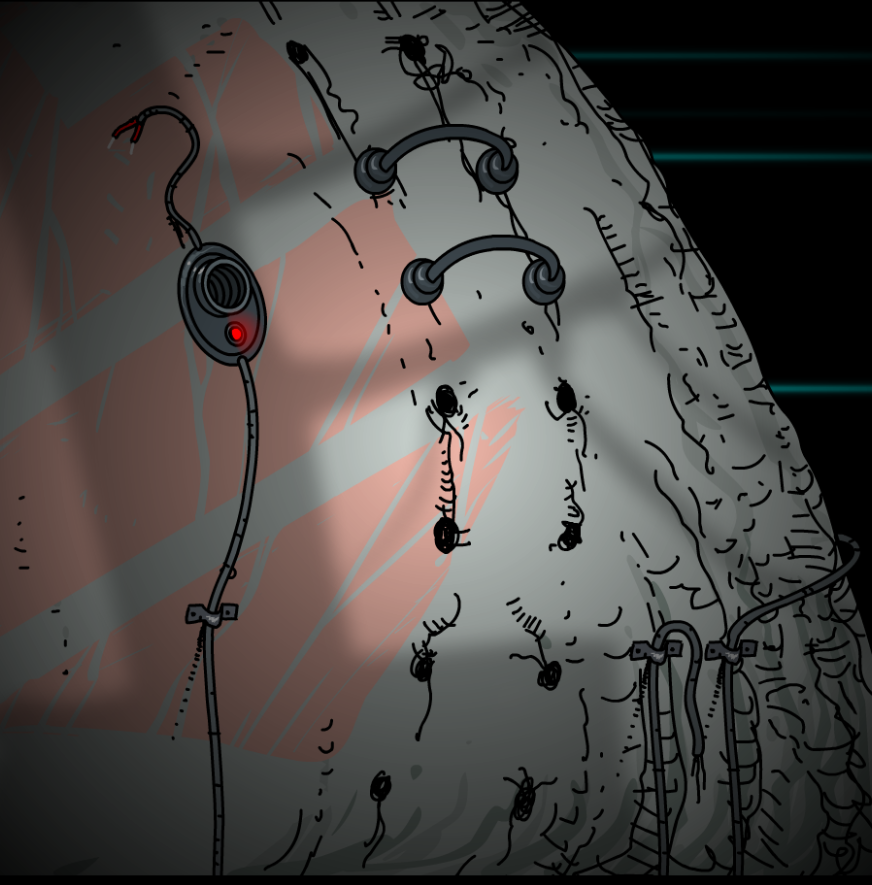
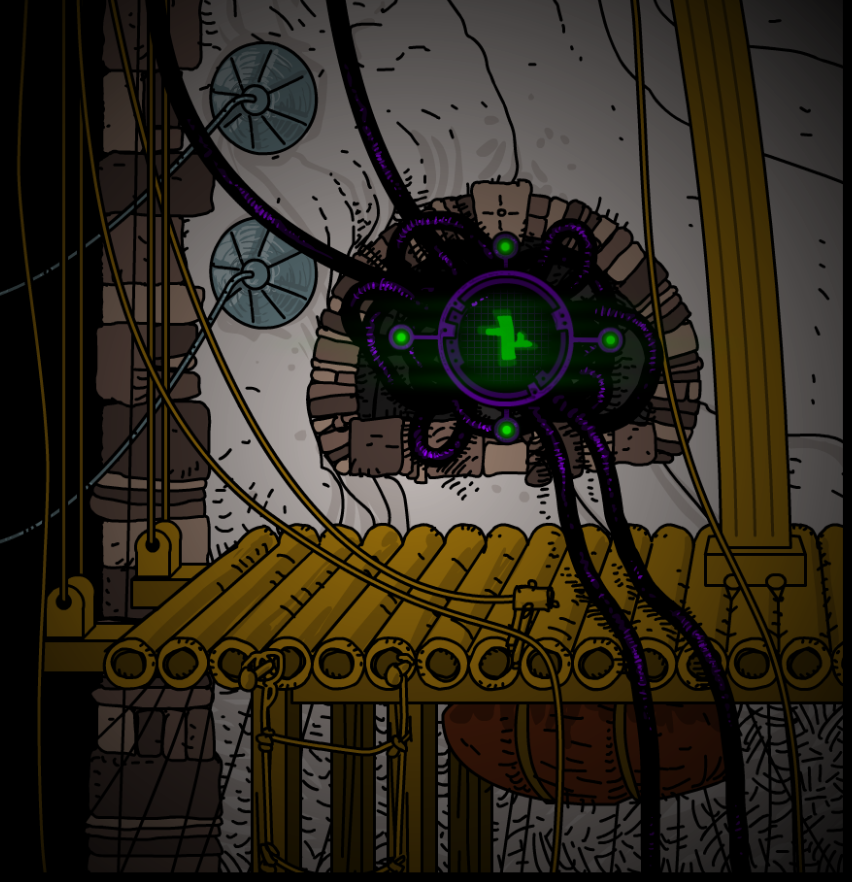
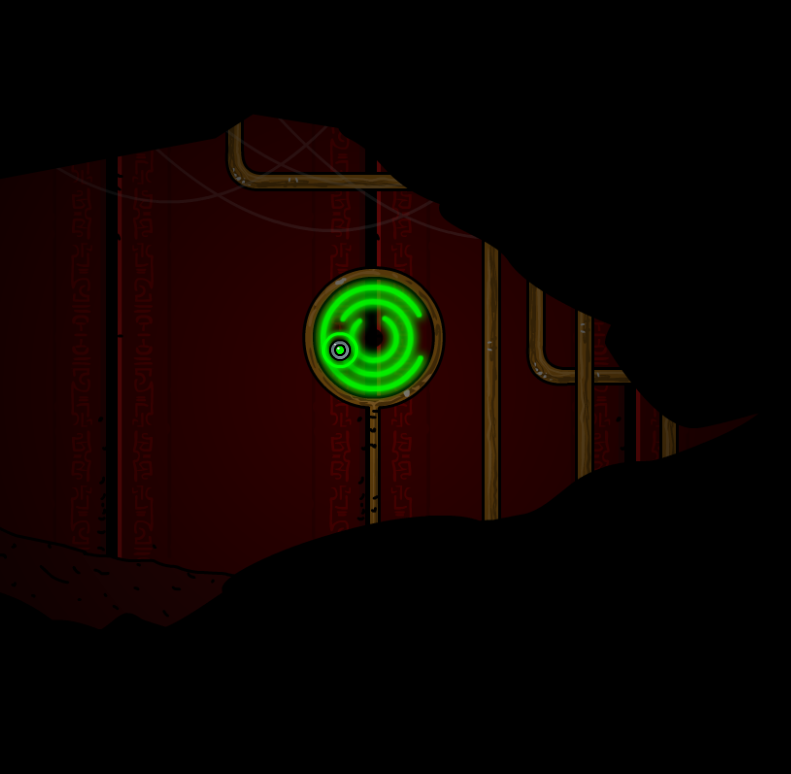
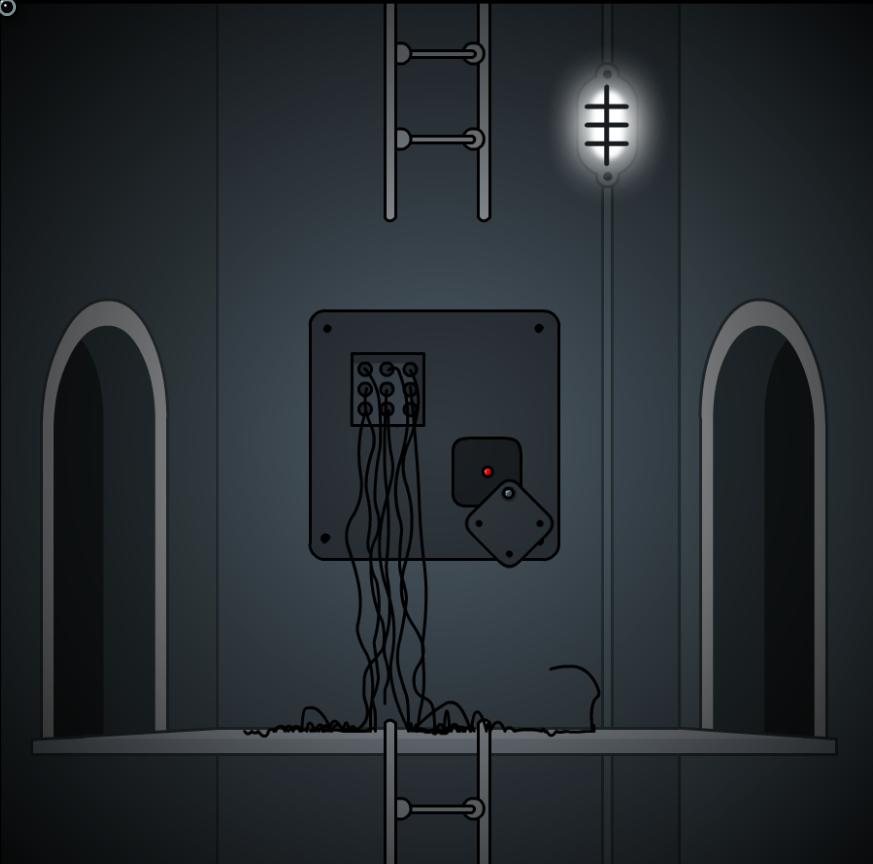
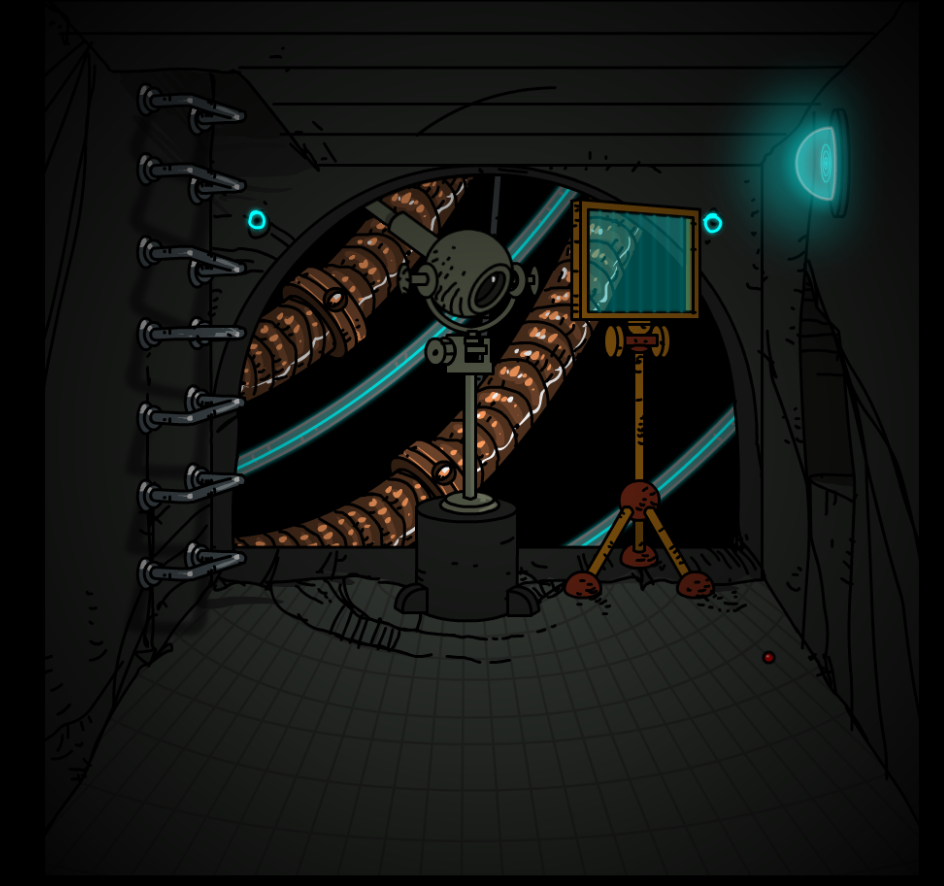
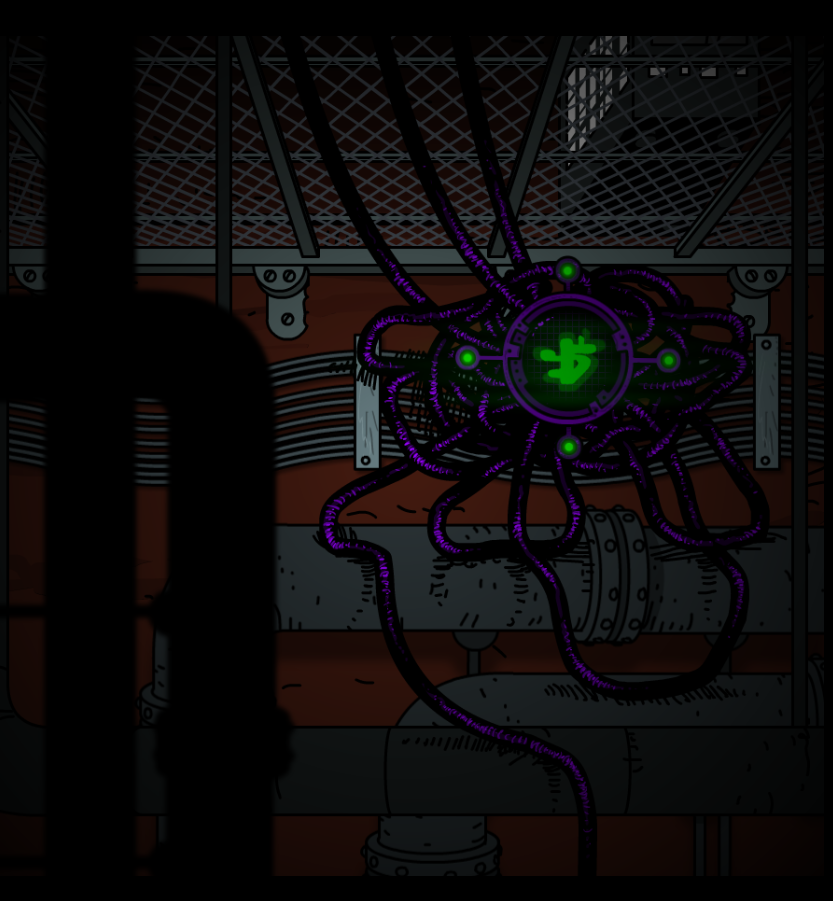
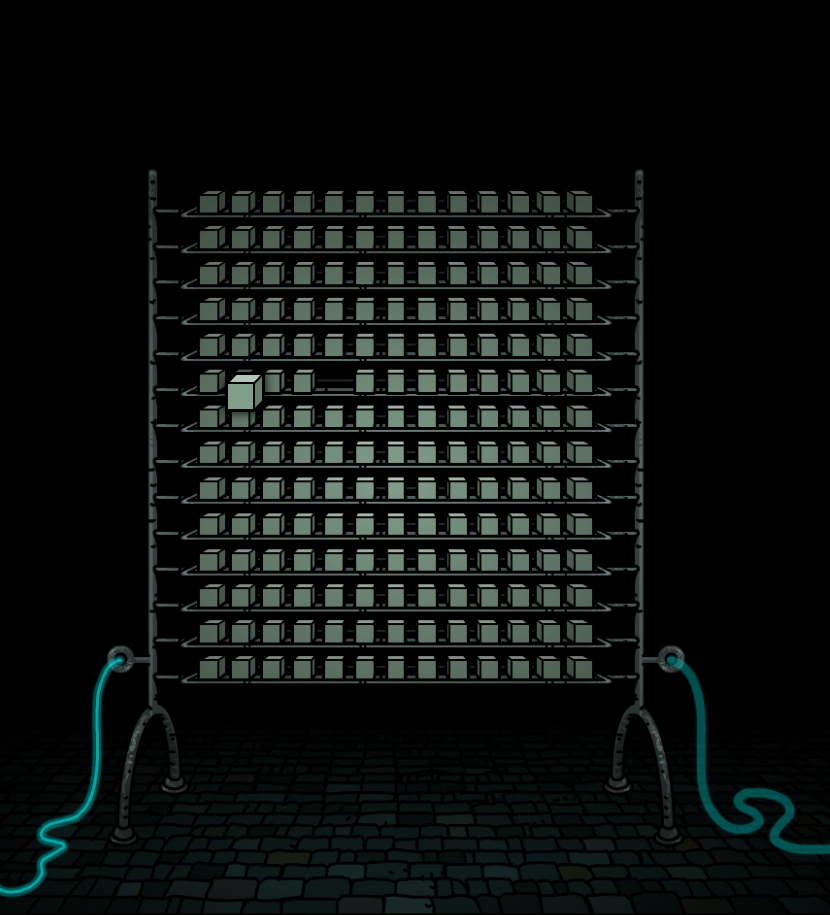
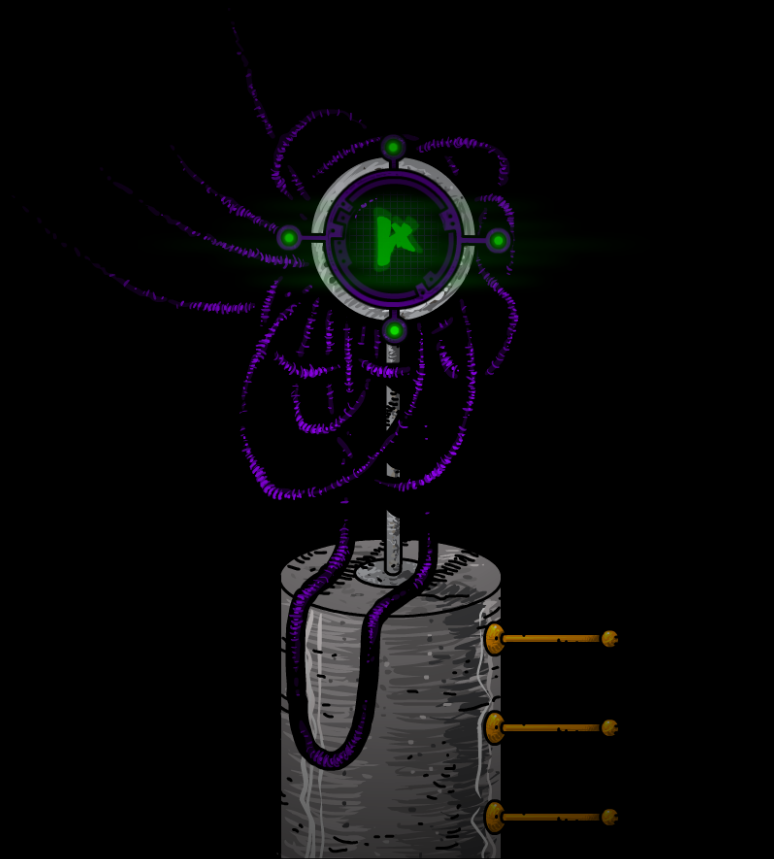
The four protocols 54-1 through 4 are accessed in the leftmost connection point in the 8 corridor. They look like four switches in a column. If you can't access them there, you may need to flip a switch in the other connection point in the 8 corridor first. You need to flip just 54-1 so that instead of saying "protocol_disabled" at the bottom of the screen in the network, it says "human hack attempt."
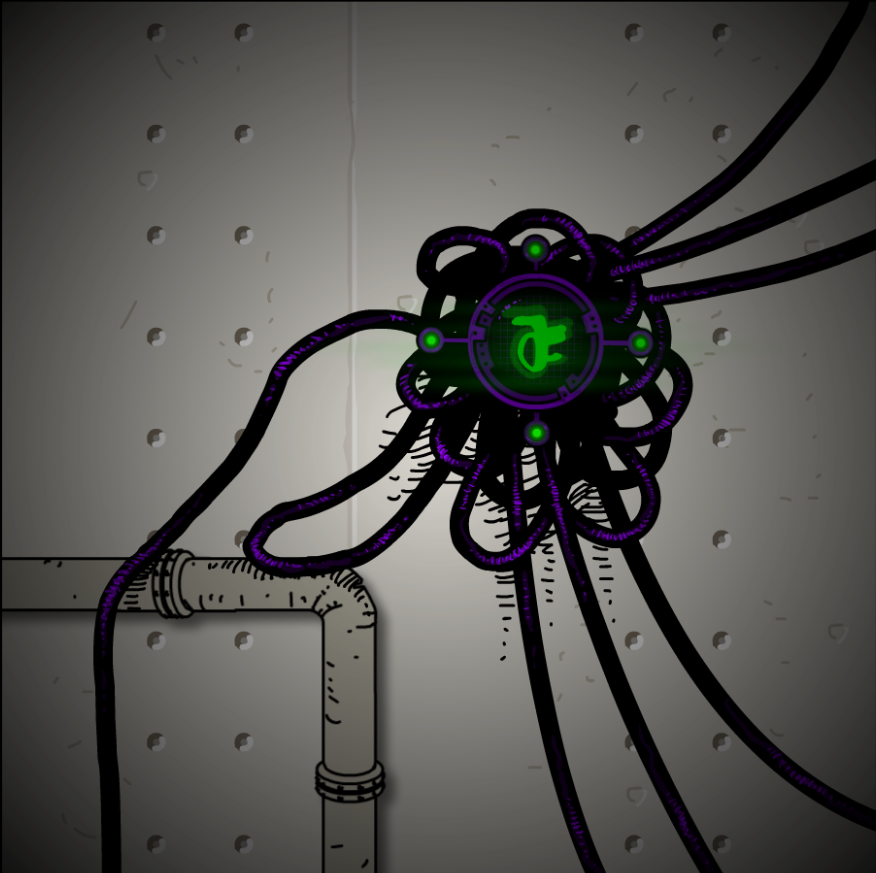
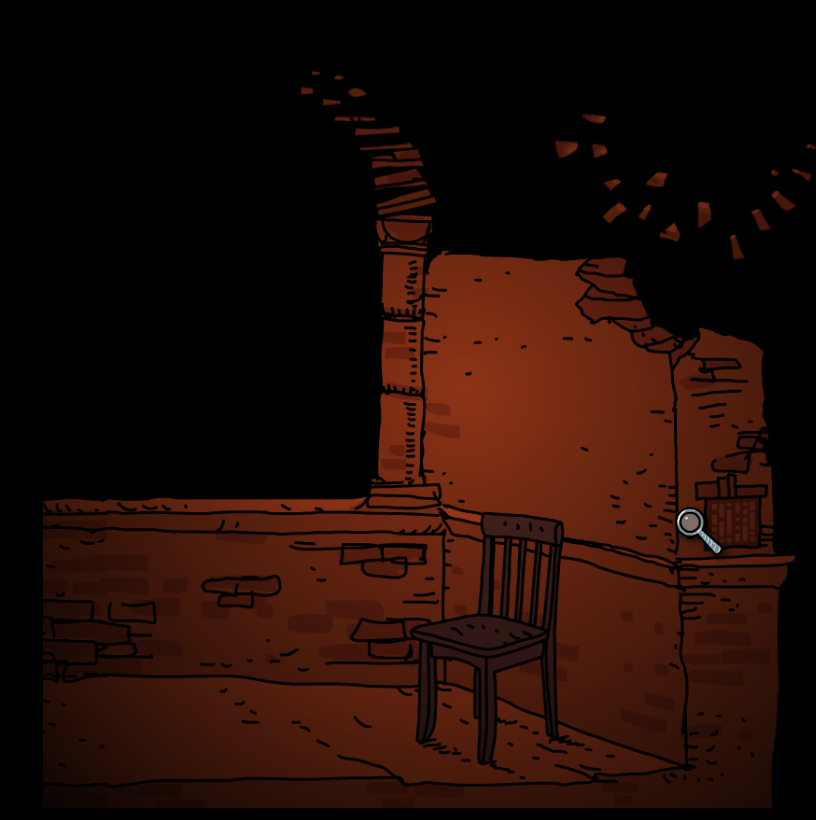
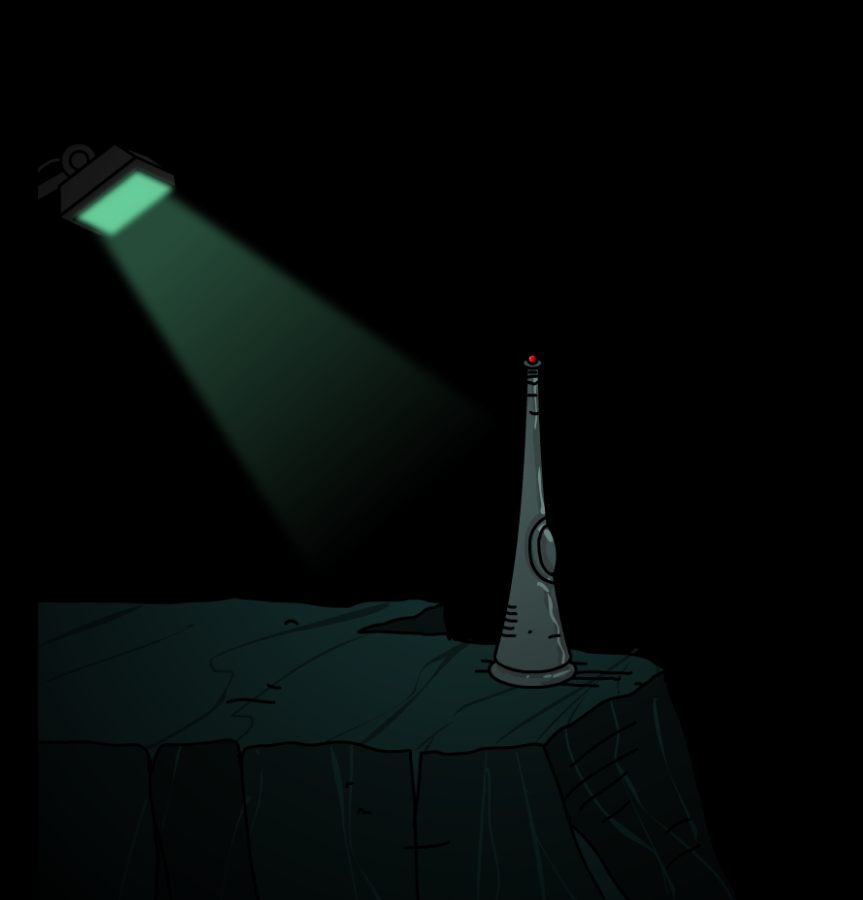
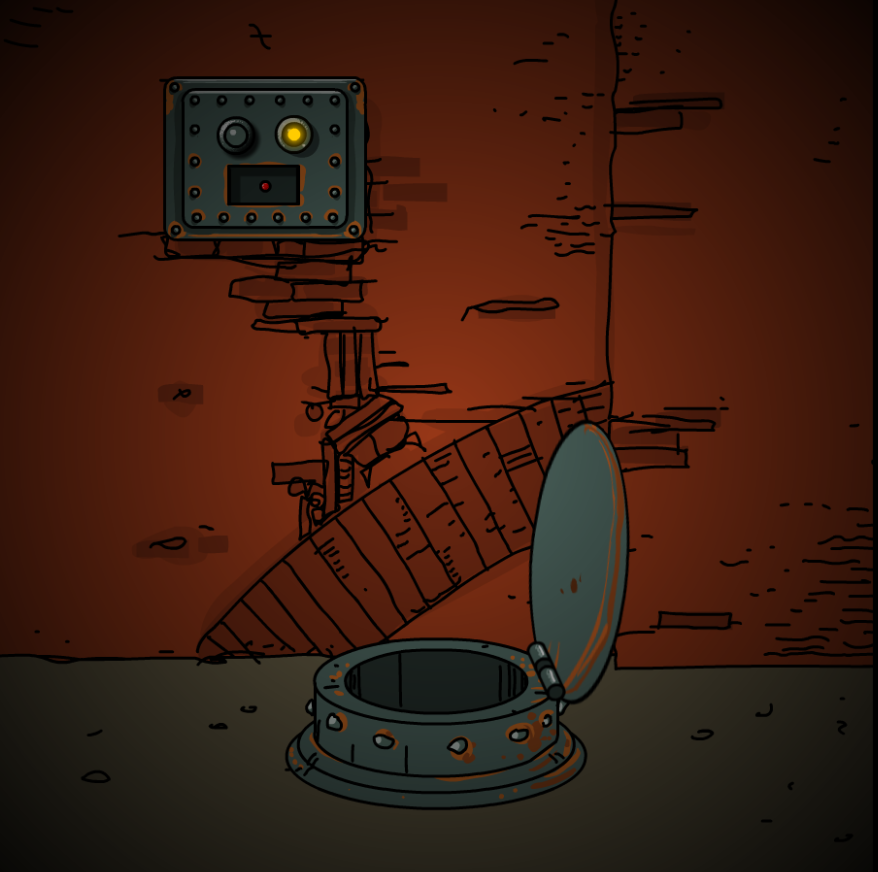
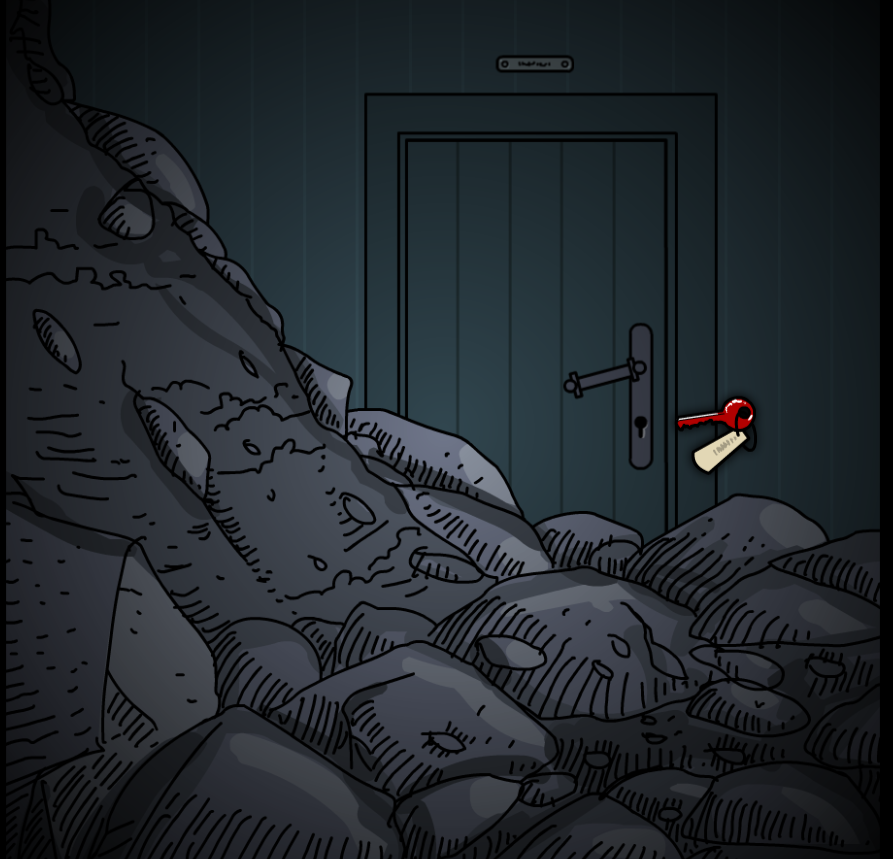
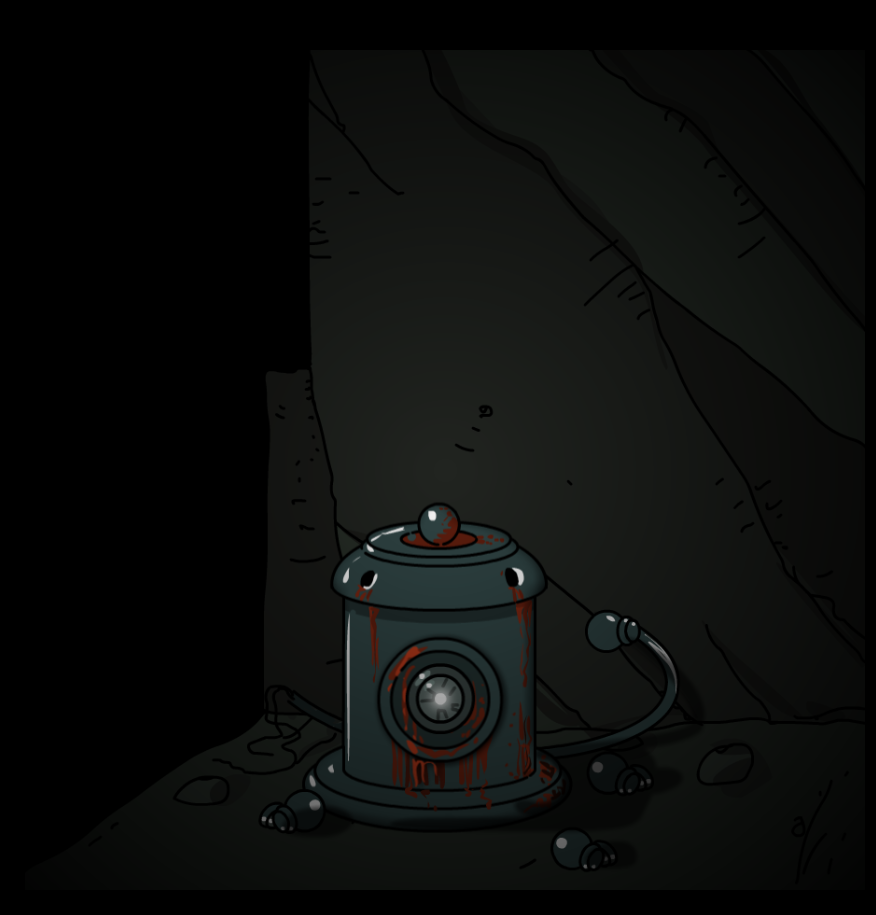
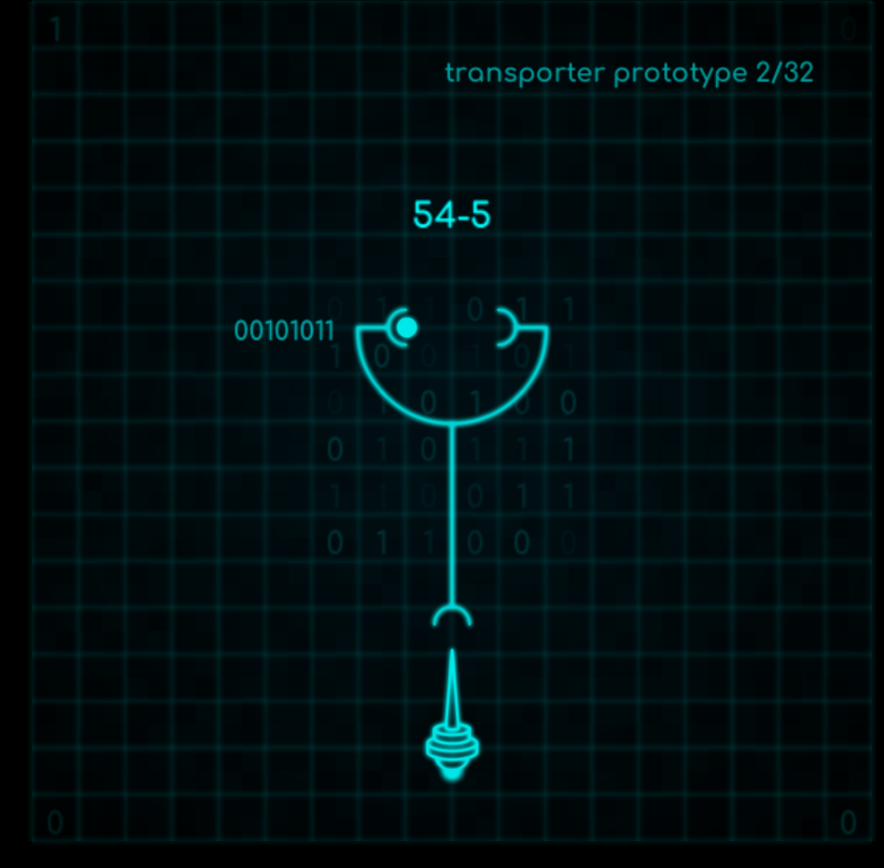
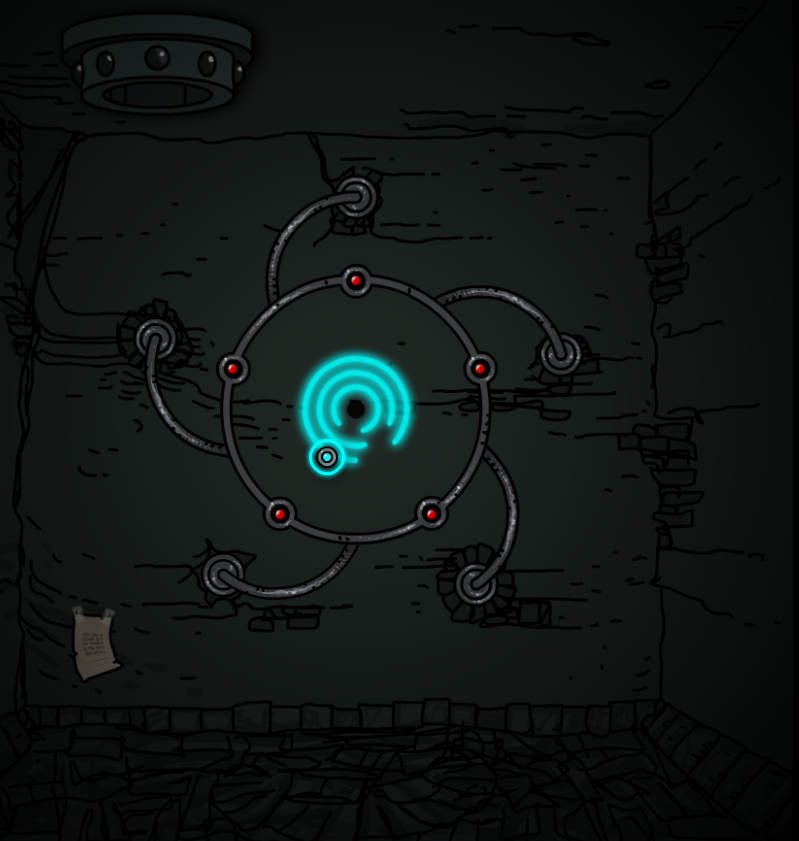
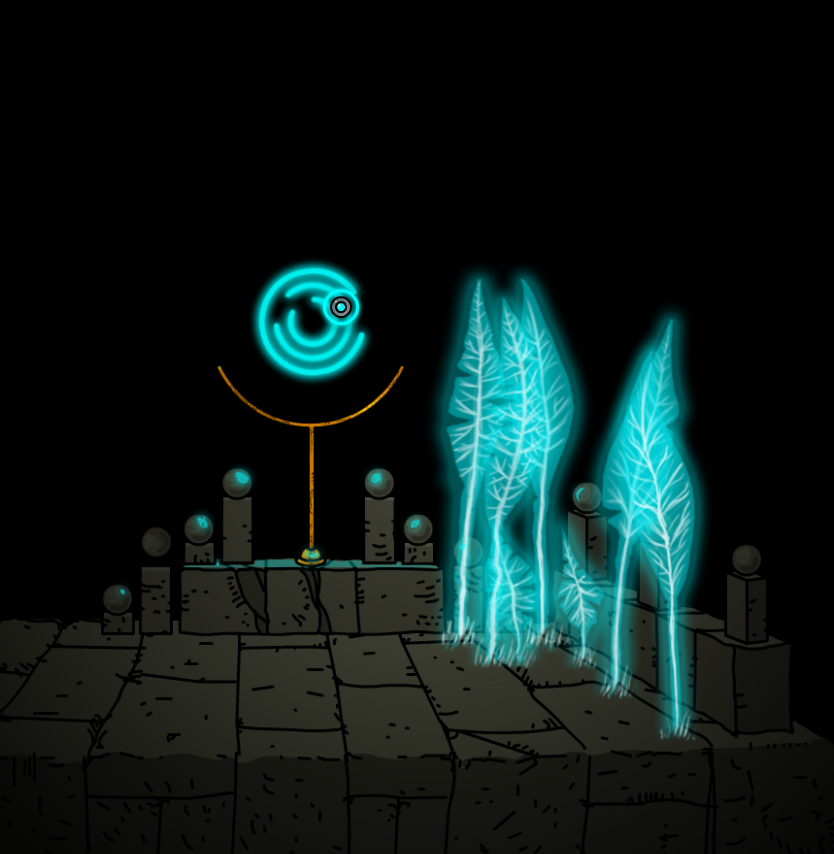
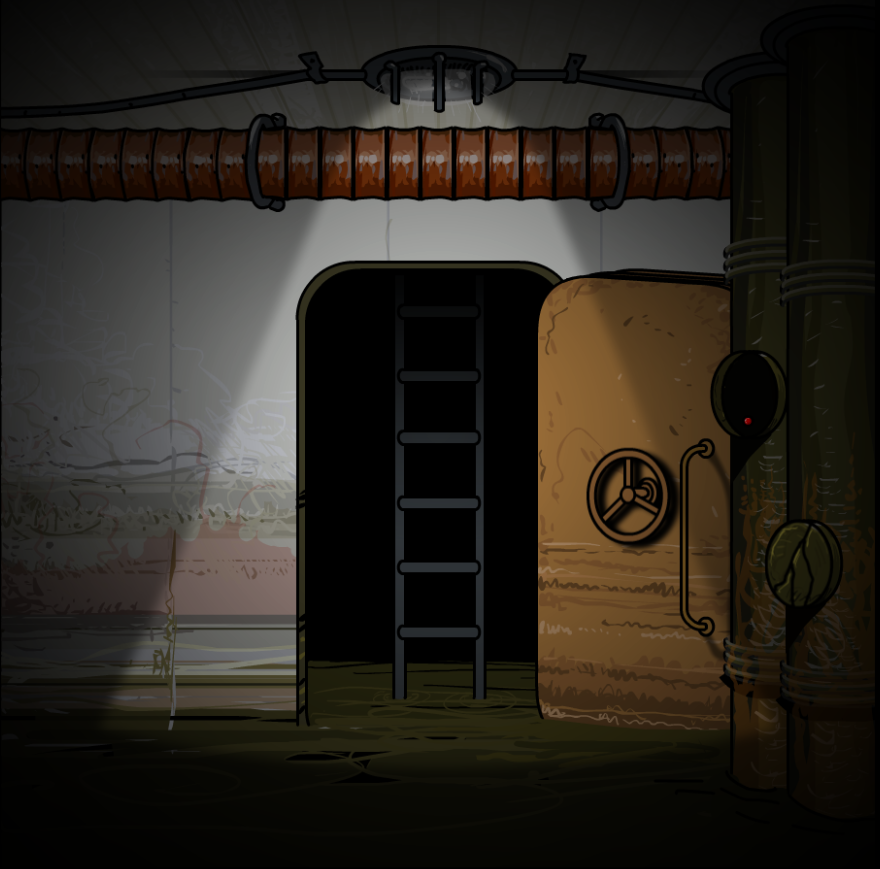
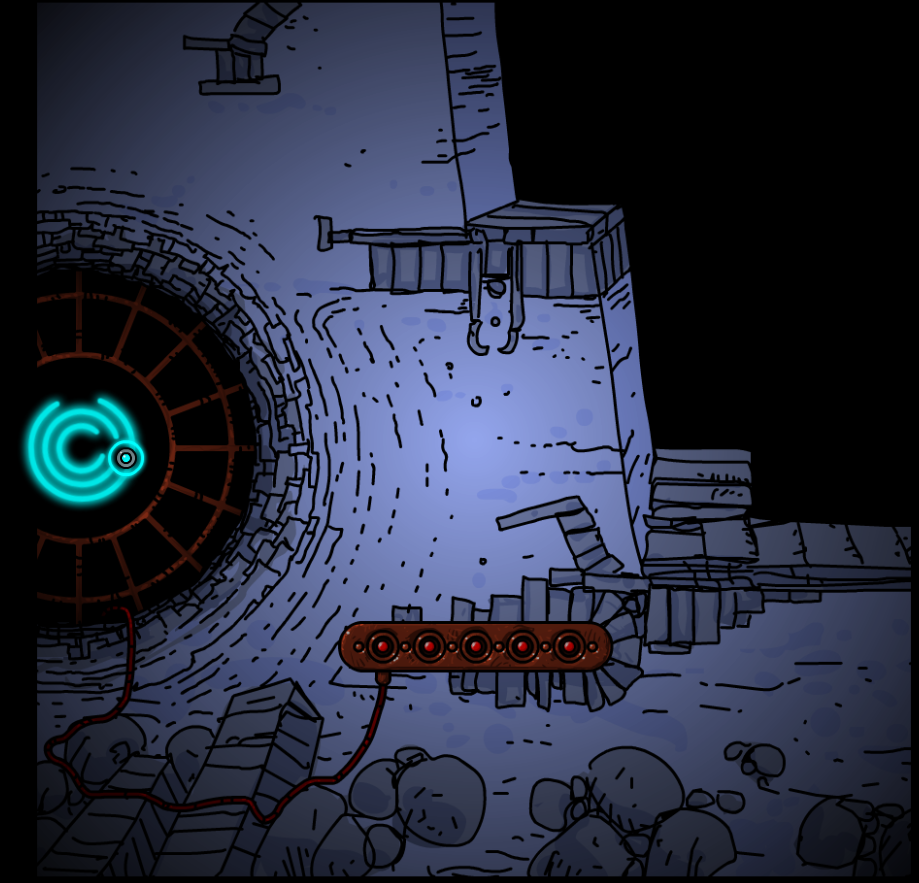
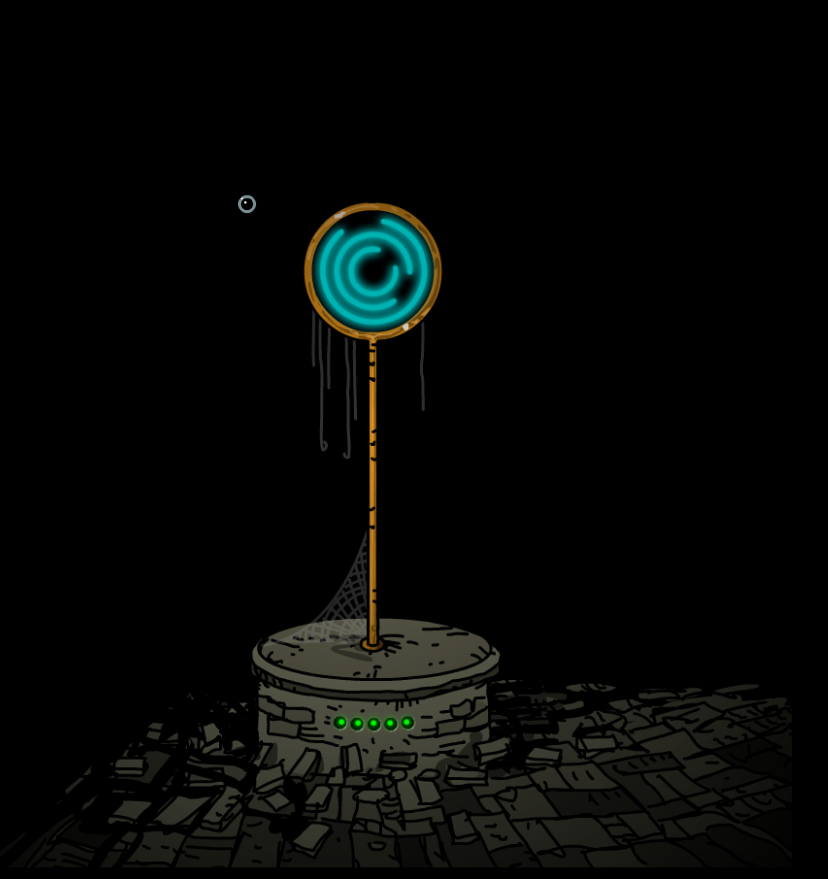
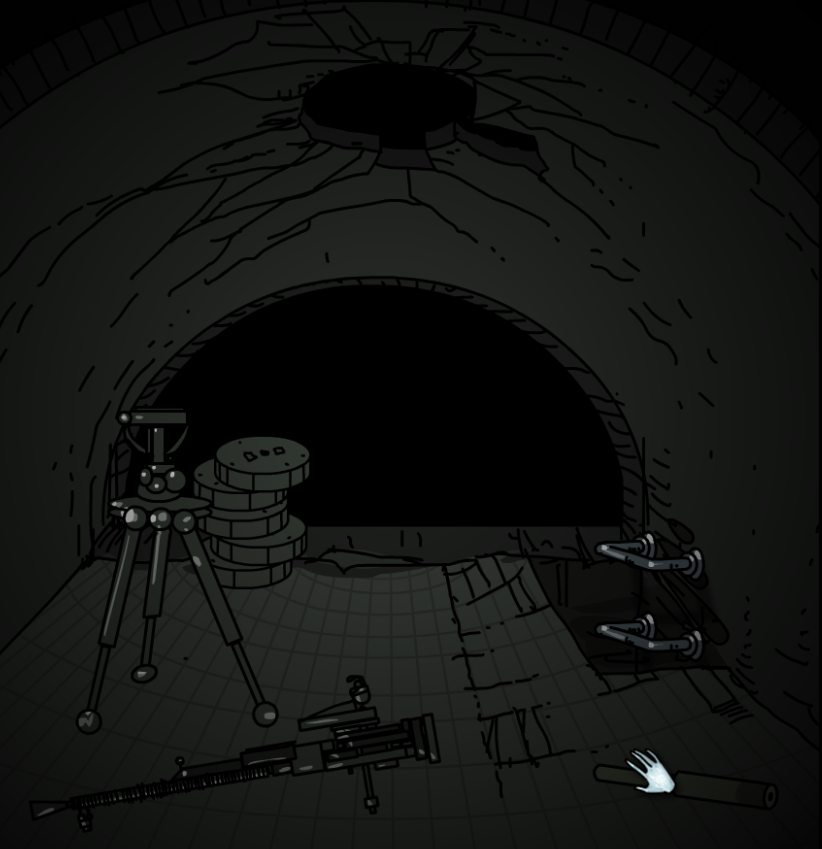
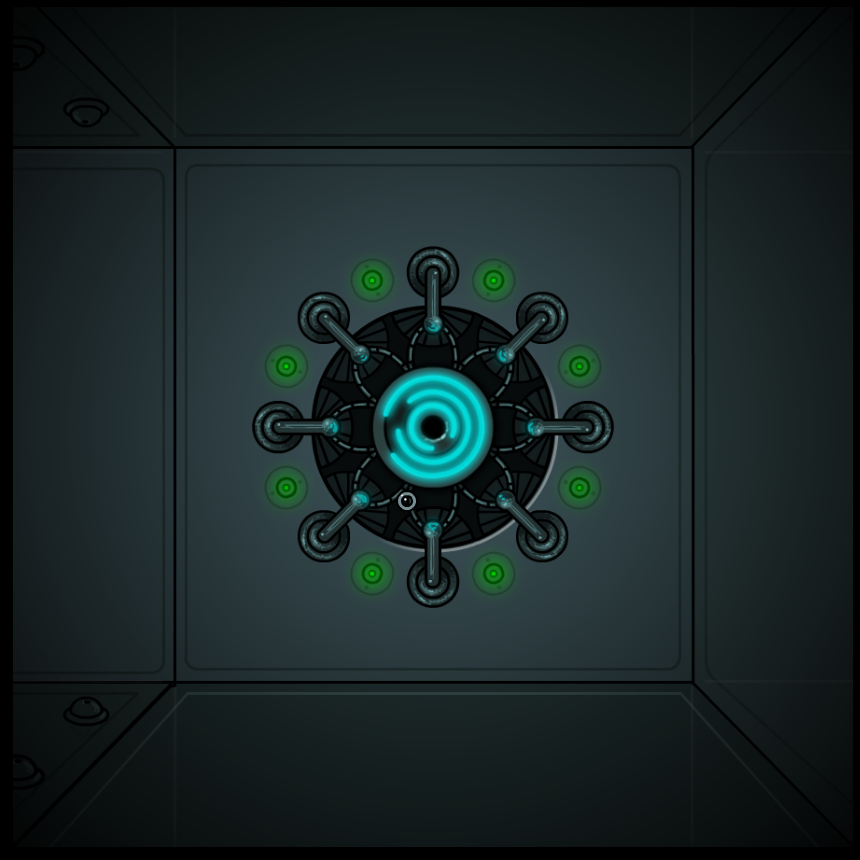
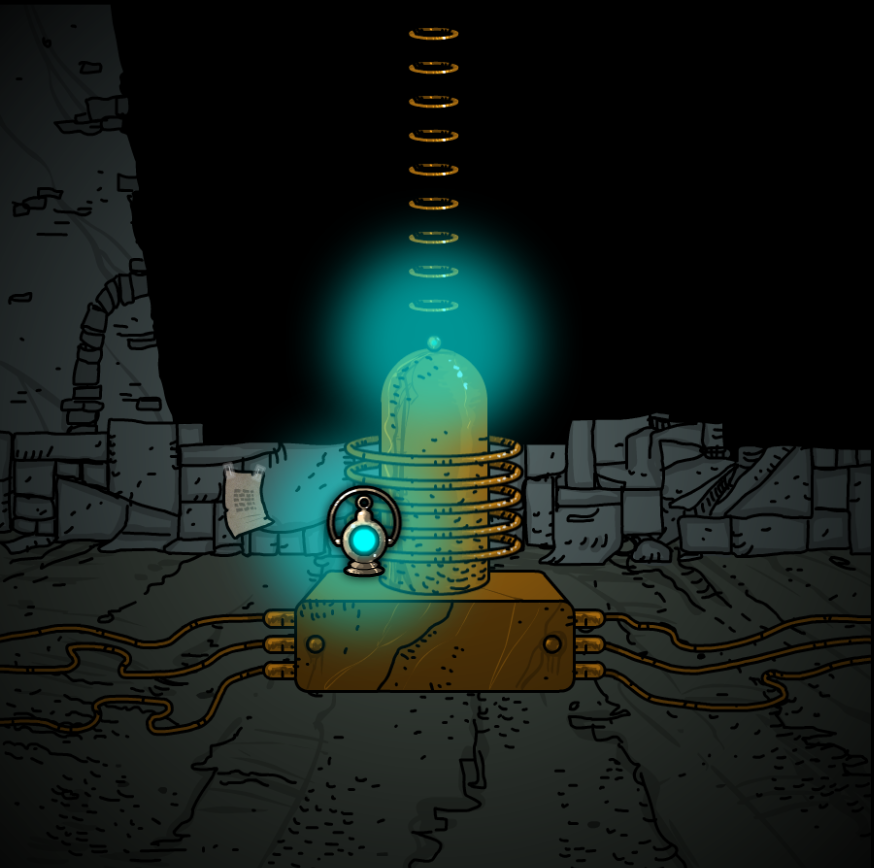
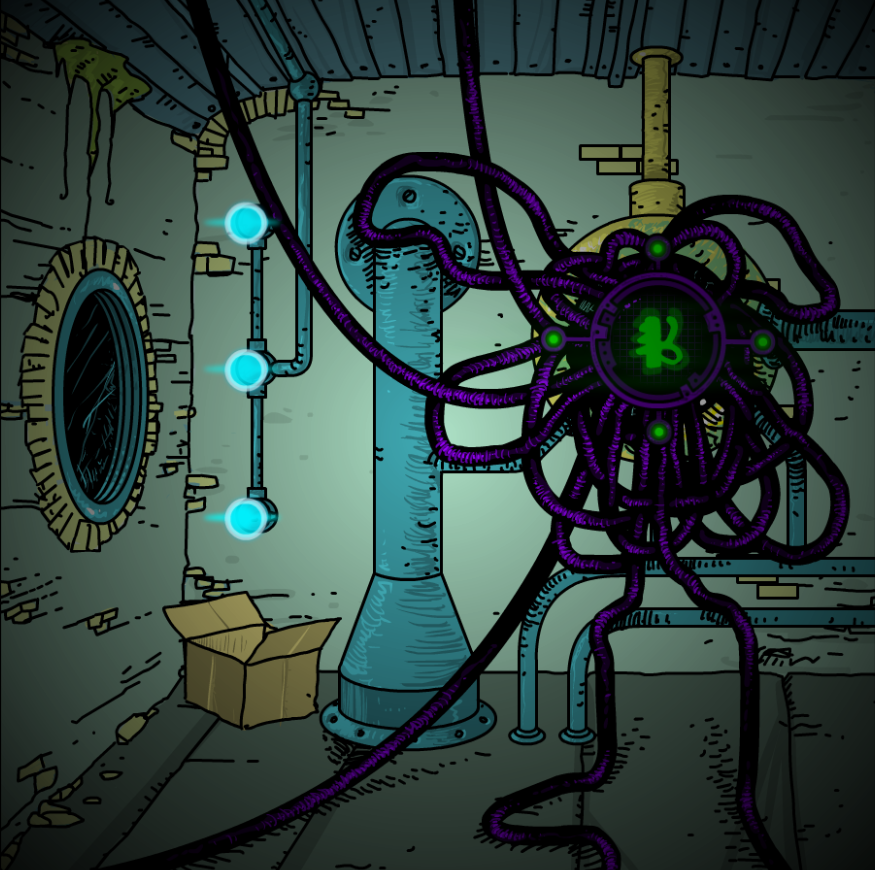
Then, return all the way down the elevator and through the pipes to the stone section where you started the chapter, and insert your connection pod into the portal there. (This is what was referred to as "plug in the old machine.") You should now see a switch for protocol 54-5, which will unlock the pipe behind the elevator.
peppypanda17 24. März 2024 um 19:48 
I really need some help with figuring out monolith IX in chapter 6. All the walkthroughs say that I need to disable protocol 54-1 but I don't understand how to find that. The walkthroughs say "the 8 room" but once I get there what do I do? Once I grab the connection pod I can plug it into the holes in the 8 room but I don't see an option for protocol 54-1. The the walkthroughs say I need to enable 54-5 to go into the secret tunnel behind the elevator "shaft" but I don't see that option either? There's a laser line keeping me from going through. I'm going back to finish the monoliths after completing the game, is that my problem? Do I need to restart the chapter?
SureWin 17. Feb. 2024 um 10:26 
When you are hacking into the final mainframe in chapter 6, one of the paths shown leads to 9 files, which are drawings of some of the rooms that lead to the monoliths
Kanrie 30. Jan. 2024 um 11:02 
I managed to backtrack into the mainframe room in chap 6 despite going multiple times through Thoth portal, that's because quitting to the main menu from ESC and starting the level again with Continue will always teleport you to the same place before Thoth portal. I was able to get all stabilizers this way in chap 6
Khaos 21. Jan. 2024 um 23:46 
"It is important that you find the stabilizers after finishing chapter 6 and back track"

No this is wrong. You're locked out of everything if you finish Chapter six so the stabilizers should be gotten BEFORE finishing chapter six

You need to fix this guide. It has several mistakes and vague direction
Panic In Paradise 3. Dez. 2023 um 2:35 
yes it is and i am so dumb that i did not see it at first