
Install Steam
login
|
language
简体中文 (Simplified Chinese)
繁體中文 (Traditional Chinese)
日本語 (Japanese)
한국어 (Korean)
ไทย (Thai)
Български (Bulgarian)
Čeština (Czech)
Dansk (Danish)
Deutsch (German)
Español - España (Spanish - Spain)
Español - Latinoamérica (Spanish - Latin America)
Ελληνικά (Greek)
Français (French)
Italiano (Italian)
Bahasa Indonesia (Indonesian)
Magyar (Hungarian)
Nederlands (Dutch)
Norsk (Norwegian)
Polski (Polish)
Português (Portuguese - Portugal)
Português - Brasil (Portuguese - Brazil)
Română (Romanian)
Русский (Russian)
Suomi (Finnish)
Svenska (Swedish)
Türkçe (Turkish)
Tiếng Việt (Vietnamese)
Українська (Ukrainian)
Report a translation problem


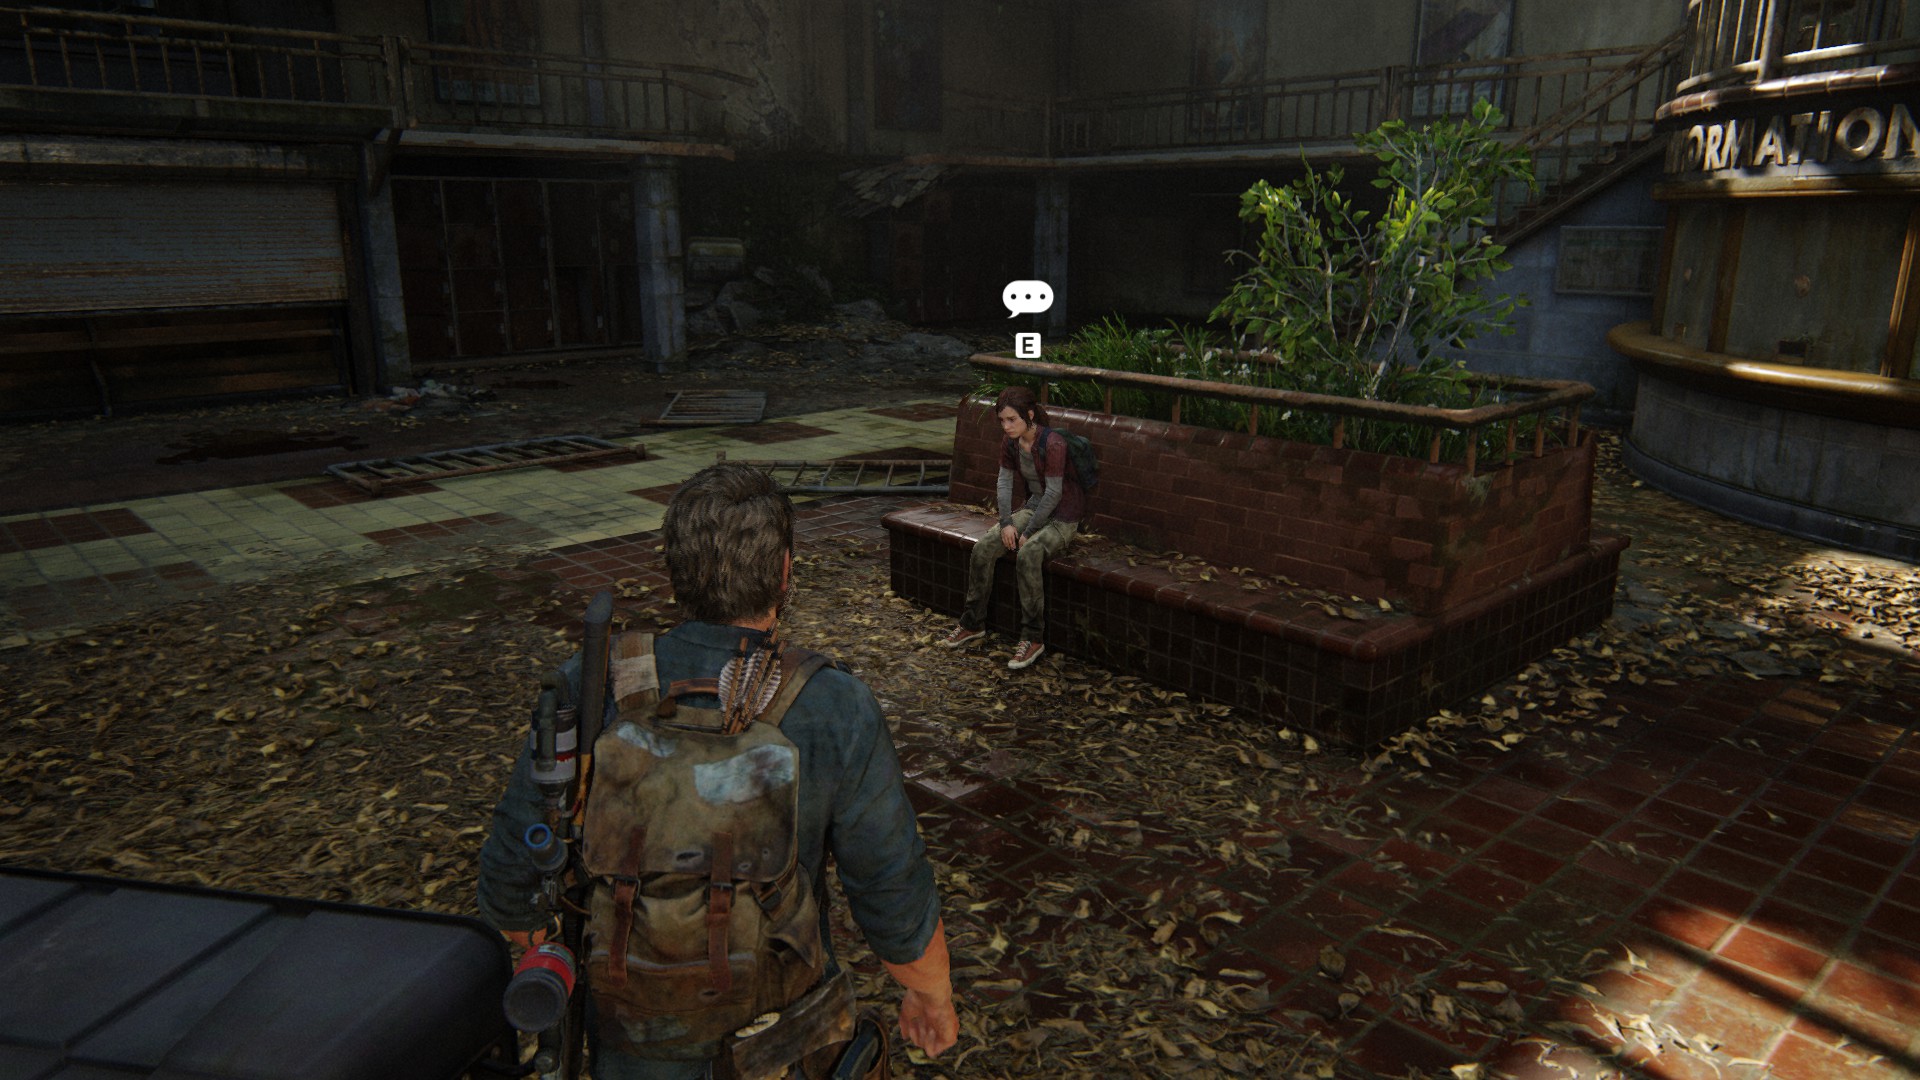

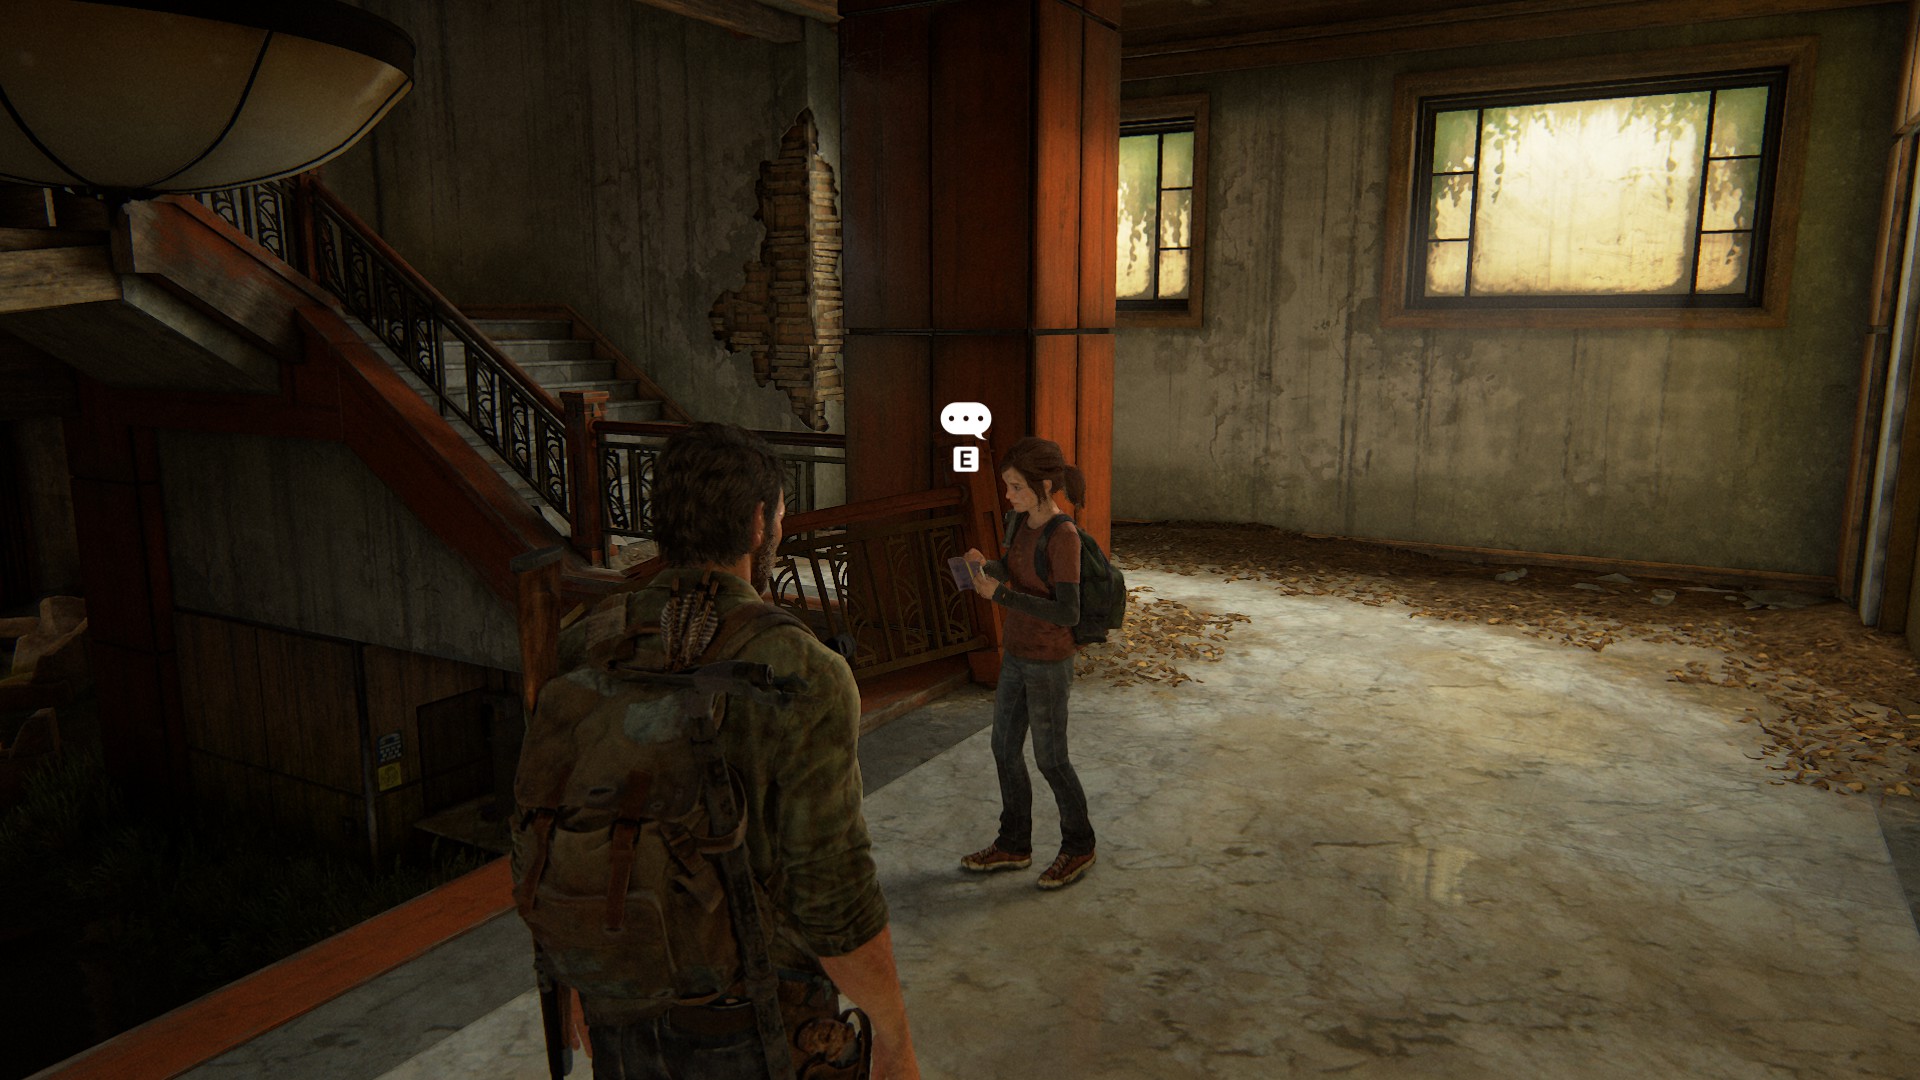


TLDR: double check joke scene right at the beginning of Hotel. This one often glitches and jokes count only when you listen them to the end.
Thank you for the criticism and this is the case when I really can agree with you — sometimes it's not very convenient for me to scroll to the comments manually too, so I'm just used to navigating through the page via ctrl+f.
But I have a few ideas how it can be optimized and I may use it in future guides. Thank you again for your words. I still hope that the design does not cancel the benefit and internal content of the guide for you.