
Zainstaluj Steam
zaloguj się
|
język
简体中文 (chiński uproszczony)
繁體中文 (chiński tradycyjny)
日本語 (japoński)
한국어 (koreański)
ไทย (tajski)
български (bułgarski)
Čeština (czeski)
Dansk (duński)
Deutsch (niemiecki)
English (angielski)
Español – España (hiszpański)
Español – Latinoamérica (hiszpański latynoamerykański)
Ελληνικά (grecki)
Français (francuski)
Italiano (włoski)
Bahasa Indonesia (indonezyjski)
Magyar (węgierski)
Nederlands (niderlandzki)
Norsk (norweski)
Português (portugalski – Portugalia)
Português – Brasil (portugalski brazylijski)
Română (rumuński)
Русский (rosyjski)
Suomi (fiński)
Svenska (szwedzki)
Türkçe (turecki)
Tiếng Việt (wietnamski)
Українська (ukraiński)
Zgłoś problem z tłumaczeniem


I am now 13h in, managing <24y in a run-through of location 1-4 thanks to this :) Will optimize shrine layout for the final encounter next.
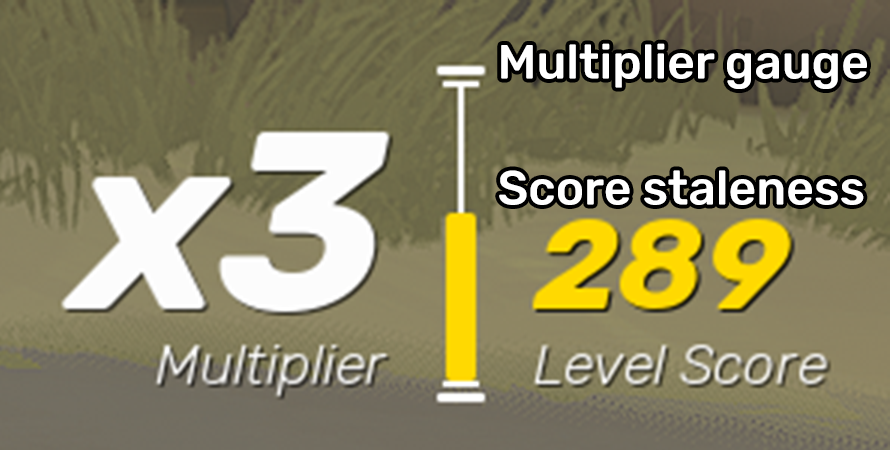
I've played the game for hours and have no idea what the short/long freeze frames are or the "distinct audio cue" is. Your guide is supposed to explain what these states are, which should include a clear description of how to identify them, not just "a thing happens, distinctly."
But...
I find it way too wordy, and had a much easier time grasping the concepts when there was a .gif accompanying it. If you plan on continuing to update this guide, I think the community at large would benefit from the on-screen WASD layout as well as a visualisation of the combos. The skill-tree itself is even tough to really dissect when there's so much to digest.
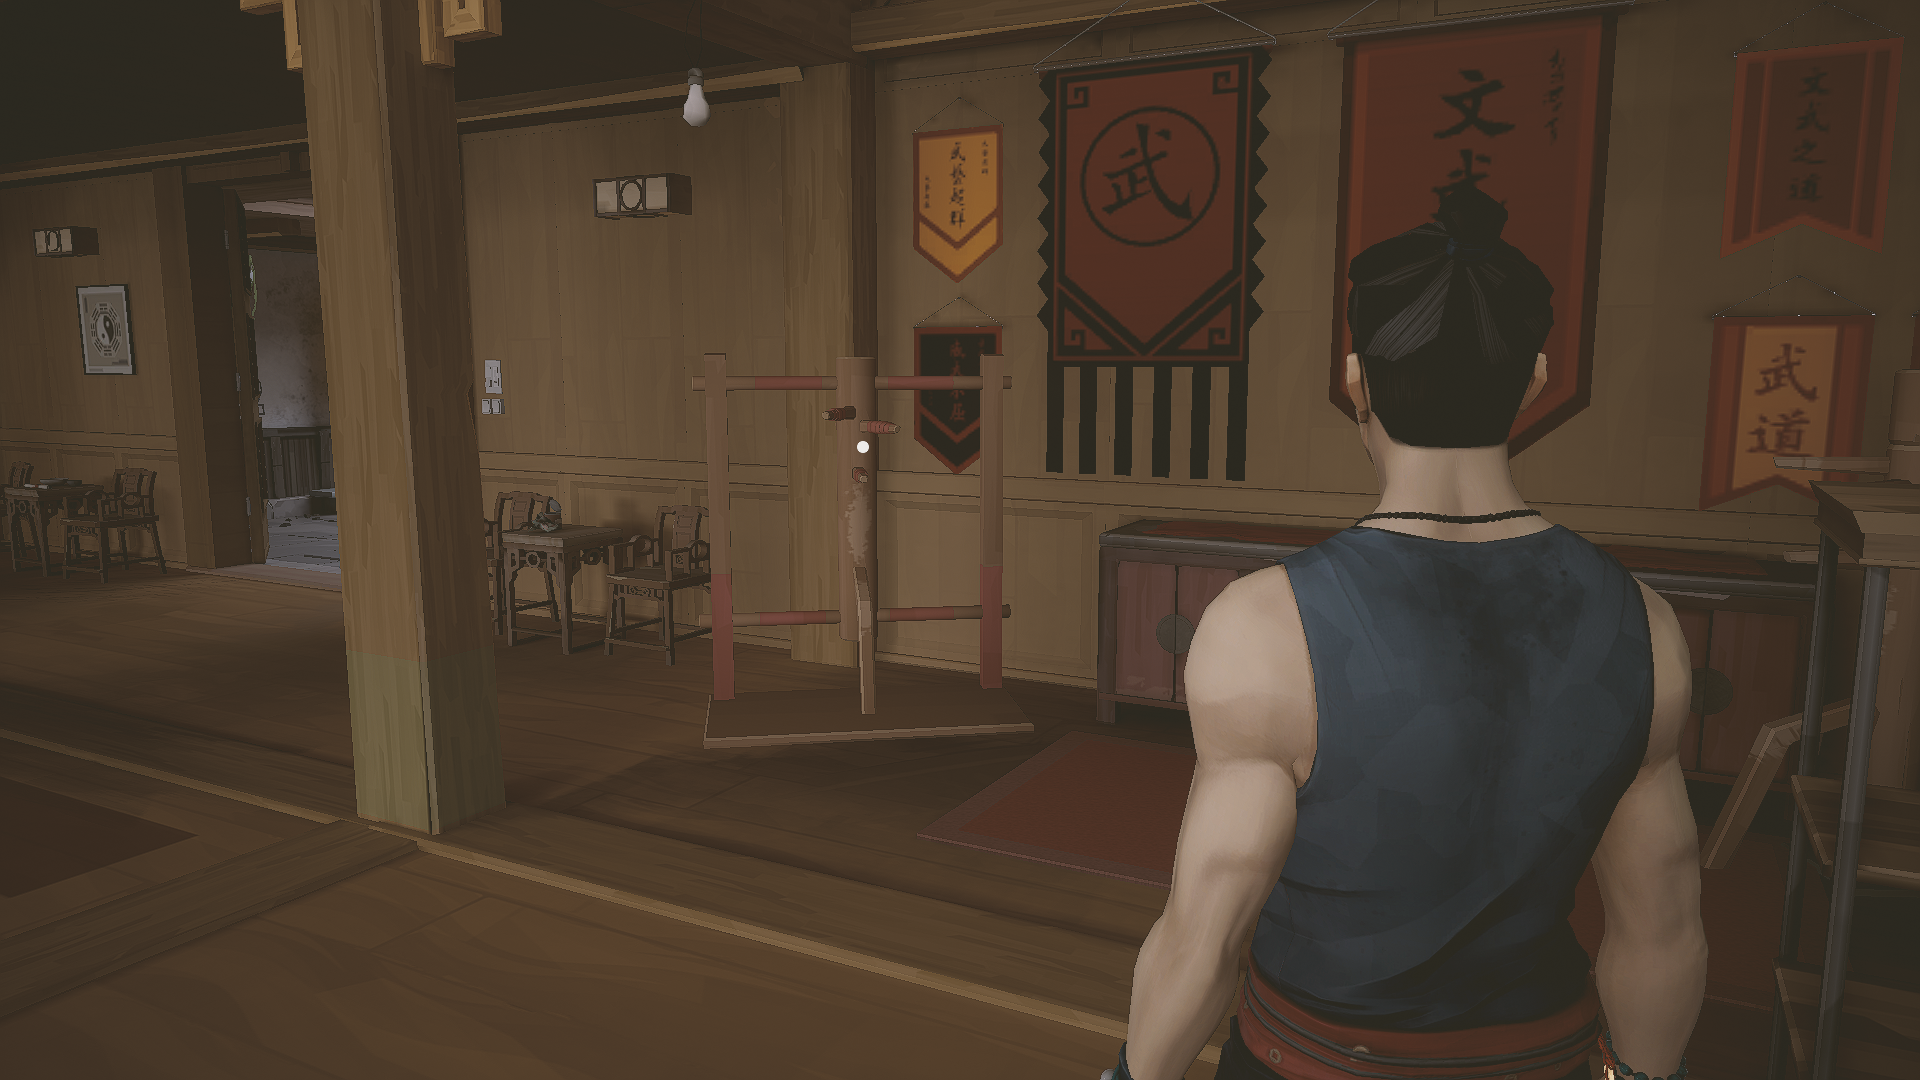
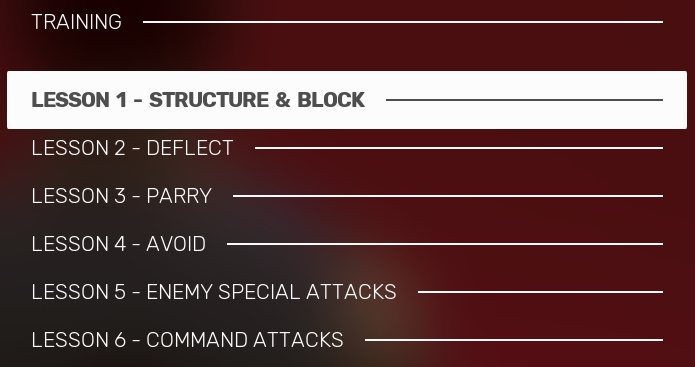
I think i'm gonna be spending a lot of time in the training screen, as I found it really useful for downloading the combos into muscle-memory. Overall, great guide, thank you for doing what the developers didn't; creating a cohesive way to understand what to use and when to use it