Pizza Tower

Pizza Tower

563 ratings
Pizza Tower - 100% Achievement Guide (Halloween Update)
By ZetDerp
CONTAINS SPOILERS. This guide goes through every achievement in the game and some tips on some harder achievements where needed.
22
31
3
8
2
3
4
2
2
   
Award
Favorite
Favorited
Unfavorite
Update Log
This is a section iv'e added that will contain any fixes, reworks etc. that are related to getting achievements or specific achievements (only will include patches from V1.0.2 and later).

Patch V1.0.594
- Two new achievements added (Pumkin Munchin and Tricksy) both related to collecting
pumpkins hidden through levels.

Patch V1.0.311
- Updated the "Whoop This!" description to be more accurate.
(Old Description / New Description: Avoid getting damaged in the first secret of Peppibot Factory.
/ Survive the first secret of Peppibot Factory without getting hurt.). Nothing about the
achievement itself was changed in-game.

Patch V1.0.21 + V1.0.2
- Fixed an issue where you could get interrupted by the torch projectile while using the supertaunt, locking you out of the "No One Is Safe" achievement.
- Fixed an issue where you would get locked out of the Gun-On-A-Stick achievement if you did
the first secret.
- Fixed an issue where the patrollers in the secrets would count towards the Let Them Sleep
achievement, locking you out of it.
Floor 1: Tower Lobby
John Gutter
John Gutted
Destroy all the dead john blocks in John Gutter.
Dead john block are the immobile block with faces, they are all on the main path. You should get this without trying.

Let's Make This Quick
Finish John Gutter in under two minutes.
Try to get into pizza time at around the minute mark, otherwise restart. As you can see from the video you have some leeway but not much.
https://youtu.be/Y8Dw76FC6v8
Primate Rage
Get a combo of 99 or more in John Gutter.
Carrying a full combo from start to finish while also doing the 2nd lap should provide enough enemies to gain a 99 combo.

Pumpkin Location:
Found before the super jump upwards in the same room with the treasure.
Pizzascape
Shining Armor
Get to all the priests without bumping into a wall once in Pizzascape.
There are 5 total priests to reach, the final is one located just before entering pizza time.
NOTE: Bodyslam constantly when you don’t need to ram into a rat to kill your momentum instantly and avoid crashing into easily avoidable walls.

Spoonknight
Parry ten Forknights in Pizzascape.
Very simple, nothing fancy. Just parry 10 forknights in one run.


Spherical
Kill another enemy while in the ball form in Pizzascape.
Find an area with a Pepperoni Goblin and another enemy near enough to each other (you can move them if needed by grabbing them and pressing down to drop them). From there let the Pepperoni Goblin kick you.

Pumpkin Location:
Inside the room with multiple jumps with a pit below and a door at the other end. When you enter this room climb the left side of the wall.
Ancient Cheese
Thrill Seeker
Finish Ancient Cheese without getting hurt by an explosion.
Complete the whole level without getting hit by any explosions.


Volleybomb
Kill a rat using a bomb dropped by an enemy in Ancient Cheese.
Kill a Stupid Rat with a bomb from a goblin. Can be easily completed in the room shown below:

Delicacy
Make more than forty one sets of cheese platforms crumble in Ancient Cheese.
You’ll get this without trying.


Pumpkin Location:
Found at the start of the escape (2nd room). When you enter the 2nd room climb the wall to the right of the door you went out of.
Bloodsauce Dungeon
This video completes all 3 achievements in one run: https://youtu.be/Oo5N3E0cdnY
Very Very Hot Sauce
Finish Bloodsauce Dungeon without touching lava once.
Nothing fancy, just complete the level without falling into any pits of lava.


Eruption Man
During escape, go up with the superjump for more than two seconds in Bloodsauce Dungeon.
Superjumping in this location while it's pizza time will get you the achievement:

Unsliced Pizzaman
Finish Bloodsauce Dungeon without getting hurt by a pizza cutter.
Instead of not hitting any lava now you just need to avoid all pizza cutters.


Pumpkin Location:
Found just before the start of the escape. It is near the last ingredient after the jump over lava.
Floor 2: Western District
Oregano Desert
Peppino's Rain Dance
Reactivate a totem by dancing with the mach dash in Oregano Desert.
While near a totem start turning left and right with mach dash until the totem is active again. Can be done with any mach speed.

Unnecessary Violence
Kill all of the clerk sausages in the pizzamarts.
There are 5 pizzamarts located on the level, each one containing a sausage clerk. The last 3 pizzamarts appear somewhat near each other (one on the UFO and the 2 others near outside it during pizza time).

Alien Cow
Dont get hit by a single cow in Oregano Desert.
Avoid going fast for this achievement and take your time. While you just have enough height to jump over cows I'd advice also using your uppercut for a bit of extra height and air time.

Pumpkin Location:
Found near the start of the escape. In the room with multiple cows let yourself be hit by the first one. Once you land, climb the small wall to your left.
Wasteyard
Ghosted
Avoid getting touched by the John Ghost in Wasteyard.
Don't touch the John Ghost during pizza time. Can't give advice other then don't touch him.

Pretend Ghost
Kill 20 or more enemies as a ghost in Wasteyard.
Make sure you spawn these two Mini Johns and do this secret to meet the quota:


Alive and Well
Surf every corpse in Wasteyard.
All corpses are on the main path. You'll get this without trying.


Pumpkin Location:
In the same room as the "Pretend Ghost" Achievement where you spawn the two Mini Johns. Play the room as normal and when you reach the section with 2 Pizza Ghosts the pumpkin hug the bottom left of the section.
Fun Farm
No One Is Safe
Kill three unreachable enemies at once with the supertaunt in Fun Farm.
Super taunting in this spot will kill 4 Peasanto's:

Cube Menace
Find and destroy the Mort Cube.
The cube can be found at the first gap you need to jump over with Mort. The section will be blocked off and you'll need to swing Mort to break the breakable block.

Good Egg
Complete Fun Farm while avoiding getting hurt with Mort on you.
Another simple one, just don't get hit while you have Mort.
NOTE: Getting hit by a Peasanto's torch (tossed) will not count as being hurt.

Pumpkin Location:
Found in the same room as the “No One Is Safe” Achievement, on the ceiling.
Fastfood Saloon
Non-Alcoholic
Destroy nearly every beer bottle in Fastfood Saloon.
There are a bunch of beer bottles scattered everywhere and you need to hit most of them. This video shows a full run with enough beer bottles smashed: https://youtu.be/vIUL7W98VCM
Already Pressed
Activate each button only once in Fastfood Saloon.
A relatively easy achievement but there's one button that might cause you trouble. Running into the button will trigger it twice so instead just have Peppino over the button and run the opposite direction when ready, you should just make the time limit at the skin of your teeth.
NOTE: While I don't think the description for this achievement is clear, you DO need to hit all the buttons at least once on the map (excluding secret related buttons).
Thank Saucy for a run on how to complete this god forsaken achievement: youtube.com/watch?v=LhqxuHkqg9o
Royal Flush
Touch every single card in Fastfood Saloon.
Cards are scattered around the entire stage and you need to collect all of them. Cards can also be found in the second secret (located above the key you collect) Cards in secrets no longer count towards the achievement. The video for Non-Alcoholic also shows all card locations for Royal Flush.

Pumpkin Location:
Found during the second race with the horse. When you reach the end of the section of fans blowing you upwards the pumpkin lies in a small hole.
Floor 3: Vacational Resort
Crust Cove
Blowback
Kill a cannon goblin with his own bomb in Crust Cove.
Parry a cannon shot by a goblin. 9/10 they will die to their own cannon you parried.


X
Uncover all the treasure guys in Crust Cove.
Throughout the stage there are 7 hidden treasure guys hiding in the ground, all are indicated with a red X on the ground (but you can only partially see the X from your POV)
This video here shows all the locations in one run (and also bags the P rank for the fans):
https://youtu.be/KvMpWW3L0hE
EXPLOIT: The game counts finding the treasure guys by digging them up, not by killing them. This means you can constantly dig up the first treasure guy at the start of the level but not kill them and leave the room. If you return back to the room and dig up the same treasure guy again it will count again, do this 7 times on the same treasure guy to get the achievement.

Demolition Expert
Complete Crust Cove without getting hit by an explosion.
Simply avoid getting hit by the goblins or the captains cannons for a whole run.


Pumpkin Location:
Once you pass the section where the Goblin Pirate starts to shoot cannonballs and fall underground, climb back up and the pumpkin is located in the first hole after climbing up.
Gnome Forest
Bee Nice
Stand next to a bee and taunt in Gnome Forest.
Bees are everywhere on the map, just find one and then taunt beside it (they can be found in the very first room).


Lumberjack
Destroy every wood block in Gnome Forest.
There are way too many to count but they are only located in the level, so secrets are hiding none.
This video destroys all wood blocks in one run: https://youtu.be/n6ndT_X-y30
Bullseye
Kill a noise goblin with his own arrow in Gnome Forest.
Parry the arrow the goblin shoots, it should hit the goblin assuming it hasn't moved far.


Pumpkin Location:
Located in the room right after the first ingredient is collected. The pumpkin is near a Pickle enemy and a Mushroom on top of a thin platform.
Deep Dish Nine
This video completes all 3 achievements in one run: https://youtu.be/5fcJknRF1zg
Turbo Tunnel
Avoid hitting the ceiling during the room right after the John Pillar in Deep Dish Nine.
Once you start pizza time you must not bonk your head in the next room. This is simply practice makes perfect, the more times you do it the easier it becomes. You can also just run up the wall and completely avoid using the bubble if you wish (much easier choice).

Blast'Em Asteroids
Destroy all asteroids in Deep Dish Nine.
All asteroids are very visible apart from one of them that blocks the third (correct me if im wrong) secret during pizza time. Pretty easy achievement.
The hidden asteroid is at the left of Peppino:

Man Meteor
Kill 5 UFOlives in a single bodyslam in Deep Dish Nine.
While there may be multiple spots you can do this achievement the intended way is by killing all 5 of the UFOlives hovering in this pit.

Pumpkin Location:
Found right after exiting the rocket ship to the planet. The pumpkin is located on the last platform with a ledge sticking out on the right side.

Golf
Primo Golfer
Get the highest rank in the courses of Golf.
Get the "Primo Burger" (or in simple language get under par) rank for each golf course in a single run. Running into Greaseball (aka the "golf ball") gives way more distance then a normal stroke so try to build up speed and run into him rather then just playing golf like a normal person.
This video shows me finishing a run with only Primo Burgers:
https://youtu.be/4mmwy5Km3vc
Nice Shot
Kill three or more enemies in a single stroke in Golf.
This should happen by itself but if you can't get it just place 3 enemies near each other and run into Greaseball to kill them all in one stroke.

Helpful Burger
Get a burger enemy to hit the ball inside the goal in Golf.
The burger must have the final stroke but you are allowed for a big cheese to finish off the course. This can easily be achieved in the Soda Course, just bring a burger to the end of the course, have Greaseball stuck in a noes and let the burger walk over to hit Greaseball.

Pumpkin Location:
Found at the end of the Soda Course. The pumpkin is located at the top left of a section where a bull is close by.
Floor 4: Slums
The Pig City
Pan Fried
Find the bacon room.
The bacon room is located during the sub area for the 3rd taxi. Before you enter the police car there will be 2 bacon strips hanging from the ceiling above. Superjumping between the bacon reveals a door to enter the bacon room.

Strike!
Kill three or more enemies with a single Brick ball in Pig City.
Once you switch to Gustavo and Brick there will be 3 shrimps near you (first 3 enemies you will encounter after the pizzas). Argo them until they are all on the same level and then knock Brick into all 3 of them.

Say Oink!
Take a photo with every Pig City citizen.
There are 13 pigs you need to taunt beside. They are all on the main path so they cannot be in the taxi sub areas or secrets and they are not hard to find. The dancing pigs in sub areas and the police pigs do not count towards this achievement.

Pumpkin Location:
Located in the same place where the Achievement "Strike!" is completed.
Oh Sh!t!
Can't Fool Me
Avoid killing any pizzaboy cardboard in Oh Sh!t!
Don't be like me and try to kill and the Pizza Ninja's, you just need to avoid destroying any real Pizza Boys. Best play of action is to not bother with the cutouts but ninja are not hard to spot nor deal with.
Keep in mind that red ninjas are completely indistinguishable from normal Pizza Boys.

Food Clan
Kill ten ninjas by parrying them in Oh Sh!t!
Parring Pizza Ninja's are the best way with dealing with them so easy achievement.


Penny Pincher
Avoid getting grabbed by Mr Pinch during the escape sequence of Oh Sh!t!
Not a particularly hard achievement. Once you get past the room with multiple Mr Pinch's you practically have it in the bag.

Pumpkin Location:
Found right when the escape starts inside the room with the transformation and switches. Just before reaching the transformation, climb the wall to your right instead of going left.
Peppibot Factory
Unflattening
Remove the boxxed form from each priest at least once in Peppibot Factory.
There are 4 priest that you need to interact with, priest 3 being right after priest 2 with no box transformation between them. You can either open up the secret beside the 2nd priest to interact with priest 3 then make your way back up to get the transformation again and interact with the 2nd priest this time or do a second lap and take the non secret route and the secret route on different laps.

Whoop This!
Survive the first secret of Peppibot Factory without getting hurt.
When you enter the secret you need to super taunt ASAP and start running to the wall on your left to avoid all the attacks at once.
This video shows me completing the secret without taking damage: https://youtu.be/UN3WHdWzGbg
There Can Be Only One
Destroy every Peppino robot in Peppibot Factory.
All robots are found on the main path (no secrets or hidden rooms) but you must take the second lap as you need to kill each robot that appears during the escape twice for it to count.

Pumpkin Location:
Right before the escape during the first box transformation, it is tucked away in the left side of the wall when climbing the ledges with hot dogs.
Refrigerator-Refrigerador-Freezerator
Frozen Nuggets
Free all the frozen birds in Refrigerator-Refrigerador-Freezerator.
You need Satan's Choice in order to free most birds (or you can use the jetpacks whenever they are provided to you). Blocks with frozen birds are very distinct compared to normal frozen blocks.
This video shows all the locations of each frozen birds: https://youtu.be/vhHnt3RFMT8


Season's Greetings
Kill 5 fake santas in Refrigerator-Refrigerador-Freezerator.
In order to get this achievement you will have to hold a decent combo once you get Satan's Choice. The first 2 santa's can be killed by launching/ uppercutting an enemy into santa but the remaining 3 can only die by a super taunt. If you don't have all 5 kills by the time you reach the exit you can do a lap 2 and try again (this time you will not have Satan's Choice and need to kill them via uppercutting/ launching an enemy or super taunting).

Ice Climber
Complete Refrigerator-Refrigerador-Freezerator without falling in a pit.
Easier said then done, avoid going fast as there are a lot of sudden drops but once you get Satan's Choice you can just hold the jump button and the achievement will be free.

Pumpkin Location:
Found the first room where you melt ice, located on top of an iron and cheese block. In order to get it you need to melt the ice then make your way back to the area to grab it.
Floor 5: Staff Only
Pizzascare
Cross To Bare
Kill thirty ghosts in Pizzascare.
One of the most common achievements and for good reason. Ghosts are scattered all over the map and you get the cross plenty of times throughout the level. if you fall short of the quota you can make up about 19 kills in the 3rd secret (in the first room only accessible during pizza time).
The image below is the location for the 3rd secret:

Haunted Playground
Avoid getting hurt by the King Ghost's traps in Pizzascare.
Now to one of the hardest achievements. You'll need to know the layout of the map to even have a chance at obtaining it. While you can take the stage slow there will be sections that require you to be in mach 3. Keep in mind the cross makes you completely invincible to the ghost kings attempts to hurt you so be sure to take advantage of that.
Short answer: Practice makes perfect

Skullsplitter
Destroy every single skull block in Pizzascare.
Lumberjack part 2. All skull blocks are on the main path so no need to be checking secrets.
This video breaks all skull blocks in one run: https://youtu.be/MKzLodZcVho

Pumpkin Location:
Found in the second room of the level. Once you leave the starting room just jump on the platform in between the first jump.
Don't Make A Sound
And This... Is My Gun On A Stick!
Kill every chasing monster in the escape section of Don't Make A Sound.
While escaping you need to kill all monsters with the shotgun. You will shoot them all in one room and from there you will be shooting them one by one per room. Shoot the monster regardless if they are active on not and let the pineapple wake up monsters if you can't find them or are near the exit. All rooms after the big chase during the escape will contain one monster, the final one being the second encounter with Mushroom. If the achievement does not trigger after killing Mushroom for the second time do a second lap to kill any monsters you missed. Pineapple is NOT a monster you need to kill.
This video shows me unlocking the achievement: https://youtu.be/IGxZaUuzY64

Let Them Sleep
Activate the alarms in Don't Make A Sound less than six times before the escape sequence.
Jumpscared's harder version. Follow the advice below but this time YOU CANNOT GO TO THE SECRETS. There are about 5 required alarms throughout the level. Once with Mushroom, once with Cheese, Twice with Butcher, and the final one meaning you have only ONE spare alarm. Get good at the route, do everything you can to avoid tripping the alarm, and you should hopefully manage to get this. It's tough so take breaks to calm yourself.
(I will break down segments of this run I did in the future but as of right now you can look at the video yourself)
https://youtu.be/5tQGIkEwh44
NOTE: While there's no point in going to secrets, they now do not count as triggering alarms. This means you can easily pass the iron block guarded by the alarm by entering the secret and when you exit you will break the block with a bodyslam (timestamp of section I'm talking about is 2:57 in the video above).

Jumpspared
Avoid getting jumpscared in Don't Make A Sound.
Play this run like you're going for S/ P rank combo as you will want a super taunt on you at all times but avoid all secrets as they are an instant game over. One of the hardest choke points for me is the room where 2 alarms hide behind a wall with a iron block in between you and them. You will need to react very fast to kill the alarms or you can save a super taunt for this room (which I recommend heavily). Another tricky room is the alarm in the wall where the player cannot reach it (should be killed via super taunting). Be careful of taunting as things can go south very fast, normal taunting should not be used ever (unless during a chase sequence) as you will alert yourself instantly and super taunting can be done if you are not within vision of anything (if you super taunt in front or near an alarm or enemy they will die but still alert the monster of your presence). During the escape kill the pineapple ASAP as he will wake up the monster in the room instantly and also destroy the monsters in said rooms.
The video for "And This... Is My Gun On A Stick!" also earns Jumpspared so if you are struggling I'd advise watching that video.

Pumpkin Location:
Found in the second room with Sausage. When running away from him, the pumpkin will be enclosed by plug sockets, let Sausage destroy them and then run back to collect it.
WAR
Decorated Veteran
Don't get hurt more than three times in WAR.
Dispose of tanks ASAP as they are really the only major threat to the run and know the layout of the level. Use your shotgun whenever you feel like you need it even slightly and avoid all secrets as you gain nothing going into them. If a tank shoots you can blast the pizza shot with your own shotgun.

Sharpshooter
Don't miss more than three shots in WAR.
Unlike Decorated Veteran avoid using your shotgun as much as possible. Hitting an enemy, breakable blocks, target blocks or the computers all count as "hits" so try to hit one of the things above to not lose a shot.

Trip to the Warzone
Finish WAR with more than a minute left.
This achievement is not as bad as it seems. All it takes is a decent memory of the level and it should come naturally. It's without saying going for any collectibles or secrets is off the table. Ram into all enemies as shooting your shotgun kills most of your speed but still shoot tanks on sight.
This video shows me beating WAR with over 1:30 left on the clock: https://youtu.be/XnVZ0nO0BM0

Pumpkin Location:
Found in the same room as Gerome. Where Gerome is, the pumpkin is located on the next platform on his right (also near a computer).
Miscellaneous Achievements:
Halloween Achievements
Tricksy
Get all of the pumpkins in Tricky Treat in one run.
Pretty self explanatory, just unlock the Tricky Treat stage by collecting 20/ 30 pumpkins and collect the last 10 pumpkins located in the Tricky Treat stage in one run.

This video shows me completing Tricky Treat with all pumpkins in one run:
https://youtu.be/2wXzJGerdcU?si=6Woy5bdIJubXAx7G

Pumpkin Munchkin
Find all of the hidden pumpkins in the game.
Collect all 30 pumpkins scattered across the game. Each stage (excluding the tutorial and all bosses) have 1 pumpkin per stage. The Crumbling Tower of Pizza also has a pumpkin and the Tricky Treat stage has 10 pumpkins inside it. The pumpkins are invisible but as you get closer to them a tune will start playing and get louder the closer you are to the pumpkin. The pumpkins will also slowly reveal themselves the closer you are to them. You can exit a stage right when you collect the pumpkin in it.

If you want to see the pumpkin location of a certain stage go to it's section on this guide and go to the bottom of it to see where it's located.

The Crumbling Tower of Pizza Pumpkin Location:
Located inside the room with multiple grind rails, after passing the Slums. The pumpkin is below the last rail in the room.
Boss Achievements (Pt 1)
World 1: Tower Lobby

The Critic
Defeat Pepperman without getting hurt.

I really don't need to type up a section for Pepperman as he is a joke of a boss compared to the other bosses, but I will do just in case anyone is still struggling.

Stage 1: (HP: 10) Pepperman will always start the fight by trying to charge into you and every 2 instances of damage dealt to Pepperman will either make his current move more deadly or completely change the move. At 10-9 HP he will preform a single slow charge, at 8-7 HP he will charge and turn around with a faster charge once you are on the other side of him, at 6-5 HP he will start to bodyslam you, at 4-3 he will bodyslam and be propelled upwards after slamming and at 2-1 HP marble blocks will spawn on the edge of the area forcing you to attack them until you create a statue that makes Pepperman completely vulnerable.

Tips: Don't be near Pepperman during his bodyslam attacks as he will almost instantly hit you, rather be as far as you can be so you have plenty of time to react accordingly.

You can control what direction Pepperman will launch himself after a bodyslam. He will fling himself in the direction the player currently is.

Stage 2: (HP: 10) This stage is basically the same but with minor changes. The only big change and biggest threat are the statues that come from the edges of the arena. Other minor changes include his charge and second charge being much faster. The previous stages tips also apply here.
https://youtu.be/VdNfdhqCtxA
World 2: Western District

The Ugly
Defeat Vigilante without getting hurt.

On my first playthrough Vigilante was definitely on the harder side for me, that being the gun gimmick (which I don't like) and since Vigilante's second stage is nothing to scoff at.

Stage 1: (HP: 9) Your greatest danger during this stage will be the ghost. Even though the ghost only spawns twice during the stage it may spawn in an inconvenient spot for you that just may result in a failed attempt. Once the ghost spawns in kill it ASAP before it gets too low to the ground.

Tips: This one is really important as it not only speeds up the fight but it also makes hitless so much easier. Don't neglect your charged shots as they can shred Vigilante's HP if used correctly. In the video (0:10, 0:13, 0:17, 0:21 and much more moments) I prepare a charge shot while Vigilante is invulnerable and by the time he is ready to attack again I already have a charged shot prepared. After firing the charged shot follow it up with 2 normal shots and if you do it quick enough you should take off a hit point with minimal effort.

You can safely collide with Vigilante's dynamite in mid air since they only damage you once they explode.

Destroy the ghost, cardboard cowboys and cows ASAP, you gain nothing for leaving them alone.

You can read where Vigilante will move to after he is hit. If he stops bouncing on the left side of the arena he will move to the right side and vice versa.

Stage 2: (HP: 9) One word, cows. Same as last stage but now the entire stage is coated in darkness with harder attack patterns to avoid.

Tips: Following the first tip for the first stage of Vigilante, if you time your charge shot + normal shots absolutely perfectly during attacks where Vigilante is supposed to spawn cows you can completely deny cows spawning. This is really hard to time but just be on your A game when you are closing in on a HP when he spawns cows.

While you should be killing cows as soon as they spawn you can just leave them be if it's too risky to attack them. Cows will die themselves after give or take 5 bounces.
https://youtu.be/ybgNr_aDdYs
World 3: Vacational Resort

Denoise
Defeat Noise without getting hurt.

This fight may look intimidating but when I was getting the hitless achievements Noise wasn't as bad as other bosses, I would even call him the second easiest boss to do hitless. Noise's whole shtick is that even though he has a set amount of attacks they will all be preformed at random times and can be preformed multiple times.

Stage 1: (HP: 8) The Noise's first stage is a really bogged down version of what's to come and is fairly simplistic to avoid his attacks during this stage. His most dangerous attack during this stage is his pogo attack as he will launch himself at great distances every now and again, potentially catching you off guard (and can spawn bombs rarely).

Tips: While I don't really bother with this, it is useful to know. At the start of the fight, if you book it towards Noise right at the start of the fight you can get one cheap hit off. Very small tip but it may just save a run.

I cannot stress this enough, parry his bombs during his hot-air balloon attack when Noise tosses them as this attack becomes trivial if you get good with the parry timing.

For the skateboard attack be sure to keep a mental note how many times he preforms it. On the first time he will not jump but on the second and all future attacks he will attempt to catch you off guard by jumping on the return dash. You can also just jump + uppercut on all skateboard attacks if you feel is safer. This only applies if you successfully hit him after the attack (Noise doing skateboard, not hitting him and then he does a different attack then hitting will not count as Noise "preforming" the skateboard attack).

Stage 2: (HP: 8) During Noise's second stage all his attacks now have an extra gimmick attached to them (hot-air balloon - Noise will damage the player if nearby him during his first vulnerability state, skateboard - before going into his vulnerability stage he will launch his skateboard towards the player, dealing no damage but completely remove the player's control on Peppino, pogo - now has the chance to spawn bombs when landing + does one more jump that produces a screen wide attack if you are near ground level, jetpack - Noise bounces way more then usual). With these gimmicks Noise is still not very hard to handle if you don't consider the pogo, still being the most dangerous attack solely because of the bombs.

Tips: The Noise minions are essentially forknights. You can jump on them and dash into them from behind but you cannot dash into them from the front.

Following up on the previous point, you can hit Noise mid attack with his minions and it will instantly stun him. If you hit him during his hot-air balloon (he has to be IN the balloon when hit) attack he will not teleport if the player is near.

Parring bombs during the hot-air balloon attack still applies during this stage and now you should also parry bombs during the pogo stage only when safe as it makes the hardest attack less chaotic to deal with.

For the hot-air balloon attack, when Noise can teleport when the player is near him. Noise will indefinitely keep taunting you till you approach him. Knowing this you can make sure all bombs/ minions are dead without Noise attacking you.

Noise will now always jump during his second dash when he's on his skateboard.
https://youtu.be/-SaDW2z1st8
Boss Achievements (Pt 2)
World 4: Slums

Faker
Defeat Fake Peppino without getting hurt.

Stage 1: (HP: 6) On fake Pep’s first stage he is fairly straightforward by only preforming a constant pattern of attacking him and then surviving an attack from the clones.

Tips: When fake Pep spawns in (includes start of fight and after clone attack) you can quickly attack him to take out 1 of the required 2 dashes to stun him.

While I don’t recommend this you can completely avoid the second clone attack by doing nothing. This is done by standing in a spot when the clones can’t land on.

Stage 2: (HP: 6) This is essentially the first stage but a nerfed clone attack also plays in the background while fighting fake Pep.

Tips: Once this stage starts do not attack fake Pep ASAP as he will instantly preform a dash towards you (this cannot be parried).

https://youtu.be/-L3oPF2OfZY
World 5: Staff Only

Face Off
Defeat Pizzaface without getting hurt.

Personally would consider this to be the hardest boss to do flawless solely because of how long it goes on for, think of it like an endurance test. The one positive to this boss is that most of it's stages are on the easier side.

Stage 1: (HP: 10) One of the two hard/ annoying stages, you will be resetting a lot on this stage. Try to grab an enemy ASAP and hit Pizzaface, the longer you stay on this stage, the more likely you are to get hit.

Tips: When Pizzaface is vulnerable consider what direction you want to hit him towards. If you hit Pizzaface towards enemies they will all die and makes for a great room clearing attack but if you preserve at least a single enemy by hitting Pizzaface away from said enemy you can immediately follow up another attack once Pizzaface is back up in the air (I HIGHLY recommend preserving an enemy on Pizzaface's second last life as his final life is very unforgiving and is too RNG reliant).

Just like knocking Pizzaface into enemies don't feel like you can only use enemies to attack Pizzaface, use them to also clear out rooms when it gets way too much to handle.

You can throw enemies at Pizzaface mid-charge, be sure to interrupt him if you are in a particularity bad spot (or for bragging rights).

Suplex when Pizzaface charges at you at an unfavorable position to avoid a potential hit.

Stage 2: (HP: 10) The second ♥♥♥♥♥♥ stage of this boss. For me, Pizzahead is not the problem but the falling cog is. The cog combined with other attacks can make them really hard to avoid (or downright impossible without a parry). Pay more attention to the cog spitting Pizzaface rather then the boss.

Tips: Stay on the very right or left, never consider sitting in the middle of the screen as you will have less time to react to attacks and some attacks can only attack the middle of the stage.

The cog falls at set intervals (correct me if im wrong), because of this you can sorta predict when the Pizzaface with spit out a cog. Knowing this, try to force the cog to start rotating away from you by being on the side you want it to rotate away then jump over it and return back to wherever you want to be. I would only advice going out of your way to do this if you are in a safe position.

The most dangerous attack during this stage is SMG. While the SMG attack is avoidable by not jumping the real threat is Pizzahead tossing the SMG. After the 3 round burst (correct me if wrong) be ready to parry at a moment's notice since the SMG is a quick traveling projectile.

Stage 3: (Total HP: 16, 4 HP per Boss) This stage compared to the other 2 is child's play. Nothing really much to talk about as this is just a mini boss rush. Anything that is said about the bosses applies here.

Tips: Use Gustavo to follow up hits on bosses once their I-frames end, they should be stunned again and you can hit them once again.

Stage 4: (HP: 6) The final stage is another relatively easy stage (compared to the first 2). His attacks only consist of his boxing gloves (close range), flyswatter (slow traveling attack) and slam (screen-wide attack on ground). For me, I consider his leap the most dangerous part of this stage as he travels way faster when at lower health.

Tips: When Pizzahead is about to leap don't be at the very edge of the screen as you risk the chance that Pizzahead will bounce off the border and land on you while avoiding him.

Use your dash to avoid Pizzahead's leaps rather then starting a mach dash. Getting that instant burst of speed is invaluable. Using dash + slide to kickstart mach 3 is also valid but I feel like it's overkill to go that fast.

During Pizzahead's final life his vulnerability window becomes very short (about 1 second). Only commit to hitting him if you are super close at the time. Because of this, try getting as close as you can when he's about to stomp (final attack).
https://youtu.be/Ig6Lx_j1nMo
S/ P Ranks
Im going to immediately direct a link to a great guide that is a no-brainer to read when going for P ranks that thoroughly goes through each stage and how to P rank them all. I do not intend on talking about movement tech, posting P rank video's and talking about individual stages and how to P rank them so if you're stuck on an specific stage I would highly recommend on reading this guide: https://steamcommunity.com/sharedfiles/filedetails/?id=2924036512

Will talk more about S/ P ranks in the future. Im lazy lol maybe one day, the guide above explains them much better then I can ever do.

Difficulty for P ranks (based on my experience with them):
John Gutter - Easy
Pizzascape - Slightly Easy
Ancient Cheese - Slightly Easy/ Medium
Bloodsuace Dungeon - Slightly Easy
Oregano Desert - Medium
Wasteyard - Very Easy
Fun Farm - Medium
Fastfood Saloon - Hard
Crust Cove - Easy (and very fun to P rank)
Gnome Forest - Medium/ Hard
Deep Dish Nine - Very Easy
Golf - Easiest
The Pig City - Medium
Oh Sh!t! - Medium
Peppibot Factory - Hard
Refrigerator-Refrigerador-Freezerator - Hard
Pizzascare - Hardest
Don’t Make A Sound - Medium
WAR - Medium
The Crumbling Tower of Pizza - Easy (does not count towards any S/ P rank achievements and is mainly S/ P ranked for 101% save file completion)

World 1: Tower Lobby
S Ranked #1
Get all S Ranks in World 1.
Get a S rank in John Gutter, Pizzascape, Ancient Cheese and Bloodsauce Dungeon.


P Ranked #1
Get all P Ranks in World 1.
Get a P rank in John Gutter, Pizzascape, Ancient Cheese and Bloodsauce Dungeon.


World 2: Western District
S Ranked #2
Get all S Ranks in World 2.
Get a S rank in Oregano Desert, Wasteyard, Fun Farm and Fastfood Saloon.


P Ranked #2
Get all P Ranks in World 2.
Get a P rank in Oregano Desert, Wasteyard, Fun Farm and Fastfood Saloon.


World 3: Vacational Resort
S Ranked #3
Get all S Ranks in World 3.
Get a S rank in Crust Cove, Gnome Forest, Deep Dish Nine and Golf.


P Ranked #3
Get all P Ranks in World 3.
Get a P rank in Crust Cove, Gnome Forest, Deep Dish Nine and Golf.


World 4: Slums
S Ranked #4
Get all S Ranks in World 4.
Get a S rank in The Pig City, Oh Sh!t!, Peppibot Factory and Refrigerator-Refrigerador-Freezerator.

P Ranked #4
Get all P Ranks in World 4.
Get a P rank in The Pig City, Oh Sh!t!, Peppibot Factory and Refrigerator-Refrigerador-Freezerator.

World 5: Staff Only
S Ranked #5
Get all S Ranks in World 5.
Get a S rank in Pizzascare, Don’t Make A Sound and WAR.


P Ranked #5
Get all P Ranks in World 5.
Get a P rank in Pizzascare, Don’t Make A Sound and WAR.
The End/ 100% Reward!?!?!?!?!
Now, do you get something for getting all the achievements some of you may say.

Yes.

Yes you do. (Does not require any of the P rank achievements to unlock)

You unlock the Goldemanne outfit. Not much but it's better then nothing. Looks cool tho.


A quick mention to all those who have helped shaped this guide during the process of making it, it would have taken way longer if it wasn't for all your help.
If anyone provides any more advice for achievements that I poorly explained or corrects my dumbass I'll be sure to update the guide and if you have any questions regarding anything in the guide I'll answer them.

(Guide will be updated when I can get around to do it as college is a ♥♥♥♥♥ and takes up a lot of my time).

Now if you will excuse me I will be heading to the Noisette Cafe.
96 Comments
King Kroko Jun 28, 2024 @ 2:15pm 
A litle note to the fastfood saloon achievement(the one with the buttons), you actually don't need to hit the secret switches, for example in the eyes. no specific number is required.

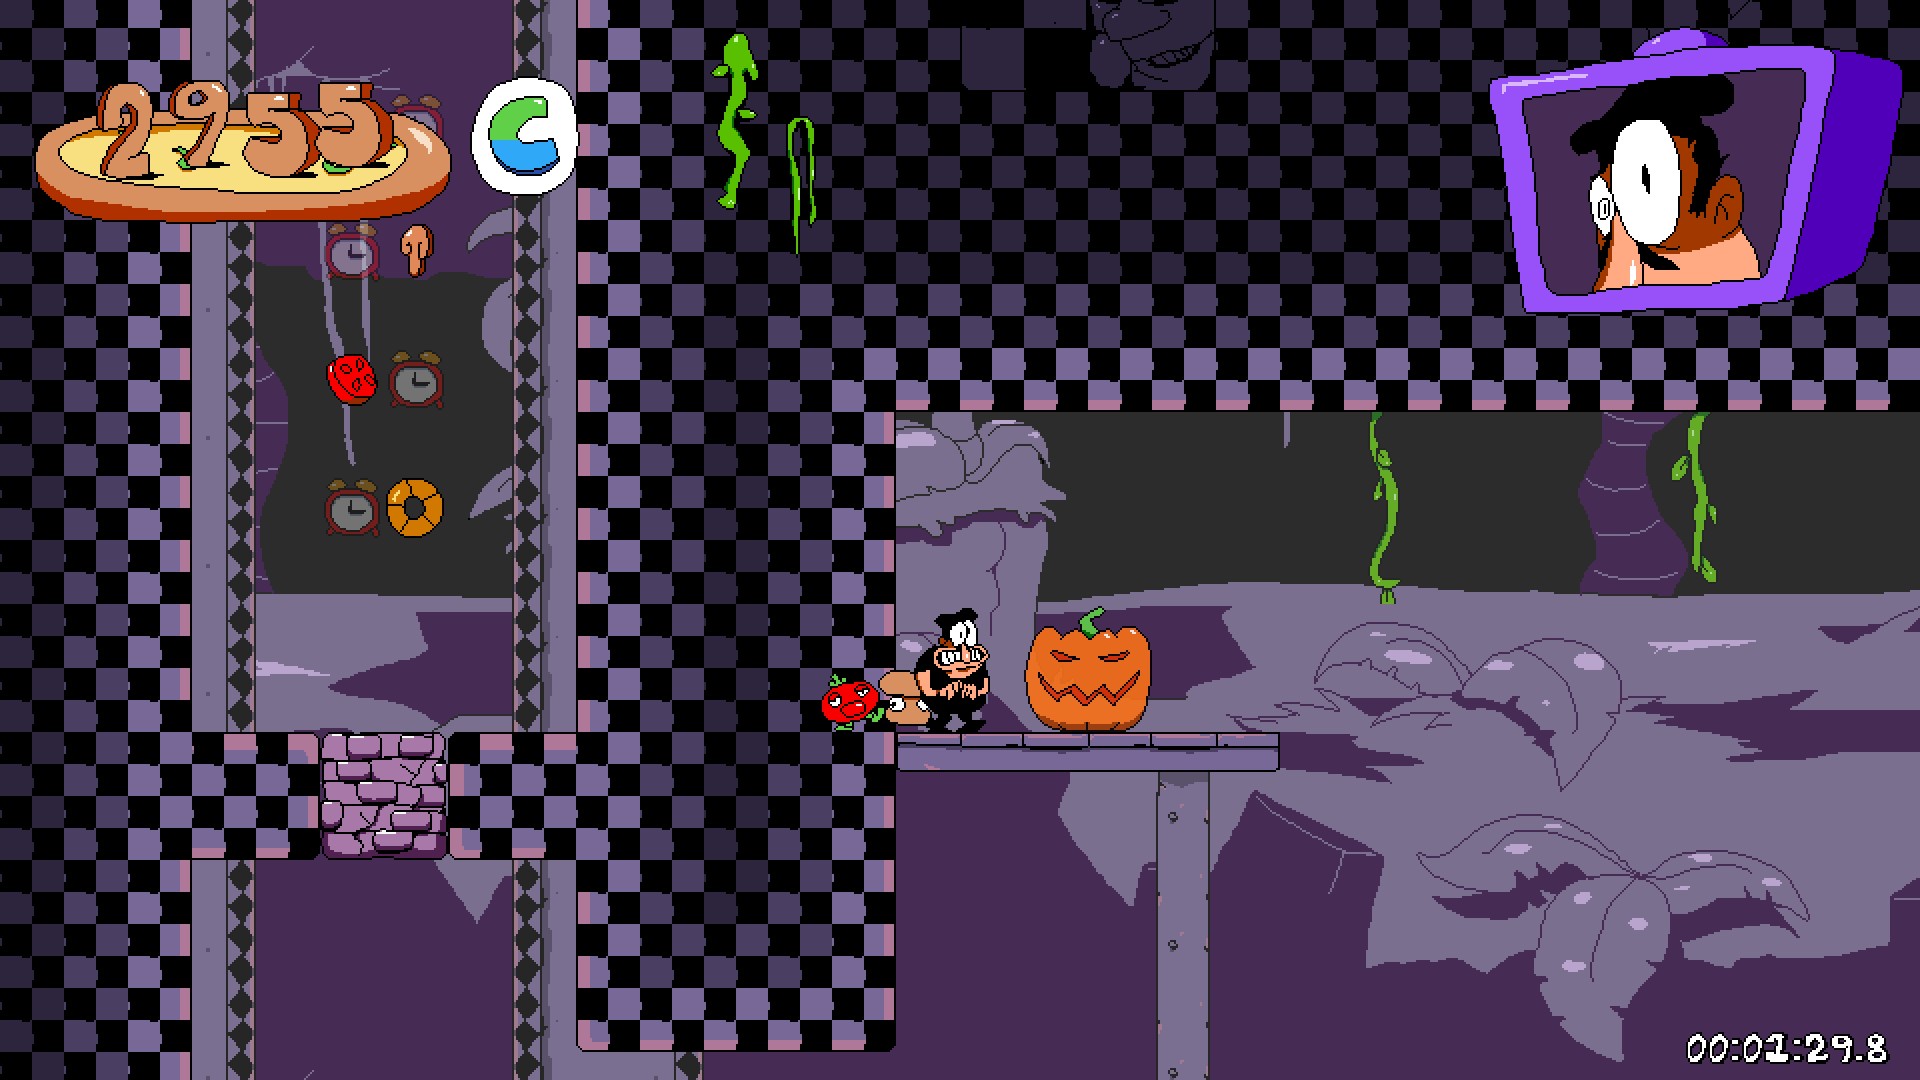
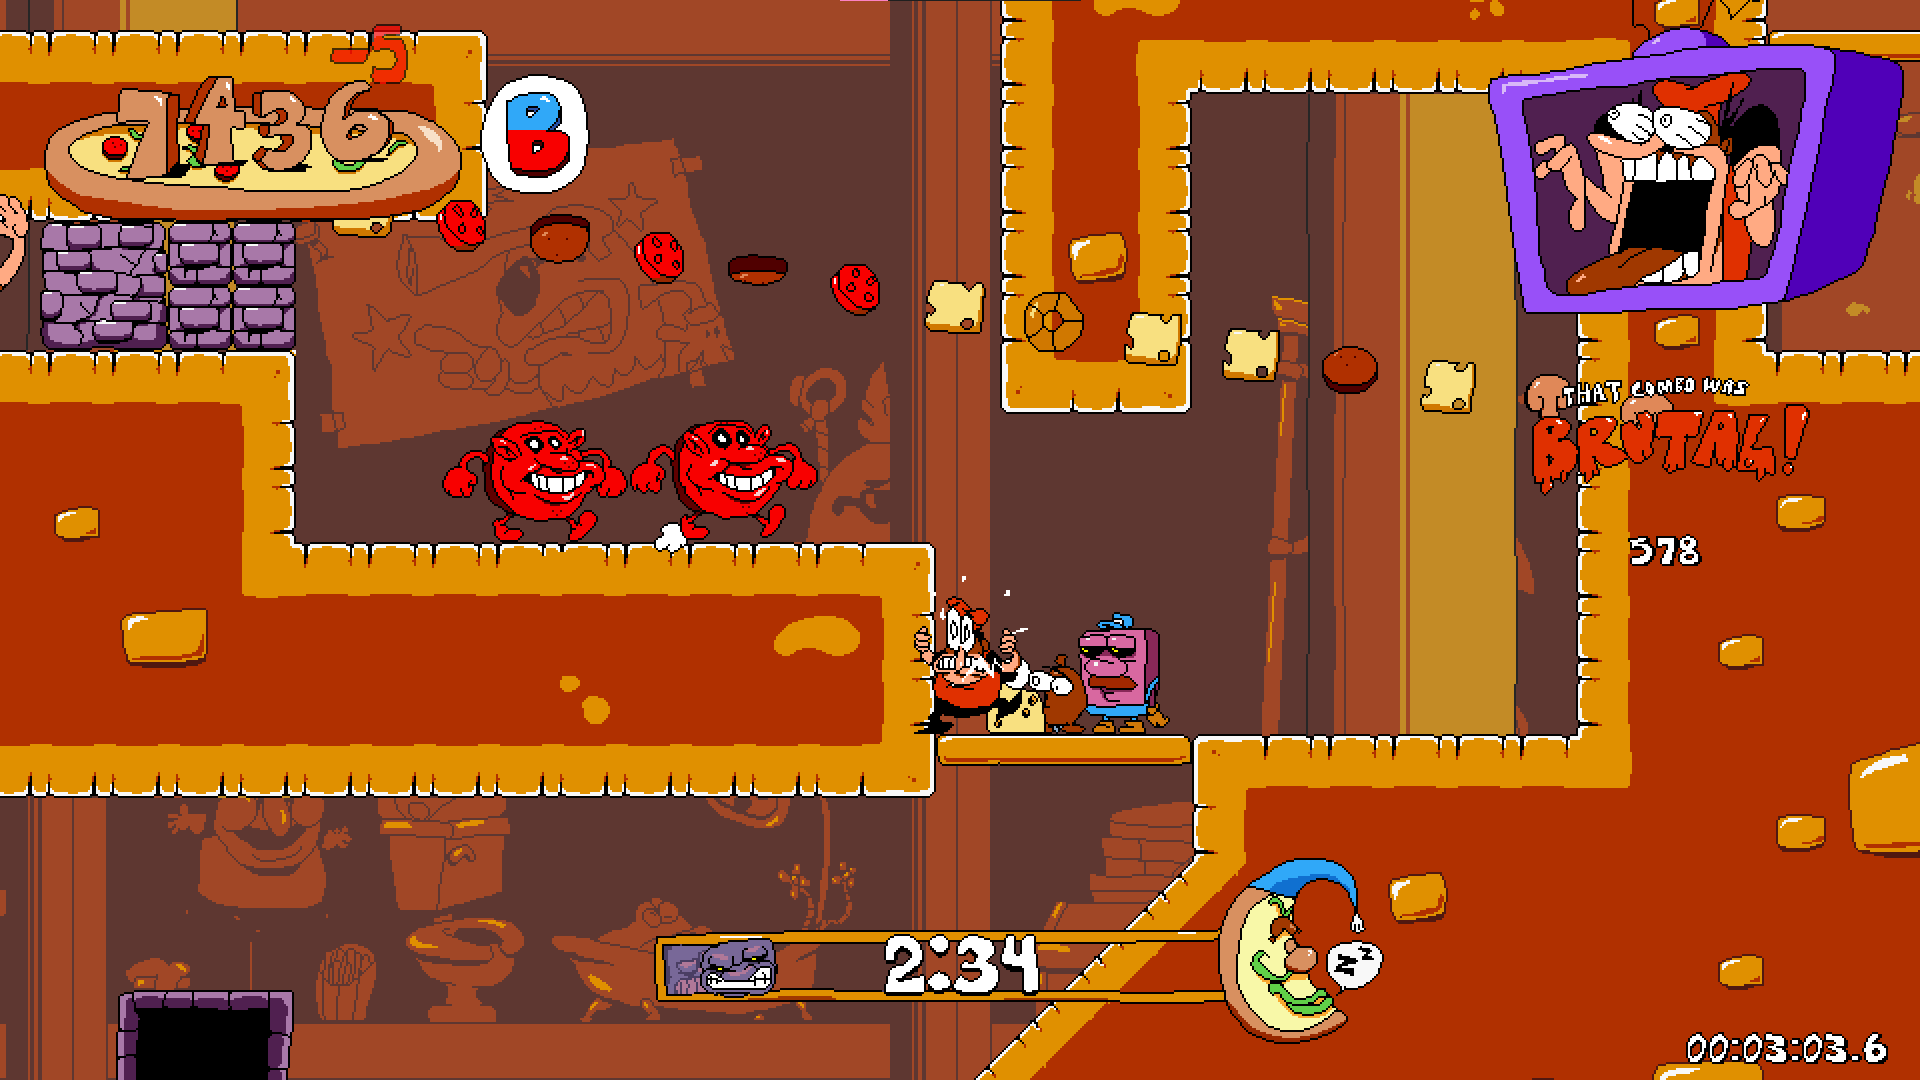
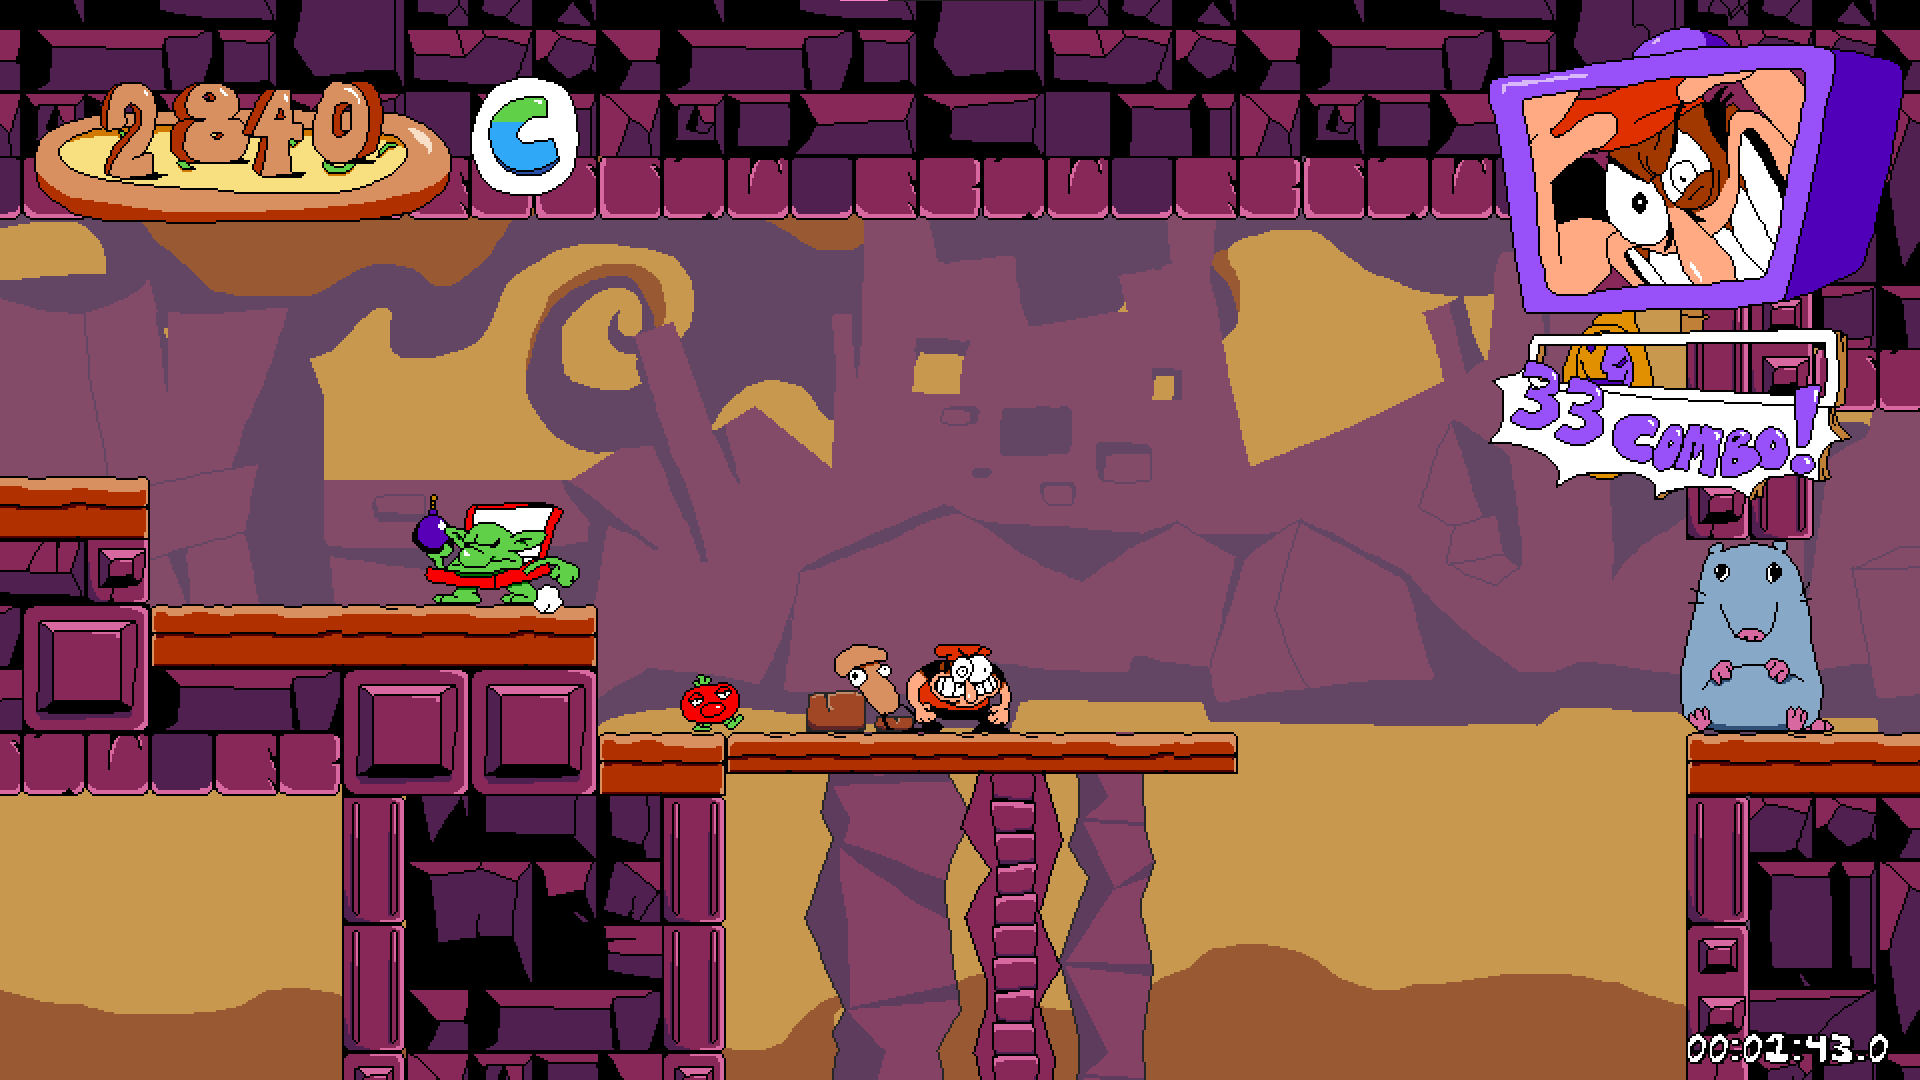
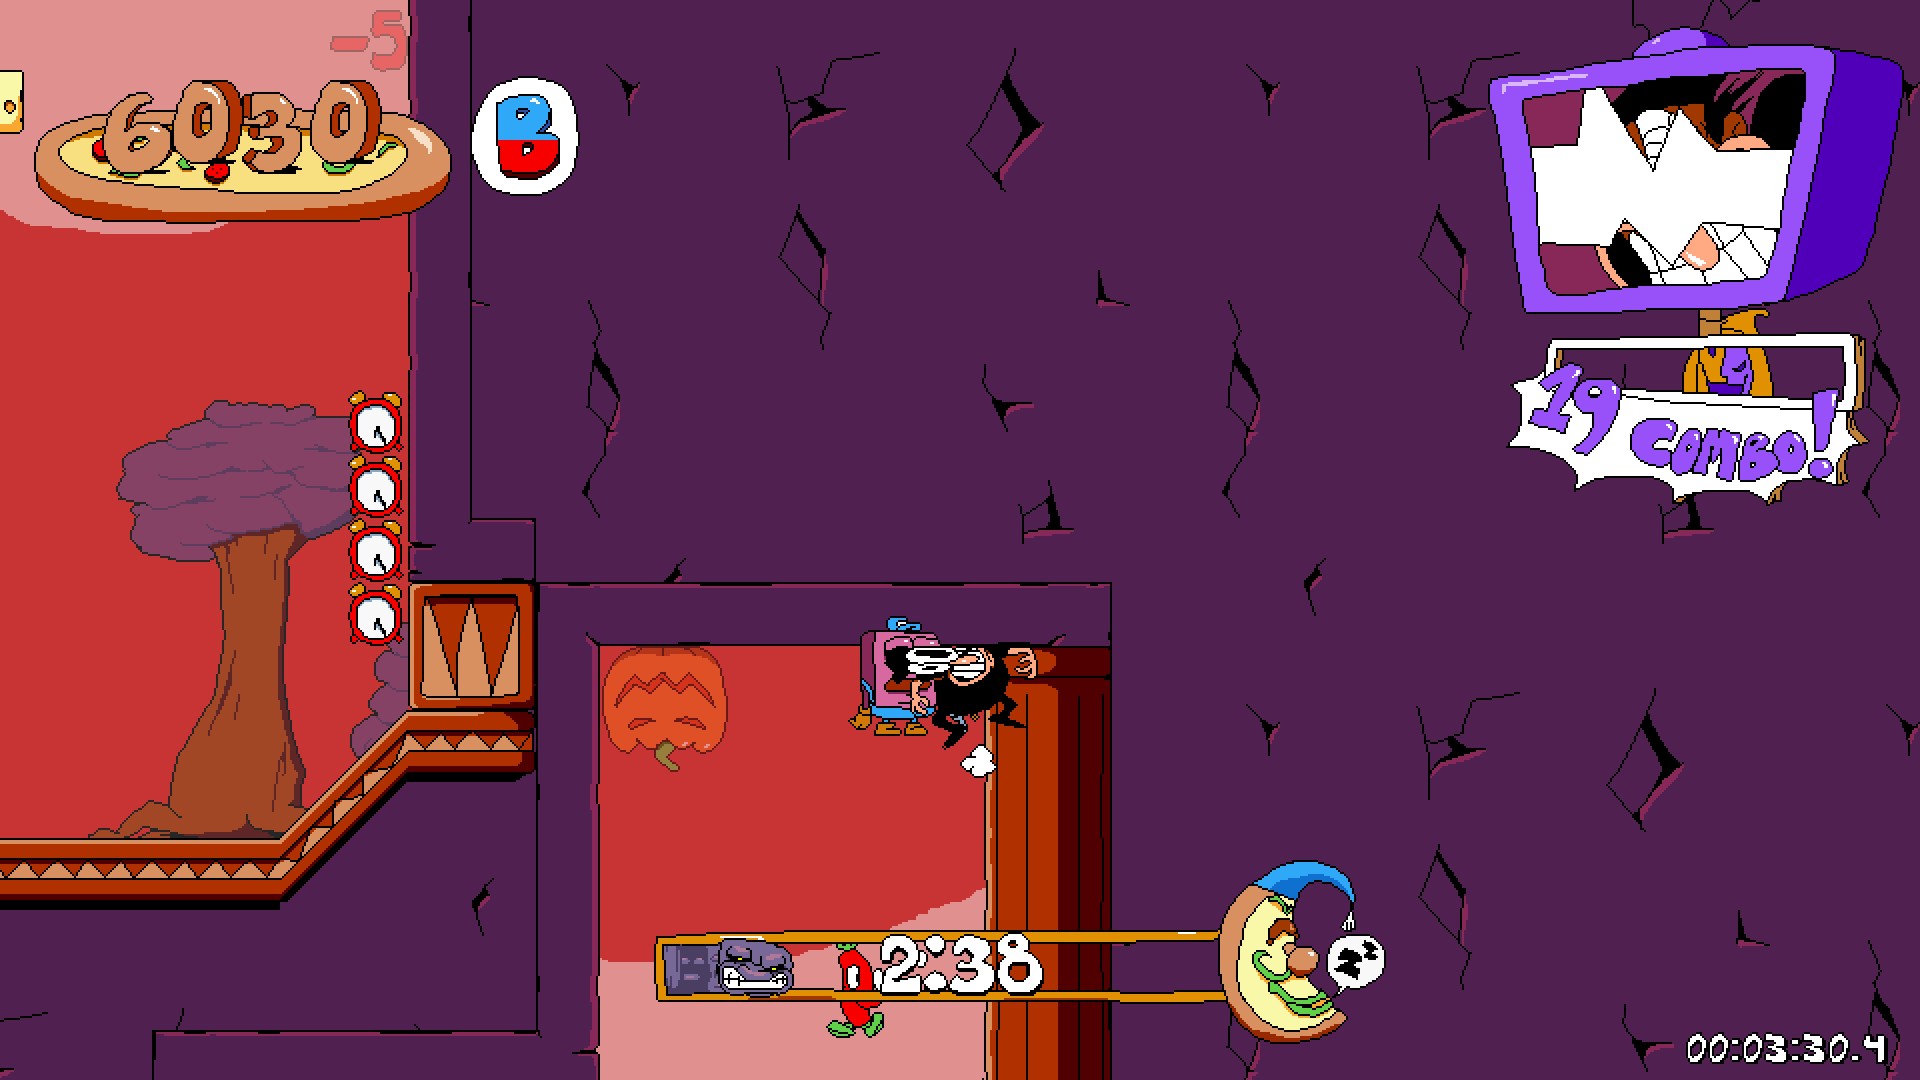
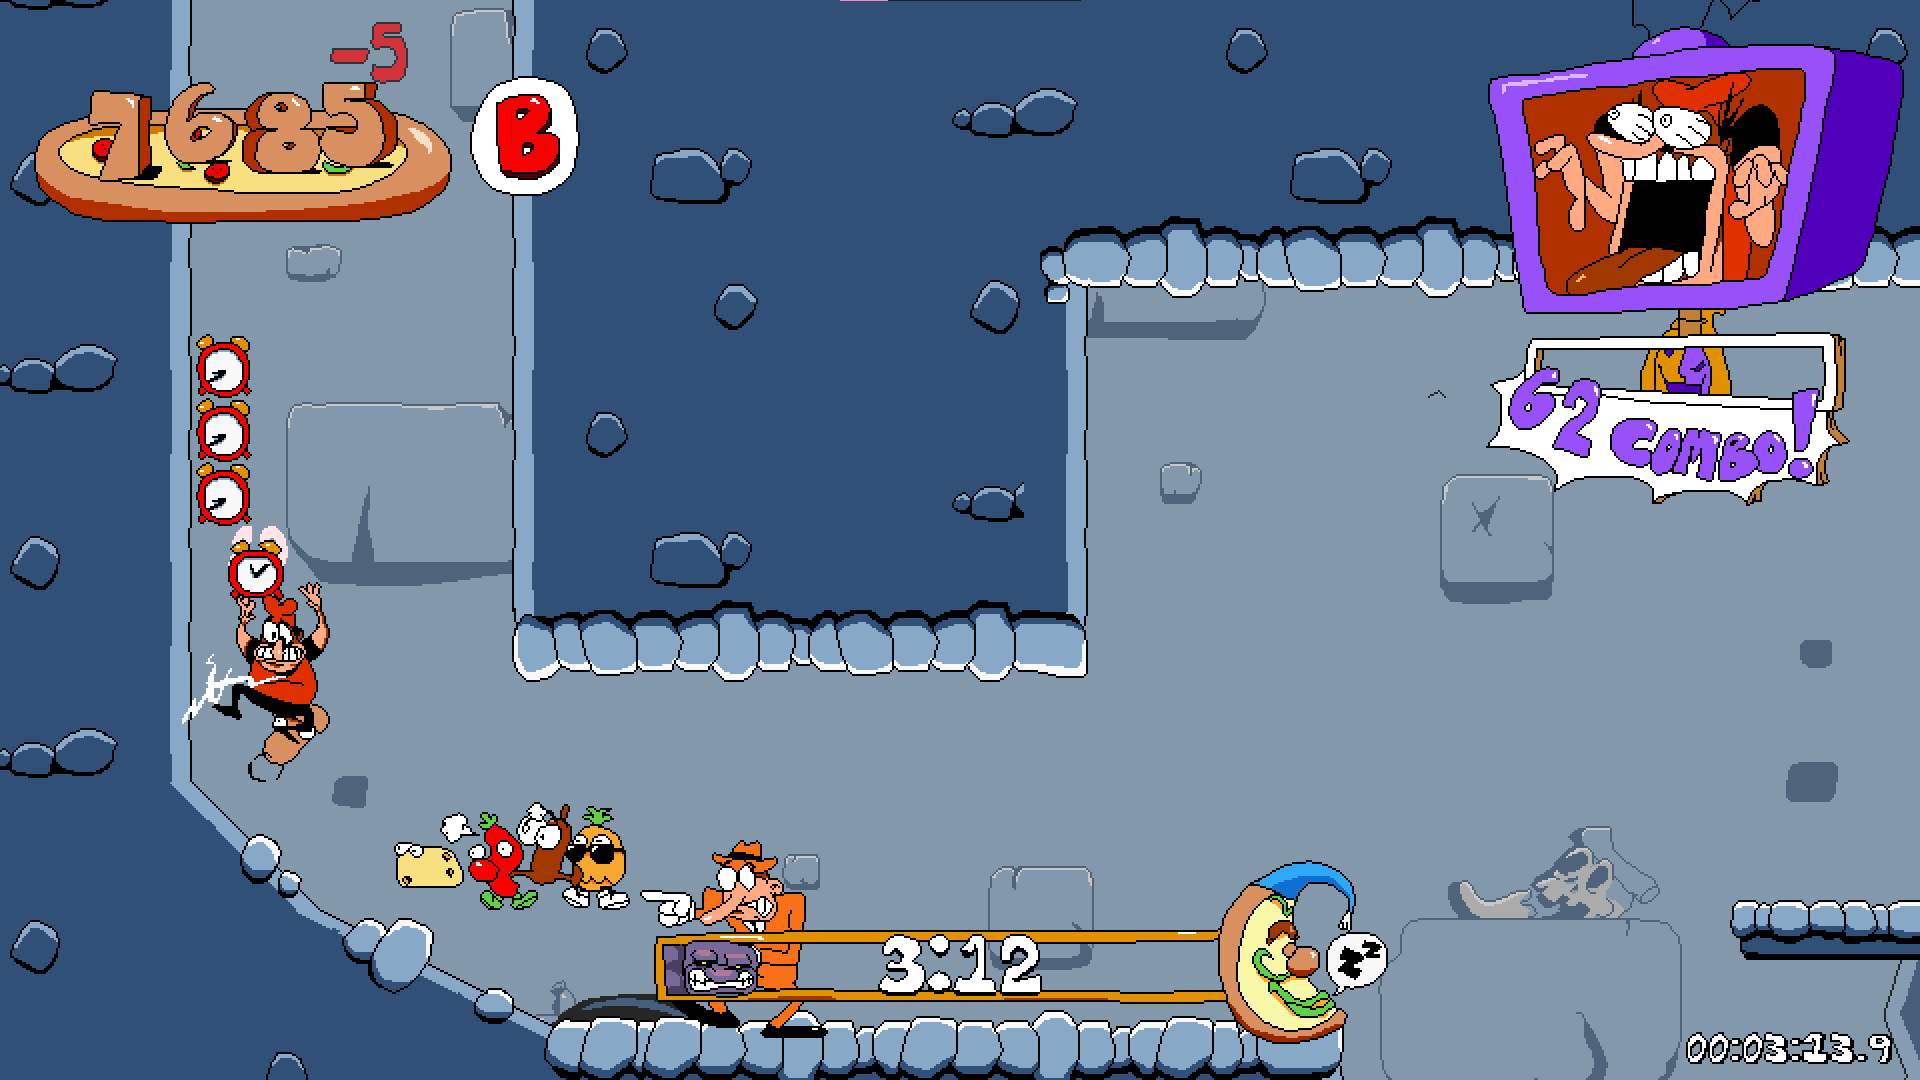
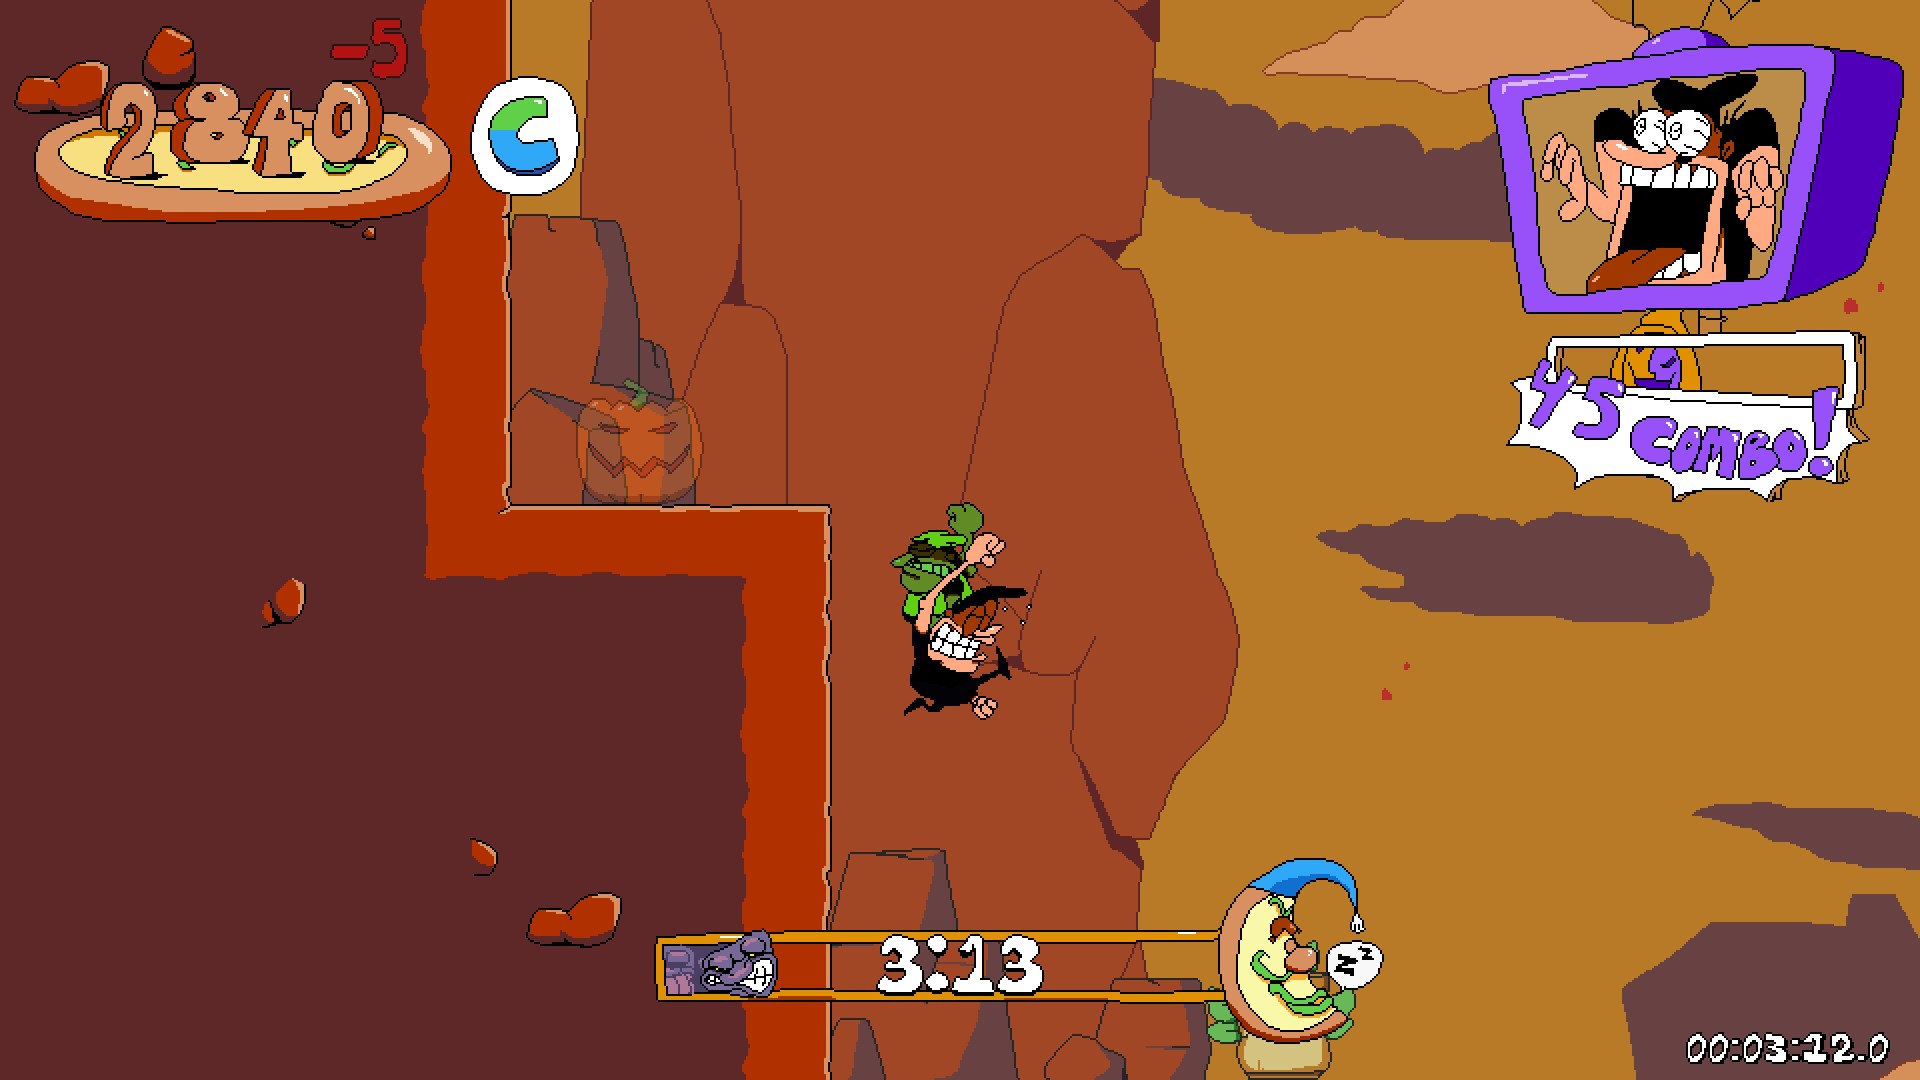
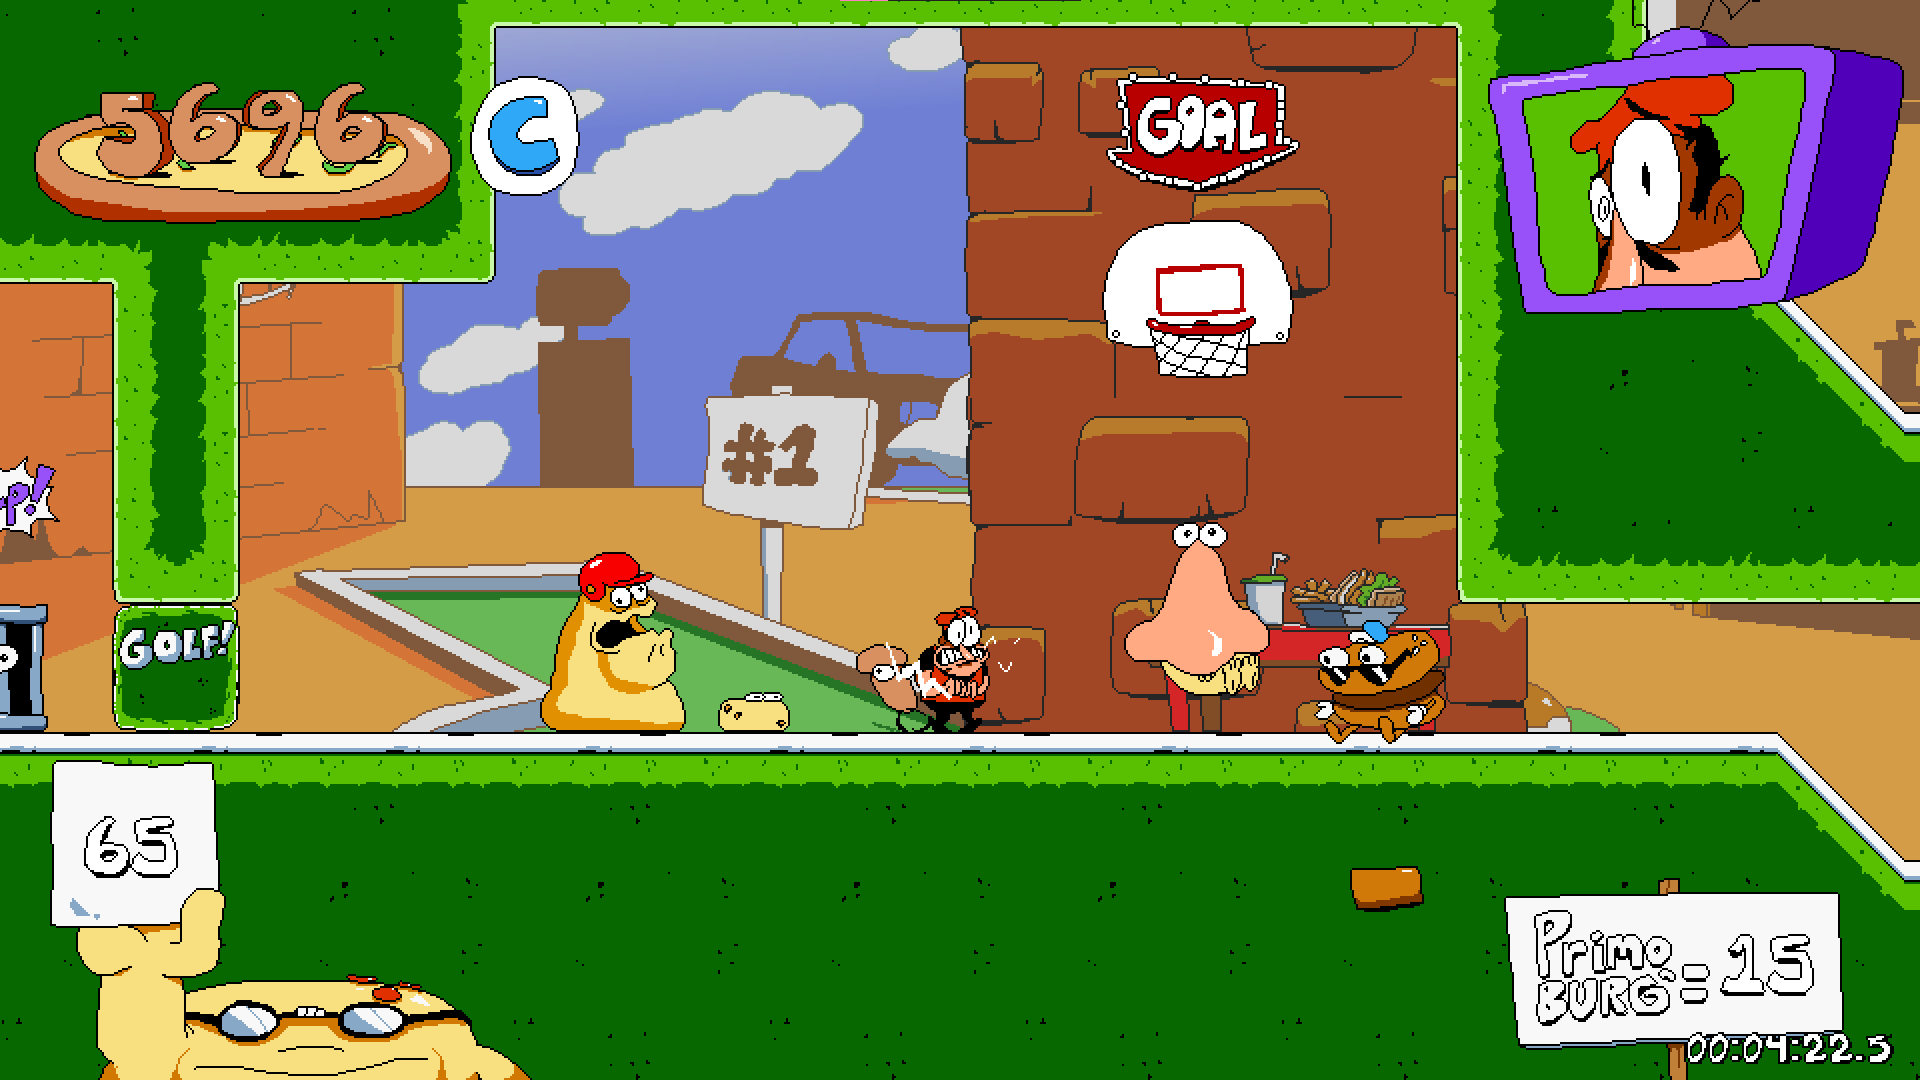
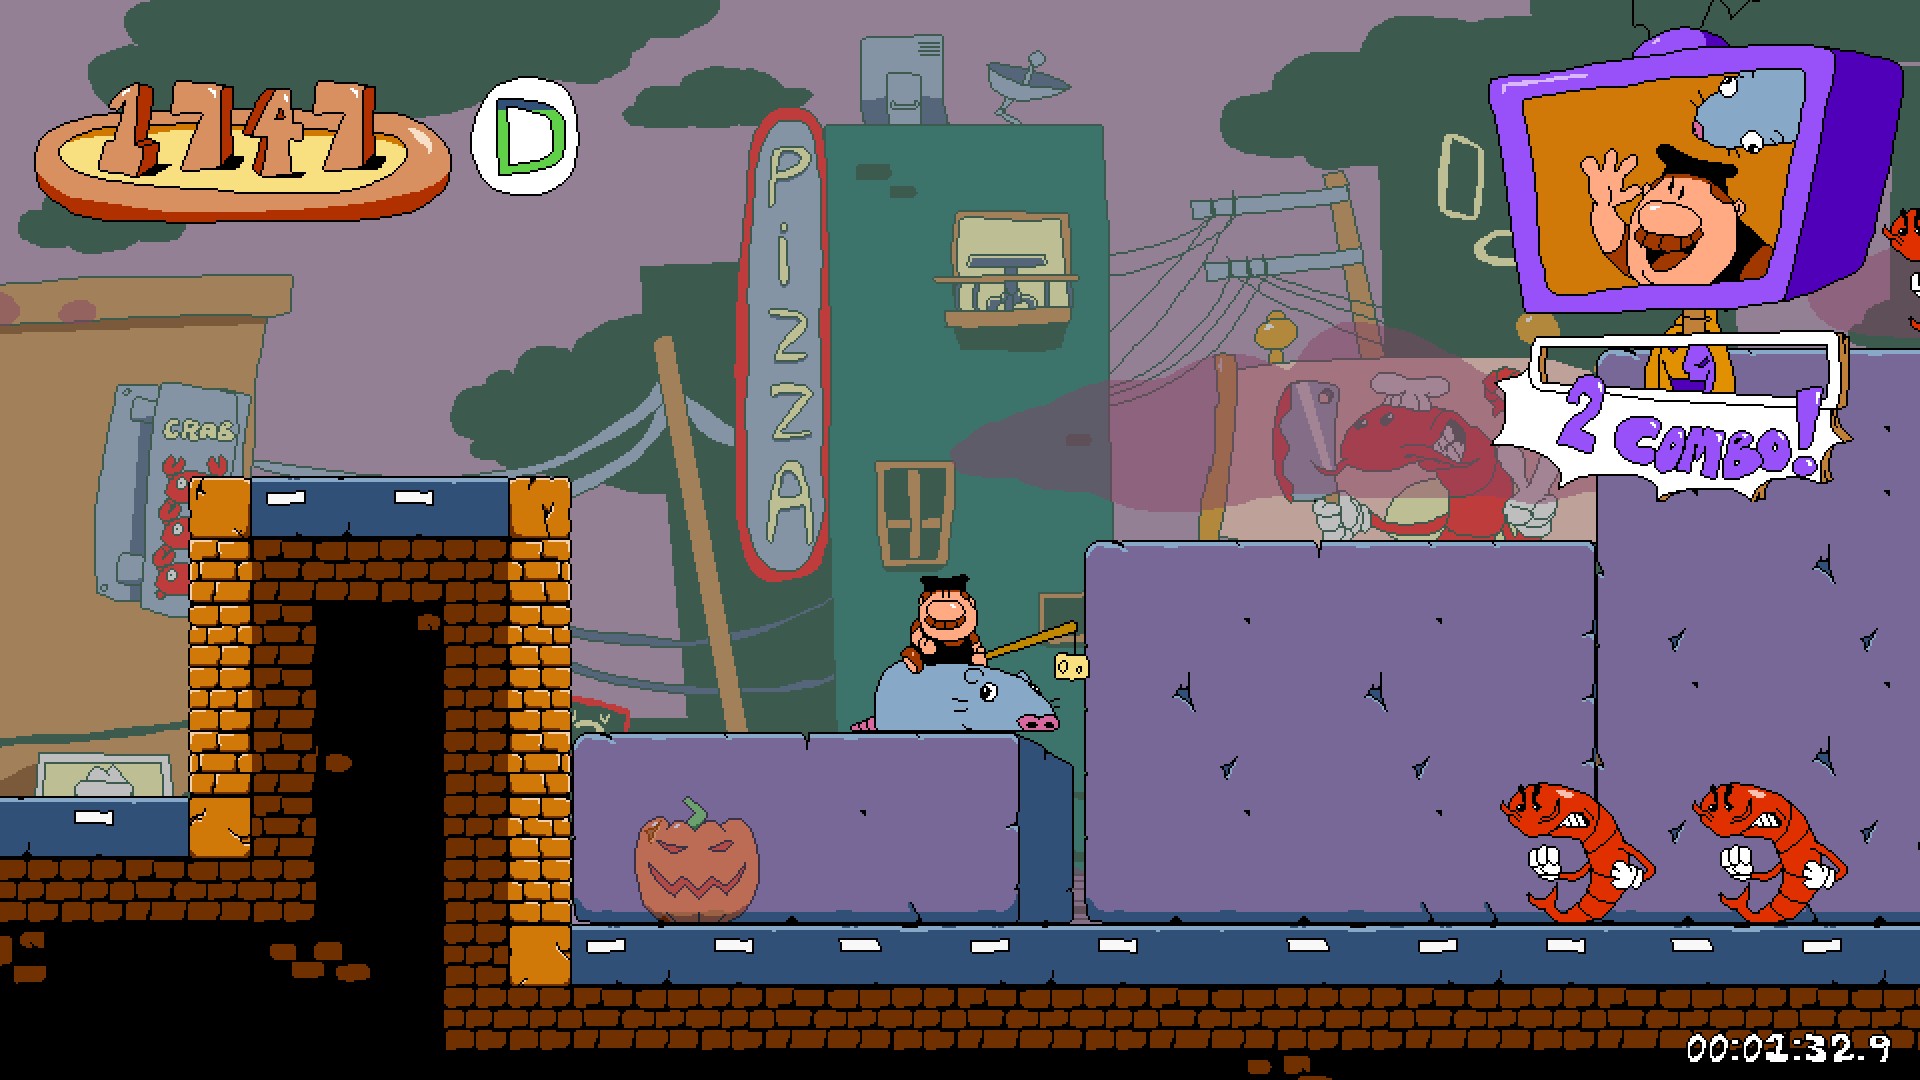
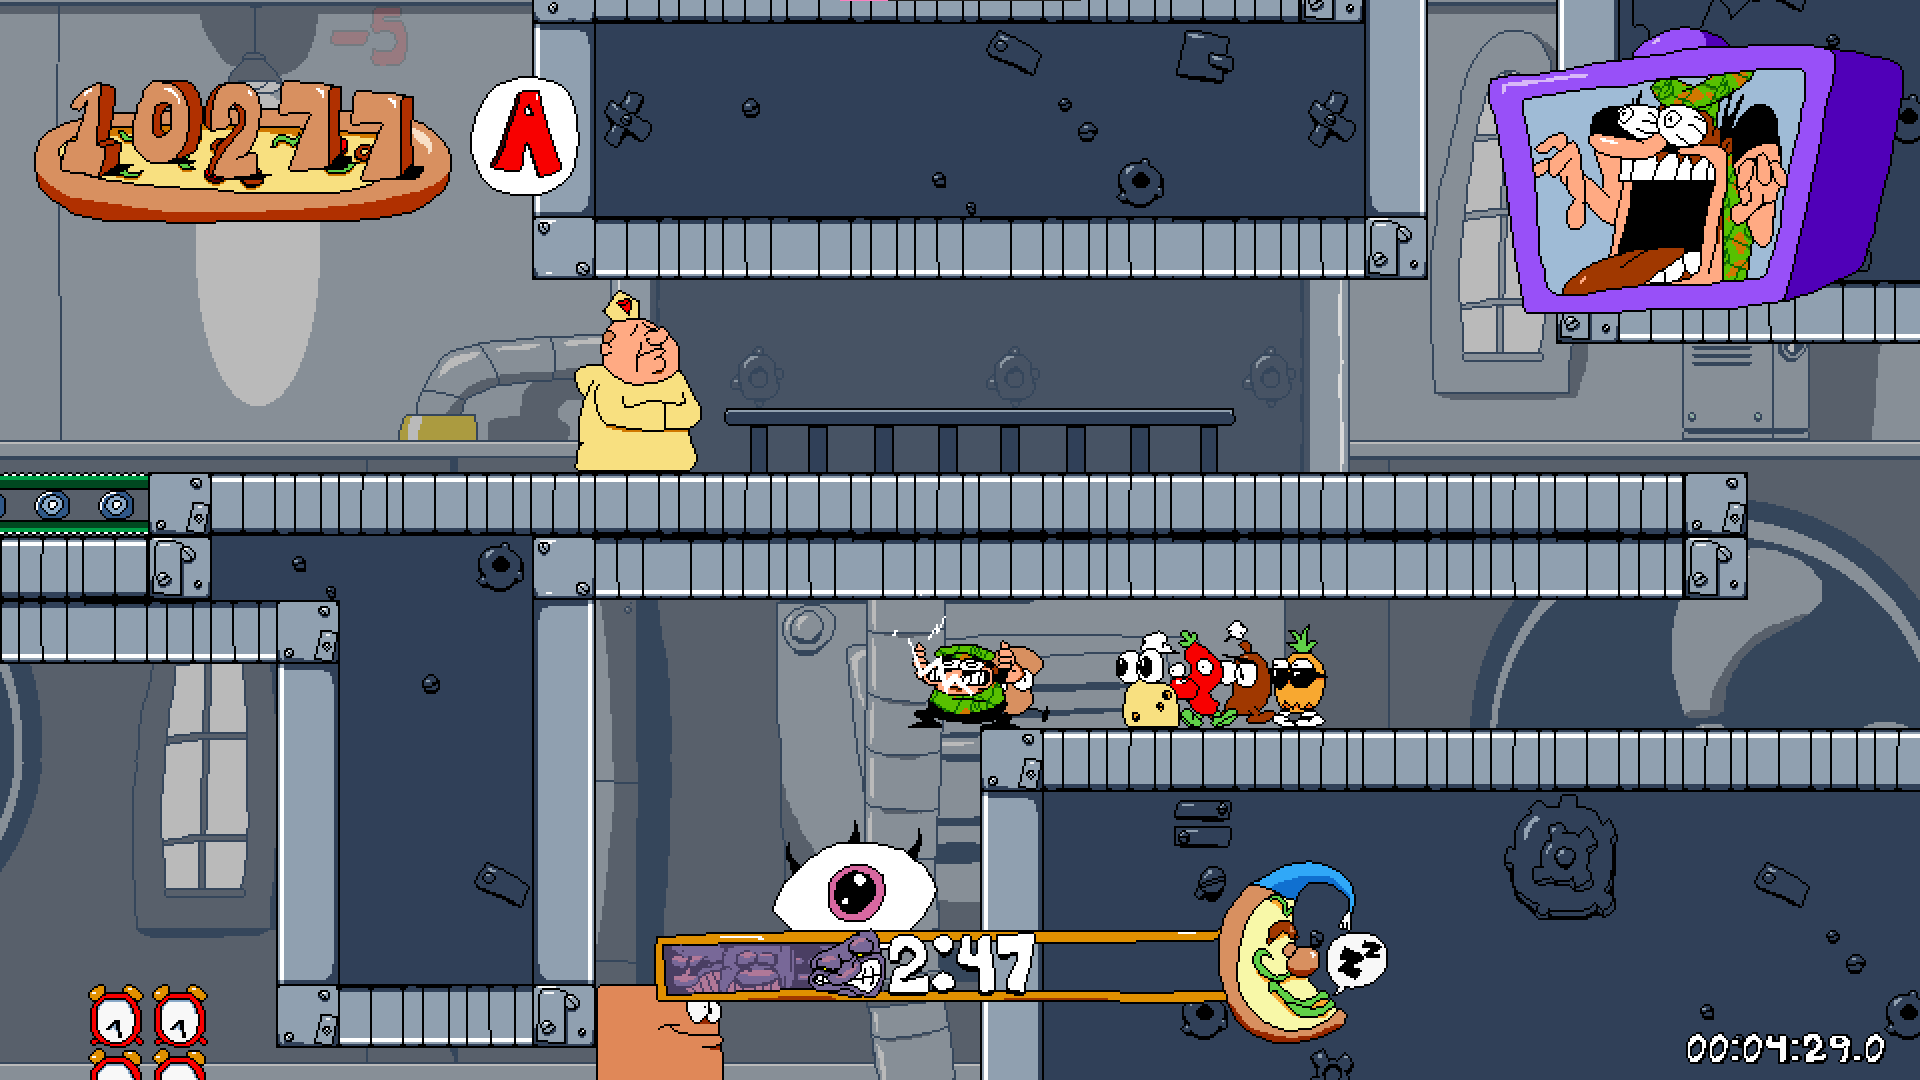
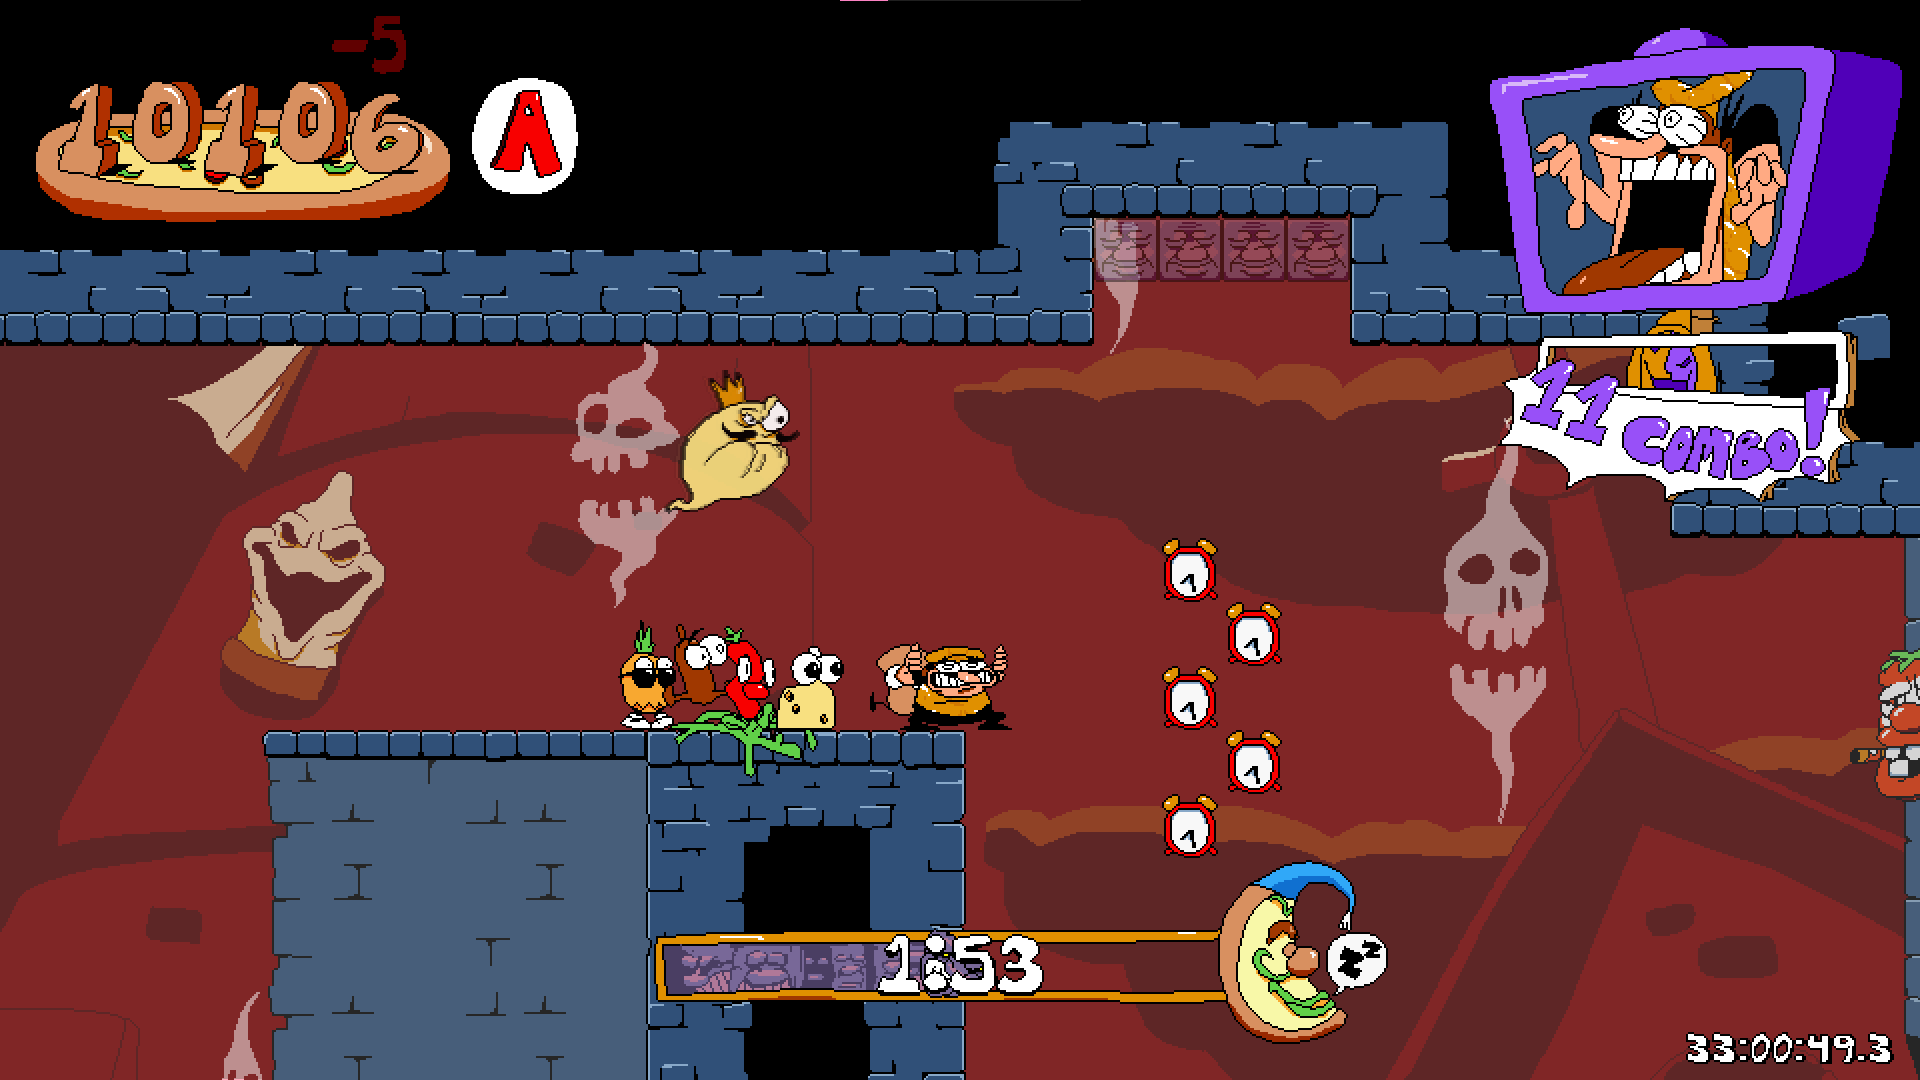
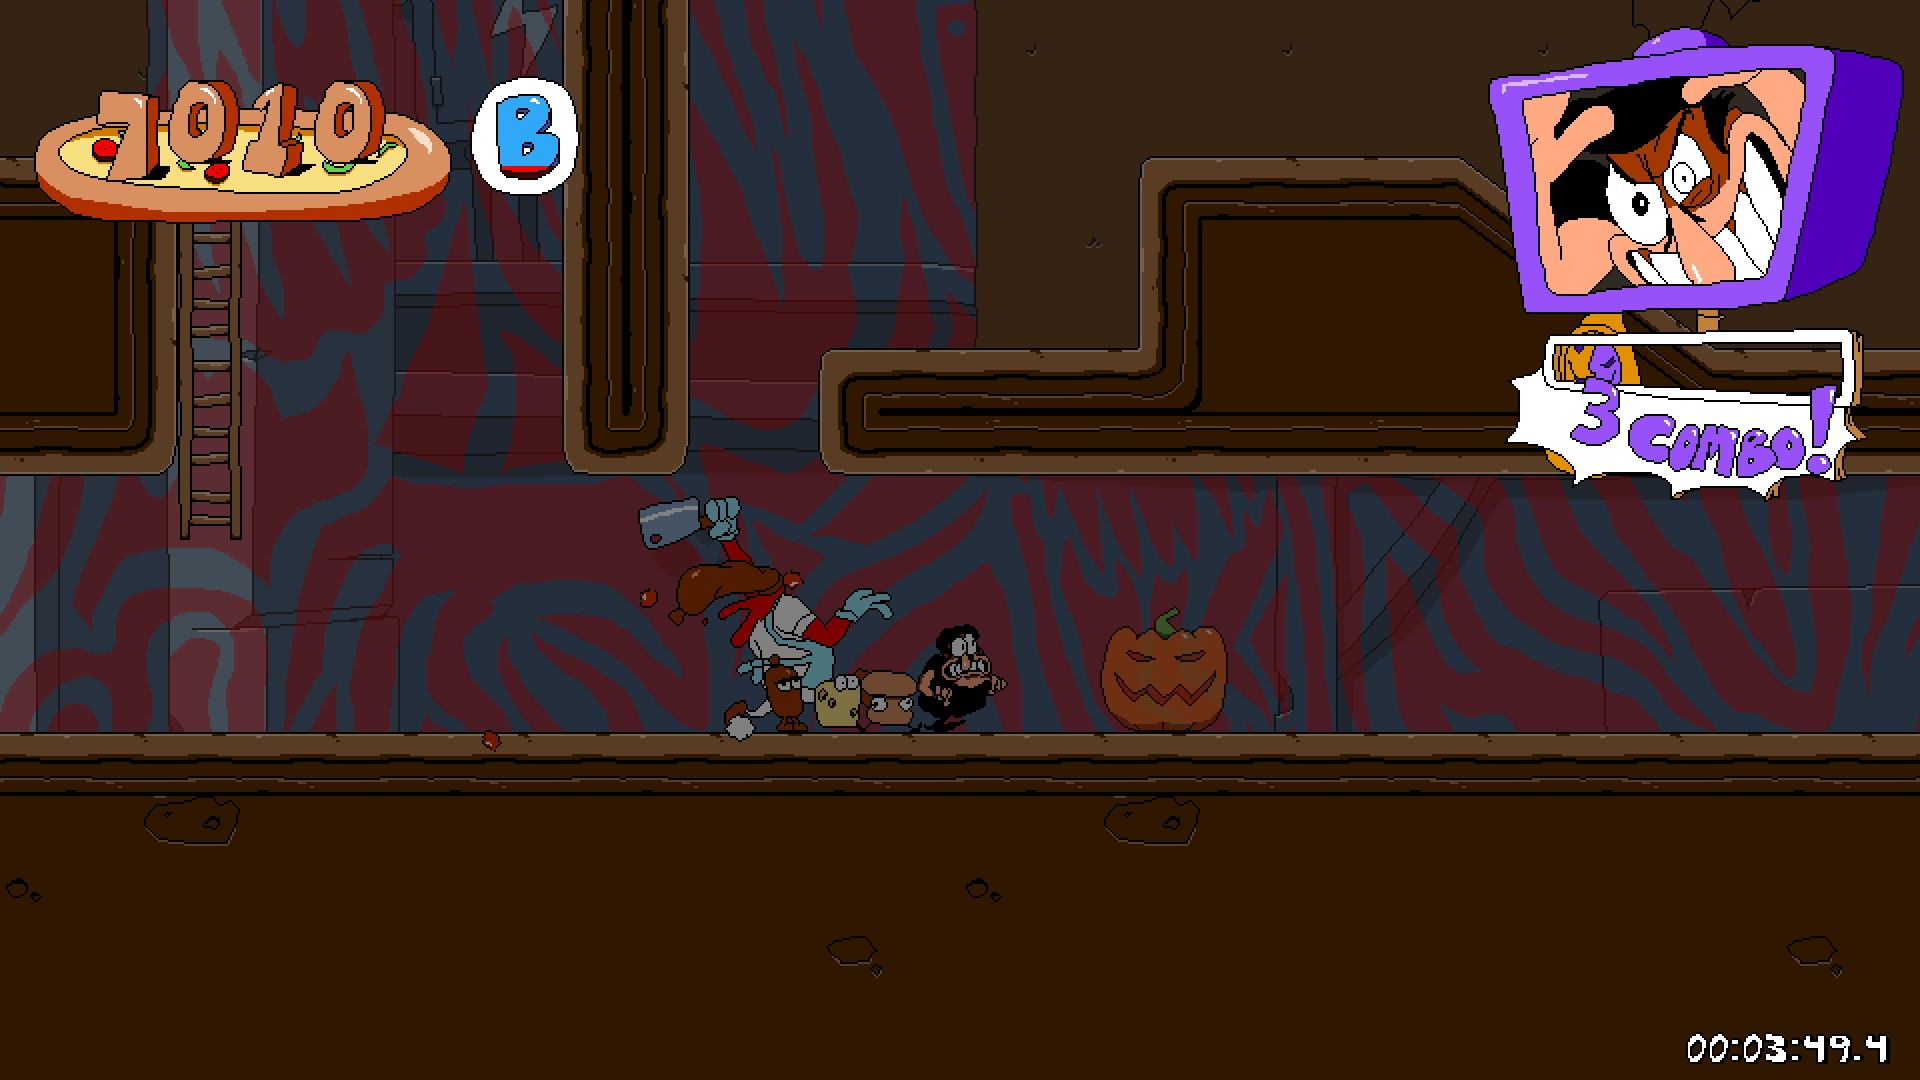
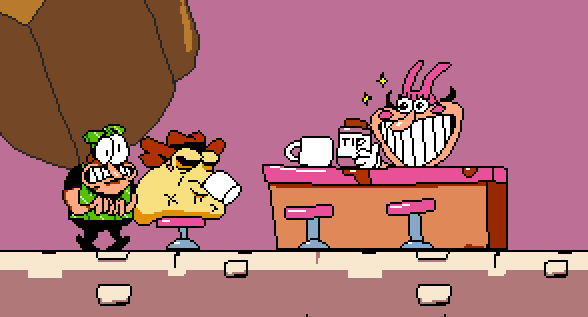
And at the one section where you have to run zigzag with the sausage and the rocking horse race, the button at the top often gets hit twice when run through. So better get of of the sausage slowly and just walk into the button, you'll have more than enough time for the sauce wall and even the rocking horse.
ZetDerp  [author] Apr 23, 2024 @ 2:50pm 
For the Halloween achievements you can just set your clock on your pc to a time when the Halloween event was live, I haven't tried it myself but I've hear it works.
Gato_Vulcânico Apr 23, 2024 @ 2:46pm 
i'm trying to get all the steam achievements of the game but there's a problem, the halloween achievements, since the halloween event already ended and i did not got the achievements, how am i supposed to get the achievements? and who the hell got the idea of permalizing the halloween achievements, now the game may be impossible to 100% because the event already ended.
franek.b14 Apr 21, 2024 @ 6:12am 
:bricktherat::lario:
DrummerDude Dec 27, 2023 @ 10:45am 
i need a 101% guide
ZetDerp  [author] Oct 25, 2023 @ 2:59pm 
@michipl96 nope, you can try an unlimited amount of times.
michipl96 Oct 25, 2023 @ 2:06pm 
if I screw up the achievement Tricksy? do i need to do a second file?
ZetDerp  [author] Oct 24, 2023 @ 2:41pm 
Typed out all the pumpkins and where they all are. If there’s is a mistake feel free to nerd emoji me about it.
ZetDerp  [author] Oct 24, 2023 @ 6:28am 
I’ve been reading about it and yes there’s is 1 per stage excluding the new stage which has 10. At this point all of them have been found so it’s a matter of just updating the guide, which will be in about 4 - 5 hours.
Markiplier Oct 24, 2023 @ 5:30am 
got both of the new achievements, the most that i can say is that 20 of the pumpkins are in the stages (1 for each) the last 10 are in the new pumpkin themed level (in floor 1)