Ghost Watchers

Ghost Watchers

Ocen: 31
Ghost Watchers Guide - Infinity Mayhem - UPDATED
Autorstwa: Schnipps
This guide covers the basic and mechanics of the game including:

x - Items - Bought and Found
x - Ghost Behaviours
x - Game Modes & Difficulties
x - How to find the Ghosts
x - How to Weaken and Capture the Ghosts
x - Tips

Information about locations will be covered soon!
2
3
   
Przyznaj nagrodę
Ulubione
Ulubione
Usuń z ulubionych
Navigating the Menu
The menu can be a bit confusing when first starting the game, but don't worry, once you use it once, it becomes incredibly easy to navigate.

Firstly press Tab and that will bring up your menu.

Research Tab

You will start in the Research tab. On the left hand side is where you put in your tool findings.


As you put in information you will notice on the right hand side some things will go grey.


As you get more info, eventually only one Ghost, one Age and one Mood will be lit.


Make sure to select each one before trying to enter the information into the device outside the van!


Weakening the Ghost Tab

When you do not have a Ghost selected, this tab will look like this


If you only have a Ghost selected this will show


Once you have the Ghost, Age and Mood selected the menu will show you the Weakening method, what Protection Items work and what doesn't work. It will also show you the tool you need to show the Ectoplasm if you have the Ectoplasm Collection Modifier activated.


Encyclopedia Tab

This tab simply shows the Ghosts and Tools in game. Simply click on each one and it will bring up the information


How to Play Tab

This tab does as its title says. It has pretty much the same information in this guide, I just try to go into more detail.

Lobby Area
When you enter the game, you will be spawned into the Lobby area where you can roam around and explore.

Here you will find a couple things.

1. Daily and Weekly Task Lists


This will show your tasks and how much of a reward you will get for each.


2. Game Menu


Click 'E' to get into the menu. Here you can change the game settings, map, modifiers etc


3. Bracers and Drone Desk


Here you can buy bracers and drones


4. Mic Testing Room


Test your microphone in this room. Located up the stairs behind main menu in the room on the right.


5. Equipment Testing Room & Equipment Room


You can see the effects of interference with radios. See the hot spot tempartures with tools.
Use the shop to buy items for free to test each one out. Location is up the stairs being the main screen in the room on the left.

The equipment room shows each item with a brief description of each one for you to read.


6. Mirror

Change your skin and purchase new ones here


7. Ghost Capsules


In the basement is the Ghost Capsule rooms. There are 4 rooms, each ghost in a room relevant to their level.
In each room, a ghosts has their own capsule. You can see how many of each you have captured and upgrade the capsule with money.


8. Lobby Customisation


Use this screen to buy customisation for your lobby area. Many things can be purchased including a dog and a cat!
Tools
Each time you start a hunt, you will get the basic tools for free. You will only recieve one of each, and if you want more, you will need to buy them. But keep in mind, you can only buy a certain amount of an item each hunt.


In Hand Tools
These are ones you must have in hand to use, some can work on the ground, but are too hard to use as such and you are just better off holding them till you have the thing you need.


Ground Tools
These are ones you can just place on the ground for them to work. For the Research tools you can just check on them every now and then to see if they have been used.
For other tools they will simply do what they do without interference. Some may need to be moved around depending on your needs but you can usually just leave them.


Protection Tools
These are ones that will protect you from being killed or used to hunt the ghost. Before choosing your protection items it is best to find out the type of ghost you have as some items work against some and others don't. You can also bring in the Plasma Absorber and Withering Light to get some protection as most ghosts hate at least 1.
Also, keep in mind that some items you may need later to weaken the ghost, but you can always buy the items if needed, but keep in mind that all items have a buy limit each hunt.


Permanent Bought Items
These are items you buy in the main screen. You will need at least $5,000 to buy each item.
Some are usefull items and some are skins.

  • $ = Not Basic item - Must be Bought
  • * = Needs Modifier Active

To keep up-to-date with any bugs, suggestions, ideas etc, I highly recommend joining the offical Discord. You can get help fast, see anything to be released and such.

https://discord.gg/NM7Vyekqt9
In Hand Tools
Flash Lights

Just use these to see, you can turn lights on around the locations, however, some ghosts like to turn them off and will go off themselves when a ghost hunts.


Thermometer

This will help detect the temperature of the ghost. When using it, make sure to be pointing it at the ghost as much as possible to get a proper reading, swinging it around will not help.
Does not work in Insane Difficulty


EMF Sensor

Just like the Thermometer keep this in your hand when the ghosts is around. It will either only light the first three lights on top, all 5 lights on top or will light all 5 on top and the 3 Red lights down the bottom.
Does not work in Insane Difficulty


Radio

Used to determine mood. Works both in-hand or put down.


UV Flashlight

Just walk around with it to see any footprints or bloodstains the ghost has left. However, after a while and you haven't seen any, then the ghosts has not left any.


Lighter

Just use this to light candles around the area, simply have it out, left click and go near a candle, it will light itself.


Particle Counter

Like the Thermometer and EMF Sensor you follow the ghost around to fill the meter. Once it is 100% it will tell you a number range.


Photo Camera

Simply have this in hand and left click to take a photo. This is mainly for getting extra $ from mini quests you will have in your van.


Video Camera

This is incredibly helpful for finding cursed objects and toys. Left click to turn on the night vision and look around the location. Cursed objects will have a cloud swirling around them. This is also used to get extra $ from mini quests in the van.


Ectoplasm Detector $ *

You must buy this item each hunt. This will tell you where the ectoplasm is if you have this modifier activated. Simply hold it and follow till the number is 0.


Ectoplasm Collector *

Once you find the ectoplasm simply hold this in your hand and hold left-click. As soon as you start the ghost will attack so either place a Magic Book, Plasma Absorber or Withering Light down to help protect you as you do. Make sure to use the proper one depending on the ghost you have.


Sanity Pills * $

You must buy these items. Simply left-click to eat them to keep your mental health up if you have the Sanity modifier activated.


Ghost Catcher

Once the ghost has been successfully fully weakened, simply left-click at the ghost and it will be captured.


A Syringe of Adrenaline

Inject this into yourself to speed up away from a ghost during it's attack.


First Aid Kit

Use this to replenish health.


Detector of Cursed Objects

Holding this will track the distance to the nearest cursed object. You can switch between targets (which will show on the screen) using your LMB.

Ground Tools
Ouija Board

Advanced Ouija Board is in In Hand Tools

Simply place this on the ground and the ghost will eventually move the pointer from side to side slowly, move the pointer around the board quickly or not touch it at all. Usually once all other research is gotten, if it isn't moving you can assume it won't.


Notebook

Advanced Tablet is in In Hand Tools

Simply place this on the ground and the ghost will eventually draw a skull, a person or doodles (scribbles). If you are close when it happens you will hear the ghost draw.
Does not work in Insane Difficulty


VooDoo Doll

Advanced VooDoo Doll is in In Hand Tools

Simply place this on the ground and eventually the ghost will raise it in the air, throw it across the room or not touch it at all. Same as ouija board you can assume the later after other research is gained.


Photo Camera with Tripod/Motion Sensor $

As with the basic camera simply place either one on the ground. If the ghost is within range the camera will take a photo automatically. The Motion Sensor version will face the ghost no matter where placed.


Video Camera with Tripod/Motion Sensor $

As with the basic video camera simply place either on the ground. If the ghost is within range the video camera will shoot it. The Motion Sensor version will face the ghost no matter where placed. You will also see the feed in the van.


Danger Detector $

Simply place this on the ground, when the ghost is nearby it will beep loudly.
  • Green = No Attack
  • Orange = Ready to Attack
  • Red = Attacking


Motion Sensor $

Simply place this on the ground and when the ghost is within range it will face it with a laser light.


Lighting System $

Simply place this on the ground for more light


Ectoplasm Developer * $

Simply place on the ground and you will see the ectoplasm.


Protection Tools
Remember: Not all items work with all ghosts, you must find the ghost type to know which items will work

On Normal mode, all protection items have 3 uses. On Nightmare mode items have 1 use.

Cross

Simply hold this in hand when the ghost attacks you. Has 3 uses.


Incense

Simply hold in hand when the ghost attacks you. Has 3 uses.


Holy Water

Left-click to throw at ghost when in front of you or holding (attacking) you.


Christ Statue

Simply hold this in hand when the ghost attacks you. Has 3 uses.


Salt/Fire Salt/Holy Salt

Left-click to throw at ghost when in front of you or holding (attacking) you.


Holy Fire

Left-click to throw at ghost when in front of you or holding (attacking) you.


Silver/Gold Bomb

Left-click to throw at ghost when in front of you or holding (attacking) you.


Withering Light

Simply place on the ground and when the ghost attacks it will activate. After each use it needs time to recharge. Has 3 uses.


Plasma Absorber

Simply place on the ground and when the ghost attacks it will activate. After each use it needs time to recharge Has 3 uses.


Magic Book

Simply place this on the ground. If the ghost is near it will raise in the air, if the ghost stays it will activate.


Flask with Vesuvius Ashes

Left-click to throw at ghost when in front of you or holding (attacking) you.

Advanced Tools
Advanced Thermal Imager

Needs Advanced Items Modifier

Used to determine the type of ghost. Activate with LMB. You will see the ghost and be able to determine it's temperature with the scale at the top of the screen.


Advanced EMF Sensor

Needs Advanced Items Modifier

Simply turn on with LMB and walk around. Remember it will need to recharge! It is also affected by interference from electrical applicances. To obtain true value, subtract background value (lower screen) from voltage (upper screen)


Advanced Radio

Needs Advanced Items Modifier

Used to determine mood. When near the ghost, it may answer you. Or ask ghost to talk to you using its voice. Can only answer on one frequency, so they must be switched between


Advanced Ouija Board

Needs Advanced Items Modifier

Used to determine age. Find the name of the ghost by using the UV Flashlight and select the correct option on the board.
To select names, use LMB while holding the board. If you make 3 mistakes, it will break.


Advanced Tablet

Needs Advanced Items Modifier

Used to determine type of ghost. Choose the question you want to ask, and the ghost will respond to one them with a drawing. Erase others and it may attack.


Advanced Voodoo Doll

Needs Advanced Items Modifier

Used to determine mood. Find the picture of a voodoo doll on the location for a hint on where to stick the needle correctly.
While holding, use LMB to stick the needle into the doll into the spot your think is correct.

Permanent Bought Items
To buy these, when in the main menu, click on the Shop button at the top right of the screen. Then simply select which menu you want, then the item you want. You will keep these items even if you die.


Bracers

Simple Bracer $5k

This Bracer will give you 50% Drag Protection


Improved Bracer $10k

This Bracer will give you 100% Drag Protection


Terminal State Bracer $20k

This Bracer will after death:
  • See a ghost
  • Its current aggressiveness by coloured smoke
  • See Wisps better


Skull Bracer $15K

This Bracer will give you 100% protection from losing items during ghost attacks.


Cargo Drone

Green Drone $5k

This drone will give you a constant light


Red Drone $6k

This drone will give you a constant light and a constant UV light


Orange Drone $12k

This drone will give you a constant light, UV light and an +1 inventory slot


Skins

Simply asthetic items, at writing this there is only 2 skins to buy and costs $5,000 each.


Found Items
You will find items around the location depending on if they spawn or if you have certain modifiers active.

Cursed Items

Cursed Mirror

This item can be found around the location. It shows you the view from the ghosts eyes. Be careful though as if you use it for a few seconds the ghost will attack you. It can be used multiple times per hunt.


Cursed Toy

This can be found at the location. It is simply there for an extra task for extra $. Simply pick it up and place it in your van. It can either be a Bear, Train or Abacus


Children's Blocks **

These can be found throughout the location, and once together, can build something to give you clues on to the ghost you have.

  • Human
  • Skull
  • Cross


Ritual Items *

These items are used for the Pentagram modifier. You will not find them without it active.
All items are found in random spots in the location.

Broken Watch


Dreamcatcher


Ritual Mask


Ritual Rose


Dead Mans Skull


* - Need Pentagram Modifier
** - Need Insane Difficulty
Locations
This section will show some pictures of each location and some hints about them.
Ghosts Behaviours & Mechanics
Ghosts Movement

Ghosts now don't just walk around everywhere, so you can't just place your research items near the door and find it, they will now choose a certain room. You must find the room it is in, but keep in mind, it can change room over time and will do so faster the longer you are there.


Ghosts Hunting

Attacks are divided into 2 types: Frightening & Murdering with their own animations.

  • Frightening: If the ghost screams and you do not defend yourself, you will slow down and your visibility will deteriorate
  • Murdering: If the ghost reproduces the animation of murder and you do not defend yourself, you will die.

To run away you will need A Syringe of Adrenaline to do so!
In Insane mode hiding does not work, you must run.


Ghosts Reactions to Objects

The ghosts will snatch and examine protective items. You cannot fully defend yourself against attacks, and must run away as far as possible as it examines the object

  • Protects & Weakens Ghost: More time to escape
  • Protects & Angers Ghost: Less time to escape

If you do not manage to get far enough away in time, the hunt will continue.


Mimicry

Ghosts that are rank 3 can imitate a player to hunt and kill you. Keep aware of who is around you and be careful of suspicious players.
To get away, simply throw an item at the ghost, run outside or into the van (dependent of difficult chosen)

Mind Steal

Rank 4 ghosts have a special mechanic. They will 'capture a players consciousness'. This just means you will be transported to 'the ghosts mind'.
You will then need to find your body and get as far as possible from the ghost.

If you fail to do so, the ghosts will attack, throw objects and kill you. There will be a warning sound for the impending chase.
The camera will always look at the player for an easy escape.

Unique Behaviors

Mood Behaviours

Mood
Locks You in a Room
Throw Items at You
Blocks Way with Furniture
False Attacks You
Calm
Yes
No
No
No
Concerned
Yes
Yes
No
No
Aggressive
Yes
Yes
Yes
No
Hunting
Yes
Yes
Yes
Yes


Age Behaviors

Age
Can Drag Your Items
Suddenly Appears
Can Repel Stationary Protective Items
Can Repel Throwable Protective Items
Young
Yes
No
No
No
Middle
Yes
Yes
No
No
Older
Yes
Yes
Yes
No
Ancient
Yes
Yes
Yes
Yes

Difference Between Frightening Attack and False Attack

A Frightening Attack is where a ghost will attack and scream in your face as if it is going to kill you. However, it will not kill you. You will be let go and have a slight red tinge to the outside of your screen and will be slowed down.
If the ghost attacks again like this while you are still in this state, you will then be properly attacked and can die.

A False Attack is where the ghost will come at you as if to do a normal attack but will not. It will stand there and then simply leave. It will not scream in your face at all.
Ghost Location Interactions
This table shows how each ghost interacts with a location. What they do and don't do.

Ghost
Extinguish Candles
Light Candles
Turn Bulbs Off Only
Turn Bulbs On Only
Turn Bulbs On & Off
Turns on Water Taps
Interacts with Doors
Opens Doors Only
Throws Objects
Move Objects in Room
Player Level
Babadook
Yes
No
Yes
No
No
Yes
No
No
Yes
No
20
Black Death
Yes
No
Yes
No
No
No
Yes
No
Yes
No
30
Countess
No
Yes
No
No
No
Yes
No
No
Yes
No
20
Clown
No
No
No
No
Yes
Yes
No
Yes
No
Yes
20
Child
No
No
No
No
Yes
Yes
No
No
No
Yes
Any
Darkness
Yes
No
Yes
No
No
No
No
No
No
Yes
Any
Demon
No
Yes
Yes
No
No
No
No
No
Yes
No
10
Dream Devourer
No
Yes
Yes
No
No
Yes
No
No
Yes
No
10
Drowned
No
No
No
No
No
Yes
Yes
No
No
No
Any
Gallows
No
No
No
No
Yes
No
No
No
No
Yes
Any
Ghoul
Yes
No
Yes
No
No
No
No
Yes
Yes
No
20
Iron Maiden
No
Yes
Yes
No
No
Yes
No
No
No
Yes
30
Jiangshi
Yes
No
Yes
No
No
No
No
Yes
Yes
No
Any
Krampus
No
Yes
Yes
No
No
No
No
Yes
No
Yes
20
Kuchisake Onna
Yes
No
No
No
Yes
Yes
Yes
No
Yes
No
10
Mummy
Yes
No
No
No
No
No
No
No
No
Yes
30
Nun
Yes
No
No
No
Yes
Yes
No
No
No
Yes
10
Poltergeist
No
No
No
No
Yes
Yes
No
Yes
Yes
No
Any
Puppet
Yes
No
No
No
Yes
Yes
No
No
No
Yes
10
Vampire
Yes
No
No
No
No
No
Yes
No
No
Yes
10
Wendigo
No
No
No
No
Yes
Yes
No
No
Yes
No
20
Difficulties
Difficulties


Difficulty
When Dragged
Protection Items
Front Door in Attack
Electronic Tools
Outside
Normal
Keep Items
3 Uses
Unlocked
Cannot Break
Safe
High
Drop Items
3 Uses
Can Lock
Cannot Break
Safe
Insane
Drop Items
Many Only 1 Use
Can Lock
Can Break
Not Safe


Basic Difficulty

The basic game is simple.

All you must do is complete the Research to find the Ghost Type, Mood and Age. Once you have found those, weaken the ghost then capture.

I have outlined how to find the Research information.

Once you have done that, click over to the 'Weakening the Ghost' tab and follow the list that shows. Do the list in order to weaken the ghost.


Hard Difficulty

Same premise as Basic difficulty, however you can lose your tools when the ghost takes you away and the door can be locked during an attack.


Insane Difficulty

Same premise as Basic, however you will have to change how you determine EMF and TEMP. The ghost also does not touch the Notebook.

To determine the TEMP, carefully watch the any electrical appliances (radios & televisions), the ghost can turn them on and give clues.

To determine the EMP:
  • EMP 3 - Weak intermittent noise from it
  • EMP 5 - Strong noise from it
  • RED 3 - Strong noise with sparks from it

To determine the TEMP:
  • Very cold - Steam from players mouth, sound of a strong chill
  • Cold - The sound of a slight chill
  • Very hot - The sound of strong shortness of breath & liquid on screen

Instead of the Notebook you will require the Children's Cubes. They are scattered throughout your location and can be in multiple places. Find them and the ghost will show you something.
The three possibilities are:
  • Human
  • Skull
  • Cross

Tracers will also not appear immediately but will after a while.

On normal difficulty. you will not lose items while being attacked in the mind stealing phase.
Modifiers
Modifiers are game modes you can activate to make the game more difficult, however they give extra Money and EXP so they are worth it.

Ectoplasm Collection Modifier

This modifier adds the job to collect 'globs' of ectoplasm around the location. There are 3 to collect, 2 are in random locations but the 3rd is only dropped by the ghost when it is scared away.
When you discover the type of ghost you will be given the knowledge of which tool shows you the ectoplasm.

It is up to you how you collect it, before of after weakening etc but remember, the ghost will attack you when you start collecting it. It is best to place down protection items so you can collect it. If you stop collecting, you will lose your progress and have to start again.

What the orbs look like when revealed


Once your Ectoplasm Collector is 100%, go back to your van and left-click just below the Ghost Catcher to deposit the ectoplasm. Do this 3 times and your Ghost Catcher is ready.

Note: At the present time, people are having difficulties with the ghost not dropping the 3rd orb. I will post fix suggestions as I find them.

Update:
To get the third ectoplasm from the ghost, a user named Terra on the Discord has suggested this:


Normal: +600$ +500*
Hard: +800$ +500*
Insane: +1000$ +500*


Pentagram Modifier

This modifier adds a ritual you must perform after all other weakening processes have been completed. Just complete the Basic Weakening process like normal, then, as you roam the location, you will find the items needed for the process.

You then perform the ritual and then you can use your Ghost Catcher to capture the ghost.

This is what a pentagram looks like. It will have a red lock in the middle with the Ectoplasm modifier activated also.


These are the items needed to perform the ritual, they are randomly around the location:

  • Broken Watch
  • Dreamcatcher
  • Ritual Mask
  • Ritual Rose
  • Dead Mans Skull


⠀⠀


Normal: +600$ +400*
Hard: +800$ +500*
Insane: +1000$ +600*


Sanity Modifier

This is simply an added difficulty. You simply need to keep and eye on your sanity and make sure to take pills to stay sane.
Once your sanity is 0 your protection items may not work and you will die anyway.

I have had reports from some that the price of pills is not worth it at the moment. I will update accordingly.

Normal: +700$ +300*
Hard: +800$ +400*
Insane: +1000$ +500*


High Rank Modifier

Experienced players can play with this modifier to only catch ghosts of rank 2 and 3. You must have the correct levels to get them however.

Normal: +0$ +0*
Hard: +0$ +0*
Insane: +0$ +0*


Run or Die Modifier

Ghosts now have a special hunt in which protection items do not work and you must either hide or run. They will also show an effect when they are invulnerable, so keep an eye out for that.

Difficulty
Player Slowed
Protection Works
Hiding Works
Normal
No
Yes
Yes
Hard
Yes
No
No
Insane
Yes
No
No

Normal: +400$ +400*
Hard: +500$ +500*
Insane: +700$ +700*


Battle Royal Modifier

This modifier lets you compete against other players to catch the ghost. In this mode, items are scattered throughout the map, and any ordered items will drop randomly. Each player must identify the ghost and materialize is to get the opportunity to see the ghost catcher.
Whoever catches the ghost first, wins!

Normal: +800$ +400*
Hard: +1000$ +600*
Insane: +1200$ +800*

Advanced Items Modifier

This modifier will replace some devices with new ones with advanced mechanics. A fun way to diversify your gameplay.

Advanced EMF:
Turn it on using LMB. The top screen will show a number when you find a EMF spot. However, it will be affected by background noise (Tv's, radios etc).
To get the true value, subtract the number on the lower screen, from the top screen.


Example: True value is 3 as we subtract 2 from 5. It also needs to recharge so be careful


Advanced Thermometer
Turn it on using LMB. The screen will be in night vision, and as a ghost appears on it, it will show as a colour.
Match the colour of the ghost to the chart that runs on the top on the screen to get it's value.

Example: The colour of this ghost is blue/purple. So the temp is -20 .. -10 Celcius


Advanced Radio
This one works like the normal radio, except you need to manually change channels between 4. The ghosts will only answer on some, either if it is nearby or you ask them to.


Advanced Tablet
Pressing LMB will open up a menu with questions. Select a question and it will drop on the ground.
If you ask the wrong question, the ghost will erase it and get angry, so be careful.
If you ask the right question, it will draw an appropriate picture.


Advanced Voodoo Doll
Press LMB to stick a needle into it. You only have 3 attempts to put it in the correct location, if all 3 wrong, the doll will burn. Each wrong stick angers the ghost and it can attack!
You can find a clue on the correct spot at the location.

The locations you can stick the needles after clicking LMB

Found on one of the walls on the location

I am still figuring out exactly what this one does, I will update as soon as I do


Advanced Ouiji Board
Use LMB to choose the correct name of the ghost. Explore the location with the UV Light to find the name. You have 3 tries before the board will break.

The name on the location


Showing choosing the name


Advanced Particle Counter
Use LMB to toggle the current radiation. You need to be near the ghost the catch the particles.
The correct answer will be the maximum value from all the radiations.


The count would be 500 - 1000 as 672 was the highest number of the 3


Crisis

This modifier will remove the original items and limit the amount you can purchase in your store.
This can be a great modifier to get more money and experience, but be careful with your spending.
Research (Finding The Ghost)
To catch the ghost, you must find the Type of Ghost, Its Age and Mood. Each hunt you will receive all the items needed to find these, you do not need to actually buy items for this.
The only reason to buy items is extra protection, automation or you used something accidentally or need an extra for the weakening process.


Ghost Type

To find the Ghost Type you need to find:

  • Temperature - Thermometer
  • EMF Level - EMF Sensor
  • Footprints - UV Light
  • Drawings - Notebook

Thermometer options are:

  • -20 to -10 C or -4 to 14 F

  • -5 to 5 C or 23 to 41 F

  • 45 to 55 C or 113 to 131 F

Make sure to pay attention to the temps as it will show -0.9 and sometimes you can mistake that for -9.


EMF Sensor options are:

  • 3 - Only the first 3 lights on top will light up

  • 5 - All 5 lights on top will light up

  • RED3 - All 5 lights on top plus the 3 RED lights at the bottom will light up


Footprint options are:

  • Doesn't leave Traces - Usually gather the other 2 first and after time you can make this choice
  • Bloodstains - You will see splatters on the ground
  • Footprint - You will see a singular footprint on the ground

Notebook options are:

  • Doodles - You will see the page filled with scribbles

  • Skull - You will see a skull on the page

  • Human - You will see a human figure


Ghost Age

To find the age you need to find:

  • Particles - Particle Counter
  • Ouija Movement - Ouija Board

Particle Counter options are:

Simply let the counter get to 100%

  • 100 - 500

  • 500 - 1000

Ouija Board options are:

  • Doesn't interact - Usually gather the other 2 first and after time you can make this choice
  • Moves from Side to Side - You will see the pointer slowly move from side to side

  • Moves Randomly - You will see the pointer quickly moving around the board


Ghost Mood

To find the mood you need to find:

  • Radio Sounds - Radio
  • VooDoo Movement - VooDoo Doll

Radio options are:

  • Crying - You will hear a child crying


  • Growling - You will hear demon like growling

VooDoo Doll options are:

  • Doesn't Interact -
  • Throws a Doll - You will see the VooDoo Doll fly across the room or be in a different spot if you don't see it
  • Raise VooDoo - You will see the VooDoo Doll raising up in the air repeatedly

For the Doesn't Interact options, there are a few things you can do. For the Ghost Type if you find the other 3 then you don't need the Footprints.
For the Ouija Board and VooDoo Doll I simply guess sometimes. I take my time wondering the building looking for toys and the mirror if they have spawned, or completing the extra mini-tasks in the van.
By the time I am finished if they haven't been touched I just assume the Doesn't Interact option.

You can also use certain phrases to talk to the ghost, be careful however as some can lead to consequences:

  • Ghost can you talk
  • Ghost give us a sign
  • We are friendly
  • I am friendly
  • We will catch you
  • I catch you
  • Ghost tell about yourself
  • Ghost show yourself
  • Ghost take a voodoo doll
  • Leave a note


Once you have found all your research, you can then go to the large device outside your van, input your information and start the device, the ghost will then Materialise.

Unique Behaviours
Each ghost has behaviours unique to themselves. These behaviours only manifest once the ghost has been manifested itself. Make sure to watch out for each one as most can hurt and kill you.

The Babadook

Attack
Blades extend from the wall that cause damage.
Eyes appear on the wall that kill after looked at for too long.

Weakness
Use magic powder to stop it attacking for some time.


The Child

Attack
Clones will appear that will attack when looked at. Run away if this happens.

Weakness
Walk past with a toy and it will follow. Drop the toy and the child will stand next to it for a while.
Do not walk too long with it or the child can attack.


Bloody Countess

Attack
Tombstones appear that link a beam to a player. Use a camera to see them and then break them.

Weakness
Hold a cross to not receive damage from the beam.


Clown

Attack
Red balls appear on the map. Use a torch or throw objects at them to make them burst.

Weakness
Use fire damage and it will hide for a while.


The Darkness

Attack
Plunges players vision into darkness. Can also teleport player during this.
Do not speak, turn on light or open a door during this period or you will be attacked.

Weakness
More lights on, the less often the attacks and vise versa.


The Demon

Attack
Fire pentagrams will appear. You will take damage if stepped in. The fire will go out by itself over time.
Can also attack players with his sword.

Weakness
The less fire lit in the building, the less often the attacks.


The Dream Devourer

Attack
Can steal a players consciousness and move them into a smaller version somewhere in the location. Run back to your body to go back to normal.
If all players lose their consciousness, the game ends.
single players can lose it as much as possible without losing

Weakness
Use camera flash to slow its movement while also lowering the number of attacks for a while.


The Drowned

Attack
Your screen will fill with water. Find the clone of the ghost near a water source (sink, shower etc), to get rid of the affect.

Weakness
Turn off water sources to lower the amount of attacks.


The Gallows

Attack
Ropes will appear from the ceiling. If touched, a rope will be put on your head. Spin left and right to remove it.

Weakness
Run past the ghost with an incense to have him hang himself for a while in a random place.


The Ghoul

Attack
A black crow appears and croaks 15 times. Once done, it will fly to nearest player and kill them.
Run and and scre it off before it kills your or run away into the street or another part of the building.

Weakness
Slowed down by the motion sensor.


Iron Maiden

Attack
Iron capsules will appear on the location that the ghost can appear in. The make them disappear, a player must stand in them and take damage.
If a ghost appears in one, it will reset two of its weakens and they will need to be redone.
When one appears, a sound will also go off to alert players. They can be found with the naked eye.
They are represented by a full-fledged model of the iron maiden, engulfed in green ghostly fire.

Weakness
If it sees a statue of Christ, it can teleport to this place and stay there for a while. The statue will then be destroyed.


The Jiangshi

Attack
A melody box will start playing. It will play on and off, if you move while it plays, you will take damage.
Find the box and get close to slap it and destroy it.

Weakness
Step in magic powder to slow him down and make less aggressive.


The Krampus

Attack
A snowman will spawn and wander the location at speed slower than the player. If touched, you will take damage.

Weakness
The closer the target, the slower her runs.


Kuchisake Onna

Attack
Will approach the player and ask questions, depending on the answer is how she will respond:

Question: "Am I beautiful?"
Answer: "Yes" or "No"
Result: She will attack

Answer: "Let Me Think"
Result: Prepares to attack and you need to run

Give her a magic mirror to prevent the attack, she will then hide the mirror.

Weakness
Slows down near the magic mirror.


Mummy

Attack
Scarabs will spawn around the area. The screen will fill without the same amount crushed.
If the number exceeds a certain amount, the ghost will remove two debuffs from itself and spawn a large scarab in a random location.
If the large scarab is approached, it will die.
They will disappear over time.
Avoid crushing the scarabs.

Weakness
If you crush a scarab near the ghost, it will slow down and cannot attack for a while.
Suggest to crush one near the ghost to slow it down, but to avoid the debuffs being taken away


The Nun

Attack
May start a prayer. Listen to it carefully.
Letters will appear on the wall, select them in the correct order.
Answer incorrectly or take too long and you will take damage.

Weakness
Will slow down near the crucifix and Statue of Christ.


Black Death

Attack
Can create swamp that will slow down and cause damage to the player. Can burn it with holy fire.
Fluid may flow down the walls that will turn into slurry on the floor. If run past, hands can appear and cause significant damage. Can defend yourself with fire in your hands.
If several liquids appear they can combine in to one large one.

WeaknessNot sure this counts as weakness
When the plague swamp is destroyed, the ghost may begin hunting.


The Poltergesit

Attack
Can create ghostly copies of objects and throw them at players.

Weakness
Pull doors near the ghost to slow it down.
If you do not interact with doors for a long time it will become more aggressive.


The Puppet

Attack
Can create small puppets that run after the players and hit them. Use a large flashlight or lighting system to destroy them.

Weakness
Less likely to attack when holding a torch.


The Vampire

Attack
Can start sucking blood and life from a player that will cause damage. Run away or us protection items.

Weakness
Almost never attacks players when they are close to each other.


Attack
Periodically locks players into wooden cages. Destroy the shards that appear and it will disappear.
The Wendigo can stand nearby during this attack.

Weakness
Slows down when near fire.


Weaken and Capture the Ghost
Now that the ghost has been Materialized, you can now weaken it. I will write down the process for Basic and Modifiers. If you have multiple modifiers active, the process is the same you just have to do them in order, as such:

  • Basic - Simpy Materalise, Weaken then Capture the ghost
  • Ectoplasm Modifier - Basic process + collect ectoplasm before capture to power Ghost Catcher
  • Pentagram Modifier - Basic Process + Pentagram ritual before capture
  • Sanity Modifier - Basic Process however protection items may not work at 0 sanity

If you have both the Ectoplasm and Pentagram Modifier activated, you must collect the ectoplasm before the pentagram ritual


Basic Weakening

Once you have materialized the ghost, a list will appear in the 'Weakening the Ghost' tab.

Example:

  1. Materalise Ghost
  2. Fire Salt
  3. Turn on 5 Lights
  4. Holy Water
  5. Turn off all lights
  6. Salt
  7. Capture Ghost

Simply follow the list in order to weaken the ghost. For ones such as 'Turn on 5 lights'/'Turn off all lights' etc, you can do these while walking around while completing others.

So if you have turned on 5, then throw Fire Salt at the ghost when you see him, you will see the completion message come up after the fire salt one.
Wisps - Come back from the Dead
Wisps are a way for players to revive after death. You will need to collect a certain amount of these ghost lights to do so.
The amount of Wisps on a location are limited. So you cannot keep reviving.

An example:
Played solo on normal difficulty. Died and collected 5 Wisps and came back to life. Died again to find no more Wisps so the game ended.

If a player dies, revives and then manages to capture the ghost, a penalty is imposed. That player will only receive 50% of the reward, so still be careful!
Tips
This section will have a list of tips to remember about little things within the game.

  • You must collect ectoplasm before doing the Ritual (if both active)
  • Lights turned on by dead crew members do not count
  • Taps turned on by dead crew members do not count (still checking)
  • The ectoplasm detector will show 3 ! if there is no ectoplasm to collect on the map
  • Use the video camera to see the green cloud around objects
Updates
As I play the game I will update the guide accordingly.

And if anyone knows anything, has any hints or bugs, please let me know so I can adjust it.

Added
  • November 2024
    • New ghost - Clown
    • Lobby customisation
    • New Modifier - Crisis
    • Unique behaviours for all ghosts

  • December 2023
    • Redesigns and new skins
    • Fixed/updated sounds, effects and bugs
    • Added new Ghost
    • Added new settings

  • August 2023
    • Rank 4 Ghosts Mechanics
    • Ghosts reaction to defense items info
    • Added level to ghosts information table
    • Added Iron Maiden to ghosts information table

  • Feb'23
    • Added Ghost interactions
    • Added new game mode information
    • Added ghost behaviors
    • Added new item information
    • Added new hunt information

  • '22
    • Added a current bug section
    • Added some new photos
    • Updated on ectoplasm collection method
    • Added a Tips section
Komentarzy: 11
jadse 14 kwietnia o 12:06 
Hi,
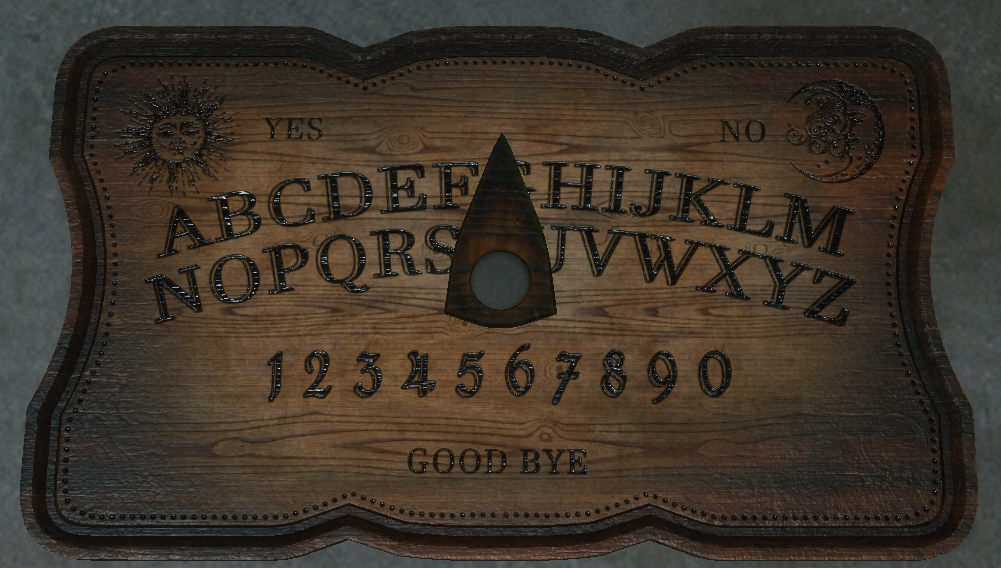
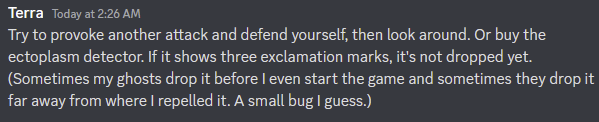
"Ghost Location Interactions" in the title. "Mad Doctor" not on the list.
ActustheKaktus 2 listopada 2024 o 16:54 
thanks a lot for the guide! Does anyone know what goes on the shelves in the basement and how to get to the items?
BAŁZONUS 12 czerwca 2024 o 14:35 
For Advanced Voodo Doll, you have to find voodo like picture marked on furniture/wall on location. Example of picture https://ibb.co/bgtjZqd
Schnipps  [autor] 20 kwietnia 2024 o 20:06 
Update April 2024

- Re-worded some things
- Made Difficulties, Modifiers and Wisps their own sections
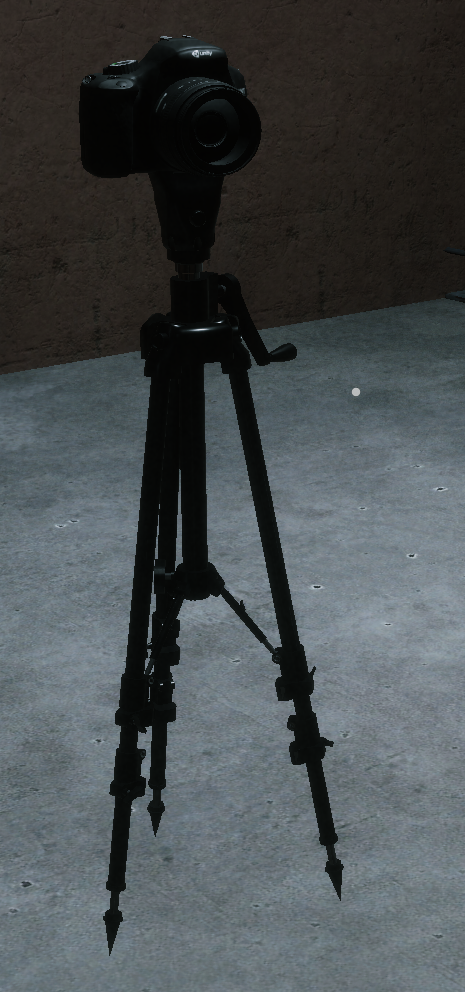
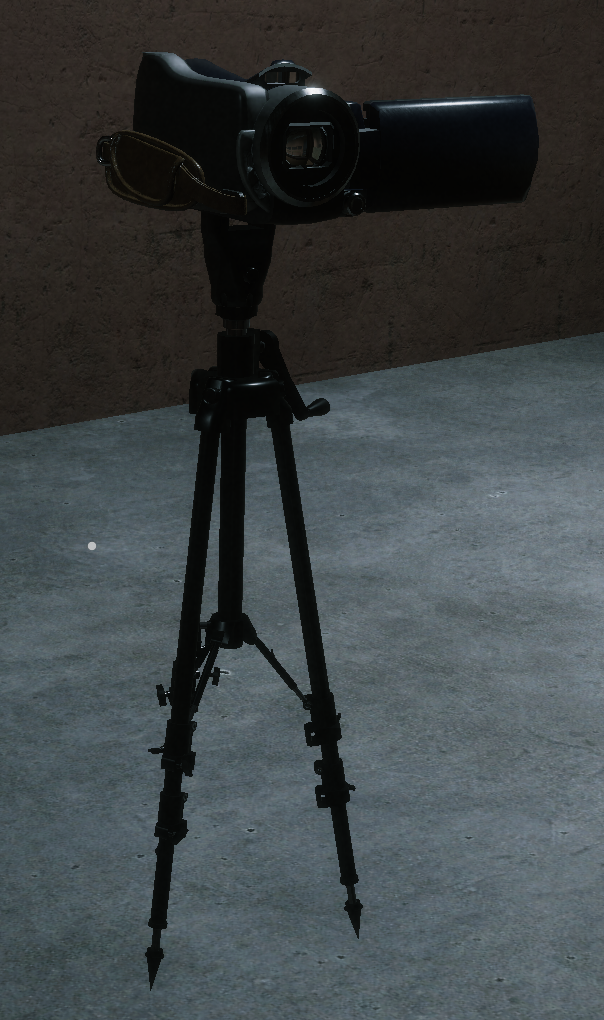
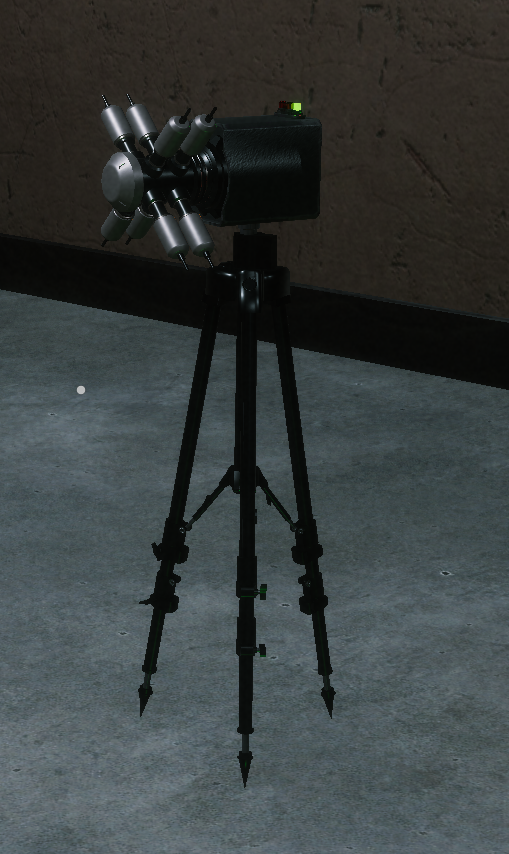
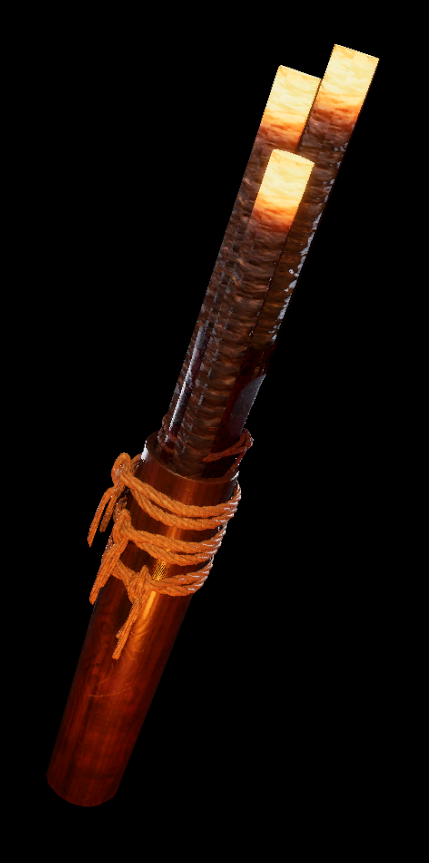
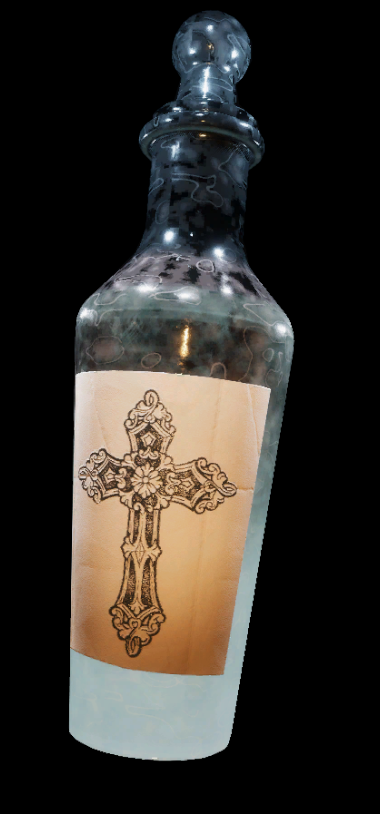
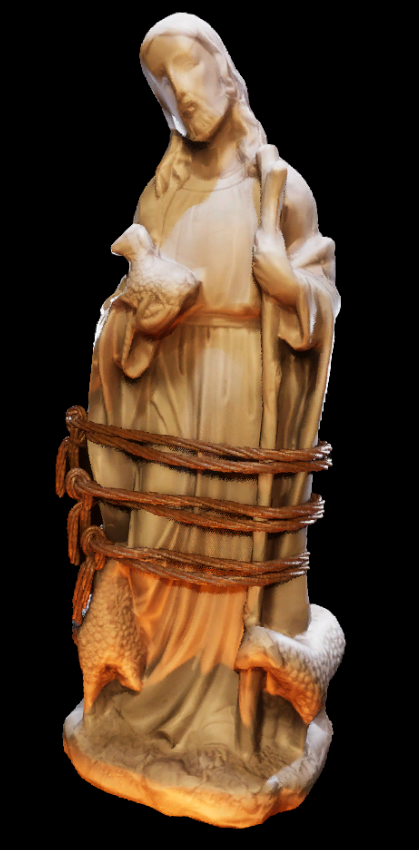
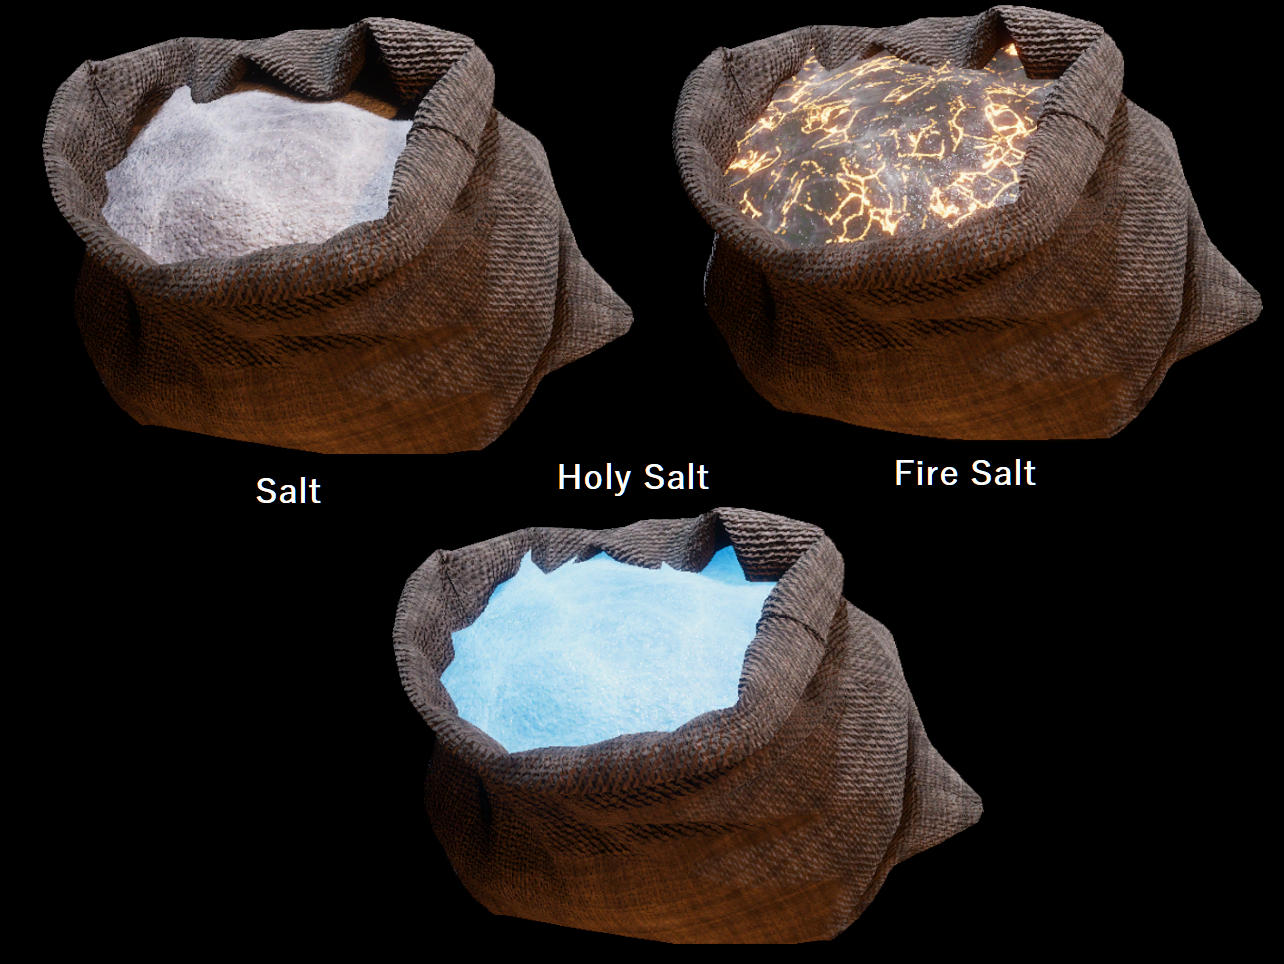
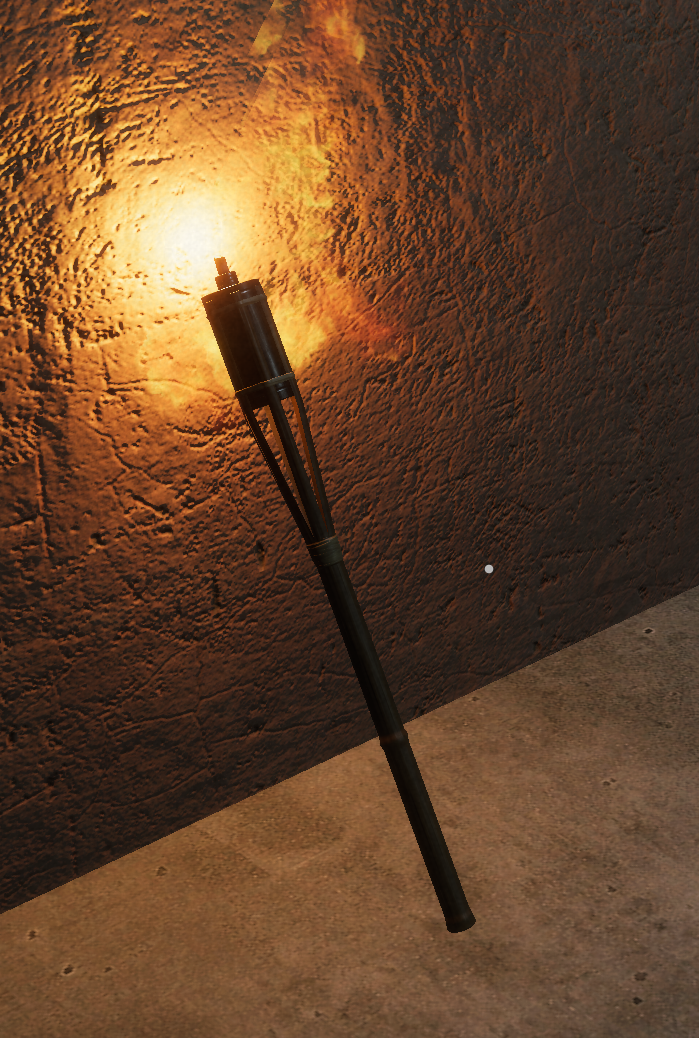
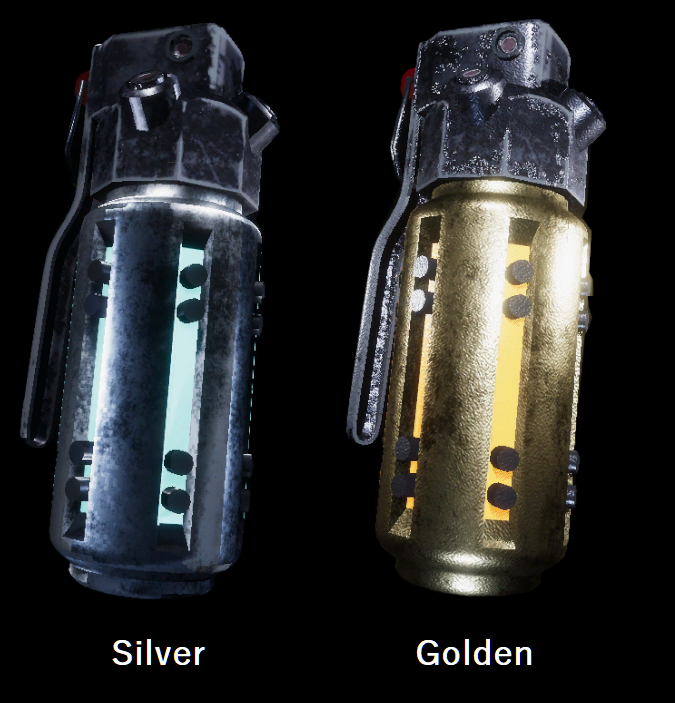
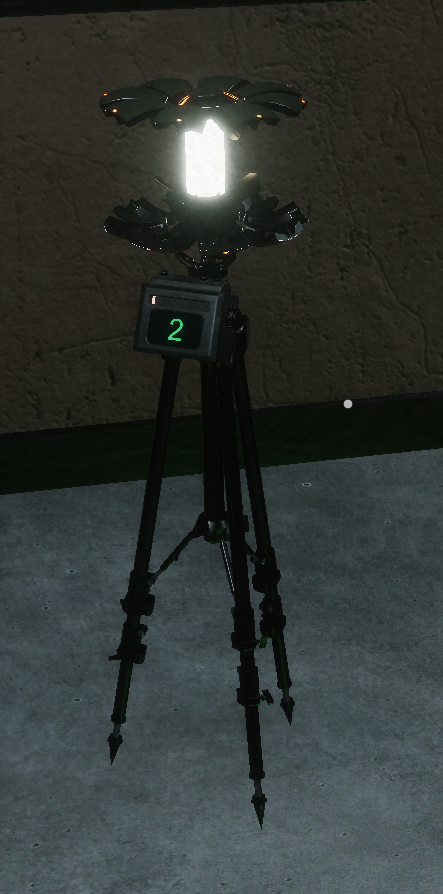
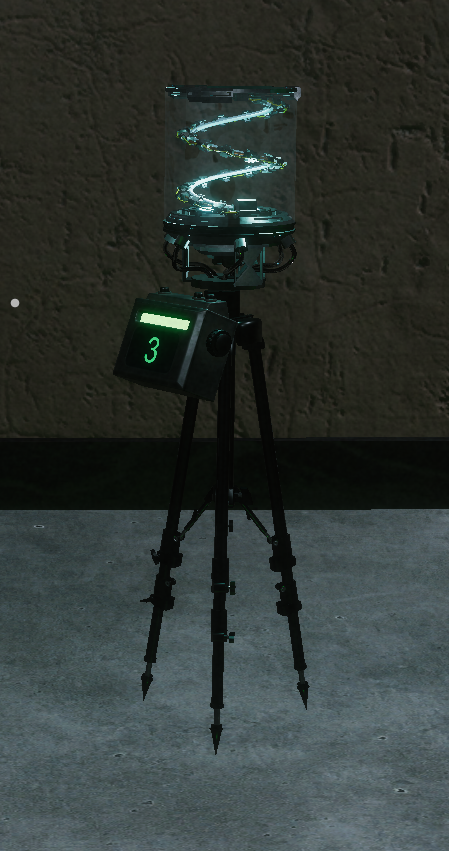
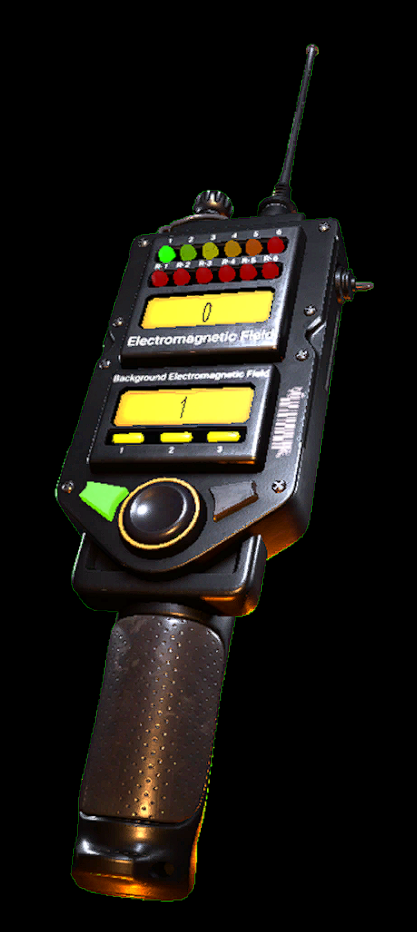
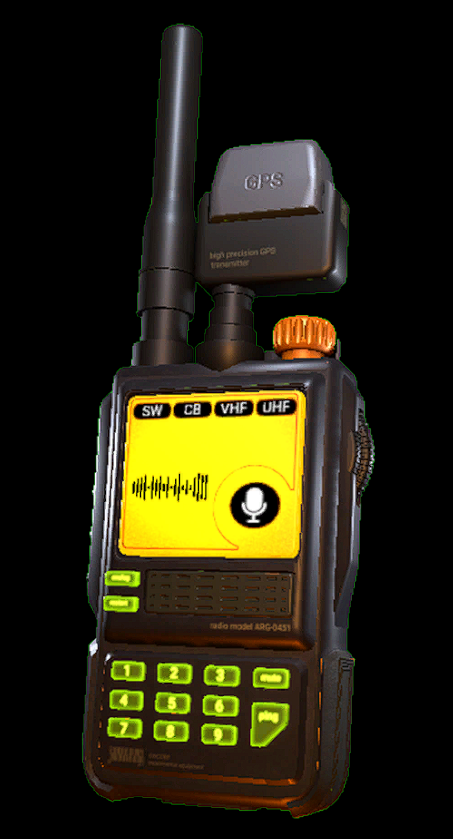
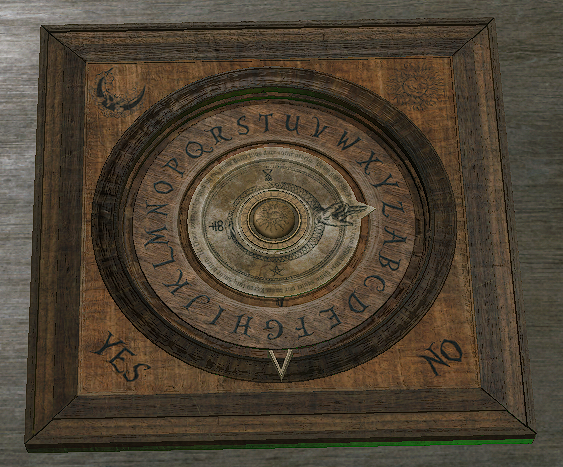
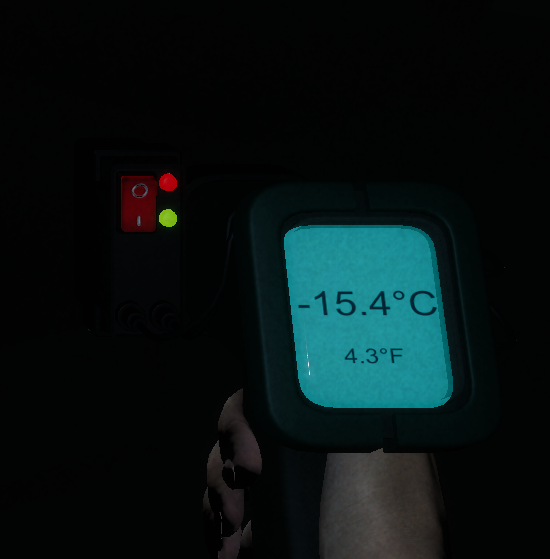
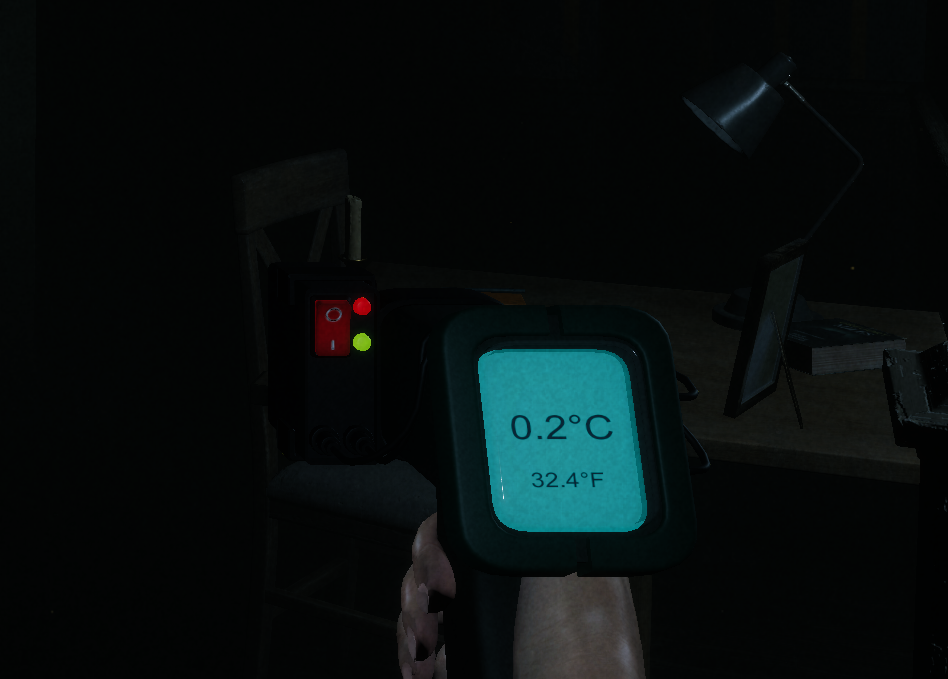
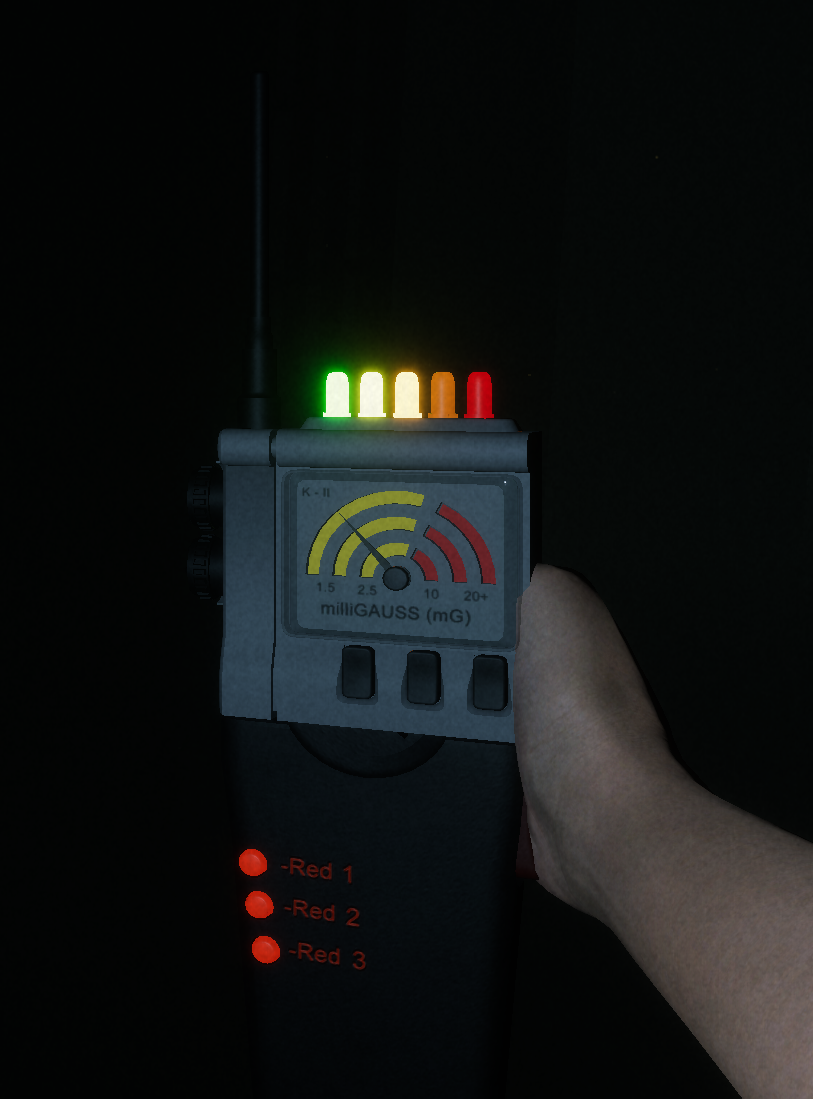
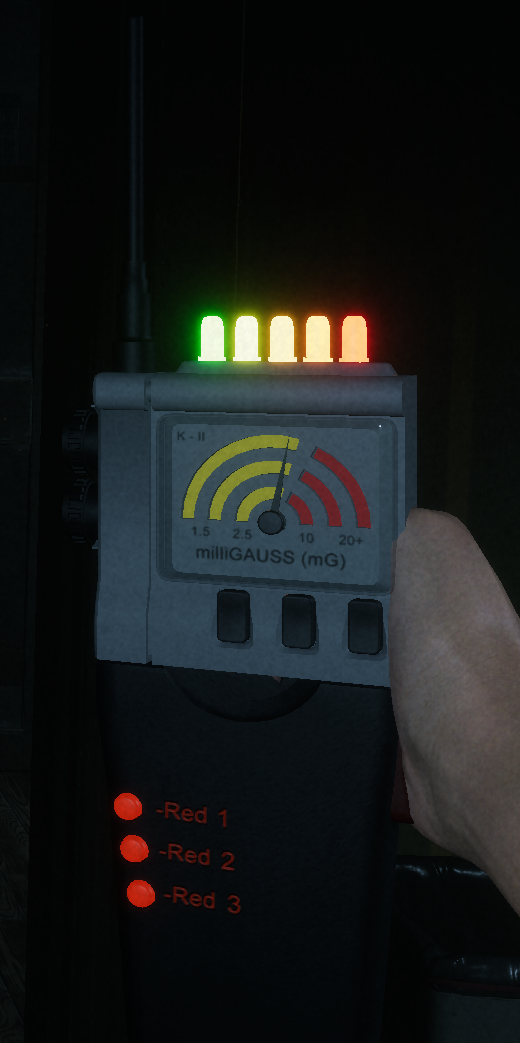
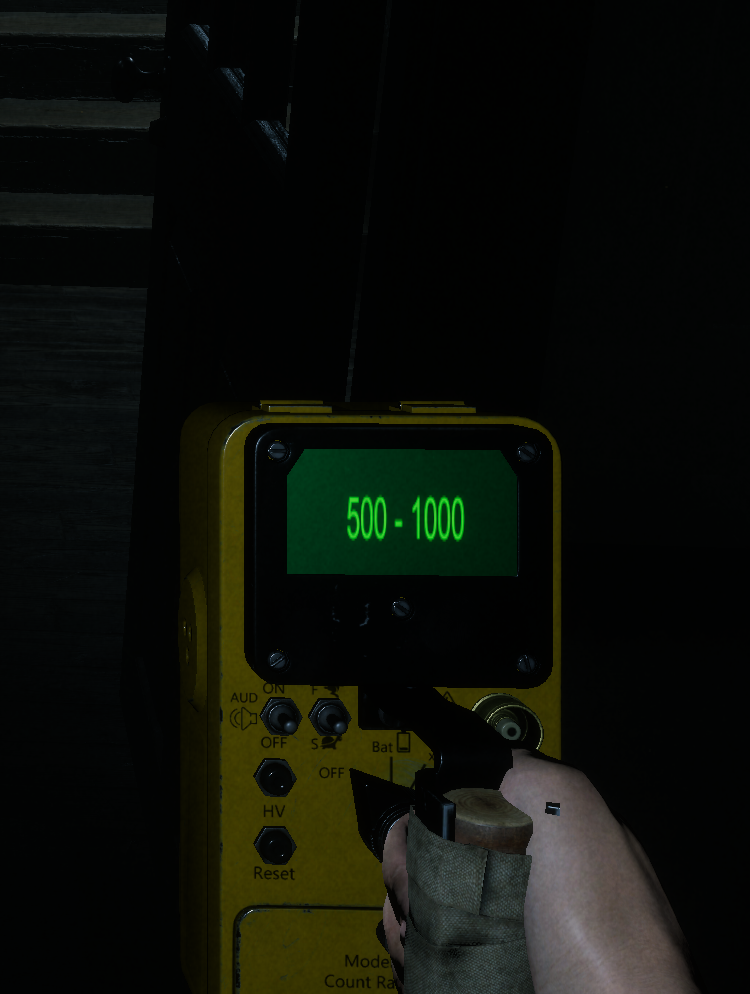
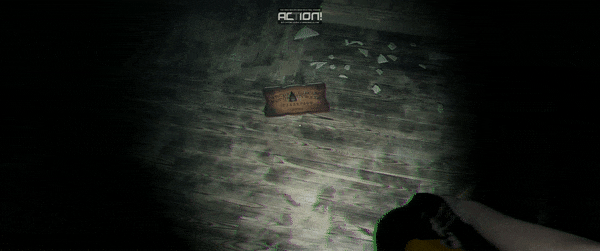
- Added some photos and videos for Advanced Items
- Added description for False and Frightening Attacks
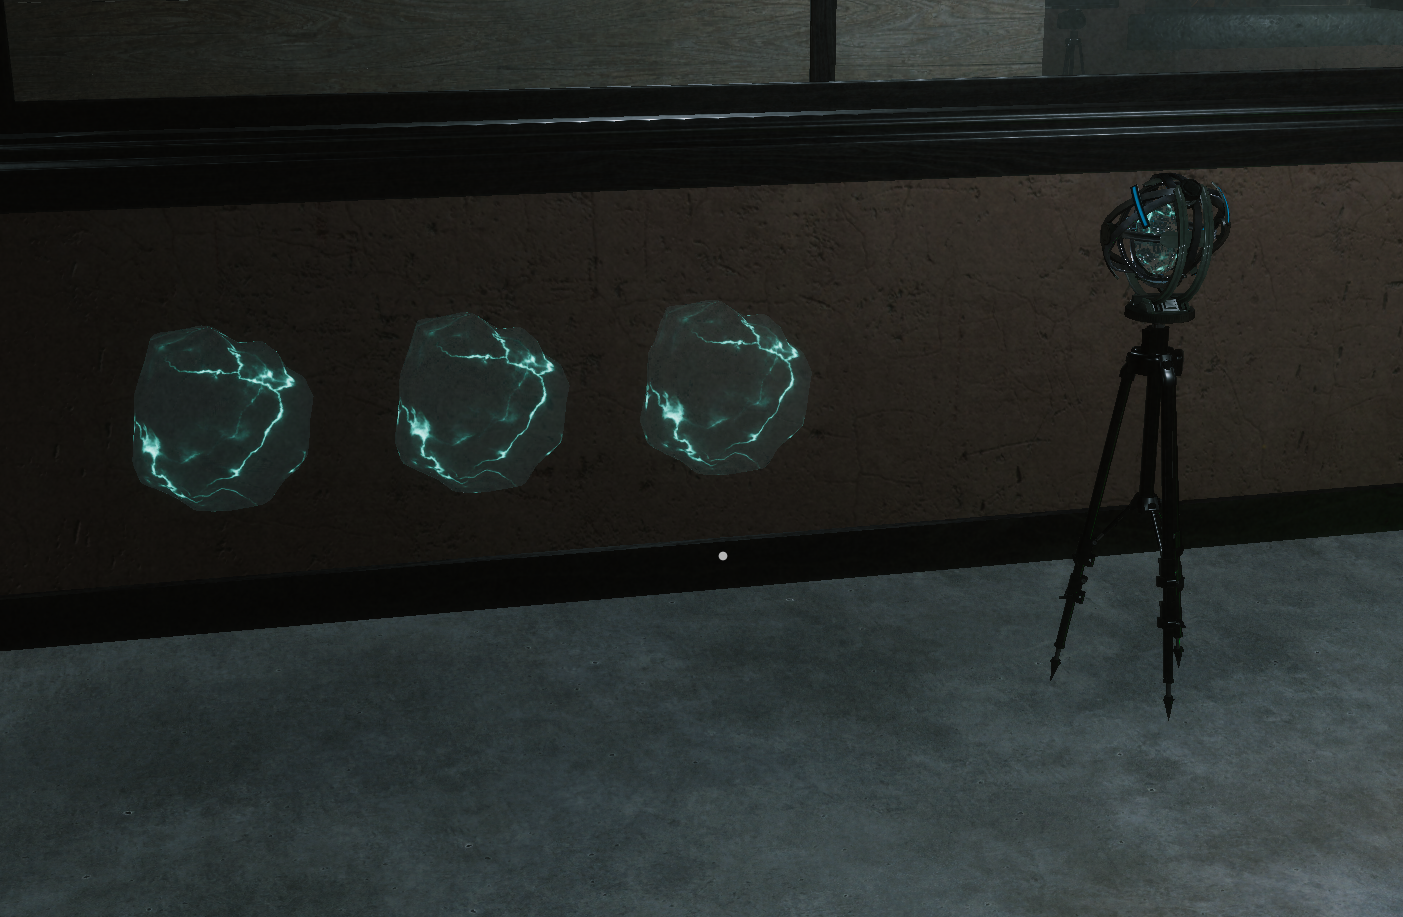
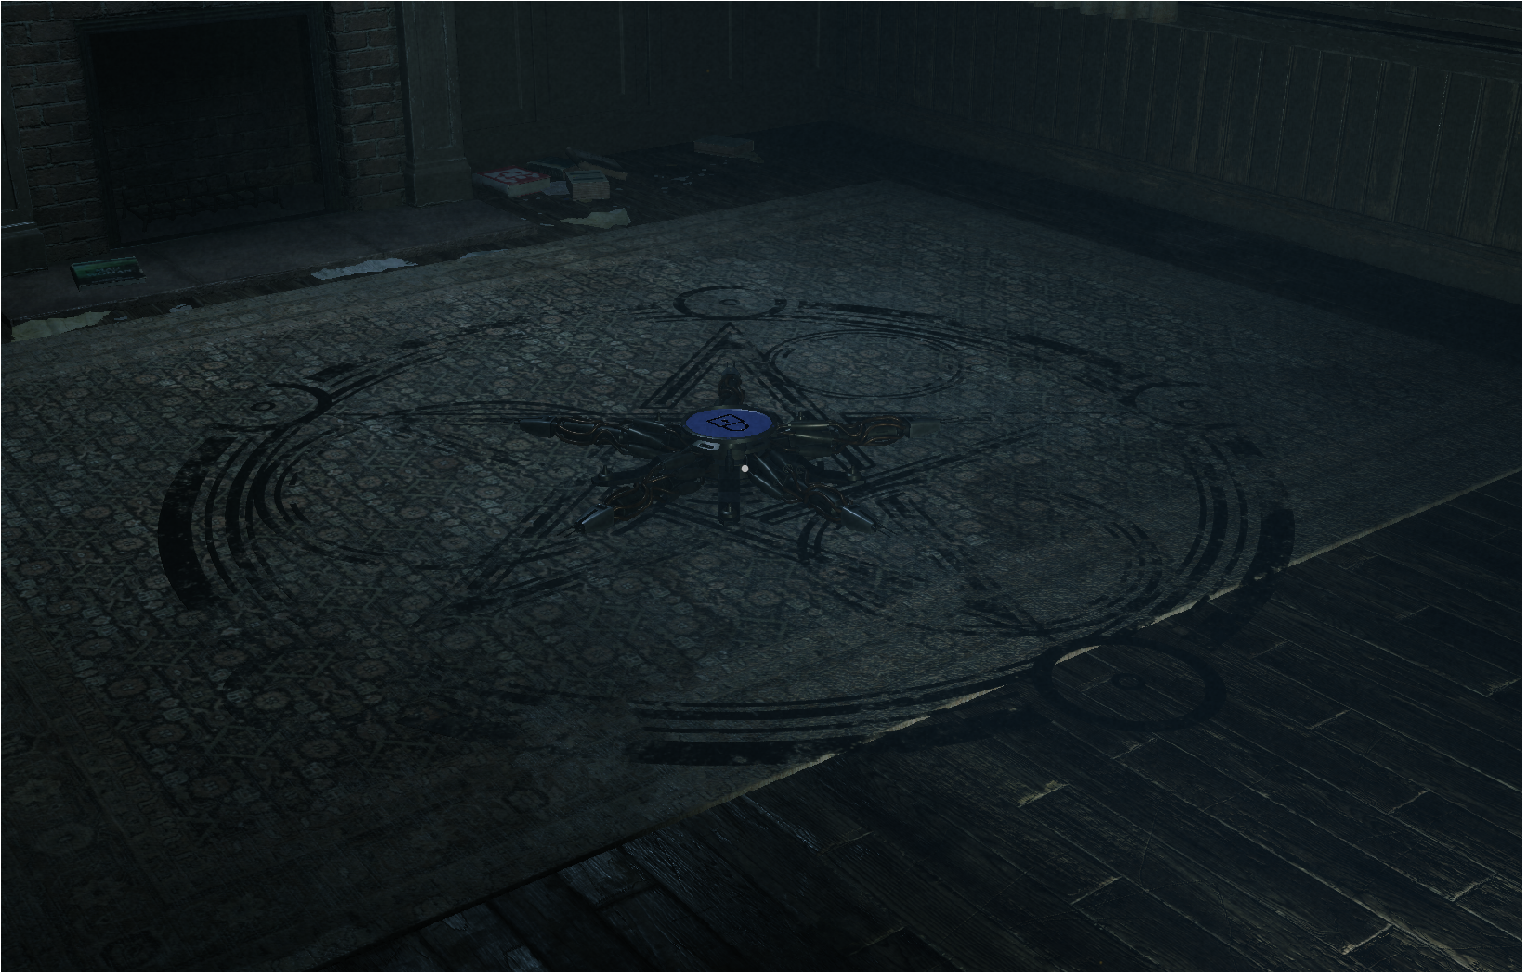
- Put Pentagram and Ectoplasm modifier info in Modifiers section
EverEnvious 20 kwietnia 2024 o 18:08 
Awesome, thanks dude!
Schnipps  [autor] 20 kwietnia 2024 o 17:10 
@EverEnvious
So a false attack is when the ghost runs towards you but doesn't jump into your face.

Keep in mind this is different to a frightening attack, which is where it does scream in your face, but just slows you down.

I will add these descriptions to the guide!
EverEnvious 20 kwietnia 2024 o 15:17 
Hey man, your guide has been a massive help to me, especially the parts about Mood and Age behavior of ghosts, it makes me feel useful when IDing the ghost while dead. There's just one thing I'm confused about and I was wondering if you could elaborate. For Mood behaviors, Haunting ghosts are the only ones that can "false attack", what exactly is a false attack?
Schnipps  [autor] 15 stycznia 2023 o 2:25 
Thank You! Hopefully it helps.
Queen Elissa 14 stycznia 2023 o 21:52 
Thanks for guide :D
Schnipps  [autor] 8 stycznia 2023 o 1:30 
Honestly, it can be so hit and miss with the ecto I have found. Some games it will work fine, and then others it just won't, it is such a pain.
You can join the Discord and ask on there, you might be able to get a good answer on there.