
Steam installieren
Anmelden
|
Sprache
简体中文 (Vereinfachtes Chinesisch)
繁體中文 (Traditionelles Chinesisch)
日本語 (Japanisch)
한국어 (Koreanisch)
ไทย (Thai)
Български (Bulgarisch)
Čeština (Tschechisch)
Dansk (Dänisch)
English (Englisch)
Español – España (Spanisch – Spanien)
Español – Latinoamérica (Lateinamerikanisches Spanisch)
Ελληνικά (Griechisch)
Français (Französisch)
Italiano (Italienisch)
Bahasa Indonesia (Indonesisch)
Magyar (Ungarisch)
Nederlands (Niederländisch)
Norsk (Norwegisch)
Polski (Polnisch)
Português – Portugal (Portugiesisch – Portugal)
Português – Brasil (Portugiesisch – Brasilien)
Română (Rumänisch)
Русский (Russisch)
Suomi (Finnisch)
Svenska (Schwedisch)
Türkçe (Türkisch)
Tiếng Việt (Vietnamesisch)
Українська (Ukrainisch)
Ein Übersetzungsproblem melden


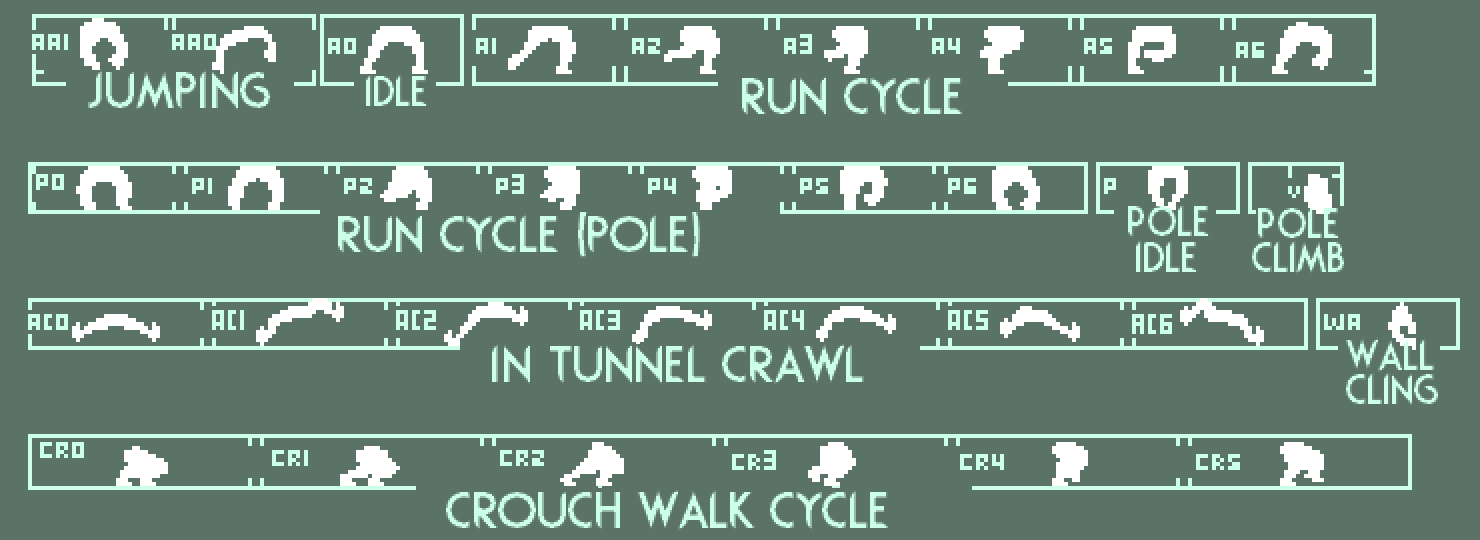
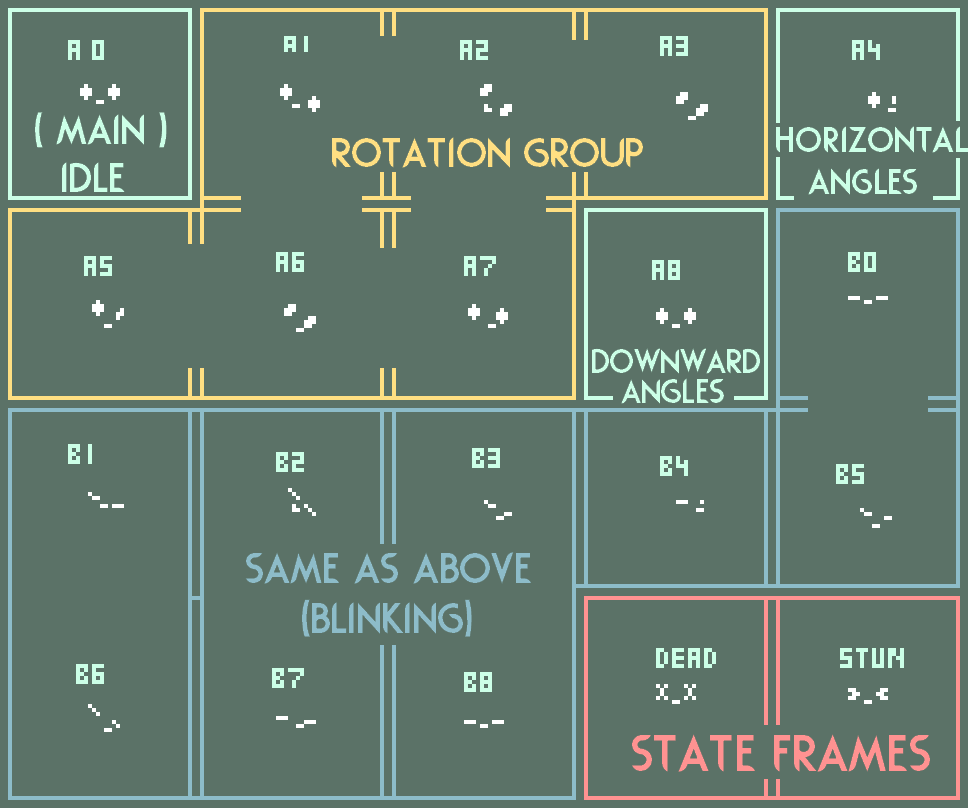


BUT I must ask...
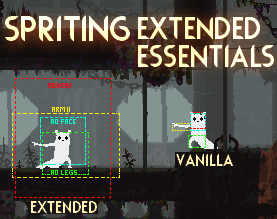
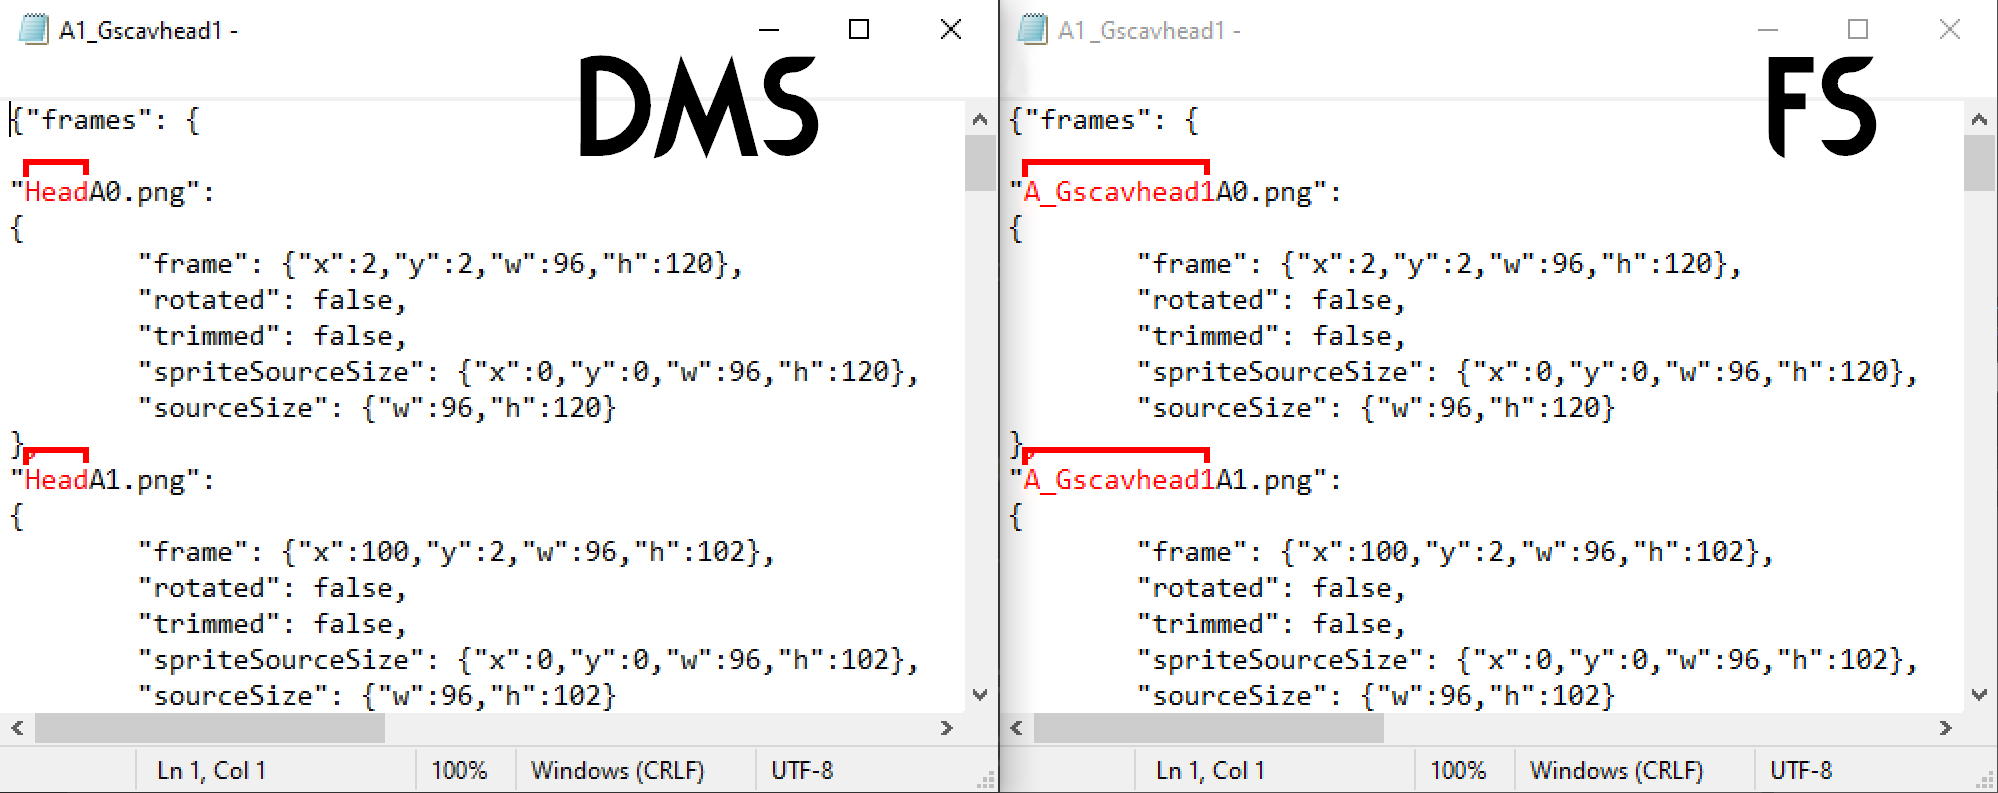
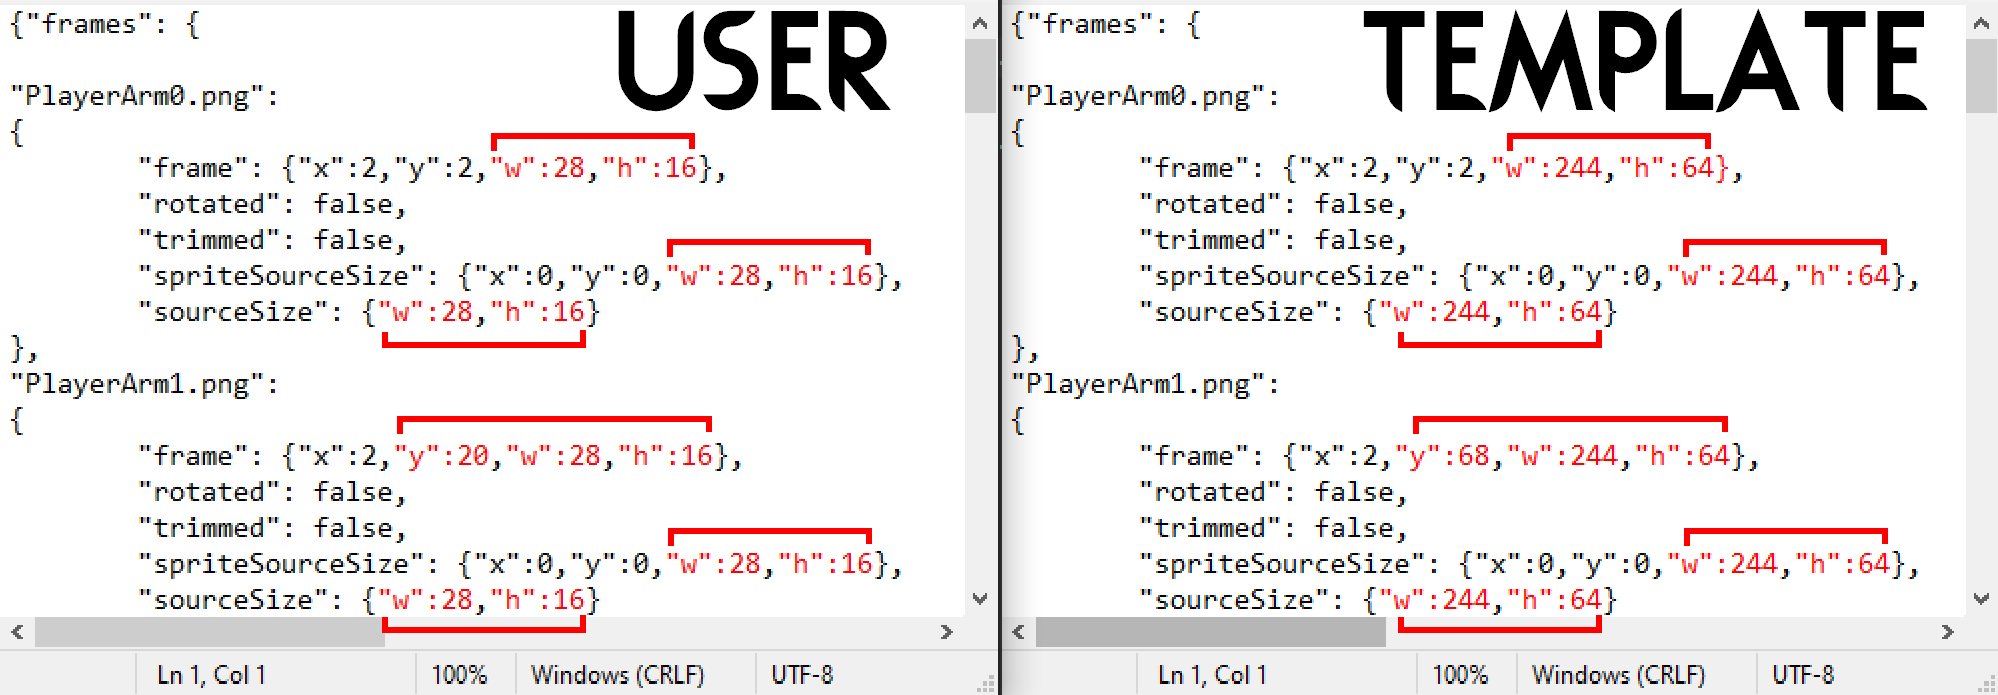
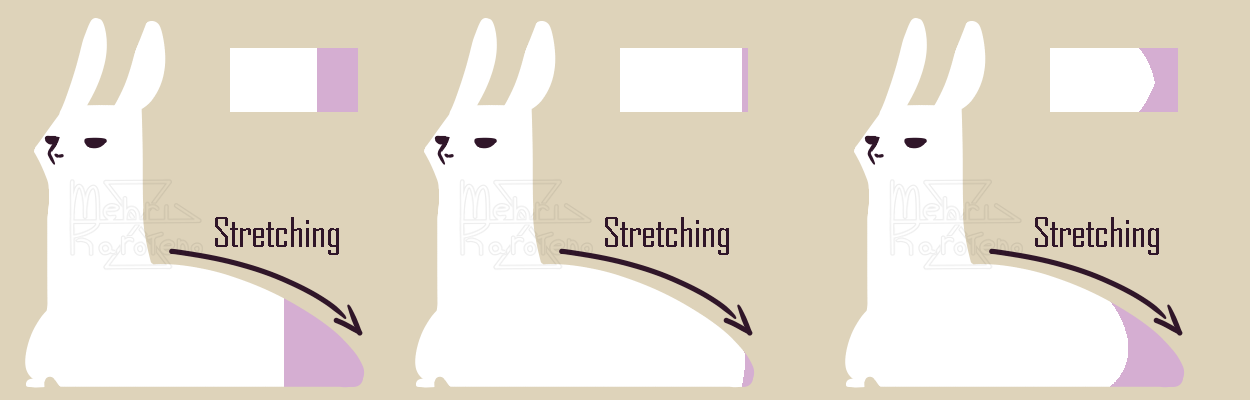
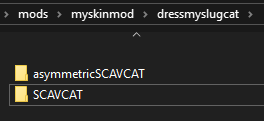
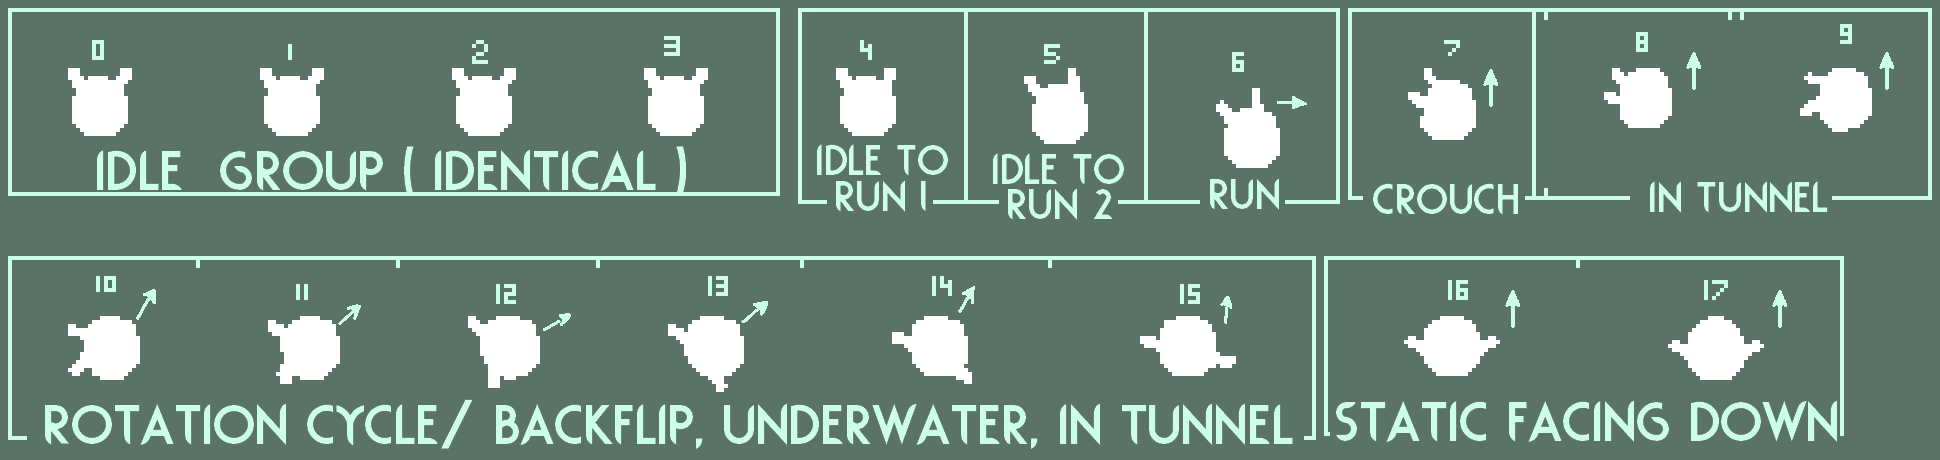
How does the asymmetry work? If the normal symmetric version is for facing forward and the left and right are for, well, facing left and right, then what does it do with the symmetric parts in the facing forward one deisgned for NOT facing forward?
You can directly right-click a .zip file, select "Open with" from the dropdown menu and specify Windows Explorer to open it, along other programs you can select to do so.
Another program that isn't WinRAR but does the same function would indeed matter, what a computer defaults to open a .zip is irrelevant.
The connection error on download is on your side and there can be a number of issues at play outside of the file owner's control, such as usage of a VPN.
The template is also available on Google Drive [drive.google.com] which Steam blocks regularly.
I use Windows 10 and the download only opens in winRAR.
downloading 7zip would pretty obviously do nothing to another program anyway judging by what some people say when I looked it up but I can't even download it anyway cause it just ALWAYS says "github.com unexpectedly closed the connection." no matter what I do
Windows and Linux are easily able to extract and open .zip files by themselves without third-party programs, the format isn't exclusive to WinRAR.
Unless you have a type of OS that doesn't include decompression in-built.
You can alternatively use 7zip, which is open-source and also free. No one is realistically buying licenses for WinRAR, it never for decades forces you to stop using it past the period.
(seriously how is everyone else doing this? how are people actually willing to buy a winRAR license for just a few certain files?)