START AGAIN: a prologue

START AGAIN: a prologue

28 ratings
Walkthrough/Endings Guide
By Gigante "Takeshi"
Its a full walkthrough designed to get those struggling a bit to the finish line, and how to get the main endings to the game.
2
   
Award
Favorite
Favorited
Unfavorite
Introduction
Introduction And Controls

Start Again Start Again Start Again : A Prologue (hereafter referred to as SA:AP) is an Undertale inspired RPG about a character perpetually stuck in a timeloop in the last level before a final boss in a traditional rpg dungeon. The game uses an ATB(active time battle) system, where in characters can act when their action bar is refilled, at a rate determined by their character's agility and whatever speed buffs/debuffs have been applied.

The bulk of the combat uses a literal Rock, Papers, Scissors system to determine damage, with resisted attacks doing less damage, attacks targeting weaknesses do more damage and some will even be impervious to certain attacks. There are two main ways to attack : normal attacks which will fill up the action bar faster but will do decreased damage, with its damage type based upon the character's inherent type and craft attacks, which work as traditional RPG skills/spells.

Controls (XBOX One Controller) :
Left Joystick or Arrows : Move
A : Interact
B : Cancel
Y : Menu
X and Move : Run

Controls (Mouse And Keyboard) :
Arrows : Move
Enter/Z : Interact
Esc/x/0 : Cancel and Menu
Shift + Move : Run

Without getting into Spoilers, Ill be starting the walkthrough with the mandatory first run, which will give you your first ending (technically there are two possible endings there but the differences are purely aesthetic). And after that we will be getting into the actual endings and how to get them. Ill start with the "Perfect" Ending and then the "True" Ending, but they can be done in reverse order, its just my preferred order.
Normal Run Part 1

Normal Run Walkthrough
We start with the intro, just go through the dialogue, choose whatever you like for the first dialogue option. Talk with your party members if you want, then head out through the northern door (also maybe drop a save just in case).
Go through the next room north again
Then you will get to a bigger room where a conversation will take place. The next door north is a dead end. Go left and up to the second door north. In this room you will come across a tear to the left. The short of it is, if you touch the tear youll be sent back to the beginning, so dont do that, unless youre in a later run and mess something up (it will take you back to the beginning of the current loop, so dont worry about it undoing ALL of your progress, its just for your "current" run).

Go north at the first fork in the road, you will come across a line of tears and a scene will unfold. You will have to find a star crest to dispel the tears. Go
back and turn east at the previous fork. In this new room there is a poster which will yield some dialogue and some barrels. There is more importantly a crack in the wall with a star crest to undo the tears. Grab it and go back to the obstacle. After clearing it go north and take the next door east.

This next room is the combat tutorial. Go ahead and pick the first option "Oh
noo what shall we doo". The battle archetypes are explained sort of. Sif is the rogue type, who makes your party faster and can also pass turns to other slower party members who can output more damage, you can also deal Scissors Type Attacks. Fighter can buff defense and reduce cooldowns for craft skills, as well as hit hard with Rock Type Attacks. Housemaiden is your white mage archetype, can heal, buff attack and deal Scissors and Paper Type Damage. Uniquely she can also undo the frozen status and revive party members (keep her alive at all costs!). Researcher is slow but can output massive damage, make enemies slower and craft skills of every type, but her most powerful are Paper Type skills. Start by using the examine craft to get a lowdown on elemental weaknesses. This enemy's weakness is scissors, which you can tell by the design on its hand as Sif tells you. So just output as much scissors type damage as possible.

North is a dead end, go South and then East, you can get away with not fighting that enemy in the way, just be quick about it. In this room, examine the two
drawers on the western side of the room to get some dialogue and consumables, then examine the two tiles with flasks on the table next to the two vertically stacked barrels, very near to the drawers. Next to that table is a flask looking thing which is actually a bottle of wine, take it. Next to the barrels there is
a flyer in the eastern side of the room, interact with it for some dialogue and to set up a thing for next loop. Go back out And head south. You can ignore the enemy or not (doesnt hurt to get EXP, although it wont matter much this run) its just another forlorn, pump it full of scissors damage.

There will be another enemy which you'll be seeing quite a bit of. Three Enemies with slightly different hand signs named Woe, Mope and Blues. Essentially the hand signs they are making are Rock Paper Scissors moves, and this tells you their respective weakness, this is important as they will be immune to any other type of damage. Blues is Scissors so hit it with Rock. Woe is Paper so hit it with Scissors and Mope is Rock so hit it with Paper.

Normal Run Part 2
Go to the first room south to find another star crest. Go back out and further south to the right. After a pretty much inevitable encounter use the star crest on the line of tears and move north to the room before the next set of tears. Examine the clock for some dialogue and further characterization when turning
back. Examine the two furthest left cupboards for a star crest and some dialogue. Go back out and clear the next line of tears. Go east and at the fork go south (north is the wrong way). Go south again, either fighting or dodging
encounters

After some dialogue try to open the locked door going north from the center of the room. After a scene, go right and up to find a key. Go north to where two doors lie opposite each other and go through the left door (right is a dead
end). This is the mage's room. Theres alot of stuff here and you can examine all of it if you want (it wont matter on this run) for some funny dialogue and/or gags. The important stuff is to examine the cupboard next to the southernmost room, the beds and the easternmost cupboard. Go back out and head north to the library. Examine the librarian, get some potions from the tile next to the change god statue. Examine the bookshelves for some dialogue and the leftmost bookshelf for the key Go back south twice and then open the locked door with the key you just found.

Here you will come across the next enemy type : Regret and Sorrow. *[See Below for Notes on enemy Encounter] One will protect the other, rendering it impervious to all damage. Hit regret with paper attacks to melt its health bar, then when its down finish Sorrow off with scissors attacks. Regret resists
scissors attacks and Sorrow will output paper damage,as well as resist paper attacks. Rock is neutral to both. Go north twice, ignore the other door going
south. Here you will hear a variation of the famous line in Predator (1987) "If it bleeds we can kill it", but I much rather prefer prefer this version Go north and after the dialogue say you need to go to the toilet : "actually yeah". After this the next dialogue choice doesnt really matter, you have to pick the
"you ever try closing your ears" choice anyways so might as well pick that. After all that go right. Go right again after some encounters. You might run up against a new enemy : "Misery" . Hit it with rock attacks and watch out for its
attacks that make your party members Frozen. Use the mage's lovely moving cure to counter this

At the next room examine the locked southern door and then go north to examine the thread blocking your path, you'll have to look for something to clear it. Go back and then east. Examine the frozen cook, the odd looking pitcher diagonally down and left from the cook. Examine the cooking pot for an amusing gag. Examine the drawers for the key and the cupboard next to the drawers for another setup.

Go back out and open the locked door. Go down south and examine the ink quill and papers in the center of the table. Complete the poem with the more
lighthearted option". Examine drawer, look under to get the star crest. Then examine the book and library for some dialogue. Go back to the kitchen north and east of here and clear the tear with the star crest. Head through the crack and then north (west is a dead end). The important thing here is the torch, which we can use to burn the threads blocking the way to the boss. Go back to said thread room going south and west and then north. After burning the threads head north,
first room youll find is a statue of the change god, where everyone will pray, so do so as well .Then go further north. Examine the frozen man and choose the option "If we defeat the king...". Go north again and keep going north until you
get to the room before the boss (everyone will be standing around). Talk to everyone and cheer them up before going north until you reach the King, the boss of this game. Try to keep your party members as healthy as possible and deal as much paper damage as you can, as the king is weak to it, whilst resisting scissors damage. Use Sif and the Fighter's speed to pass their turns to power up
the researcher's damage output, buff, lower her cooldowns etc. But spoiler alert, this is a supposed to lose fight, eventually the king will do his battle ending attack and you'll go back to the beginning of the Loop. You can then choose to go for either the Perfect Ending or the True Ending, I recommend Perfect First, then True.

* After asking the dev on Discord, it confirmed a suspicion I had on how the enemy encounters work, they are mostly random but the pool of potential encounters changes progressively as you move closer to the boss, to form a
difficulty curve and teach about all the mechanics the boss of the game will employ. According to the dev : "Most monsters visible on the map randomly choose between 2 different encounters, but some have only one available for some reason past me would know but I don't. I think I wanted to make sure the player would fight every enemy type once. Probably. The pool changes the farther you get into the dungeon, because I wanted to introduce different parts of the battle system as you went deeper, so it goes
Forlorn first (one enemy! easy, not strong, learn the basics), then the triplets (learn the concept of weaknesses/resistances/immunity), then Regret/Sorrow
(sometimes enemies are protected and you need to beat another enemy first+time freeze status), and finally Misery (time freeze status+attacks that lower your
ATB gauge)! All are showing something the King does in his battle, so at least the player would have some experience with his attacks one way or another. Hope this helps lol"
Perfect Ending Part 1
Perfect Run Walkthrough

The Conceit of this particular route is to act as normal as possible, never letting on to your clueless party members that you're basically stuck in a never ending torment of dying over and over again and not being able to tell anyone. Drop a save here. Talk to everyone, then go north. Choose "ready".

Go North again in this room, nothing else to see here.

Go north until a conversation starts. Go along with it then ignore the first door north, go left and up until you find the actual door. Then at the first
fork turn north until you reach the line of tears, you need to establish to your party members that the tears are dangerous. After some dialogue, double back and
go east instead . In this room, check out the poster on the wall and then the crack on the wall to get the star crest.

******Very Important for This Run!******* : Never ever use the "JUST ATTACK" Command. You can use it on the true ending path, but not here. Its a dead giveaway to your friends that something's up, and we dont want them to know
anything is wrong.

Head back to the line of tears and use the crest. Go north and reach the room
with the combat tutorial. Say yes to listening to the conversation again. Then pick the option where you pretend to not know "oh noo, whatever shall we do".
You know the drill, examine the enemy and hit it with scissors attacks. Go south (north is a dead end) and then at the fork go east.In this room, examine every
tile with a cup/flask looking thing i.e the first two drawers and the table, as well as the one on the other table, which is wine. Then examine the poster next to the barrels and choose the "...yeast" line. Go back out and Head South.

Head south at the first door to reach a room with a bunch of barrels and if you look carefully, an item in the down and centre part of the room, which has a
star crest, grab it Go back out and go east and then south, In this next room theres an encounter Ive never been able to avoid so just do it, You know the drill by know, hit Forlorn with Scissor type attacks, hit the Blues, Mope and
Woe with whatever element their hand signs are weak to, etc. After the encounter, clear the first line of tears with the crest you already conveniently picked up.

Be very careful not to walk in to the second line of tears, the game wont stop you and youll loop again. Go north to the the next room. Examine the clock for some dialogue and then the two leftmost cupboards for the crest and a conversation, choose "yes". Go back out and east. At the fork go south (north is a dead end). Afterwards go south again.
Perfect Ending Part 2
Conversation starts, youll need fire. New Enemy type : Sorrow and Regret. Hit sorrow with paper attacks, avoid using scissors attacks, opposite is true for
regret, who will be immune to damage until you defeat sorrow first. Examine the first locked door to the right of where you came from. A conversation will ensue. Choose "lets look around a bit more". Go right and up.

In this room, go north until you see two doors going left and right, go left to the mage's room. Examine the beds and drawers, and choose yes at any conversation opportunity( twice in this room ). Then go back out and go north to
the library. Examine the writing desk and the bookshelves. Pick up the religious book and listen to the convo. On the leftmost bookshelf lies the key, pick it
up. Go back south and open the locked door. Then go north. Ignore the first door south, go north instead.

At this new room with a change god statue, a convo will ensue. Go north to the toilet door. Choose "actually yeah". Then go east.At the next room head north and east. You will reach a room with 4 exits. Examine the southern door first, it will be locked, go north. Examine the threads. The party will clock on to you being a bit miffed, at first I thought this was a giveaway that id messed up the
whole perfect ending but actually its fine, its what's supposed to happen. Go back out and head to the one door you havent gone through to the right. Examine the cooking pot for a goof and listen to the convo. Then examine the closet and "say the line siffrin". Then examine the drawer next to the plates for the key.

Go back out and open the locked door south. Go south again. At this room,
examine the inkwell and papers on the desk, a conversation will ensue. Choose yes and then "is it nice and sweet?". Examine the bookshelf, choose Listen Again. Examine the book on the table next to it and choose listen again (again).
Examine the other drawer to the left of that one and choose to look under the drawer, pick up the crest. Go back to the crack by going north and then east. Clear it and go to the room north of it, everything else is a dead end. Examine just the torch.

Go back to the room with the threads by going south, south and then west and north. Use the torch on the threads. Go north and then go through the first northern door, there will be a statue to the change god here, choose to pray to
it("yes"). Go back out and further north. Examine the frozen roommate . Choose "If we beat the king". Then just keep going north until you reach the room before the king, everyone will be standing around. Talk to them and then move
north. The fighter will say something, and youll respond with "what do you mean". Then after that whole thing is done go to fight the king. Soon you'll see this is another supposed to lose fight, and thus ends the "perfect" ending. Perhaps you'll now see why I didnt recommend you do this ending last.
True Ending
Unlike the "Perfect" run, this run we will be doing the exact opposite, acting as weird as possible, magically knowing where everything is, skipping conversations and using the "just attack command". In all honesty you don't really need a walkthough for this run but I'll provide one anyhow.

I have to stress that this isn't the only way to do this run, as long as you go through all the wrong doors, choose to not listen to conversations, do stuff as If you already knew where all the obstacles are and use the JUST ATTACK command in battle a bunch, you'll get the ending. I'm however Lazy, so once I found a set of steps that work, I stuck with them, and will share this particular way with you all.

Just leave, go north. Go north and listen to the first convo. Go north again on to the dead end, then go north. This time, you know you'll have to get the star crest to clear the tears so go right at the fork. Grab the star crest from the
crack and double back to the line of tears going north. Clear the tears then
head north to the next door, choose NOT to listen to the convo. From here on out, use the JUST ATTACK command, its handy and contributes to weirding out your friends, as their rogueish friend who attacks with clever feints and jokes drops all pretense and just stabs up the enemy in a sort of "oh screw this" kind of way. Its also pretty useful as its strong scissors damage that hits all enemies.
Go north to the dead end then south and then east to grab the consumables off the table. Go south and then south again, grab the star crest, go back out and
try to get back in, you'll say its a dead end and spook the researcher a bit. Go down south again, fight the encounter. Get to the line of tears and clear it with the crest.Go north towards the next room, examine the cupboard with the plates for the star crest and head back out. Clear the tears, then go right,
then north to the dead end, then south. Just go south again. Ignore the locked
door and go north, go east to the dead end, then north again to the library.
Examine the farthest left bookshelf for the key.

Go back to the room with the locked door and open it. Choose "I feel lucky today". Go south at the first dead end then north. Go north to to the toilet but choose "nah". A scene will ensue. Choices dont really matter, just pick the ones where you play along. Go east and then east again, you may be skipping encounters, but I think its best if you fight some of them, for exp and to use
your JUST ATTACK. Youll need all the strength you can muster for the king.

Reaching the Room with 4 Exits, go straight for the right exit. Grab the key from the drawer next to the plates. Examine the closet but dont say the line. Go
back out and head south through the previously locked door. Go south again. Examine the drawer next to the book. Look closer and then pick up the star crest. Examine the poem being written, then choose the "blood on your hands"
line. Go north and then go east. Use the star crest to clear the tears. Go through the crack. If you've been spamming your JUST ATTACK command, the fighter will ask you about it. I dont think the choice matters, but I prefer the family technique choice personally. Go west and east first (dead ends) then north.
Examine the closet and choose to show the book to the researcher (yes). Grab the torch and book it back to the room with 4 directions by going south, then south and then west. Use the fire on the thread. Your friends will be surprised (this is good).

Go north and then north again at the first door. There will be a statue to the change god here. Examine it but choose not to pray to it (tip your fedora for
extra role playing points). If you need to grind random encounters, now would be the time, as you wont get any after this. Simply go back to the change god statue room and back out again to reload the enemy, as many times as you feel you need. Go north again. Examine the roommate and choose "say nothing". Go north again. A scene will ensue, you'll be given candy by the kid, who feels you're feeling a bit down. This is a very good sign. Hopefully if everything has gone according to plan, your friends will be talking amongst themselves and soon they'll stage an Intervention type thing. This means you're well on the way to beating the True Ending! Pick Thank You and the Palmier (or pick the others for
a bit more text, the true ending path has been set already). A lot of heart string tugging will follow, talk to everyone, choose whichever choices you want, and when you're ready (maybe drop a save just in case) head north until you face
the king

-------------------
FIGHT WITH THE KING

I haven't had trouble with beating the king in any of my runs, but Im by no means an expert on the combat or the boss. Provided you've gathered the potions and pocketfuls of spices you should be good. The king is weak to Paper and
resists Scissors, but your JUST ATTACK is so broken it outdamages most of your other attacks so use that as well. Other than that. Id use Sif to buff speed and pass turns to the researcher, as well as use the JUST ATTACK. Fighter should use regular attacks to refill the gauge faster and pass turns to the researcher, mage or sif depending on who's bar is the lowest or who doesnt have cooldowns on their craft skills.

Also make use of the fighter's skill to lower skill cooldowns, especially useful for the researcher and mage, as they have fairly long cooldowns on their skills. Keep the mage alive and heal periodically, you'll have three super sour tonics
to keep the party healthy and the mage can also heal, but be wary of the cooldown on her skill. Sif can heal also. Manage your resources effectively and Guard all your party members when the party mentions "the King is charging up an
attack!). Good Luck and hopefully you should have no trouble unlocking the "True" ending to the game.
Conclusion
I sincerely hope this guide was helpful. If one person found it useful Ill consider it a worthwhile endeavour. This is the first time Ive ever written a walkthrough and hopefully it wasn't too much of a mess. This is adapted from the text guide I wrote for GameFaqs, hopefully the images help with the whole "go north, pick up this object in this tile" thats sort of hard to convey through text. Here is the original anyhow GameFaqs Guide[gamefaqs.gamespot.com]

On a personal note, I've loved this game, there's a lot of comparison to Undertale being thrown around, but speaking as someone who never really clicked with Undertale, I really enjoyed this. The characters are likeable, the premise is interesting and the combat is pretty enjoyable. The only thing's Id say is that the Perfect ending is kind of anticlimactic for the effort involved compared with the "true" ending which seems to be the canonical ending to the story that leads into the sequel. I'll wrap this up with the game's creator's stuff, as I dont really have anything to plug, but she might appreciate the support.

Adrienne Bazir :
Twitter
https://insertdisc5.itch.io
Tumblr[insertdisc5.tumblr.com]

Have A Good One.
- Lord Darias
5 Comments
Ben Nov 21, 2023 @ 4:03pm 
for some reason when i was playing one of my runs, it skipped me to closer to the boss room?
tired star Mar 19, 2023 @ 3:09am 
This guide is extremely helpful and got me to the true ending, or at lest to the boss room for the true ending setup. I have yet to be the King. Do you have any recommendations as to what levels the party members should be at or how to deal with the kings tears for the second phase? I felt like I was stuck in a loop and couldnt do anything because the tears were slowing my party down. ANY tips or advice would help a lot thank you :)
Gigante "Takeshi"  [author] Jan 4, 2023 @ 2:23pm 
Hi @Sylphistia. I am glad my guide helped you. To answer your questions: yeah, the second normal ending really only affects the ending screen which can be one of two. I seem to remember it being random though, not necessarily what you pick.

You are right there is nothing to gain by having all endings in one save file, if youve seen the true ending and the perfect ending you have seen pretty much all the game has to offer.

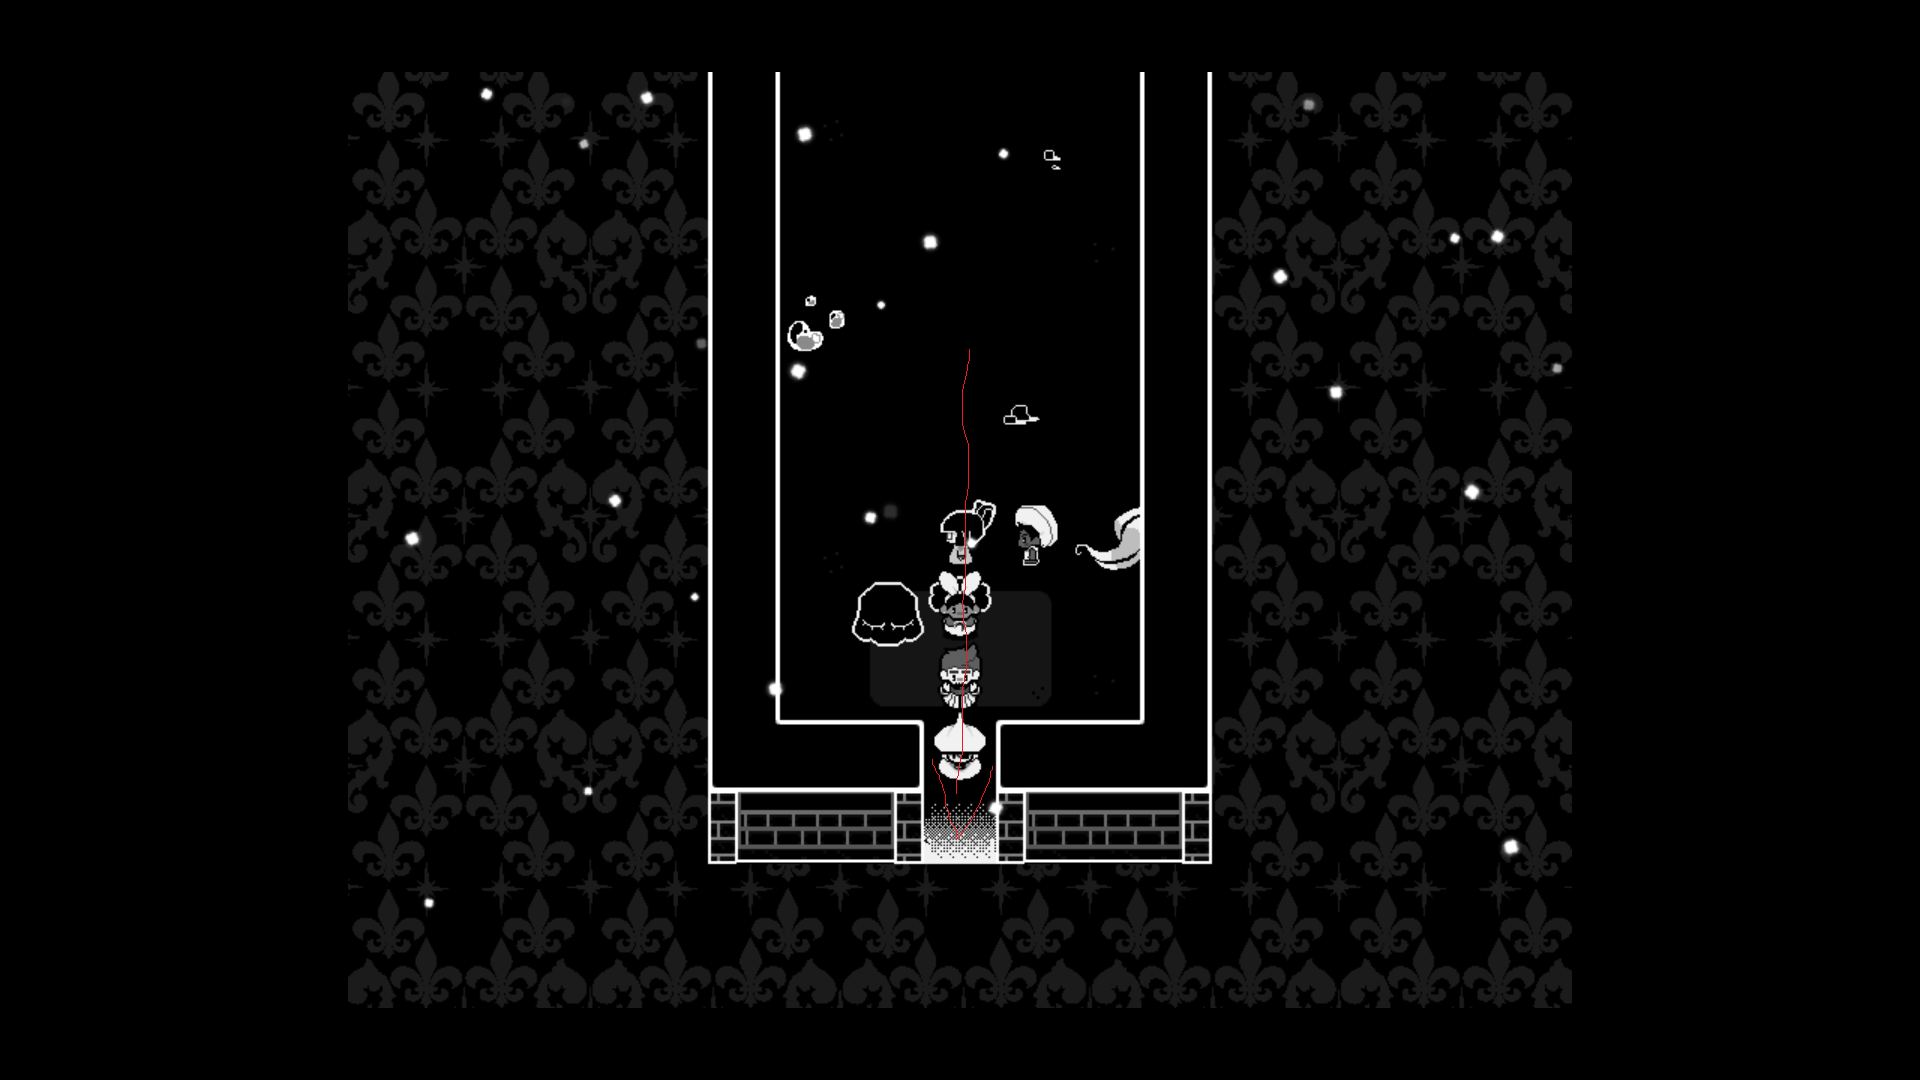
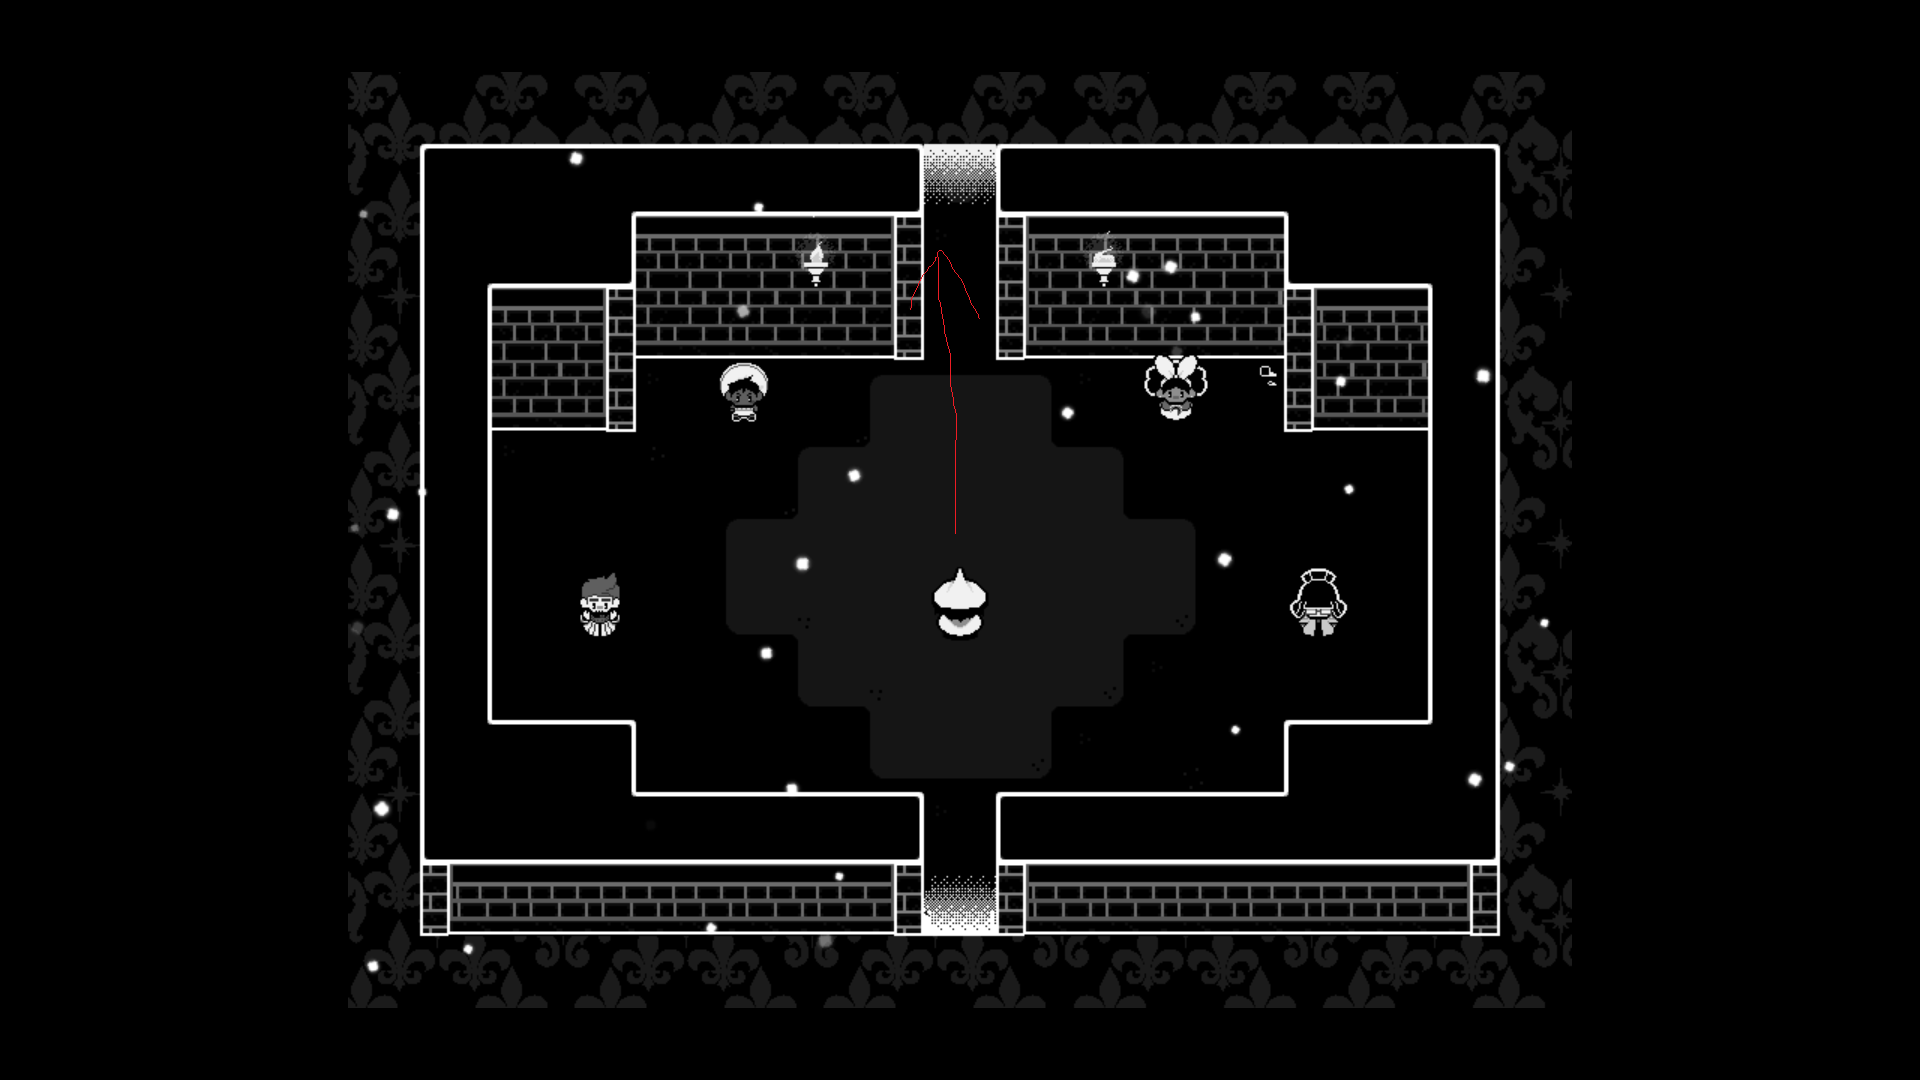
As for the Phantom Sif, I think its mostly just to imply how distorted the king has made time and how many times sif has gone through the loop already, just my personal interpretation. You are correct that the undertale comparison is reductive, though admittedly at the time I had not played many RPG maker games as I had now. I'm looking forward to In Stars and Time being released (later this year I think) and am glad this little guide I put together helped someone out there. Have a good one
Sylphistia Jan 4, 2023 @ 11:57am 
Comment was already long but in case you know:
-Either the steam or itch.io page said there's 4 endings, as do you. During an accidental additional normal run, I chose a different answer for the question after the King already did his final move, giving a slightly different result. Is that the other normal ending?
-There's nothing I gain by having all the "Memories" in one save, i.e. going through all the endings with the True Ending coming last so that it'd be "registered" properly in the same savefile, right? Bc if that doesn't change anything, I'd already be satisfied to have seen all endings with my own eyes...
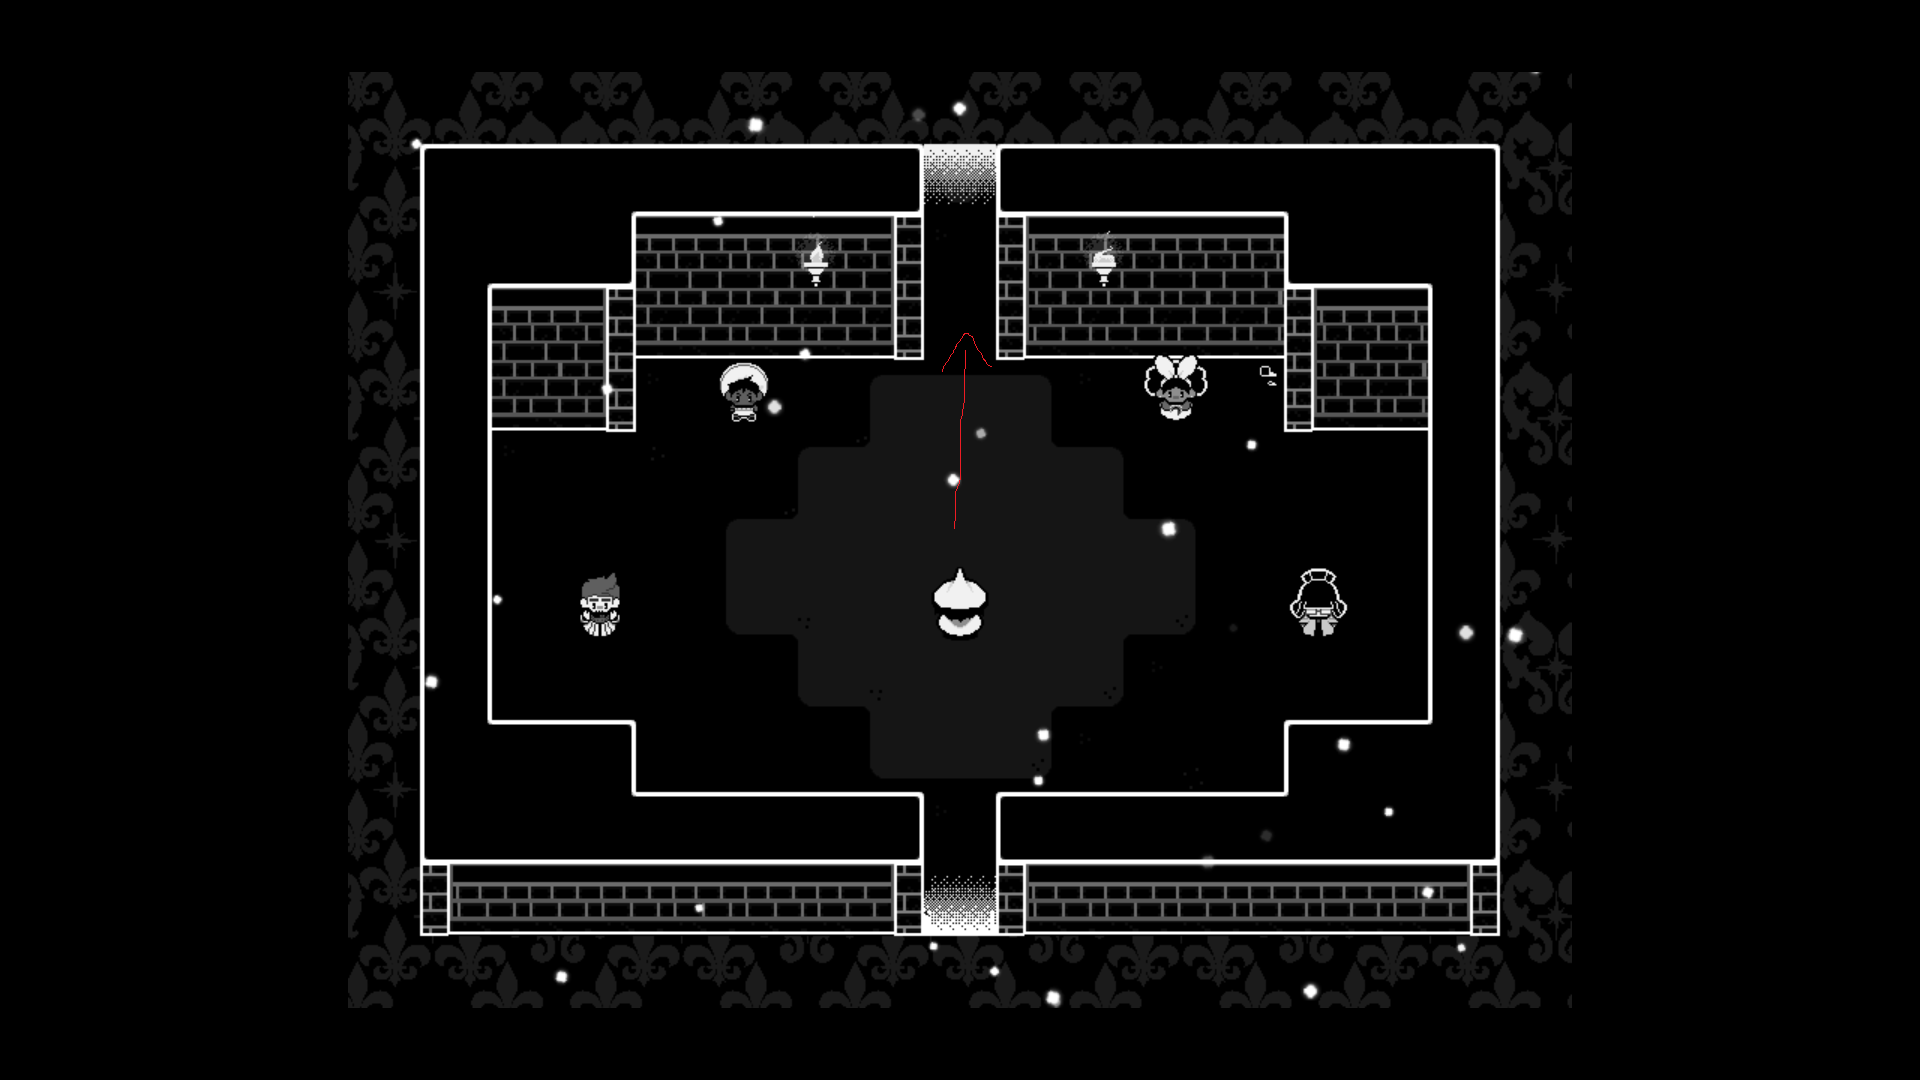
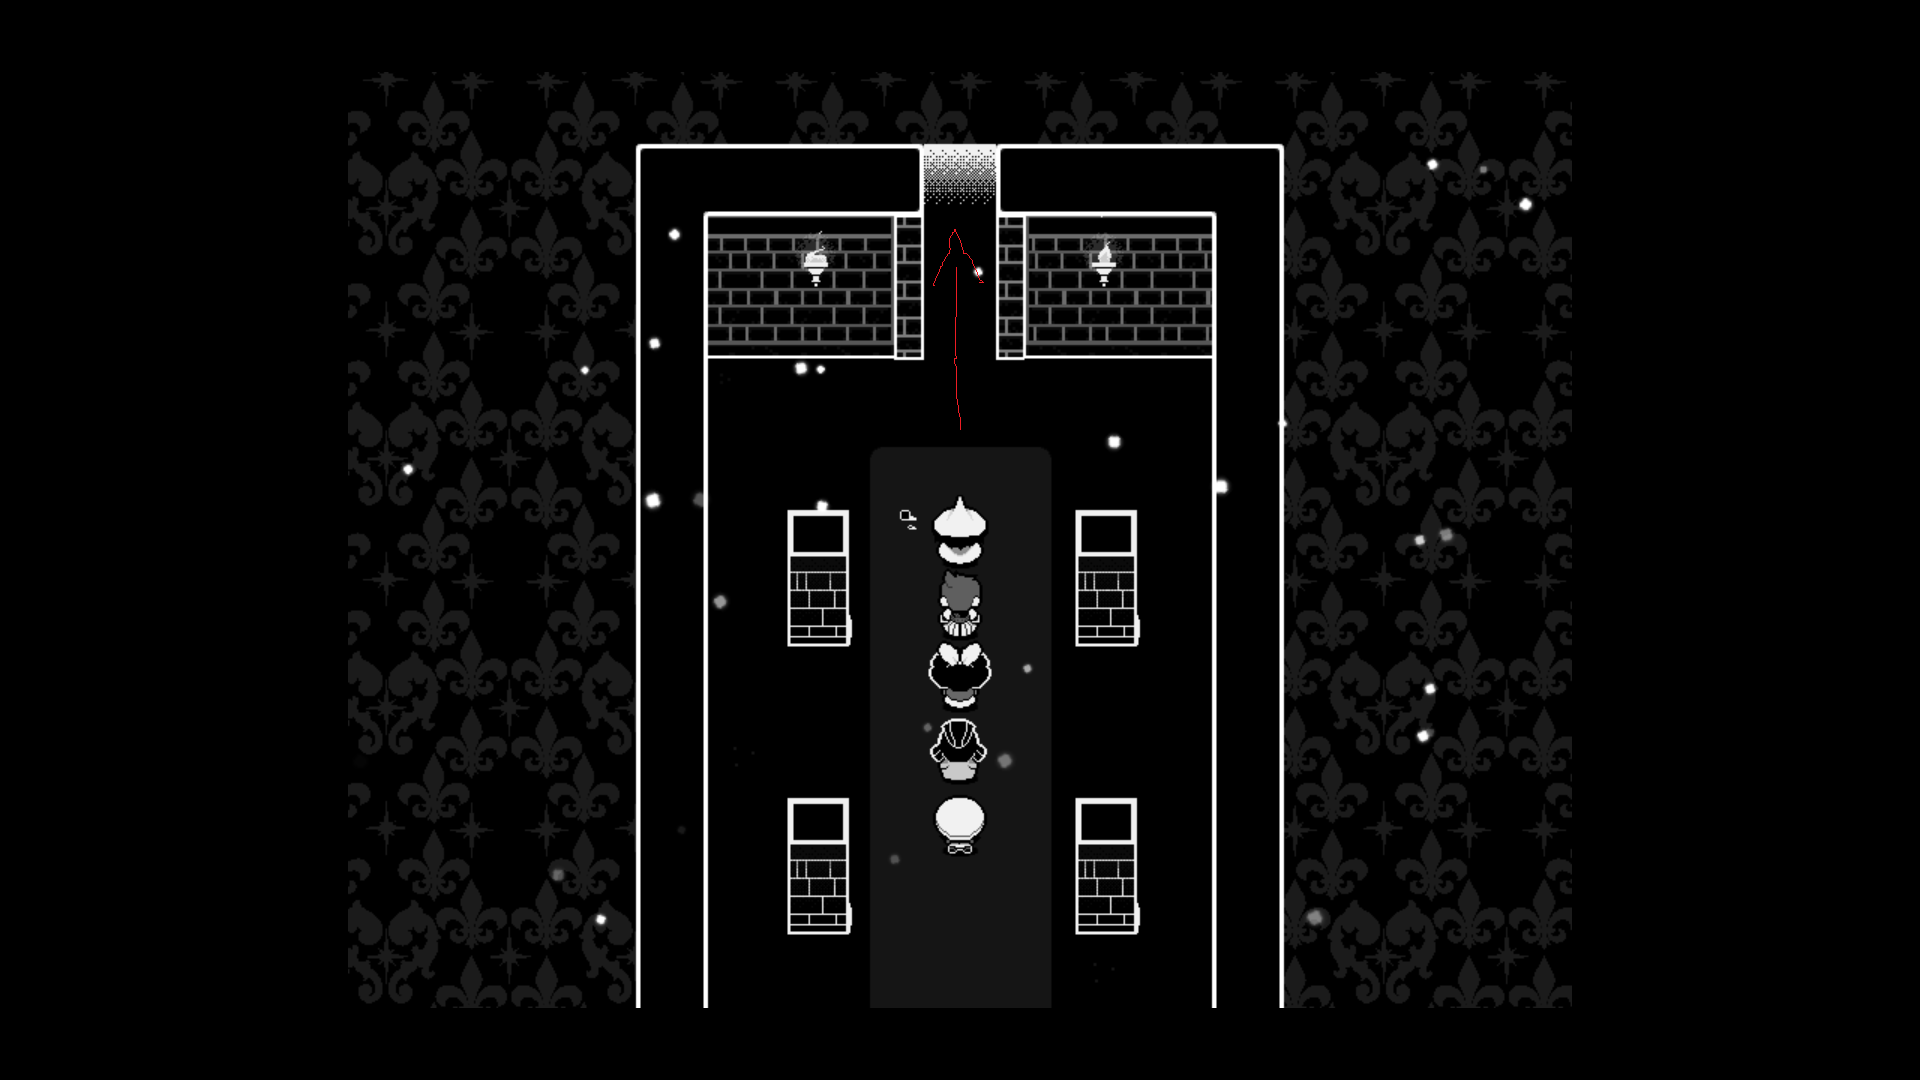
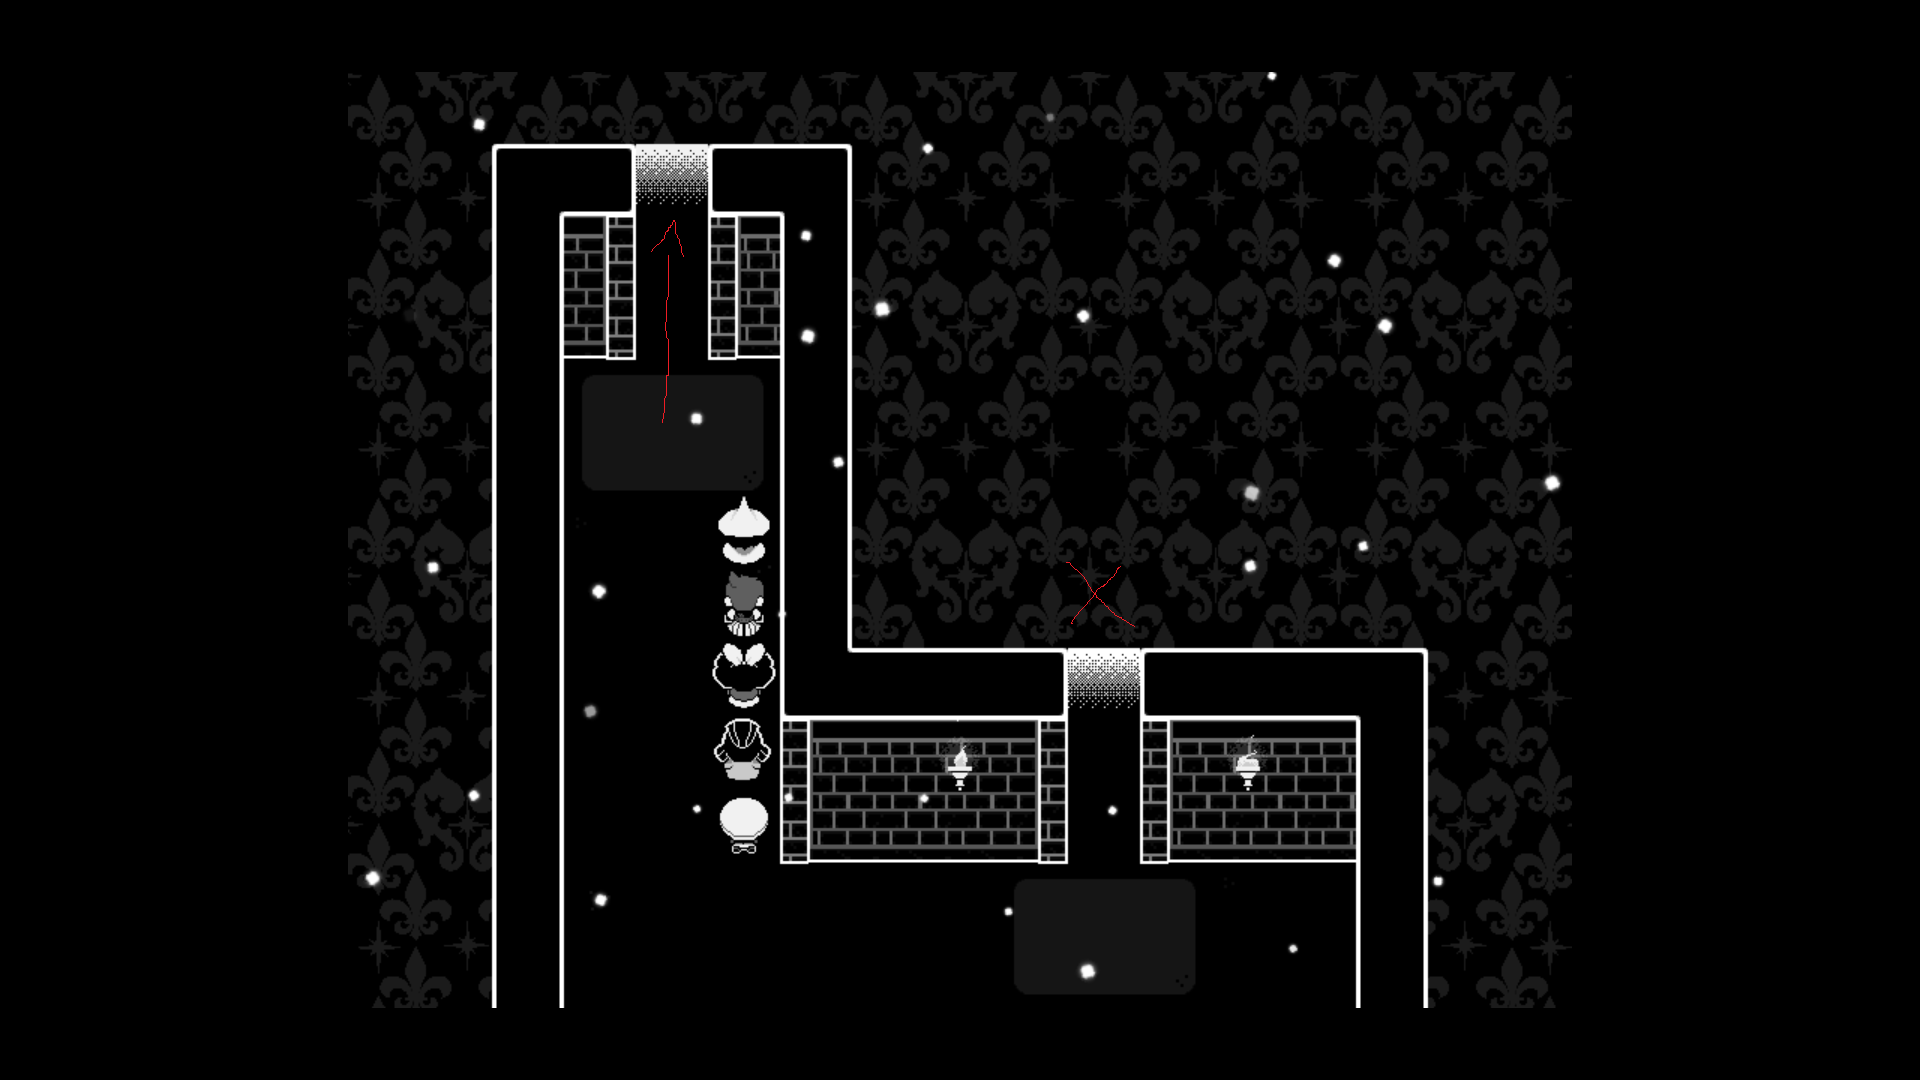
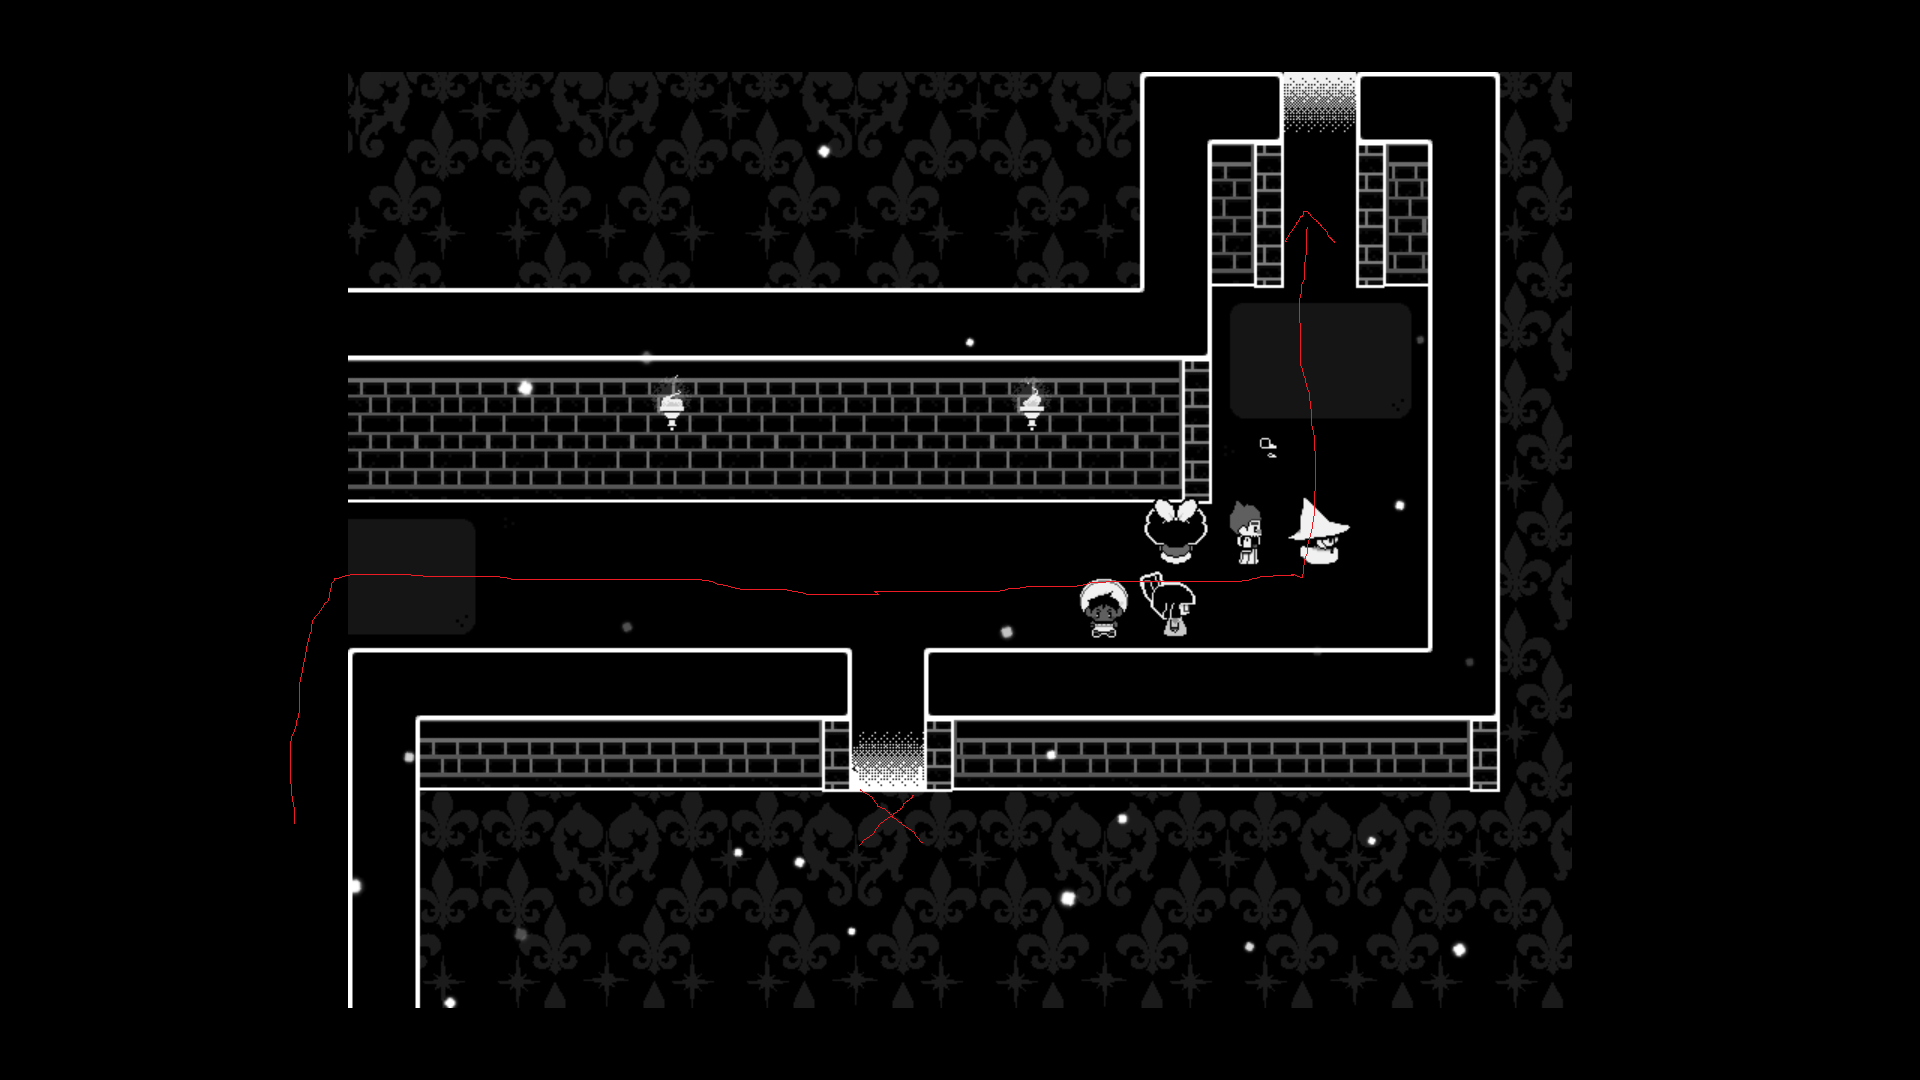
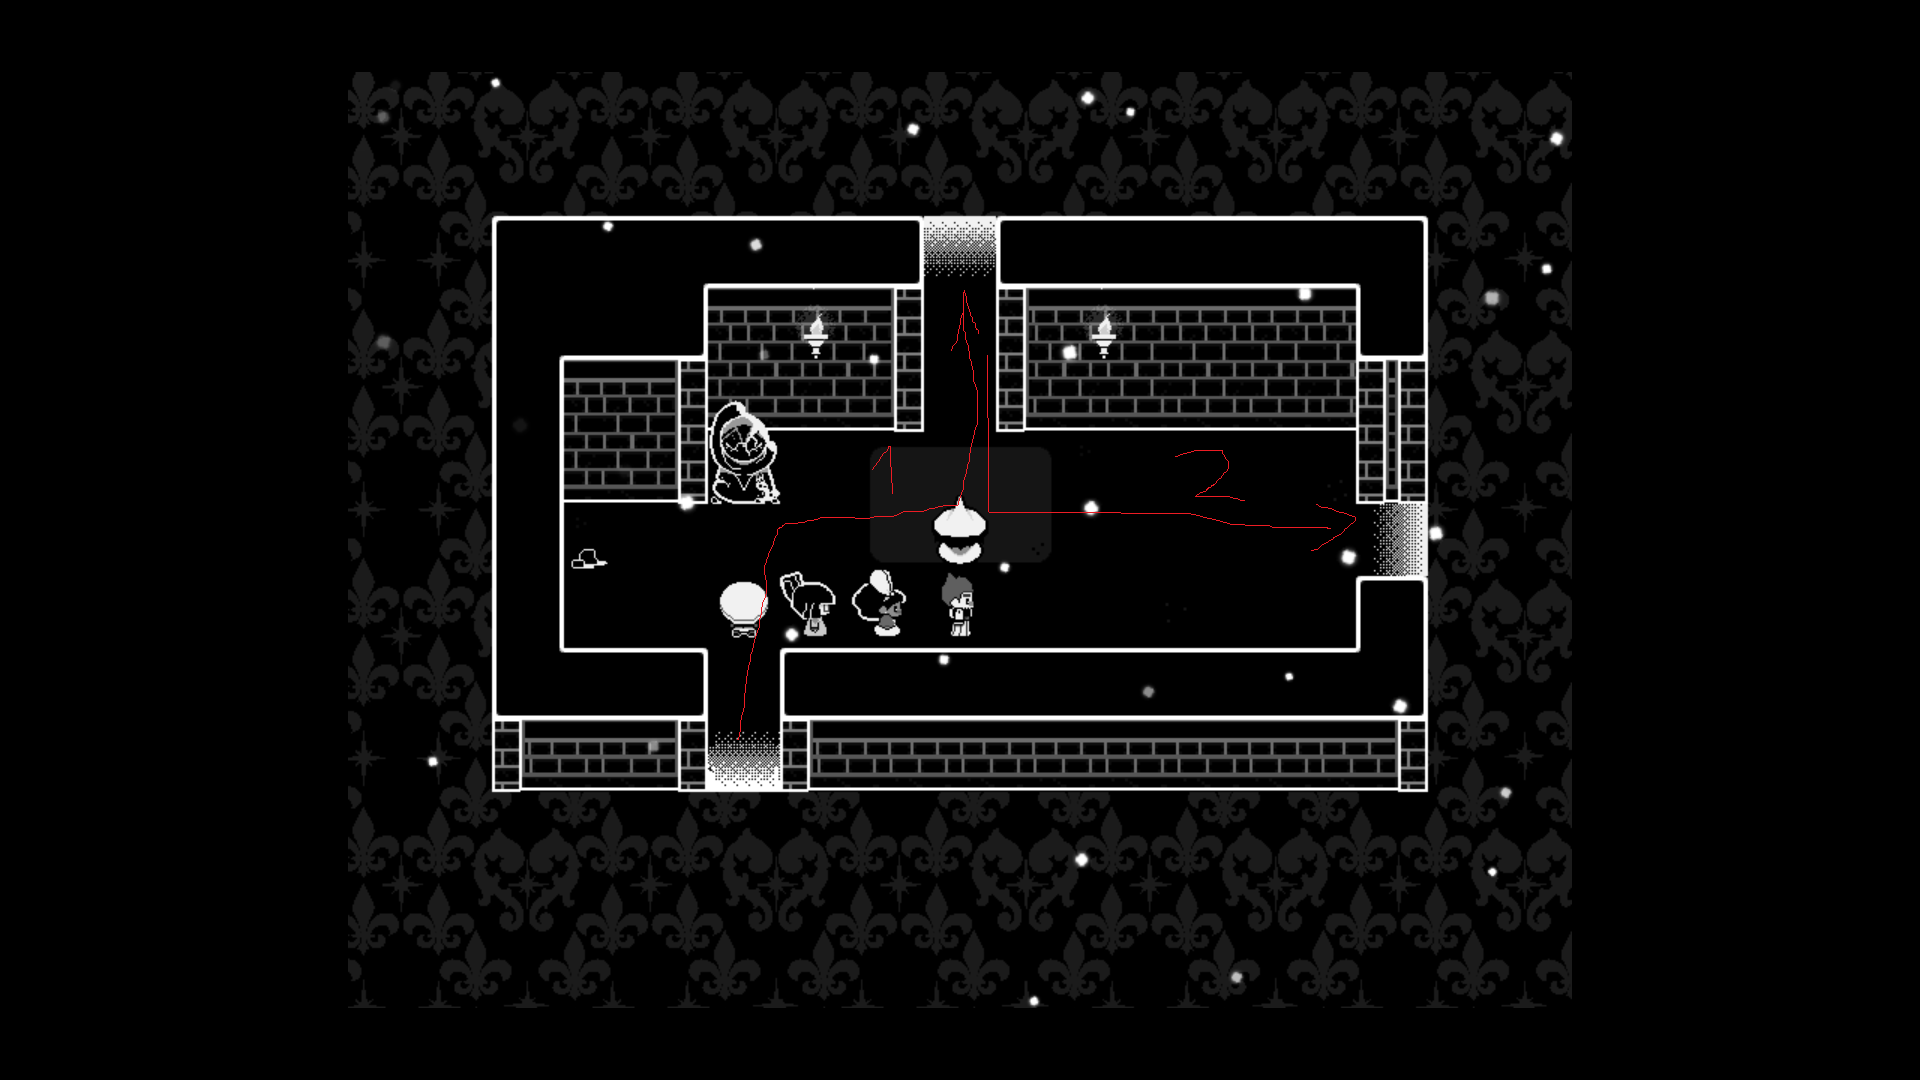
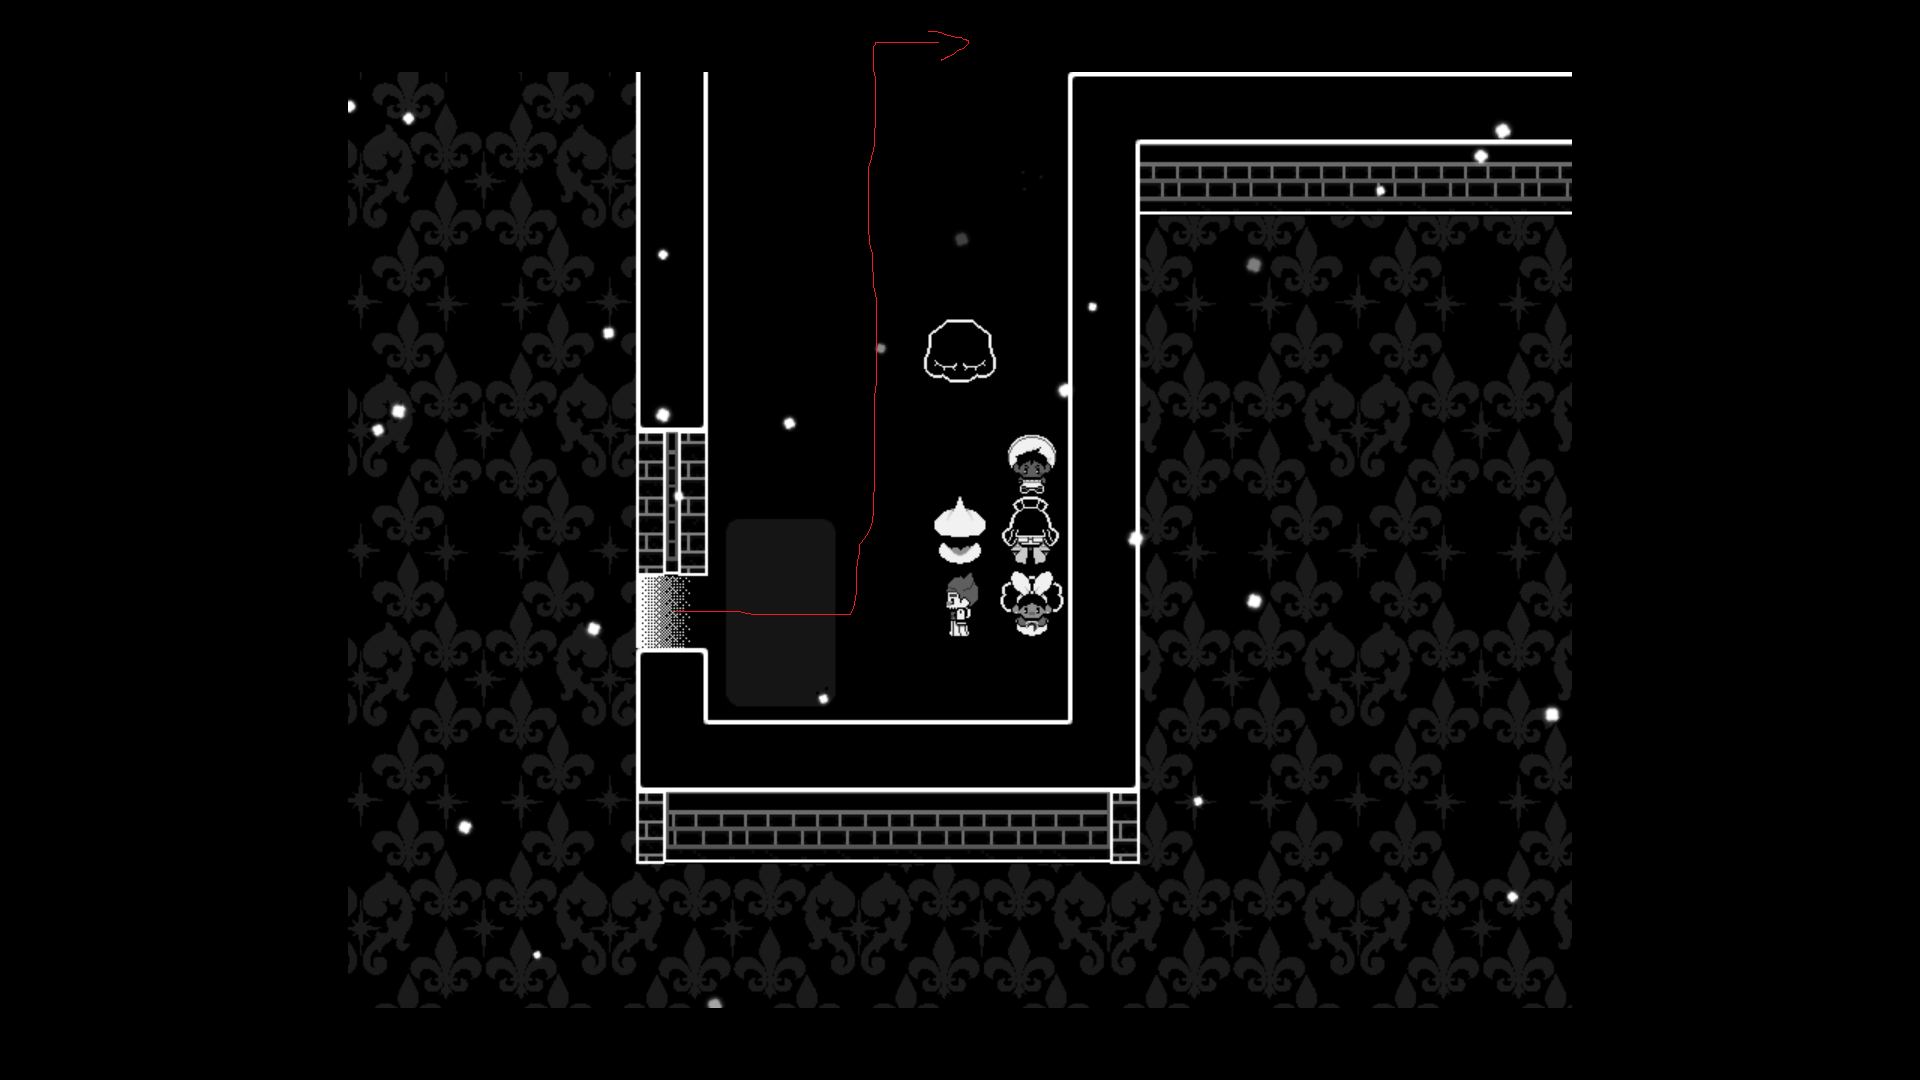
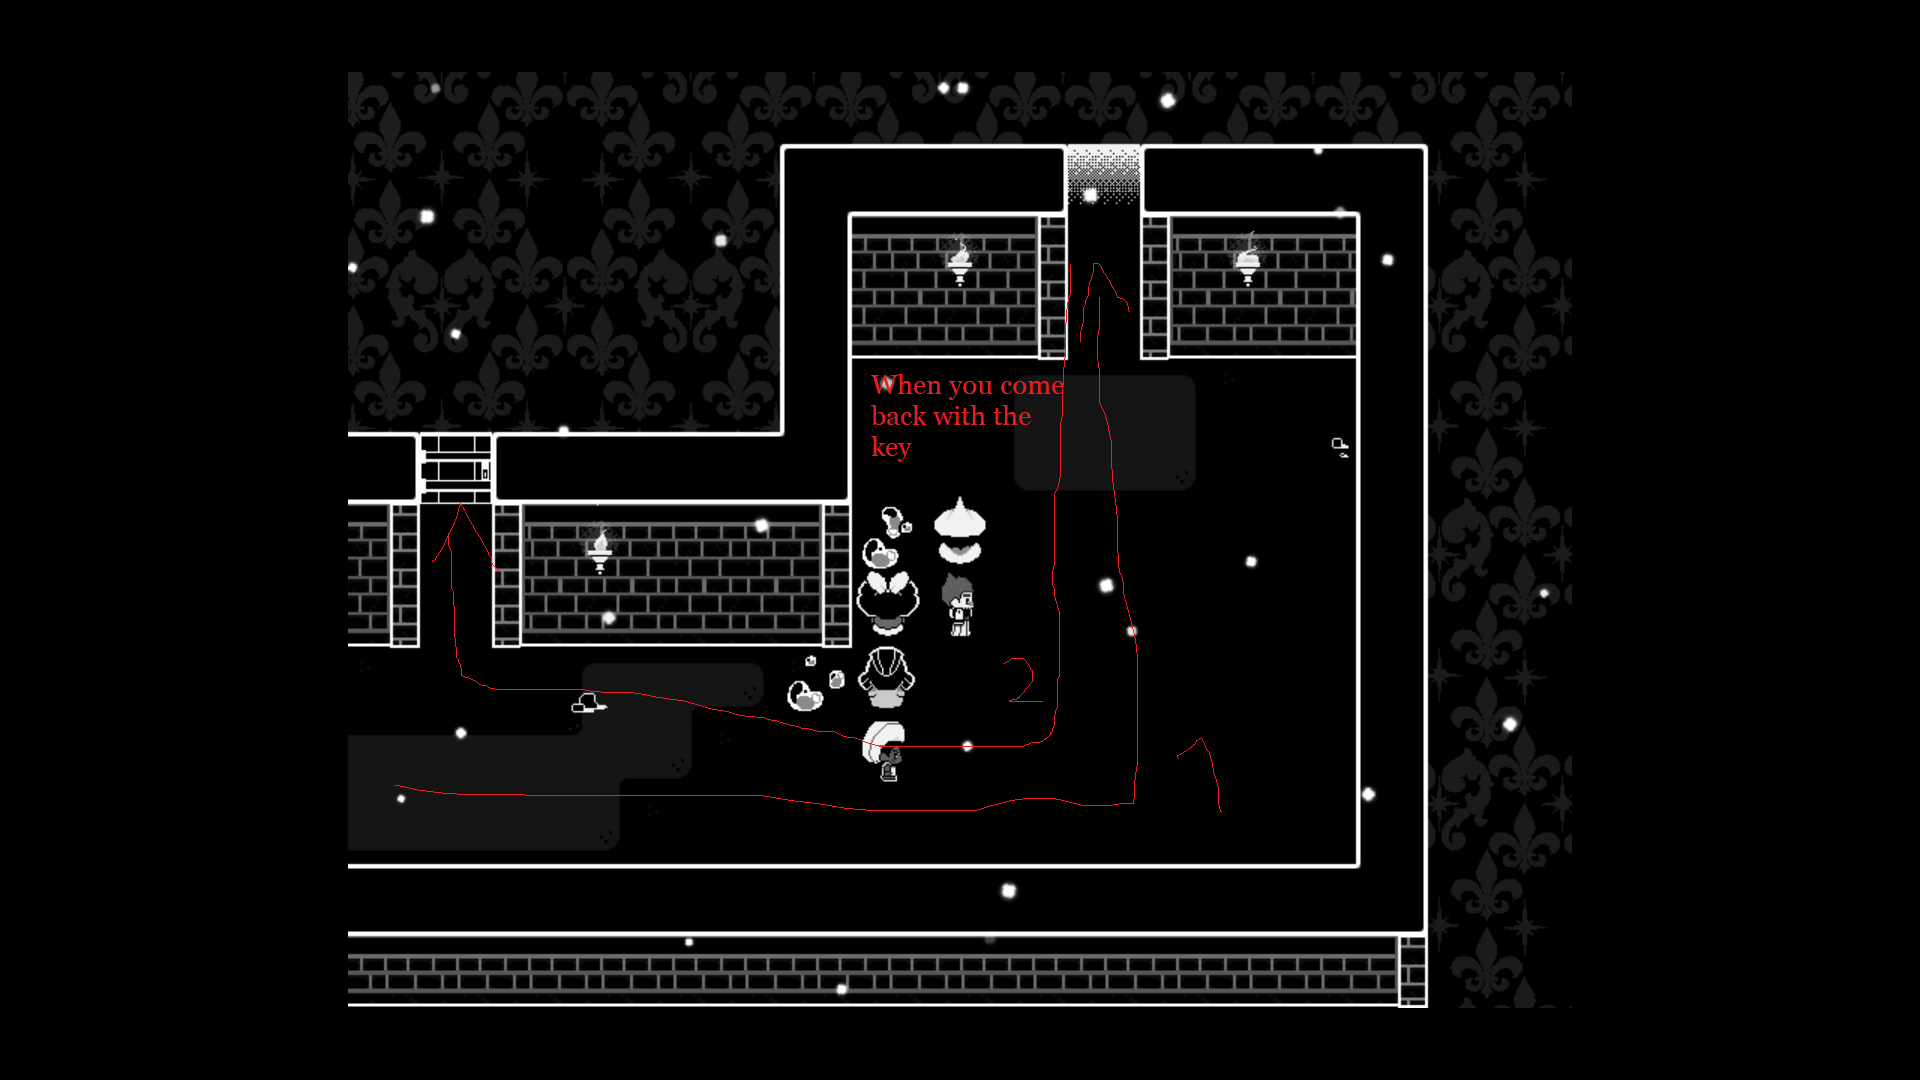
-I THINK during a True run, at certain points a "phantom Sif" (like a player ghost) can be seen running ahead. I initially thought it existed to give the player hints for what to do for certain endings, but it really just seems to walk ahead in set spots... Do you know its purpose?
Thank you again for your guide, really helped me! Here's to awaiting the release of part 2!
Sylphistia Jan 4, 2023 @ 11:50am 
Thank you for this guide! I can imagine the Undertale comparisons, but the whole game has such a different vibe, I think a comparison doesn't do this game justice.

I seemed to have gotten the True ending on my second run... my logic was to act so suspicious that it'll surely result in a bad ending of sorts, so I'd have that out of the way and save good for last. The first shock was seeing how final the ending felt that I reached, the second shock was that I didn't even save during my FIRST run and since the True ending throws you to the Title Screen afterwards, I was basically left with nothing.
I tried a few things to get the supposed other two endings, and the game is pretty straightforward at hinting at what you can do to change the outcome. Since I still messed up, I hoped for a guide to tell me what the key points were, and thankfully, yours existed!