
Інсталювати Steam
увійти
|
мова
简体中文 (спрощена китайська)
繁體中文 (традиційна китайська)
日本語 (японська)
한국어 (корейська)
ไทย (тайська)
Български (болгарська)
Čeština (чеська)
Dansk (данська)
Deutsch (німецька)
English (англійська)
Español - España (іспанська — Іспанія)
Español - Latinoamérica (іспанська — Латинська Америка)
Ελληνικά (грецька)
Français (французька)
Italiano (італійська)
Bahasa Indonesia (індонезійська)
Magyar (угорська)
Nederlands (нідерландська)
Norsk (норвезька)
Polski (польська)
Português (португальська — Португалія)
Português - Brasil (португальська — Бразилія)
Română (румунська)
Русский (російська)
Suomi (фінська)
Svenska (шведська)
Türkçe (турецька)
Tiếng Việt (в’єтнамська)
Повідомити про проблему з перекладом


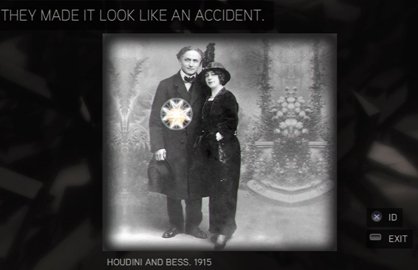


But bruh,
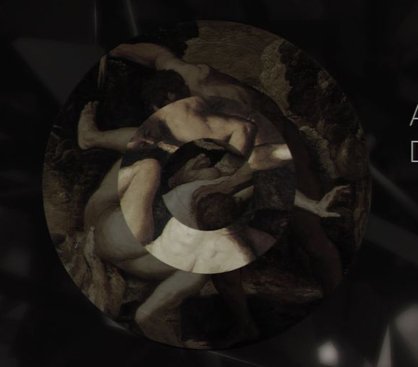
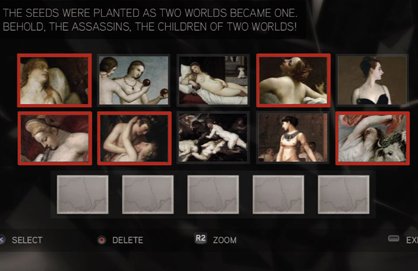
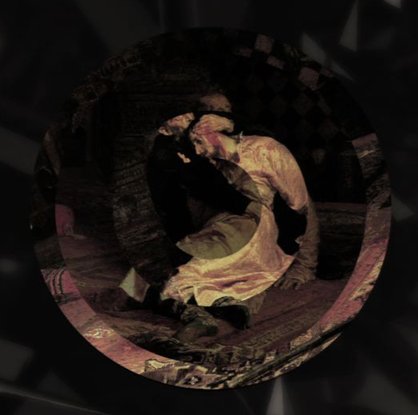
Whoever wrote the lore for this part of AC2 belongs in r/iam14andthisisdeep, actually all AC Modern story is cringe.
This one is just cringe of the hill.
The historical stories, (Excluding Ezio's, Syndicate, haven't finished Odyssey), are okay, the best was AC1.
I love these games but I did get into AC when I was 14 so it figures my dumba$$ liked the story at the time, I first played AC3.
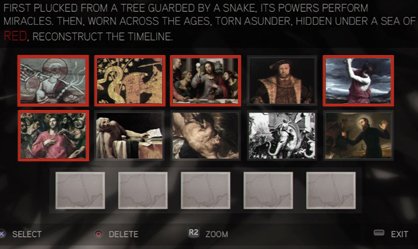
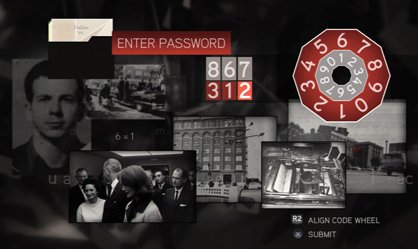
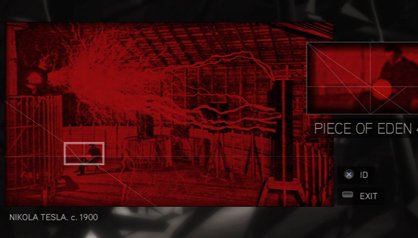
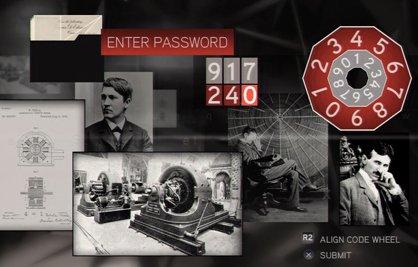
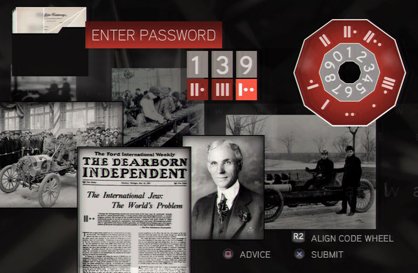
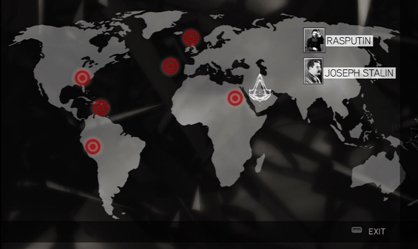
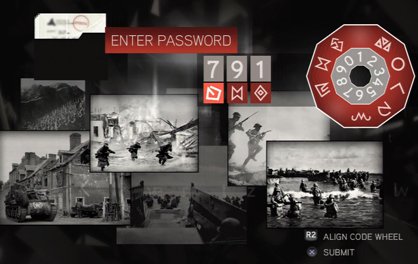
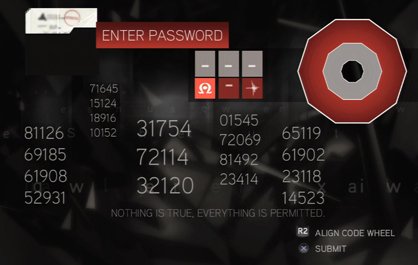
Number 12 puzzle really pissed me off, not because of complexity.
I already figured out what the symbols meant, just didn't know how to align the code wheel.
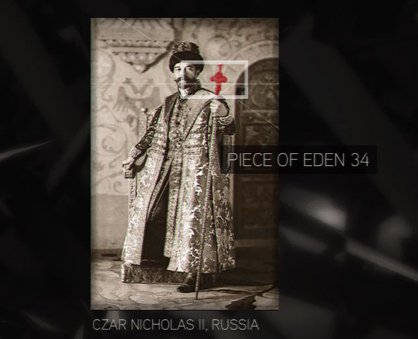
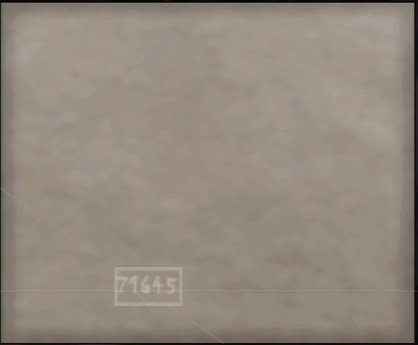
And it turns out the barely visible grainy 2 on the car, (I'm playing at 4K on a TV btw) is the answer.
Much mad.