Fire & Maneuver

Fire & Maneuver

79 ratings
Combat & Strategy: An In-Depth F&M Guide
By 3Taylor
This guide is aimed at explaining the mechanics & basic combat principles of F&M to newer players, providing a list of formations, perks, ect., as well as giving in-depth tactical & strategic advice to more experienced players.
9
8
3
4
2
6
   
Award
Favorite
Favorited
Unfavorite
PLEASE READ FIRST!
Things to note:

  1. WARNING: Fire & Maneuver is an early access game, thus many things can change in a short amount of time. I will attempt to keep up with any changes by updating this guide, but I cannot guarantee that everything will be 100% correct when reading this.

  2. This guide assumes that the reader (you), knows & understands the core concepts of how the game Fire & Maneuver works. (i.e. simultaneous turns, tile based system, etc.)

  3. Some information may or may not be biased or based on opinion, I'm just a human writing this guide after all.

  4. When I talk about strategies, I am referring to the overall actions of the entire army on the map (as well as army compositions). When I talk about tactics, I am referring to the actions of a single or small group of regiments on a specific or small part of the map.

  5. Other than chapters that explain game mechanics, I will try to keep tactical & strategic explanations somewhat abstract. The reason is that the goal of this guide isn't to teach & explain exactly what to do in every possible situation (Which would be impossible), but to teach players how to think in various situations.

  6. If you spot any errors (Anywhere from wrong information to a simple typo), please let me know & I will fix them when I can.
Index
Chapter 1
  1. Understanding F&Ms Damage System

  2. How Charging & Melee Works

Chapter 2
  1. Understanding Formations

  2. Perk list

Chapter 3
  1. Basic Tactical Thinking

  2. How, Why, Where, & When to Use Fire-At-Will

Chapter 4
  1. How to Effectively Use Artillery & Cavalry

  2. How to use skirmishers

Chapter 5
  1. How to Use Reserves Tactically

  2. Overview of the Armory

Chapter 6
  1. Army Composition & Deployment Zones

  2. Nations

Chapter 7
  1. Understanding the Terrain

  2. Managing & Arranging Your Forces

Chapter 8
  1. Knowing When to Retreat

  2. Risks: Benefits & Consequences
Chapter 1
The first chapter of this guide focuses on teaching & explaining the damage system, formations, as well as charging & melee to newer players. If you're brand new I highly suggest reading this chapter, however if you're more experienced & are looking for tactics & strategies rather than explanations of mechanics, you can skip this chapter.

Understanding F&Ms Damage System

In order to effectively & efficiently inflict damage upon the enemy, the first thing you must understand is how F&Ms damage system works (if you already know how F&Ms damage system works you may skip this section). This section will not cover charges or melee, that will be covered later.

The base range damage for all units is 1, however this changes depending on formation. A regiment that attacks frontally deals no extra damage, if it attacks from the side it deals 1 extra point of damage, & if it attacks from the back it deals 2 extra points of damage.

The next mechanics are cohesion & attrition, these are important so pay good attention! When a regiment loses all of it's cohesion, damage will be inflicted on it directly thus damaging companies within the regiment. If a regiment loses all of it's companies, it is destroyed & removed from the battlefield. However if a regiment is not bordering any enemy regiments (straight & diagonally), it regains all of it's cohesion at start of the planning phase.

If a regiment has none of it's cohesion left, it will have attrition applied to it (represented by a running icon). If a regiment conducts a move order (turning does not count) while attrition is applied it will lose a company. The only way to remove attrition is to restore cohesion.

Regardless of damage bonuses & resistances, the minimum amount of range damage received is always at least 1. Also note that the disciplined range perk increases the range damage of that regiment by 1 point, & the skirmisher perk makes that regiment unaffected by attrition.

How Charging & Melee Works

Charging is classified as a fire order, thus a regiment cannot shoot and charge in the same turn (unless it has the breech-loading perk). In order to conduct a charge order the regiment must be adjacent straight to the enemy regiment you want to charge (with the exception of heavy cavalry in echelon formation). The base charge damage is 1 (per unit charging), however charging also does flanking damage just like ranged damage (+1 from the side, +2 from the back).

As soon as the battle phase ends, melee damage is calculated. If a regiment is engaged in melee, it will deal 1 damage to the enemy regiment (charging/melee bonuses do not count, as they are already in melee). Thus having 2 regiments in melee will deal 2 damage to the enemy regiment at the end of each battle phase.

When shooting into a melee engagement, you damage both sides. Thus you should avoid shooting into an active melee engagement, unless you have the advantage & wish to end it quicker.
Chapter 2
This chapter focuses on showing & explaining formations, as well as the different perks in the game.

Understanding Formations
- - - - -
Close order
  • 1 tile movement
  • 3 tile firing arc
  • +1 range damage
Close order formation is what your infantry will spend most of their time in, as it provides +1 range damage. If your infantry is about to get into combat I highly suggest putting them into close order formation unless your plan requires another formation to be effective.

- - - - -
Attack column
  • 2 tile movement
  • 1 tile firing arc
  • +1 charging damage
  • Vulnerable to range damage
Attack column is good for mobility while still allowing the regiment to engage in ranged or melee combat, thus making it useful for flanking/surrounding maneuvers & charges. However, you must use attack columns carefully as they take an extra point of range damage.

- - - - -
March column
  • 2 tile + diagonal movement
  • Cannot conduct a fire order
  • Vulnerable to damage
March columns are very mobile however they are vulnerable to damage & cannot conduct a fire order, thus this formation is only useful for moving regiments close to the frontline or to quickly take position in a key area.

- - - - -
Square formation
  • Cannot move
  • 360 degree firing arc
  • Completely resistant to charge damage
  • Vulnerable to range damage
Square formations are useful for defending or fending off major cavalry attacks, & have a 360 degree firing arc. However personally I find this formation to not be very useful, as sacrificing movement & being decimated by any ranged attack isn't worth it in my opinion.

- - - - -
Open order
  • 1 tile movement
  • 180 degree firing arc
  • Resistant to range damage
  • Vulnerable to charge damage
Open order is useful for moving up regiments & attacking while reducing the amount of range damage taken, especially if you're going up against Krupp guns for example. However if you require more firepower, it may be better to switch to line formation instead of open order. It's also good to be careful when near the enemy in this formation as open order receives more damage from a charge.

NOTE: The screenshot of open order's diagonal firing arc is outdated; it now always has a 180 degree firing arc.

- - - - -
Below are the firing arcs of rifled infantry in different formations:

- - - - -
Perk List


Shock: This perk provides +2 charge damage to the regiment.


Melee Drill: This perk increases the amount of damage dealth in melee by +1.


Grapeshot: This perk provides +2 range damage to the regiment when firing at an enemy directly adjacent to the regiment.


Breech-Loading: This perk allows the regiment to conduct 2 fire orders in the same turn.


Rifling: This perk provides the regiment with +1 range.


Range Drill: This perk provides +1 range damage to the regiment.


Skirmisher: This perk allows the regiment to move diagonally if in open order formation.


Efficiency: This perk allows the regiment to conduct 2 maneuver orders in the same turn.


Rugged: This perk makes the regiment unaffected by terrain penalties.


Disorganized: This perk makes the regiment regain cohesion slower. (Half per turn, rounded up)


Breakable: This perk makes the regiment take 1 damage to health per turn if out of cohesion.


Cumbersome: This perk makes it so the regiment can only conduct fire orders OR only conduct maneuver orders in the same turn.


Indirect: This perk allows the regiment to shoot over any obstacles in it's way.


Melee-Only: This perk shows that the regiment does not have any ranged weapons.
Chapter 3
This chapter of this guide focuses on fundamental tactics & fire-at-will.

Basic Tactical Thinking

Now that you know the mechanics of the game, we can finally get to tactics! Infantry will almost certainly comprise most of your army, so understanding infantry combat before anything else is key. However remember that there are many different types of infantry & thus many different infantry vs infantry engagements, so this section of the guide will be somewhat abstract.

When you plan to attack with your infantry, it is always good to bring superior numbers than the enemy regiments you plan to attack. The more infantry you have the more damage you can do, while also making it harder for the enemy to fully repel the attack. If you can safely retreat a regiment to quickly regain cohesion while still being close to the fight, it can be very valuable to do so. Remember that the less infantry you have, the less likely you are to succeed in an attack.

The key to defeating your enemy in an infantry engagement is to think about what he will do, and you must counter what you think he will do while also being flexible enough so you can react to anything he does that you didn't expect. Here's an example with pictures so you understand the basic concept:


(For a short video provided by "That Belgian Guy" showing the actions in this example, click here.)

Pretend that the outlined tile is an enemy regiment facing south. On our first turn (first screenshot) we move up both regiments and fire, covering the enemy regiment in the event that he moved in any direction but northward. This way if he moved south to attack at the same time, we fire on him from both sides while also dealing +1 flanking damage. If he moved west or east we'd still get one or two (depends if we have breech-loaders) shots off. If he retreated northward we might not deal any damage, but we've pushed the enemy back & captured ground.

Let's say that he didn't move the regiment, but instead fired with it or maybe completely ignored it. On our second turn we can assume that he'll likely retreat to avoid being surrounded, so we move up both regiments to a position where we can still fire at him if he does that. At this point we've covered any means of safely escaping for the enemy; if he moves east or west he engages in melee with our regiments, & if he moves north or south we still get 2-4 shots on him from both sides.

An important thing to note in this example is how we did not turn our regiments diagonally upwards on our second turn like we did on the first, because if we did that & the enemy moved south it's possible he could've gotten 1-2 side shot(s) on our regiments. While that would be unlikely to happen, it highlights my point that you should plan to counter as many different possibilities as possible. (That statement goes for all tactics & strategies regardless of any variables.) Another important thing to note is that this example could've played out drastically differently depending on the order of orders given by each player, the example assumes that the enemy player's first order(s) were given to that specific enemy regiment.

This section of the chapter didn't explain about offensive/defensive tactics, rifles & breech-loaders, different types of infantry with different stats & perks, ect. It was meant to teach how to think during these situations, rather than exactly what to do.

If this section was a bit too complicated to get my point, what I want you to understand is this: You should always try to make your plans as reliable as possible, in case an unexpected or unlikely outcome occurs.

How, Why, Where, & When to Use Fire-at-Will

In order to use fire-at-will, look at the fire type order button with the 3 bullets icon. Fire-at-will automatically shoots any enemy regiments in range; when an enemy regiment moves or the battle phase ends. If the regiment has the breech-loading perk, it's able to fire automatically twice. However, at the end of the battle phase, it immediately loses it's fire-at-will.

Fire-at-will can be useful for locking down an area with fire, while also not having to predict when the enemy will be there. If you need to fire at an enemy that's going to move near you, but don't know exactly when or where, then FAW is a good option.

While fire-at-will can be useful, it's classified as a fire order & thus a regiment cannot conduct a range attack & activate fire-at-will in the same turn without the breech-loading perk. You must also consider how beneficial setting a regiment(s) into fire-at-will is, as each one takes up a valuable order slot for that planning phase that could be used for something more important. If you find that the situation could benefit from firepower while prioritizing orders to other engagements or there is a very low amount of orders available per turn, fire-at-will can be very helpful.
Chapter 4
This chapter will talk about effective use of artillery, cavalry, & skirmishers.

How to Effectively Use Artillery & Cavalry

Let's start off with artillery, the first thing to remember is that artillery should never be unsupported. Artillery should always have nearby infantry to protect it's flanks, provide cover, & provide a distraction for it in the case it needs to fall back, as (most) artillery has the cumbersome perk & only 2 cohesion. Artillery should take position to either defend or support an attack, as pushing up with artillery even with infantry support can be risky especially if the enemy has the numbers, mobility, or simply time to flank/surround you. Unless you're using breech-loading artillery you will deal a negligible amount of damage, thus using artillery to provide supportive fire in an offensive plan is suggested rather than using it on it's own.

Cavalry is in many ways the opposite of artillery yet also similar. Cavalry relies on mobility & harassment to inflict significant damage upon the enemy. While using cavalry unsupported isn't a bad idea, it's likely to be alot more effective & efficient when supporting or being supported by infantry & artillery. While there are different types of cavalry for slightly different purposes, they're generally best used to harass or flank the enemy to support infantry or artillery.

How to Use Skirmishers

Skirmishers (or light infantry) are meant to harass the enemy & provide highly maneuverable (pun intended) fire support for your main force. Skirmishers can be used to flank the enemy & provide a distraction for them, or to block off an escape route for the enemy.

They have the "skirmisher" perk which allows them to move diagonally if in open order formation, allowing them to flank & engage the enemy in ways that normal infantry cannot.

Skirmishers equipped with rifles can harass from afar, those equipped with breech-loaders can damage the enemy up close from behind, & those equipped with breech-loading rifles can both harass & damage the enemy from afar.

Skirmishers are not frontline units, & should not be expected to perform well when going face-to-face with line infantry. Use them to flank, surround, block off escape routes, & harass/distract the enemy in general.
Chapter 5
This chapter of the guide is meant to explain how reserve regiments can be more tactically useful than at first glance, & give a brief overview of the armory.

How to Use Reserves Tactically

When I refer to reserve regiments in this section, I am talking about the rear regiment when 2 allied regiments are on the same tile. Reserves can be alot more useful & more complicated than at first glance, they could even turn the tide of an engagement or entire battle if you use reserves tactically!

The first thing to know about reserve regiments is that they cannot take nor deal range damage (unless you move them separately to another tile that is), they also can move with the front line regiment at the same time thus only requiring half the orders you'd need to move them separately. This makes reserves good for offensive maneuvers, as only the front line regiment takes damage & you can move more regiments in the same turn. However in a defensive situation it might be better to spread out your regiments, which would allow you to do more range damage.

The second thing you must take into consideration is melee. If there are 2 allied regiments on the same tile engaged in melee with the enemy, every turn they will deal 2 damage to the enemy instead of 1 (& vise versa). Thus if you plan to be in a prolonged melee engagement, you will almost always want to bring 2 regiments to it.

Another thing to remember is that you can switch the front line & reserve regiments with a maneuver button next to the rest. You could have the front line fire, switch reserves, then have the new front line fire again thus doing double the damage. Doing this also means that the front line regiment will no longer take range damage, so swapping reserves is good for protecting the front line regiment if it takes too much damage.

I will end this section with an example of a tactic that uses a reserve regiment to it's advantage, it's pretty long so if you want to skip it that's fine: You have multiple regiments of Russian line infantry approaching a line of entrenched enemy Russian line infantry, & you outnumber them 2 to 1. In this fictional scenario I'd say you're best bet of victory is overwhelm the enemy with your superior numbers as fast as possible, even if it costs alot of your own infantry. Let's say all of your regiments are with another regiment (front line & reserve), & are all 1 tile away from the entrenched line of enemy infantry that is spread out & has no reserves. You move up all of your infantry & fire upon the enemy, inflicting some damage on the enemy & taking alot of damage. The next turn you order all of your front line regiments to fire again (ordering the most damaged ones to fire first, so they can get their shots off before they die), while also ordering your reserve regiments to charge the enemy after all of the front line regiments fire. The result is that while alot of your regiments are dead or heavily wounded, the enemy is now caught in multiple melee engagements & their line cannot hold against your (probably) still superior numbers.

While that was just one example that was somewhat unfair for the defending player, it shows how reserve regiments can be alot more useful than just sitting there waiting to take the front line regiment's place.

Overview of the Armory

The armory provides the option for equipping smooth-bore muzzle loaders, breech-loaders, rifles, & breech-loading rifles for certain nations. The weapons you choose should be suited for the nation you're playing, as well as your play style & strategy. For example if you're going for the horde & want superior numbers, you might not want to spend too much (or any) money on better weapons.

Smooth-bore muskets are cheap, but require close-range massed fire to deal significant damage quickly.

Rifles allow you to shoot at 2 range, but still require massed fire to deal significant damage from afar. When using rifles, I advise you to fire at the enemy from range & to keep your distance at all times.

Breech-loaders allow you to shoot twice, but still require close-range to deal any damage. When using breech-loaders, I advise you stay on the offensive & aggressively attack the enemy while preventing the enemy from effectively retreating.

Rifled breech-loaders have 2 range & allow you to shoot twice; these modern guns pack a heavy punch from afar. When using rifled breech-loaders, I advise you to follow a mix of rifle & breech-loader tactics while making sure you don't lose this valuable & expensive weaponry in combat.
Chapter 6
This chapter of the guide briefly goes over army composition & explains each nation in-depth.

Army Composition

The first steps to achieving victory in any F&M battle is before the battle even starts; your army composition & how you deploy it. What your army is designed for will play a significant part to how you go about the battle, as well as how to deploy that army on the field.

I suggest that an army composition should almost always consist at least 50% or more of infantry, as infantry is the core of your army. While artillery can be very powerful it's best not to buy too many artillery pieces, as they're expensive & are not effective in any situation without infantry or cavalry support. Cavalry is good for harassing the enemy & supporting infantry & artillery, but are relatively weak in durability for their cost so I suggest never buying more than 3~4 cavalry regiments.

Nations

Each nation has their own units, playstyle, & most importantly: music! On a serious note: this section will be talking about the current nations' playstyles, as well as my own advice about them.


France

The first nation is France, with an overall well-rounded force to make up for their lack of uniqueness. Their units may not have anything special going for them, but because of that they're relatively cheap for their effectiveness compared to most other nations.

France is a good choice for beginners or those looking for a nation that suits any playstyle & isn't very expensive, but don't expect any major advantage in any specific field when playing as France.


Germany

The second nation is Germany, with their efficient troops & powerful modern artillery. German infantry relies on their efficiency perk & their default equipped breech-loaders, allowing them to conduct 2 maneuver & fire orders in the same turn. Germany's Krupp guns are excellent at locking down an area for defense or providing fire support for an attack. However, if you don't use your mobility efficiently (pun intended) & don't use your artillery effectively, you will give your enemy an opportunity to take you down.

Germany is a good choice for players looking to crush their enemy with quick mobility & firepower, but requires their mobility & artillery to constantly be used effectively in order to keep their advantage.


Britain

The third nation is Britain, with all of their infantry getting the disciplined range perk at a steep cost. British infantry relies on their extra damage & their default equipped rifles to deal alot of damage from range to compensate for their lack of numbers. If used well British infantry can be an efficiently deadly force, but can also be easily overwhelmed by superior numbers if the situation is not handled well.

Britain is a good choice for those who want a smaller but deadly force, & have enough experience in the game to handle them well.


Russia

The fourth nation is Russia, with a large & cheap, but relatively disorganized force. Russian infantry relies on superior numbers to attack, surround, use their superior numbers to push forward. However you must keep an eye on your forces, as standard Russian infantry is disorganized & thus regains cohesion slower. Russian infantry can be easily stopped by the enemy if you don't handle your army correctly, & they take up good defensive positions or slowly destroy your army from afar.

Russia is a good choice for those who like to push forward against the enemy with weaker but larger force, however you must be careful as your army is plagued with disorganization.


Ottomans

The fifth nation is the Ottoman Empire, with a horribly-disciplined but massive force. The Ottomans must rely on the sheer number of their infantry to attack or defend with huge concentrations of troops. While the Ottomans also use superior numbers similar to the Russians, they cannot rely on individual regiments to stay in combat for long & thus require large groups or a horde to fight effectively.

The Ottomans are a good choice for those who wish to beat the enemy into submission with wave after wave of their horde. However their infantry cannot be relied upon to stay in the fight, & if a gap in your lines or separated regiments are attacked you forces will quickly break apart & flee.


Austria

The sixth nation is Austria, with a large skirmishing force that allows them to get in & out of battle without suffering from attrition. Austria can use their skirmishers to great affect on most battlefields, quickly attacking then retreating quickly so the enemy has difficulty chasing. However with skirmishers being their primary focus, the majority of their army has no particular advantage.

The Austrians are a good choice for those who like to utilize skirmishers & the skirmisher perk, however you must take into account that while your army is solid & sound; it has no other major advantage.


Italy

The seventh nation is Italy, with a unique force that allows them to utilize more specialized tactics & strategy. From the efficient "Redshirt" Volunteers to their rugged light infantry & cavalry, backed up by standard albeit disorganized line infantry. However with their more specialized force, the requirement to use them correctly in their different capacities arises.

The Italians are a good choice for those who like a specialized or unique force, but must be played as such to use each of their different specialized units effectively in their roles.


USA

The eighth nation is the USA, with a low cohesion force consisting of weak but cheap regiments. The USA relies on cheap forces & superior numbers to overwhelm the enemy similar to the Russians, with the key differences being lower cohesion but no disorganization. While the USA can get in & out of engagements effectively, they quickly start taking casualties when in prolonged or head-on engagements.

The USA is a good choice for those who want a numerically superior force to out-last the enemy, but cannot take head-on engagements well & must often regain cohesion to avoid taking heavy losses quickly.


CSA

The ninth nation is the CSA, with a low cohesion but highly efficient force. The CSA relies upon superior numbers & efficient mobility to out-last, flank, & harass the enemy to deal damage. However the CSA must rely upon their efficiency to avoid head-on & prolonged engagements, or else they will take casualties & waste the cost of the efficiency perk.

The CSA is a good choice for those who prefer a cheaper & efficient force to overwhelm the enemy with mass-mobility, but must always rely on that very same efficiency at all times to avoid taking heavy losses too quickly.
Chapter 7
Understanding the Terrain

Knowledge of the terrain can be a valuable asset, as using it's benefits to your advantage & it's detriments to slow down the enemy can be crucial.

Increases movement by +1 if in march column.
Bogs down regiments causing them to become stuck on that tile for a turn.
Prevents movement on this tile.
Provides soft cover, reducing damage taken by 1.

Higher terrain also increases the range of regiments; the exact range bonus depending on the height.

Arranging & Managing Your Forces

Arrangement of your forces is critical to the battle, thus it is important to make sure you meet the enemy with a good army arrangement. Forces too spread out leave themselves vulnerable to frontal attack or defeat in detail, while forces too clumped together leave themselves vulnerable to flanking maneuvers & long range artillery bombardment. Always take into consideration the terrain & your enemy, go for the valuable terrain while arranging your forces in a way that shows no- or the least amount of -weak spots for your opponent to take advantage of.

Once in combat, it is critical to manage your forces in a way that does not break up your army. Chasing a retreating enemy across a river? Don't spread your forces across to many different bridges/shallow parts, it would take too much time & break up your forces into vulnerable pieces.
Getting attacked from multiple angles? Keep your forces together so regiments can support each other, or else the unsupported regiments will be vulnerable.
Chapter 8
Knowing when to Retreat

Chasing a weakened enemy but quickly taking large losses while doing so? Retreat to preserve your forces & prevent the tide of battle from turning on you. Attempting to hold a forward defensive position but getting overrun? Retreat to better terrain & hold defensive positions there.

Knowing when to retreat could mean the difference between victory & defeat, never become overconfident that you've won the battle or else you may just lose it. Committing to an attack is usually risky, committing to a failing attack is fatal. Retreating isn't something the person who's already lost does as some may think, retreating could end up winning you the battle! The purpose is to preserve your forces to continue an effective fight, & should be done when you are taking significantly more losses than the enemy in an engagement.

Risks: Benefits & Consequences

Sometimes taking risks is necessary, but taking risks without any hope of succeeding is not. Doing one final assault with the last of your forces? Do it with a solid plan & the risk may pay off, do it with unplanned desperation & you are sure to fail.

While succeeding with a risky plan itself is the primary goal, the second & still very important goal is to reduce the risk & have a plan B. Doing all-or-nothing risks is a sure way to either win by catching your enemy off-guard & overrunning them, or a sure way to die. Never put 100% of your forces into a risky plan, always have some forces stay behind to backup the plan, or simply to continue the fight should it fail.
Updates, Credits, & Last Remarks
Update list below (insignificant changes will not be mentioned):
  • 12/24/2021
    Published this guide
    Added pictures of nations' in-game descriptions to the "Nations" section
    Added short video example

  • 12/25/2021
    Rearranged the chapters & sections to provide more space & organization
    Added a "Perk List" section
    Updated France's & Germany's descriptions

  • 01/22/2022
    Added 2 new sections: "How to use reserves tactically" & "Overview of the armory"
    Some reorganization of chapters to fit these 2 new sections

  • 01/02/2022
    Made various small additions & changes, to reflect on the recent update

  • 03/22/2022
    Reorganization of chapters & sections
    Replaced all "entrench" words with "overwatch"
    Added "How to use skirmishers"
    Changed "Army composition" to "Army composition & deployment zones" & updated it
    Prepared a section called "Understanding the terrain"

  • 03/23/2022
    Filled in "Understanding the terrain" section

  • 04/10/2022
    Removed the "General tactics & strategies" section
    Added "Arranging & managing your forces", "Knowing when to retreat", & "Risks: benefits & consequences" sections

  • 05/3/2022
    Changed the title from "The Art of Fire & Maneuver" to "Combat & Strategy: An In-Depth F&M Guide". This was done to clarify what this guide is about.
    Updated "Nations" section & included the Ottomans.
    Updated "Understanding the terrain" section & included icons.
    Updated "Overview of the armory" & added advice for each weapon type.

  • 05/28/2022
    Rewrote "How, why, where, & when to use overwatch" to "How, why, where, & when to use fire-at-will".
    Updated "Nations" to include the USA & CSA.

  • 06/7/2022
    Updated "Nations" to include Austria & Italy
    Changed "Army composition & deployment zones" to "Army composition" & removed a paragraph, this was done in order to provide more space for Austria & Italy in chapter 6 as the character limit was reached.

  • 06/8/2022
    Updated "Perk list" with higher resolution icons without the white square behind them.

  • 07/14/2022 "Pre-Game Release Update"
    Updated info in "Understanding F&Ms damage system".
    Modified info in "How charging & melee works".
    Updated info in "Understanding Formations".
    Added info in "Perk List".
    Modified info in "How, why, where, & when to use fire-at-will".
    Modified info in "How to effectively use artillery & cavalry".
    Updated info in "How to use skirmishers".
    Modified info in "Overview of the armory".
    Modified info in "Army composition".
    Updated info in "Nations".
    Removed unnecessary info in "Understanding the terrain".

  • 07/17/2022
    Added the "Rangeless" perk icon to "Perk List".
    Capitalized all section titles in the index.
    Fixed error in the index.

  • 07/21/2022
    Updated info in "How Charging & Melee Works".

  • 08/21/2022
    Modified info in "Nations" to make the German description more concise.

  • 09/28/2022
    Changed "PLEASE READ FIRST!" to be more concise.
    Updated info in "Understanding Formations".
    Updated info in "Perk List".
    Updated info in "How, why, where, & when to use fire-at-will" (this has changed so many times, that I'm actually getting tired of updating it. lol).
    Updated info in "Understanding the terrain".

  • 12/15/2022
    Added note related to an outdated screenshot in "Understanding Formations"
    Updated info in "Perk List"

  • 1/1/2023
    Updated info in "How Charging & Melee Works".
    Updated info in "Perk List".
    Updated info in "How to use Skirmishers".
    Special thanks to "Cold Steel" for letting me know of outdated info!

If you have any questions or suggestions make sure to leave a comment on the guide, and I'll (probably) respond! If you'd like a more reliable & direct way of contacting me you can find me on the official F&M discord server. Any suggestions you have would be greatly appreciated, & if you liked it make sure to leave a like!

Below are the the credits, it will list people's names and contribution(s):

3Taylor - Created this guide! :D

That Belgian Guy - Made a video version of my example! (In "Basic tactical thinking".)
F&M Content by Others
This section lists other people in the F&M community who've also made content such as guides & videos.

If you're looking for a shorter guide or glossary with all of the info on unit types, tile types, ect. I'd like to suggest reading this guide made by another F&M community member named Shaan: https://steamcommunity.com/sharedfiles/filedetails/?id=2798585682

If you're looking to watch some F&M battles, you can go watch "That Belgian Guy"s videos on his channel: https://www.youtube.com/channel/UCzCF80_WBrI_1WjltUxc13Q
26 Comments
3Taylor  [author] May 13, 2023 @ 8:01am 
Thank you very much!
Filip May 13, 2023 @ 4:35am 
Very usefull guide. You deserved that award.
Chicken Apr 19, 2023 @ 7:43pm 
You can use a unit with efficiency to turn an arty unit in firing position, and still get to fire. Just put it in reserve in the position you want it, confirm then move the efficiency unit to go fight elswhere.
Myketo Feb 24, 2023 @ 5:45pm 
Thank you
gargoyle905 Jan 17, 2023 @ 1:27pm 
how do you change the game setting when playing with bots (amount of money, change map, ect)???
3Taylor  [author] Jan 1, 2023 @ 10:34am 
Thank you for the compliment, & for pointing out the outdated information! I haven't been as active around F&M as I used to be, so I haven't been updating this guide nearly as frequently recently. However, I still want to keep this guide relevant & useful for as long as possible, as I indeed put alot of effort into originally making it.

Thanks again for pointing out what needs to be fixed, it really helps! I'll update those sections right away.
Cold Steel Jan 1, 2023 @ 12:12am 
Very impressive guide, especially considering how much time and effort must have gone into it. However I noted that a few things are slightly outdated, and I thought it would be helpful to list them here.
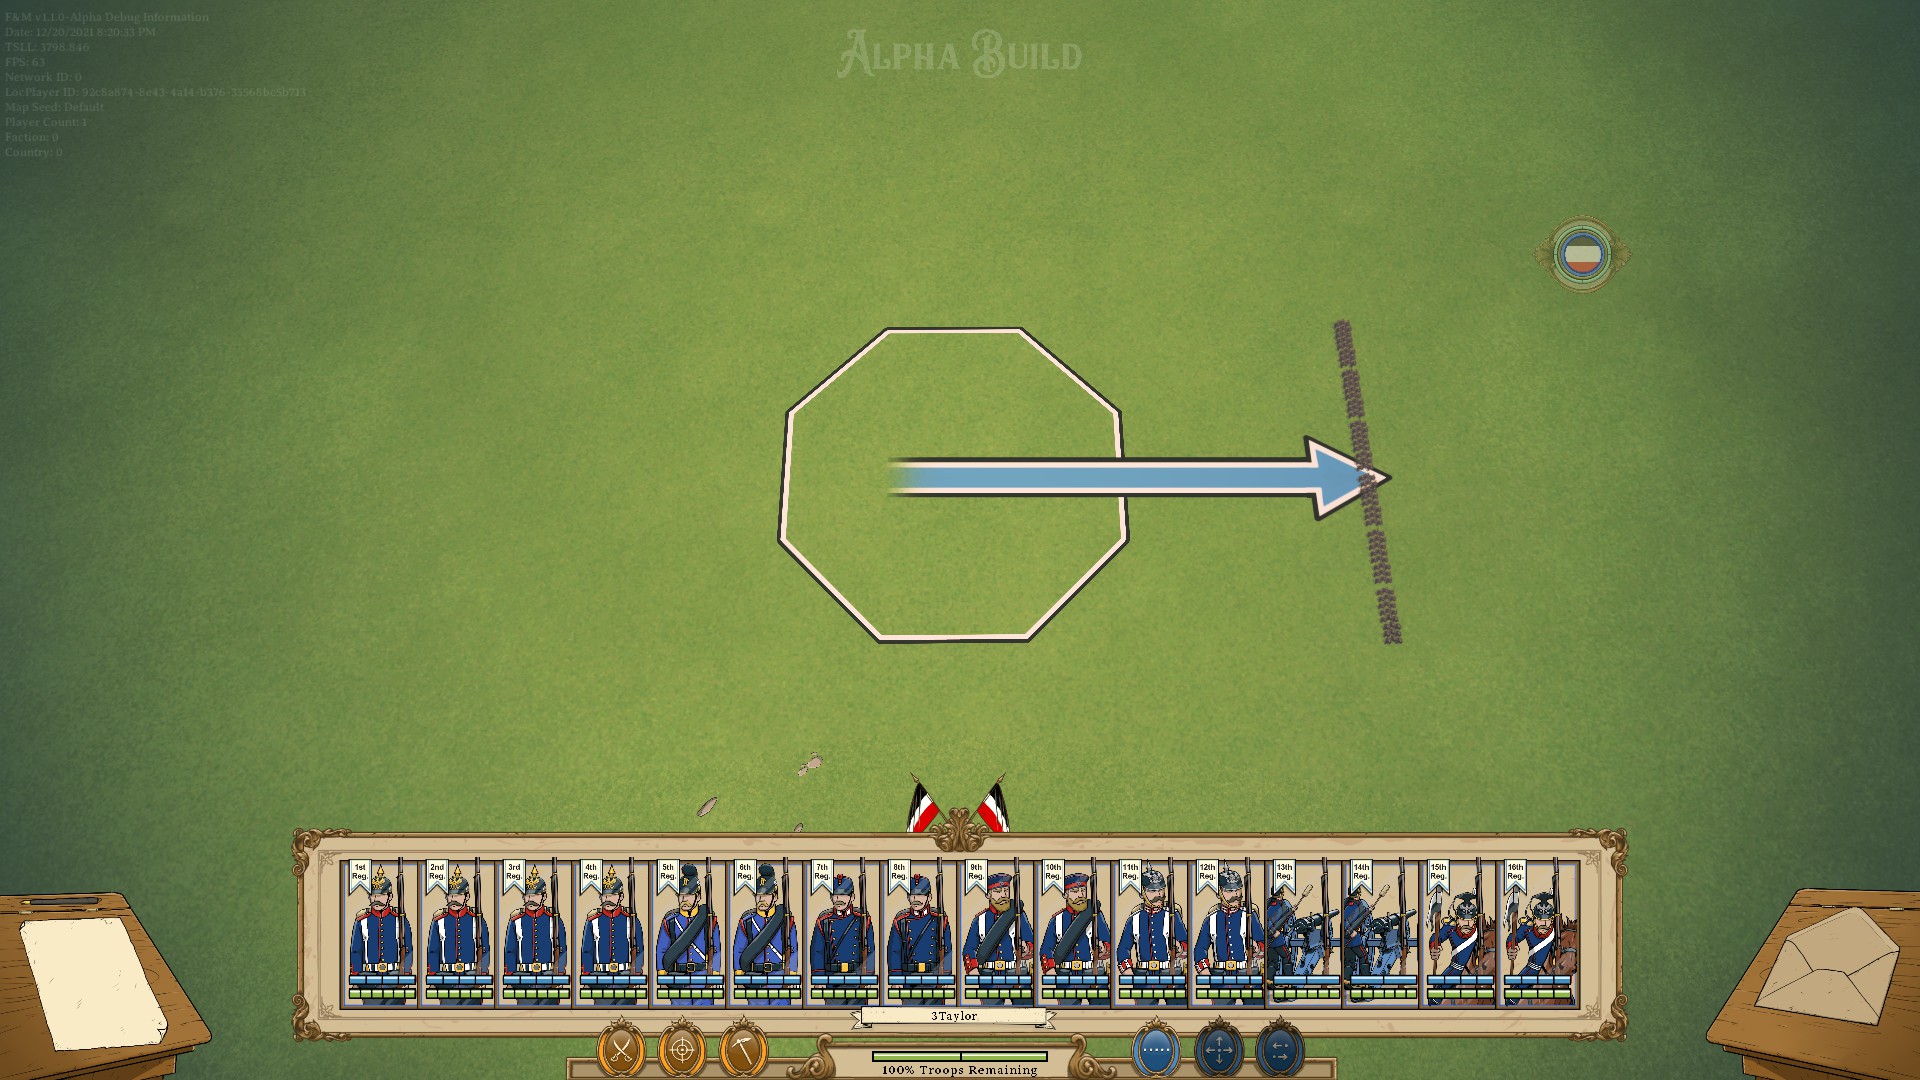
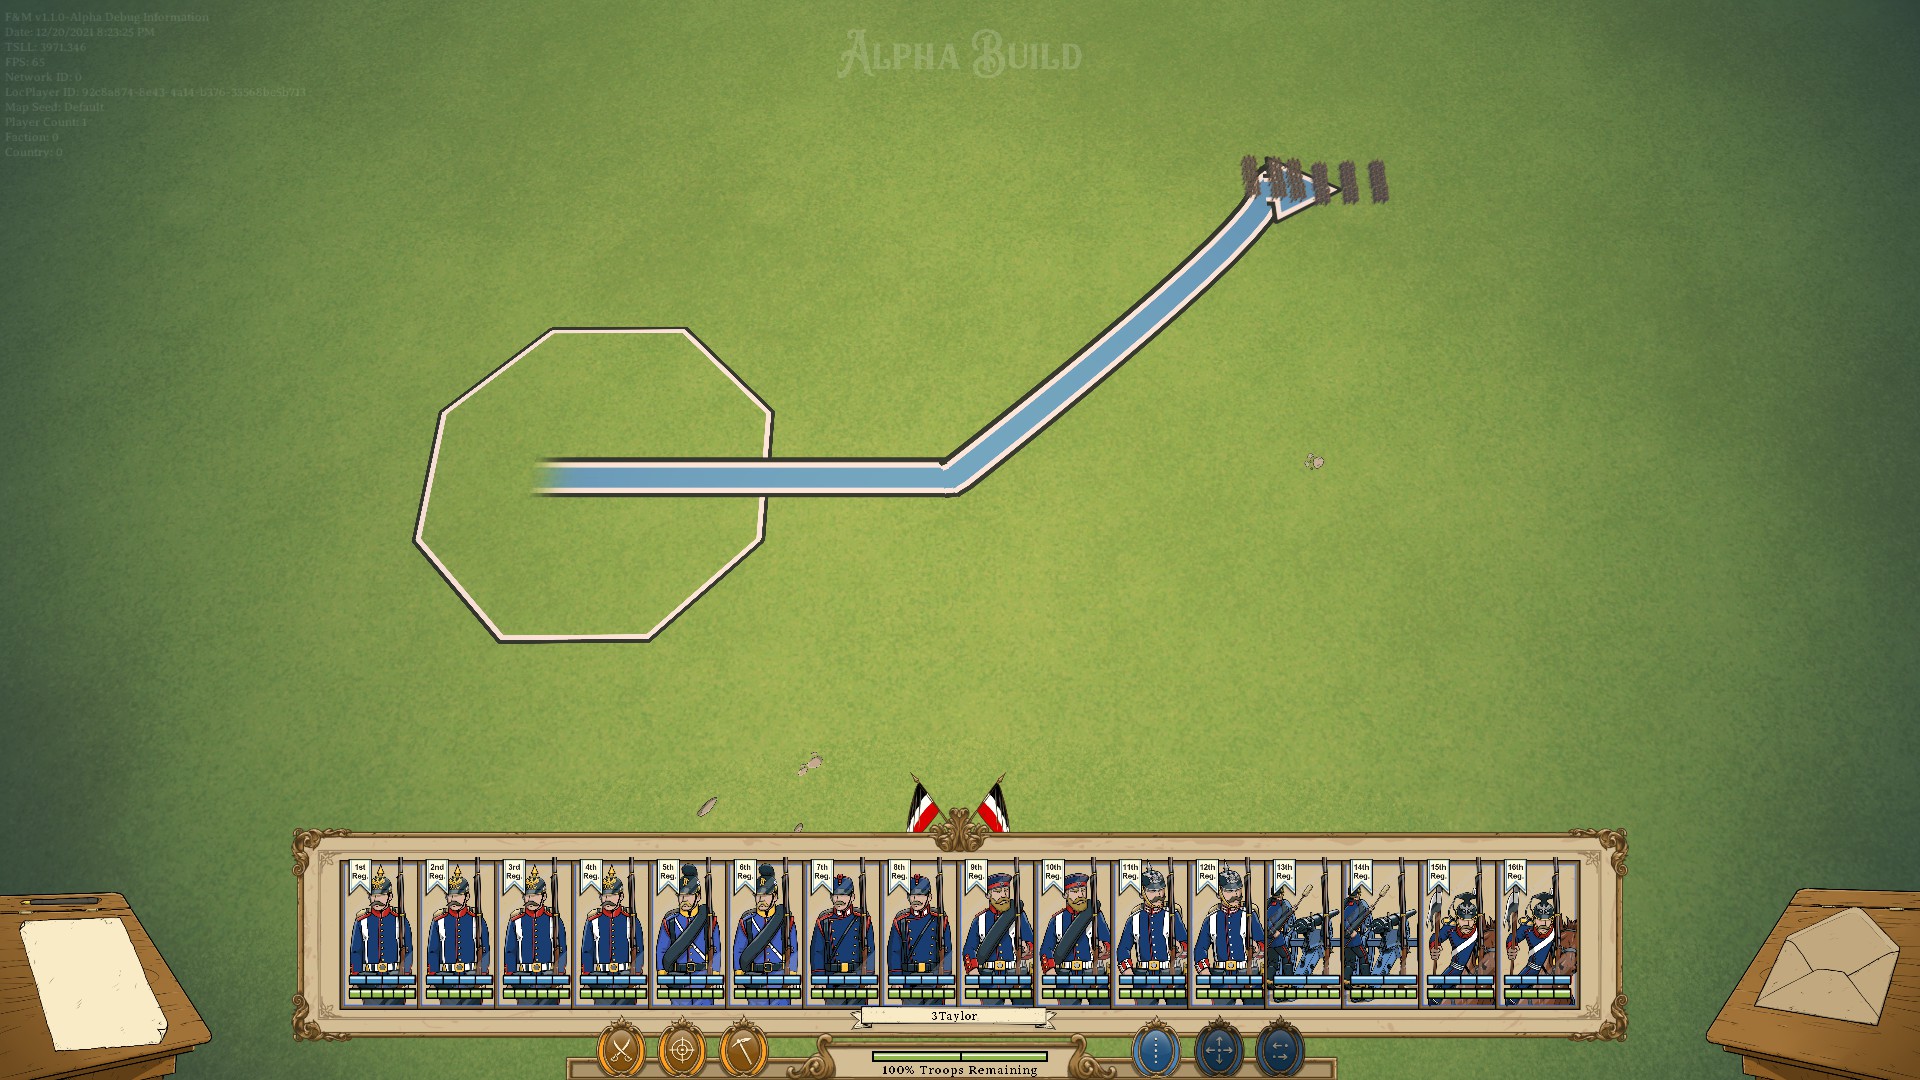
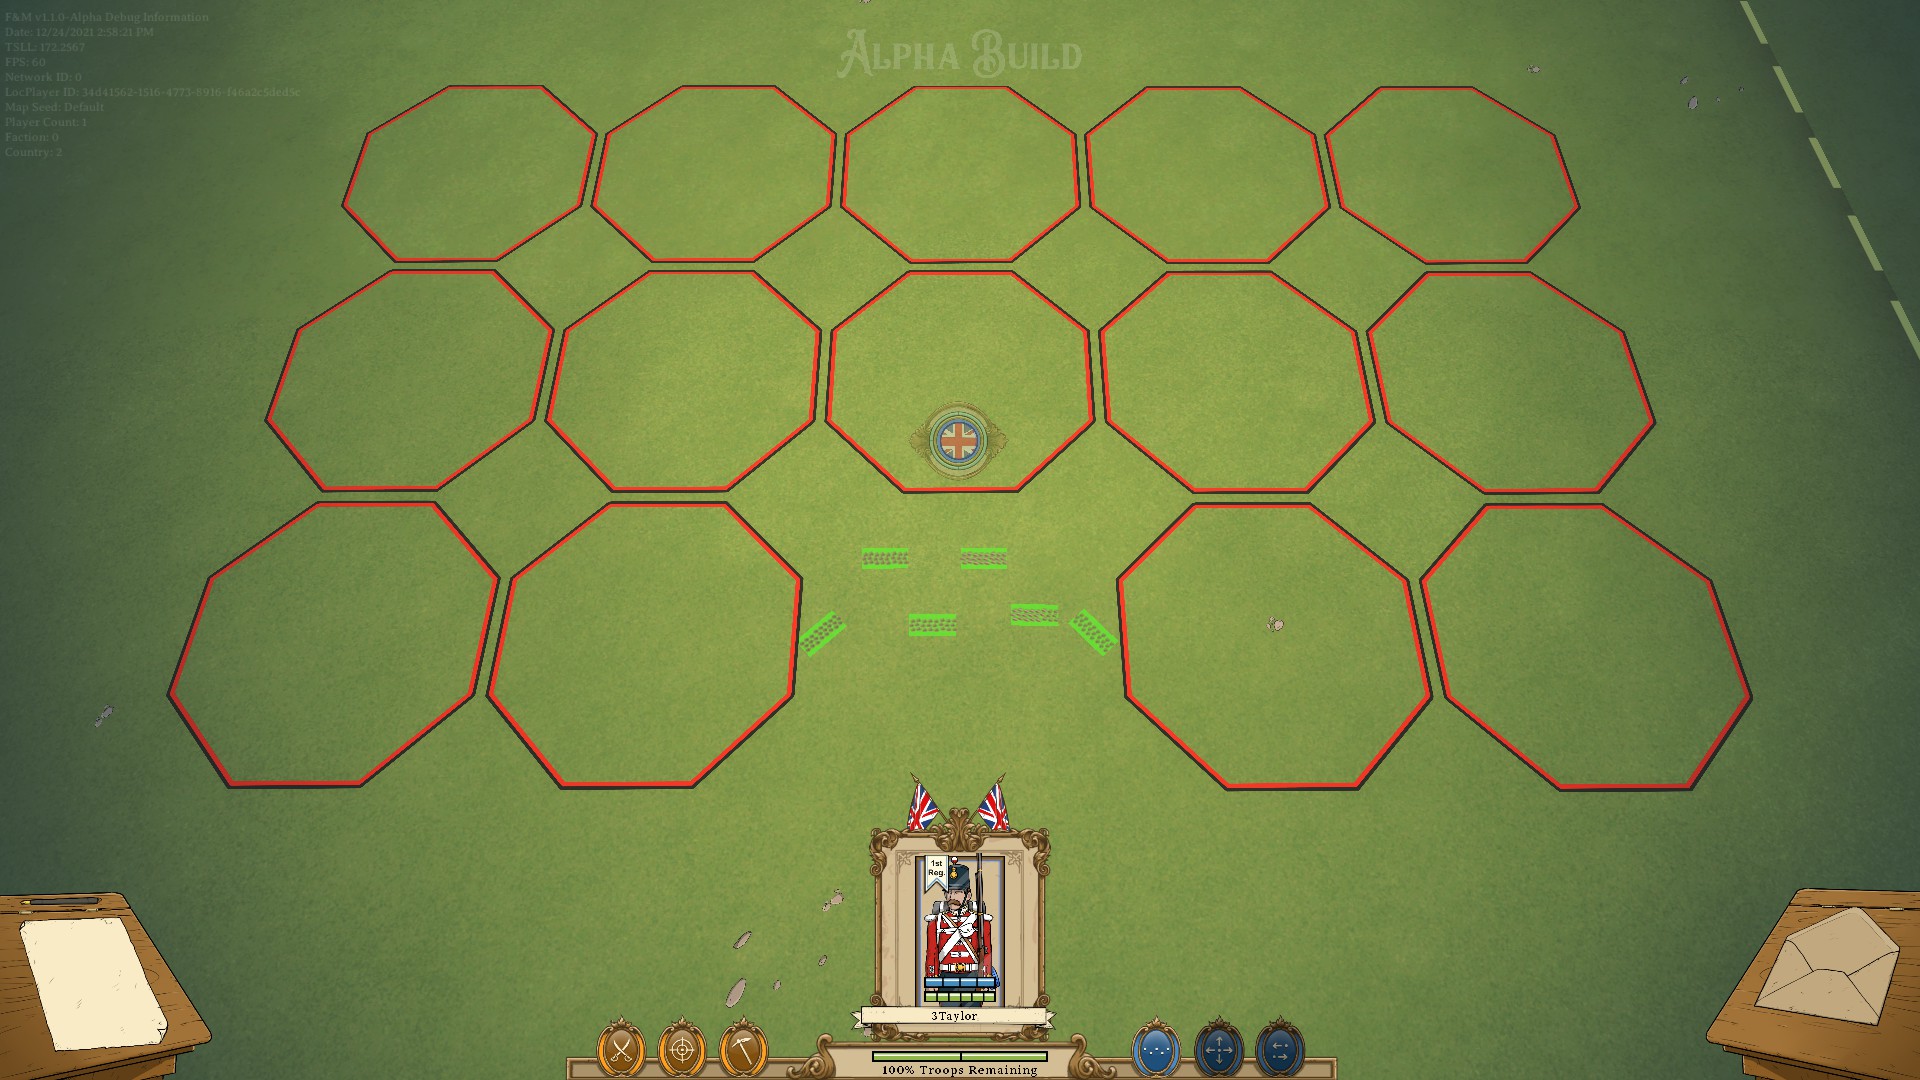
1. In Chapter 1: How Charging & Melee Works , there is a quote that reads, "In order to conduct a charge order the regiment must be adjacent straight to the enemy regiment you want to charge, however cavalry can also charge diagonally." This quote is outdated because only heavy cavalry in echelon can still charge diagonally.
2. The only other thing that seems to be outdated and contradicts itself (skirmish was changed to allow diagonal movement in open order). This inaccuracy seems to only be in Chapter 2: Perk List , where skirmishing is listed as giving immunity to flanking fire, and Chapter 4: How to Use Skirmishers where skirmishing was listed as giving immunity to attrition
potato48900 Oct 12, 2022 @ 6:44pm 
how do you give the animals clothes
Indenar Aug 16, 2022 @ 1:05pm 
Can someone direct me to a guide on the supply chains in the campaign type game mode? I can't work out work out what I should be doing
3Taylor  [author] Jul 19, 2022 @ 6:44pm 
It's good to hear positive feedback on my guide!