Ether Vapor Remaster

Ether Vapor Remaster

29 valoraciones
Scoring mini-guide and miscellaneous stuff
Por Kyper
A simple guide that goes through the scoring system of the game, including a few stage-specific hints. Also some miscellaneous stuff that I find interesting. Please note that I've only really used the standard Ex-tio ship so I can't offer anything on the Overdrive or Bonus fighter. However, the basic mechanics should apply to the other ships.
   
Premio
Favoritos
Favorito
Quitar
Basic scoring mechanics
Hitting/Destroying enemies
This is an obvious one. Attack enemies and you'll get points.

Cancelling bullets with Radiate (Winder charge shot)
Using Radiate to cancel bullets will give you a small addition to your score. Cancelling 1 bullet doesn't give a lot of points, but cancelling a lot of them will net a decent amount of points. In addition, any bullet cancelled will also add to the end of stage bonus for enemies destroyed.

Overkill bonus
When their energy is empty, certain enemies will display an OVERKILL message and continue to fly for a moment before exploding. Continue to shoot them (preferably with the Gatling weapon) for a boost in points. Note that enemies can still damage you if you touch them.

Bonus sections
All stages except for 3 and 7 have a bonus section where you can earn extra points on top of killing the enemies that appear during that point in the stage.

Boss destruction and time bonus
All bosses give a set amount of points upon destruction, and a bonus of (Time Remaining * 3000) points. However, if you fail to destroy the boss within the given time limit, you lose both the set amount of points and the bonus. Further, you will not gain any points from any source (hitting the boss, bullet cancelling, etc) and any bullets cancelled will not count toward the end of stage bonus for enemies destroyed.

End of stage bonus - time remaining
At the end of every stage, you will receive a bonus of (Time Remaining * 3000) points. This basically just gives you the boss time bonus again. Note that this bonus is still present on the last stage even though it doesn't display the Scene Result at the end.

End of stage bonus - enemies destroyed
At the end of every stage, you will receive a bonus of 300 points per enemy destroyed throughout the entire stage. Note that this includes missiles and bullet cancelling. Note that like the time remaining bonus, this bonus still exists on the last stage.
What's the best way to get points?
In general, you basically just want to destroy every enemy you can, and cancel any bullets that come your way while not interfering with destroying enemies/putting yourself into danger. Once you've gained experience, you will want to figure out areas where you can let enemies fire at you more to cancel more bullets while not interfering with destroying them.

Each stage has optimal areas for bullet cancelling. For example, in stage 1 you can destroy the big ship near the end as quickly as possible to spawn more smaller enemies for points by using your Gatling weapon. However, you'll obtain more points if you cancel its spread shot pattern twice, cancel the lasers that spread 360 degrees, and then shoot down the missiles it fires before finally destroying the ship.

Bosses also have attacks that would yield more points if you cancelled them instead of going for a speedy kill for a bigger time bonus. Of course, these are combined with attacks that don't yield too many points when cancelled, so the key is to strike a balance between cancelling bullets and a speedy clear. Usually you will want to end a boss's attack phase on an attack that doesn't give more points when cancelled.
What does more damage for Gatling/Lock-on, standard or charged shots?
Note: this is for the standard Ex-tio only. Haven't played around enough with the other ships...

Gatling weapon and Pierce
Testing on the stage 1 boss, it looks like the standard and charge shots do roughly the same amount of damage, but not exactly. What matters more is the situation: sometimes, you won't be able to keep an enemy within the Gatling weapon's line of fire. Using the charge shot will let you deal the damage in bursts if required, allowing you to reposition to avoid enemy attacks while producing the same damage output.

In addition, sometimes the enemy hitbox is structured so that Gatling shots pass through. For example, Gatling shots will pass by the stage 4 boss if you move to the very bottom.

One drawback with the Pierce shot is that it doesn't give as many points when it hits an enemy. Although, the points received from hitting enemies in general is somewhat negligible, if you're really trying to stretch for points, then its nice to keep in mind. At the very least, don't use it for Overkill points.

Lock-on and Cascade
Lock-on and its charged shot, Cascade, have slightly different amounts of damage. If not counting the small Gatling shots, firing constant Cascade shots and Lock-on shots during the duration of the explosion will deal more damage than just Lock-on shots. But if including the small Gatling shots, holding down the Lock-on will do more damage.

Basically, if the enemy is in an unreachable spot, for example the last stage 6 boss that stays on a different plane for the entire fight, you'll want to use Cascade shots when they are available to maximize your damage output. The timing can be tricky but it definitely gets more points for the time remaining bonus.
Enemy resistance/weakness to weapons
A bit of a minor point, but some enemies have resistances/weaknesses to certain weapons. When hit with a weapon they have a resistance to, they'll glow blue. If hit with a weapon that's super-effective, they'll glow red.

There aren't actually many opportunities where you can take advantage of weapon weaknesses. Off the top of my head, the only significant ones are:
  • Stage 4 boss: resistant to Lock-on missiles
  • Stage 4 boss's laser pods: weak to Winder
  • Stage 6 mech near the beginning: weak to Lock-on missiles
  • Stage 6 first boss, 2nd phase: weak to Gatling, a charged Gatling shot does 1500 damage instead of 500
Stage 5 boss destroying drill missiles
Note: only tried with standard Ex-tio, don't know how to pull it off with Overdrive or Bonus...

On the 2nd phase of the stage 5 boss, it begins to fire its drill arms at you. With proper positioning and timing, you can destroy it with a charged Gatling weapon shot. This deals 2000 damage (including the charge shot) and gets you 10000 points. Not bad! However, the timing is kind of tight; if you're even just a little late you'll still hit the drill, but you'll also take damage.

First off, it looks like you can't do this on every attack. Specifically, you can't do this on the very first drill attack when you're at an angled perspective, and the initial drill attack when the boss enters the 2nd attack pattern upon reaching 12000 health.

Basically, you just line up with its arm that the boss sticks out and then fire at the right moment. Unfortunately I learned to do this by muscle memory/timing so I can't explain it, but you can try using a visual cue: line yourself up with the boss's arm and once you see the boss move to launch its arm, fire the charge shot.
Stage 6 boss milking
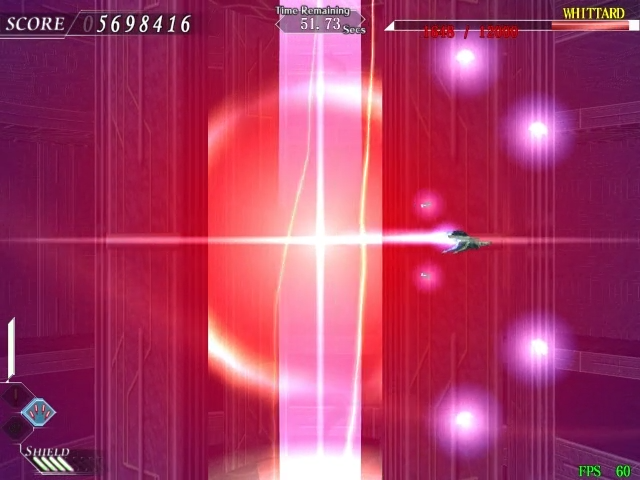
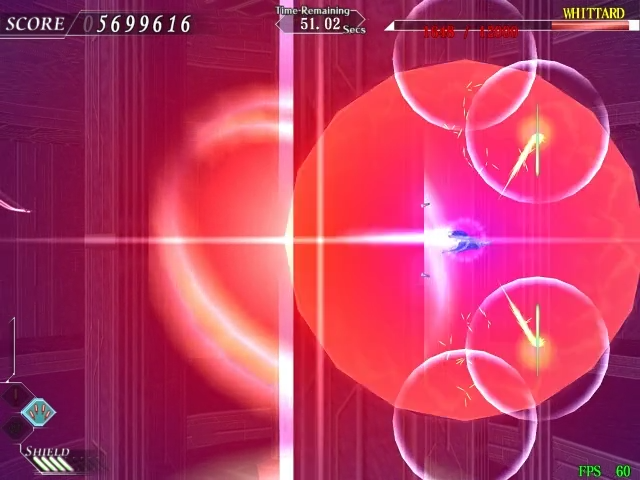
When fighting the Whittard on its second phase, it uses an attack that launches 4 orbs that explode, scattering a lot of bullets on the screen. This is an ideal attack for bullet cancelling, however it is a bit tricky to cancel as many bullets as possible while staying alive. Fortunately, there's a spot you can use that will let you cancel a good amount of them. Here's what I do:


Get in position in between the 4 orbs and charge the Winder.


Once you see/hear the orbs explode, fire off the Radiate shot and continue charging for the next shot. Try not to fire prematurely as you may get hit when charging for the next shot.


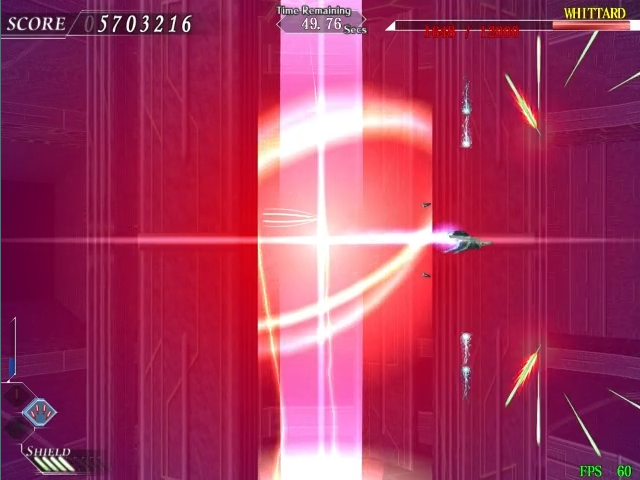
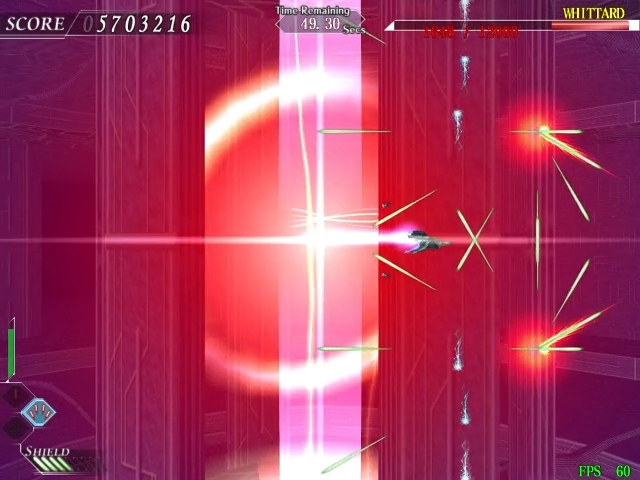
When the Radiate shot fades, don't move until you can see the blue bullets appear from the top and bottom of the screen. Once you see them flying towards you...


Move slightly to the left and fire your second Radiate shot as soon as its ready.

Make sure to finish off the Whittard before time runs out as it gives 80000 points when destroyed. You will have to ensure that its health is low enough to deal the killing blow. Here's what I do to finish it off:
  • make sure that its health is equal to/below 1900, this is usually true after entering the 2nd attack phase, as you have an opening to fire a volley of missiles without getting attacked
  • if the timer is below 10 seconds as I am in between the 4 orbs, I will fire off 1 Radiate shot and then back off, as I back off I will fire Lock-on missiles
  • once the health is below 1500, I will charge the Gatling weapon and wait at the far left end of the screen
  • when the Whittard appears on the right, I hit it just as it passes by (the charge shot deals 1500 damage in this situation)

The replay below at 33:50 demonstrates the milking technique above. At 34:50 is the part where the Whittard is destroyed before the time limit.
Replay: 7.7m with the standard Ex-tio
Here's a replay where I get 7.7m points with the standard Ex-tio ship:
https://www.youtube.com/watch?v=1SdtONYAHOA
"Snipe mode" left in the game
From http://edelweiss.skr.jp/works/ethervapor/endneta.html (and a handy Google translate link: http://translate.google.com/translate?sl=ja&tl=en&js=y&prev=_t&hl=en&ie=UTF-8&u=http://edelweiss.skr.jp/works/ethervapor/endneta.html)

Near the bottom of the page, it talks about a "Snipe mode" that was supposed to be used for the Lock-on weapon. It looks like the original design was for the player to move this cube around to select which enemy to target, but this proved unnecessary. However, the Snipe mode wasn't taken out, and can be entered by holding down the Lock-on weapon and then holding another weapon button.

The Snipe mode seems to do nothing other than create a cube that you can move around the screen. It's probably an annoyance if you want to switch from the Lock-on weapon to another weapon but you don't let go of the Lock-on in time before you press the other weapon button =/
Stage 6 story text
The stage 6 story text definitely could've been put in a different place =/ Here it is if anyone is interested:

Daniel: "DECIDER" was not its original name. At first it was known as "ADVISOR". ADVISOR was designed as a massive database capable of producing countless tactical and strategic scenarios. Magnus was the head of development for the project. He was a prodigious scientist and relentlessly advanced ADVISOR's development. Eventually it merged with his real area of expertise...

Luca: "Direct Devices".

Daniel: Correct. At that point, ADVISOR became DECIDER. But DECIDER's D2 connection is not with human beings. It is with a gestalt AI derived from several people. Including one based on Magnus himself.

Luca: So that's how DECIDER became corrupted, you ask?

Daniel: Perhaps so. We lost control of DECIDER from the moment the AI was connected. But it still functions as Chaldea's primary directive-maker. As DECIDER evolved, it became increasingly self-protective. It prohibited anyone from entering the Central Processor. The gates into the Central Processor has been closed since then. But you and your craft are carrying out Magnus's wish...The gates may very well open for you!
8 comentarios
Dingo 11 MAY 2021 a las 10:14 a. m. 
not sure if i completely overlooked this guide or what but glad to have stumbled on it later than never. Told myself I'd try going back to this at least one more time.
Noba 12 MAY 2016 a las 10:08 a. m. 
awesome guide, could you do one on bosses? i'm getting rekt on some
Hideo 22 OCT 2015 a las 5:32 p. m. 
This was a quite interesting read. :trance: But now I feel even more like the game is unpolished. It's like there's so much more potential there. :bbtduckshark:
Detective Sadist 12 AGO 2014 a las 7:34 a. m. 
Very helpful guide, thanks a lot. :)
akj 23 JUL 2014 a las 12:21 a. m. 
Using the bonus ship definitely requires you to approach scoring differently.

About the stage 5 boss's arm missile, the bonus ship can't seem to do it. Its charged gatling shot just doesn't deal enough burst damage in that short amount of time.

I do find that it excels tremendously at dealing heaps of damage while cancelling bullets at the same time, such as with many stages in the second boss, allowing you to reap the benefits of both speed and bullet cancel bonuses.

But you do bring up a good point. The bonus ship is handicapped by an inferior Radiate. The bonus ship is terrible at stage 5's bonus zone. It does appear that the base ship is still the best for scoring overall.
Kyper  [autor] 22 JUL 2014 a las 9:09 p. m. 
Also, I don't know if the bonus fighter has the ability to reflect the stage 5 boss's missiles. It might not deal enough burst damage to the missile before it leaves the screen (or maybe it's coded to explode from a charged Gatling despite not dealing enough damage), haven't tested it. If it doesn't, that might cost a few time points + 10K points.

Another thing that I'm thinking about is the stage 6 milking part. Due to the increased cooldown, you lose out on a couple of points when milking the first boss and it's a little harder to do so. Going for a speedkill might make sense, but I believe milking contributes a fair amount of points (speedkilling with the standard ship, I think I lose about 70-80k). Maybe some of it will be made up by extra time points against the 2nd boss...
Kyper  [autor] 22 JUL 2014 a las 9:09 p. m. 
That's what I'm guessing how the bonus ship will score - using its raw power for speedkills to compensate for its increased cooldown on Radiate for absorbing bullets. However, I don't know about increased scoring potential.

One thing that sticks out are the bonus zones on stage 5/6. Maybe stage 5 the bonus fighter may have an advantage in destroying the triple ball thing faster + destroy the bonus enemies at a similar rate (or maybe faster). But for the stage 6 bonus, absorbing the suicide bullets from the bonus enemies yields a decent amount of points. The bonus fighter can't quite destroy/absorb everything with the reduced range and increased cooldown on its Radiate.
akj 22 JUL 2014 a las 3:20 p. m. 
Interesting tips. I would assume that the bonus ship allows for even more scoring potentials, what with all that higher firepower and incredibly offensive Radiate.

Given how this shmup isn't a danmaku, I find that the bonus from finishing off a boss quickly tends to be greater than that from farming points from cancelling shots. The only times it is worth doing so is when you can cancel bullets at an average rate of 10/s, since the time bonus is 3000/s and the bullet cancel bonus is 300/bullet, which doesn't actually occur that often, IMO.

As an aside, for the bonus ship, Lock-on outdamages Cascade in most scenarios, save when hitting multiple targets in the Cascade's AOE.