Terraria
82 평점
How to defeat your chest monster! (An item sorting guide)
Textual Deviant 님이 작성
Greetings!

This guide is a 4 step method of ensuring you have a clear place for all of your loot going forward, as, if you're like me, you hoard on resources and vanity items for future use, collect weapons for the hell of collecting them (I keep every single unique weapon I find in Outer Worlds, Skyrim, etc.), and are generally a loot goblin who has to commonly increase storage size as a result of underestimating exactly how much loot you'll end up with.

Many wish to solve their "chest monster", but don't know where to start. This guide provides answers, a clear way to keep your loot organized and easy to access, as well as exactly how much space you'll need to satisfy the amount of loot you'll have later in the game.

Should you follow it correctly, you'll never have to craft another chest ever again, nor will you feel obliged to trash or sell extra items that may come in handy, simply due to there not being enough space.

Now let's begin!
3
5
3
   
어워드
즐겨찾기
즐겨찾기됨
즐겨찾기 해제
Step 1: Preparation
"They" say preperation is half the battle. This applies even here;

The first thing you should do if you already have a few chests with items in them is move them into chests outside the building to stay there while you organize your chests inside.

The house itself is also important, as a small shack won't fit the number of chests we'll be using, here's an example of a good starter home;


Regardless, gathering ample Lead/Iron bars and wood of different types is needed to make chests, because understand, we'll need a LOT of chests, even if you aren't a hoarder.

You can also just pick up every chest you find out in the wild instead, and use those to save on Iron/Lead and wood, which you'll find plenty of while exploring.

At least 30 chests, preferably 6 of one type, 8 of one type, 4 of one type, 4 of another type, 2 of one type, and 2 of any type, or (if you didn't just take naturally generated chests) 240 wood + 30 Iron/Lead bars, should cover the amount we'll need.

In addition to chests, roughly 50 platforms will be needed. This is in order to save on space, as you can pack twice the chests into the same area by putting platforms above a chest and putting a chest on the platform.

Once you have all that you need, move on to the next step.
Step 2: Placement
Place 12 platforms 2 tiles above the floor, coming from one side of the building one block away from the entrance, and repeat this again one story below or above, only with 14 platforms, and place your chests based on their type accordingly.

On the other side of the building, place 4 platforms 3 tiles above the floor and 1 tile away from the entrance, and place 2 chests on those platforms.

If you followed the instructions correctly, they should look something like this;


Remember that it doesn't matter what type they are- perhaps not even where they are- , just that they're different, clearly sorted types, as for example you could substitute the Shadow chests with Boreal chests, and the Golden chests with Cactus chests, and it would still have the same function of dividing the different kinds of items.
Step 3: Categories & Naming:
Once you've prepared your chests, you now need to name them so that you know which items go where.

You can do this by opening a chest and clicking 'Rename' next to the items menu for the chest in question, at the bottom, and once you've deleted the previous name, i.e. Frozen Chest, you can then begin typing, and once you're done or change your mind, click 'Save' or 'Cancel' respectively.

For example; as shown below, I've named this chest 'Potion Materials', it is specifically so that I can take the materials I need and craft potions with them, all in one place. This tends to be the most important ones, however, as some, like the ironskin potion, use atypical ingredients, i.e. iron ore.


These go to the 'Metals' chest, below the 'Gems' chest, which use chests of the same type. This makes it clearer where items are when you need to quickly craft something, or in multiplayer, when another player needs to borrow something, as shown here.


So, here's how we organize it.

Group A (Four Shadow Chests):

-Organic Material (Jungle Spores, souls, teeth, Shark Fins),
-Inorganic Material (Chains, Illegal Gun Parts, Black Lenses)
-Food and Potions.
-Potion Materials

Group B (Four Ebonwood Chests):

-Melee Weapons,
-Ranged/Magic Weapons,
-Misc. Tools (Breathing Reed, Bone Wand, etc.)
-Ammo & Throwables

Group C (Eight Gold Chests):

-Blocks,
-Bulk Blocks
-Platforms,
-Walls & Rope,
-Decorative Furniture (Chairs, Tables, Jars, etc.),
-Functional Furniture (i.e. Chests, Workbenches, Clocks,),
-Paintings & Banners,
-Statues,

Group D (Six Mahogany Chests):

-Headgear,
-Shirts,
-Greaves (pants),
-Vanity Headgear (I've filled four entire chests with Vanity items, trust me you'll need four whole chests with separate categories for them),
-Dyes
-Pets & Mounts

Group E (Two Frozen Chests):

-Metal,
-Gems,

Group F (Two Wooden Chests to the bottom left):

-Combat Accessories,
-Other Accessories

Group G (Two Living Wood Chests):

-Fishing/Farming (seeds, Staff of Regrowth, planter boxes, etc.)
-Critters

If you have each of these chests, in tandem, you will almost never have to worry about space again, as through my own gameplay I've found this combination to be effective.

NOTE; THIS IS NOT A ONE SIZE FITS ALL MODEL!

I'm not going to claim absolutely everyone will be satisfied by this storage size, even after careful consideration of the average play style and loot habits.

Should you expect to end up needing more space (such as to store the unnecessary amount of weapons you feel obliged to keep around), feel free to add more chests, and simply name them 'Bulk [insert item name here]', as I have with blocks after massive excavation projects.

Now, once you've named your chests, you should now move your items over if you already have a stash.

Step 4: Moving resources
Once everything is ready, it should look like this, with each chest named;


At this point, any resources you have should be moved according to the chest they're assigned to.

Simply right click the chests you moved outside, press 'Loot all', and manually move the items to their chests, in the future you won't have to do this manually for any items you've already found, and can simply open your inventory and click 'Quick Stack to nearby chests', as indicated below.


This way, the only reason you'll actually have to manually put any items in your chests after this point is to put new items in, any items you've already found at some point will get automatically sorted into chests from your inventory, even non-stackable items like weapons.

Bonus Step: Personal Storage Items
You can't name these items(as in literally name them), but being 4 in total, there's enough that it's almost encouraged to provide each a use, these items being the Piggy Bank, Safe, Void Vault, and Defender's Forge, each with varying size.

Note that keeping multiples of these in your inventory would be a good idea, as it prevents them from being unfavorited and/or replaced by other junk in their designated inventory spot whenever you choose to use them. Anything I say about the safe being more convenient than the piggy bank becomes irrelevant for owners of a golden trough, which allows you to summon the piggy bank as one does the Void Vault. The Void Bag, on another note, has no downsides to keeping around at all times, given it's nature as a secondary inventory space.

The piggy bank is the first you usually get, but you need to place on a platform, making it a bit more cumbersome than the safe while exploring. Instead, you should put items you may immediately need but shouldn't waste inventory space carrying around in the Safe, such as bulk items like ammo, gel, or dirt.

The Safe should be used for basically anything that's important enough to keep around, but isn't important enough to fill up your inventory. Namely building tools, crafting equipment like a workbench or specific potions(haste or obsidian potions) fishing tools, or anything you consistently use but don't want junking up your inventory. This is because, unlike the piggy bank, platforms aren't needed, and unlike the forge, it's small.

Unlike any of the others, the Void Vault should be reserved as a sort of second inventory space. This is due to the fact that it has a unique function unlike the other 3, any items you pick up with a full inventory will be instead moved to the Void Vault, essentially doubling your inventory size.

Finally, the Defender's Forge should be used like the Void Vault, but unlike the Void Vault, items aren't automatically moved into it, and it's incredibly unwieldy to use given it's size. If you have anything important, they can all fit into the more-easily used Safe or Piggy bank instead. This means if you're on an extended journey, moving items from the void vault into the defender's forge will be important in order to essentially increase your inventory space by another 40 slots.

Fin
That's it! If you followed the instructions correctly, all your resources from this point onward will have it's own place in your base, and you won't have to worry about making new chests. If you have any problems related to the guide, feel free to ask questions via the comment section.

Favorite the guide for later use if you wish and/or rate the guide as well to let steam algorithms know whether or not my guide is a useful one.

Enjoy!
댓글 30
Textual Deviant  [작성자] 2021년 11월 13일 오후 10시 55분 
Feel free, guys, to use the open space above and to the side for crafting stations. However, I don't think that's necessary to put in the guide.
Textual Deviant  [작성자] 2021년 11월 13일 오후 10시 44분 
@LittleMissLimos Realized I didn't specify that both answers are correct. When you're trying to craft things, it's convenient if you can reach them to begin with. As such, I put important crafting stations in the middle. I forgot to do so for the guide though.

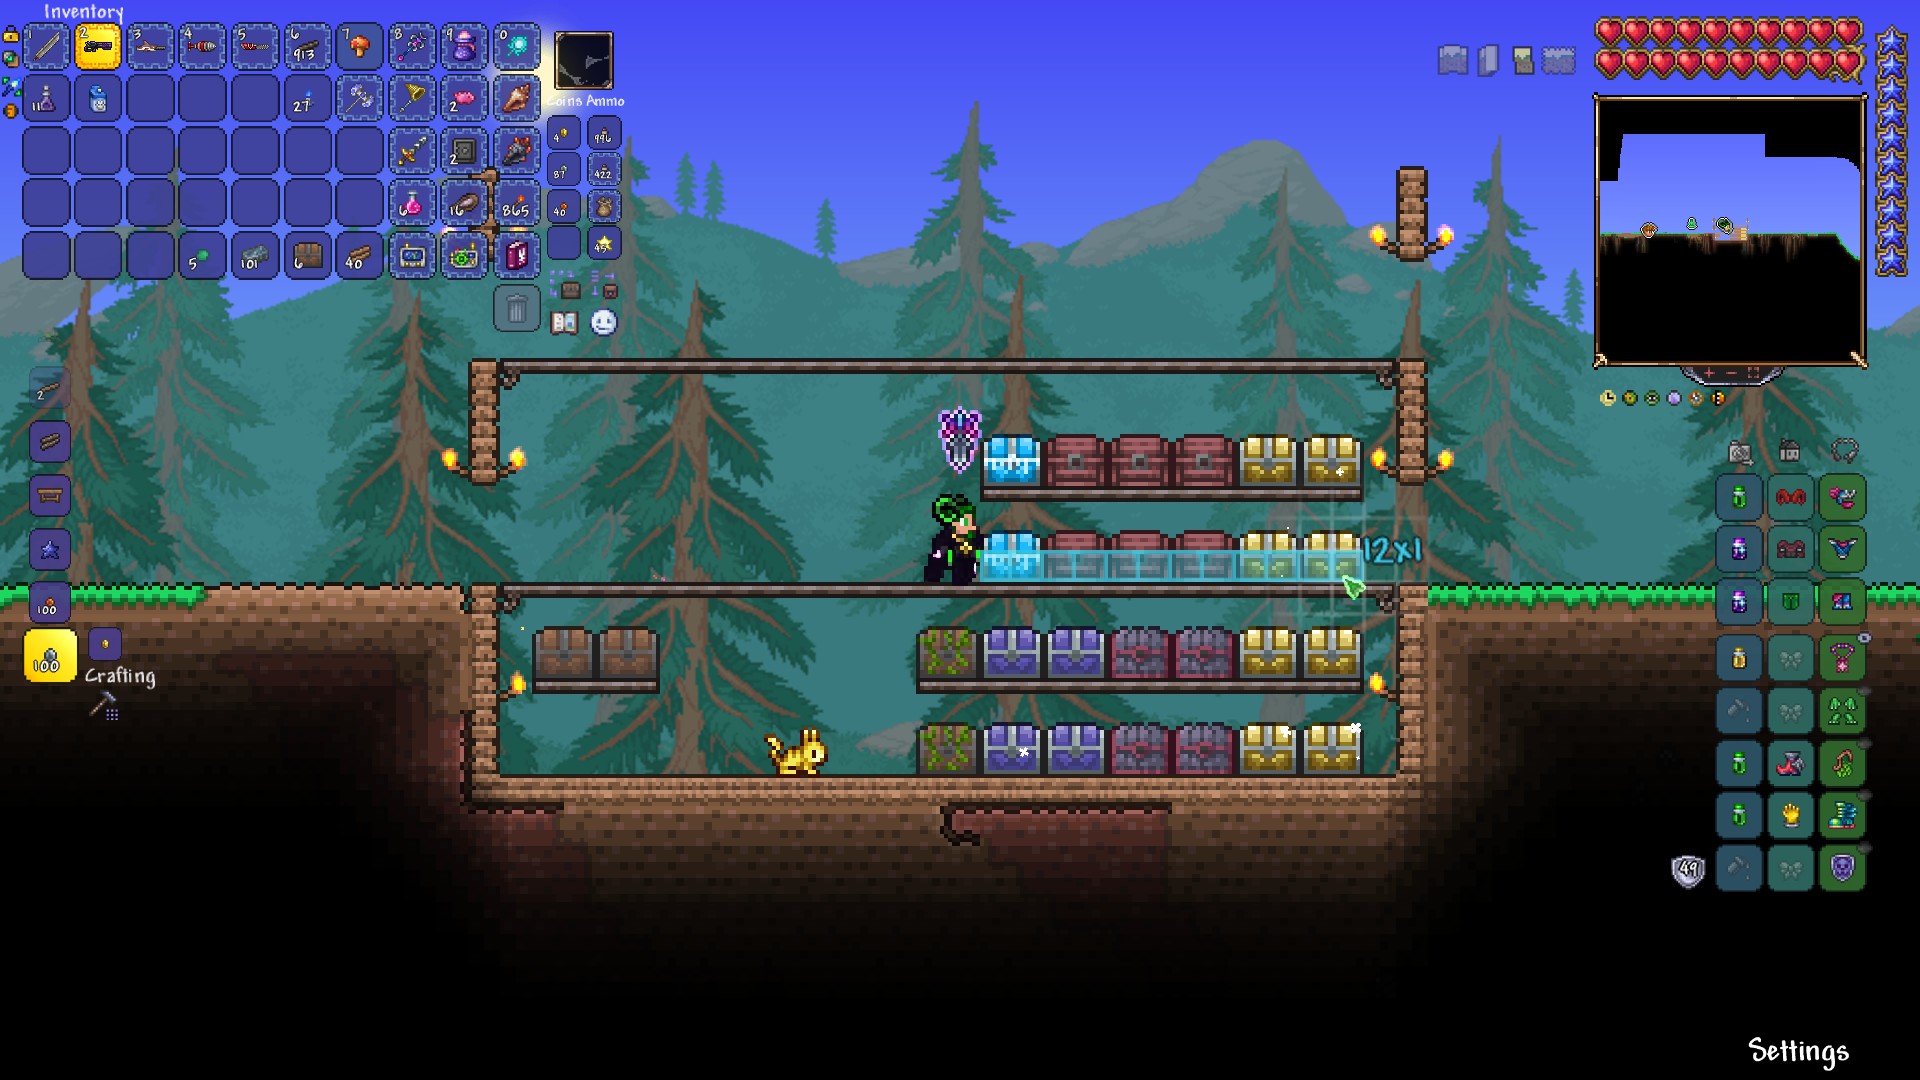
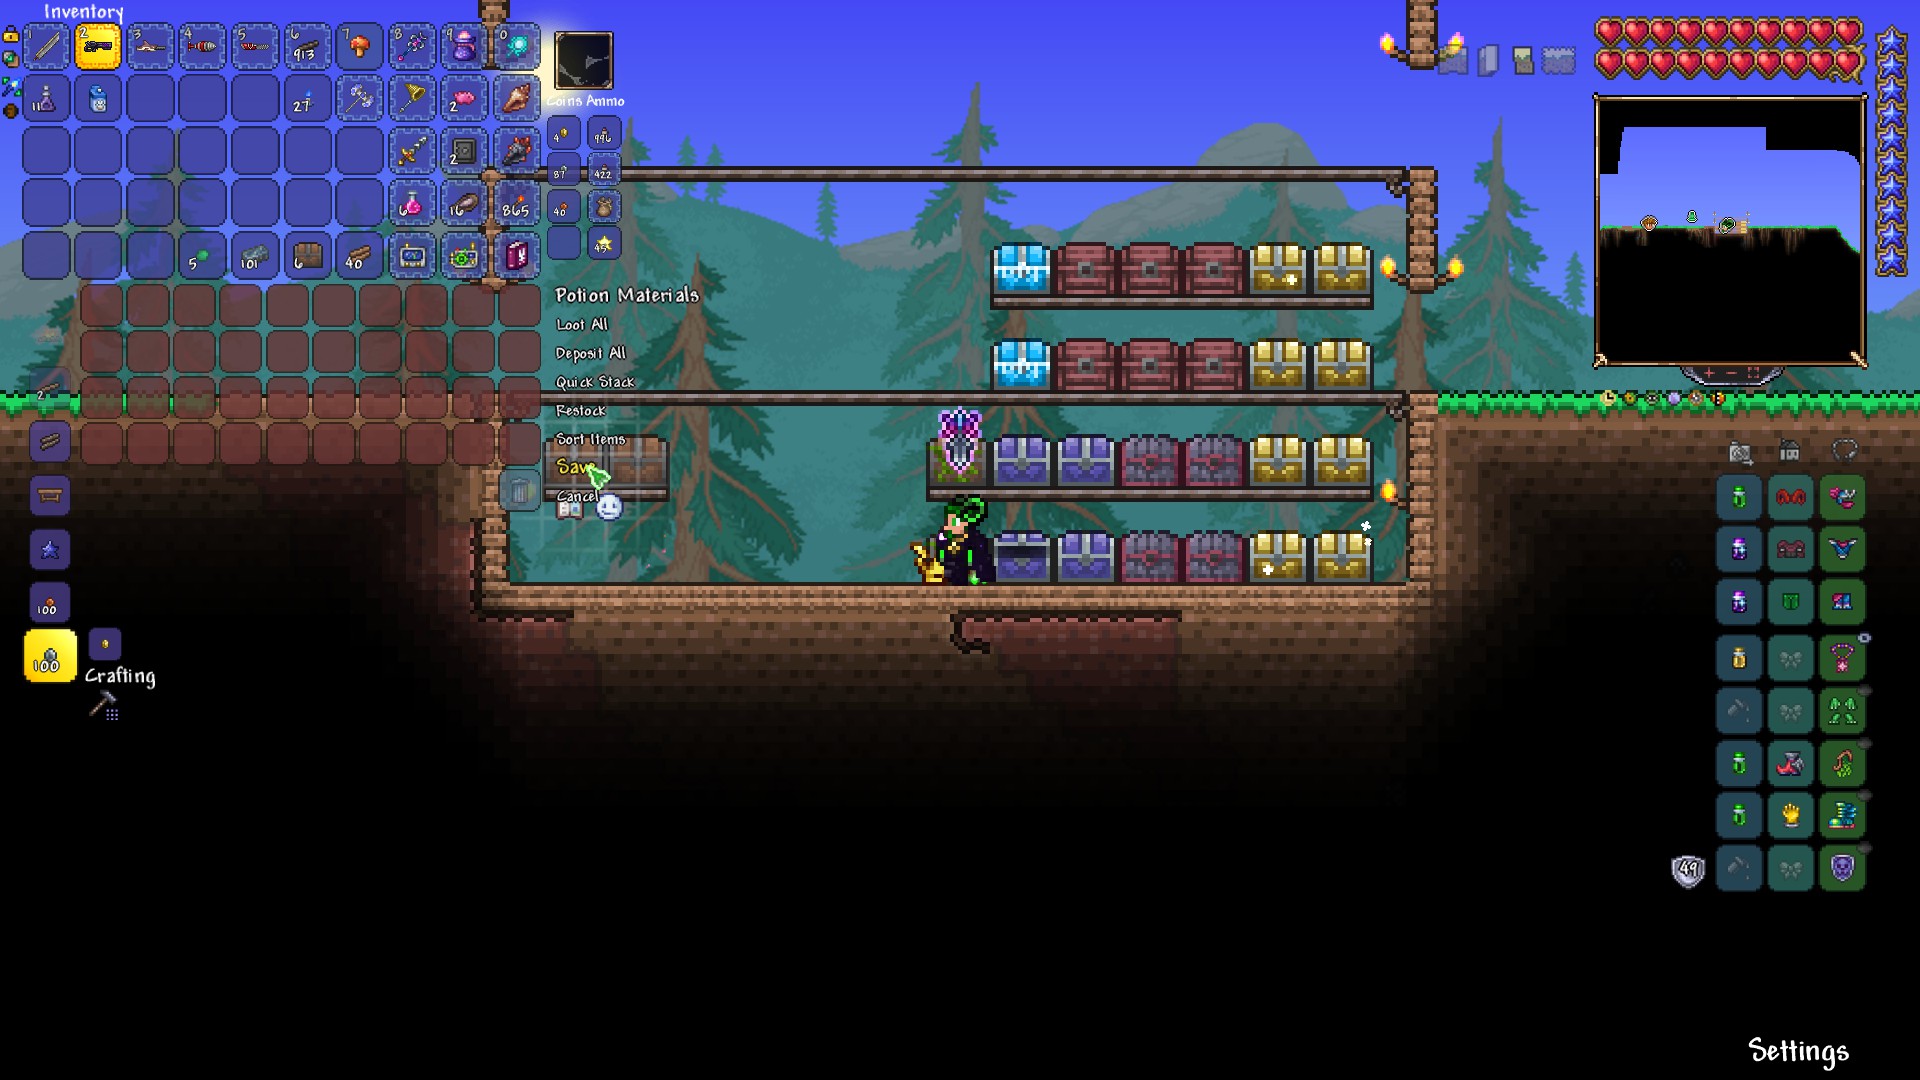
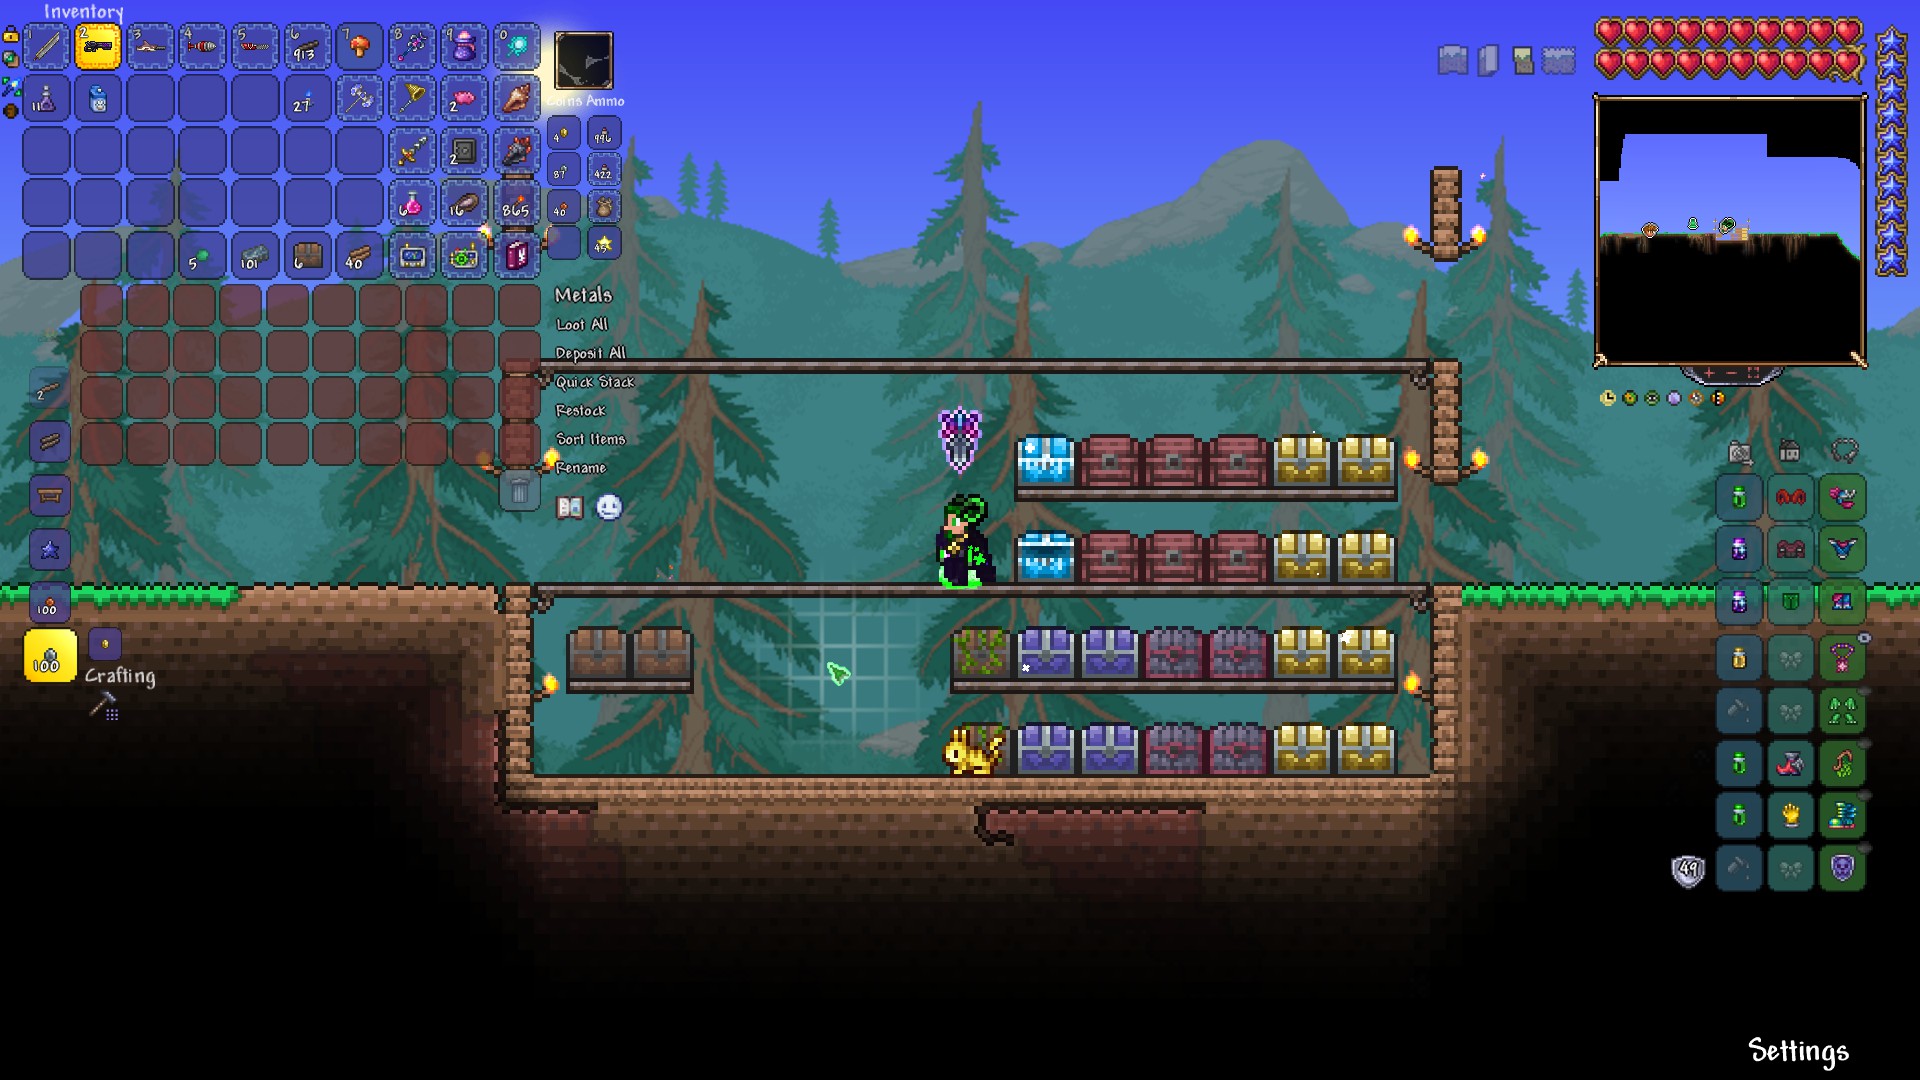
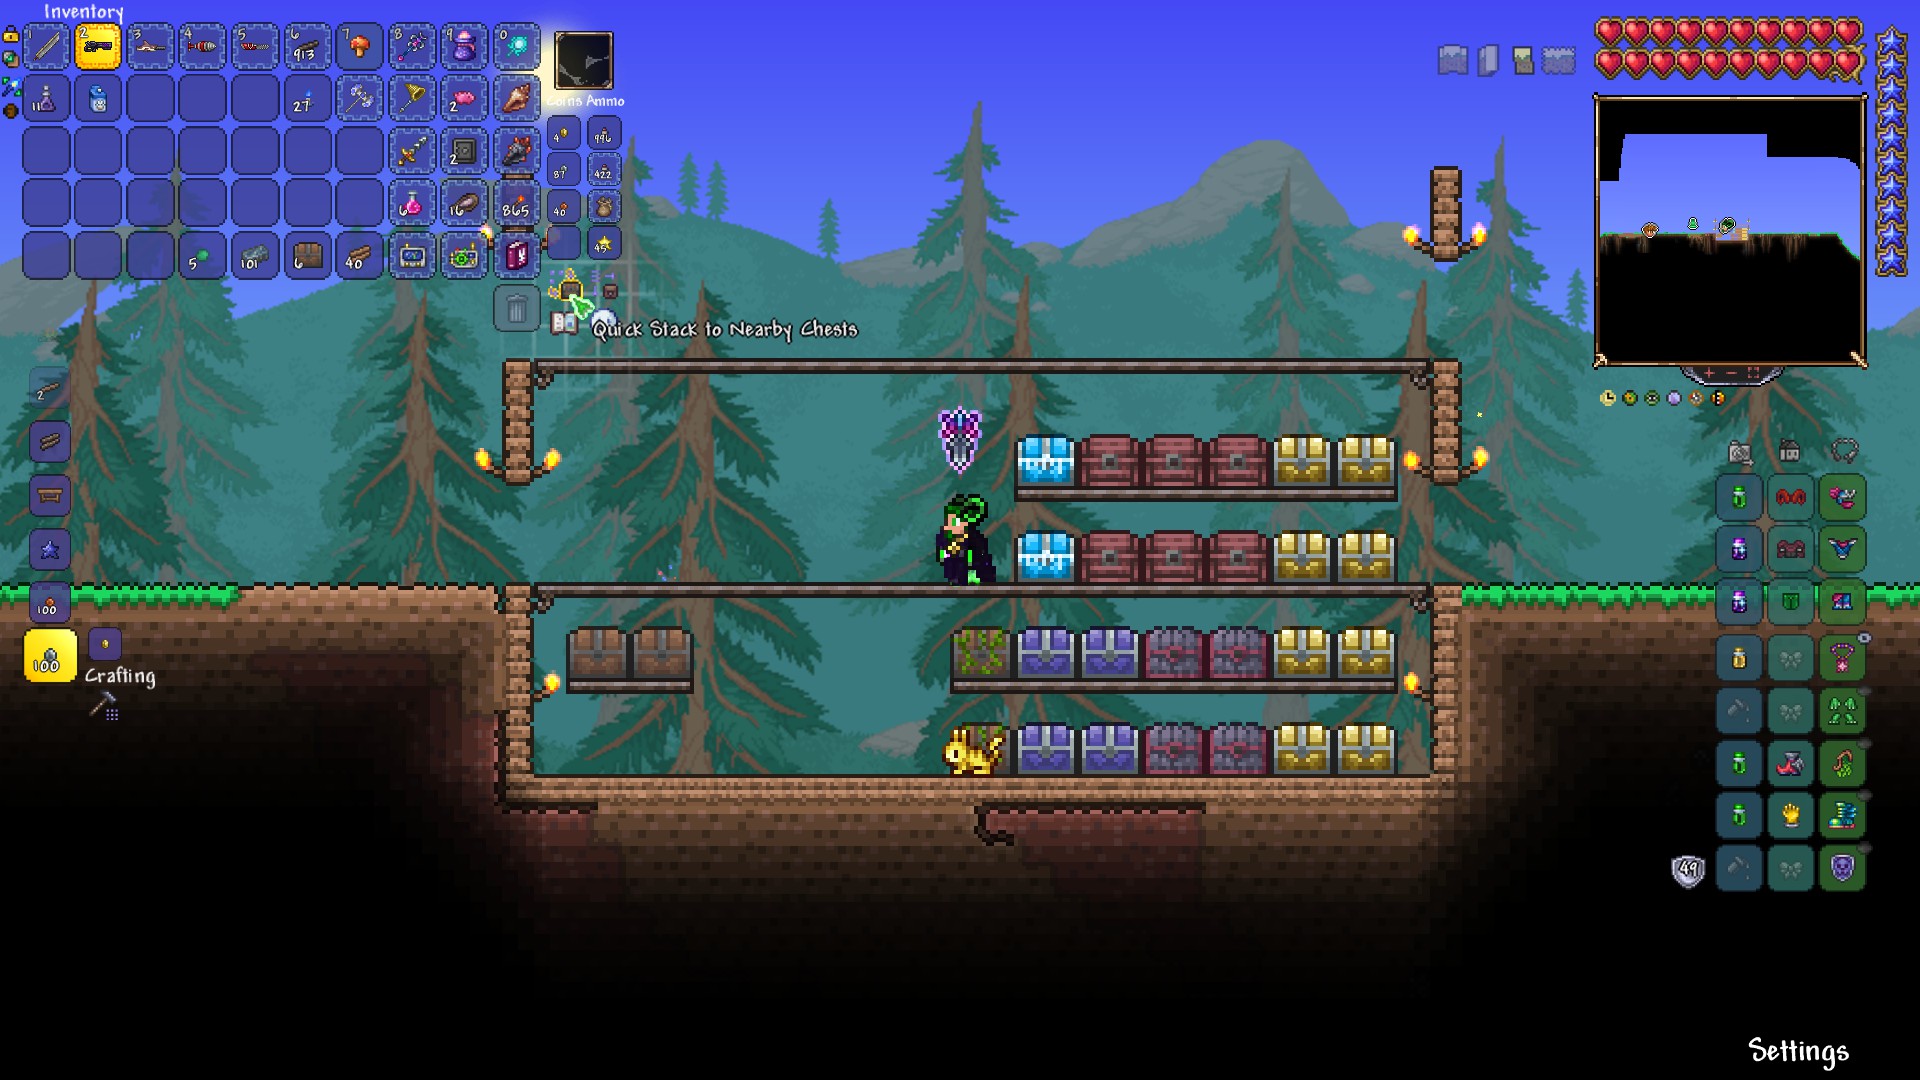
As for quick stack, yes, it's so that you only have to press 'Quick Stack' once. Otherwise, if they were spread out horizontally, you would have trouble doing that consistently, given the range limit.
Textual Deviant  [작성자] 2021년 11월 13일 오후 10시 41분 
I'm keen on starting a sorting system early on in games because it saves me YEARS of headache later on. Doesn't matter if it's Minecraft, Outer Worlds, Skyrim, it's among the first things I do when I realize I can obtain tons of things.

Simply sorting early on resolves a ton of the pain you later experience.
Crevice A. S. 2021년 11월 7일 오전 10시 47분 
I've played Terraria for years on different platforms and I have only just started organizing my chests. Tbh the main reason was so the I wouldn't lose the materials needed to craft the Zenith. Now I'm gonna have to make/find a lot more chests for the amount of junk I have in my inventory, piggy bank, void pouch, and chests, which is to say, a lot.
Textual Deviant  [작성자] 2021년 8월 11일 오전 10시 22분 
The space on the side is a result of trying to make sure that all chests are reached at once when using quick stack, you're correct.
LittleMissLimos 2021년 8월 3일 오후 4시 14분 
I love this idea, thank you so much for the terrific guide! My only confusion is, and perhaps I'm overthinking, what is the extra space on the left side and top row designed for? Is it possible to fill the whole area up with chests and have the "Quick Stack" feature actually function without needing to run about the area? Or is it designed more for crafting stations? Or for something else entirely? Thank you again for this guide and for your insight on clean storage! :)
TheManWithTheFlannel 2021년 5월 5일 오후 7시 57분 
A chest that holds chests.


Huh.
Bama 2021년 4월 29일 오후 8시 24분 
yes
AktyV2 2021년 4월 28일 오후 6시 13분 
That is minceraft, also i published a texture pack. Negative Textures
Kronical 2021년 4월 28일 오후 12시 35분 
intructions unclear. a creeper blew up my chests and now i have items everywhere instead of chests