

Install Steam
login
|
language
简体中文 (Simplified Chinese)
繁體中文 (Traditional Chinese)
日本語 (Japanese)
한국어 (Korean)
ไทย (Thai)
Български (Bulgarian)
Čeština (Czech)
Dansk (Danish)
Deutsch (German)
Español - España (Spanish - Spain)
Español - Latinoamérica (Spanish - Latin America)
Ελληνικά (Greek)
Français (French)
Italiano (Italian)
Bahasa Indonesia (Indonesian)
Magyar (Hungarian)
Nederlands (Dutch)
Norsk (Norwegian)
Polski (Polish)
Português (Portuguese - Portugal)
Português - Brasil (Portuguese - Brazil)
Română (Romanian)
Русский (Russian)
Suomi (Finnish)
Svenska (Swedish)
Türkçe (Turkish)
Tiếng Việt (Vietnamese)
Українська (Ukrainian)
Report a translation problem


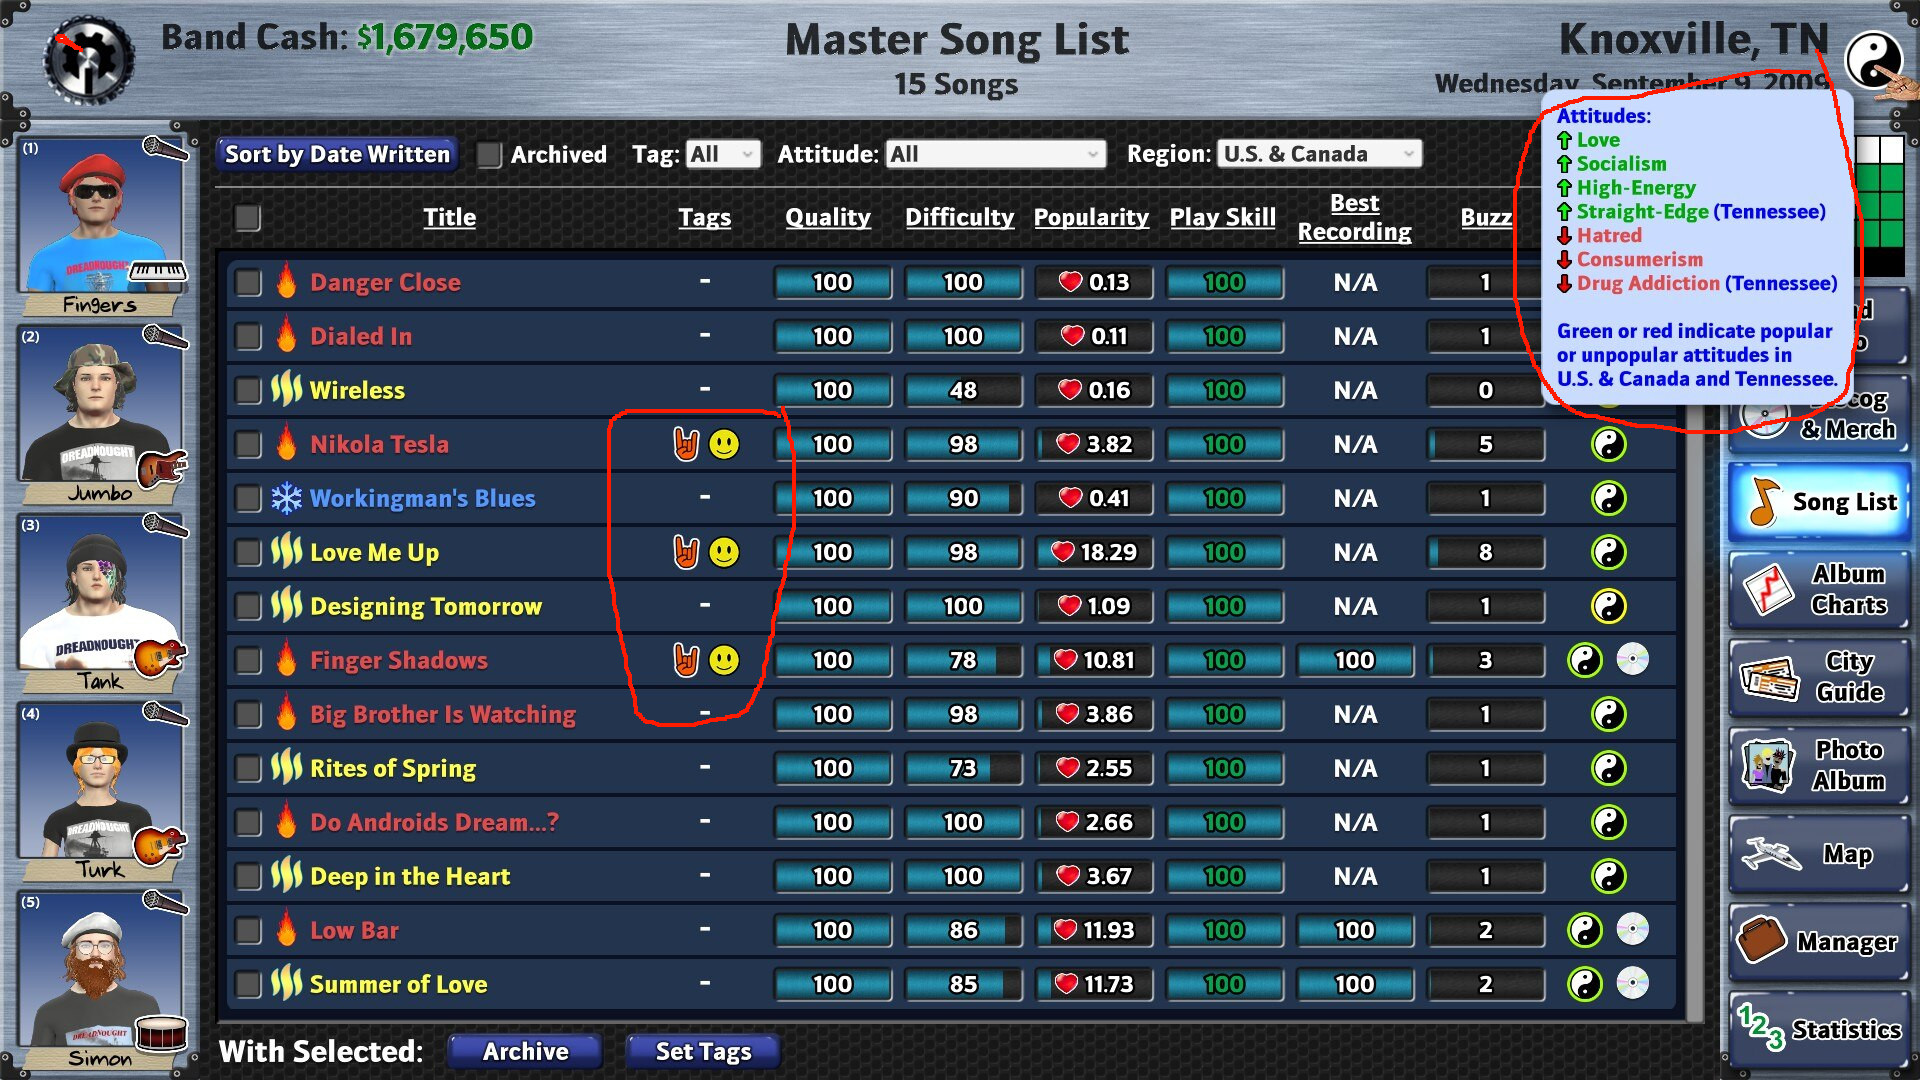


In other news, players may be interested in knowing the point at which a song gets "Buzz" instead of it showing ?? in the column, which I'm fairly sure is after being played to 3000 people.
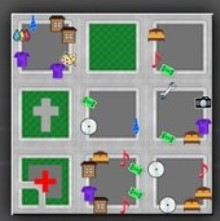
Normally there is zero energy.
High Energy (Red) - Burn audience energy by 30%
Medium Energy (Yellow) - Recover 15%
Low Energy (Blue) - Recover 40%
When High Energy is an attitude, the audience also starts with 100%, but uses
High Energy (Red) - Burn audience energy by 45%
Medium Energy (Yellow) - Recover 25%
Low Energy (Blue) - Recover 60%
When Low Energy is an Attitude, the audience starts with only 50% and uses:
High Energy (Red) - Burn audience energy by 4%
Medium Energy (Yellow) - Burn 5%
Low Energy (Blue) - Recover 10%
Songs that are not fully rehearsed or those impacted by events fluctuate these numbers.
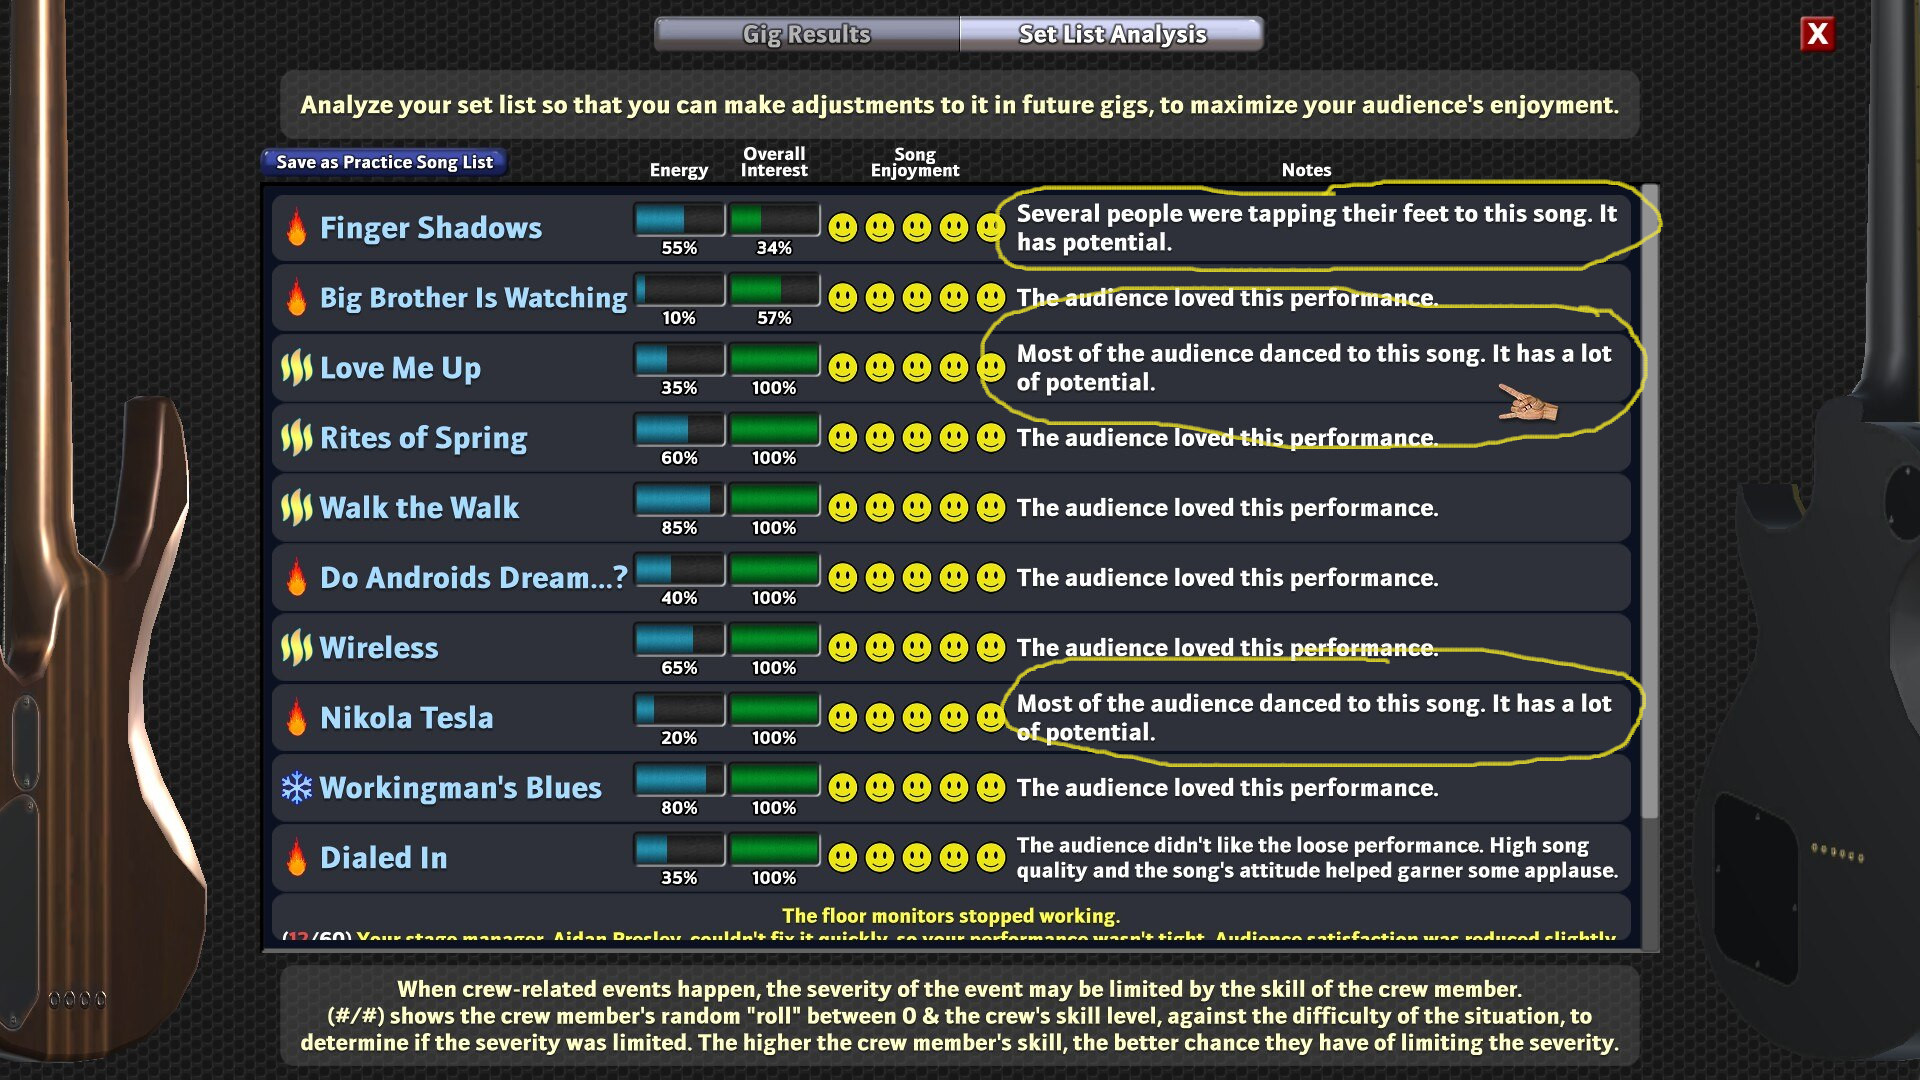
Here are the results from the last gig:
https://imgur.com/a/UUAQSd8
Thanks again!
You cannot advance without winning a few Battle of the Bands competitions. Each Battle win raises your pop by 0.5.
Followed your guide step by step from the "money" section, everything else I did it on my own. I have a full band, 6 songs with around 0.11 popularity and I think I maxed by rep with the bars in my area. The songs are 100% practiced and I keep doing gigs but I find my popularity is still 0.03 in US and Canada and I'm almost one year in. Not sure if this is normal behaviour or I'm doing something wrong, but everything looks fine to me. The songs are good quality and match the theme of the area I am in. But still, it takes ages to increase the pop. Any advice? I have been playing the same six songs for quite a while now.